Welcome to Week 5 of the Bella Cash Socktober Mystery Knitalong! You’ve nearly made it to the finish line! We have continued to enjoy seeing peeks at your Sweet Dumplin’ Socks progress, and we can’t wait to see more!
Use this graphic on Ravelry and on social media to share about the knitalong.
Just like my last post, I want to give a refresher about the knitalong for those who might be joining in late. Don’t worry – if you haven’t started, newcomers are more than welcome. To play a little catch-up, here is where you can find my previous blog posts:
Each week in October I’ll be revealing a different portion of the pattern. The pattern is updated on our website every Wednesday and you can find it here (link). Grab your colors of beautiful merino/cashmere/nylon Bella Cash here (link).
This is a mystery knitalong, but if you don’t want to commit without seeing the socks first you can find spoiler images here (link).
If you join, we’d love for you to spread the love and share your progress on social media using the hashtag #UYSocktoberMKAL and tagging us on Instagram (link) and Facebook (link). Join in with chatter here on the blog and in our Ravelry forum (link).
Please add your project to Ravelry, too! You can find the Ravelry listing here (link). You can use the graphic above and on the Ravelry listing for your project page, too.
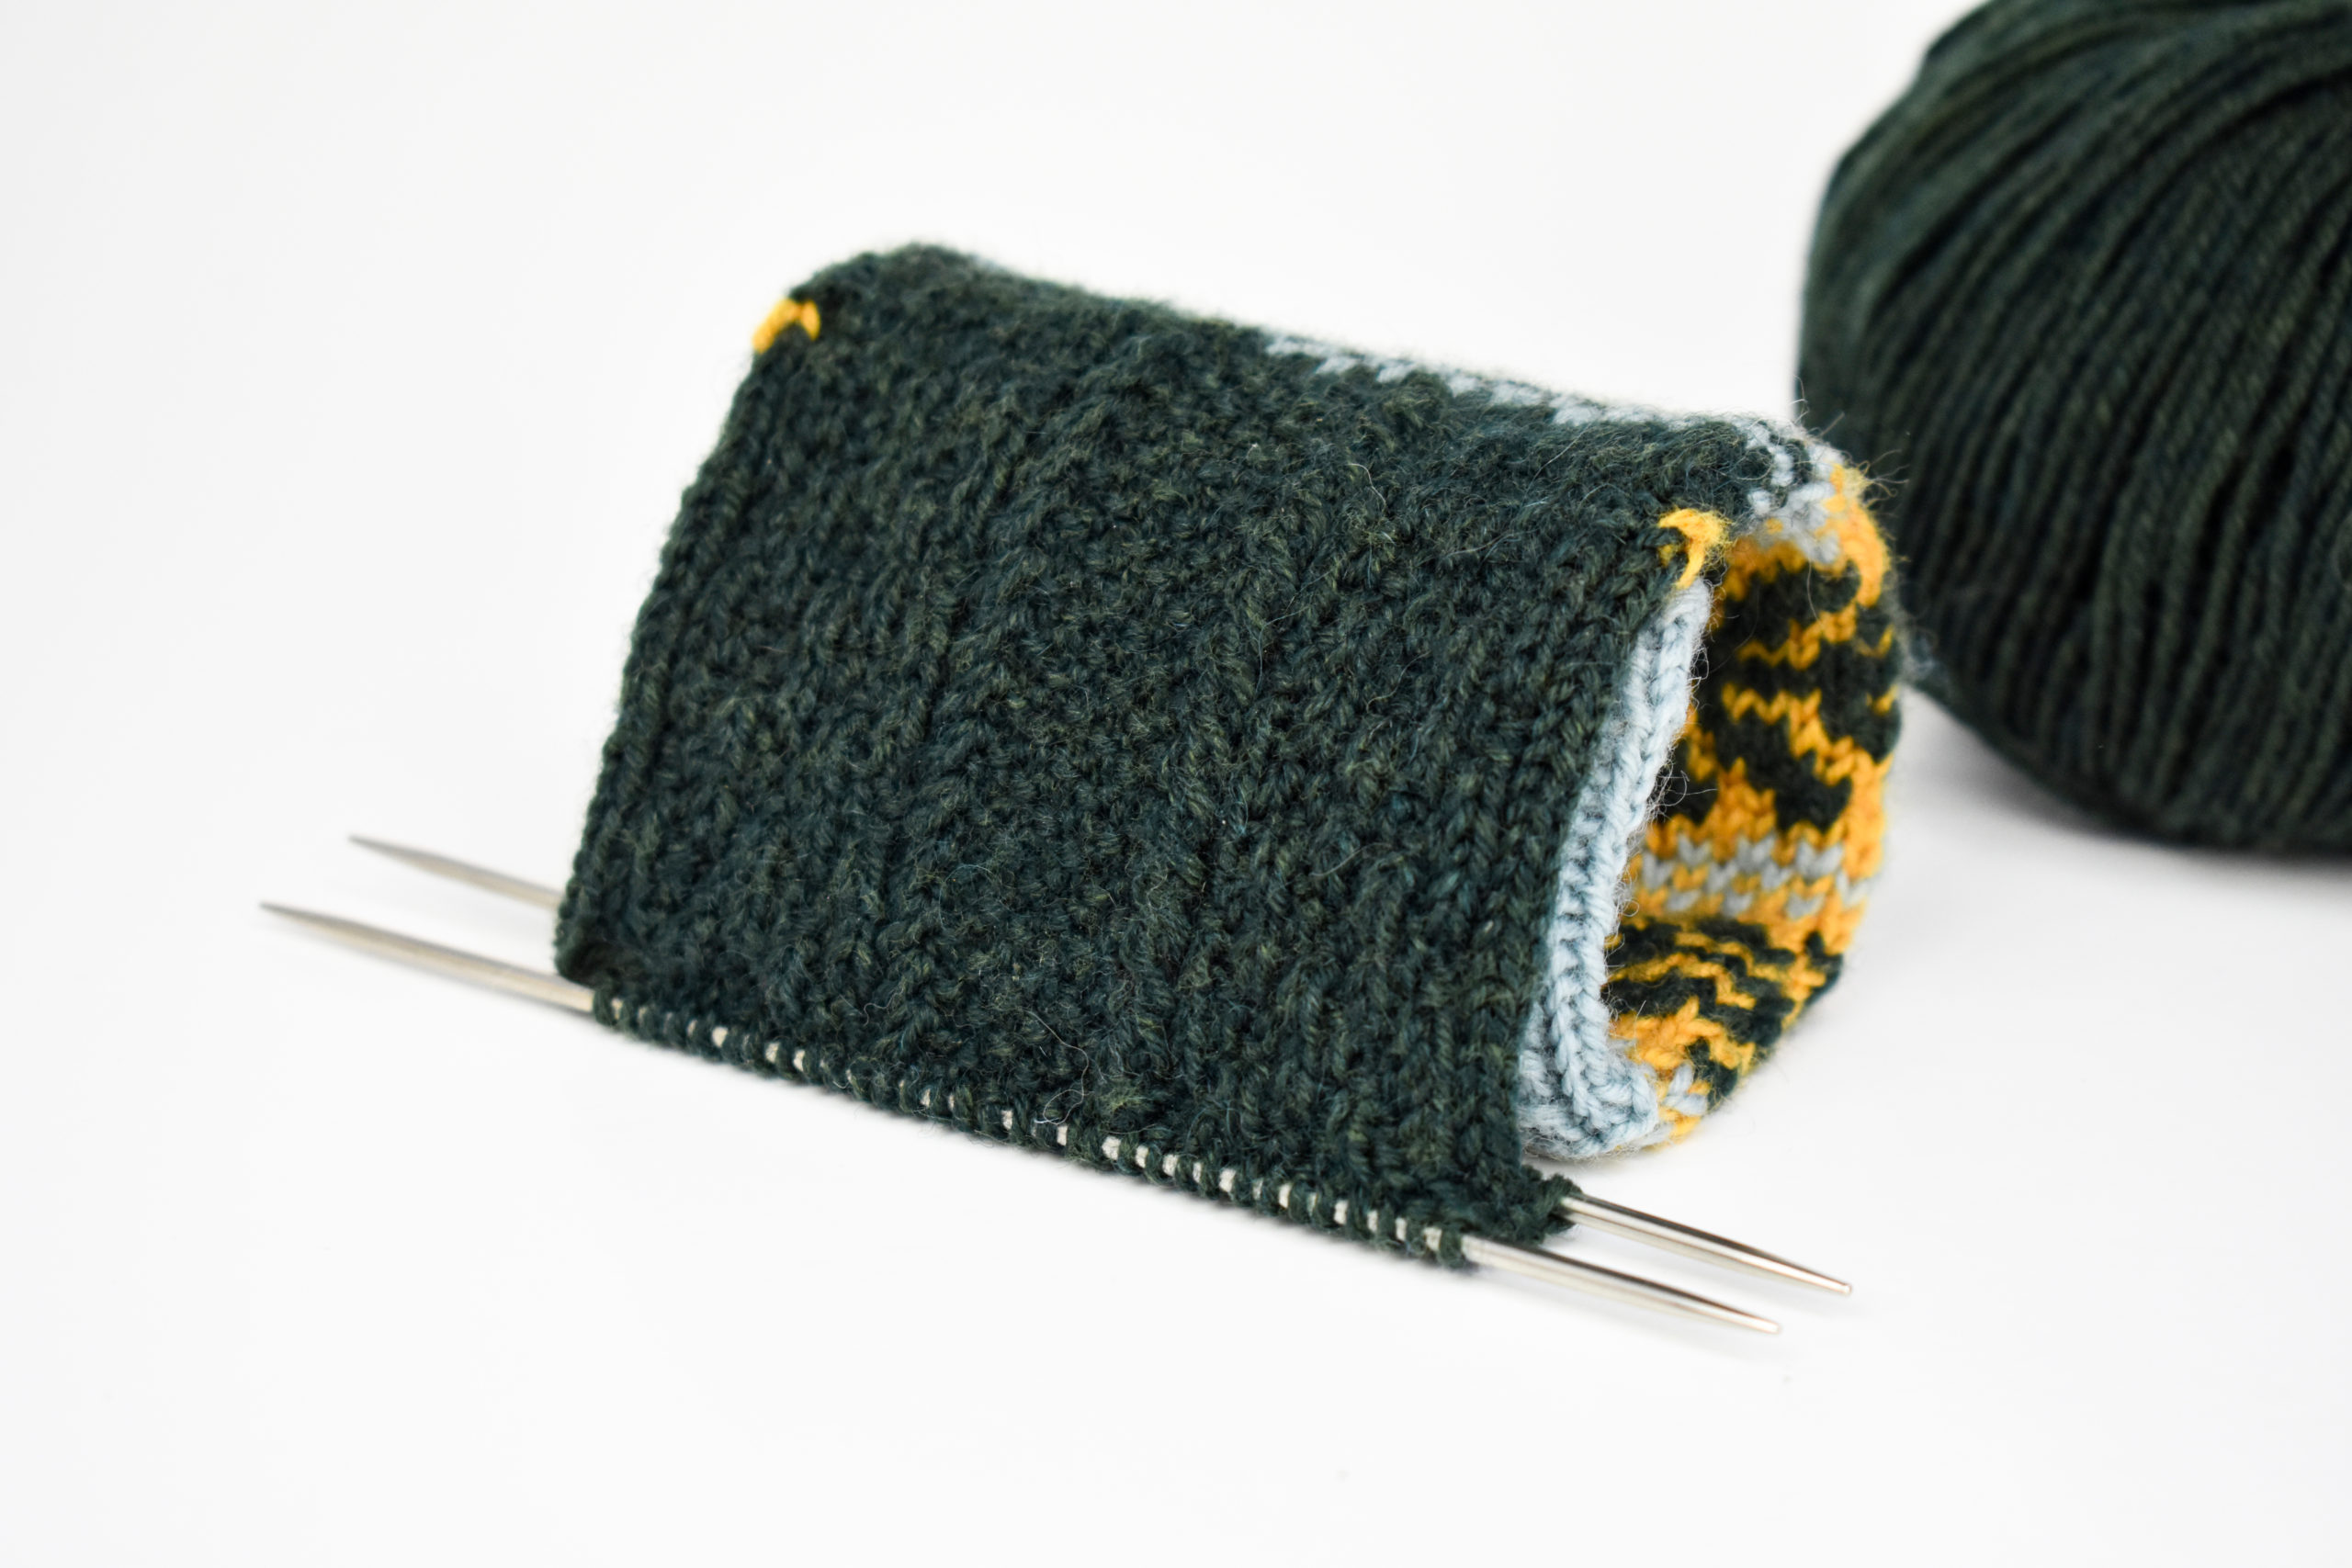
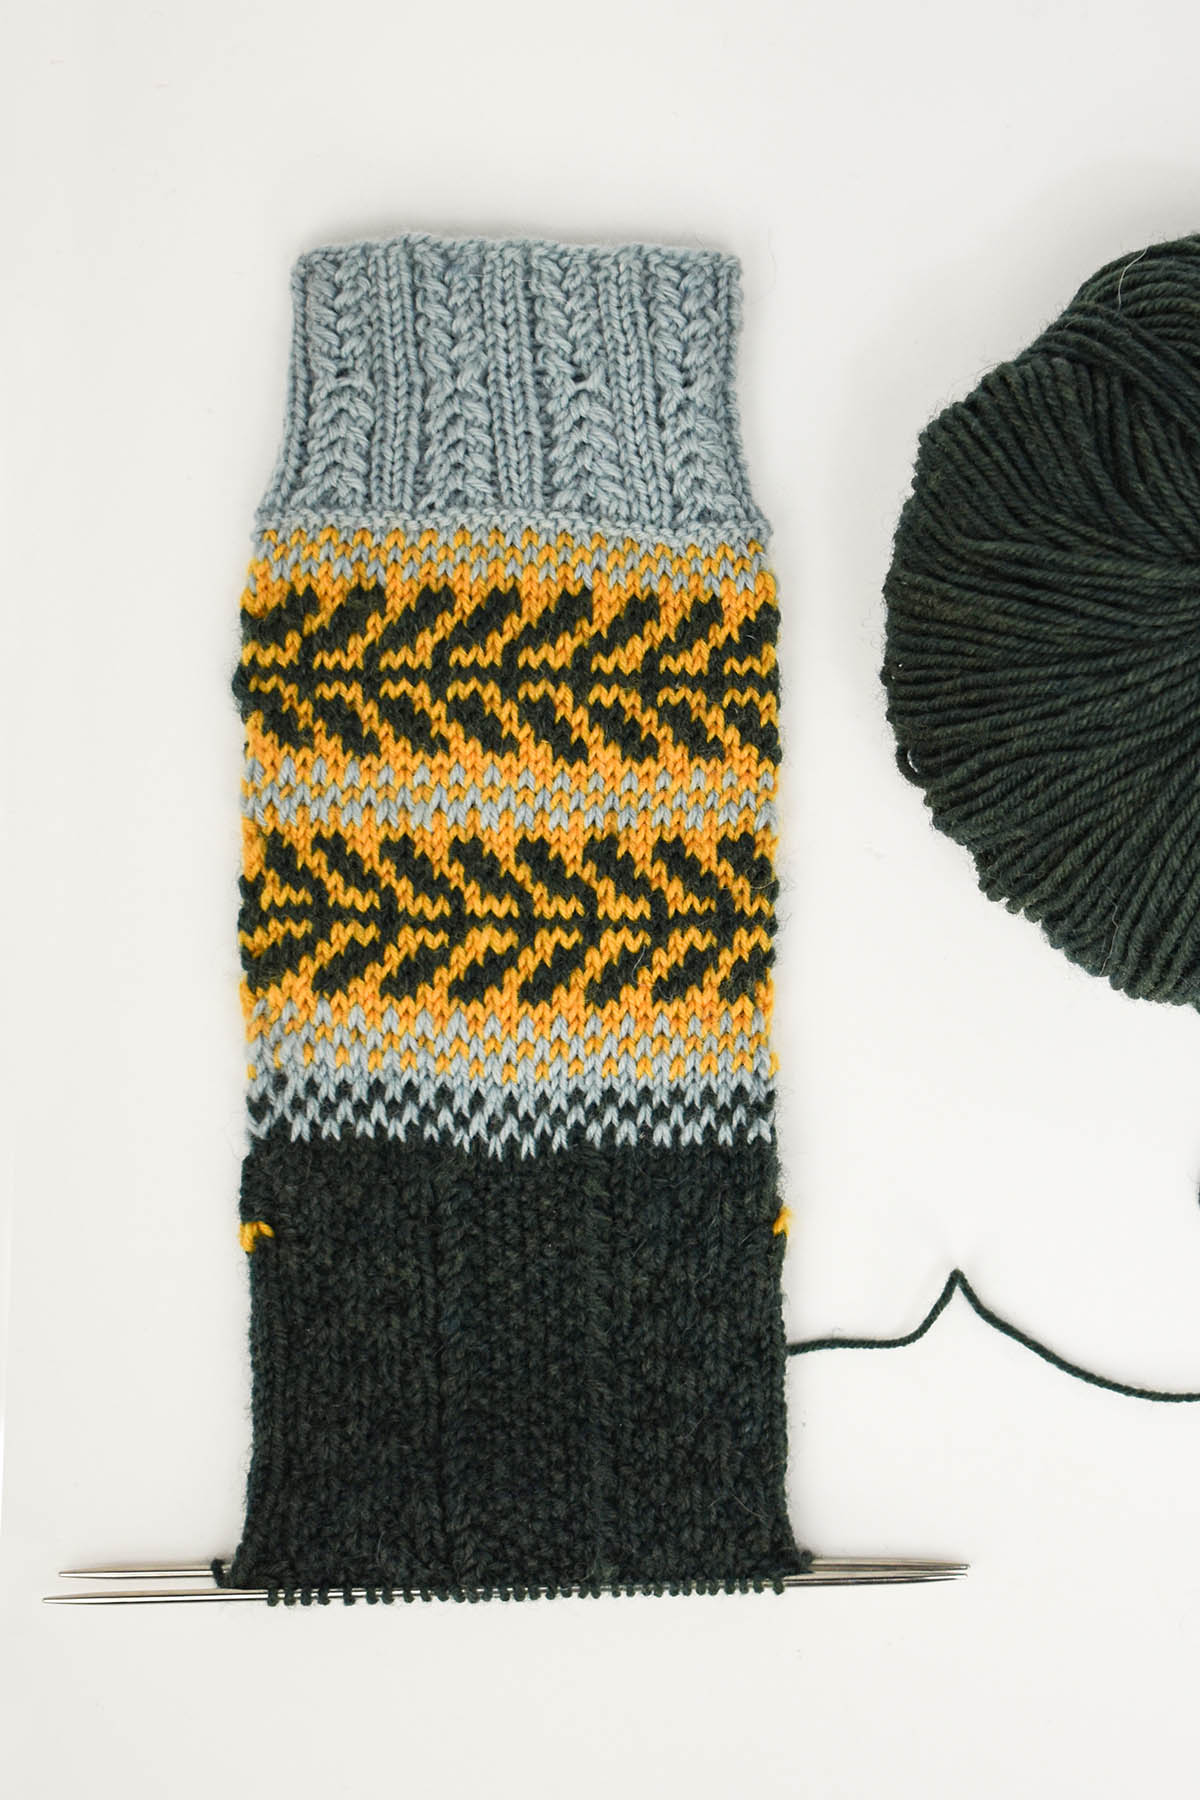
Detail of the Foot pattern of the Sweet Dumplin’ Socks.
Last week you worked on knitting the foot, which features fun twisted stitches and is full of texture. I hope you enjoyed it! This week you’ll be reintroducing color to your socks. A nice touch on the toe and a good pop in the heel. You’re in the final stretch and are finally going to be able to cozy up in your brand new socks!
This week you’ll indulge in two techniques that we already have tutorials for. First, you’ll finish the toes by grafting using Kitchener stitch. You can find a helpful tutorial on how to work this stitch here (link). After you finish your toes, you’ll need to pick up stitches from the waste yarn you placed last week to create the heel. We shared a photo-tutorial for working afterthought heels here (link).
So are you ready to get started? The next portion of the pattern is now available for your knitting pleasure! Next week I’ll share our progress at the office as well as some photos of the socks you’ve shared. I can’t wait because there are some really beautiful versions of these socks being created!
Remember, you can share your progress on social media using the hashtag #UYSocktoberMKAL and tagging us on Instagram (link) and Facebook (link). Join in with chatter here on the blog and in our Ravelry forum (link).
This is part 5 in a 12 part series highlighting designs from our 12 Days of Winter, Series 3 Edition.
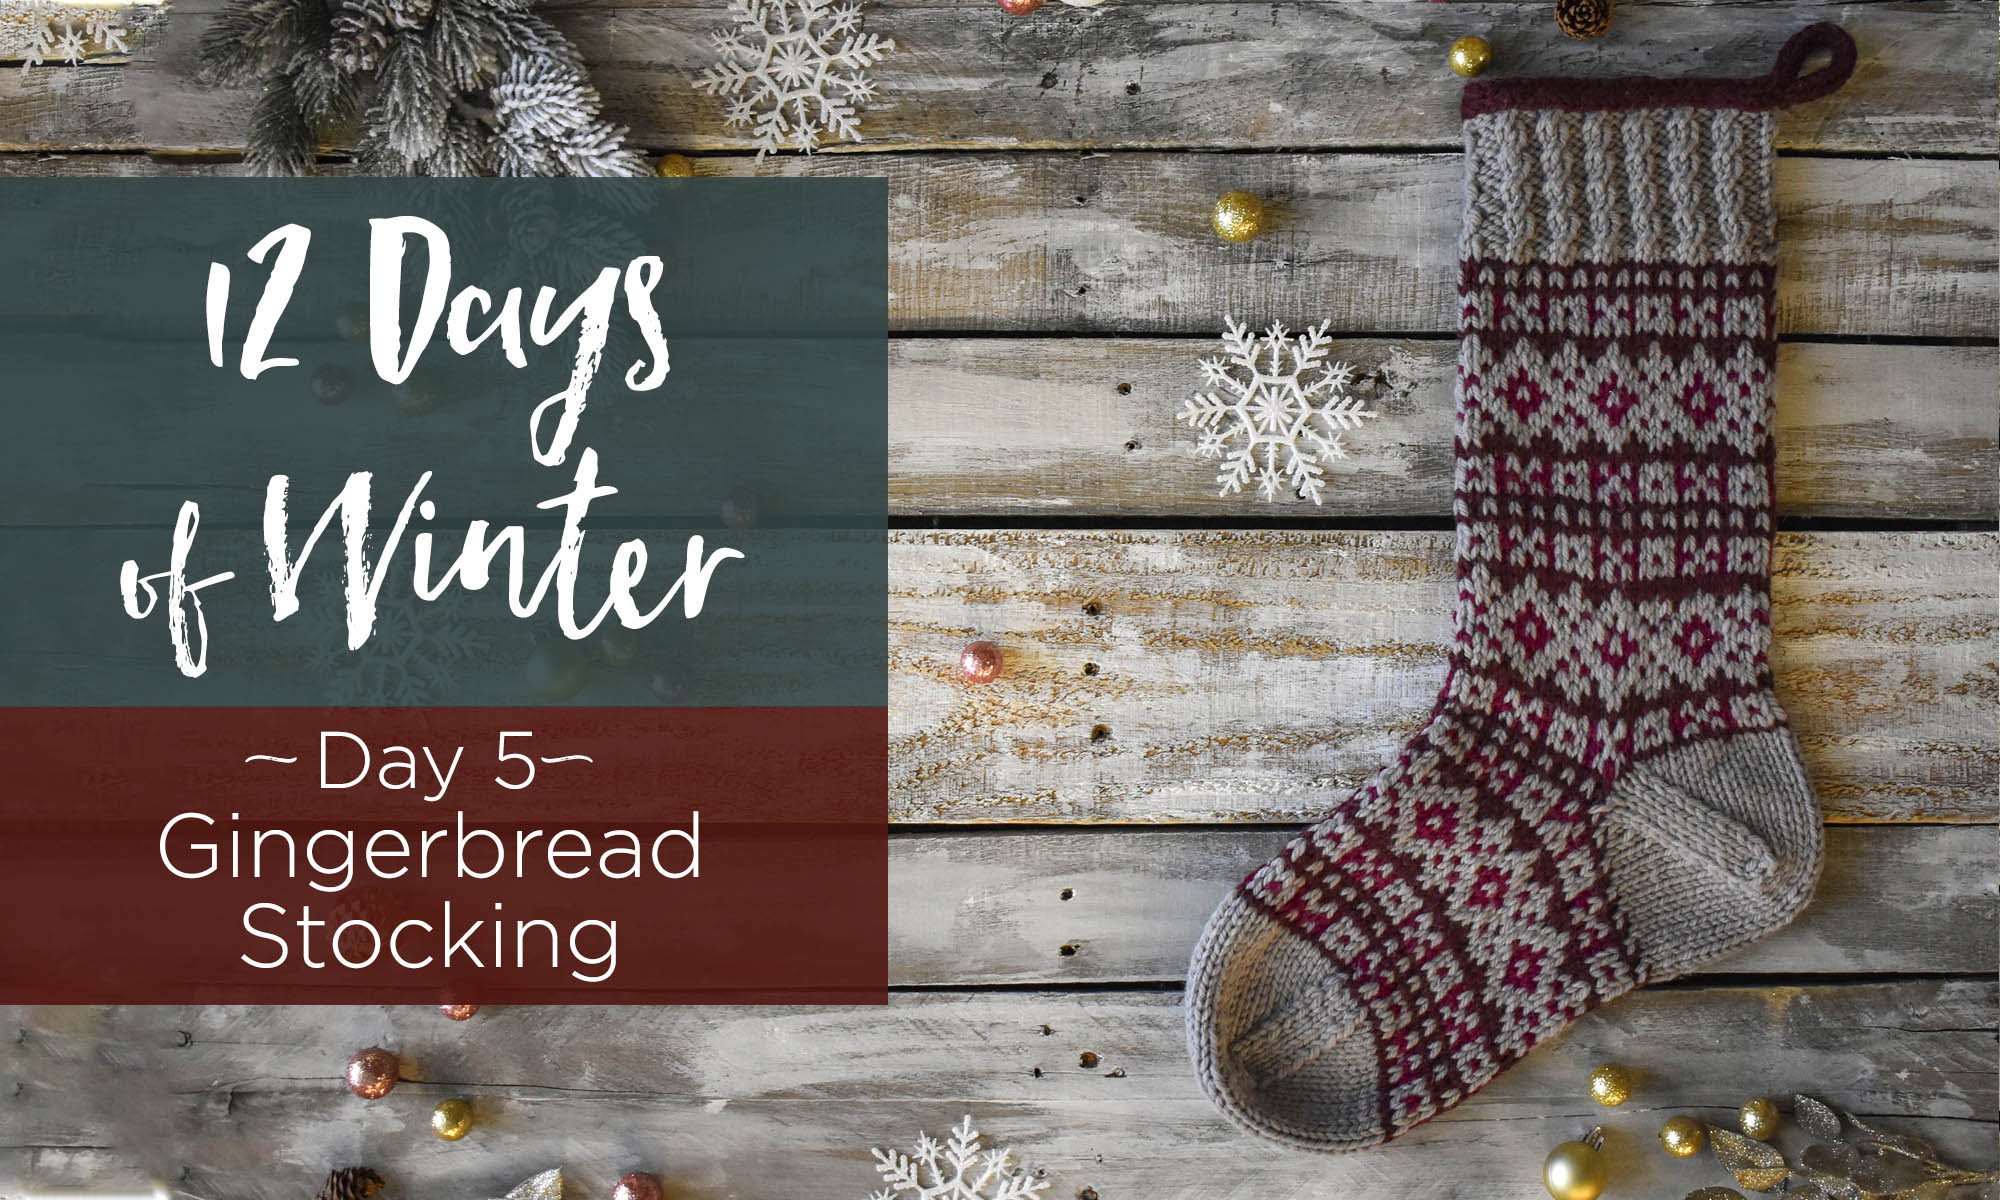
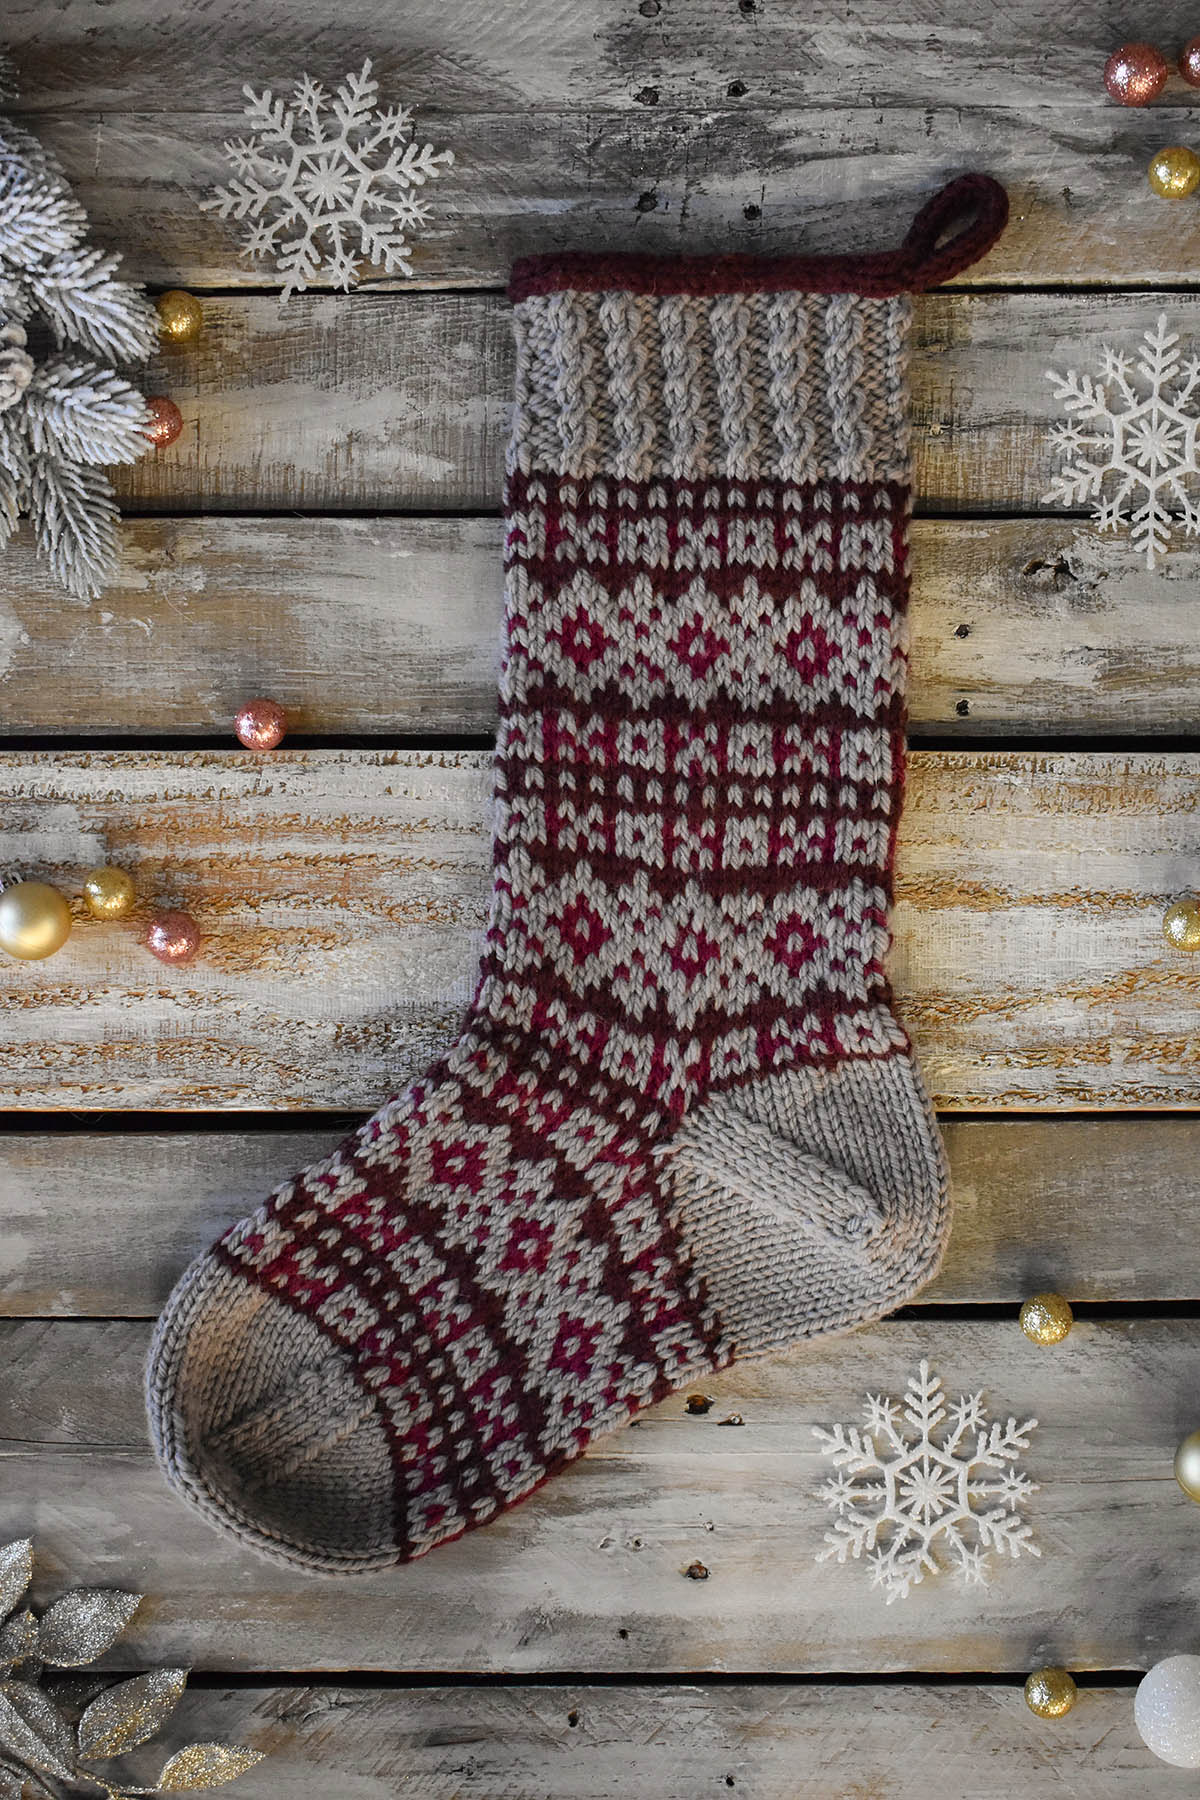
It’s Day 5 in the 12 Days of Winter Kit Collection, and it’s a personal favorite. Say hello to the Gingerbread Stocking! I have to start this off with a bit of a sad story, but I’ll end it with something sweet, I promise.
When I was about three years old, I was given a very large green stocking with my name embroidered in red on the cuff. My favorite thing about it was that it had a big ol’ Santa Claus face attached to it and he had a huge beard. It was kitschy, and I loved it for more than 20 years. So here is the sad part…before I moved out of my home state I got rid of nearly everything I owned because I knew I’d be traveling for a while. I put together a box with my holiday decor to store at my in-laws’ house. Then, heartbreakingly, I accidentally dropped that box off at Goodwill. The next winter, when I realized all of the decorations were missing – including my stocking – my heart sank. I lost this silly stocking that meant so much to me!
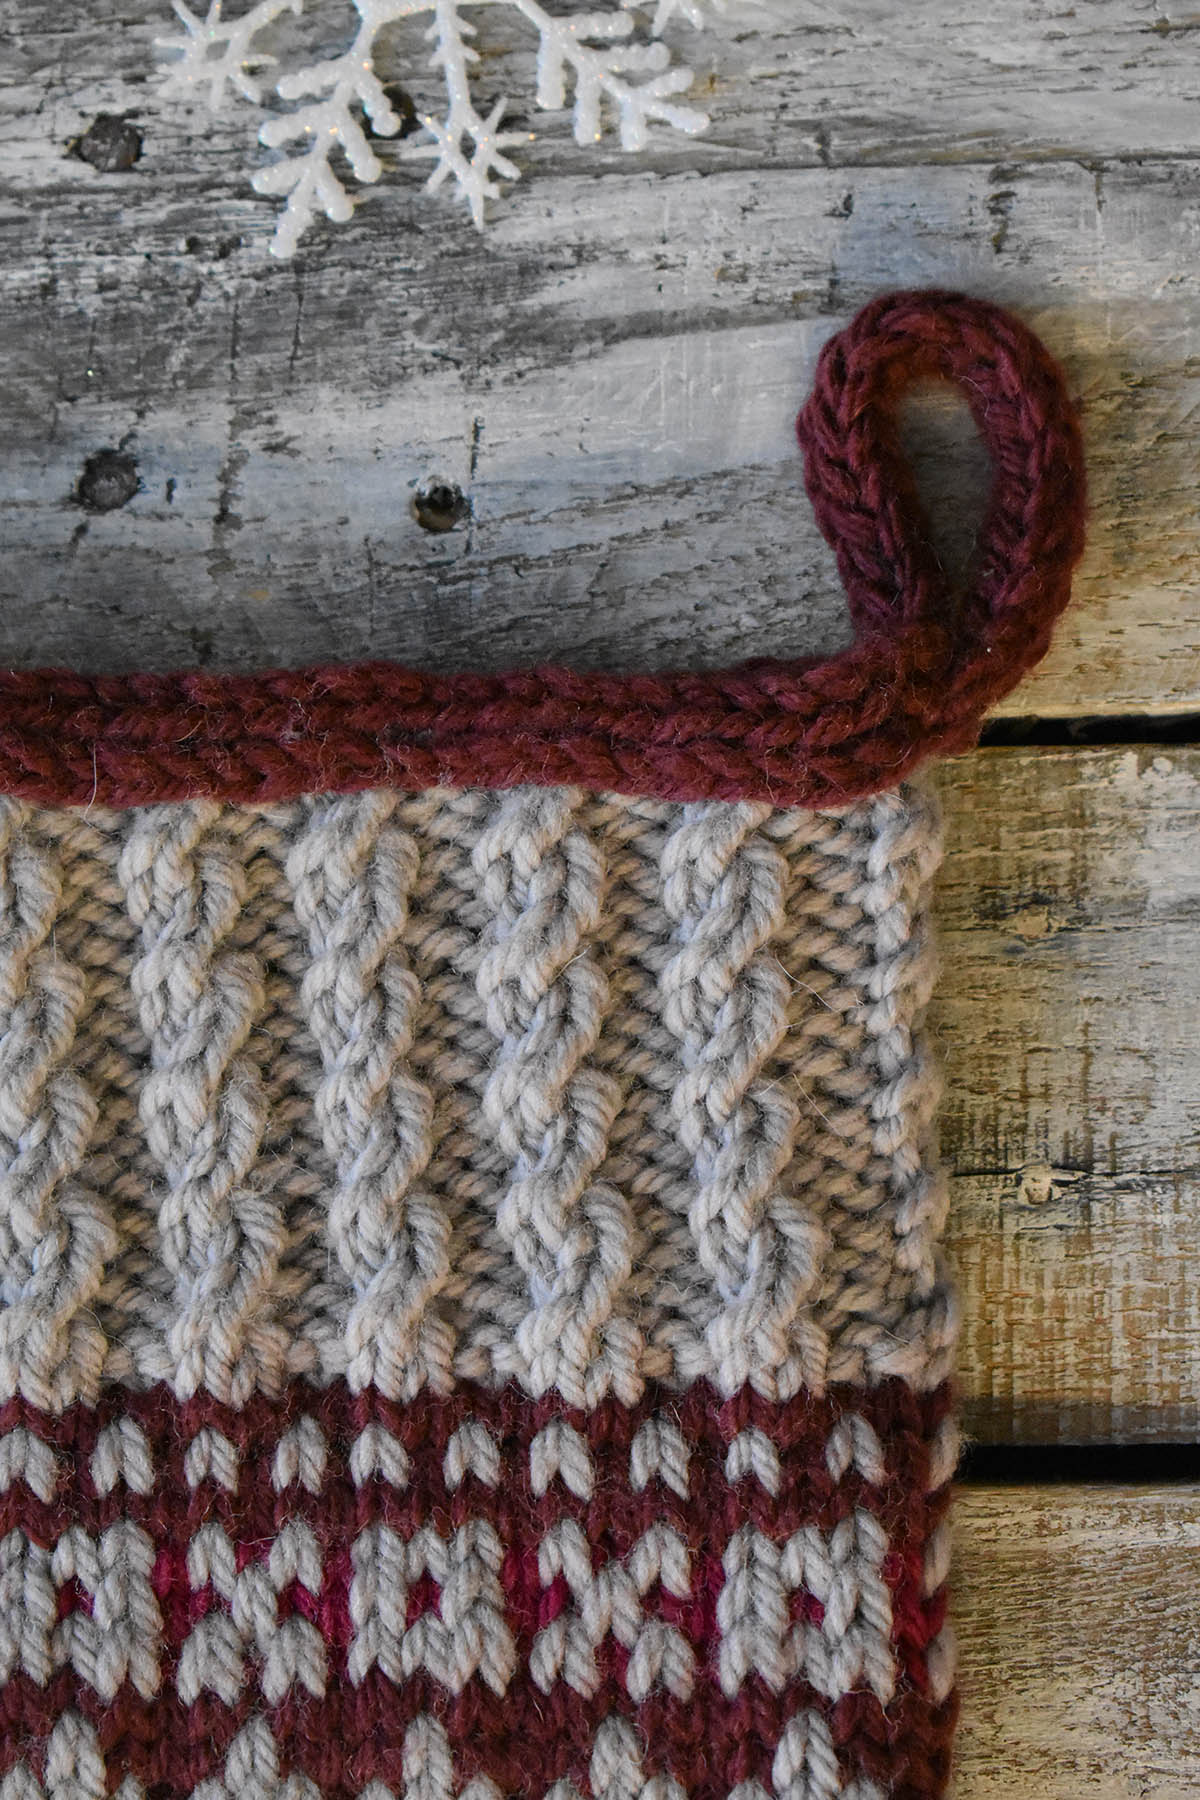
Twisted stitches create the cables along the cuff. An I-cord edging creates the hanger.
As sad as I was about that stocking, life is short, it was a material item, and you have to move on (even though it still stings!). So, for the 12 Days of Winter Kit Collection this year, I decided it was time to design a stocking. After all, handknits are so special. That’s how the Gingerbread Stocking was born. I chose Deluxe Bulky Superwash because it’s easy to care for, thick enough to create a sturdy stocking, and it makes for quick knitting. Not to mention the fact that I love the expansive palette. I chose classic, deep colors for this design, and that got me thinking about one of my favorite winter treats: gingerbread.
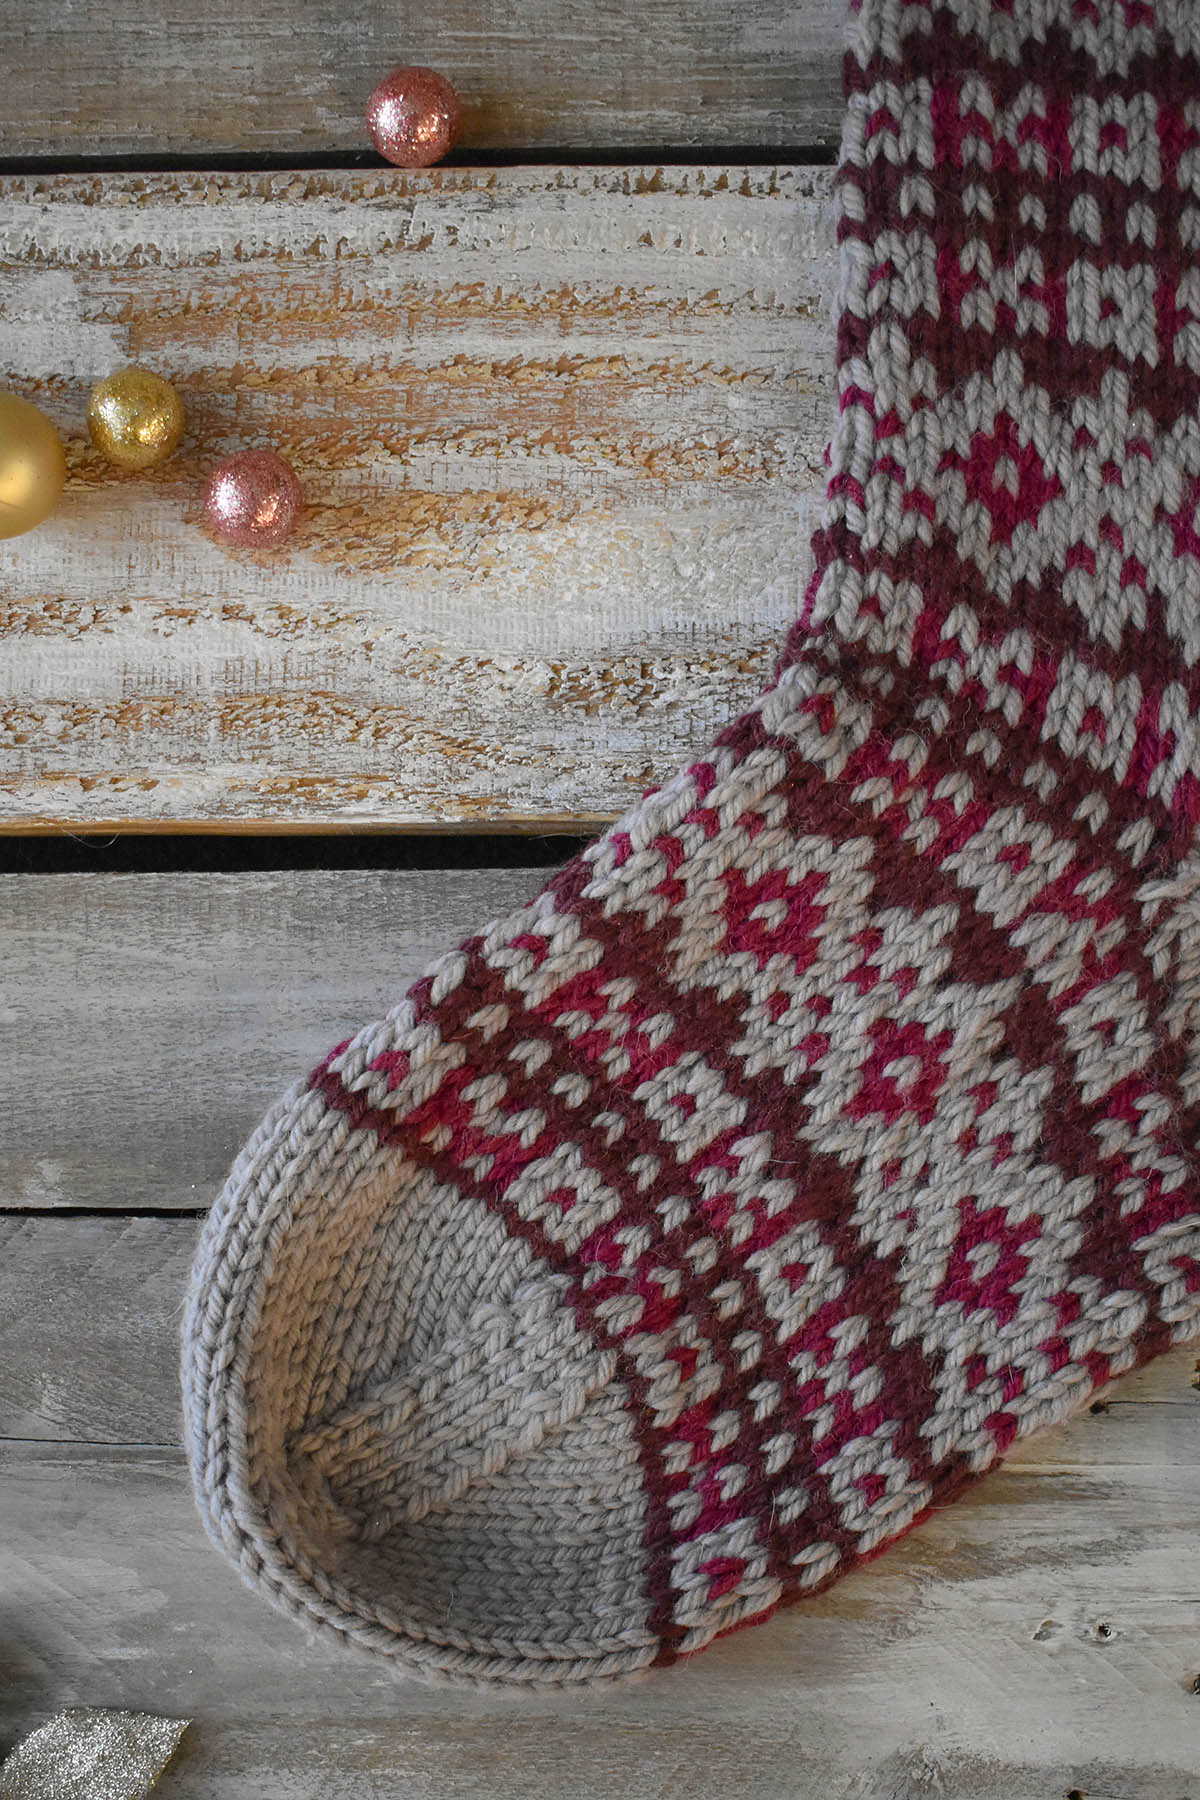
The Fair Isle motif used throughout these socks reminds me of the decorations that adorn gingerbread houses. It’s a super-fun knit, and I worked this thing up in a matter of days. Worked in the round from the cuff down, this stocking features an after-thought heel. (Side note, we have a great tutorial on after-thought heels from the first 12 Days of Winter series that you can find here.)
In honor of these stockings and my love for gingerbread (or anything that contains molasses or ginger), I thought I’d share a recipe for gingerbread loaf – I told you I’d end this post with something sweet!
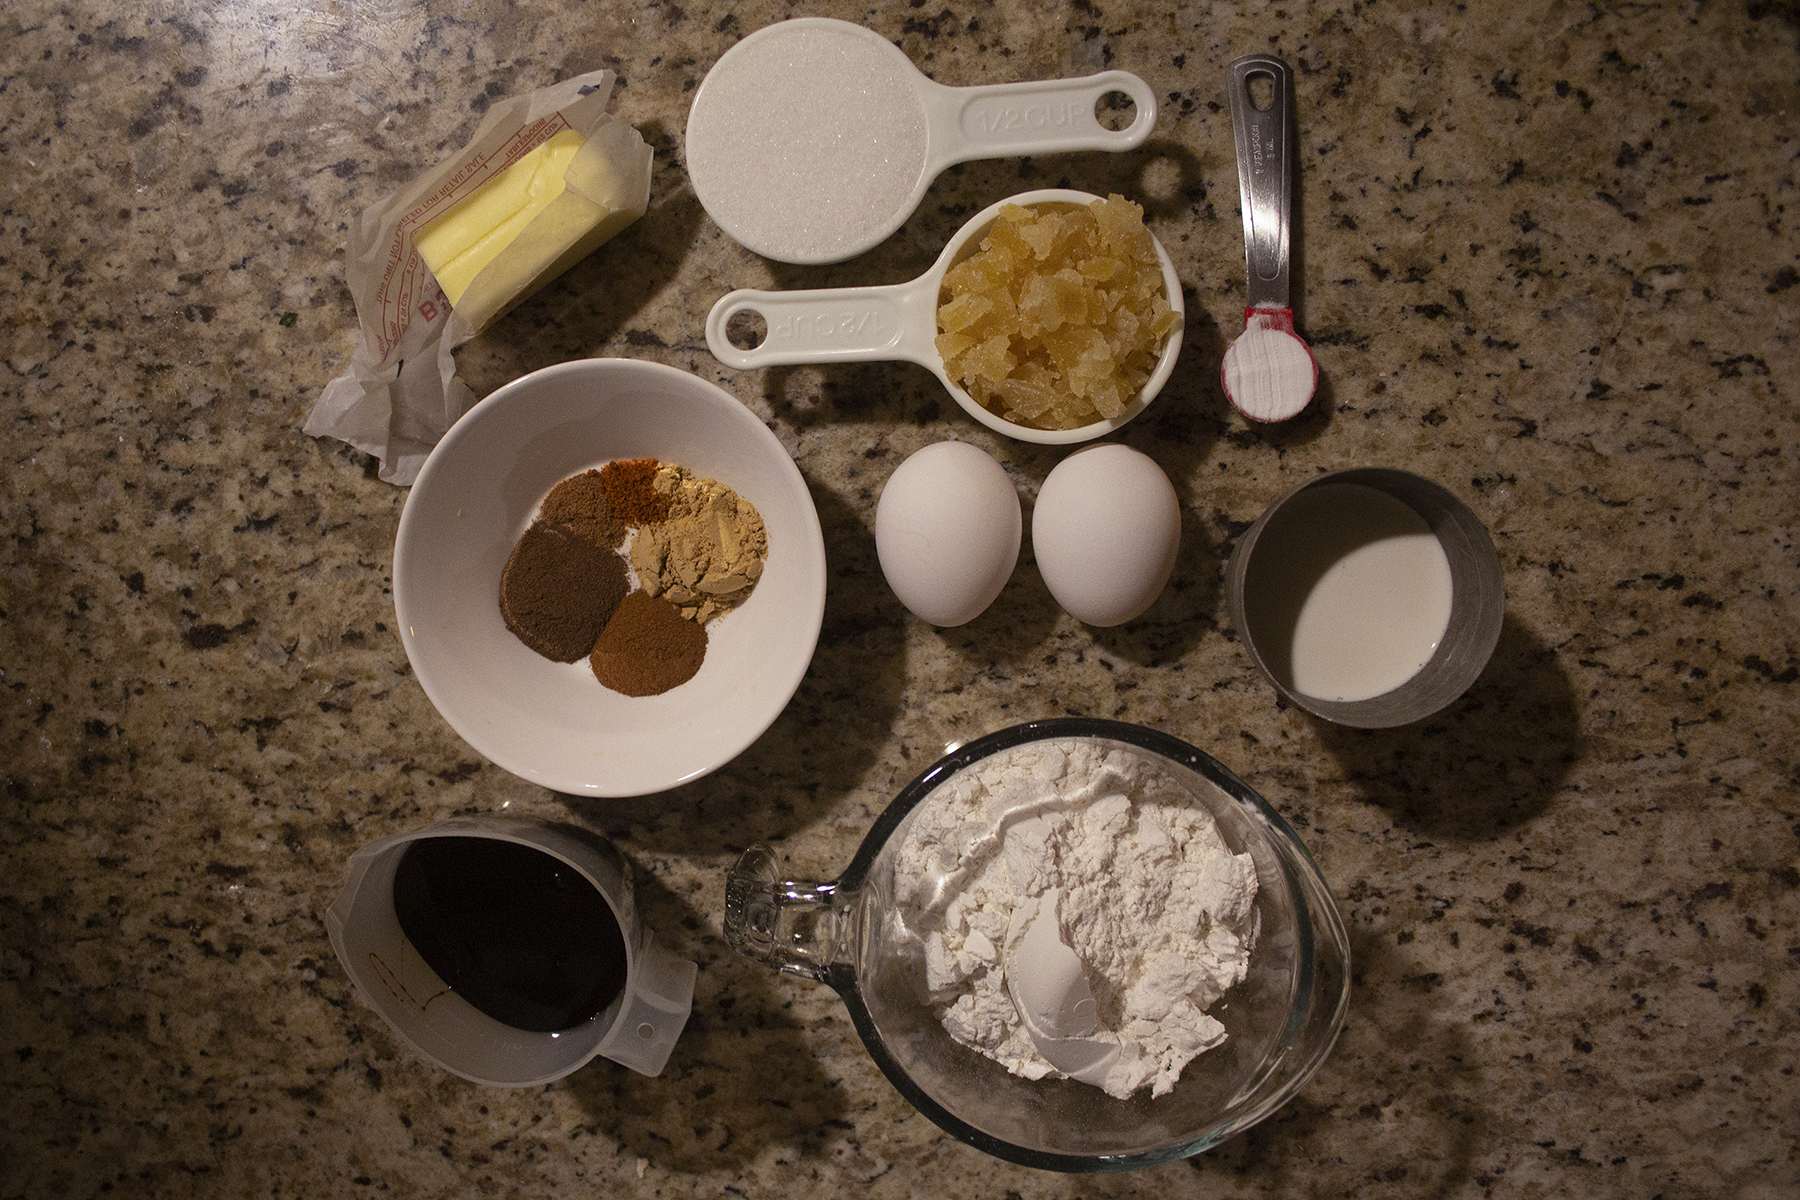
Ingredients
4 Tbs. unsalted butter
1⁄2 cup sugar
1⁄2 cup molasses (yummy!)
1⁄2 cup finely chopped crystallized ginger (also yummy!)
2 eggs
1 1⁄2 cups all-purpose flour
1 tsp. baking soda
2 tsp. ground ginger
1⁄2 tsp. ground cinnamon
1⁄2 tsp. ground allspice
1⁄4 tsp. ground plain
1⁄2 cup almond milk (or milk of your choice)
Directions Start by preheating your oven to 350 degrees and greasing a 9×4 loaf pan.
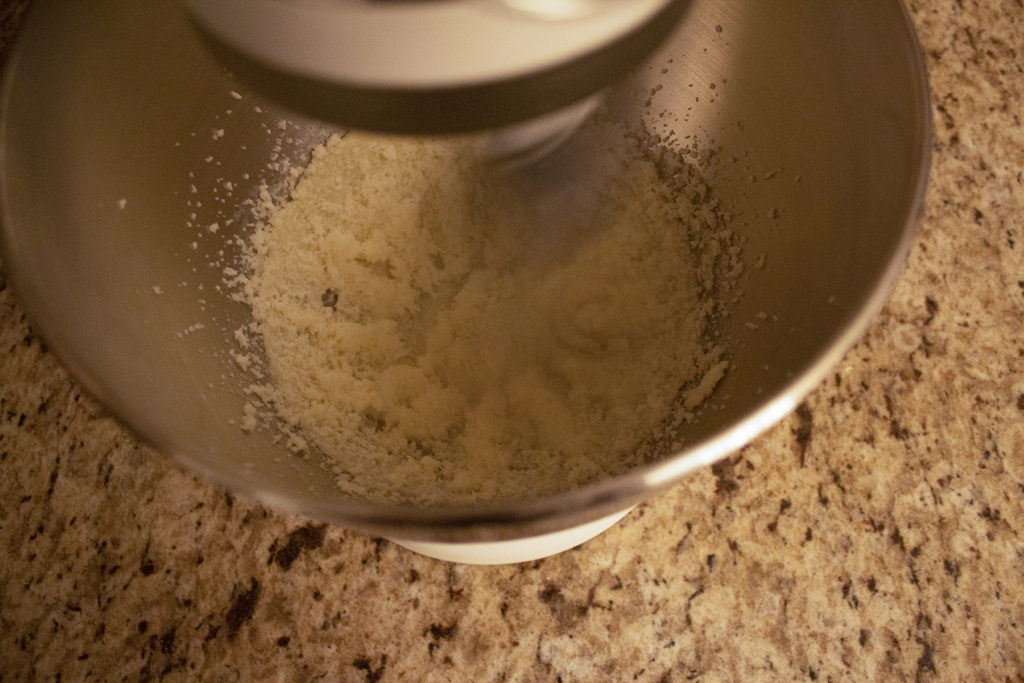
In a bowl, beat the butter and sugar together until fluffy. Then, add the molasses and crystallized ginger. I highly recommend separating the ginger a bit so it doesn’t just clump together. Beat in the eggs, one at a time.
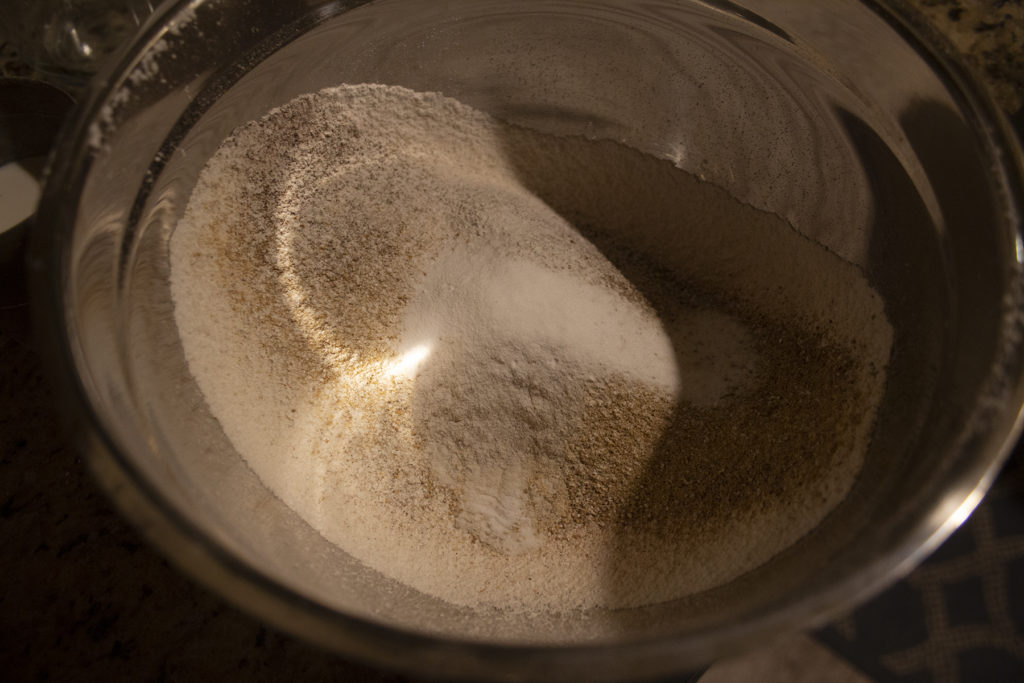
In a separate bowl, sift the flour, spices, and baking soda together. In several batches, alternate stirring the flour mixture and the milk into the butter mixture. Take care not to overmix.
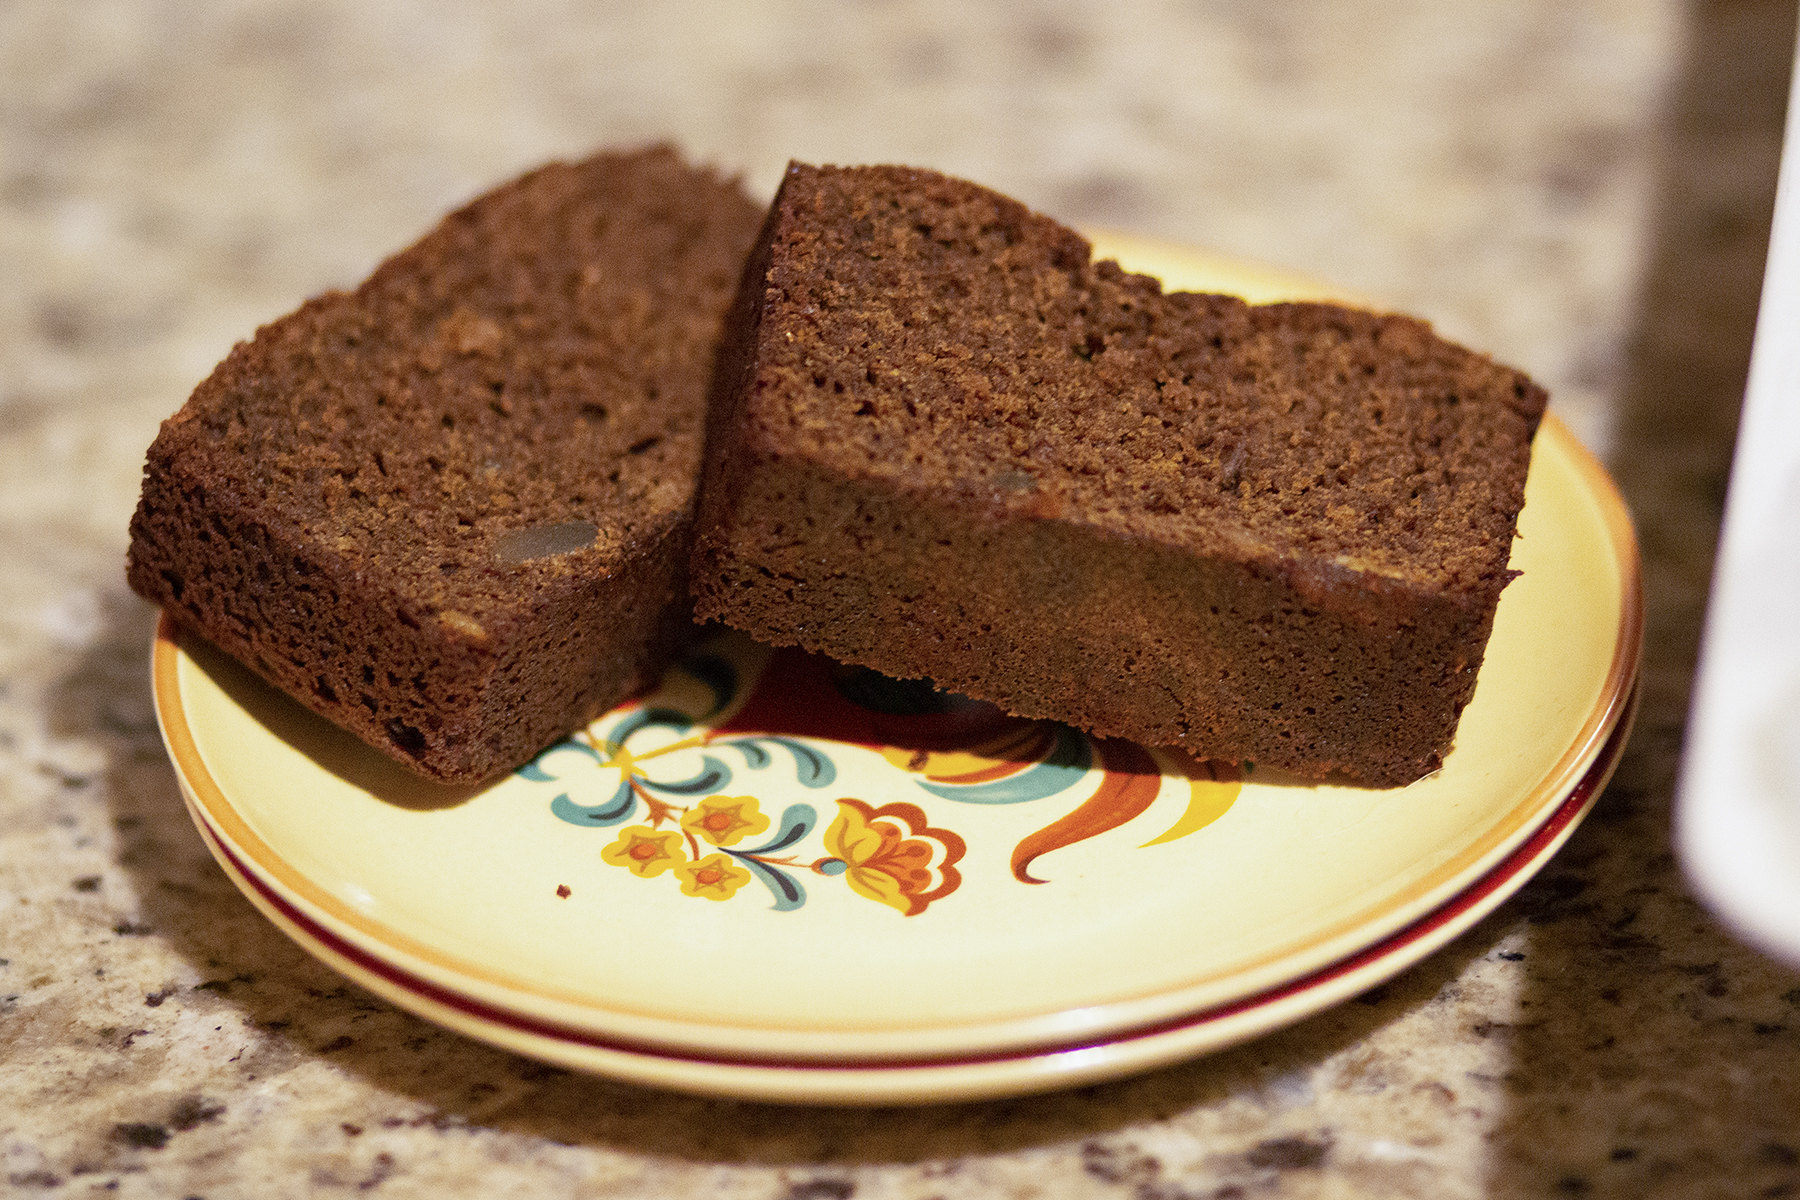
Pour the batter into the loaf pan, place in the oven, and bake for about 45 minutes, or until a knife inserted into the center comes out clean. Let cool or serve warm (my personal preference), and try not to eat it all at once!
Yummy!
I hope you’ll enjoy knitting the Gingerbread Stocking as much as you’ll enjoy indulging in this gingerbread loaf. What’s better than pairing knitting with baked goods? Remember, you can find the Gingerbread Stocking kit and the rest of the 12 Days of Winter kits at your local yarn store. Happy crafting!
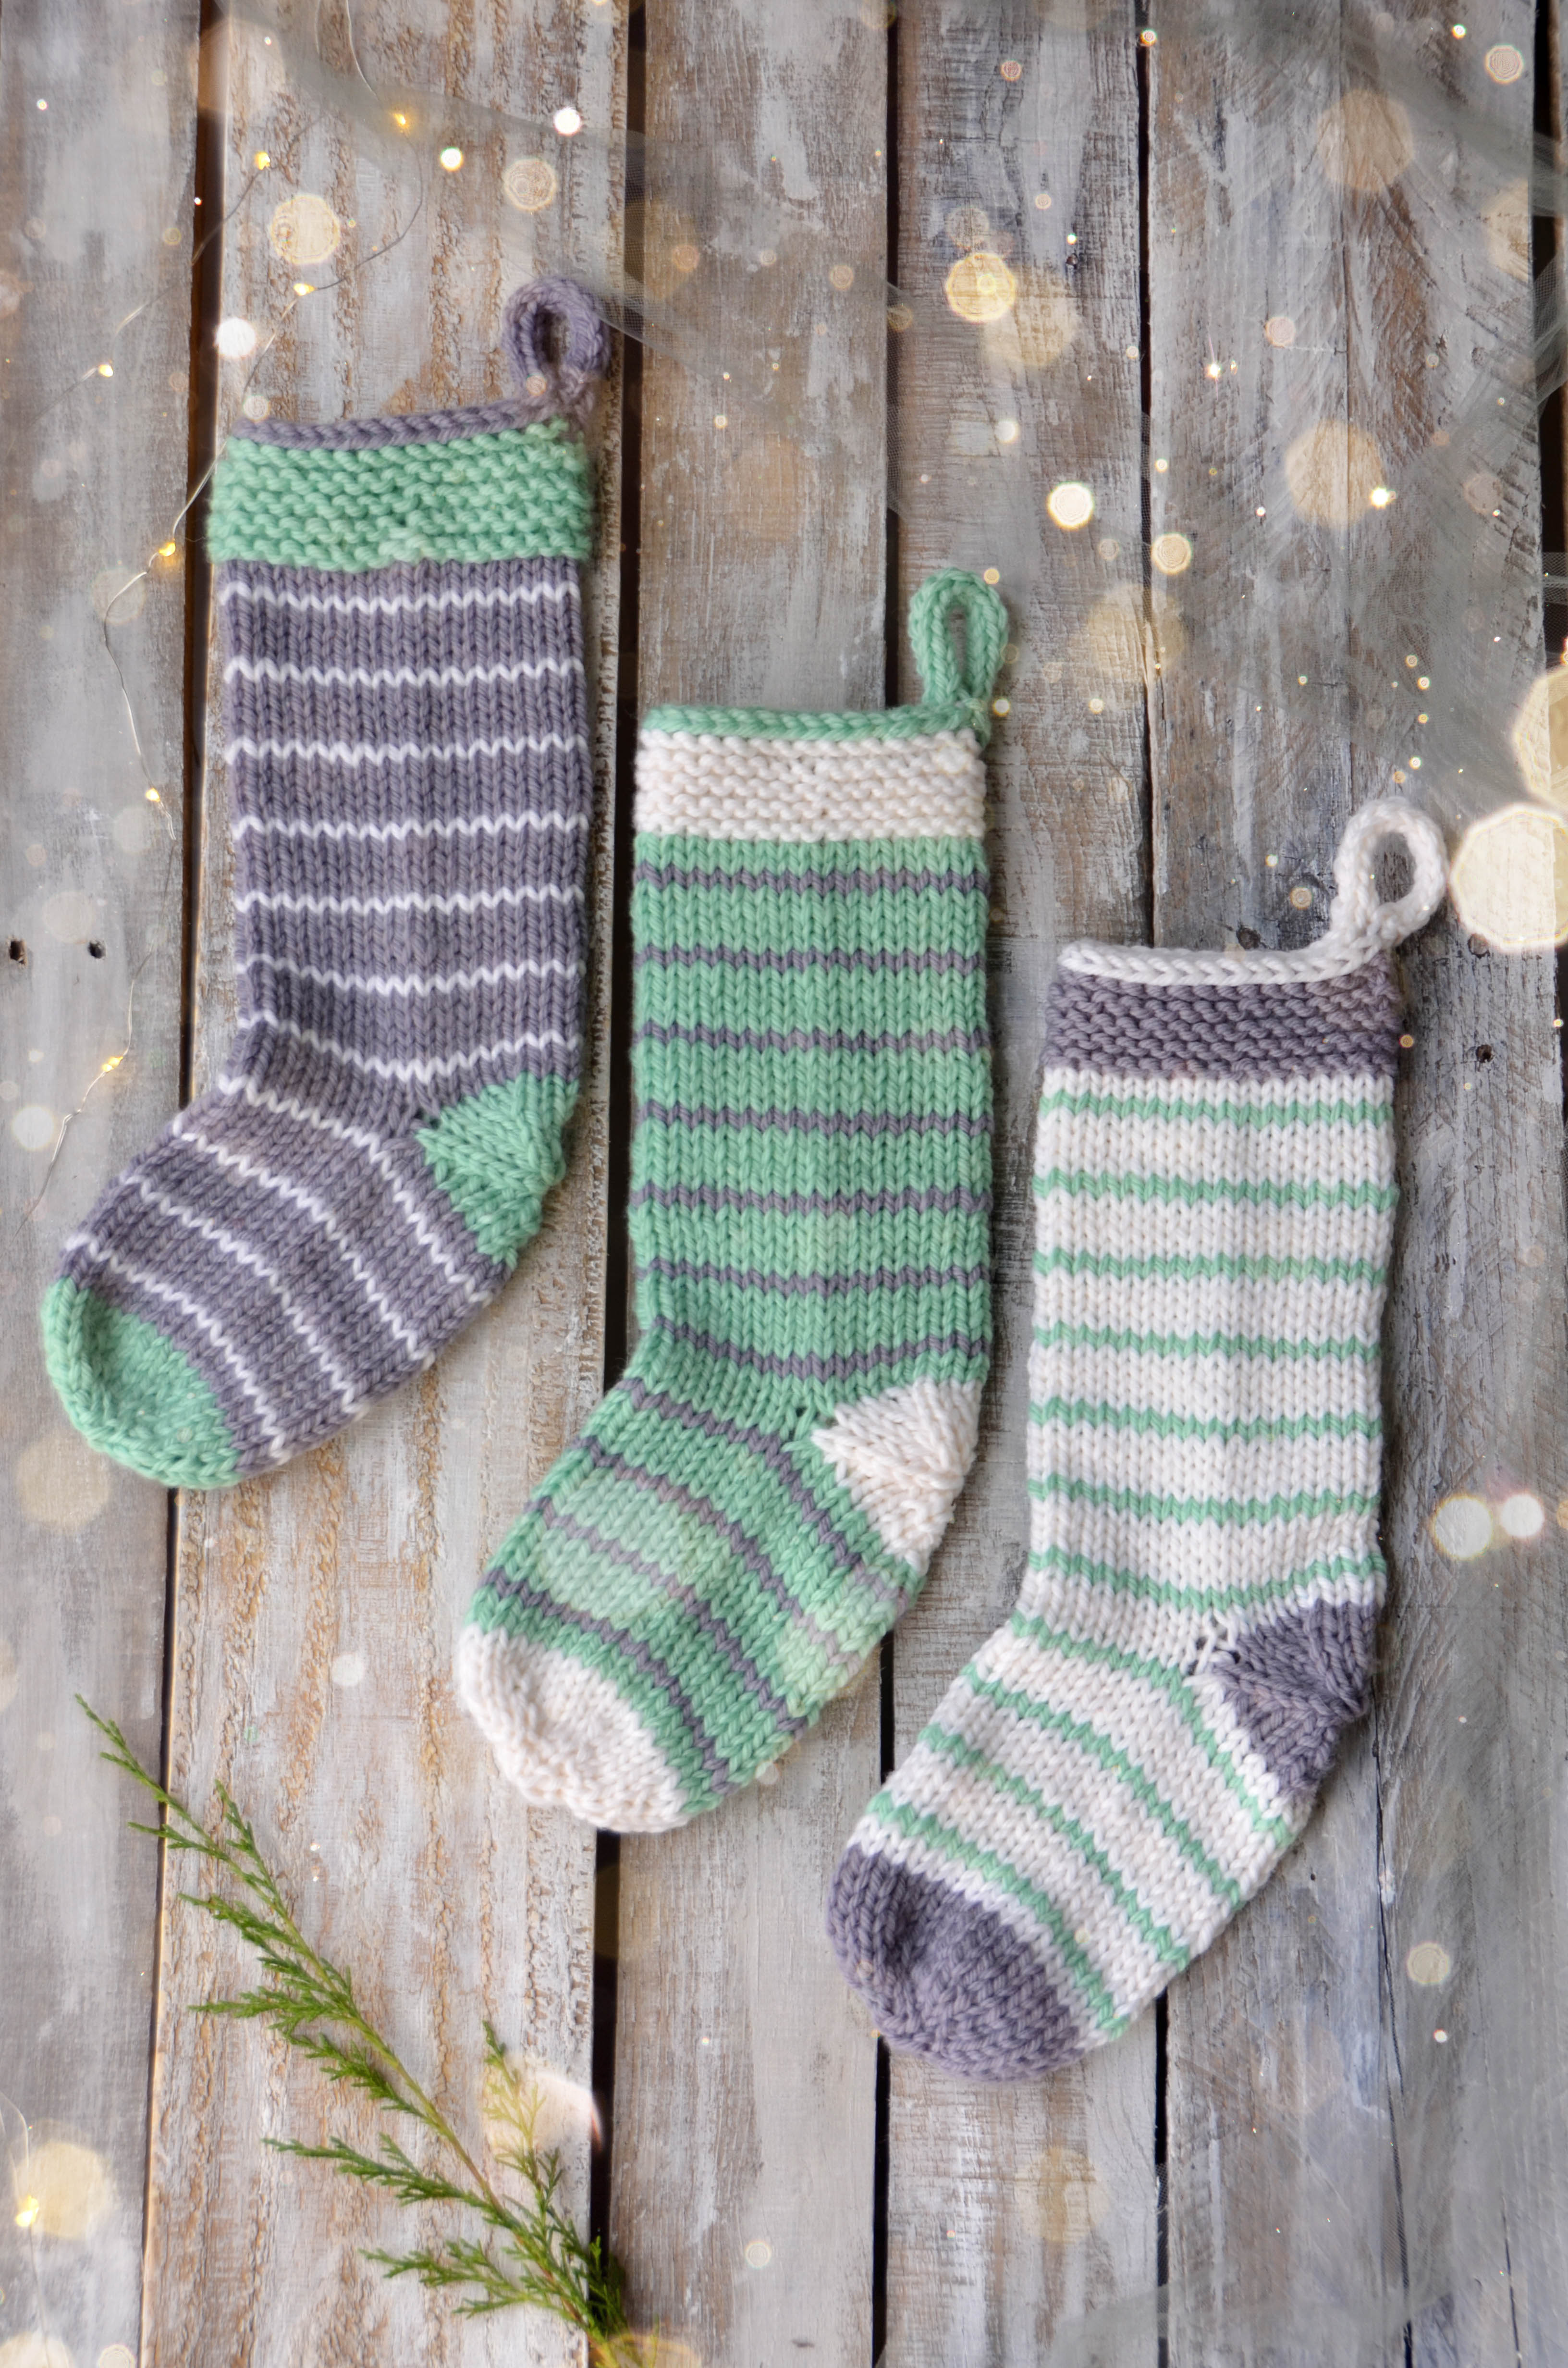
It’s hardly winter without stockings, amiright? Three balls of yarn make three stockings in the Stripe Stockings kit. Knit in Deluxe Bulky Superwash, these will virtually fly off your needles.
The knitting in these is relatively simple – mostly stockinette with a bit of garter and an i-cord bind-off. There are enough details to keep a seasoned knitter entertained, but are simple enough that they would also make a good first sock project.
One feature that I’d like to explain more in detail is the afterthought heel. Unlike the common short-row heel which is knit as the rest of your sock is knit, an afterthought heel is added later after the rest of the sock is complete. There are various reasons for choosing this type of heel. My reasoning for doing so in this project was both to keep my stripe sequence uninterrupted and also to make the most of my yarn.
Grab your needles and yarn and let’s get to learning!
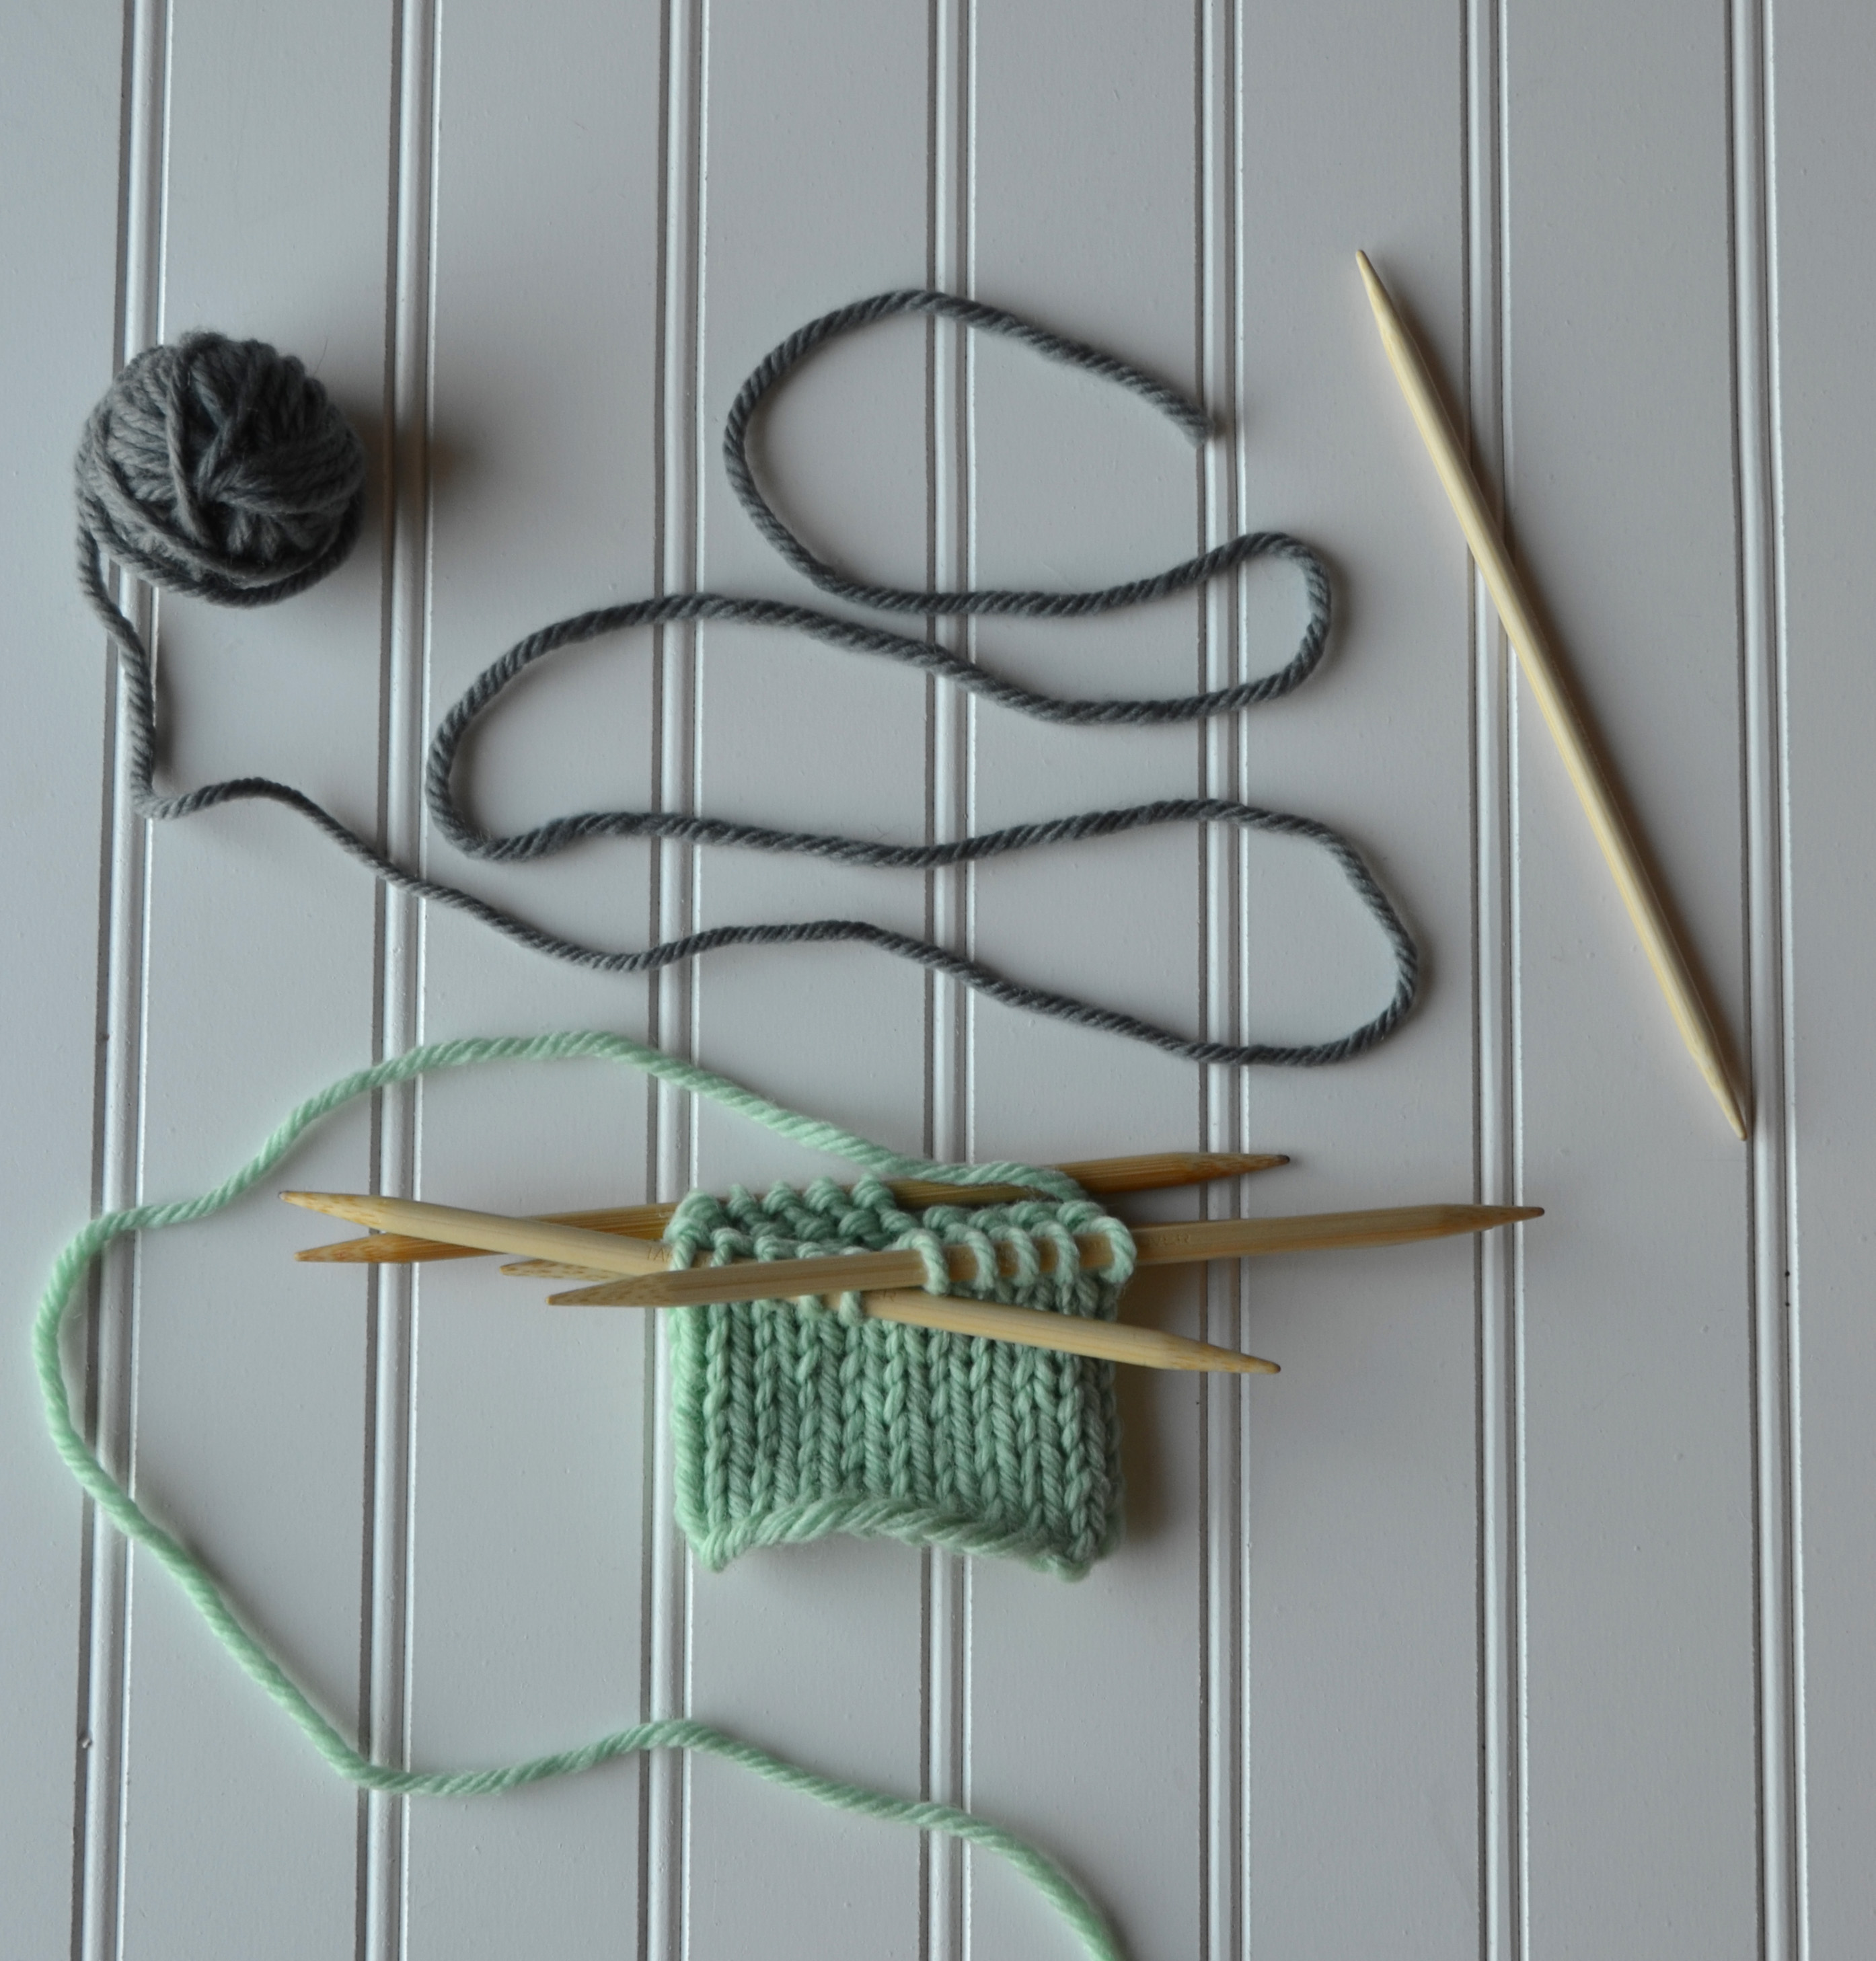
First, knit a stockinette swatch. I am knitting my swatch in the round just like the stockings, but this technique can just as easily be done worked flat in rows.
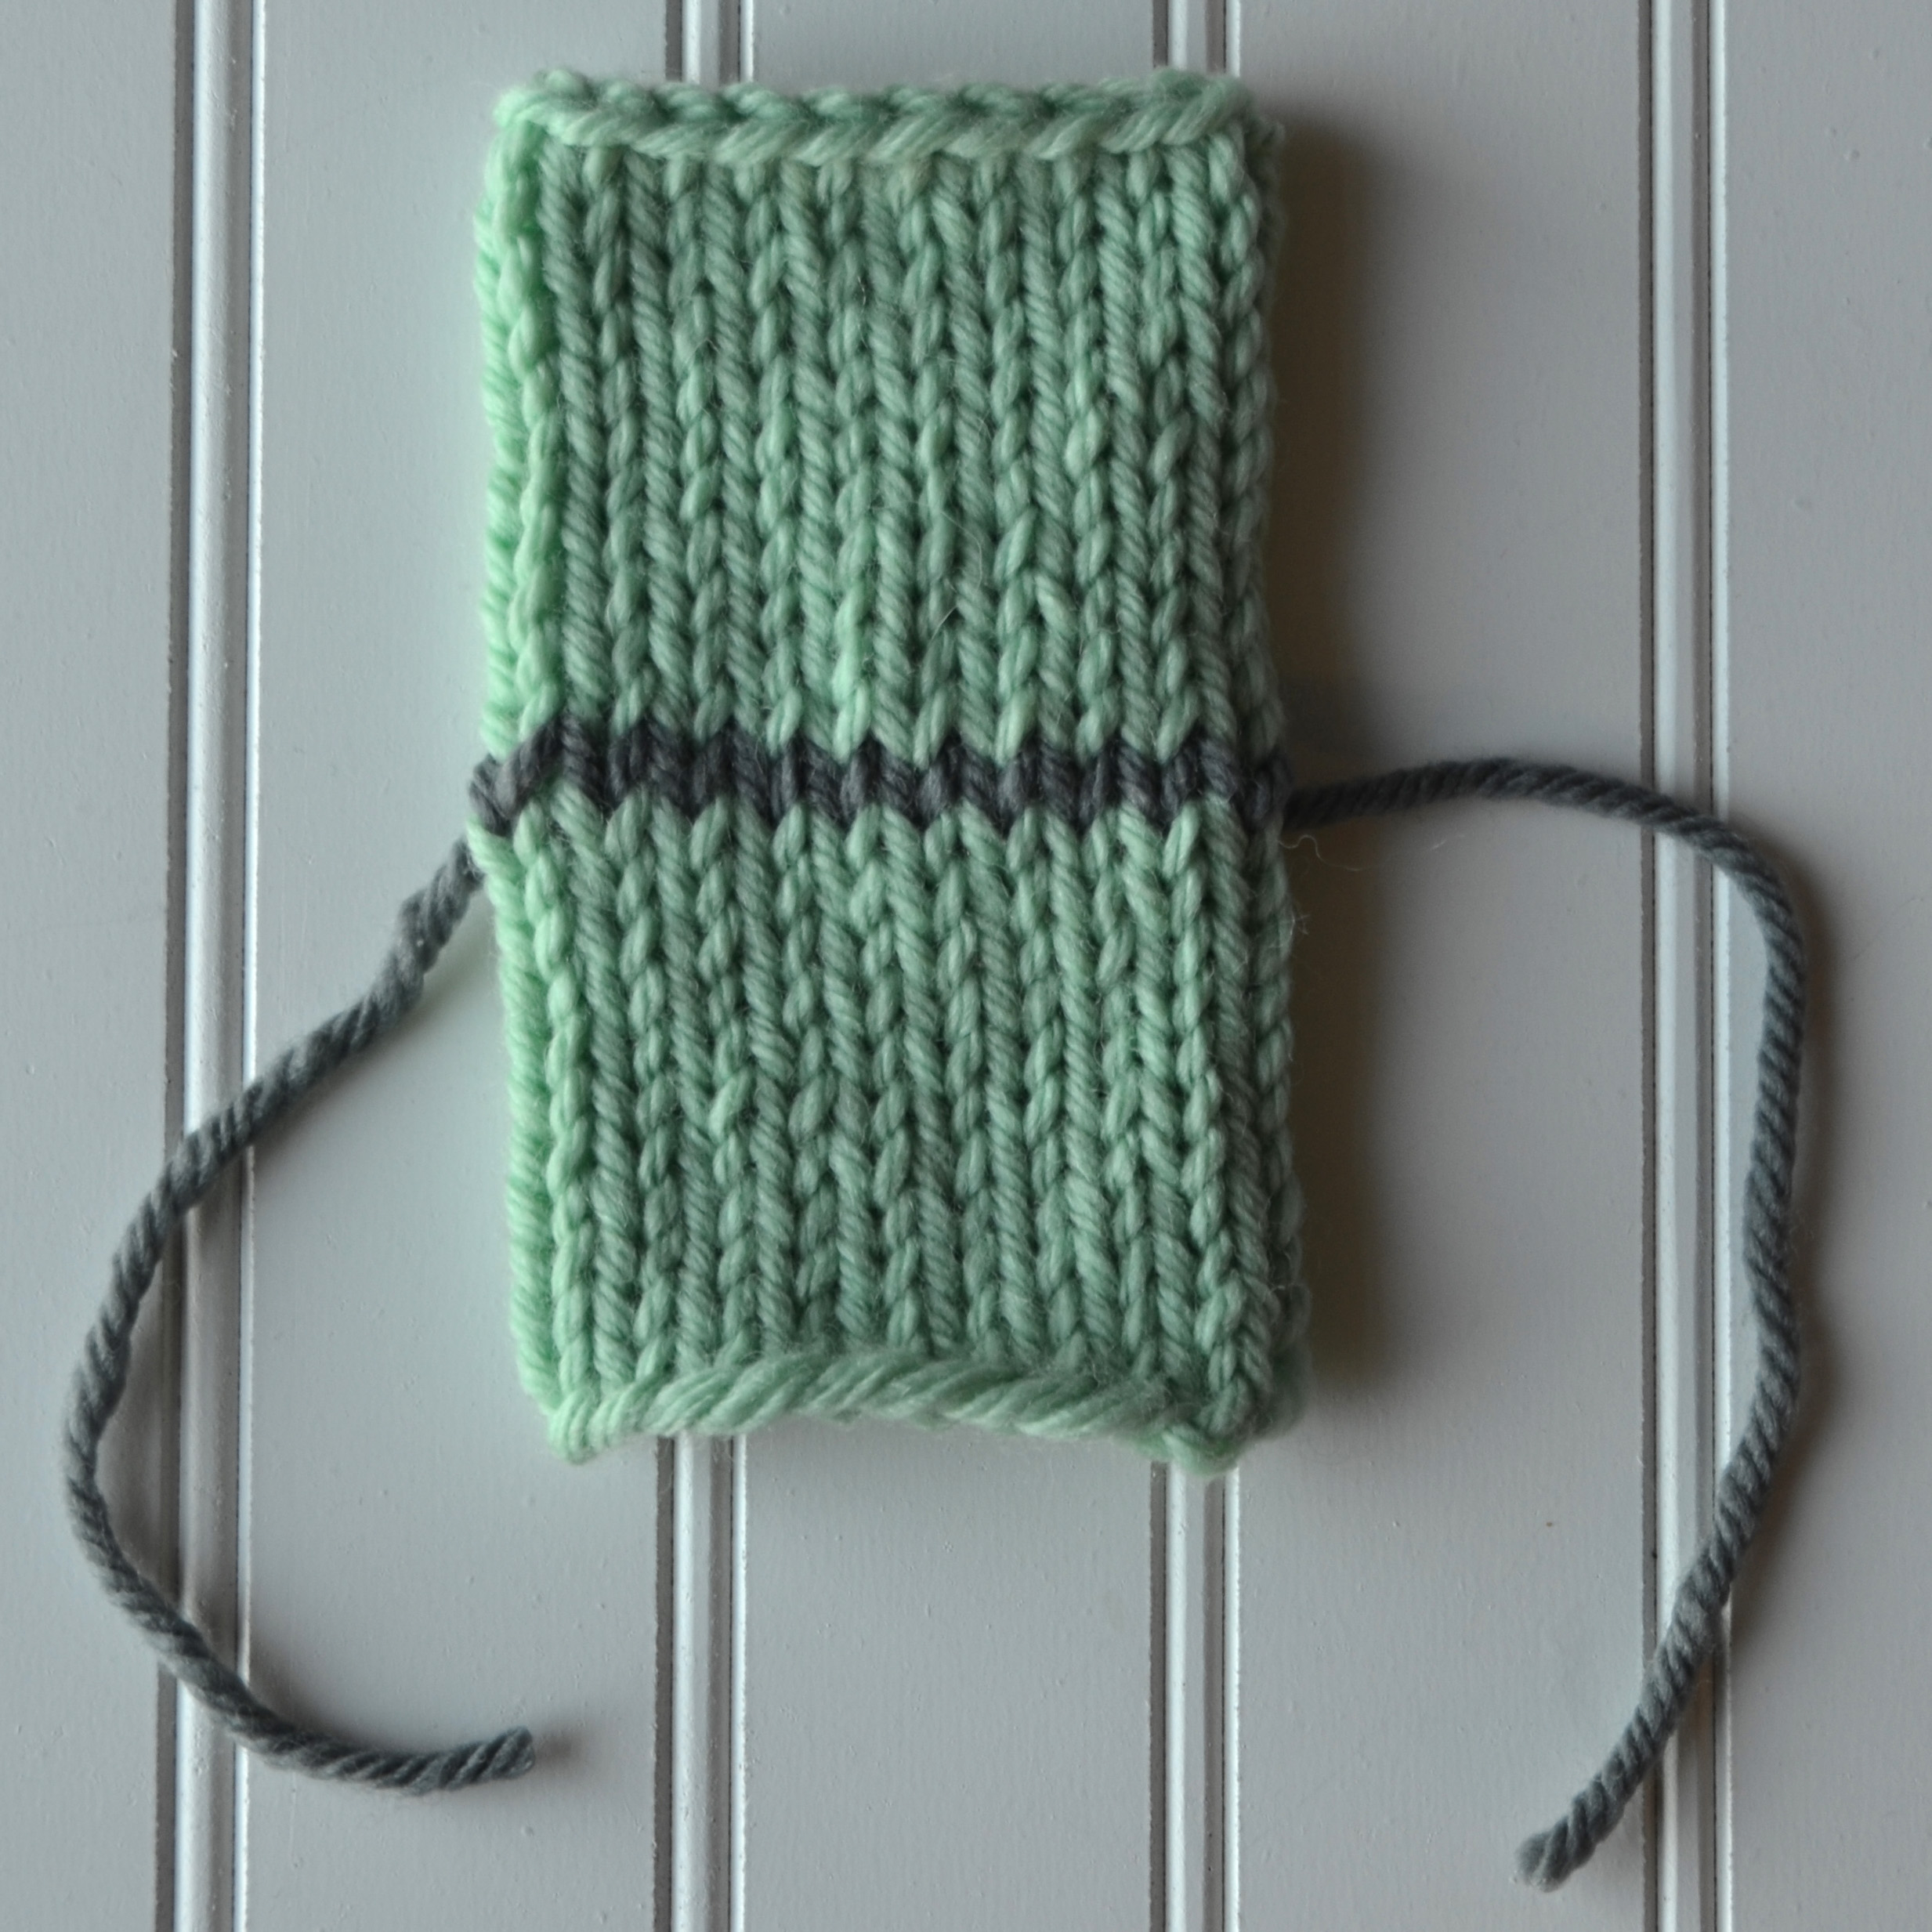
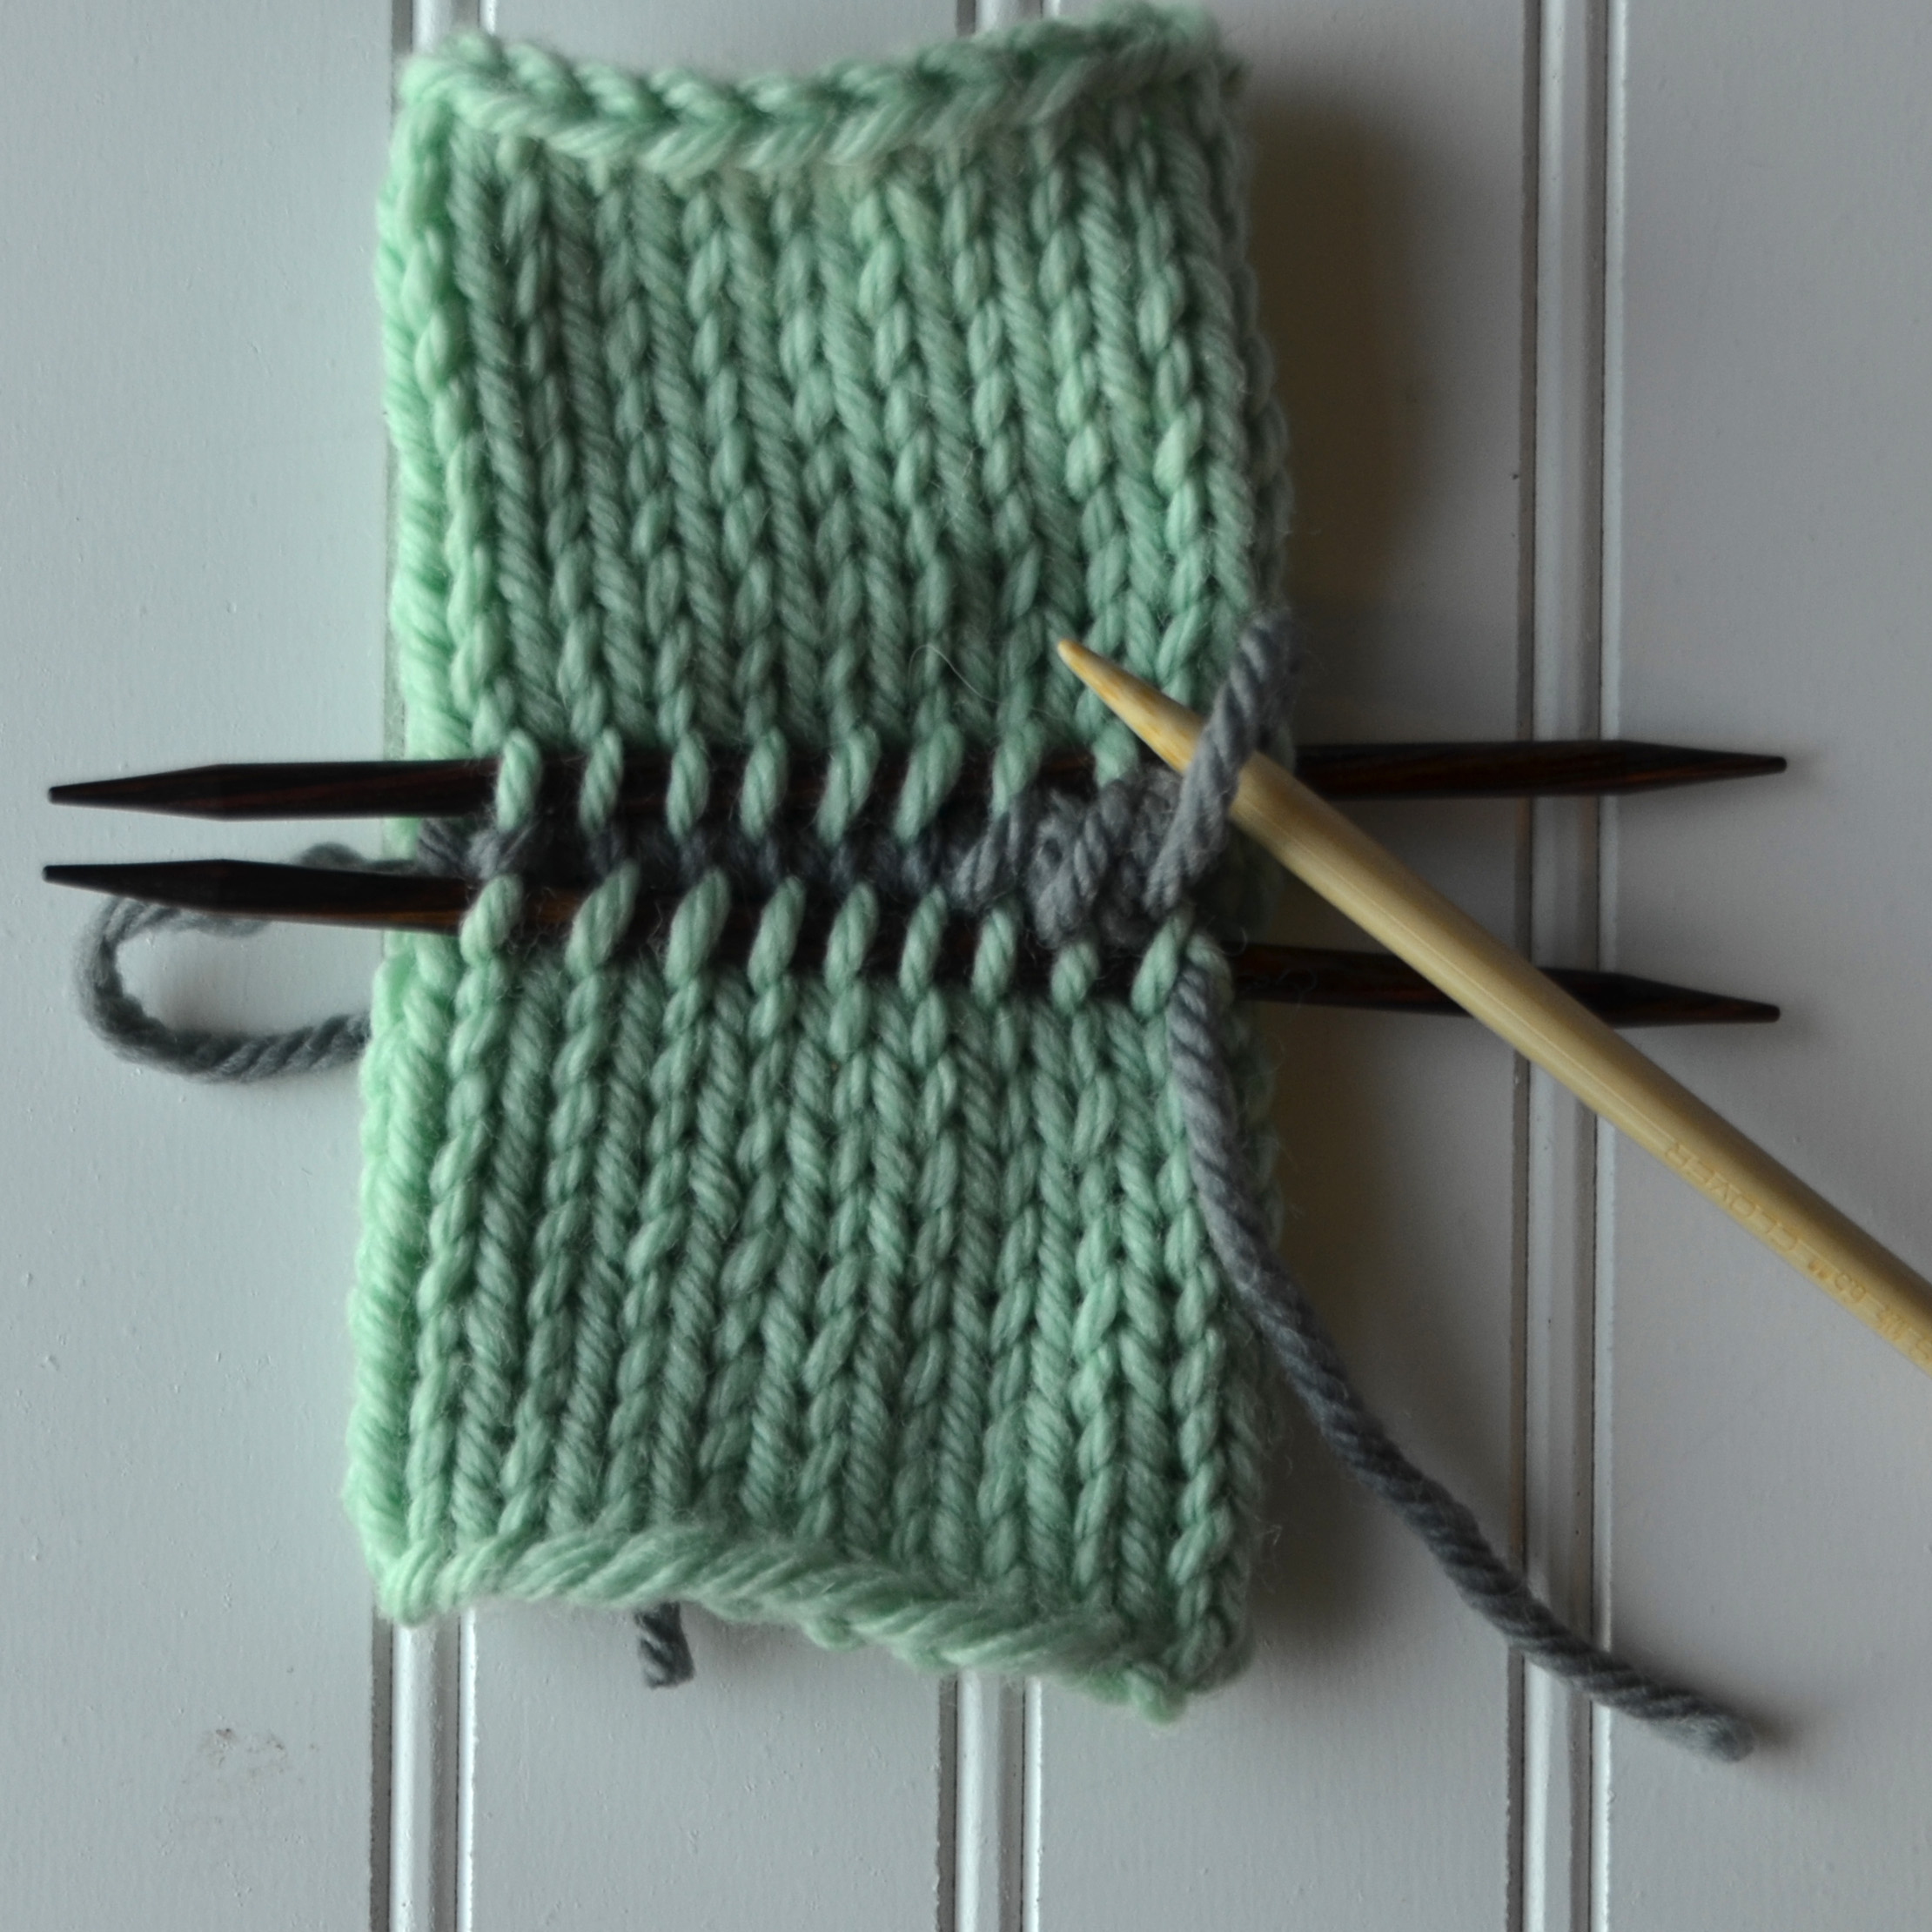
Next, get ready with your waste yarn. This waste yarn is temporarily going to hold the place of where your heel will eventually be.
Leaving your working (green) yarn where it is, knit across the heel stitches with the waste yarn. Your pattern will specify how many stitches this is. Typically, it is half of the total sock stitches.
Continue to knit the rest of the sock/swatch. Knit across the waste yarn stitches and on around.
Bind off your swatch.
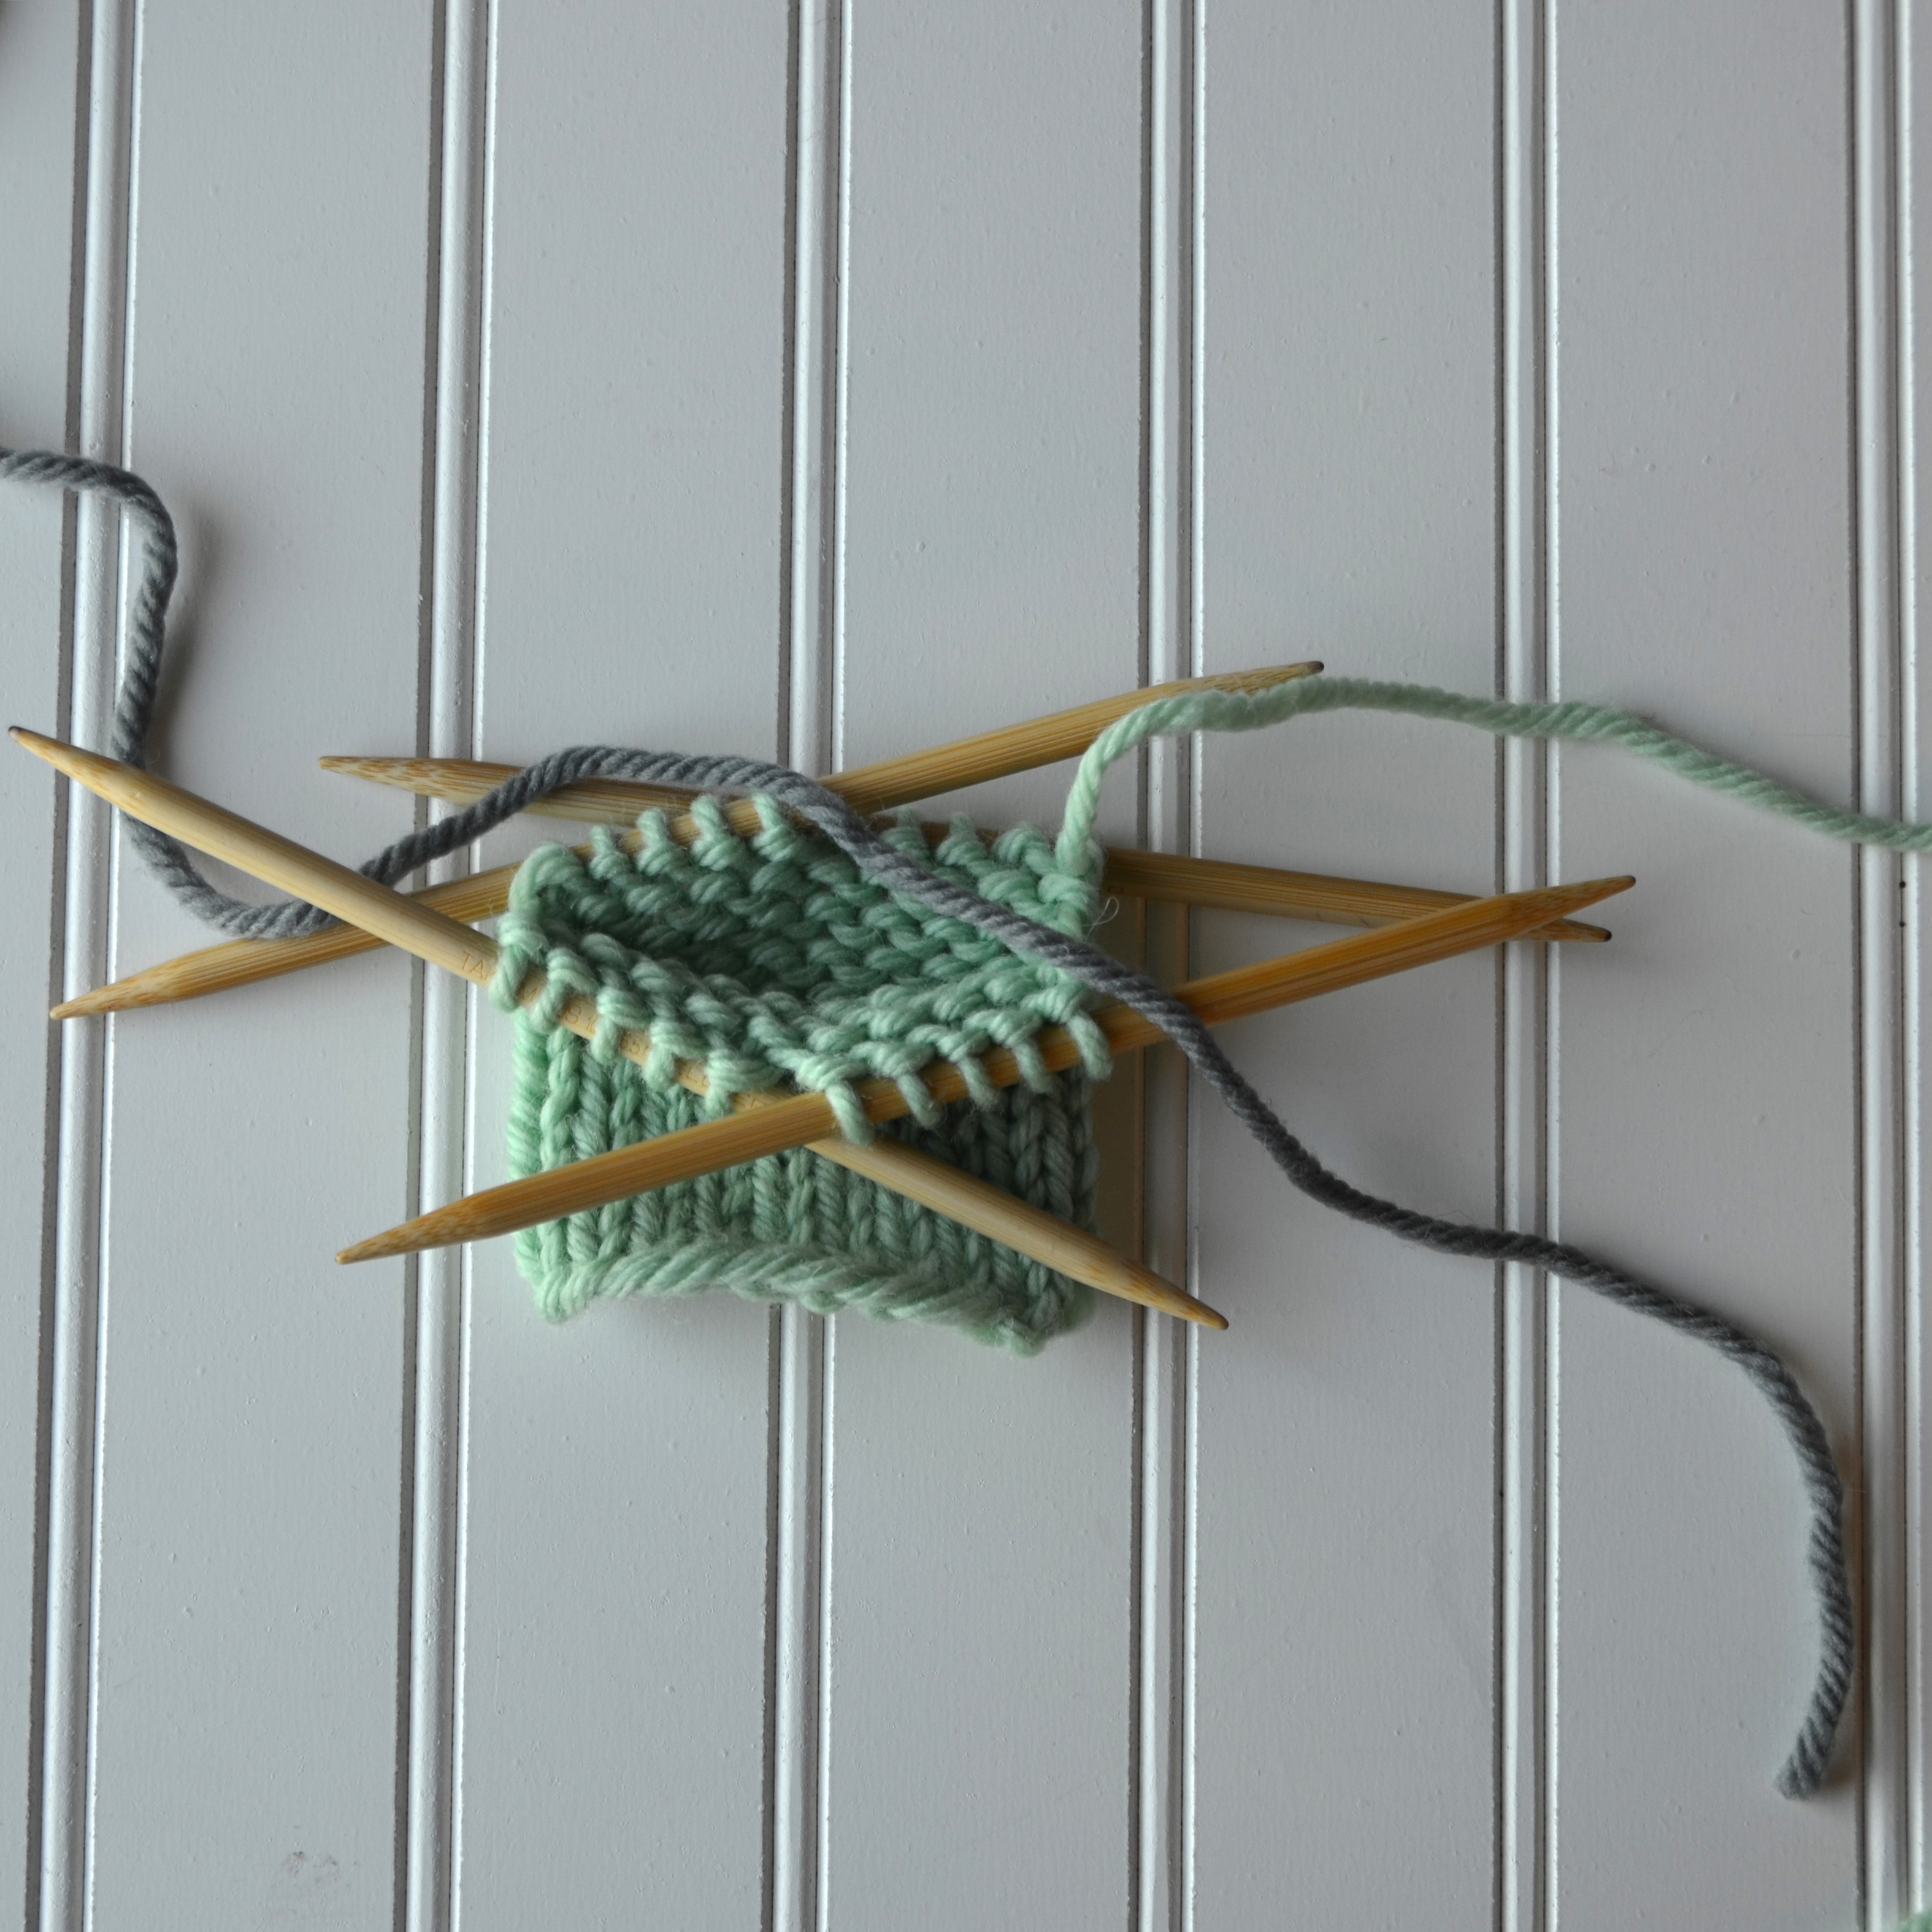
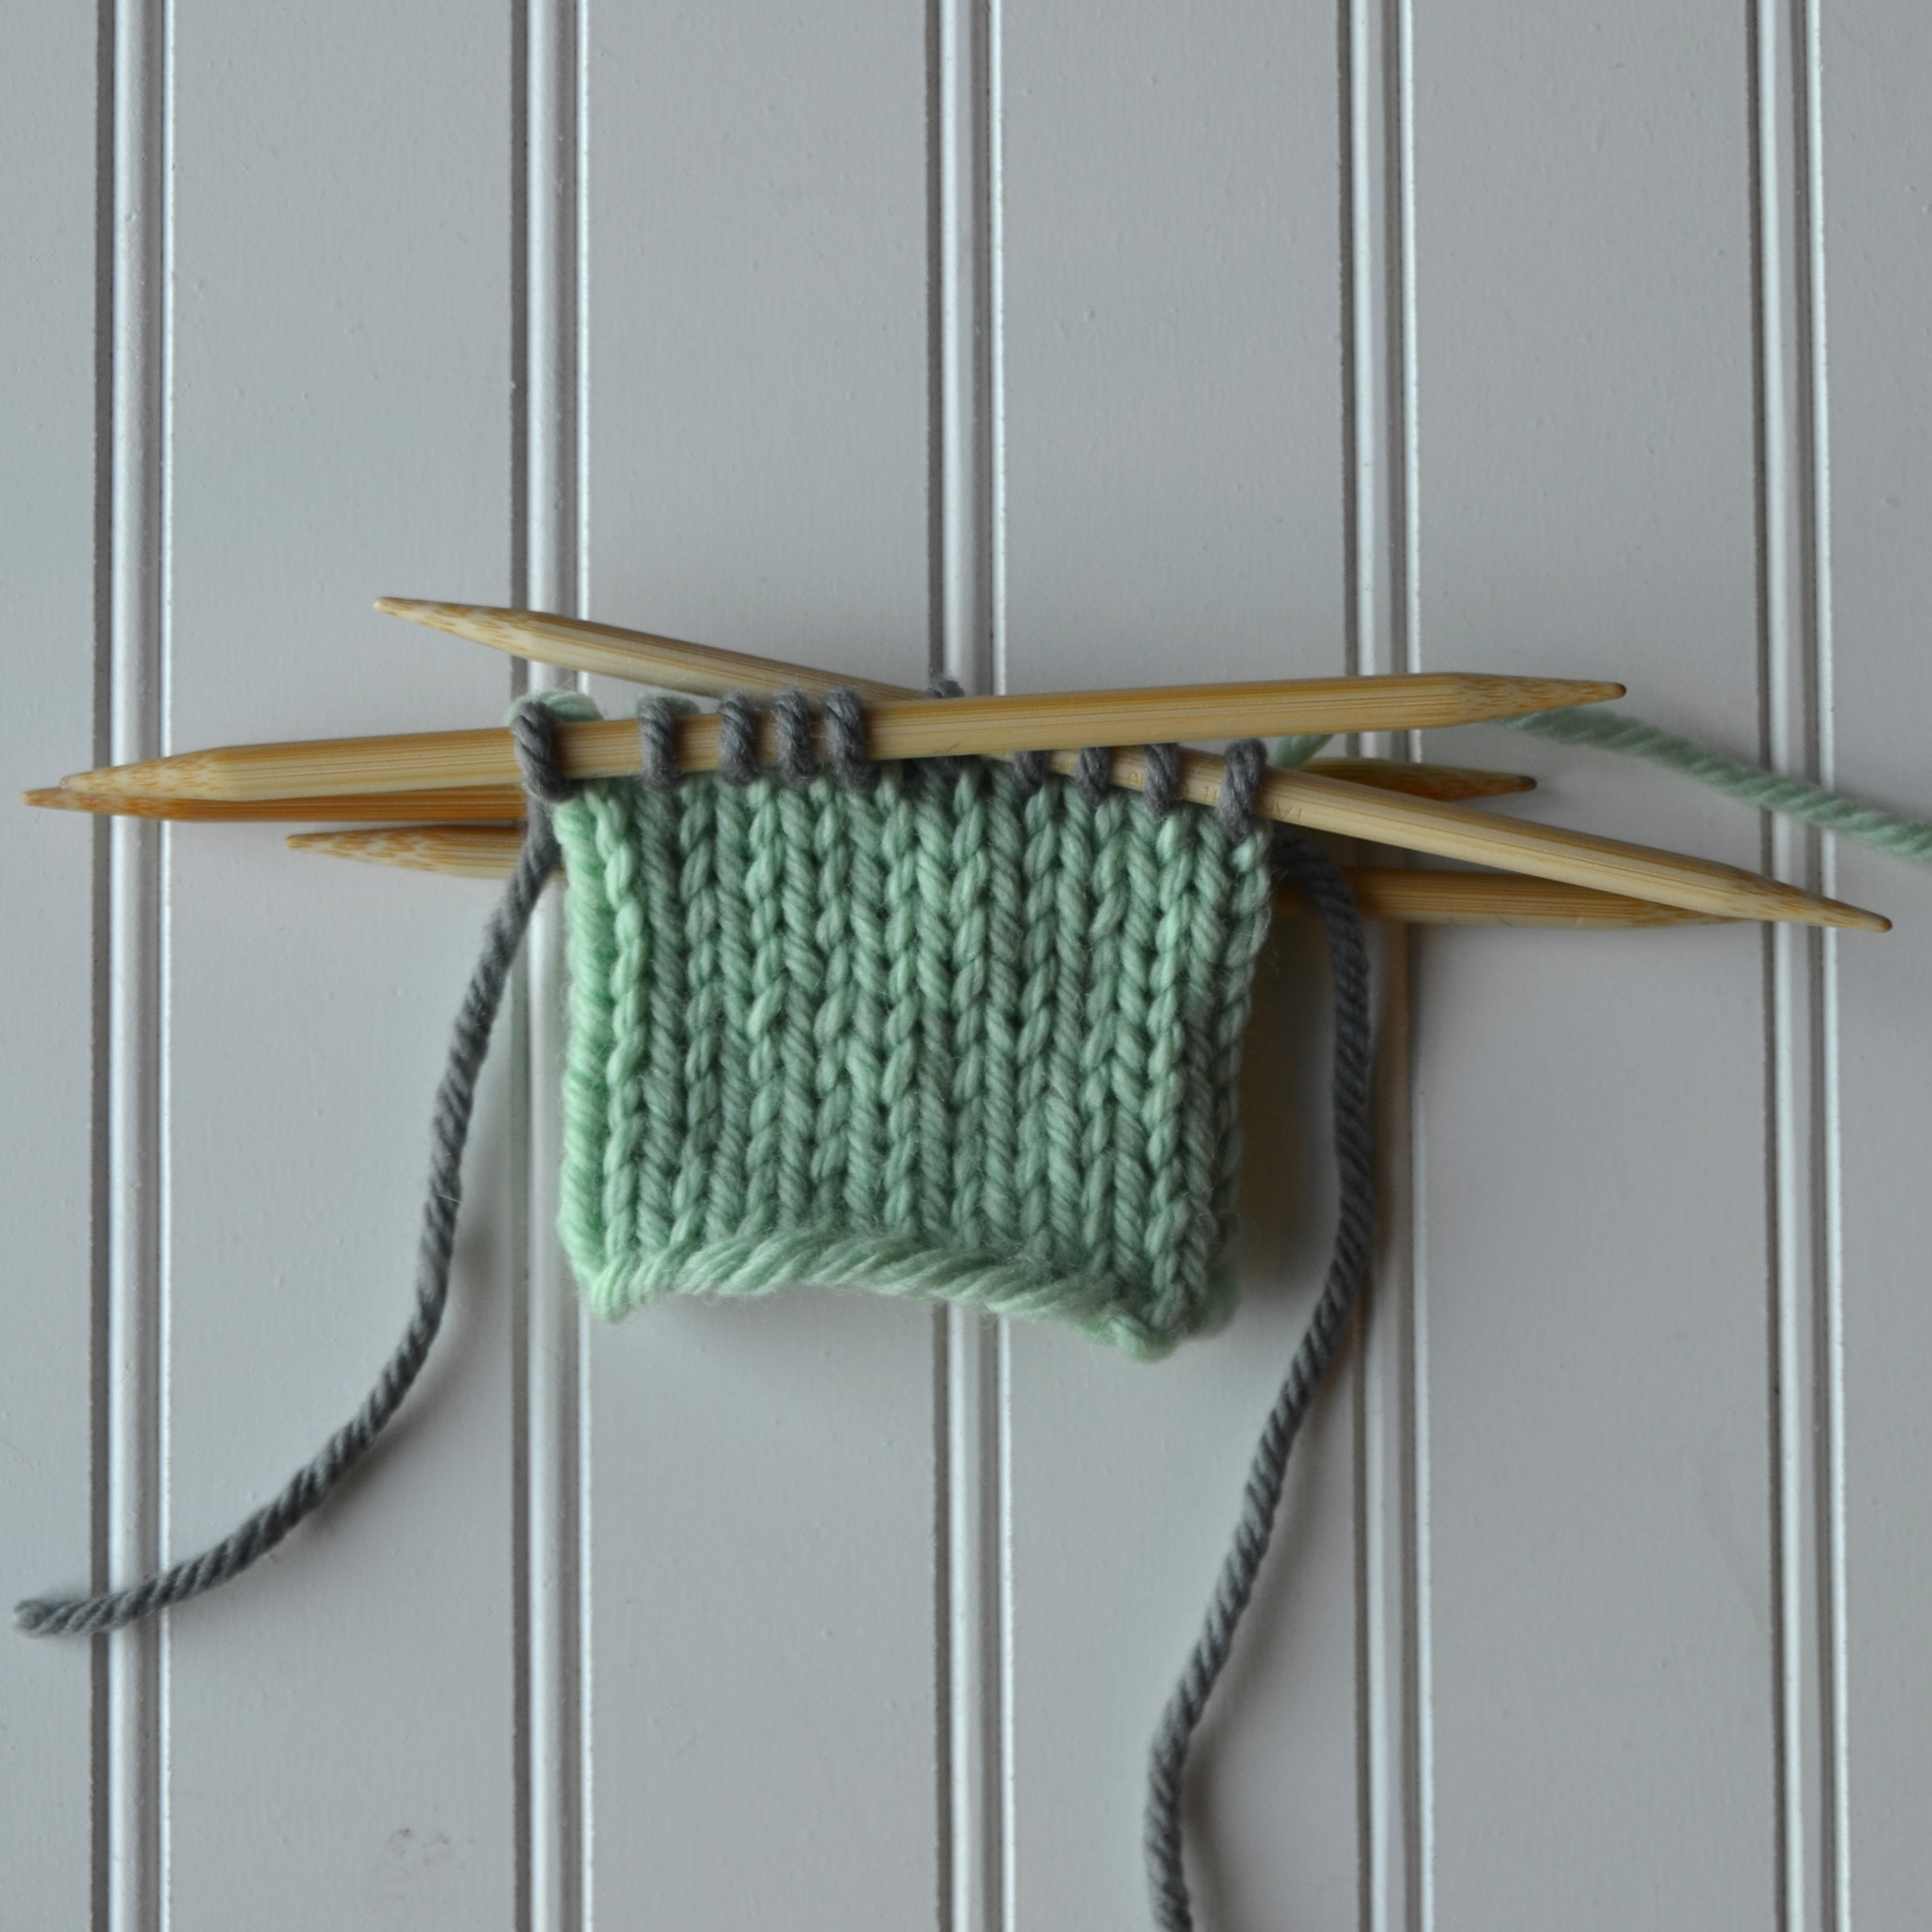
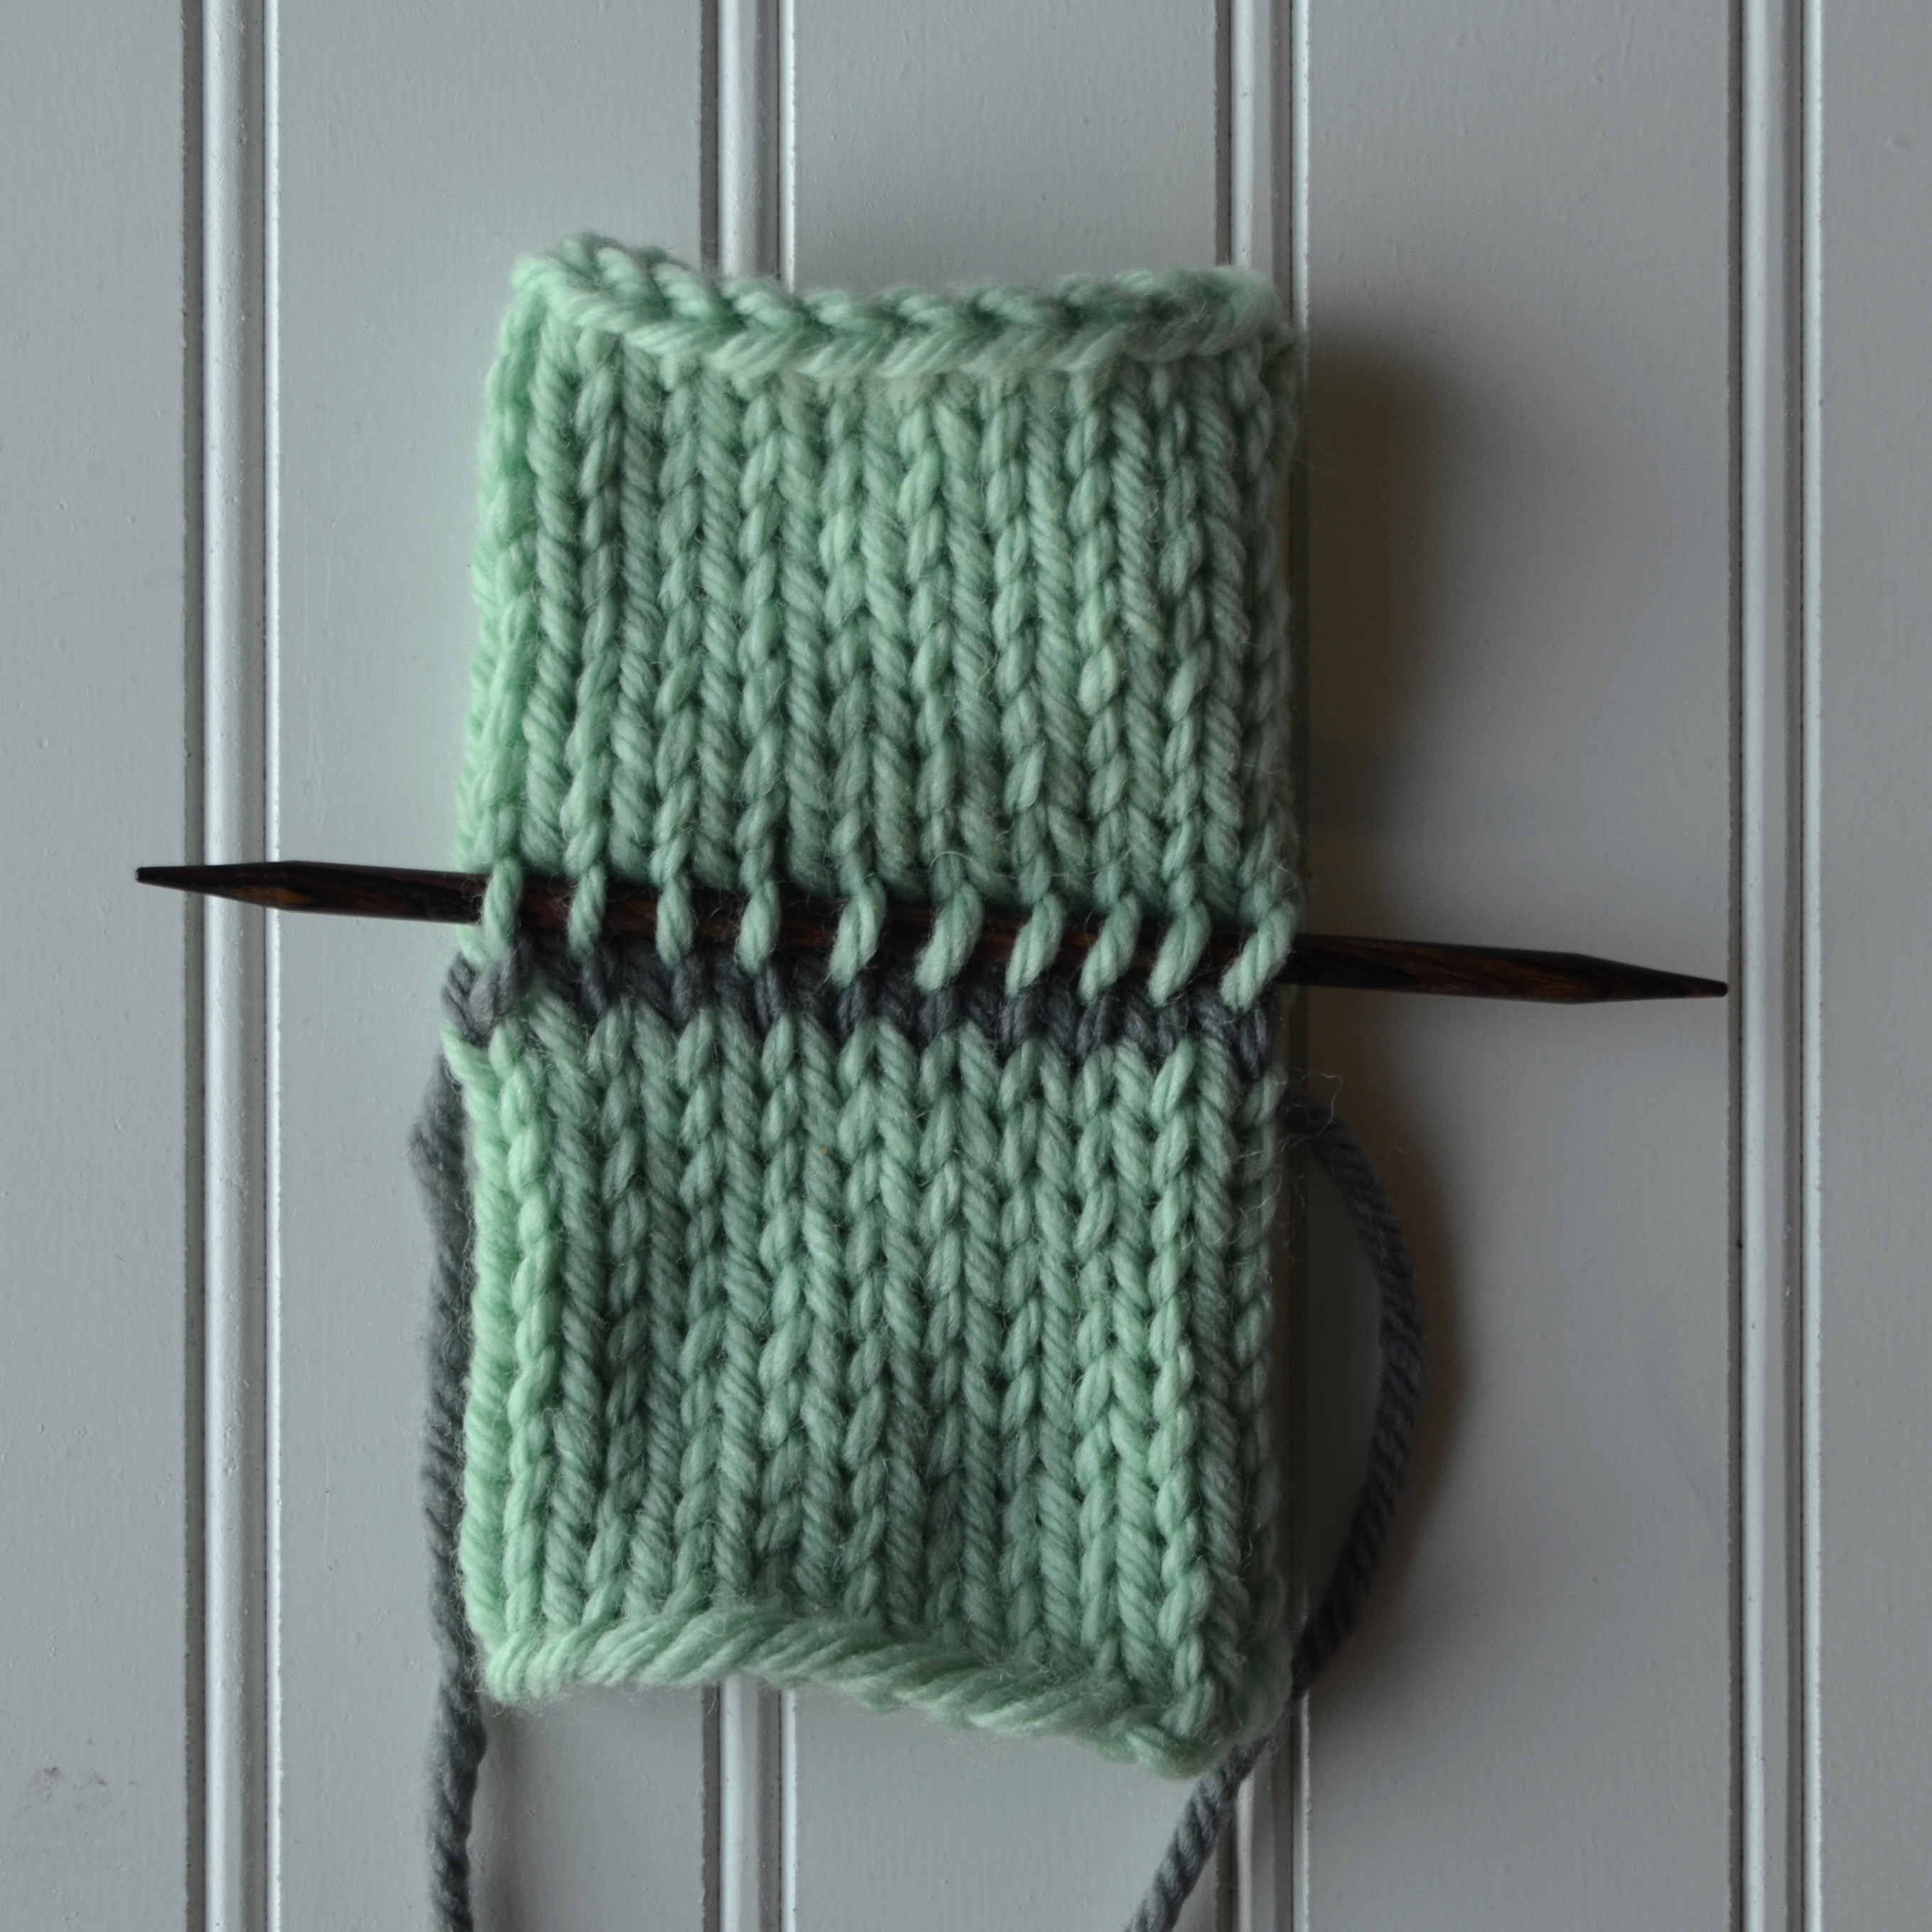
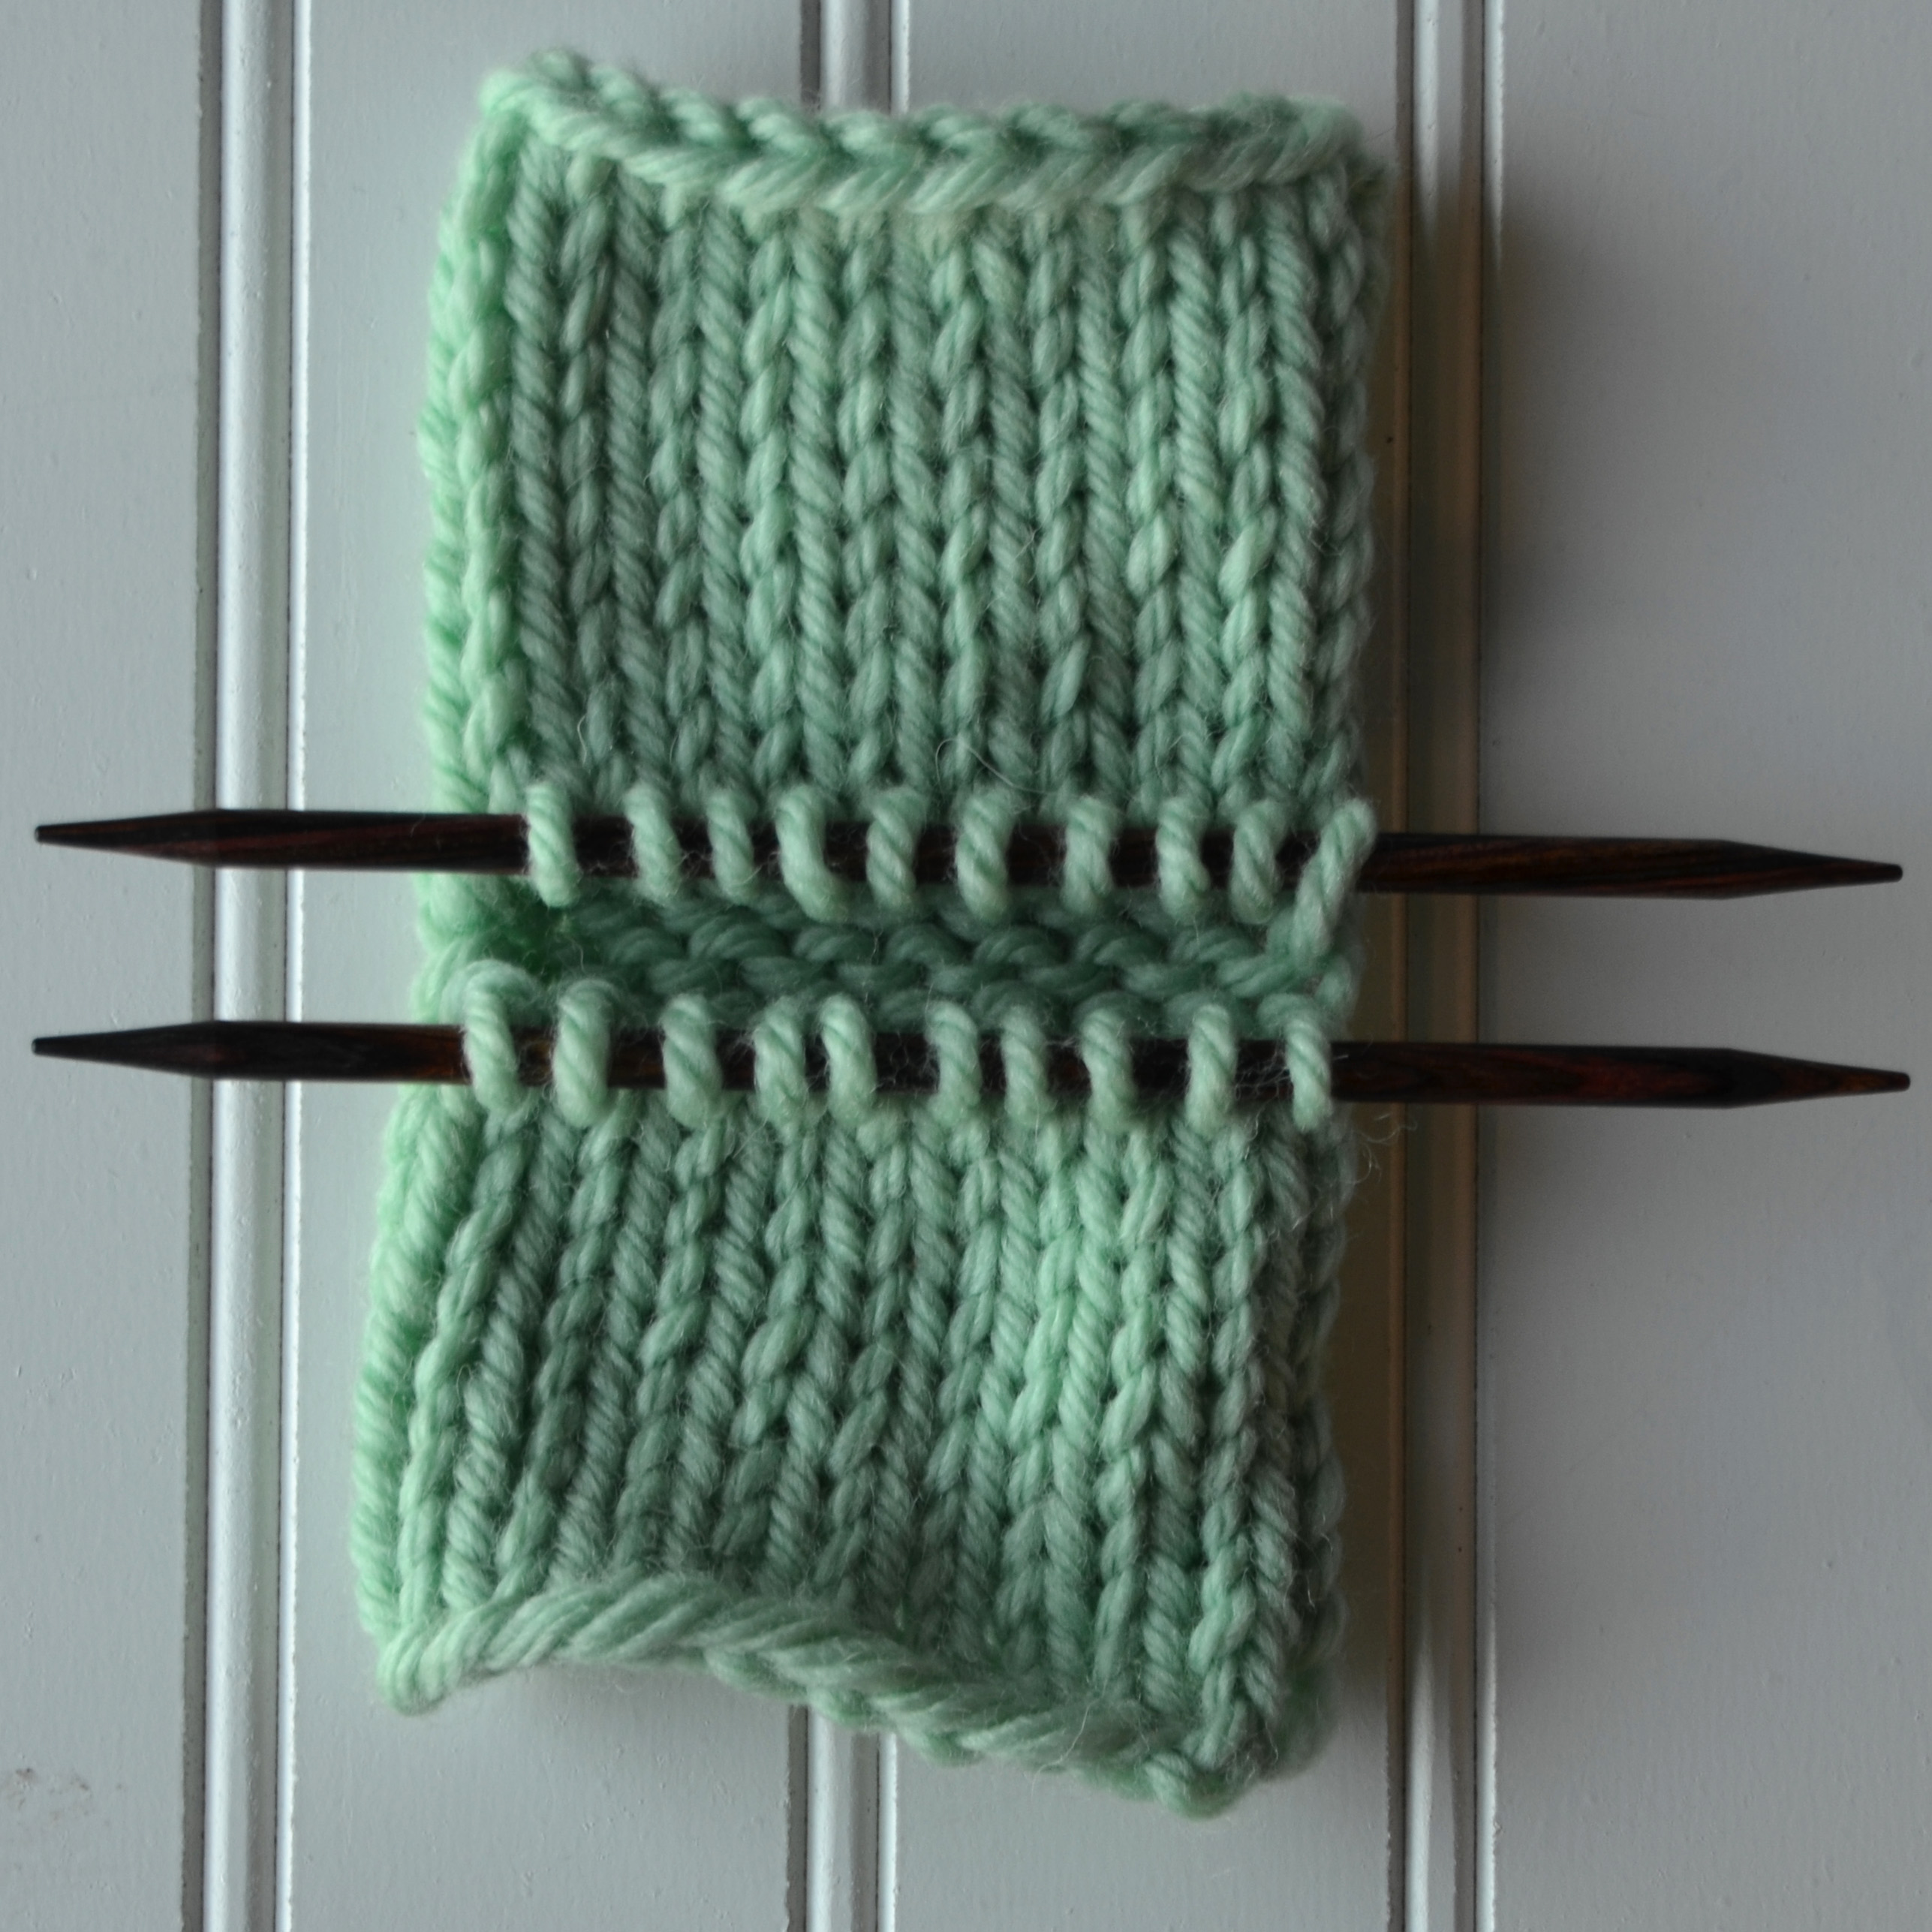
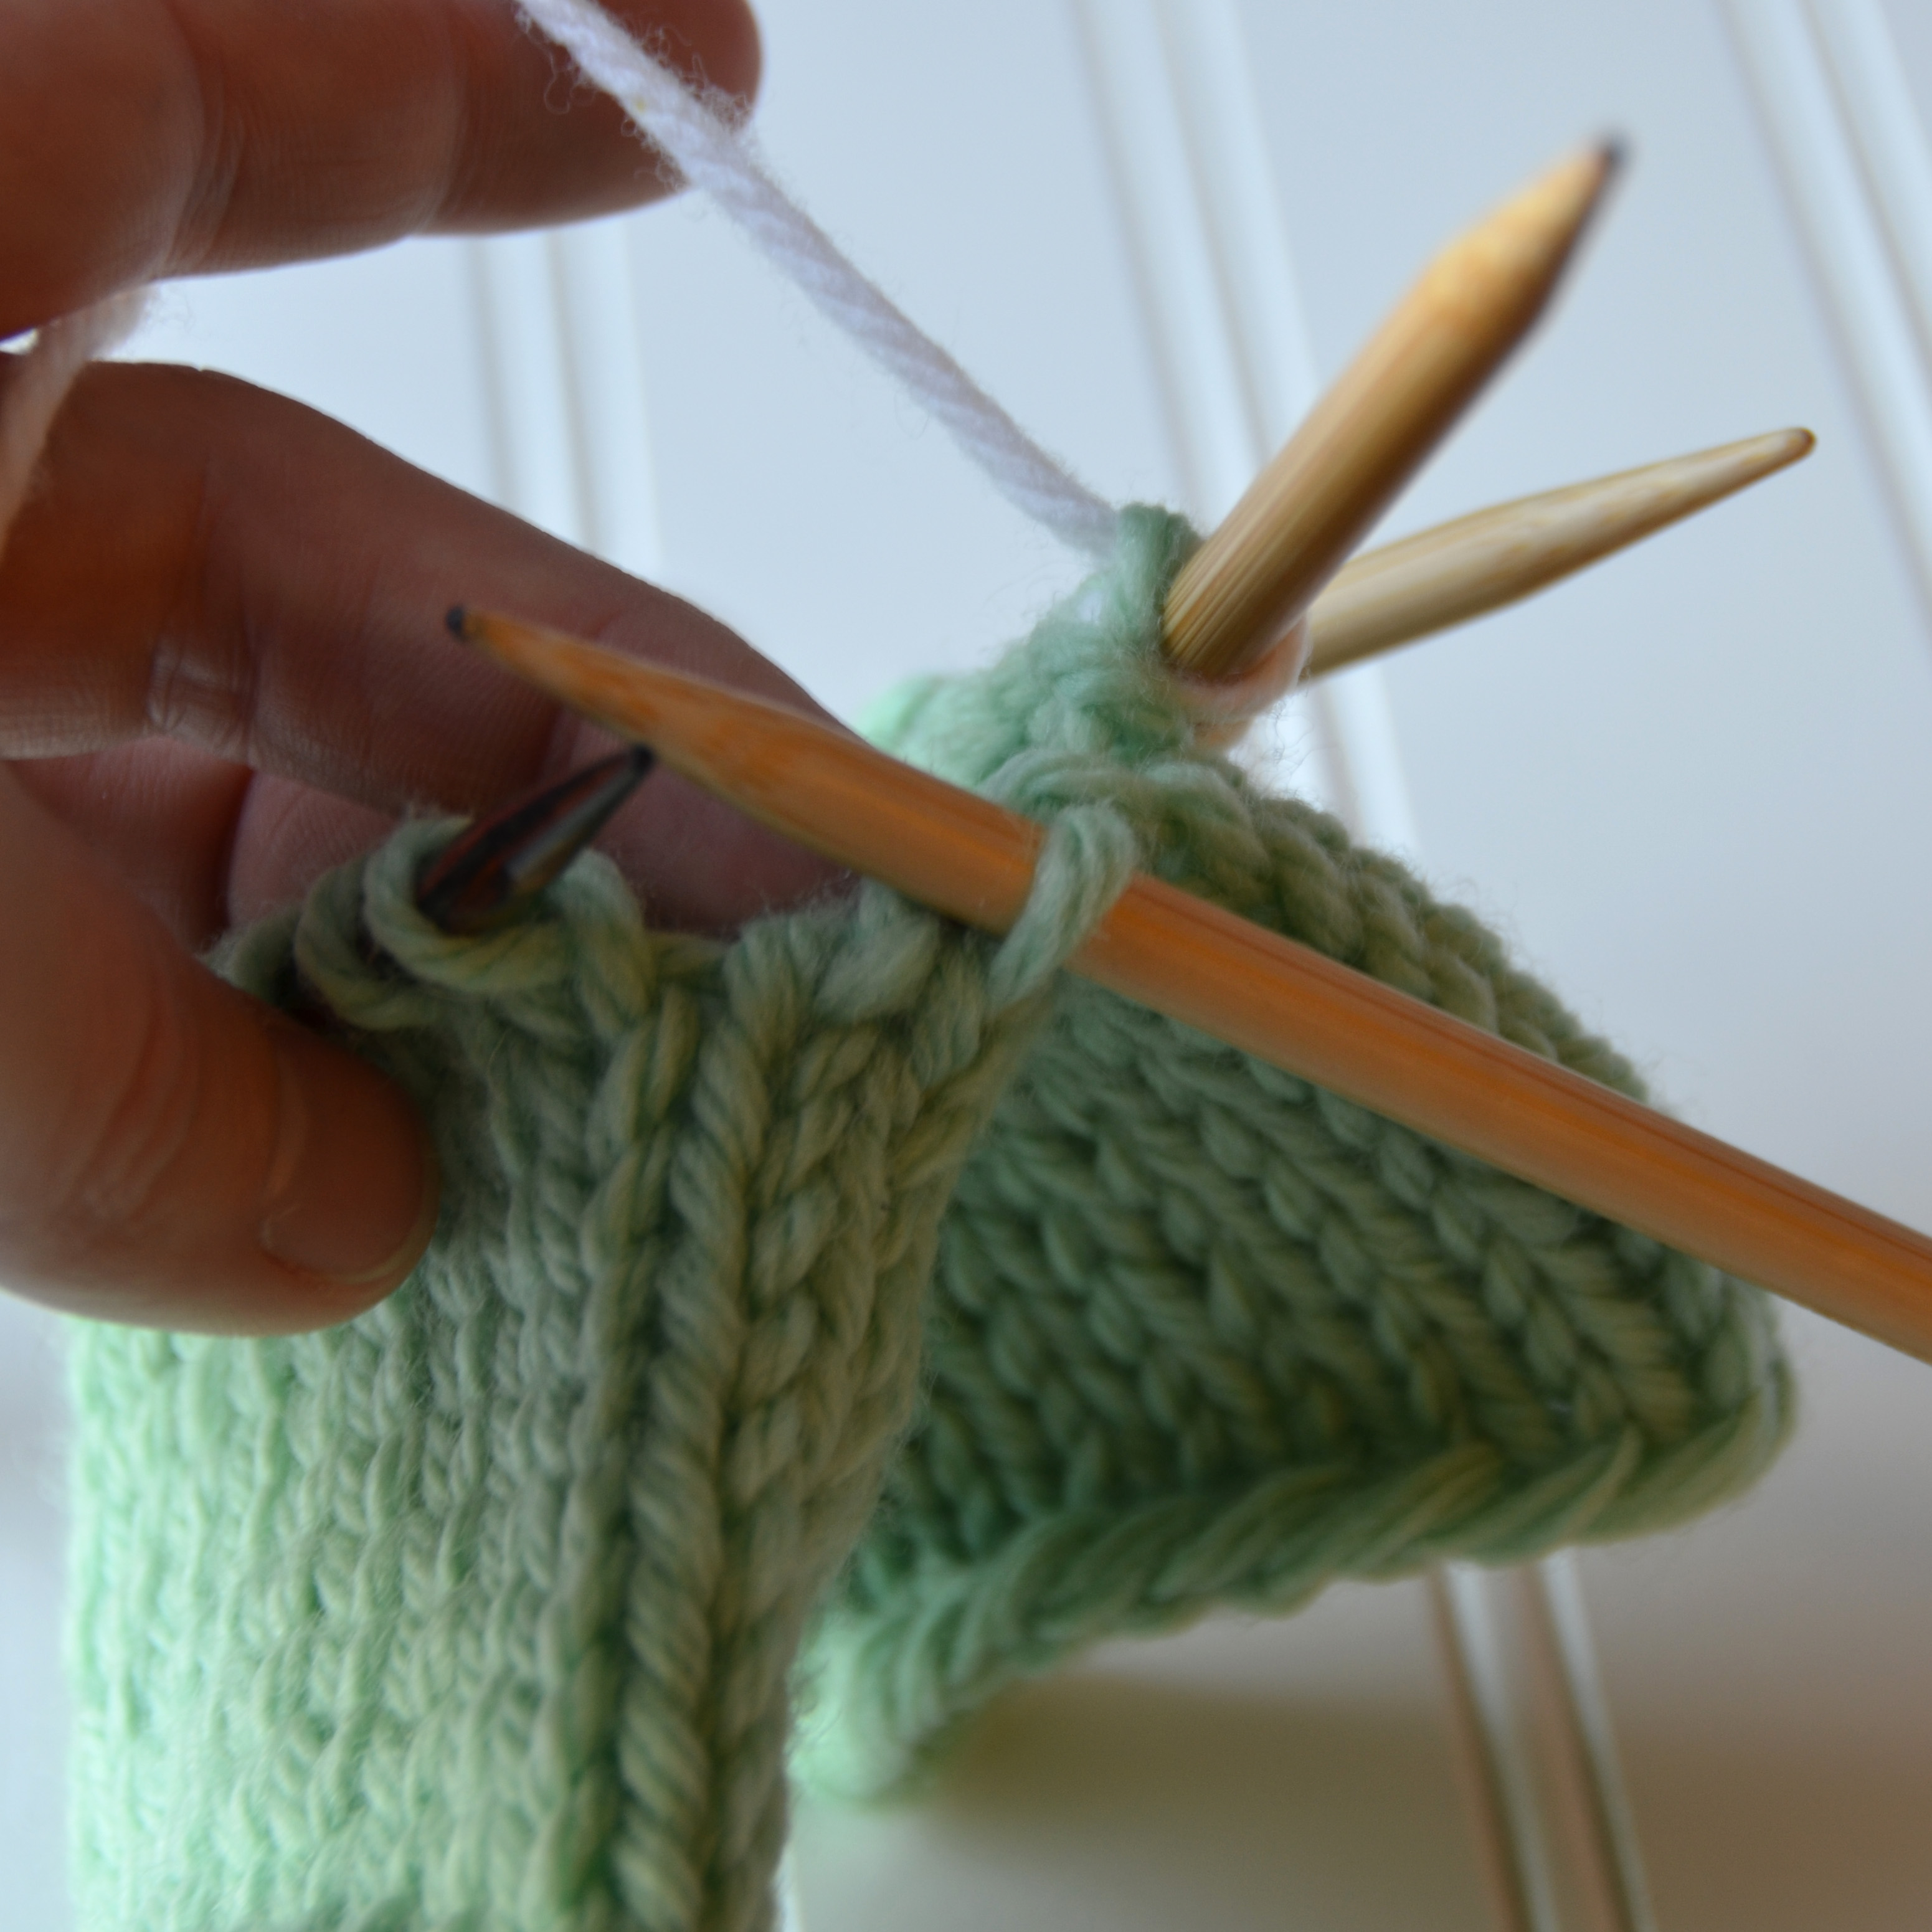
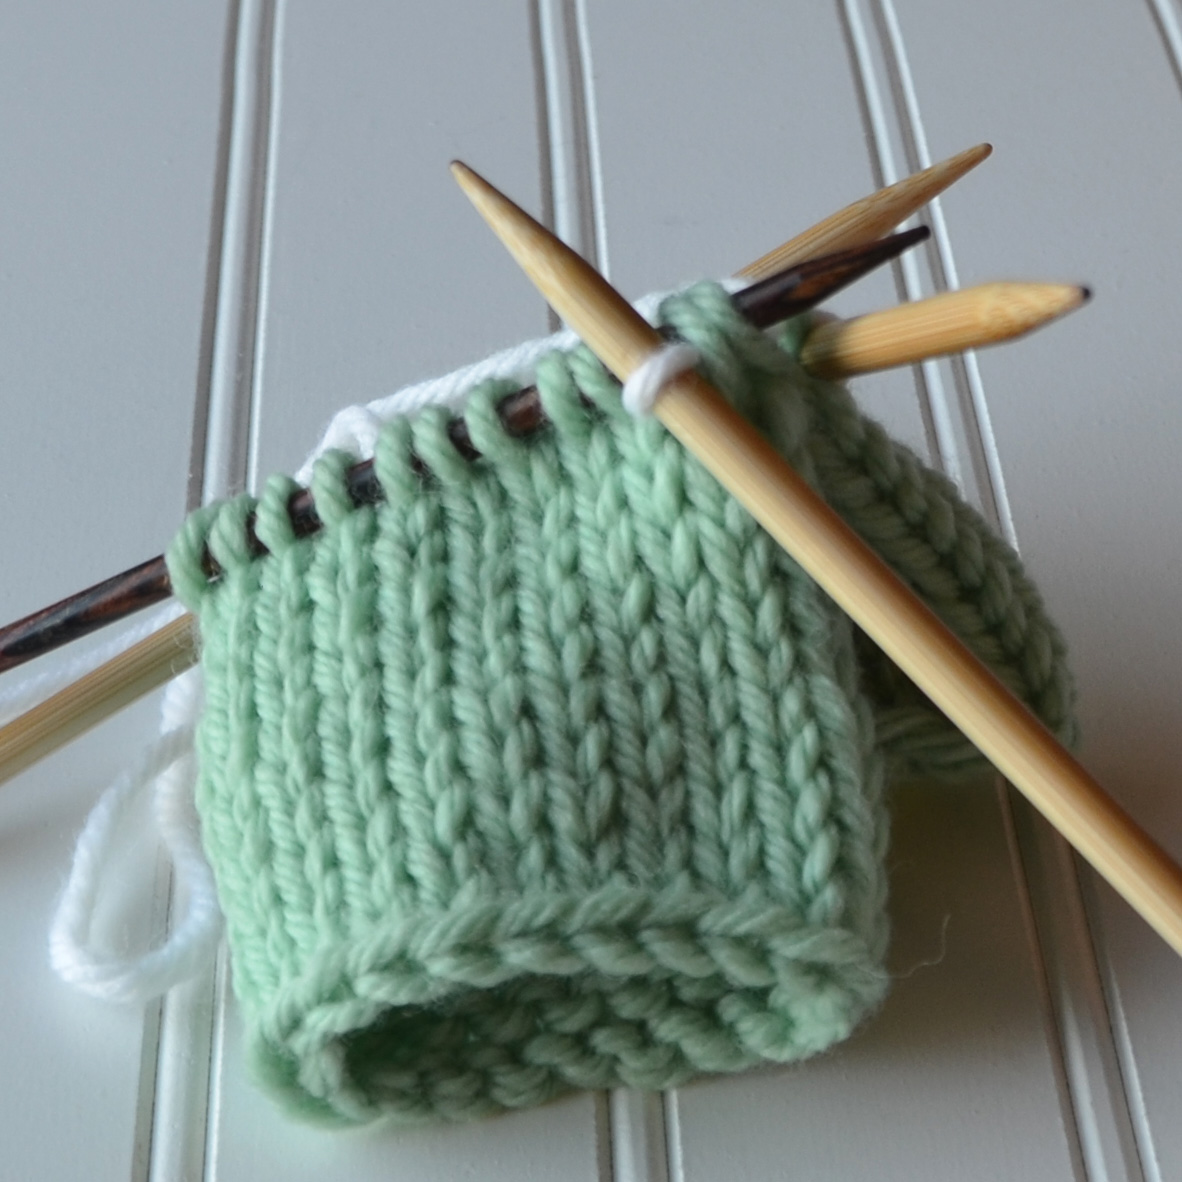
Next, we’re going to place the stitches from the row above and also the row below onto separate needles. I like to use a smaller needle for this step. Pick up stitches with the tip of your needle, going through the front leg of each stitch. By doing this, the stitches will be oriented correctly when you go to knit the first round.
My 10 stitches from the row above the waste yarn are now on a needle.
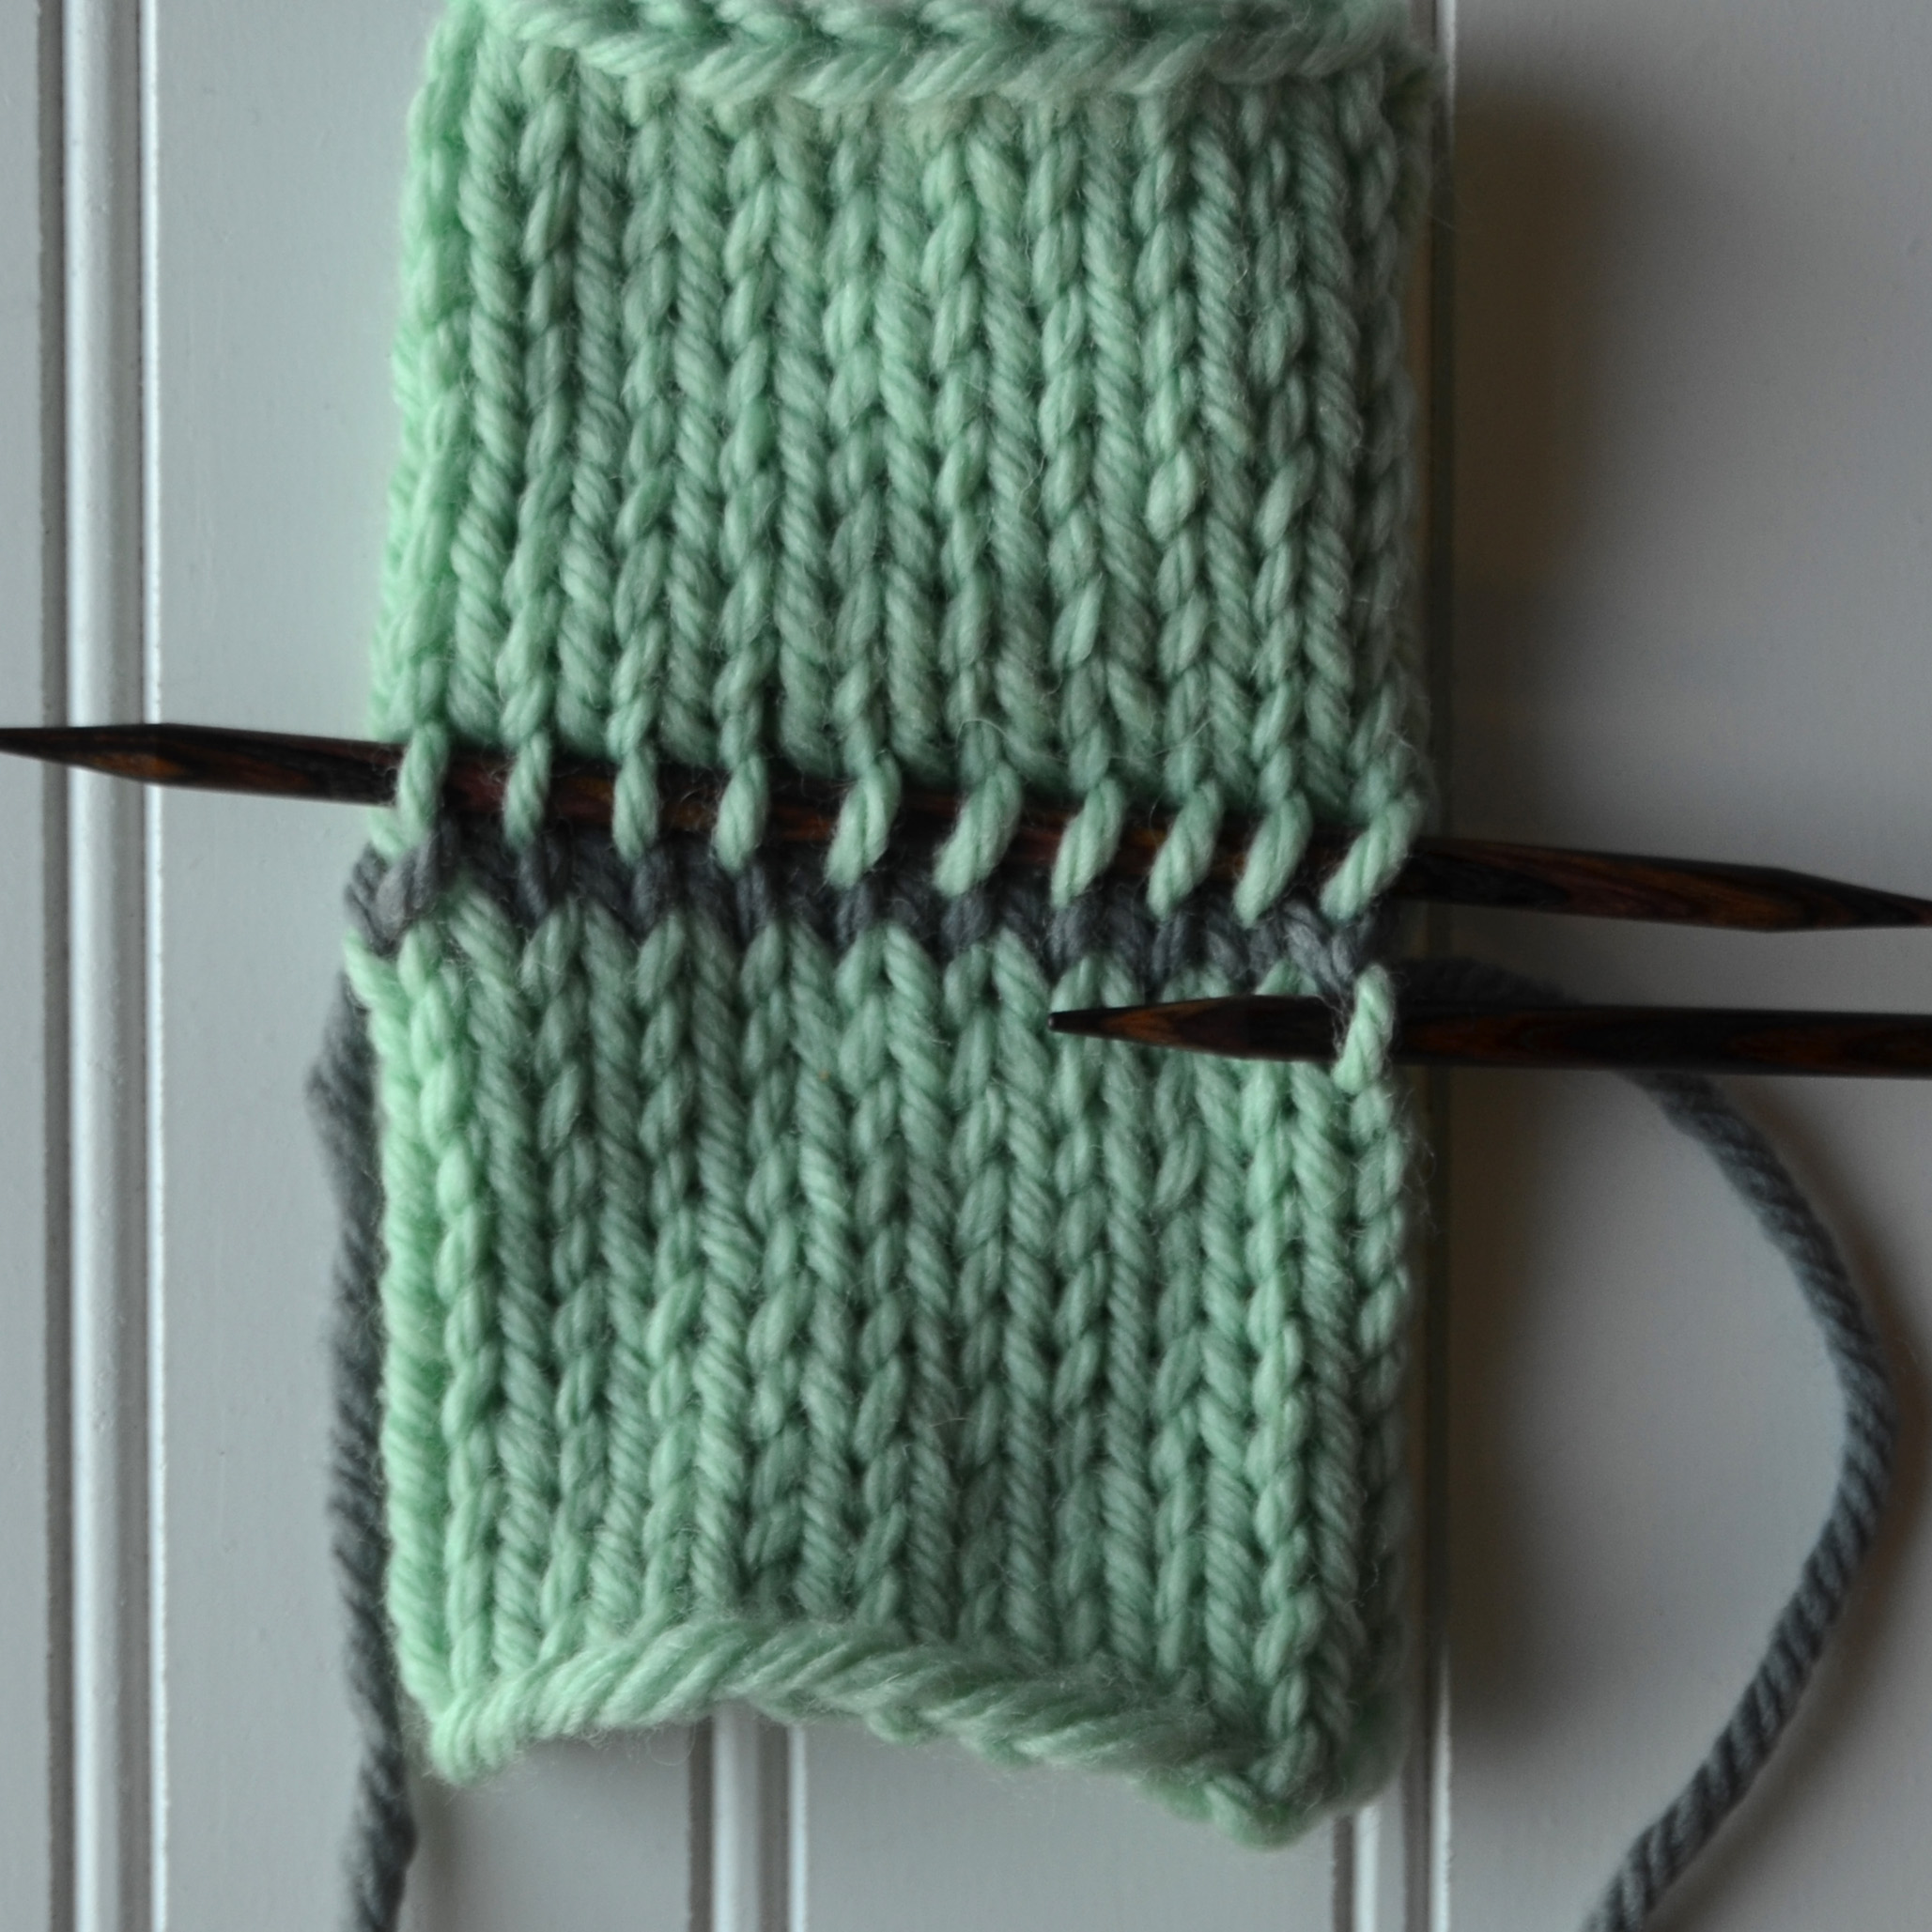
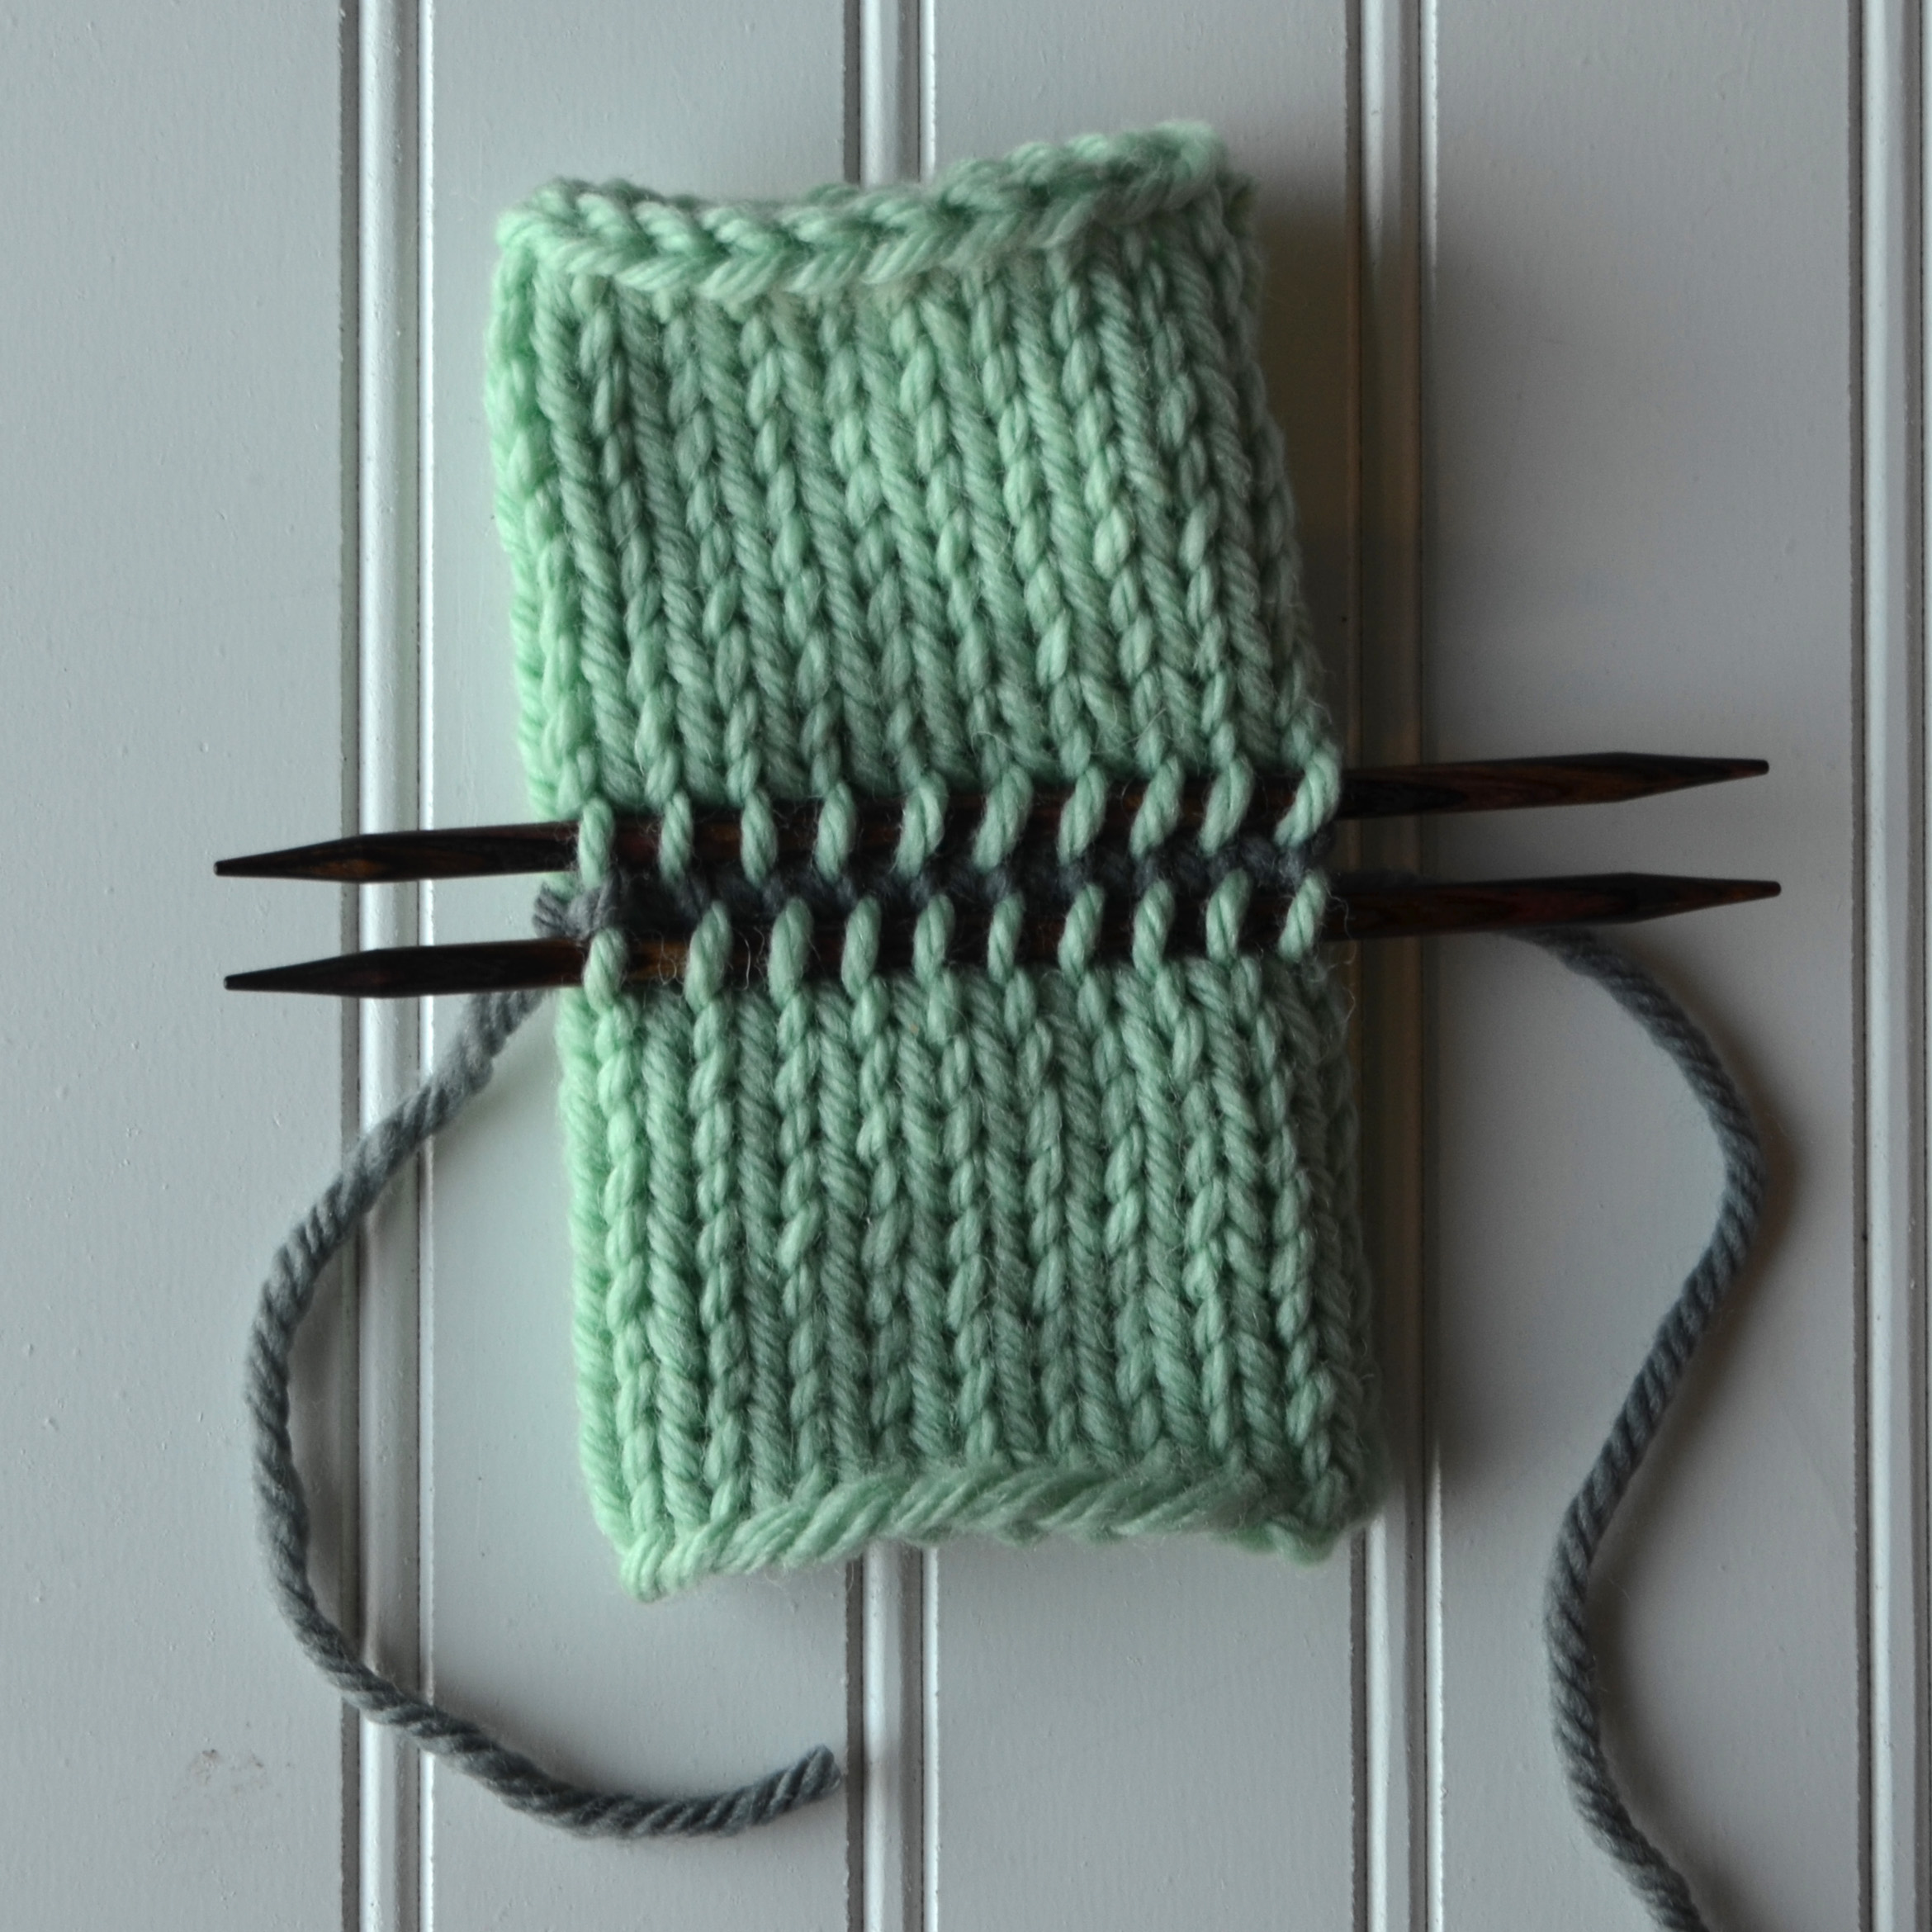
Insert a second needle through the front leg of each stitch below the waste yarn.
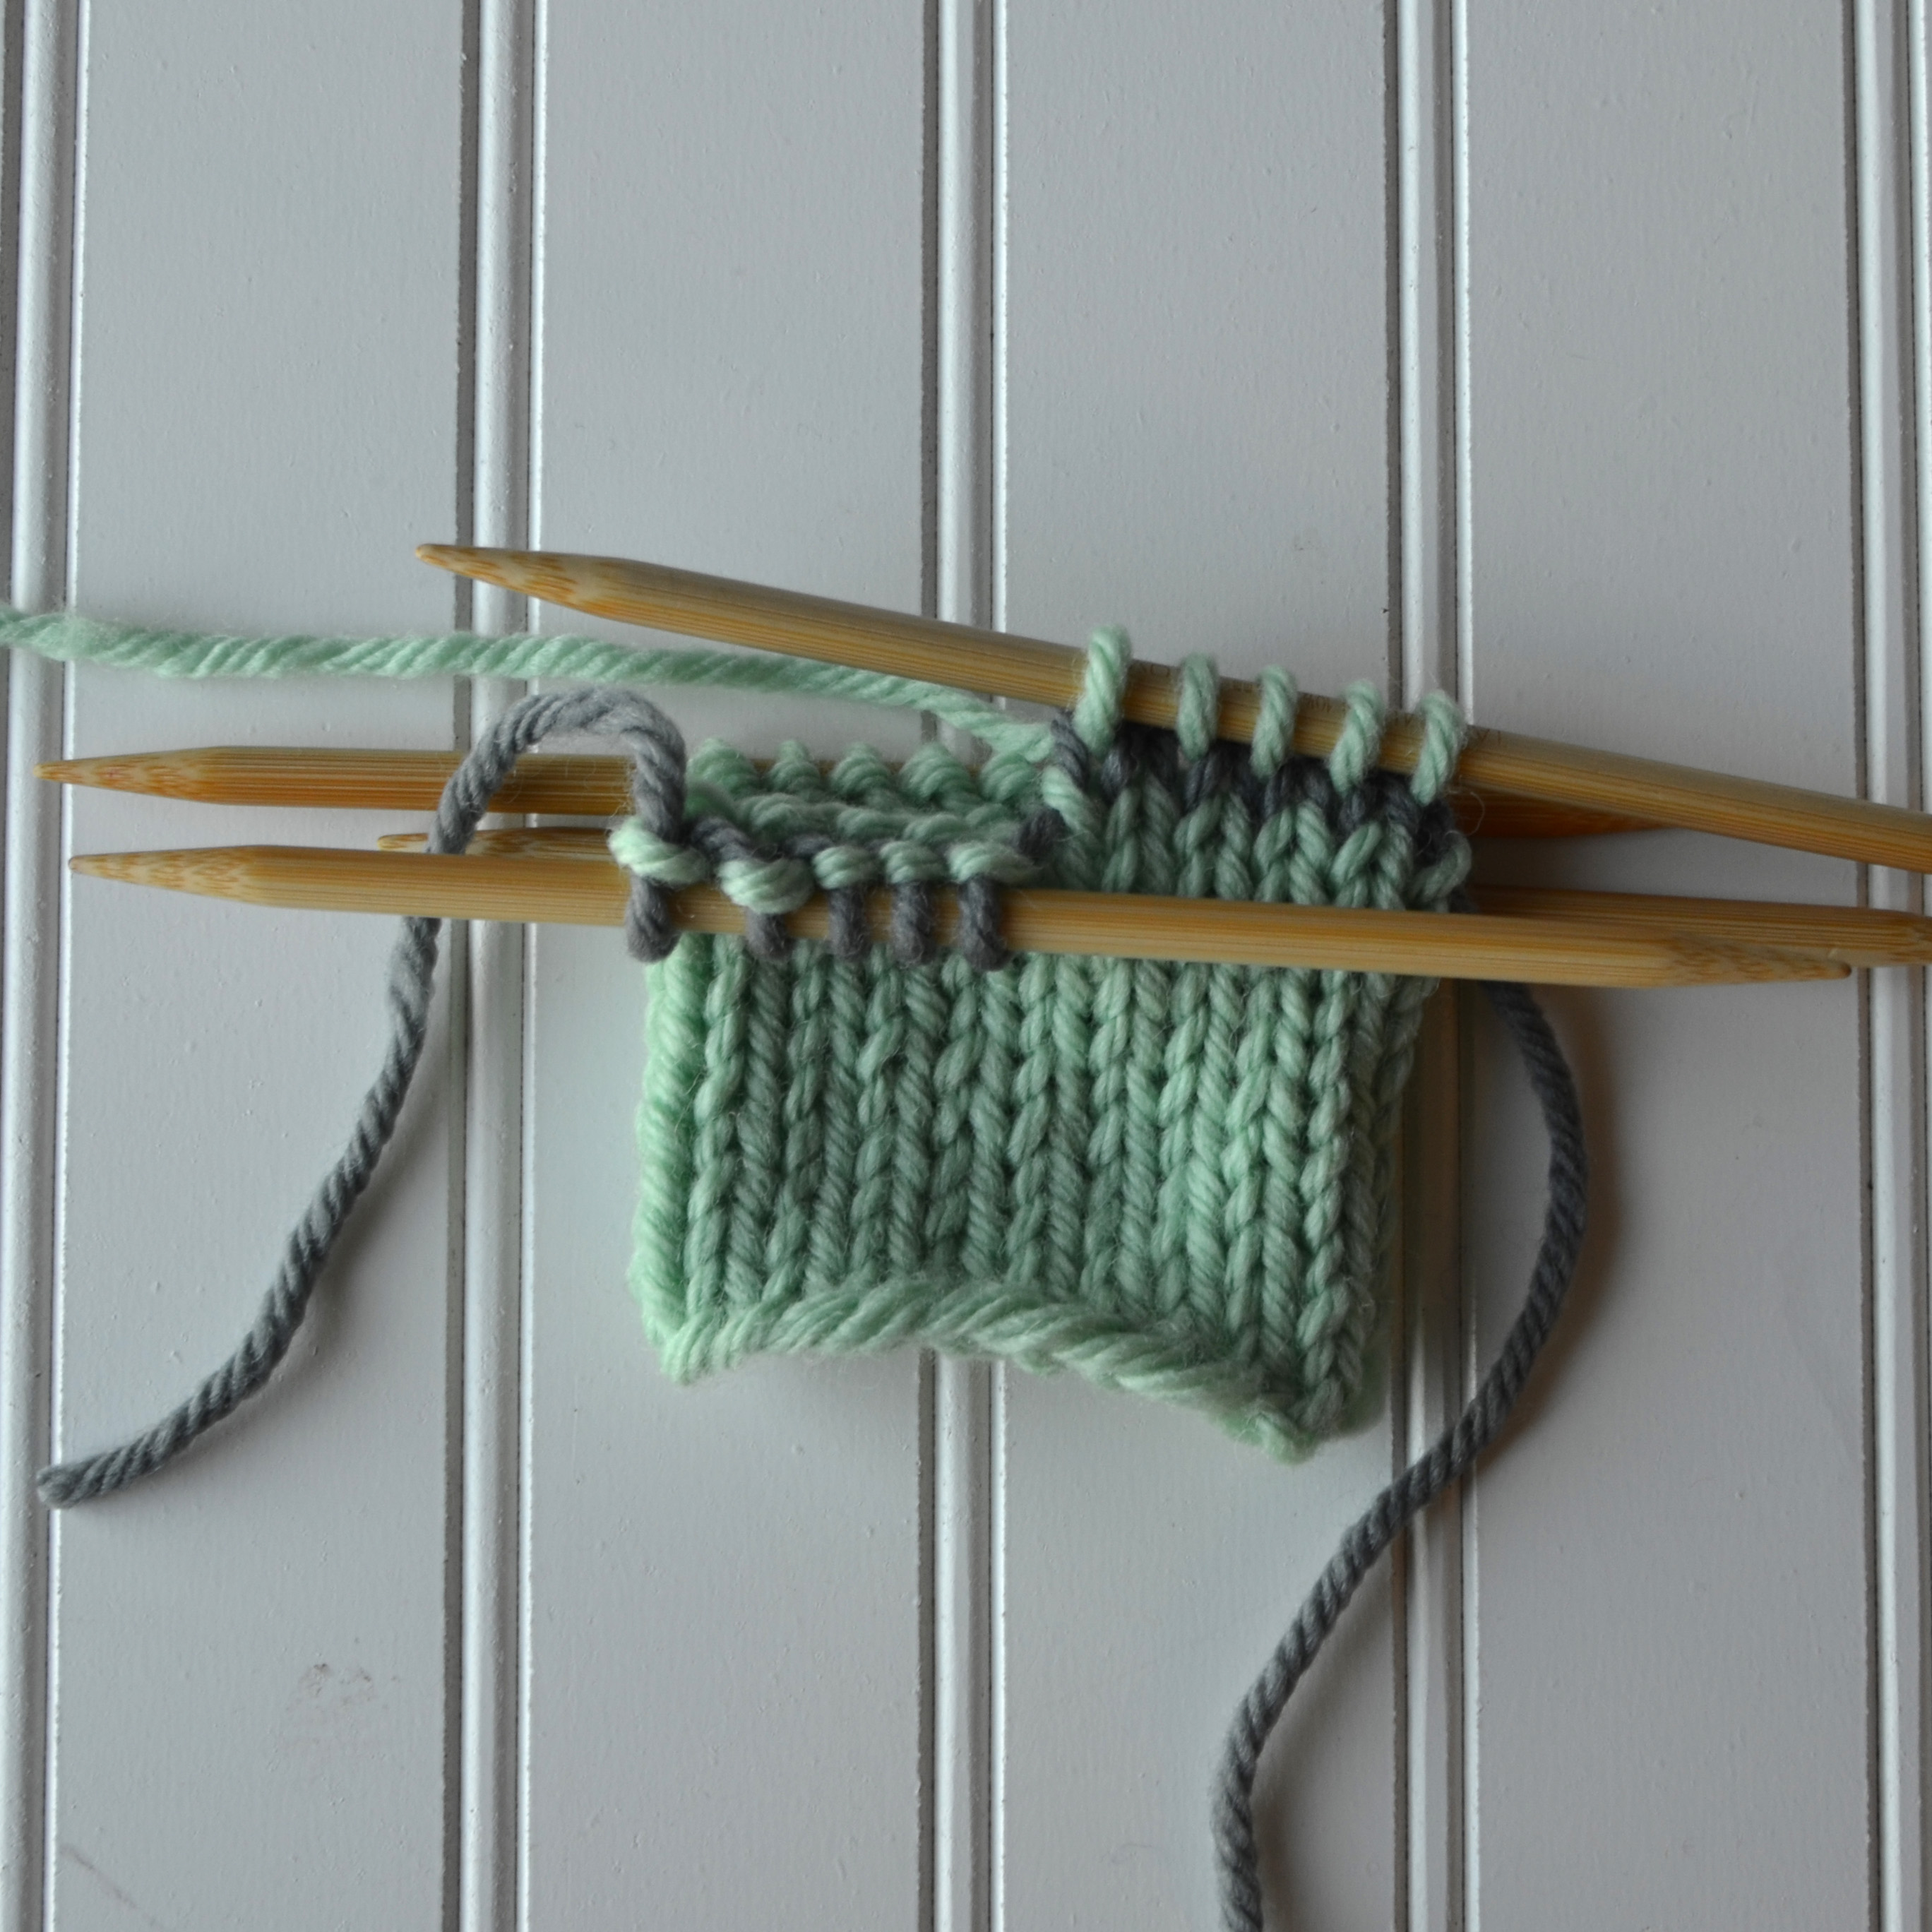
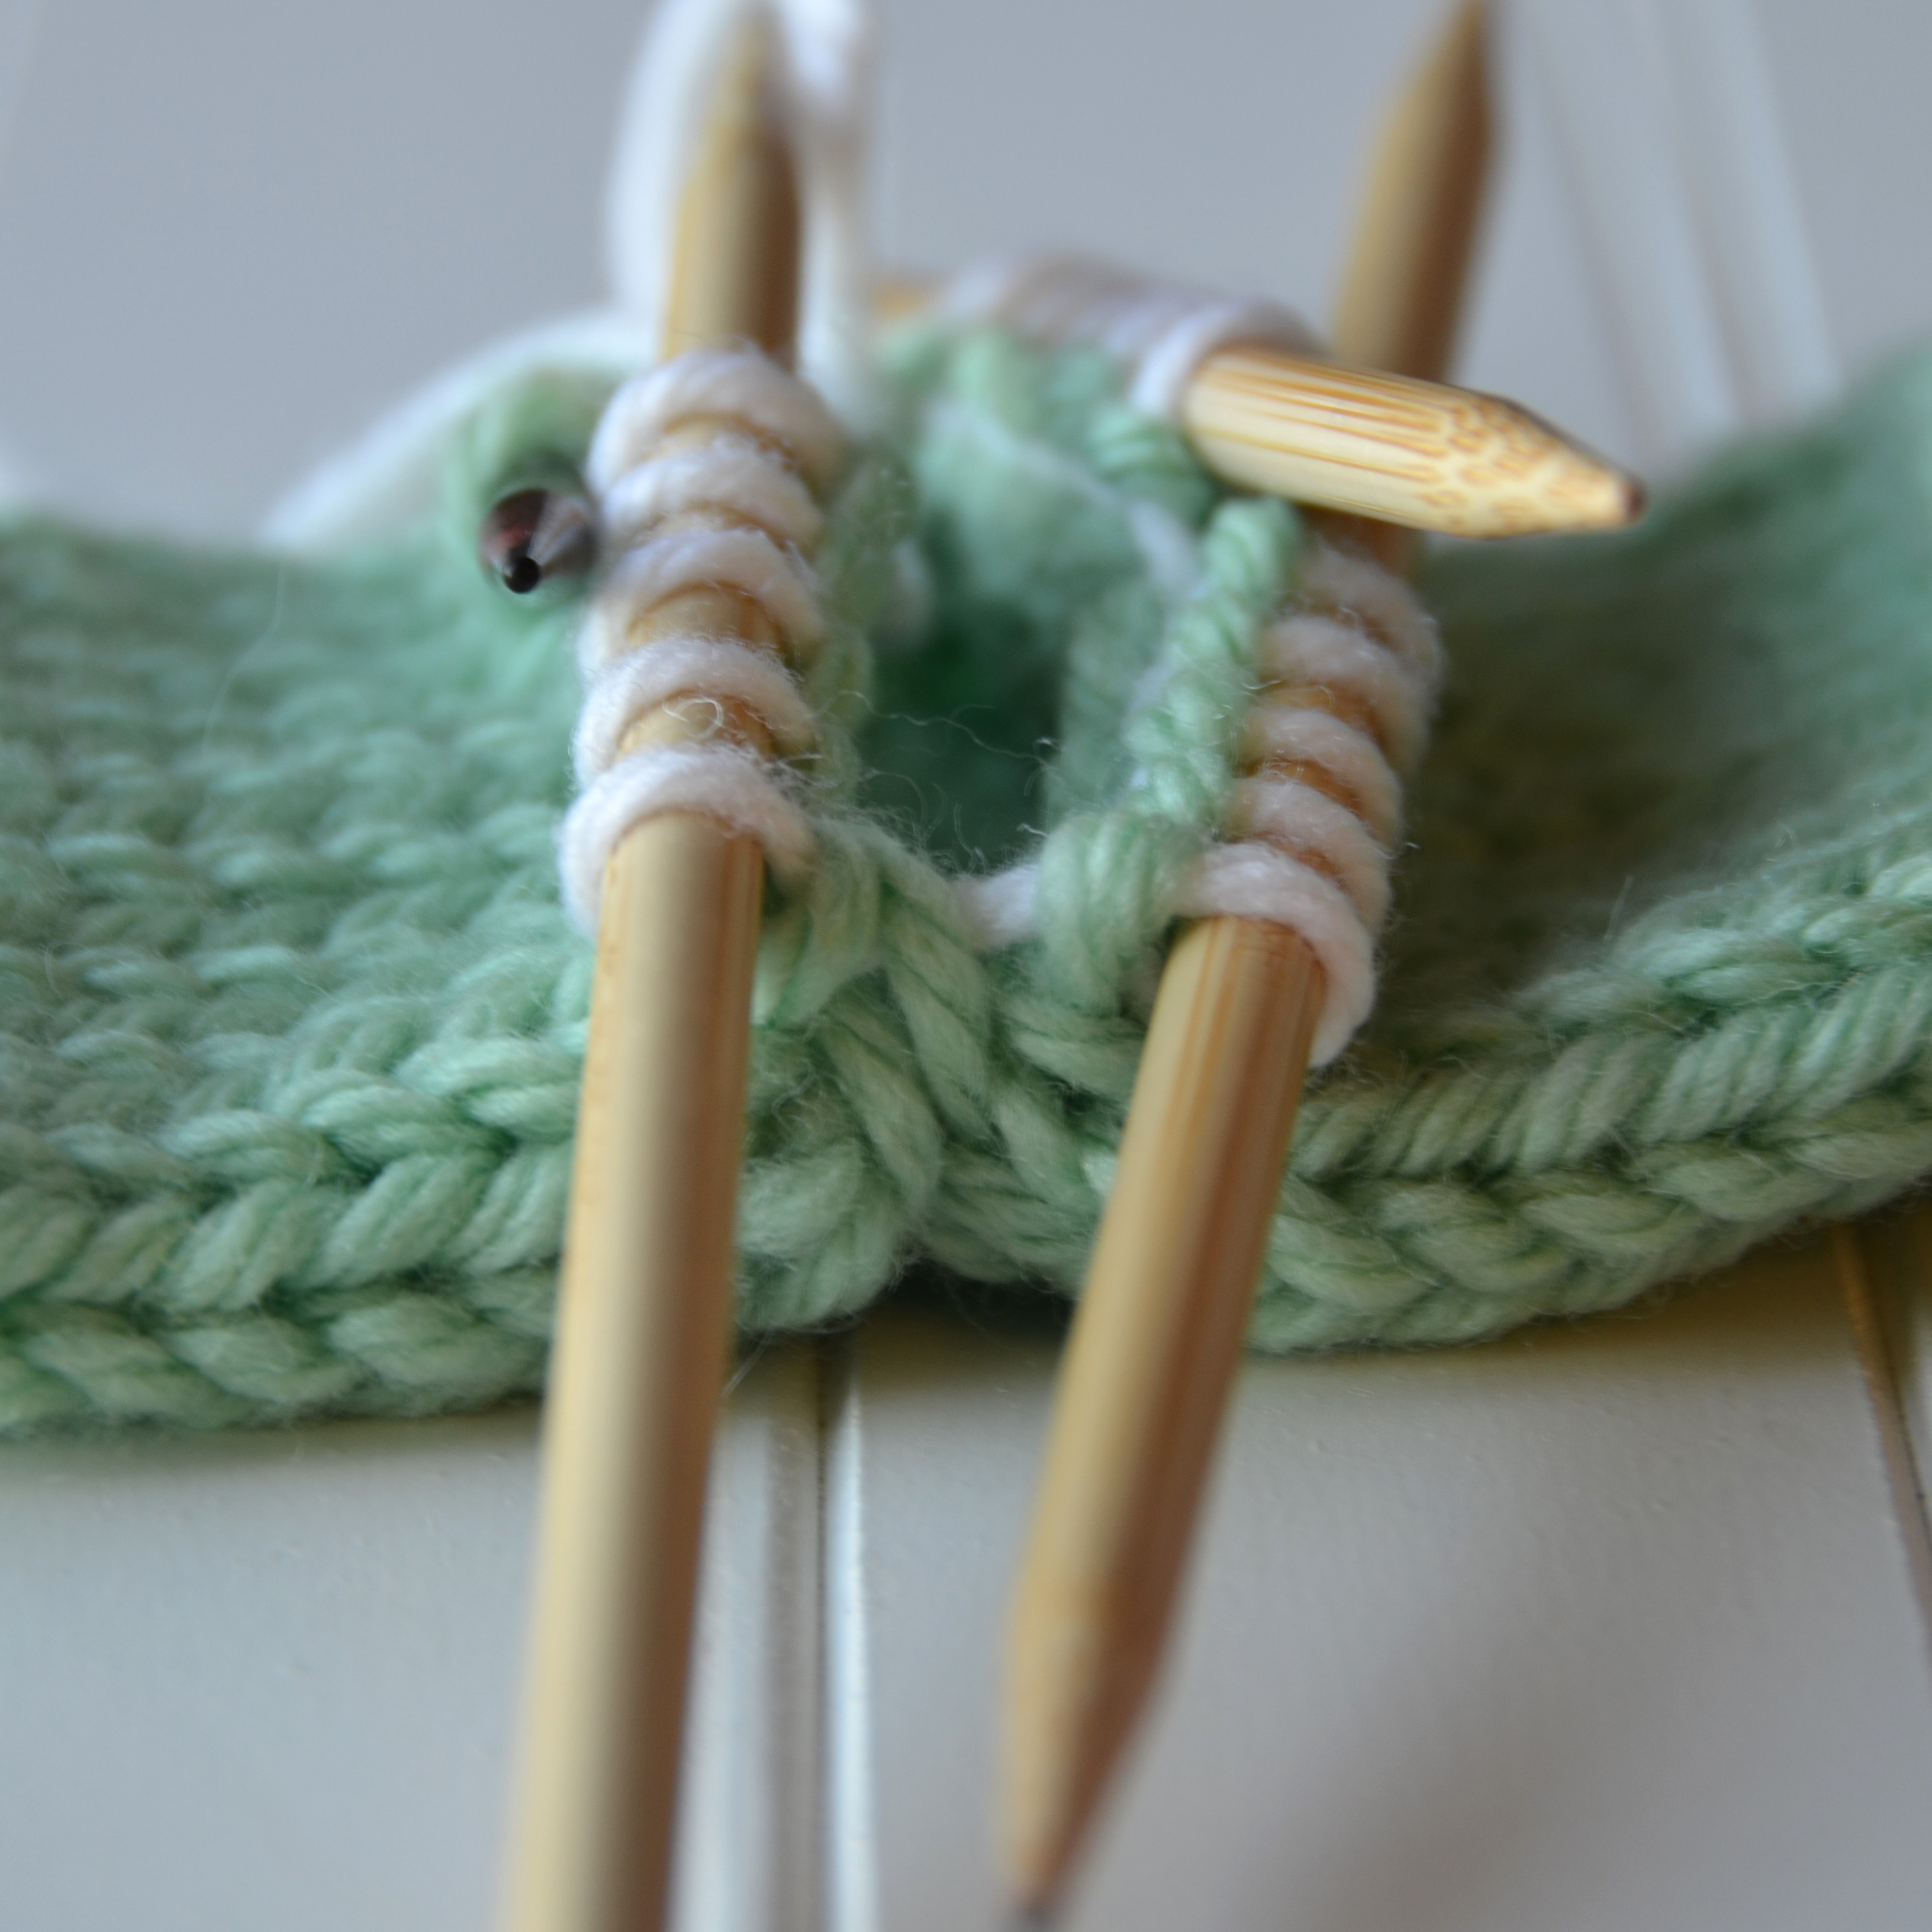
Now we’re ready to remove the waste yarn.
With a spare needle, carefully pick out the waste yarn.
Waste yarn be gone!
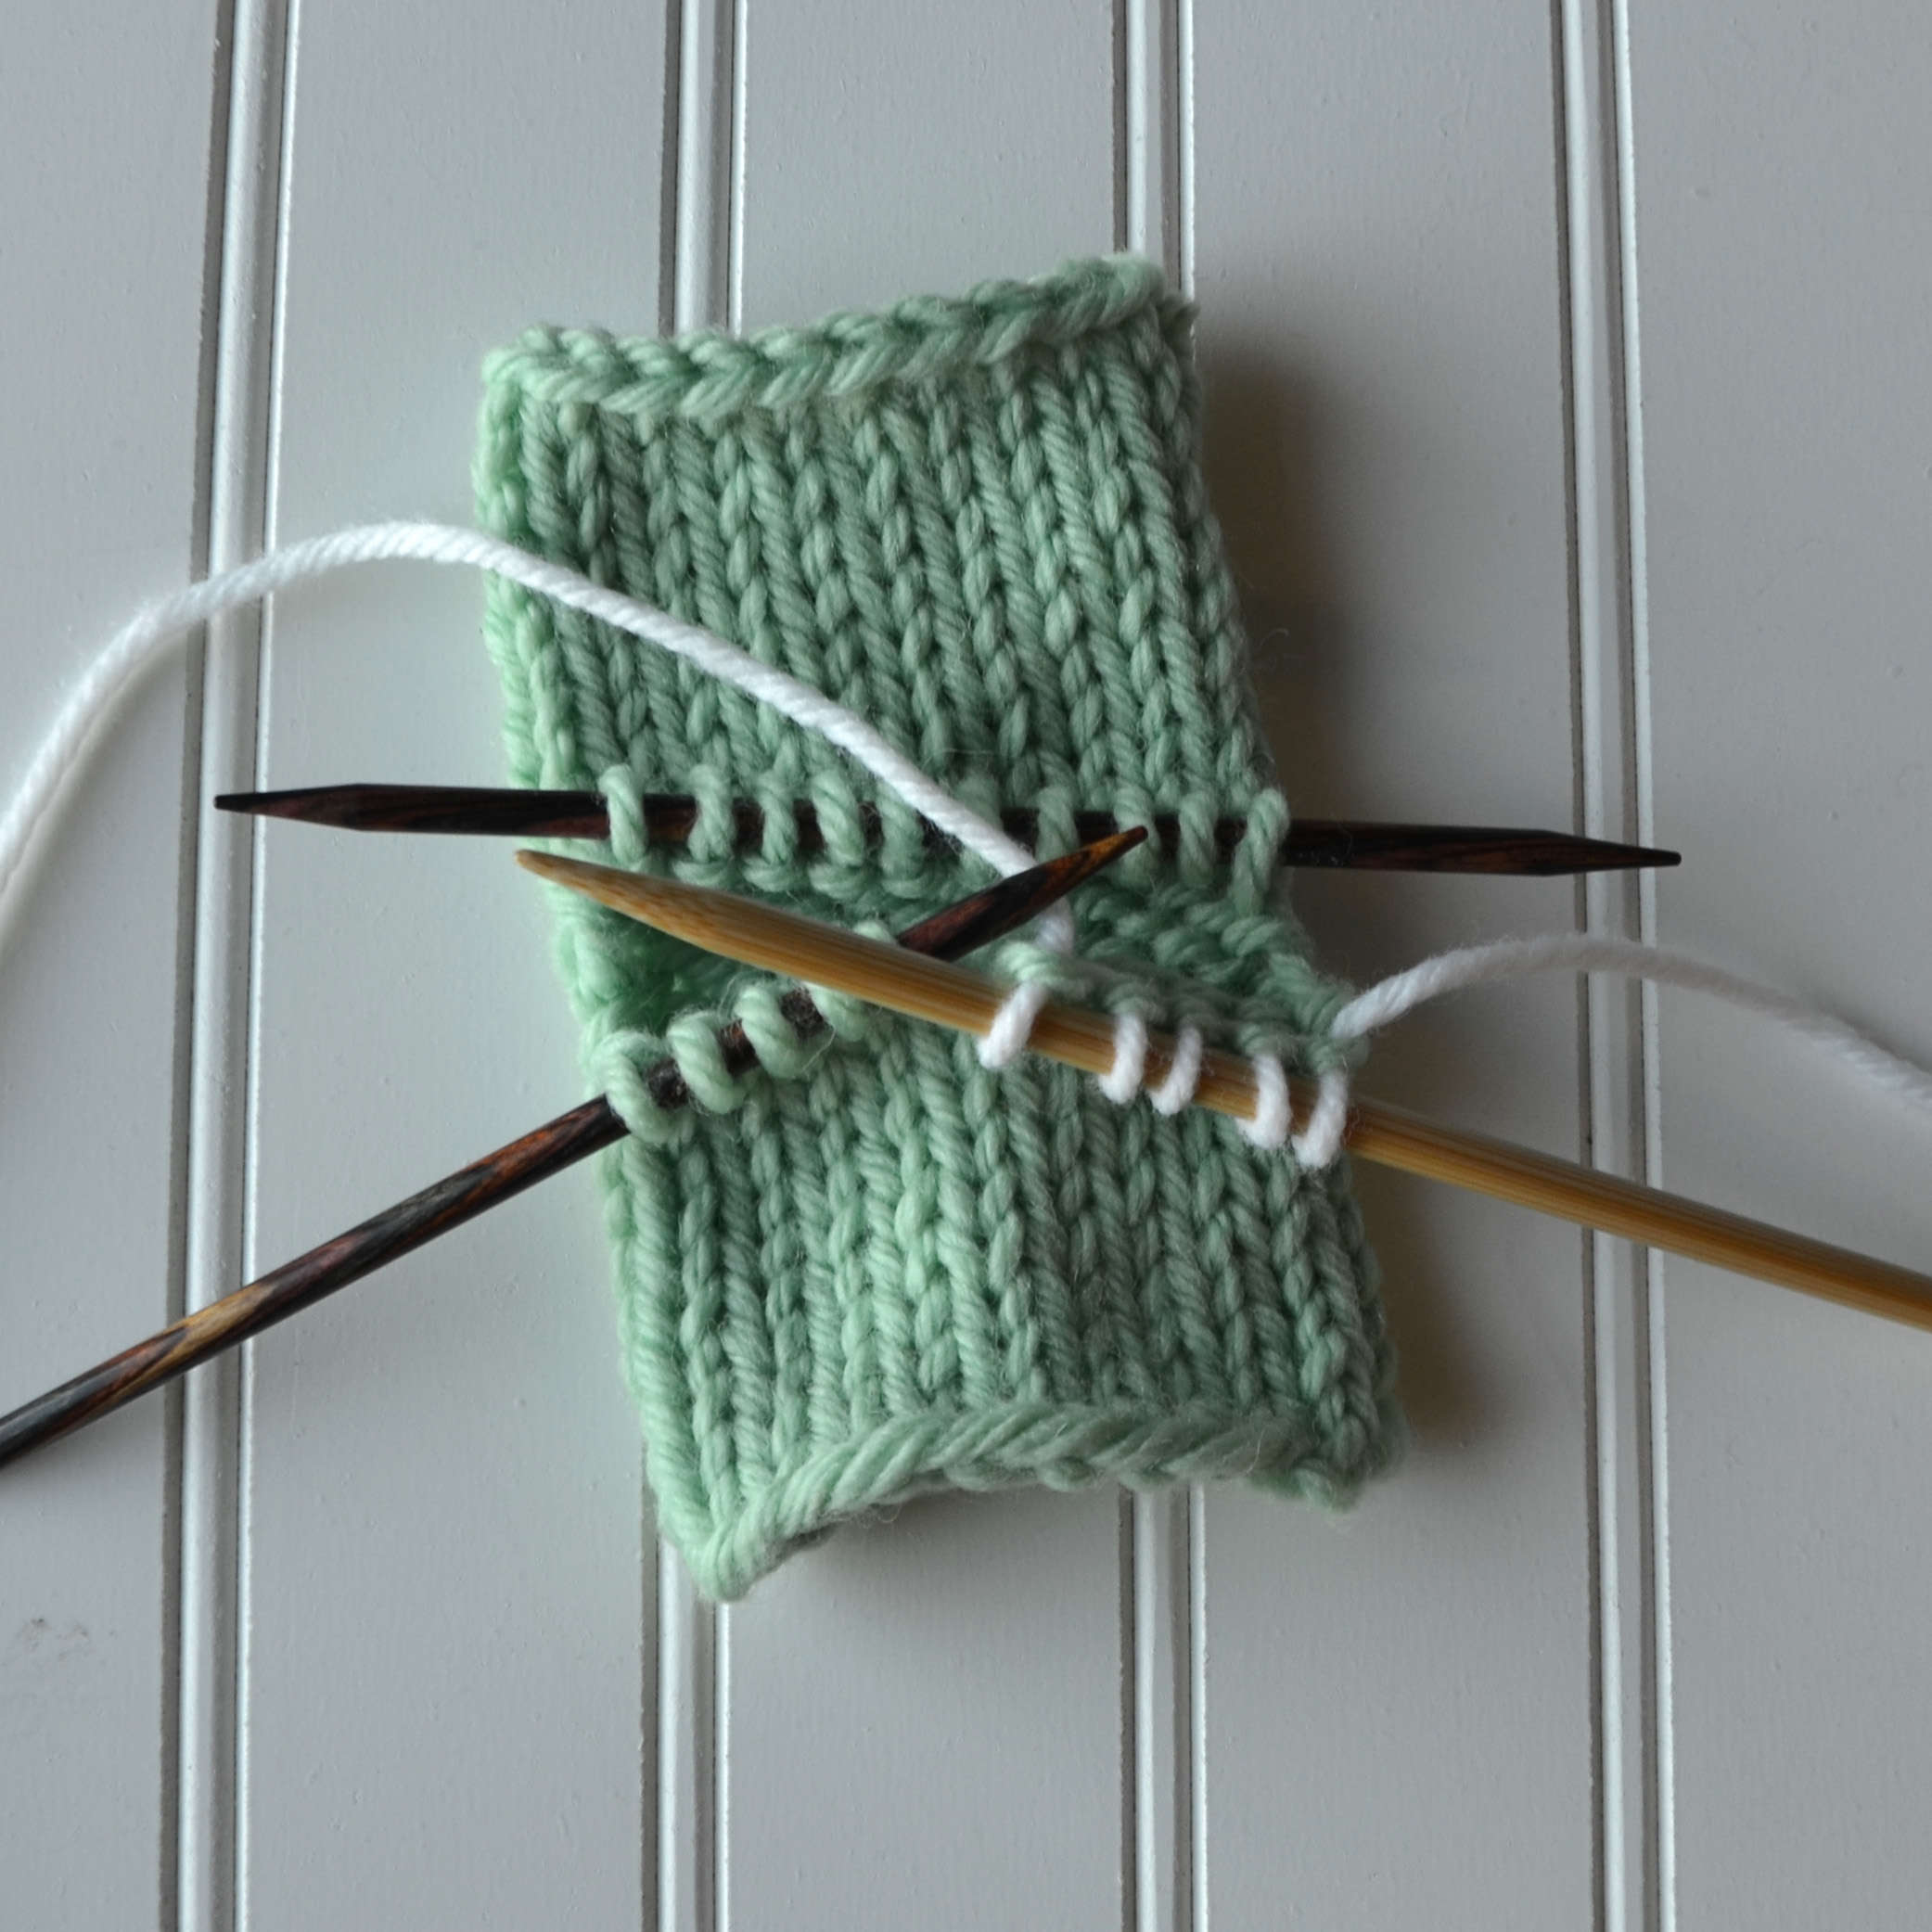
Now it’s time to knit the heel, and return to your larger dpns. This first round is usually a plain/knit round.
This photo shows what happens in that gap where the waste yarn was if you simply knit across and ignore it.
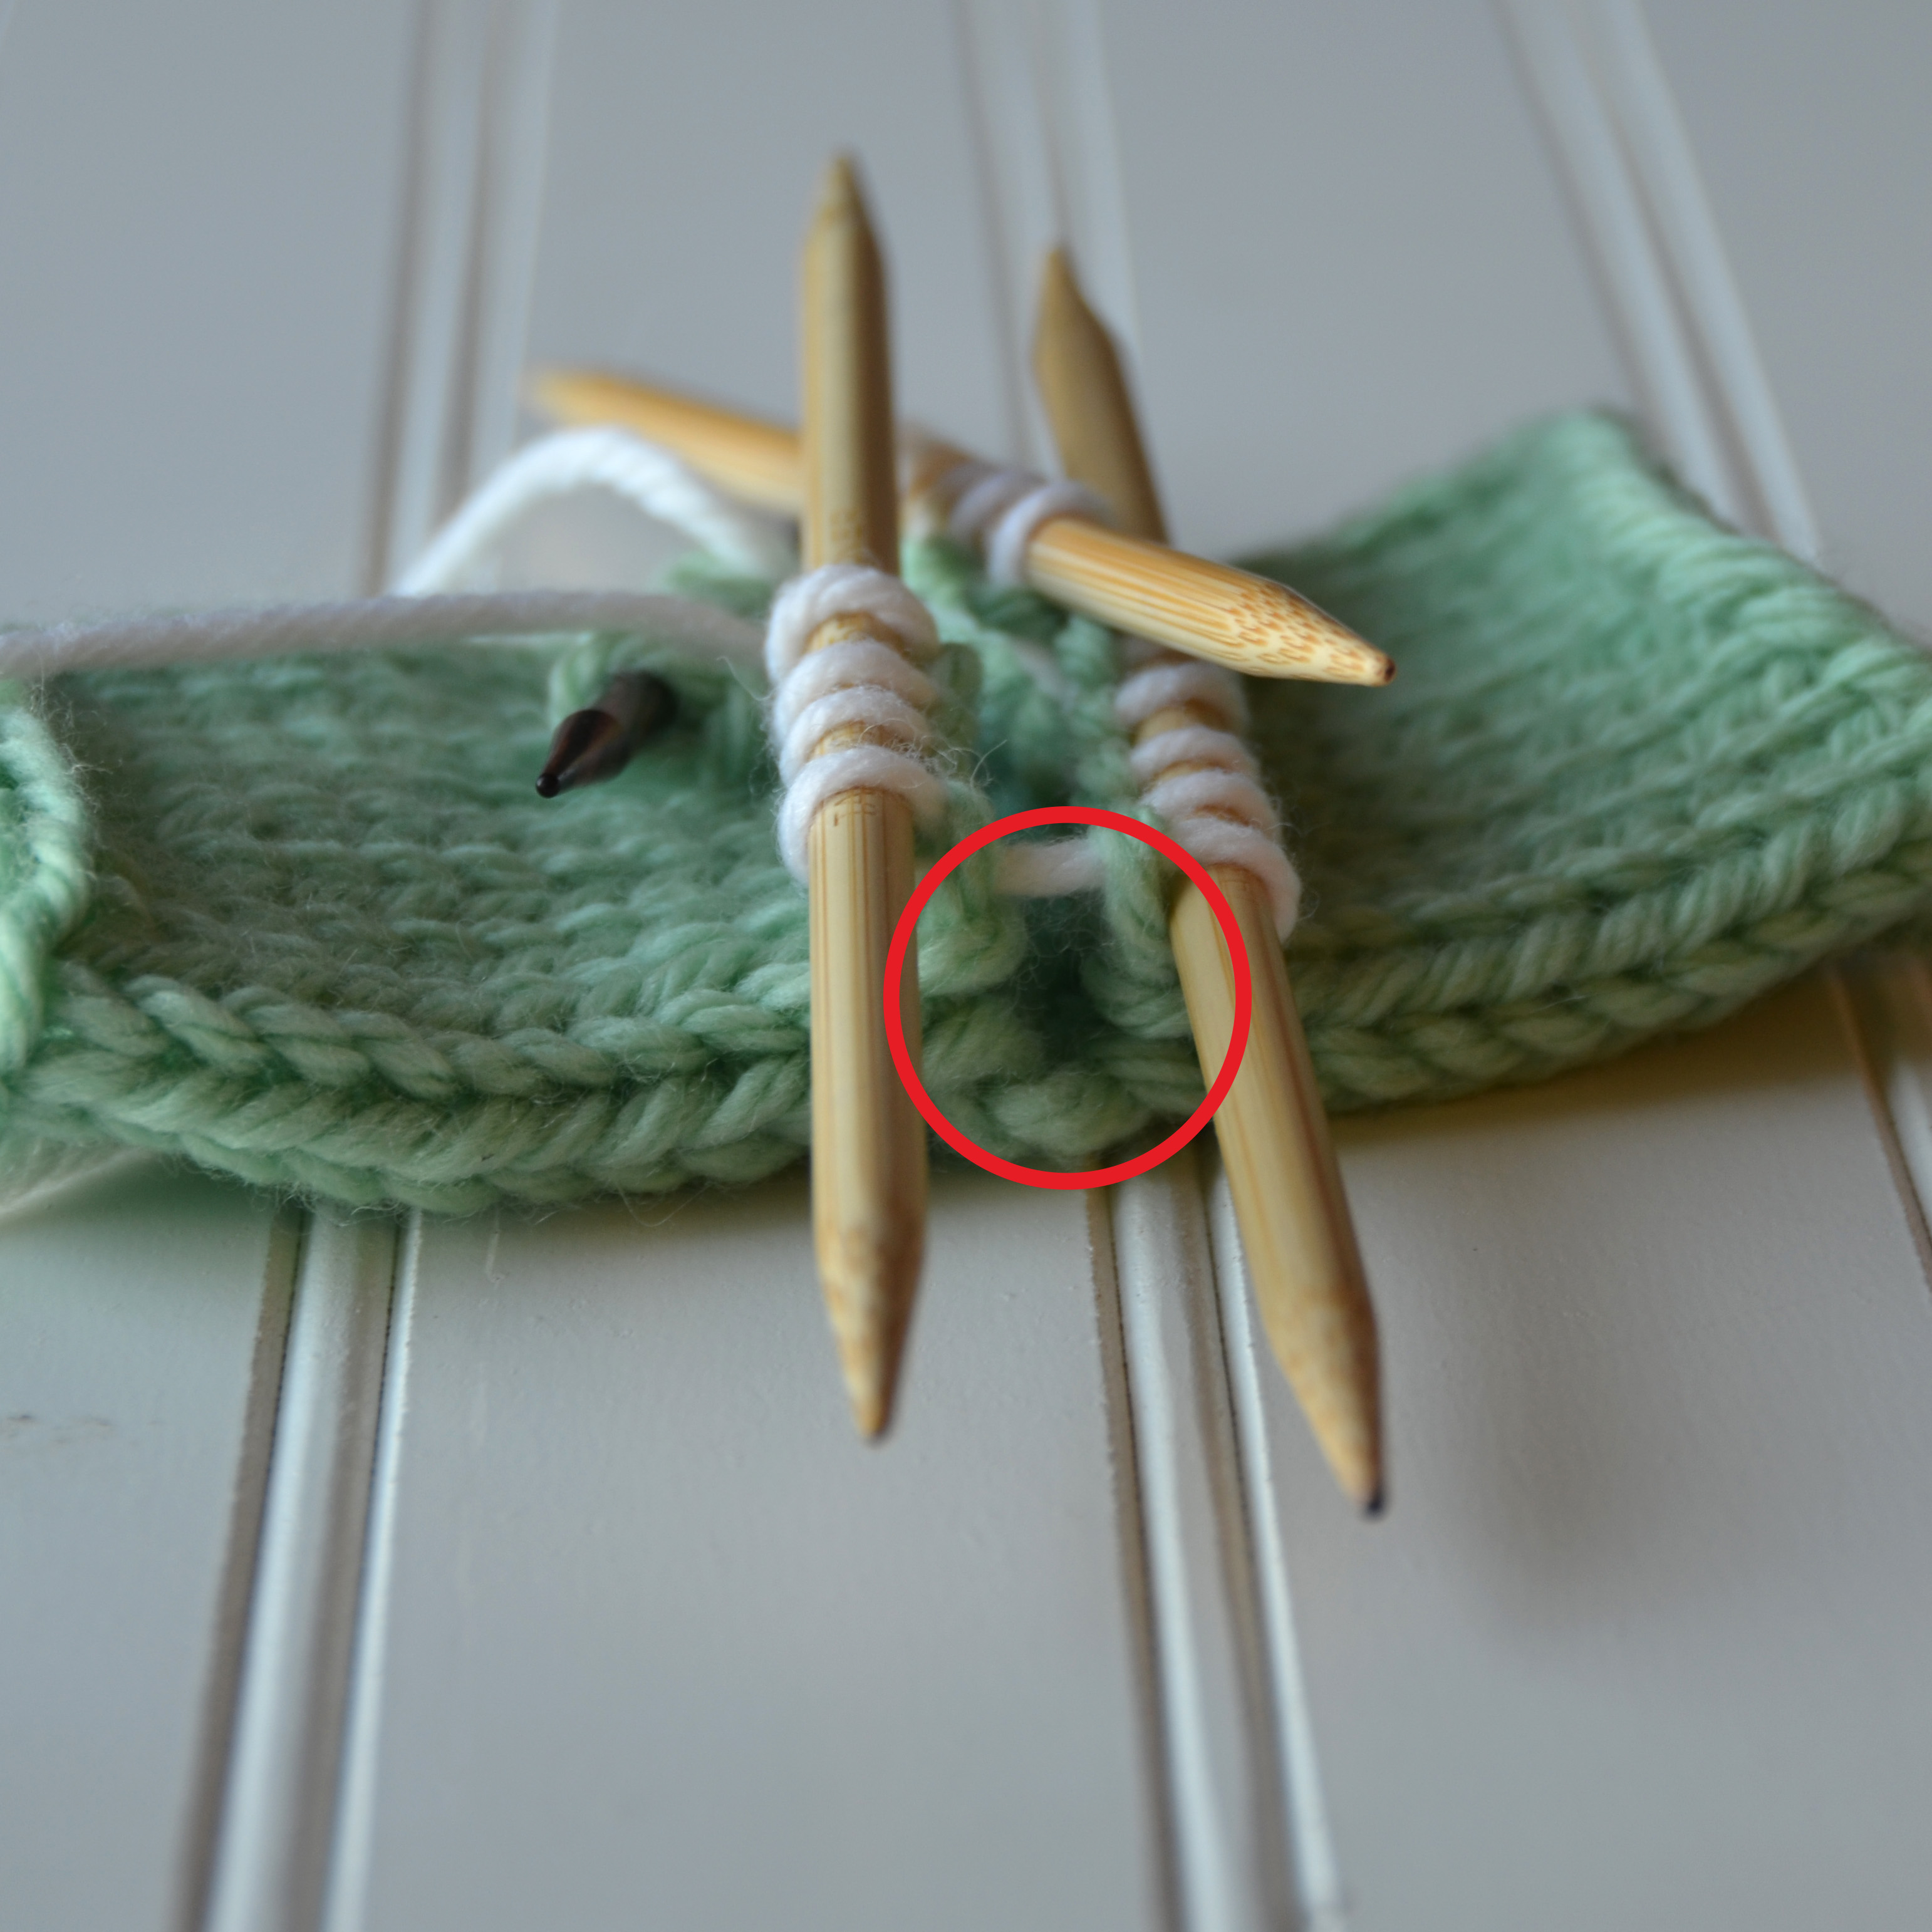
Pick up a stitch from the side of the row where the waste yarn was. It’s best not to pick up the very outermost part of this loop, but to pick up the half of the stitch just inside the opening.
Place this picked up stitch on the needle and knit it together with the next stitch, closing the gap. Depending on the pattern and yarn, I might do this twice at each side of the gap. It’s best to experiment and see what looks best with your particular yarn and stitch pattern.
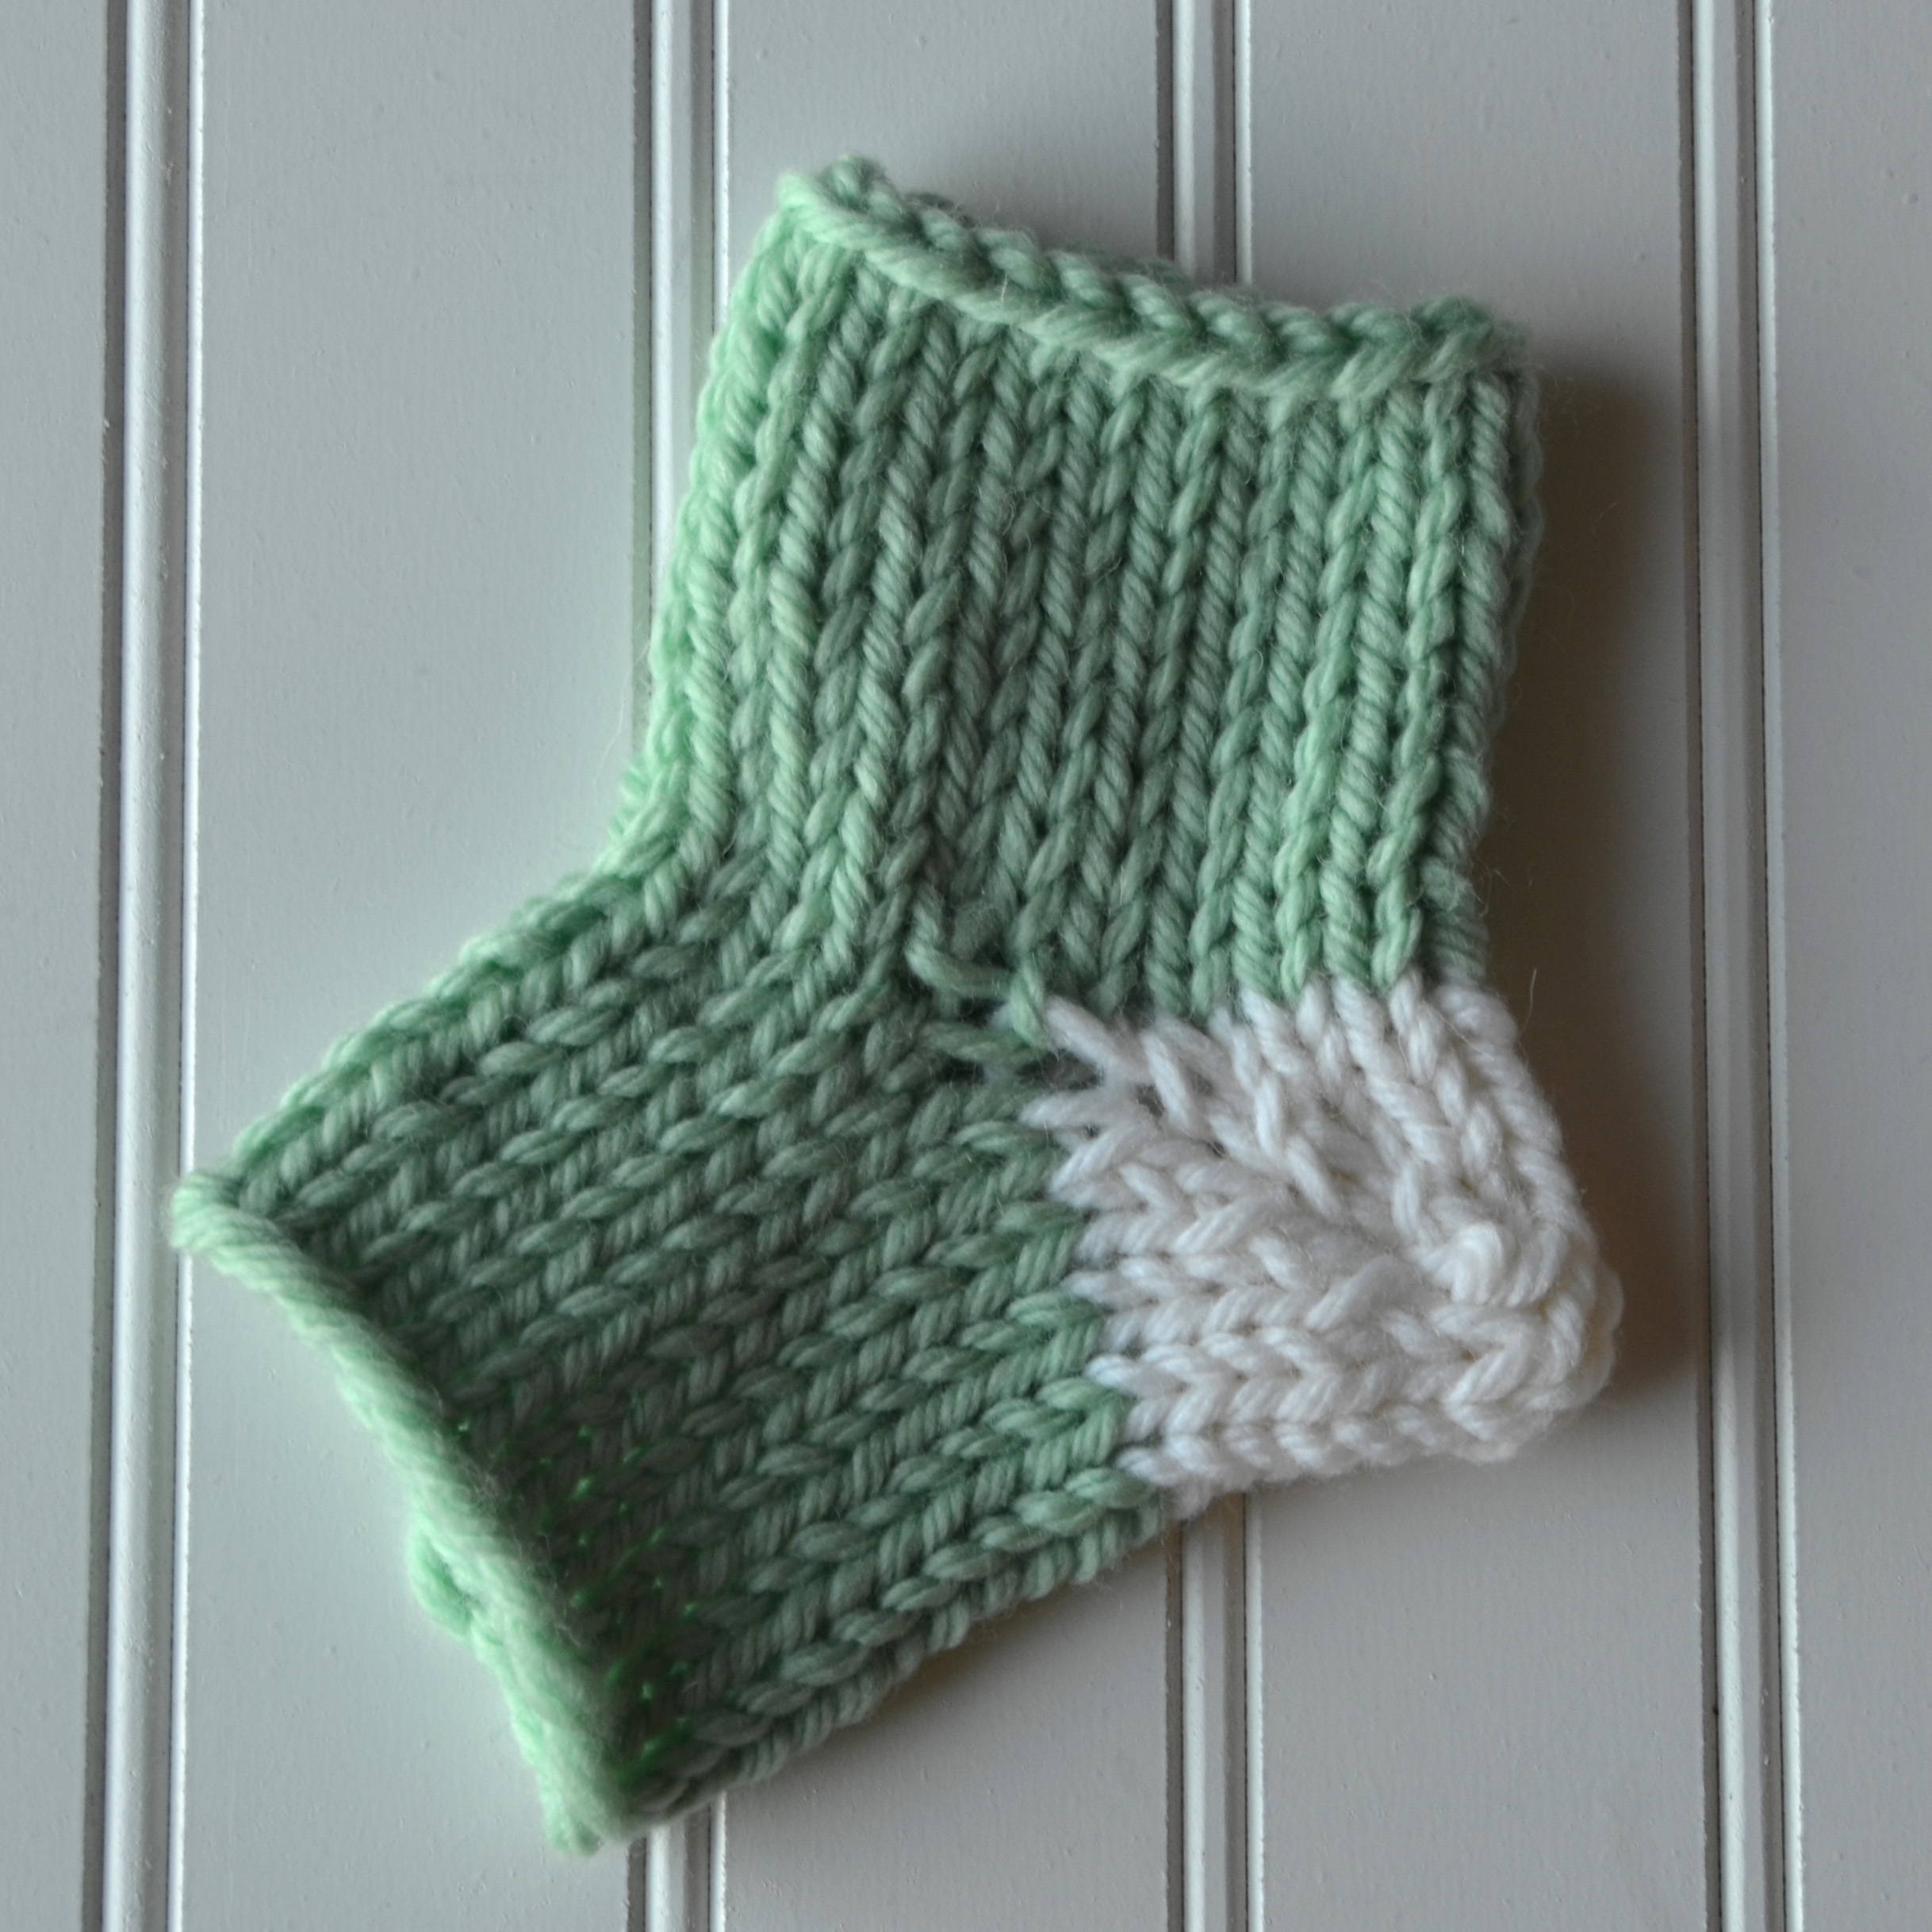
And here’s what that gap will look like now. No holes!
Knit the rest of the heel as instructed. It’s like a heel magically grew out of your knitting.
I also like this technique for set-in pockets on a top-down sweater. It’s not as hard as you thought it was going to be, right?