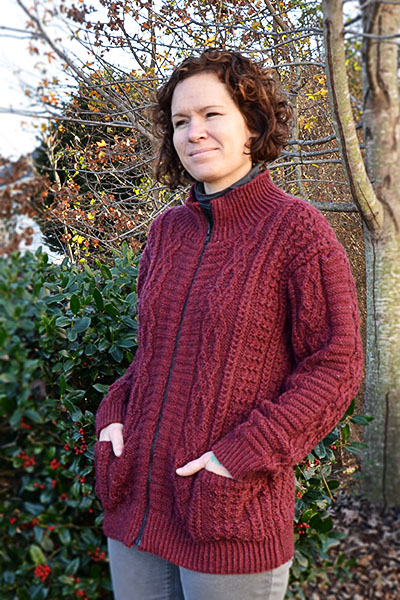
Needles Out! Knits for Guys with Sweater Envy

Have we all seen Knives Out? Or at least seen photos of Chris Evans wearing The Sweater?
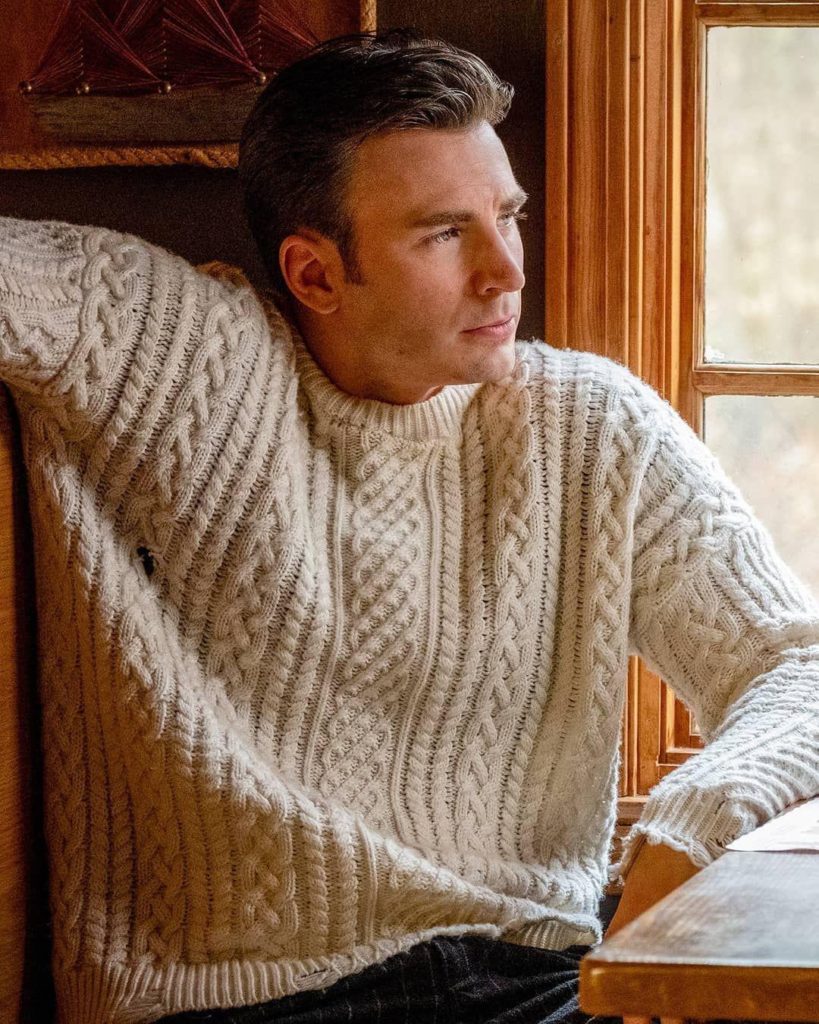
Mend those holes!!

This pullover became such a rage on the internet that Evans wound up getting one for his dog for Christmas.
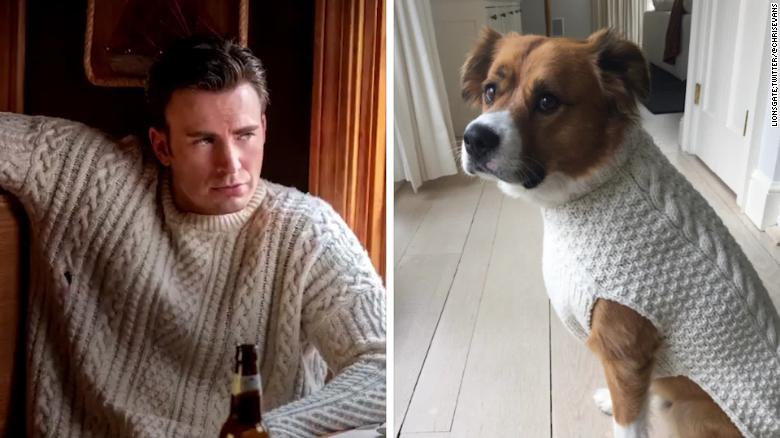
Chris Evans and his dog wearing cream sweaters
Who wore it better?

Fortunately, as crafters, we can create this look on our own, no costume department needed. If you or someone you know has sweater envy, we’ve got five sweaters (and one vest) for the knitter who wants to cast on some fashionable cables!

Experience the allure of yesteryears with Nostalgia Casino, where a minimal deposit of just $1 gives you an impressive $20 to play with. This casino brings the charm of classic gaming right to your fingertips, allowing you to explore a wide array of games from slots to poker. With nostalgia casino deposit $1 get $20 offer, you get the opportunity to relish the thrill of online gambling while minimizing your financial commitment. So why wait? Step into the world of Nostalgia Casino, deposit $1 and unlock $20 worth of gaming fun.

1. Infinite Diamonds

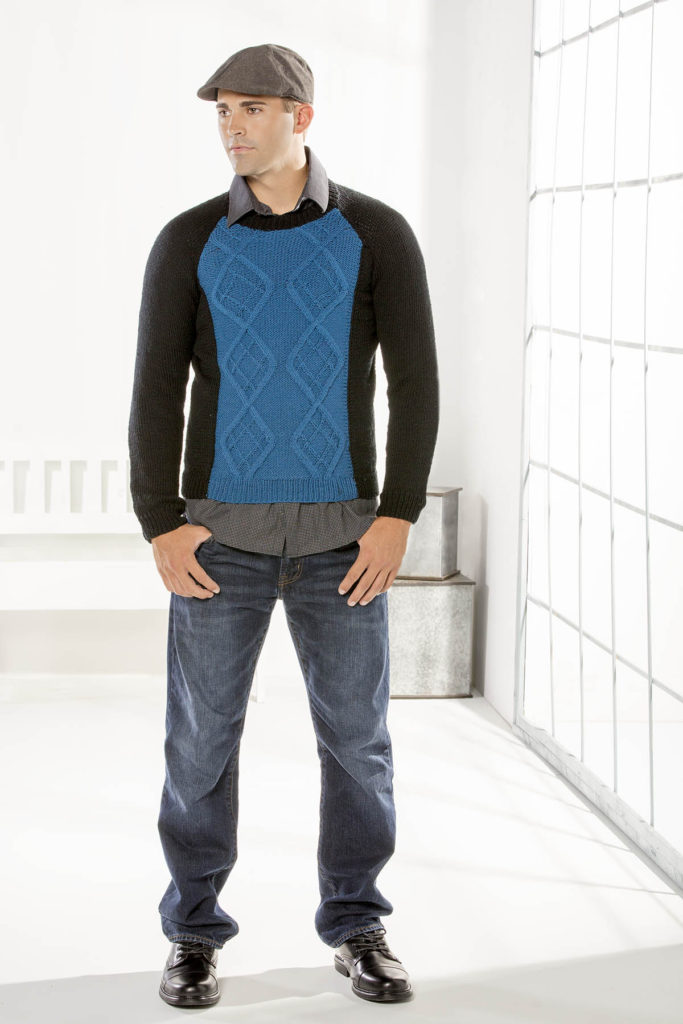
Image of man in black and blue cabled sweater knit in Dona yarn

We’re starting with the one that requires the least cabling, to ease into things. Infinite Diamonds (pattern link here) is knit in Fibra Natura Dona, a 100% superwash extrafine merino with a tight twist that really makes stitches pop.
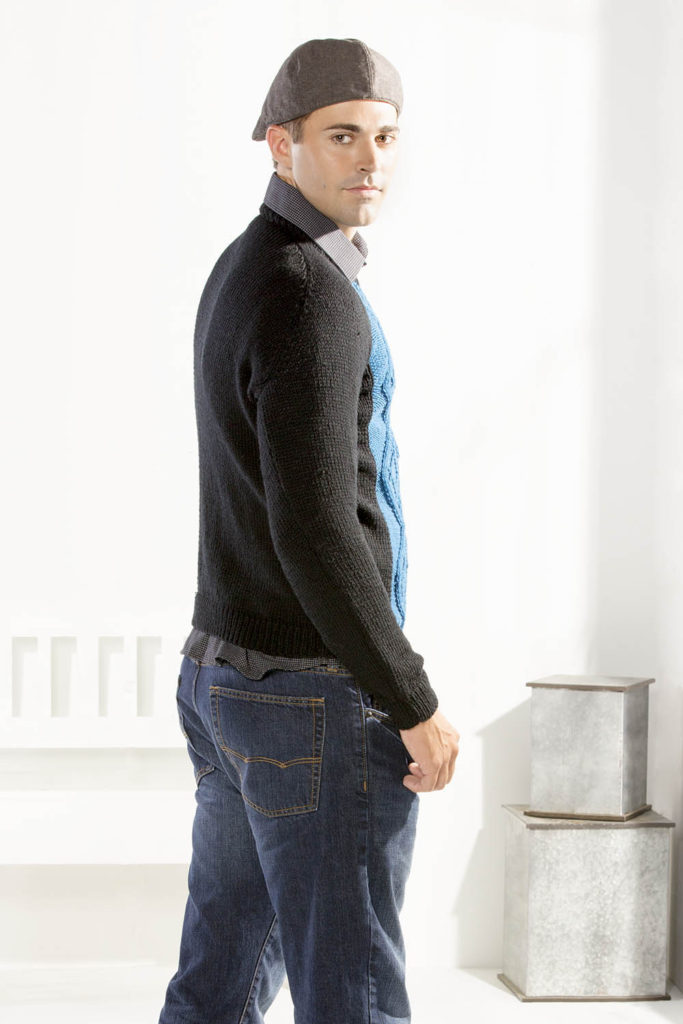
No cables on the back, just plain stockinette. Infinite Diamonds is knit flat in pieces and seamed.
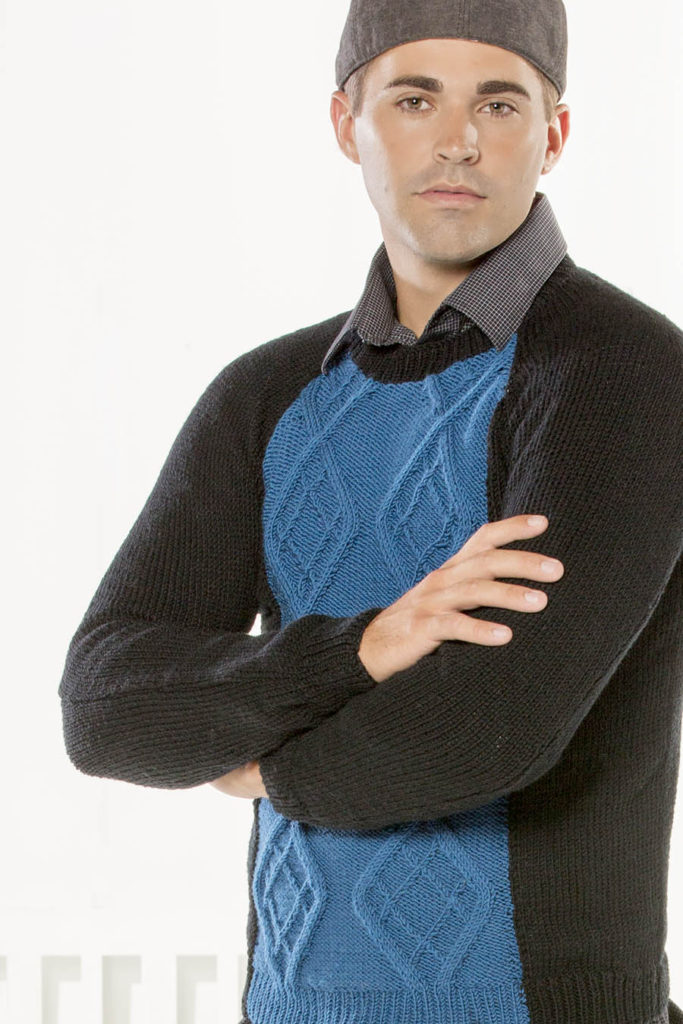
We love the windowpane effect given by the cables inside cables on the front panel. This is part of e-book The Dona Collection, featuring bold use of color blocking to create dramatic modern pieces. For a standalone design, though, let’s move to the world of magazines.

2. Anchorage Cardigan
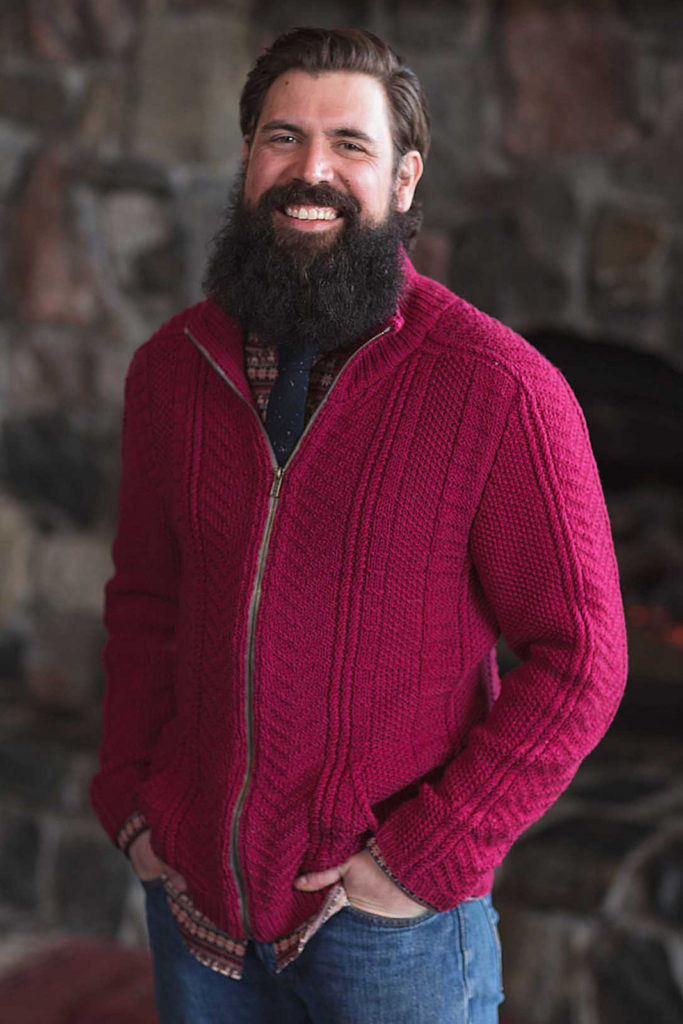
© Interweave / Harper Point

Published in Interweave Knits Winter 2018 issue, the Anchorage Cardigan (Ravelry link) shares a few features with Infinite Diamonds. Both are designed by the amazing Amy Gunderson, and both feature Dona yarn.
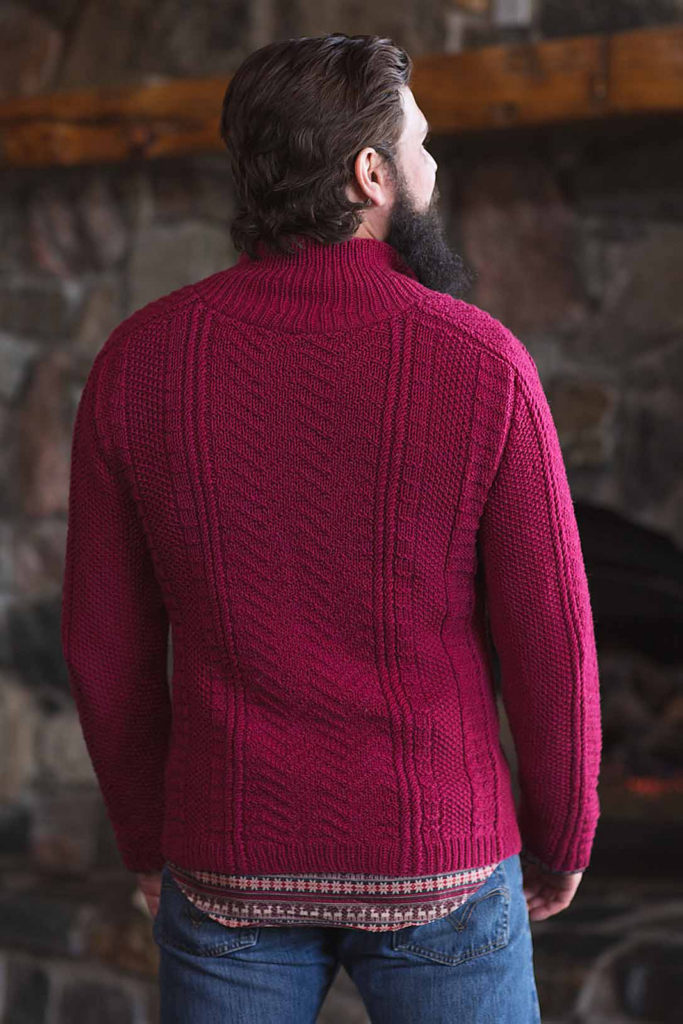
© Interweave / Harper Point

The differences, though, are obvious. The Anchorage Cardigan features a textured back (in fact, a textured everything).

© Interweave / Harper Point

Saddle Shoulders create a lovely line. As you might guess from the shoulders, this sweater is worked in pieces and seamed.
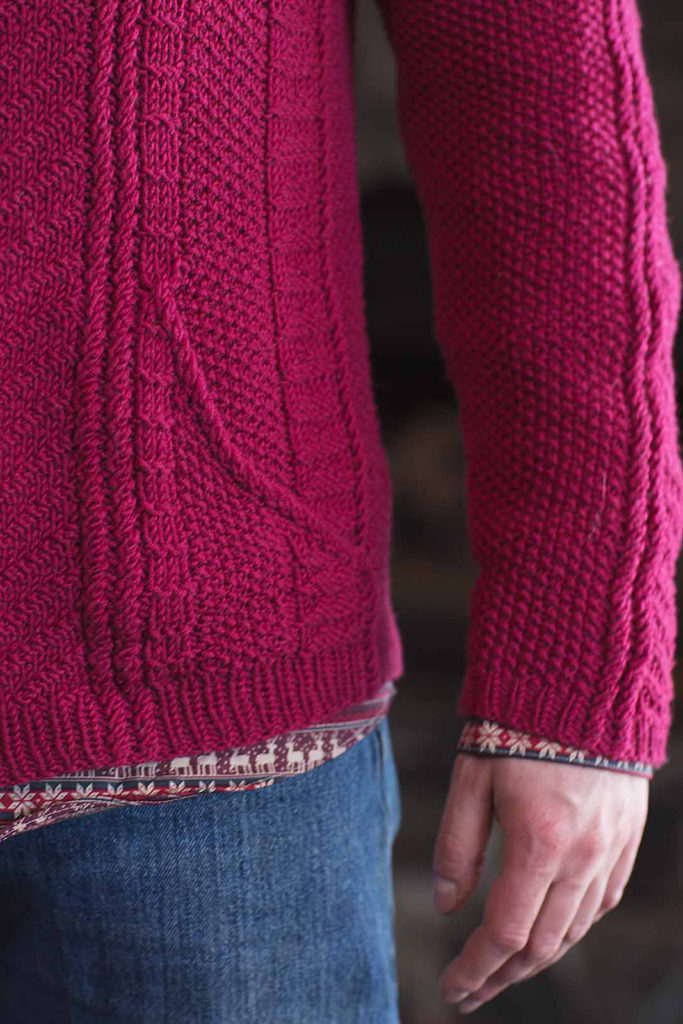
© Interweave / Harper Point

Carrying the pattern onto the pockets is a thoughtful design detail. If you’re confident working twisted stitches without a cable needle, you need never have to use one at all. Let’s move on to another cabled cardi, from an entire collection full of cabled designs.

3. Greensboro Cardigan

Unlike the previous sweaters, the Greensboro Cardigan (pattern link here) is worked in Deluxe Worsted wool, on US size 7 (4.5mm) needles as opposed to size 6 (4mm).

This stitch pattern is very stretchy – something to keep in mind when picking your size.

As with the Anchorage Cardigan, if you’re proficient with crossing stitches, you can do this without using a cable needle. Amy Gunderson even has a blog tutorial for this design (and others from the Deluxe Cable Collection) on creating the set-in pockets and installing a zipper. She even made a special chart for the sleeve increases to help a new knitter here in the office.

4. Wesley Heights

For my money, this pullover is the most “Knives Out” one we’ve seen so far. Wesley Heights (pattern link here) is part of the same Deluxe Cable Collection that the Greensboro Cardigan above is in. (And friends, there are 17 designs in that e-book for $20, so if you love cables… I’m just saying.)
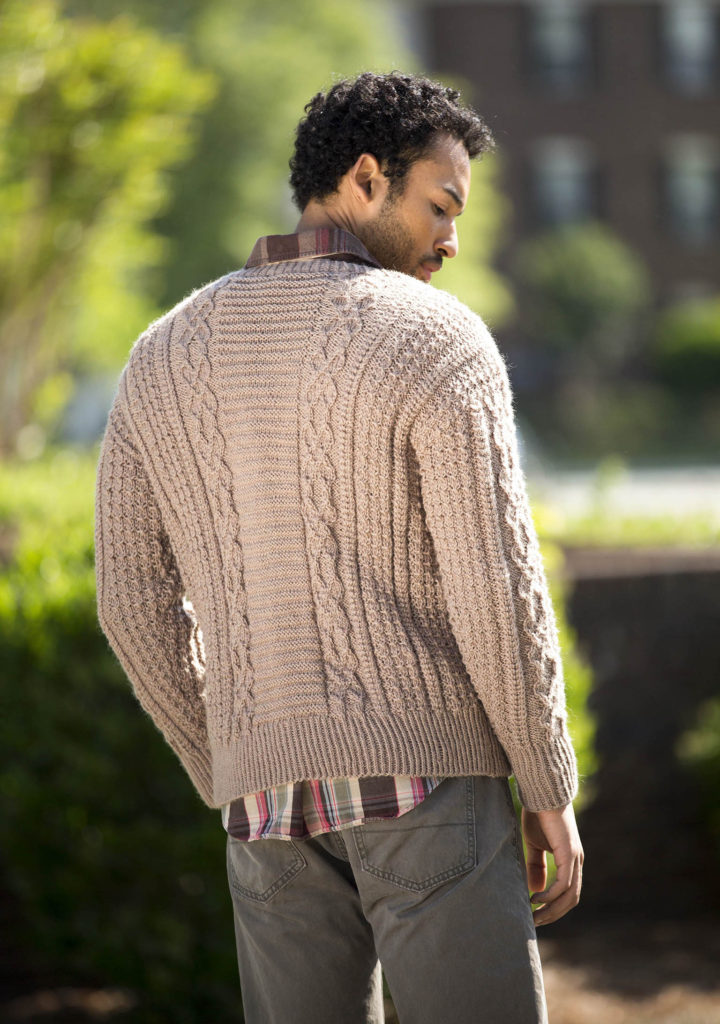
Like the Greensboro Cardi, this is a very stretchy stitch pattern knit in Deluxe Worsted wool. This one has a greater variety of stitch patterns, though, to satisfy your knitting itch.
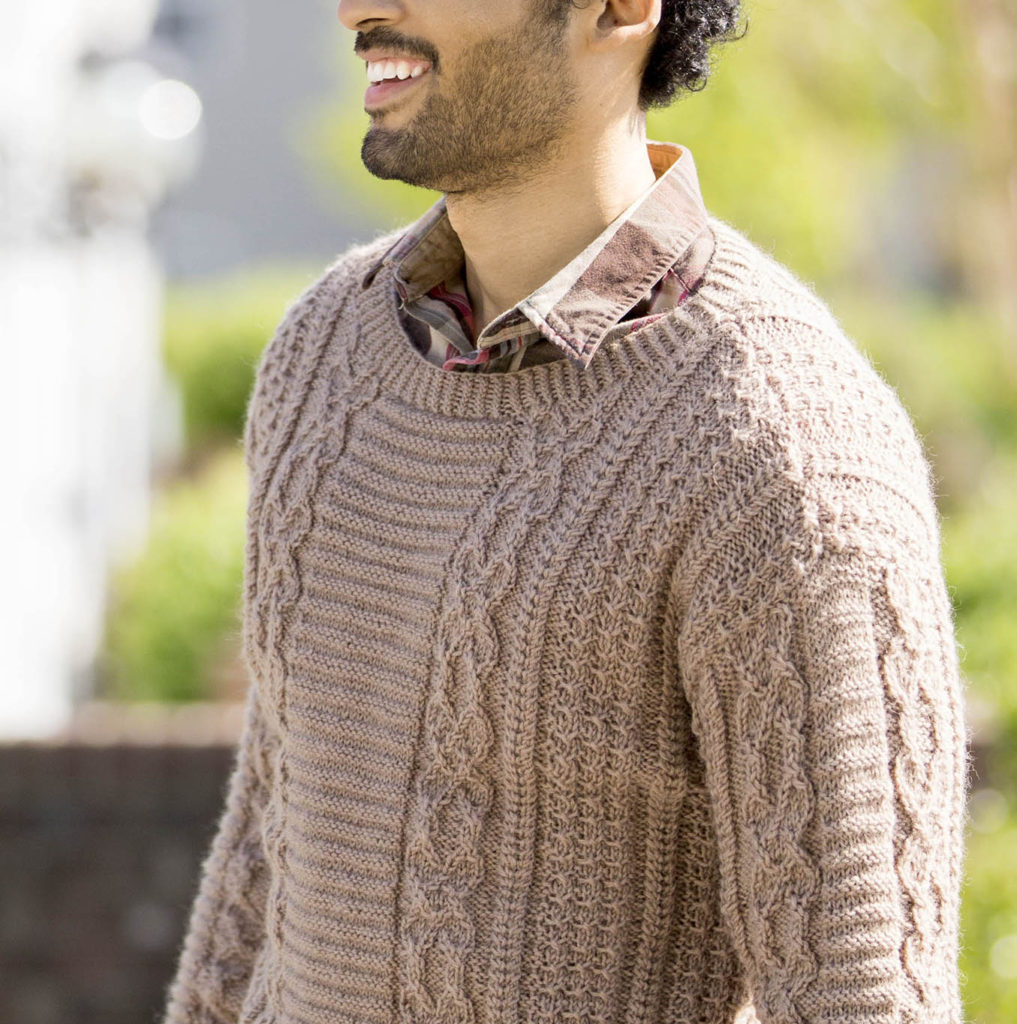
Amy Gunderson knitted this one for herself, and shares little tips (do you know how to spit-splice?) on our blog.

5. Kerf
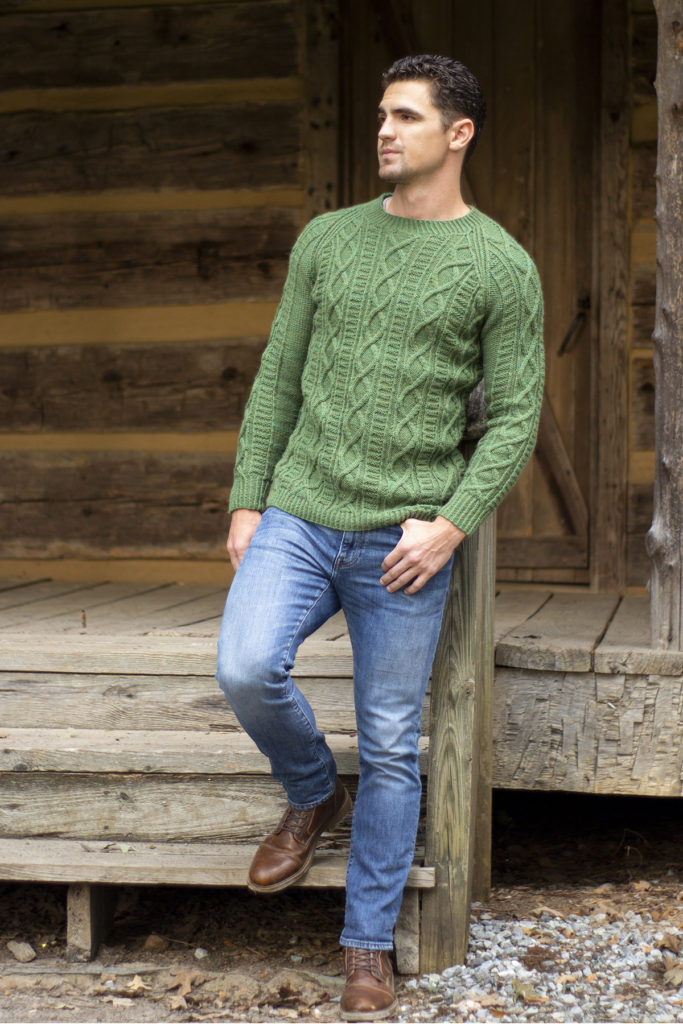
Image of man wearing green cable knit pullover

Kerf (pattern link here) is knit in Deluxe Worsted Superwash, the machine washable sibling to the Deluxe Worsted used in Wesley Heights, above.
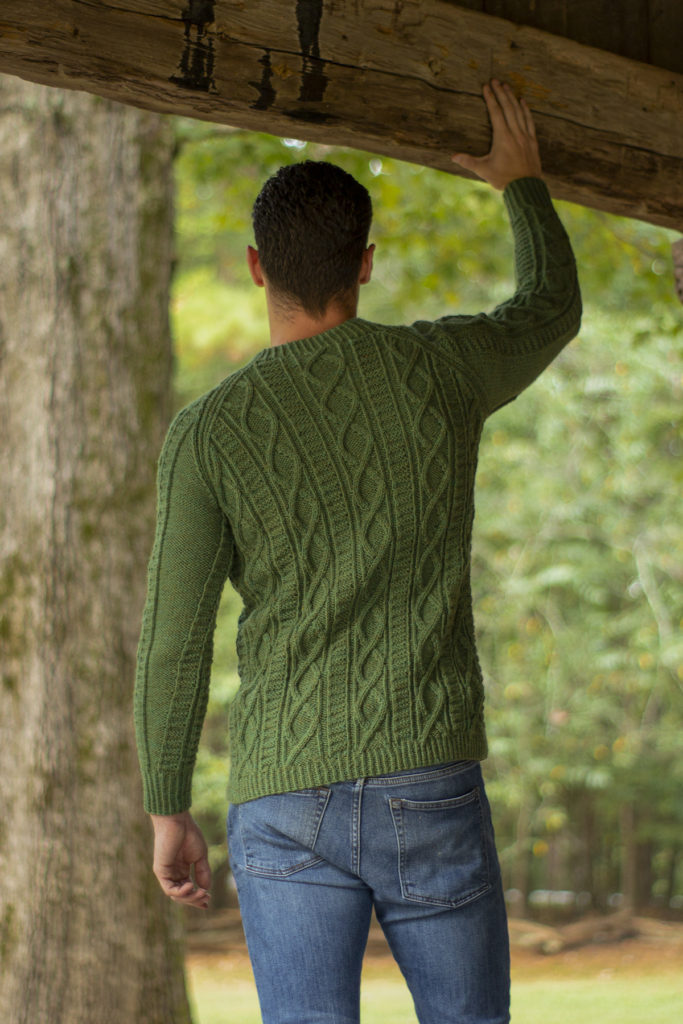
Columns of classic cables are split by welting for a well-defined look.

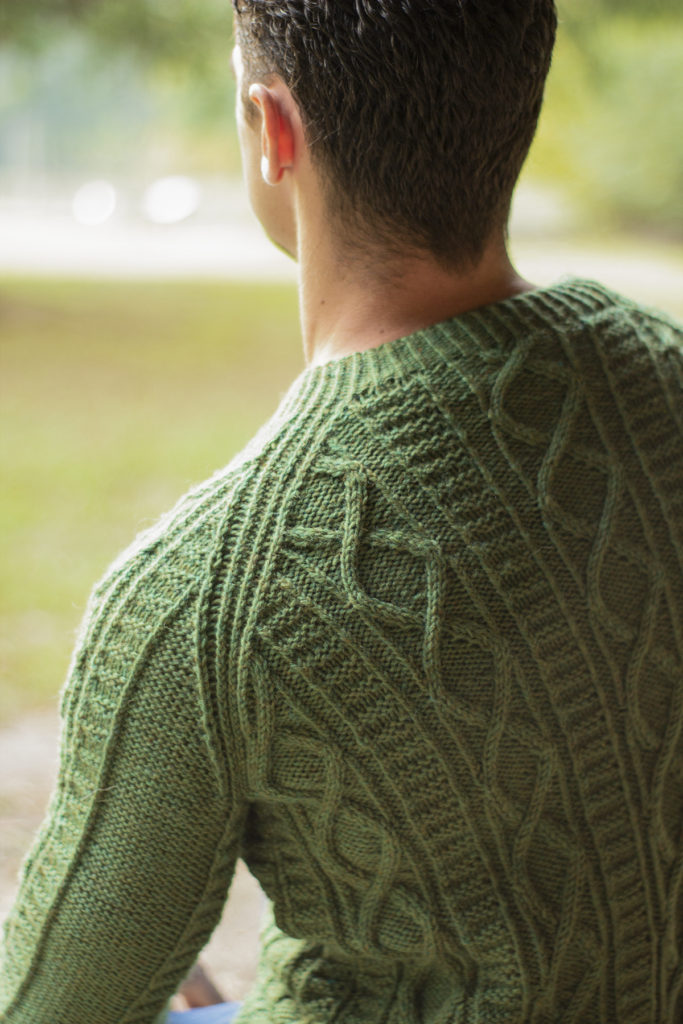
LOVE the detailing where the shoulders meet the collar.
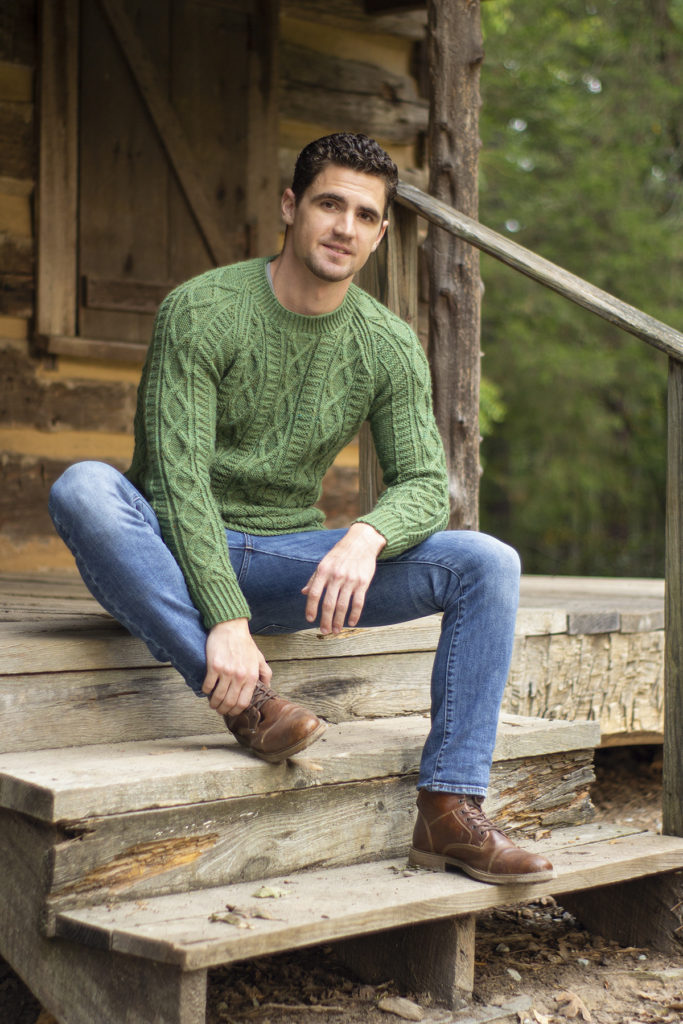
This was one of our most popular sweaters of the year, and it’s not hard to see why. Kerf is available on its own or as part of the Deluxe Men’s Collection.

…and one more for luck.

The Chapel Hill Vest (pattern link here) is a free pattern on our site!

Knit in Deluxe Worsted, the vest is worked in two pieces and seamed. Stitch patterns are written and charted.
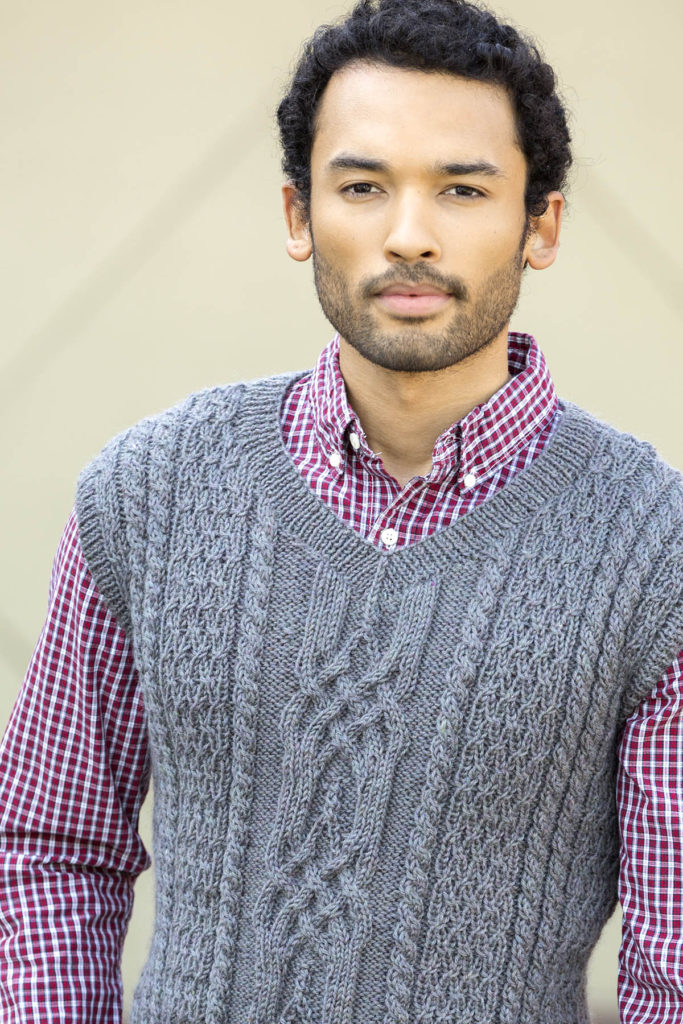
The center cable is a fantastic focal point, surrounded by smaller cables and twisted stitches. Fabulous.

We hope you’re inspired to get your needles out, and cast on something warm and wonderful.

Happy crafting!
Deluxe Cable Collection Knitalong – Installing a Zipper

With the holidays upon us, I know many of you are busy plugging away at gift projects. Me? I’m as selfishly knitting as ever and just finished my modified Wesley Heights. Though I finished knitting the pieces and seaming the sweater many weeks ago, I just sewed in my zipper, and I’m going to show you how.

As a reminder, this is our ongoing blog series covering projects from the Deluxe Cable Collection. You can learn more about the knitalong by reading previous blog posts here, viewing the collection here, and joining our Ravelry group here.

I basically knit the Wesley Heights pullover, but followed instructions for the Greensboro Cardigan for collar and zipper facings. Stitches for the collar are picked up around the neck edge and knit upward. Then, the first and last 6 stitches of the collar are continued to form the zipper facings.

zipper_1

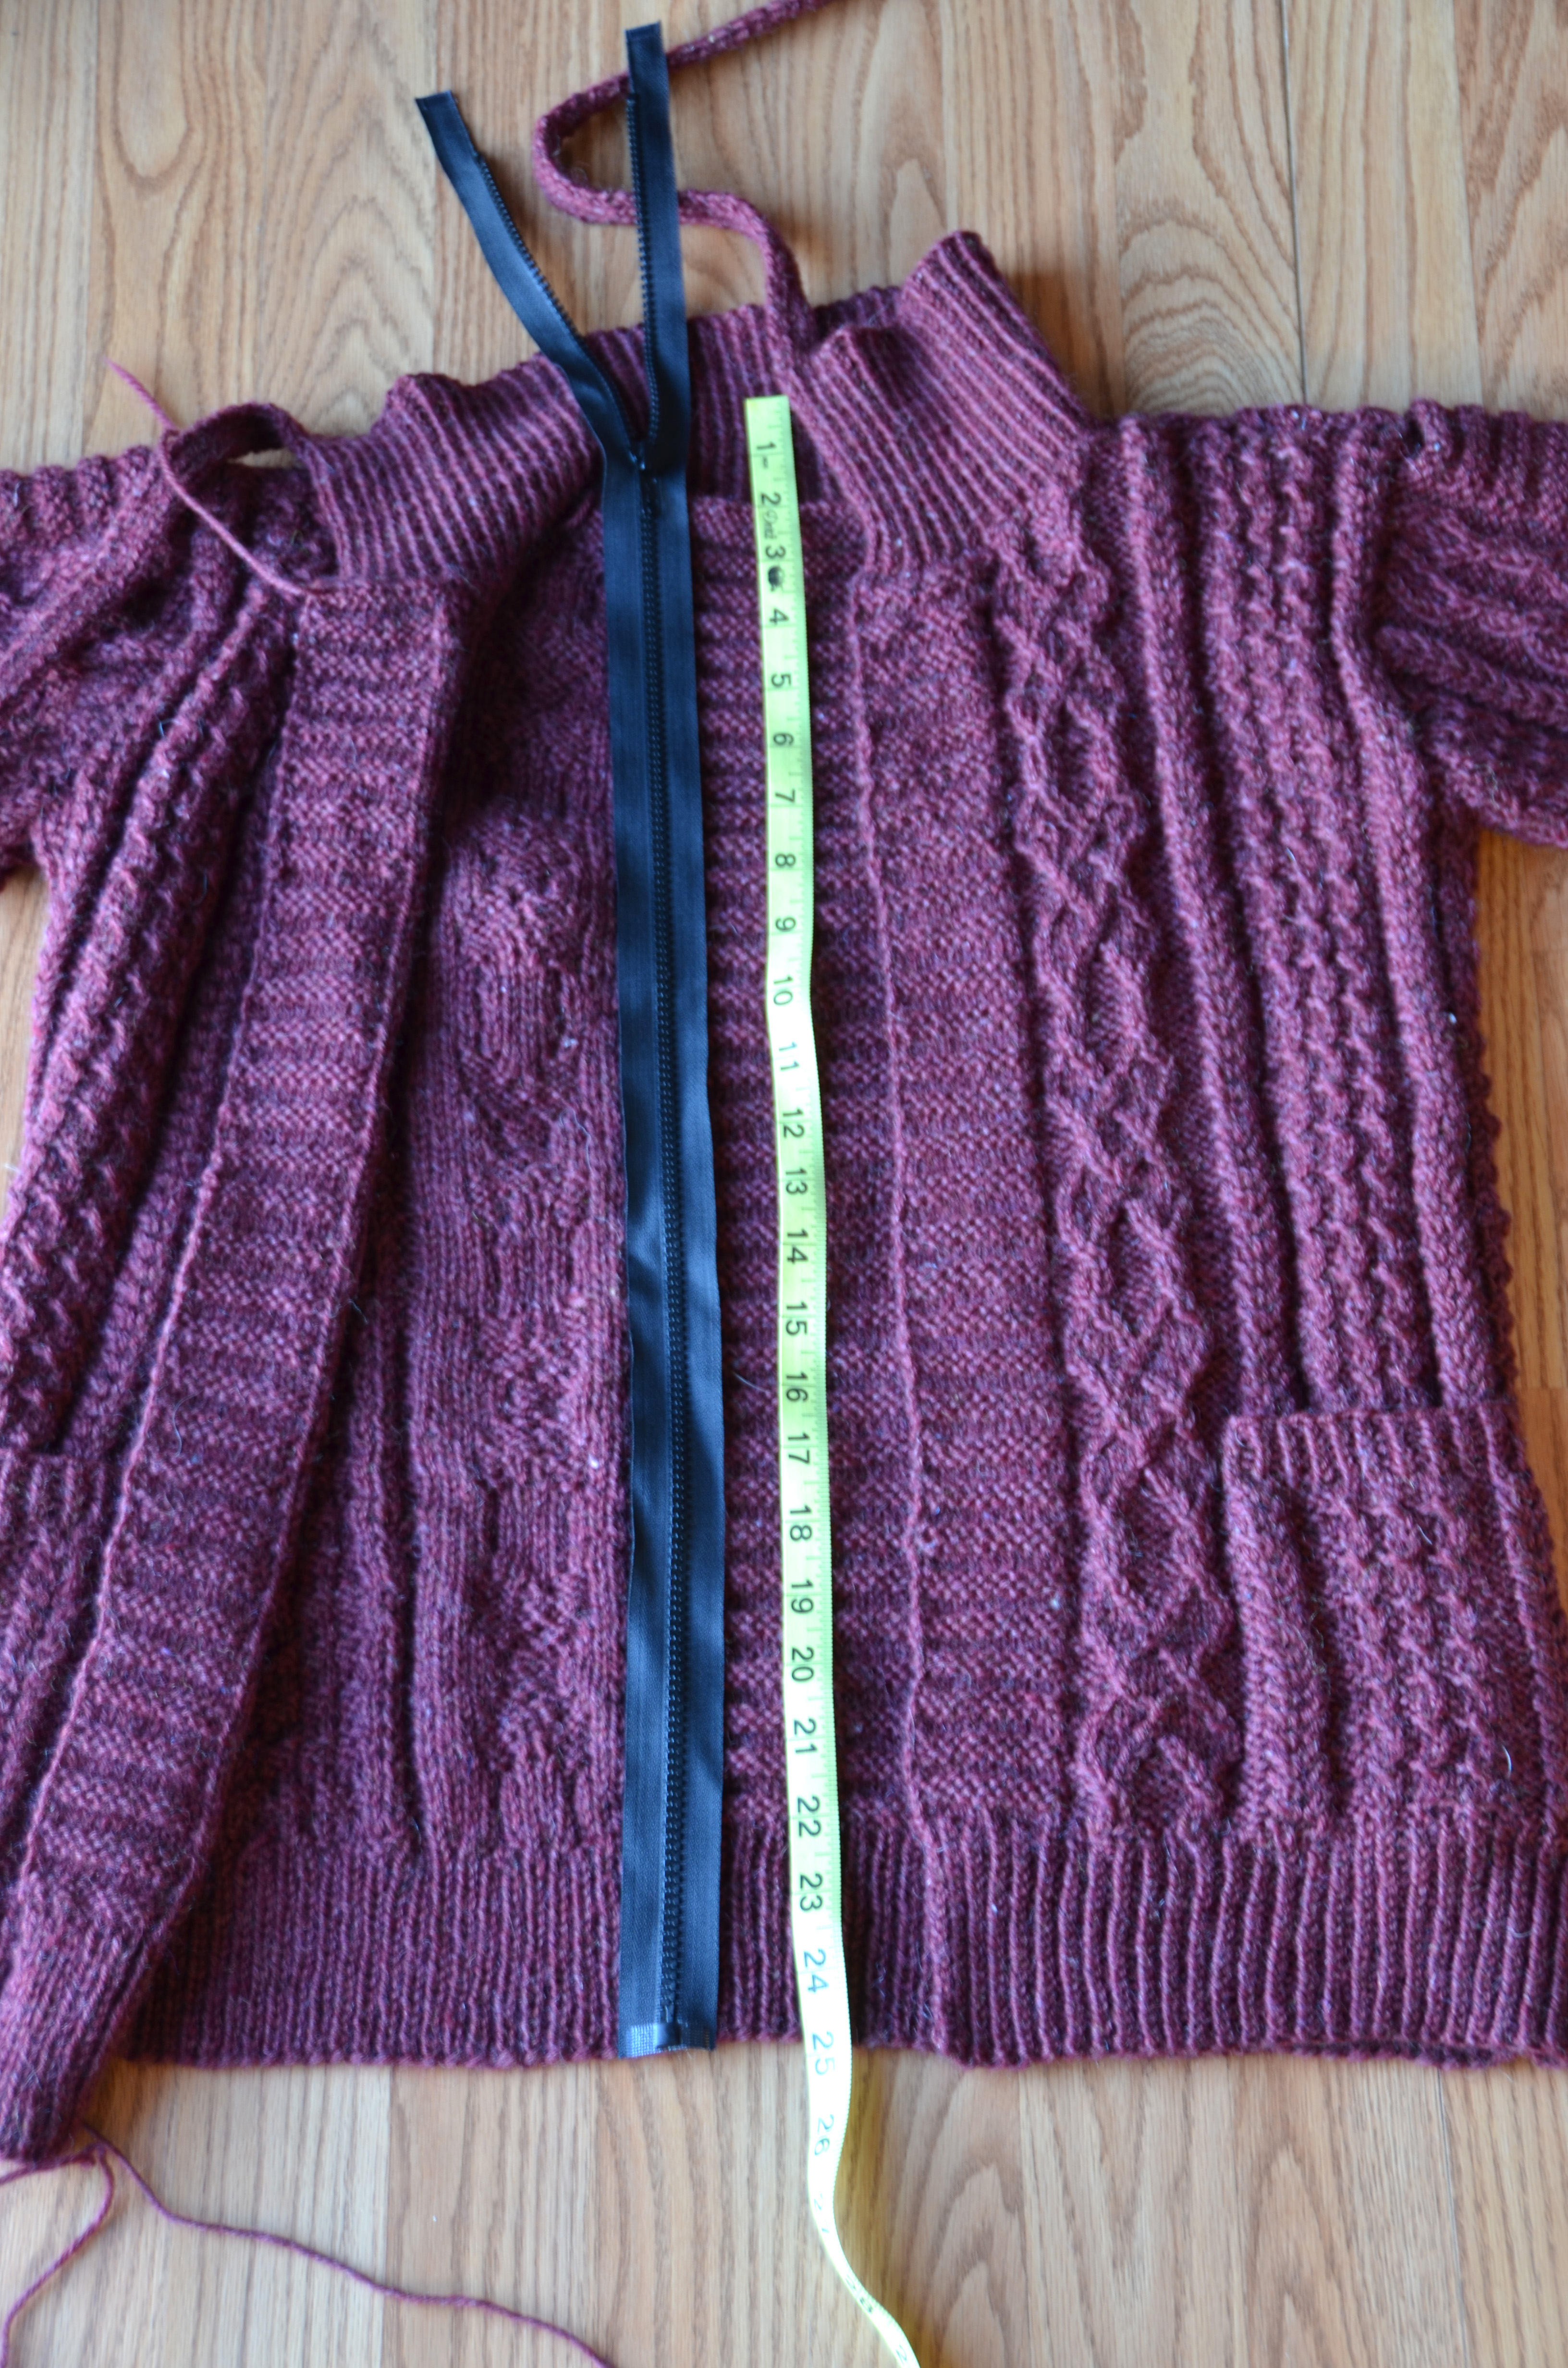
Be sure not to stretch the knitting when measuring for the zipper.

It’s important to block your knitting before measuring for the zipper length and installing it. Zippers and knitting can be tricky, since zipper tape is typically woven and non-stretchy. But I’m going to show you what you can do to avoid the puckery zipper look.

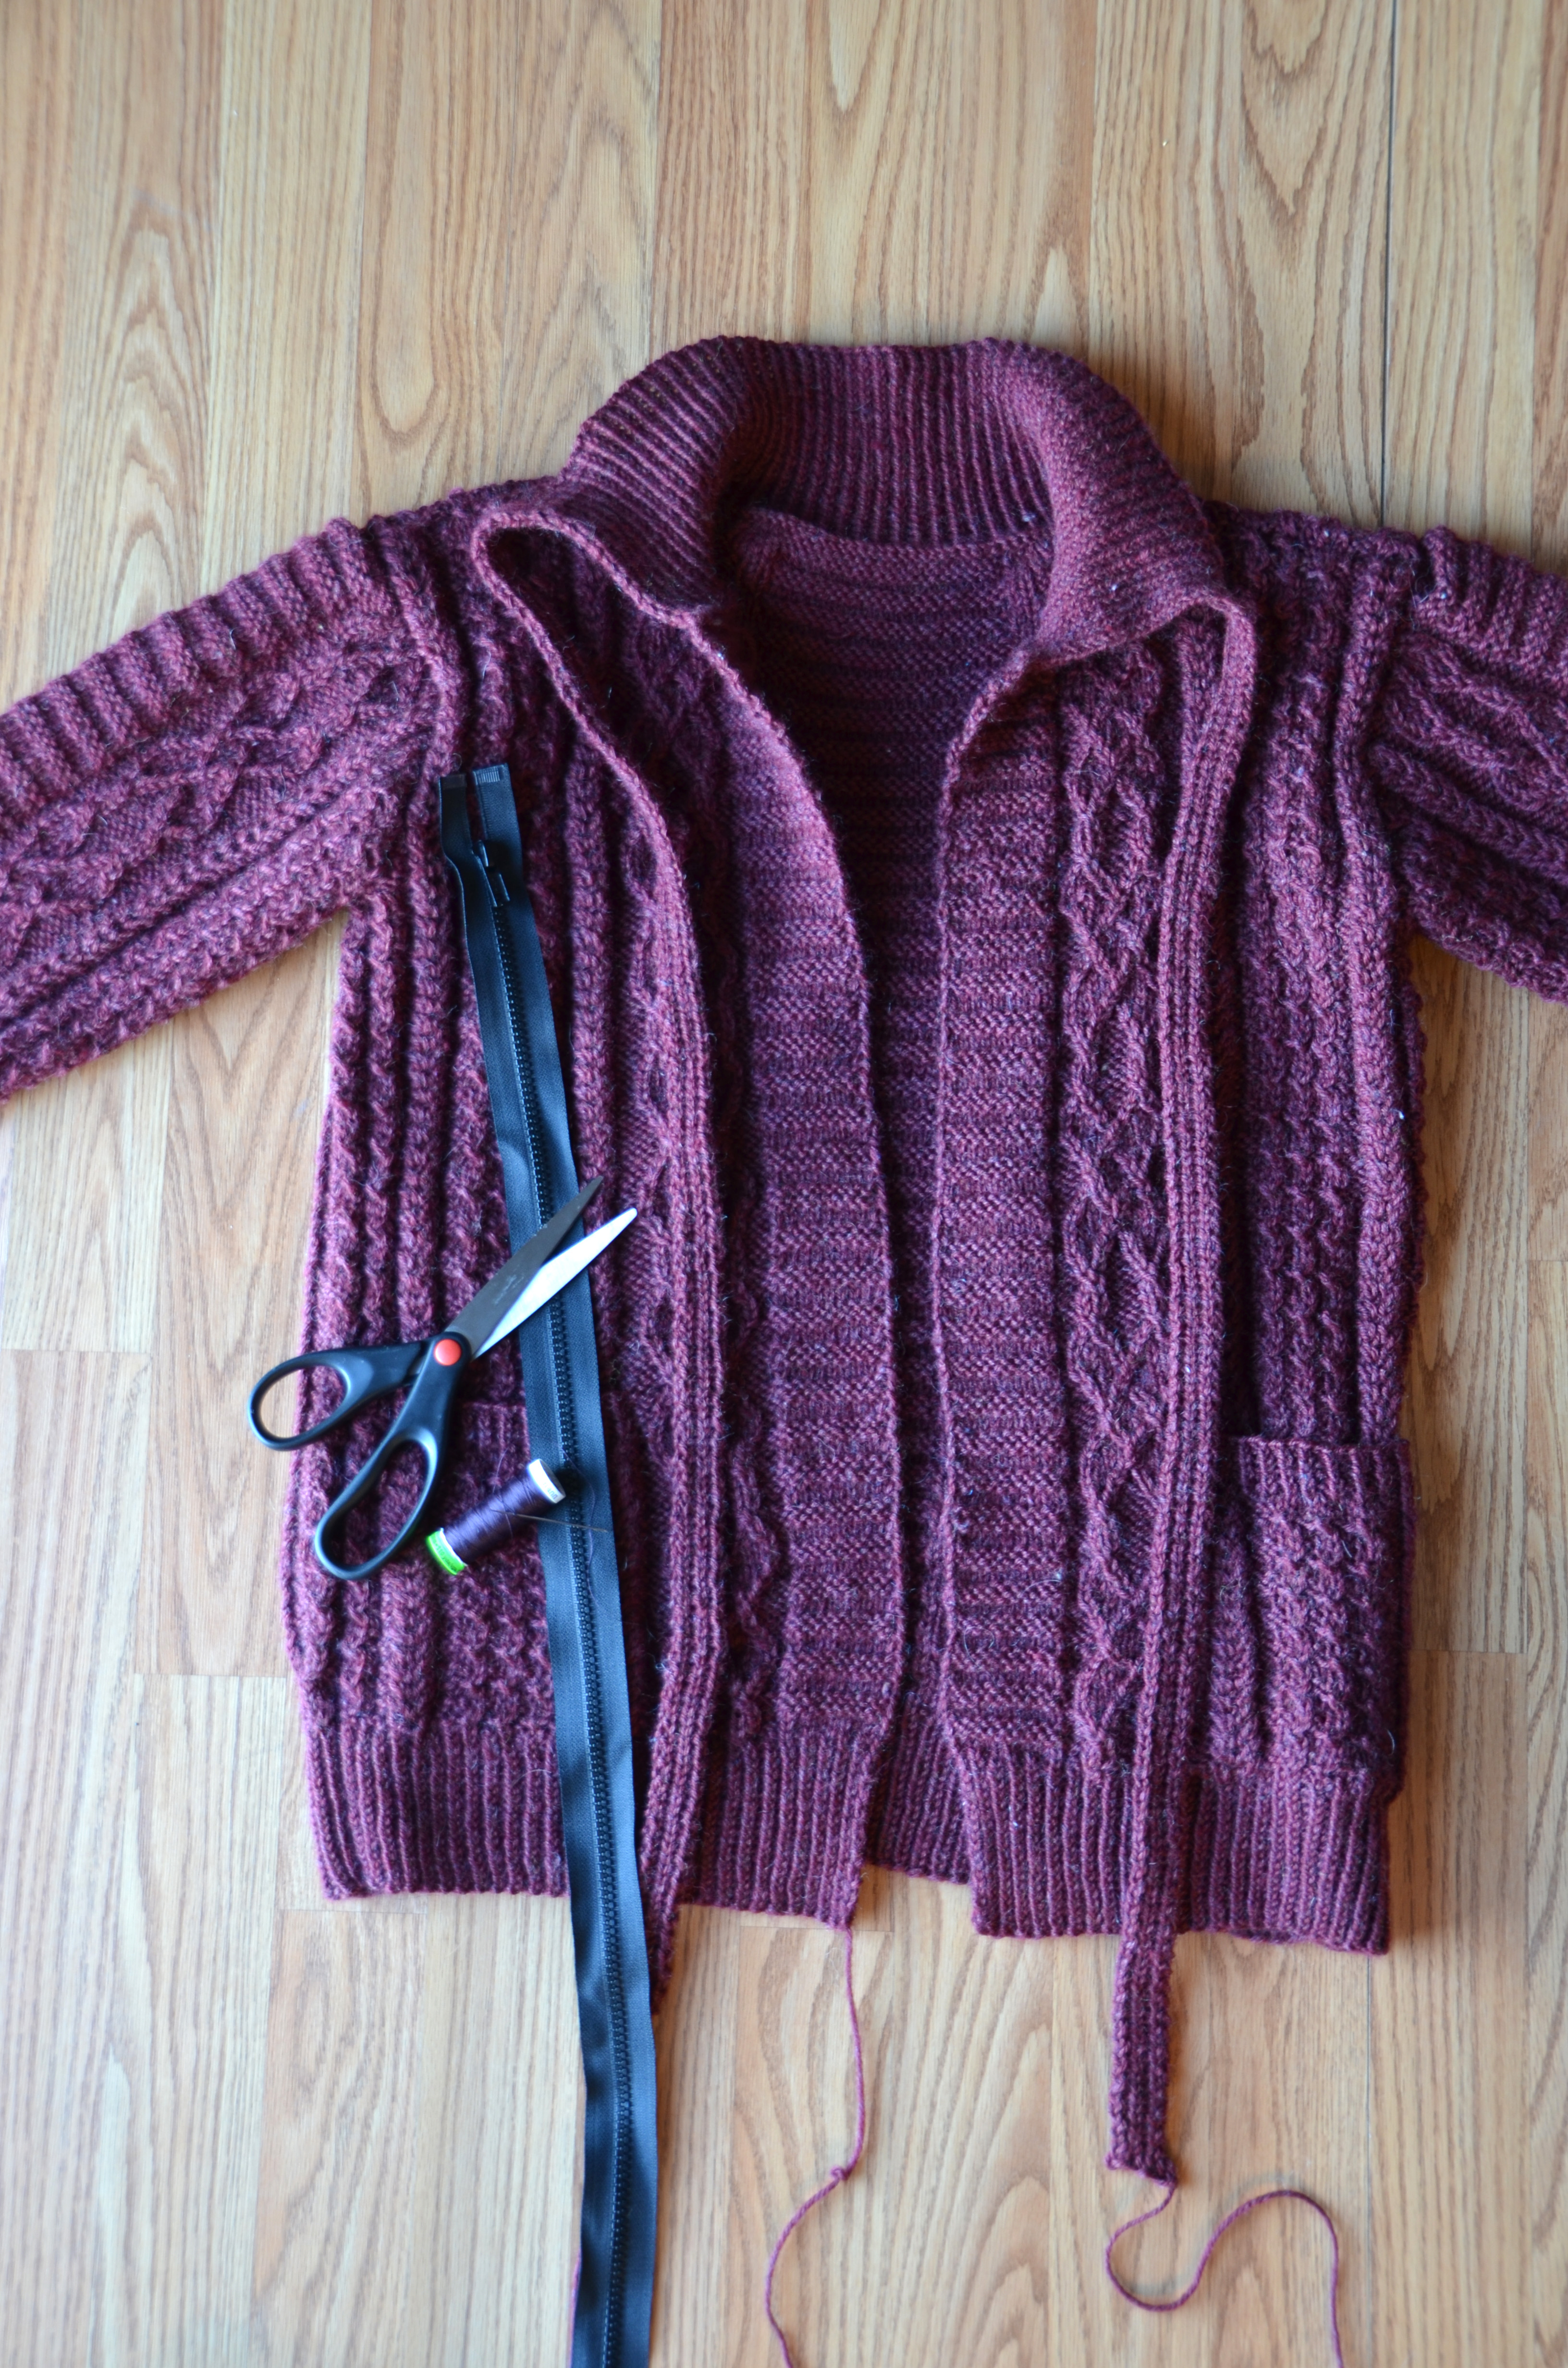
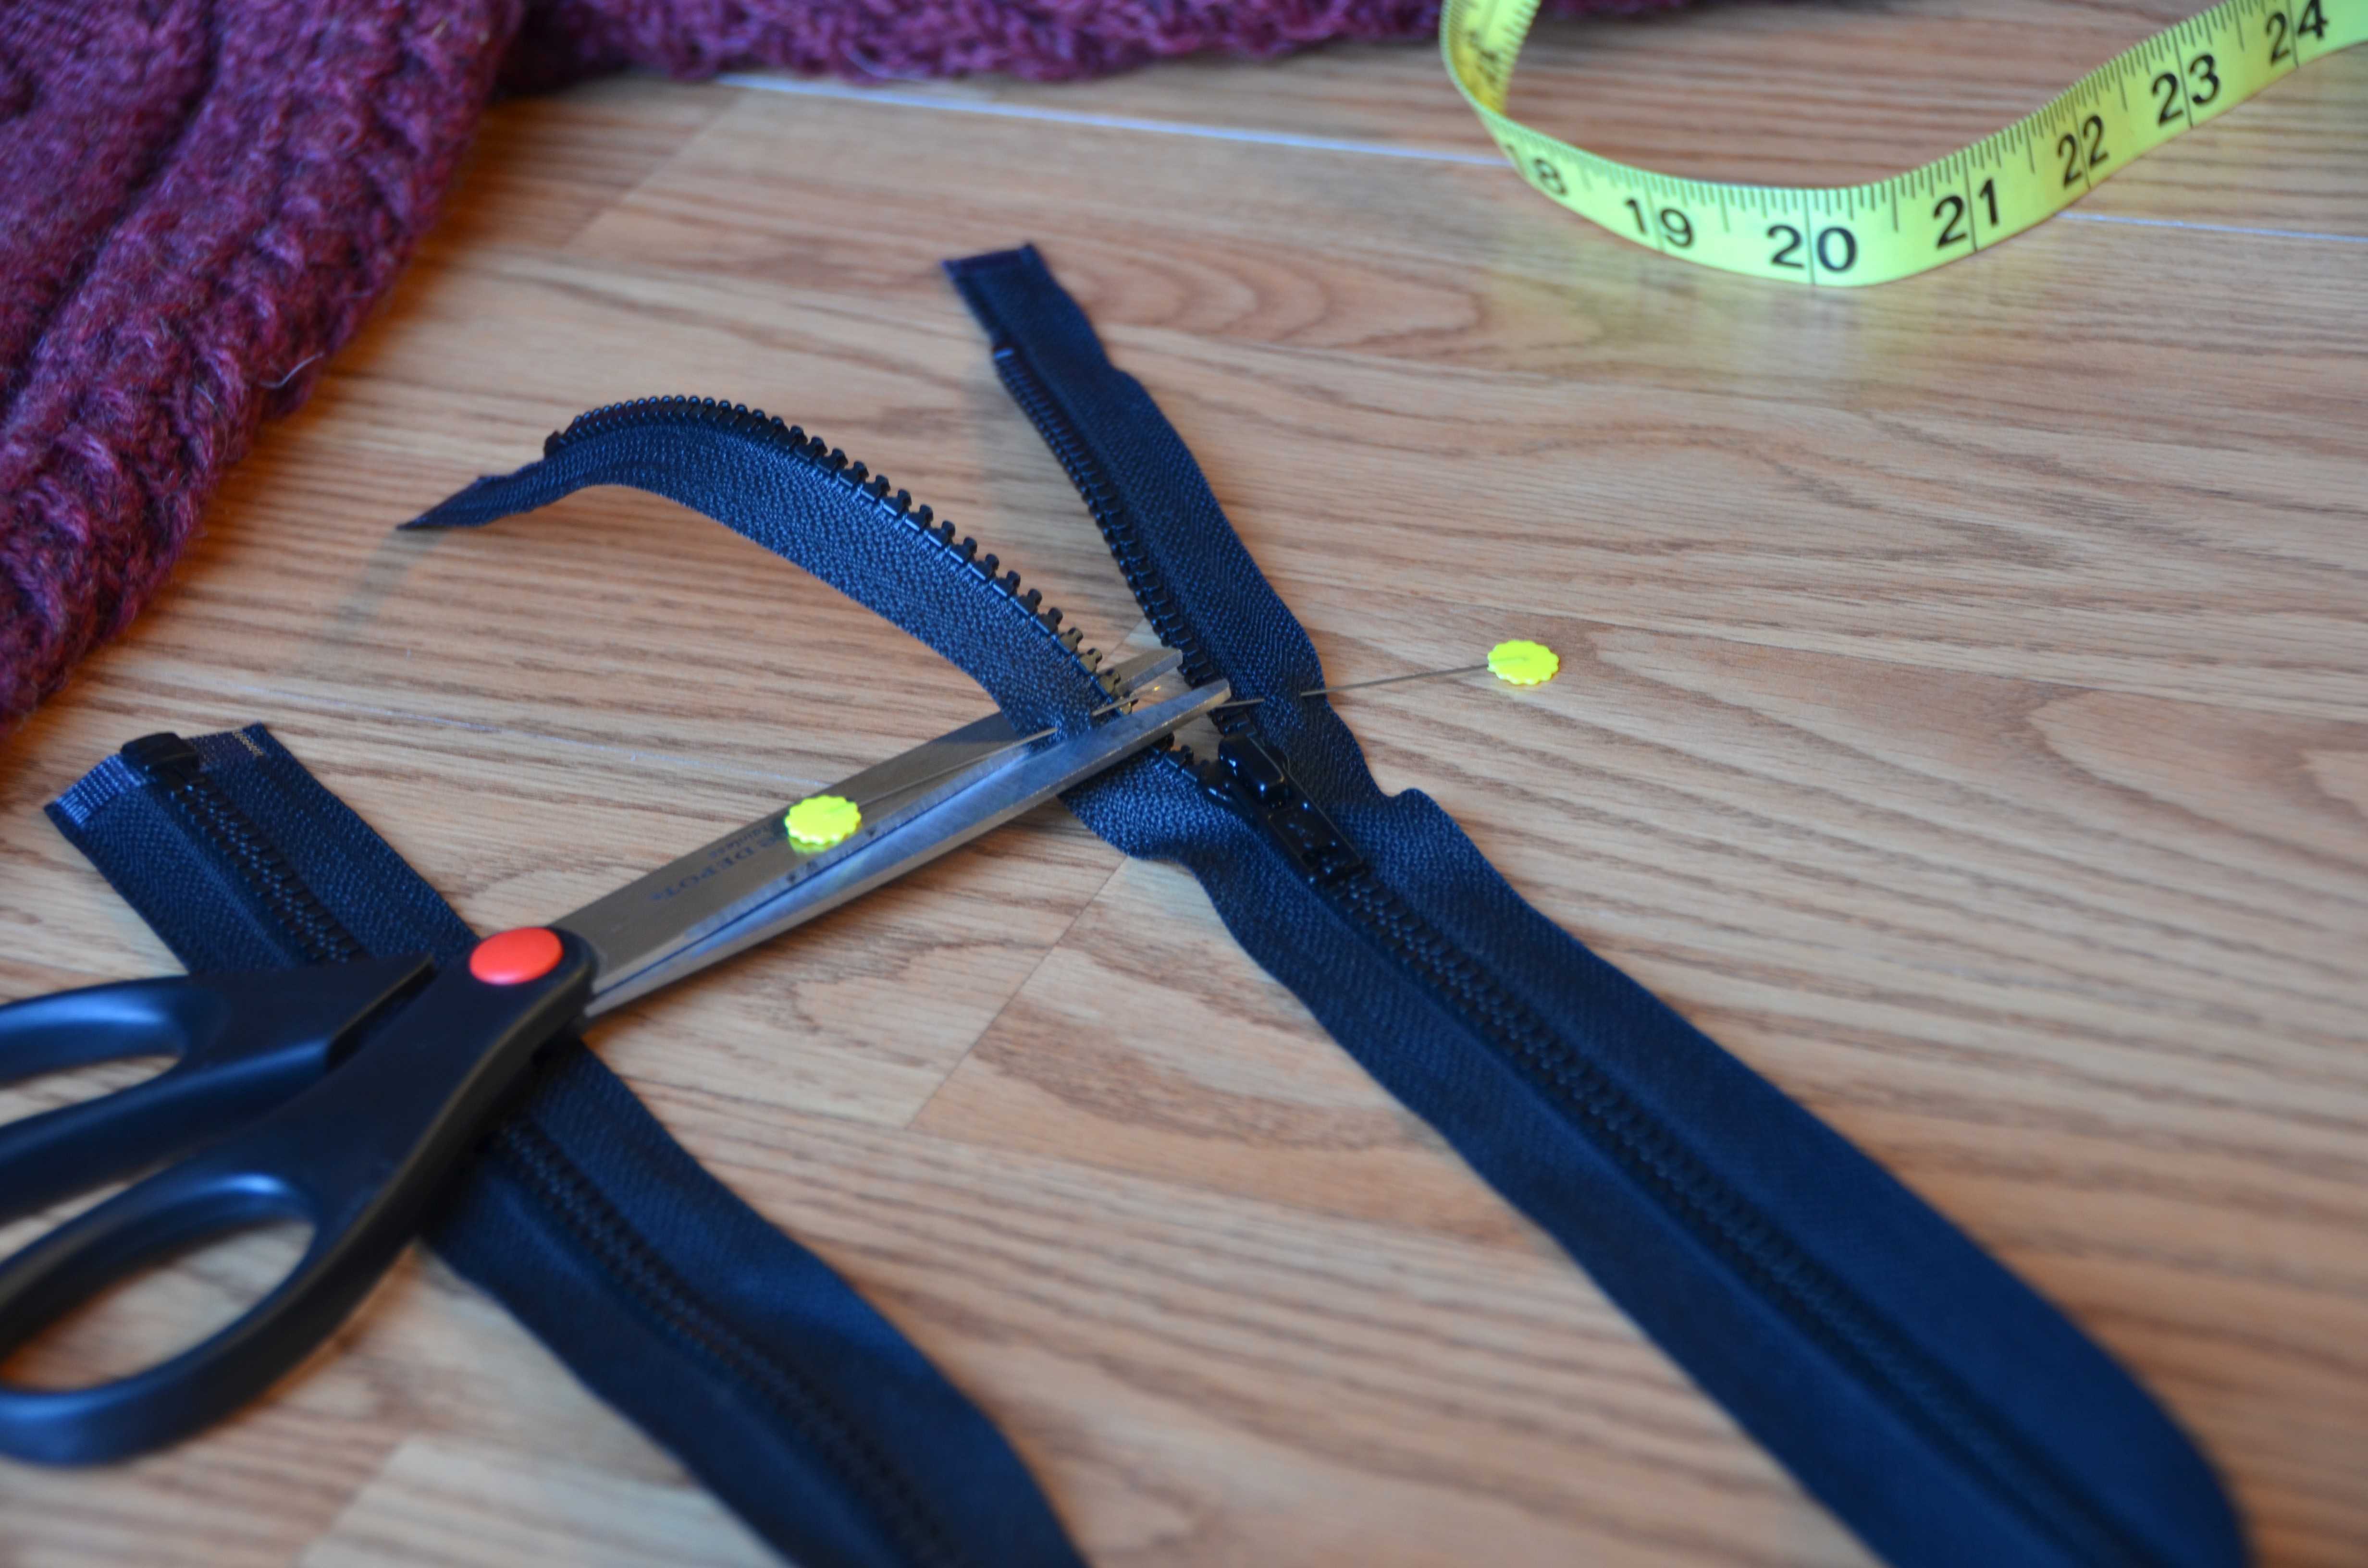
Open up your sweater and measure along the front opening from the very bottom edge to the top of the collar. I like to leave a small margin of about 1/4″ at the top and bottom before the zipper begins and after it ends. Mark with a pencil or with pins (as shown) where the zipper tape needs to be cut.

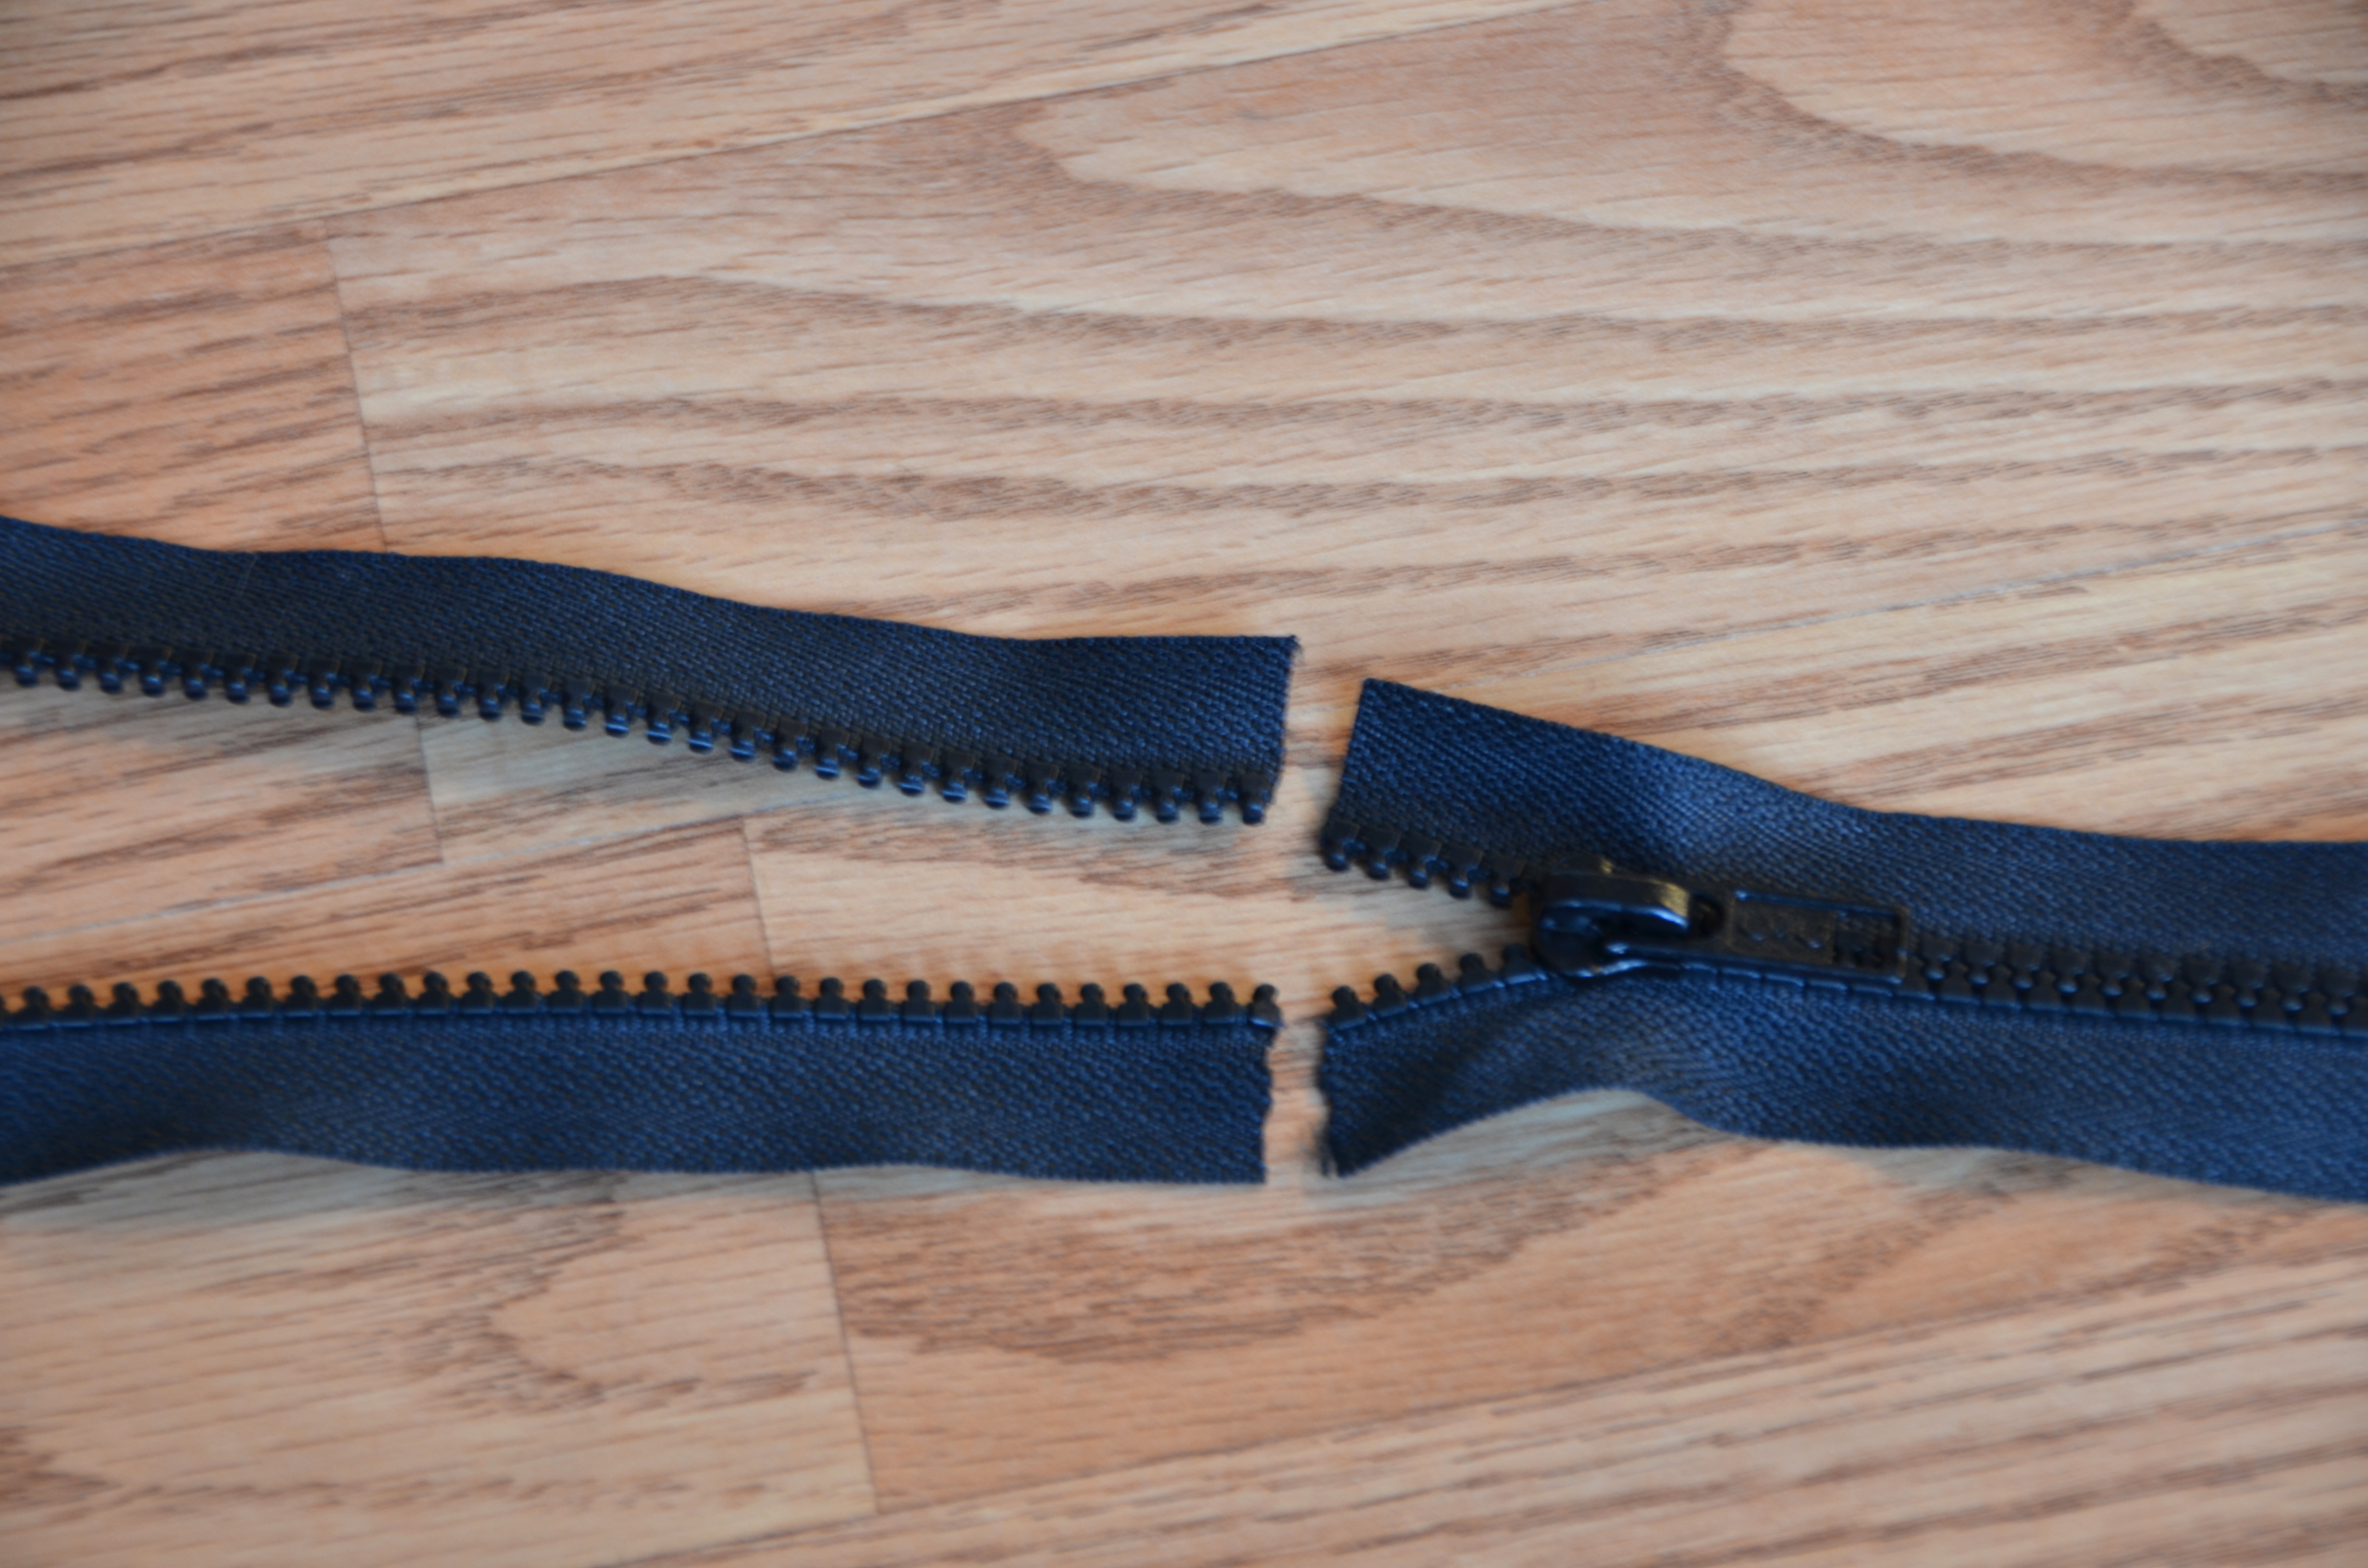
Don't accidentally slide your zipper over the top of your just-cut end!
Don’t accidentally slide your zipper over the top of your just-cut end!

Do not, I repeat, DO NOT slide the zipper off the top of the cut edge!

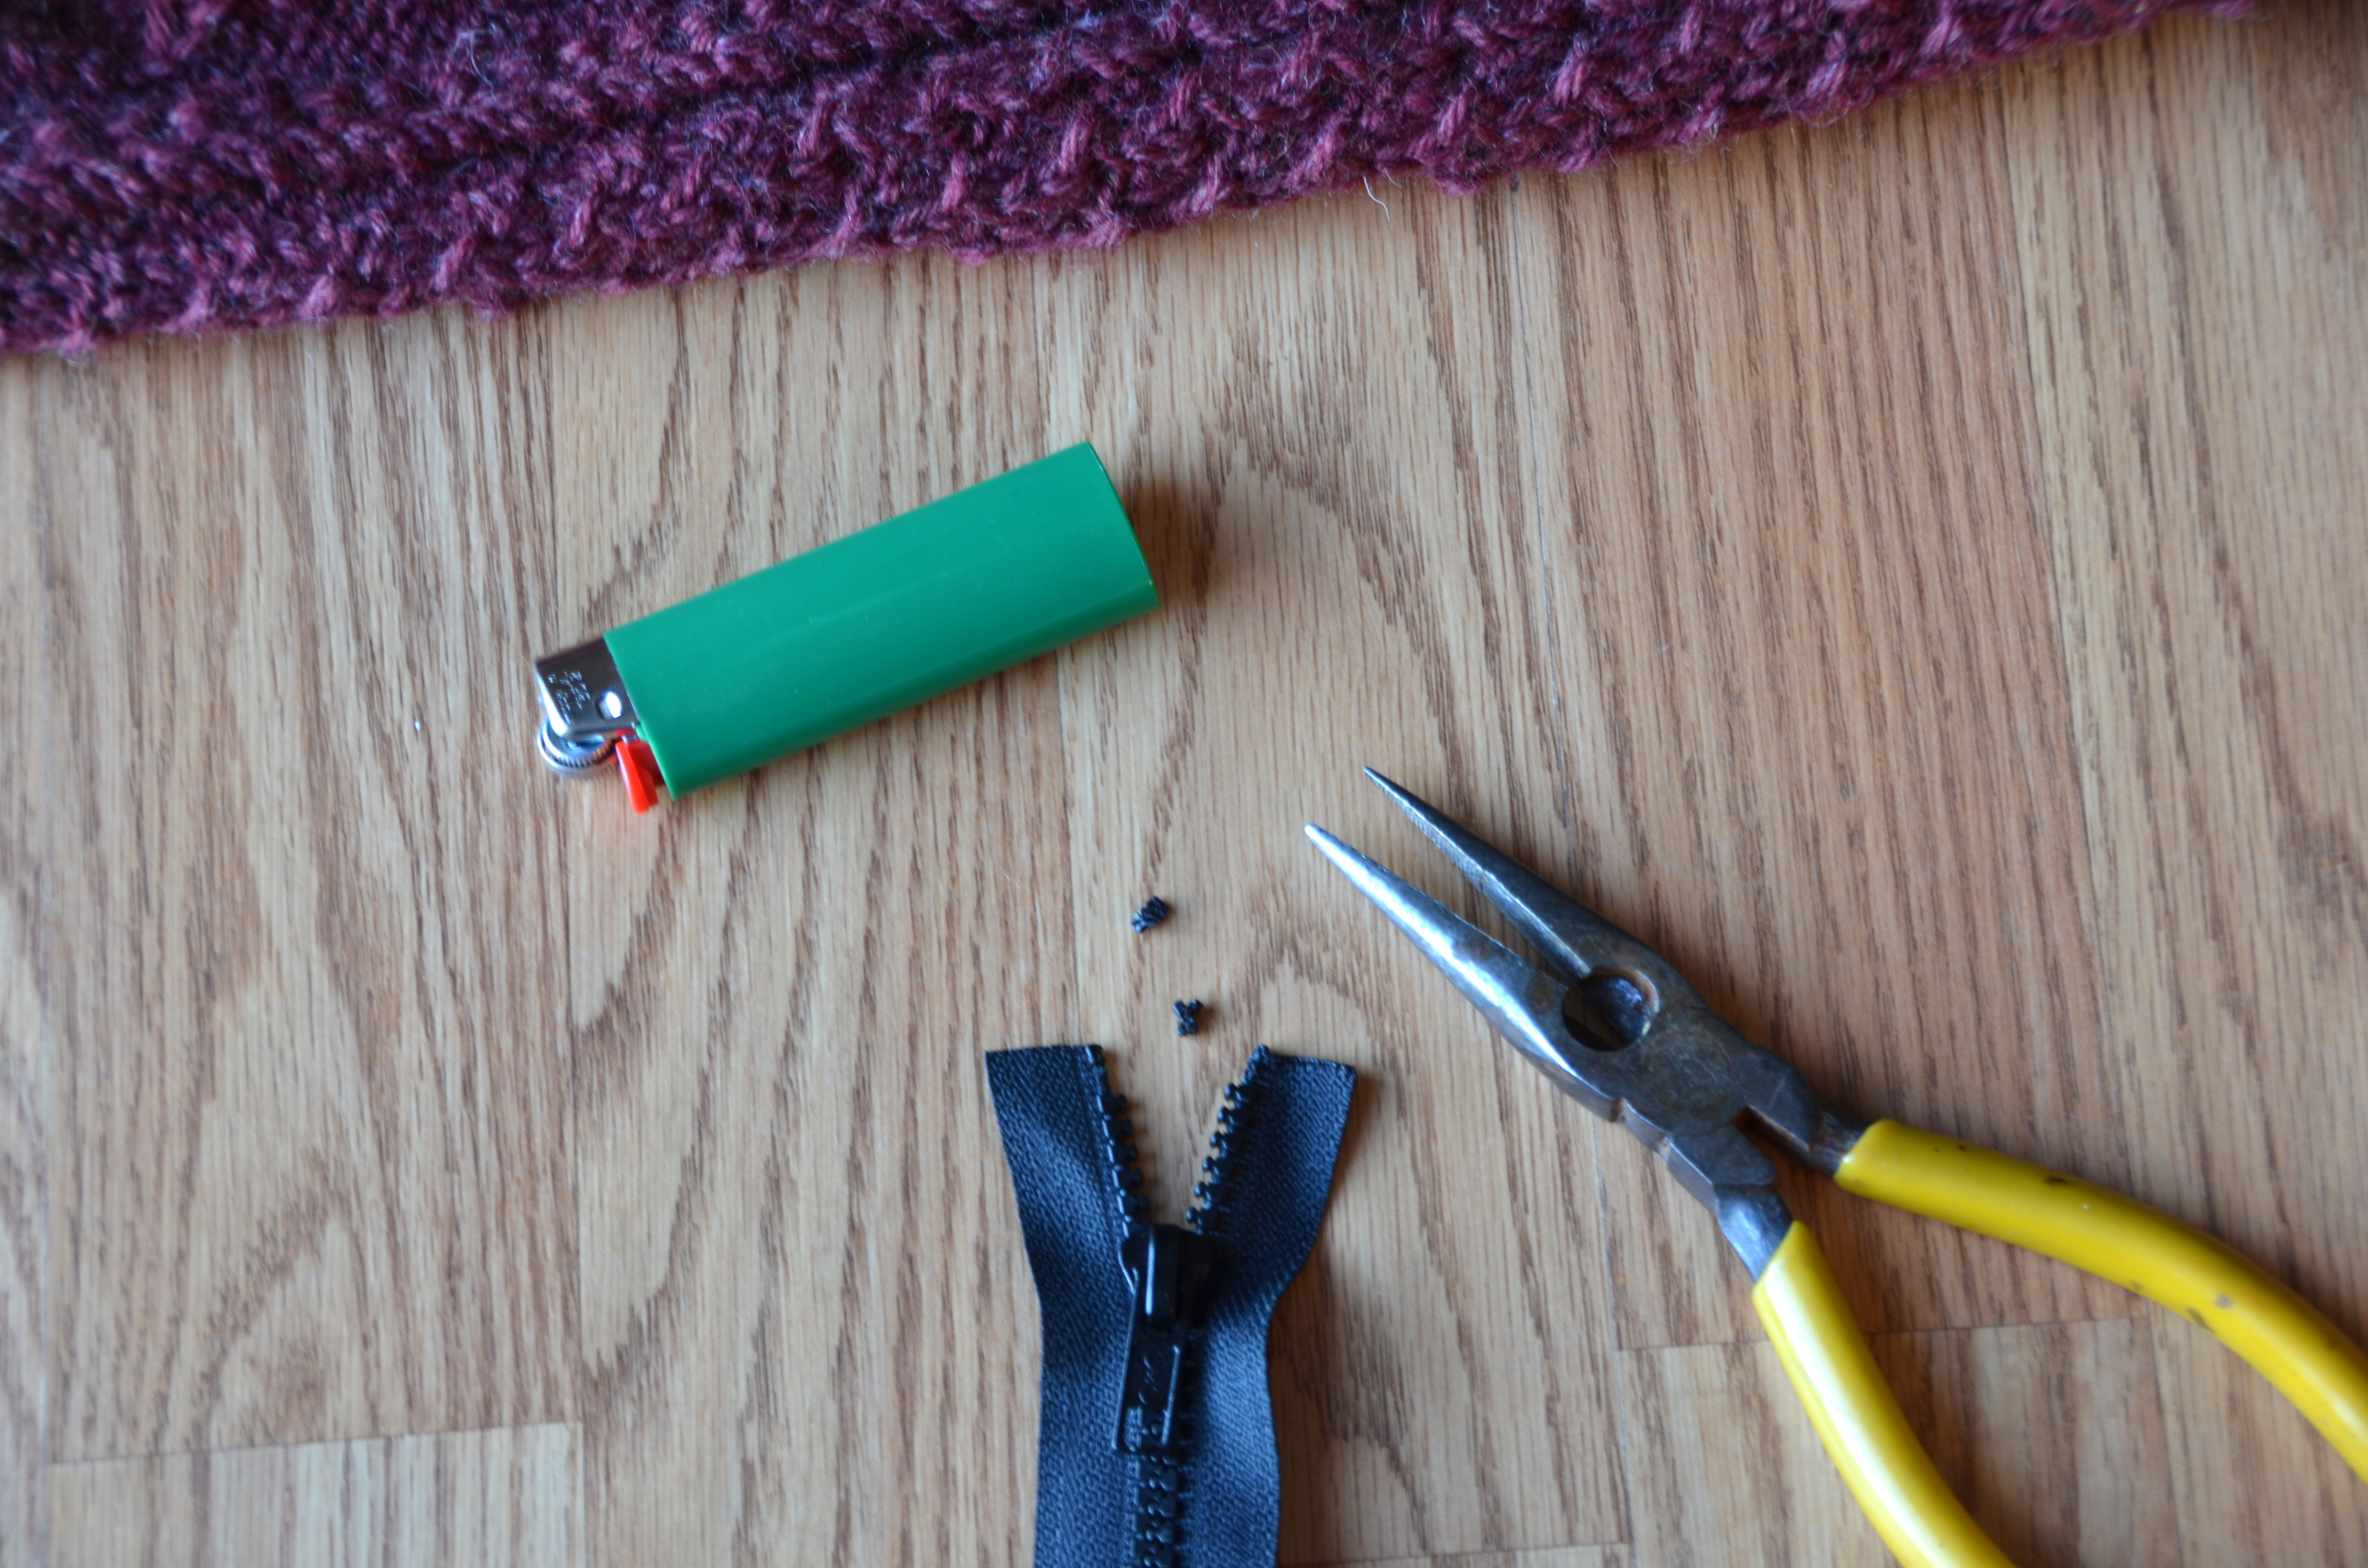
Next, we’re going to pretty-up that cut edge. I’m using a plastic zipper in the photo below. This method works great for a zipper with metal teeth, too. With pliers, carefully remove the 2 teeth from the top of the tape. If your metal zipper came with a stop (which looks like a metal tab), you can remove it from the piece you cut off and reattach to the newly shortened zipper.

Then, take a lighter or other flame and carefully melt the end of the tape. This will not work for a cotton zipper tape – it only works on polyester, nylon, acrylic – something that will melt when burned. Be careful, you want to barely melt the end just to stop the fraying of the tape where you cut it.

If you have a cotton or plant fiber tape, fold under the end and sew it down.

zipper_5

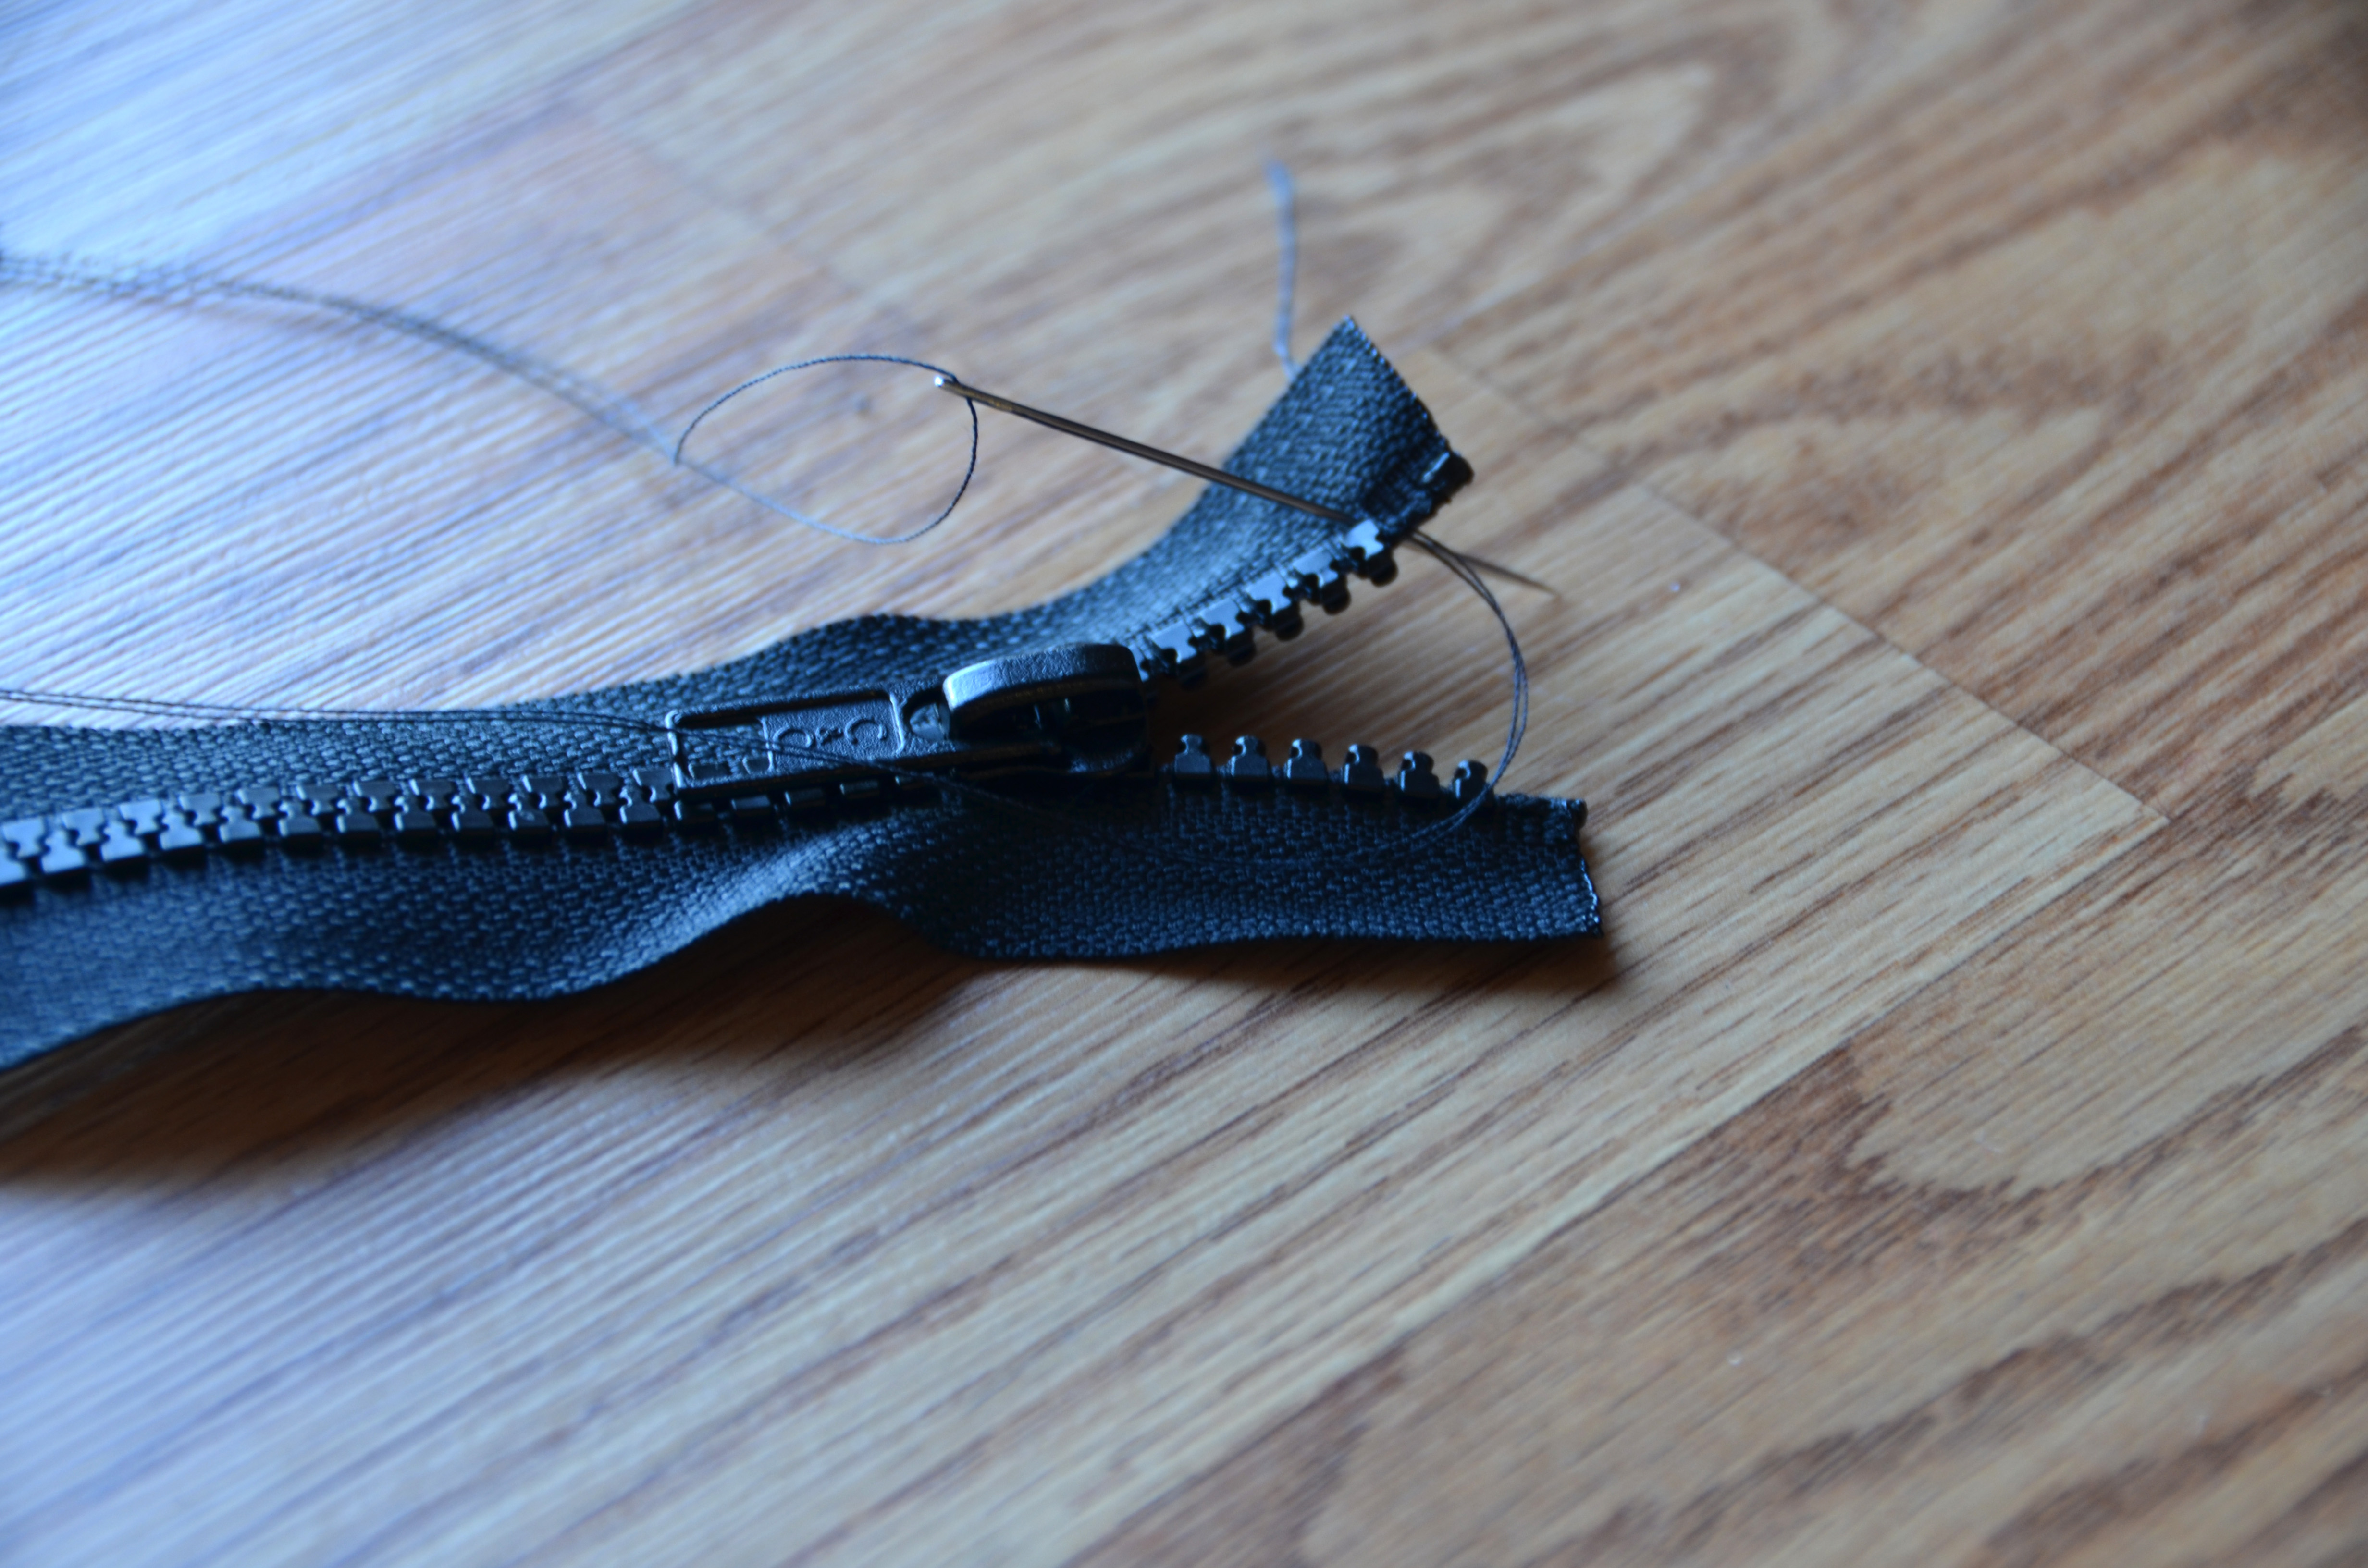
This next step probably isn’t necessary for this particular zipper installation since my zipper will be sandwiched between the sweater and knitted zipper facing. But I’ve been burned before with forgetfully sliding my zipper off the top of the tape, so I like to do everything possible to prevent that! By whip stitching around the top of the tape just above the teeth, this will prevent the zipper from sliding off. Or if you had a metal zipper with a zipper stop and reinstalled it, there is no need for this step.

zipper_6

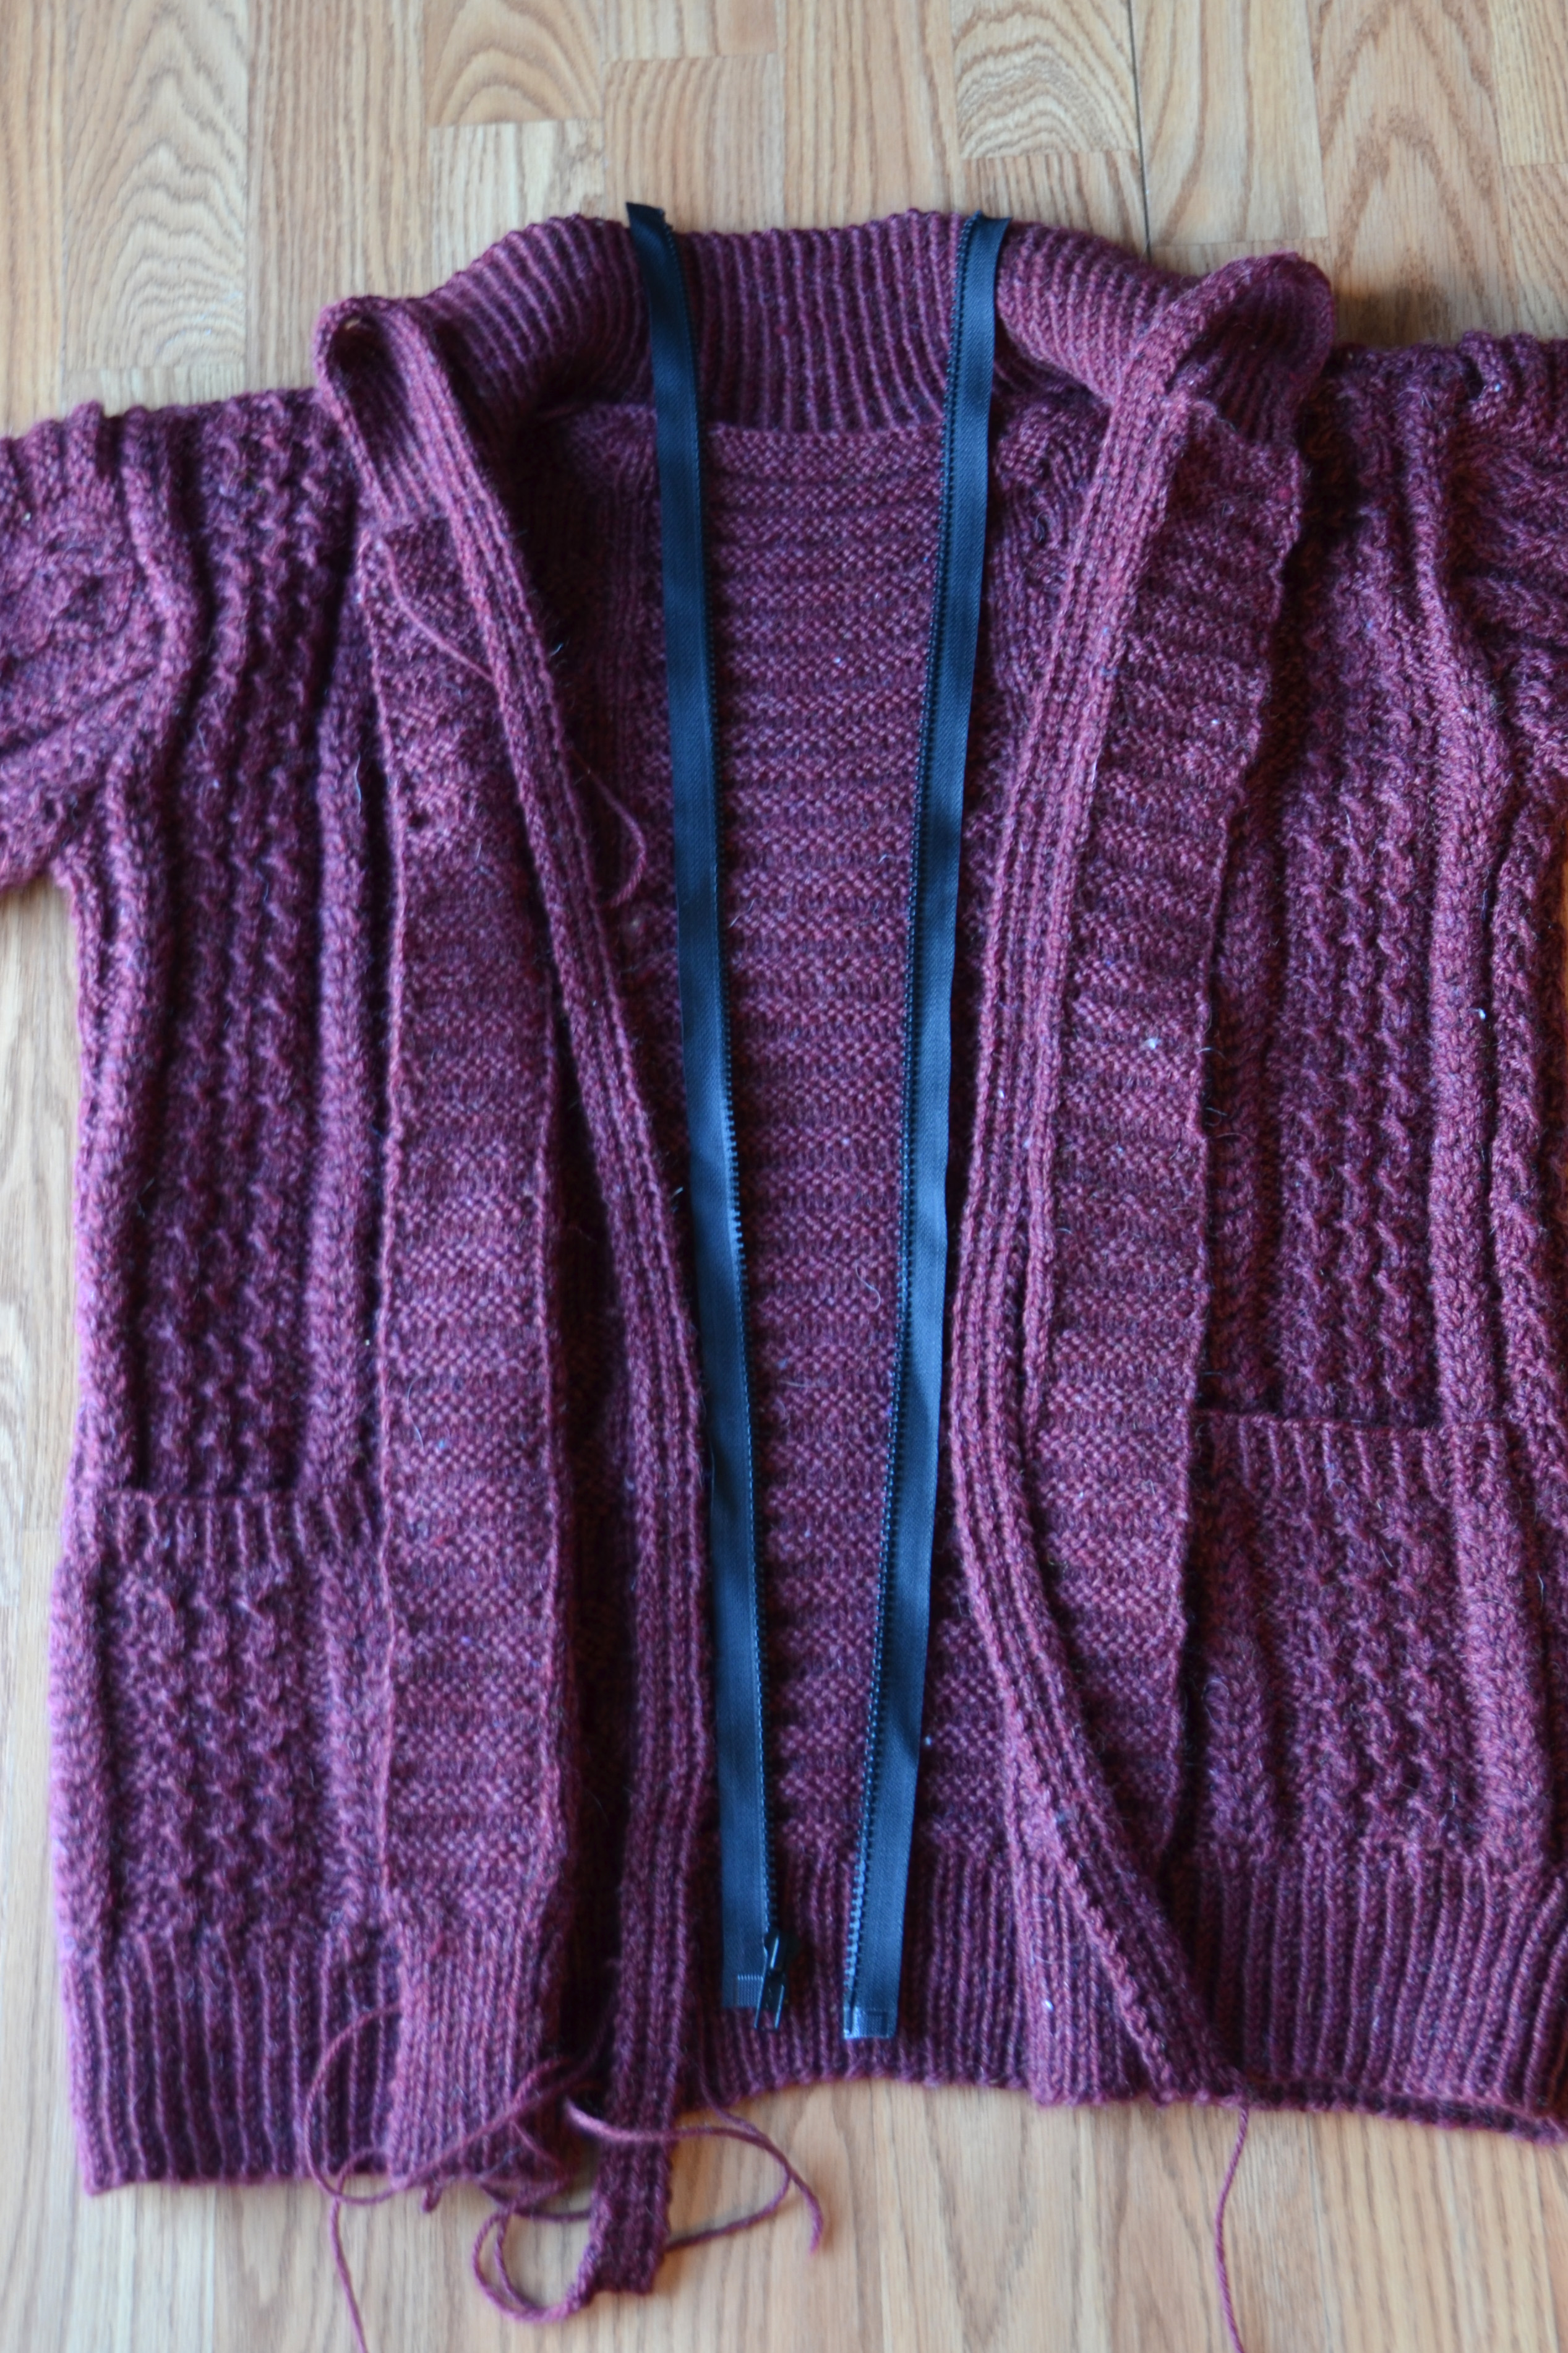
Next, unzip your zipper (you did buy a separating zipper, right?) and lay out the appropriate sides on their respective fronts.

Triple check your zipper placement!

Triple check your zipper placement!

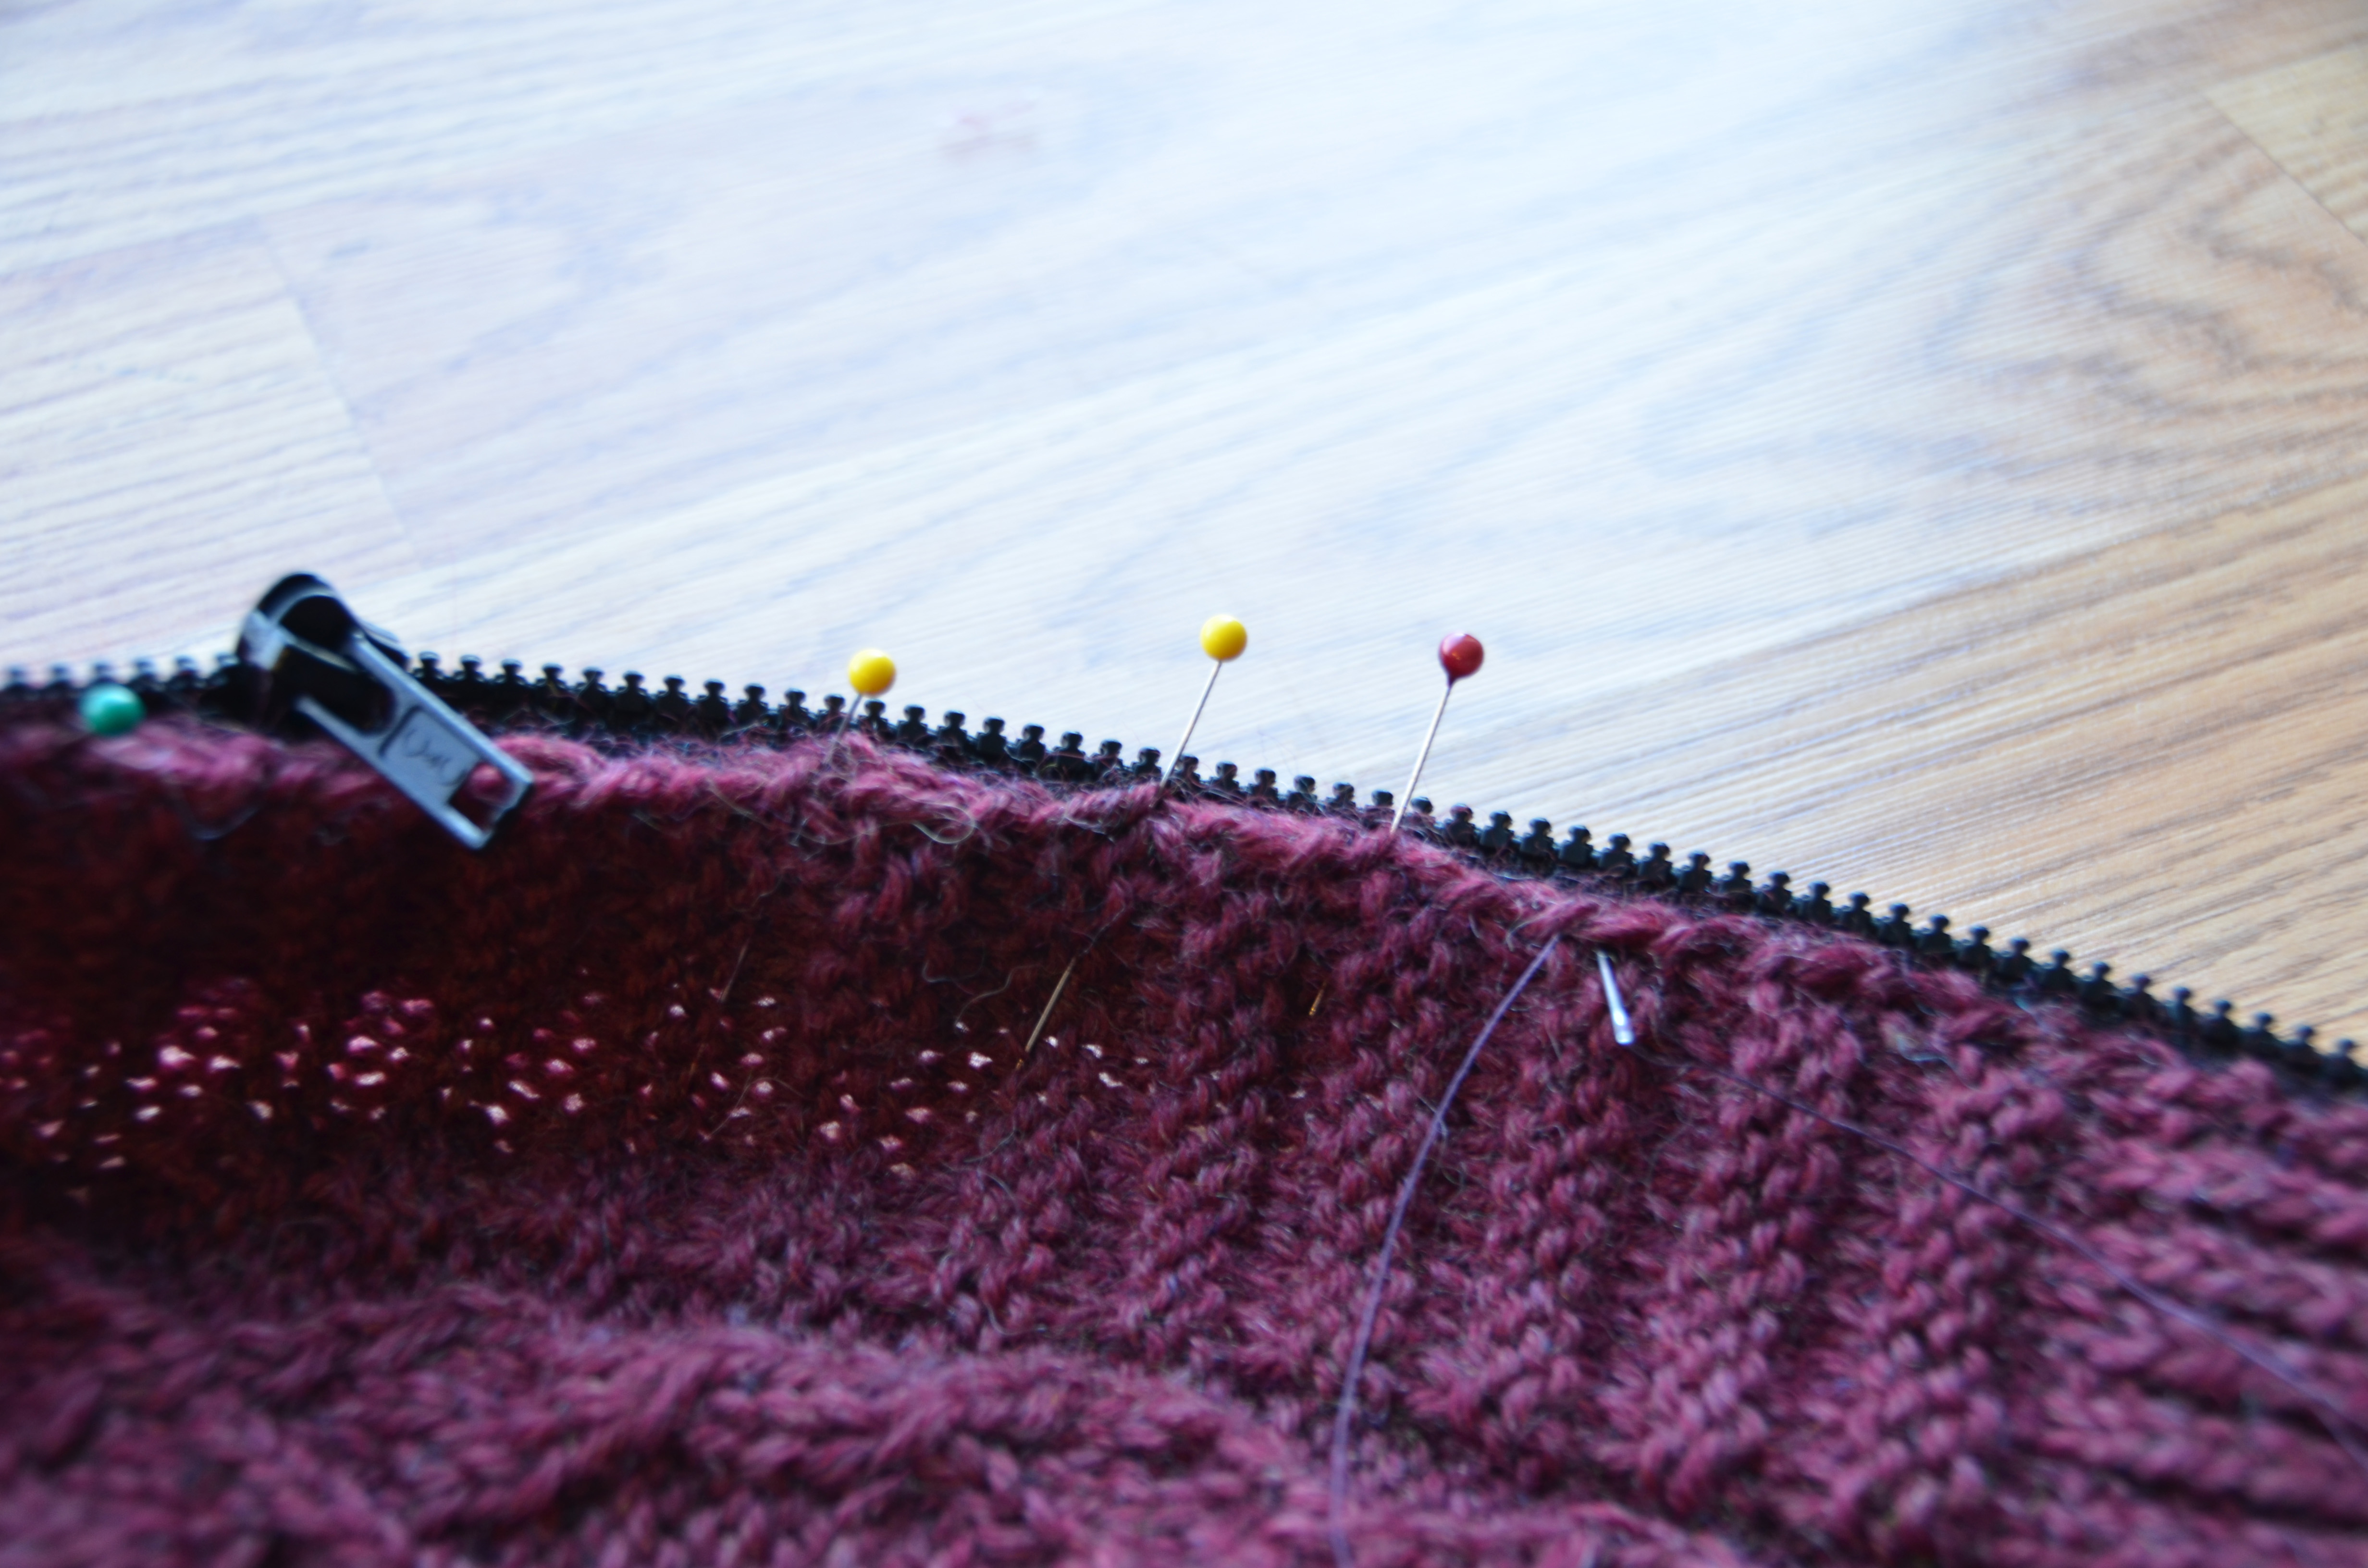
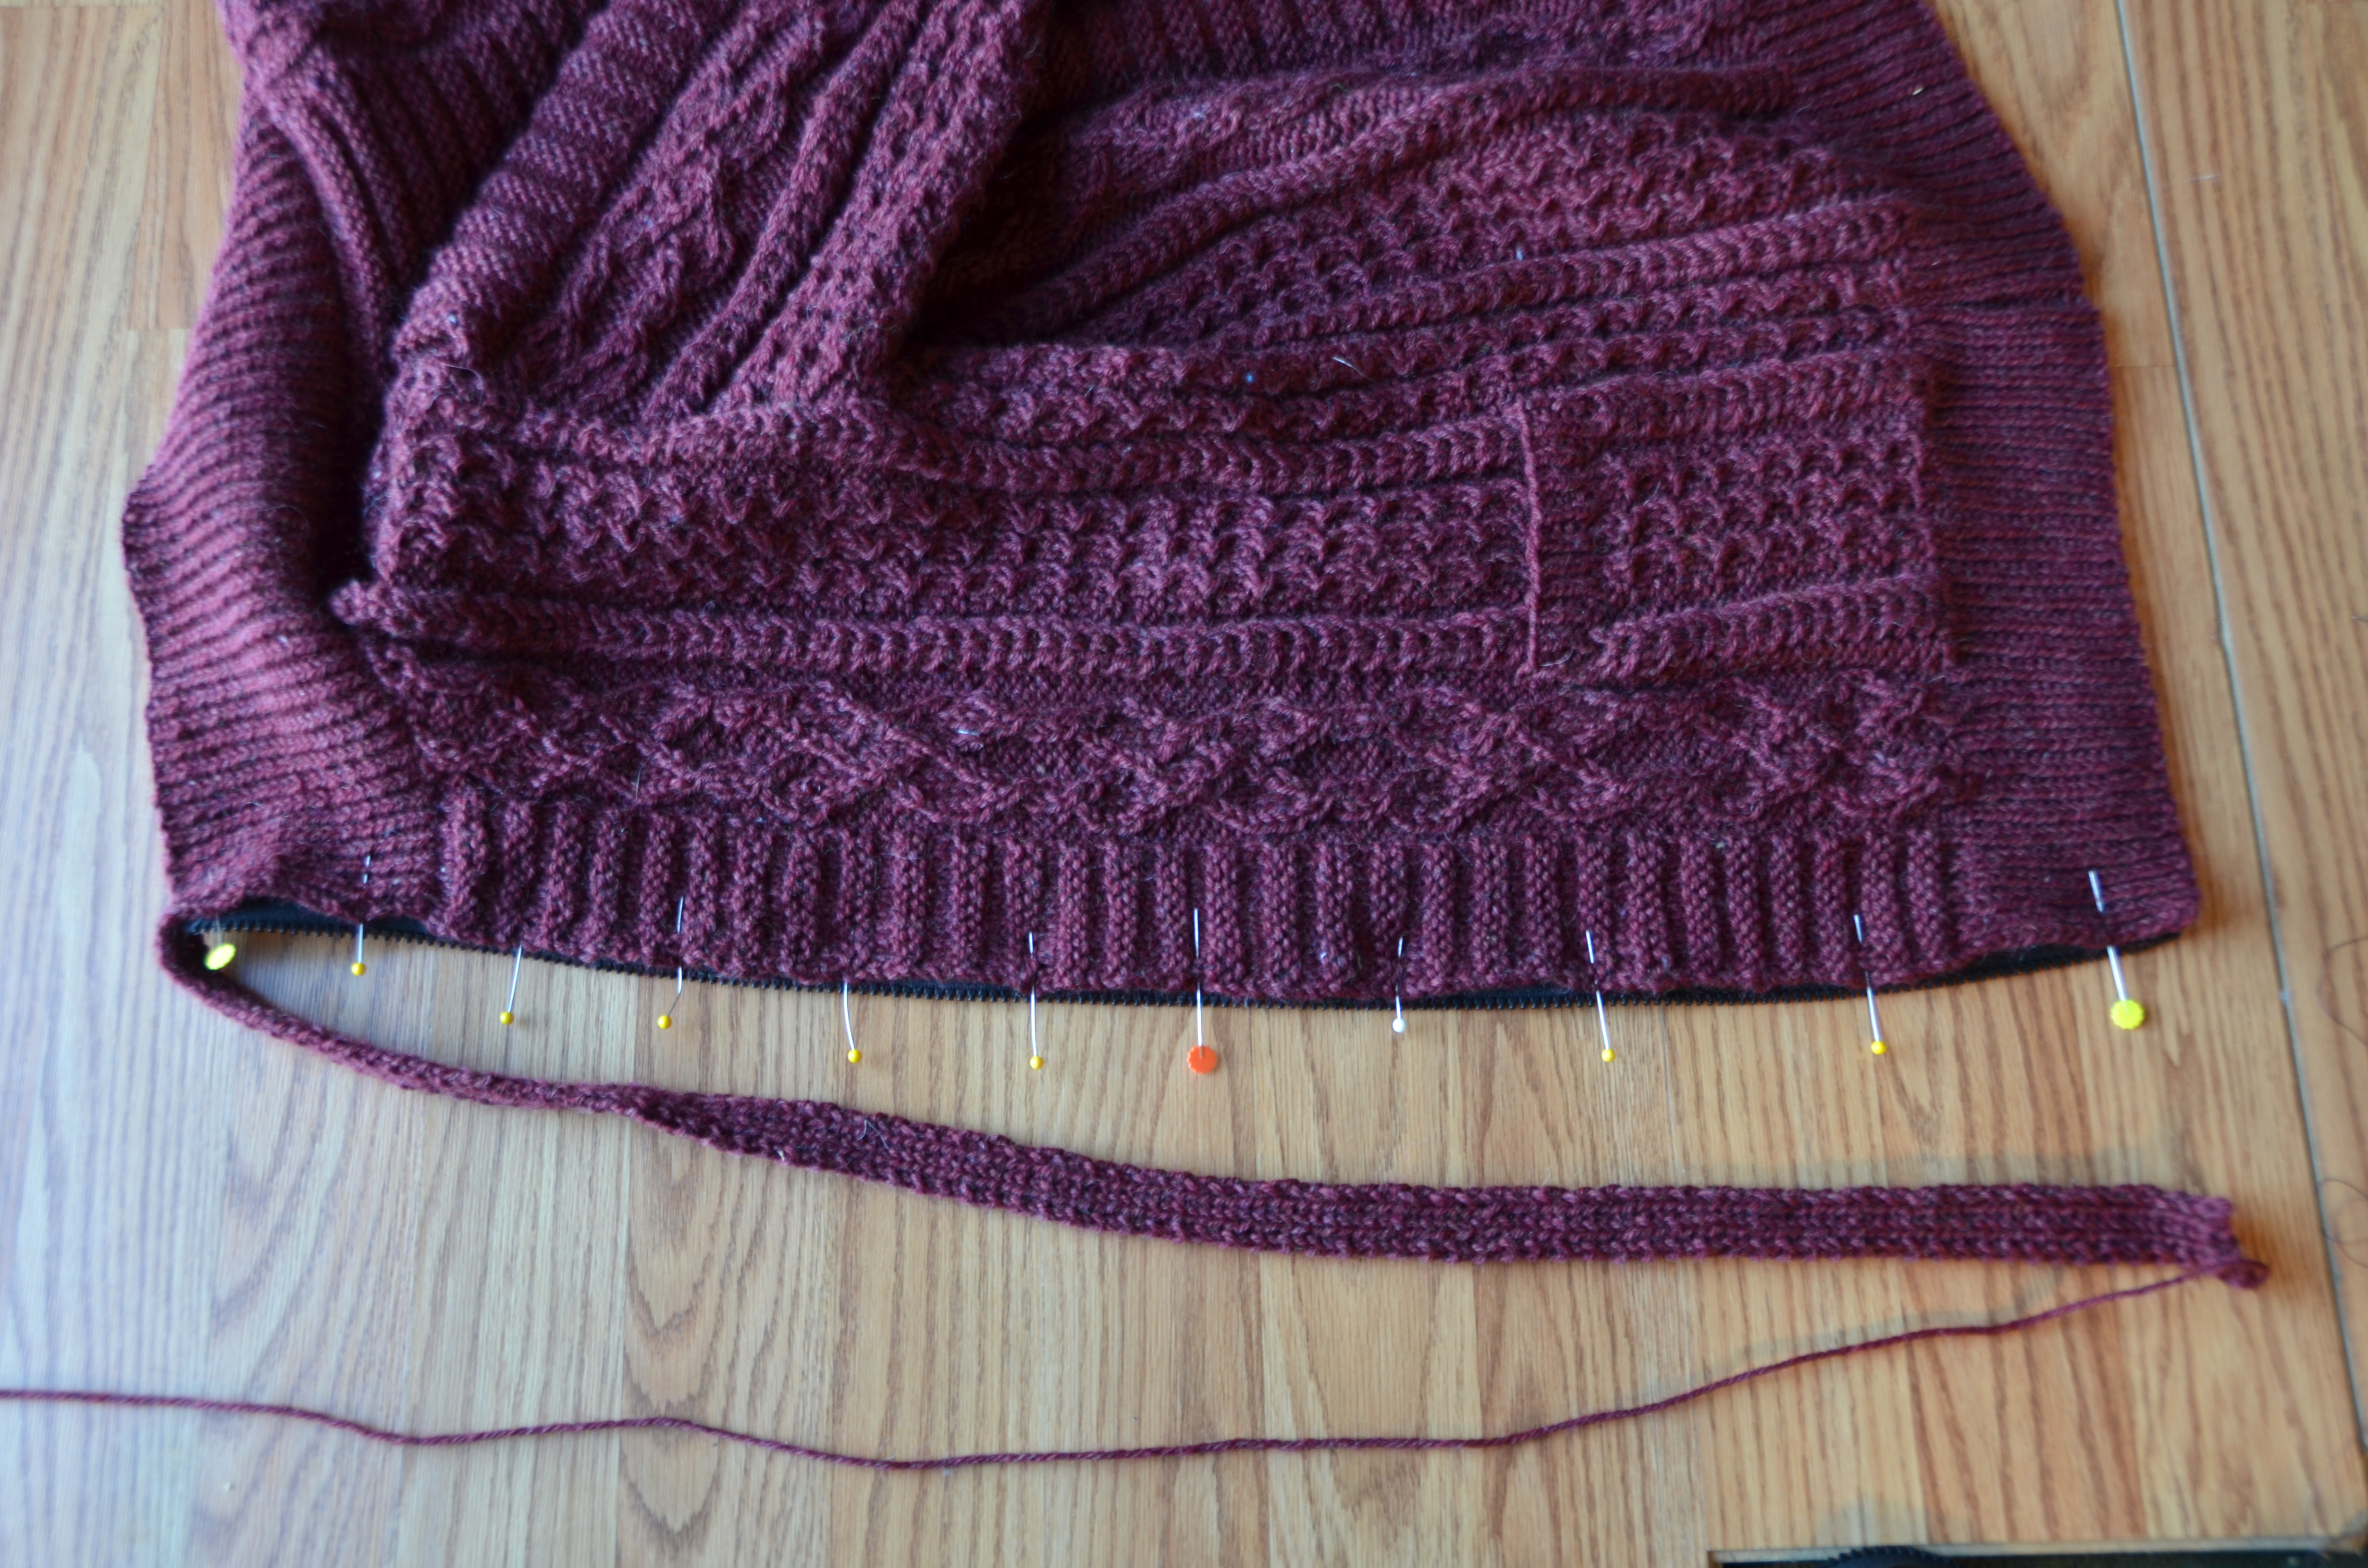
Next, pin your zipper to the sweater front. Ignore the facing for now. It’s much easier to pin it to the sweater front first and then add the facing. Begin by pinning the upper and lower edges of the zipper to the sweater. Then add in pins at halfway points between other pins until the whole thing is pinned down. Use lots of pins – you can never have too many pins!

Use lots of pins!
Use lots of pins!

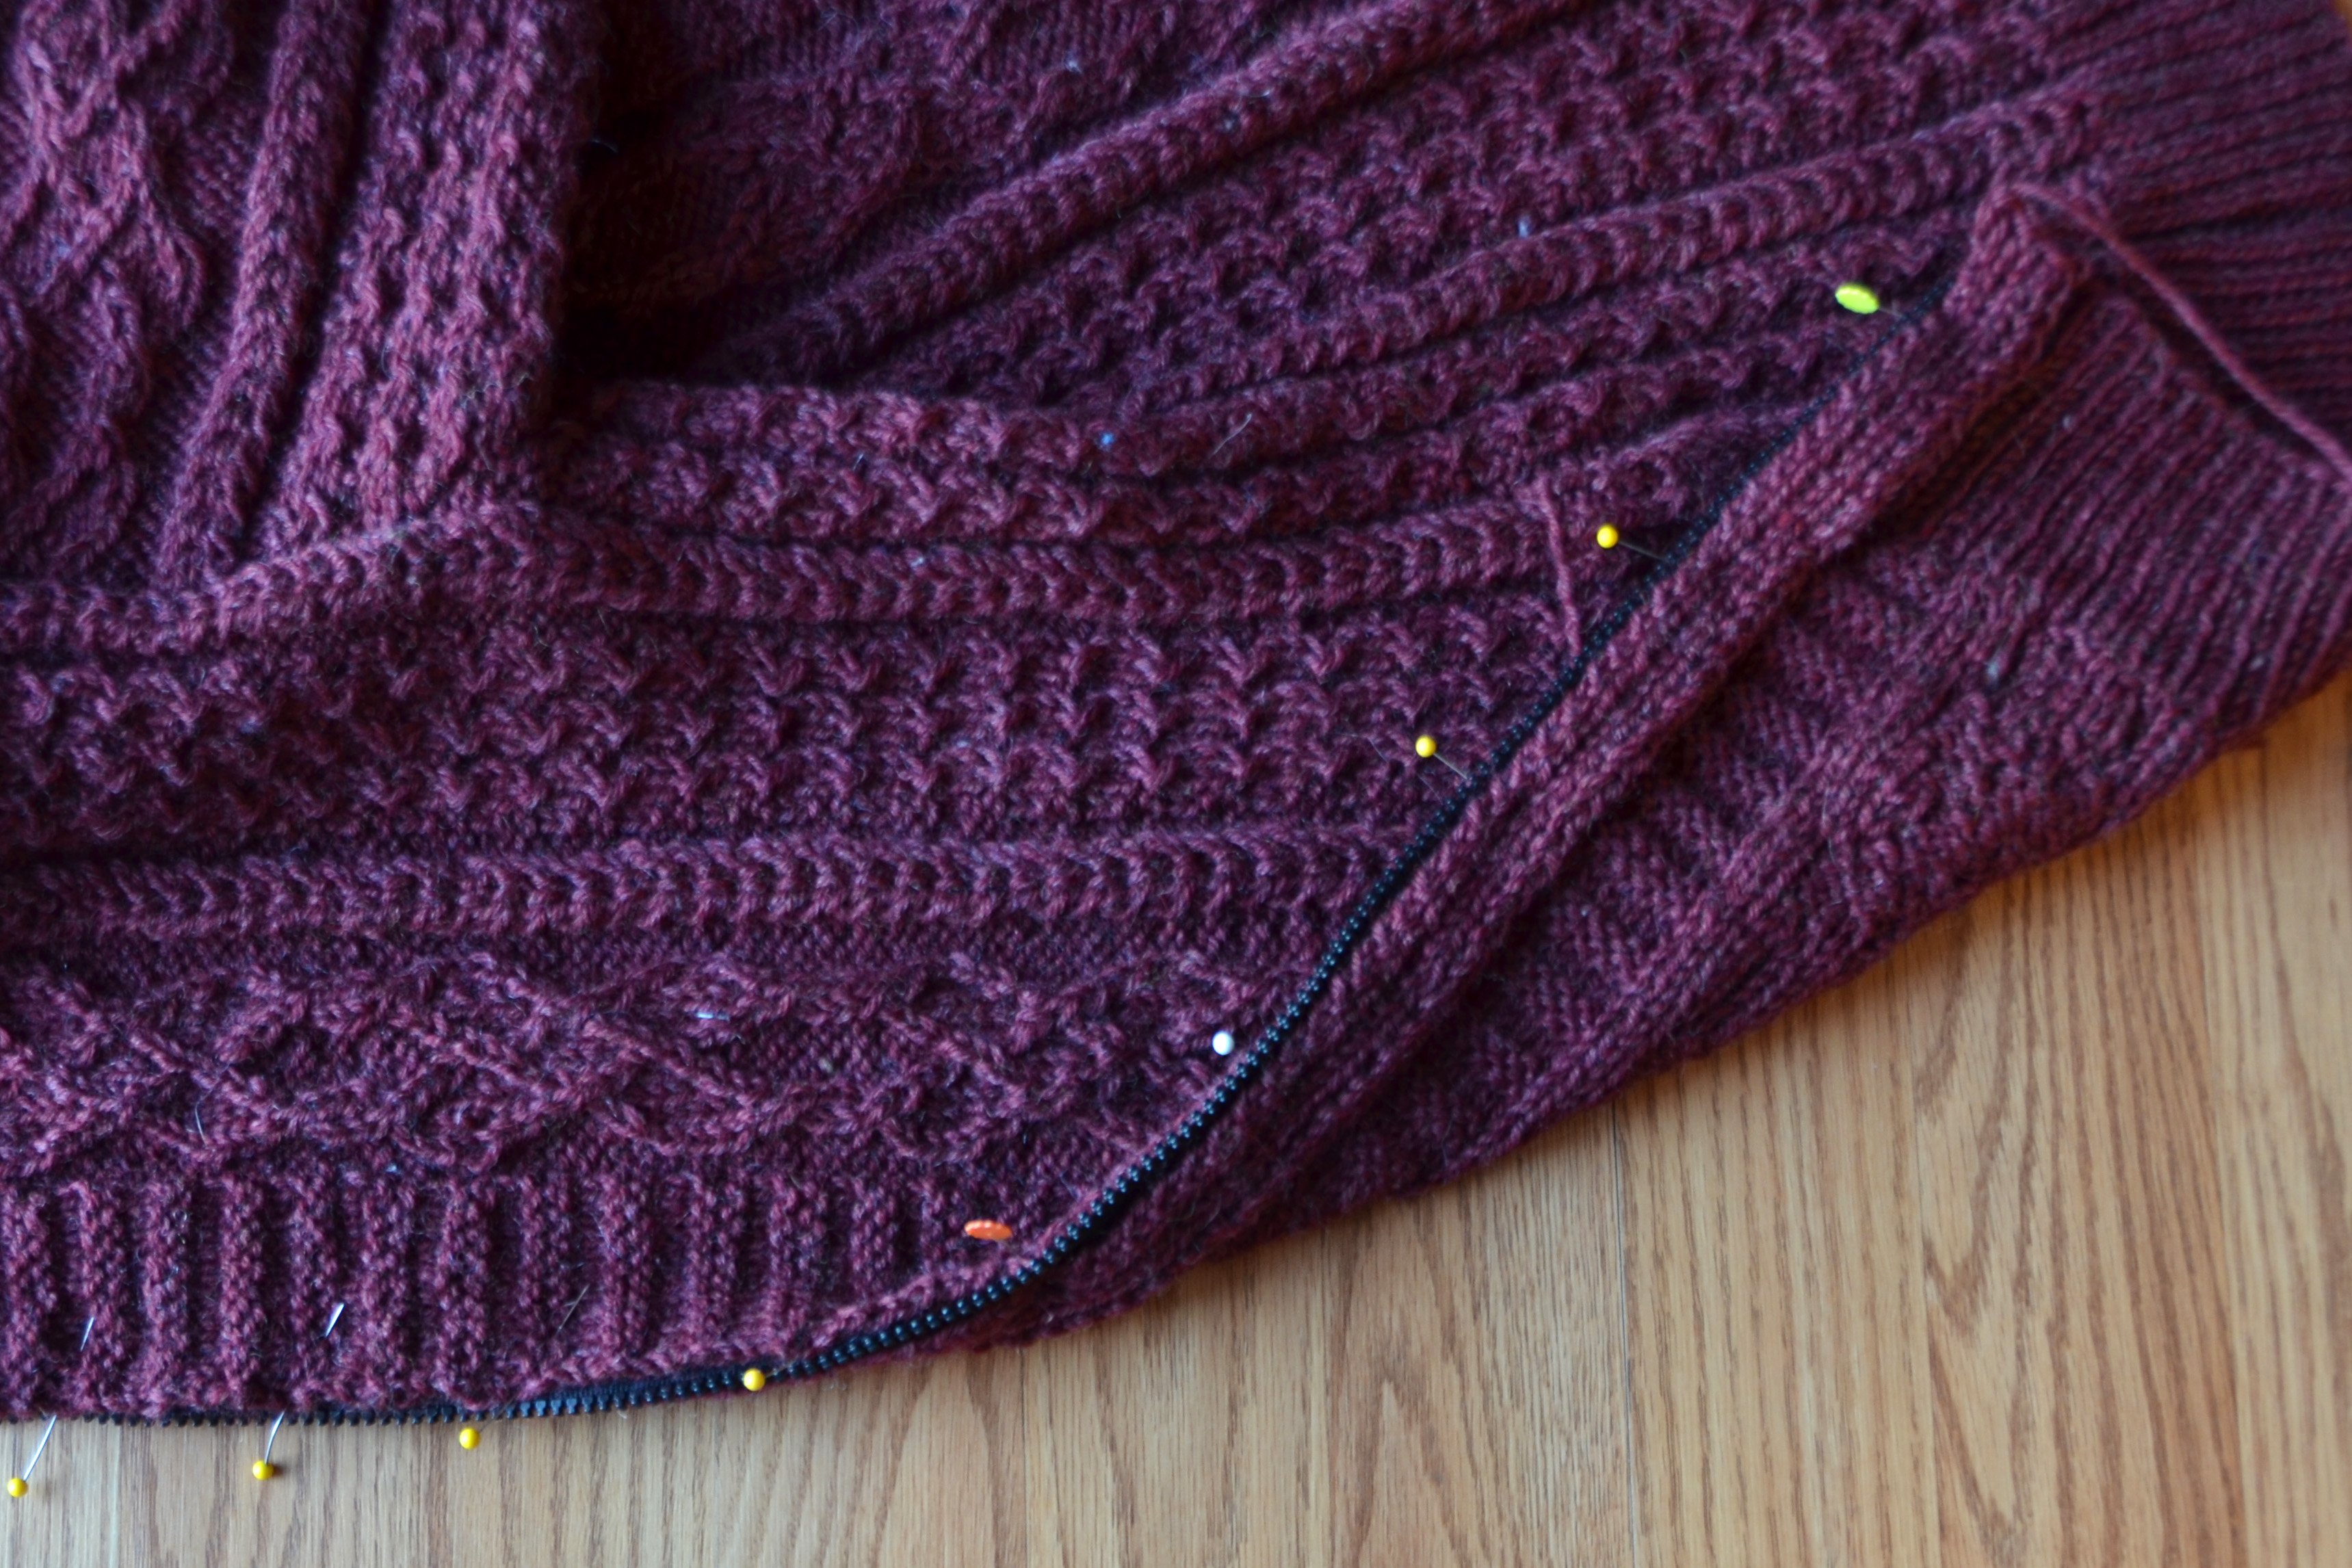
After the front is fully pinned to the zipper tape, one by one, remove a pin and add in the knitted facing. The zipper tape will be sandwiched between the front of the sweater and the zipper tape. You’ll want to leave a margin sticking out a little bit beyond the zipper teeth so that the knitting doesn’t get caught when you’re using the zipper.

It's a zipper-wool sandwich. Delicious.
It’s a zipper-wool sandwich. Delicious.

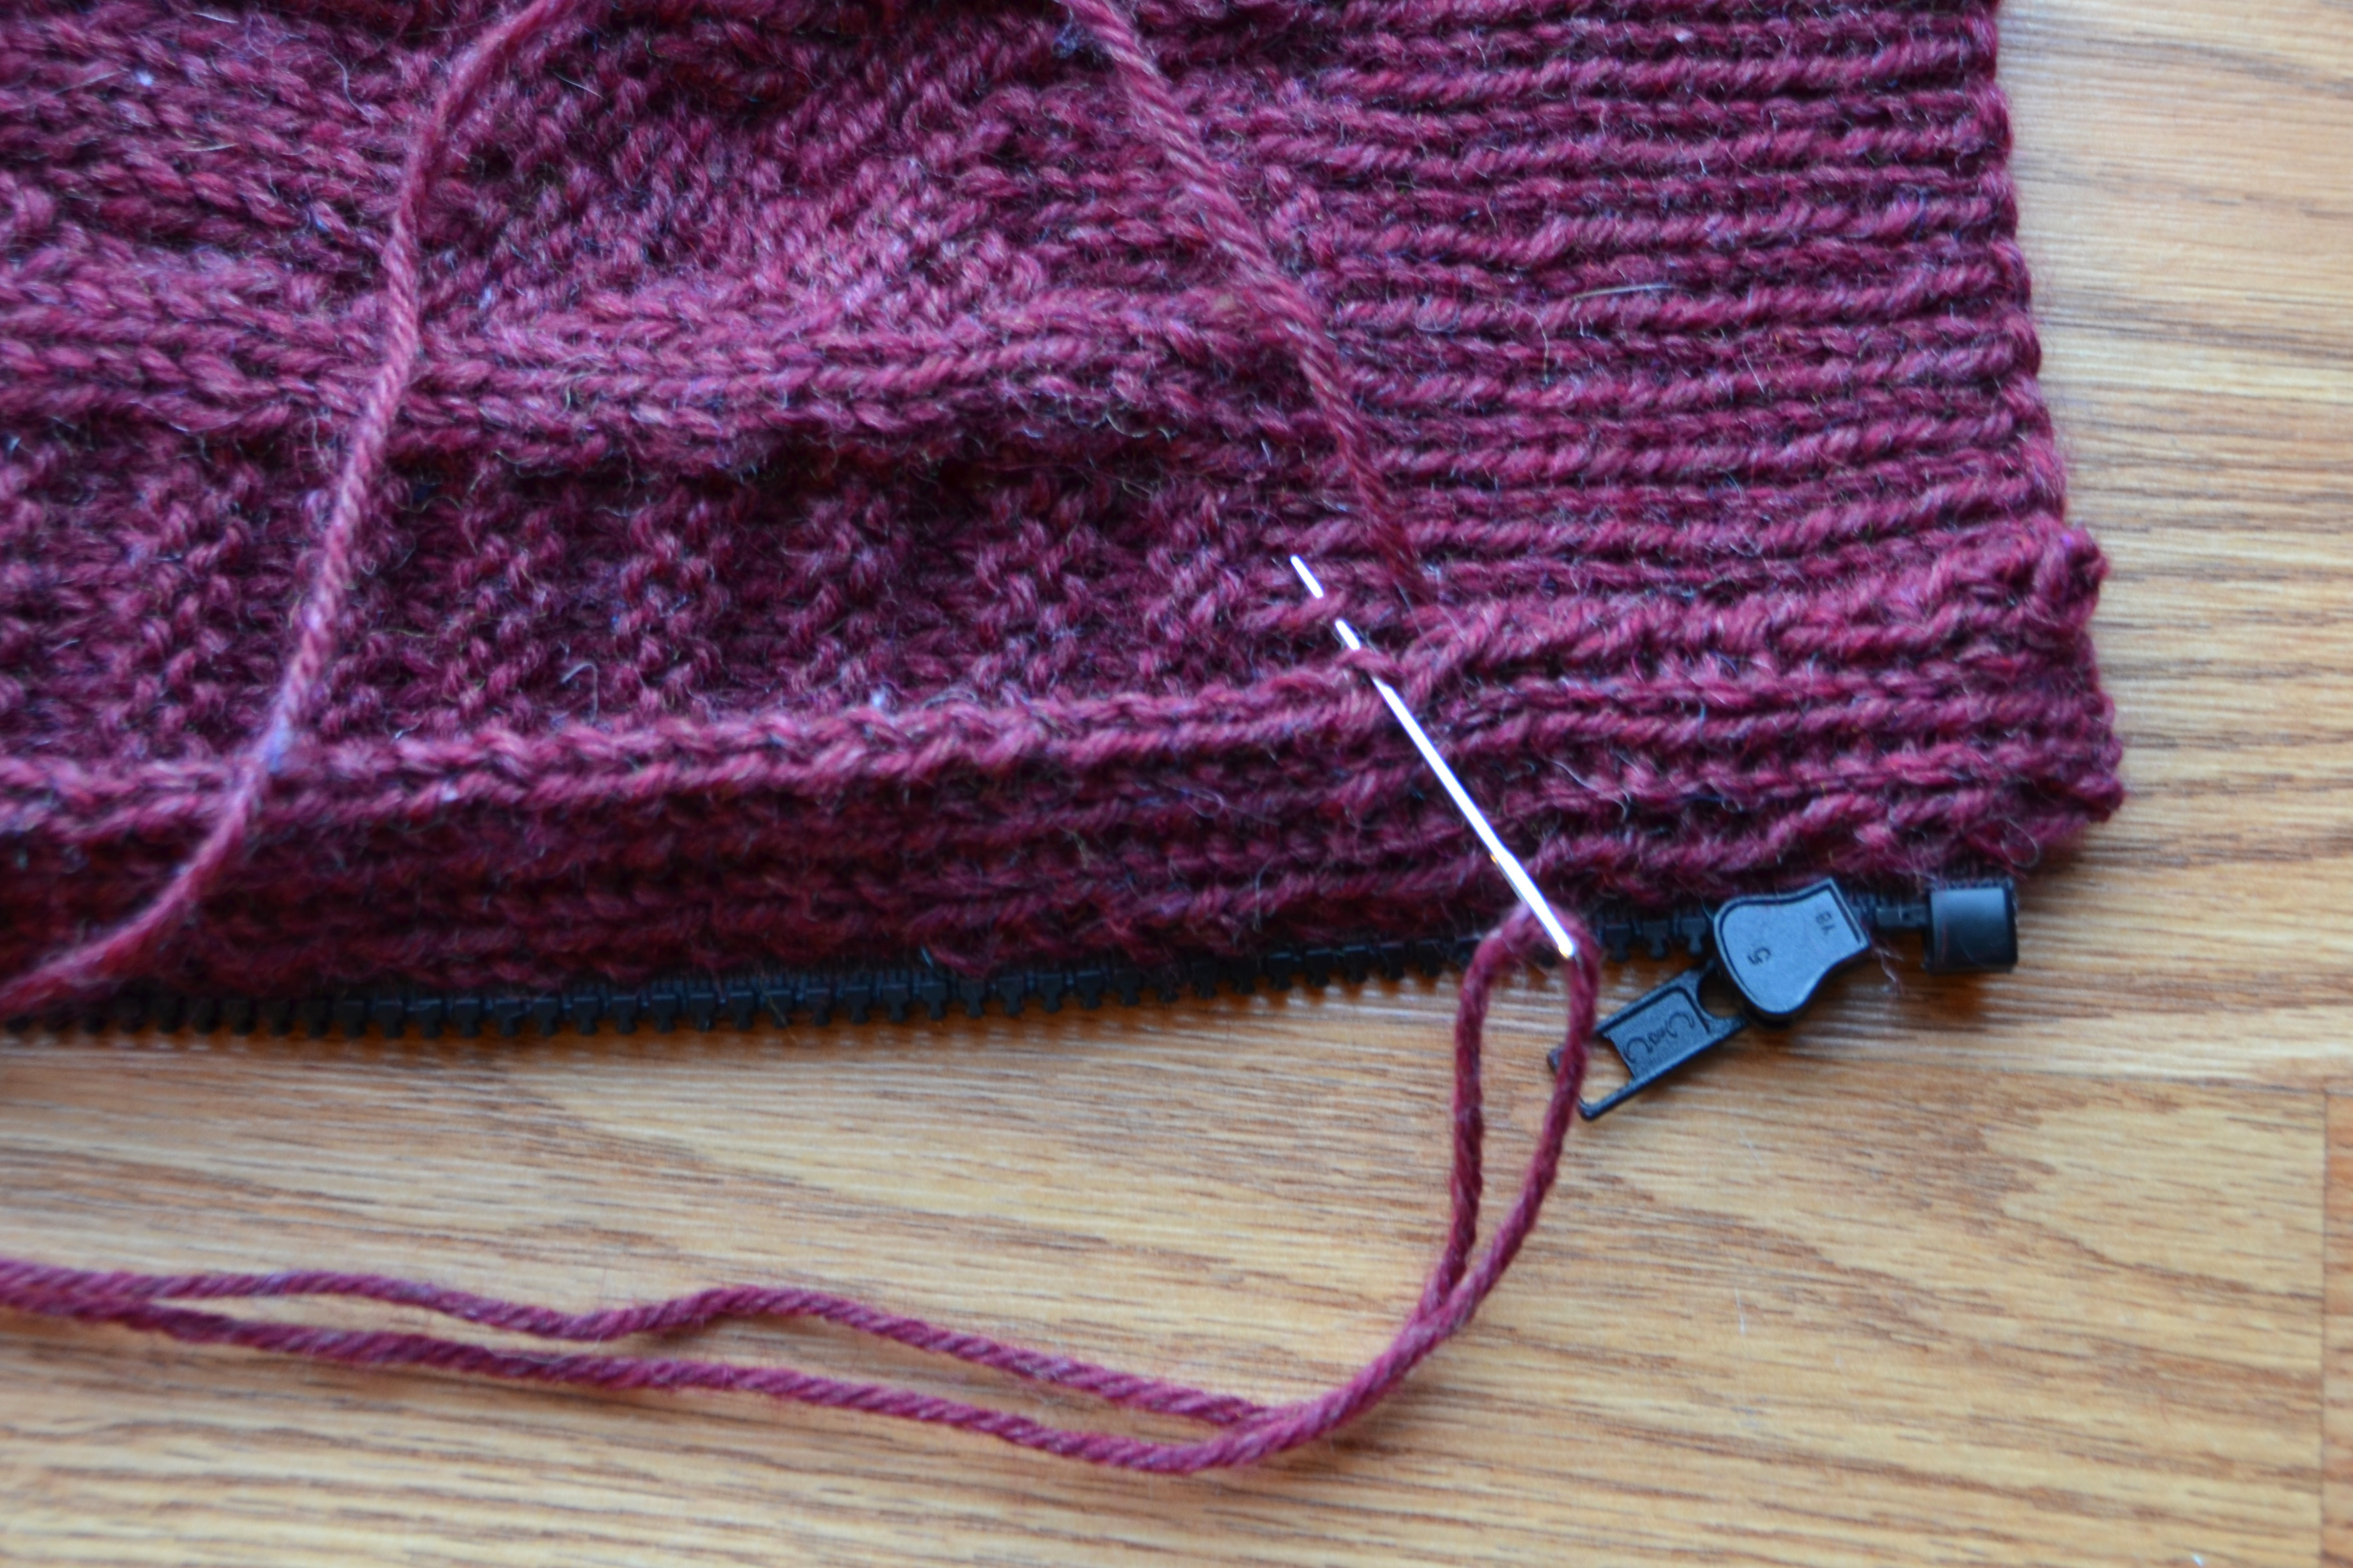
Use thread that matches or will blend in with the color of your yarn. Take small stitches and go slowly. You are sewing through 3 layers, so take care and make sure the needle is entering and exiting the fabric where you want it. I kept 1 stitch in stockinette on my edges, so I’m using that as my guide for where to sew.

This step requires patience.

I use a running stitch, but make a back stitch every inch or two – basically whenever I remember.

Once the zipper tape is sewn to the sweater, it’s time to sew the other edge of the facing down. I left long ends when I bound off my facing for this very purpose. I also split the yarn in half to reduce bulk for the seam.

On the home stretch!

Once all your sewing is done, give the facings a light steam inside and out, and you’re done!

I really am smiling.

I love putting on a new sweater! And I’m lazy, so having a zipper is a big draw for me. Sometimes I like a buttoned sweater. But I like being able to zip and unzip a cardigan makes me happy. And pockets. And cozy!

How are your Deluxe Cable Collection projects coming along?