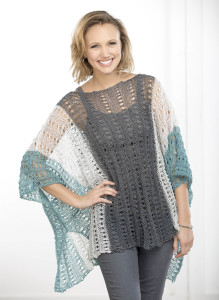
Free Pattern Friday – Just Breathe

It’s Free Pattern Friday!

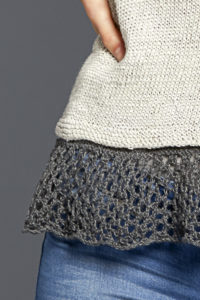
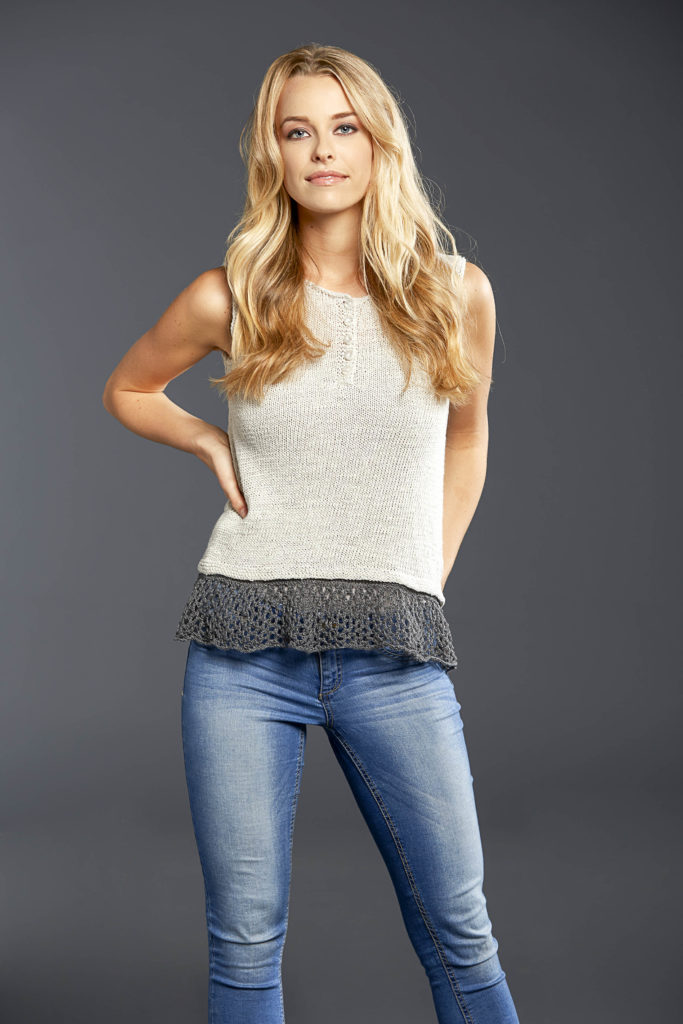
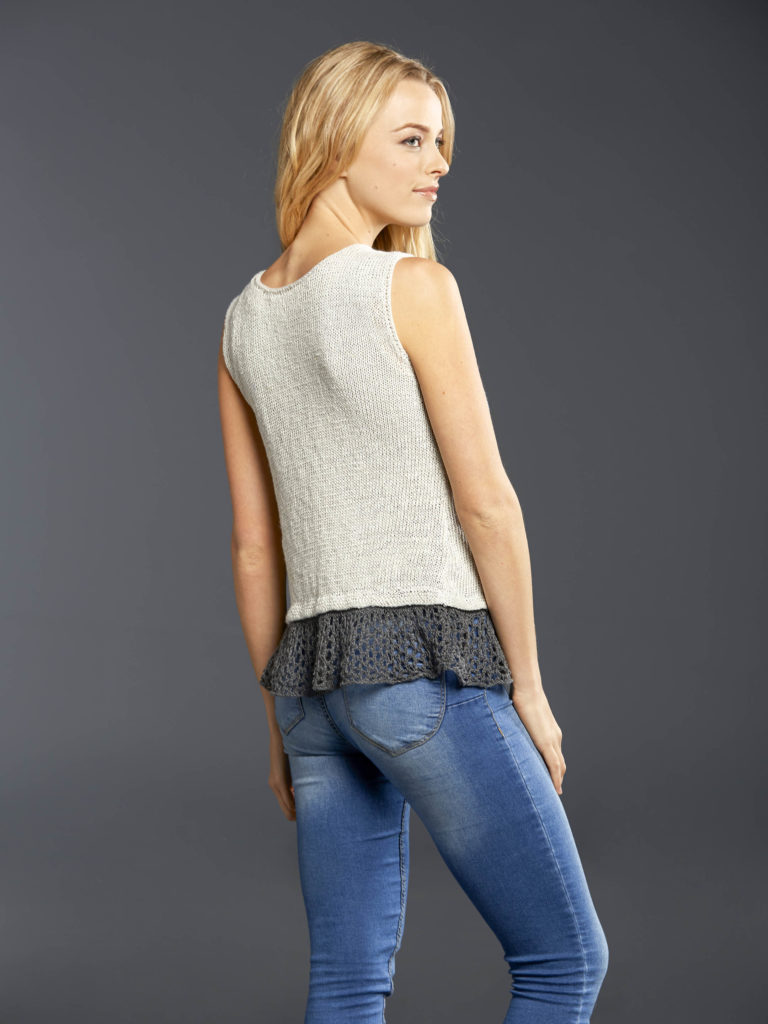
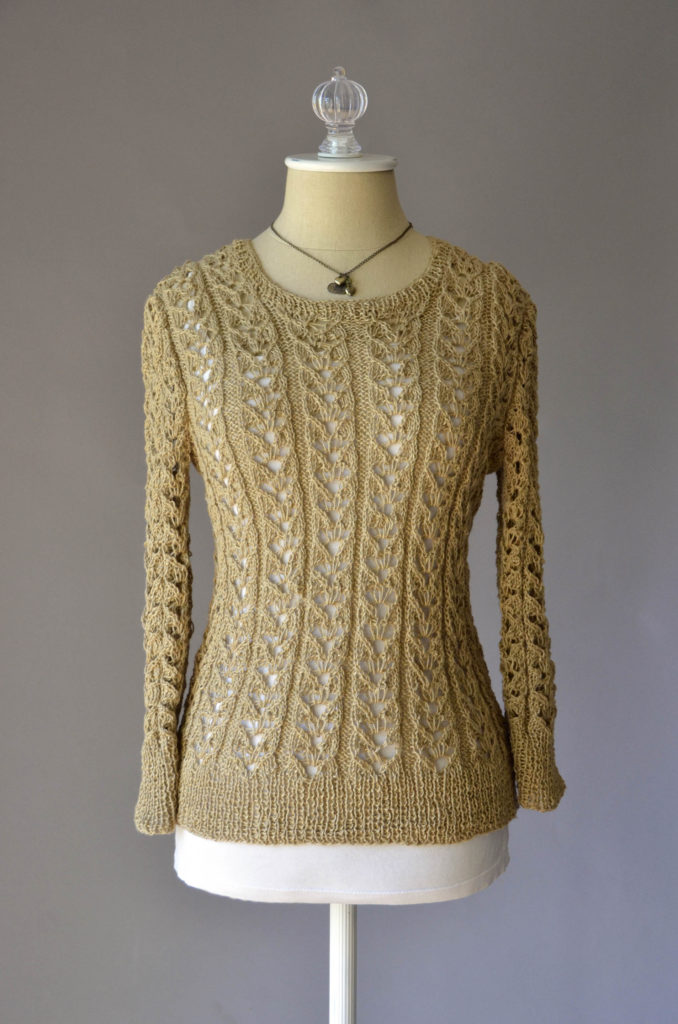
Flax Natural Lace Pullover 180dpi

Today, Just Breathe in Flax.

Having a hard time with these hectic days?  Facebook feed full of politics?  Us too.  But you know what? It’s going to be okay.  Here’s what we’re going to do.

Take a deep breath, from all the way down in your belly….  then let it out.  Feel the tension drain away.  Repeat as necessary.  If you need a little technical help, close your door and take two minutes at calm.com to relax.

Here’s what else we’re going to do.  We’re going to push aside the needs of others, just for a while, and we’re going to hit the LYS.  We’re going to chat with the staff, walk the aisles and touch the yarn, and walk out with enough yarn to make something beautiful.

And that’s where this top comes in.

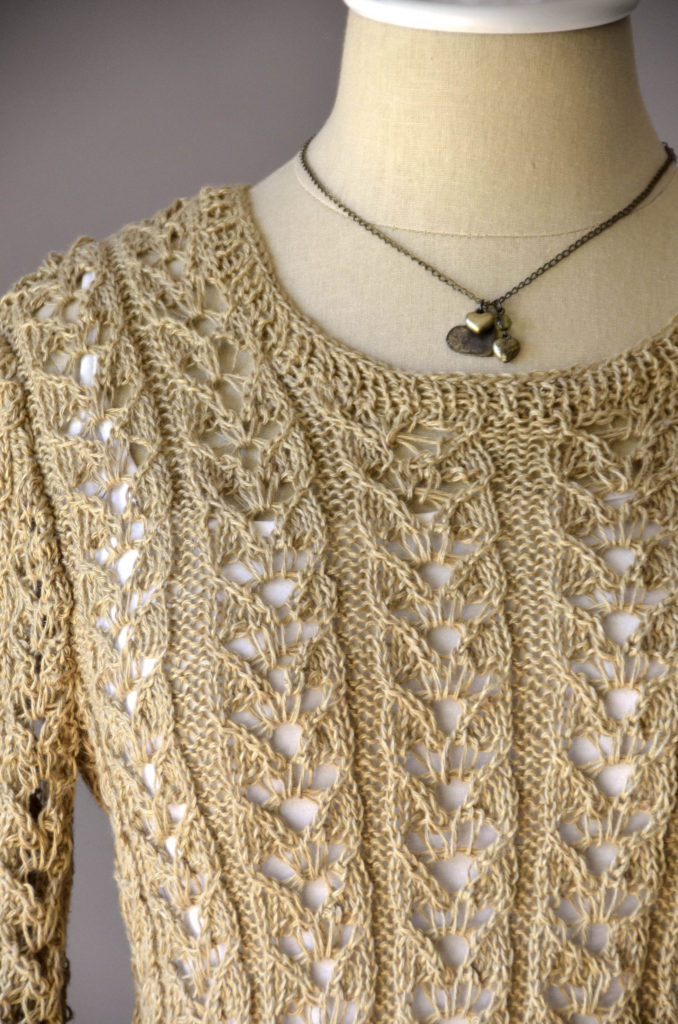
Flax Natural Lace Pullover detail 180dpi

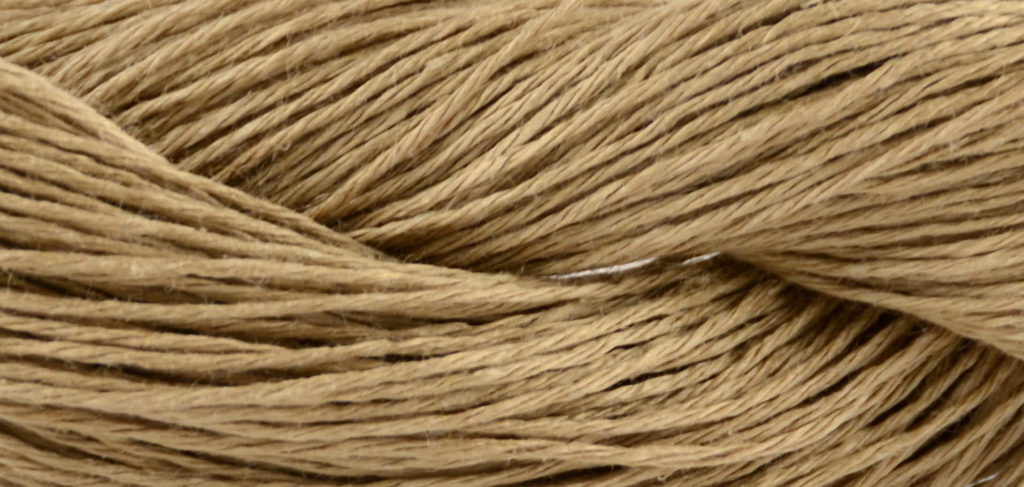
Just Breathe is made in 100% linen Fibra Natura Flax (137yds/50g) in color 105 Natural.  Flax softens with each wash, making this a top that will get more and more comfortable with time.  The six-row horseshoe lace pattern will require some mindful attention, but not so much that you frown in frustration.  Just enough to keep you focused on the moment.

Make a little time away from the worries of the world to knit.  Your rewards will be a feeling of refreshment, and a beautiful, versatile lace pullover that will be a favorite for a long time to come.

Happy knitting.

Flax 105 Natural loose hi-res

Ready to Wear

In case you missed the first few posts in this series on my Flame Lace Top, you can find the warping post here,  how to make string heddles here,  actually weaving the fabric here, and taking the fabric off the loom here.  I’m using Flax as warp, and Whisper Lace with Garden 10 held together as warp.

After taking my fabric off the loom, I decided to machine wash on gentle and then laid flat to dry. After lightly pressing the fabric with my iron, I was all ready to start sewing and cutting:
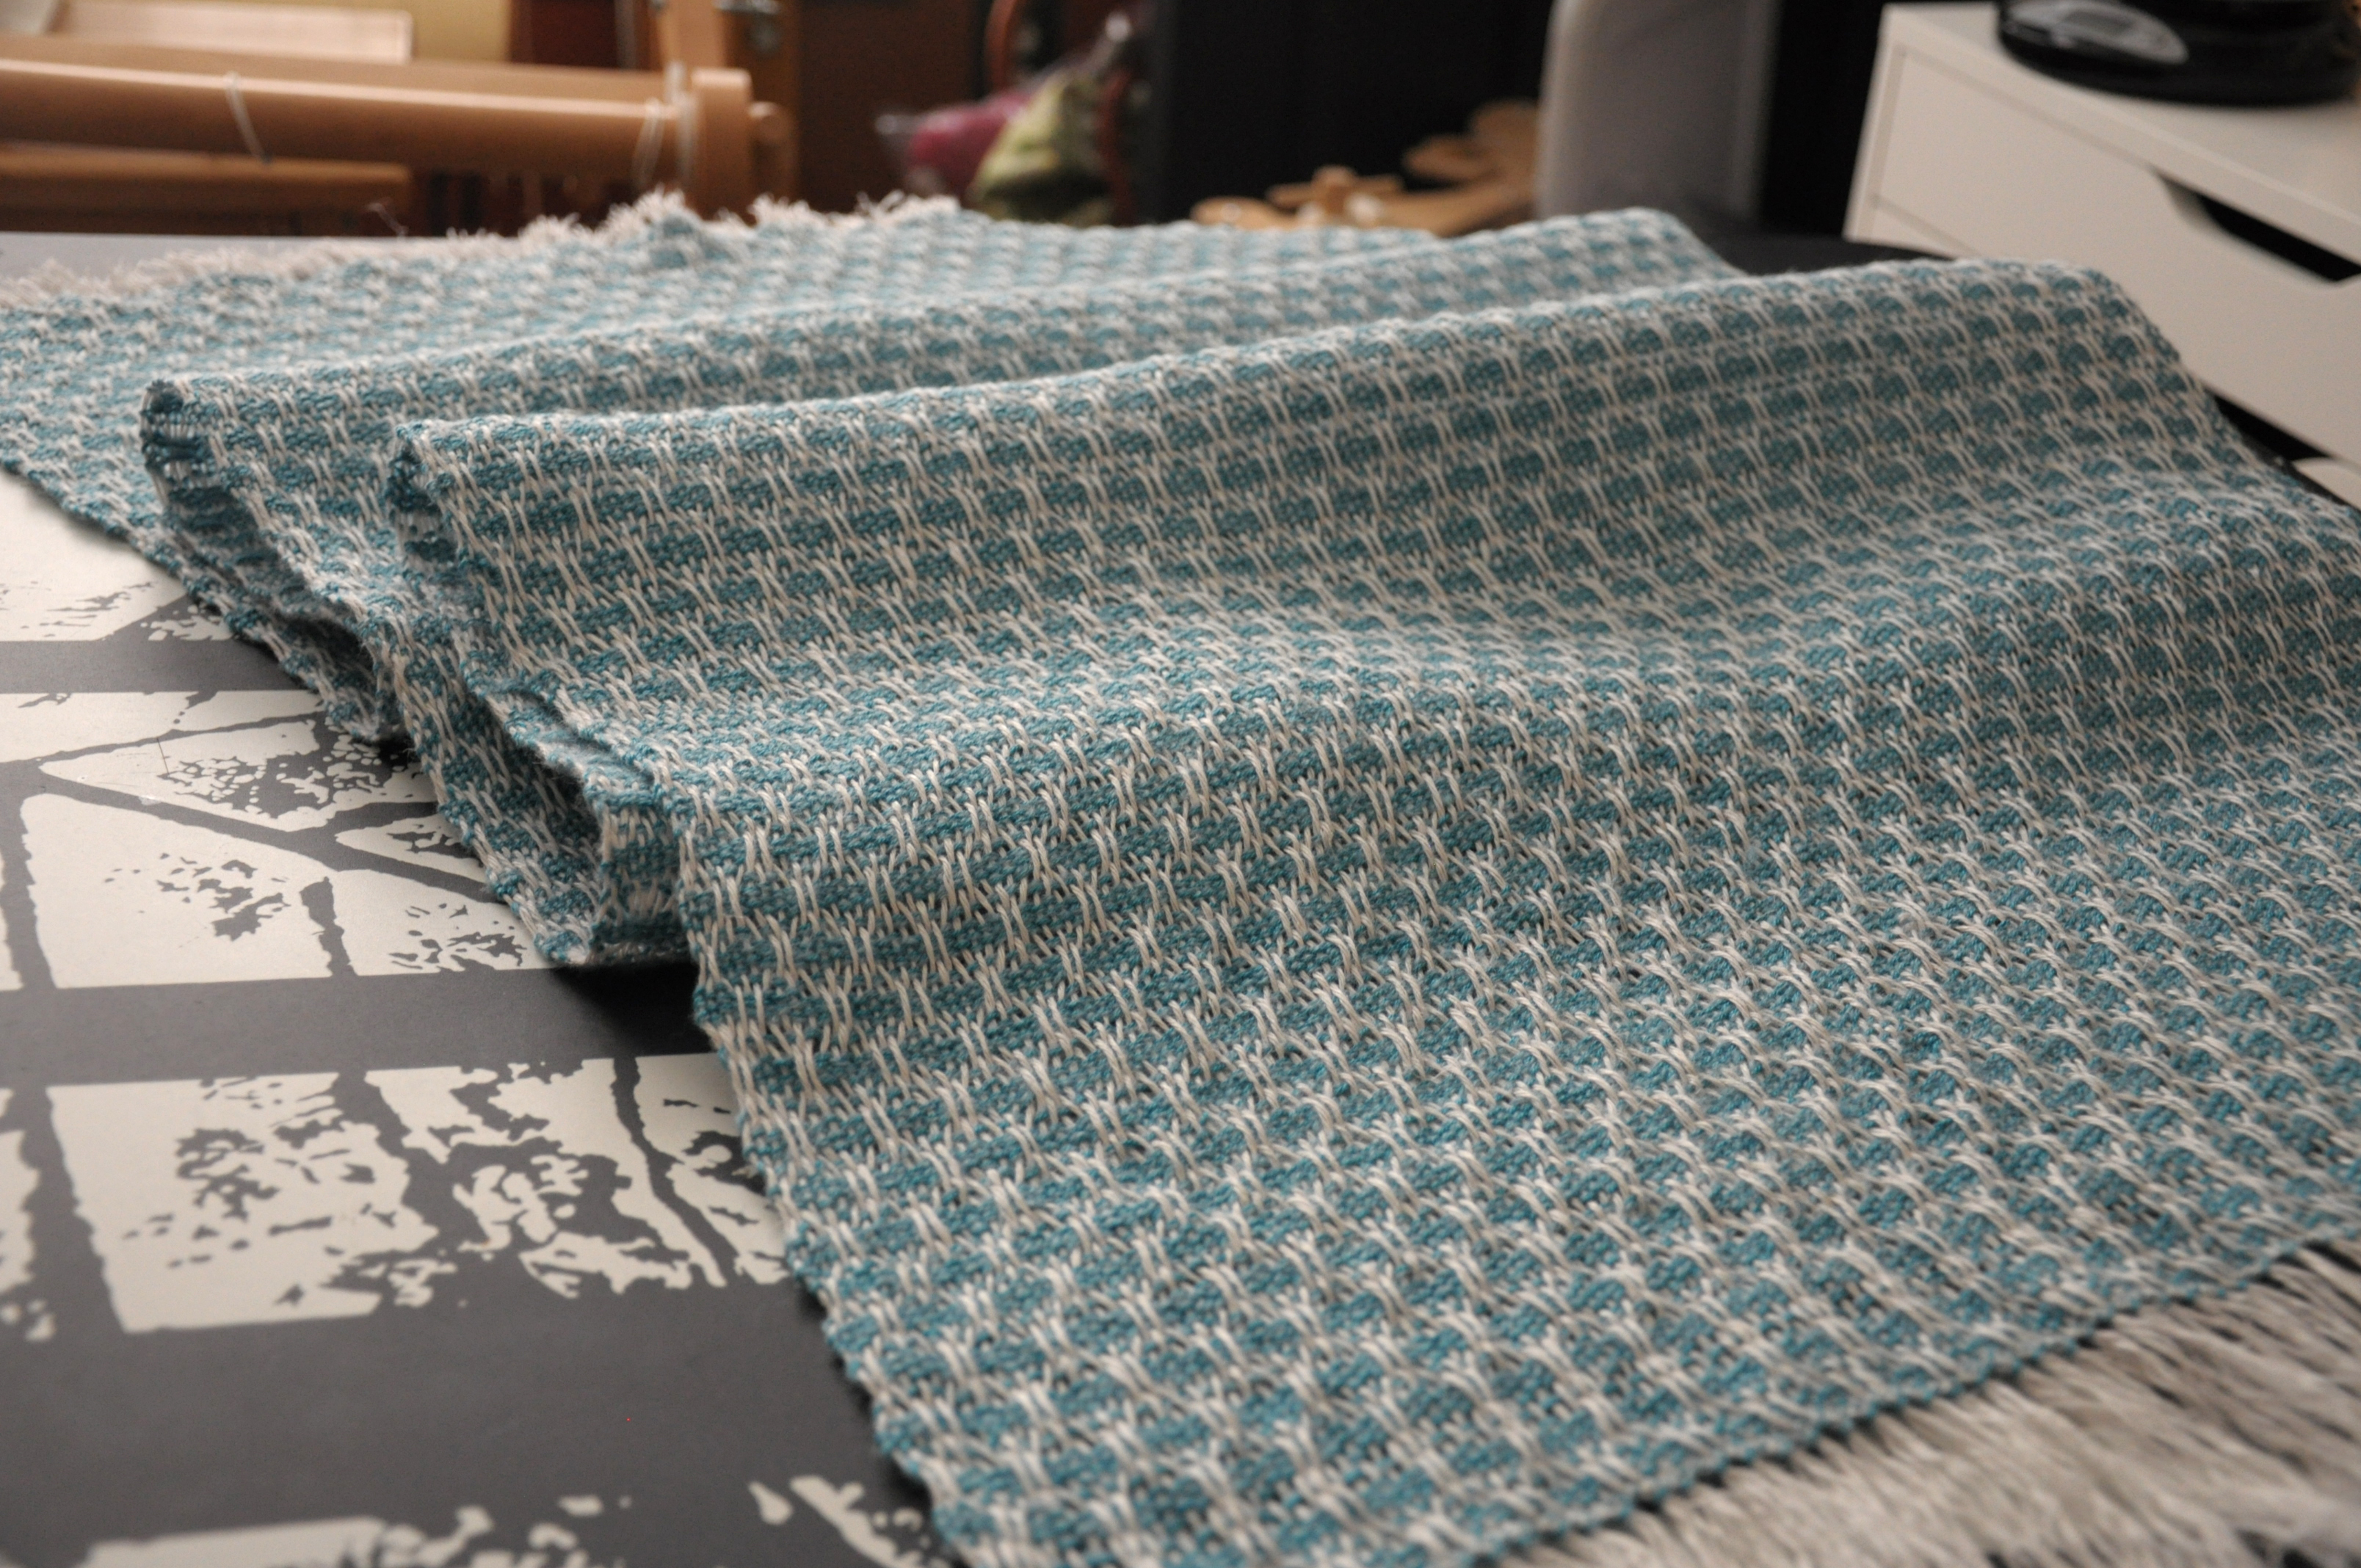
Sewing_1

What really drew me to the Flame Lace project in the Simple Woven Garments book was the weave structure. Though I think the garment in the book is really cute, I’m not a big fan of that shape for my body. Going into this project, I knew I was going to make some changes. But I didn’t fully decide on those changes until I got started. And even then I made improvisations along the way.

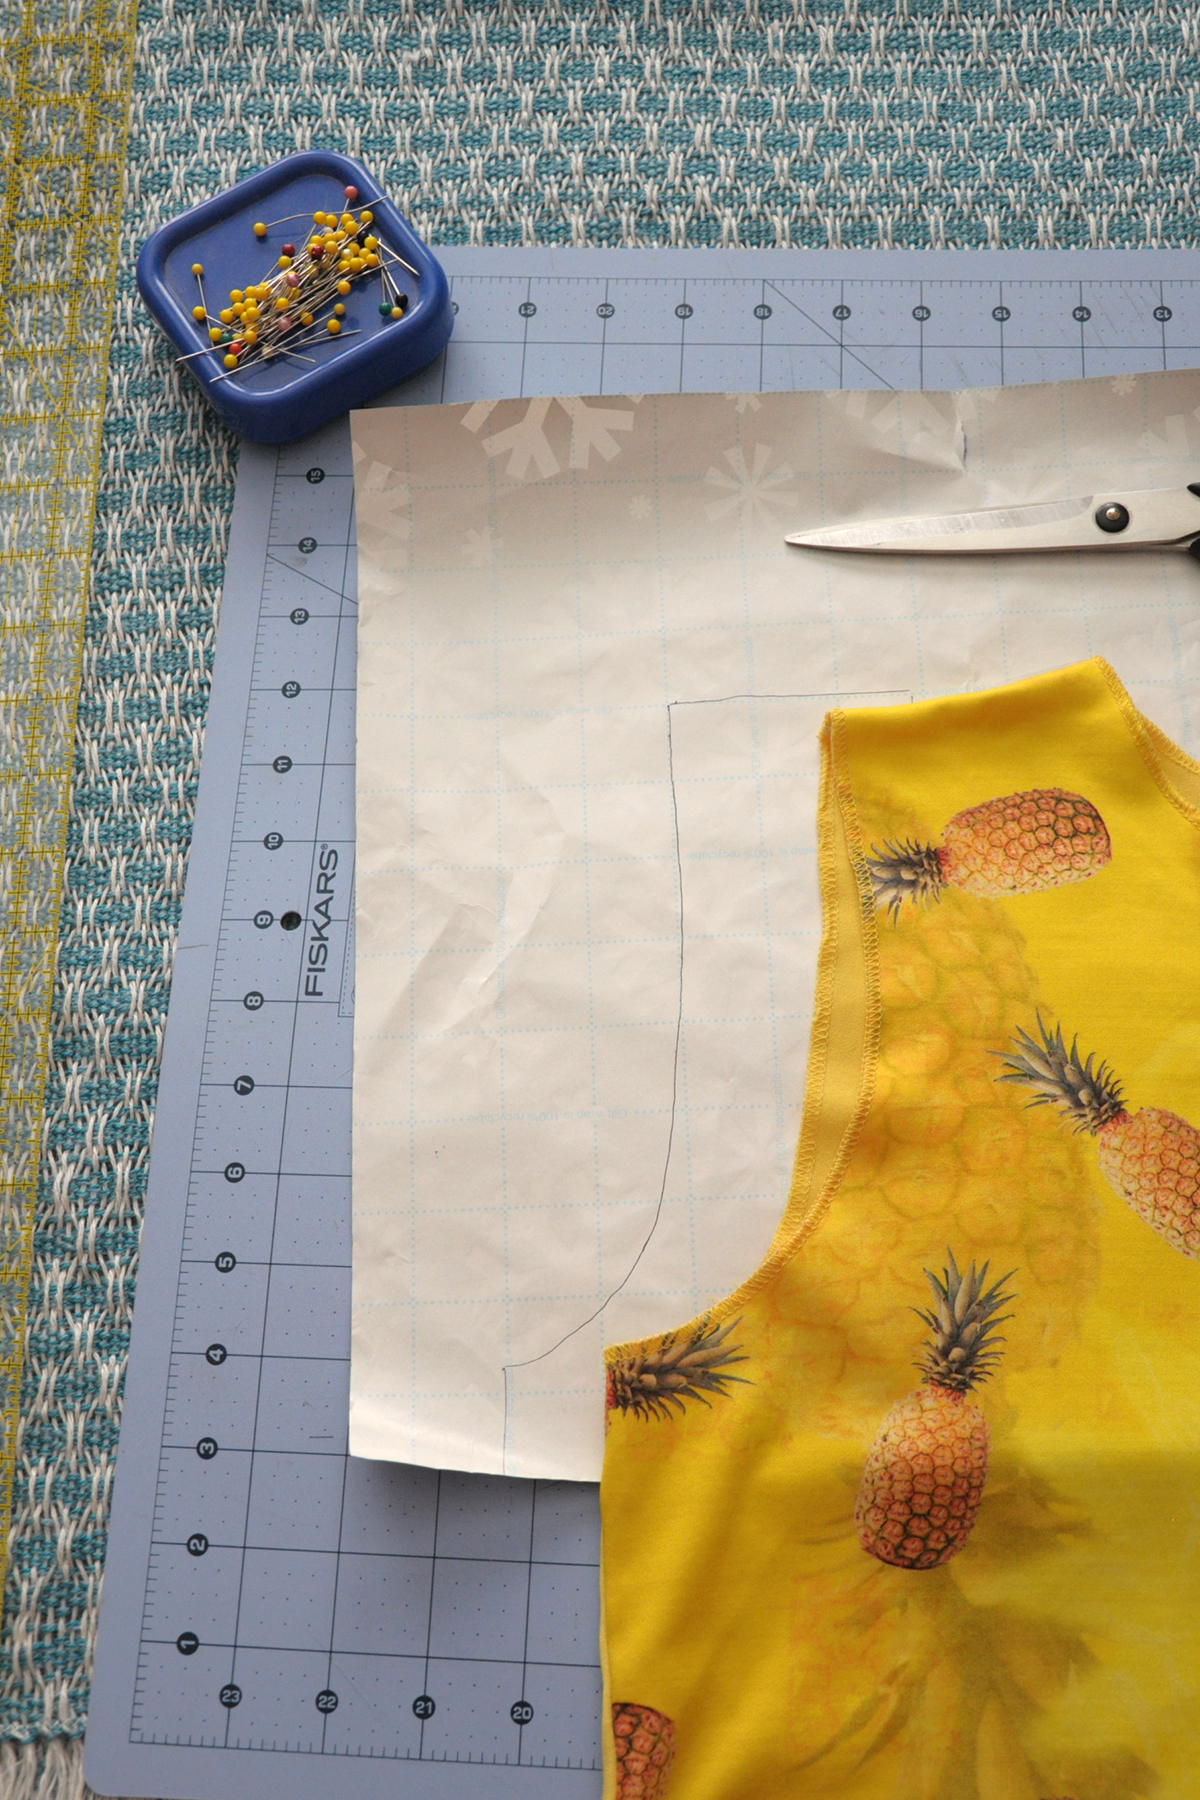
The first thing I decided to do differently than the original was to shape my armholes. The easiest way for me to determine my armhole depth and shape was to grab a top I already own and use that as a guide. I’m a big fan of using wrapping paper that has grid lines on the back for things like this.
Sewing_2

To make a template for my armholes, I laid my top on the back side of the wrapping paper and traced one side. I opted to freehand the neck hole, as I wanted it to sit a bit lower than the one on the shirt I was using as an armhole guide. After cutting out the first side, I folded the paper in half and traced to get the second side – an easy way to make sure it was symmetric.
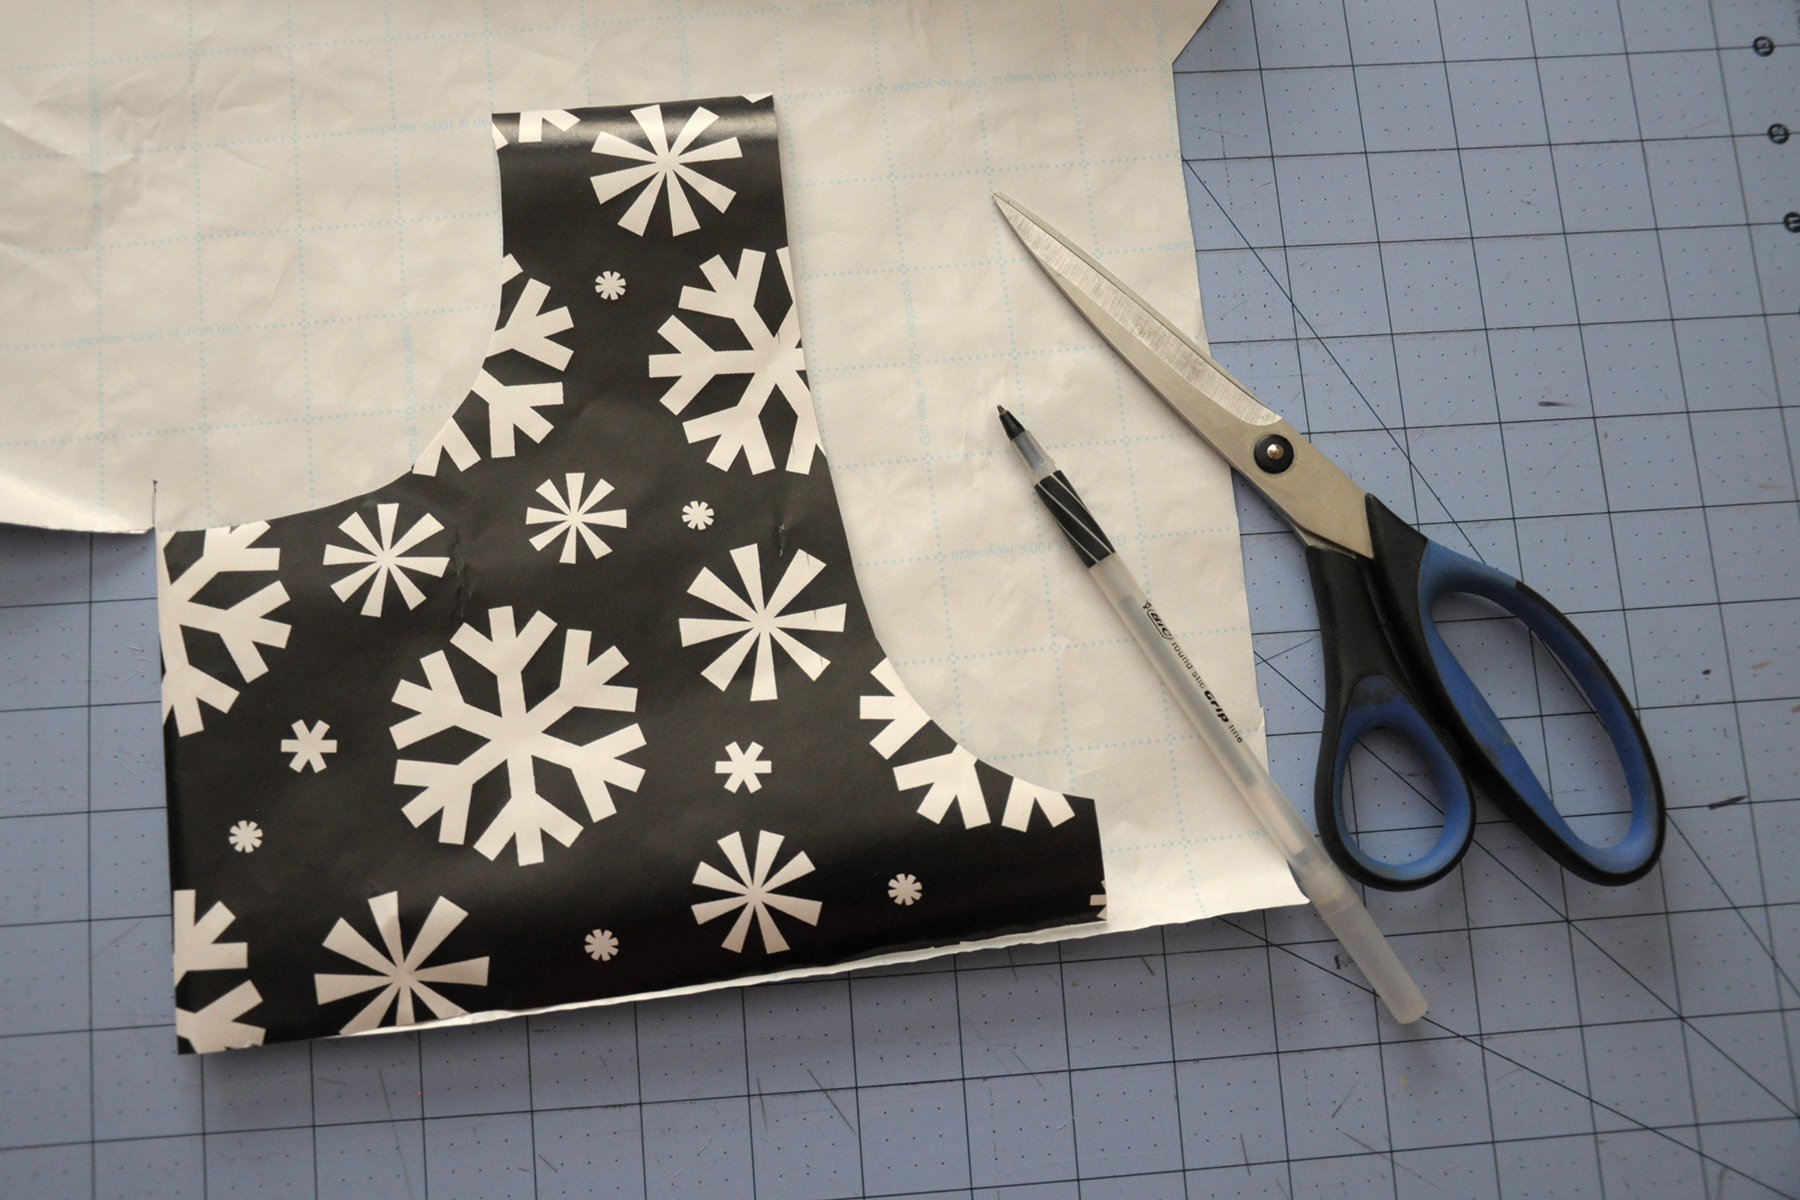
Sewing_3

After cutting out my armhole template, the next step was to pin it to my fabric. But before I could do that, I needed to determine where the shoulder seam would be. Rather than cut out separate pieces for front and back from my fabric, I was using the entire length of the fabric for my top.

I decided as I was tracing my armholes that a hi-lo hem would be cool. I opted for about a 5″ difference in front and back hems, folded my fabric, and then pressed it with my iron to indicate my shoulder seam.

Then I pinned my template to the fabric:
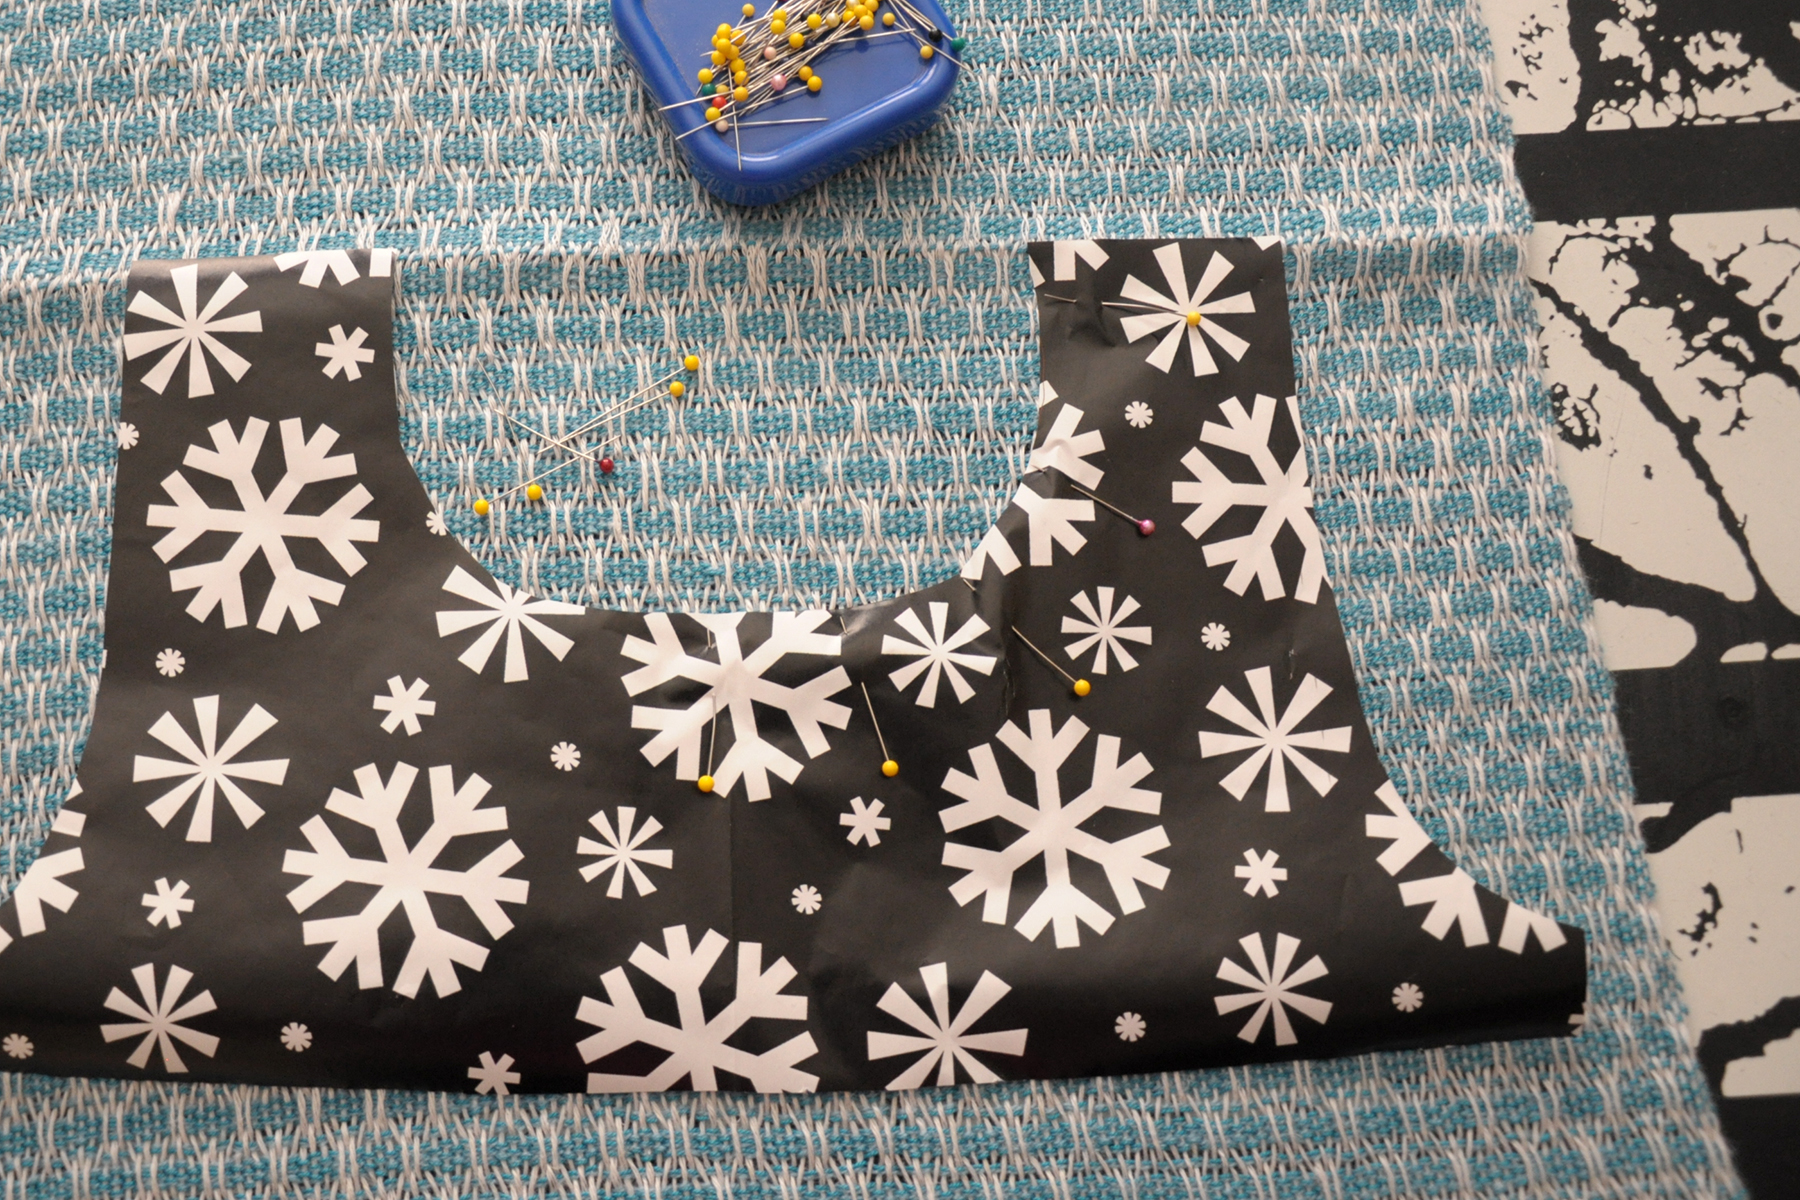
Sewing_4

My two best tips for sewing: don’t skimp on ironing or pins.

Now, before any cutting can happen, it’s important to secure the fabric with the sewing machine. If I was cutting store-bought fabric for a garment, I would simply pin the pattern to the fabric and cut. But because I’m using my handwoven fabric that has a much lower thread count (fewer threads per inch) than most commercial fabric, I needed to take care that the weaving doesn’t come apart.

My first step was to sew a folding guide line for myself. I sewed a straight line of stitching just along the sides of my template:
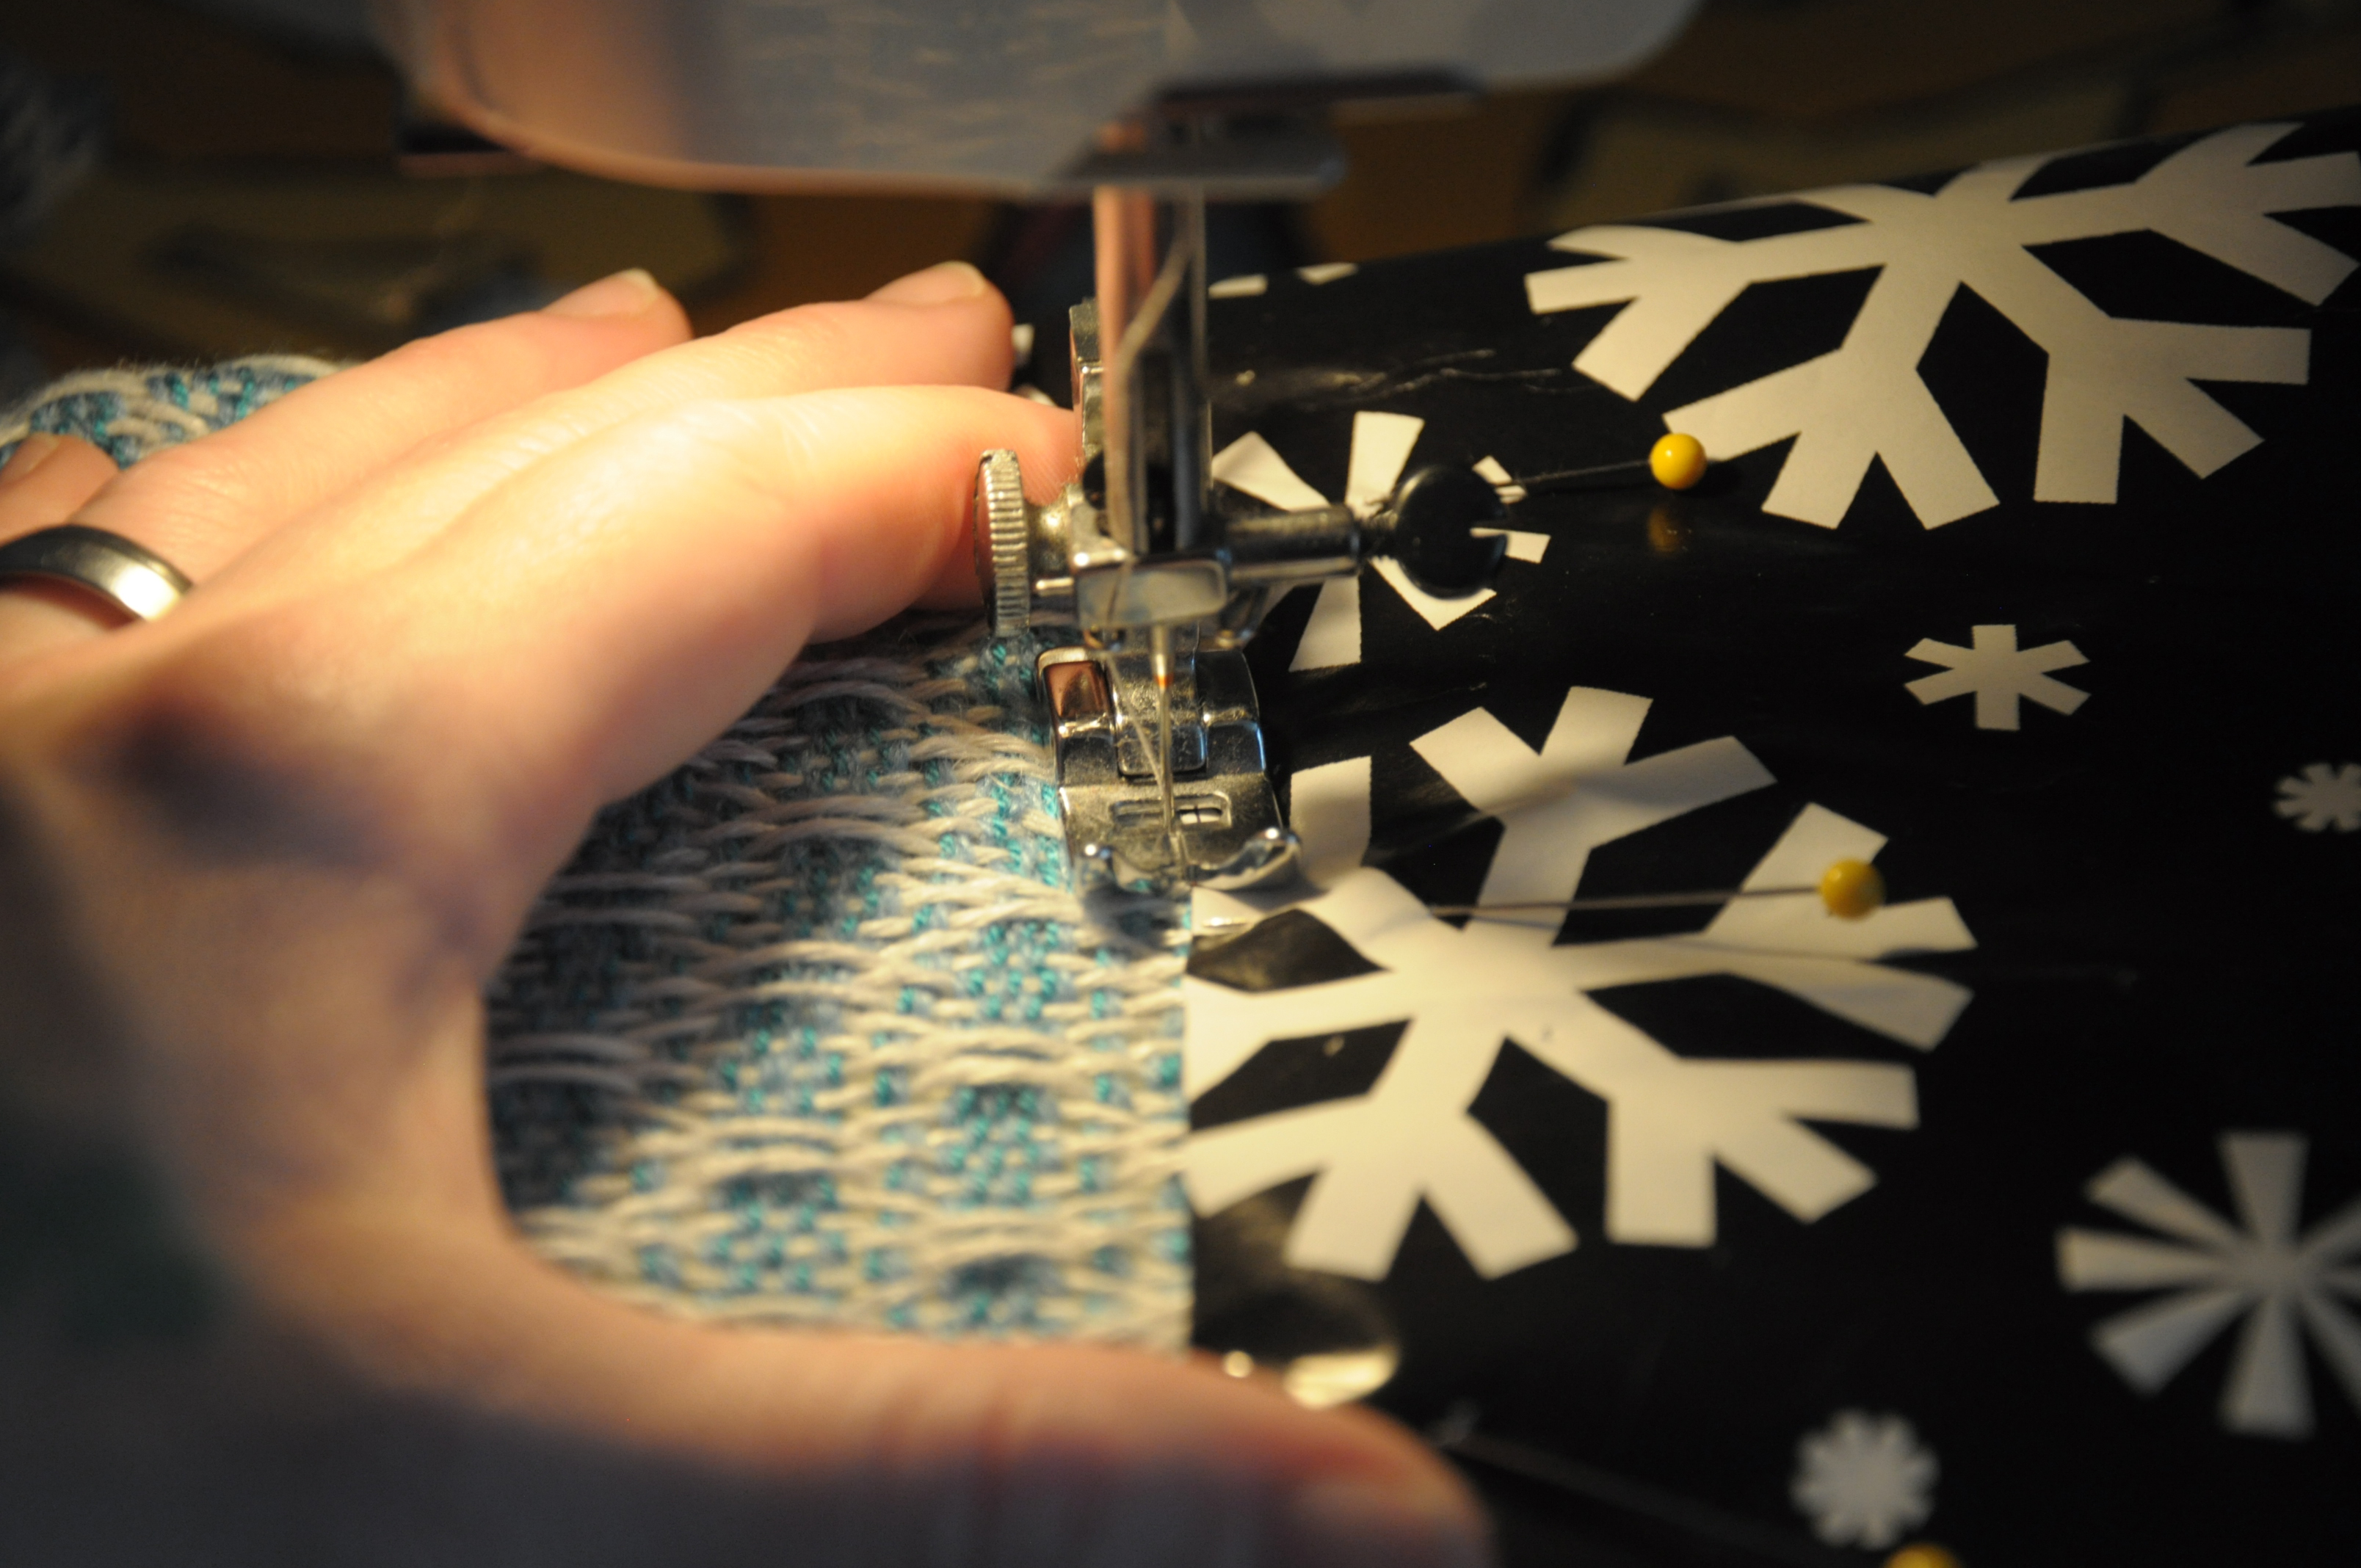
Sewing_5

After removing the paper, I sewed two more lines, but this time with a narrow, short-length zigzag stitch. These are the really important lines, because they’re securing the threads of the weaving and preventing them from unraveling. I used my presser foot as a measuring guide for my lines The foot is about 1/4″ to 3/8″ wide from the center of the needle to the outside edge, making my total seam allowance be about 5/8″.
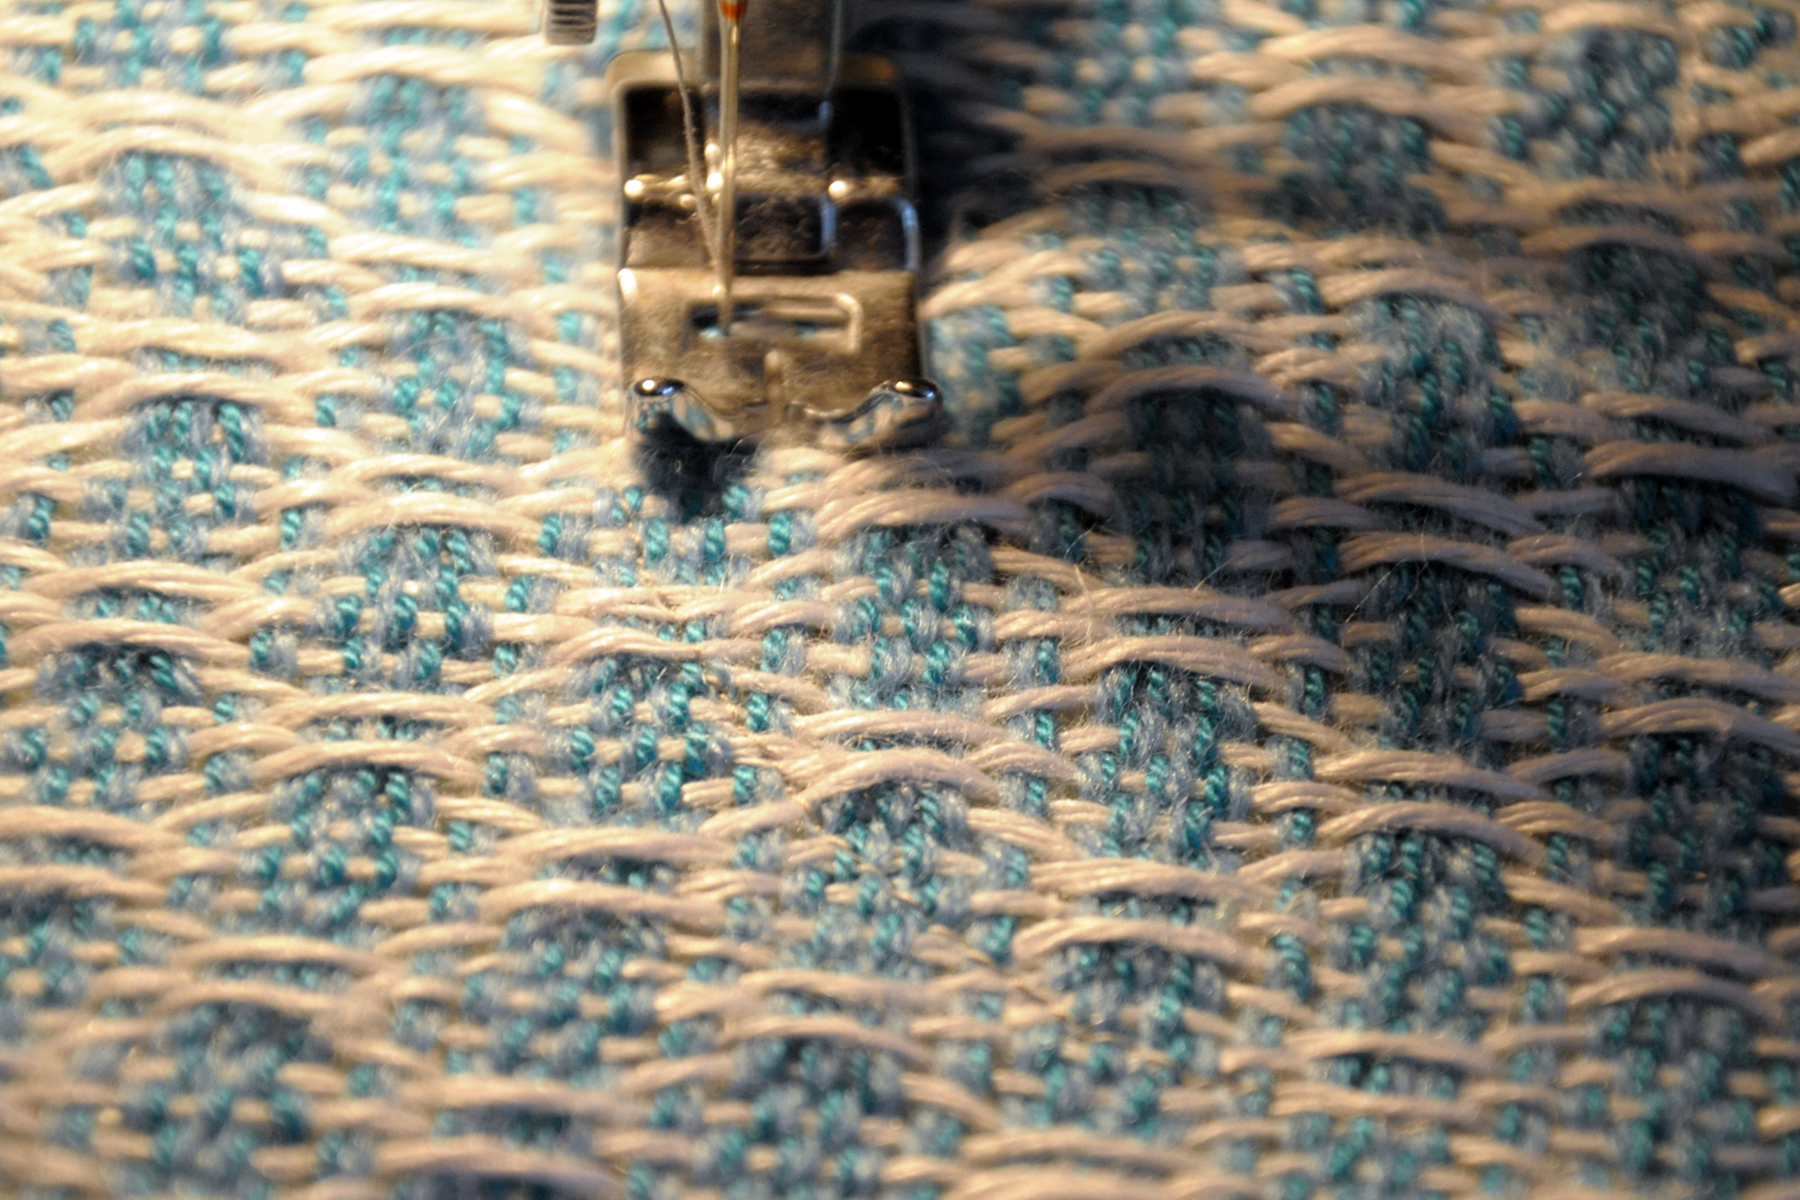
Sewing_6

I’m using light gray thread – can you see it? I barely could and had a splitting headache by the time I was done from squinting so hard. I wanted the thread to blend into the fabric and it blended too well!

Can you see it now?

Sewing_7

Now that these important lines were stitched I could safely cut out my neck and armholes. I made sure to cut outside  all lines of stitching, right up against the last zigzag line.
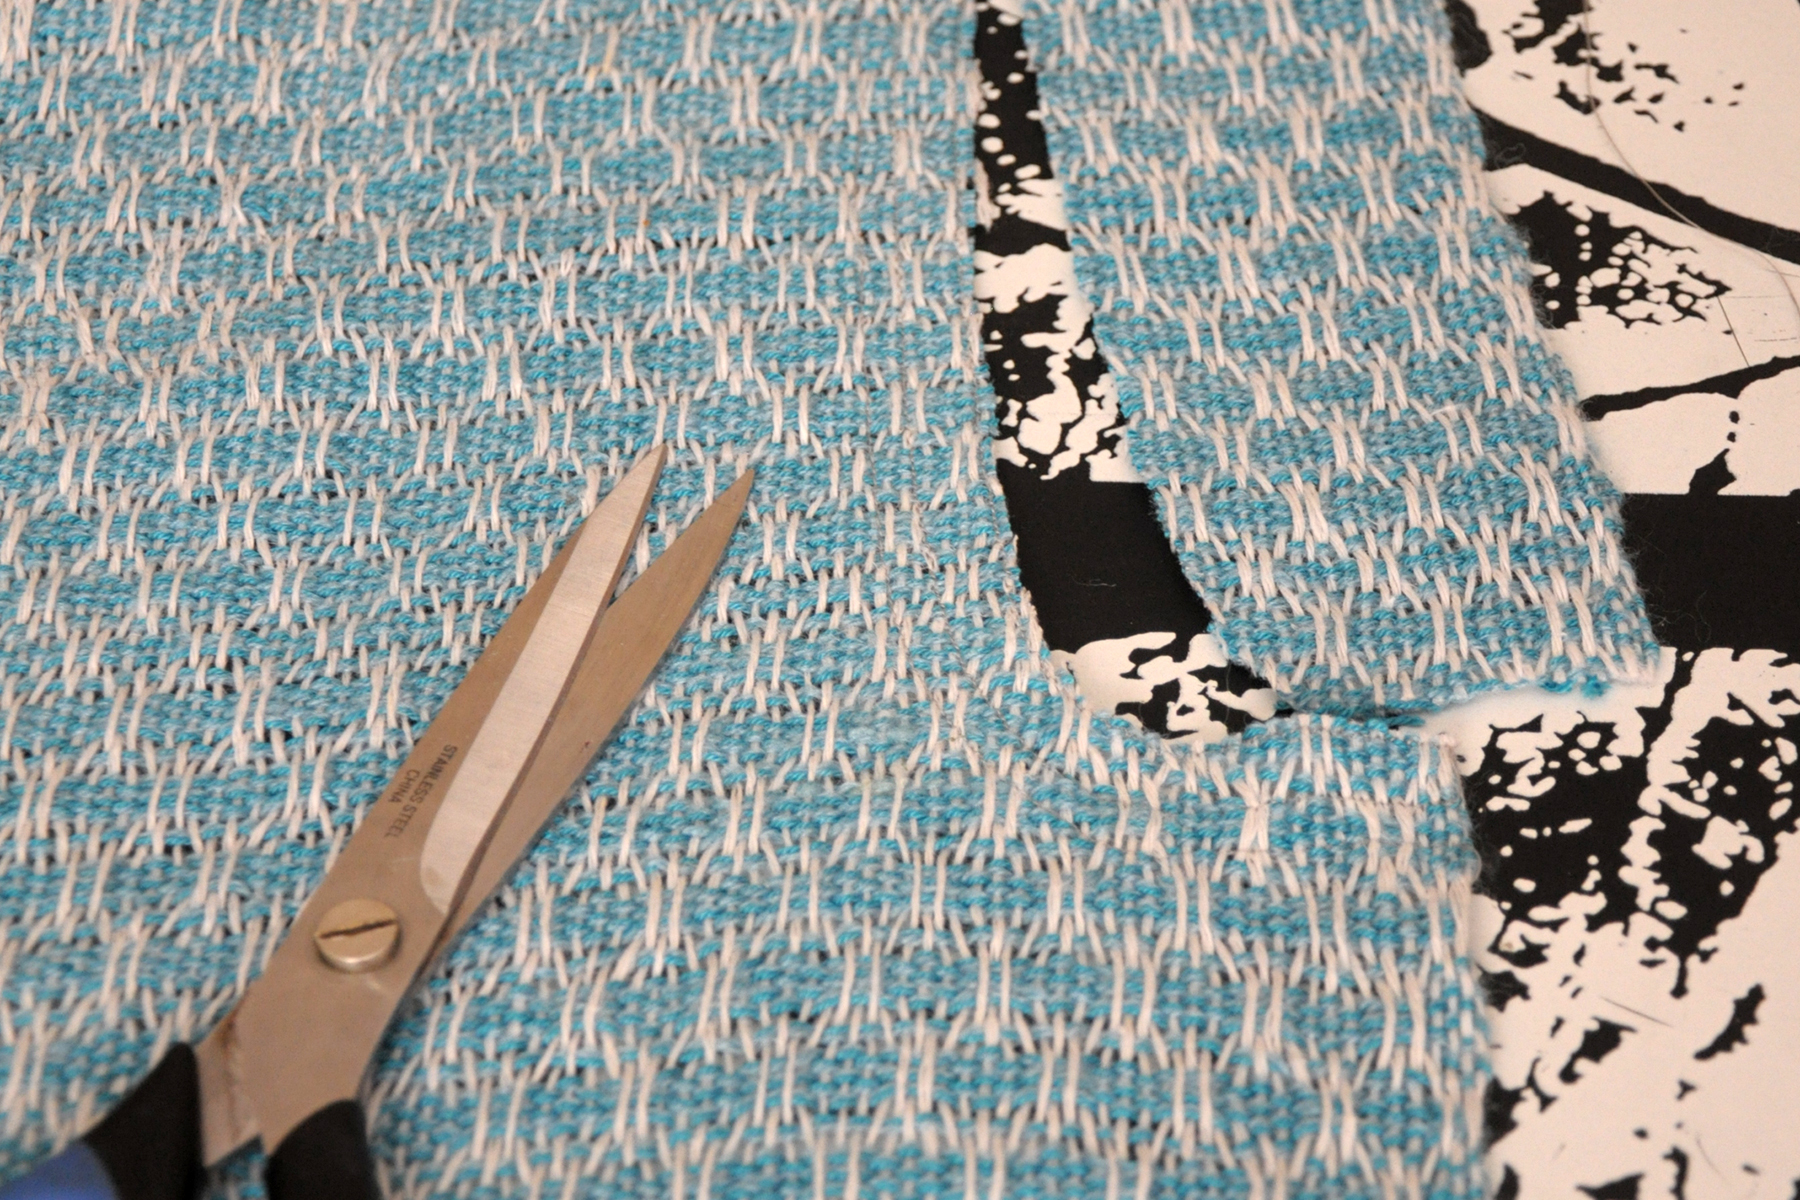
Sewing_8

Once the neck and armholes were cut out, I had to prep the curves so I could fold them under. If you’ve ever sewn a garment with curved lines, you know that you have to snip the curves so they can be eased to the inside of the garment. Again, because I was working with hand woven fabric, I had to secure the fabric before making these snips. I set my machine to a very, very short straight stitch, and made 2 parallel lines of stitches on either side of where I intended to cut. That way, when I cut through the fabric, it wouldn’t unravel.

My apologies – I seem to have forgotten to photograph this step!

Anyway, next, it’s onto the ironing board again. And more pins! For a double-rolled hem, I first pressed in my openings on my very first straight line of sewing. Remember, my guide line? Then,  I pressed in again on my first zigzag line.
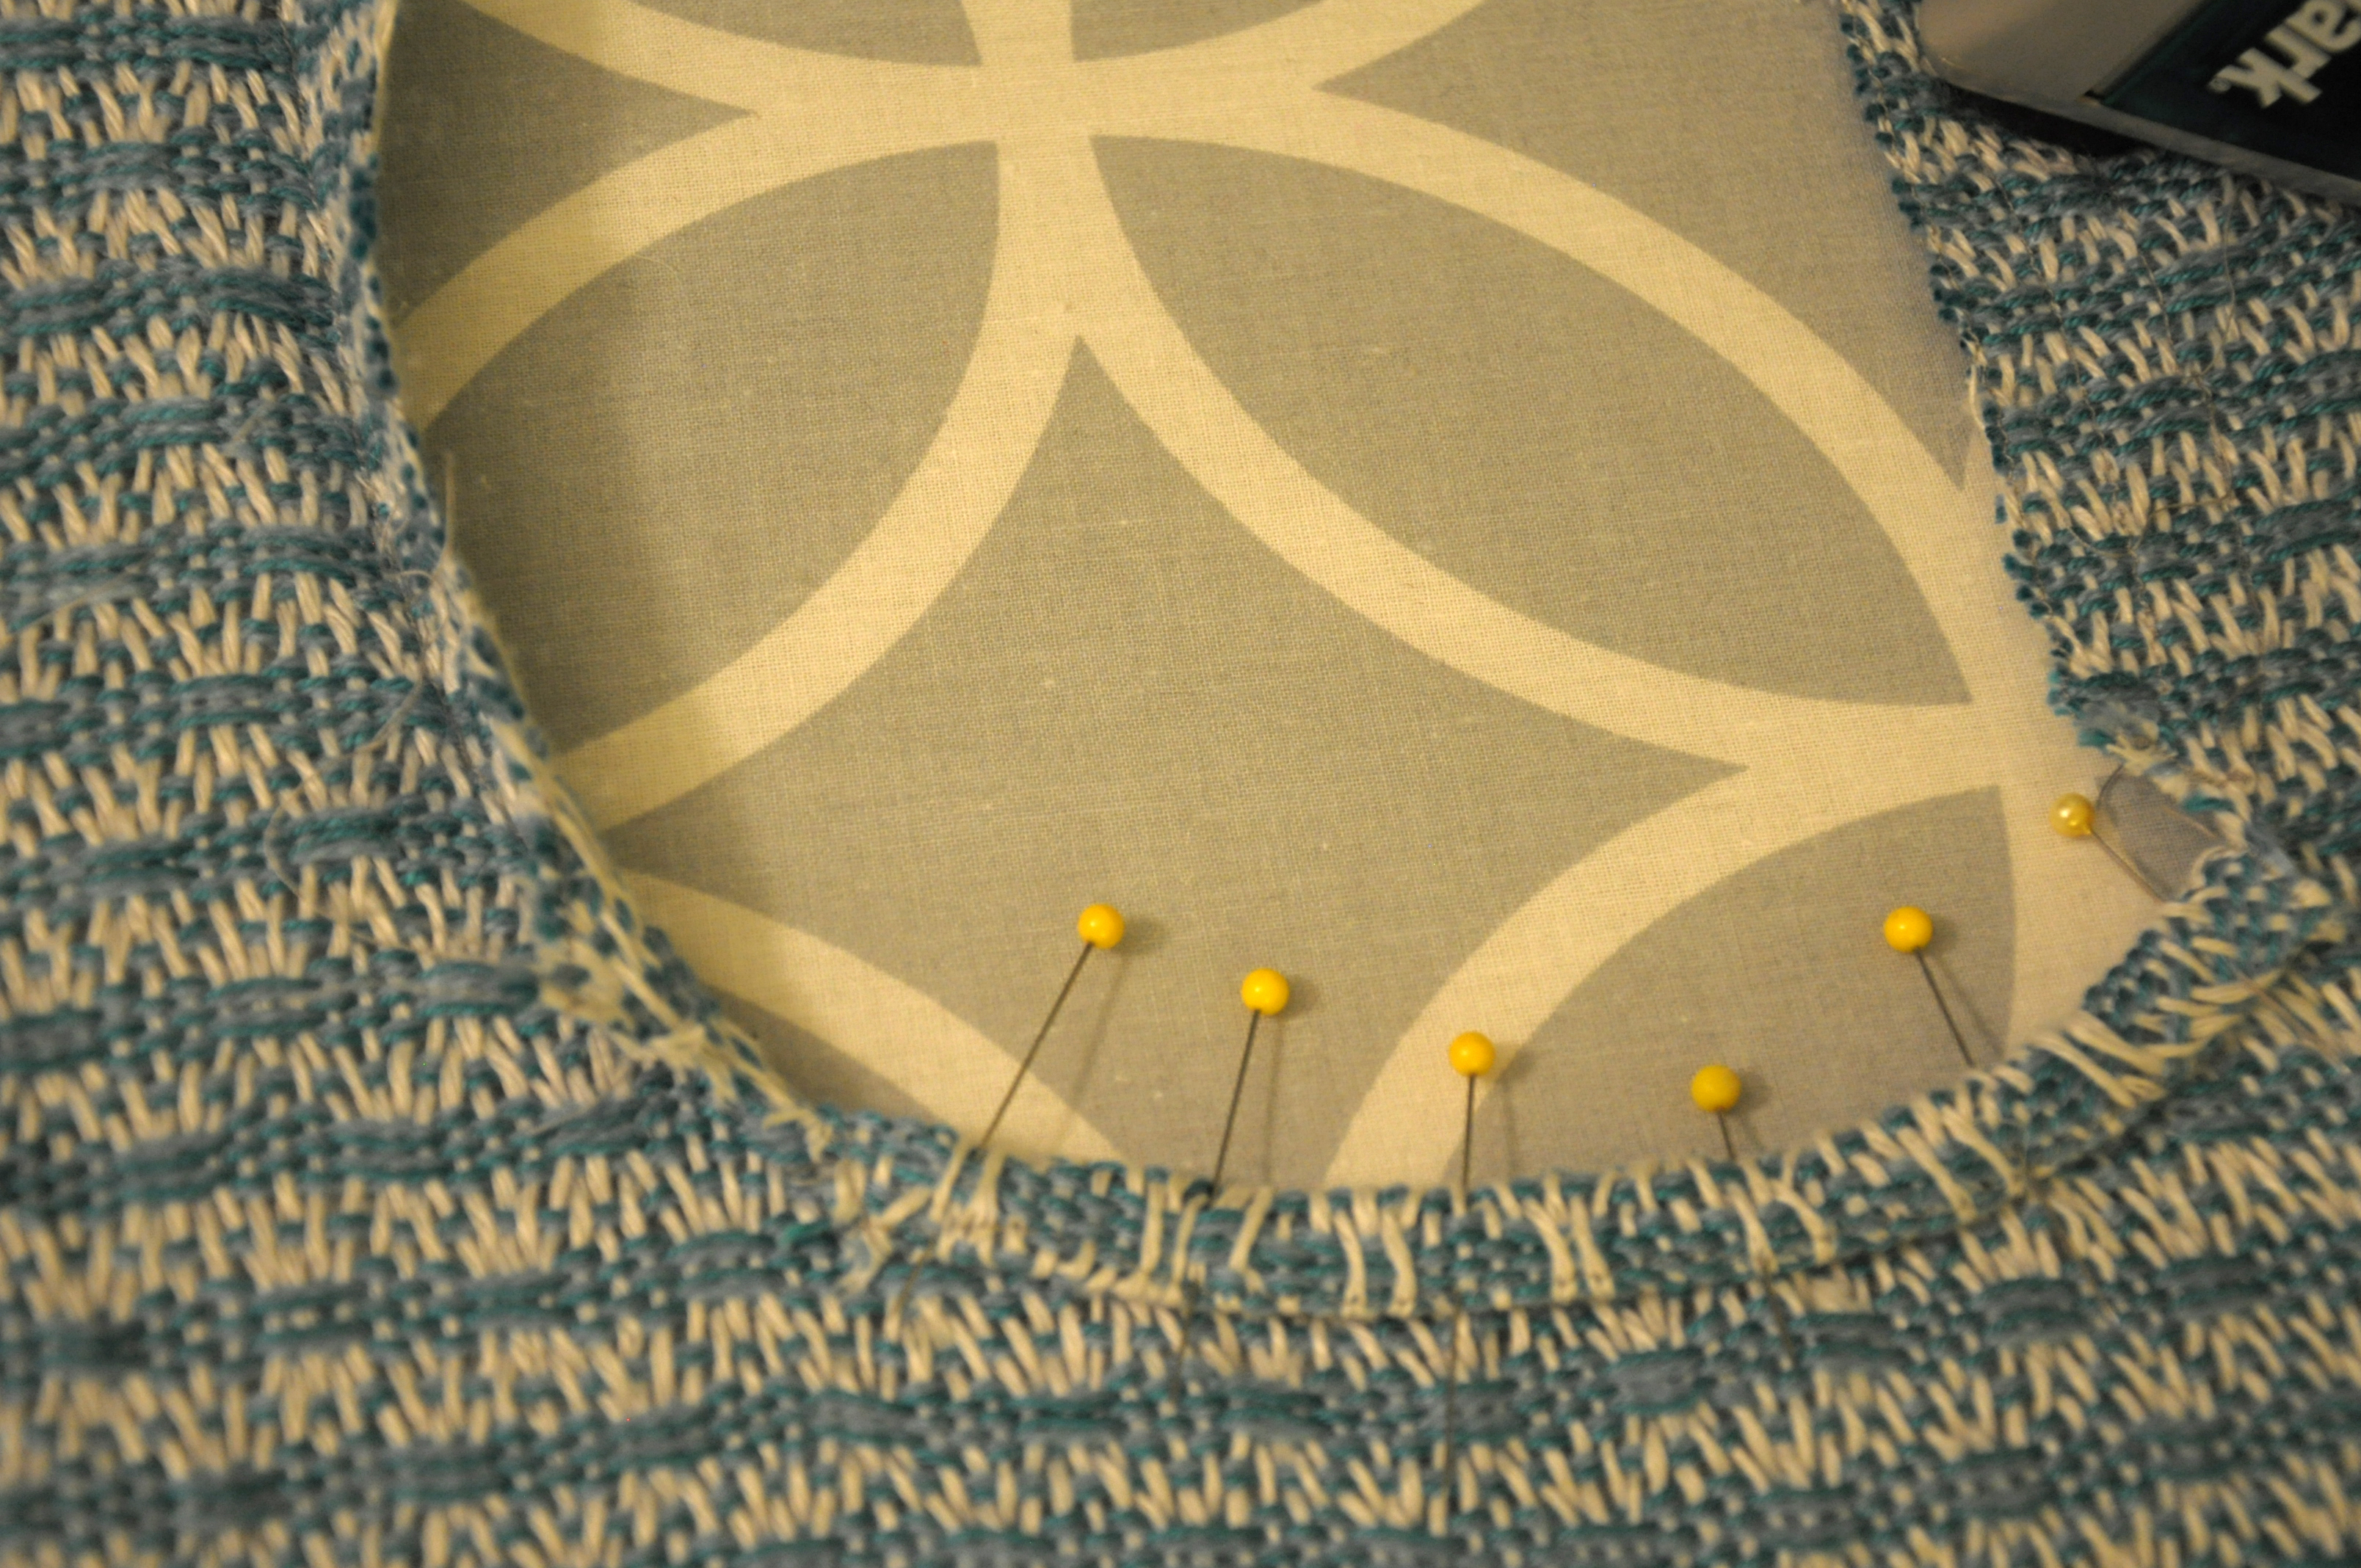
Sewing_9

Once I pinned and sewed my neck and armhole openings (this time, with thread I could actually see), I tried it on Betty to see how we were coming:
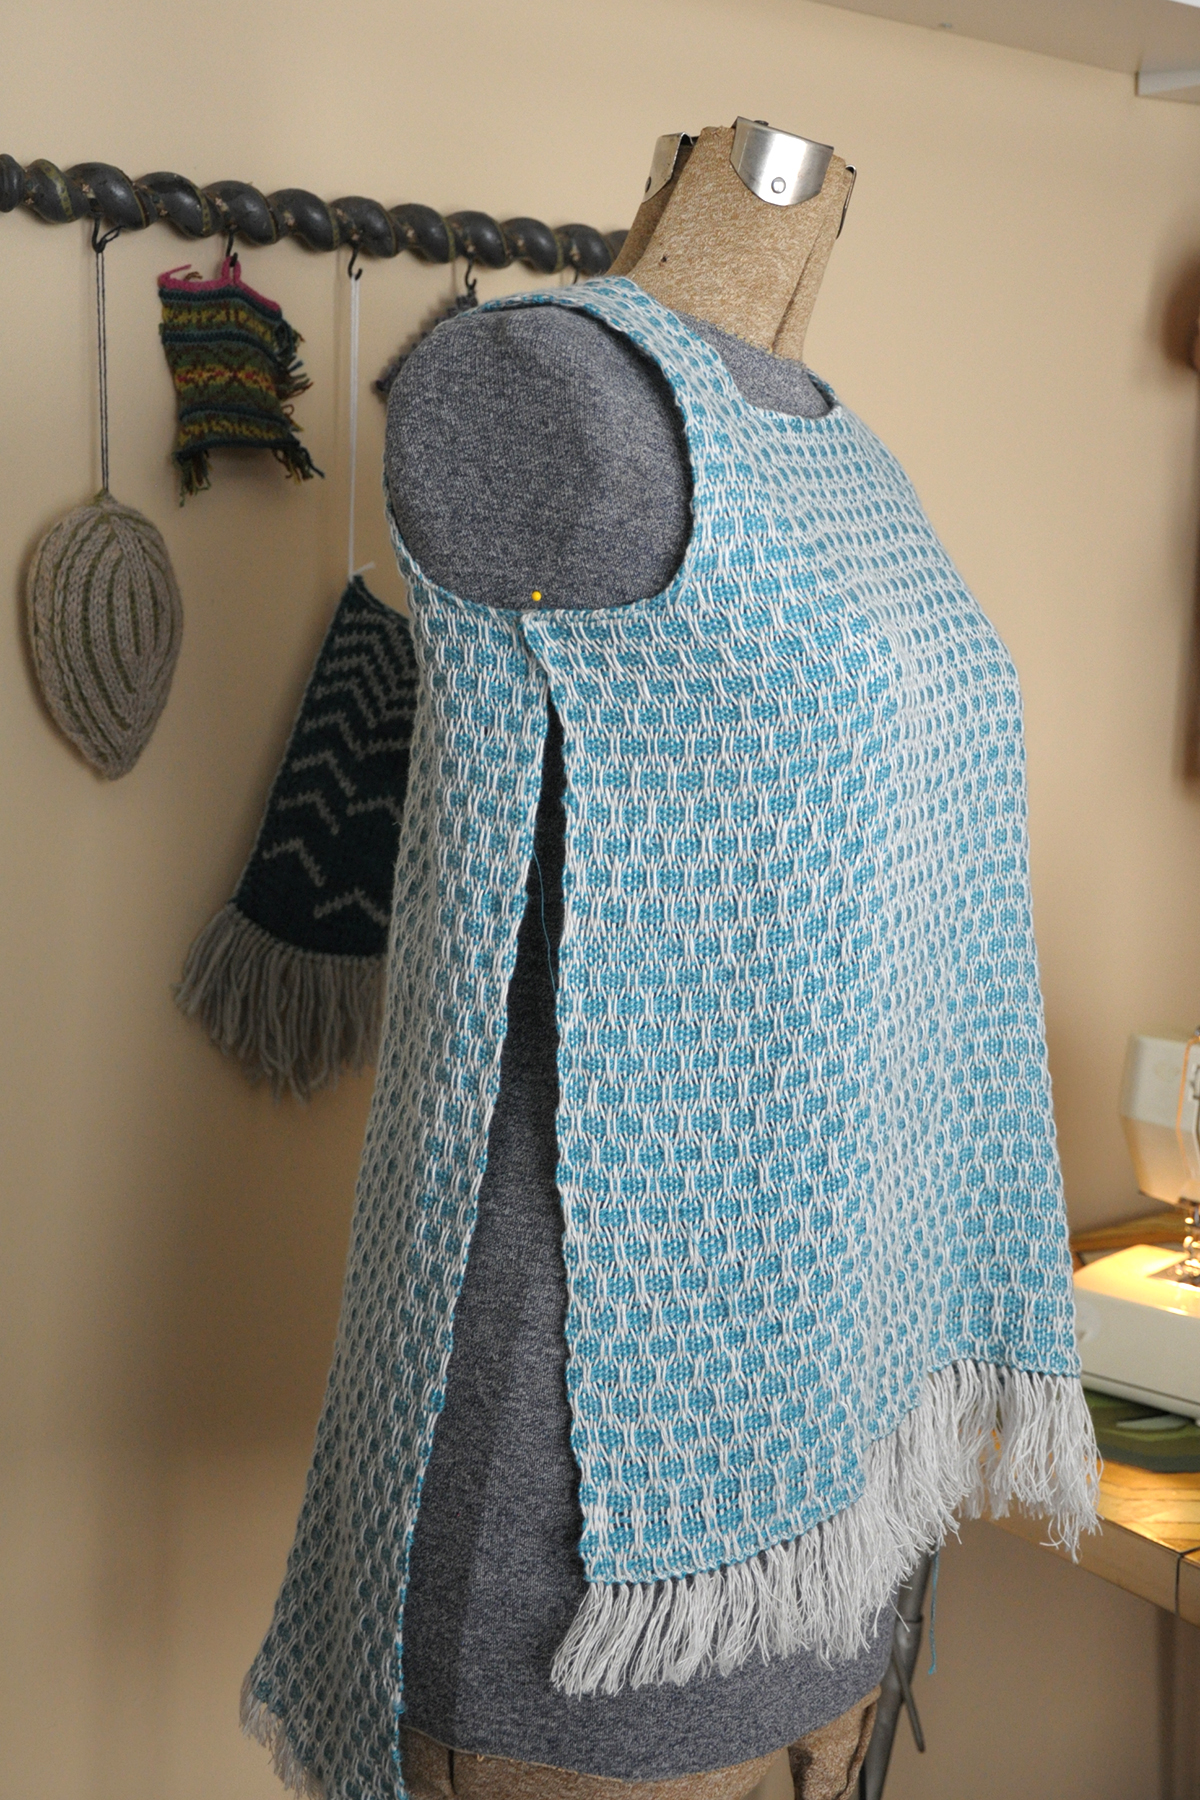
Sewing_10

Hey, it looks like it could actually be something! To wear!

There were just a few things left to do. First I trimmed away that fringe. Fringe is actually in style right now and I could have left it, but opted to cut it away instead.

Next, I needed some side seams. Because the sides of the fabric are the selvedges, I found no need to do double rolled hems because the edges are “finished” already.

The final width of my fabric after washing, by the way, was about 19 1/2″. Which means, if I were to sew the sides together with 1/2″ seam allowances (taking up a total of 2″ in seams), then my finished top would be about 37″. Perfect! I have a 34″ bust, so having a few inches of ease in this woven top will work well, since woven fabrics really don’t have any give.

My hips, however, are significantly larger than 34″. I’m a pear shape and my hips are about 39-40″. I couldn’t sew the full length of my side seams or I won’t be able to fit into this baby.  I also could have made the top shorter than intended so that it sat above the fullest part of my hips, but I didn’t want to do that.

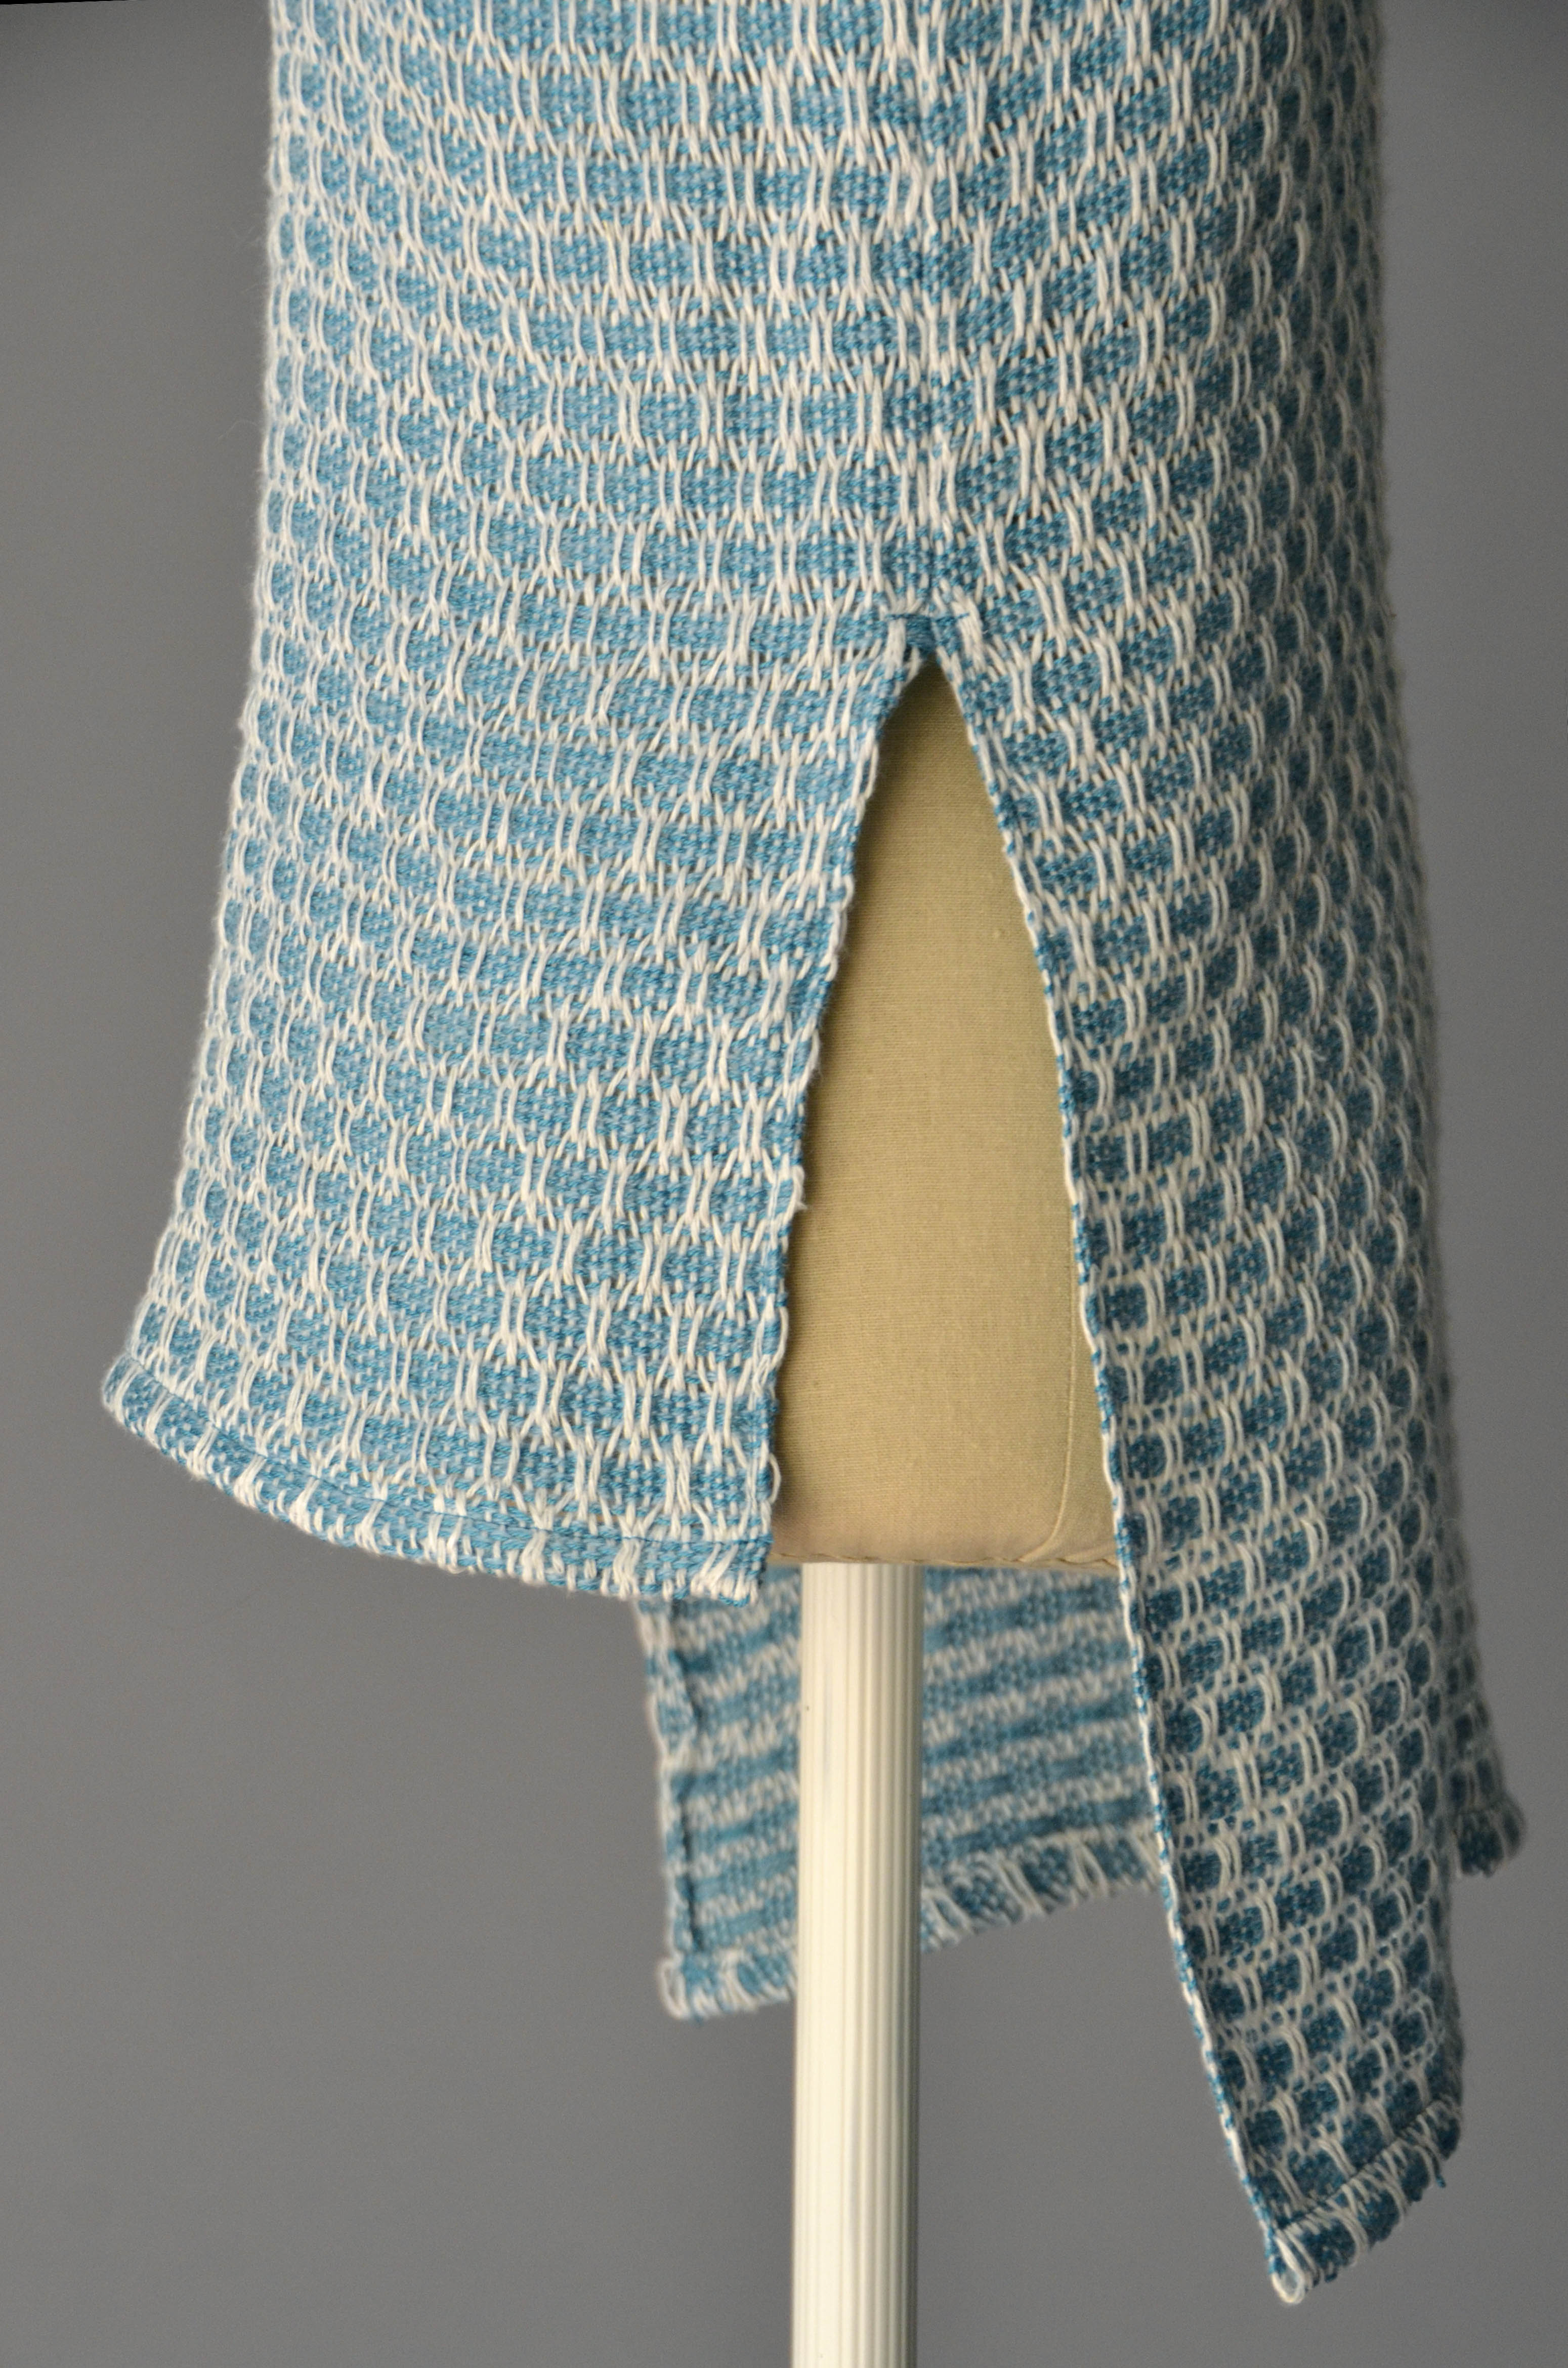
Instead, I opted to sew only part of the side seam and give myself side vents to accommodate my curves.
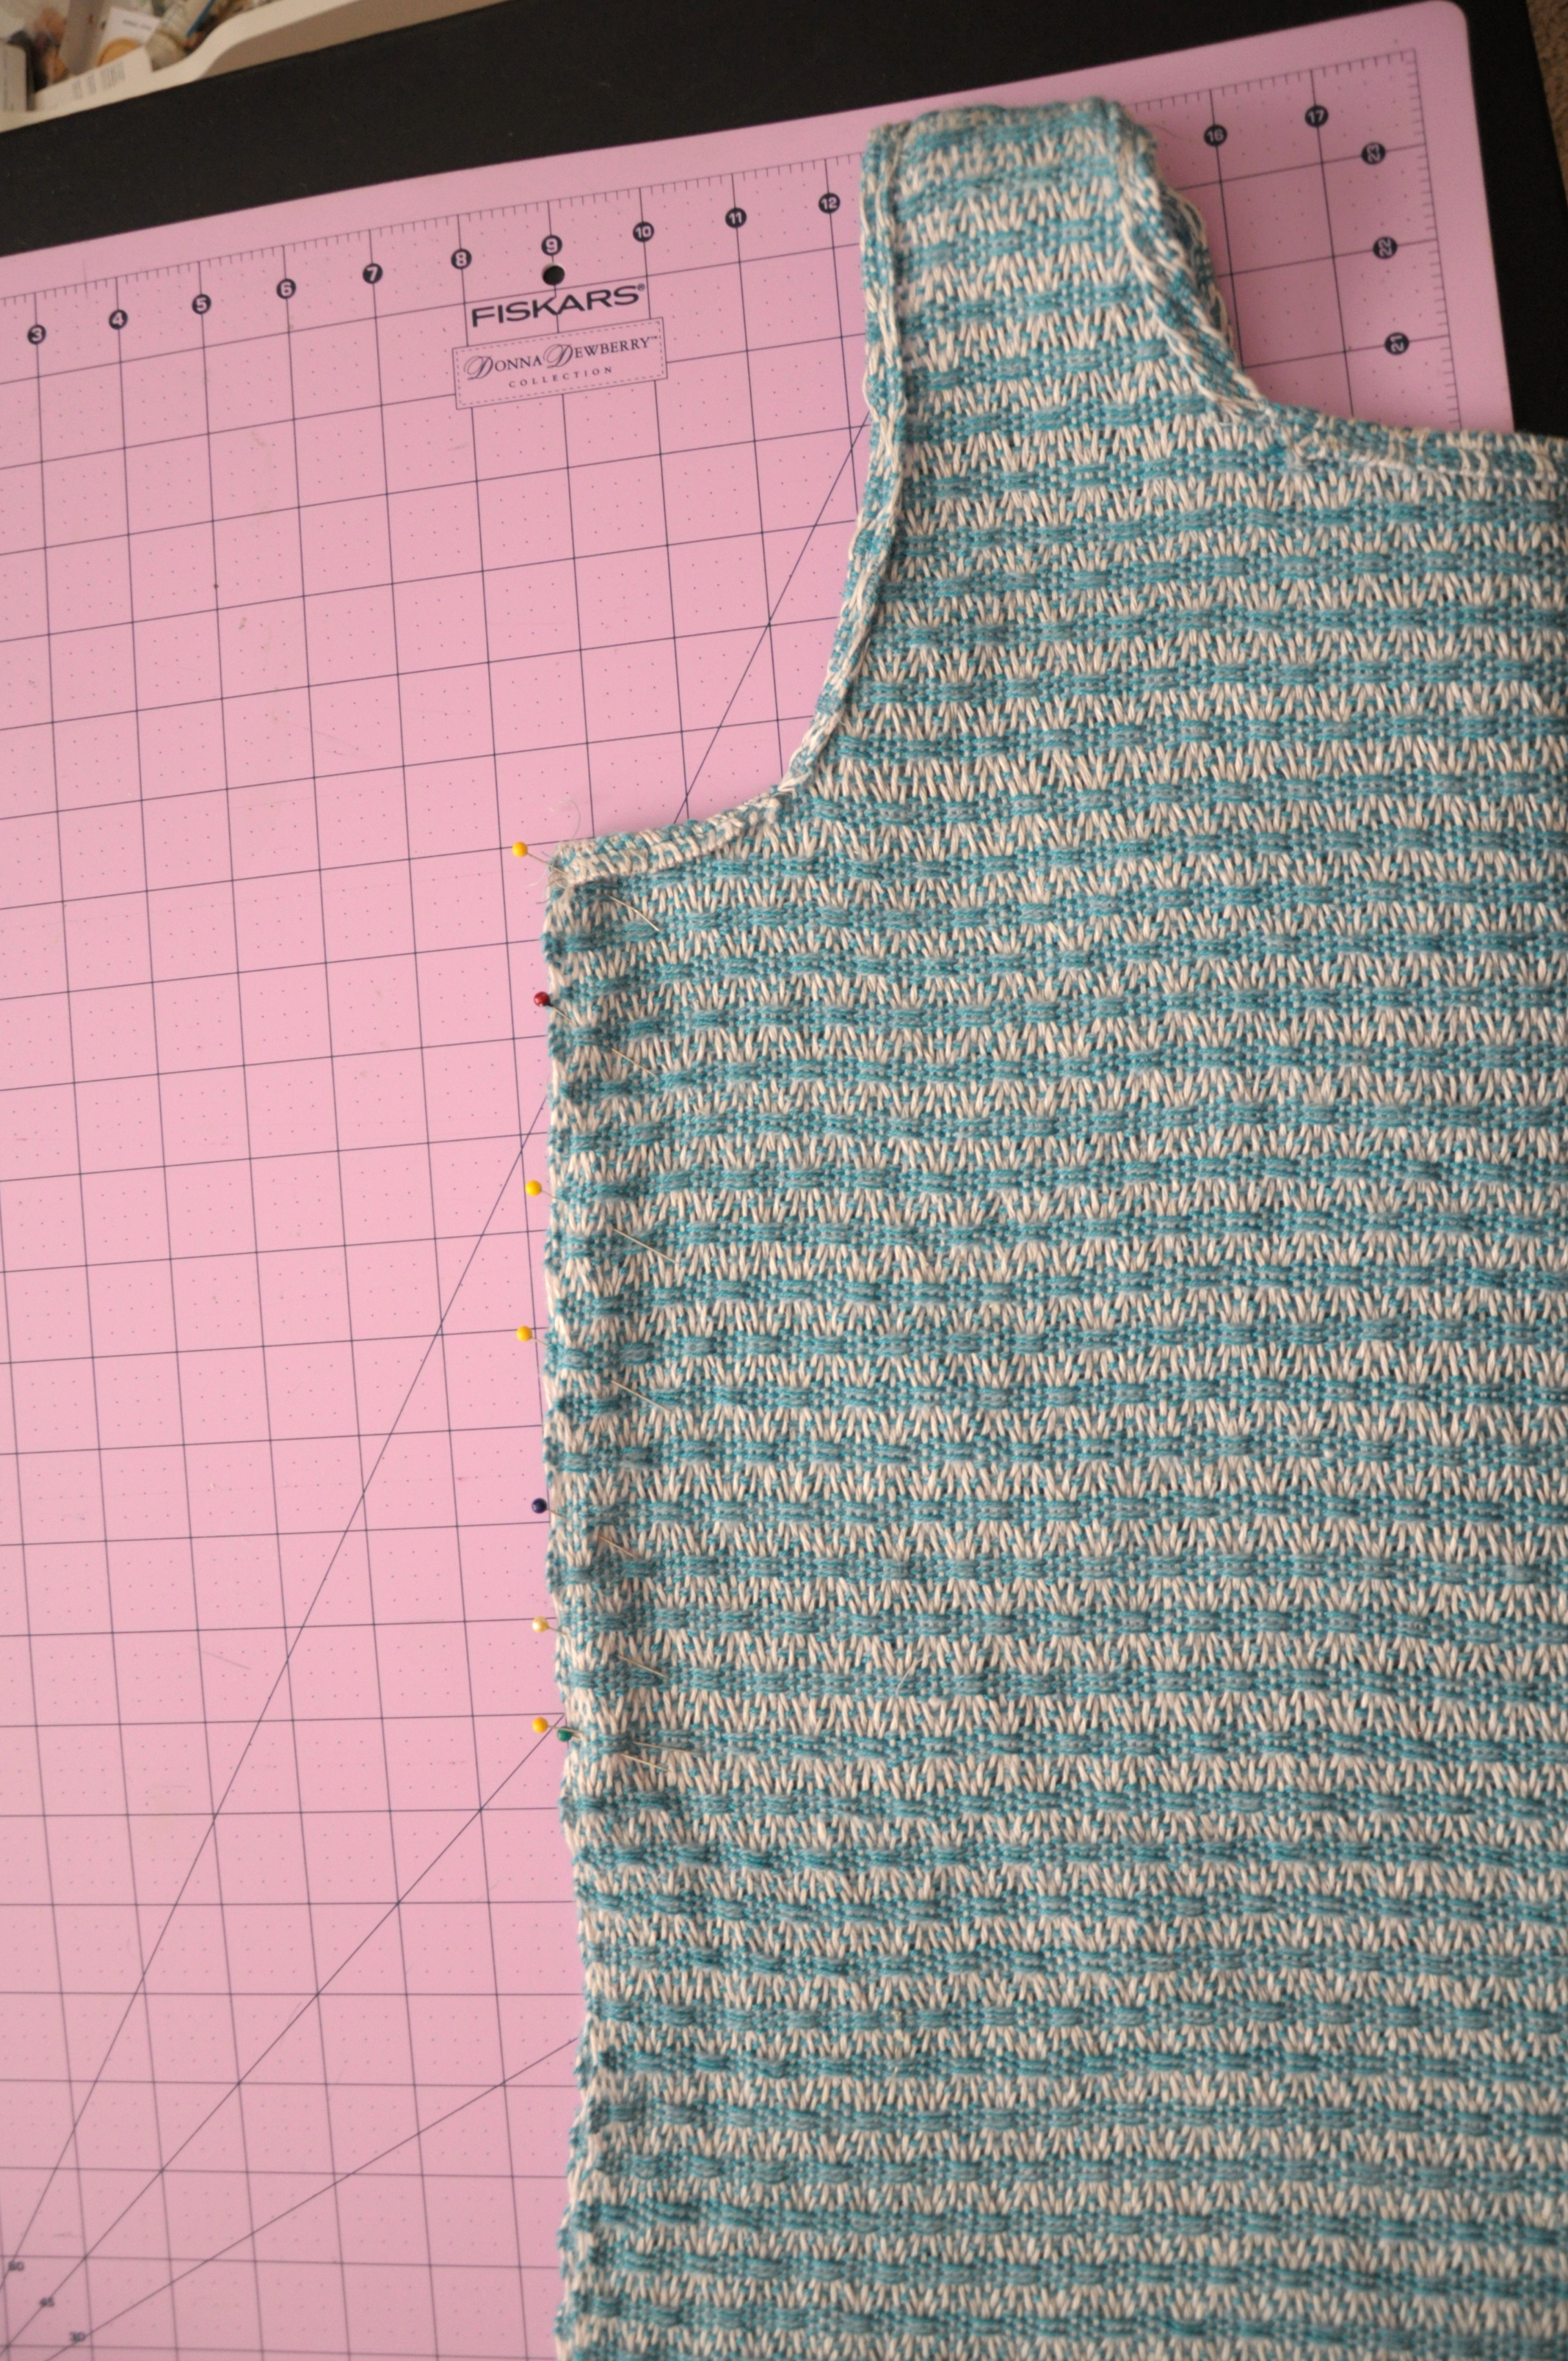
Sewing_11

After sewing the side seams, I pressed them open. Remember my other rule – don’t skimp on the ironing. I then made a single-fold hem on the unsewn portion of the sides, and made a double-fold hem on the bottom. After that, more ironing! It’s important to iron sewn seams to sort of settle them into place. It also makes them look more finished. I like to shoot a little steam on seams of knitted items too to help them relax.
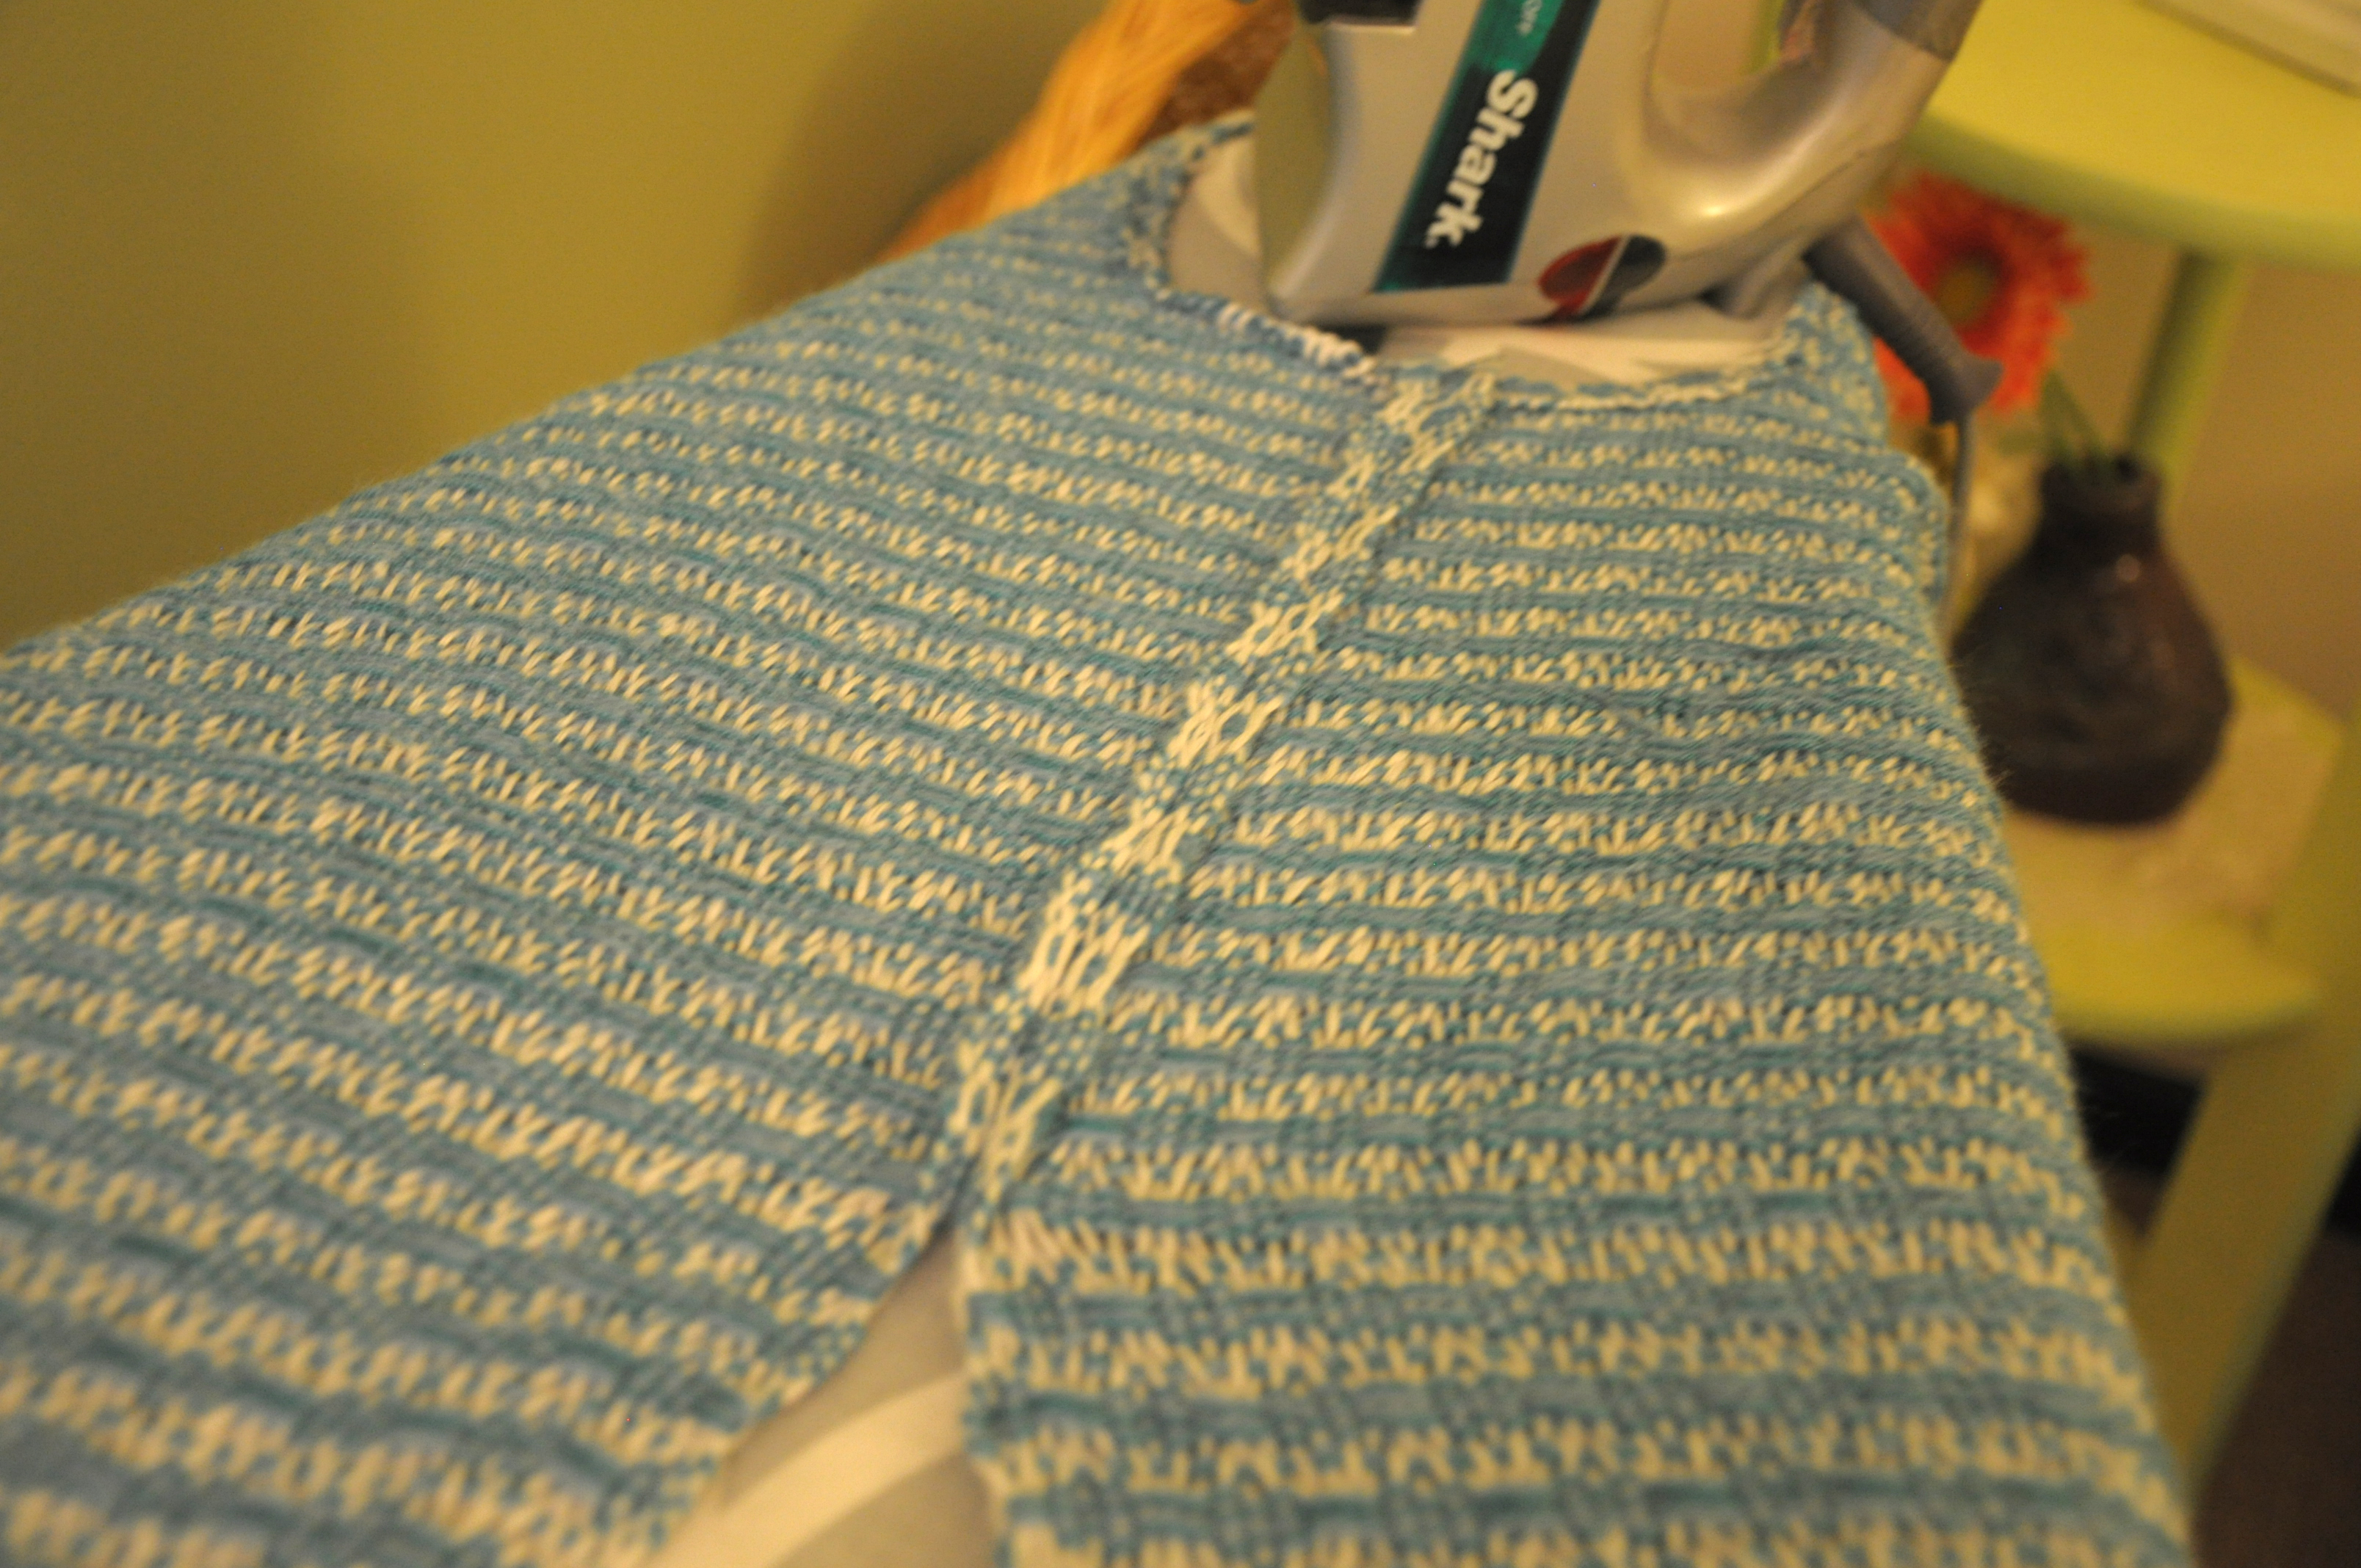
Sewing_12

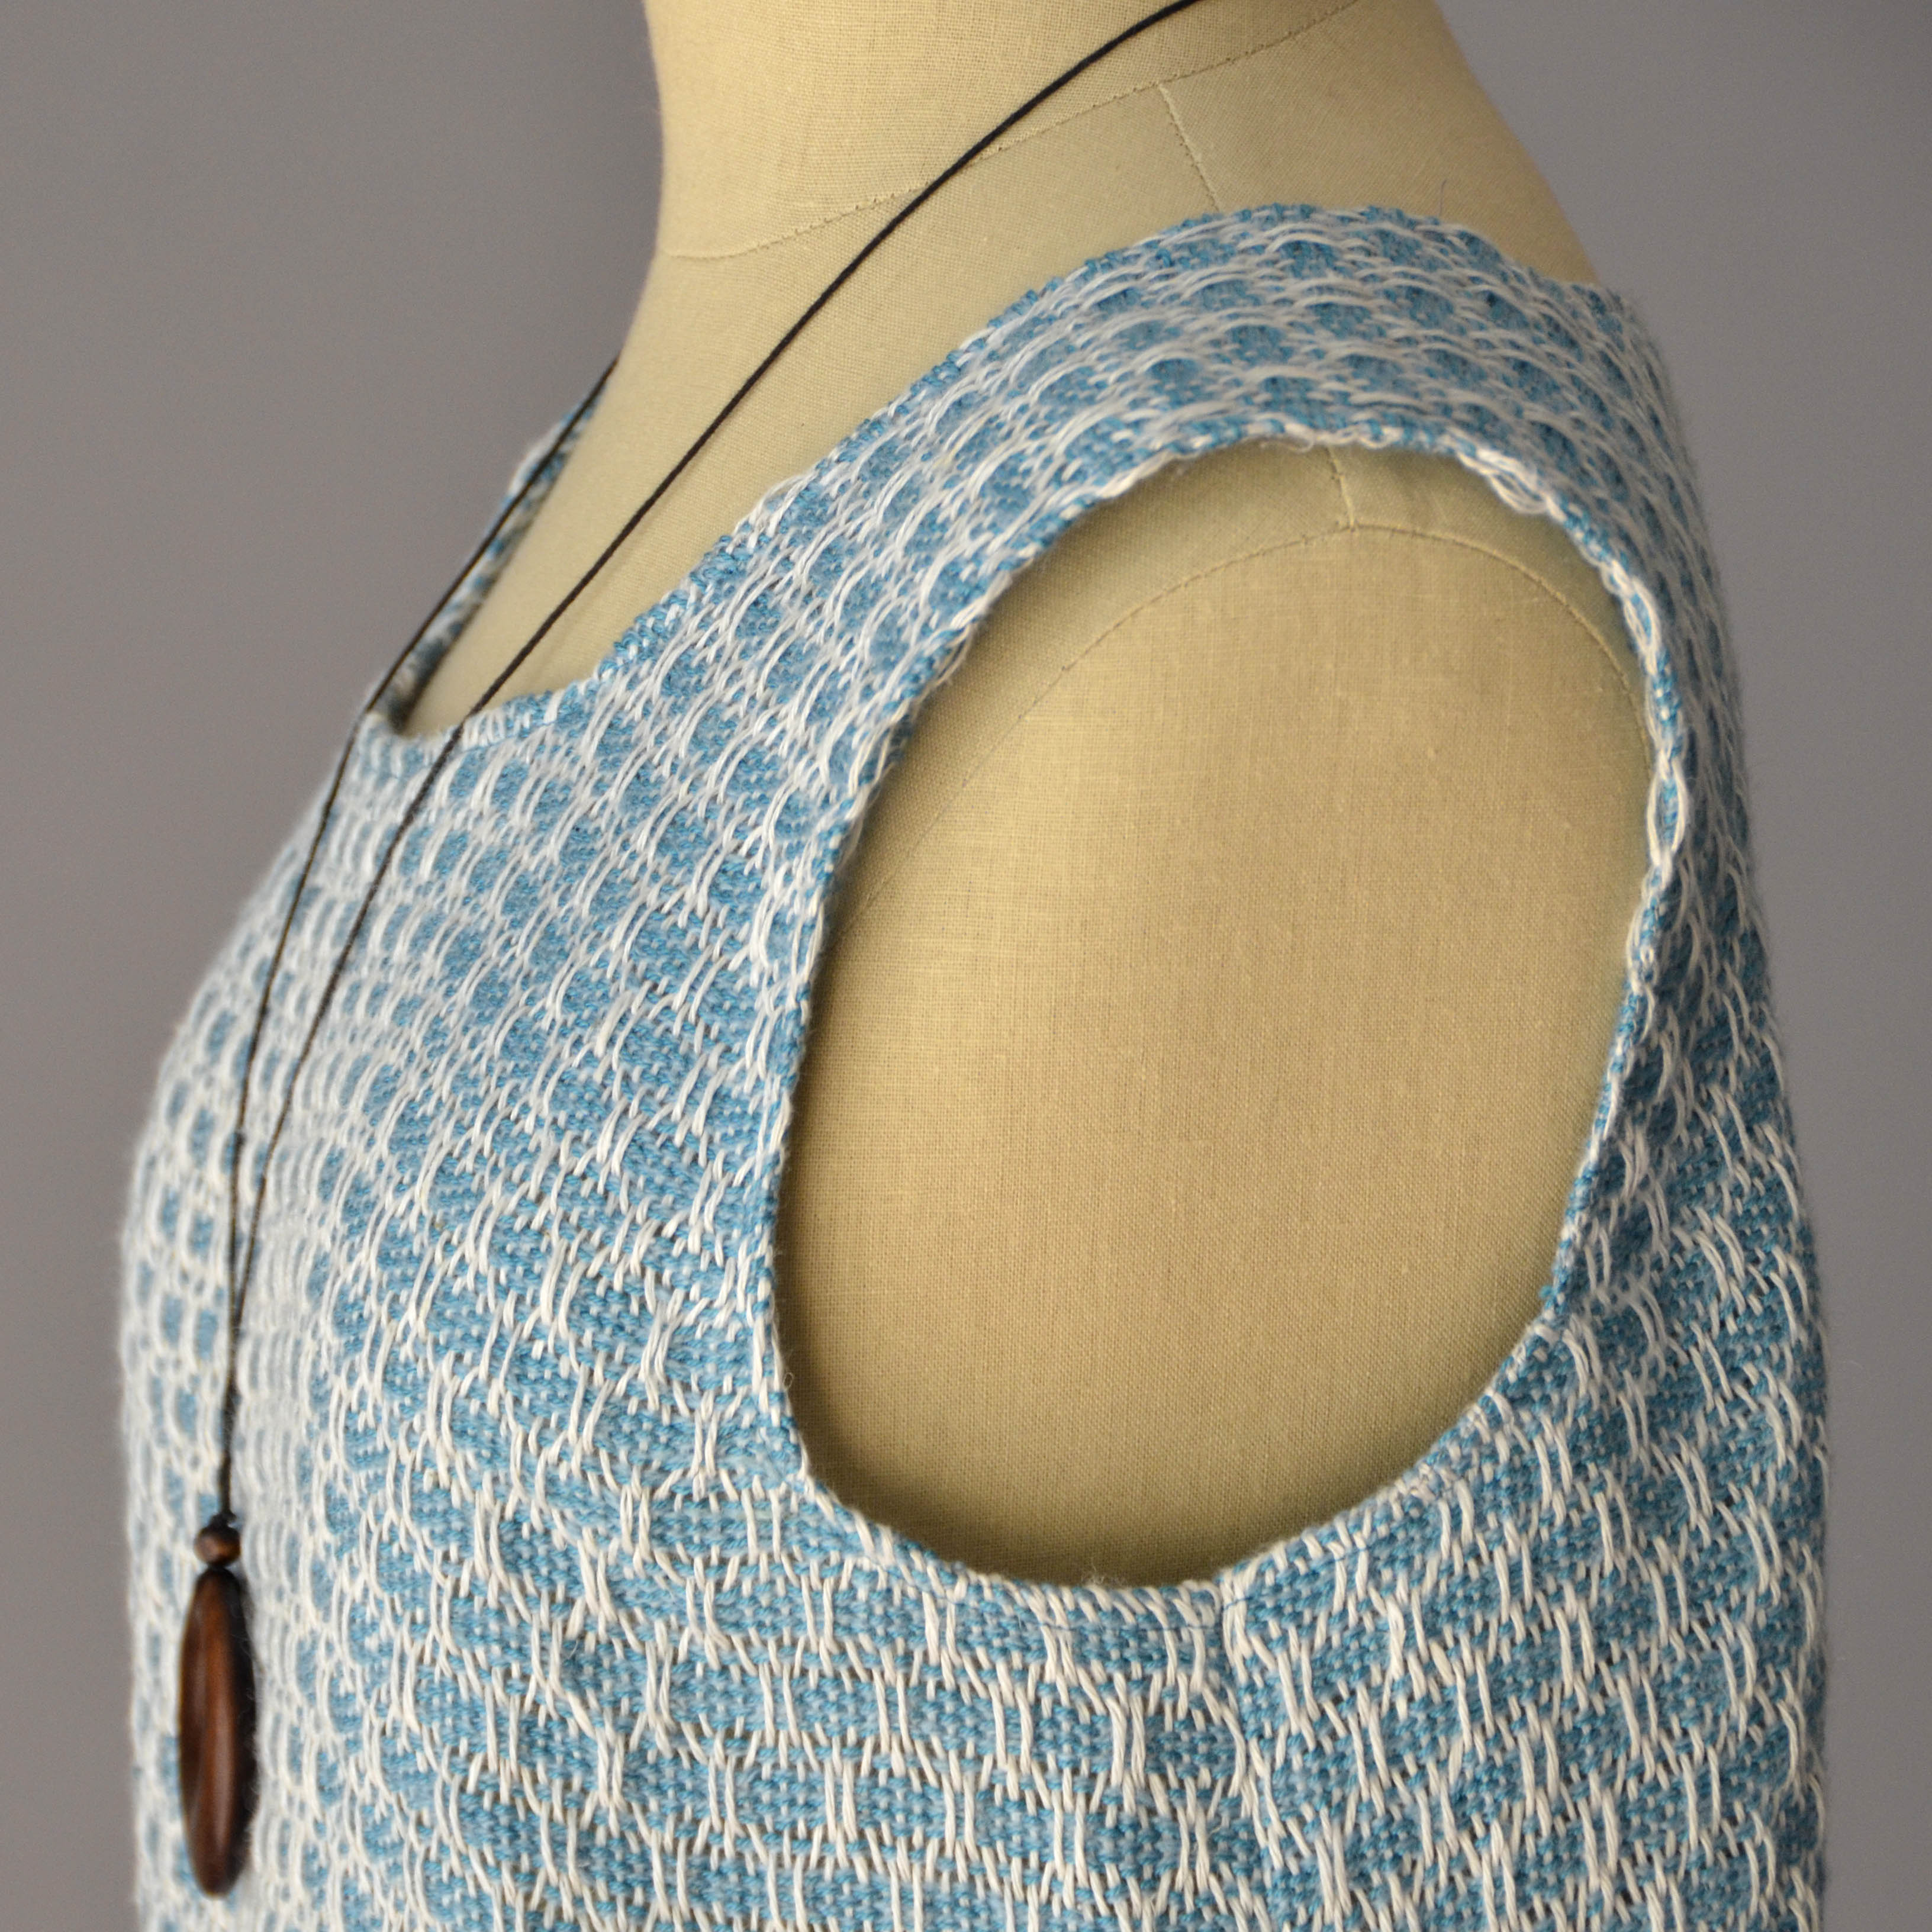
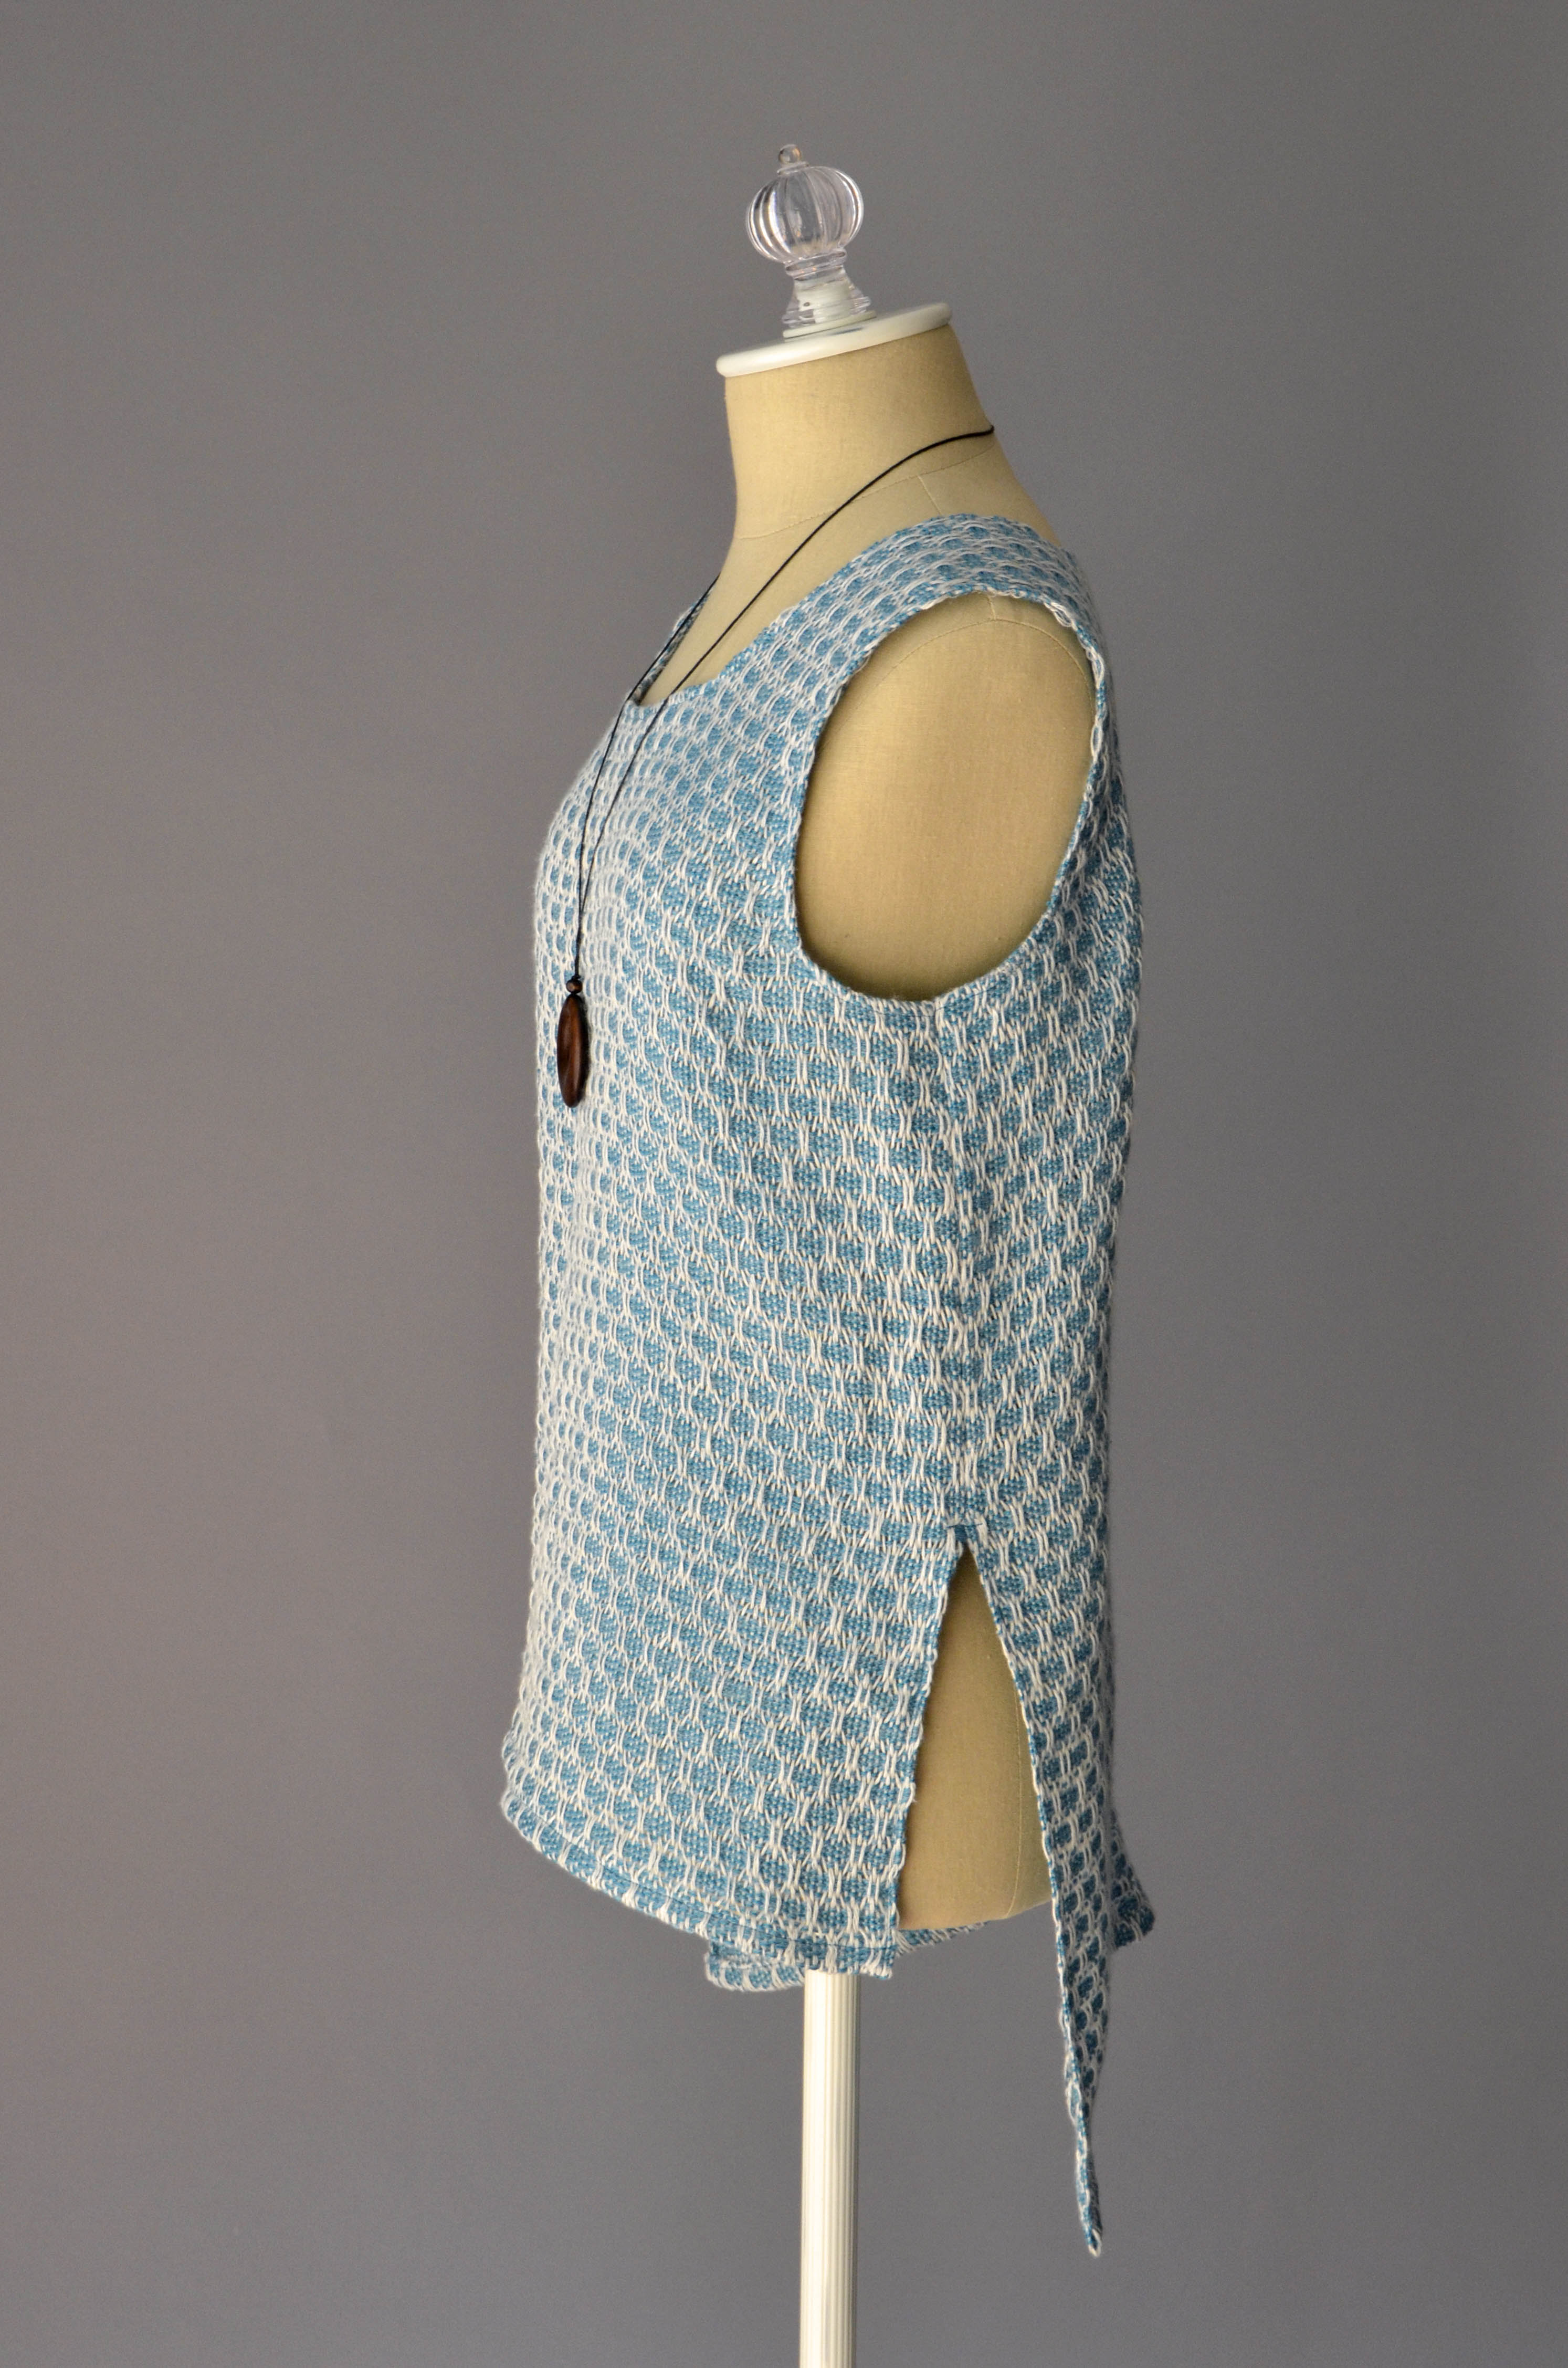
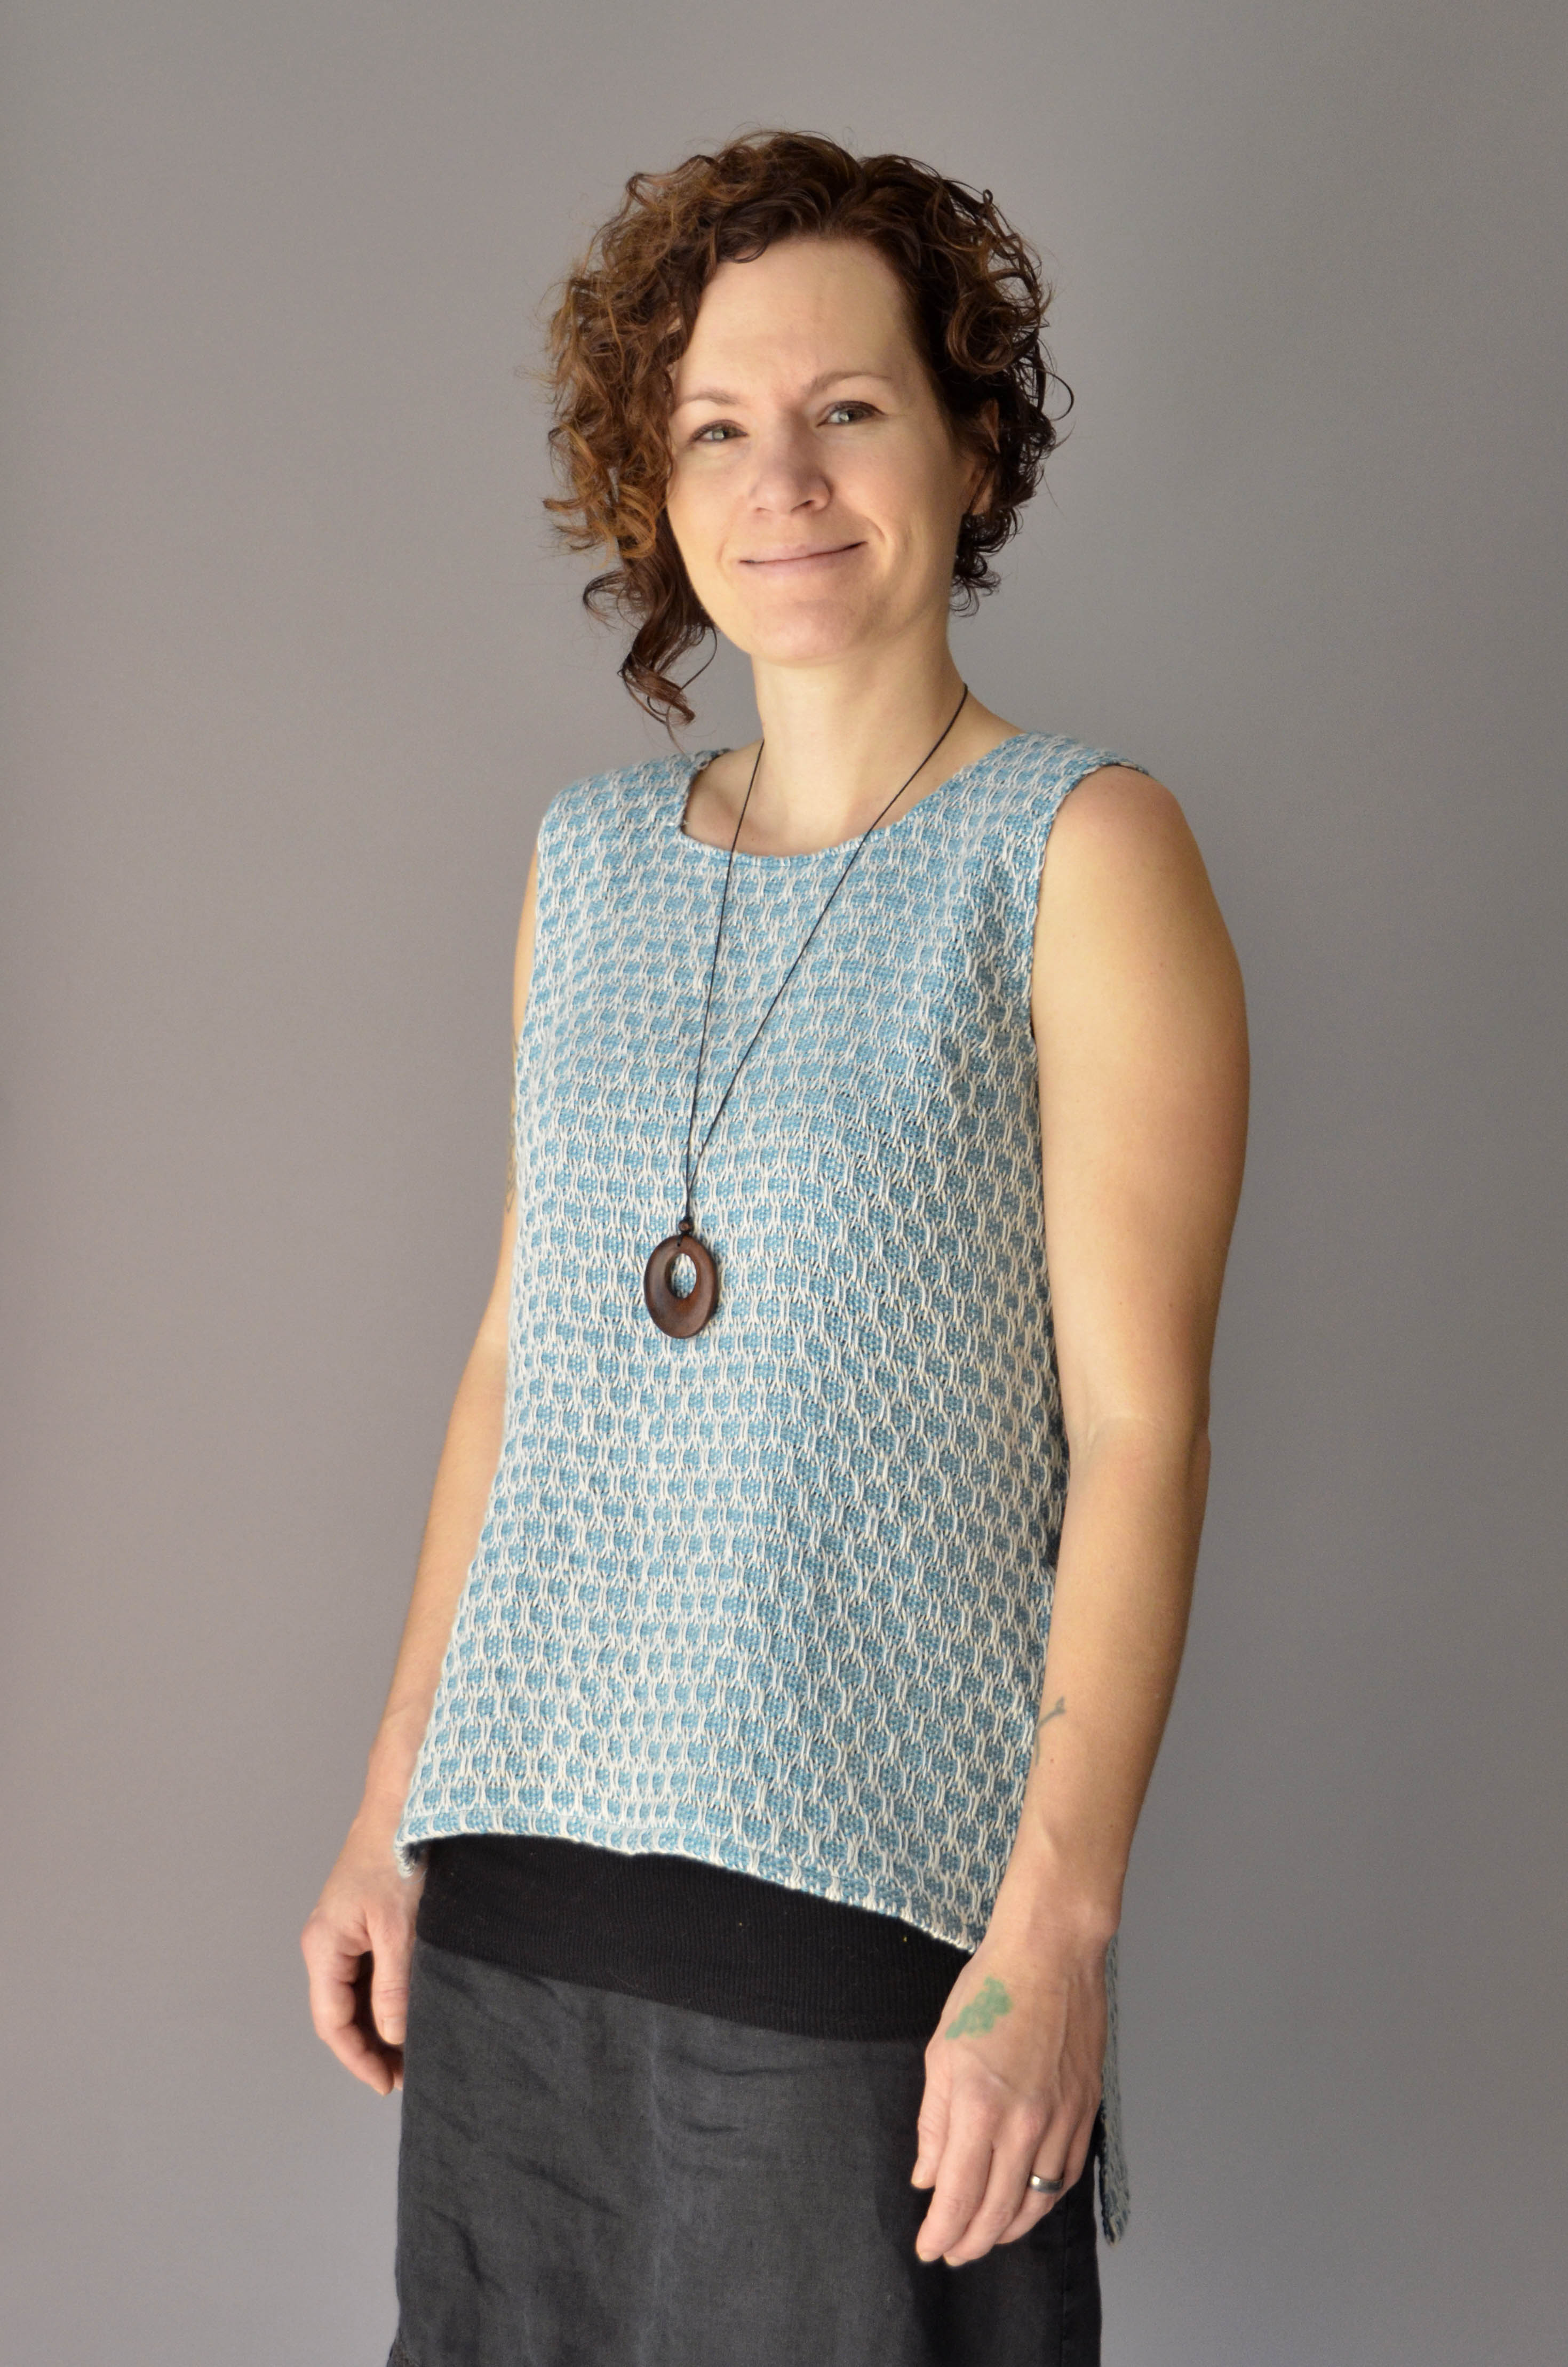
And here are some final shots:

Flame Lace side closeup square hi-res

Flame Lace hem hi-res

Flame Lace on form hi-res

Flame Lace on Amy crop hi-res

All in all, I’m please with how this turned out. Though I have quite a bit of sewing experience, I’ve done very little sewing with my own hand woven fabric, which is definitely a whole different ballgame than sewing with purchased fabric. This project has definitely sparked ideas for more garments. Now all I need is to find the time to implement them!

Join me next time as I explore how to make the most of Bamboo Pop multi colorways and planned pooling!

 

Off and Running

I am delighted to say that the fabric that will become my Flame Lace top is finally off the loom! As much as I enjoy the meditative process of weaving, it always feels so good to near the end of a project. In life and crafting, I’ve found that there are all types of people: starters, enjoyers, tinkerers, thinkers, finishers, and on the list goes. I can dabble in many varieties of creativity, but I fall staunchly into the “finisher” category. I enjoy the process, but I love to see things through to completion.

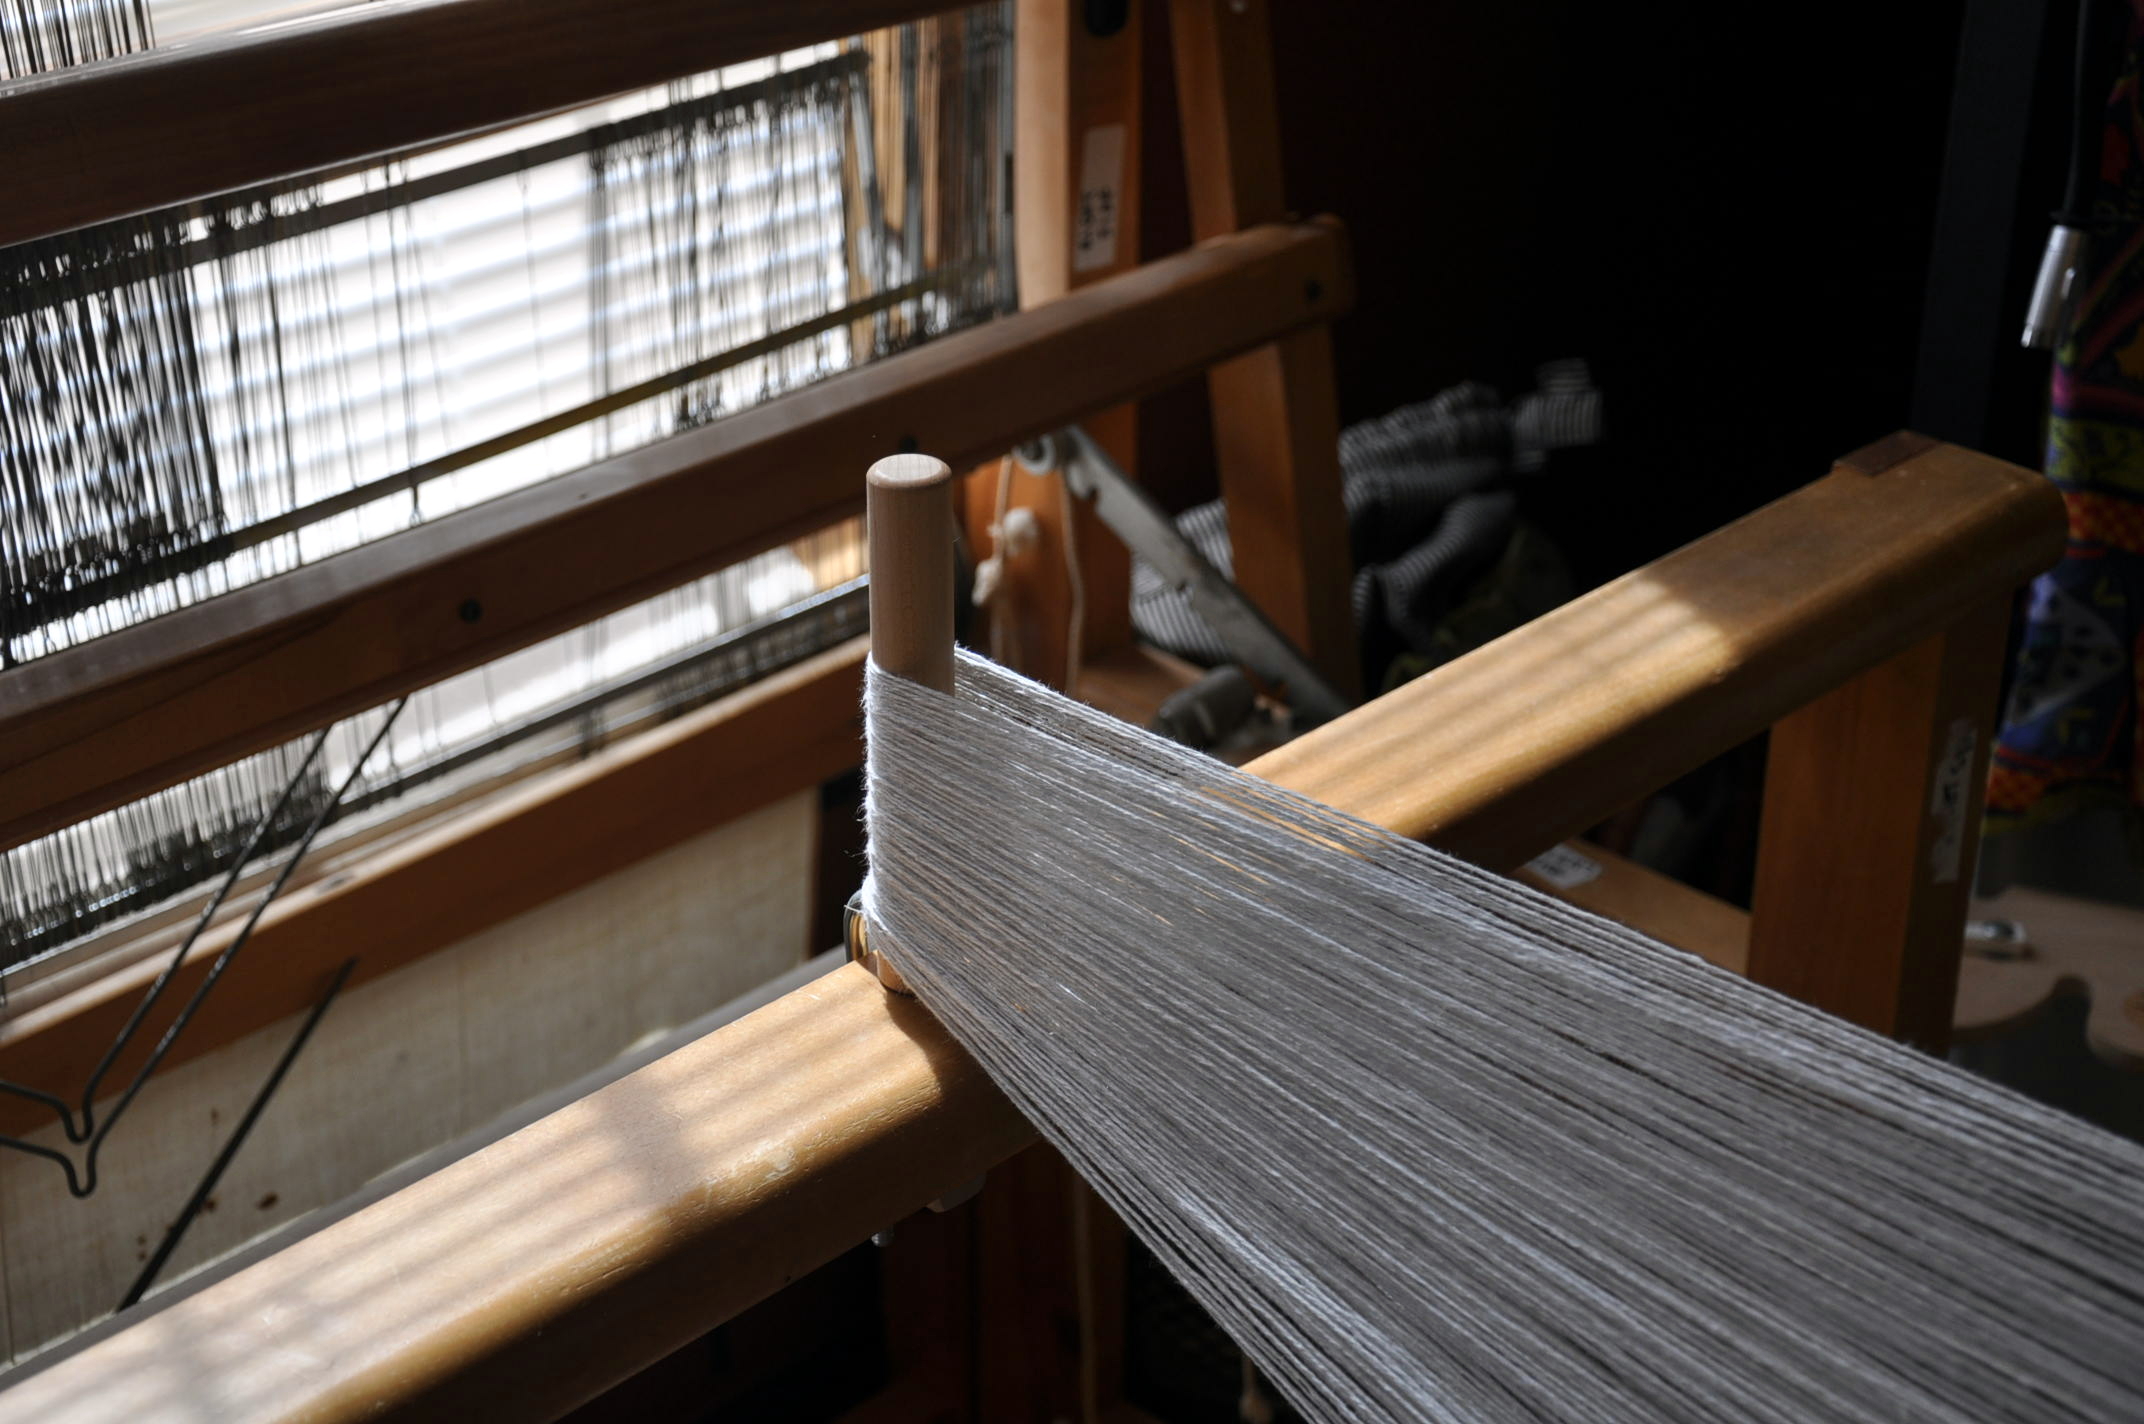
In case you’ve missed the first few posts in this series on my Flame Lace top (from Simple Woven Garments,) you can find the warping post here,  how to make string heddles here,  and actually weaving the fabric here.  I’m using Flax as warp, and Whisper Lace with Garden 10. held together as warp. Today, I finished the final inches of weaving and prepared for taking my fabric off the loom.
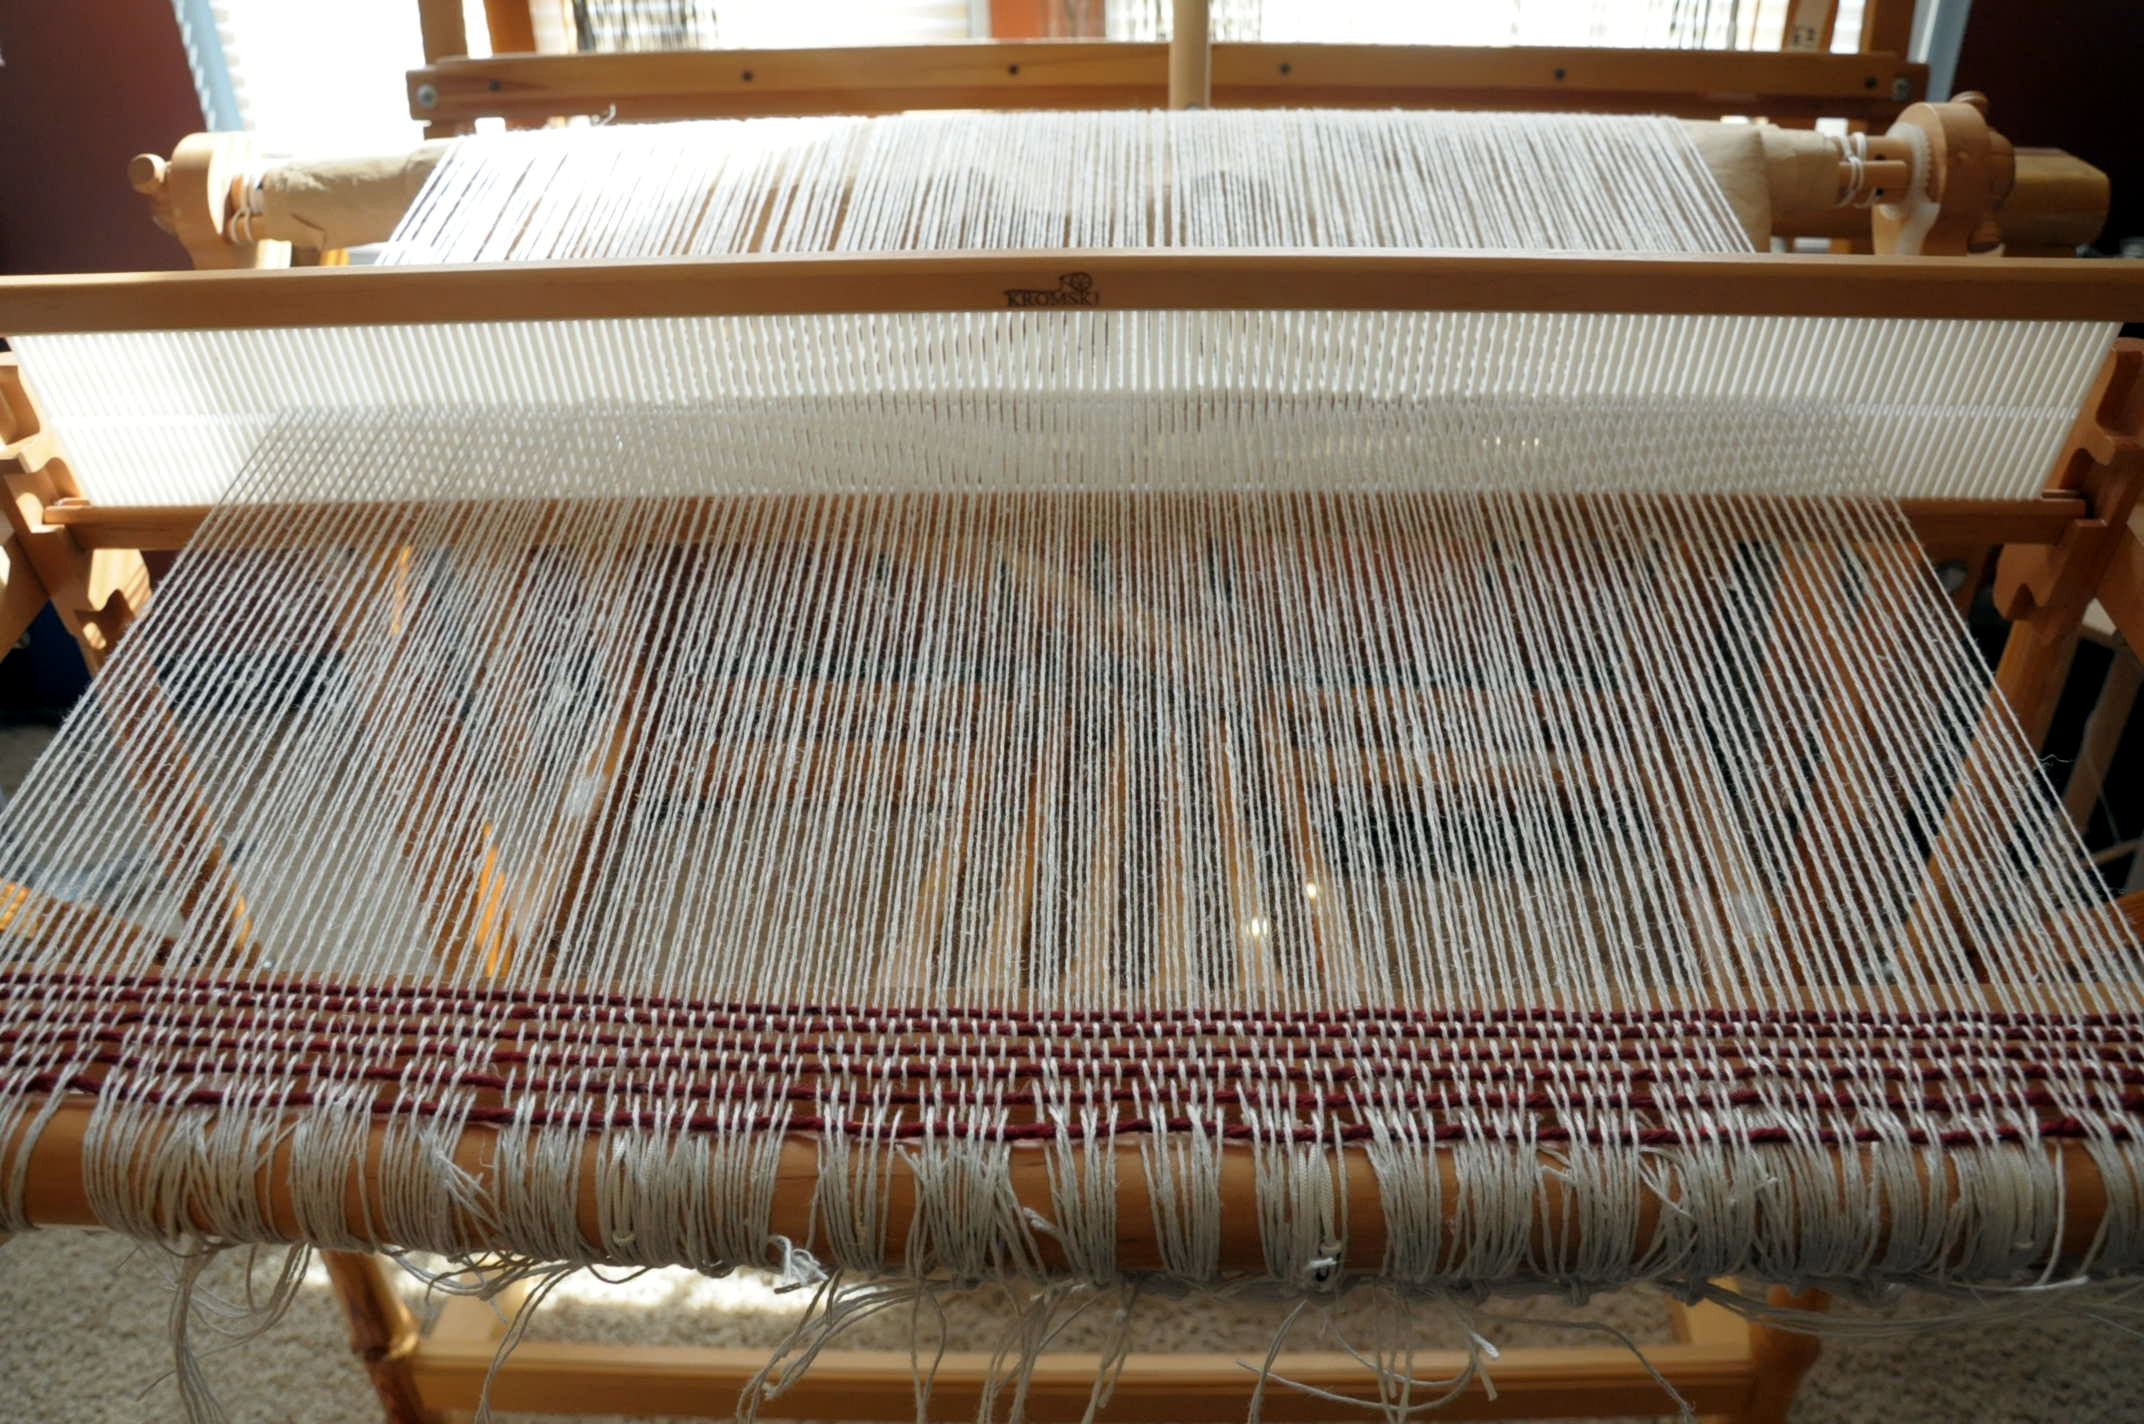
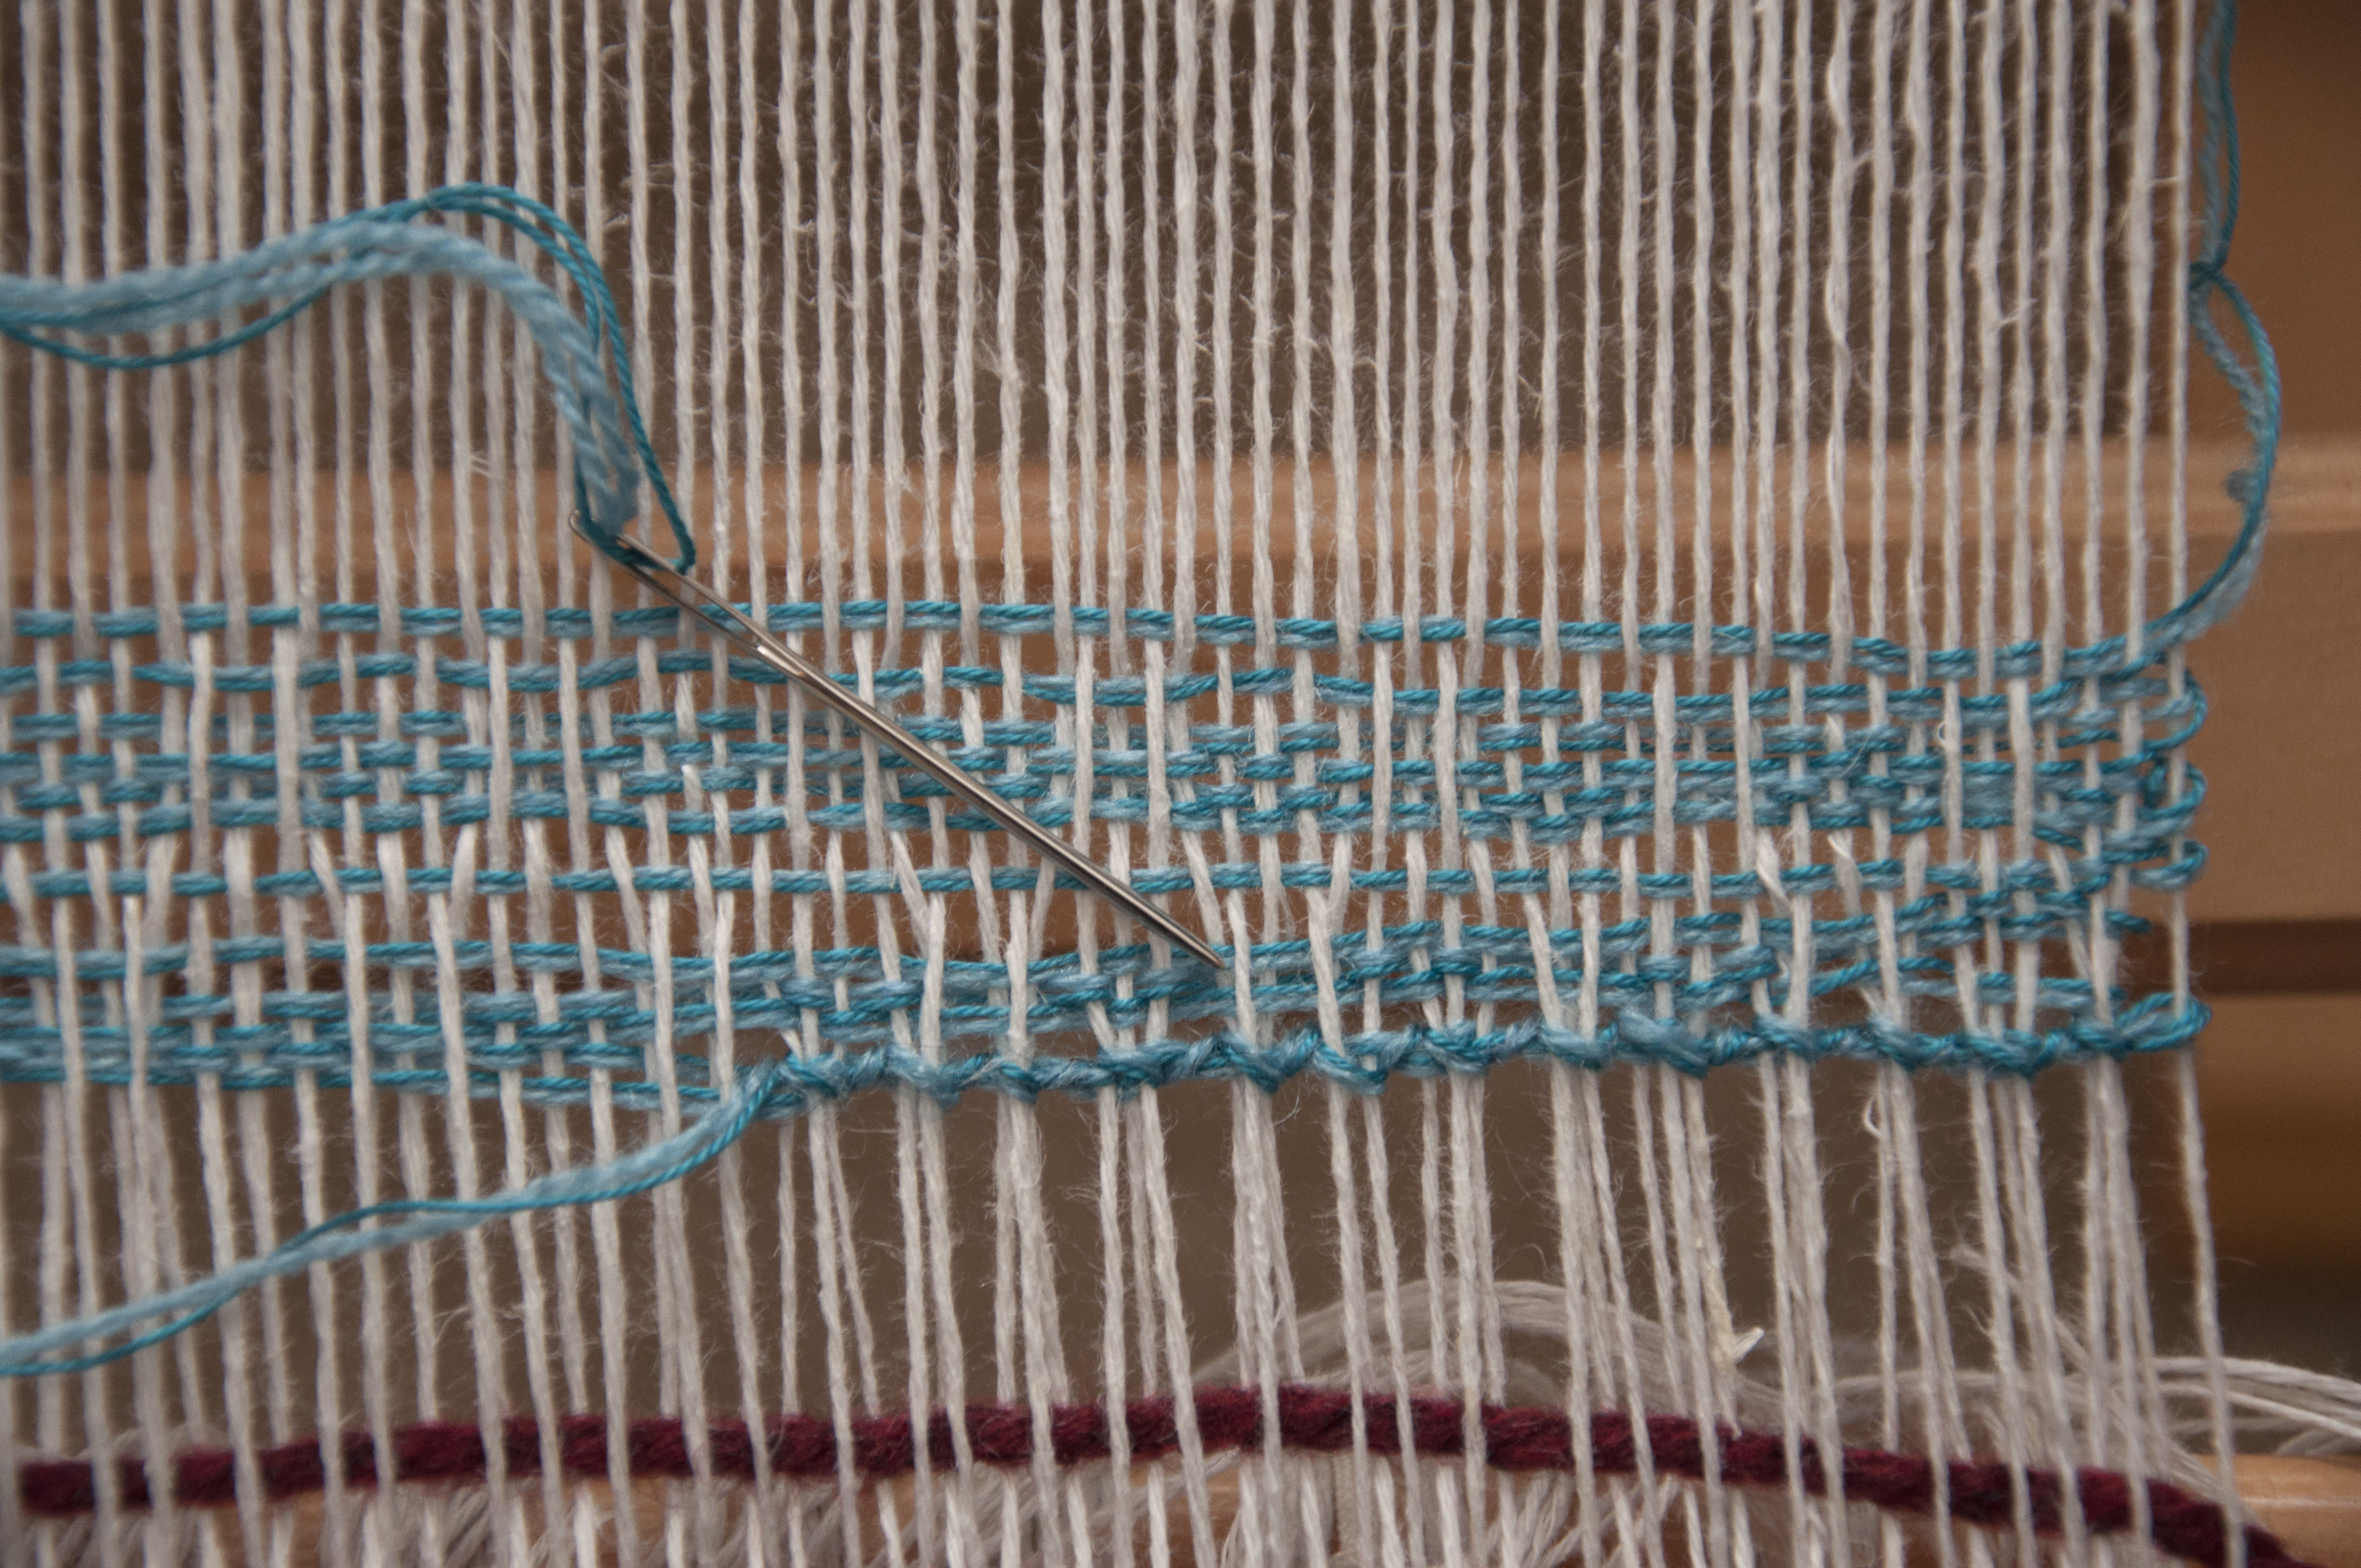
Luckily, I recorded my notes on what I did for hemstitching at the beginning of the piece so I could match it at the end. The older I get, the more things I write down, or I can expect to never remember them again! The hem on this top is eventually going to be folded under and sewn, so this isn’t crucial, but I’m all about the details. Having the notes about precisely what I did at the beginning allowed me to do the same at the end of the piece.

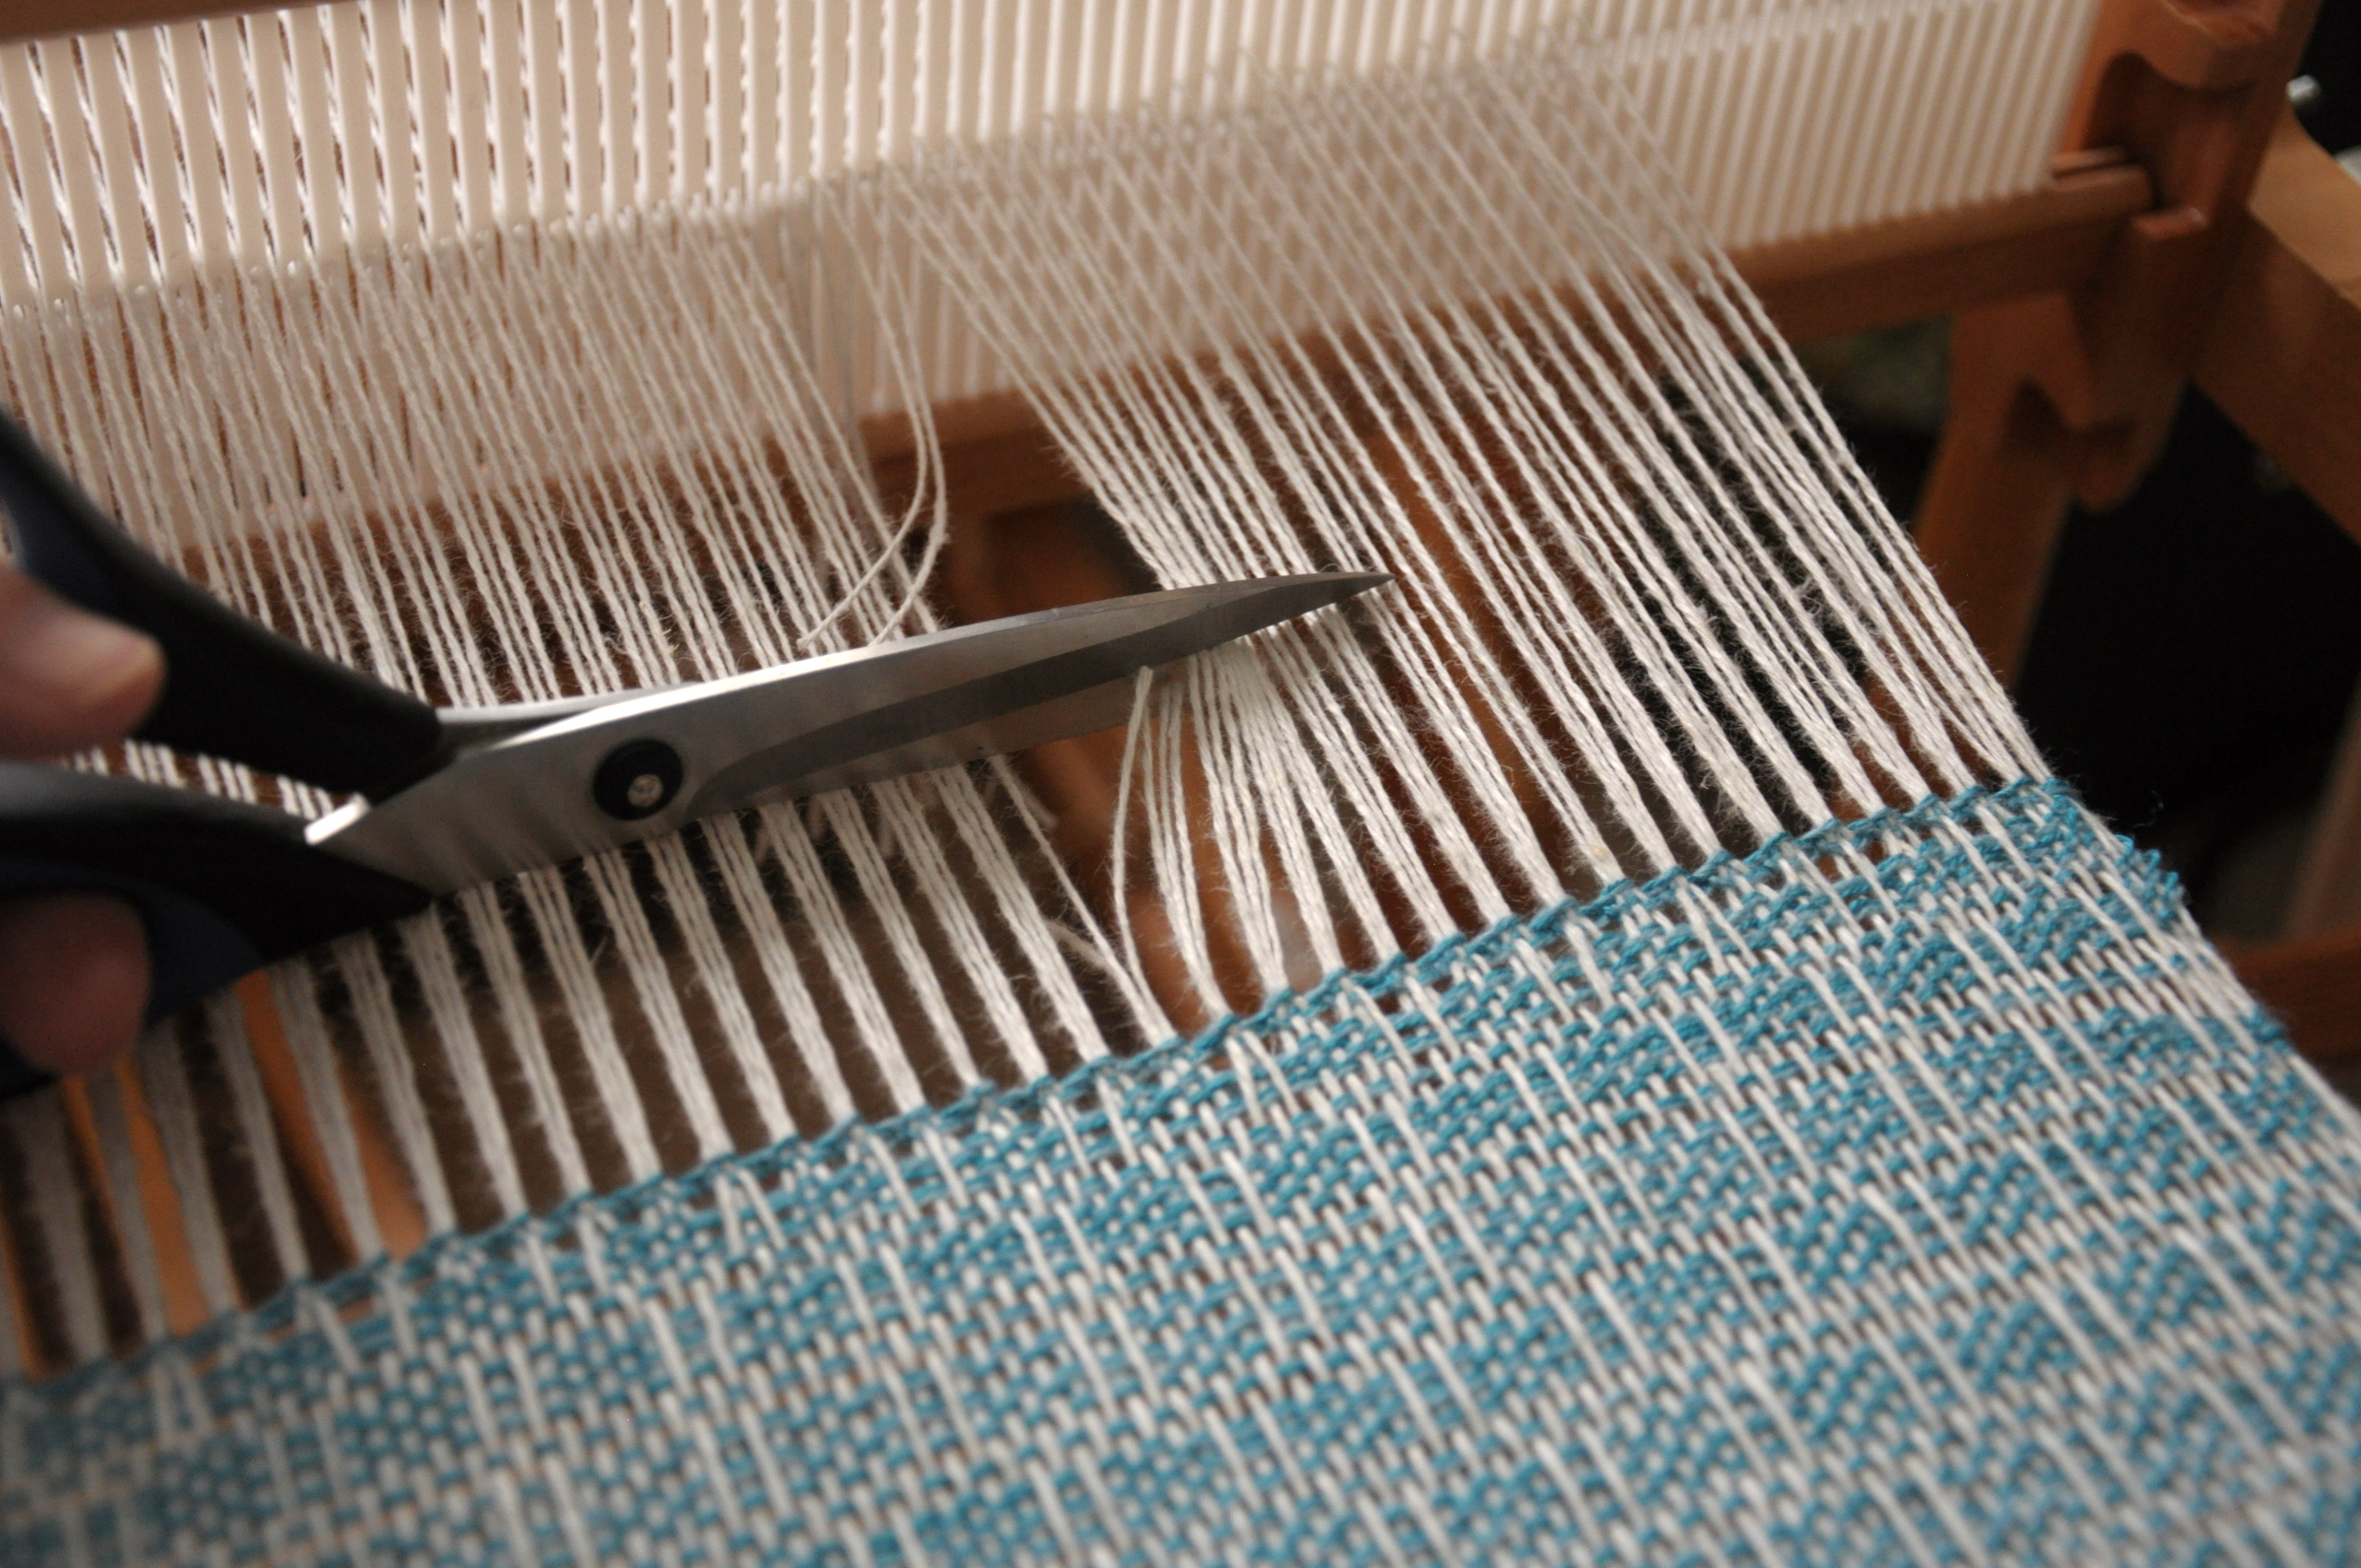
Hemstitching_1

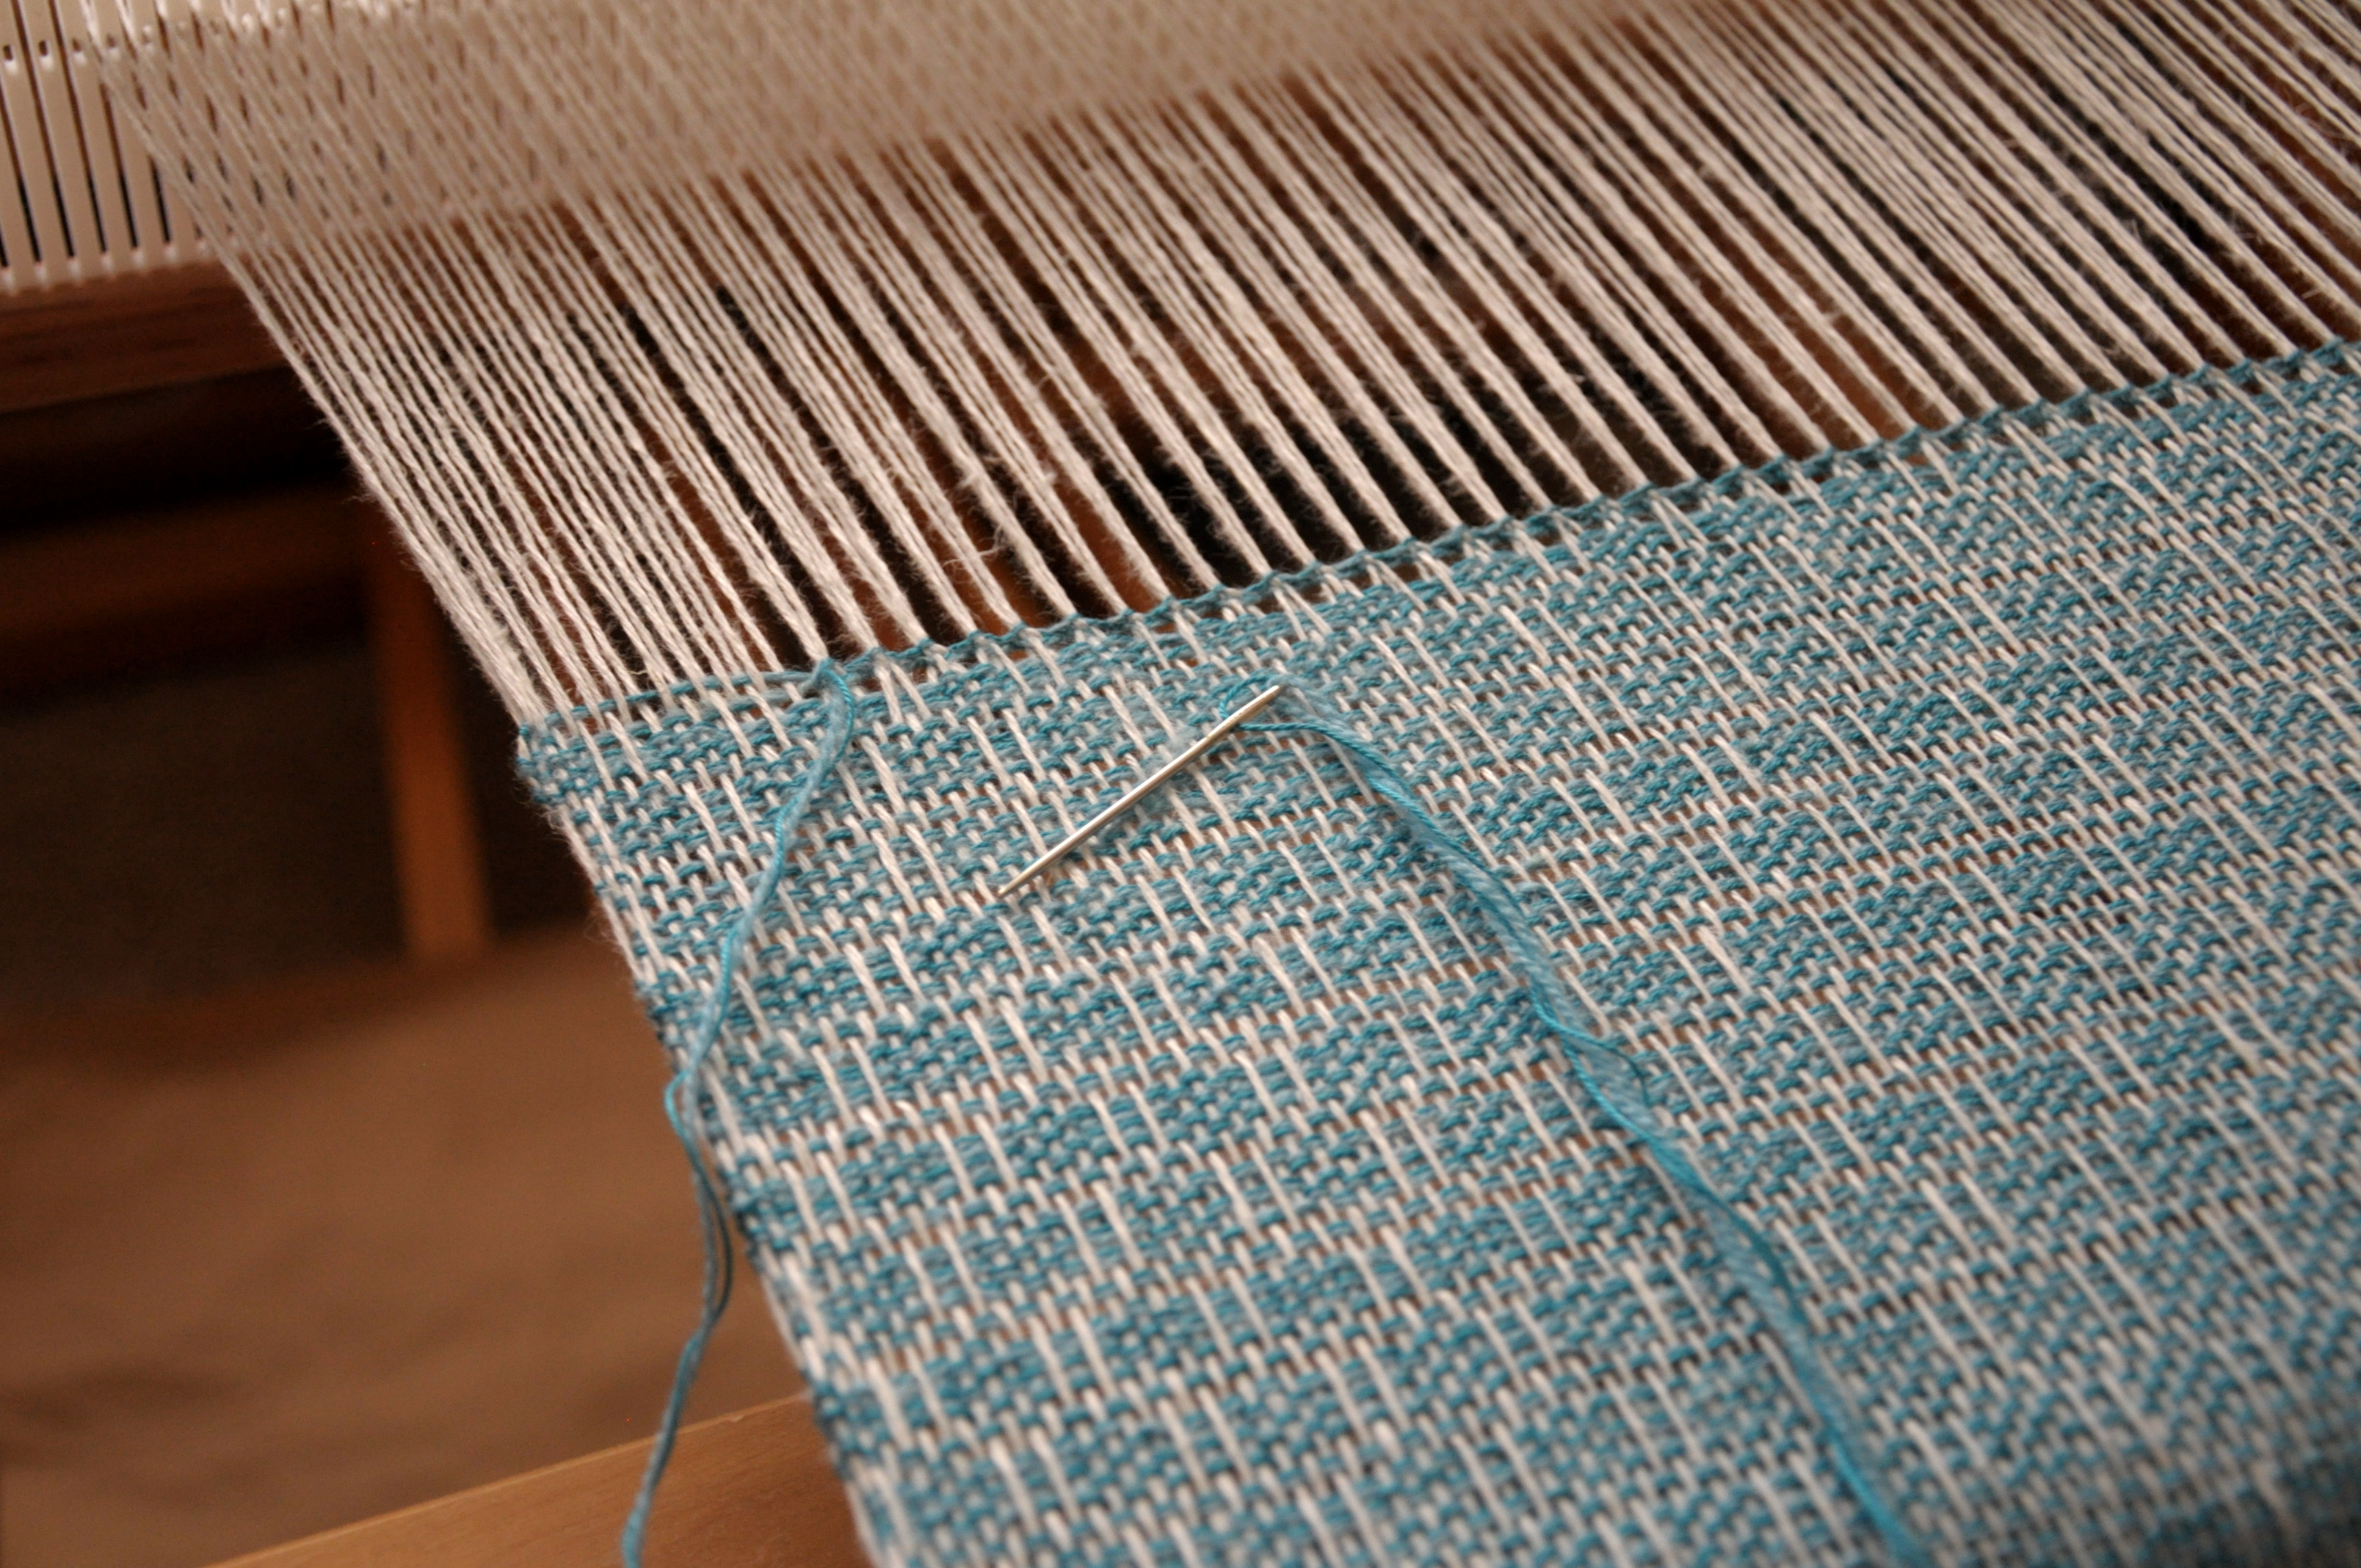
While doing my hemstitching, I went over 3 warp threads and under 2 weft threads. Because I’m headed straight to the sewing machine after this, all I need to do now is snip this baby free from the loom.

Hemstitching_2

Oh, what a good feeling!


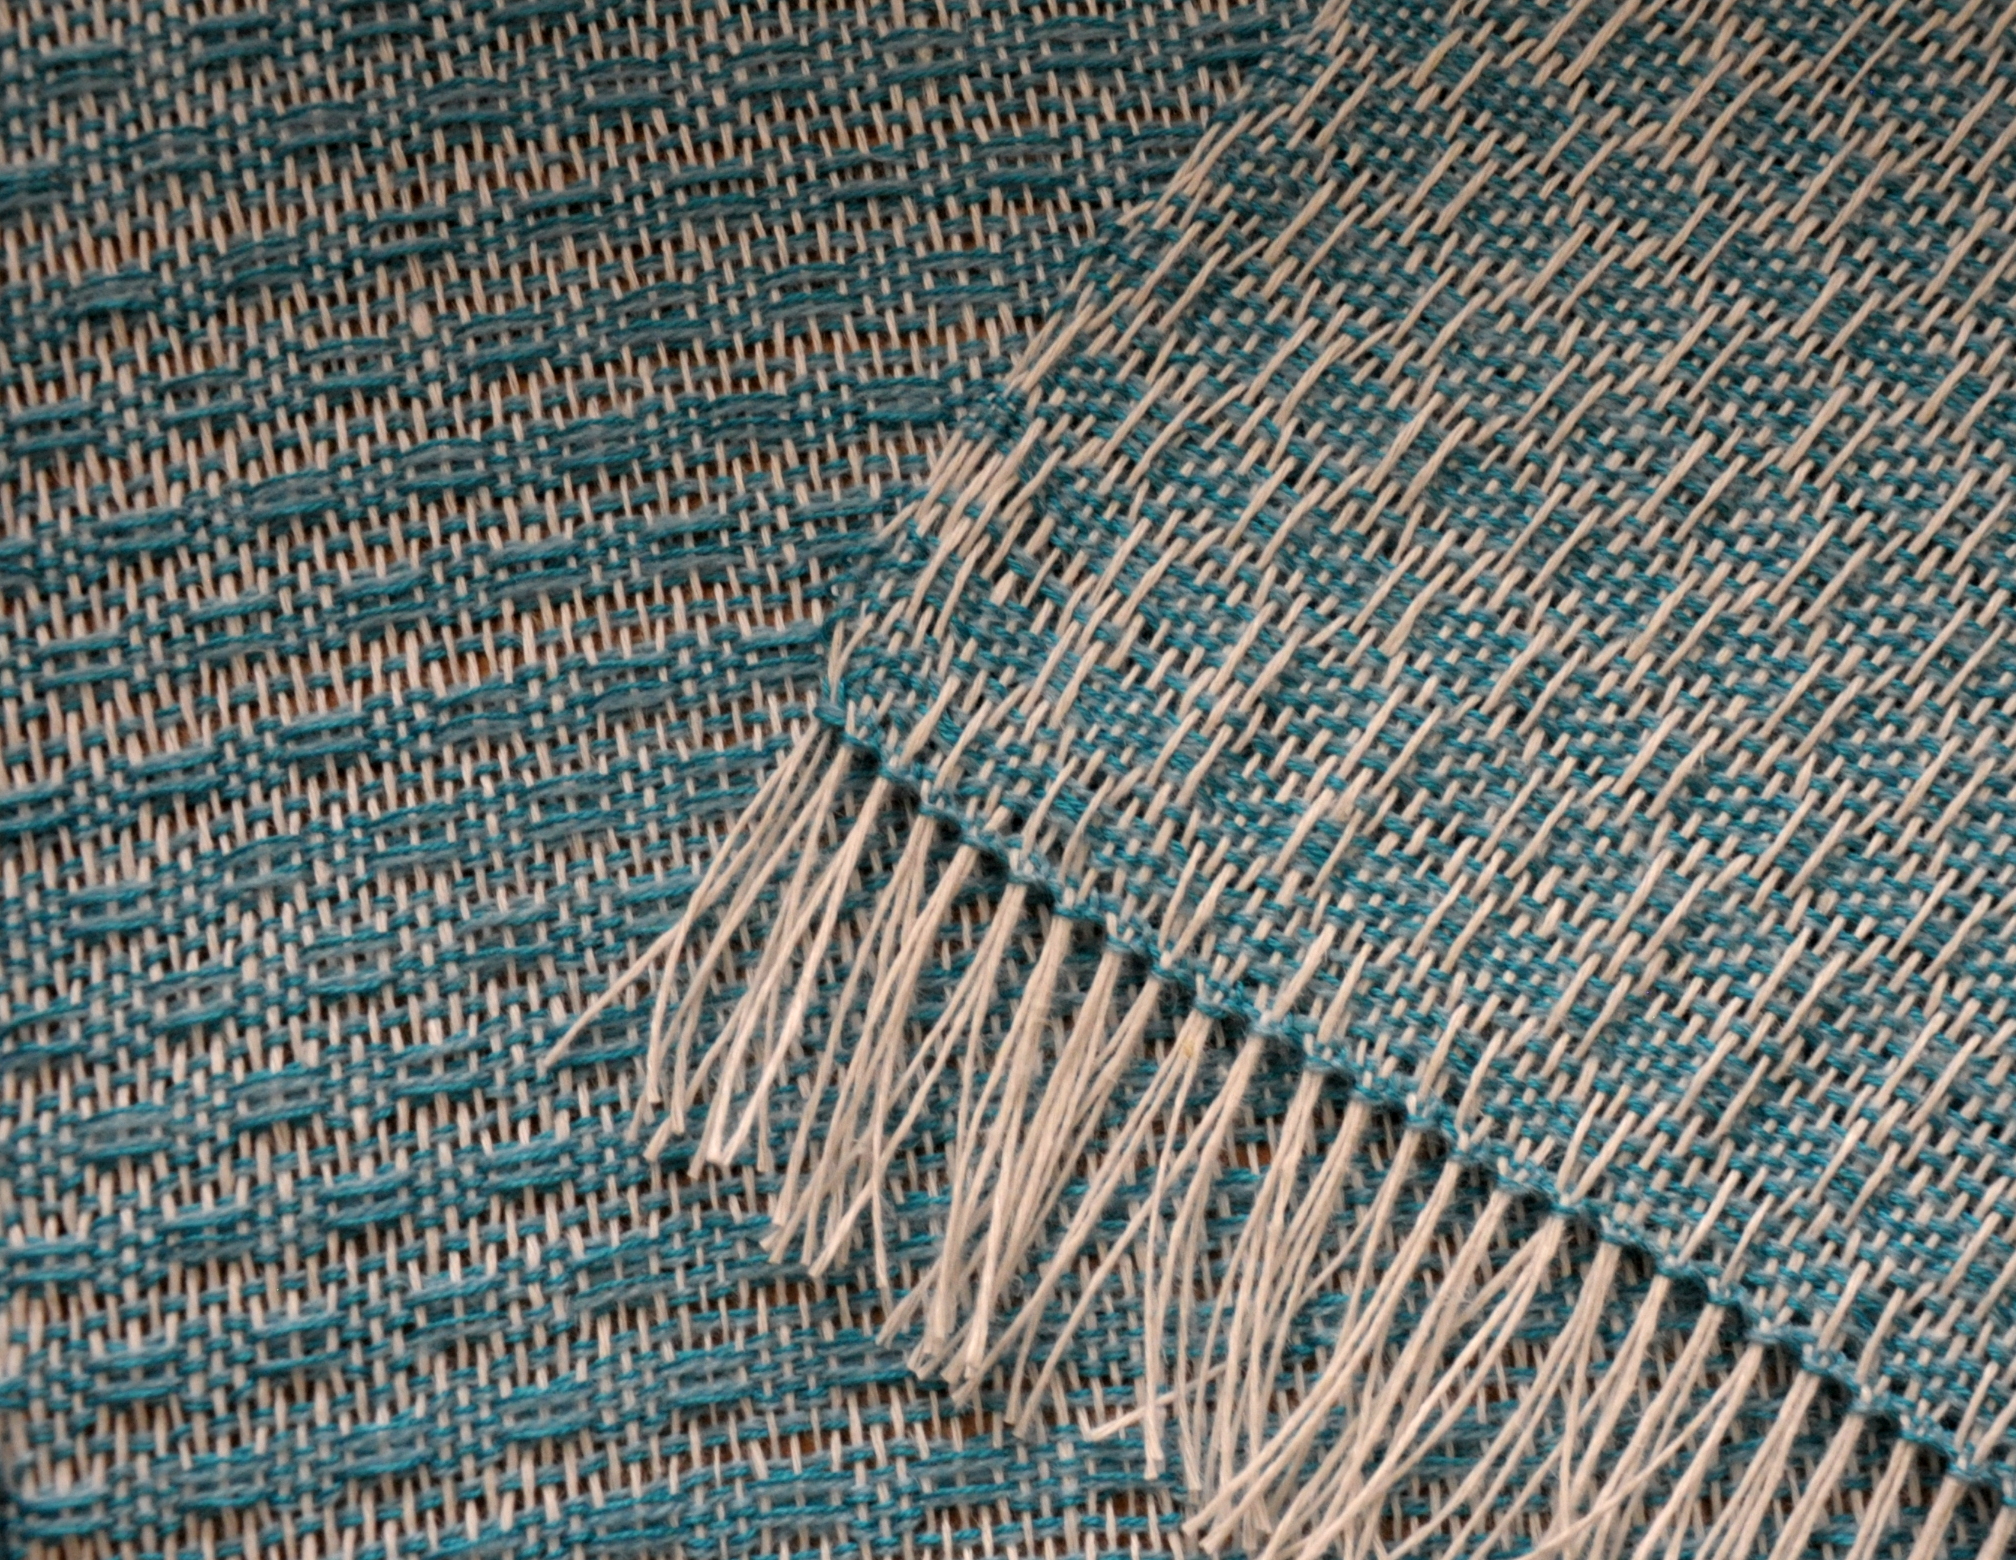
After unwinding my fabric a little bit, I had my first good chance to take a peek at the back side of the fabric. I like it! In the photo below, the right side of the fabric is on the right, wrong side is on the left. The wrong side is still quite attractive. I’ll have to file this away in my brain as a good possibility for a scarf, where both sides will be seen.

Hemstitching3

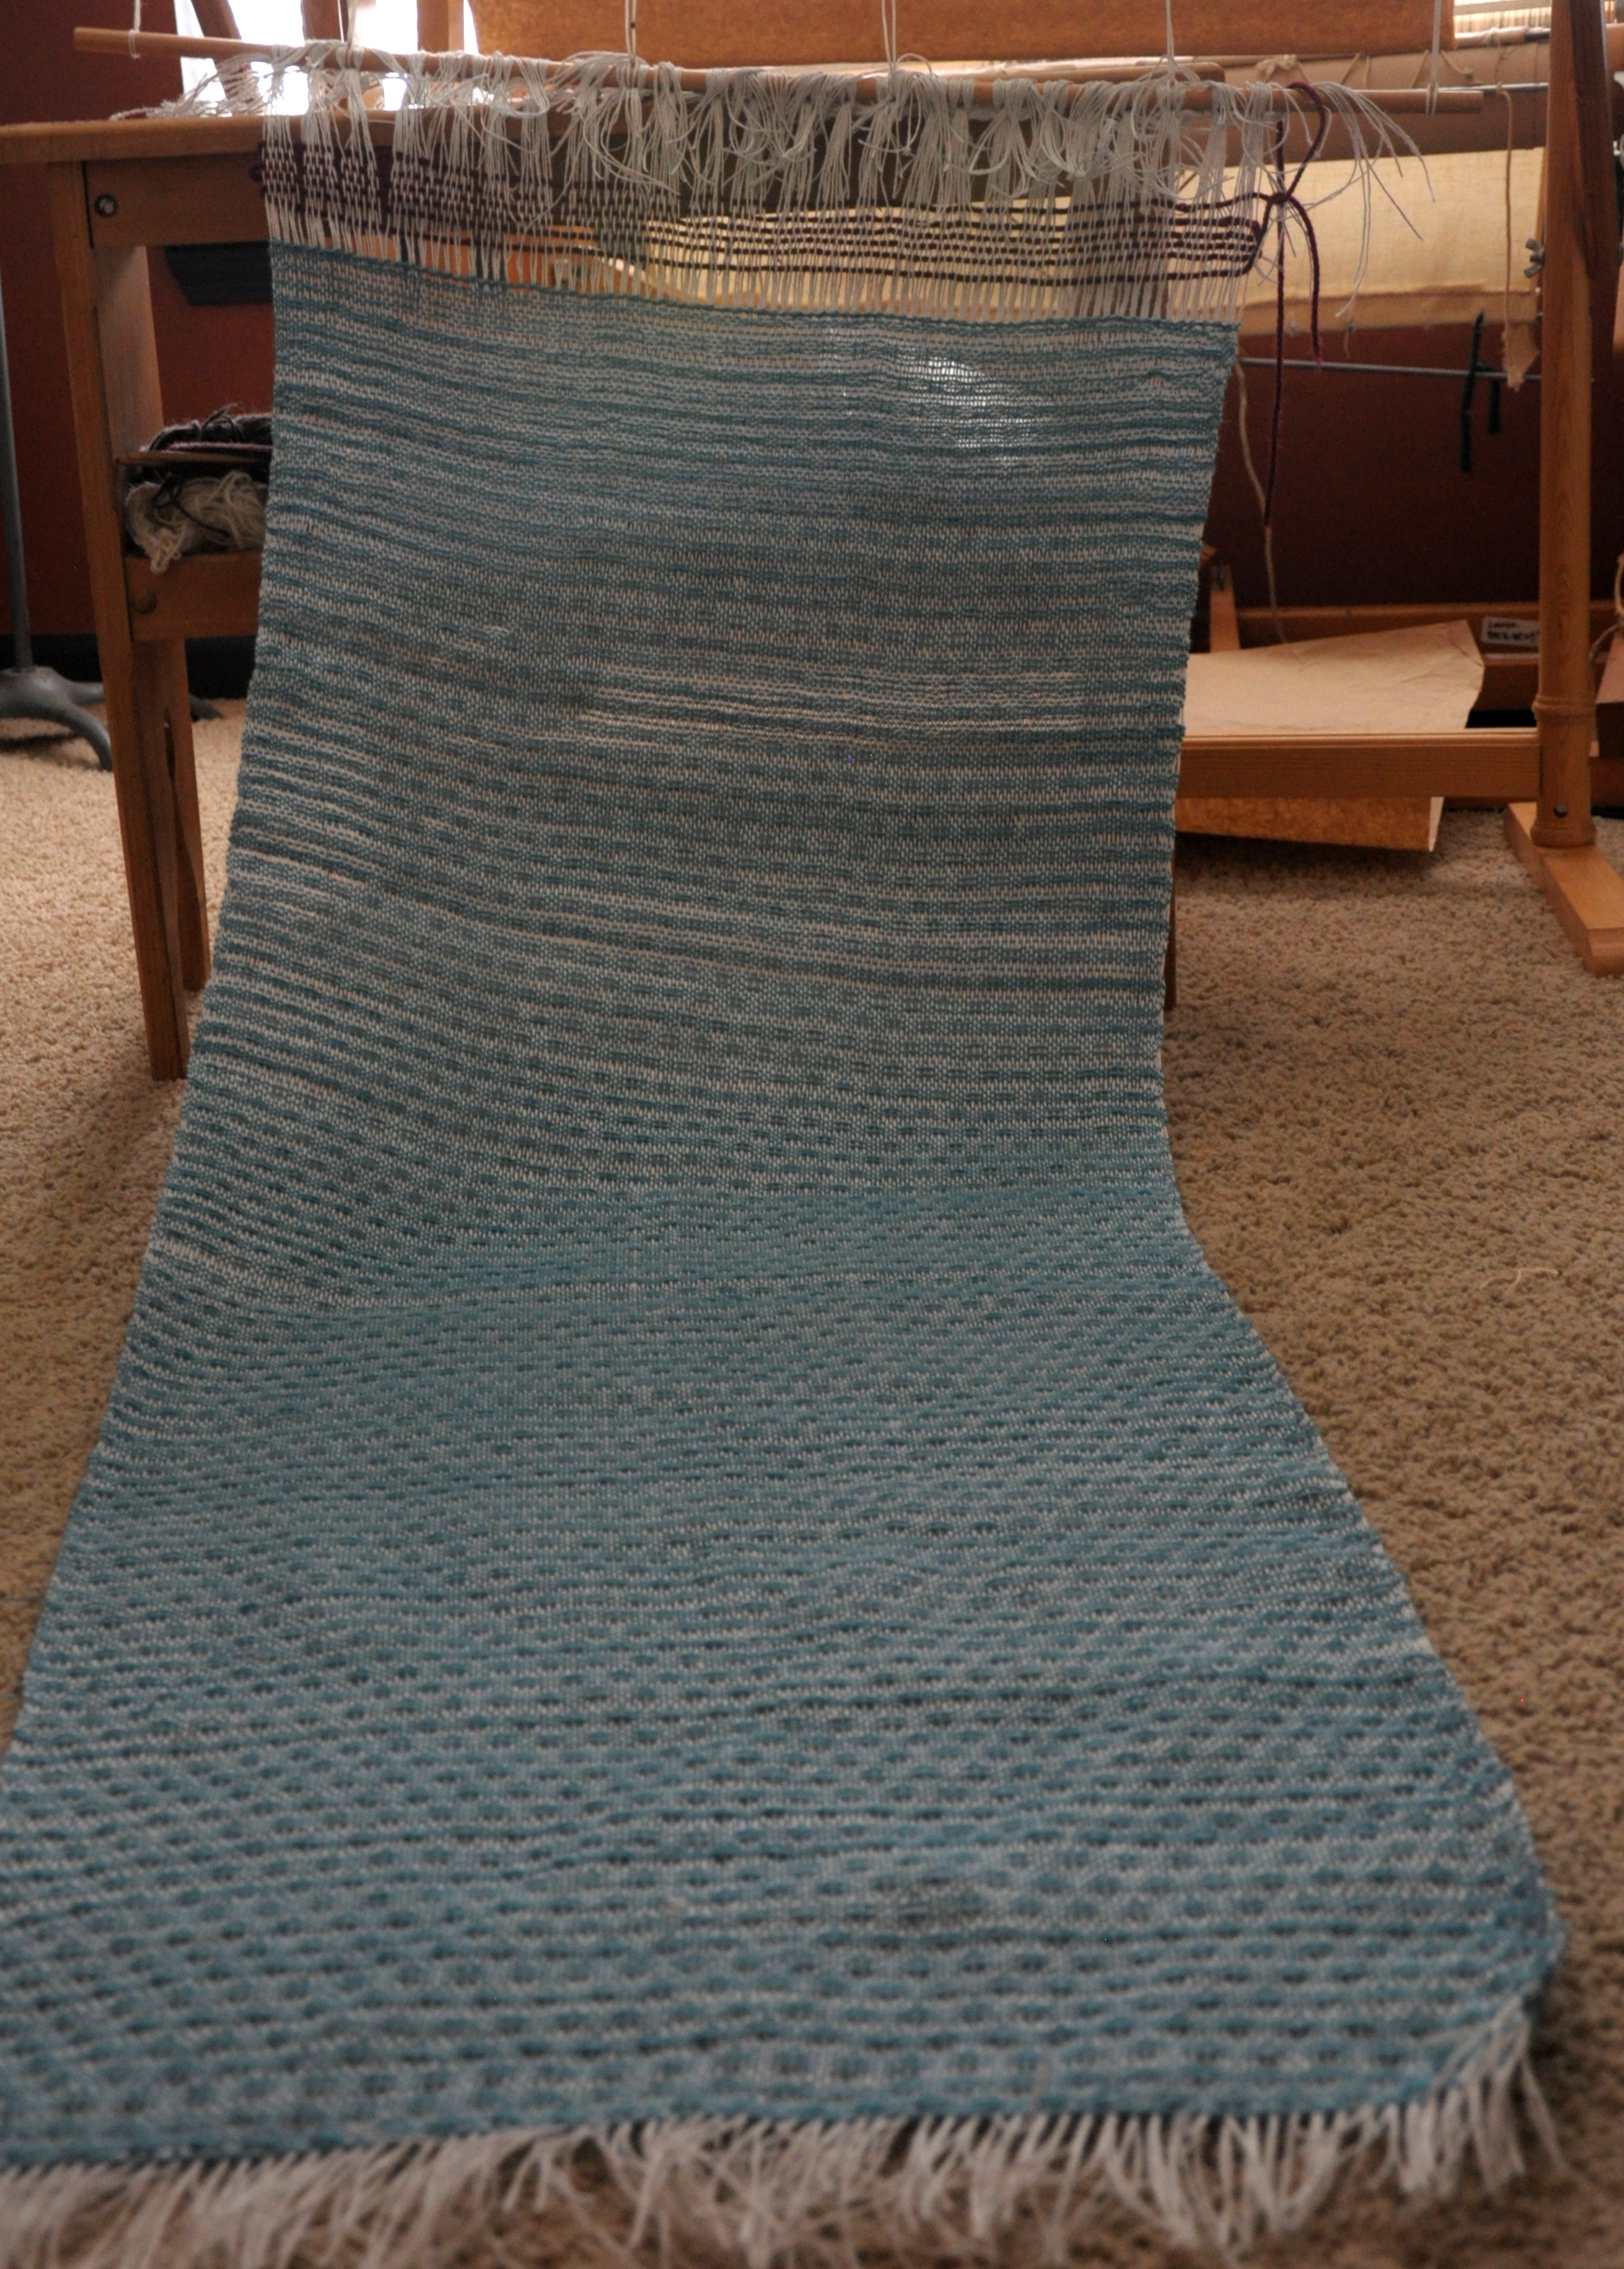
Here is the full length of the fabric. And as I sit here now typing with my fabric soaking in water, I realize I completely forgot to measure my fabric just off the loom.  C’est la vie, eh?Hemstitching4

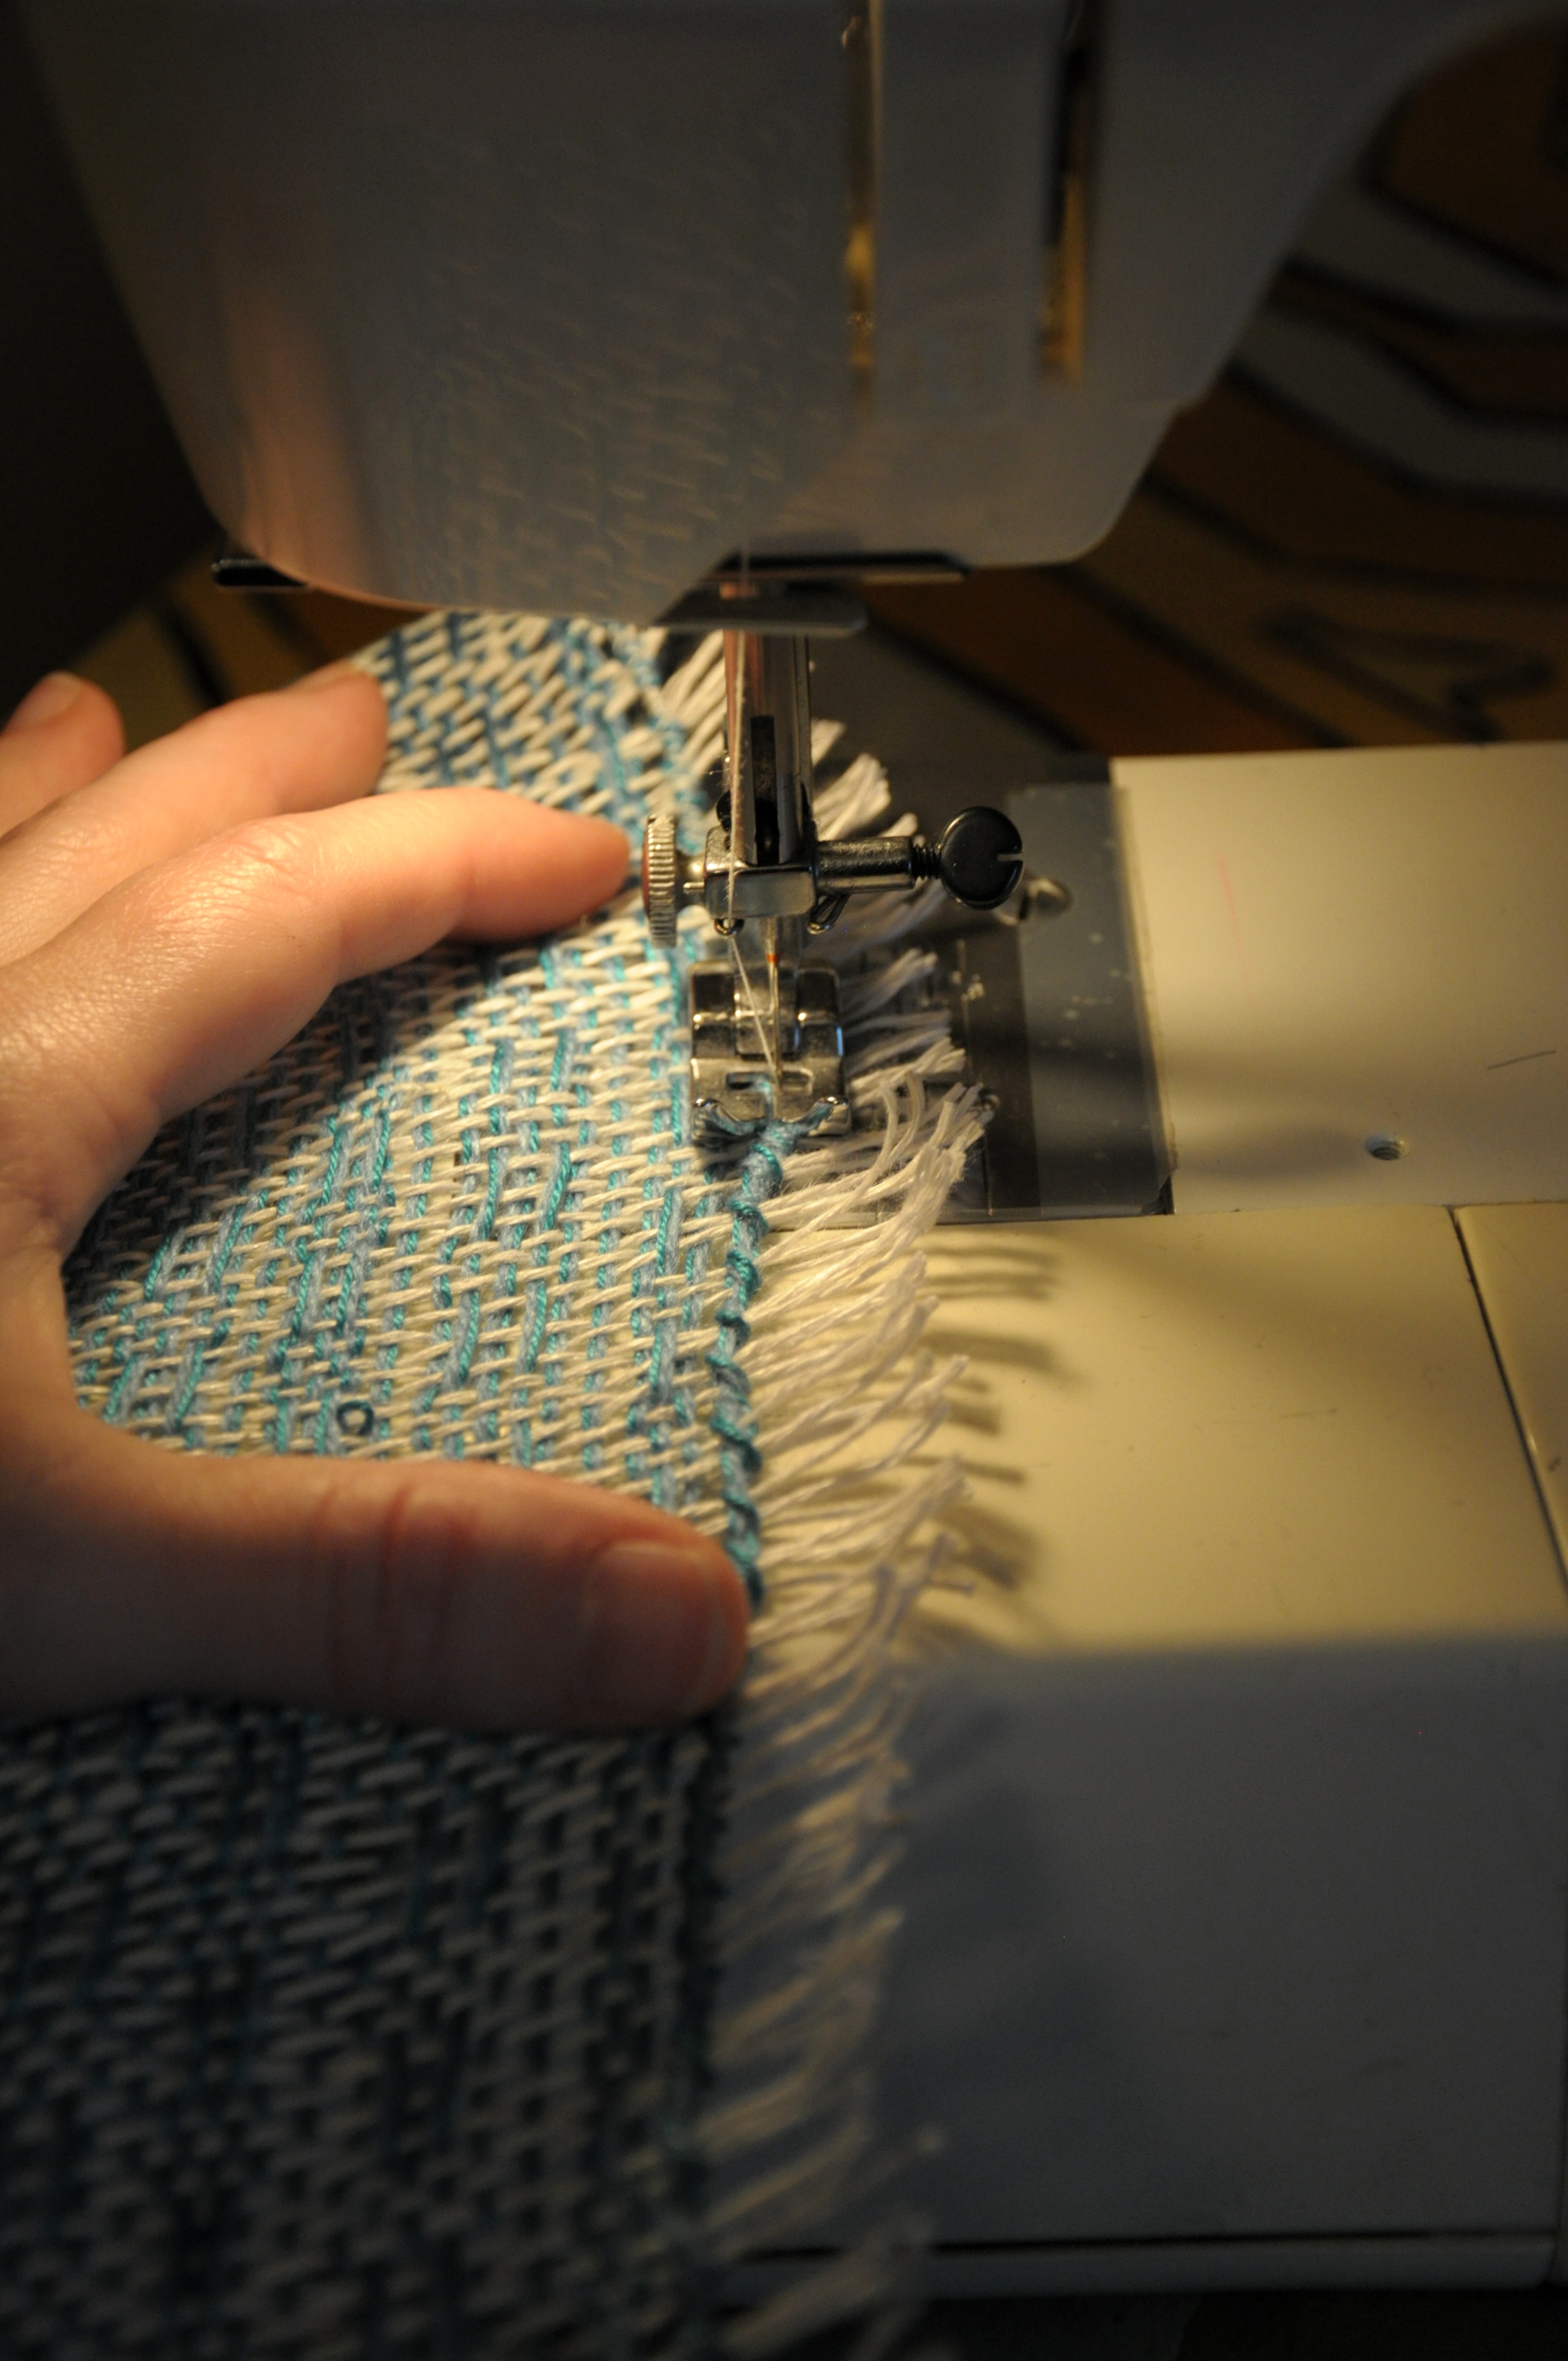
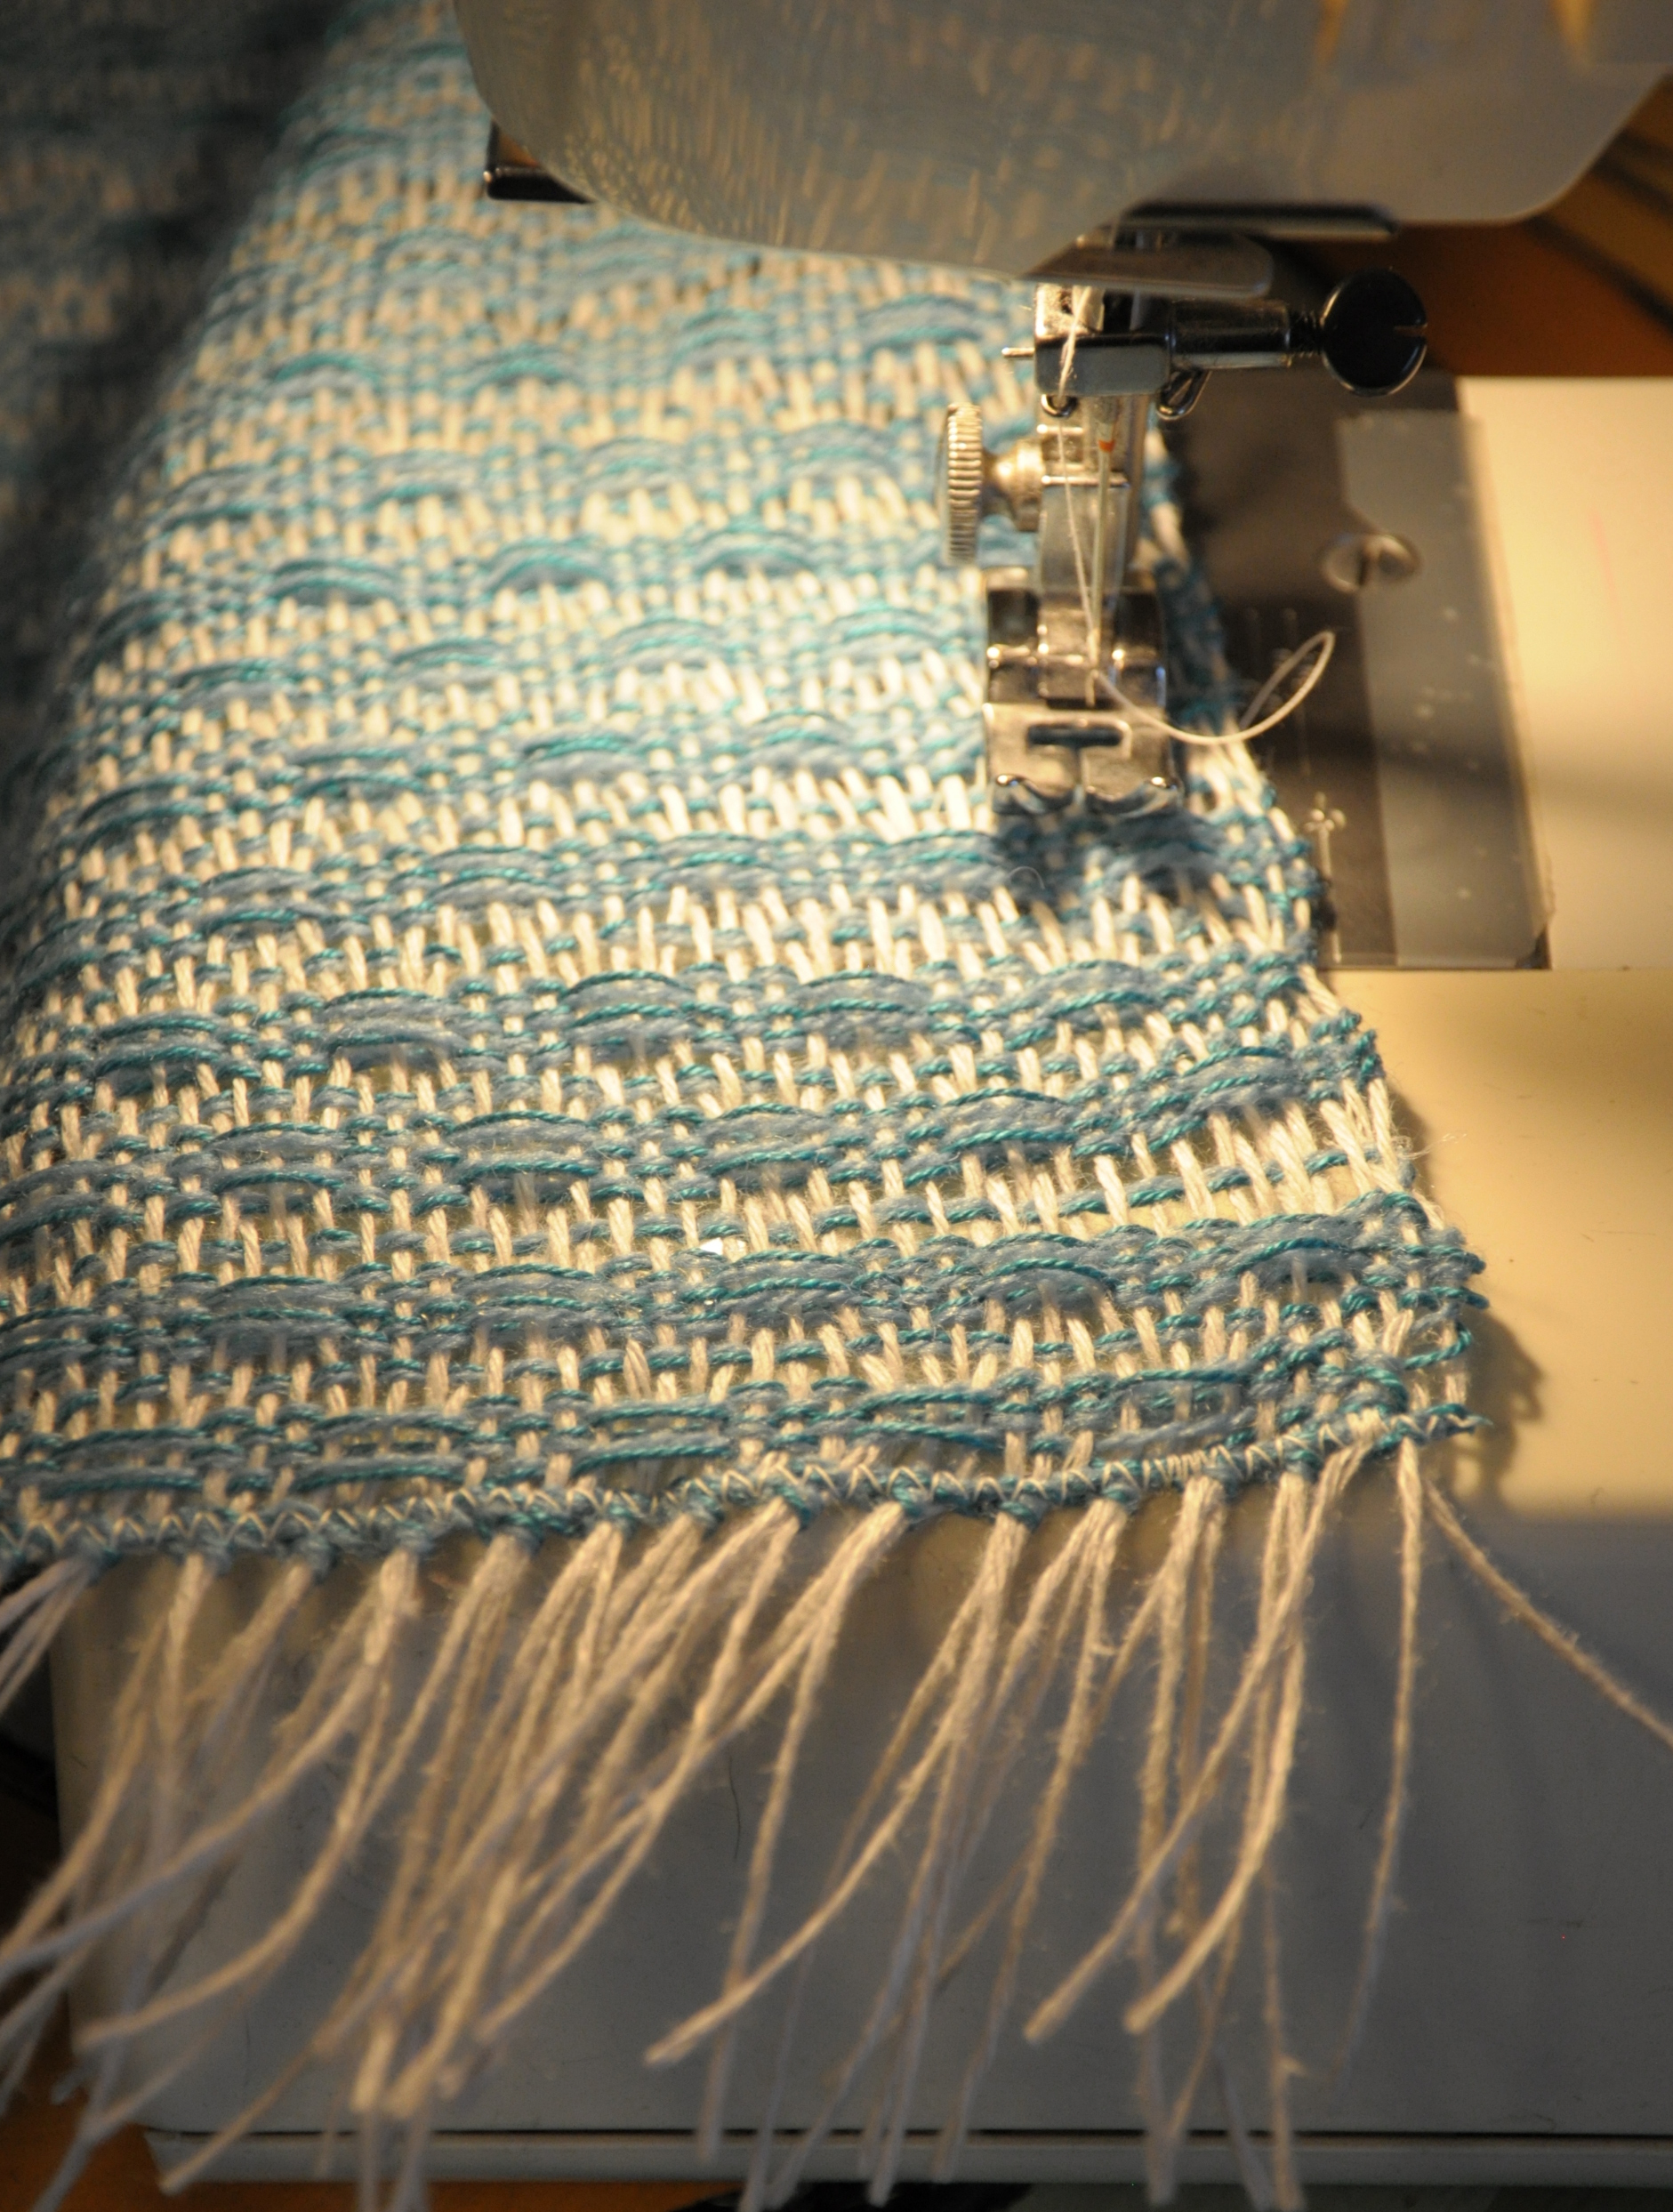
Now to secure the ends before washing. A simple zig-zag stitch on my sewing machine will do the trick.

Hemstitching5

Hemstitching6

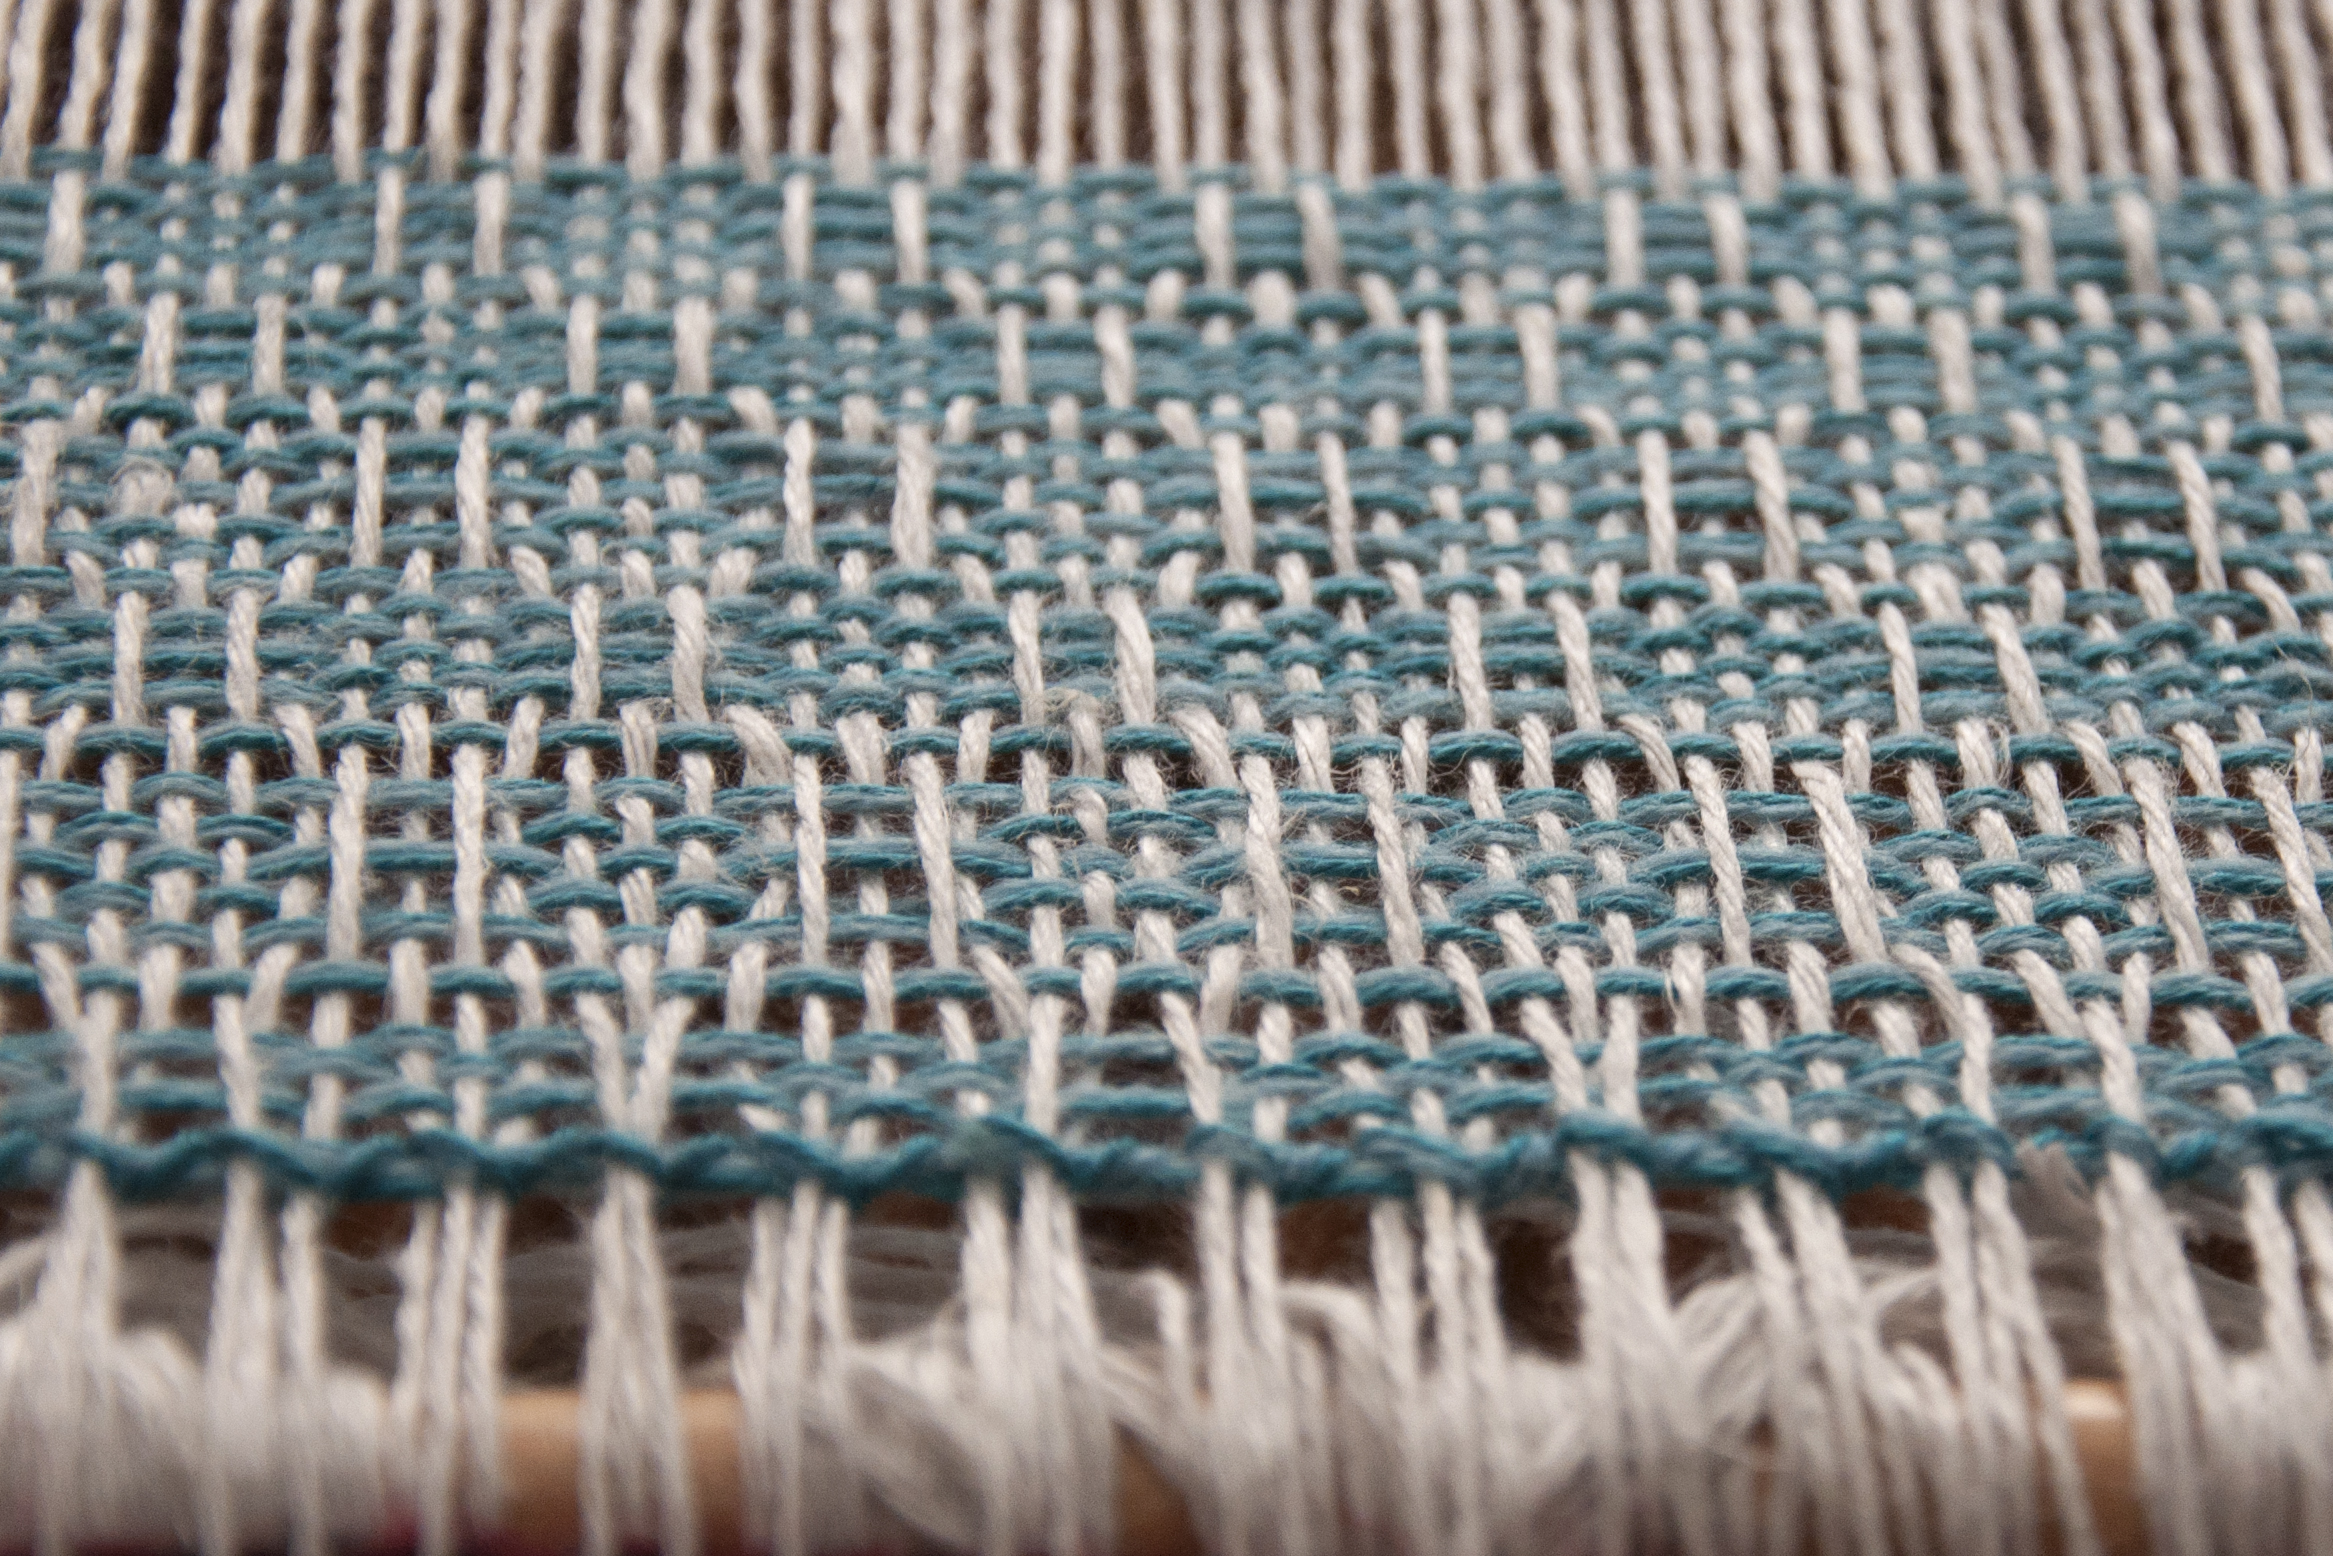
I can’t even tell you how excited I am to see how this fabric looks after washing. That’s when the true nature of the fabric reveals itself. As pretty as it was to look at taut on the loom, I just know it’s going to be full of character once it’s all settled.

Join me next time when this rectangle of criss-crossed yarn becomes something wearable!


Playing With Sticks

If you’ve been following along on my latest adventure in weaving,  you read about warping a wide rigid heddle loom for the Flame Lace Top, and then rigging up string heddles for a second pick-up stick. The warp is Flax. The weft is one strand of Whisper Lace and 1 strand of Garden 10 held together.

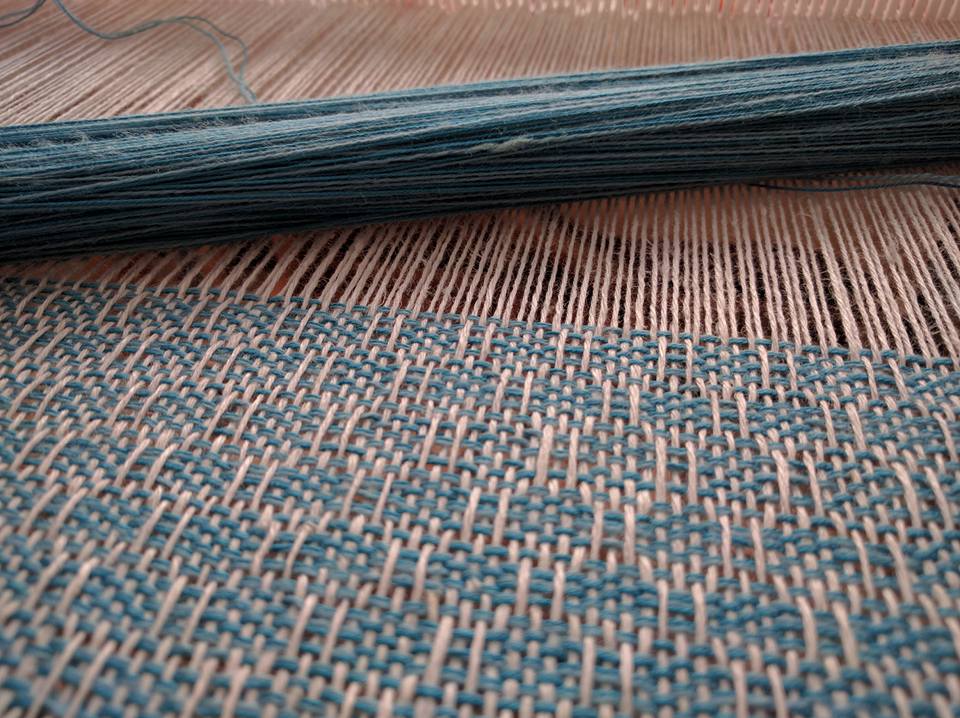
This week is all about the fun pretty stuff: woven fabric! Once I got my pick-up sticks taken care of and my shuttle wound, I set to the soothing rhythm of weaving. I started right in with the 2 pick-up-stick pattern, and practiced a couple of repeats before hem stitching:

FlameLace_1

Out of the 12 rows of the pattern repeat, 4 of these involve use of the pick-up sticks. It took me just a few repeats to get the hang of it and after that it was smooth sailing.

FlameLace_2

Weaving is such a good opportunity for me to unwind. Music streaming, audio books, or just sitting with my own thoughts is such a relief after a hectic day.

FlameLace_3

Join me next time when I take my finished fabric off the loom and do – gasp – cutting and sewing with it!


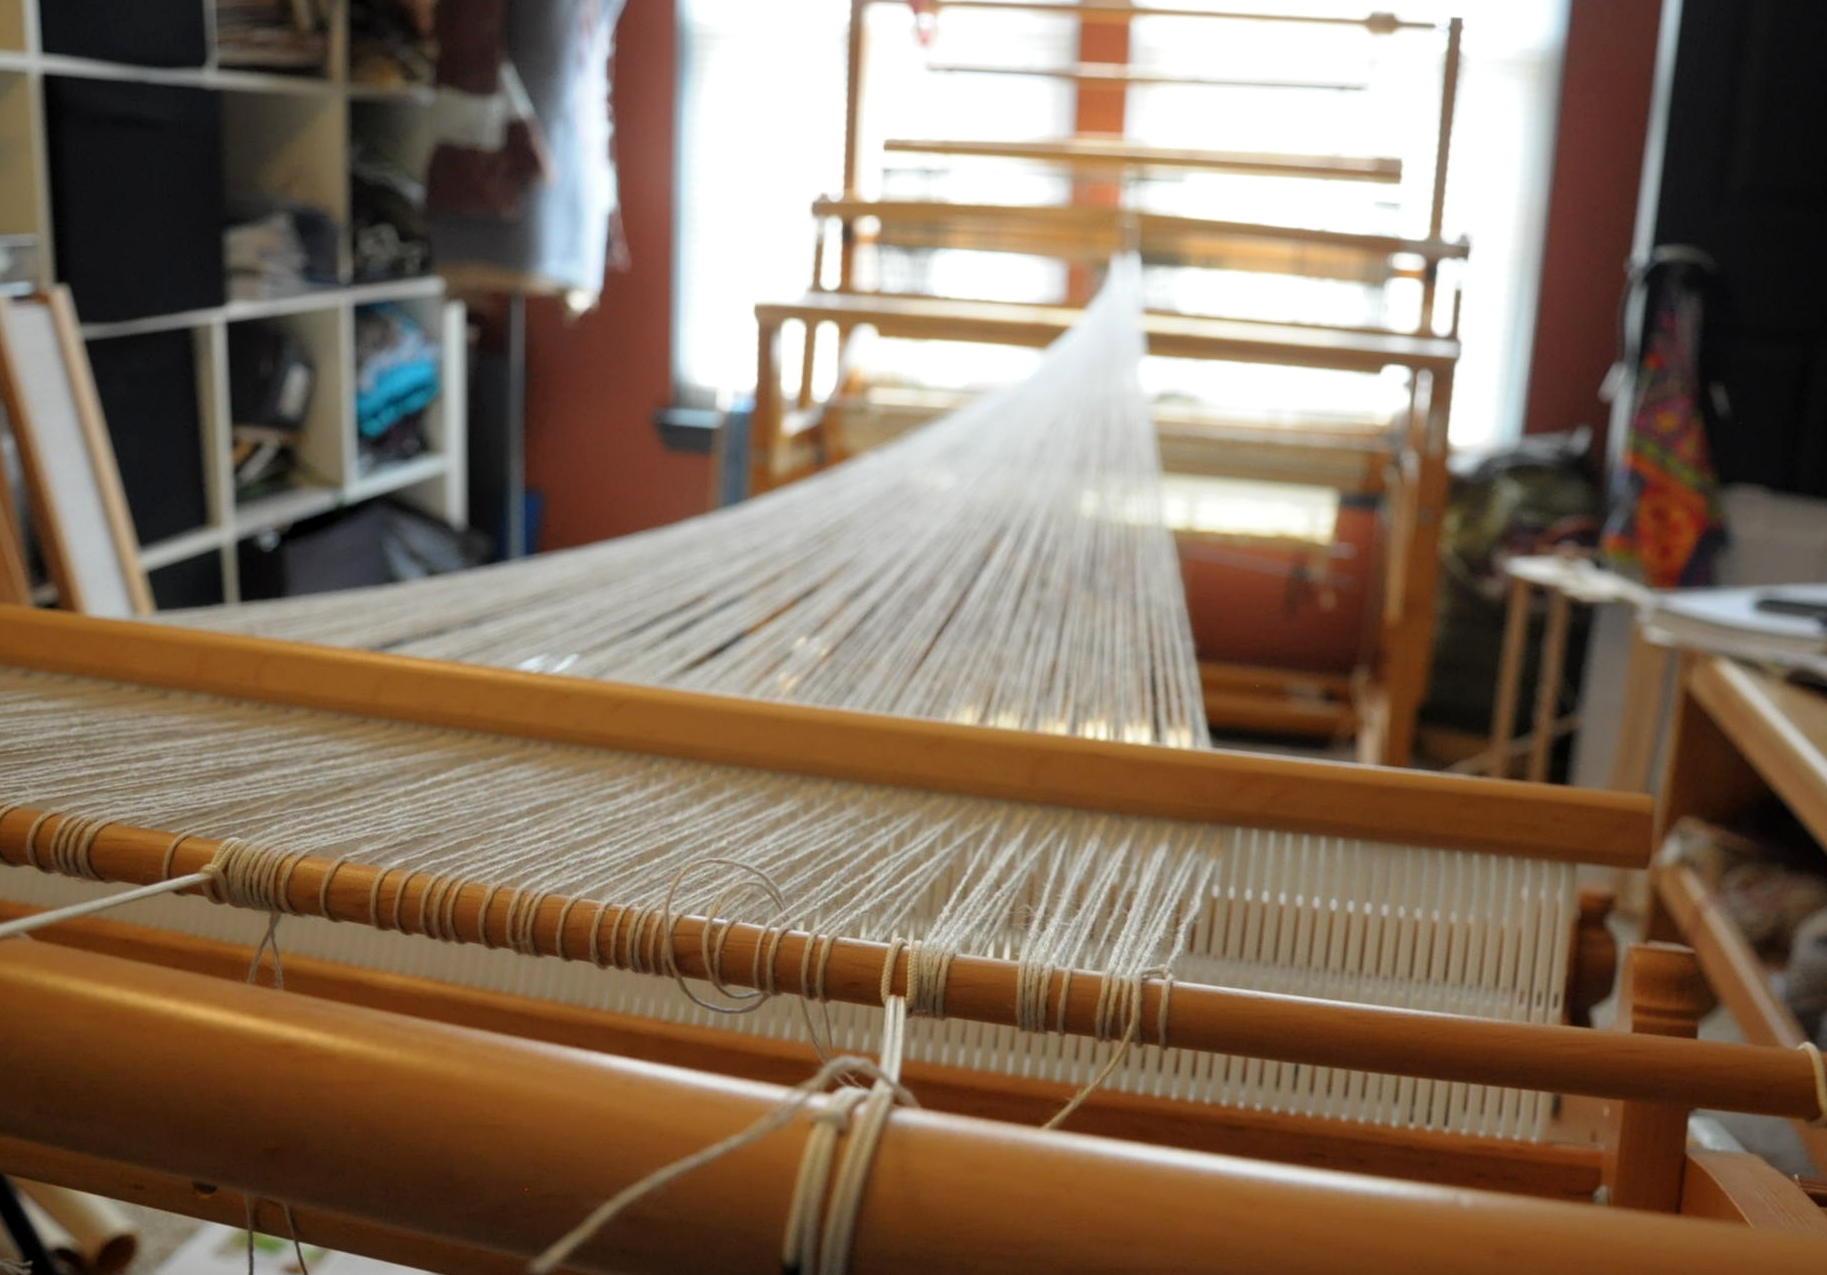
Warping for Flame Lace Top

I’ve been so excited to get started on a new weaving project! Now that I’ve finally finished up my very old UFO, I’m ready for the next thing.

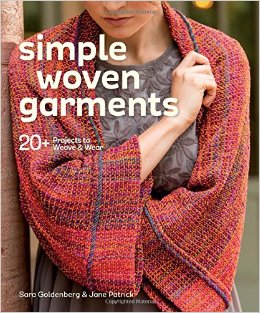
I recently got my hands on a copy of Simple Woven Garments, a fantastic book by Sara Goldenberg & Jane Patrick.

617cZvdAEfL._SX258_BO1,204,203,200_

As the cover promises, there are instructions for over 20 garments in this beautiful book. It’s written in a very approachable way, and the photos are really inspiring. I flipped through the pages many times before finally settling on the Flame Lace Top (page 90)  to try first.

7051e25ed09687dcfb61e365b0d85b34

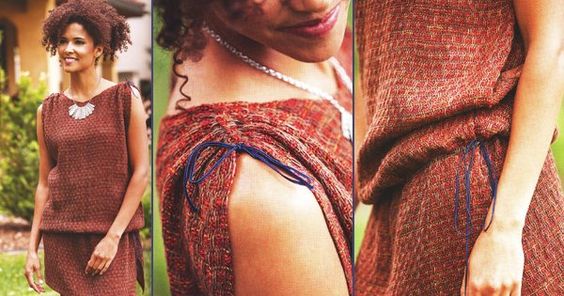
And after reviewing the required materials, I realized we have good substitutes for all the yarns used in the project, so it was settled. I think I’ll probably change some of the finishing details in this piece, but more on that in future posts. I think what most drew me to this project was the pattern in the weaving. I also think the gathered shoulders are pretty cute.

I took out my notebook, AKA weaving diary, and started first by recording all the beginning information for my project. Here is what I wrote:

Warp Yarn: Flax, color 17 Silver

10 dent reed

Weaving width: 24″/240 ends

Warp length: 100″

From this, I calculated how much Flax I needed for my warp. 240 ends x 100″ = 24,000″ or 667 yds. This comes out to just under 5 hanks of Flax.

FlameTop_1

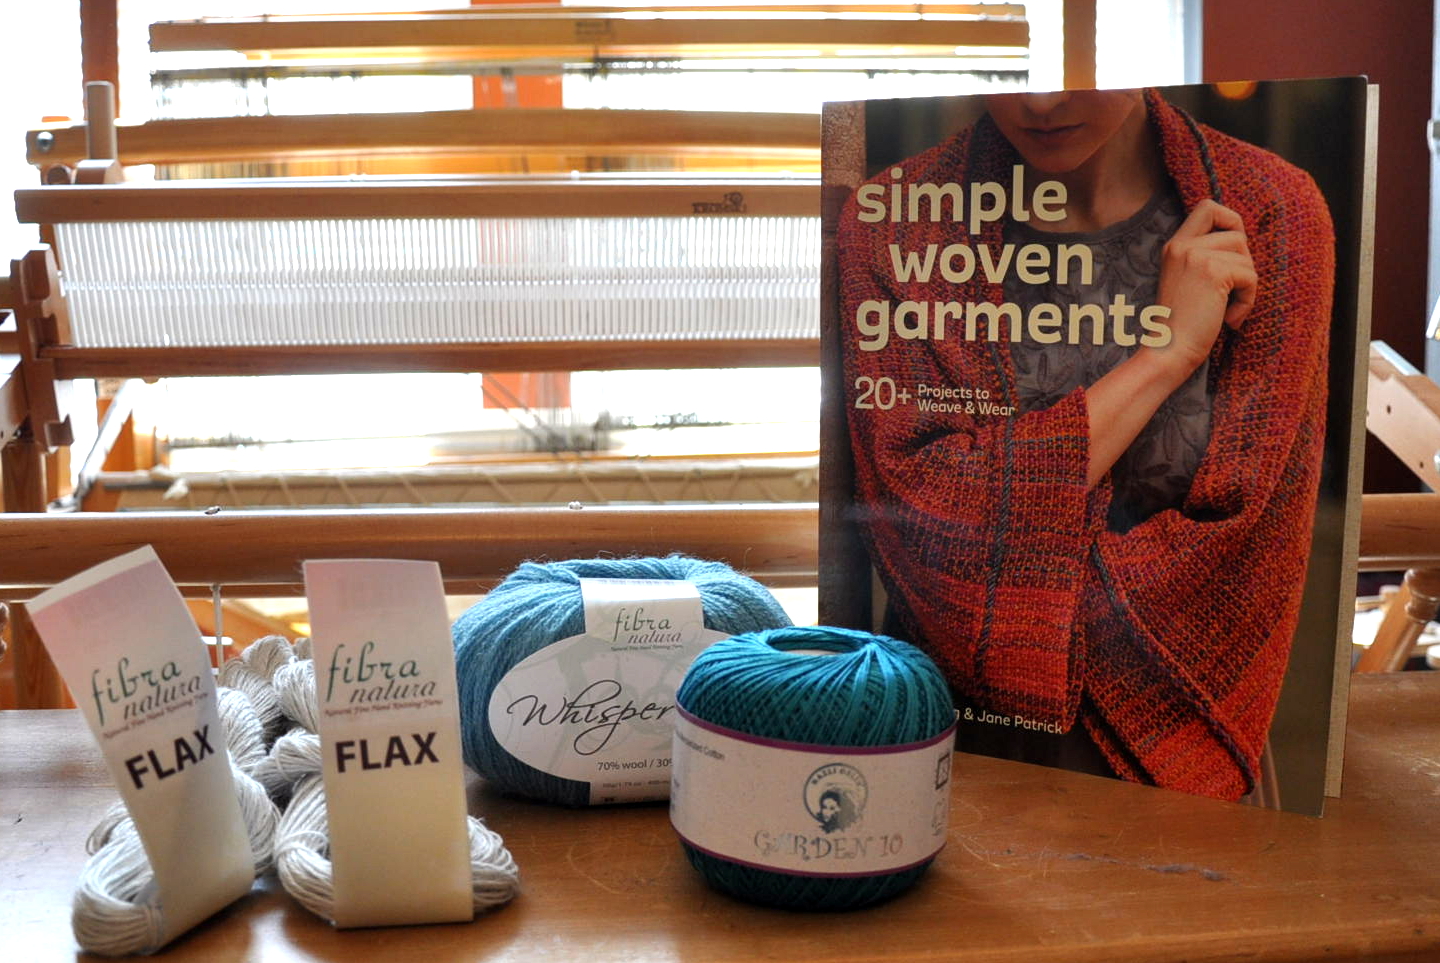
My weft yarn, as you can see, will be Whisper Lace and Garden 10; 1 strand of each held together. Though I love the warm colors in the original project, I tend to be a cool colors kind of person.

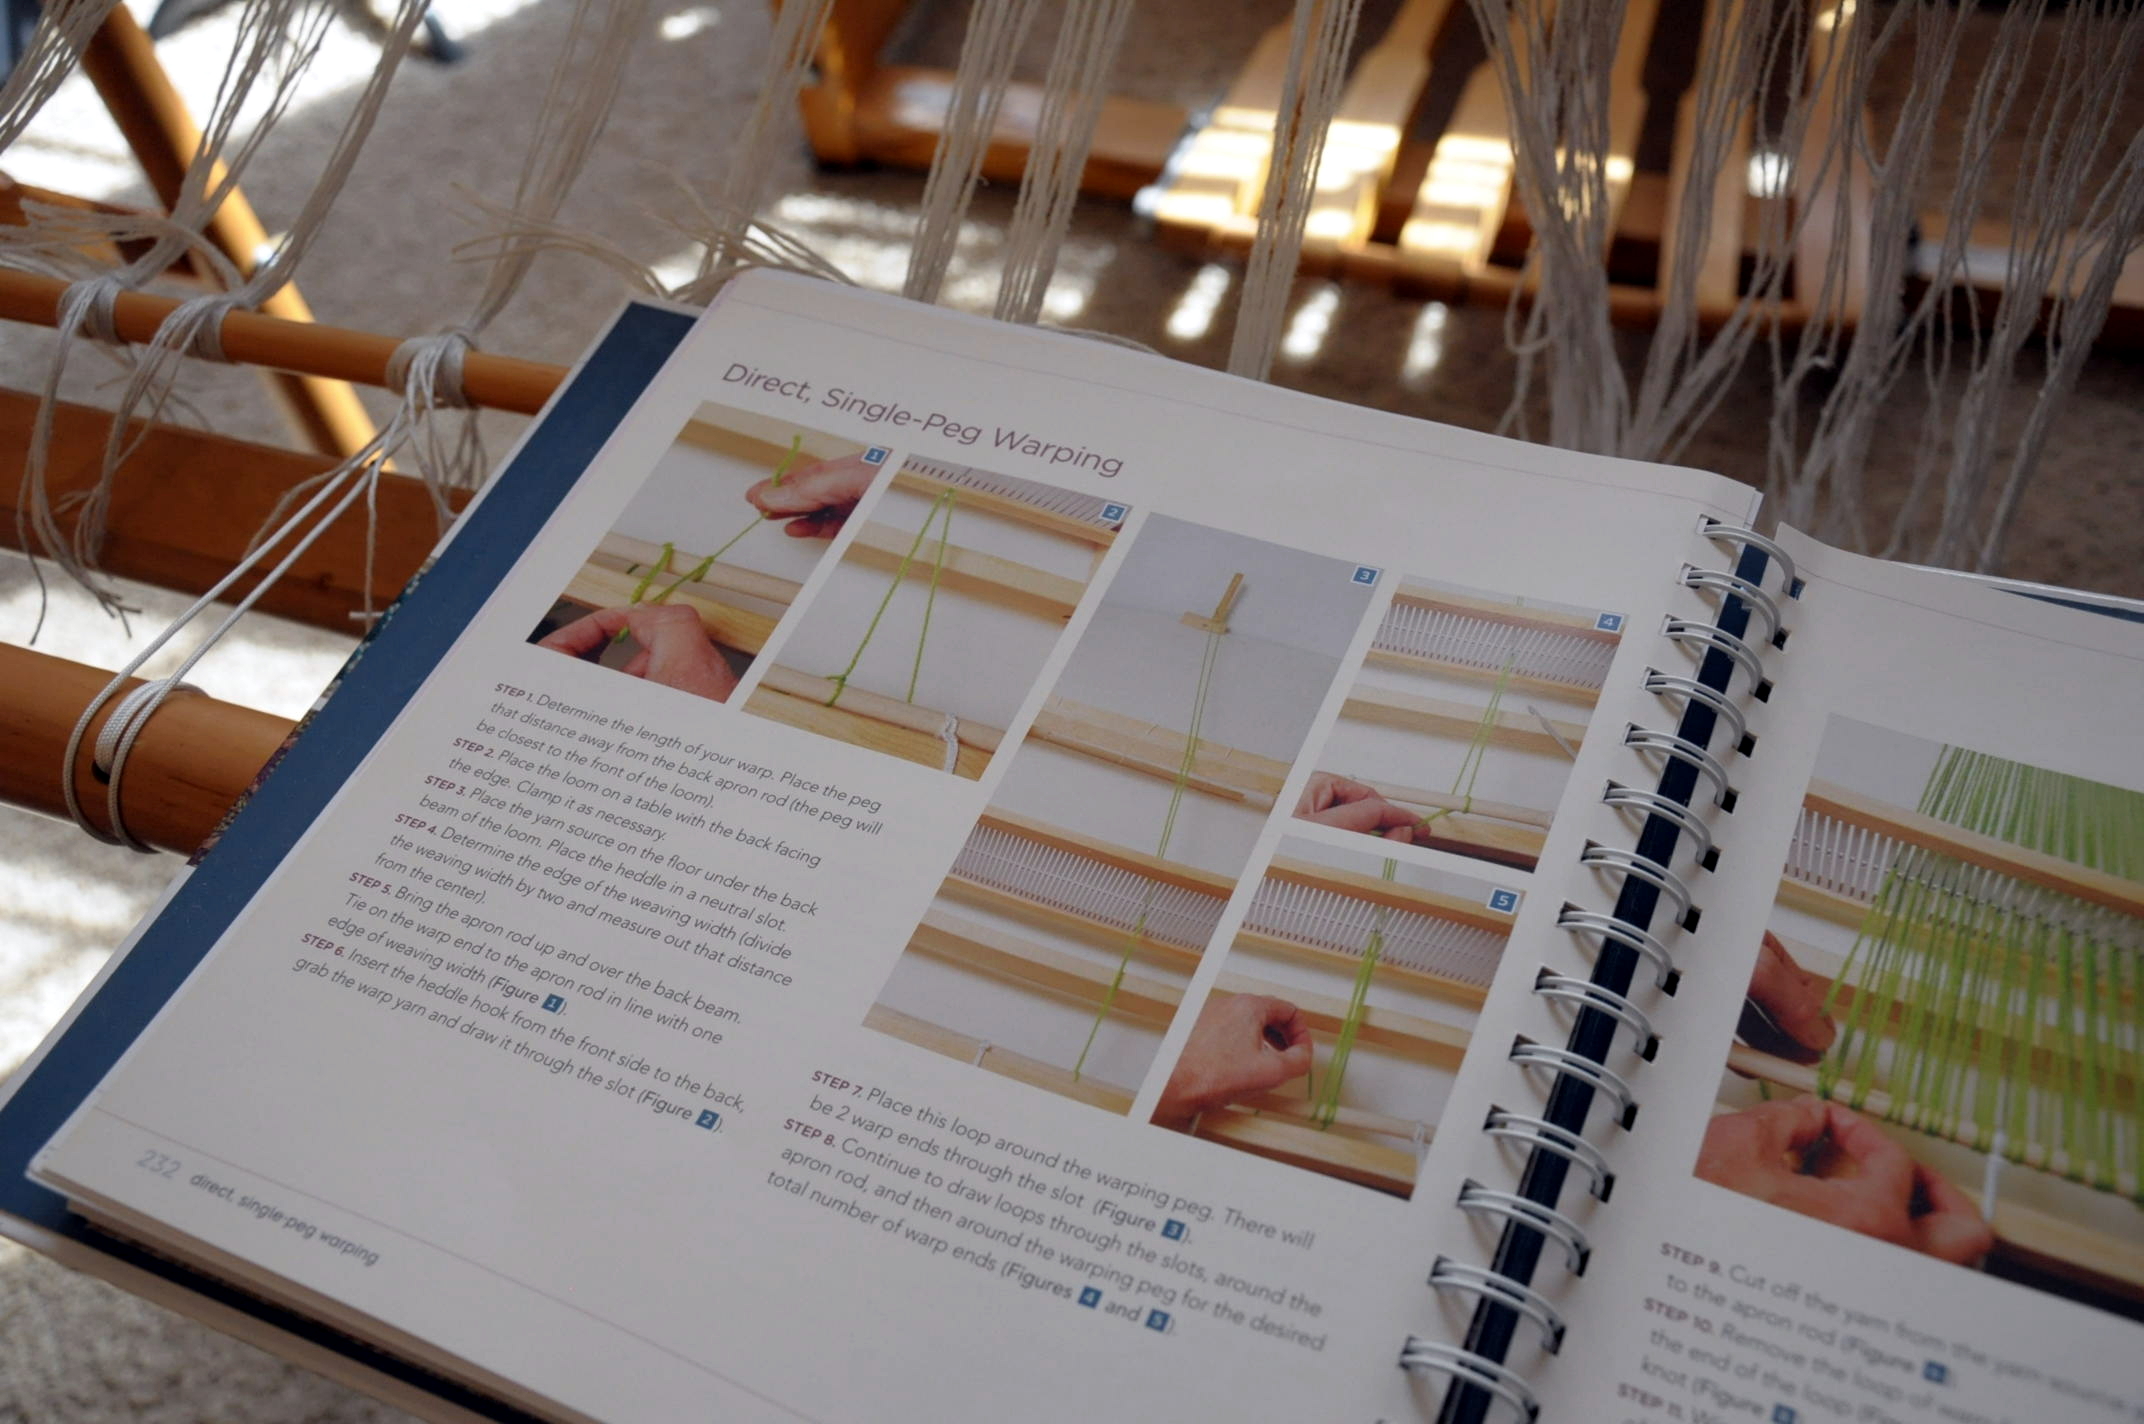
It had been long enough since my last warp, that I took a look at my copy of the Weaver’s Idea Book (also by the talented and informative Jane Patrick!) for a refresher. There are handy step-by-step photos of single-peg warping in the pages, which is the method I used.

FlameTop_4

My personal favorite place to clamp my warping peg is to my shaft floor loom, a Fanny LeClerc. It’s the only time she every gets used and it makes me sad. Since moving into my current house a couple of years ago, poor Fanny sits looking beautiful in all of her multi-shaft glory, completely unused. Fanny, we will work together again soon, I promise.

FlameTop_2

If I clamp the peg to the front beam of Fanny and place my rigid heddle across the room on the other wall, it’s typically the perfect distance for a good-sized warp.

FlameTop_3

After warping, sleying the reed, and tying onto the front bar, I wove a few picks with waste yarn.

FlameTop_5

And there is the blank canvas that is a warp. It really does look to me like anything could happen here. That’s the fun, right?

Join me next time for the ins-and-outs of weaving on a rigid heddle loom using 2 pick up sticks. Fun times!

Free Pattern Friday – Eyelet Skirt

It’s Free Pattern Friday!

Flax Eyelet Skirt 2 blog

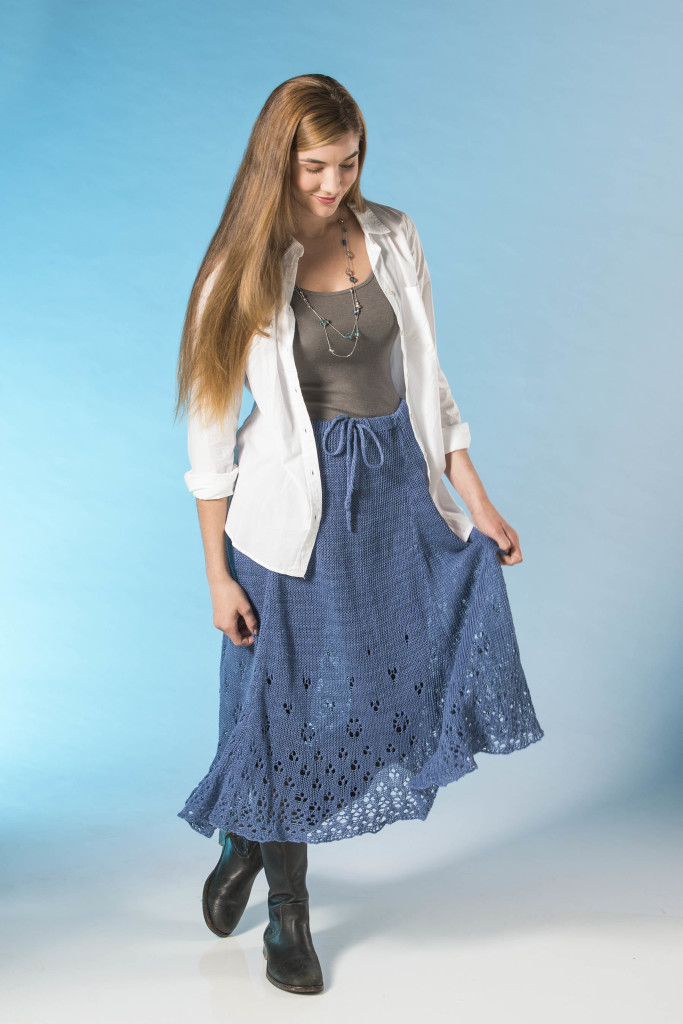
Today, the Eyelet Skirt in Flax.

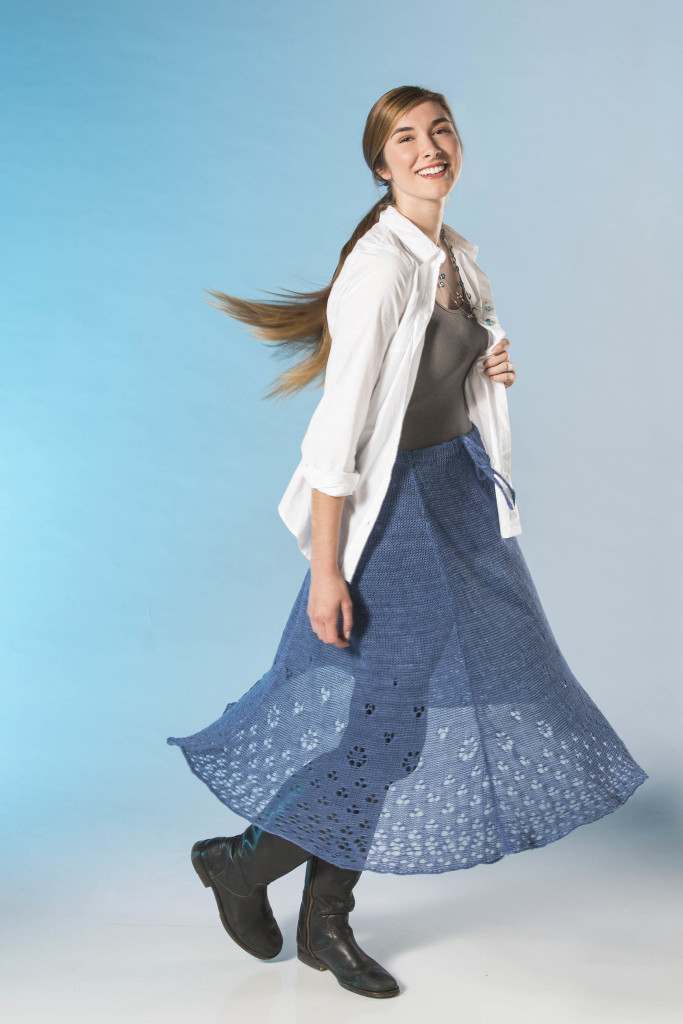
And… twirl!  This sweet summery skirt is knit in our 100% linen Flax (137yds/50g) and is flattering to a wide variety of body types.

Flax Eyelet Skirt 1 detail_hi-resThis is a 4 panel skirt knitted flat and seamed, with easy eyelet lace at the flaring hem. This is a good first project in lace as the patterning is worked on right side rows only. The lace is charted, but simple to follow even if you’re not an expert chart reader.  Fit is easy in the waist using your choice of drawstring tie or elastic.

We hope you enjoy this bit of lovely linen.

Happy knitting!

Flax Eyelet Skirt 1 blog

Free Pattern Friday – Bias Stripe Scarf

It’s Free Pattern Friday!

Universe Diagonal Scarf 1 blog

Today, the Bias Stripe Scarf in Flax and Universe.

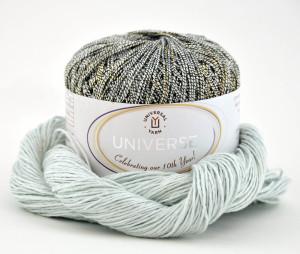
We’re moving into party season, and we’re delighted to have a new yarn in stock that’s just perfect for the occasion.  We designed Universe (246yds/50g) to celebrate Universal’s 10th anniversary, and we’re having a ball making new projects with it.

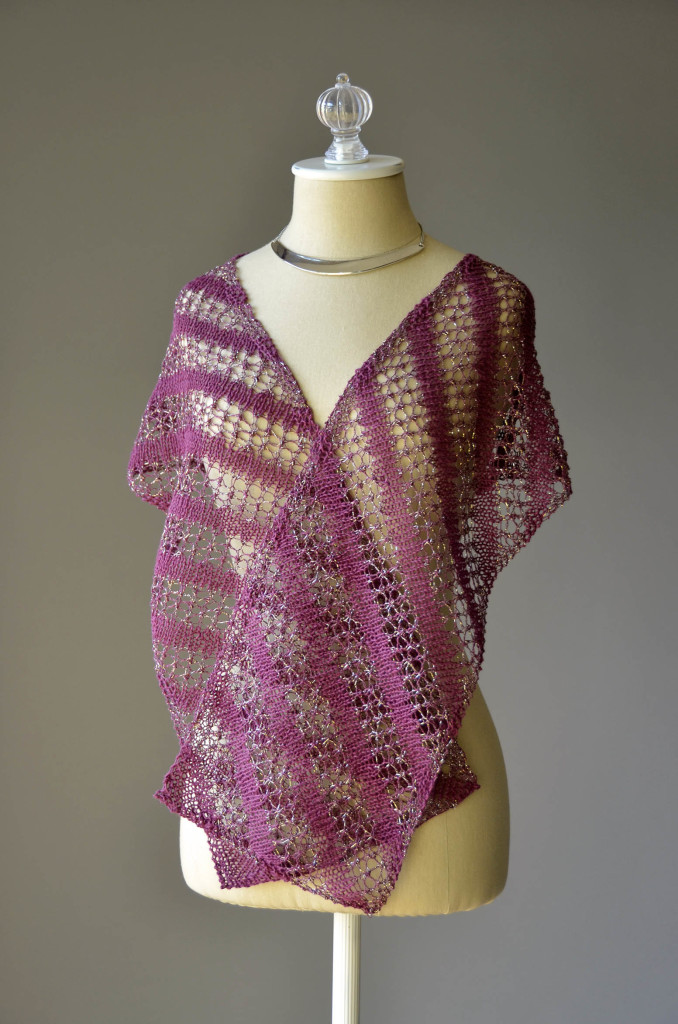
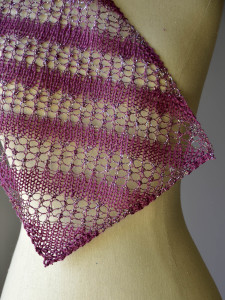
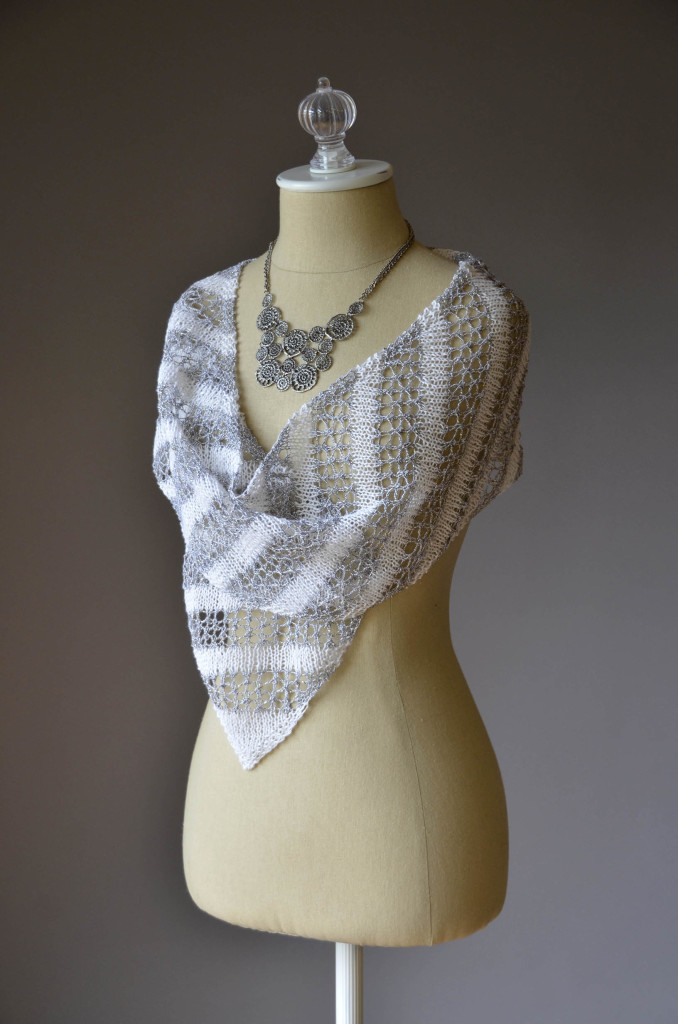
Universe Diagonal Scarf detail blogUniverse’s colors coordinate  with another popular yarn, Fibra Natura Flax (137yds/50g).  Both are used together in this project.  The matte bands of Flax linen are interspersed with the metallic glitter in Universe for a striking effect.  Since the yarns match so well, it’s easy to carry the colors up the sides between sections without having an obvious color streak at the edge of your scarf.  One ball of Universe and one hank of Flax – the only ends to weave in are at the beginning and end of your project.

Universe 10-04 and Flax 09 blogPersonally, I’m looking at another color combo, Universe 10-04 and Flax 09.  The robin’s egg blue with a hint of aqua appeals to me, and I think it will look very striking with the black and metallic.

We have more projects in Universe to share with you in the coming weeks, including something very wintry.  Hint: no two are alike.

Happy knitting!

Universe Diagonal Scarf white 1 blog

Free Pattern Friday – Ladders Tank

It’s Free Pattern Friday!

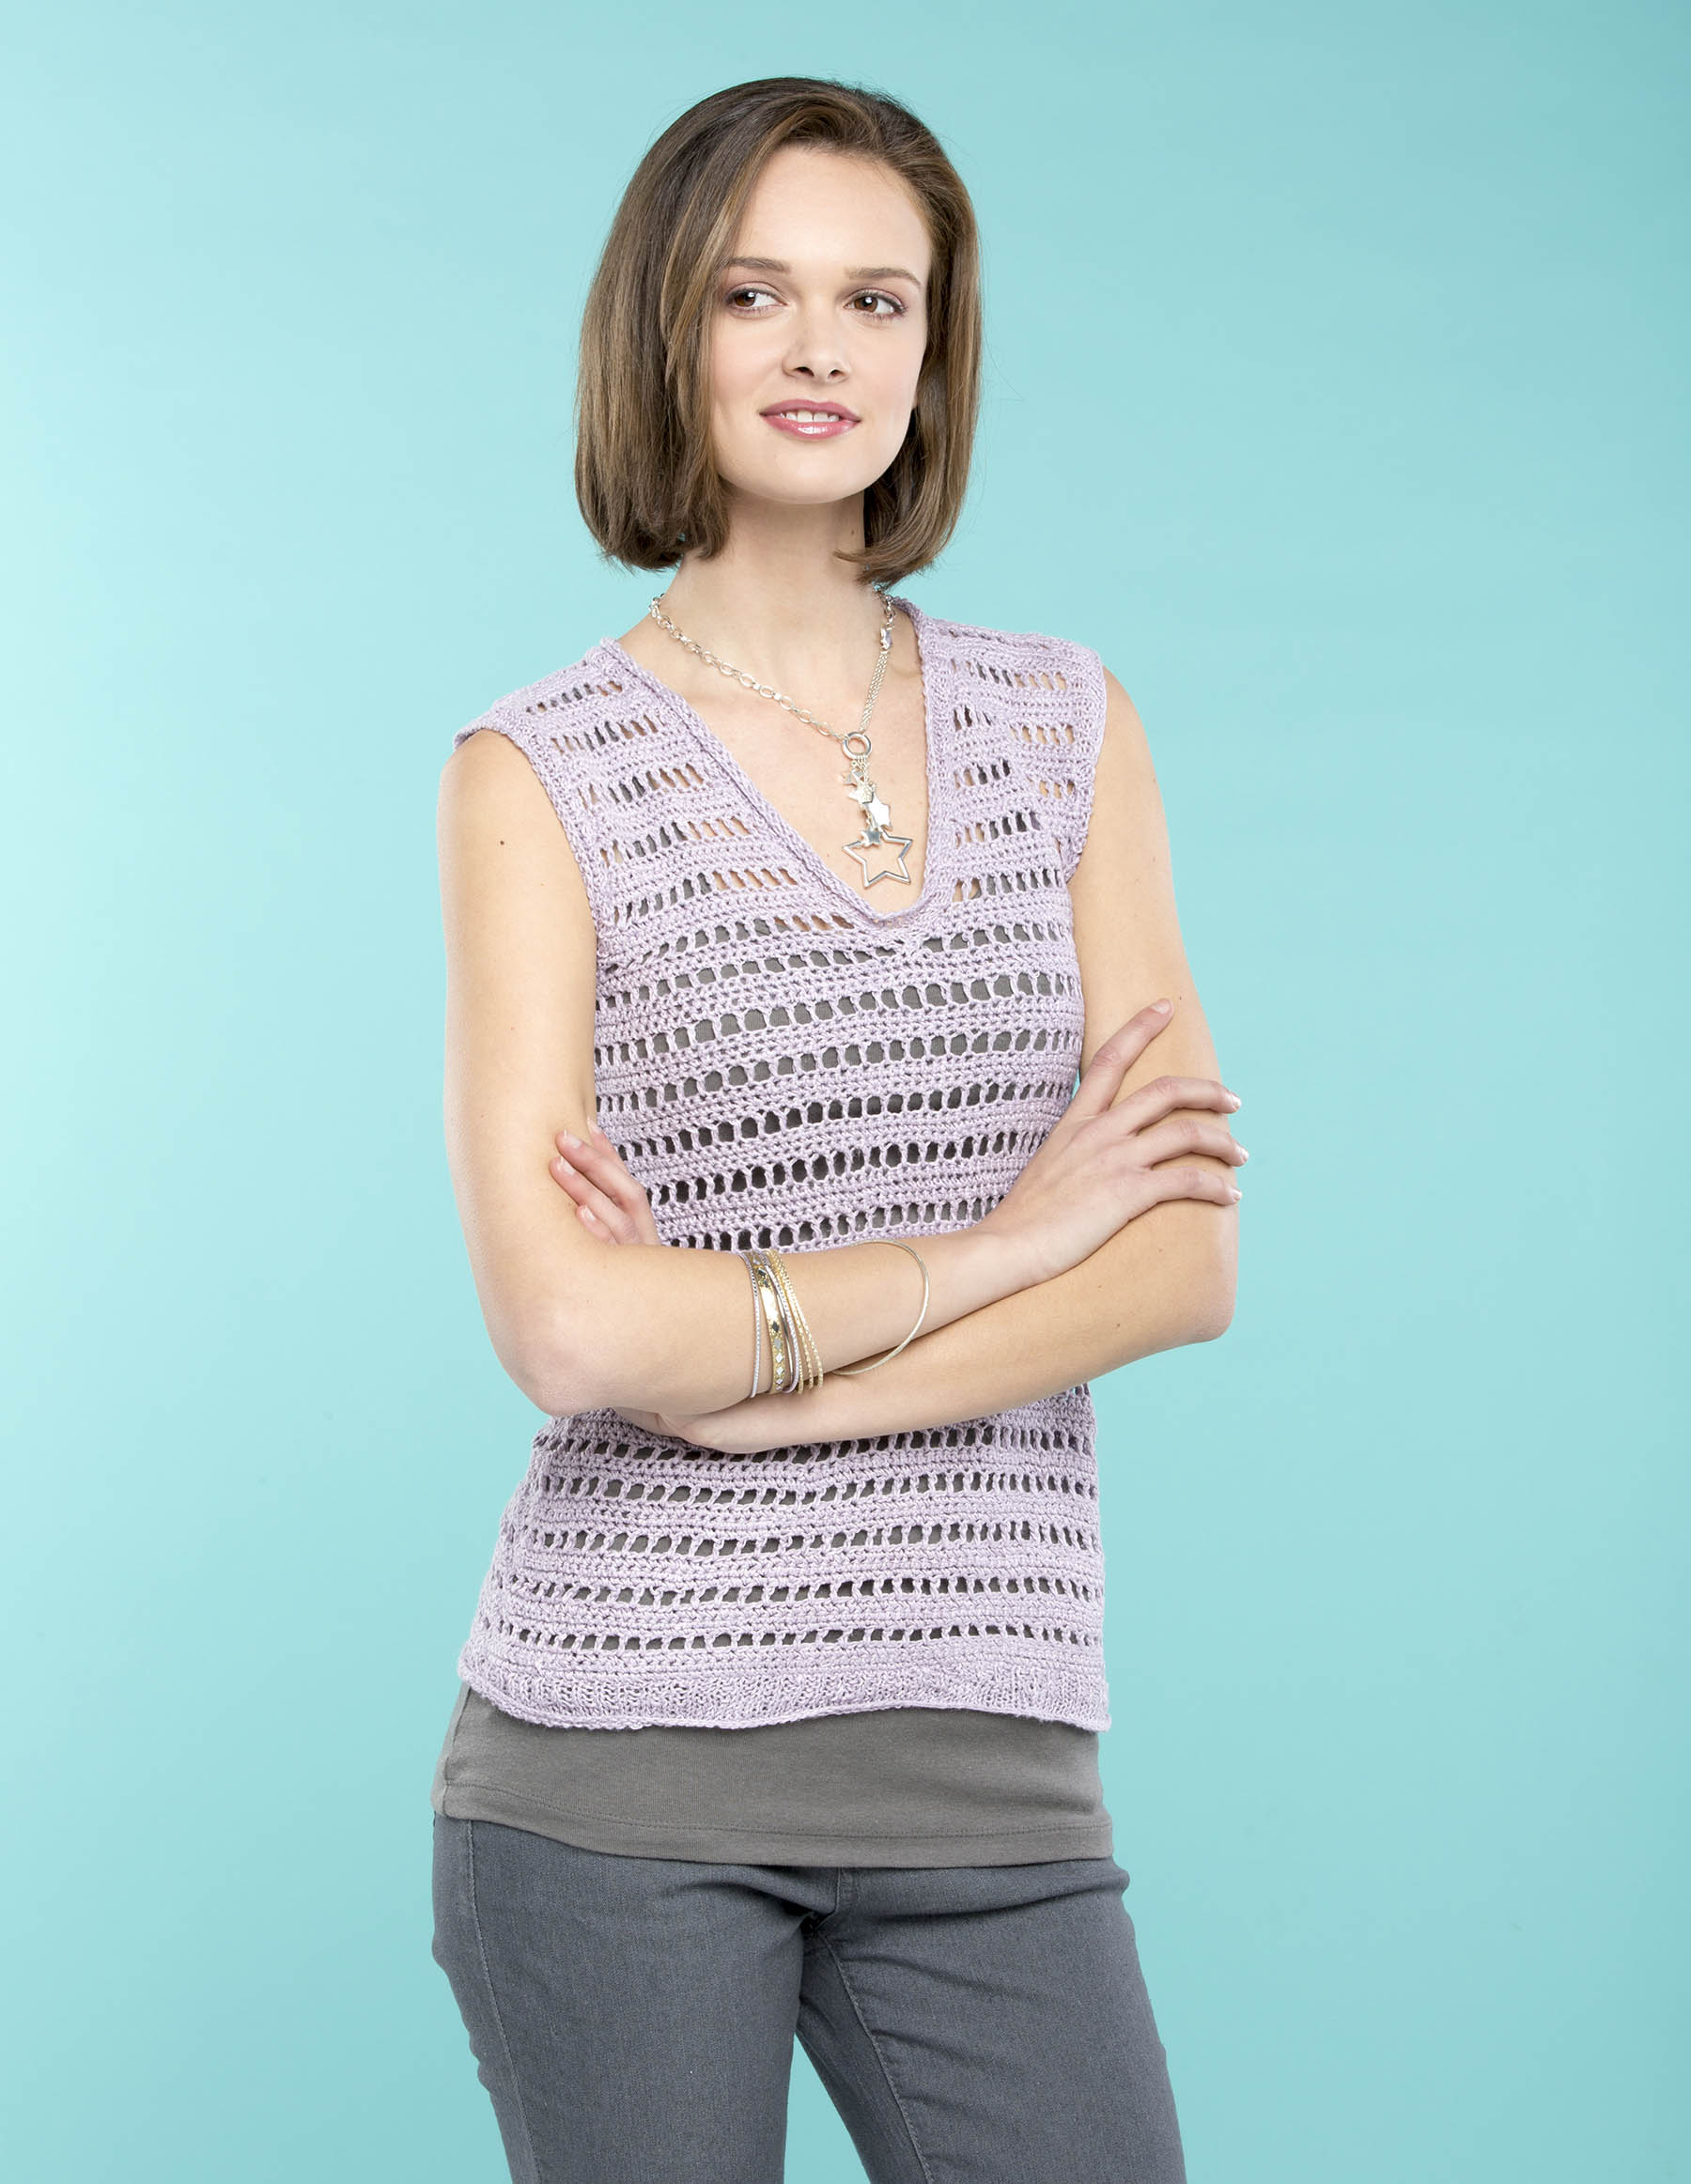
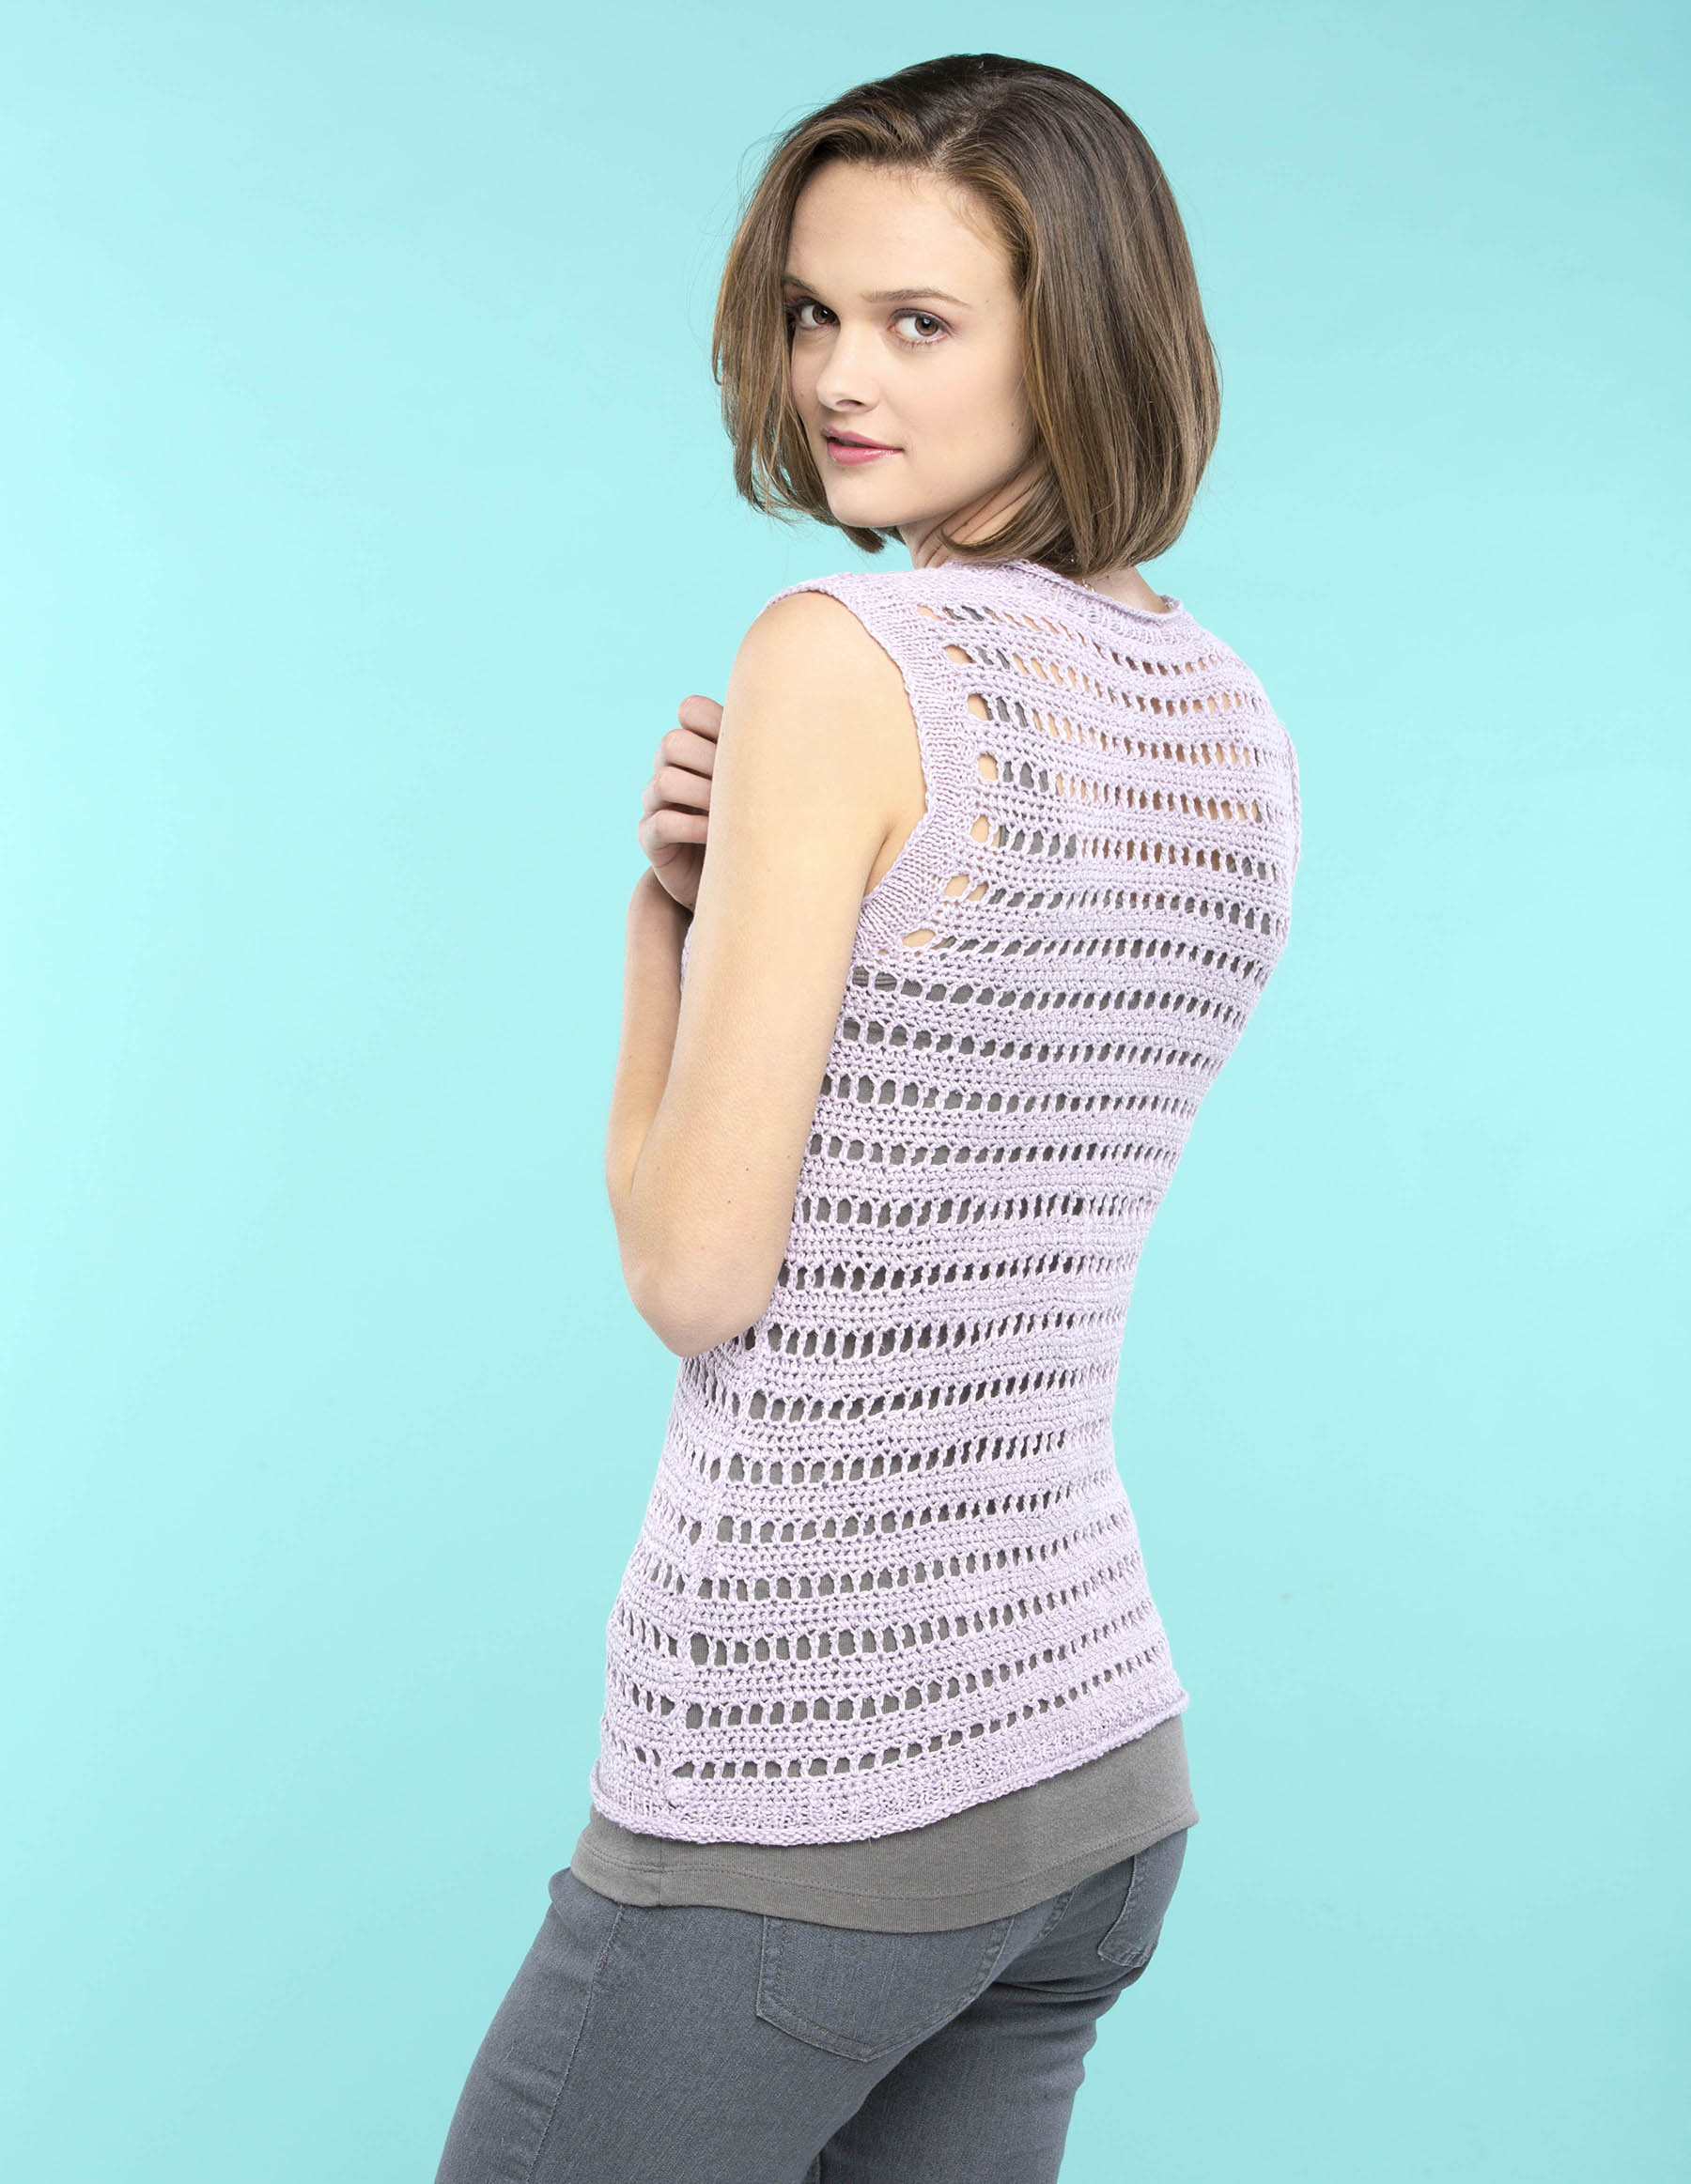
Ladders Tee front_blogToday, the Ladders Tank in Flax.

Two crochet Free Pattern Fridays in a row?  Well, we’re cheating just a little bit with this one – the edging at the neck, arm, and hem are knit.  Crocheting purists are of course free to work their magic with an alternate trim.  Those of us (like me) who are still polishing their crochet skills may stick with the edging as written.  Someday I’ll be able to wing it, though!

The top is made in Flax (50g/137yds) which, as the name implies, is 100% linen.  The ladder pattern combined with the flax fiber makes this a perfect tank for summer.  Things I love about this piece: the Flax (which I’ll take any excuse to work with), the fact that it’s sized from Small to 3X, and the shaping, which of course you can customize to your own tastes.

We hope you’re having a great summer, and that you’re beating the heat.  As for me, I’m going to make some fruit and yogurt ice pops and then cast on for a cool project.

Happy crafting!


Ladders Tee back_blog


Free Pattern Friday – Summer Poncho

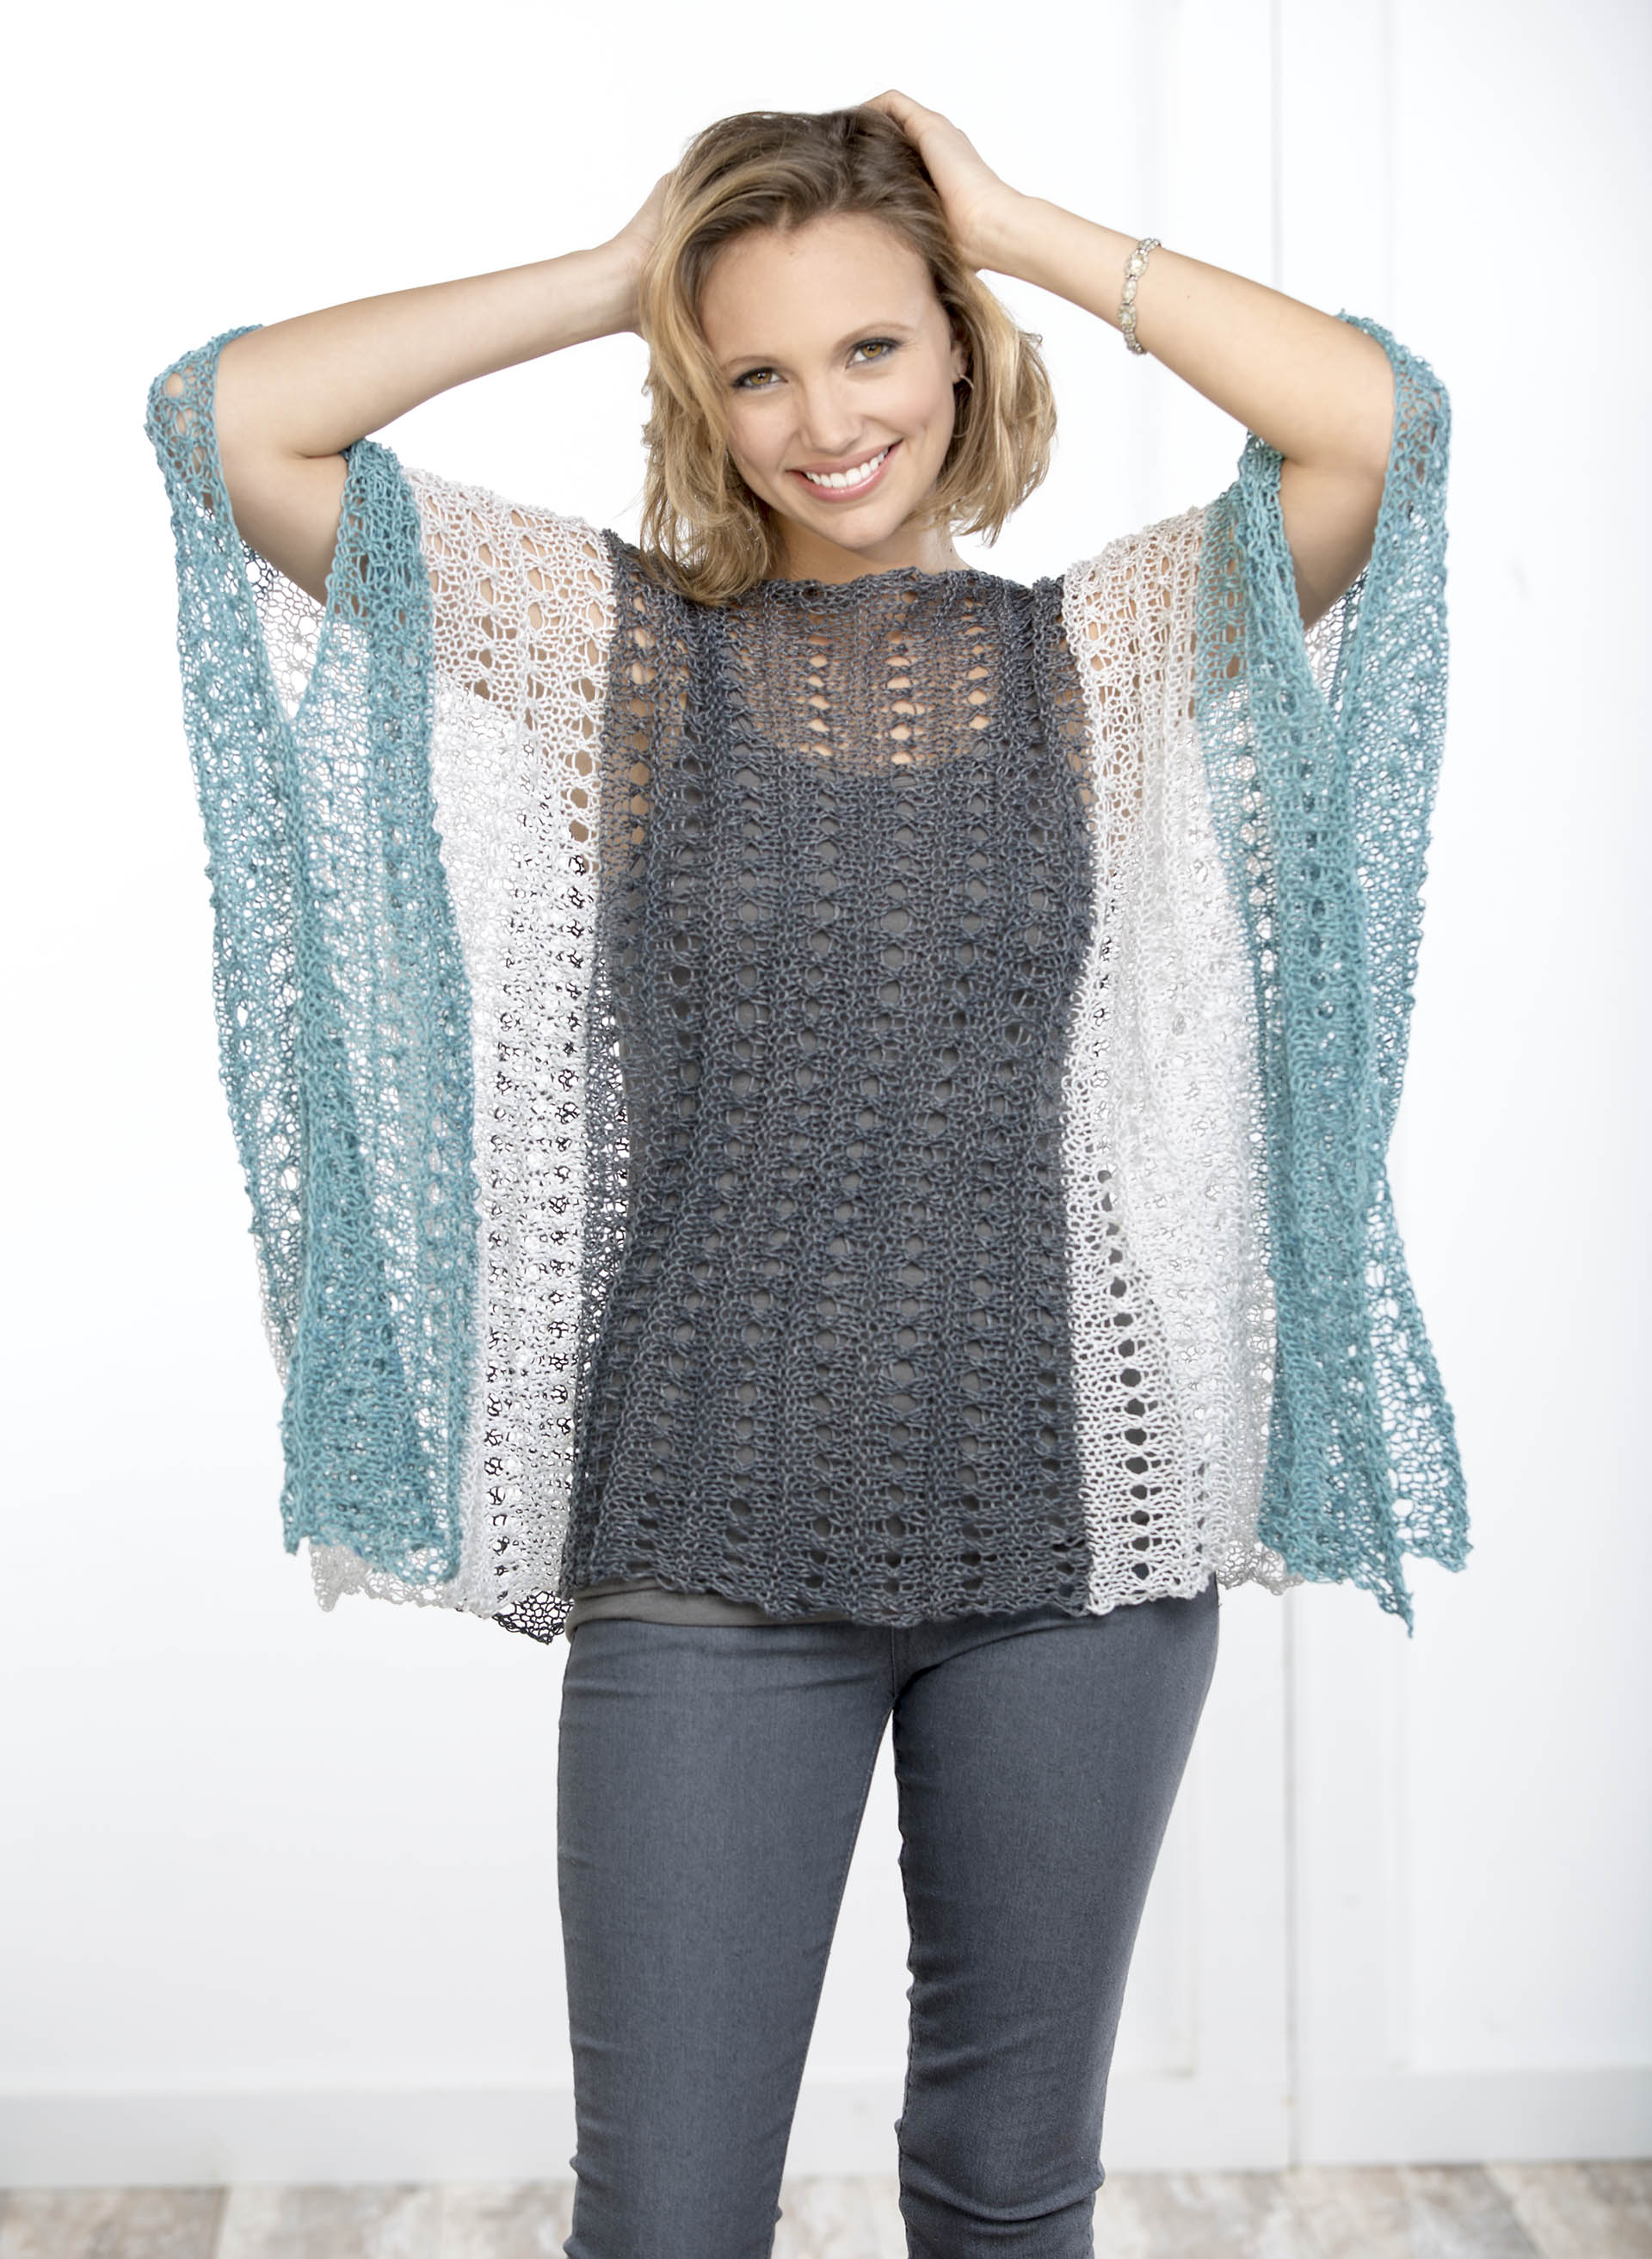
It’s Free Pattern Friday!Flax_SummerPoncho_alt_blogToday, the Summer Poncho in Flax.

We’re on the road to Columbus, OH right now for the annual summer National Needlearts Association trade show, but we still had to share this absolute beauty.

Susan at TNNAThe Summer Poncho is designed by Susan Whitmore, the owner of Rainy Day Creations yarn shop in Pineville, NC.  To the right you can see Susan snuggling with Suzy the Cuddlebunny at a previous year’s show in the Universal Yarn booth.

She has just closed her shop and is enjoying a richly deserved retirement.  We miss her welcoming shop, but we’re so glad that she’s taking time to enjoy herself.  And we’re doubly glad that she shared this lovely design with us before hopping on her motorcycle and vrooming off into the sunset!

Flax_SummerPoncho_blogKnit in FibraNatura Flax linen yarn in two pieces and seamed, this oversized poncho will fit a variety of sizes and is easy to adjust simply by seaming more or less of the sizes and neck.  It’s a simple written pattern and contains a schematic for assembly.  Such a great piece for summer!

We hope you enjoy this piece, and that you pull a page from Susan’s book and take time to enjoy life.

Happy knitting!

Knitspiration – The Long Fence

How about a little summer in the midst of winter?

The Long Fence by Romare Bearden
The Long Fence by Romare Bearden (1986)

Romare Bearden (1911-1988) has a special place in my heart.  He hails from my hometown of Charlotte, NC, just down the road from Universal Yarn.  He moved to New York and contributed to Harlem’s vibrant arts scene in the 30’s and 40’s, often using imagery from his home state.  Romare Bearden was that fortunate artist who gained respect and recognition in his lifetime, with his works displayed in important collections around the globe.  If you’re ever in Charlotte, take a pleasant stroll through Romare Bearden Park – then come up the road and see us.

His use of color is inspiring.

Uptown Worsted pinwheel


The bright colors…

Northanger Abbey_blog
Northanger Abbey Shawl in Garden 10
Goldenrod in Flax
Goldenrod in Flax from Back to Natura
Seashells Hoodie in Deluxe DK Superwash from Fall Classics

…with more natural tones.

Timbers Hat in Uptown DK
Timbers Hat in Uptown DK from e-book Mountain Ridge Knits
Emerald Isle Lap Blanket in Deluxe Worsted from 50 Knitted Gifts

So many choices.  So many directions to explore.

Happy knitting!