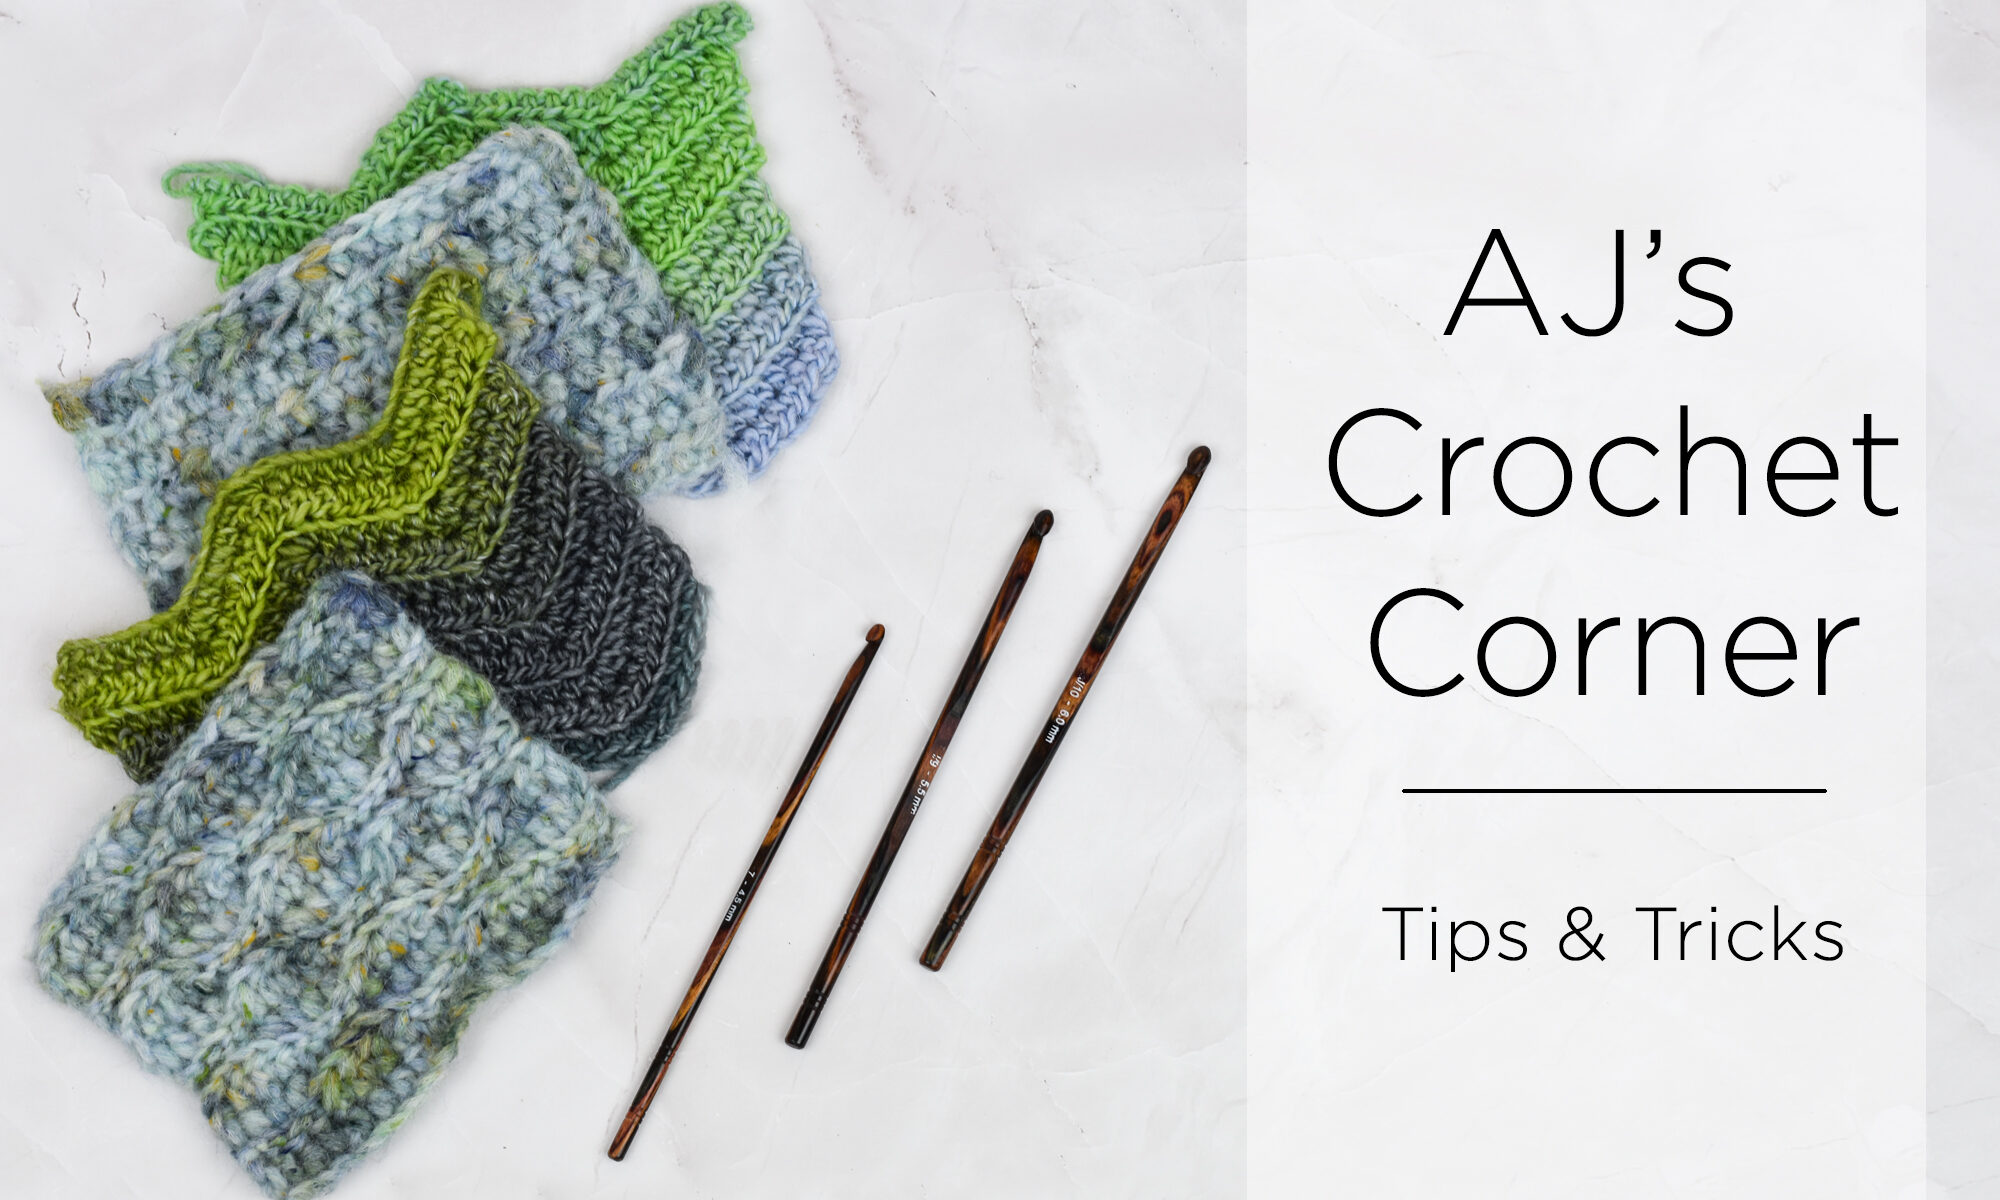
Crocheting into a magic circle makes evenly placing your starting stitches a snap! This technique offers a way to place as many stitches as you need into a perfectly circular shape with the tug of some yarn.
Using a magic circle takes away the guesswork involved with a different method of creating a circular base, where you create a chain, then slip stitch to form a ring. Because this other method with a starting chain has a fixed circumference, it may leave a gap in the center if you make it too big, or be impossible to work into if it’s too small. With the magic circle being adjustable, these sizing problems while starting a project magically disappear!
One thing that can be a bit tricky is that not everyone calls this method a “magic circle” as seen in the Paradise Pouch. When getting started with a pattern, you may also read “adjustable ring,” as seen in the Cotton Candy Swirl, or a blend of both called a “magic ring.” It can also be called a loop, as in “magic loop” or “adjustable loop.” Lastly, you may see it represented visually in a chart, denoted by a swirled shape before any stitches start, like in the Spice Market Shawl. Now that you know what to look for, let’s take a look at how to do it! There are just 6 simple steps to do to create a magic circle.
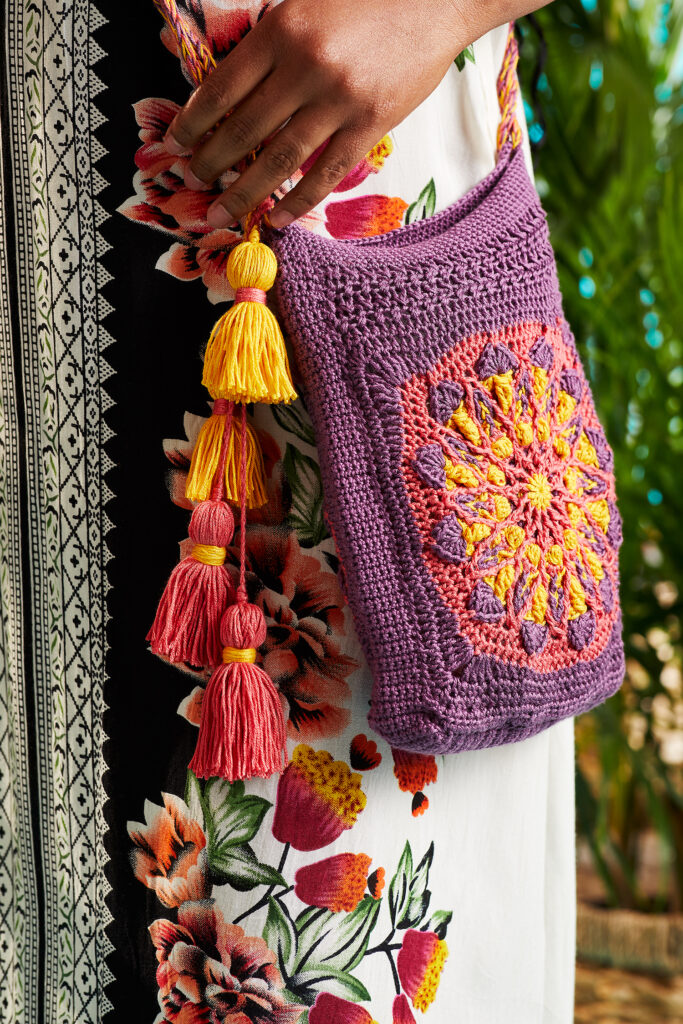
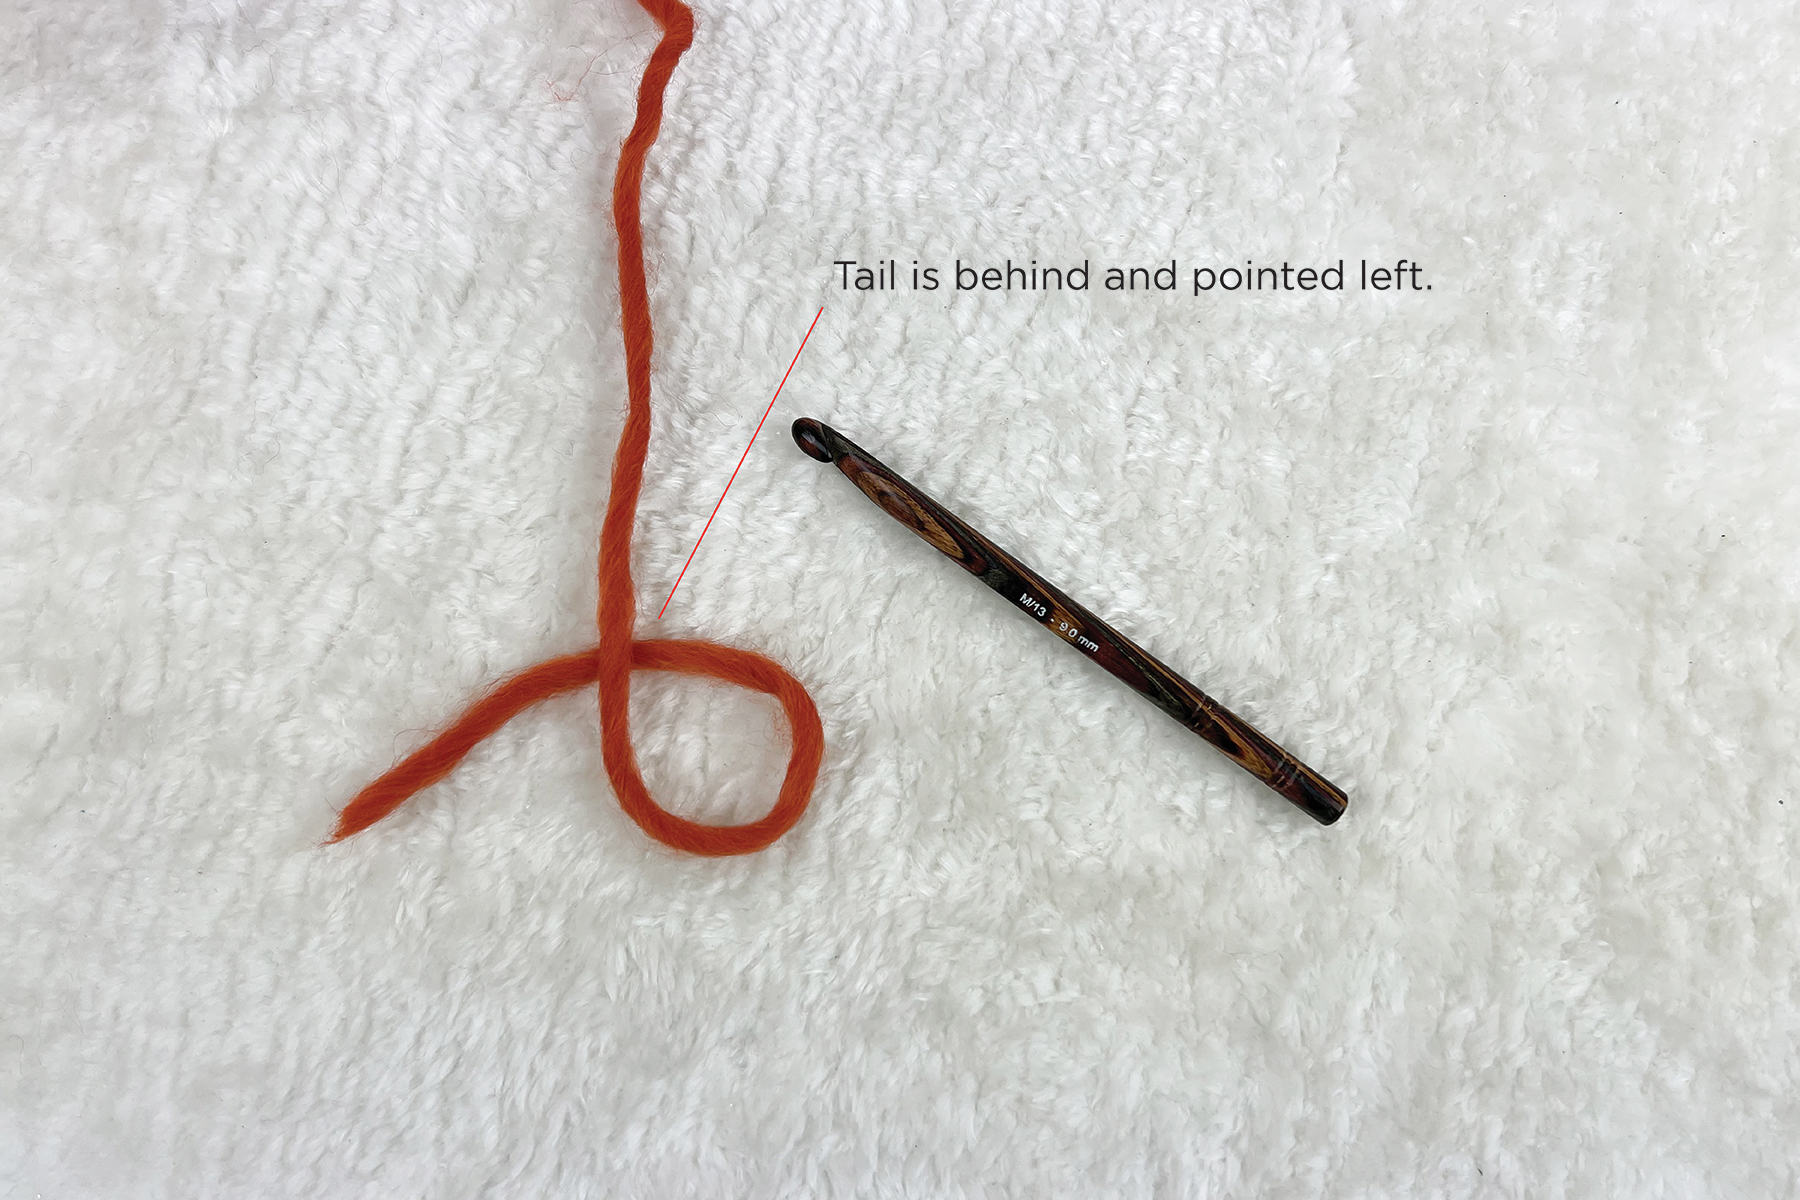
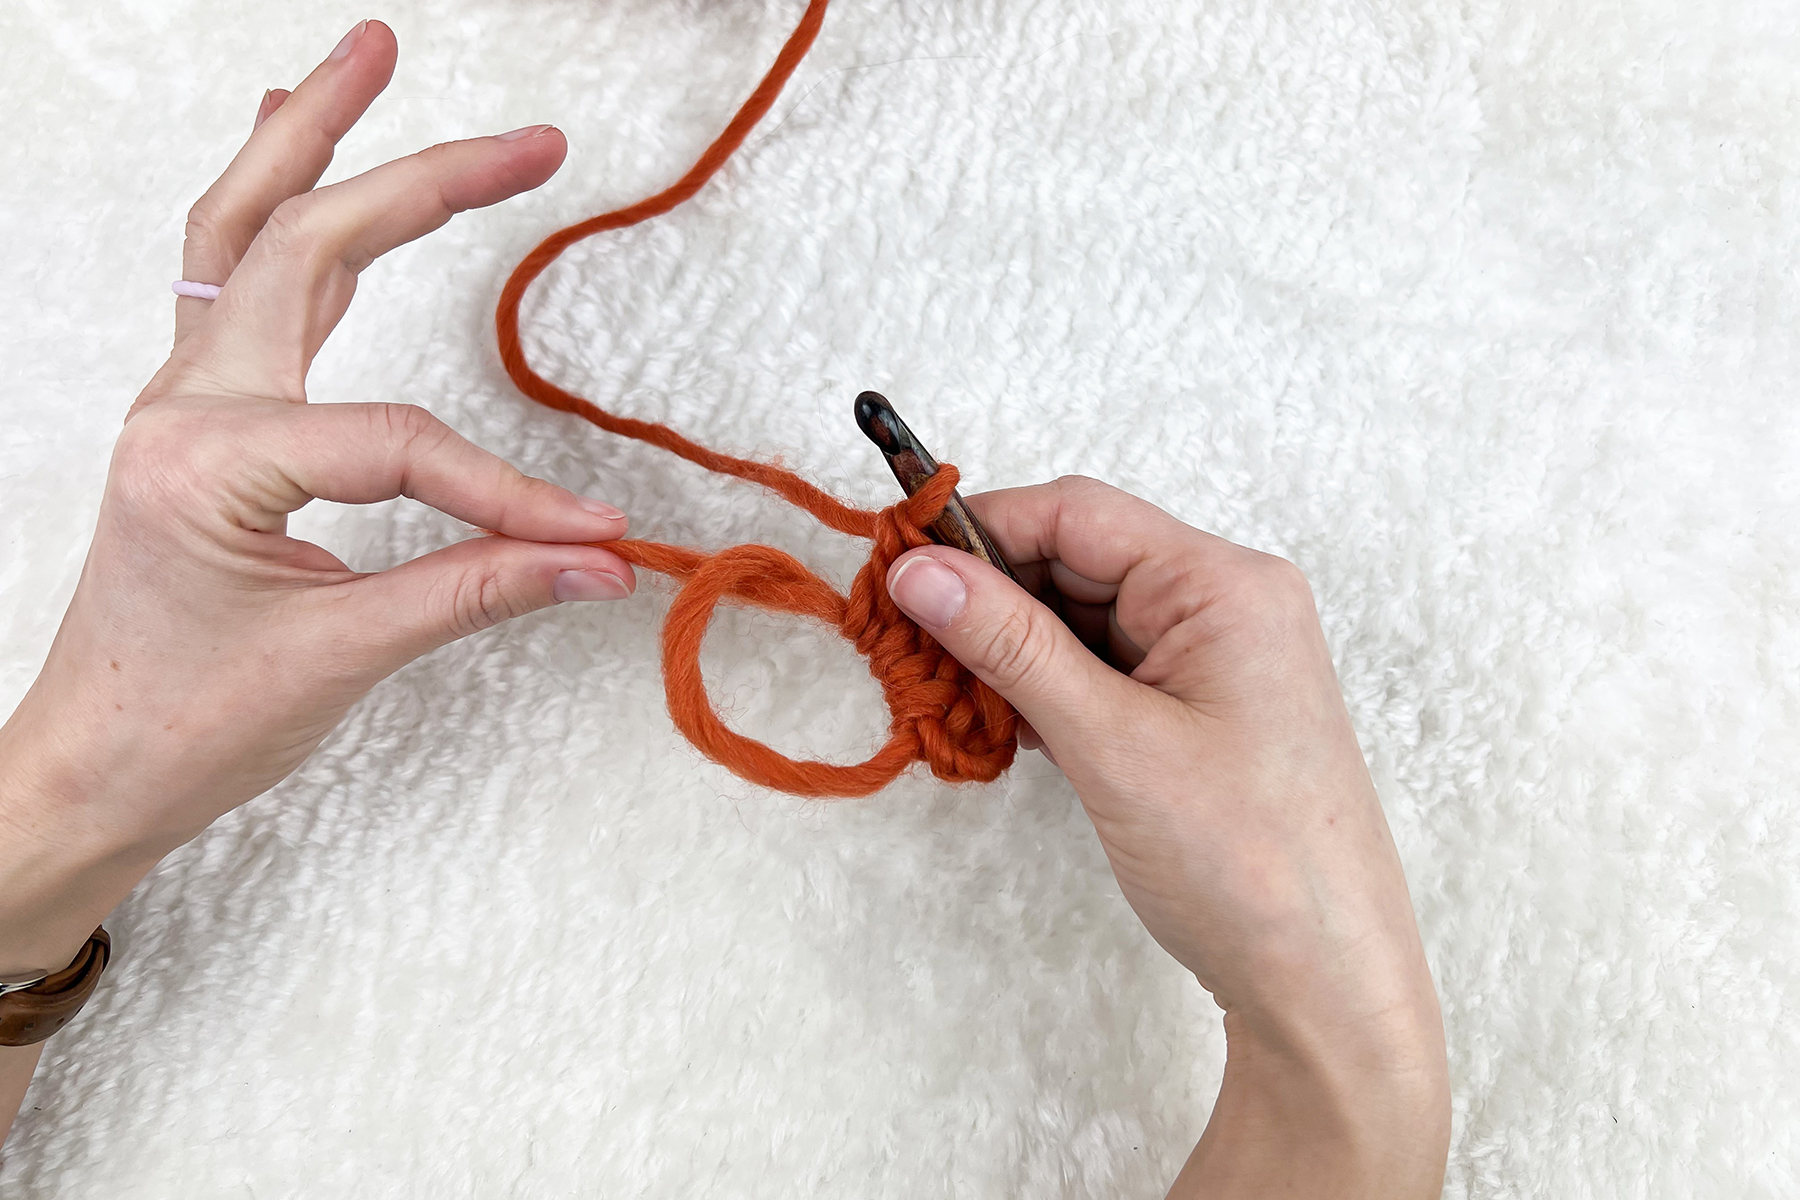
Step 1: Create the circle.
Create an initial loop by laying flat, if it helps, or held in your hand. Place the tail behind the working yarn, and pointed to the left. Pinch yarn where it overlaps to hold the loop in place while you work.
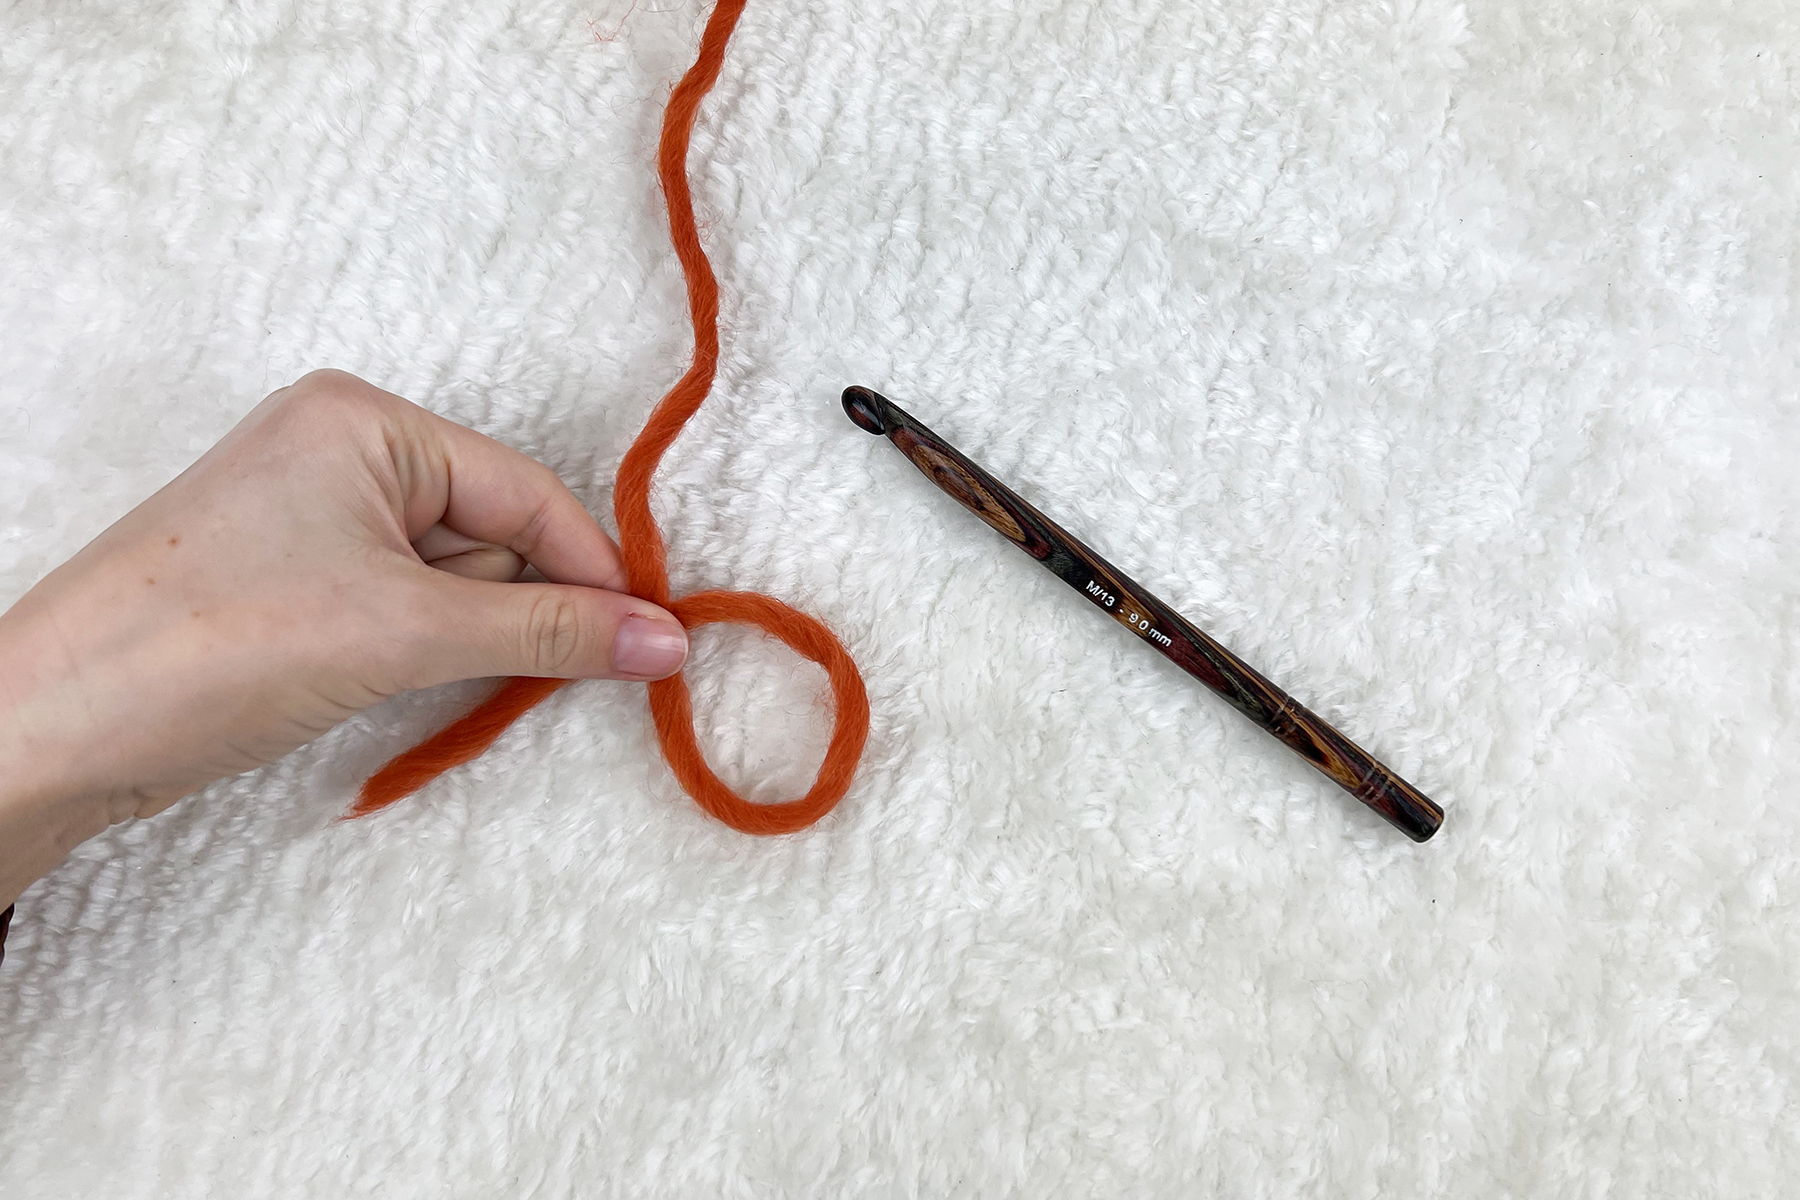
Step 2: Insert hook.
Reach your crochet hook into the loop.
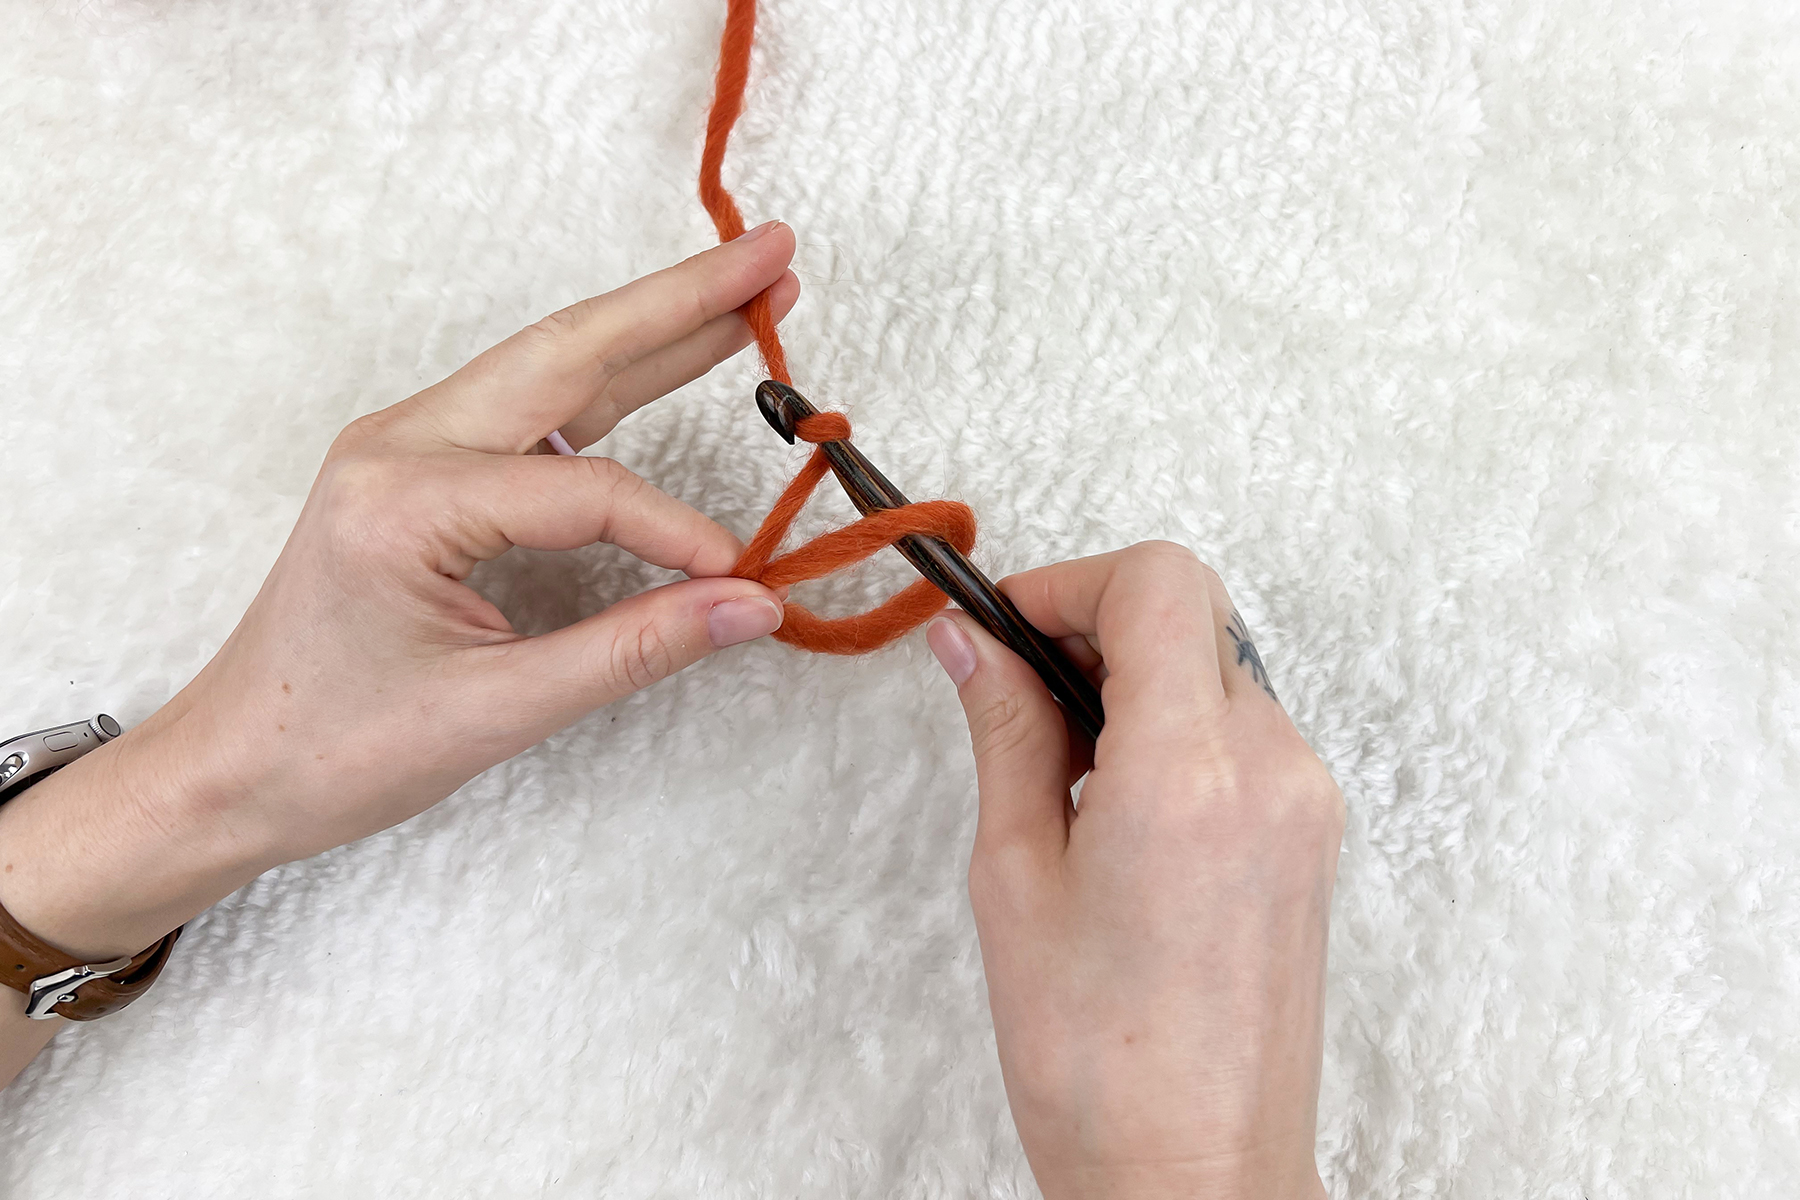
Step 3: Yarn over.
It may feel strange to tension the yarn while pinching the circle. You may try holding it as seen above or switch to holding the circle with your thumb and middle finger to tension with your pointer finger. I have a habit of starting like this then switching my grip when I begin chaining and stitching as normal (as shown, beginning in step 5).
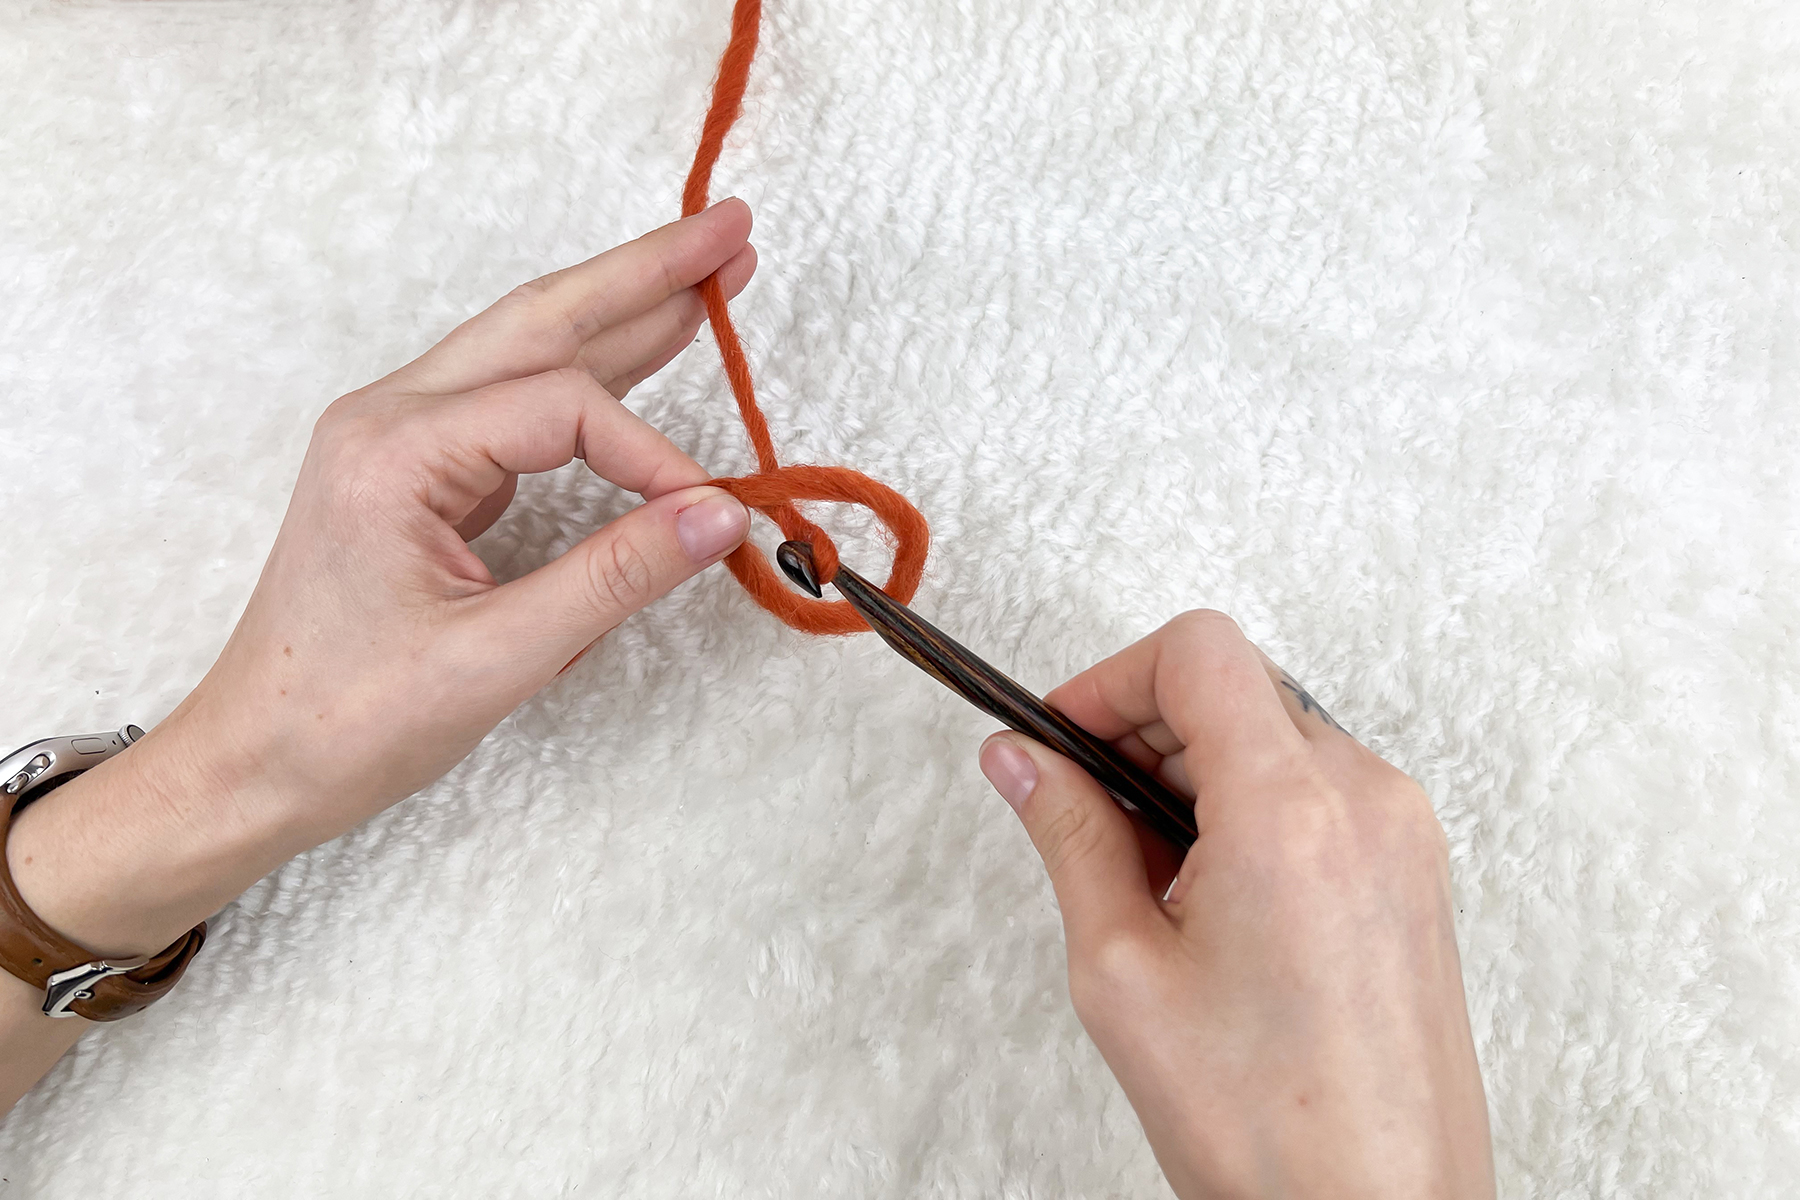
Step 4: Pull through.
Pull the working yarn through the loop with your crochet hook.
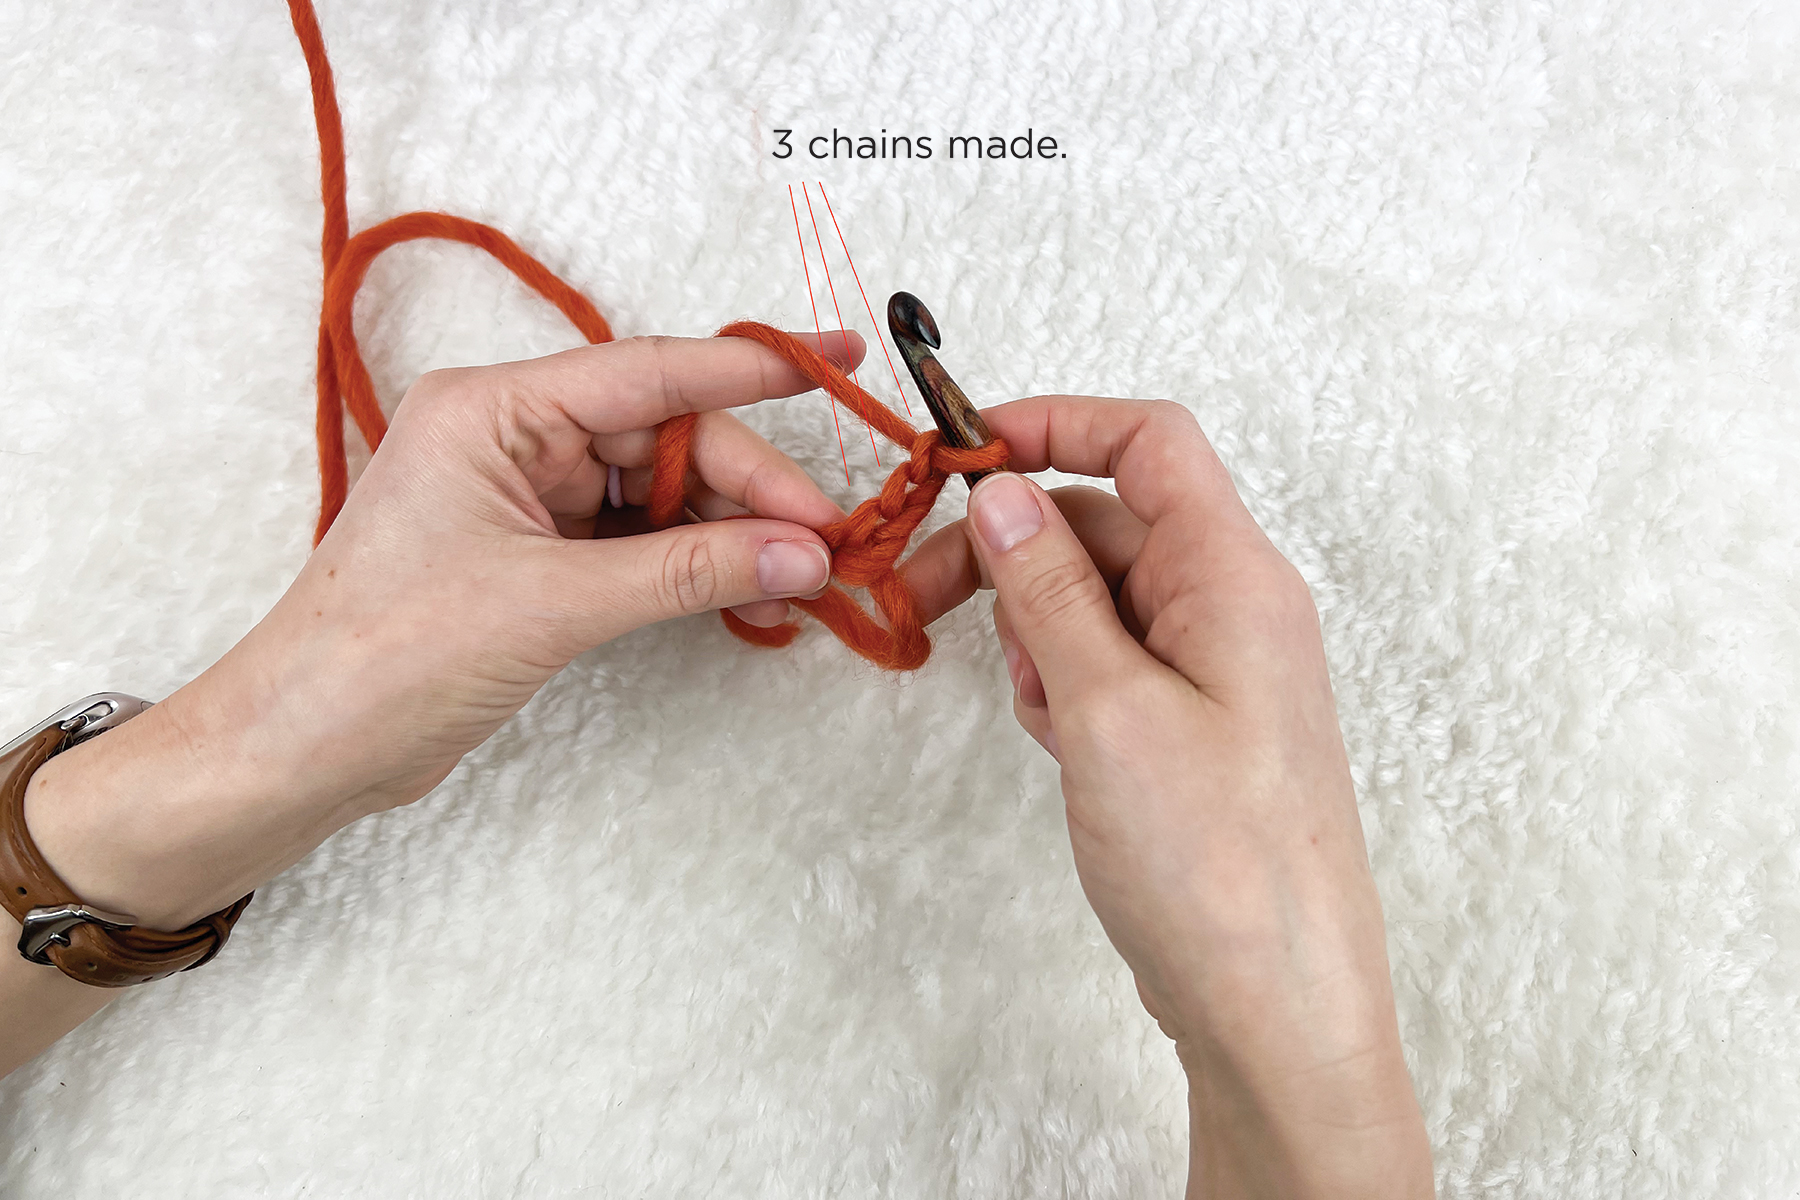
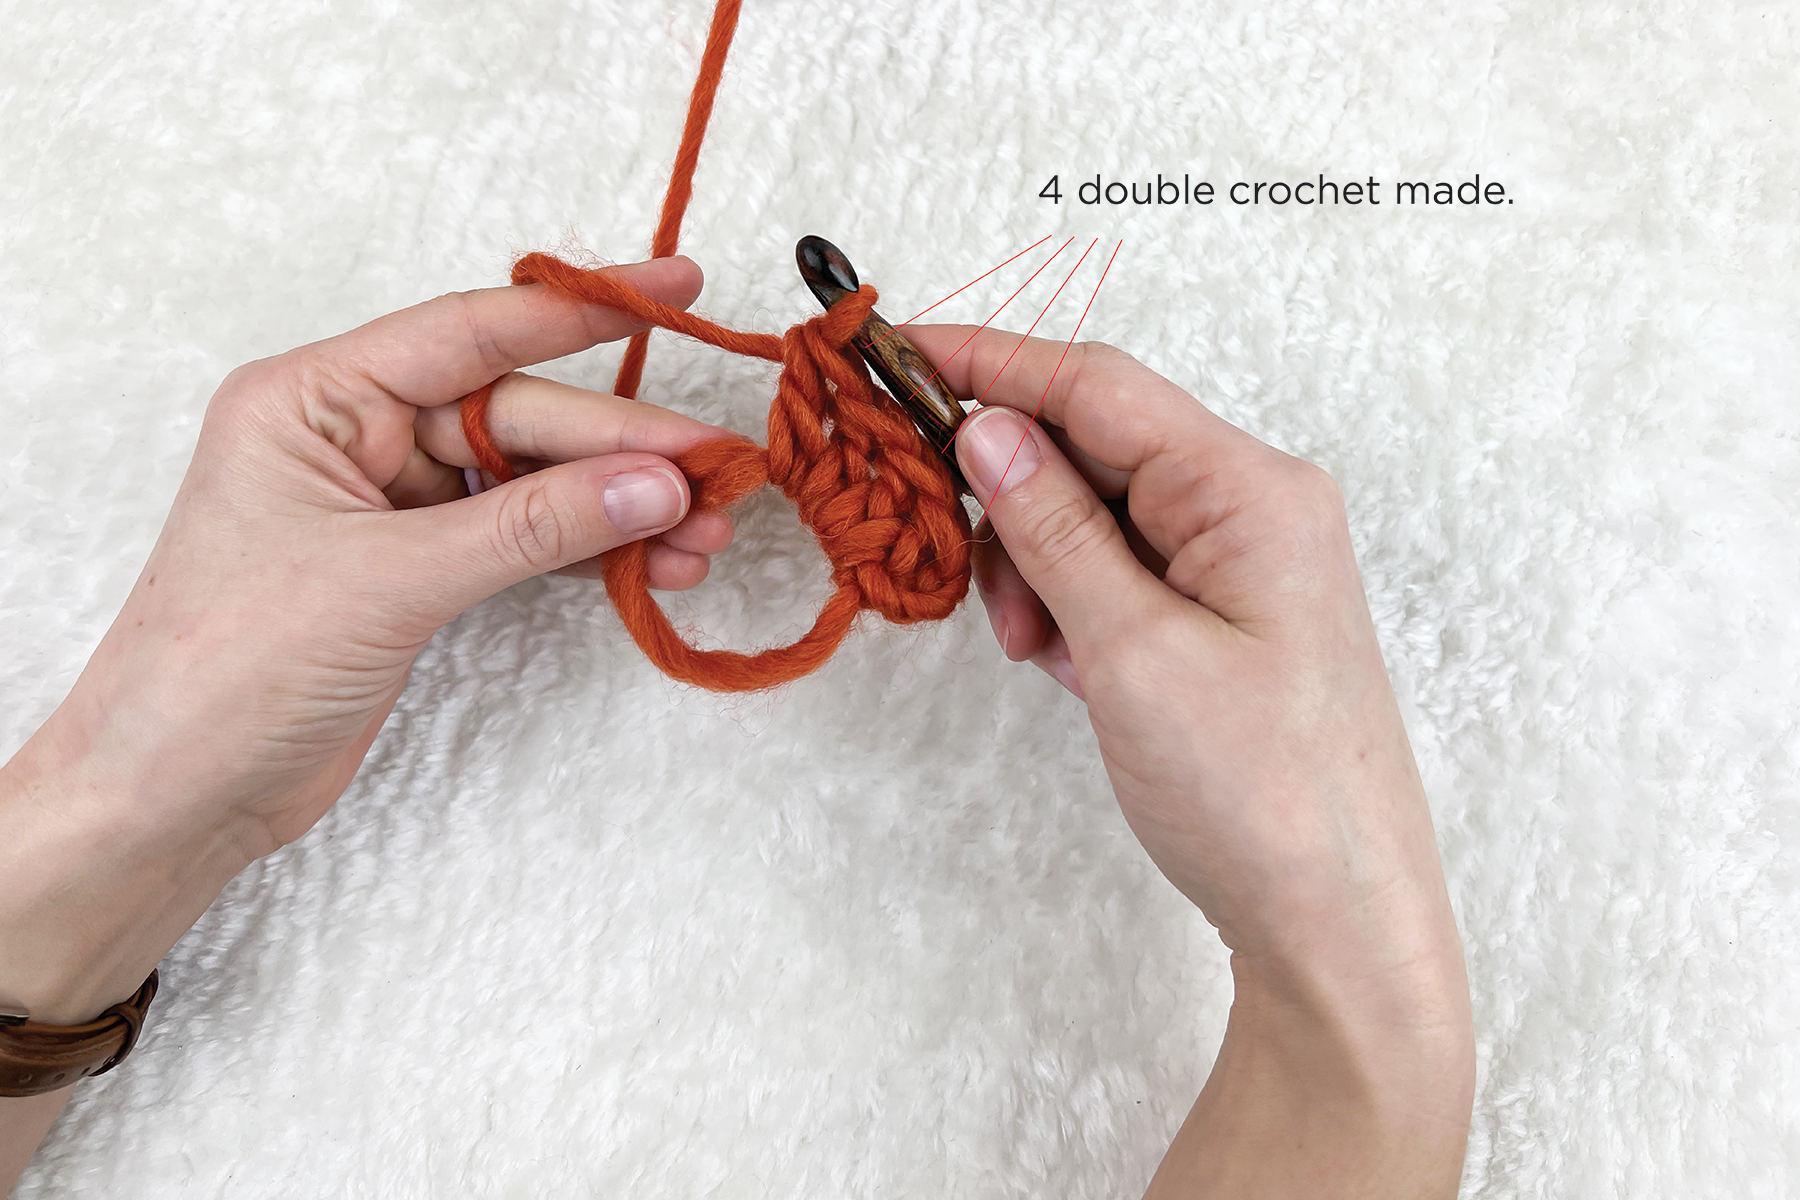
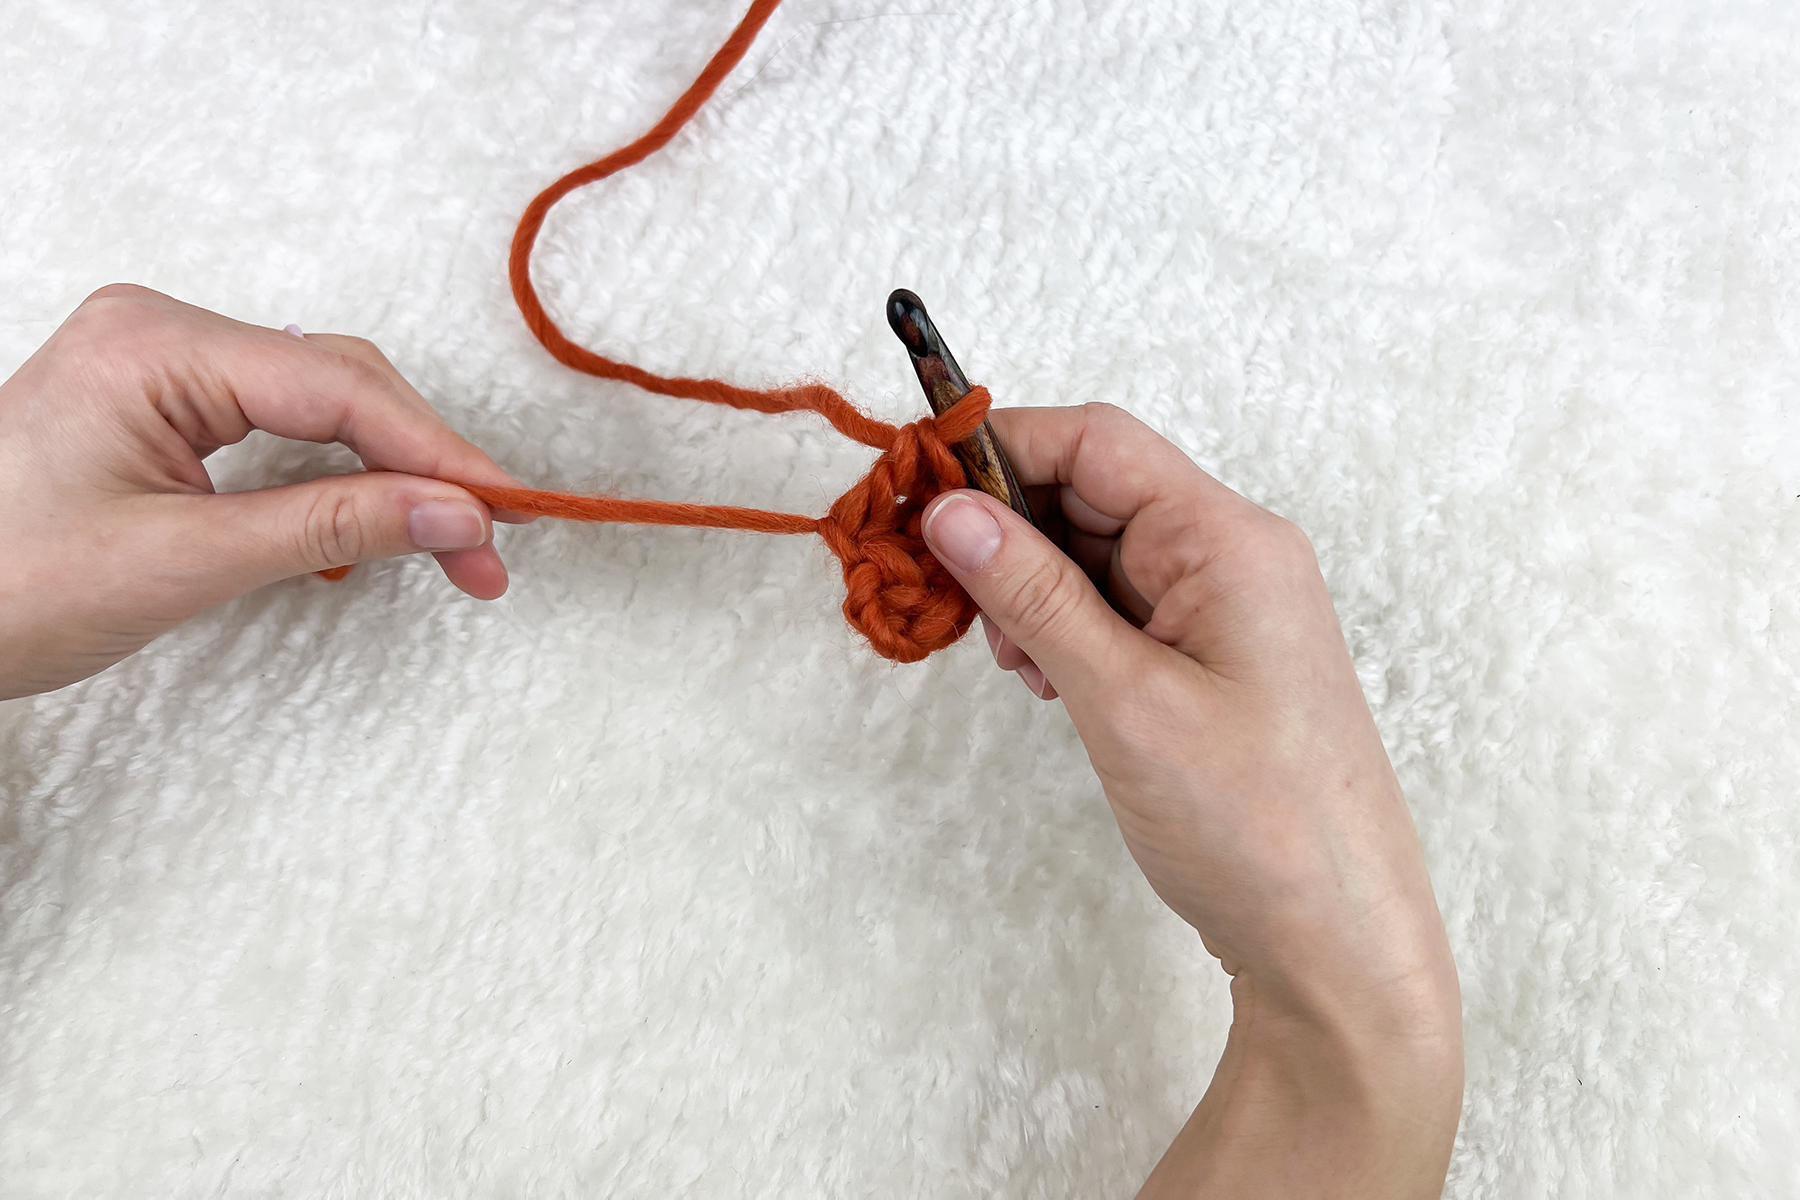
Step 5: Chain, then stitch into the middle of the circle. The pattern you are following will indicate how many chains, then stitches to create.
Here I chain 3, then double crochet 4 times into the loop to demonstrate the technique. But you can do this with any number of, or type of stitches!
Step 6: Close the circle.
Release your hold on the circle, and pinch the tail of the yarn.Pull the tail of the yarn until the circle is completely closed.
It’s as easy as that! From here, you continue following the pattern as normal, and will weave in the tail along with any other ends as a finishing step. I hope you find this tutorial helpful, and that you feel inspired to try a new project in the round!
That’s all for now, and Happy Stitching! Ashley Jane
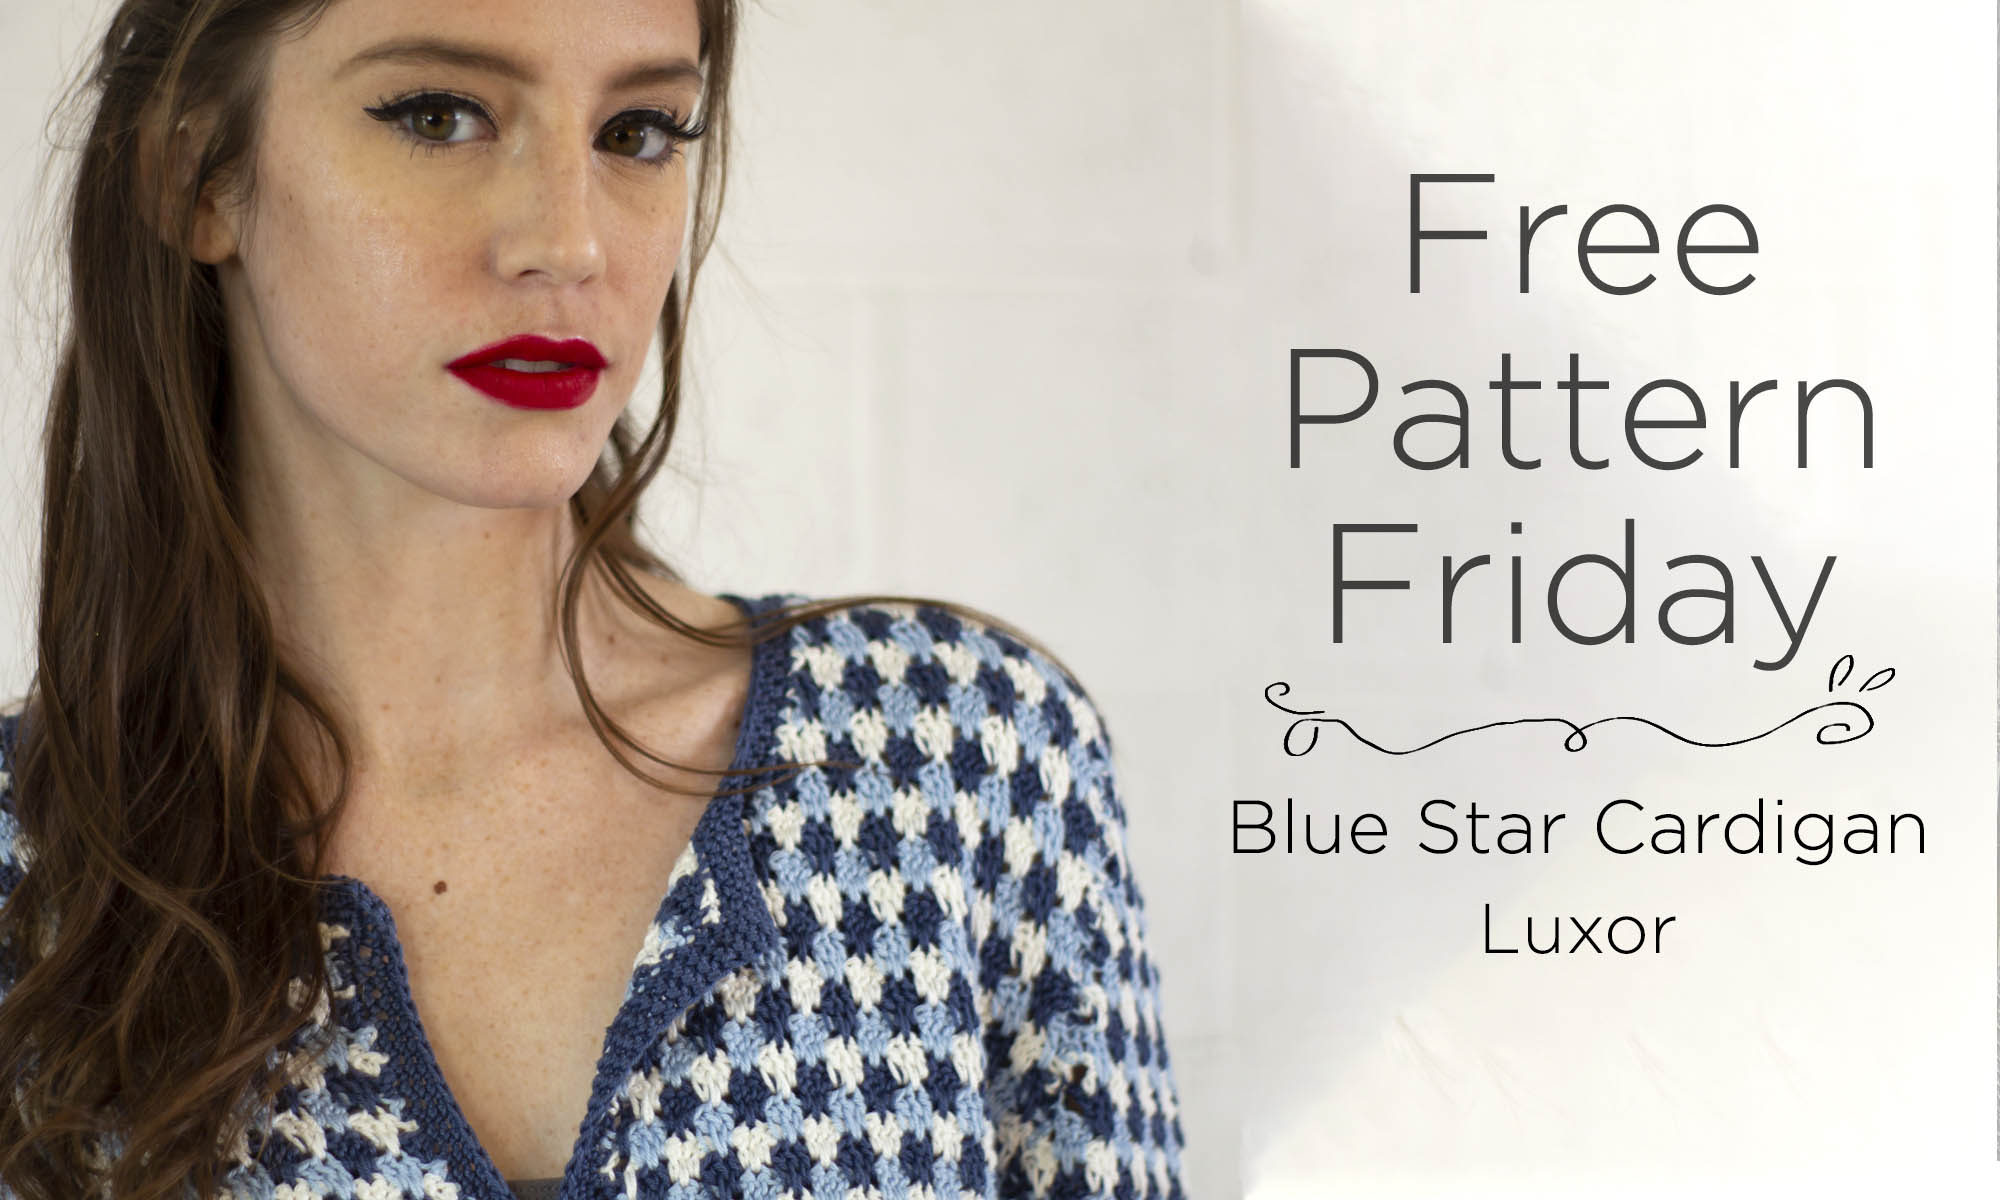
It’s Free Pattern Friday!
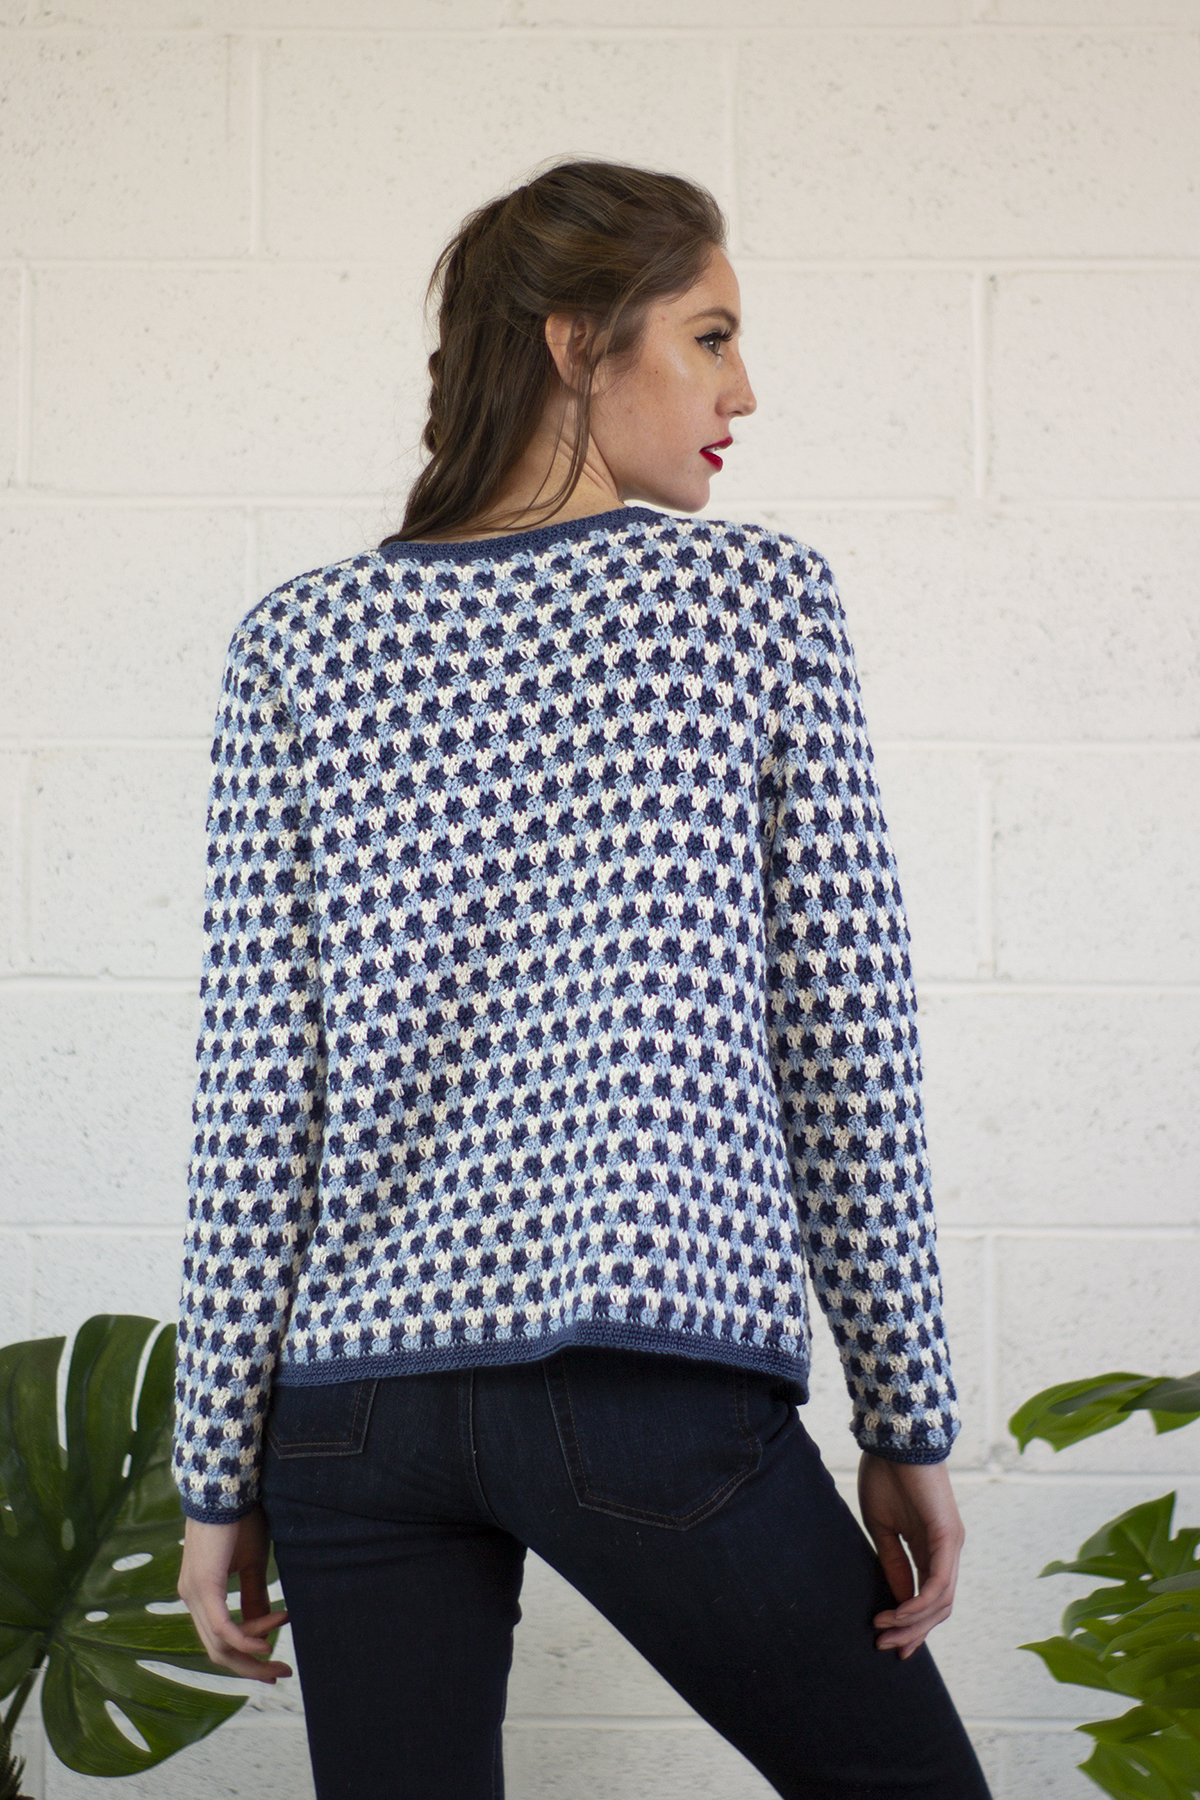
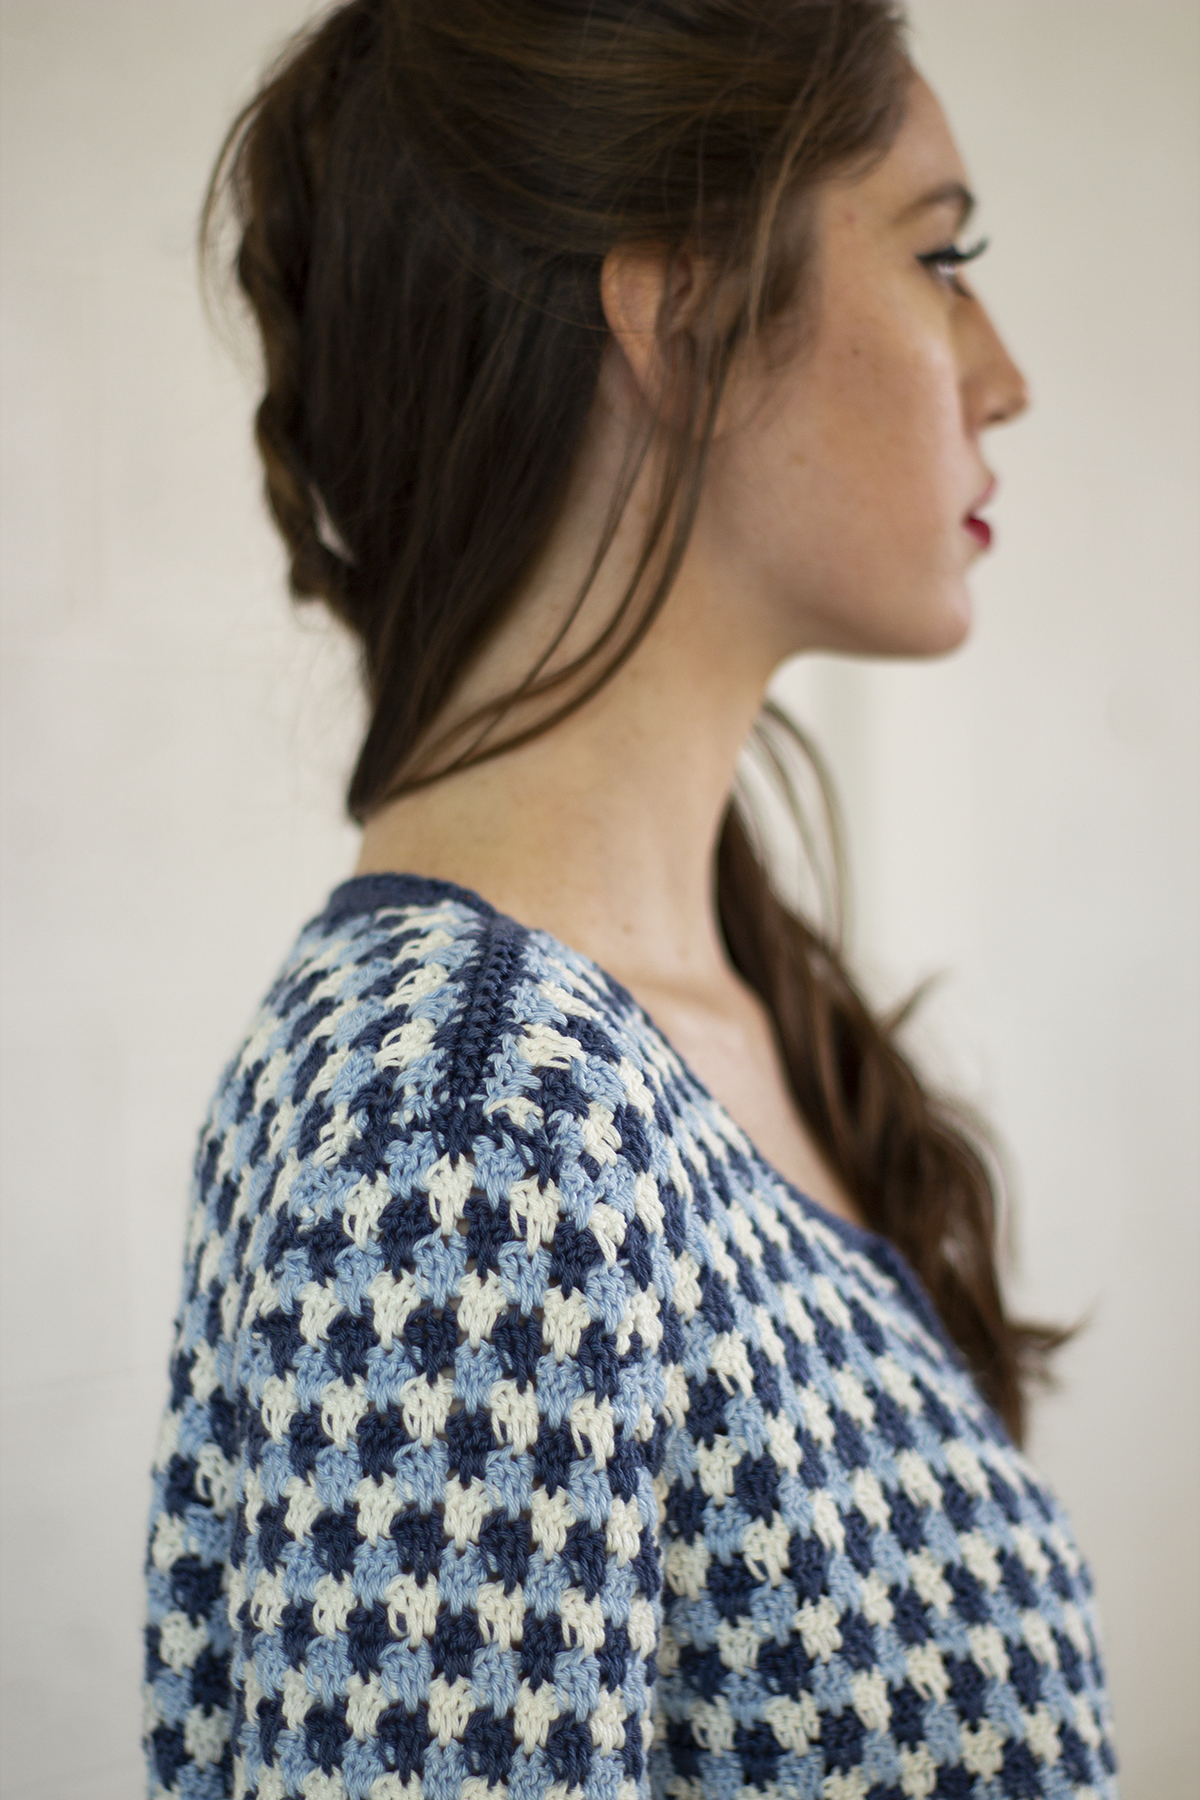
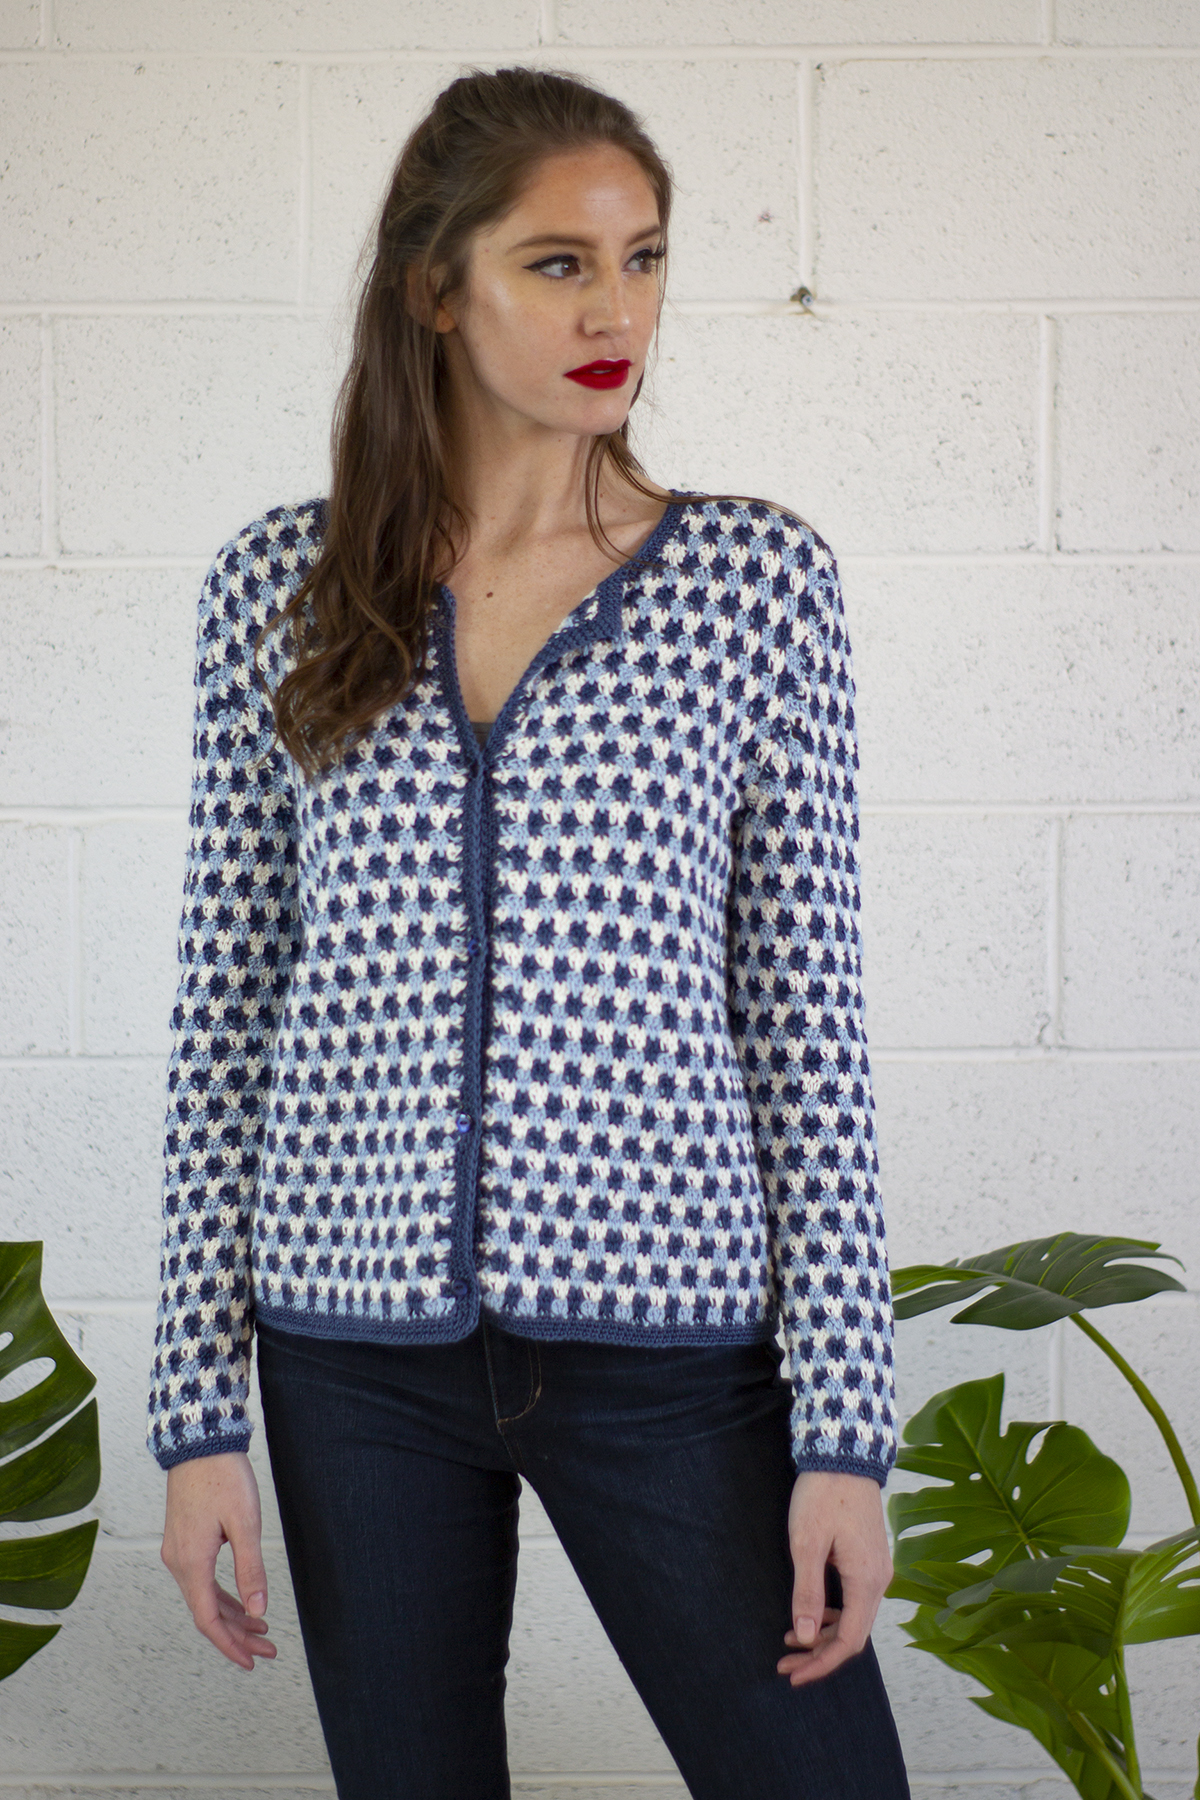
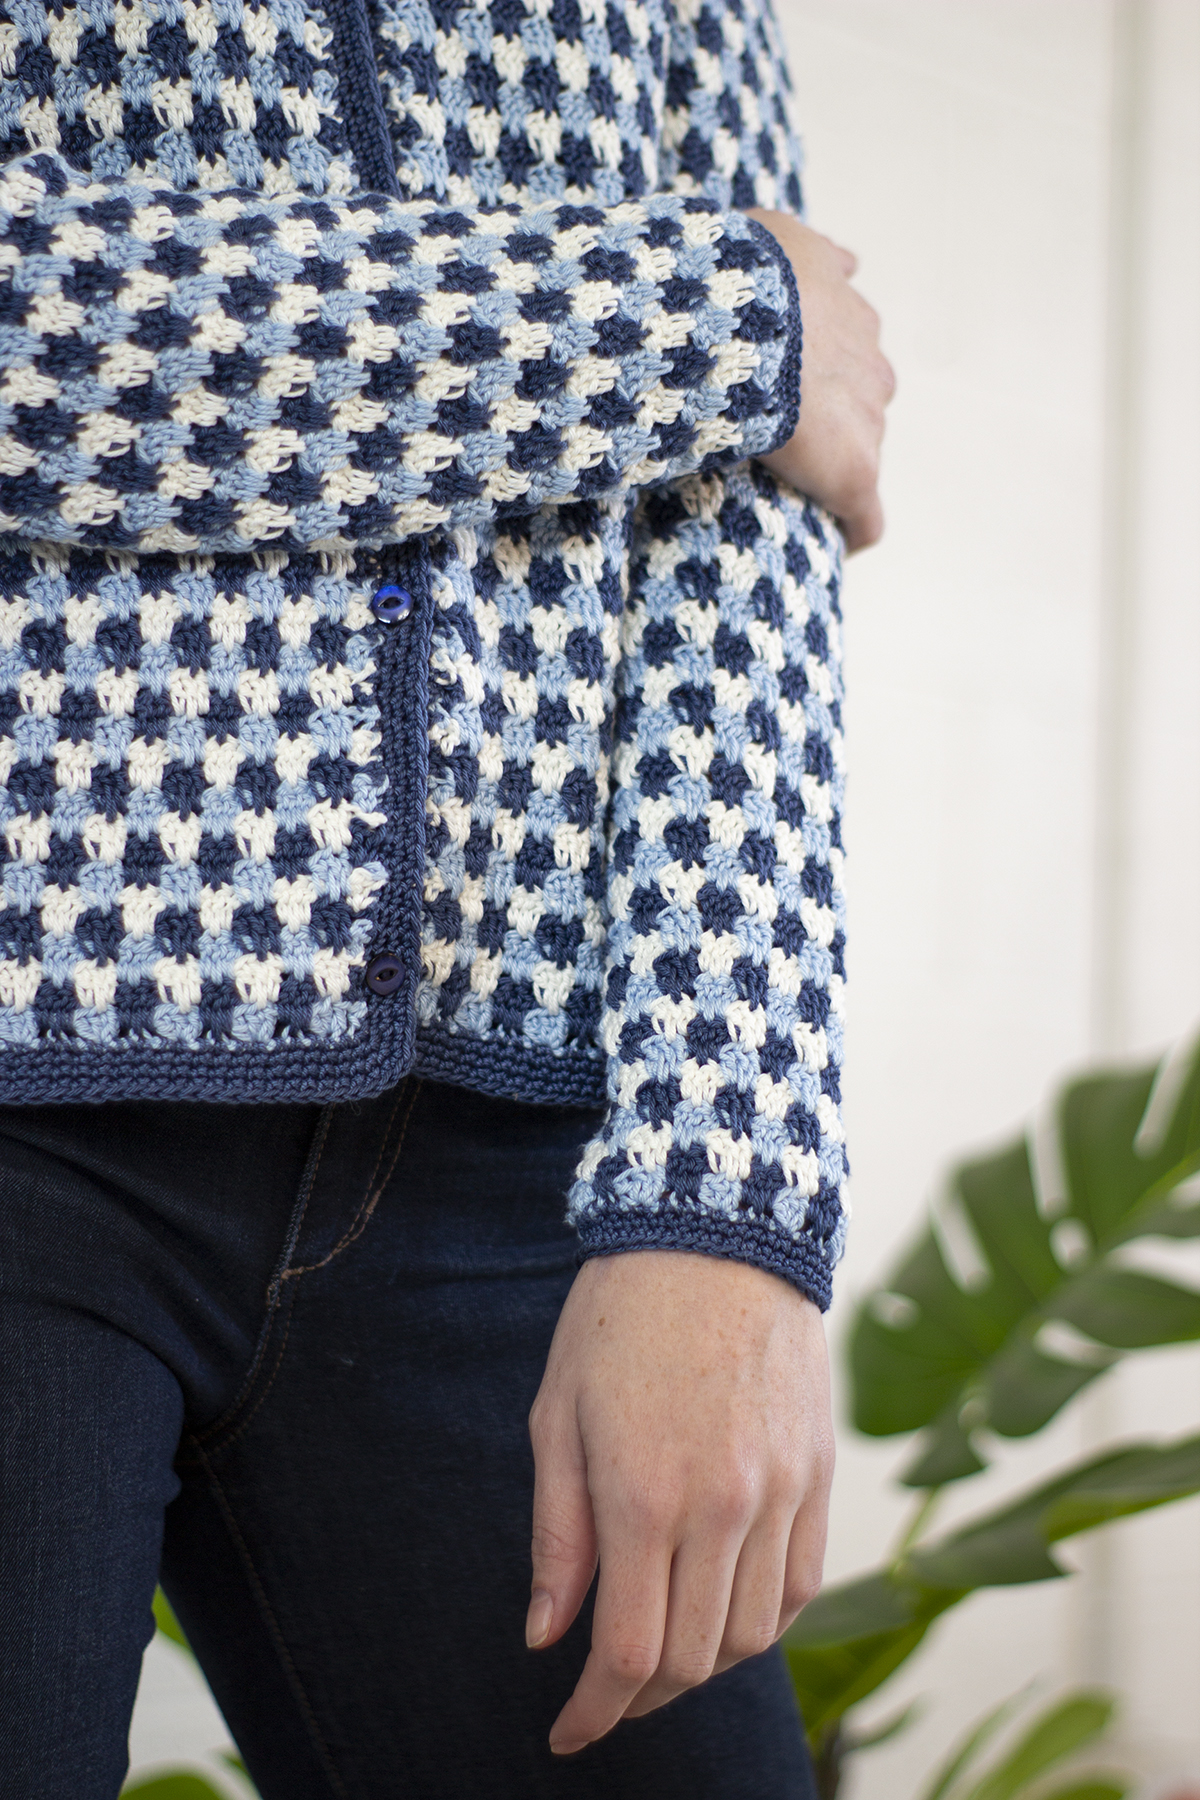
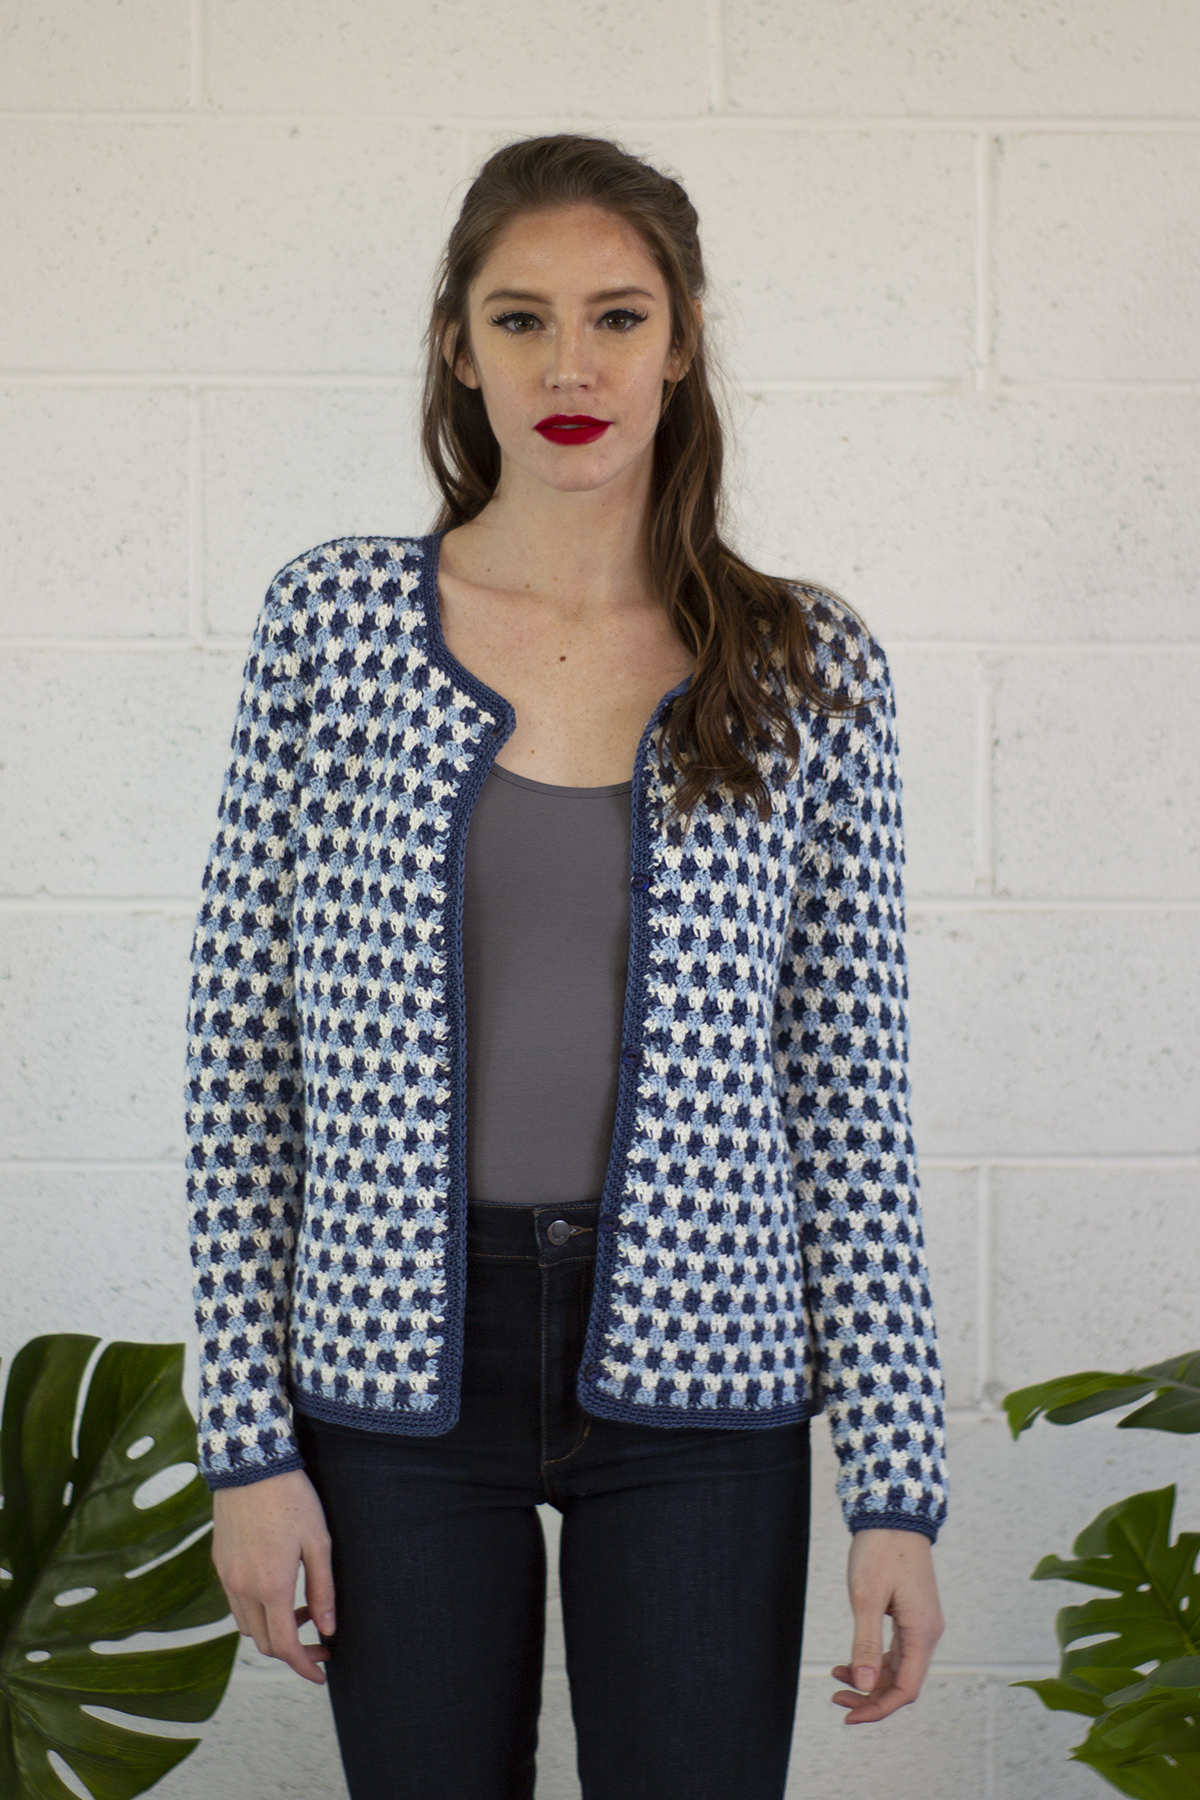
Today, the Blue Star Cardigan in Luxor (pattern link here).
We have designer Edie Eckman to thank for today’s crocheted beauty! Edie’s responsible for some truly stunning knit and crochet designs for us, like Branscombe from our newest Kingston Tweed collection.
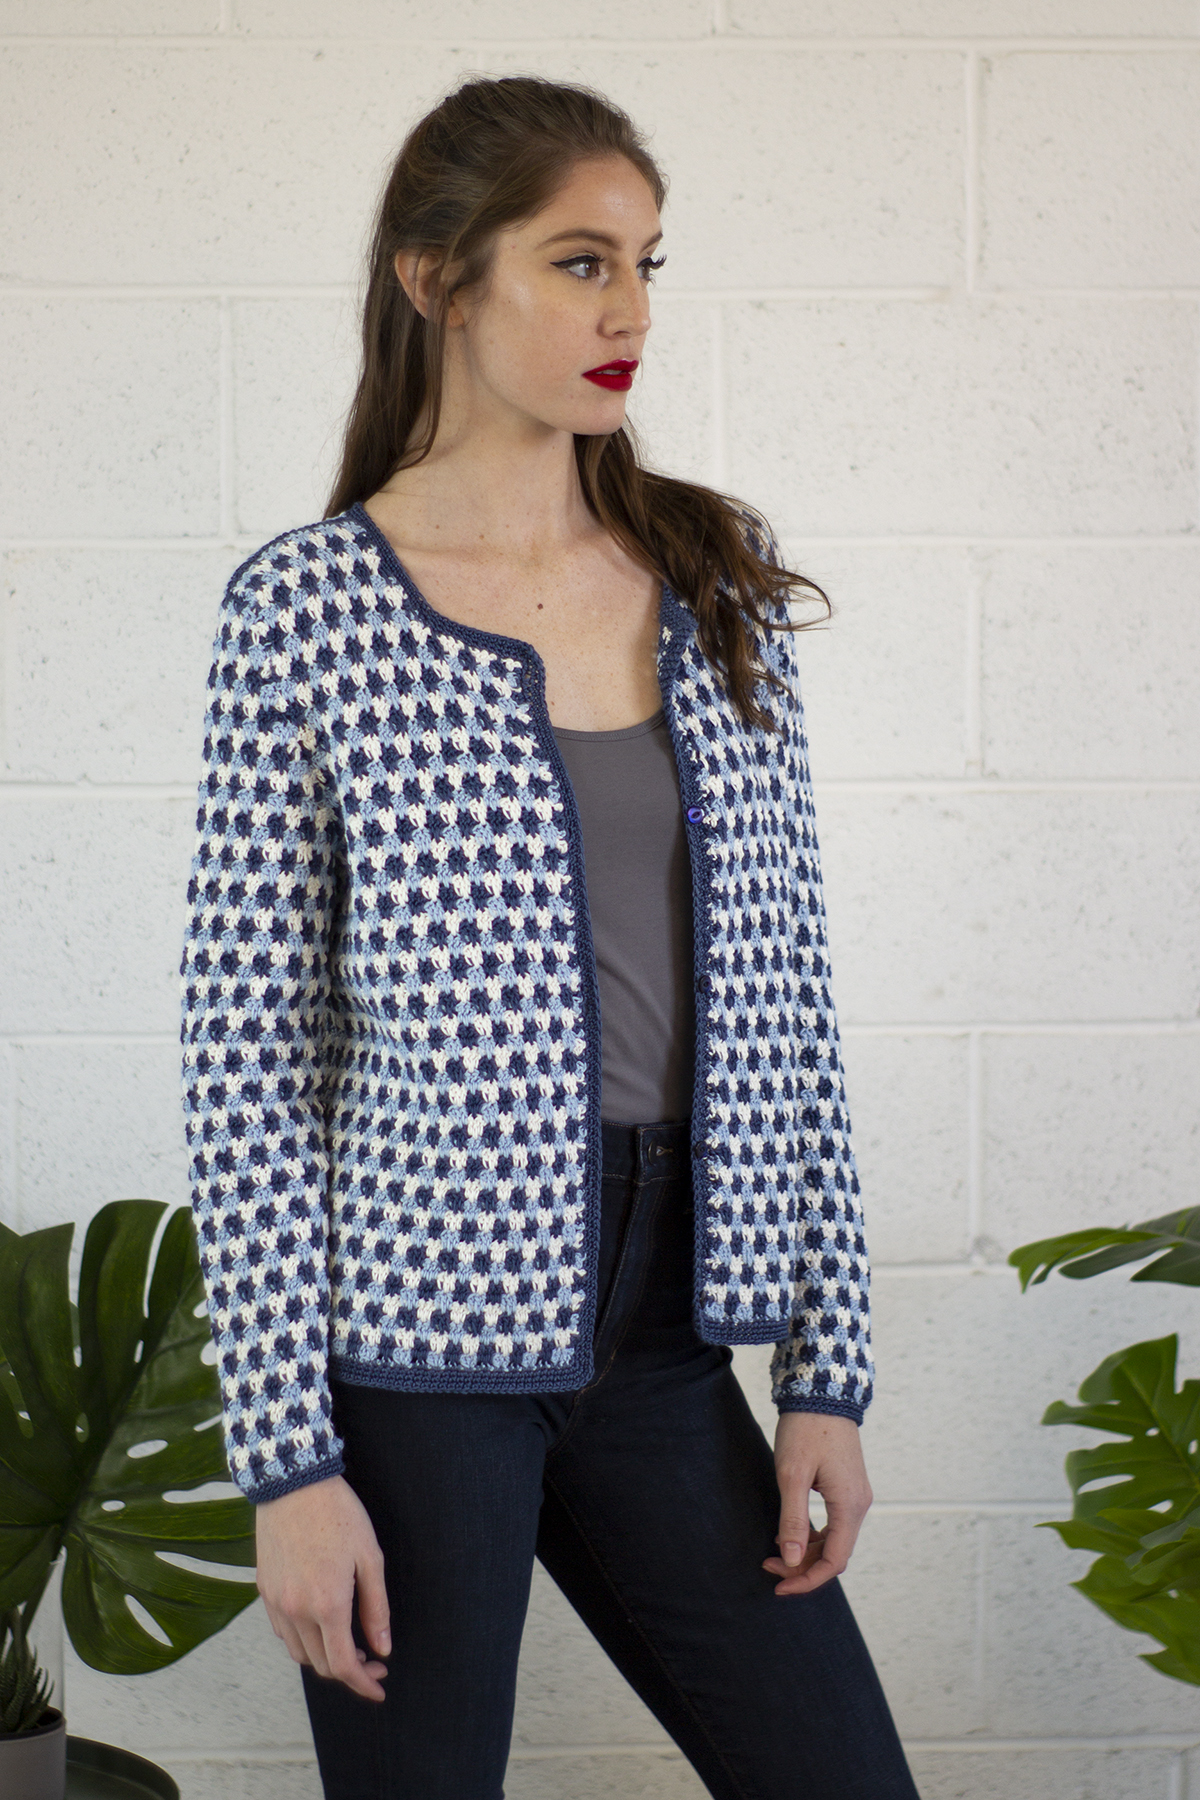
Sized from XS to 4X, her Blue Star Cardigan is a classic crocheted piece in mercerized Fibra Natura Luxor Egyptian cotton.
This sweater body is crocheted flat in one piece from the bottom up. The front and back are separated at the underarms. Sleeves are worked flat and sewn in.
The pattern is intended for intermediate crocheters with the ability to work shaping while maintaining a color stitch pattern.
There’s no need to cut the color after each row – just carry it up. Edie Eckman has a great video on how to work this technique:
We hope you enjoy this lovely crocheted cardigan.
Happy crafting!
Greetings, yarn enthusiasts! Some of you may have seen our newly rebranded Universal Yarn label. It looks a little something like this:
Snazzy.
And this:
Though our label style has changed (for the better, amiright?), the same very useful information about each yarn can still be found on the label.
Let’s go over how to read one of our labels step by step:
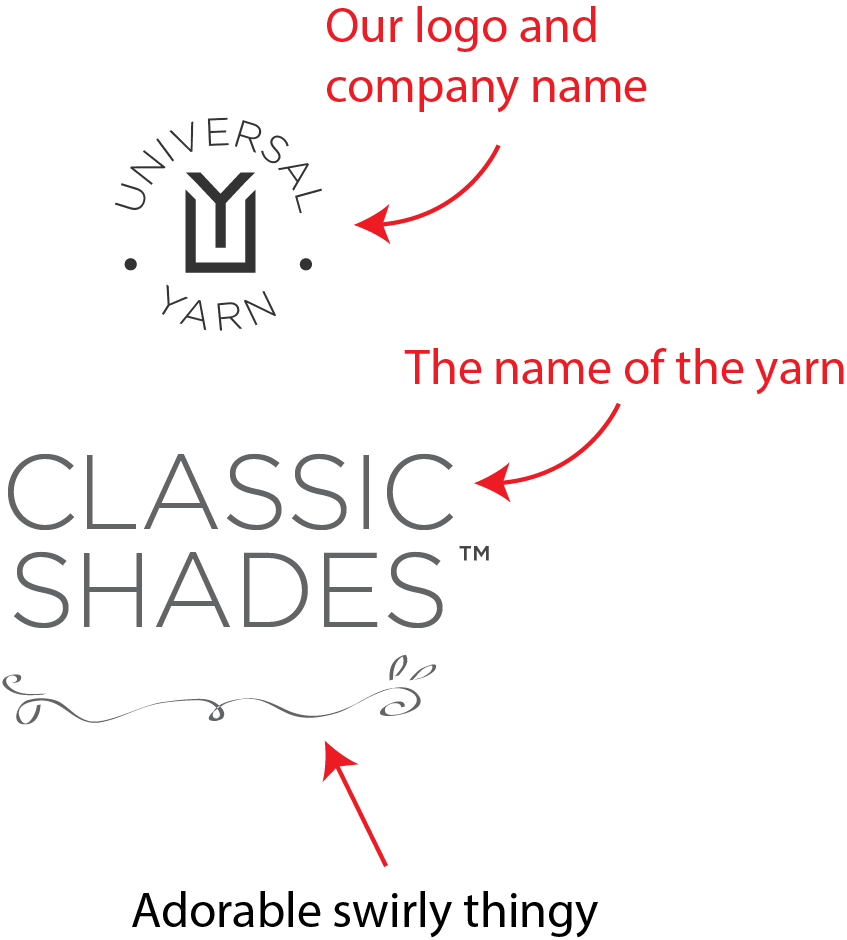
First, let’s take the front side. This is what you will probably see if you encounter the yarn as it’s sitting on the shelf in your local yarn store.
Part of my job is to take customer service calls regarding pattern issues, or sometimes folks with yarn questions. Often when I ask a knitter what the name of the yarn she/he is working with, they are not able to answer.
The name of the yarn will always be the most prominent text on the front of our label, and the same is true with most other companies. Knowing the name of the yarn is helpful in many ways, not the least of which is logging onto Ravelry and seeing what fabulous projects other people are making with that particular yarn.
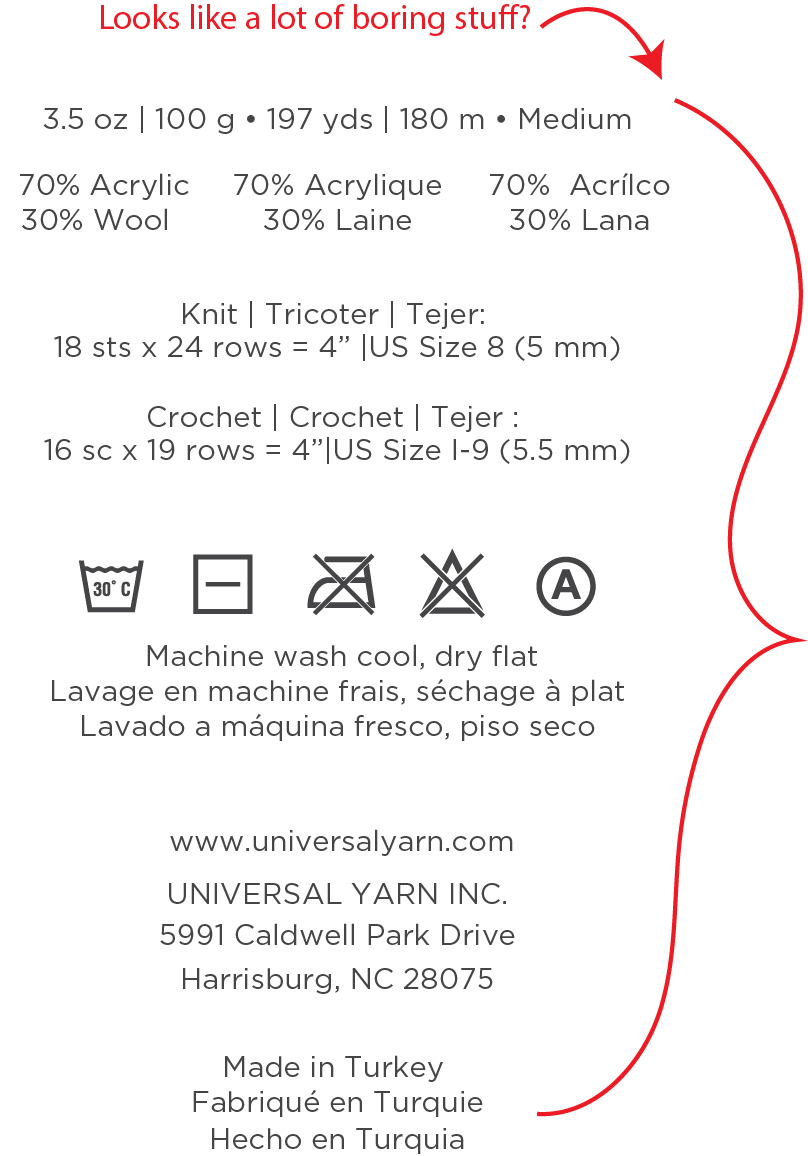
Next, we’re going to explore the real meat and potatoes of a yarn label, section by section. Here’s what the back side of our labels look like:
So most of the things on your label are actually pretty important, though I understand if your eyes might glaze over at the wall of text.
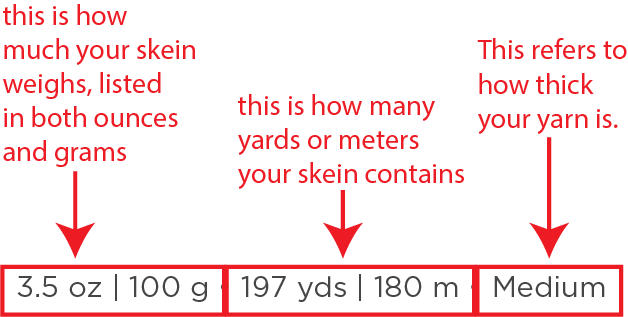
Let’s take the first line:
I think the first two are pretty self-explanatory – how big is your ball and how long is the yarn. The thickness or yarn weight, in this case medium/4, refers to a standardized system of classifying yarn thickness. There is a great reference page over at the CYC (Craft Yarn Council) that has a table (link) of all yarn weights and their corresponding gauges, recommended hook and needle sizes.
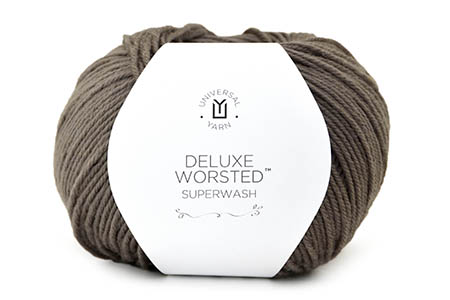
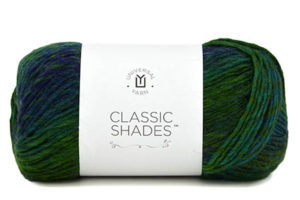
When we add a new yarn and are determining what yarn weight to assign to it, I always consult this table when doing so. The yarn weight is determined by gauge, not yardage. One example of this might be Classic Shades (which is the label we are examining) vs our Deluxe Worsted, another medium/4 weight yarn.
Both yarns are listed as worsted weight, yet Deluxe Worsted contains 220 yards/100g while Classic Shades contains only 200 yards/100g. Because both yarns produce a gauge that falls within a 4-weight category, they are both classified as such.
If you take a look at that table over at the CYC, you’ll see that a 4-weight yarn has a knit gauge range of 16-20 stitches over 4 inches. Classic Shades, with 18 stitches/4″ falls right in the center of that range. You might hear people sometimes refer to a “heavy worsted” or “light worsted”. What these people are referring to is gauge. If a worsted weight yarn produces 16 stitches/4″, then it would be considered a heavy worsted.
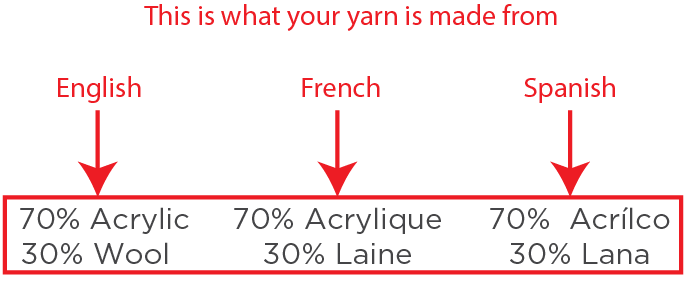
Next:
Again, this is pretty self-explanatory: what’s in your yarn. Most of the words on our label are “3T”, or have been translated into three languages. Our yarn is distributed throughout North America, including Spanish-speaking Mexico and French-speaking parts of Canada.
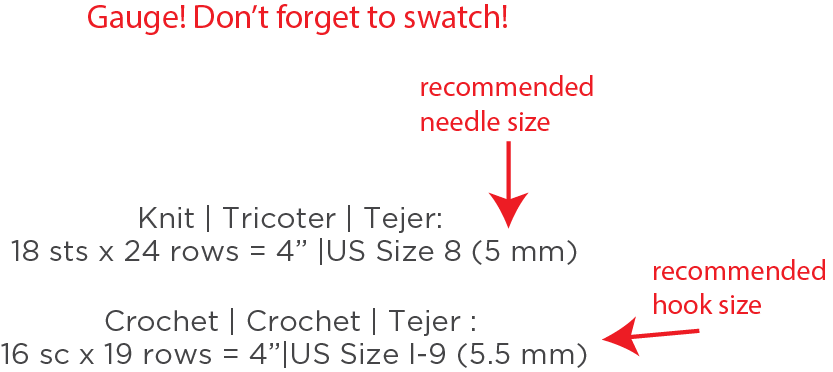
And then, a topic about which I am quite passionate, particularly when having knitting discussions with my office mates (translation: I am a gauge Nazi):
It is standard to talk about gauge, or number of stitches over 4″ or 10 cm. It is important to know approximately what gauge your yarn can get if you’re substituting yarn in a pattern. This is something I could write a book on, or at least a blog post. And I will. But for now, let’s just say that it’s very pertinent information.
Something to remember about gauge listed on a label is that we’re talking hand knitting, folks. When a new yarn is born, a person, usually me here at Universal, has sat down with a ball of yarn and a pair of needles or a crochet hook, and has made a gauge swatch. With their hands. It is not an exact science!
If I like the resulting fabric from my swatch, it becomes the recommended gauge. If it’s too dense or too loose, I change needle size and start again.
I consider myself to be “average” when it comes to tension. But I do want to remind you that your gauge is unique. With the same size needles and yarn, you may get a different gauge than me. To achieve the same gauge, you may need to go up or down a needle/hook size.
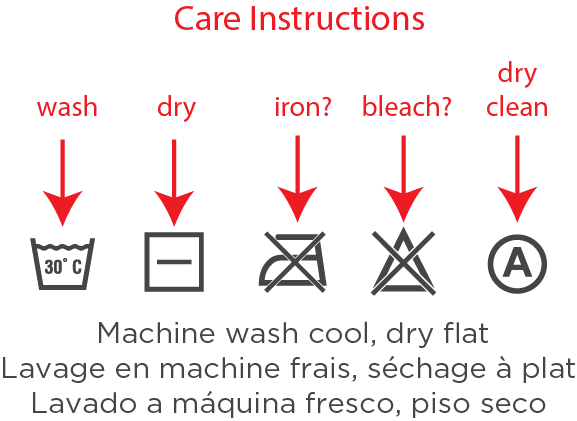
Next up:
Also very important – how to wash your newly created masterpiece. All knit and crochet items can be washed, it’s just a matter of how. Some fibers shouldn’t be machine washed because the agitation would be too much for them. Others can be machine washed, but to err on the side of caution, we might recommend air drying instead of using a machine.
Some companies use text care instructions and symbols, or just one or the other. If those little symbols are like a foreign language to you, just google it! (yarn care symbols Google search result here)
I know a lot of knitters who are reluctant to throw any handmade item into the washing machine. Personally, I machine wash with abandon. I do it whenever possible, and I do it frequently as I own a lot of knitwear! Lace is another story – most lace I will hand wash, regardless of fiber. But I digress.
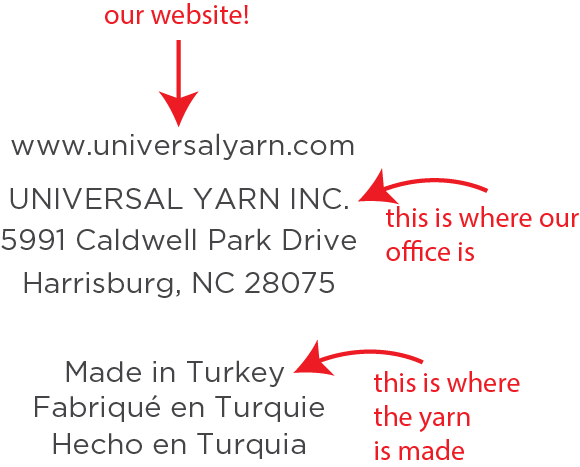
We’re on the home stretch here. We just have a couple more things to cover:
There’s not much to add here. It is a requirement for products to list country of origin. In case you’re curious, our yarn is manufactured specifically in Bursa, Turkey which is about a two-hour drive south of Istanbul. And it’s beautiful there!
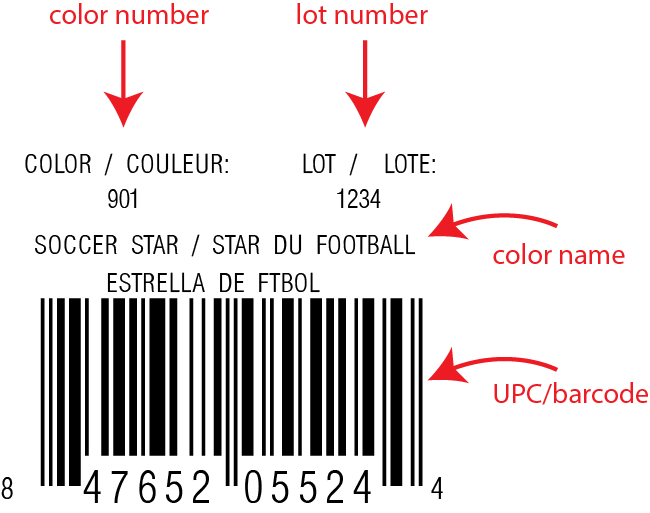
And last:
Any given colorway of your yarn should have a name, and hopefully it’s an interesting one. That can be a fun part of this job – naming colors. This color will usually also have a number associated with it, and also a lot number.
Lot numbers can be important if you happen to run out of yarn in your project and need to buy more. Some yarns can vary from dye lot to dye lot, so if you need to buy more, be sure to get the same dye lot if possible.
If you’ve been unsure about yarn labels before, I hope this has made things clearer. Have another question? Let me know!