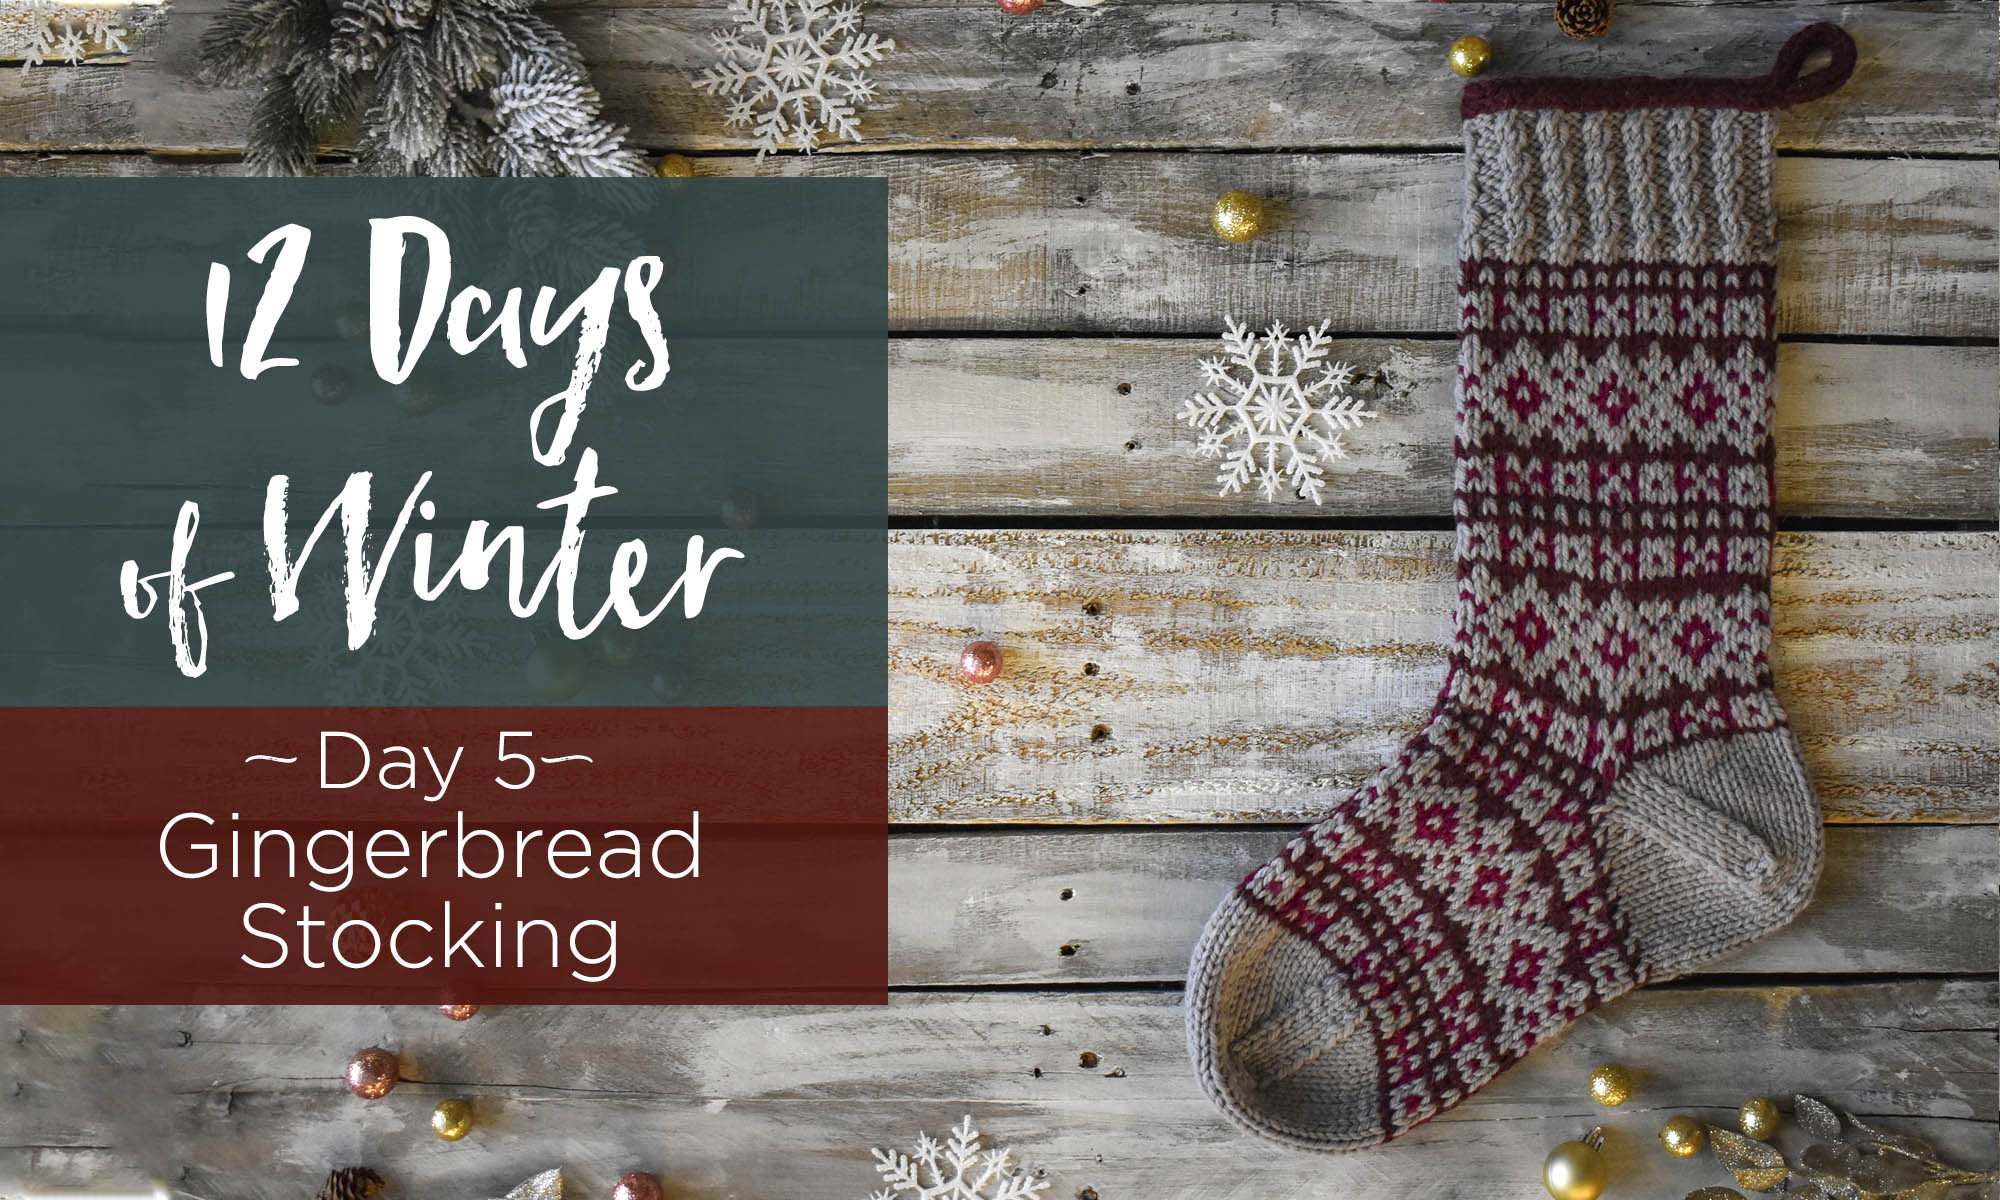
This is part 5 in a 12 part series highlighting designs from our 12 Days of Winter, Series 3 Edition.
It’s Day 5 in the 12 Days of Winter Kit Collection, and it’s a personal favorite. Say hello to the Gingerbread Stocking! I have to start this off with a bit of a sad story, but I’ll end it with something sweet, I promise.
When I was about three years old, I was given a very large green stocking with my name embroidered in red on the cuff. My favorite thing about it was that it had a big ol’ Santa Claus face attached to it and he had a huge beard. It was kitschy, and I loved it for more than 20 years. So here is the sad part…before I moved out of my home state I got rid of nearly everything I owned because I knew I’d be traveling for a while. I put together a box with my holiday decor to store at my in-laws’ house. Then, heartbreakingly, I accidentally dropped that box off at Goodwill. The next winter, when I realized all of the decorations were missing – including my stocking – my heart sank. I lost this silly stocking that meant so much to me!
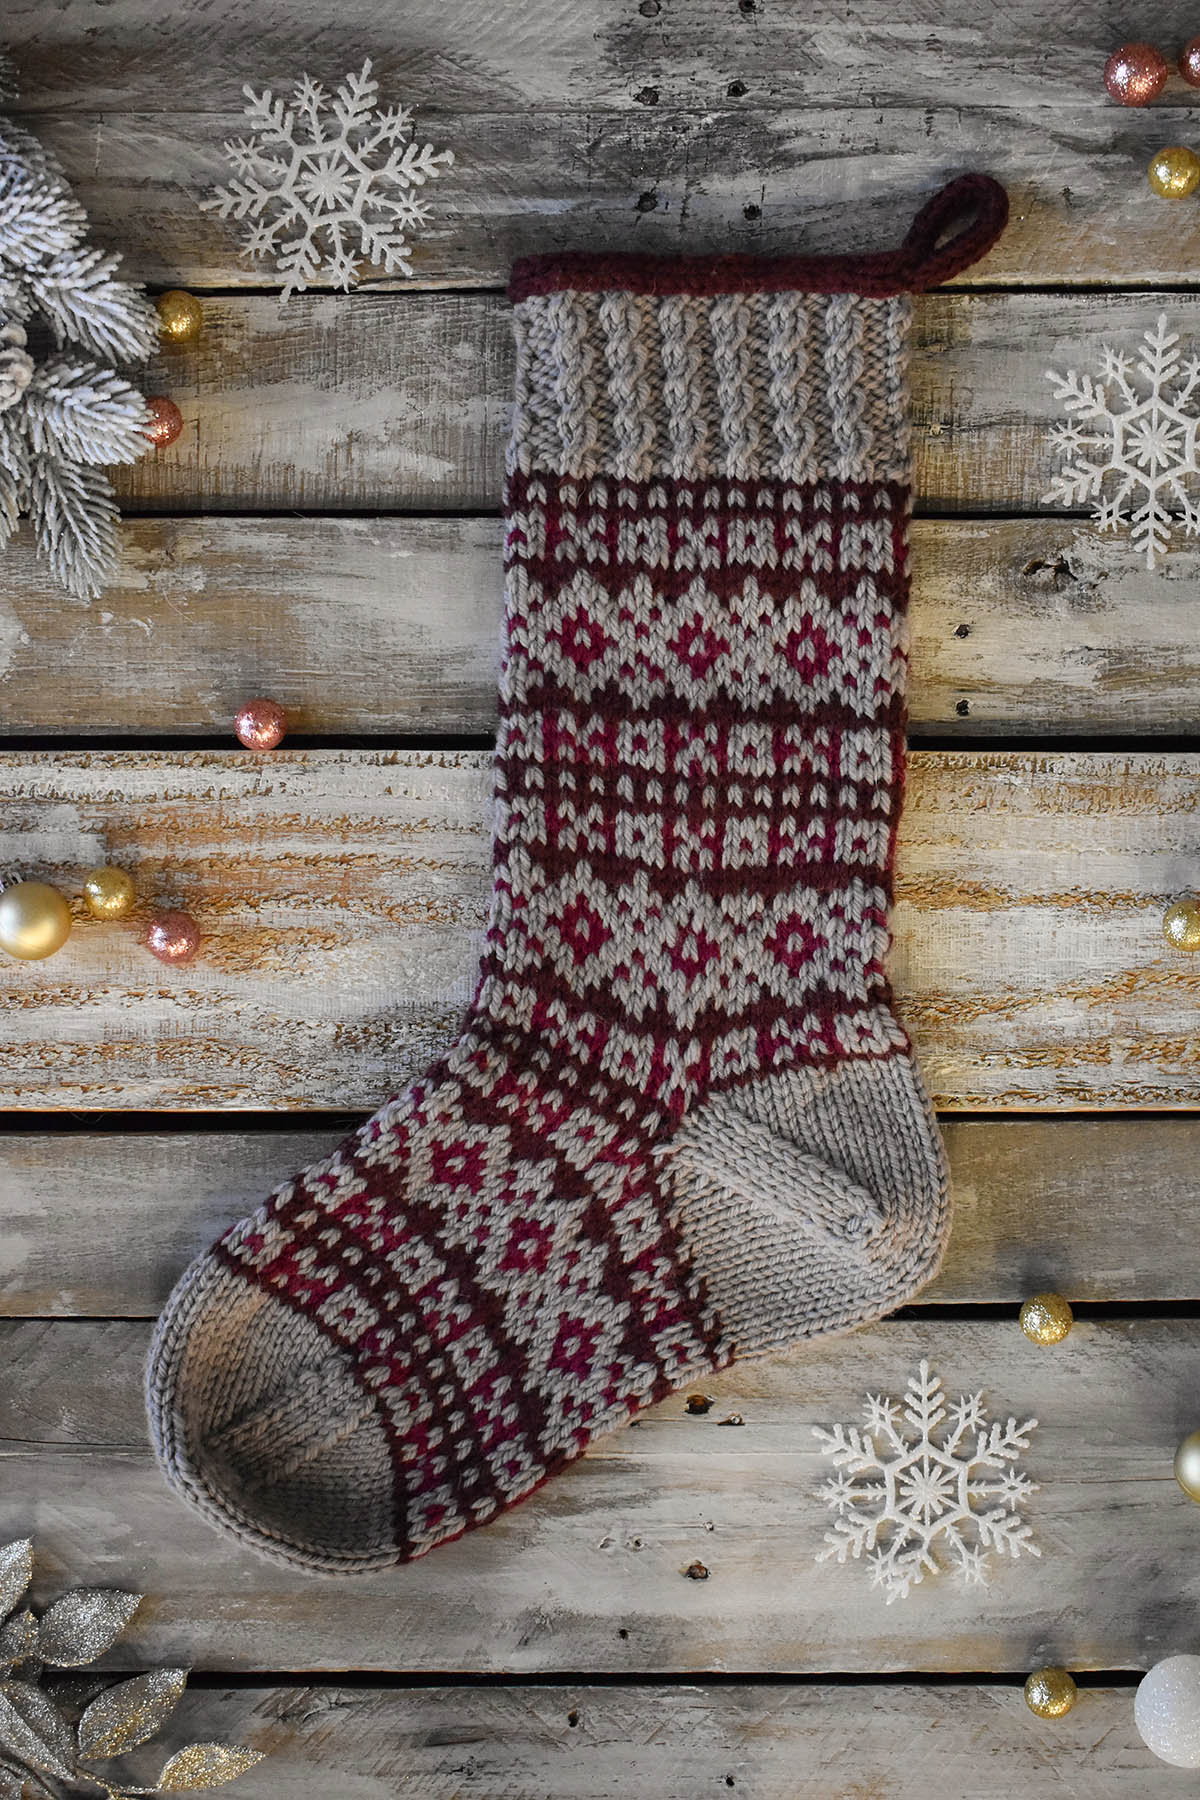
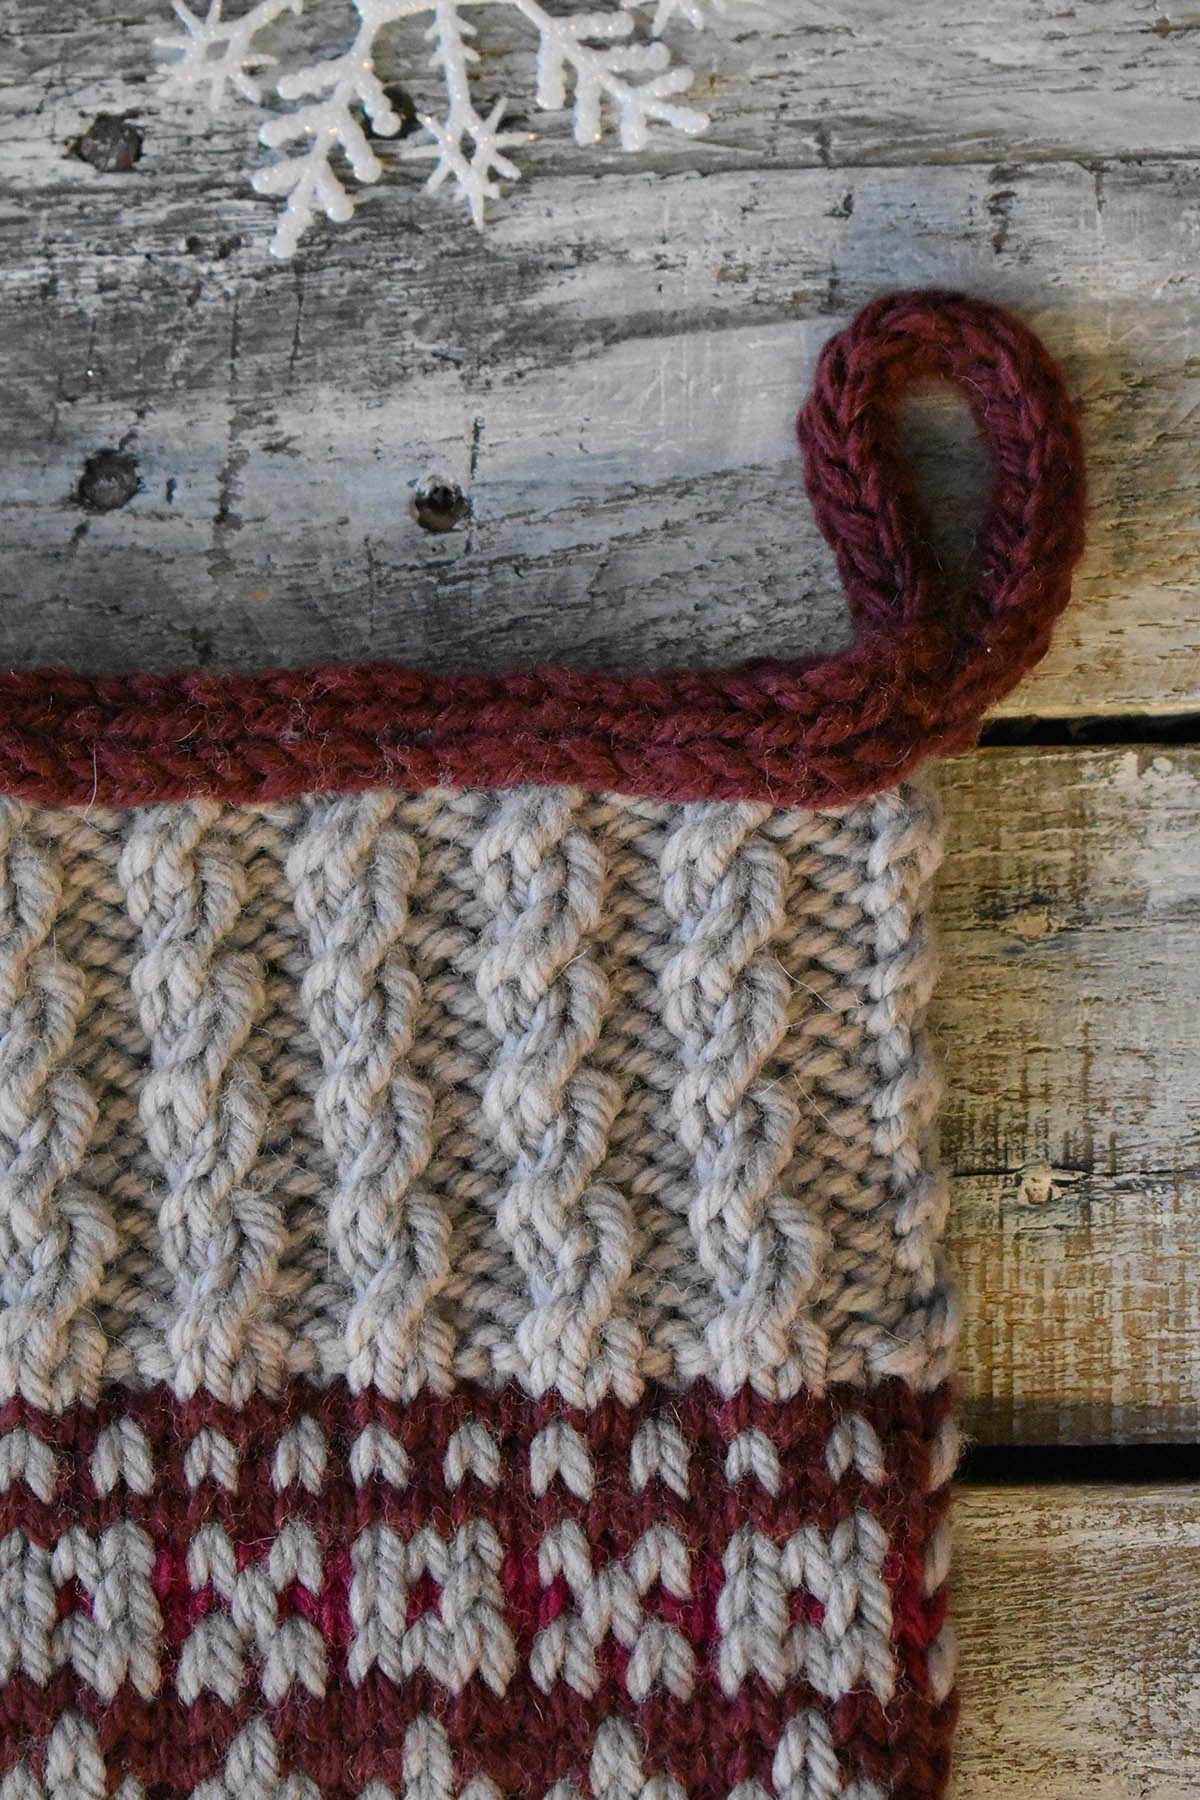
Twisted stitches create the cables along the cuff. An I-cord edging creates the hanger.
As sad as I was about that stocking, life is short, it was a material item, and you have to move on (even though it still stings!). So, for the 12 Days of Winter Kit Collection this year, I decided it was time to design a stocking. After all, handknits are so special. That’s how the Gingerbread Stocking was born. I chose Deluxe Bulky Superwash because it’s easy to care for, thick enough to create a sturdy stocking, and it makes for quick knitting. Not to mention the fact that I love the expansive palette. I chose classic, deep colors for this design, and that got me thinking about one of my favorite winter treats: gingerbread.
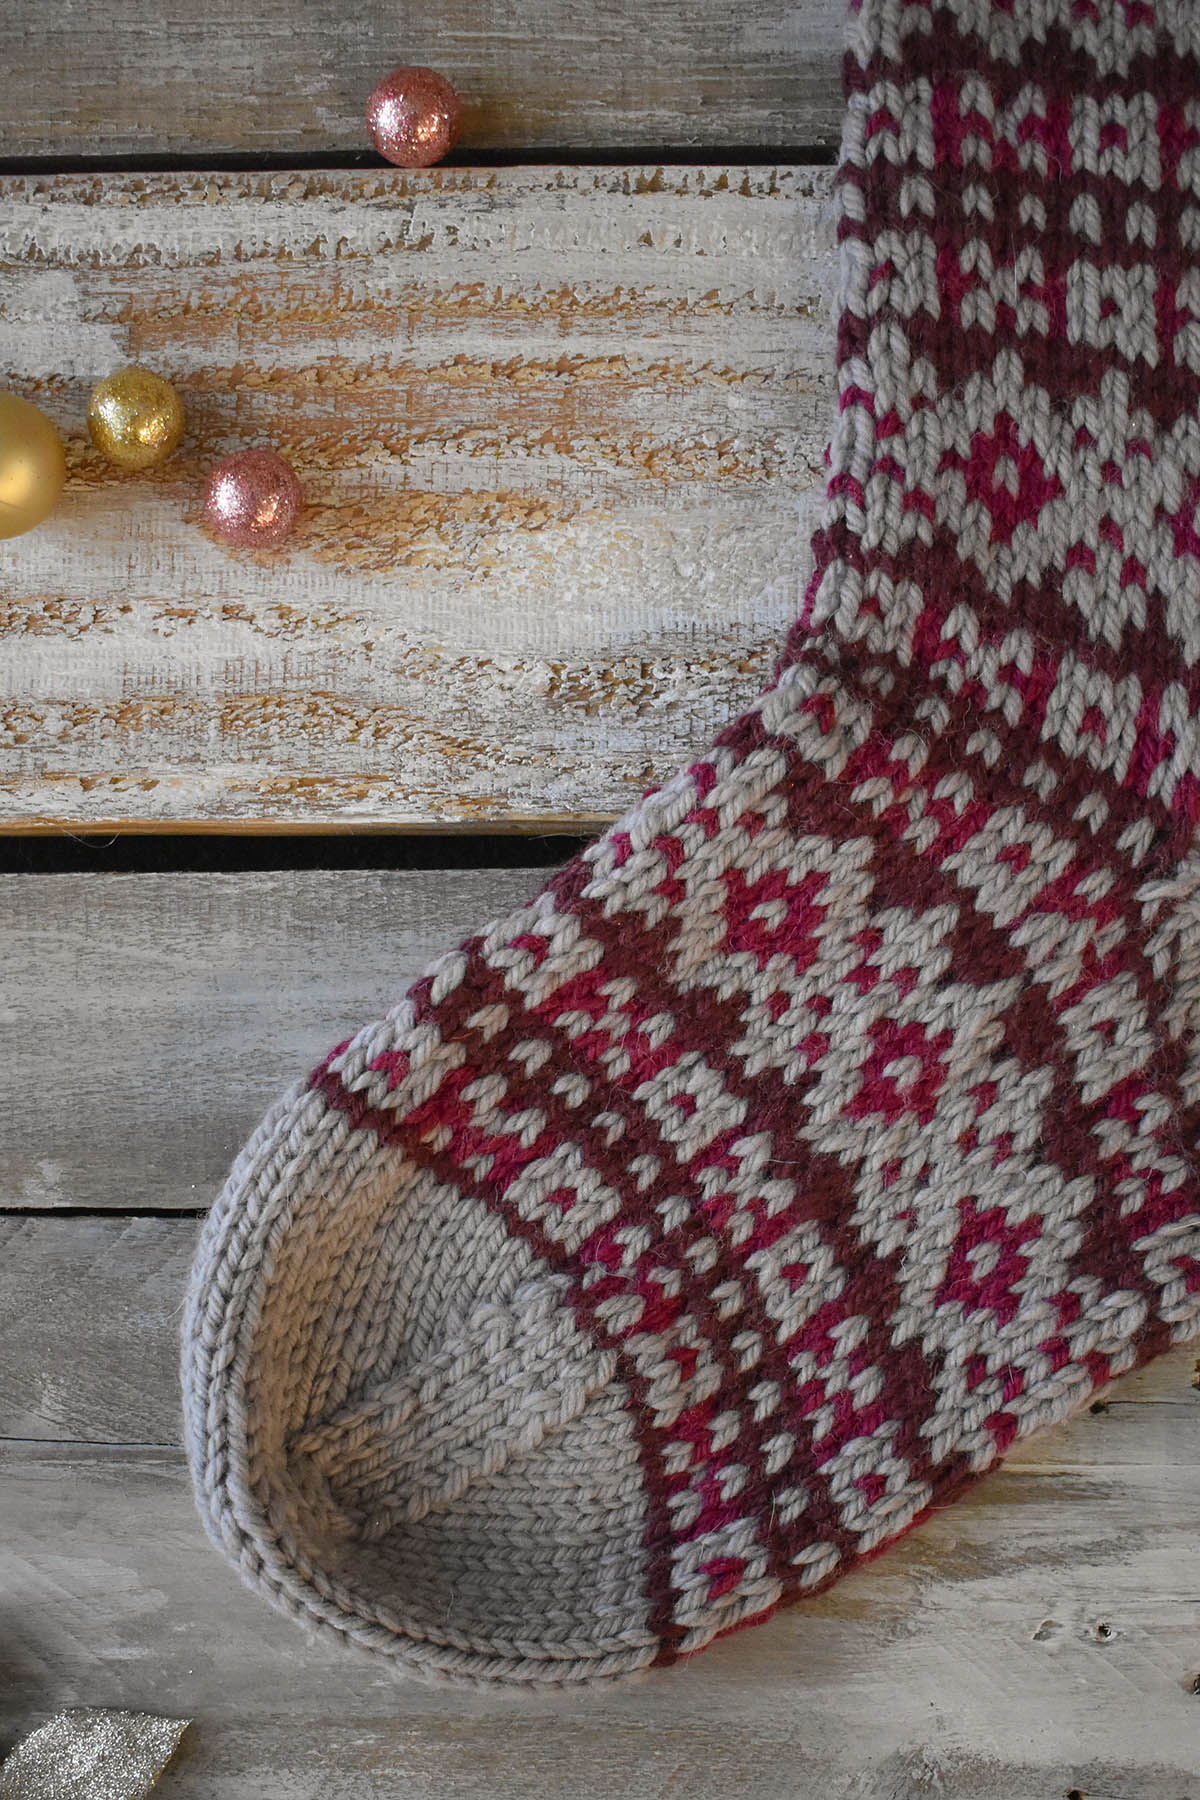
The Fair Isle motif used throughout these socks reminds me of the decorations that adorn gingerbread houses. It’s a super-fun knit, and I worked this thing up in a matter of days. Worked in the round from the cuff down, this stocking features an after-thought heel. (Side note, we have a great tutorial on after-thought heels from the first 12 Days of Winter series that you can find here.)
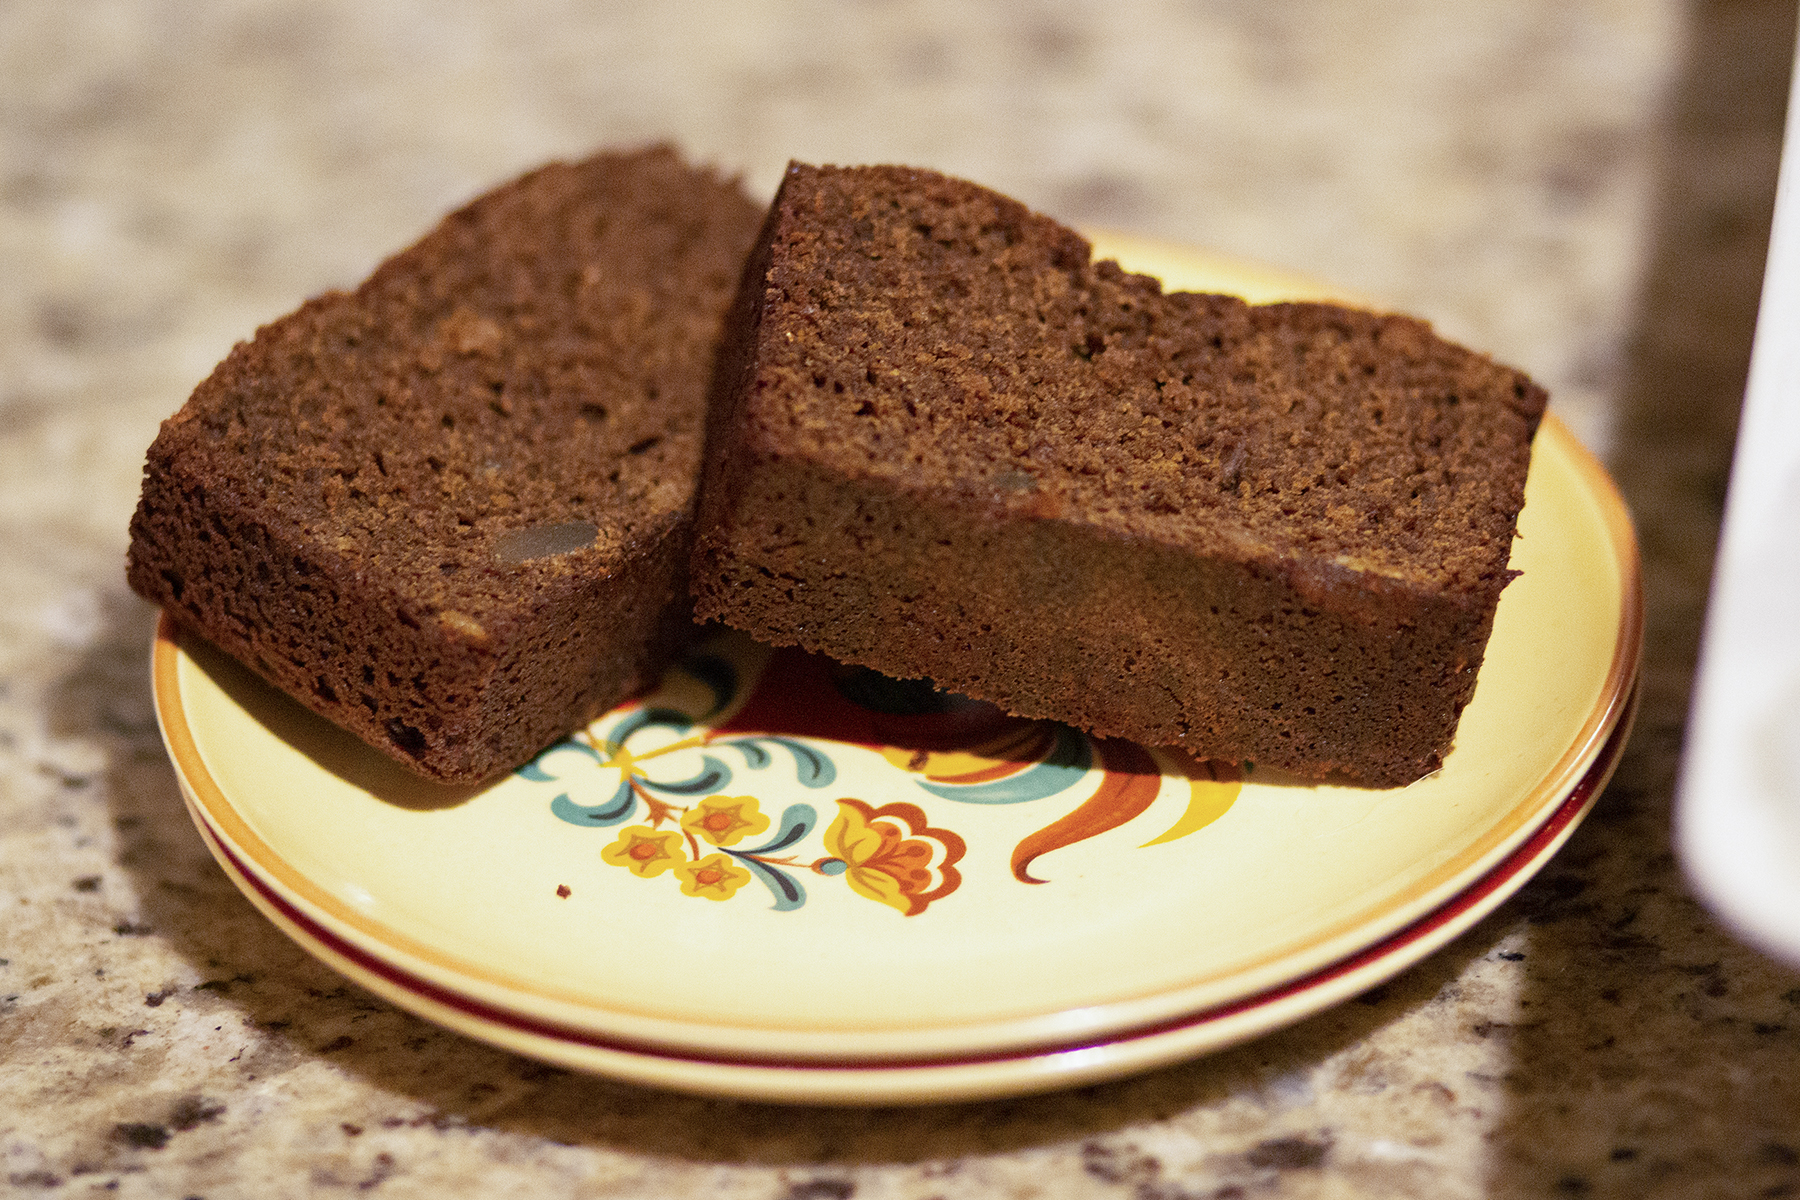
In honor of these stockings and my love for gingerbread (or anything that contains molasses or ginger), I thought I’d share a recipe for gingerbread loaf – I told you I’d end this post with something sweet!
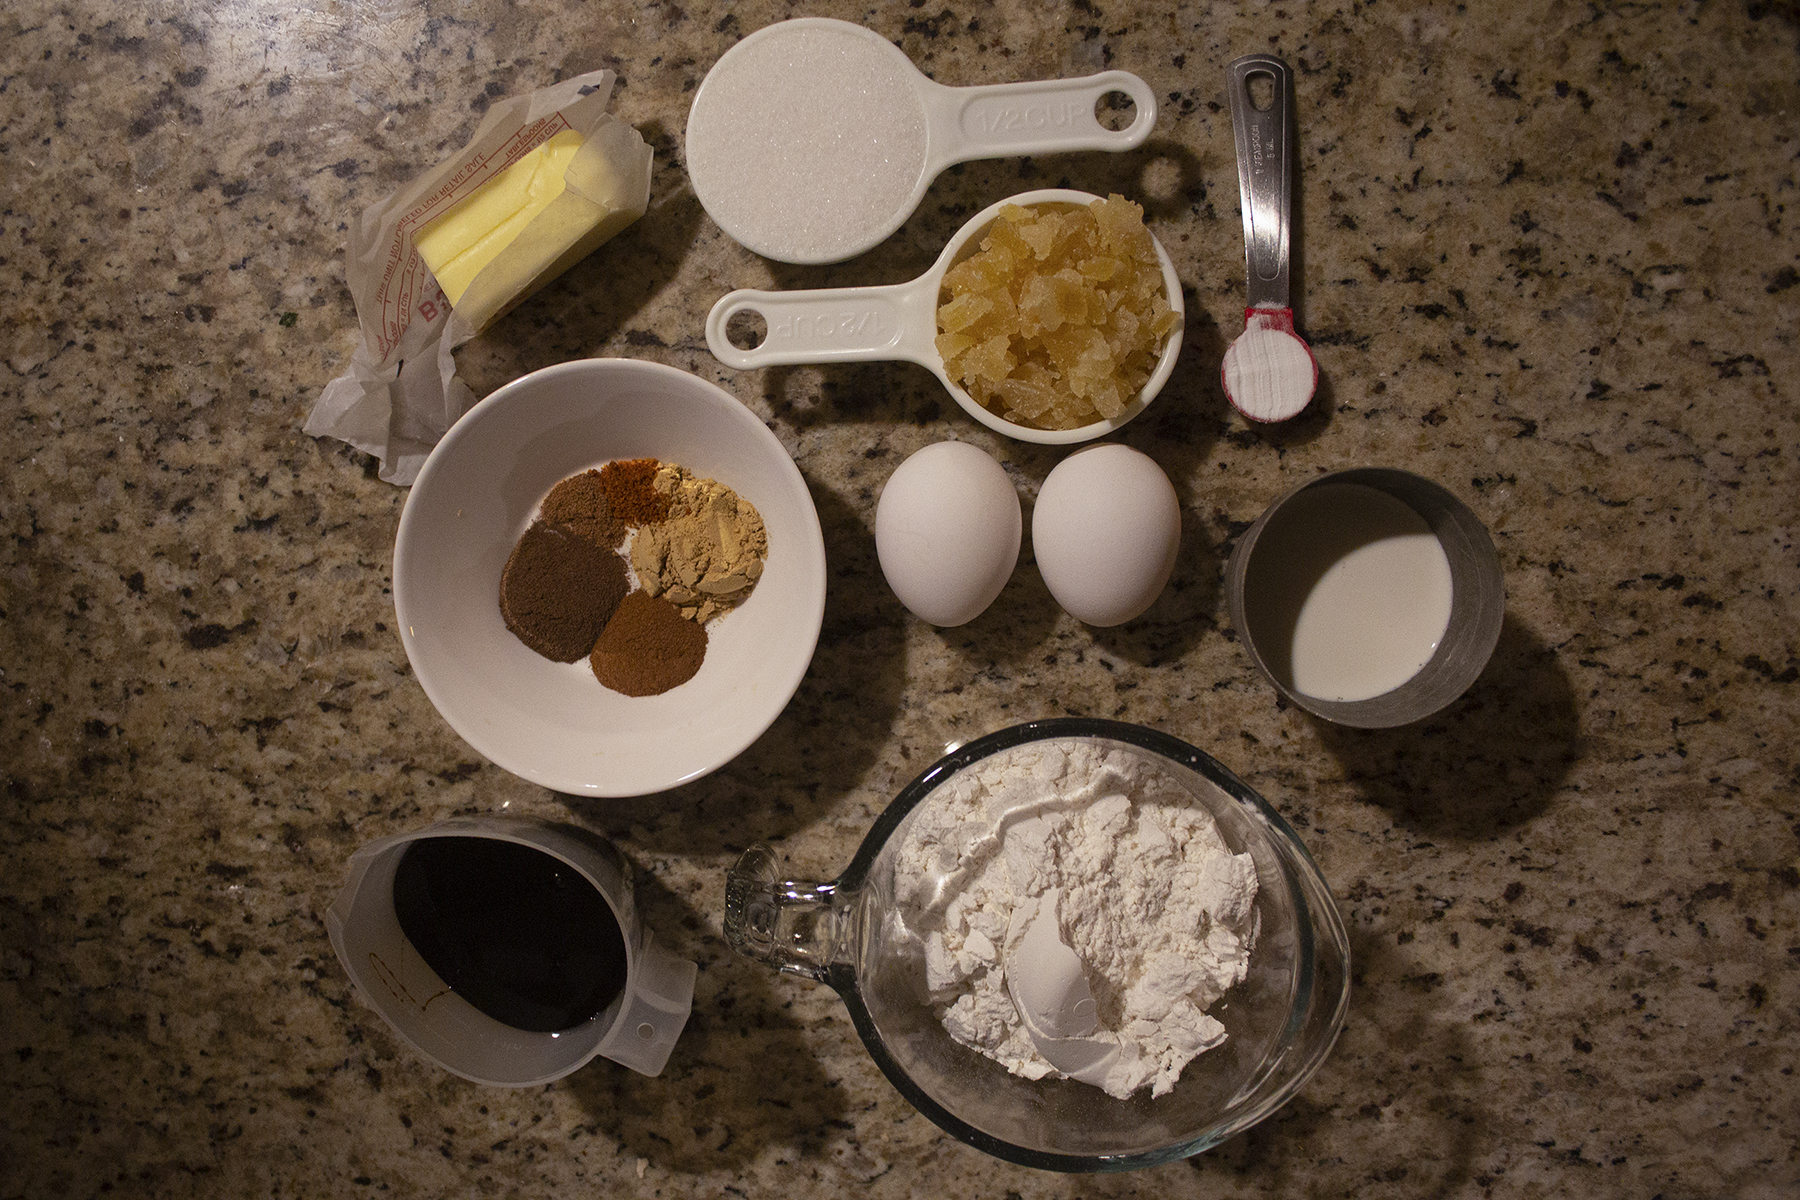
Ingredients
4 Tbs. unsalted butter
1⁄2 cup sugar
1⁄2 cup molasses (yummy!)
1⁄2 cup finely chopped crystallized ginger (also yummy!)
2 eggs
1 1⁄2 cups all-purpose flour
1 tsp. baking soda
2 tsp. ground ginger
1⁄2 tsp. ground cinnamon
1⁄2 tsp. ground allspice
1⁄4 tsp. ground plain
1⁄2 cup almond milk (or milk of your choice)
Directions Start by preheating your oven to 350 degrees and greasing a 9×4 loaf pan.
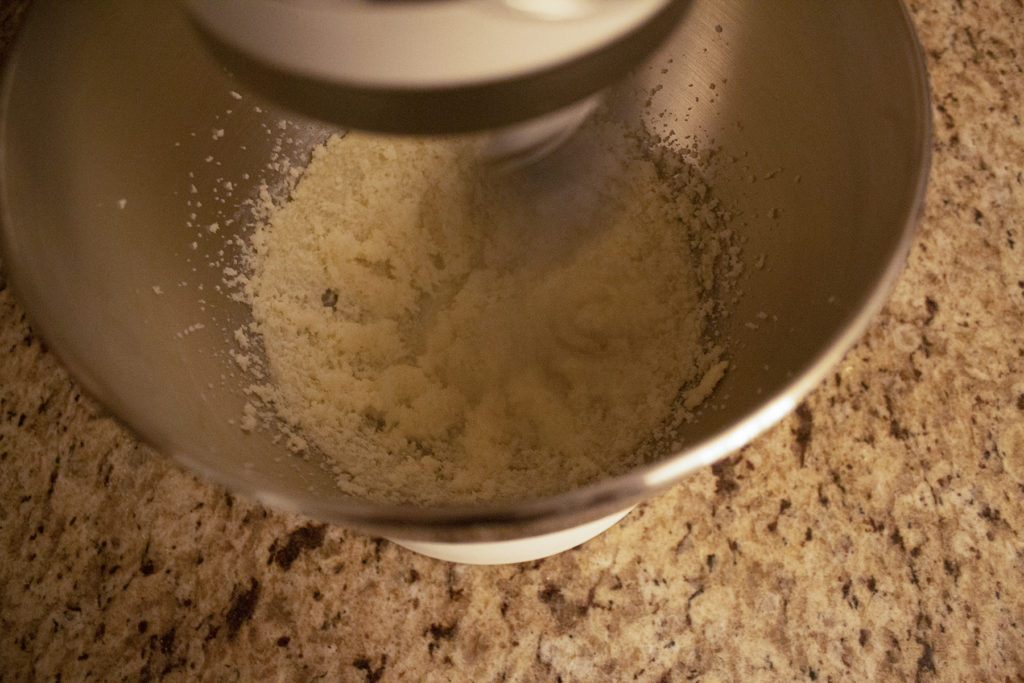
In a bowl, beat the butter and sugar together until fluffy. Then, add the molasses and crystallized ginger. I highly recommend separating the ginger a bit so it doesn’t just clump together. Beat in the eggs, one at a time.
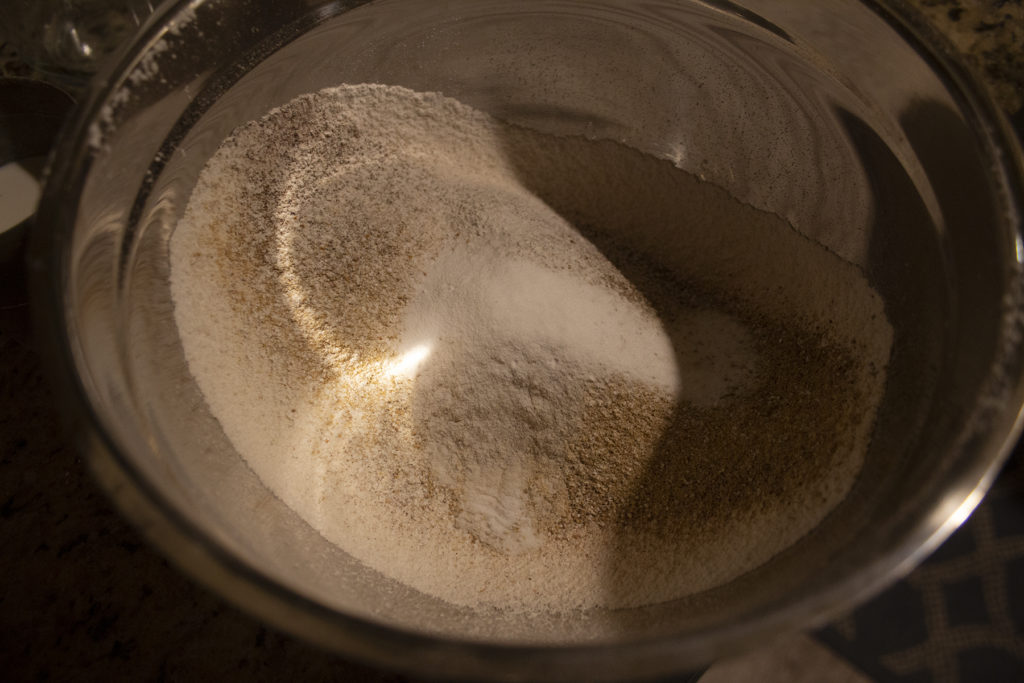
In a separate bowl, sift the flour, spices, and baking soda together. In several batches, alternate stirring the flour mixture and the milk into the butter mixture. Take care not to overmix.
Pour the batter into the loaf pan, place in the oven, and bake for about 45 minutes, or until a knife inserted into the center comes out clean. Let cool or serve warm (my personal preference), and try not to eat it all at once!
Yummy!
I hope you’ll enjoy knitting the Gingerbread Stocking as much as you’ll enjoy indulging in this gingerbread loaf. What’s better than pairing knitting with baked goods? Remember, you can find the Gingerbread Stocking kit and the rest of the 12 Days of Winter kits at your local yarn store. Happy crafting!
This is part 2 in a 12 part series highlighting designs from our 12 Days of Winter, Series 3 Edition.
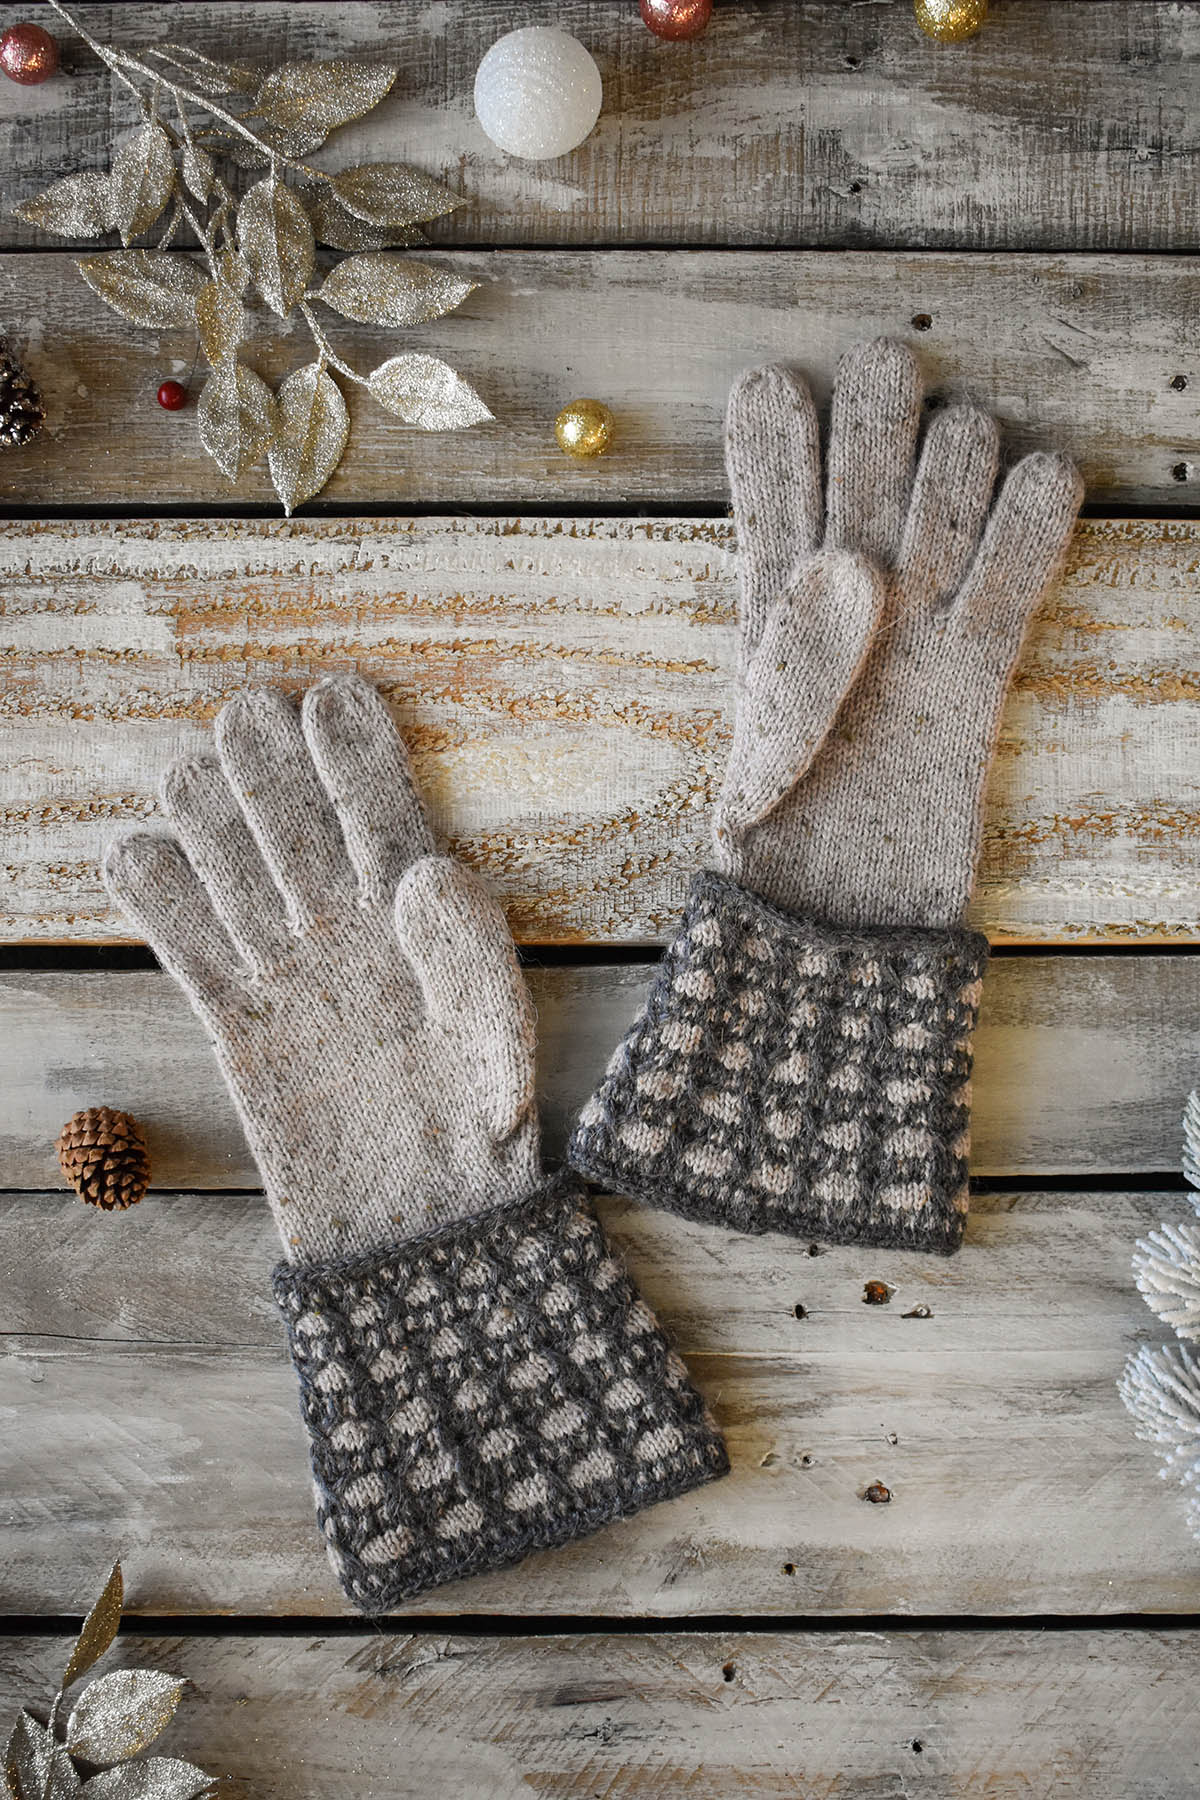
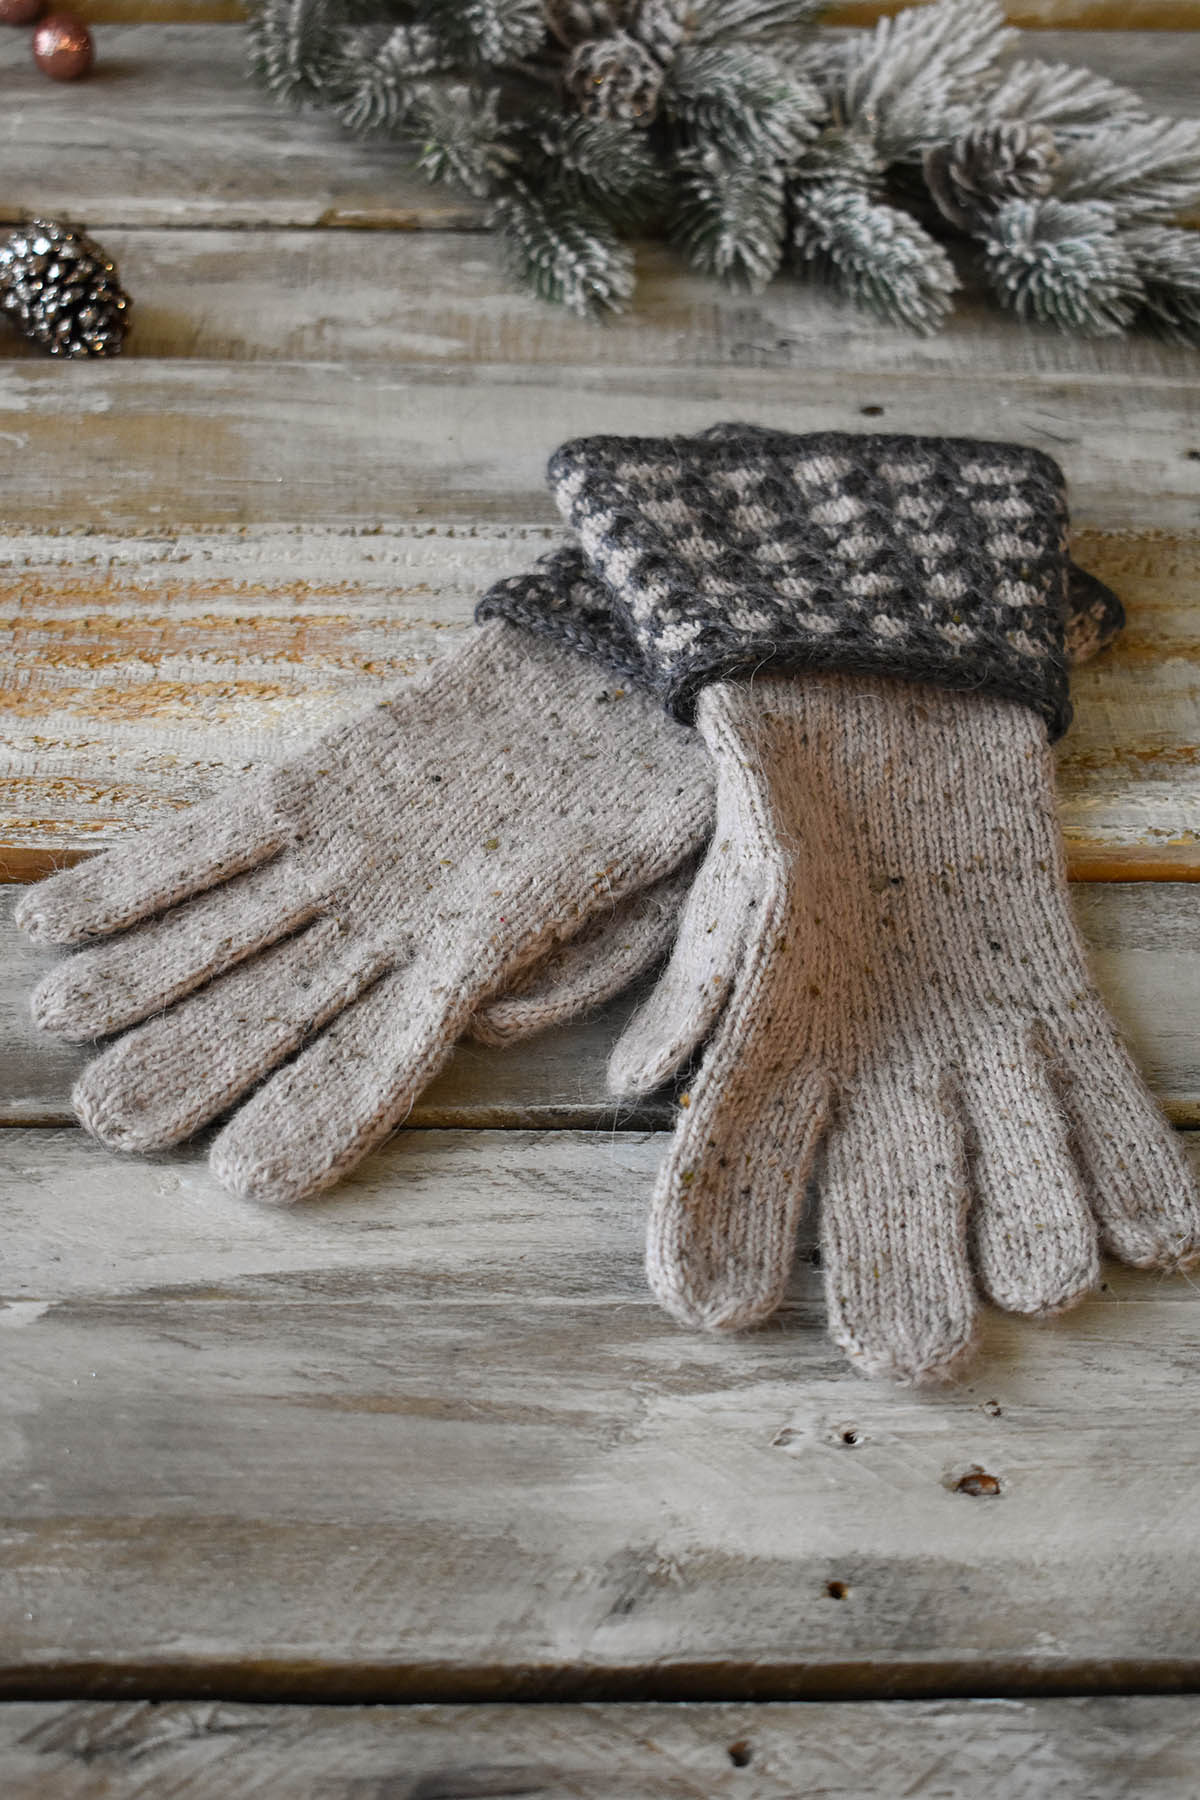
Happy Day 2 of the 12 Days of Winter Kit Collection! We know you are all eager to see what we’ve whipped up for the second day of the series, and we are thrilled to share with you – the Birch Gloves. Everyone needs a pair of elegant long gloves in their wardrobe, and hand-knitting them means these are perfect for yourself or made up as a gift for a loved one. Designed by Adrienne Larsen, the Birch Gloves are guaranteed to be cherished for seasons to come!
Knit in our Kingston Tweed yarn, this project features two different colors; 102 Calcite and 112 Basalt. These gloves are a gauntlet style with a flared cuff that gives a refined appearance to any outfit. Wool and alpaca fibers are blended into the yarn, meaning the Birch Gloves will also keep your fingers warm and toasty – maybe while out at a holiday market or off to see the Nutcracker ballet! The neutral colors of the yarn for this project are also certain to pair well with any sweater you choose.
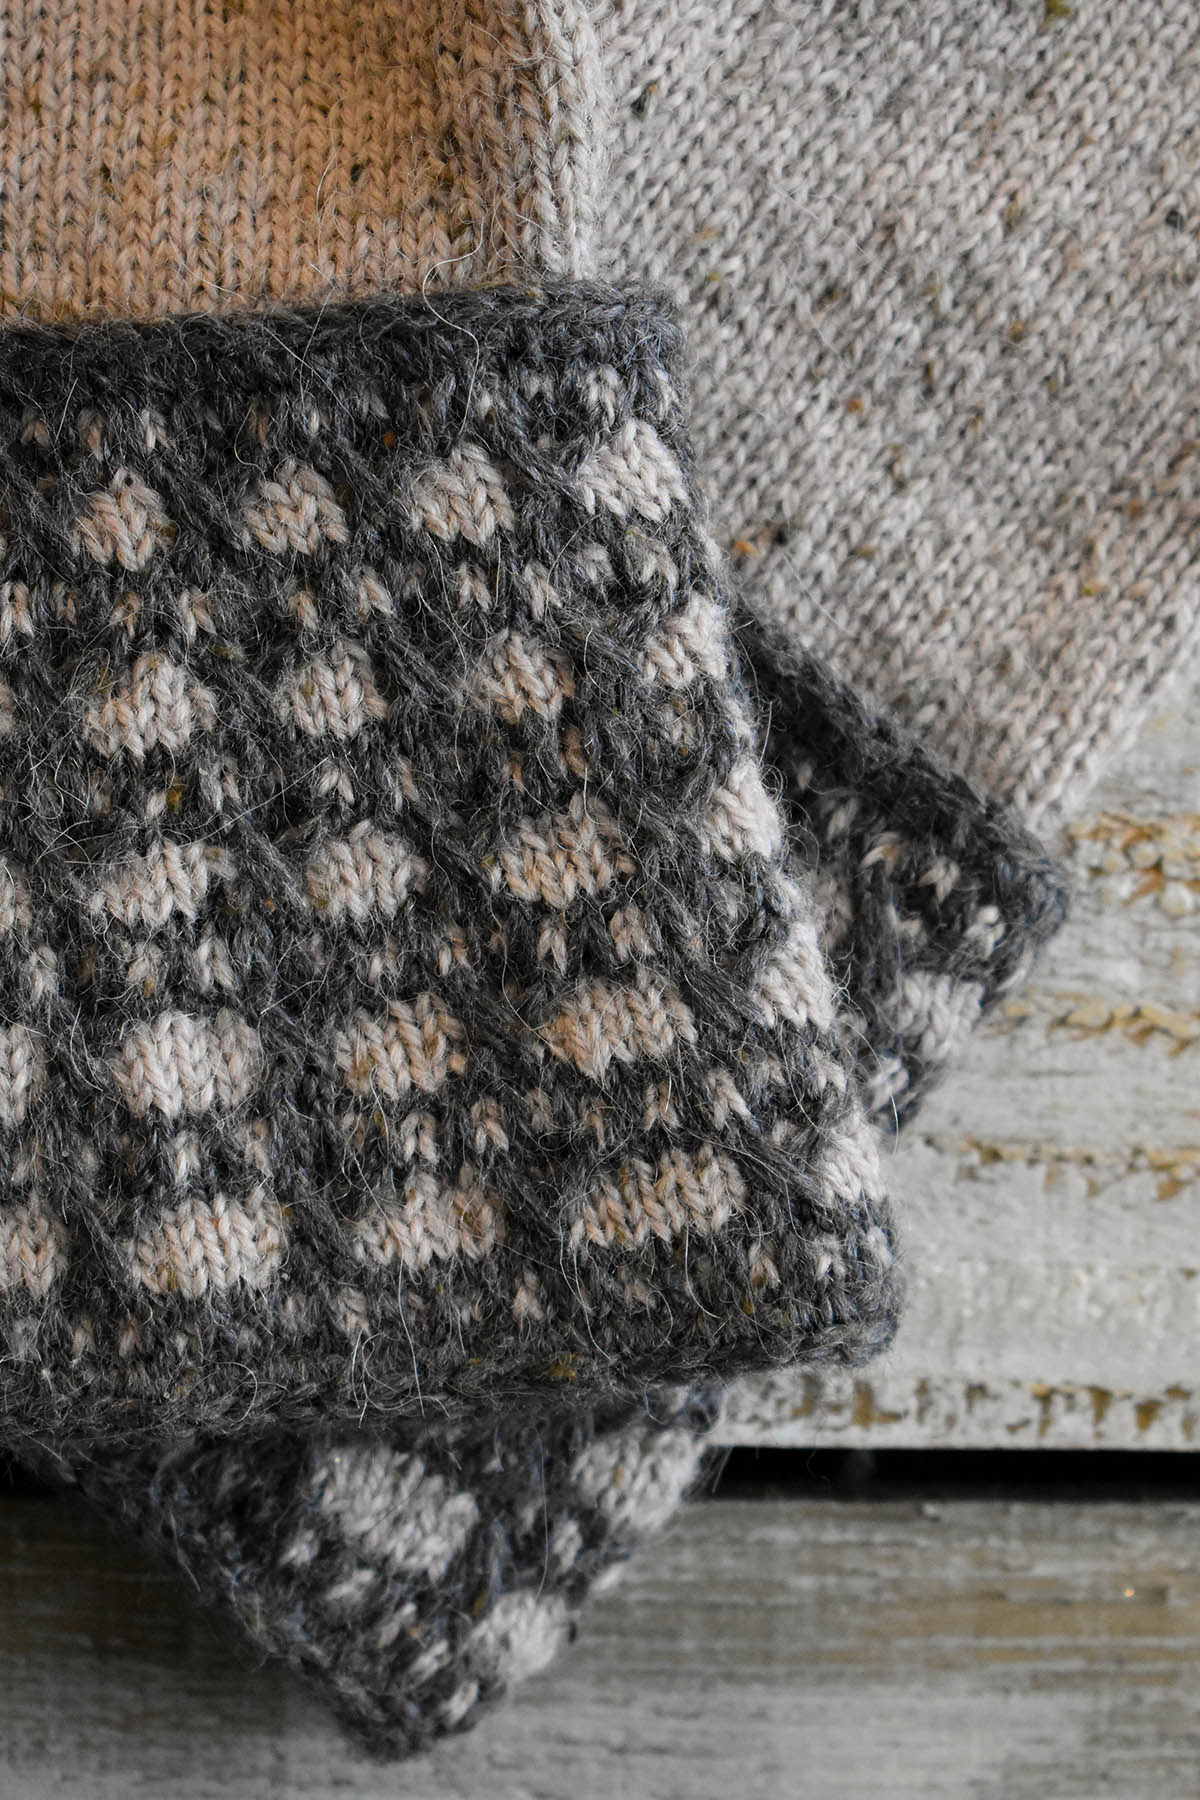
The Birch Gloves feature cables and a slip stitch colorwork pattern for the cuffs, and the beautiful Kingston Tweed yarn is on serious display for the hands and fingers in stockinette stitch. Knitting the cuff and glove separately, you seam them together with an I-cord edge that adds a tidy finish. Both the cuffs and glove are knit in the round, working from the bottom up. Construction-wise, this is sure to be a fun project to take on and maybe a new method of knitting gloves to learn!
Whether you choose to knit the Birch Gloves for yourself or as a gift for someone special, these are guaranteed to be loved by everyone around. We hope you are inspired to kick back with a mug of warm Cider or Gløgg , turn on your favorite holiday film, and get to knitting these stunning gloves! You can pick up your 12 Days of Winter Kits including the Birch Gloves Kit at your local yarn shop.
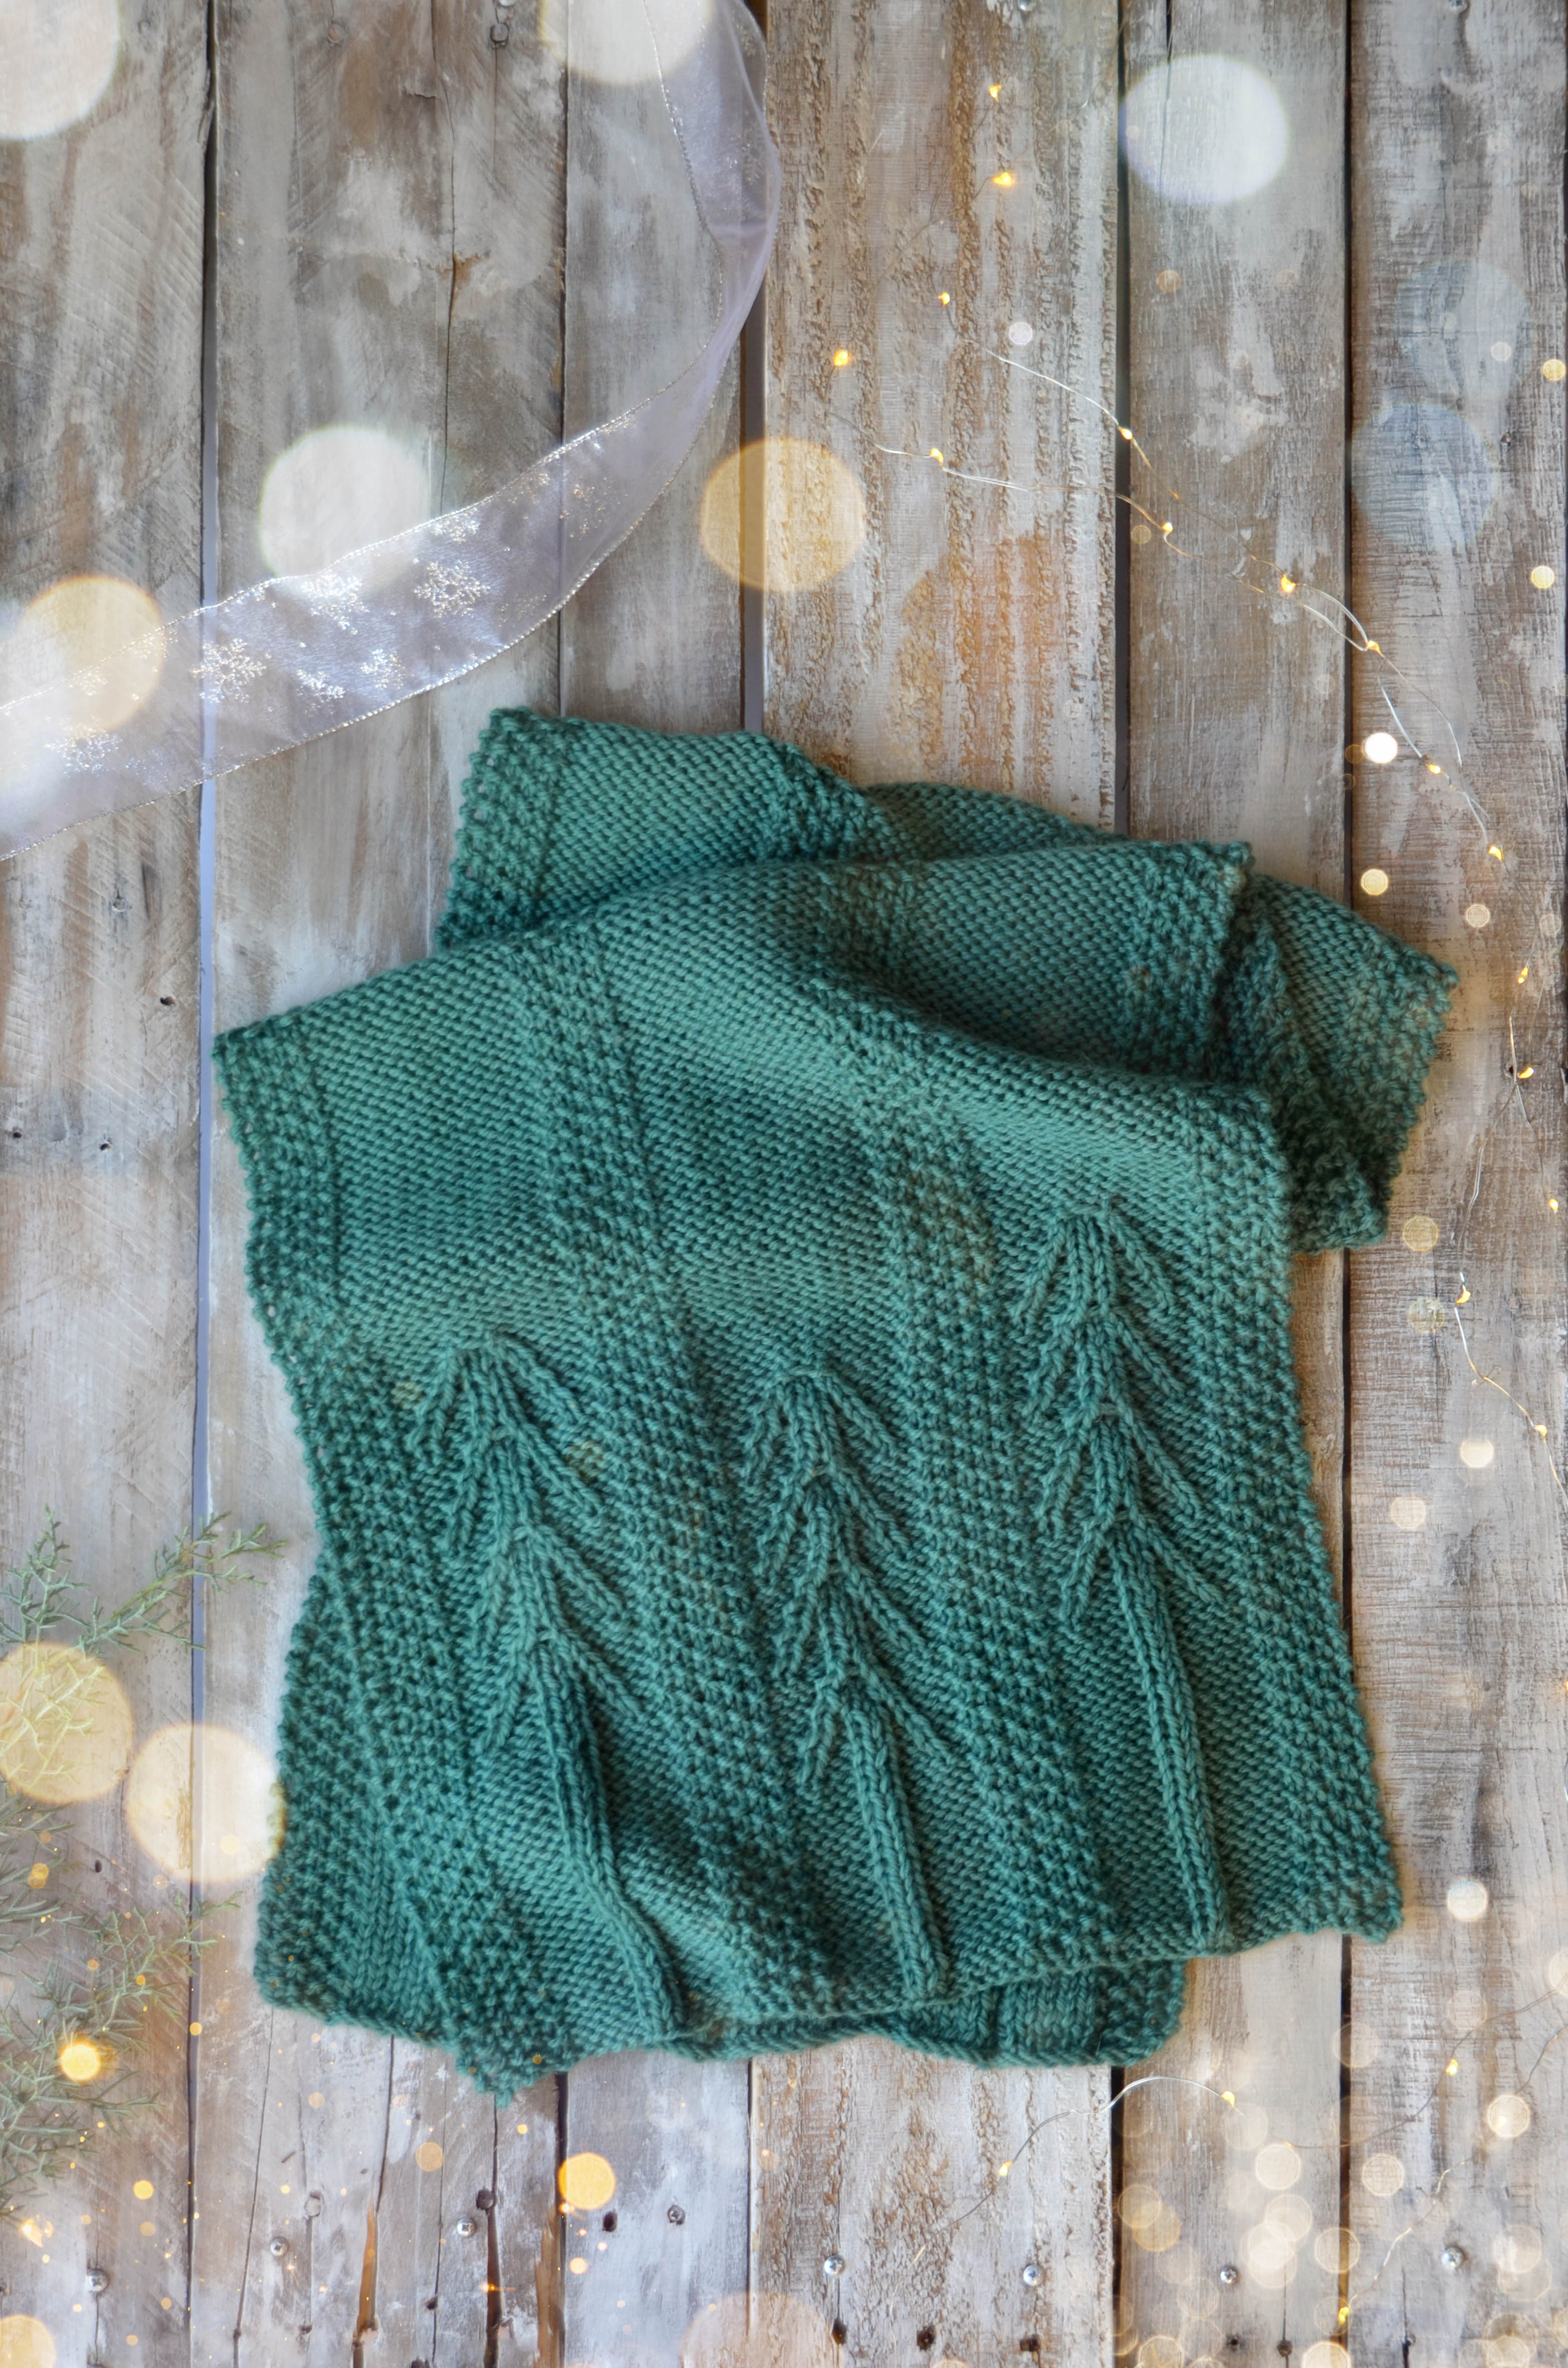
The Pine View scarf is a perfect winter accessory. It’s large, warm, and has an excellent amount of squish because it’s knit in our Deluxe Chunky.
This pattern only uses charts, but don’t let that intimidate you! The stitches are not at all complicated. You’ll get a nice rest at the center of the scarf, too. Personally, I prefer charts over written instructions because I’m a visual person. Charts enable you to see the stitches before you create them.
With that said, some charts can seem overwhelming. You might feel as though you’re getting lost in the grid full of symbols. Fear not, because I’d like to share some helpful tips and tricks for reading charts.
1. Familiarize yourself with symbols.
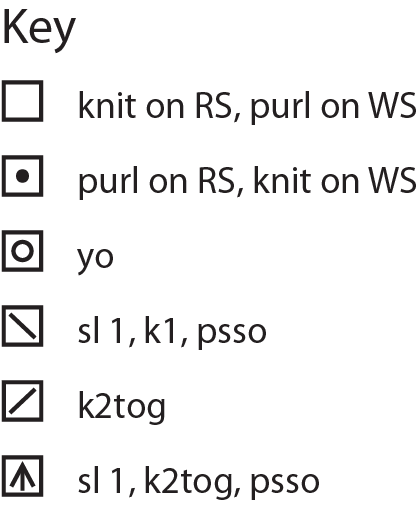
Take time to review the key and ensure you understand what each symbol means.
2. Flat or in the round?
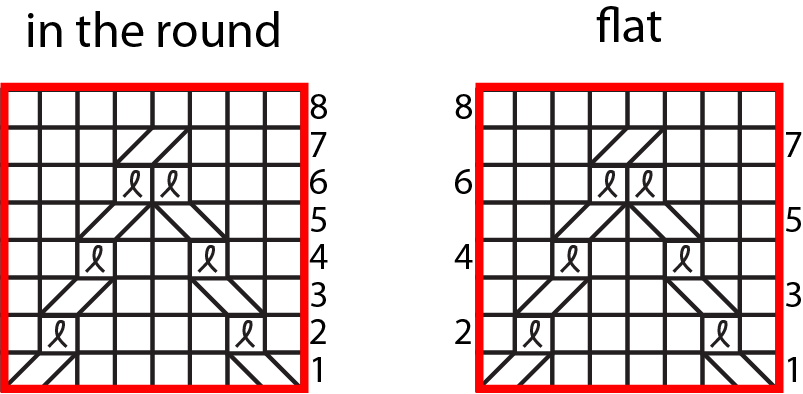
Is the pattern flat or in the round? When you knit in the round, charts are read from right to left on every row. Pine View is knit flat, meaning that on right side rows you’ll read right to left, and on wrong side rows you’ll read left to right.
Charts that are knit flat have numbers on both the right and left sides. Charts knit in the round only have numbers on the right side.
3. Stay on track!
Highlighters – Don’t cross out rows—you want to be able to go back and read previous rows in case you make a mistake. And, if you’re like me, you will make mistakes! I probably use highlighters most frequently. Simply highlight the rows you’ve completed, and read from the row above.
Washi Tape – For those who prefer not to see previous rows at all, washi tape is a great solution. It can easily be removed from the paper, so you can hide previous rows and simply peel back the tape to see them.
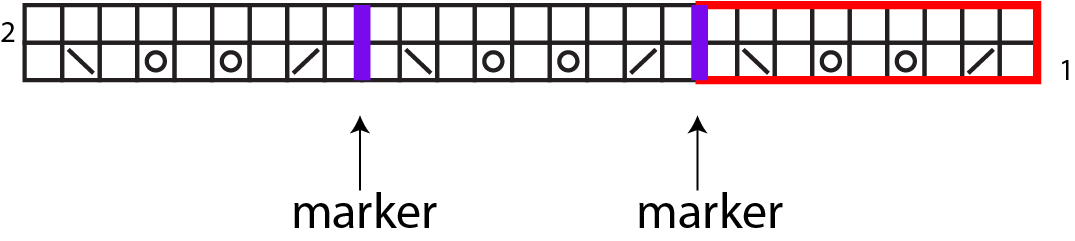
Stitch markers – For charts that have repeats, use stitch markers. It honestly makes a world of difference. A mistake is less likely to offset the entire row if you’re using stitch markers between each repeat.
You can find this pattern, Day 6 of our 12 Days of Winter collection here.