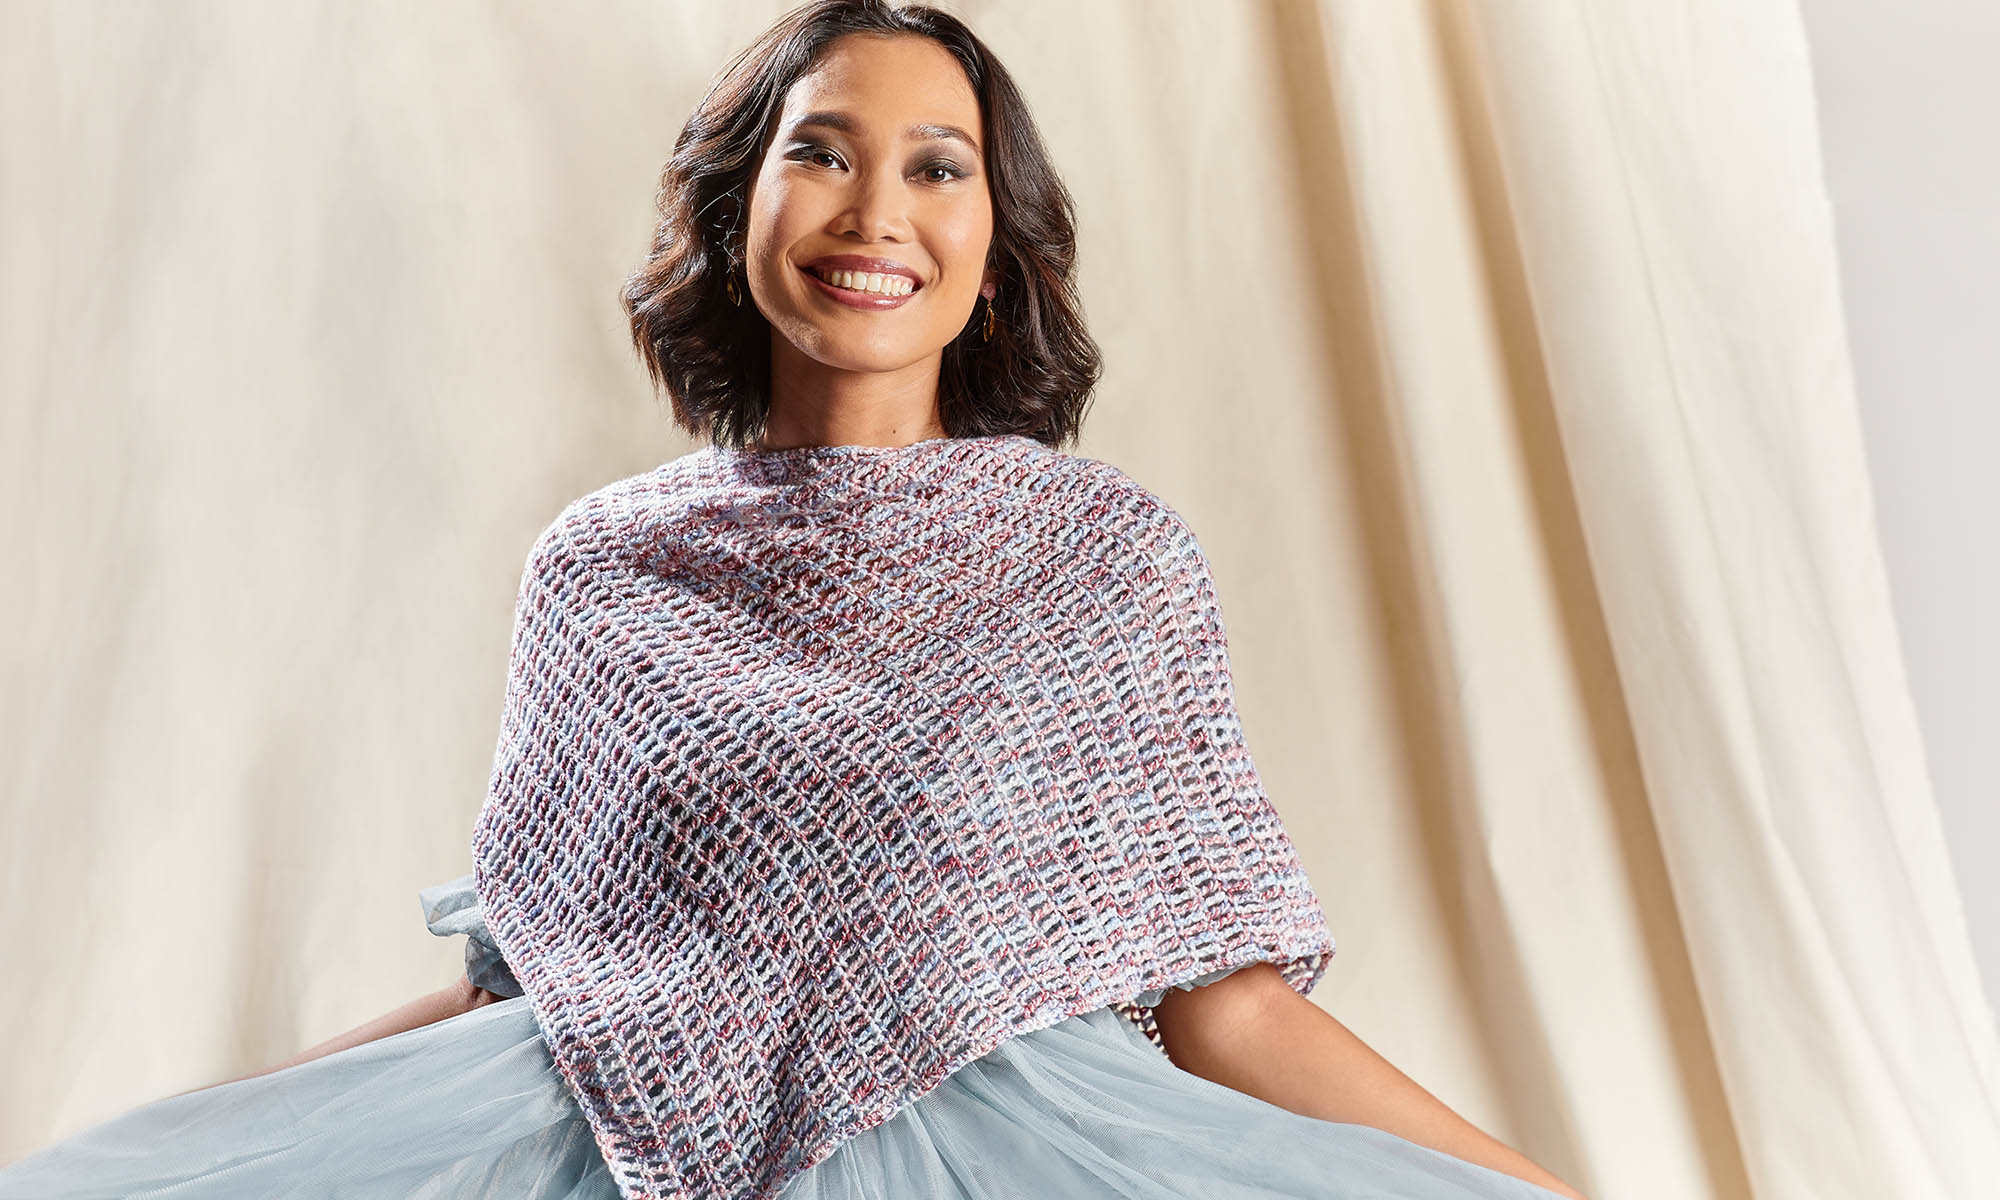
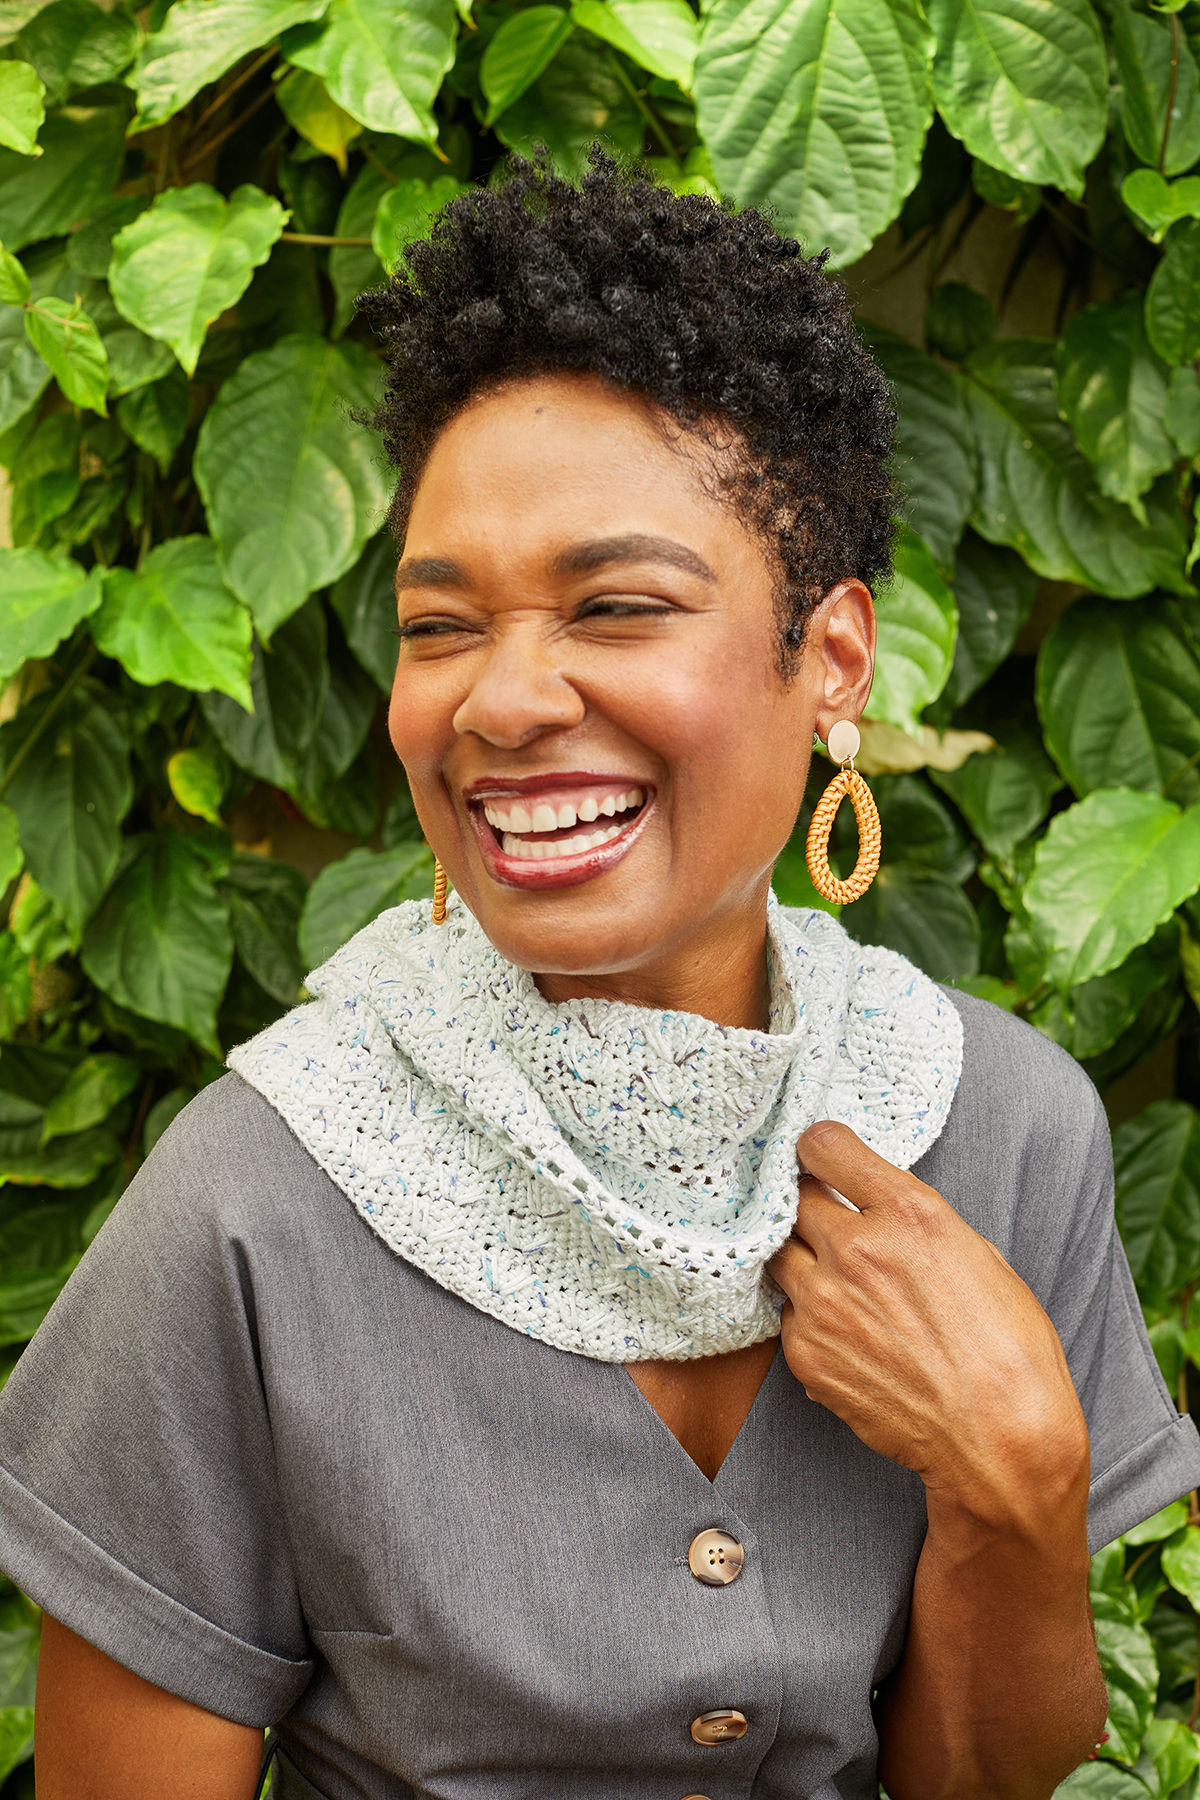
It’s just the right time for this lightweight, breezy accessory in Bamboo Pop, and Rachel Brockman has outdone herself on the design! She’s created a knitted version, shown above…
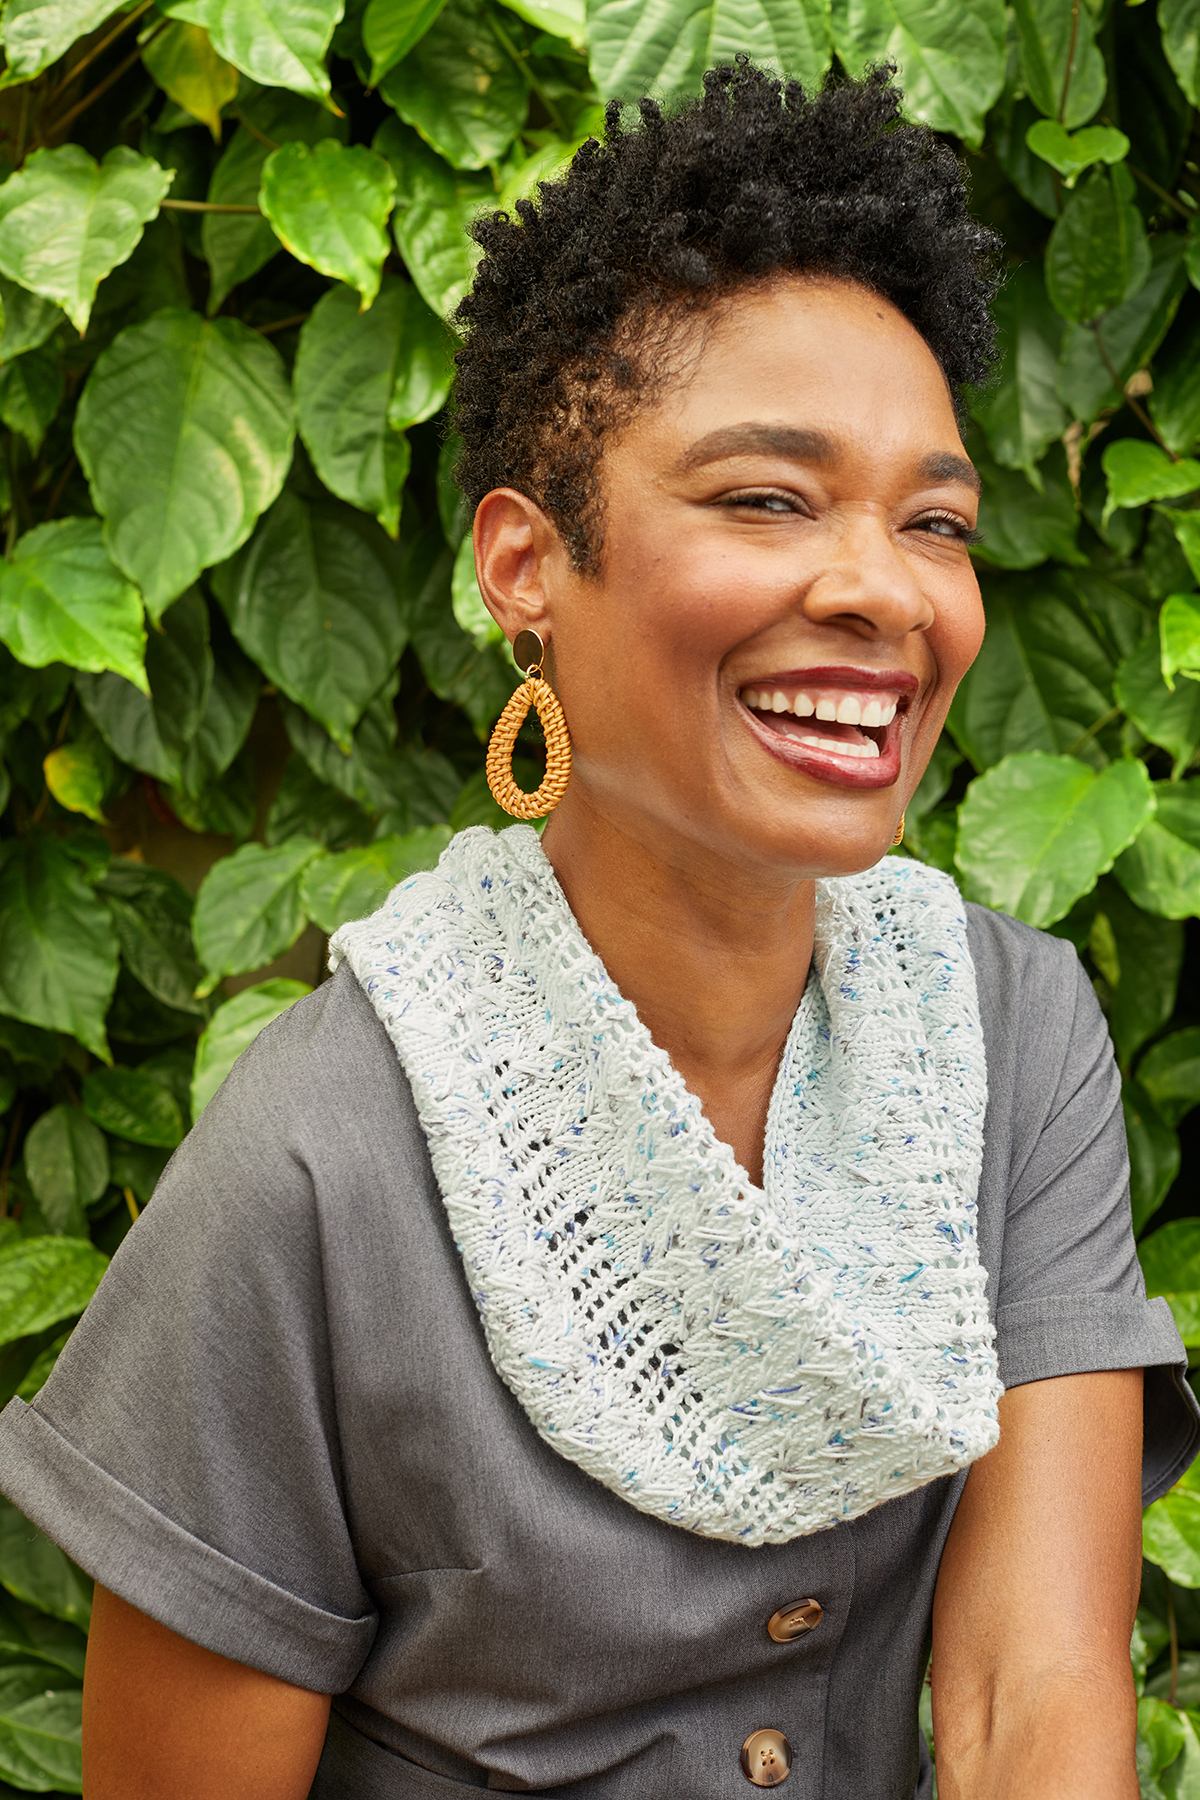
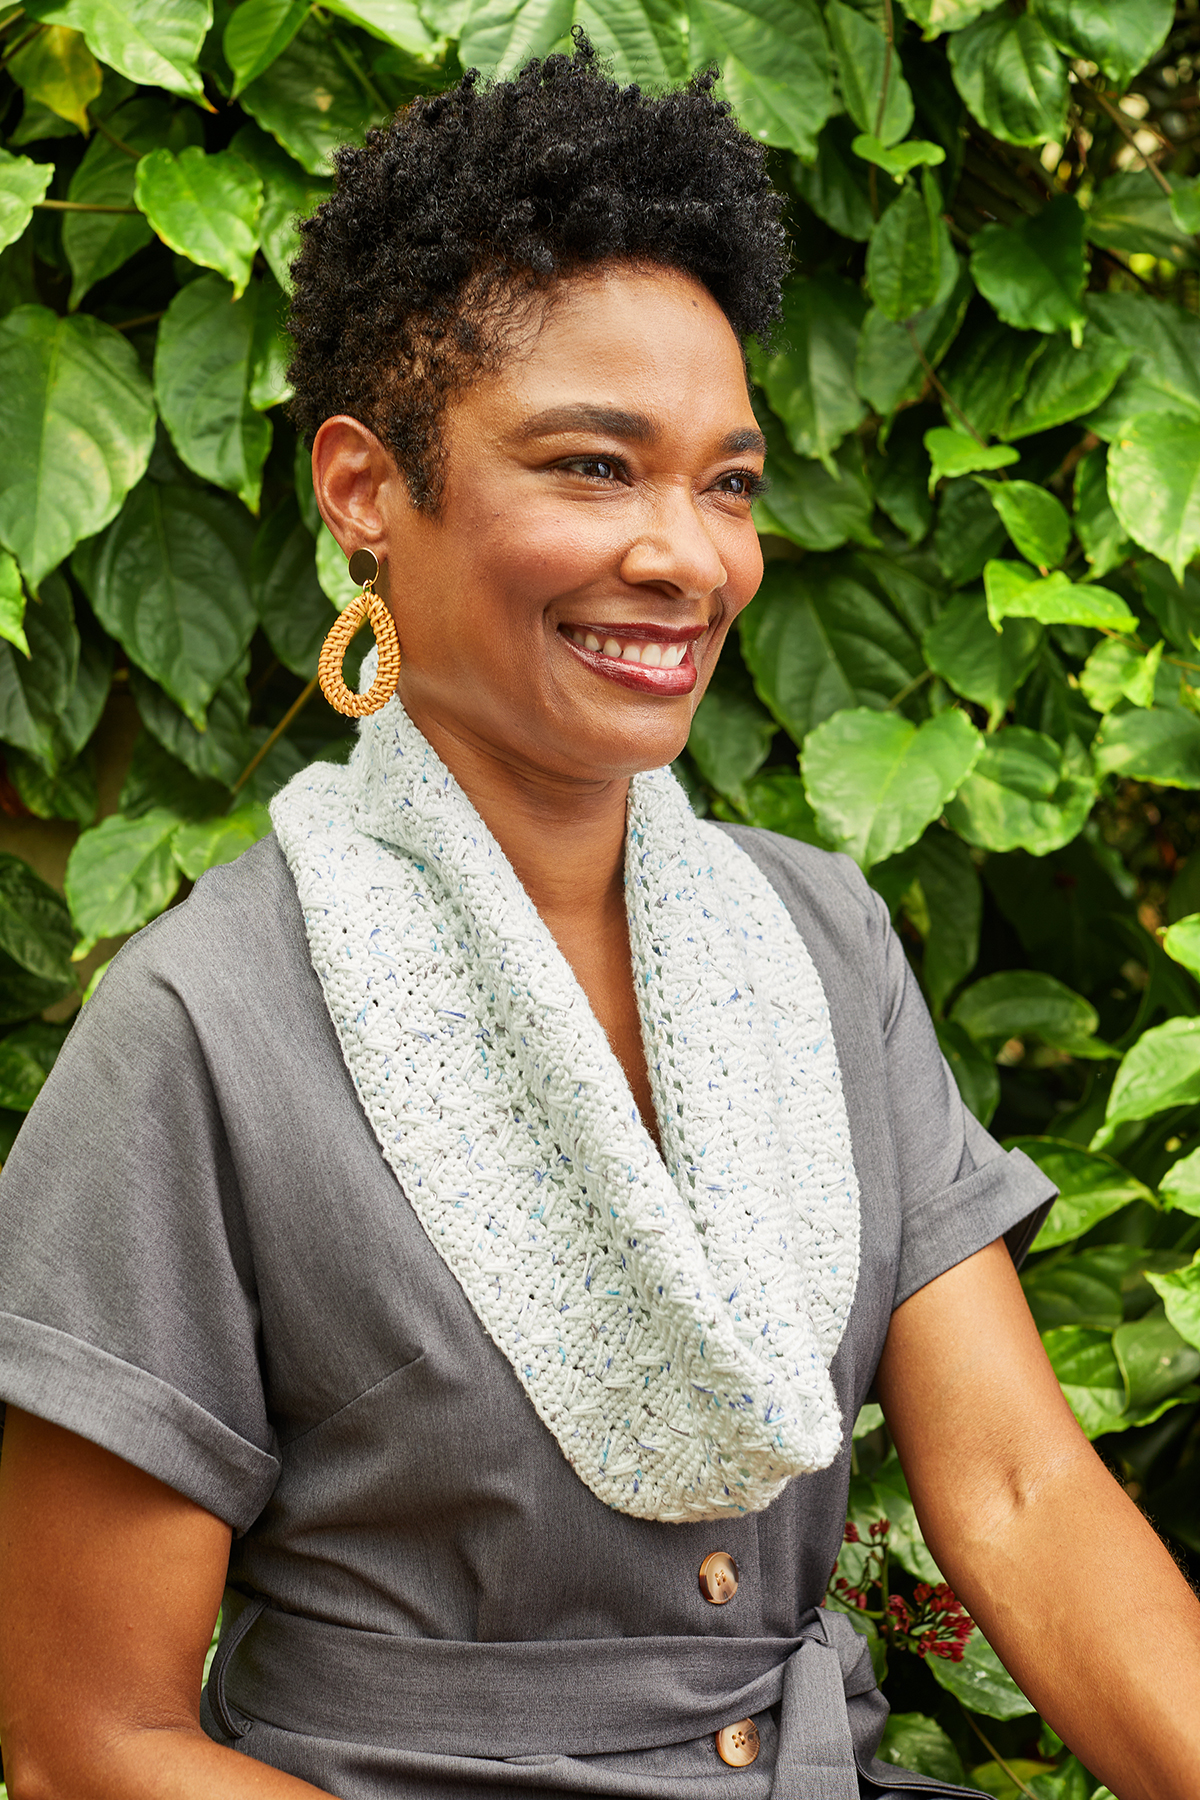
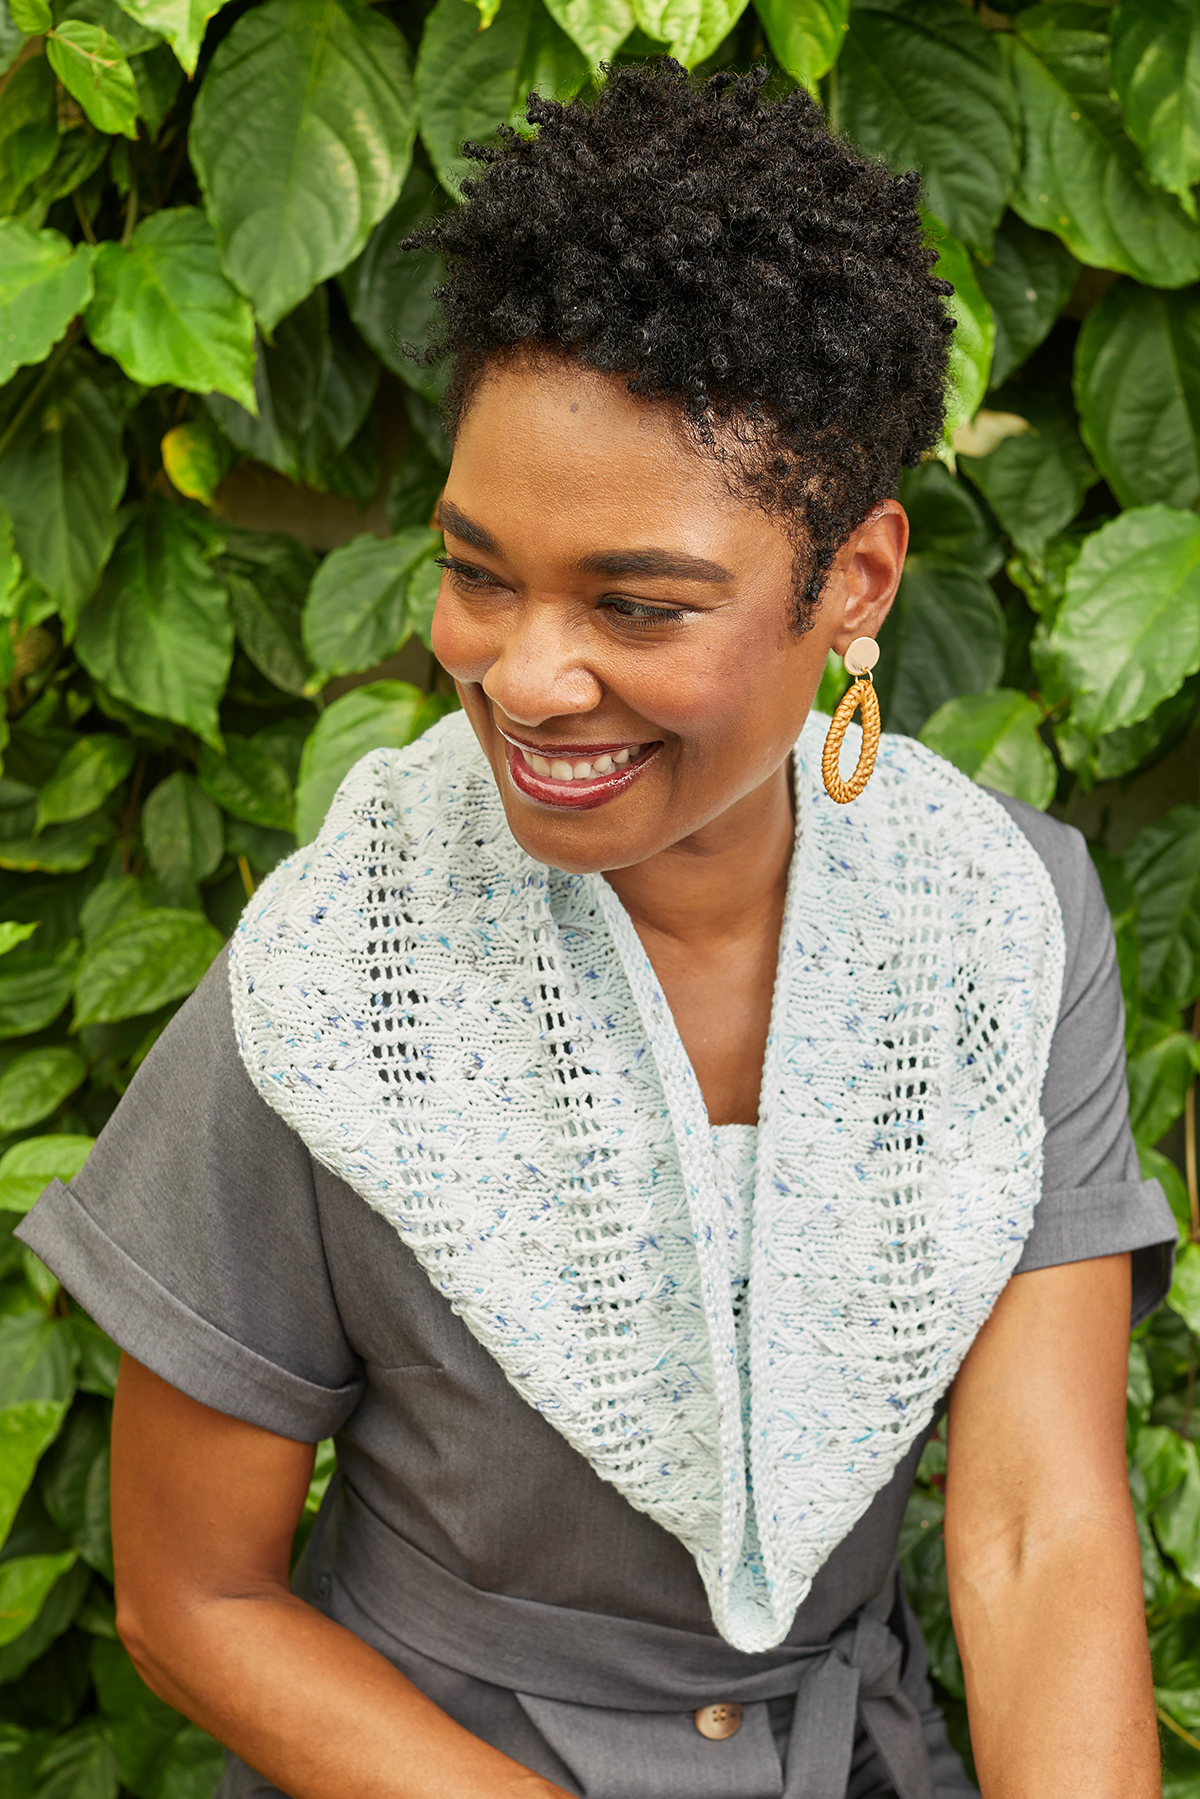
…and a crocheted version, shown here! Both feature elongated stitches against a simple background, ornamented with eyelets…
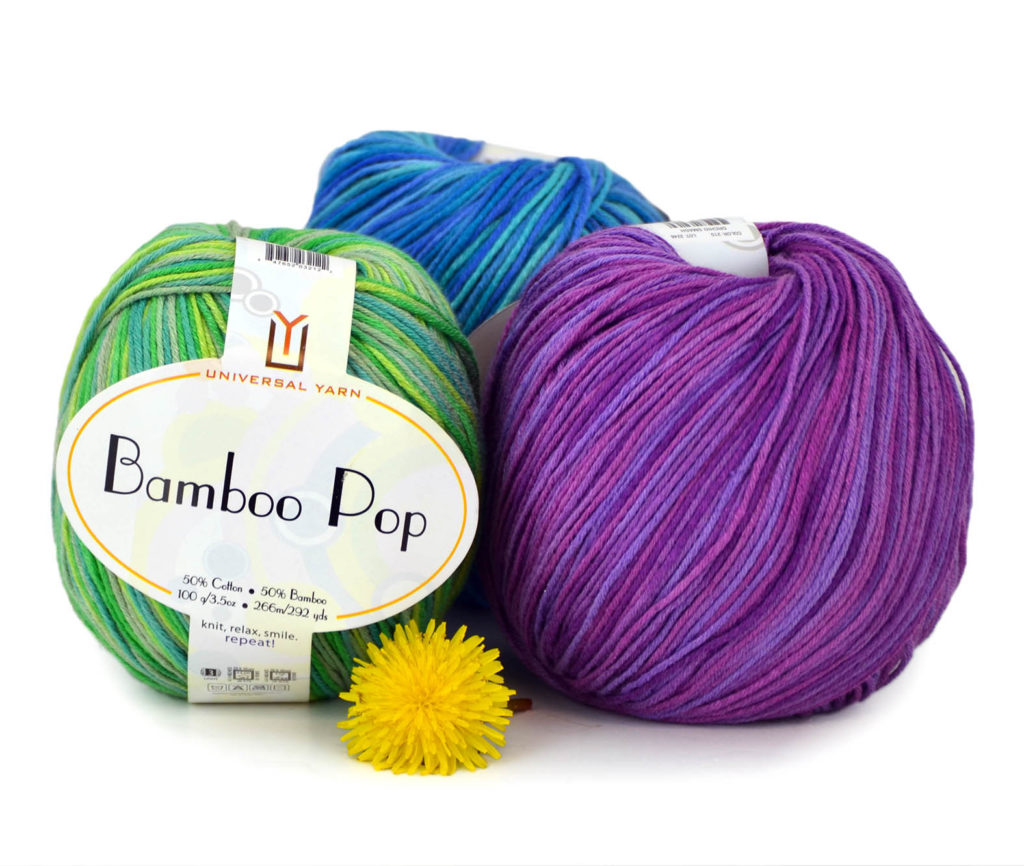
…and both use just two balls of Bamboo Pop, our 50/50 cotton/bamboo blend. Rachel chose speckled color 305 Ocean Dots, but there are also solid and variegated selections, to match whatever your taste may be.
From left: 209 Jungle Life, 205 Brilliant Blues, and 210 Orchid Smash
For msyelf, I might pick one of the variegated colors shown here. I’m a sucker for those bluish tones.
We hope you enjoy this sweet little warm-weather accessory, no matter which craft speaks to you most. Have a wonderful weekend.
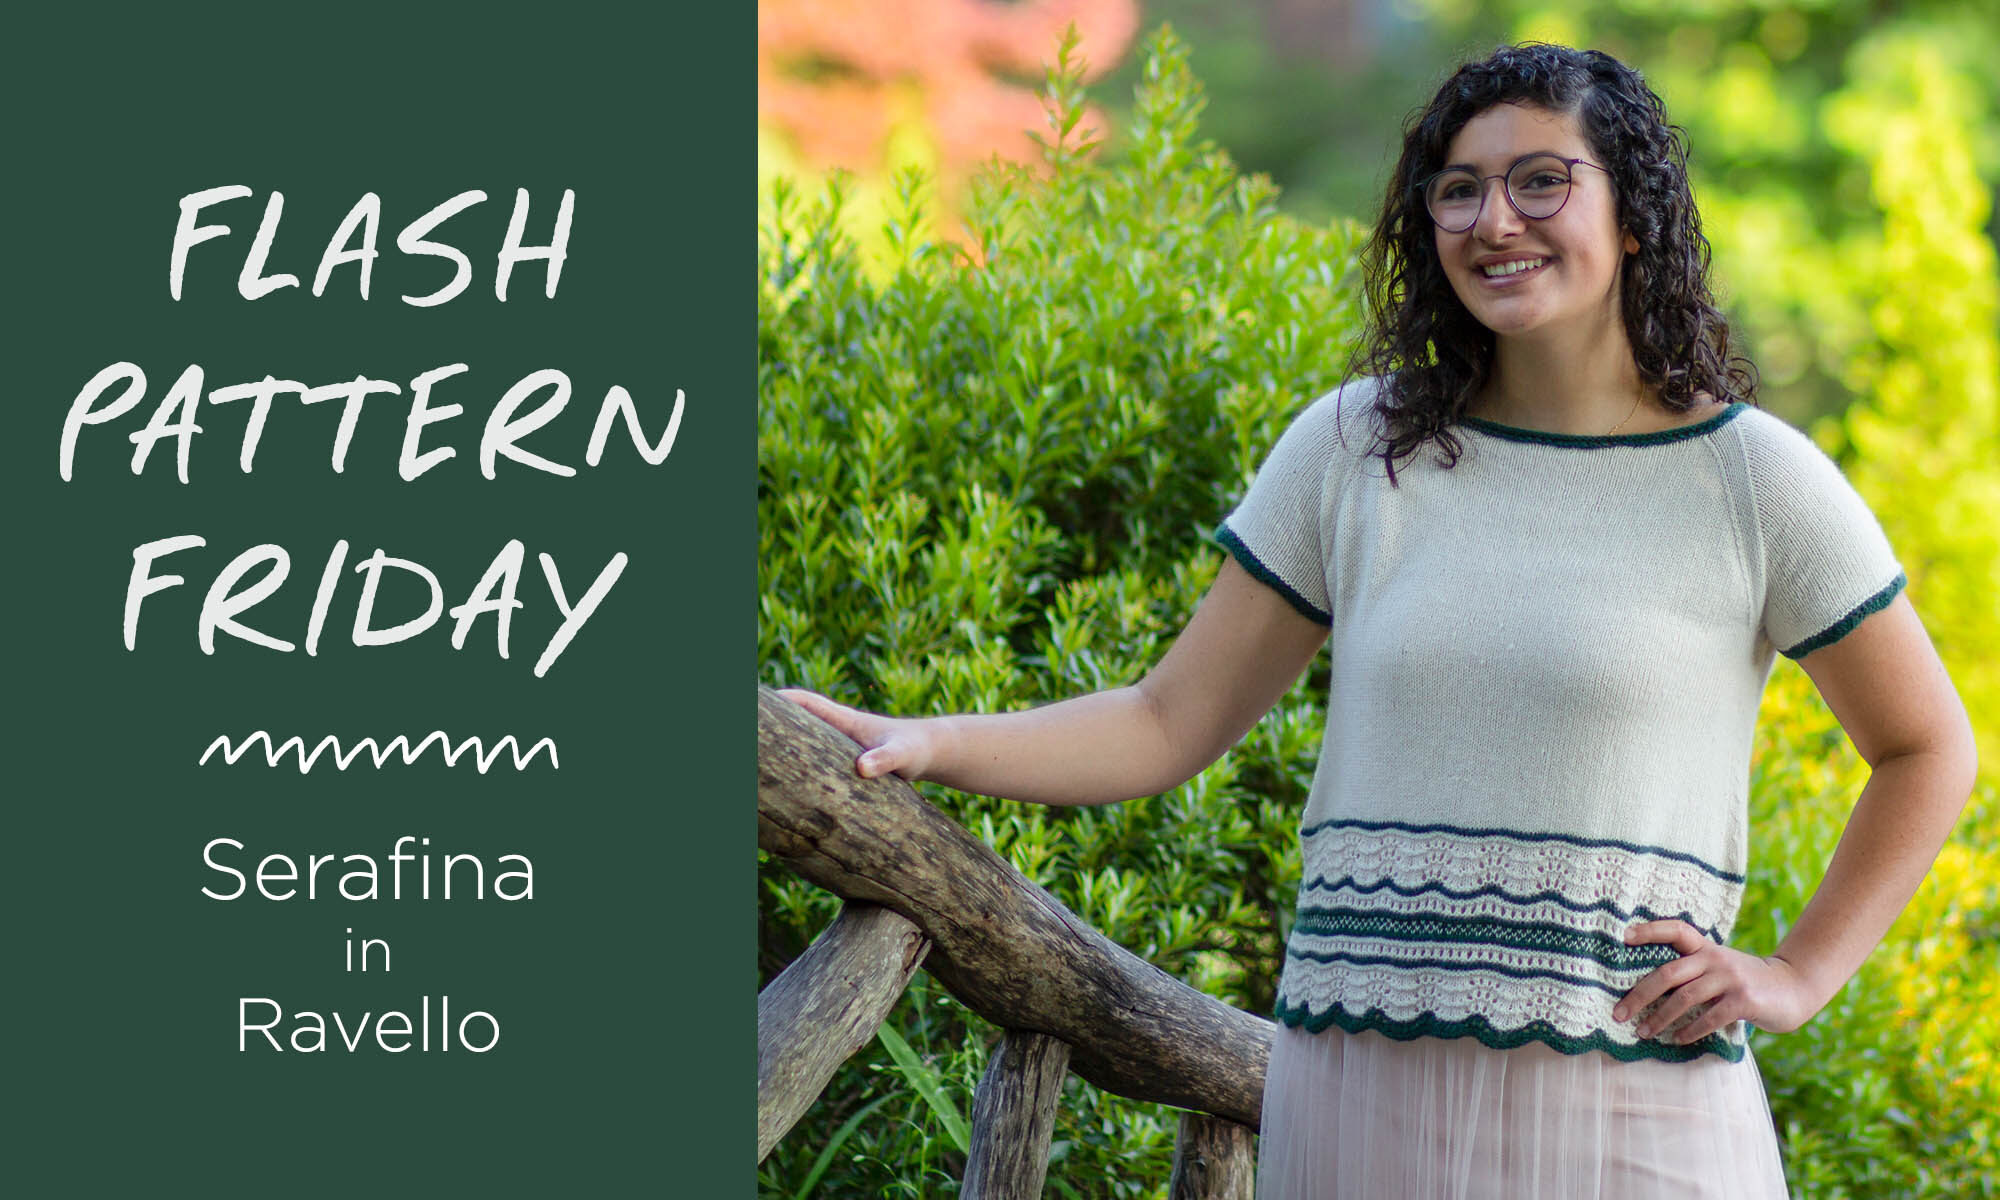
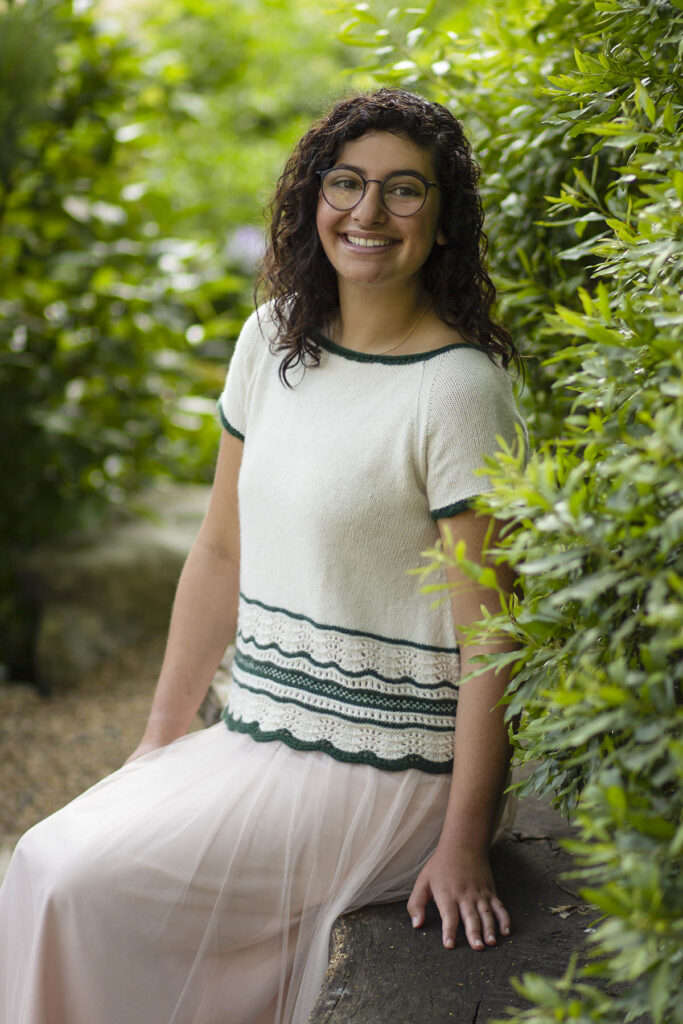
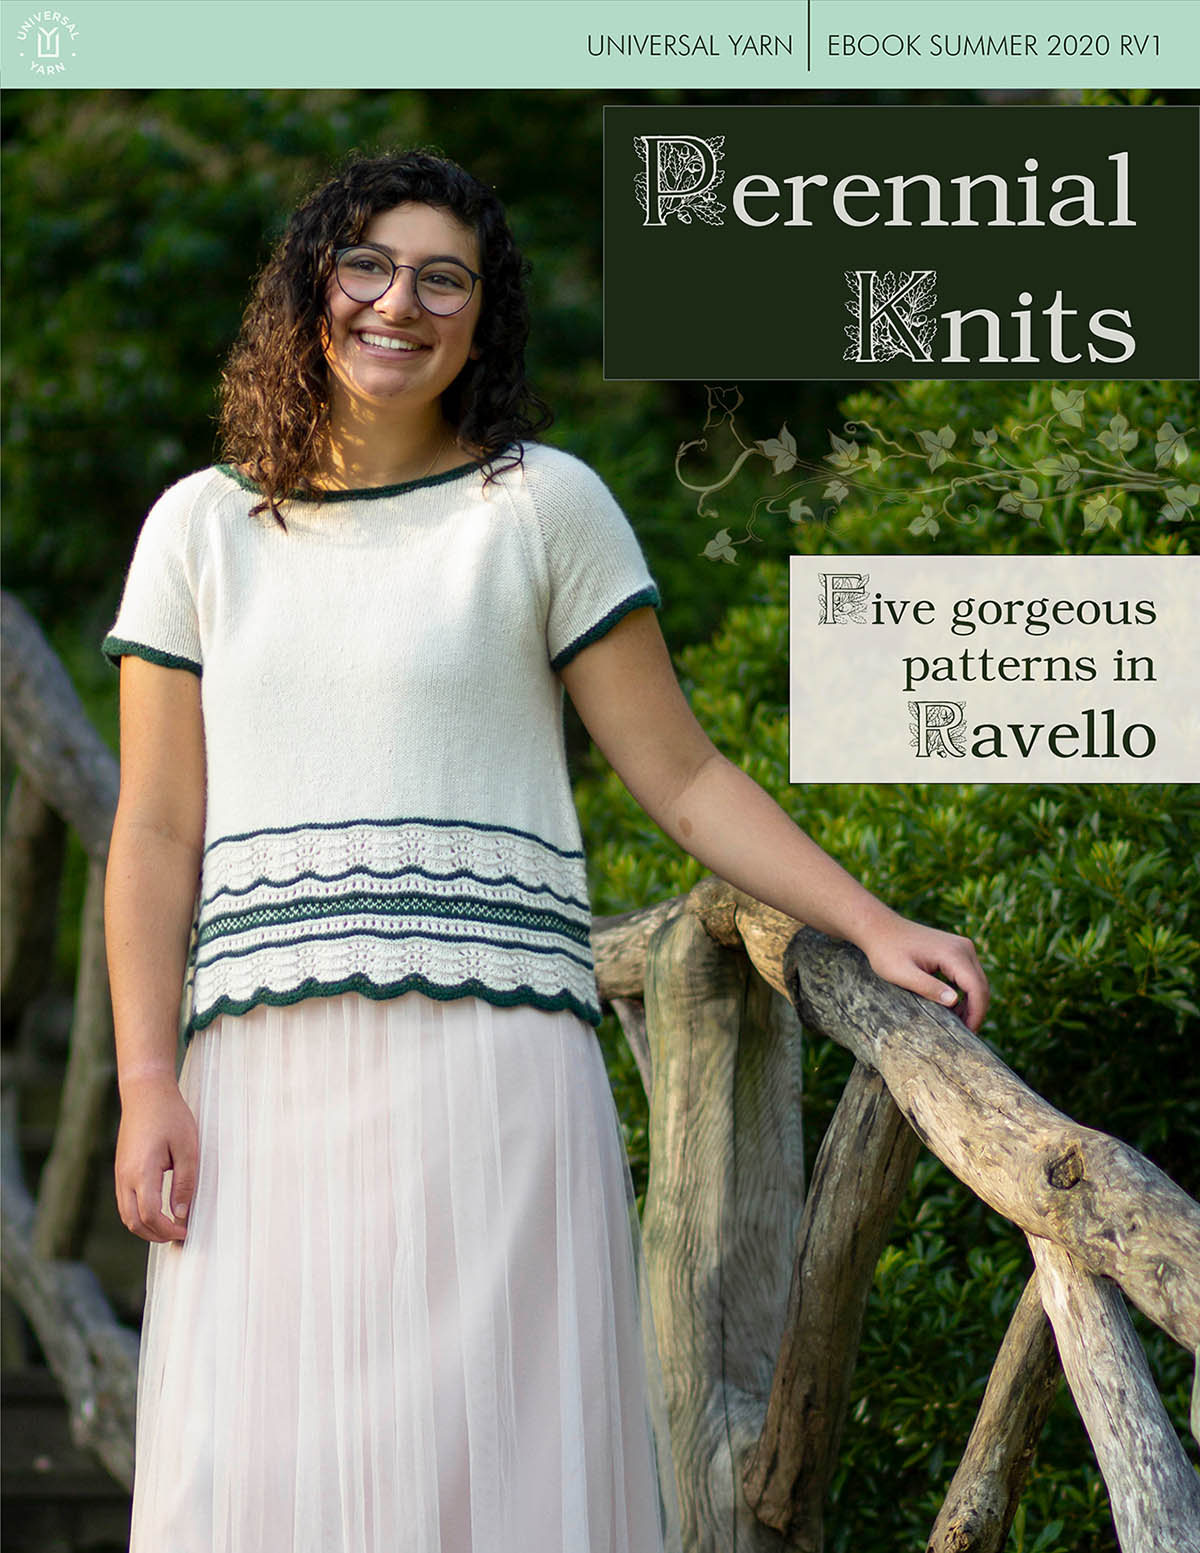
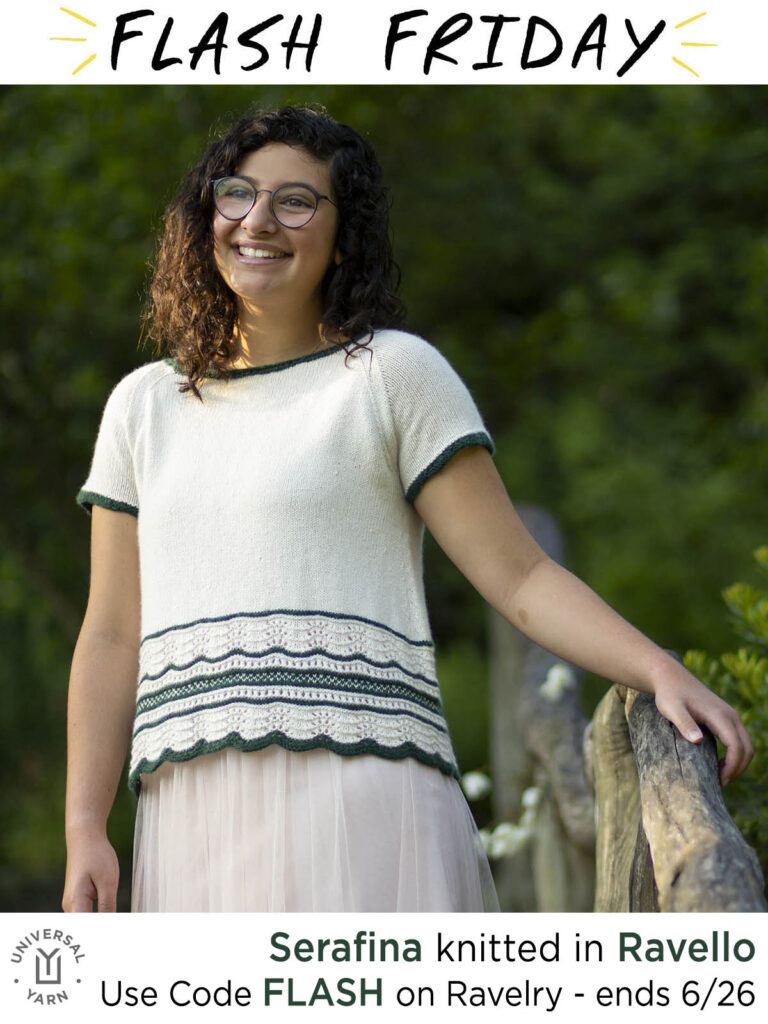
Serafina was designed by Rachel Brockman as part of the Perennial Knits collection, showcasing five timeless patterns in Ravello. We love this design so much we put it on the cover!
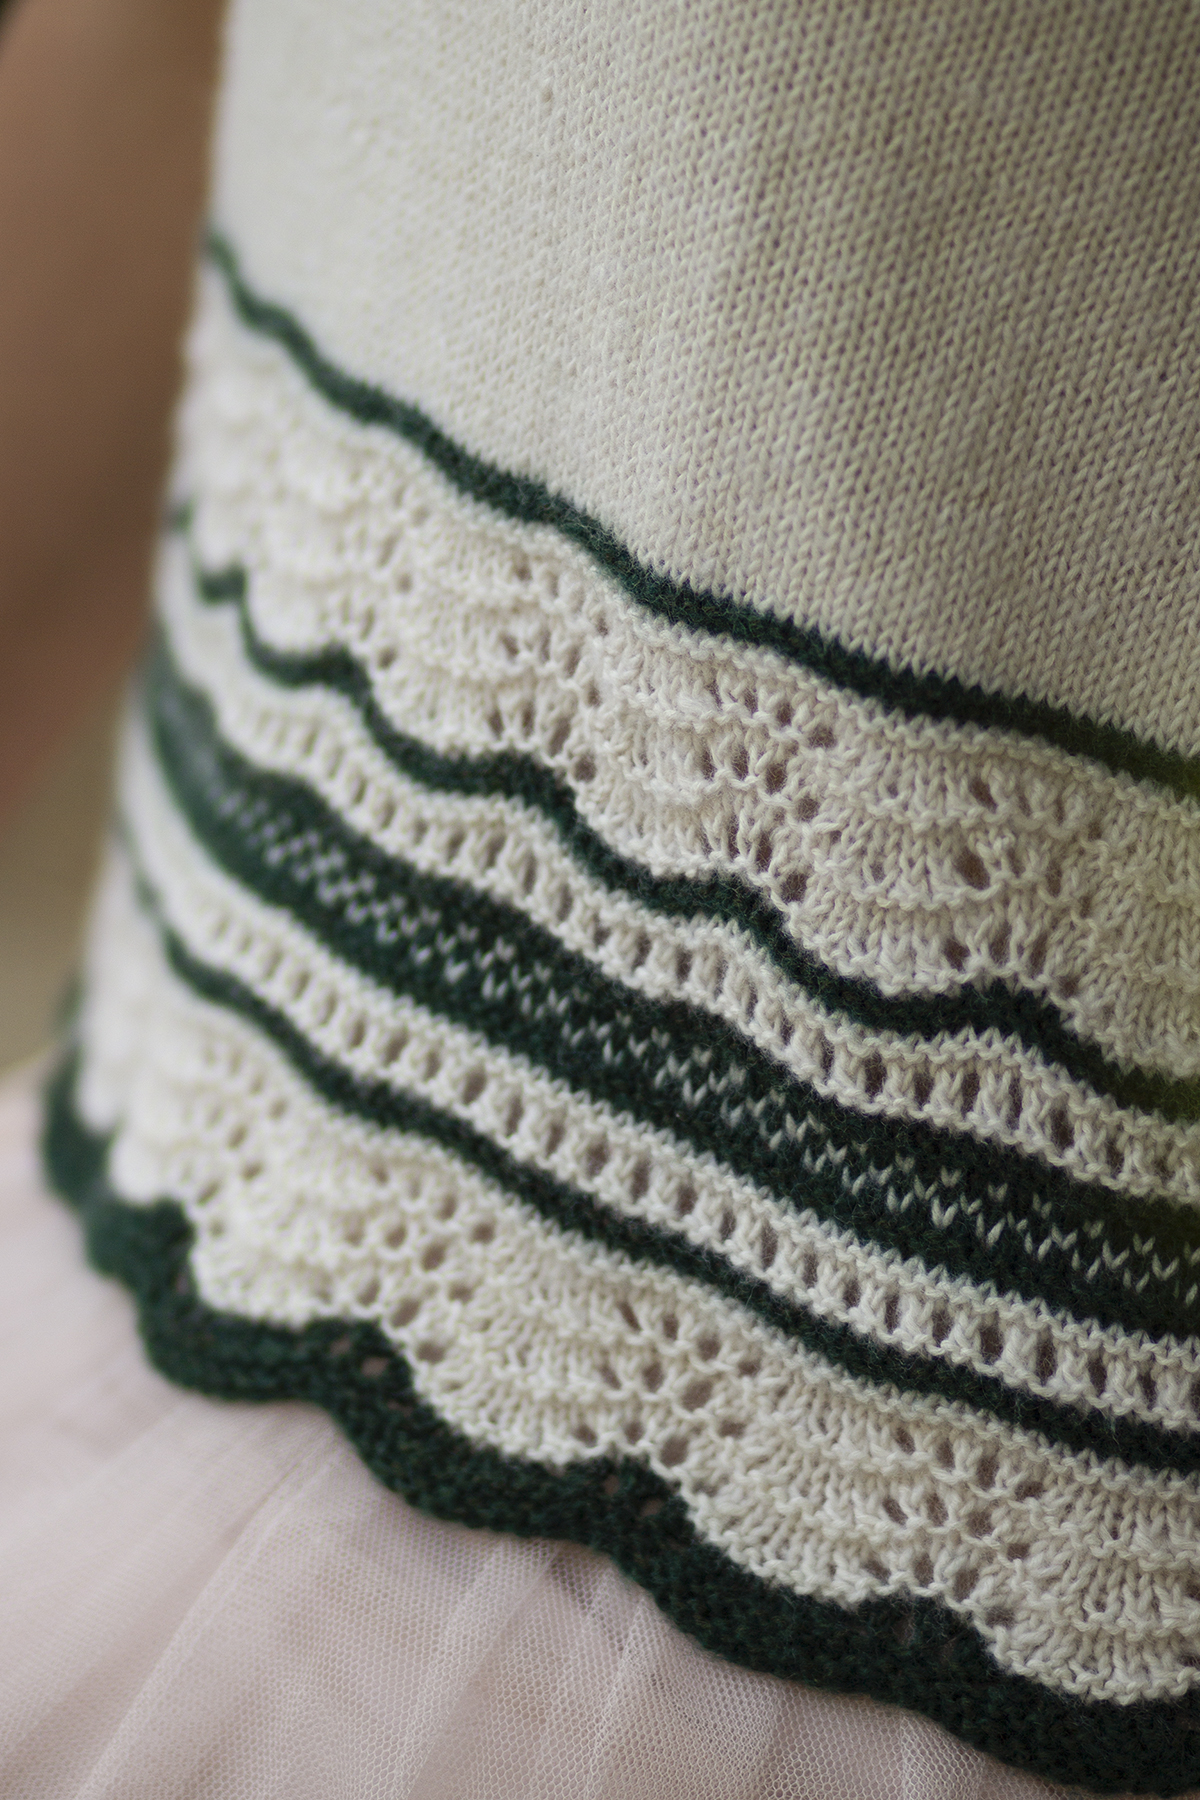
And what’s not to love? There’s a delicate, lacy hem with a touch of stranded colorwork…
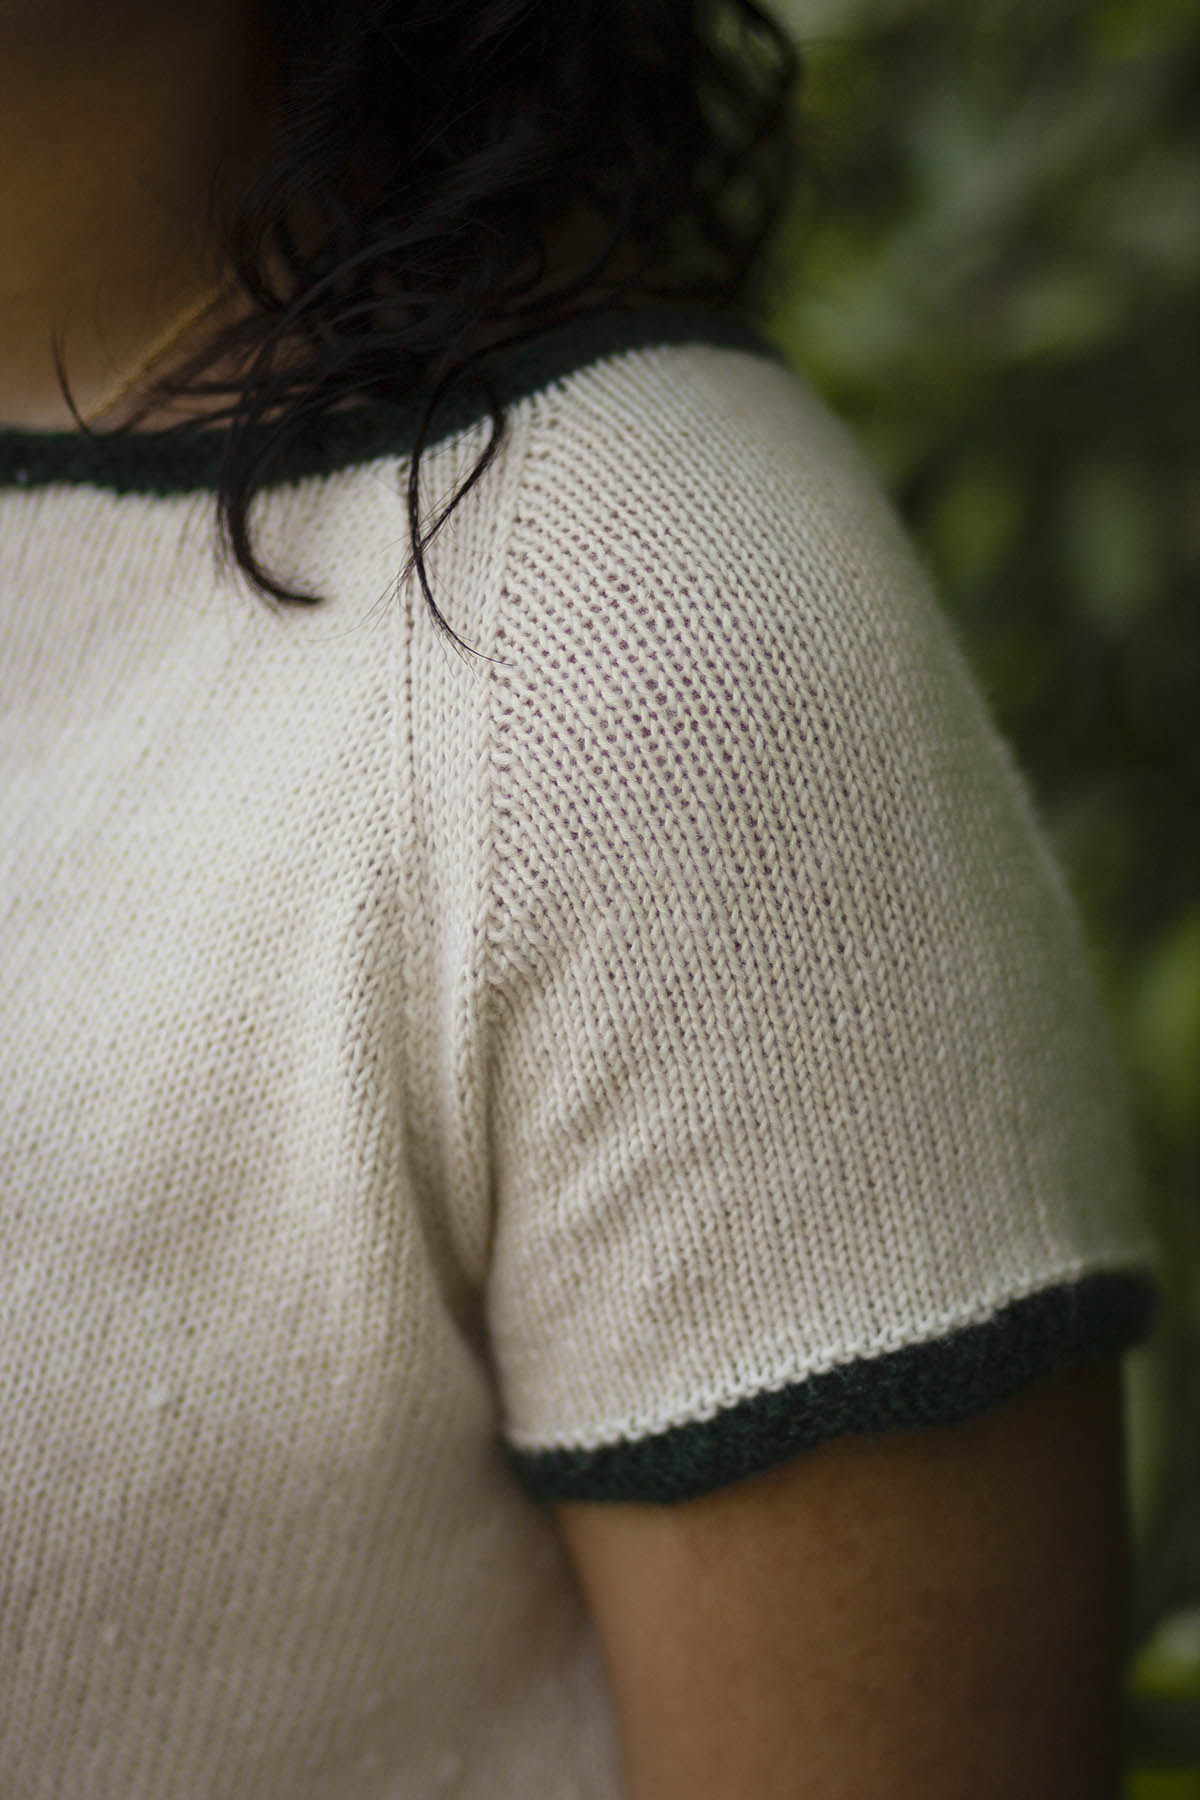
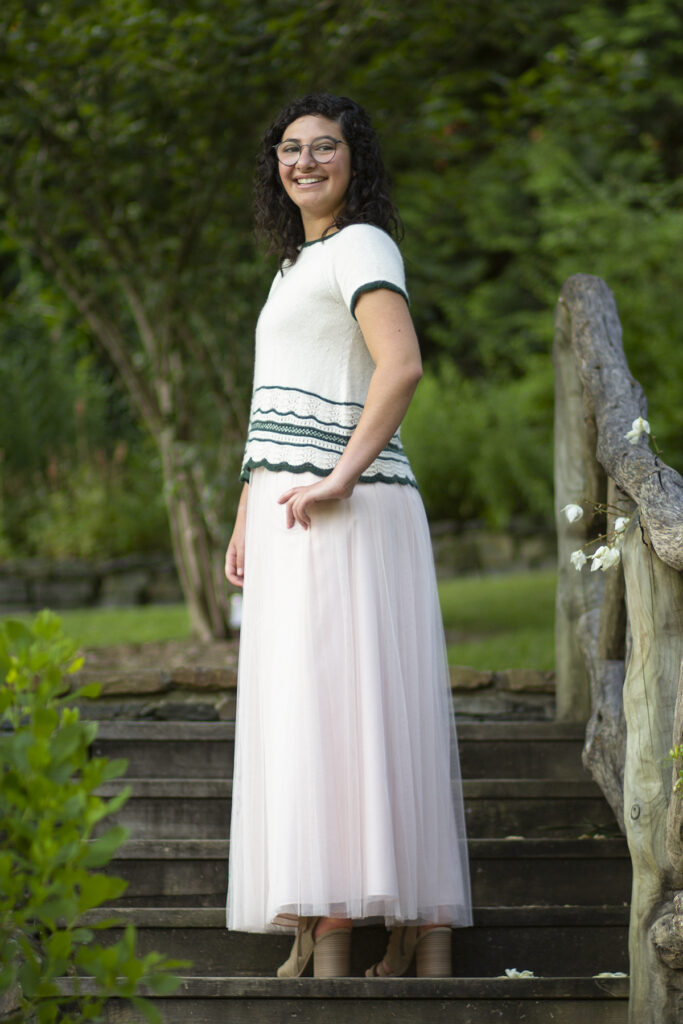
…bordering a simple stockinette body, with raglan sleeves and constrating edging. All together, Serafina is graceful, polished, and beautiful.
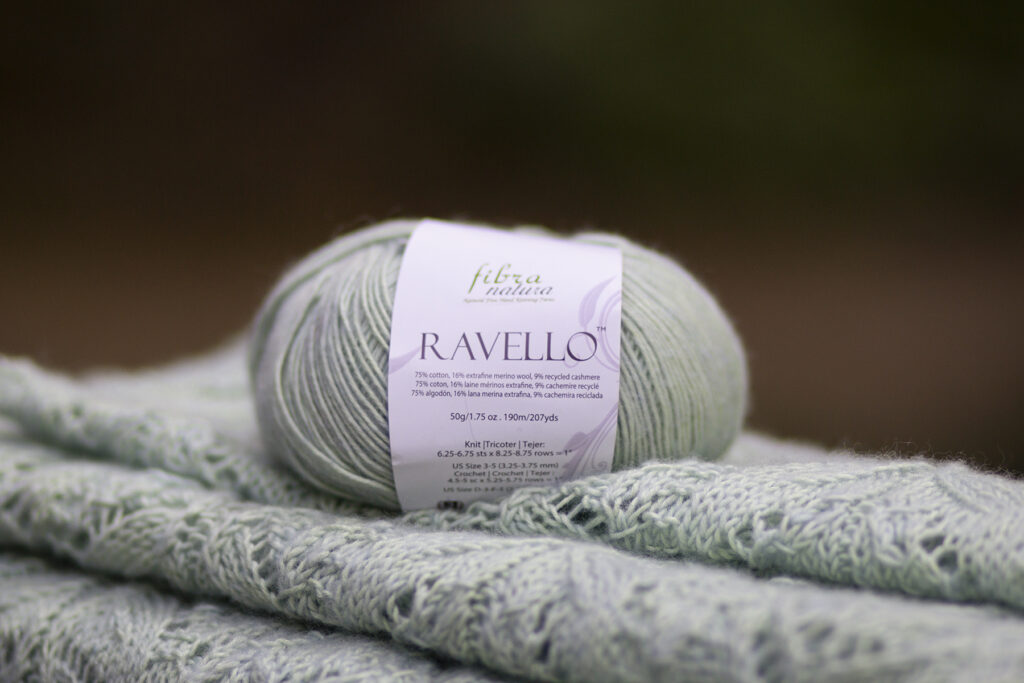
The gorgeous stitch definition and depth of color come from the yarn, Ravello. This 50% cotton/50% cashmere blend feels like a dream and works up smoothly and easily. This is one of my favorites from our Italian mill, because it is so versatile in warm weather, and because of the faint haze that the cashmere gives to the cotton. True luxury.
With its inclusive sizing and seamless construction, this pattern will appeal to a range of knitters. It certainly appeals to me. My queue continues to grow!
To get Serafina free, use the buy it now or add to cart links on the Ravelry pattern page linked here. Then enter coupon code FLASH where you see the “use a coupon code” links that appear during purchase. Not a Ravelry user? Drop us a line by the end of Sunday 6/26 and we’ll get you taken care of.
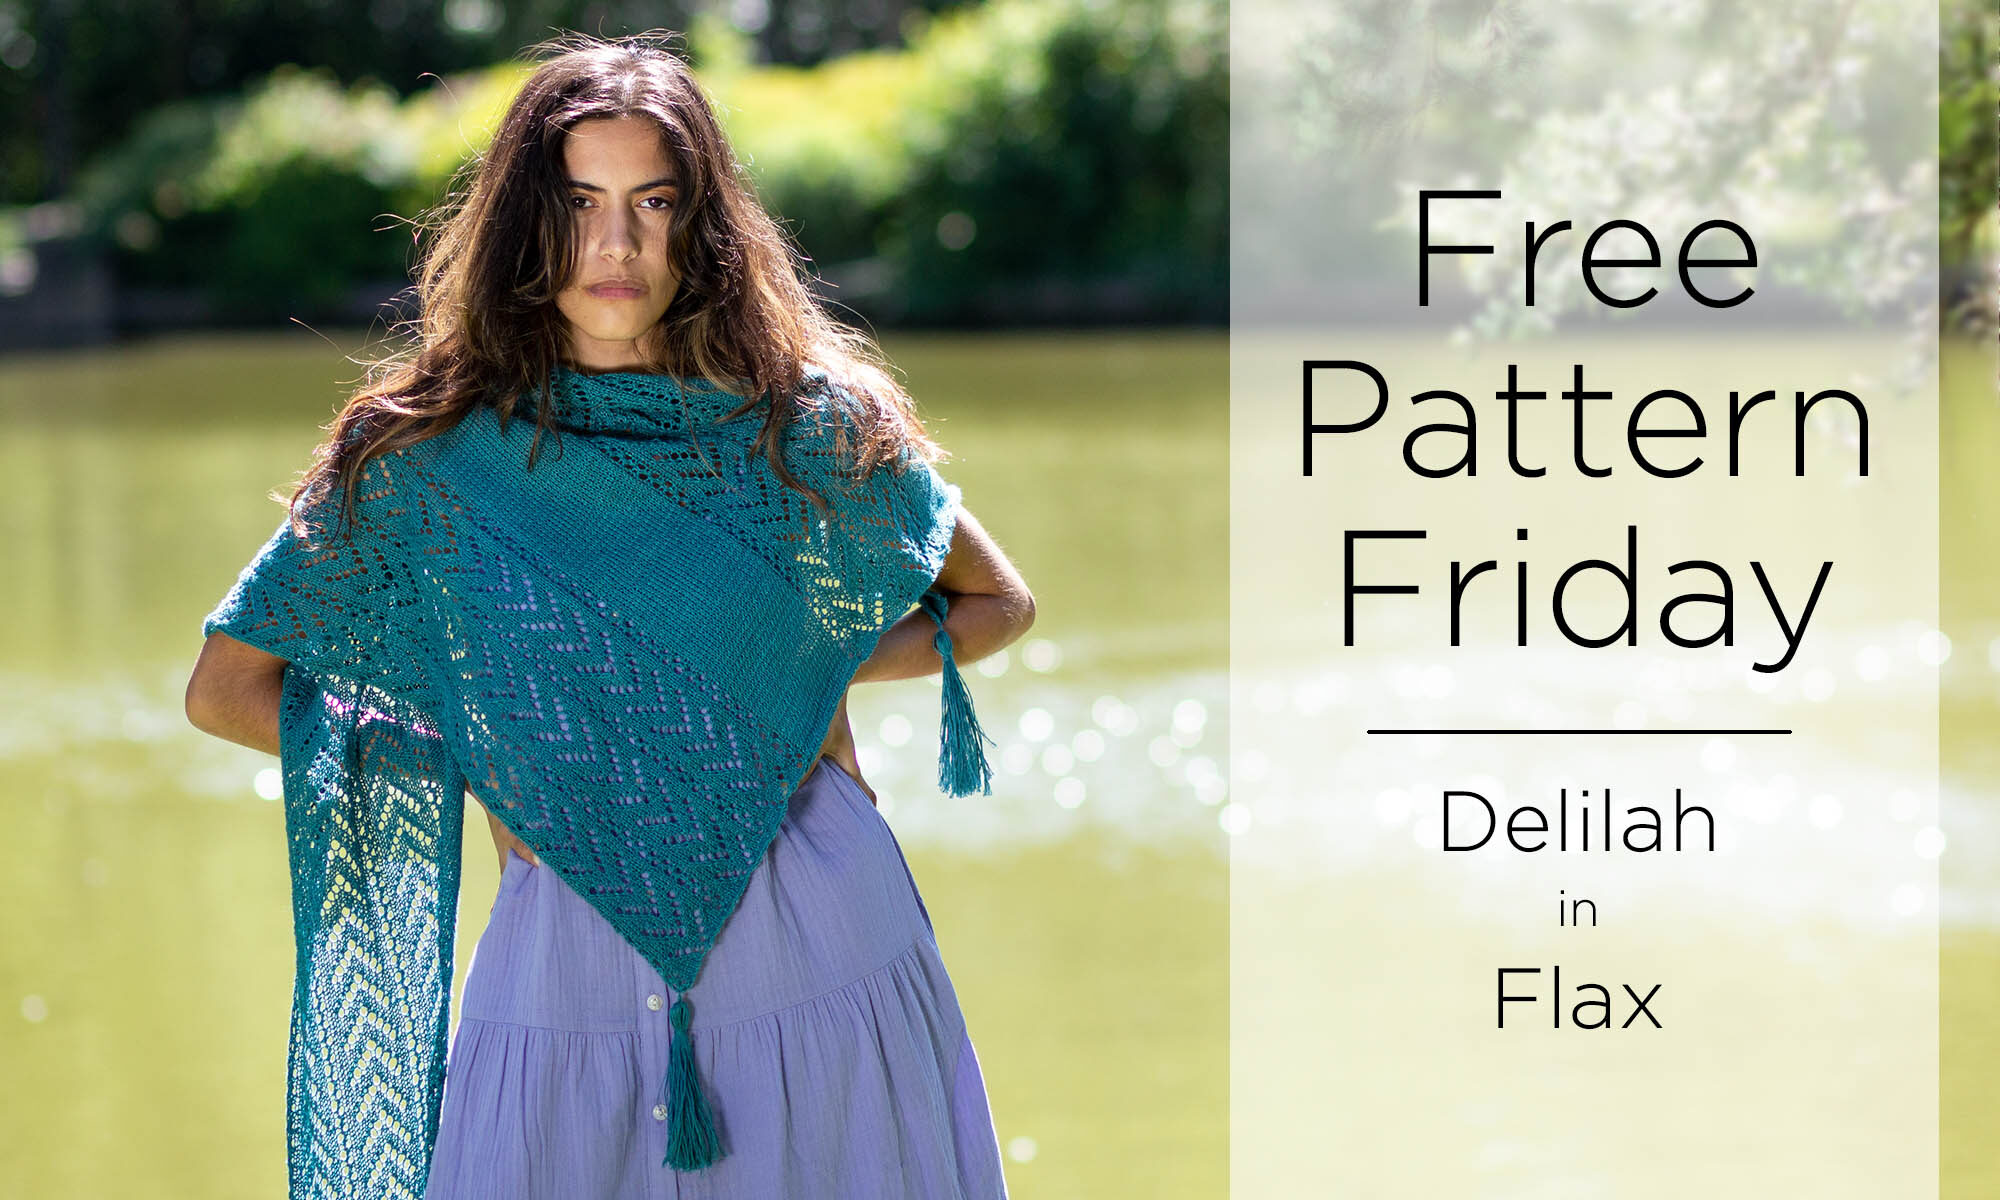
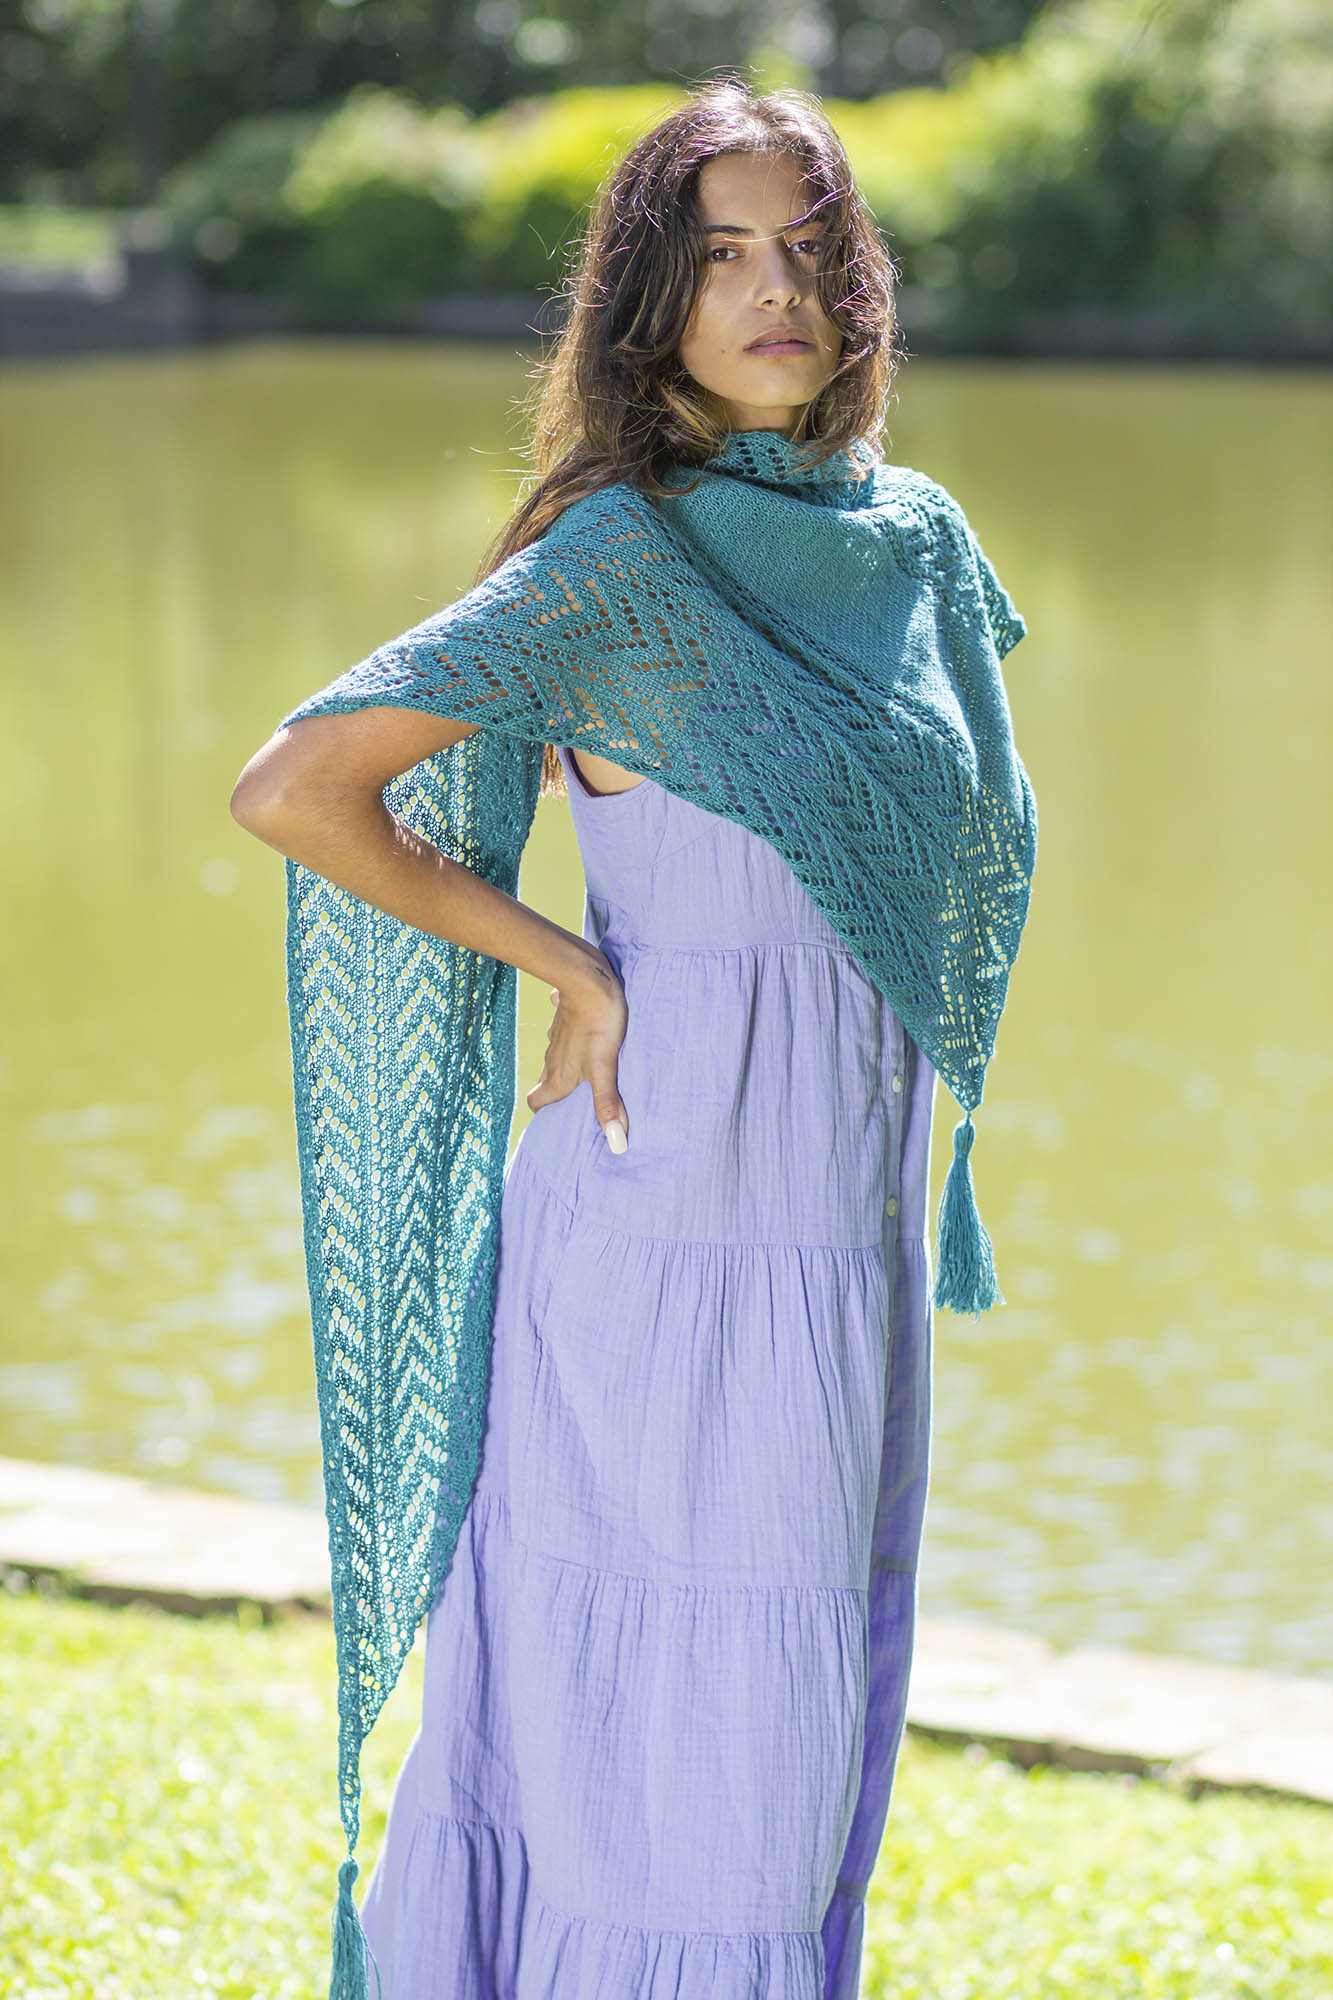
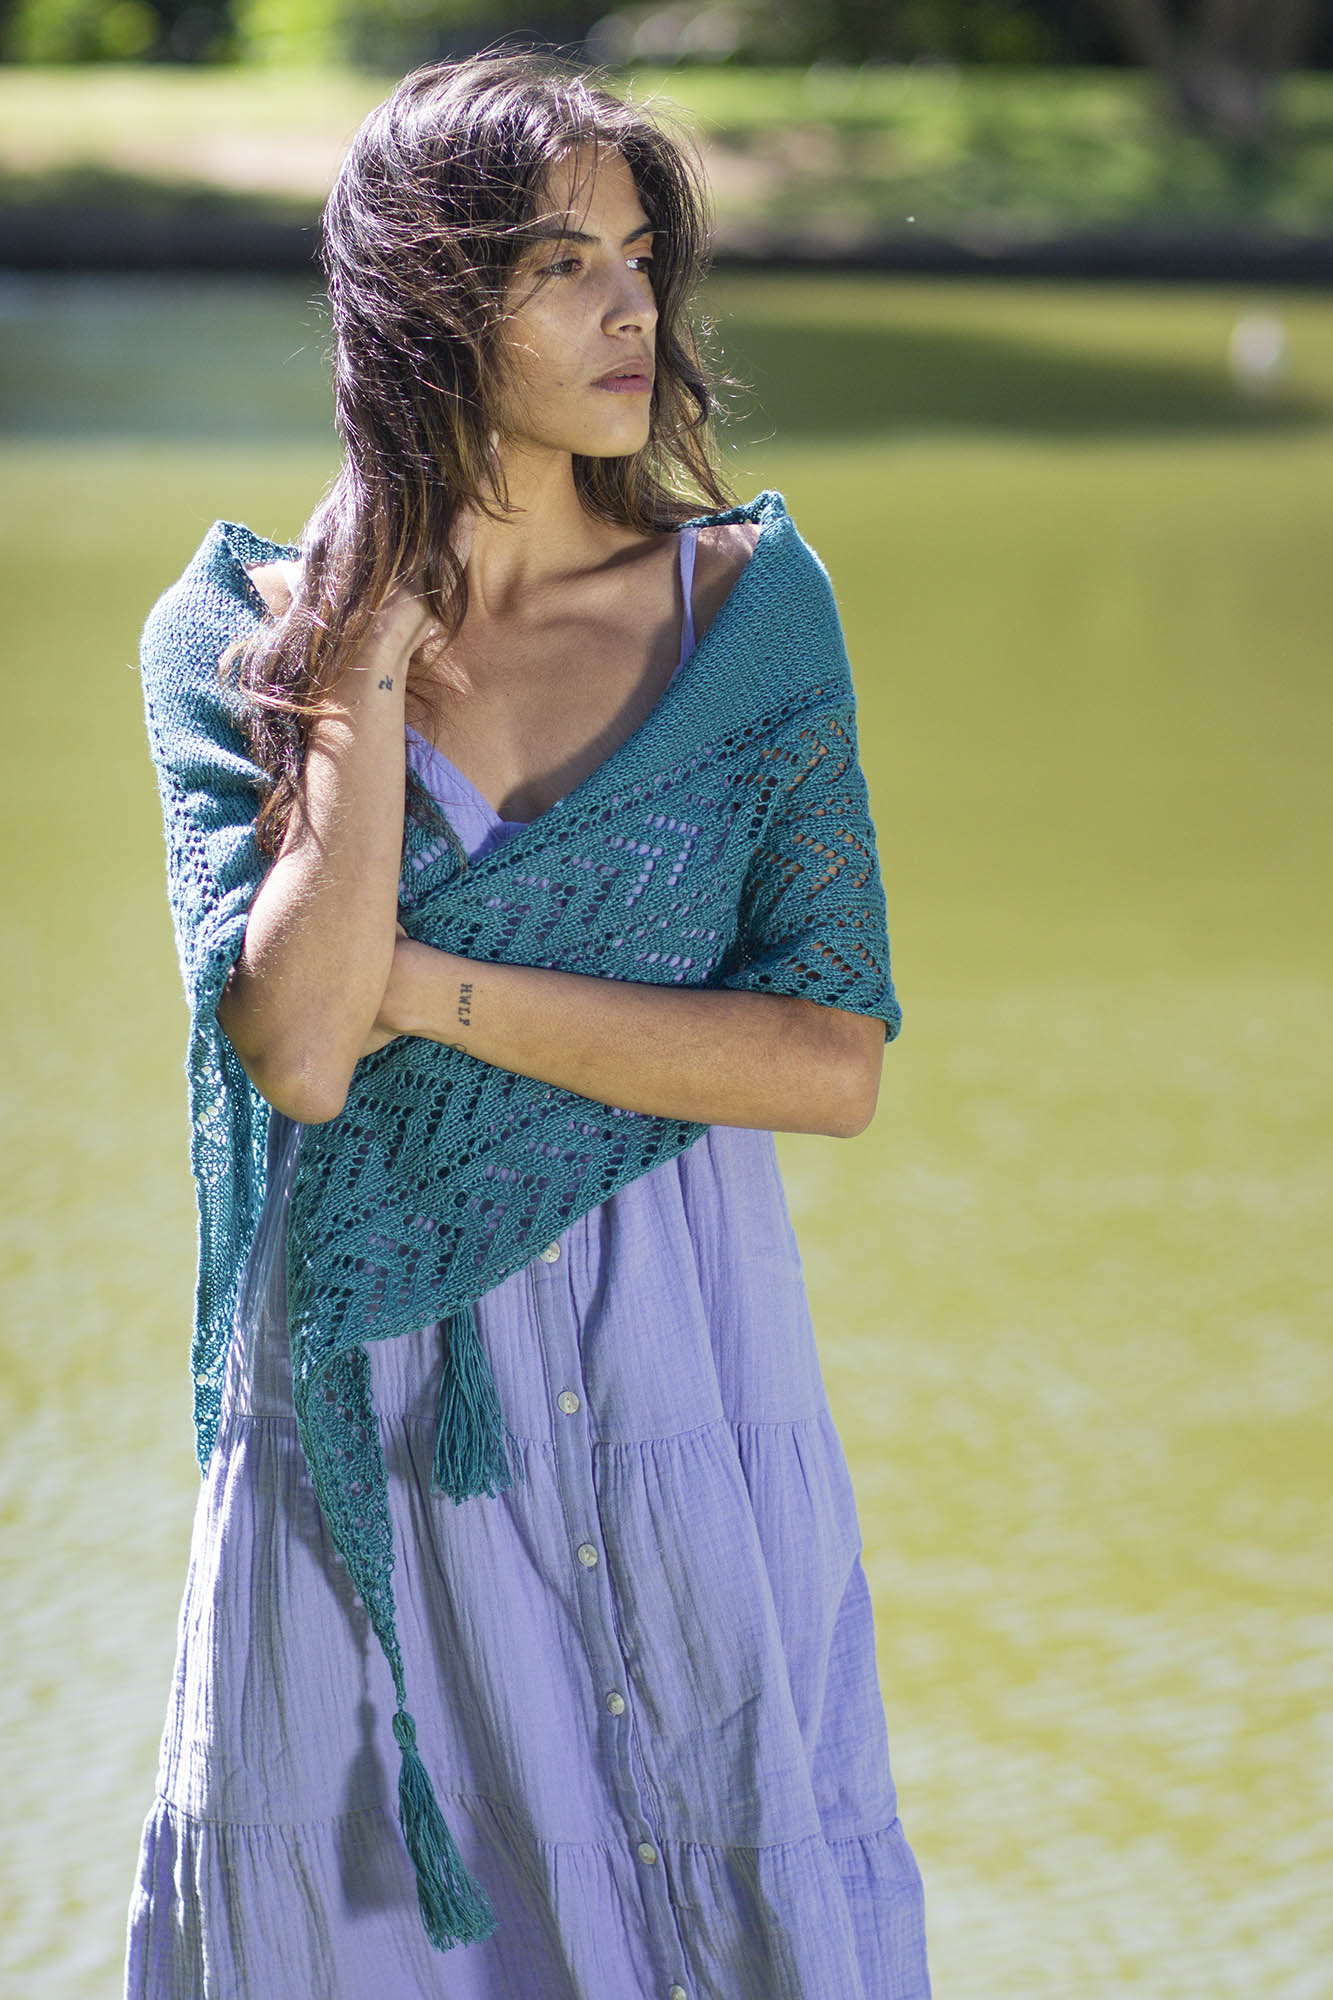
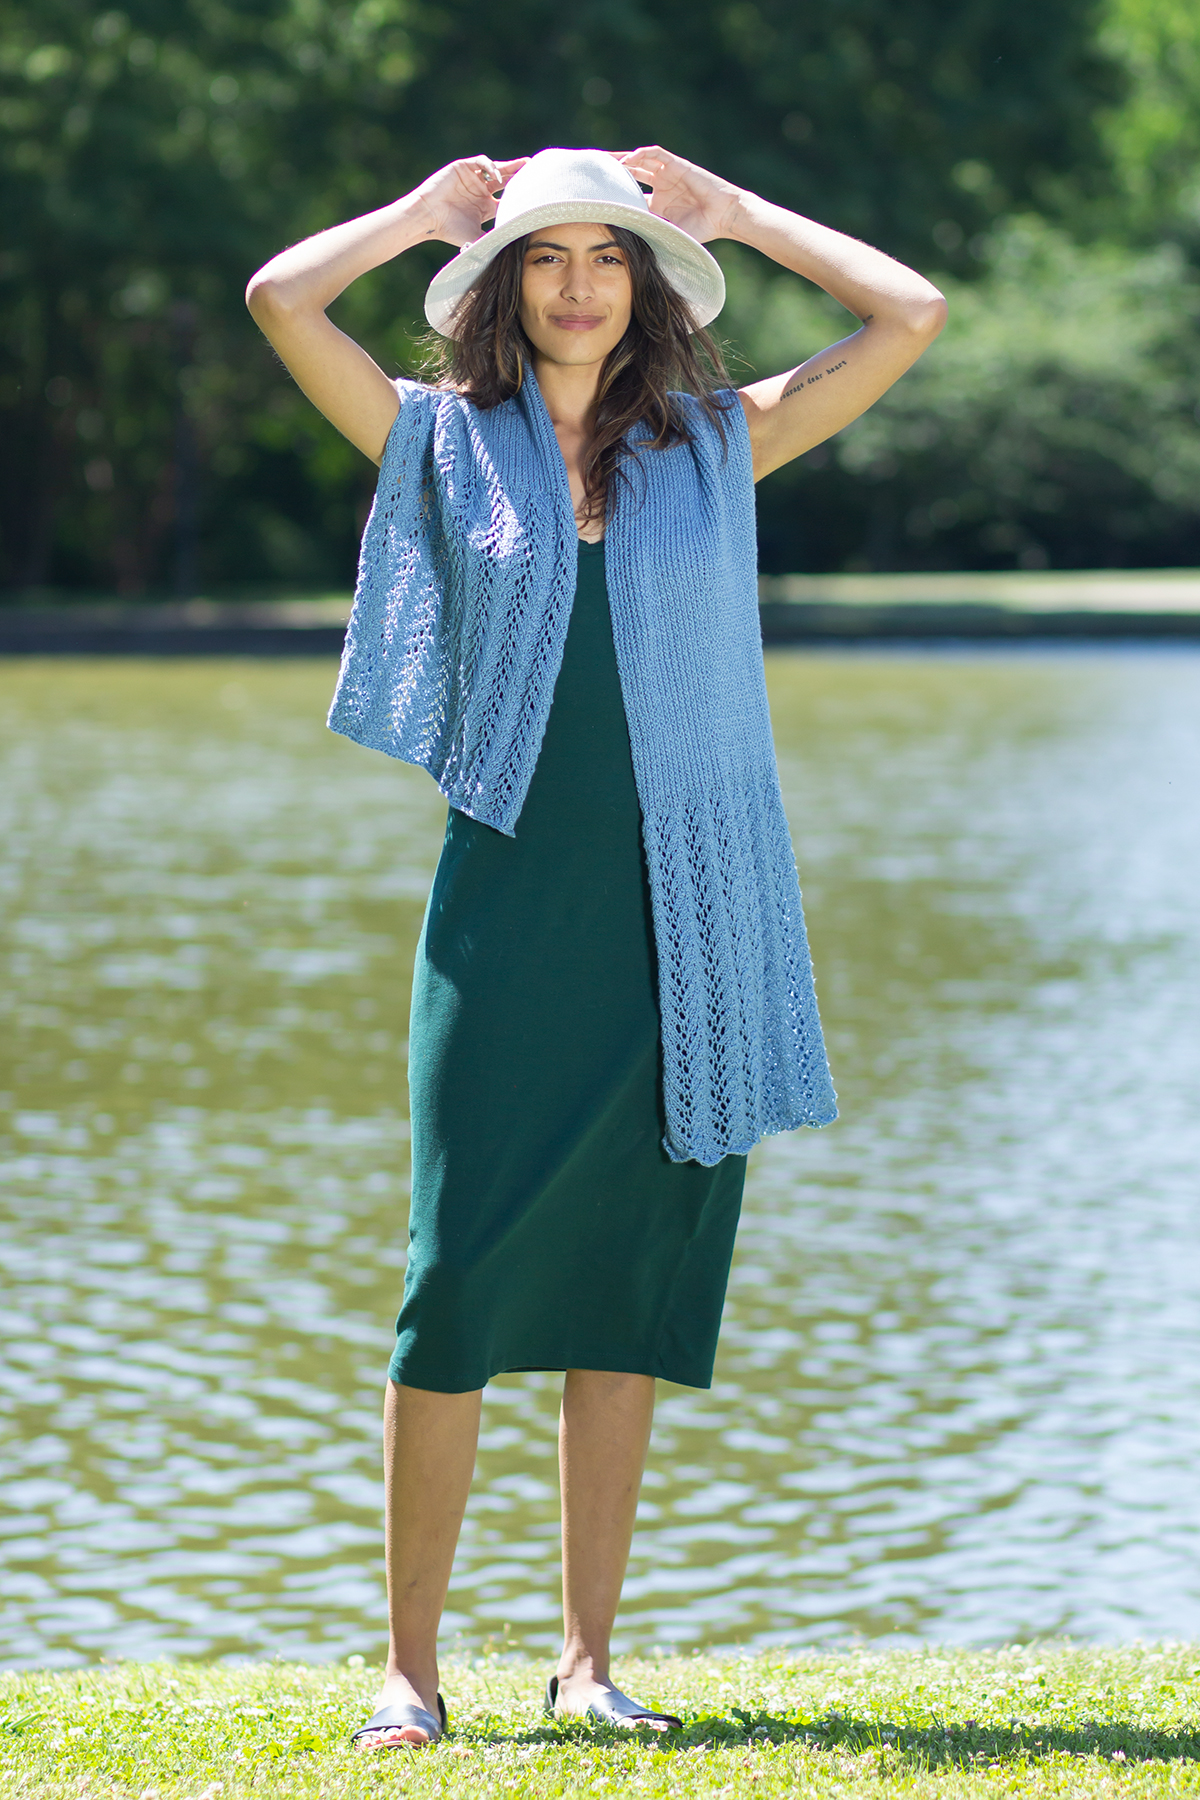
Lightweight, lacy, and perfect for summer, Delilah is a linen luxury that’s tailor-made for warm weather.
This design comes to us from Aubrey Busek. If you know her work, it’s easy to see her creative touches: she always brings a certain flair to her designs, as with the bohemian tassels adorning this asymmetrical triangular shawl.
Aubrey chose Flax 100% linen yarn for this design, and no wonder: when it comes to summer fashion and comfort, you really can’t go wrong with linen.
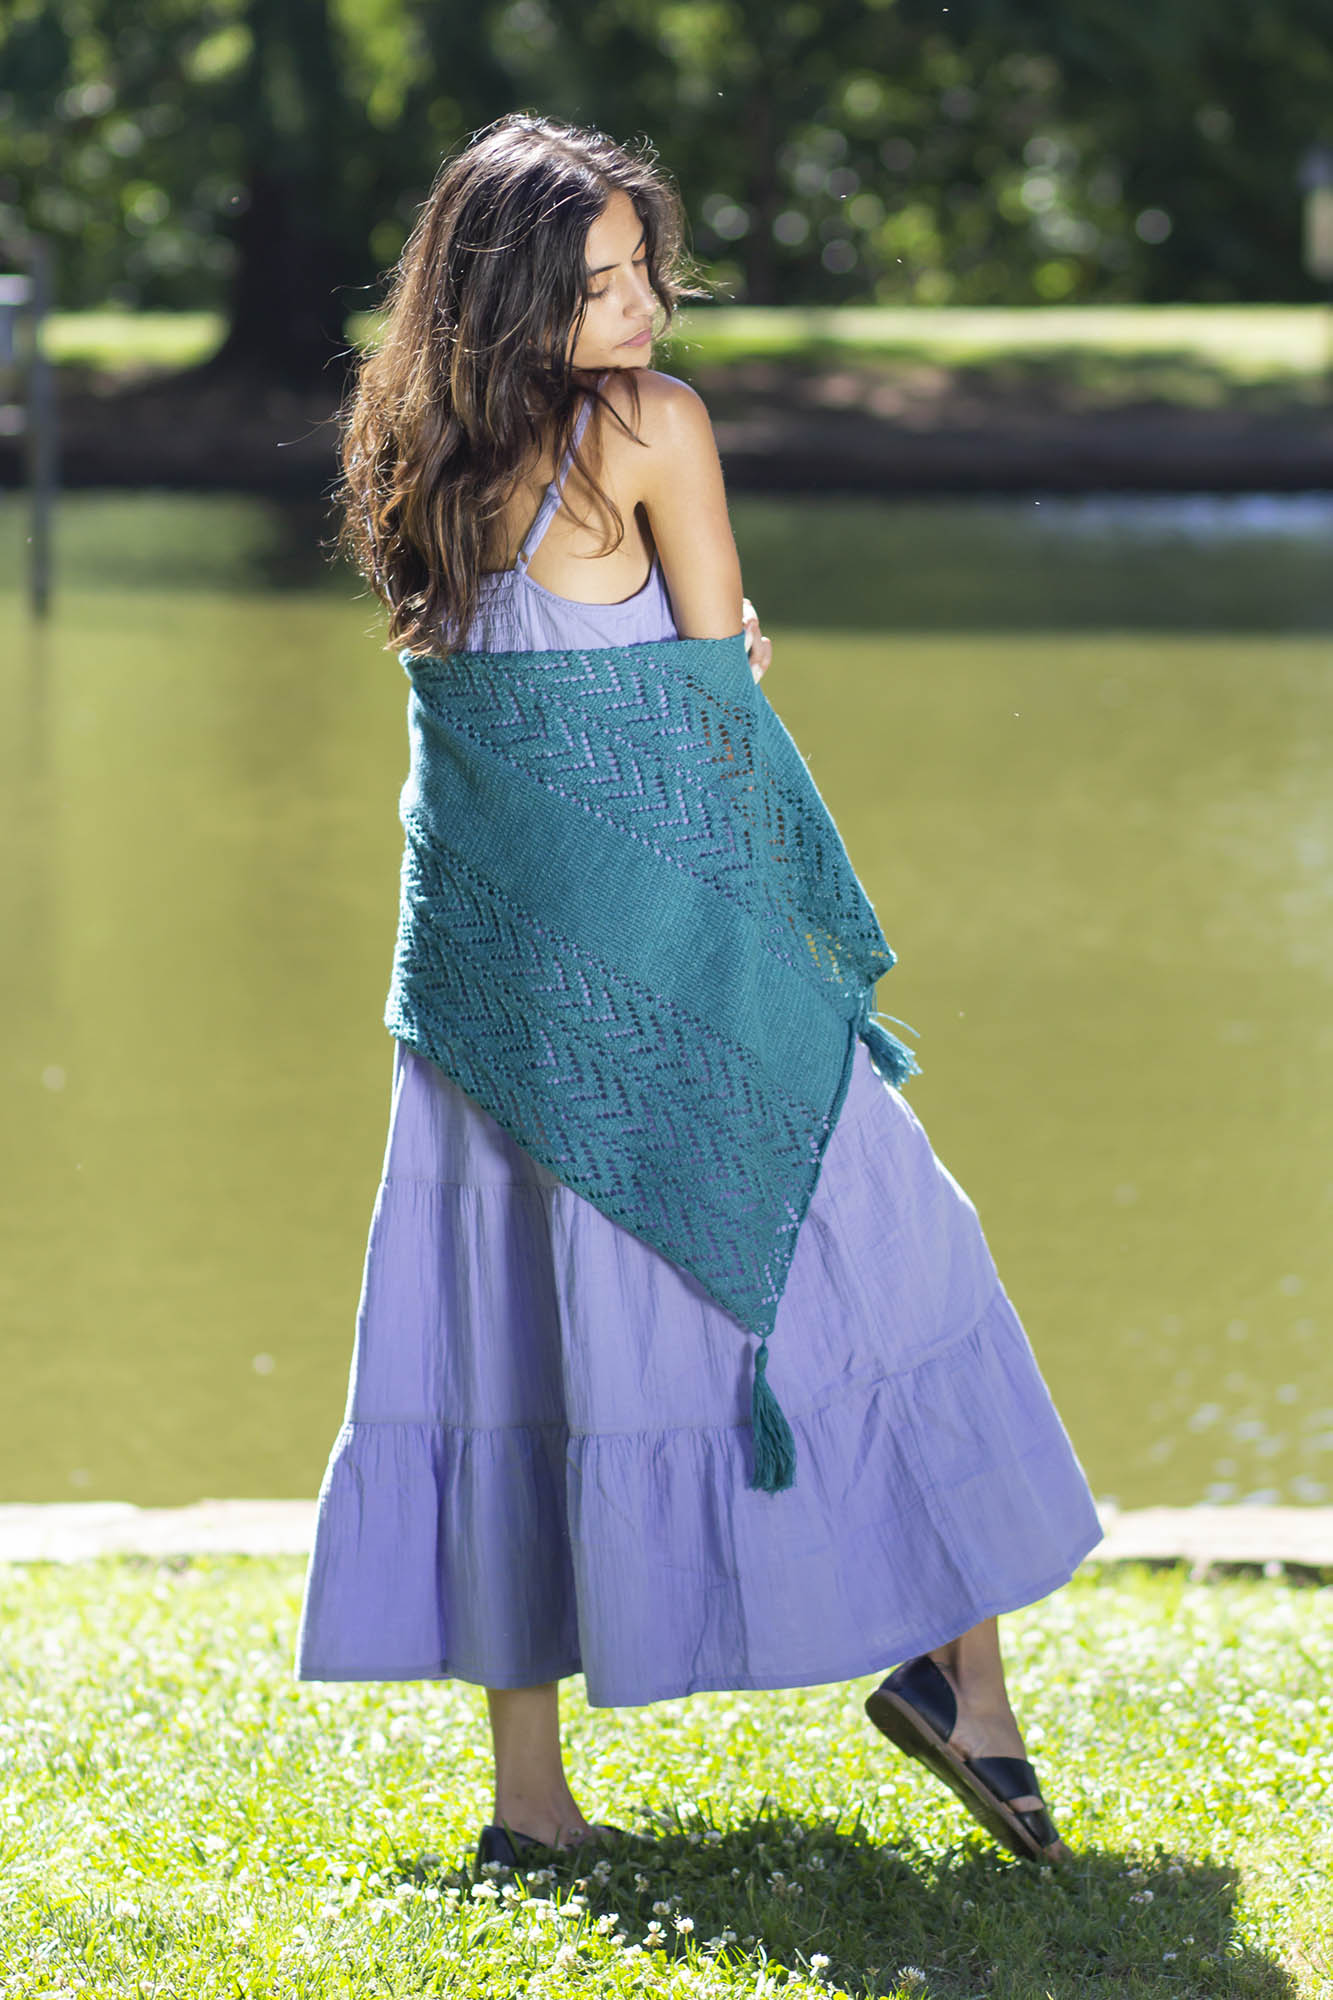
Delilah is a perfect topper to any outfit you choose. We’ve paired it with a long summer dress here, but it’s simple to style any number of ways. Its 50″ length looks great wrapped over the bodice, draped loosely at your neck, or artfully thrown over one shoulder.
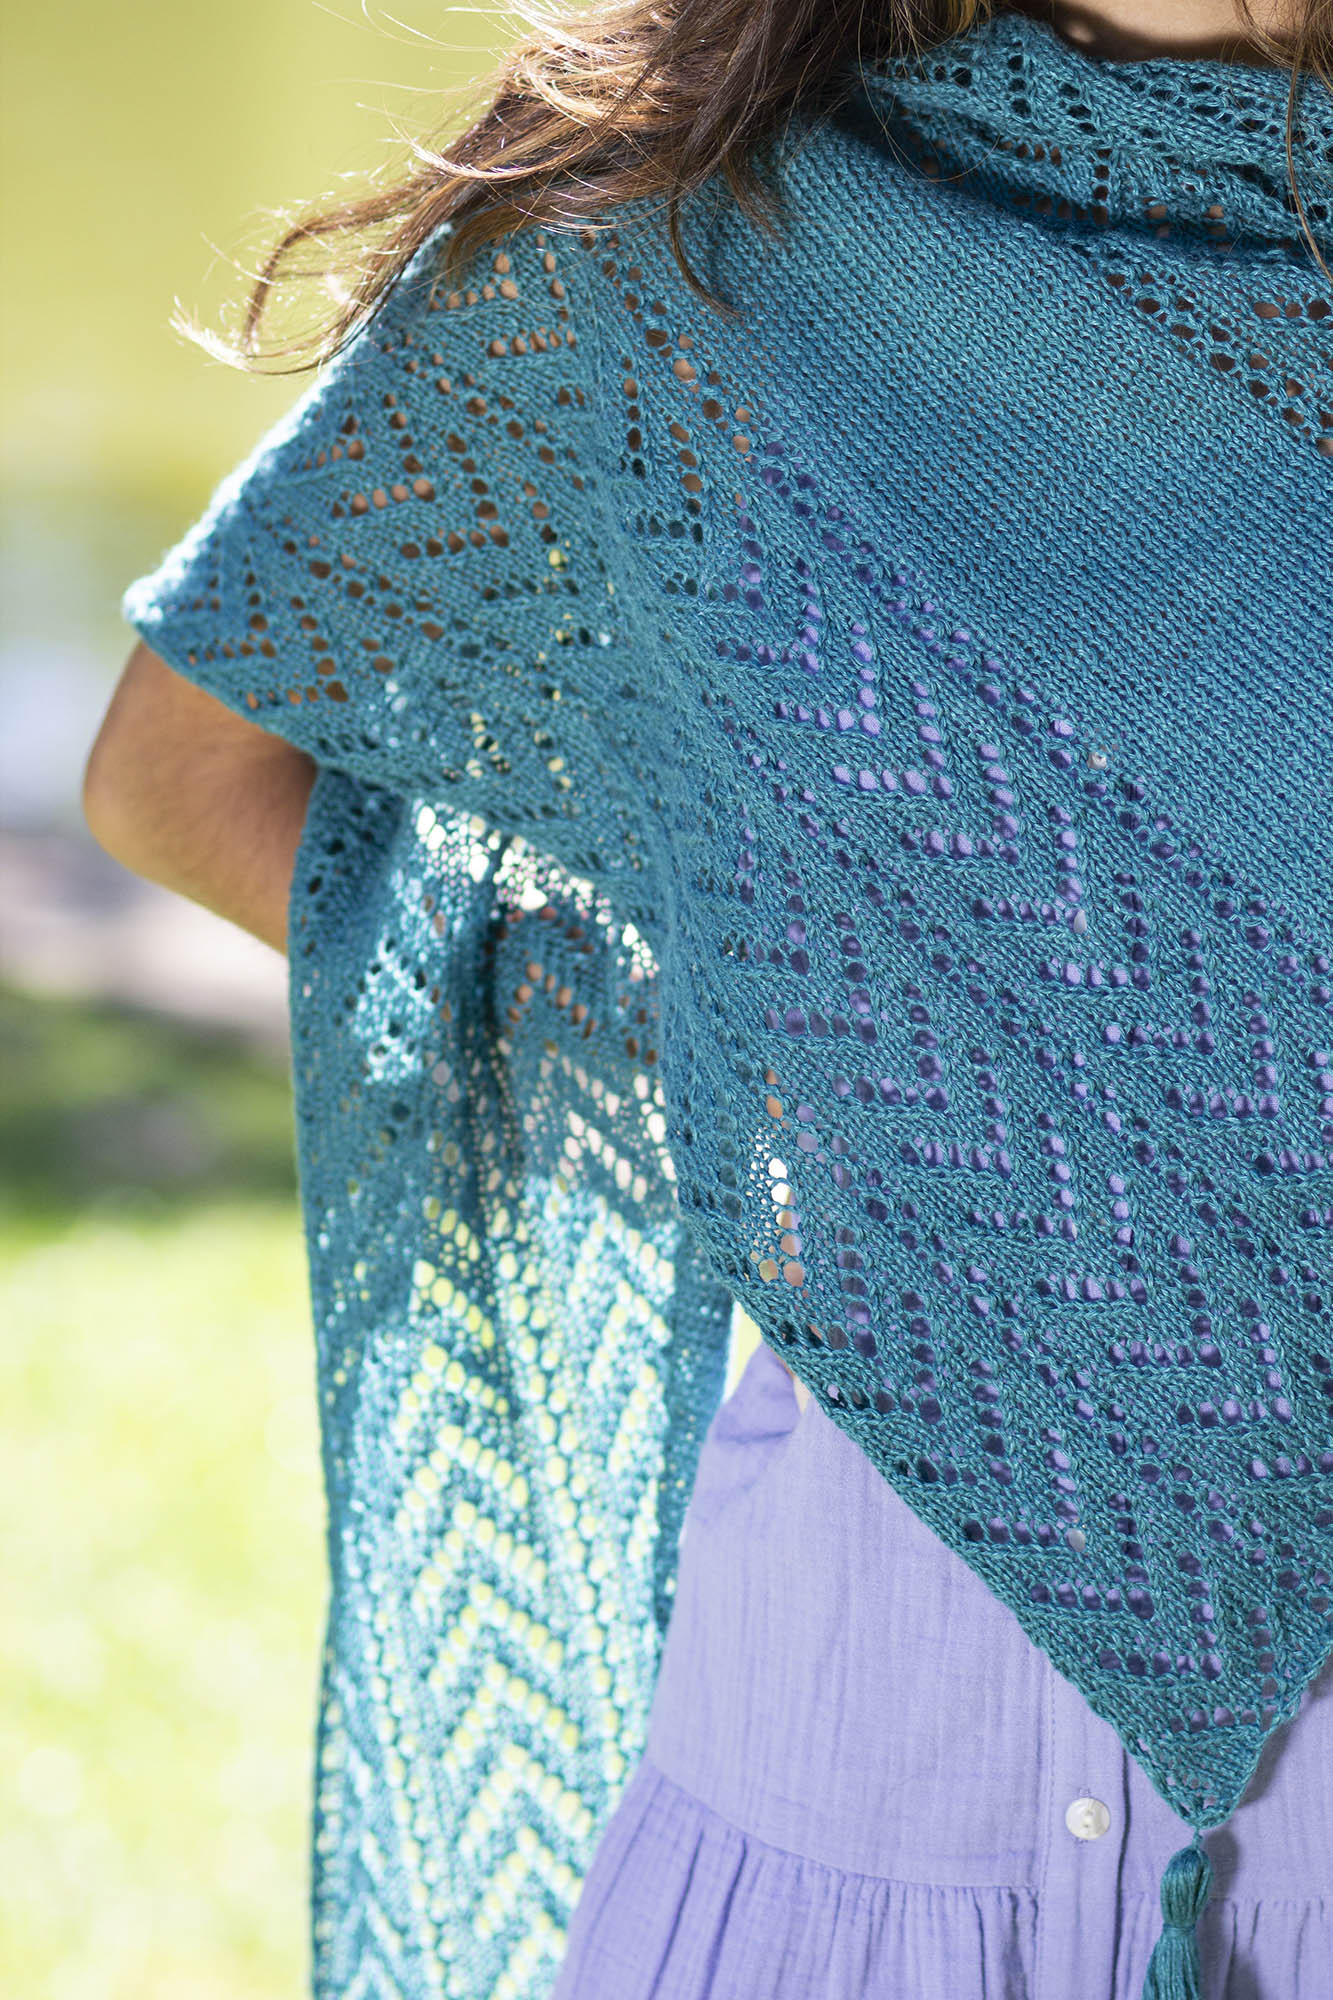
Delilah’s lace repeat is easy to memorize, and a great match for its soothing stockinette center. This shawl is just as fun to work up as it is to wear.
This is definitely a design to bump to the top of the queue.
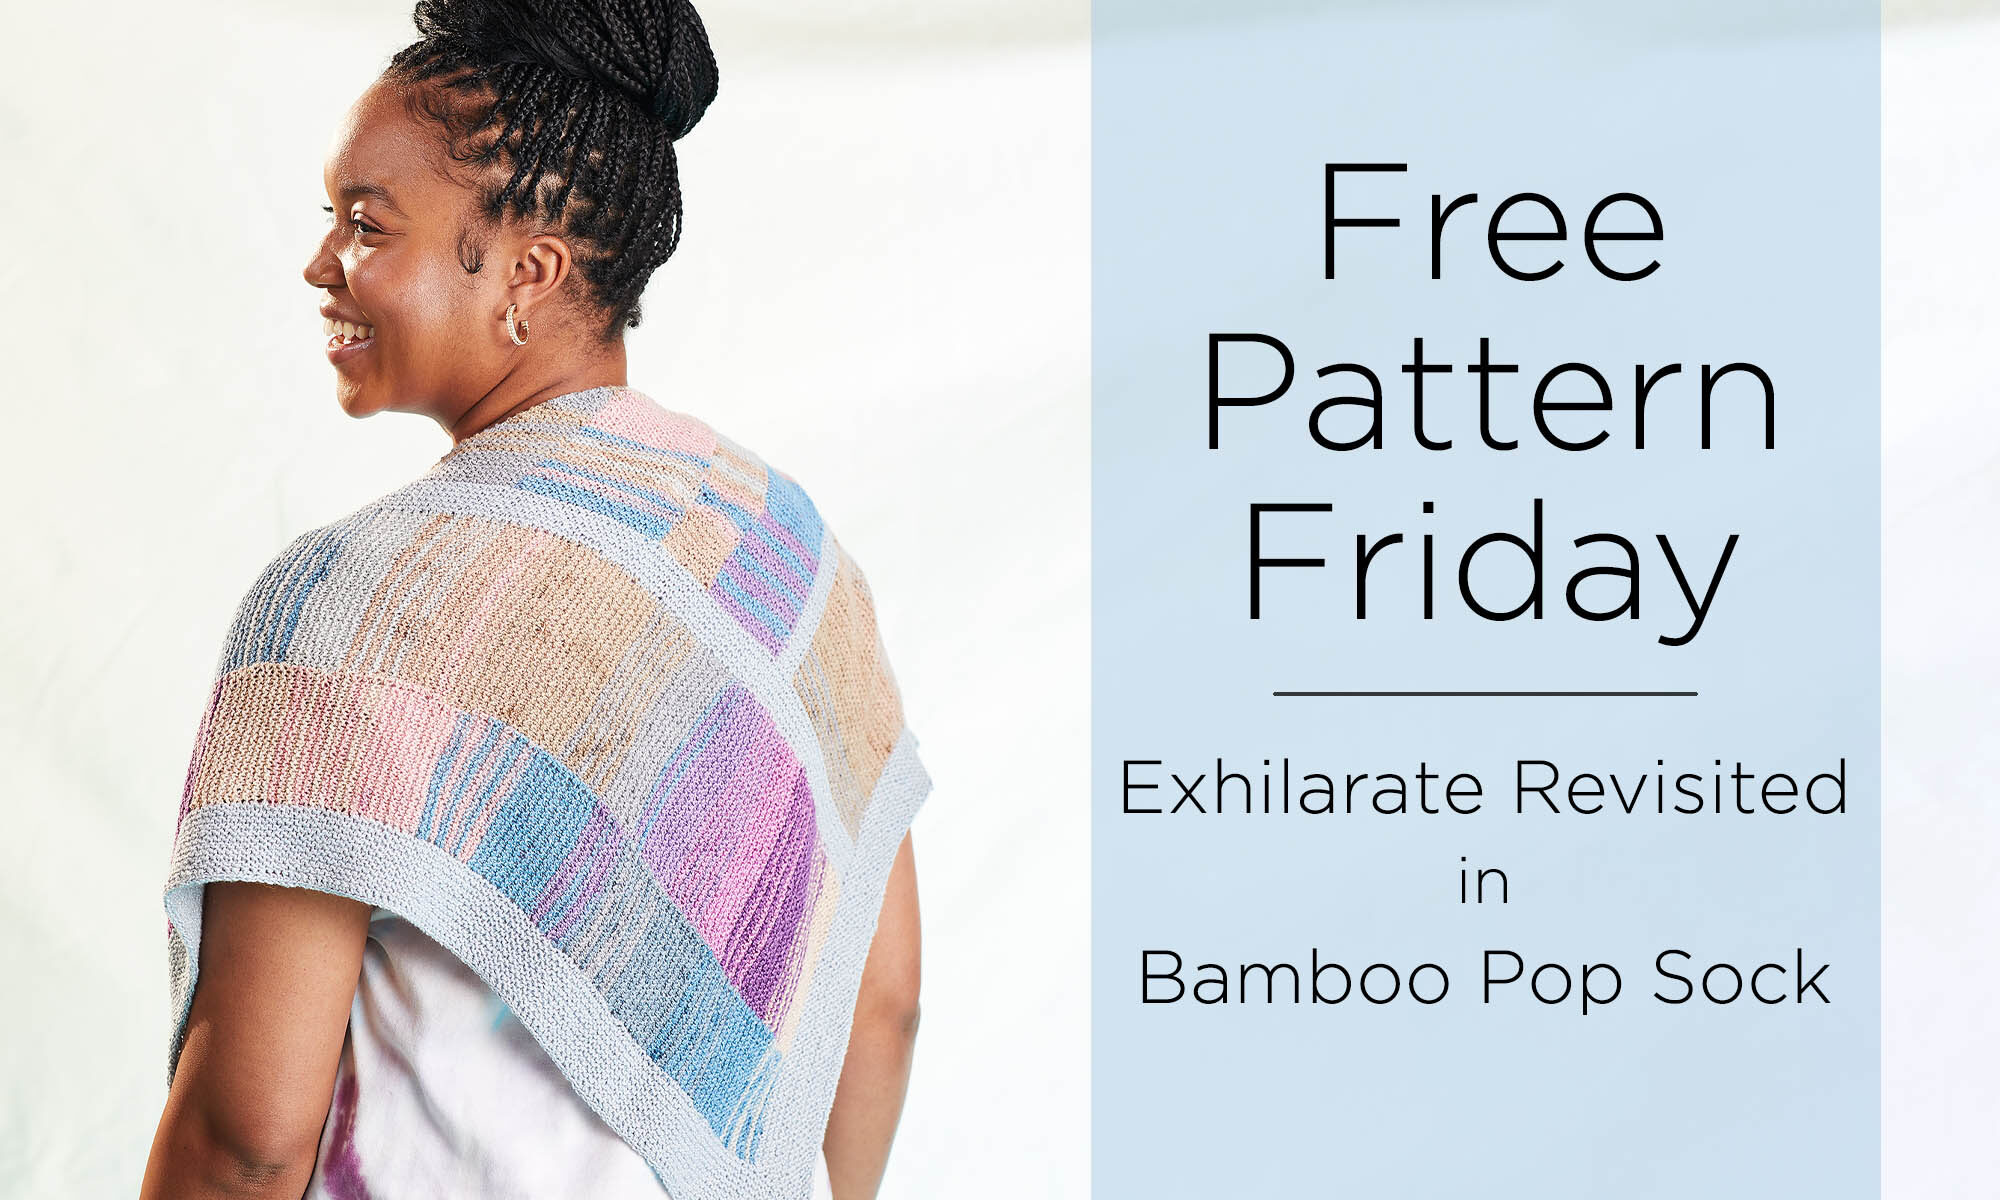
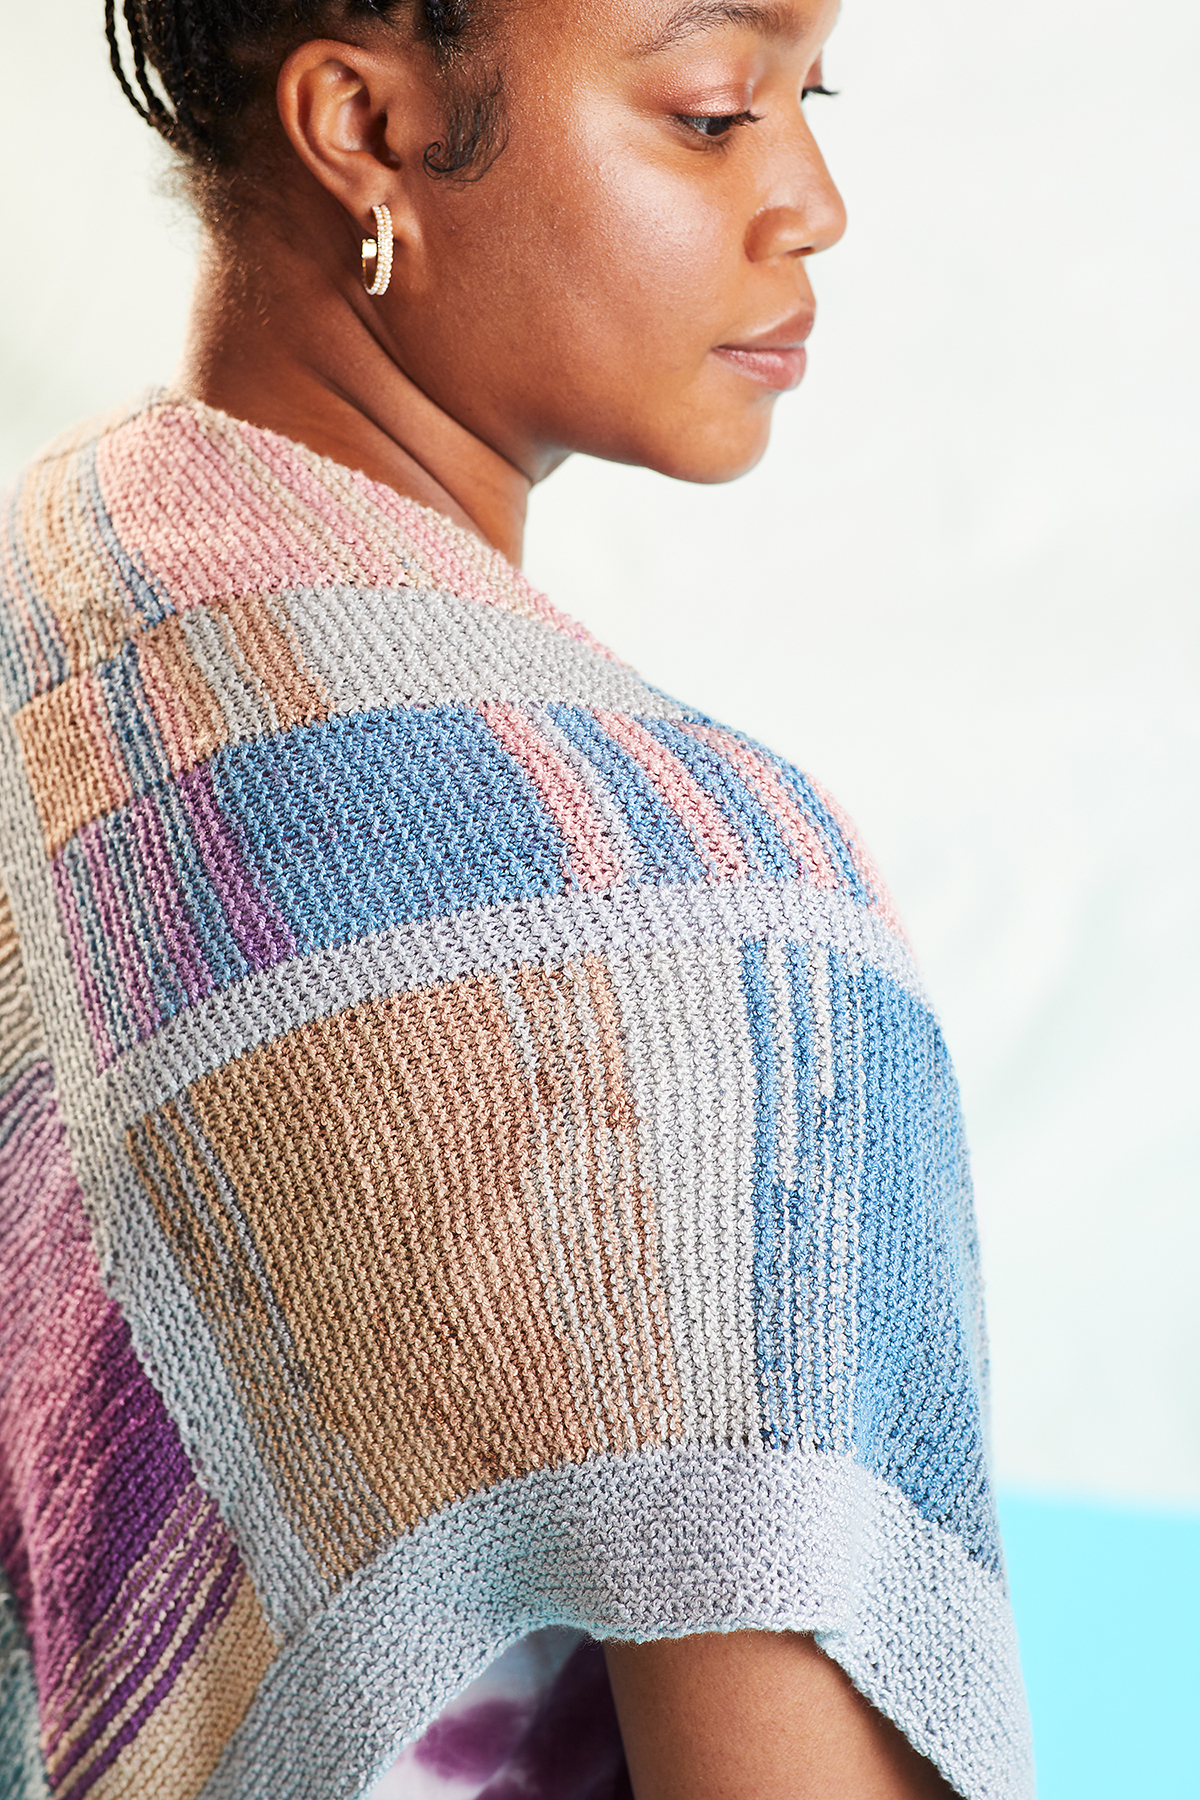
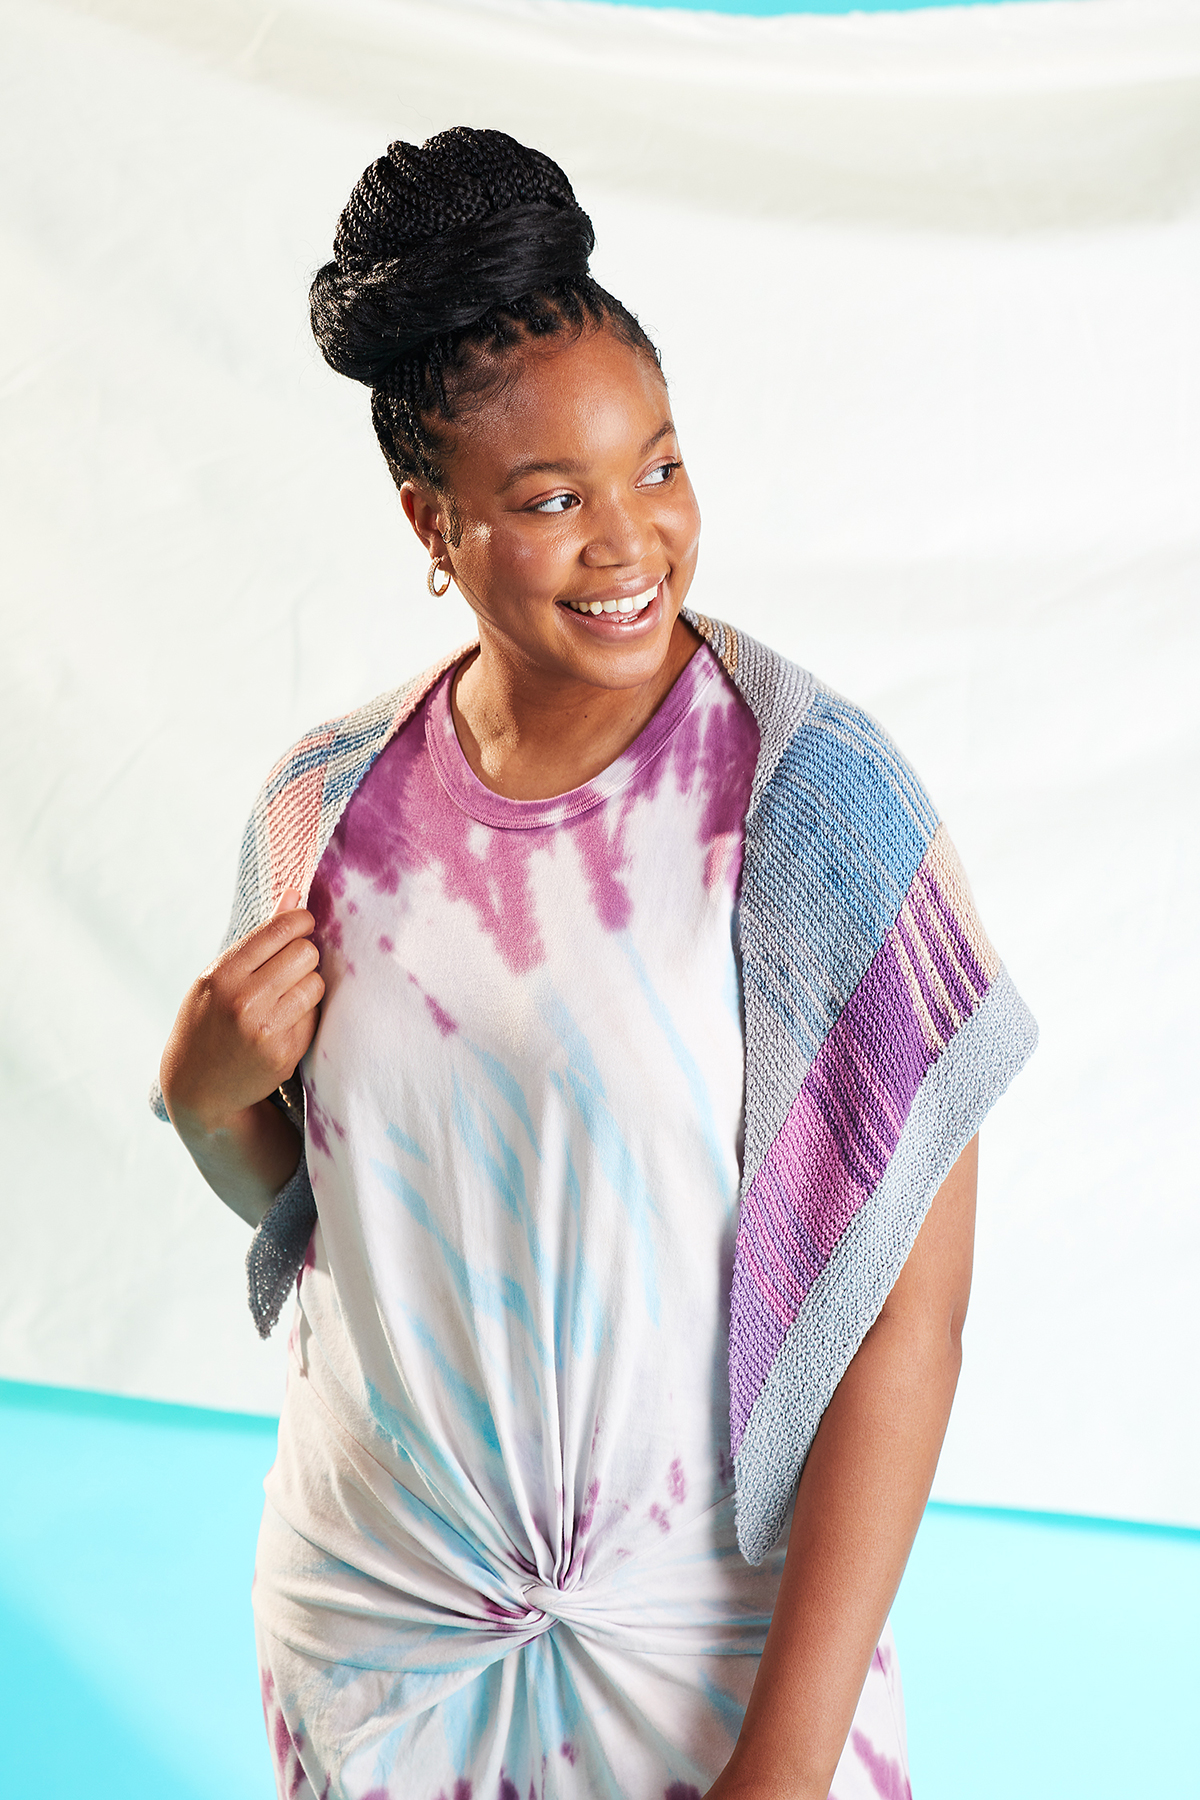
The “Revisited” in this pattern’s name is because it is a re-imagining of an existing sock yarn shawl, Exhilarate. We loved the way it used panels of varying widths in self-striping yarn to create different lengths of stripes. It led us to think, “hmmm… this would look great in Bamboo Pop Sock!”
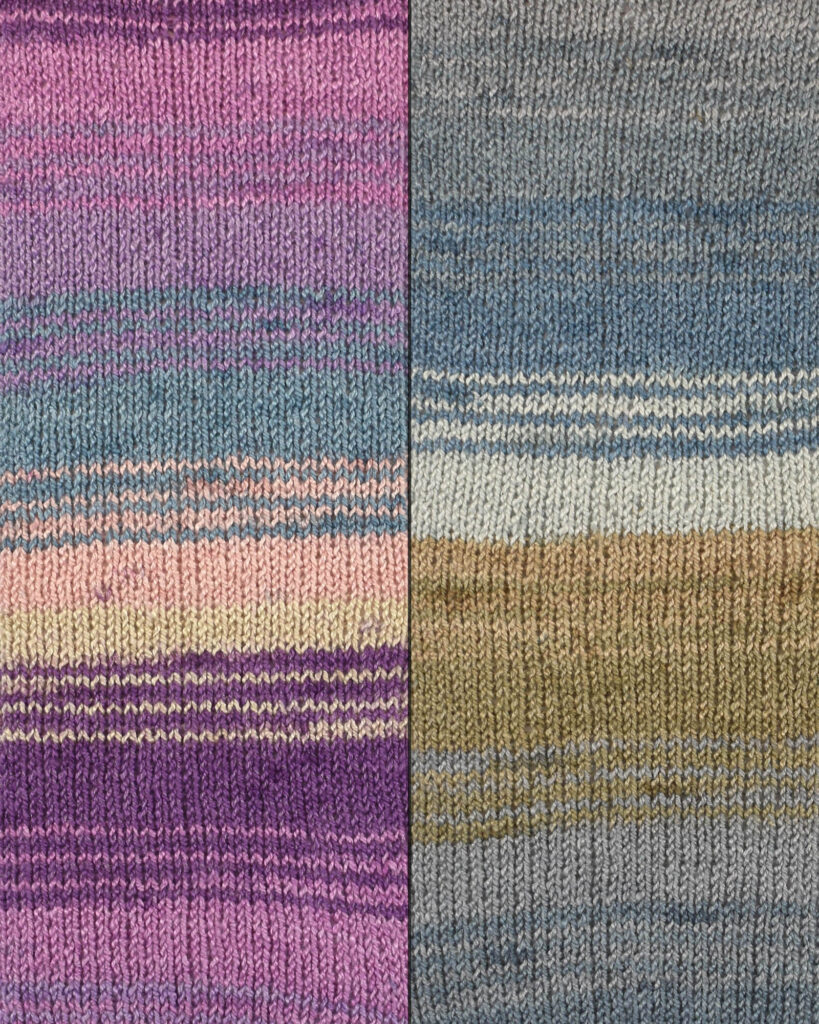
(L-R) Bamboo Pop Sock colors 506 Rip Tide and 503 Jetties
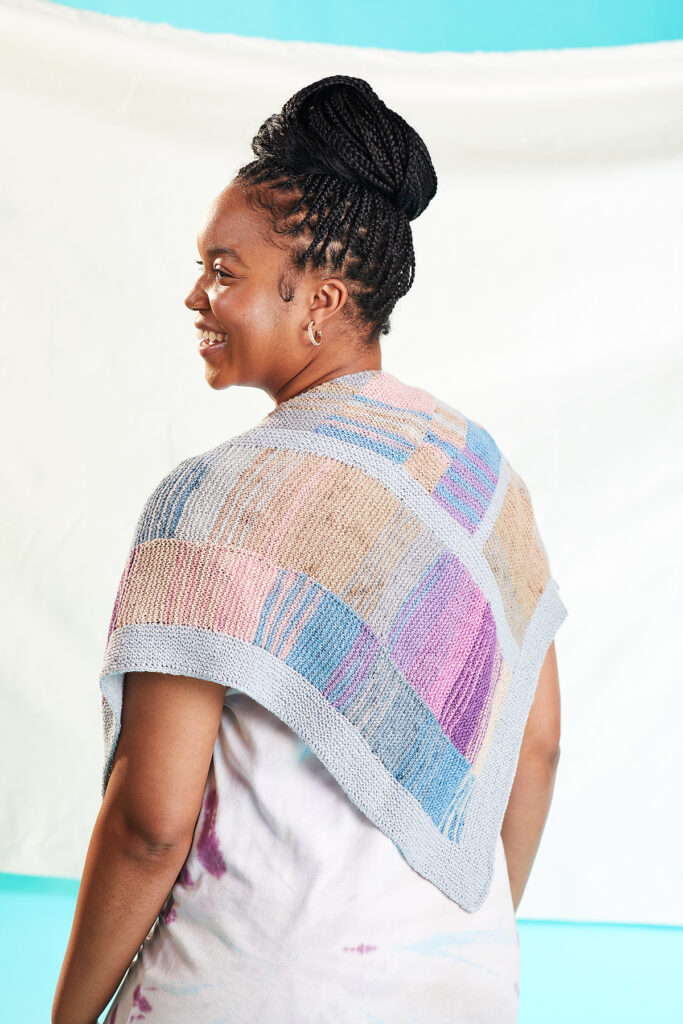
Perfect for a confident beginner, Exhilarate Revisited uses garter stitch and lets the color do the work. Looking to build your skills? We’ve implemented a touch of intarsia for a colorful effect sure to turn heads. The tidy edge is created by an i-cord bind-off. It’s a handy tool to have in your knitter’s bag of tricks!
This shawl is worked modularly in 4 sections. A diagram is included to help you visualize the construction. You’ll create the stripes, then pick up stitches to add the solid border along the two shorter sides.
This accessory is so lightweight and drapey in wool-free Bamboo Pop Sock – it’s perfect for summer.
First, though, here is actual footage of me seeing this dress for the first time:
Squeeeee!
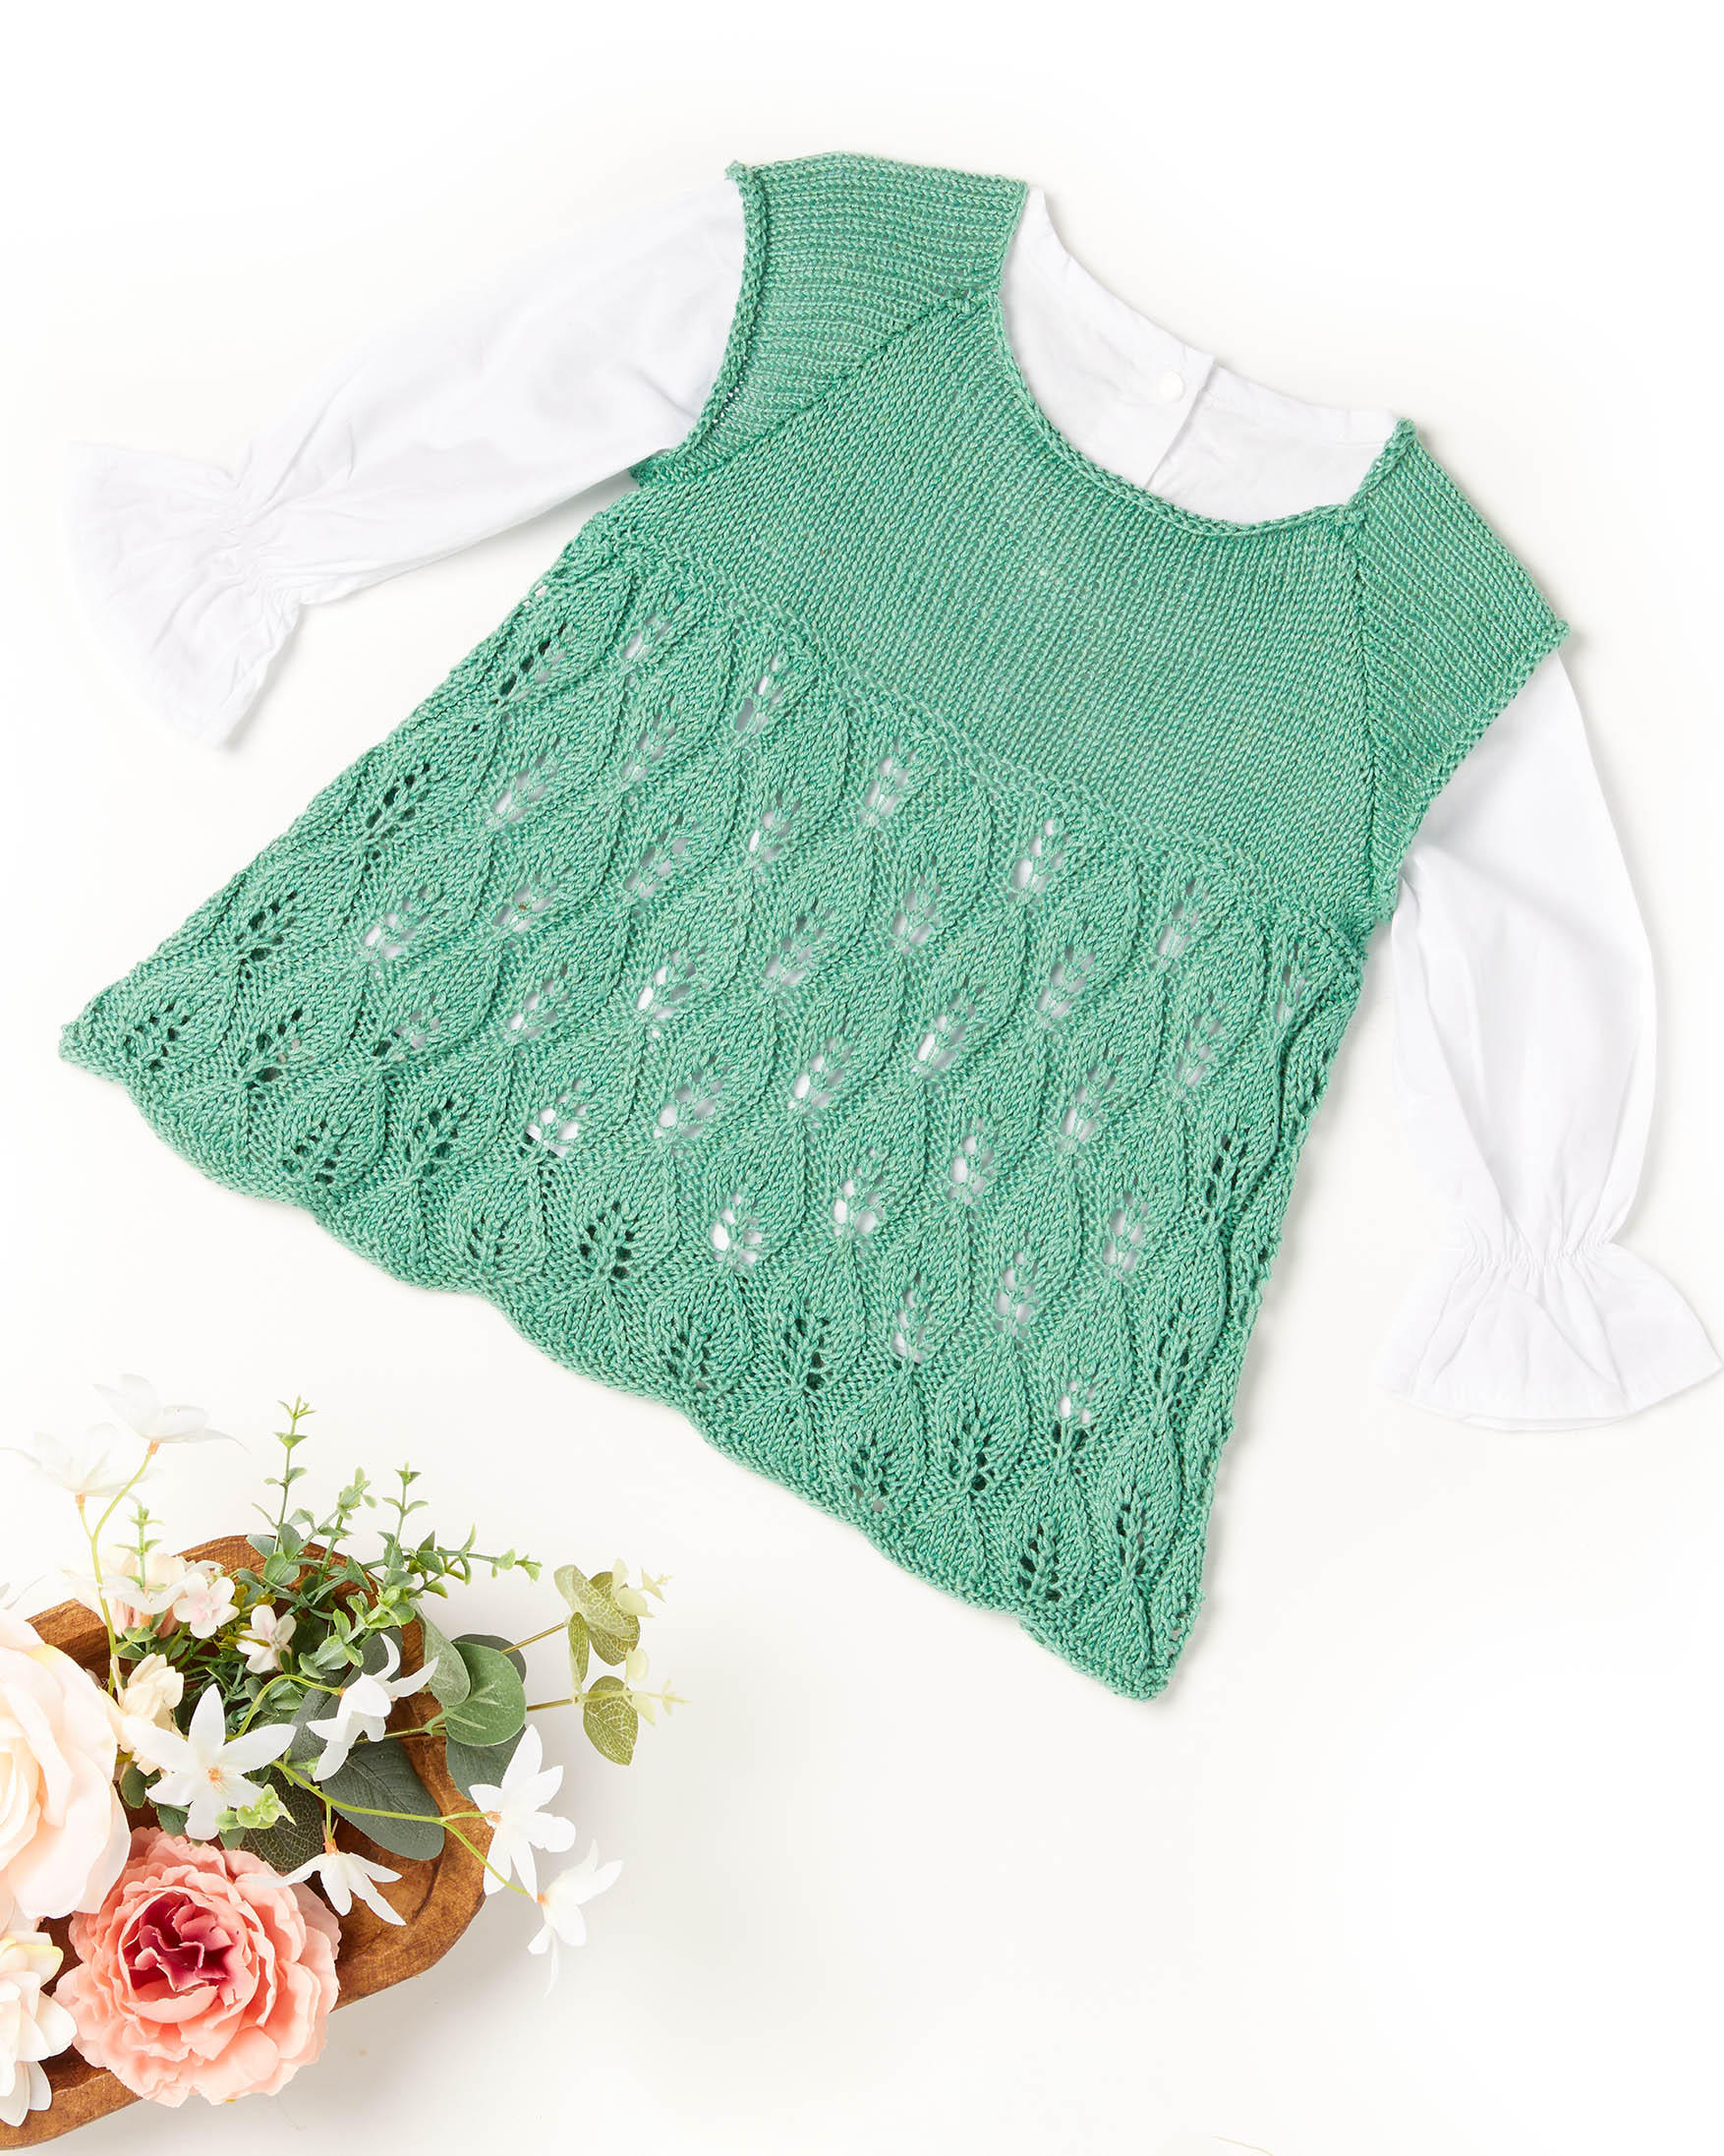
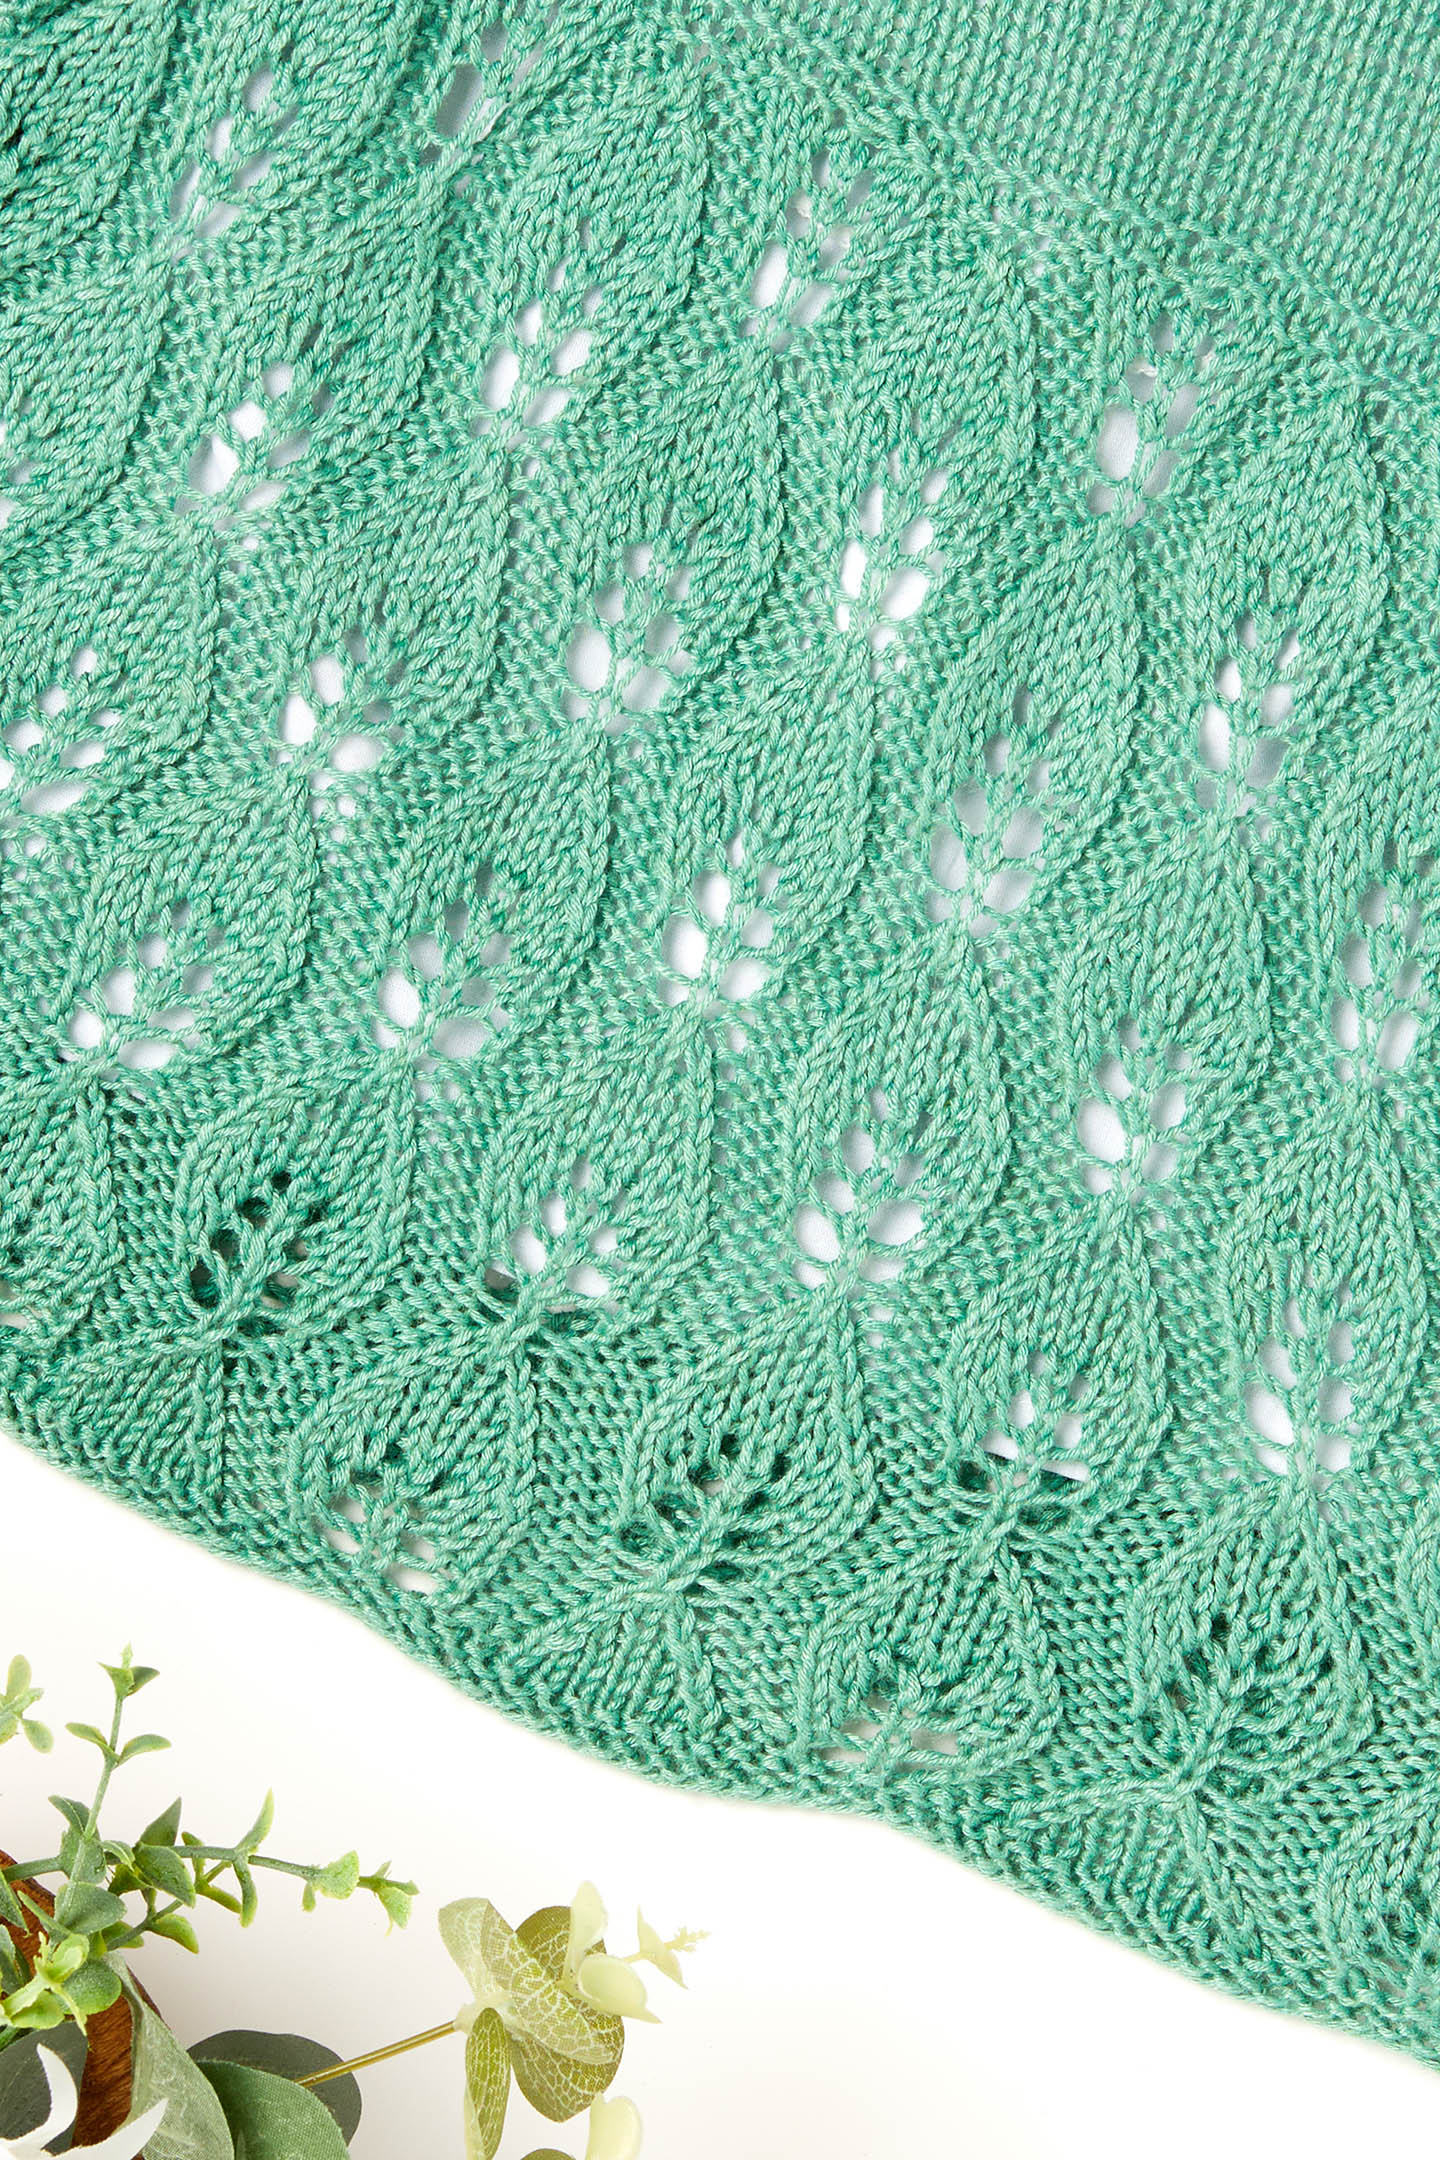
So adorable. And such fun to knit! This raglan-sleeved project is worked largely in the round, beginning at the hem with gorgeous lace.
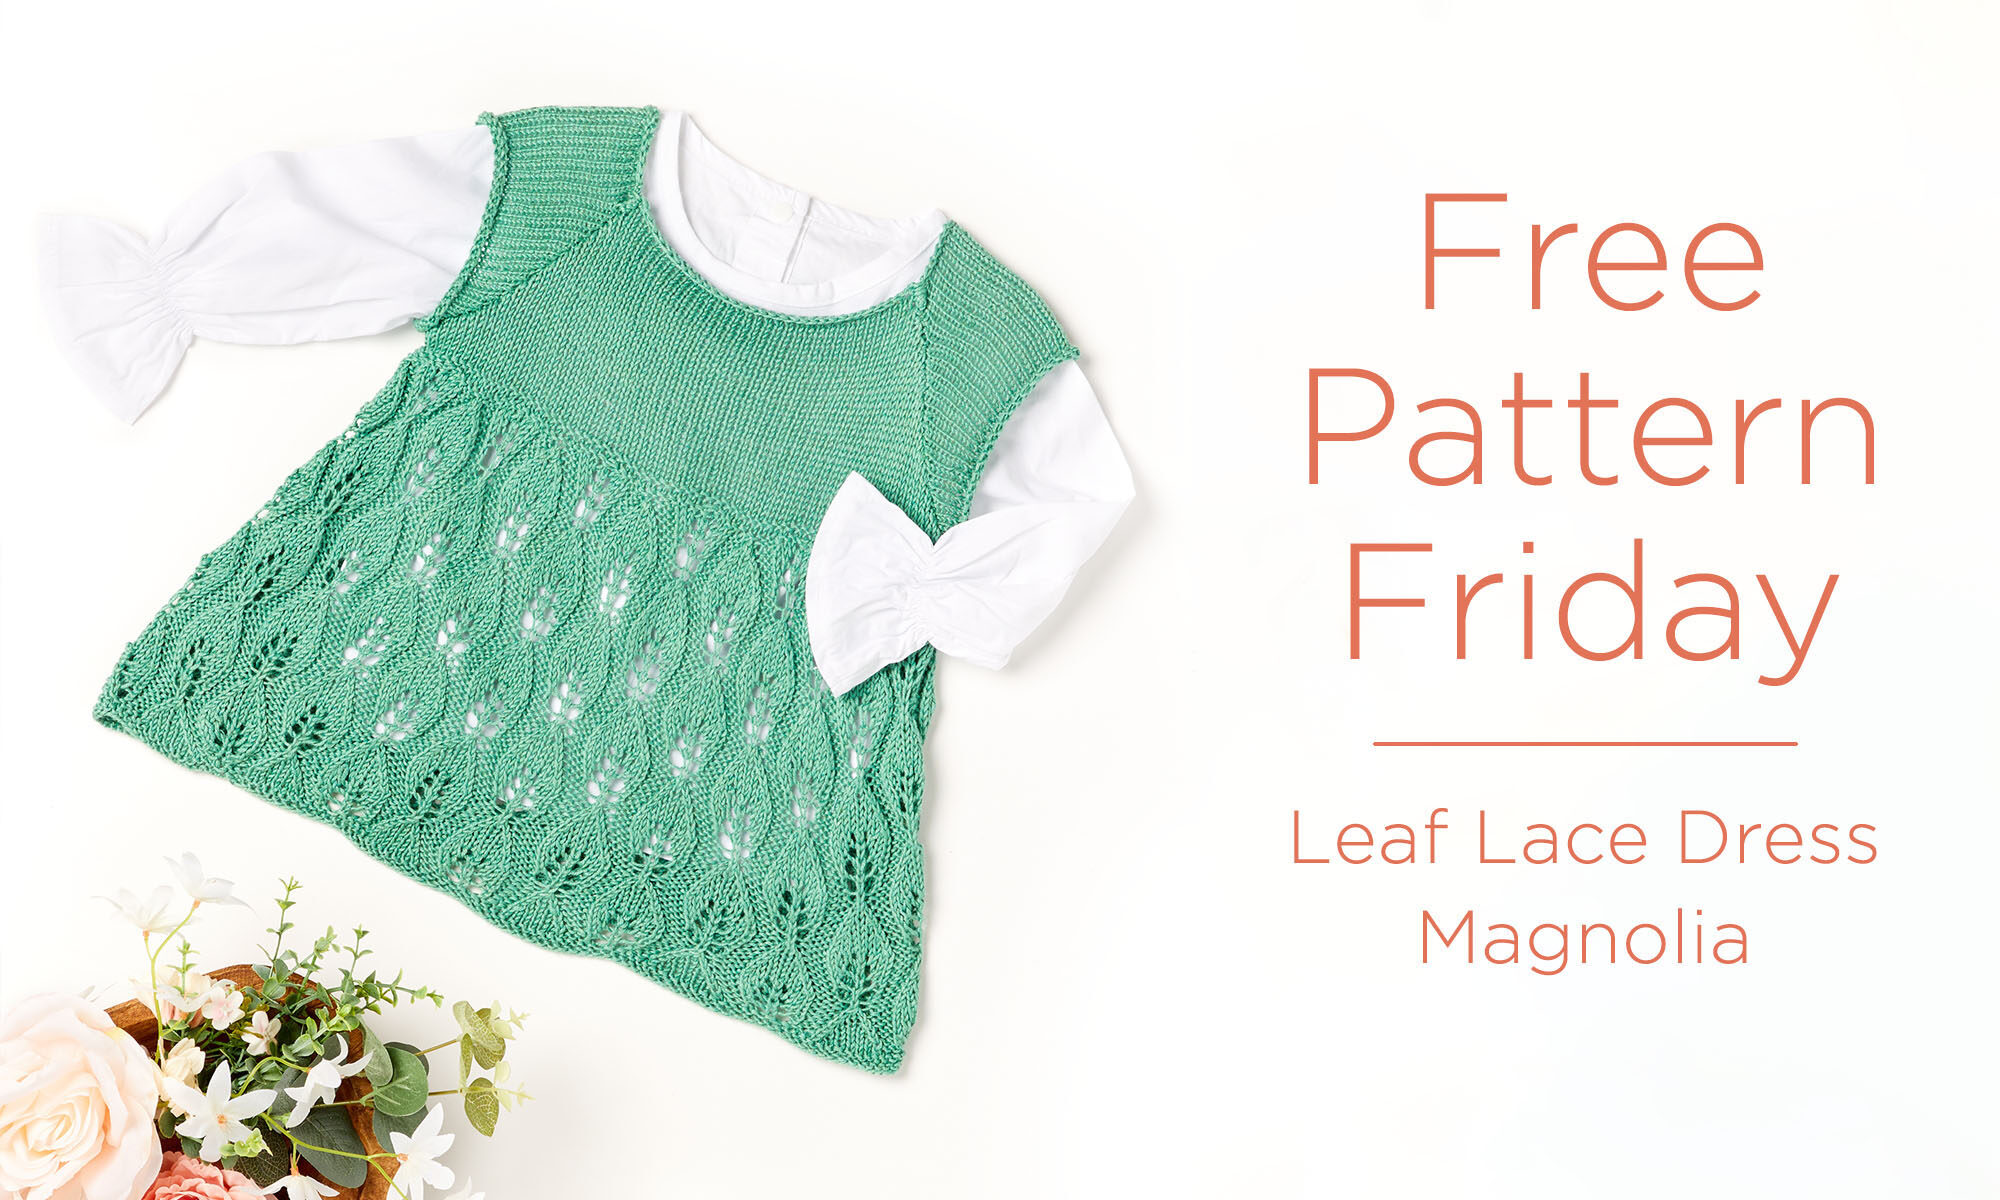
Look at this beautiful skirt! Designer Rachel Brockman has both written and charted this section to make it easy to follow. Rachel’s choice of Magnolia yarn for this design provides excellent drape and definition!
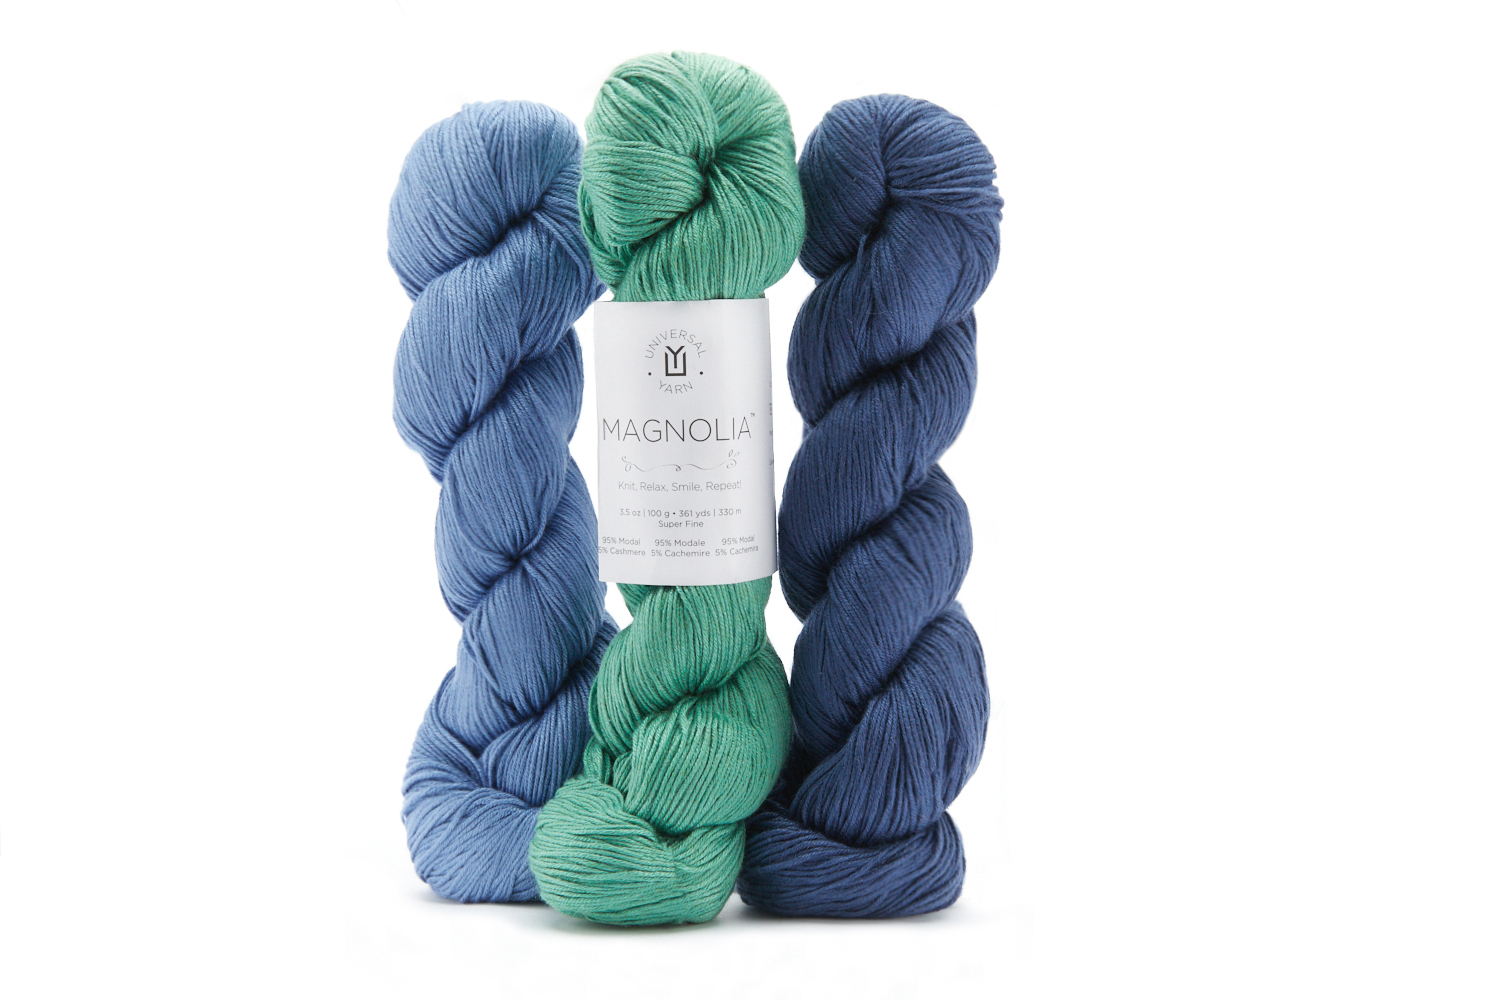
Colors Left to right: 109 Brunch, 114 Citrus Leaf, and 110 Frayed Denim
Magnolia‘s blend of 95% plant-based modal with 5% cashmere makes it cool in warm weather, but also gives it an extra touch of luxury! The stitch definition is divine, for maximum impact in that leaf lace skirt. It’s a soft, smooth yarn with a beautiful sheen – one of our favorites for summer. And since Magnolia is machine washable, it will be fine for the baby or toddler who makes the inevitable mess!
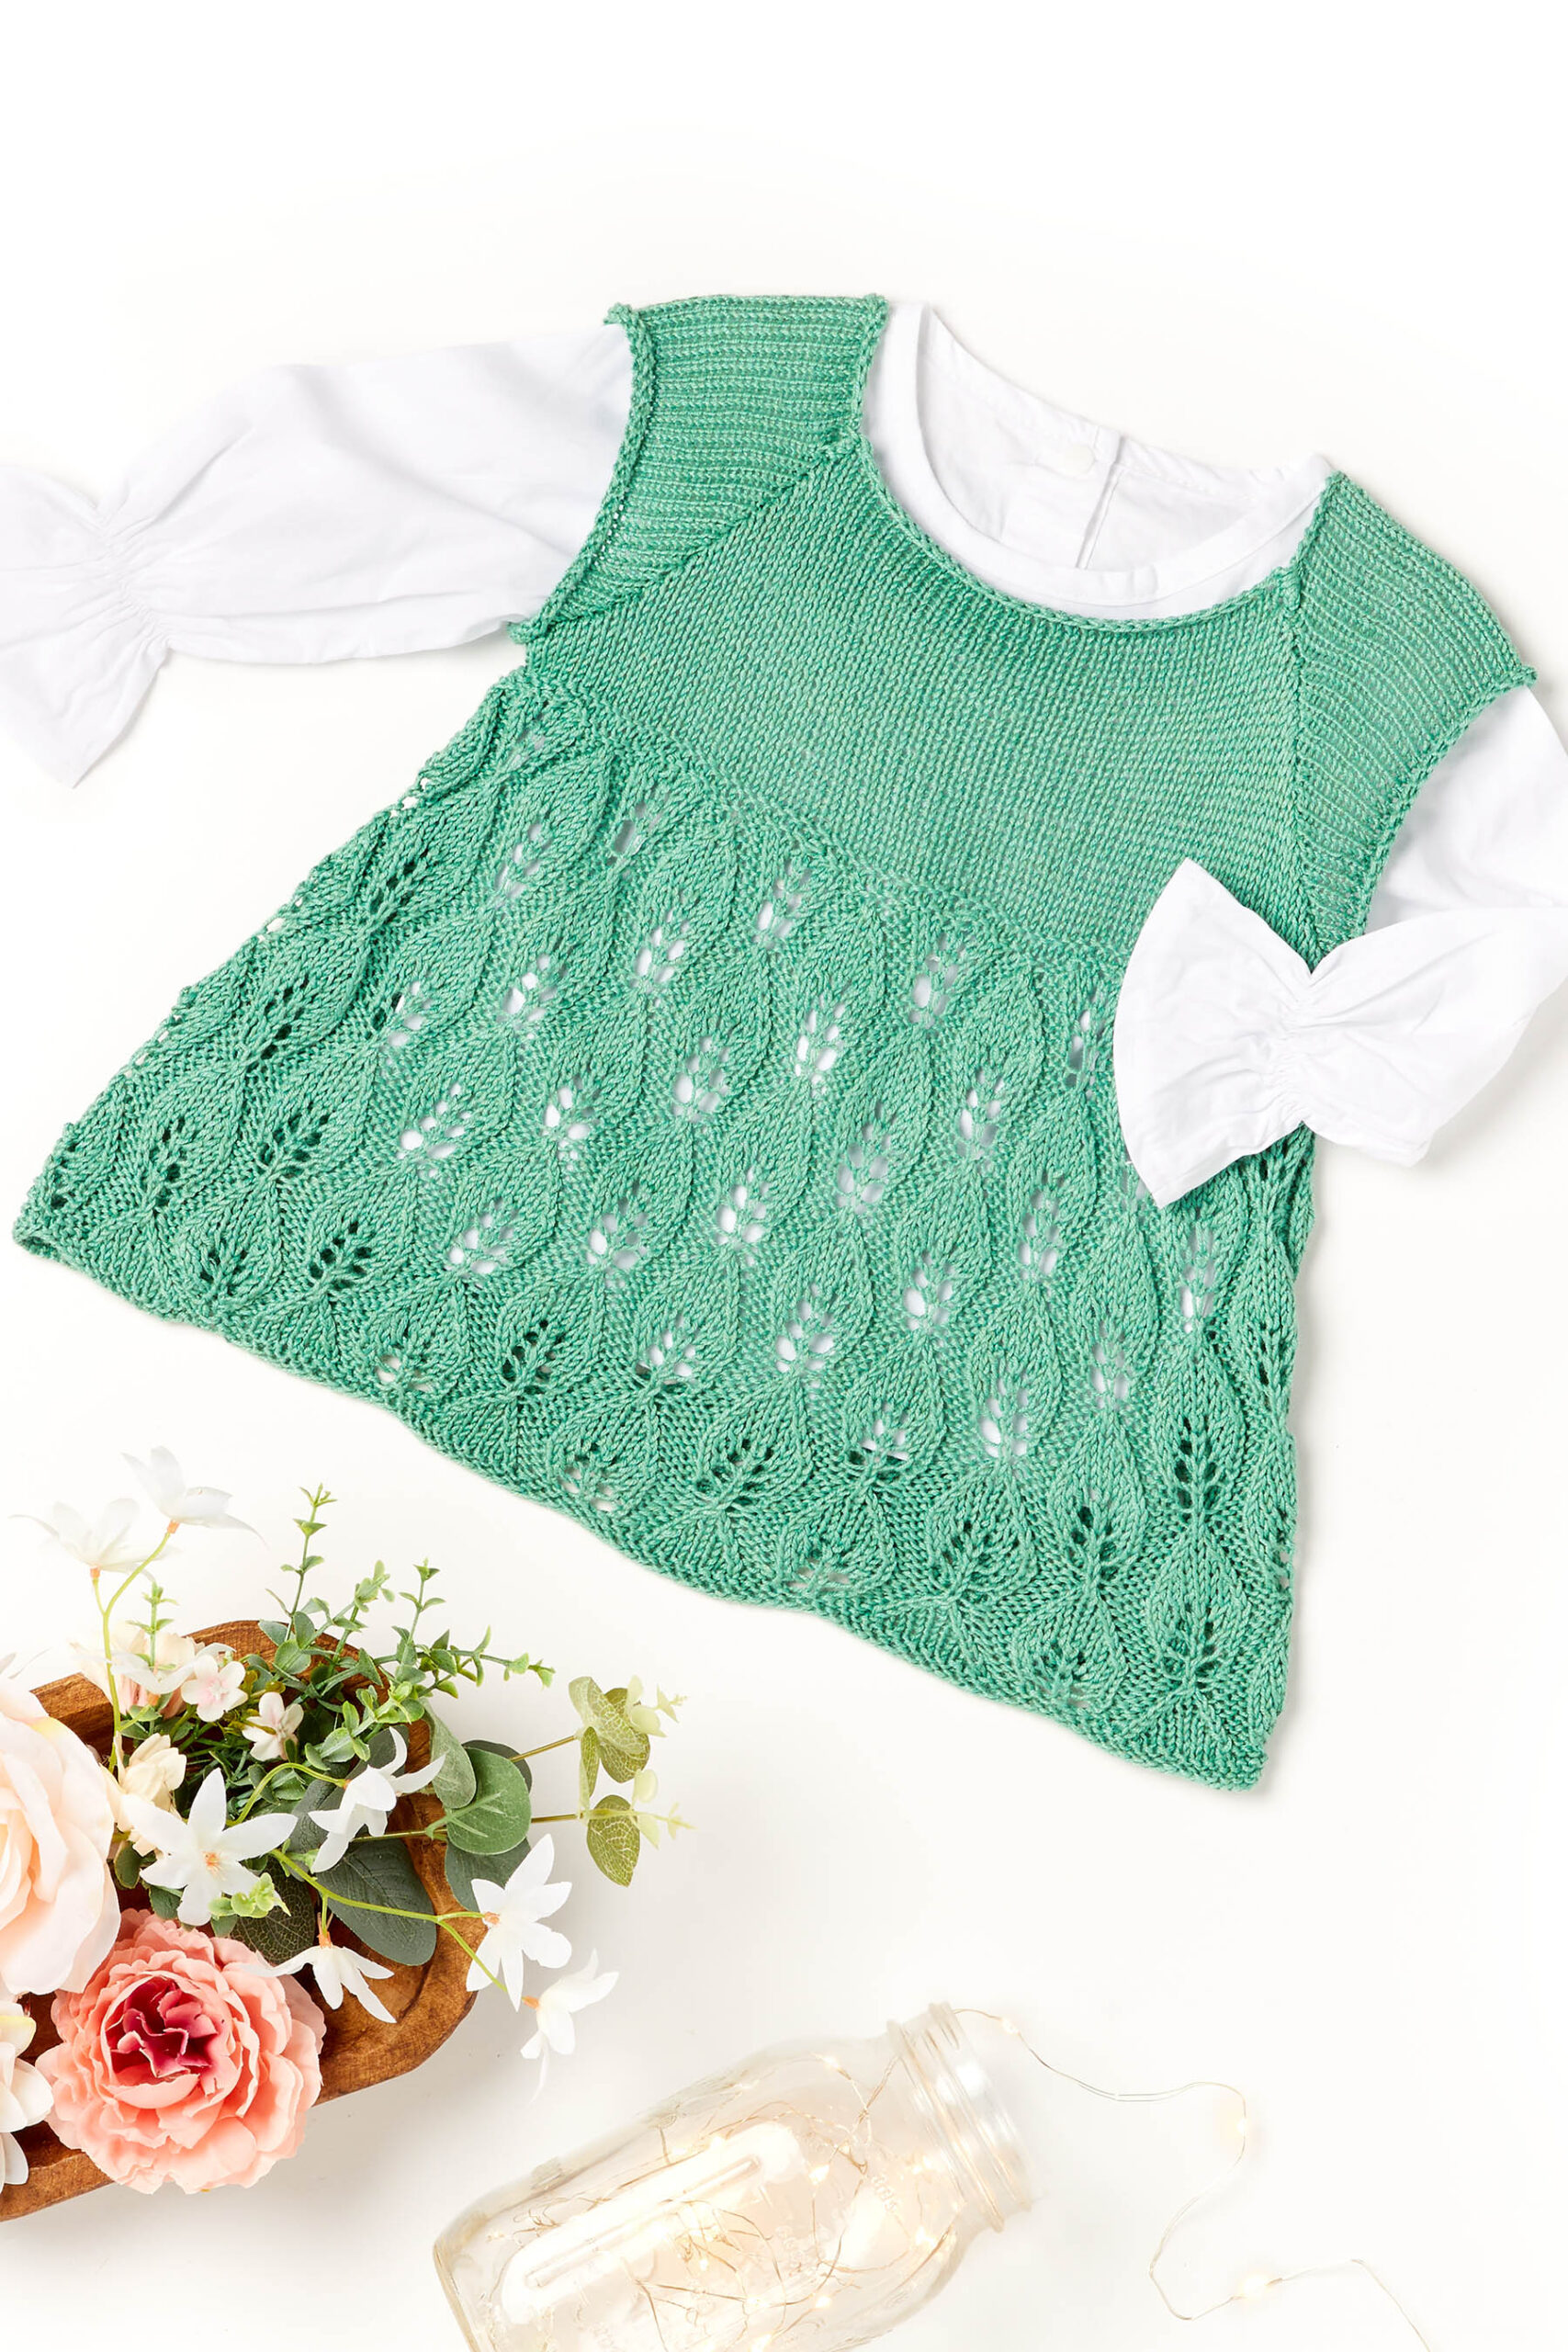
Sized from newborn through 18-24 months, this charming short frock would be perfect for so many occasions – I’m thinking specifically of a summer wedding I’m going to this month, where this would not be out of place at all. I’m also imagining the look on a prospective mom’s face getting this at a baby shower:
We hope you have a fantastic weekend, full of fun projects!
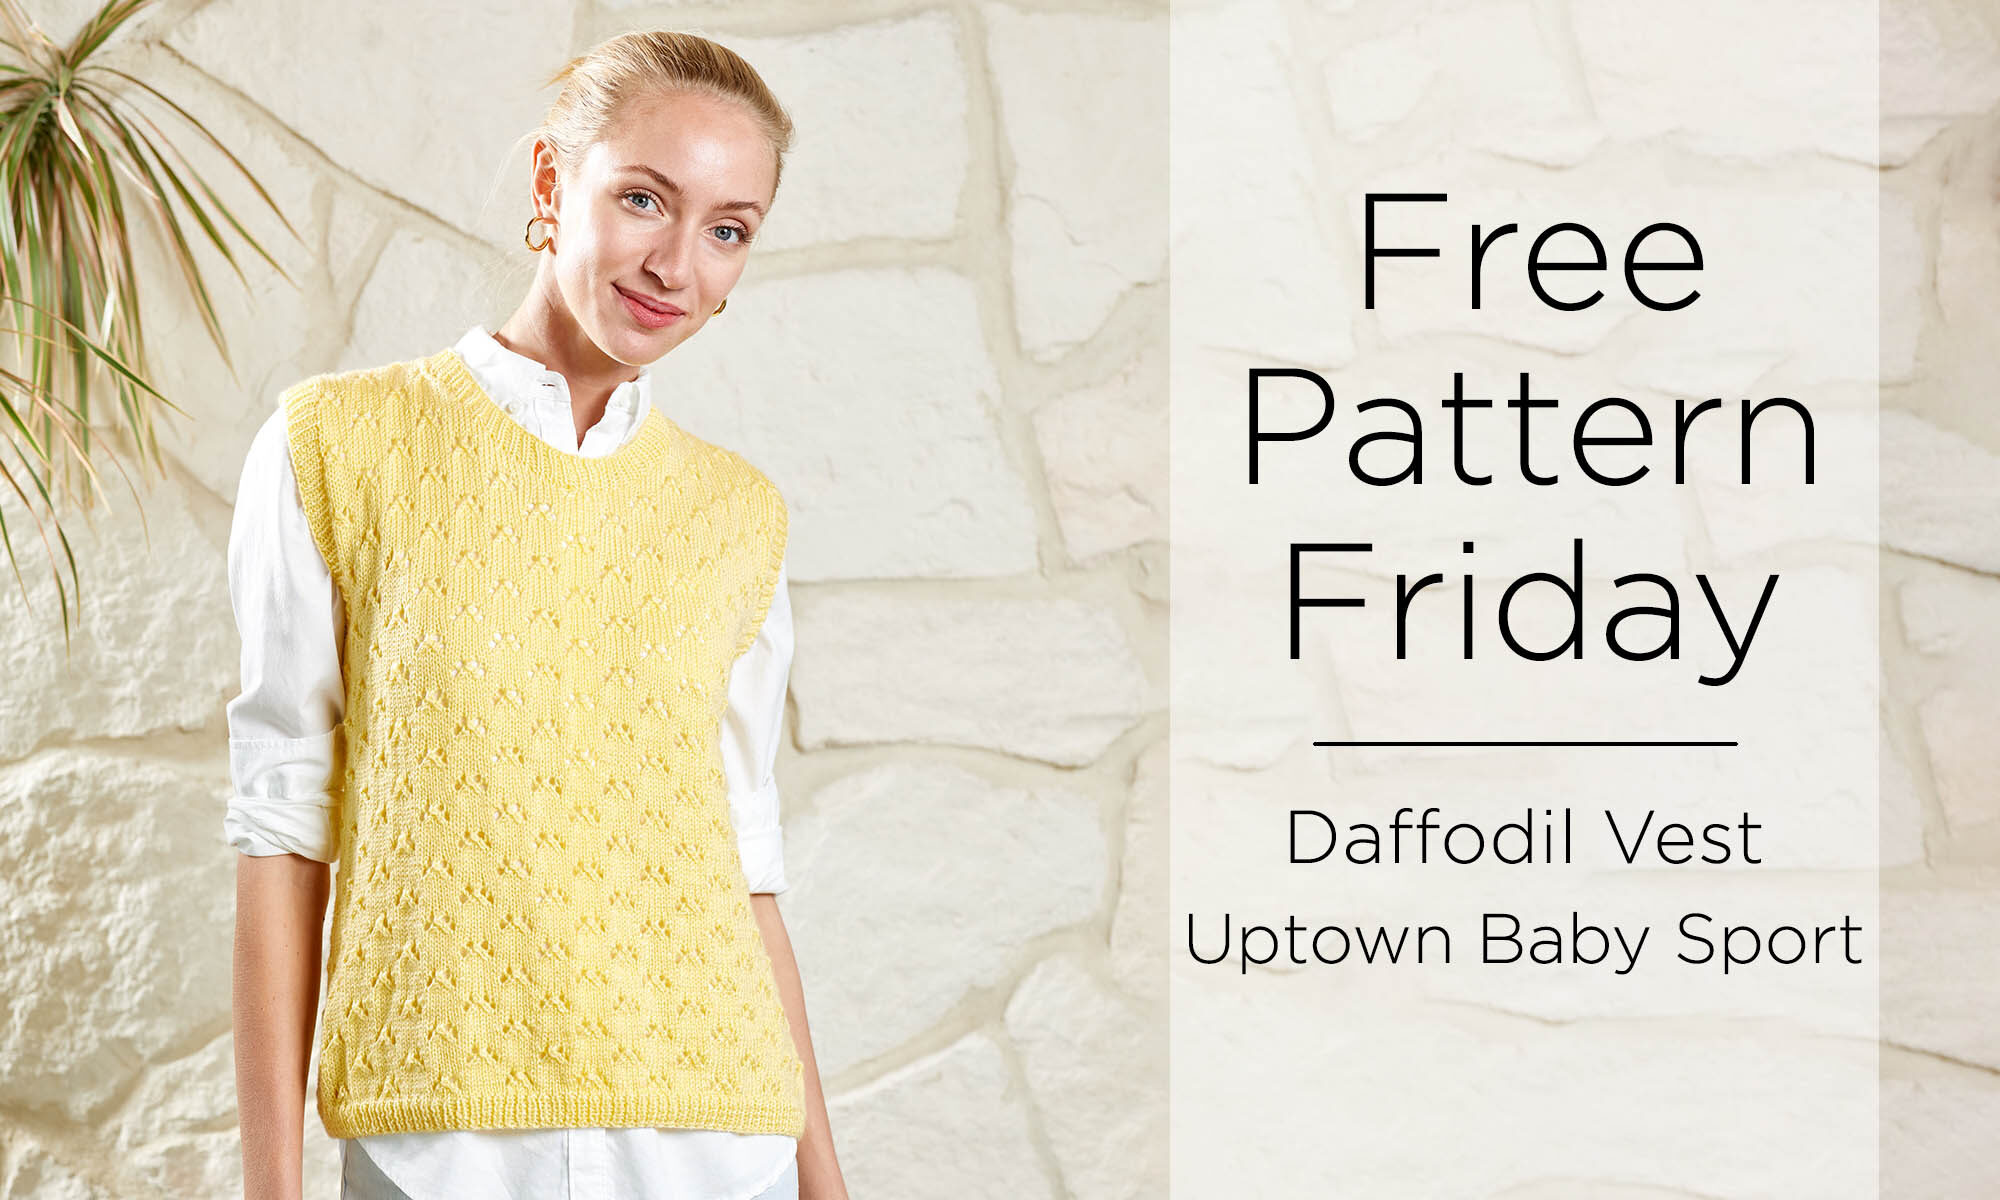
Uptown Baby Sport was the perfect yarn choice for Aubrey’s design. This 100% anti-pilling acrylic is machine washable, wears well, and is very soft. I’ll admit, I used to turn up my nose at acrylic, but the Uptown family of yarns has turned that attitude around. I’ve been delighted with the quality of everything I’ve made in Uptown yarns.
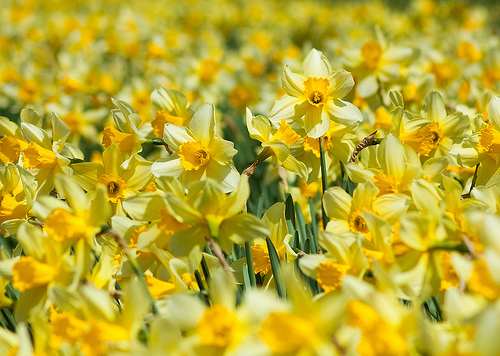
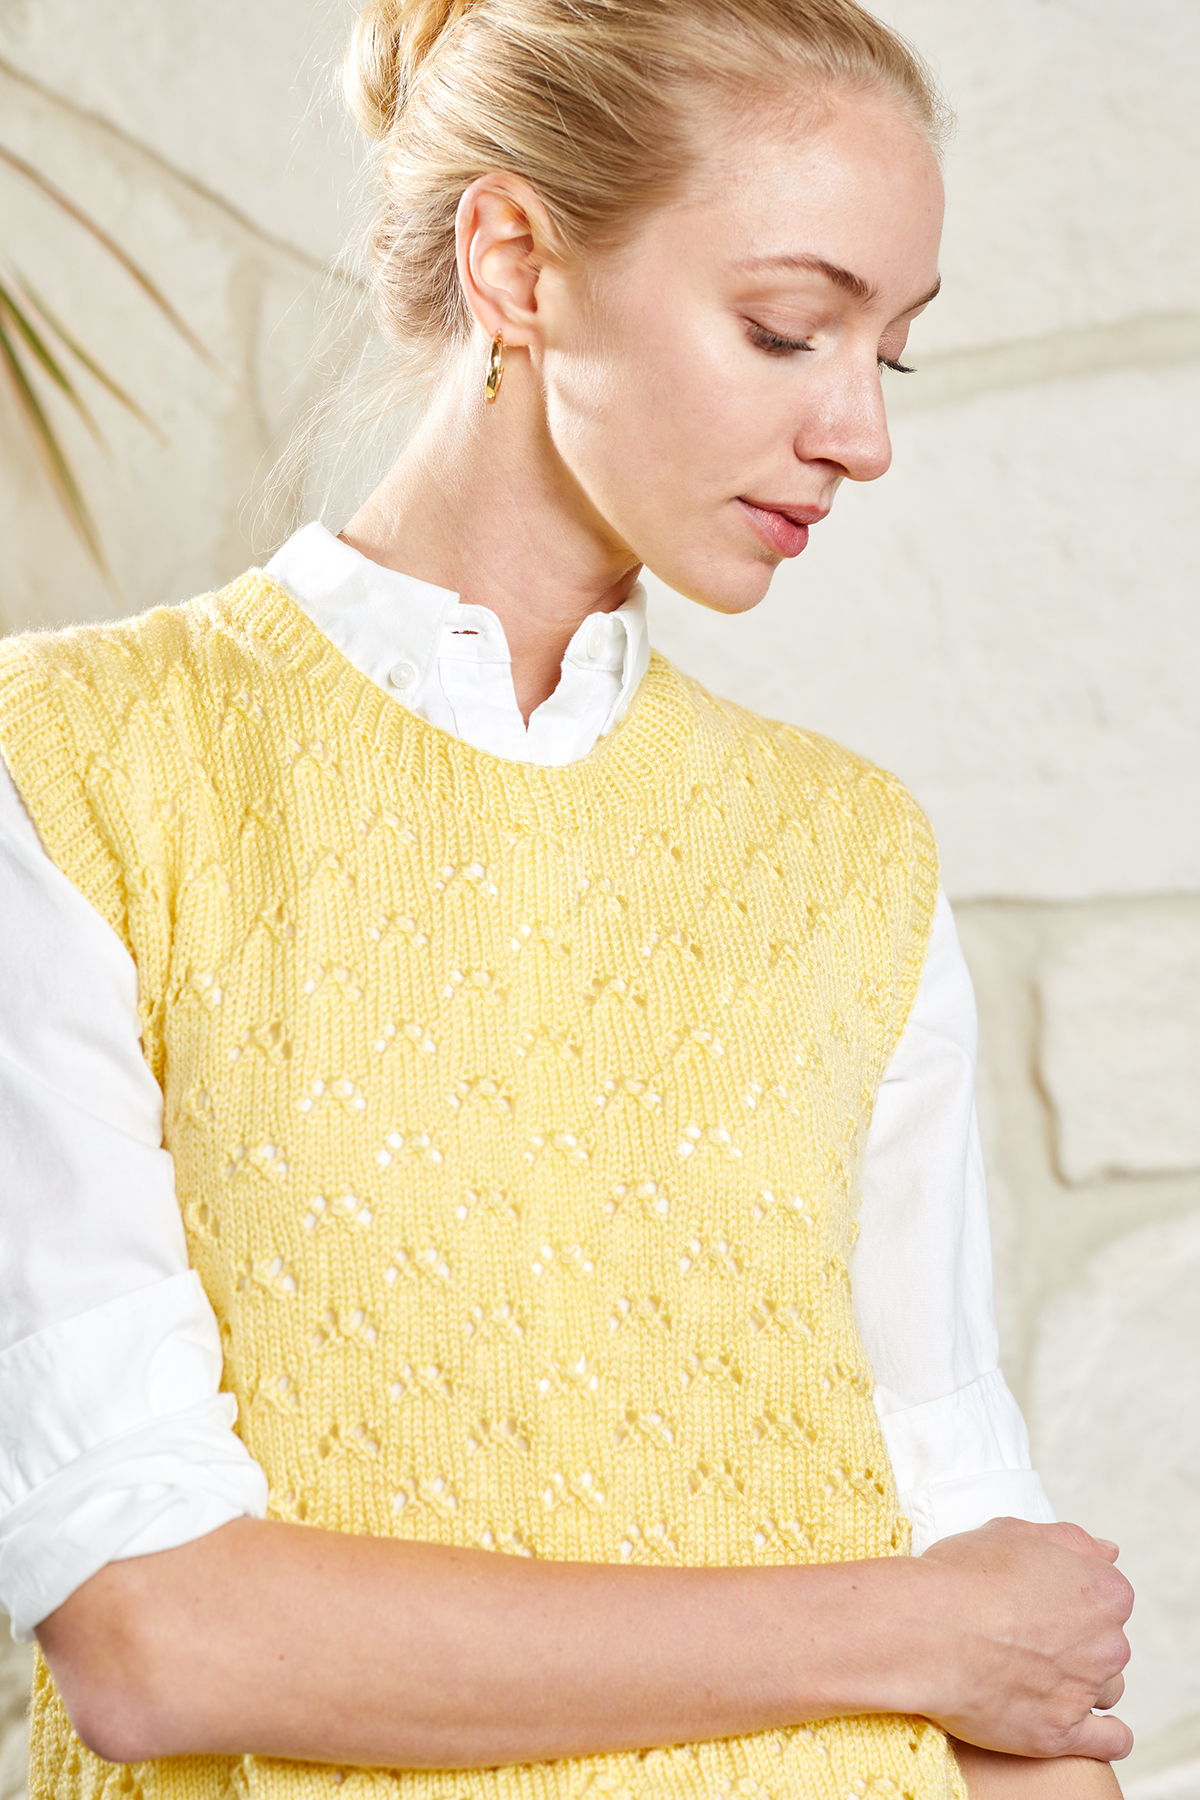
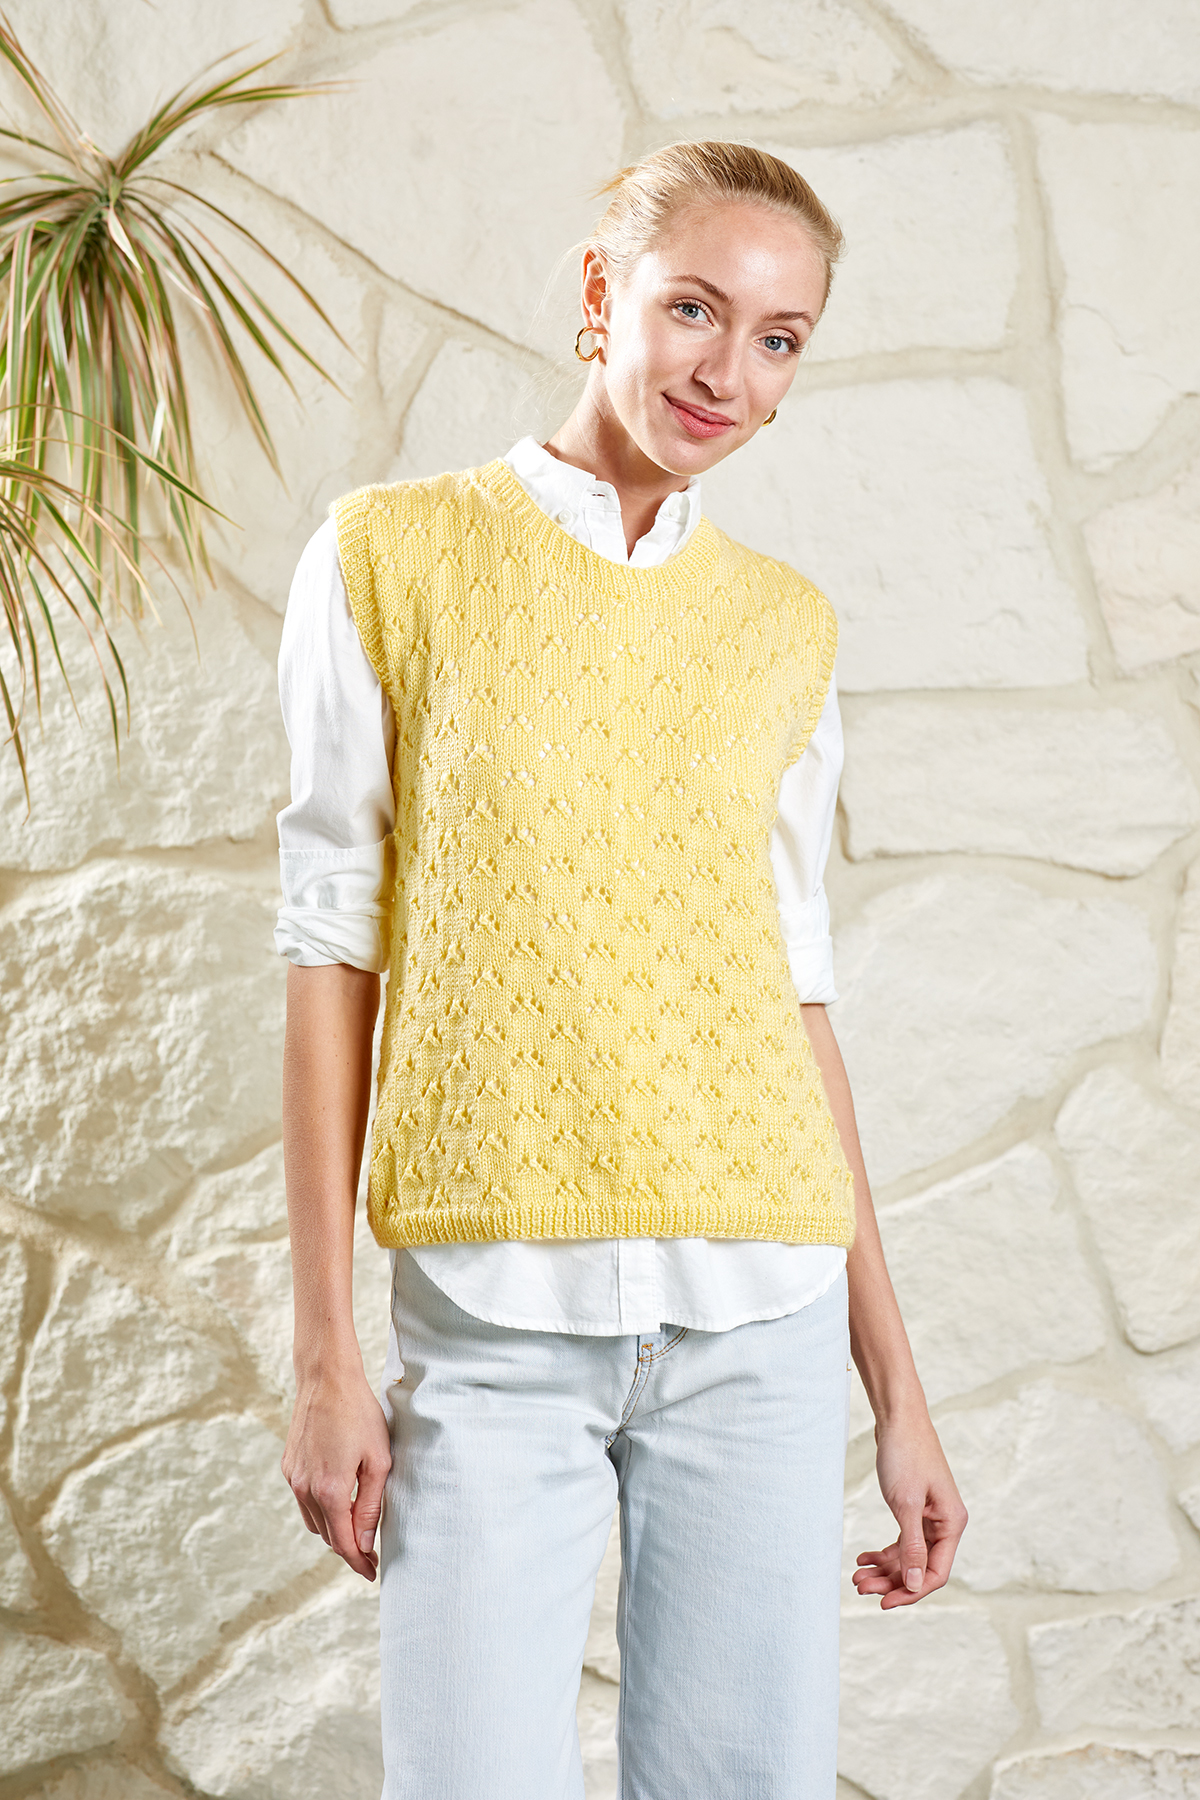
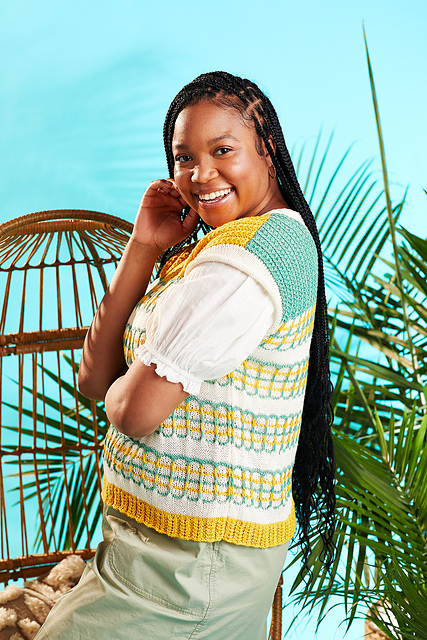
Looking at the sunny, pale yellow field of flowers that roam across this vest, you can’t help but have your spirits lifted. It reminds me of the last stanza of a favorite poem by Wordsworth,I Wandered Lonely as a Cloud, in which the writer unexpectedly encounters a beautiful field of daffodils, and holds the memory of that sudden riot of color as a balm against dark days.
“For oft, when on my couch I lie In vacant or in pensive mood, They flash upon that inward eye Which is the bliss of solitude; And then my heart with pleasure fills, And dances with the daffodils.”
We hope you enjoy this sunny, uplifting pattern. Have a wonderful weekend.
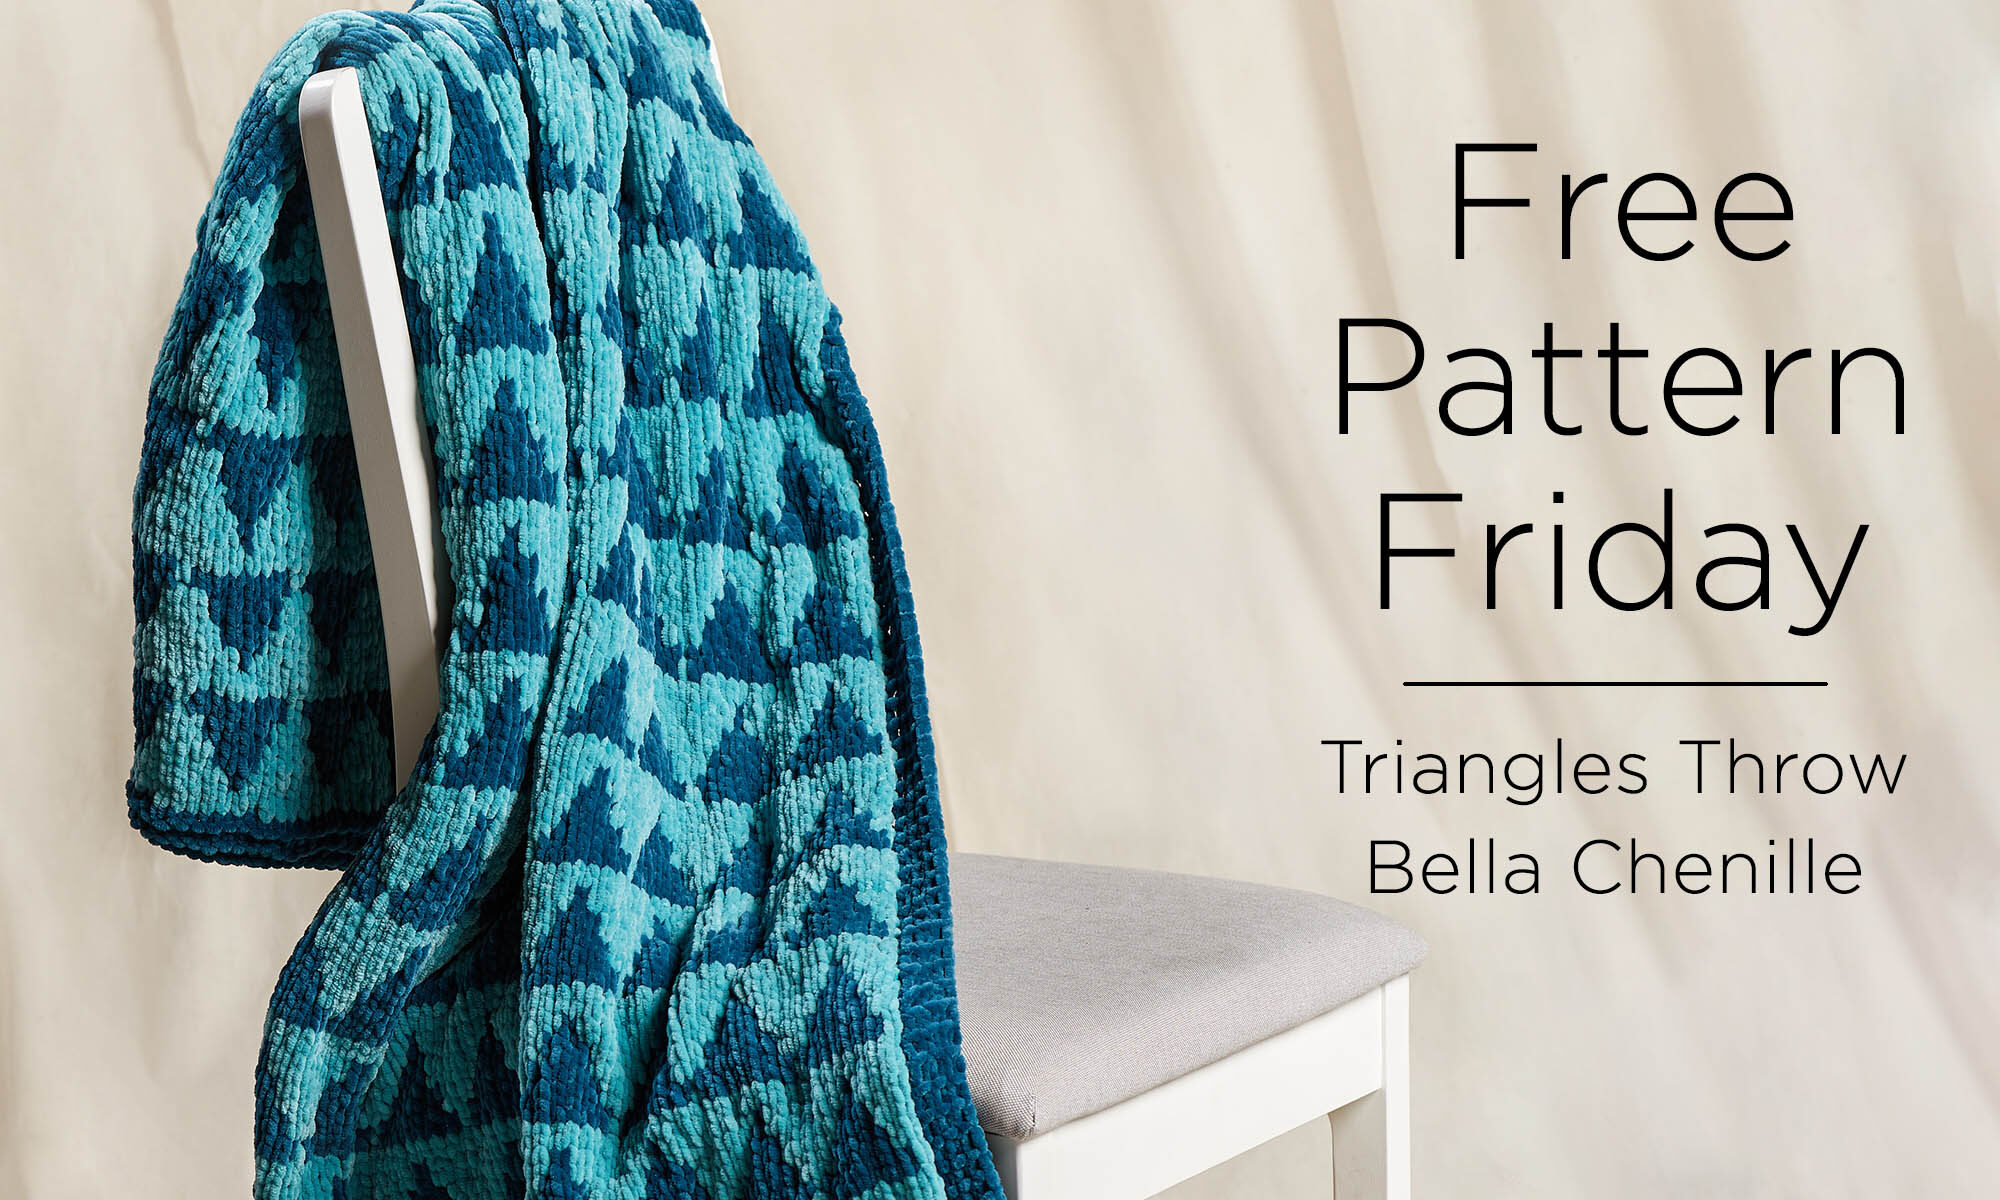
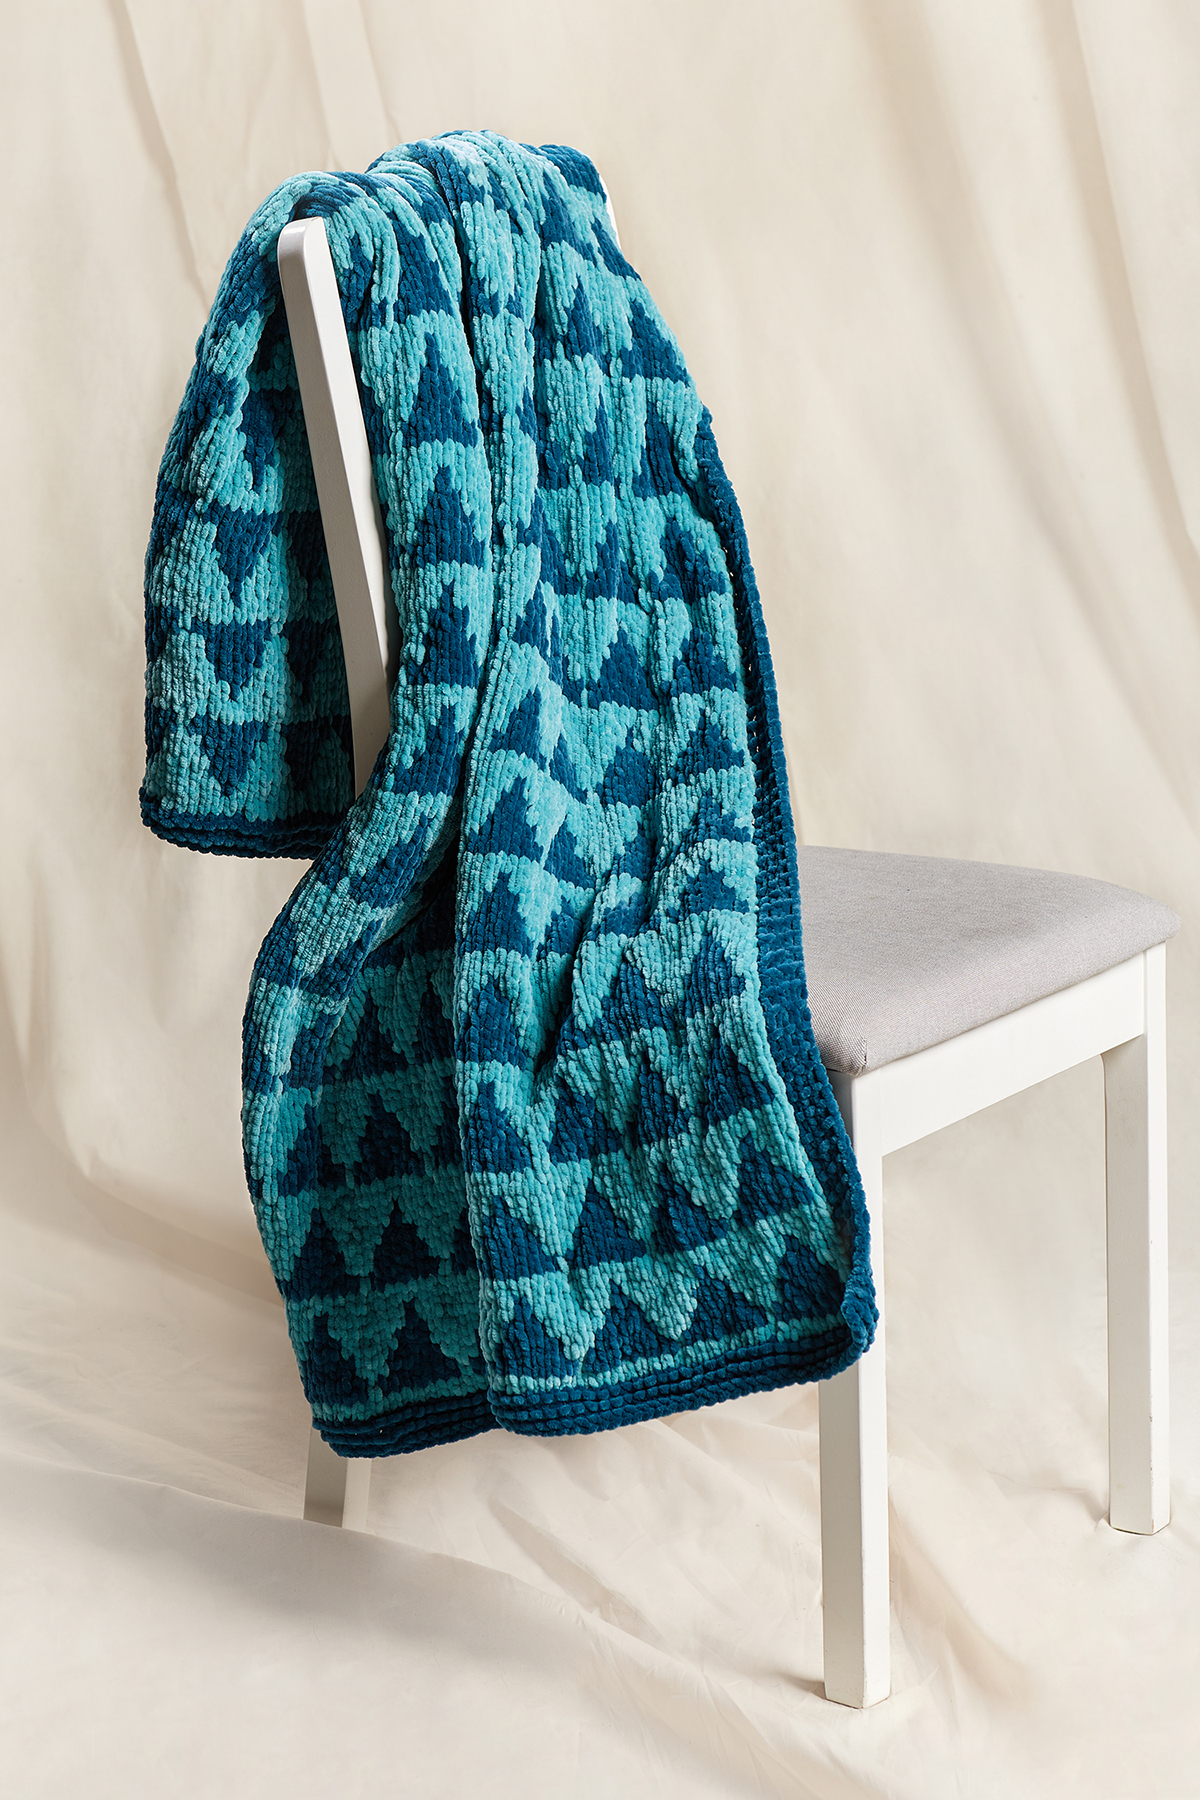
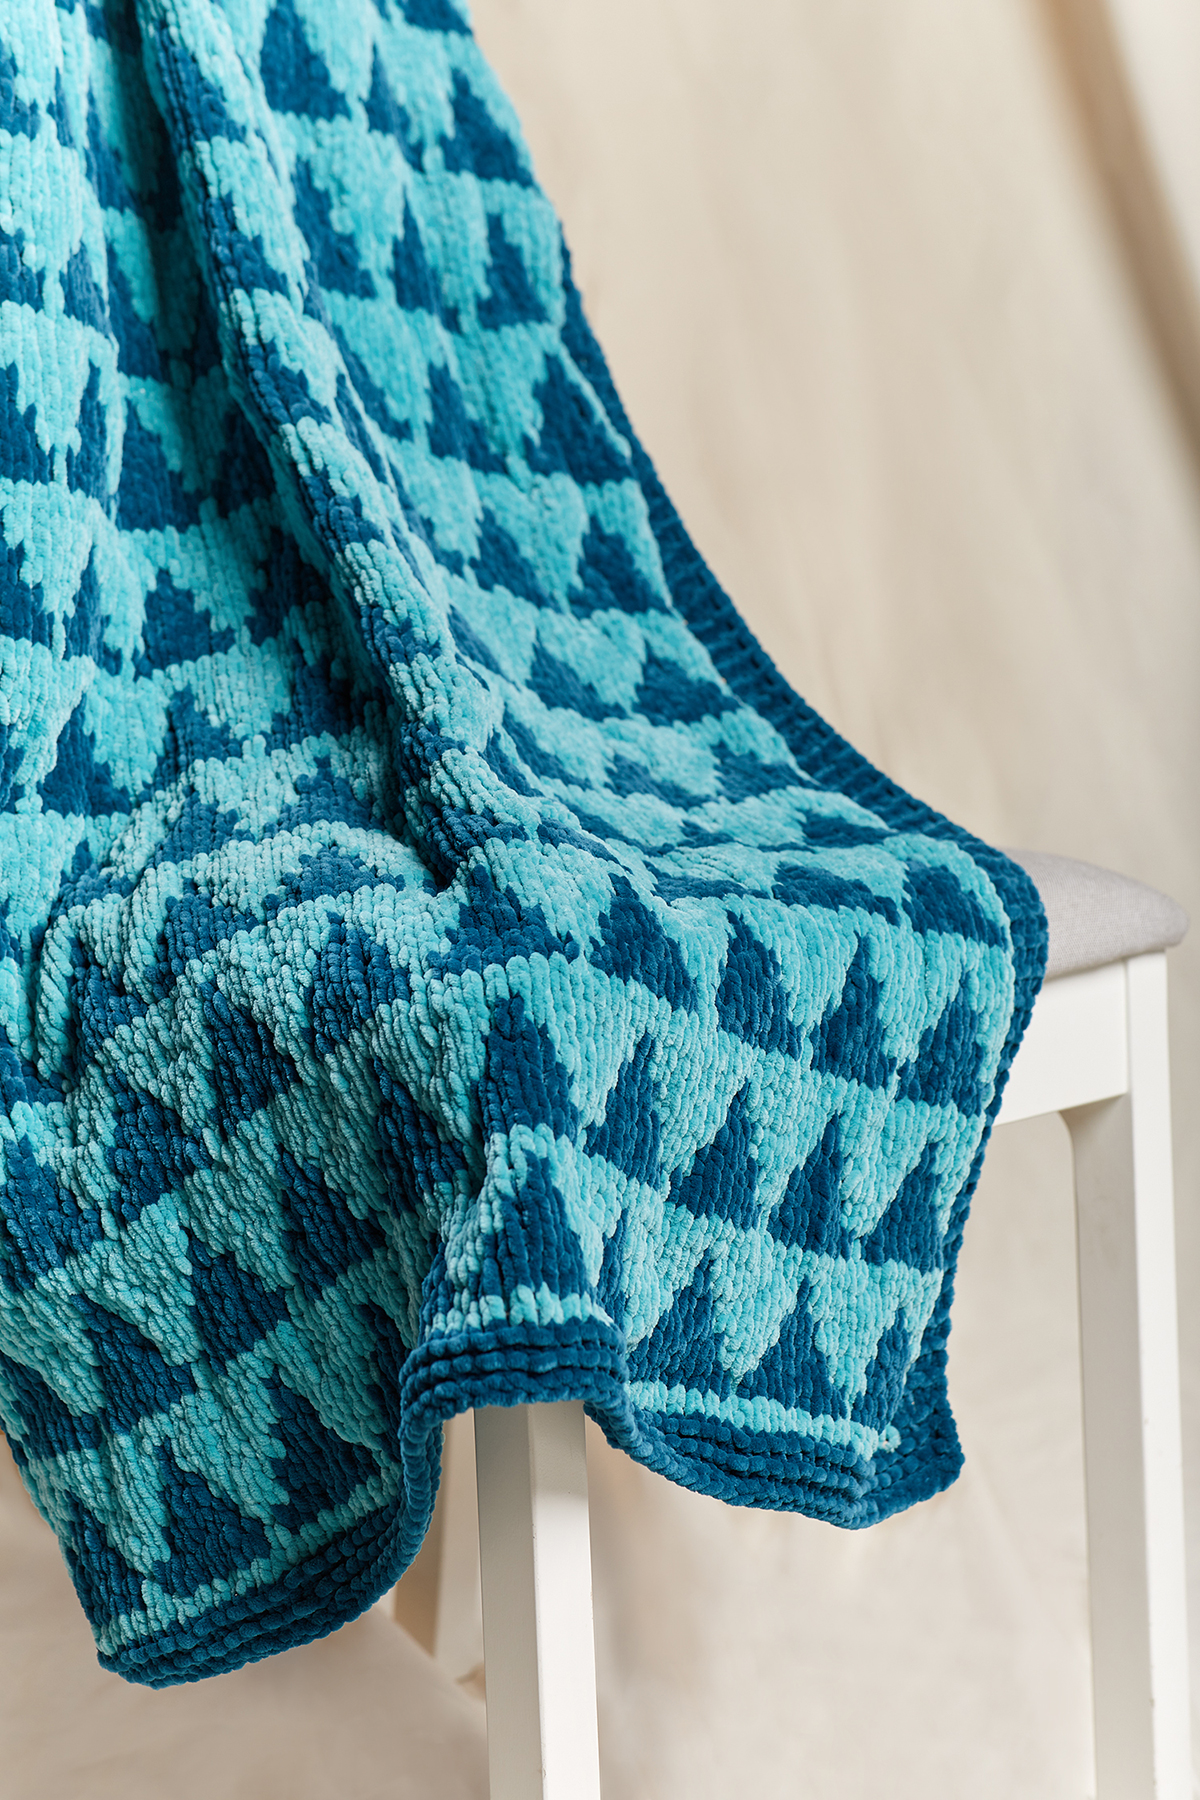
So super snuggly! This sweet knitted throw uses fuzzy Bella Chenille to create a texture it’s impossible to stop stroking.
Colors 126 Lapis (darker) and 128 Coastal (lighter)
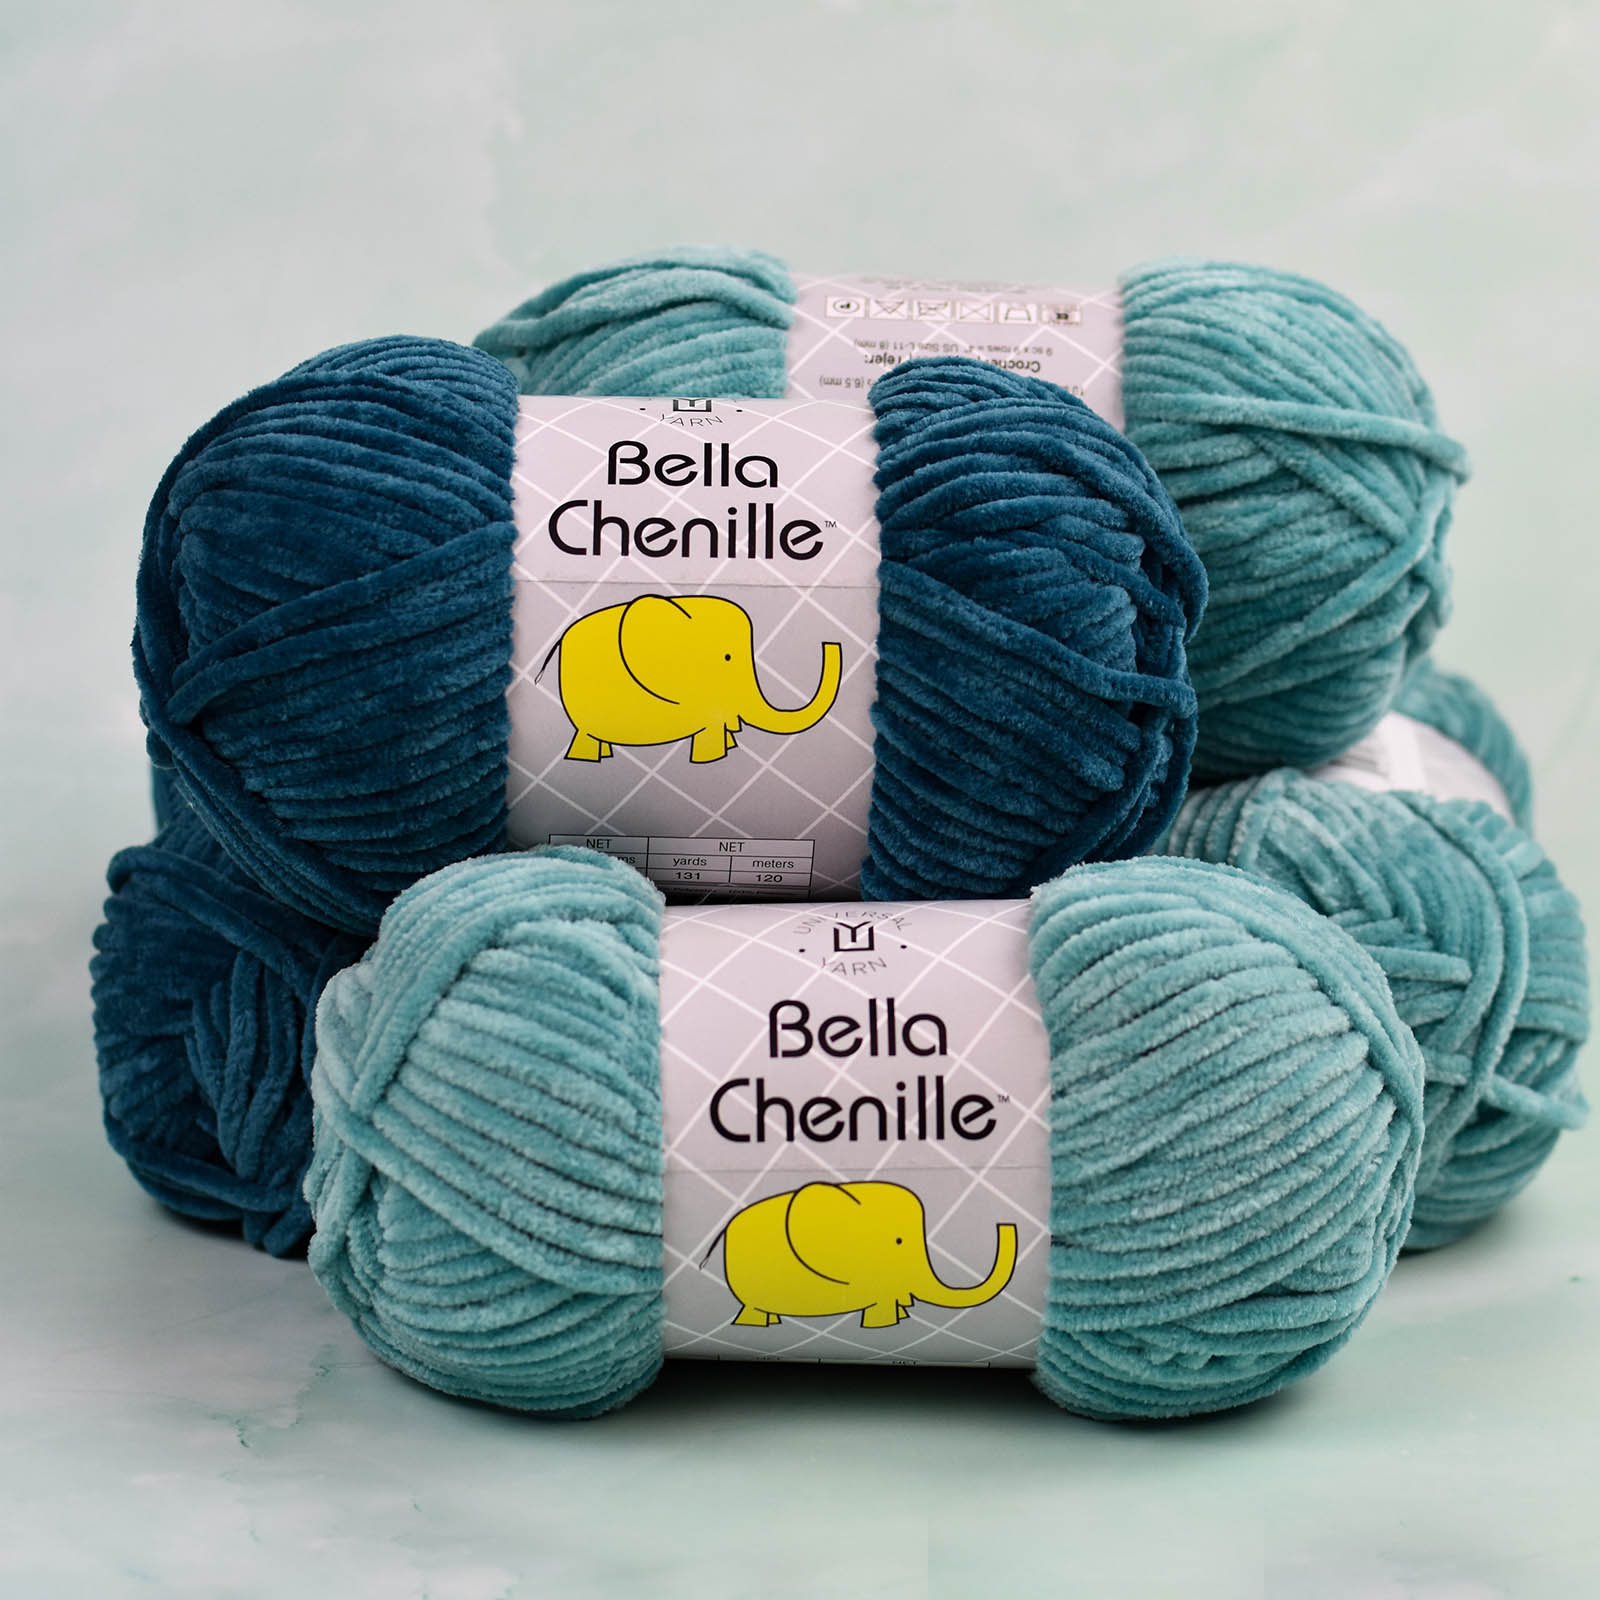
Soft and plush, Bella Chenille is perfect not just for home decor and kid projects (hello, Peanut Butter and Jelly bears!), but for adult garments like the Roseate Cardigan, free on our site.
The throw uses intarsia for the color changes at the border. While you could use intarsia for the triangles, we’d recommend doing them in stranded knitting instead, to decrease the number of ends you’ll need to weave in.
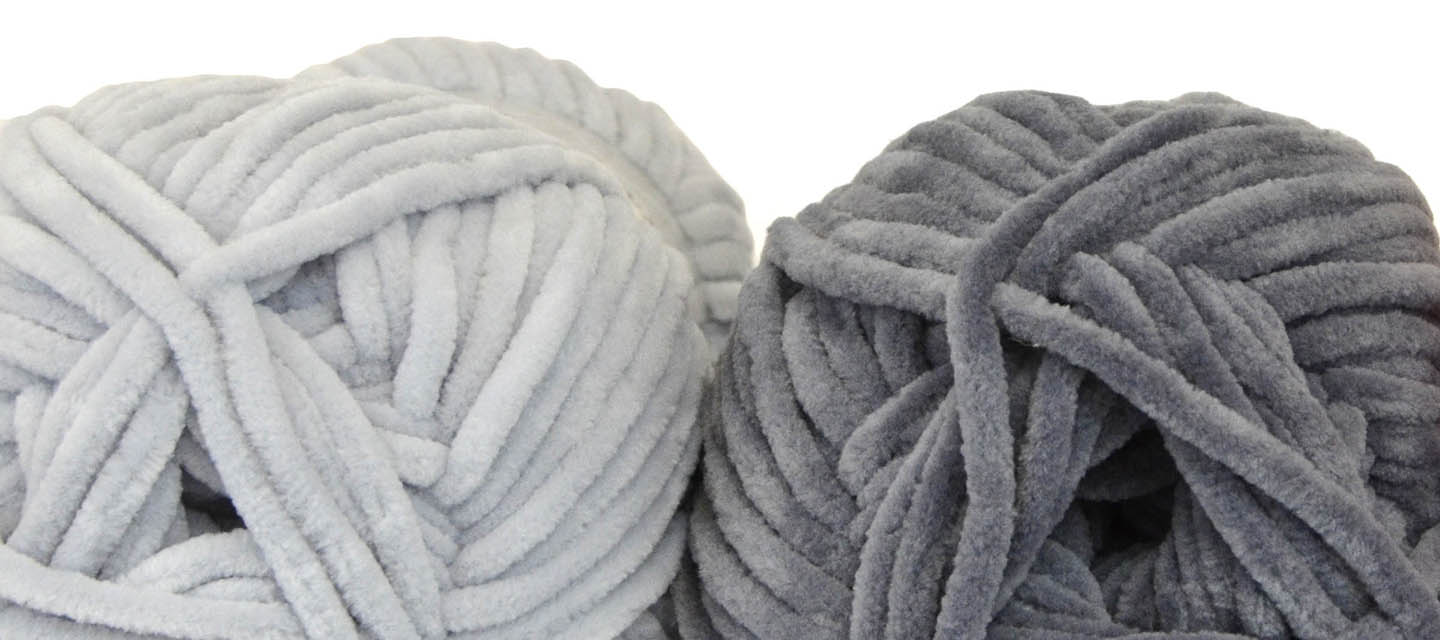
Colors 119 Misty (lighter) and 118 Elephant (darker)
Now, as to colors. I absolutely love the original 126 Lapis and 128 Coastal that designer Rachel Brockman chose, because I’m all about cool tones. But you could also go monochrome, with 119 Misty and 118 Elephant shown above, for a low contrast palette. Make it more dramatic by swapping the darker gray for 112 Black, if that’s your vibe.
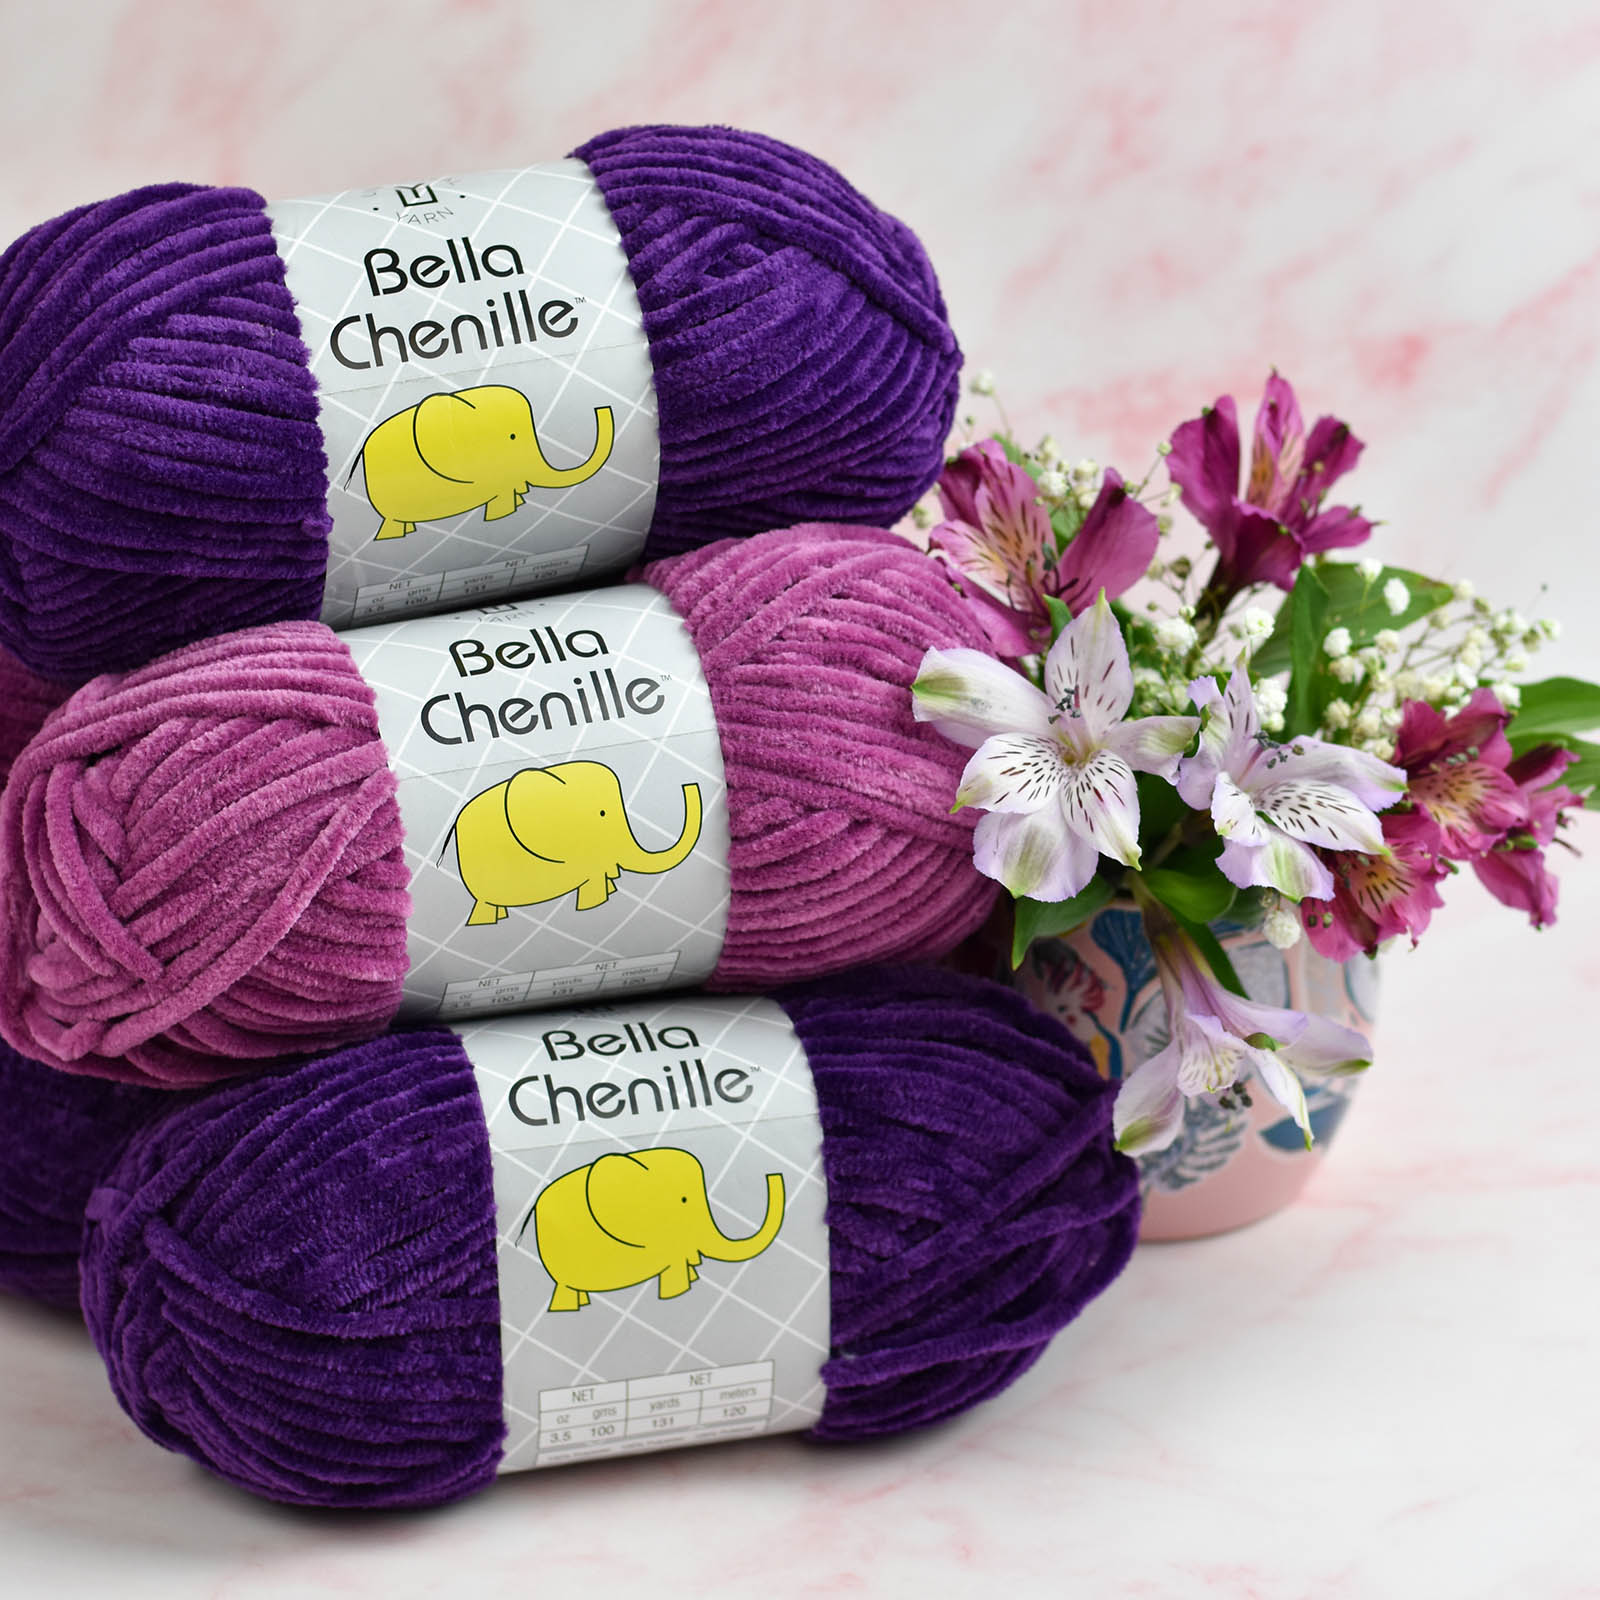
Colors 122 Amethyst (darker) and 124 Boysenberry (lighter)
Or embrace the rich, saturated nature of this yarn, and try the darker 122 Amethyst and lighter 124 Boysenberry. There are just so many beautiful options in Bella Chenille!
We hope you have a fantastic weekend, and that you find time to snuggle up – maybe with someone special!
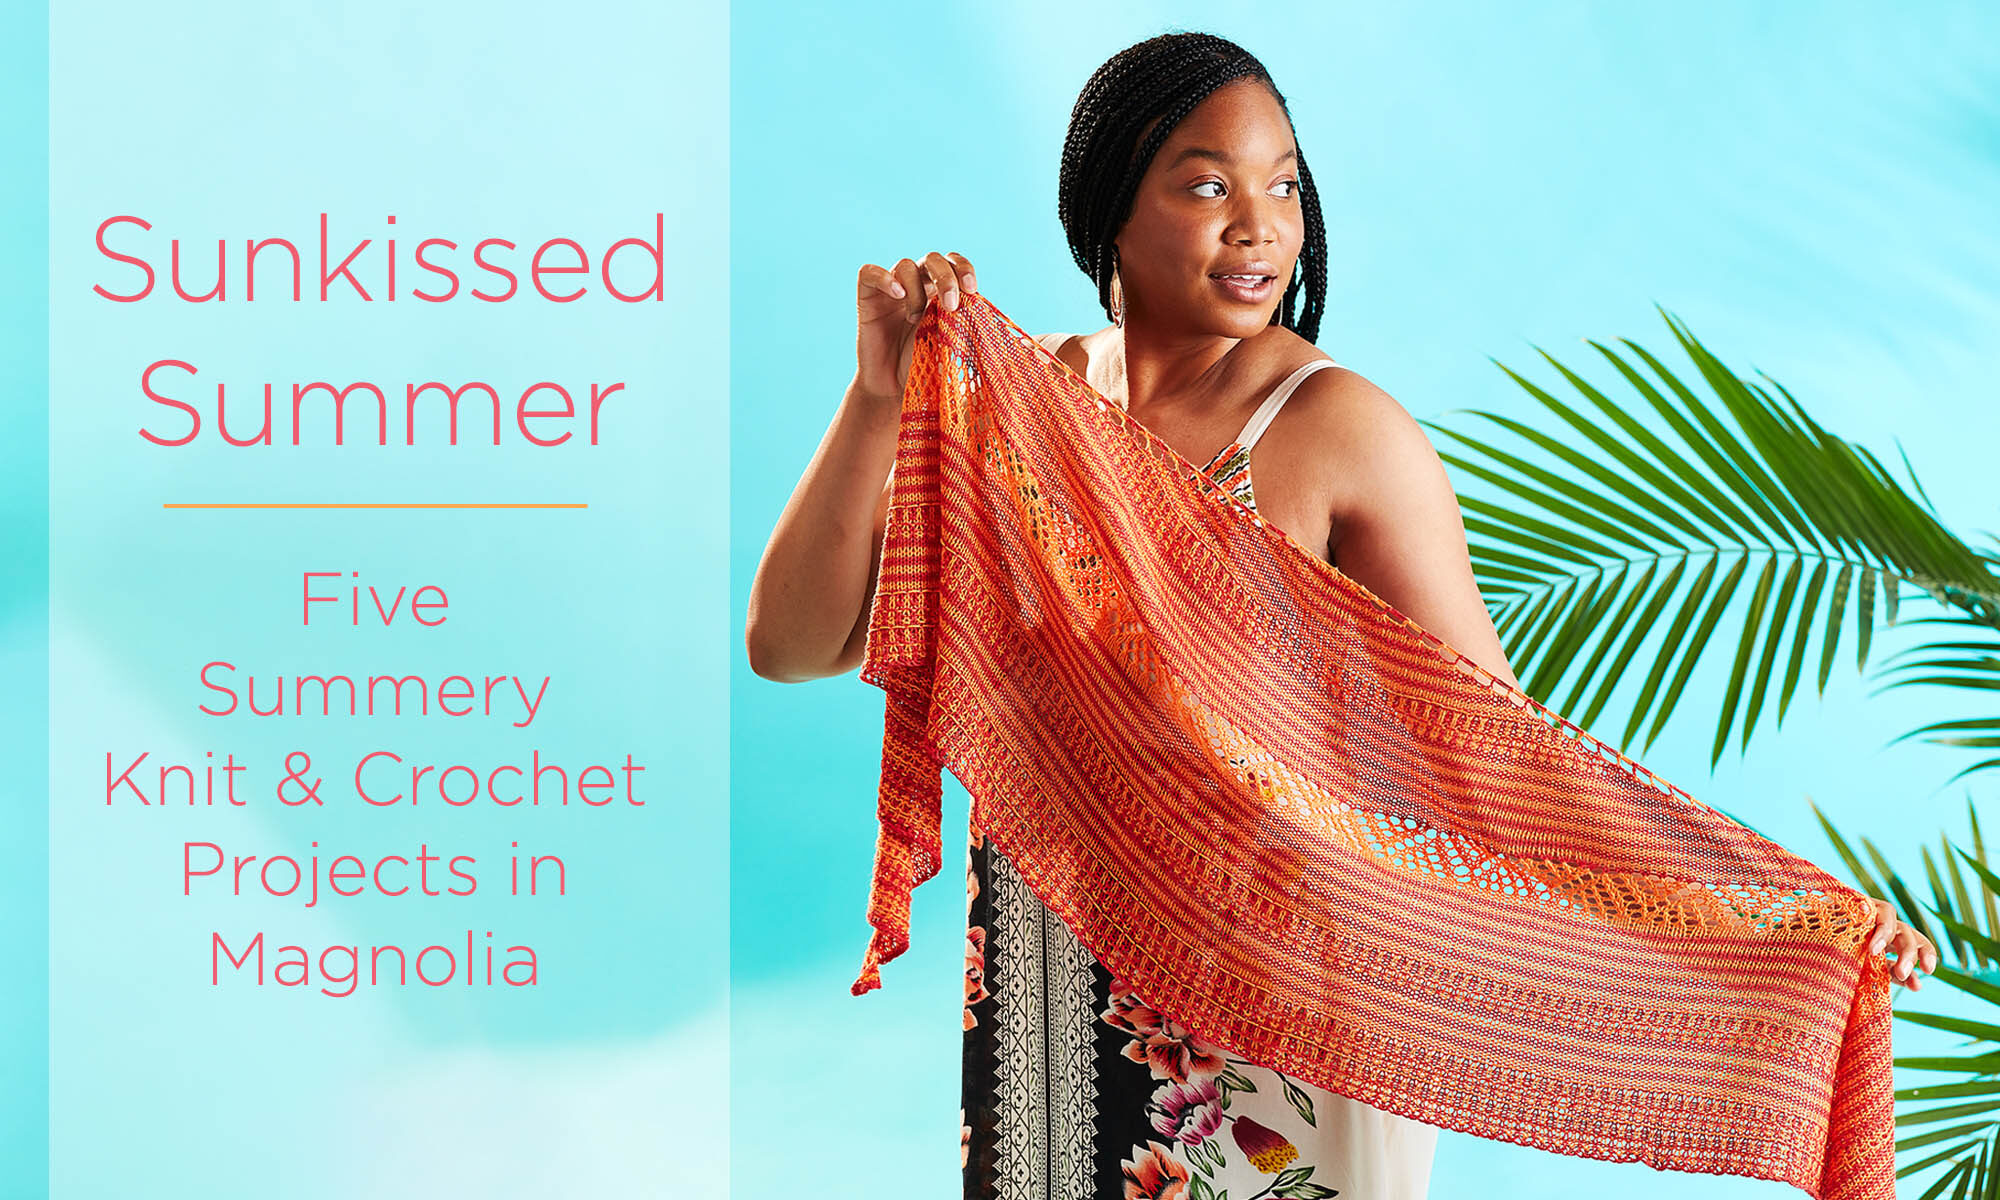
This week we released the bright and flirty Sunkissed Summer collection! It features five summery projects to knit and crochet, and trust me – you’ll want to make all five.
Sunkissed Summer: the Magnolia spring collection
This collection highlights our light and luxurious Magnolia yarn. Its modal and cashmere blend makes for projects that are silky, smooth, and perfect for the warm weather of the season. Some fiber friends have shared that it’s hard to stay motivated to work on projects when it’s warm, but it’s actually the perfect time to set aside wool and welcome in this lighter alternative. It is a delight to work with, and finished projects boast a beautiful sheen and incredible drape. Plus the colors are all so juicy and fun. With names like Dreamsicle, Brunch, and Key Lime, you feel like you’re indulging in all the best parts of summer while you work!
Magnolia
The first project I’d like to feature is the crocheted Paradise Pouch – my own design! This was a joy to create and I’m thrilled to have the chance to share a bit about it. The bag features two identical panels with a vibrant central mandala that is rhythmic to create. You’ll explore post-stitch work along with texture-rich rounds to make this mesmerizing accessory. For added intrigue there are colorful tassels that frame your work with fun!
Paradise Pouch designed by Ashley Jane McIntyre
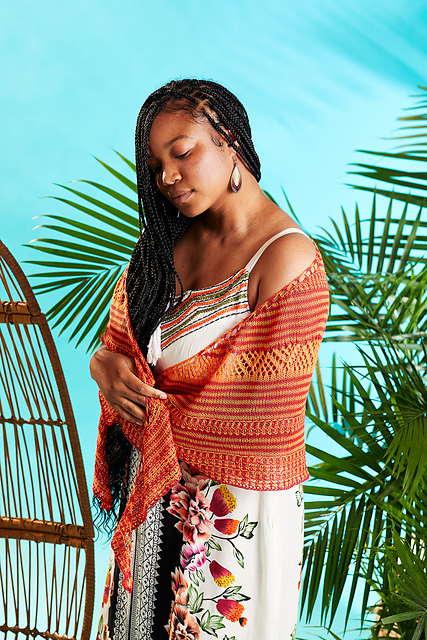
Next up, lets take a look at Sunburst by Aubrey Busek. Its design captures the radiance of a rising sun with curved sections reaching like rays towards the burst of fringy tassels along the edge. The lace and bold colors create dynamic lines and shapes that can spice up any outfit you choose. When you drape this piece around you, you’ll feel transported to a breezy beach which you can carry with you wherever you go.
Sunburst Shawl by Aubrey Busek
Lastly, lets check out Sailfin, a striped stunner by Rachel Brockman. This colorful scarf is inspired by the glorious stripes of the saltwater sailfin fish. The scarf’s eye-catching colors and pattern are just as captivating as its underwater muse. The smooth texture allows for the colors and drape of Magnolia to stand out and shine. Pair this accessory with your favorite summer outfit and be ready to receive joyful compliments all day!
Sailfin by Rachel Brockman
There are still two other projects, the Painted Sunset shawl and the Seagrass top, yet to explore in this collection. Which one is your favorite? If you’re like me and you are having a hard time choosing, then get them all! The collection bundle is just $20 compared to $6 for each accessory pattern, and $7 for the Seagrass top. Until Friday 5/13 there is even more savings on our Ravelry page. To celebrate this collection release, you can snag an extra 15% off – no code needed!
Painted Sunset shawl and Seagrass top
That’s all for now, friends. Happy Stitching! Ashley Jane
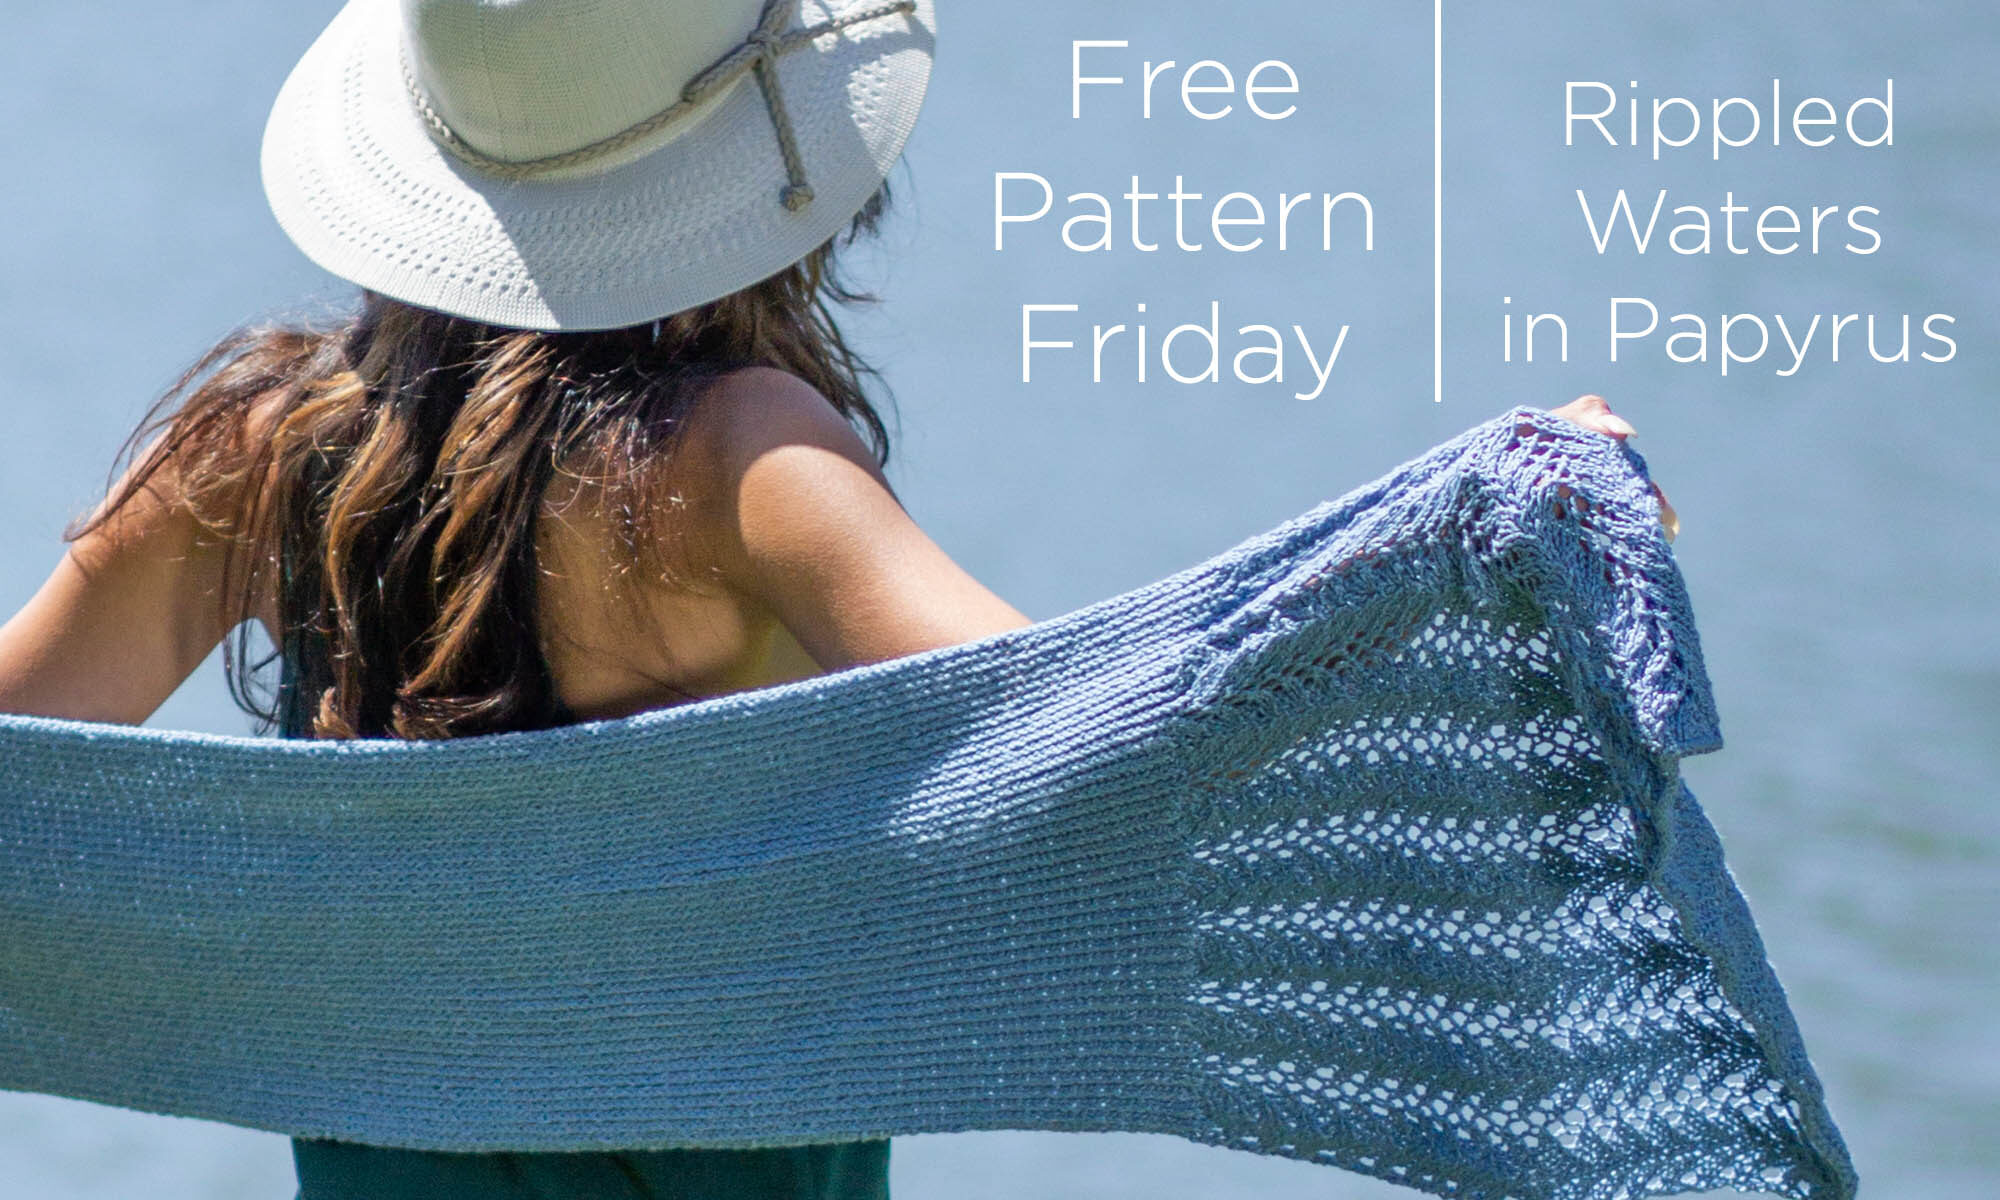
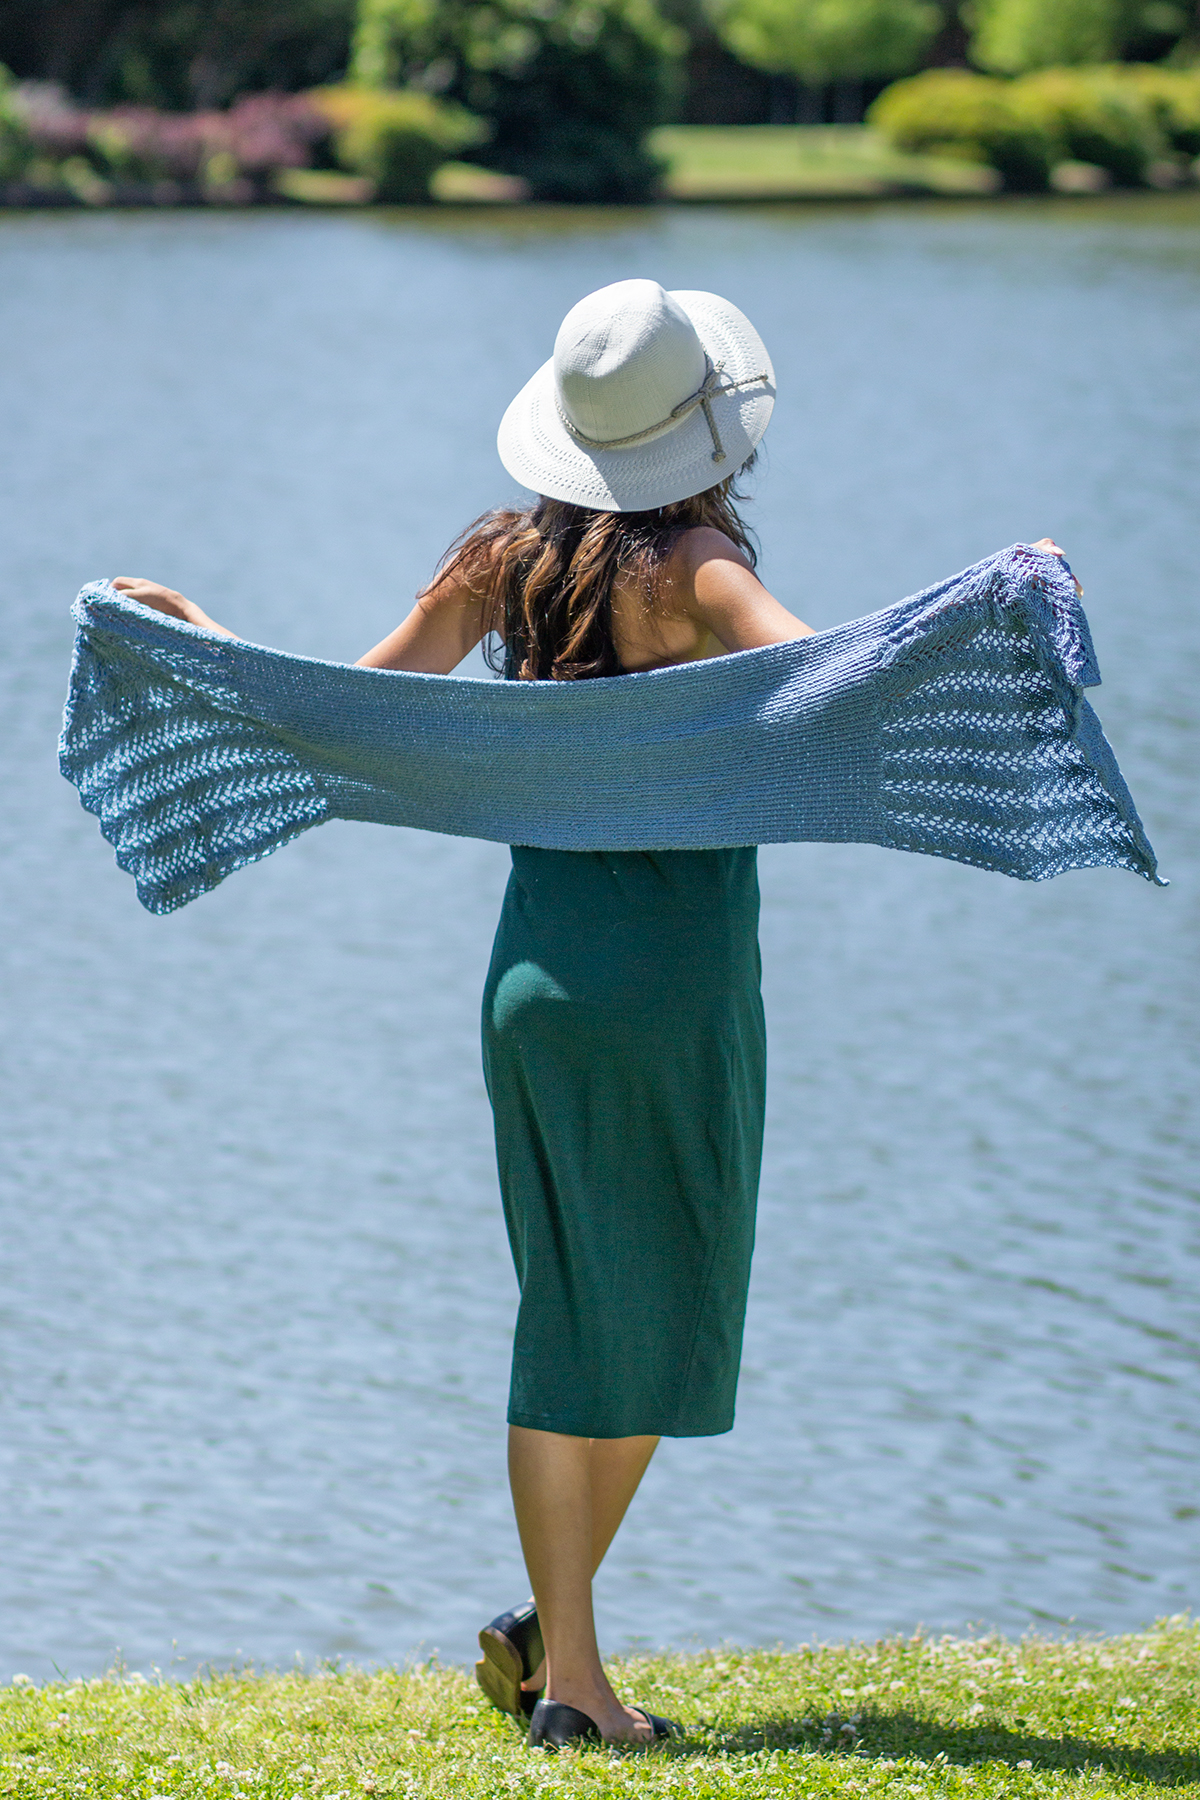
Designer Aubrey Busek took her inspiration for this design from still waters, kissed by a breeze that ripples the surface. It’s apparent in the lace elements…
…and in the choice of twisted rib, a stitch which gives a dimensional element to the body of the piece.
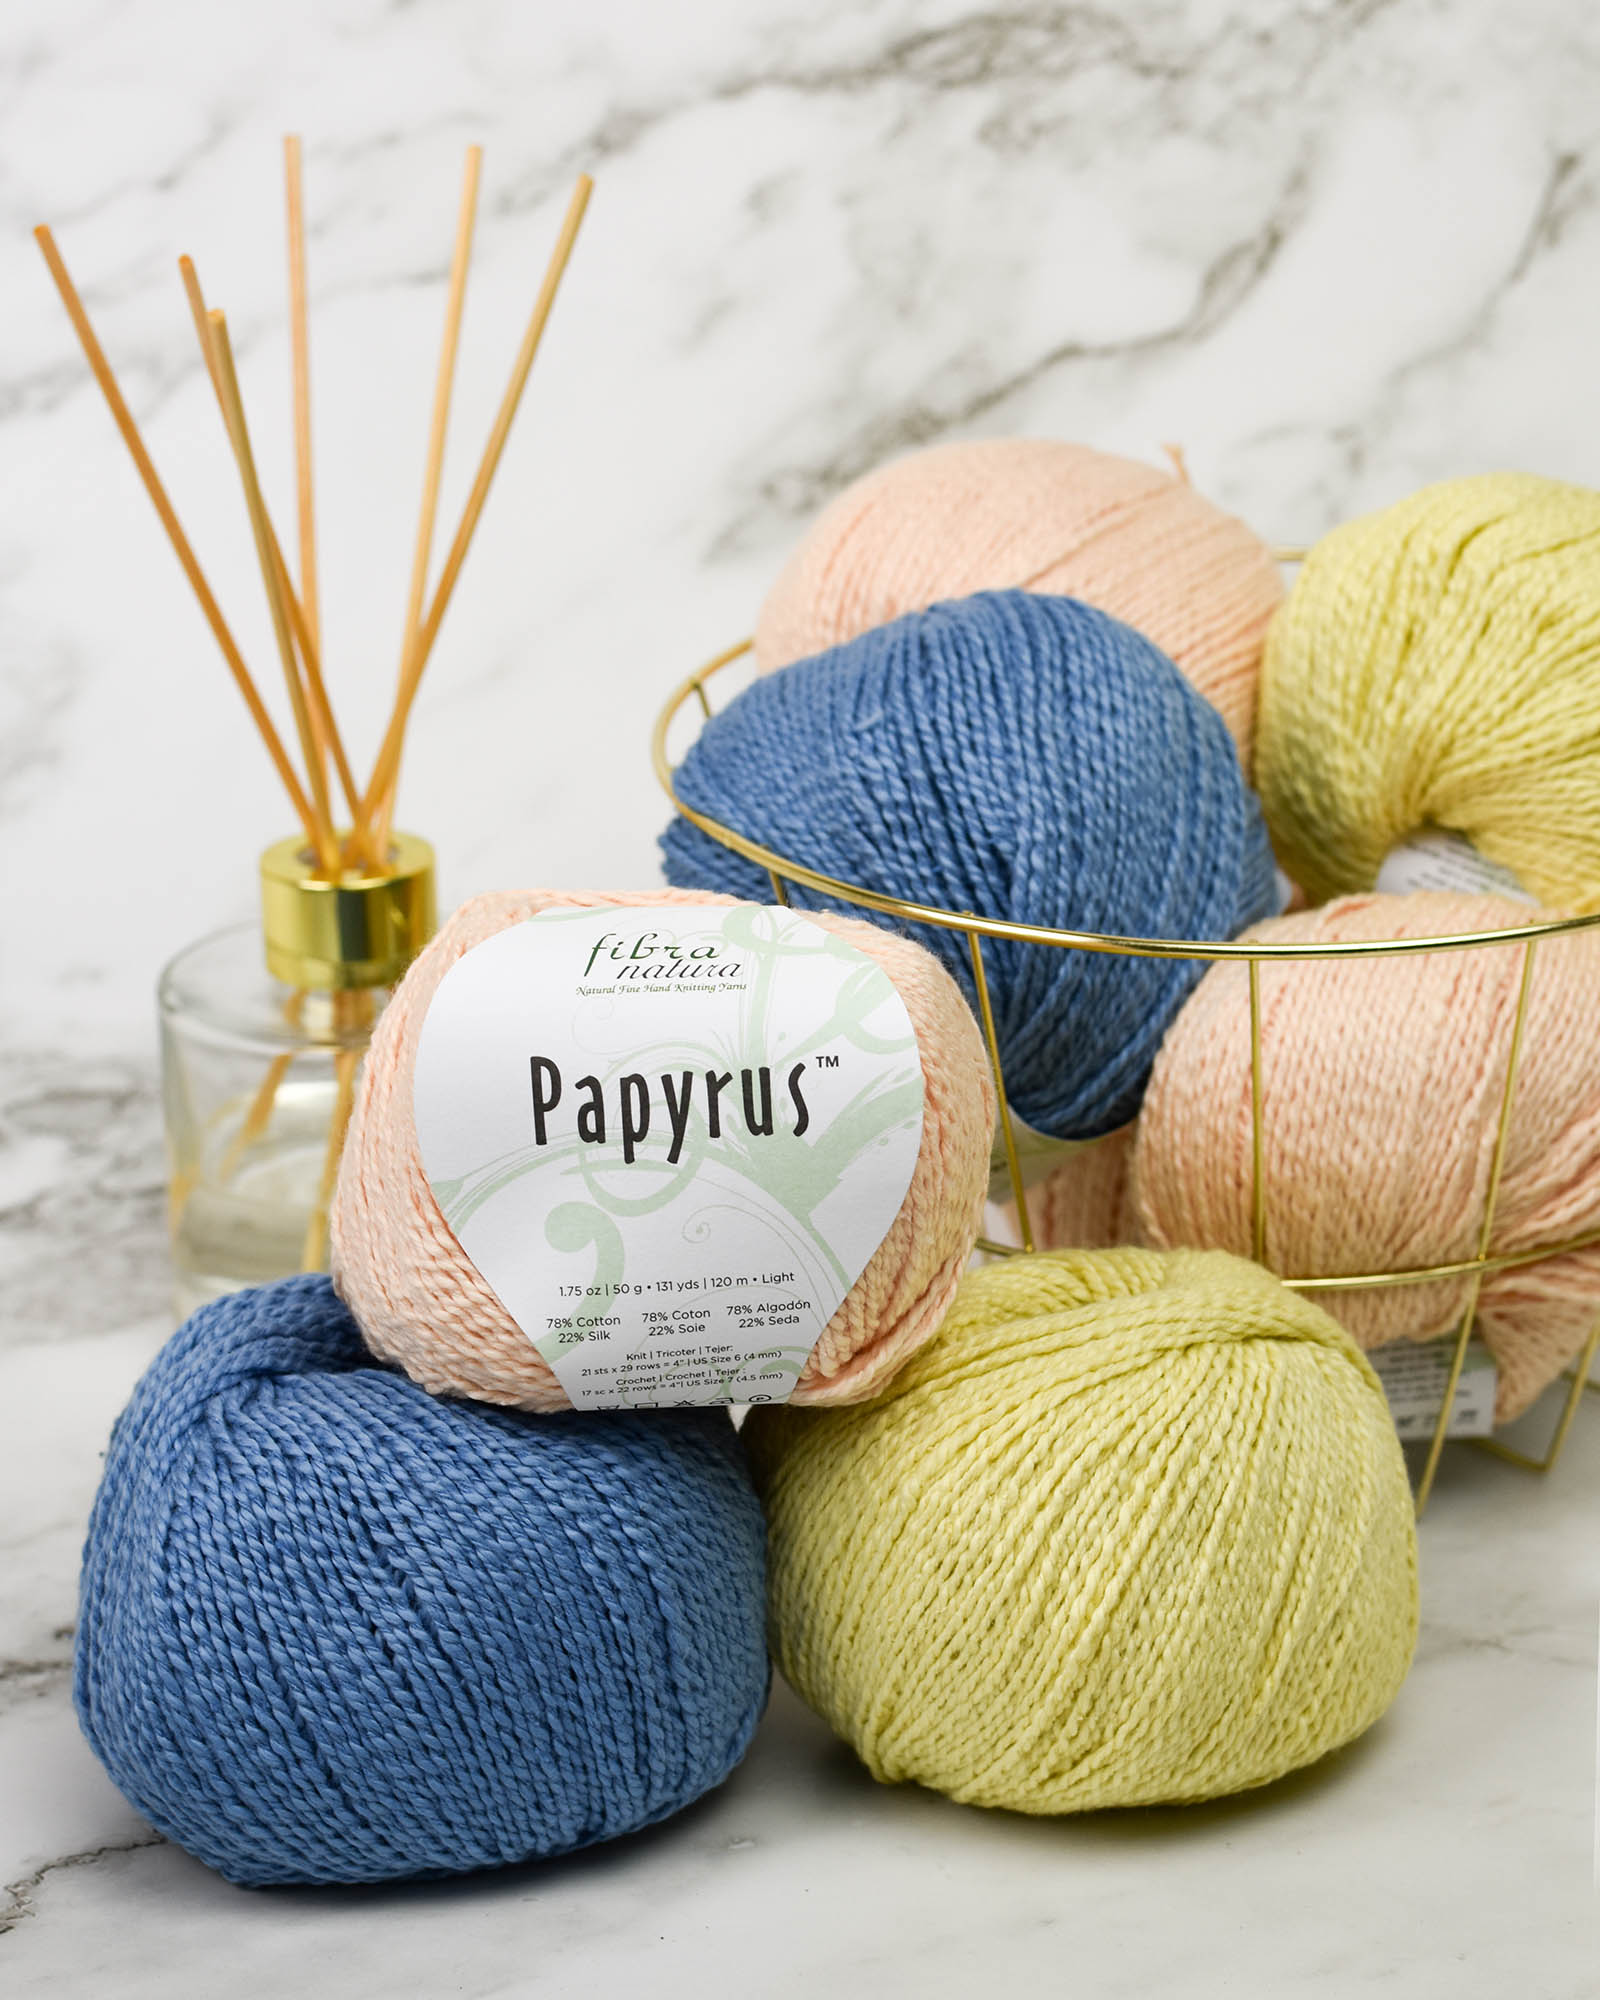
Also adding to the texture, the choice of yarn. Fibra Natura Papyrus is composed of a light and luxurious cotton/silk blend with a fascinating feel. Easy on the hands to work with, Papyrus is a great yarn for warmer weather. It adds a certain 3D quality to your fabric.
I’ve got some stashed away, waiting for me to cast on for my Beechnut Pullover. But looking at this wrap, maybe I should go ahead and make this instead. Or both. Yep, that’s it, both.
We hope you have a fantastic weekend, full of love and joy.
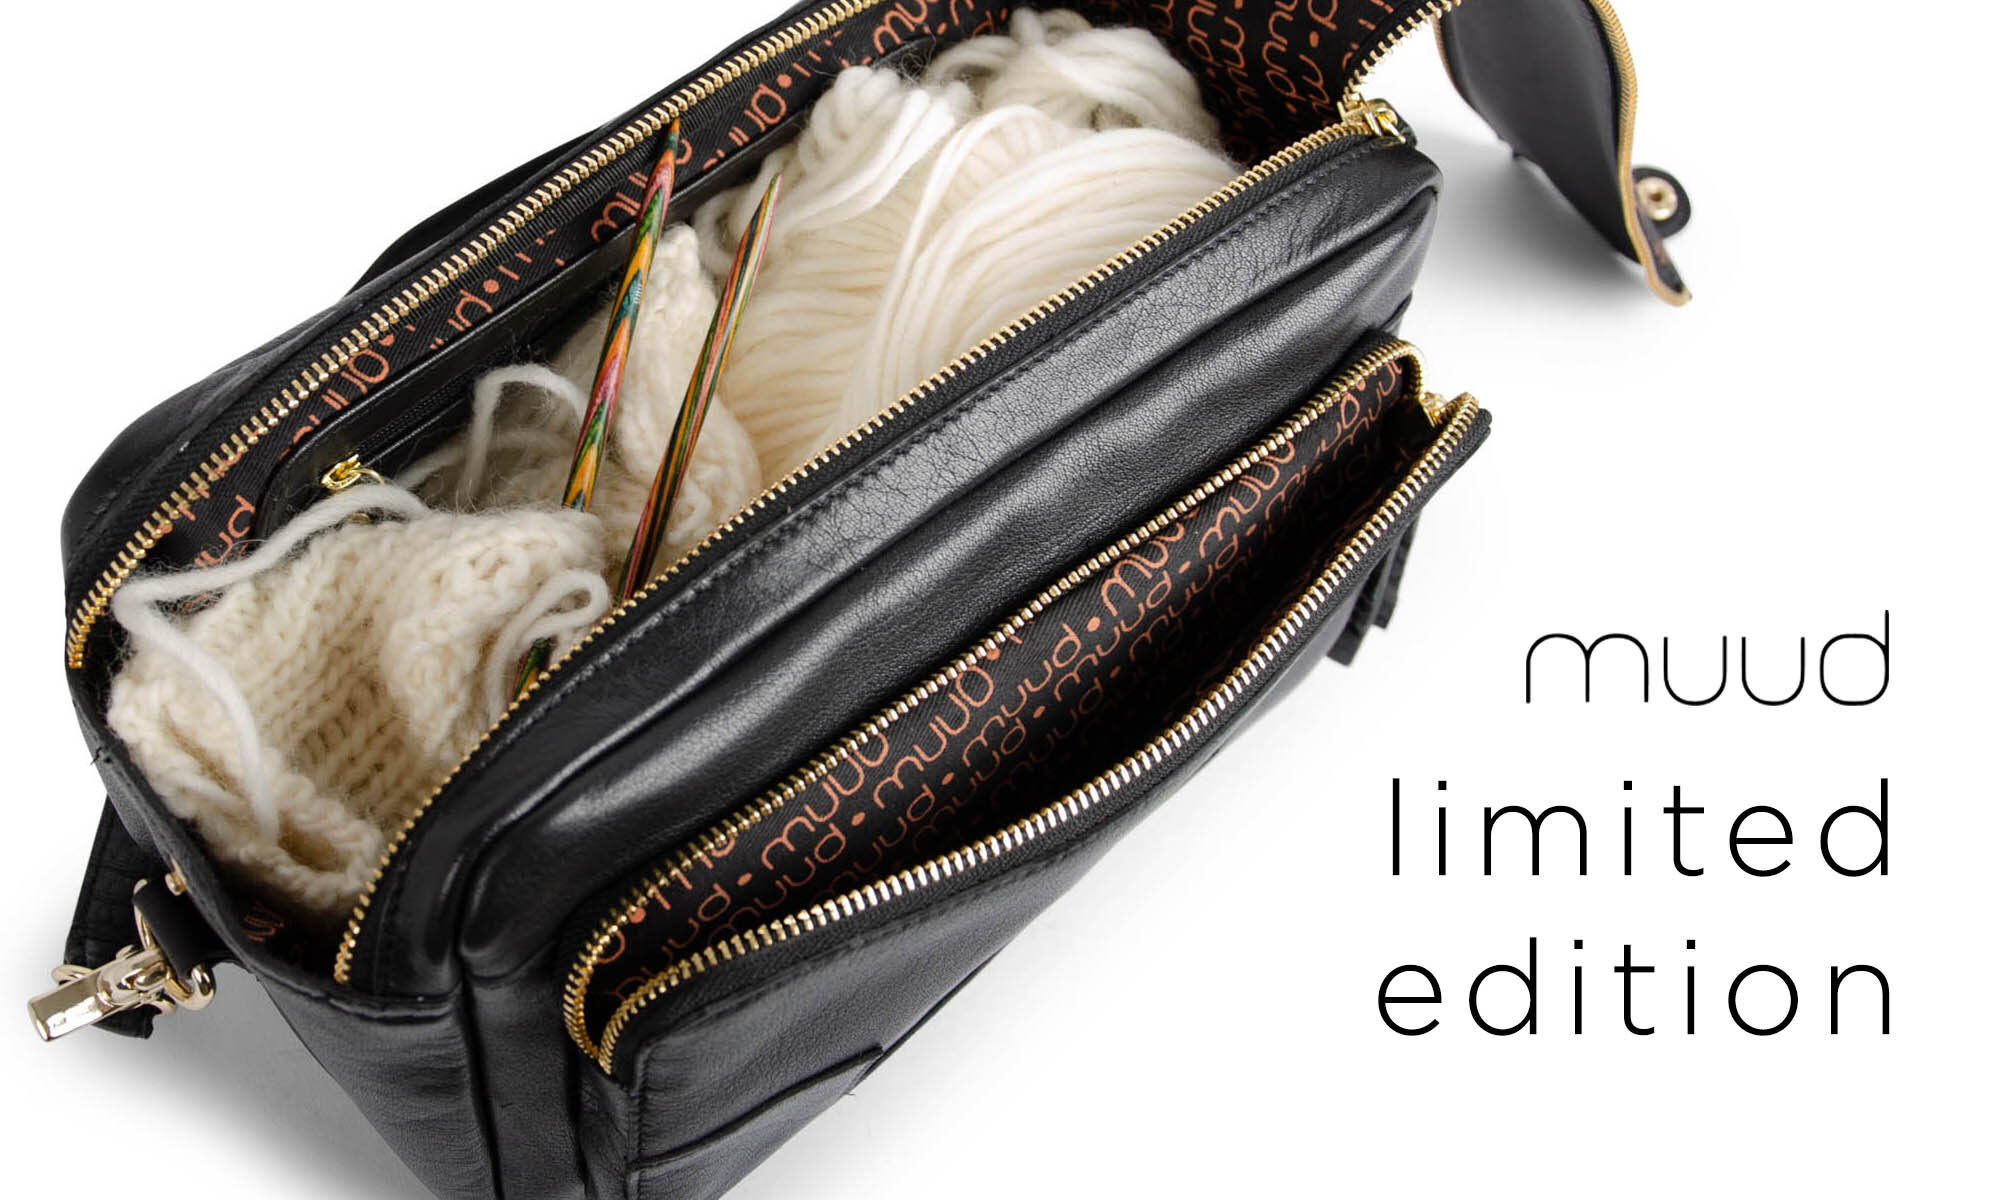
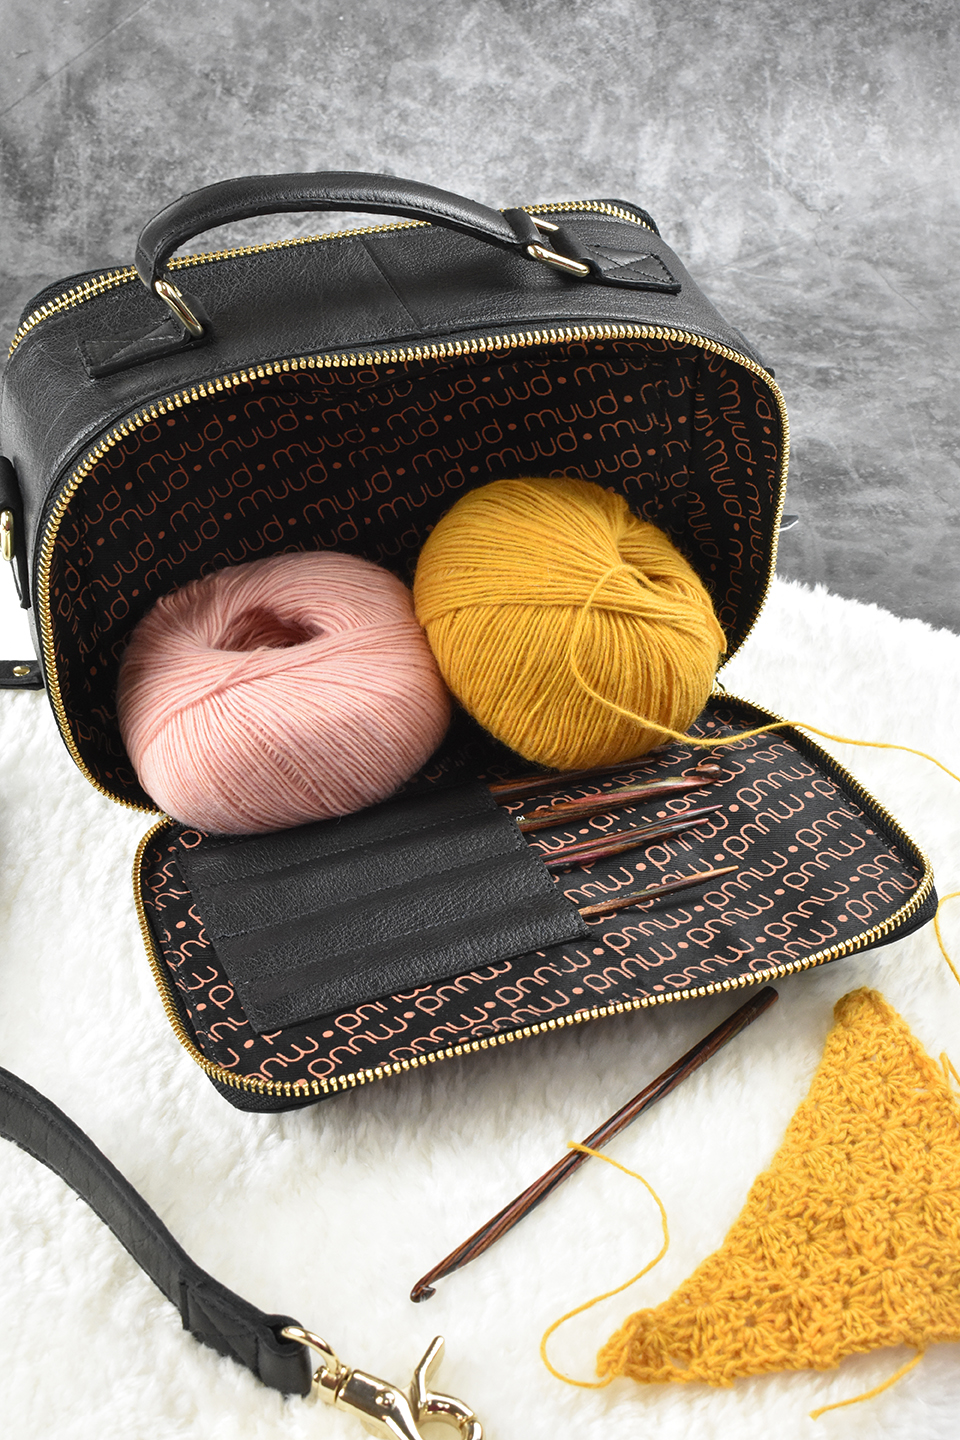
The latest releases from Muud are some of your tried and true favorites – only better. The Denmark based company creates products with crafters in mind, blending functionality with beautiful designs. Traditionally all of their pieces come in classic black and whiskey colors with understated and practical hardware, but this release offers a chic makeover.
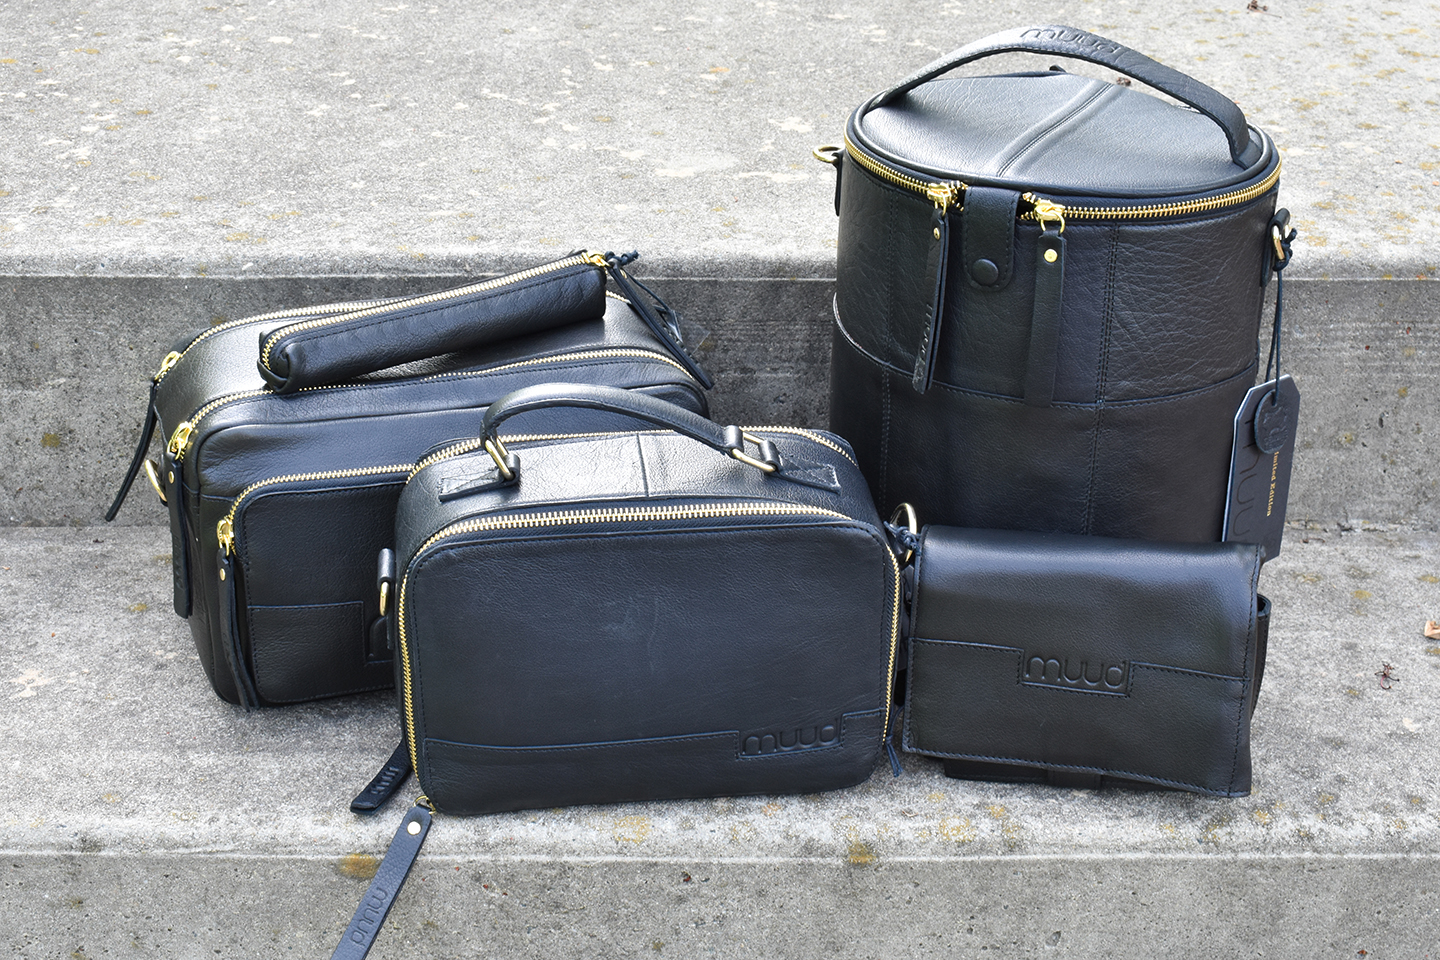
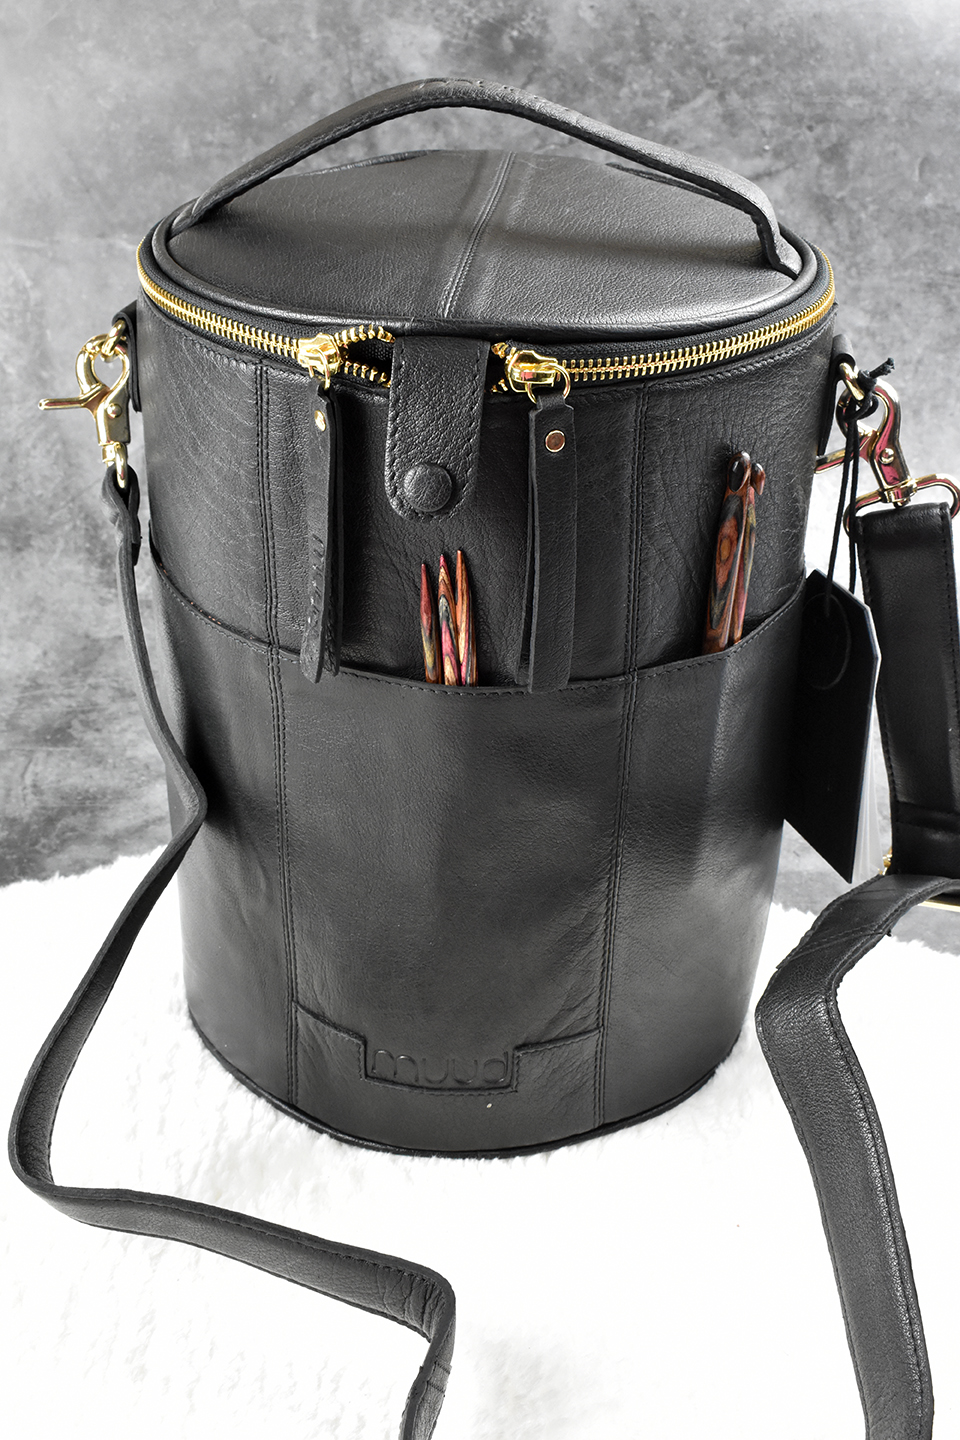
One of the standout elements is the gold zipper and hardware, adding a luxe feel to the attention and detailing of each piece. Right away, these bags and accessories project “designer” vibes but don’t actually come at the cost. The largest price difference comes with the coveted Saturn XL, normally $165, you can snag (or should we say steal!) the limited release for just $30 more at $195. With all of the pieces barely bumping above the norm, we won’t be surprised to see the full collection shipping out!
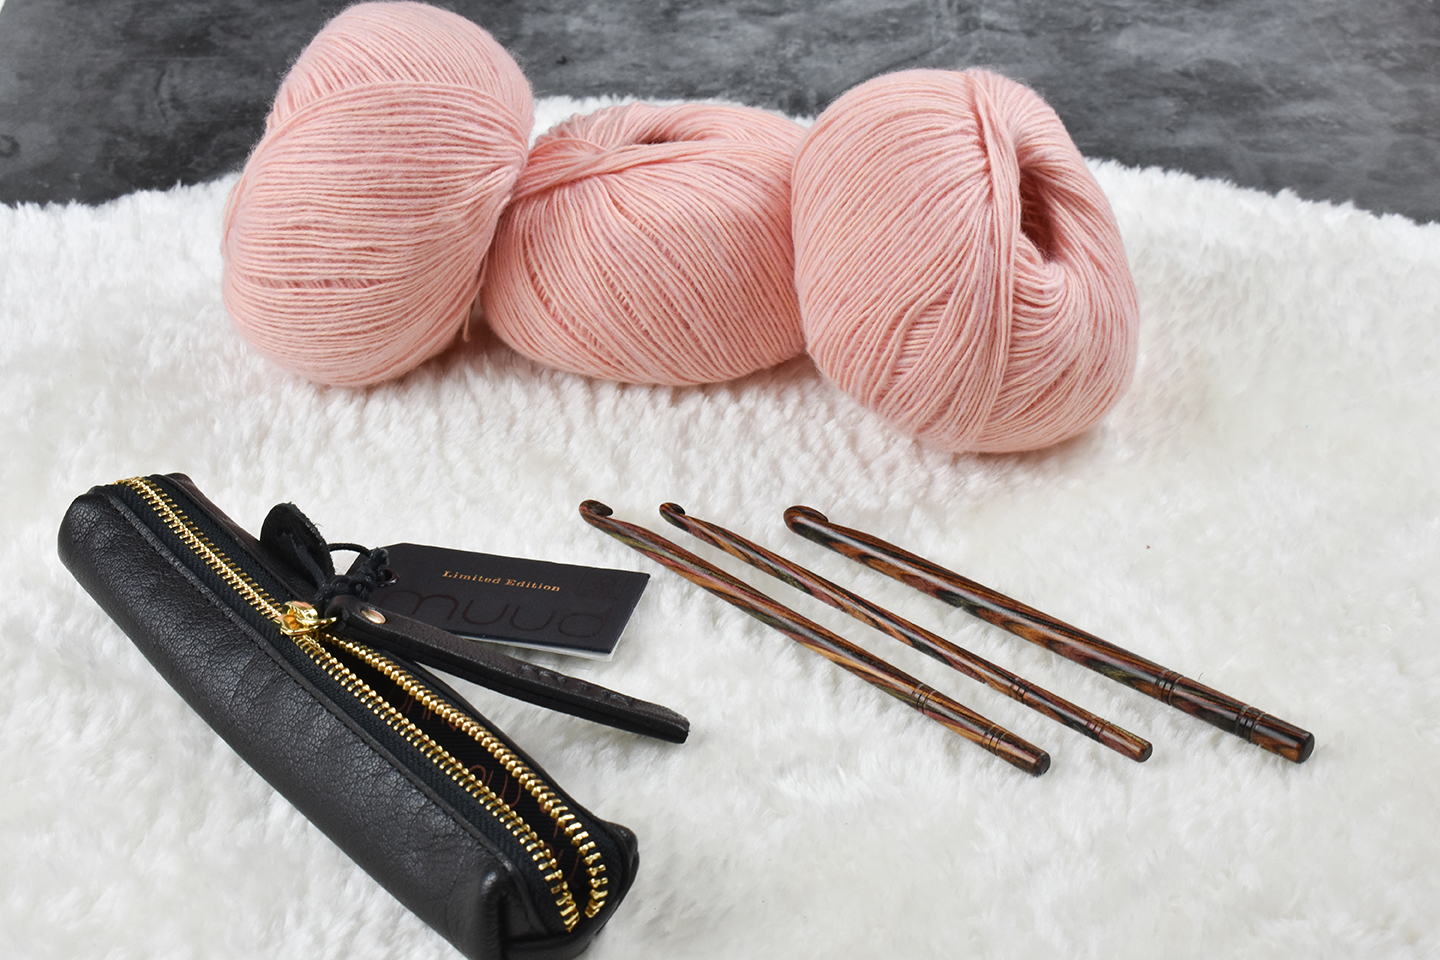
Another thoughtful touch is the addition of a printed liner sporting the brand name in an adorable blush pink. I’m so thrilled about this because it truly sets this limited collection apart from the standard Muud line. It’s one of those details that is eye-catching in a fun peekaboo way that will delight you every time you unzip your bag to reach for your project!
If you’re starting to feel in the mood for Muud (see what I did there?) but want to start small, look no further than the Hee needle/hook case! One of the wonderful final features of this gorgeous collection is that the selection of pieces is offered in a range of sizes and price-points to fit the needs of all crafters!
There is something available for everyone – for now. Hurry and grab your Limited Edition Muud piece today before it’s gone! That’s all for now – Happy Stitching, y’all! Ashley Jane McIntyre