This is part 11 in a 12 part series highlighting designs from our 12 Days of Winter, Series 4 Edition.
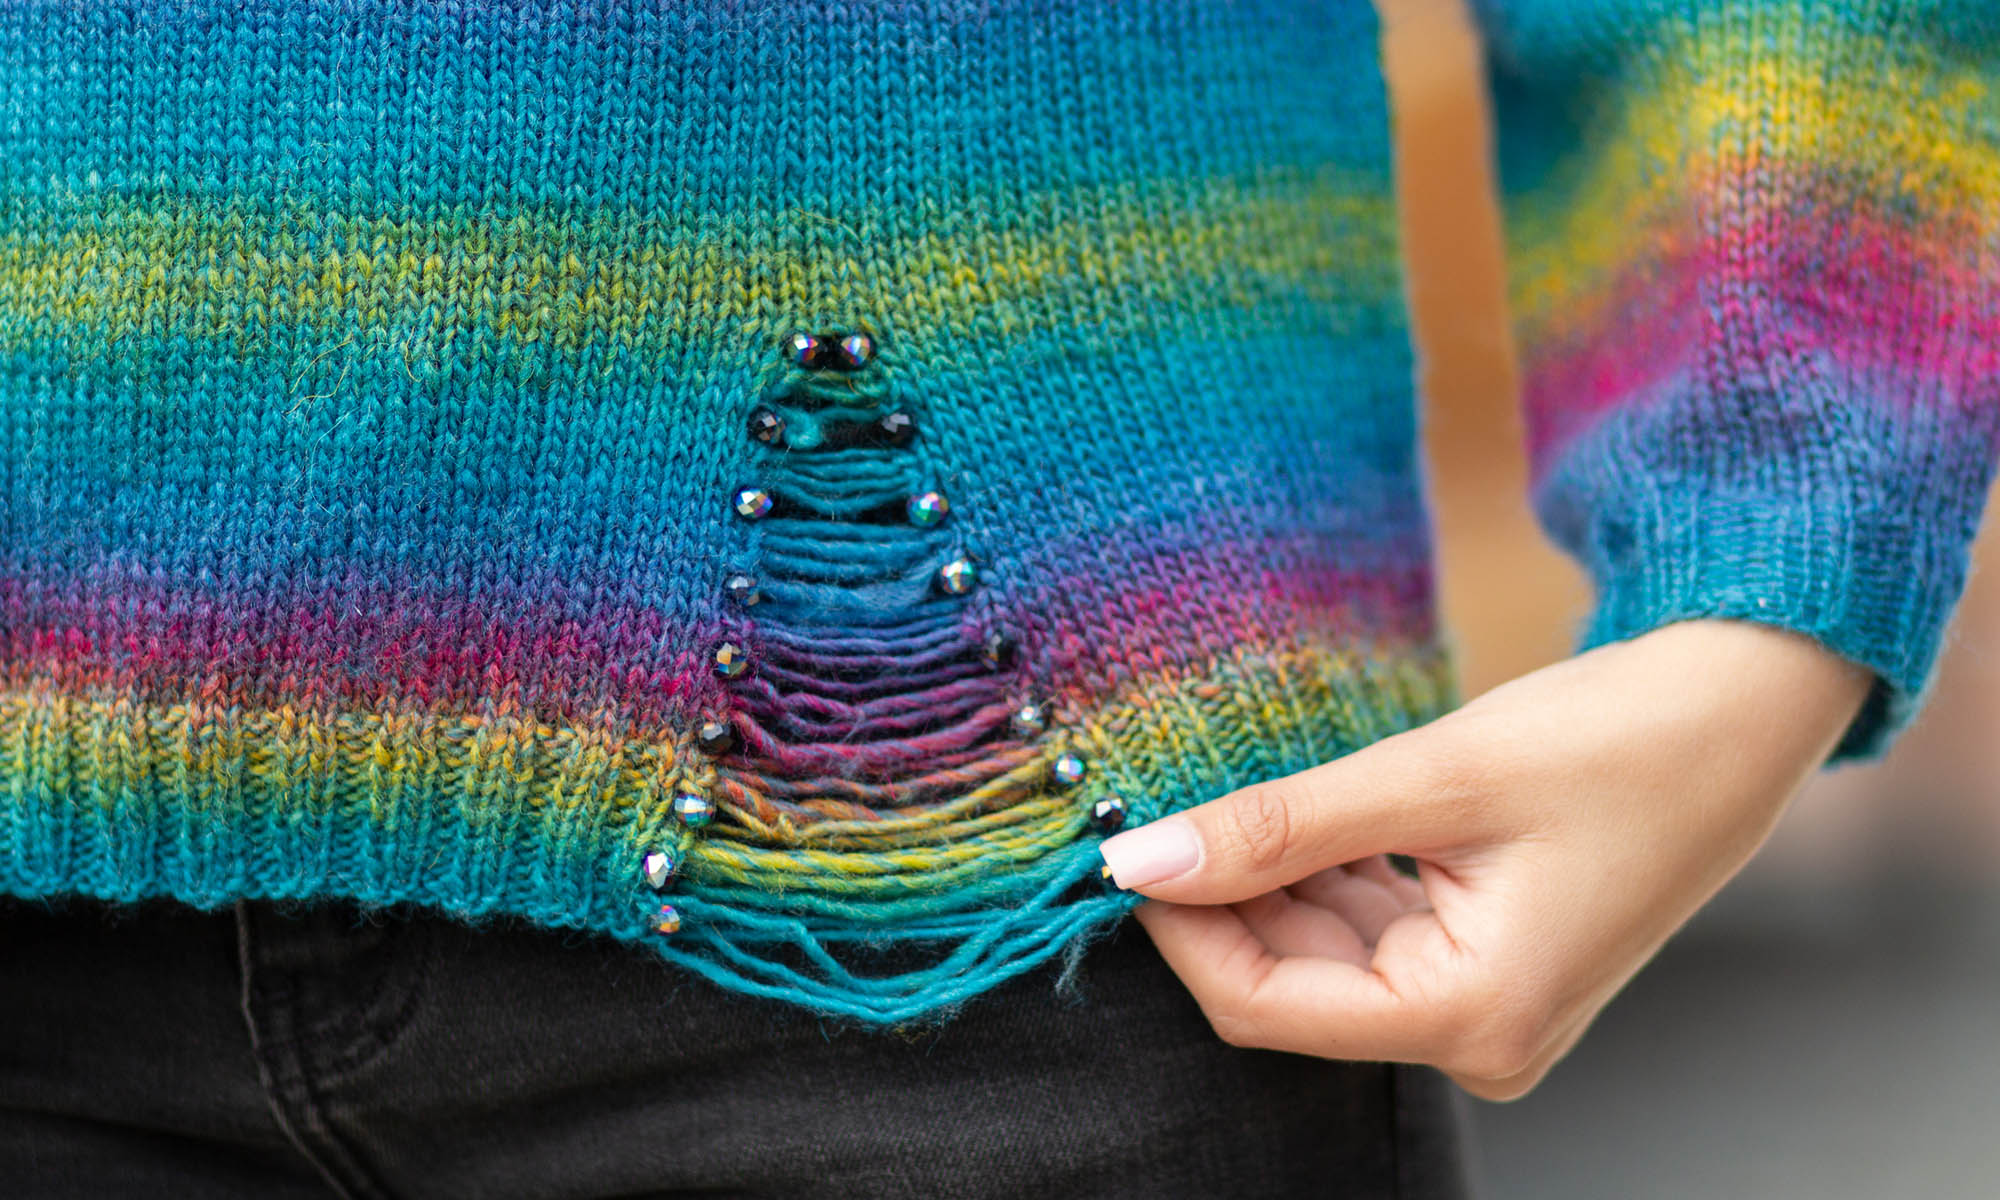
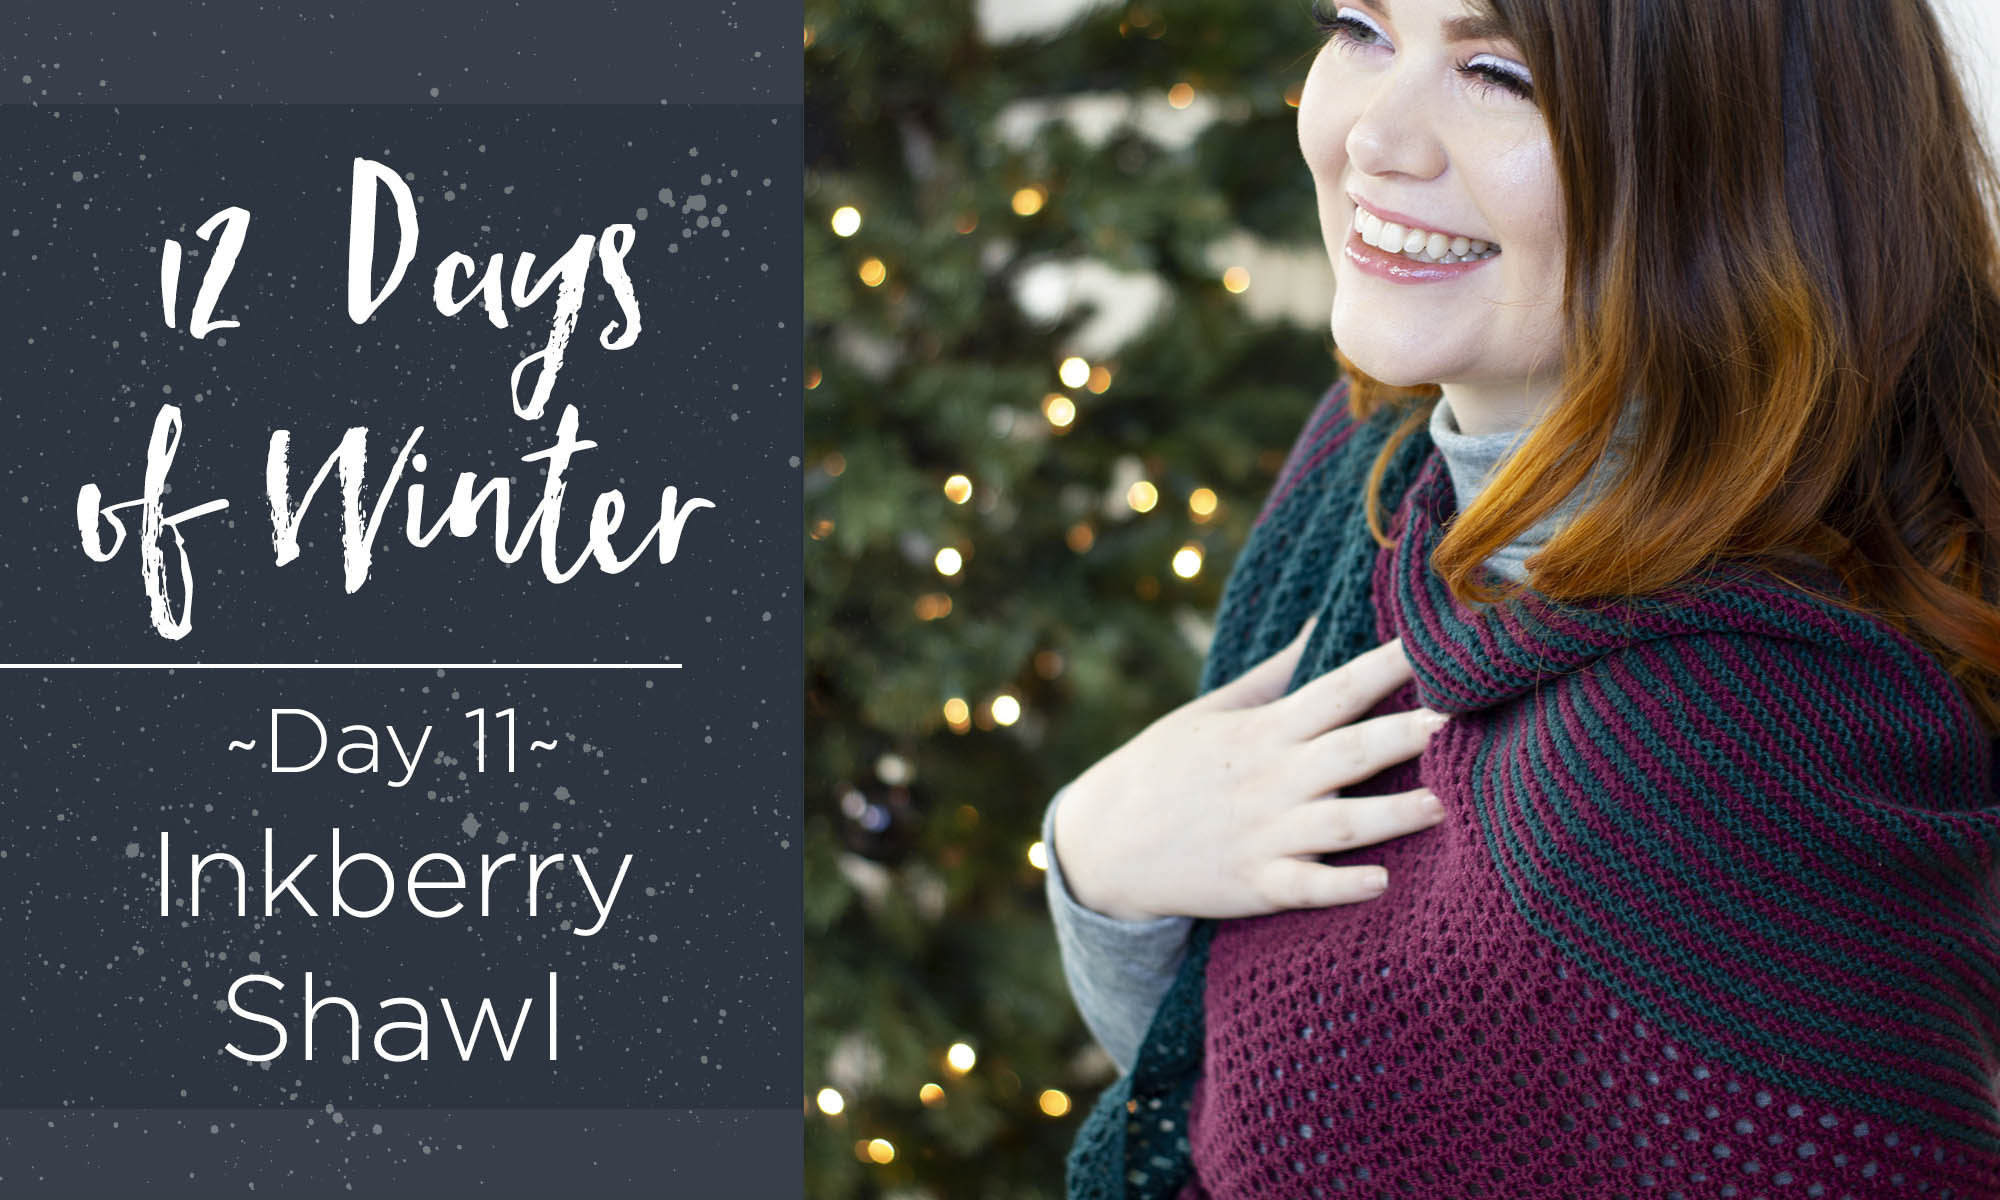
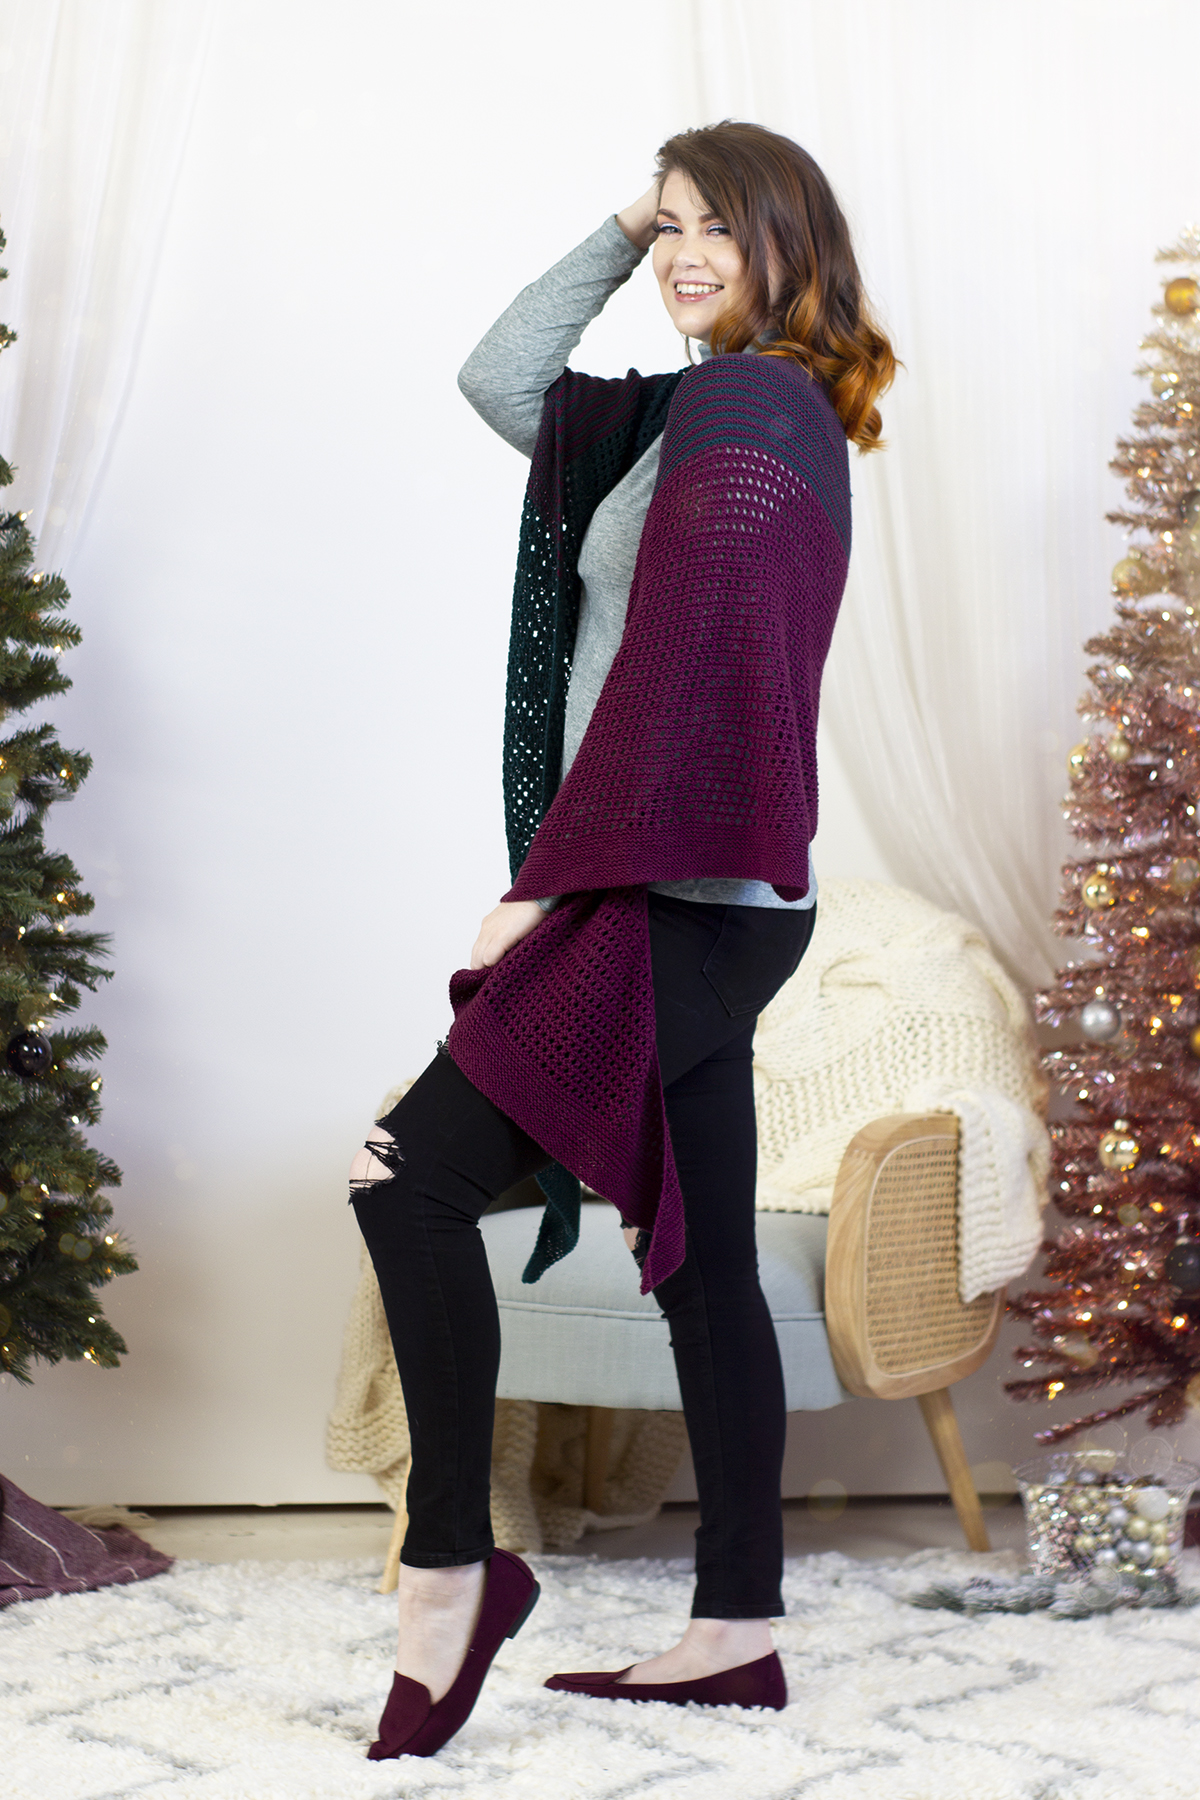
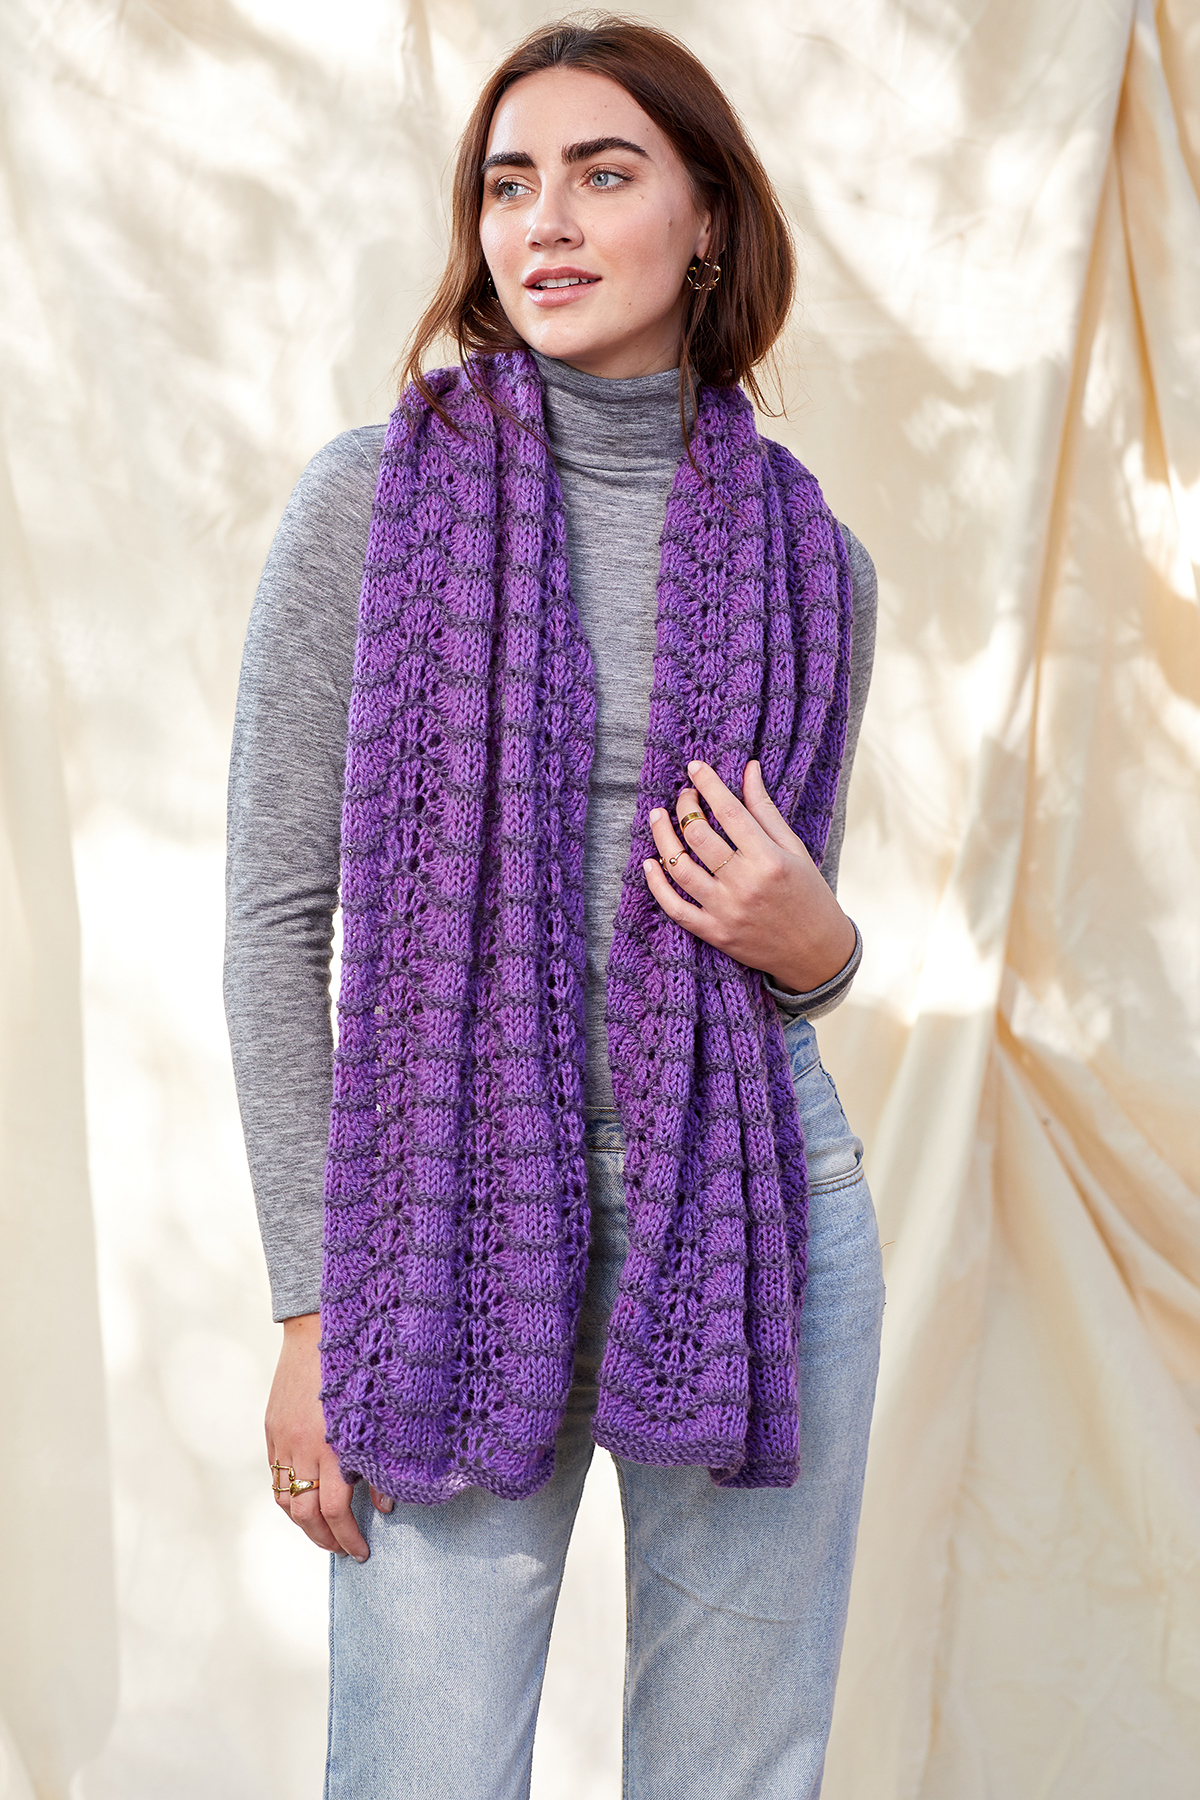
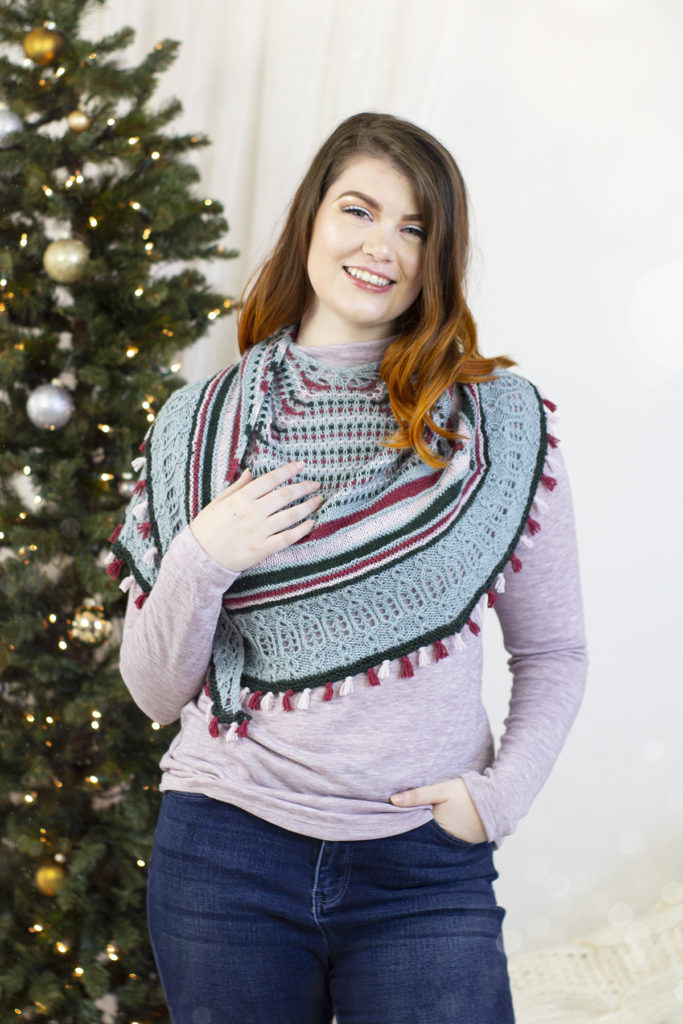
It’s already Day 11 of the 12 Days of Winter Kit Collection. Time is flying by, and we’re all feeling the holiday spirit. Today we’re revealing a beautiful project: the Inkberry Shawl, knit in soft, plush Donnina. This shawl uses low-contrast, semi-complementary colors #215 Purple Beet and #227 Balsam for a beautiful effect.
This shawl was designed by the talented Jennifer Sadler. She has such a knack for creating designs that are welcoming for knitters of all skill levels, and this shawl is no exception. It’s a soothing project full of garter, simple stripes, and airy eyelets. I asked Jennifer to share a bit about her inspiration and design process. Here is what she had to say:
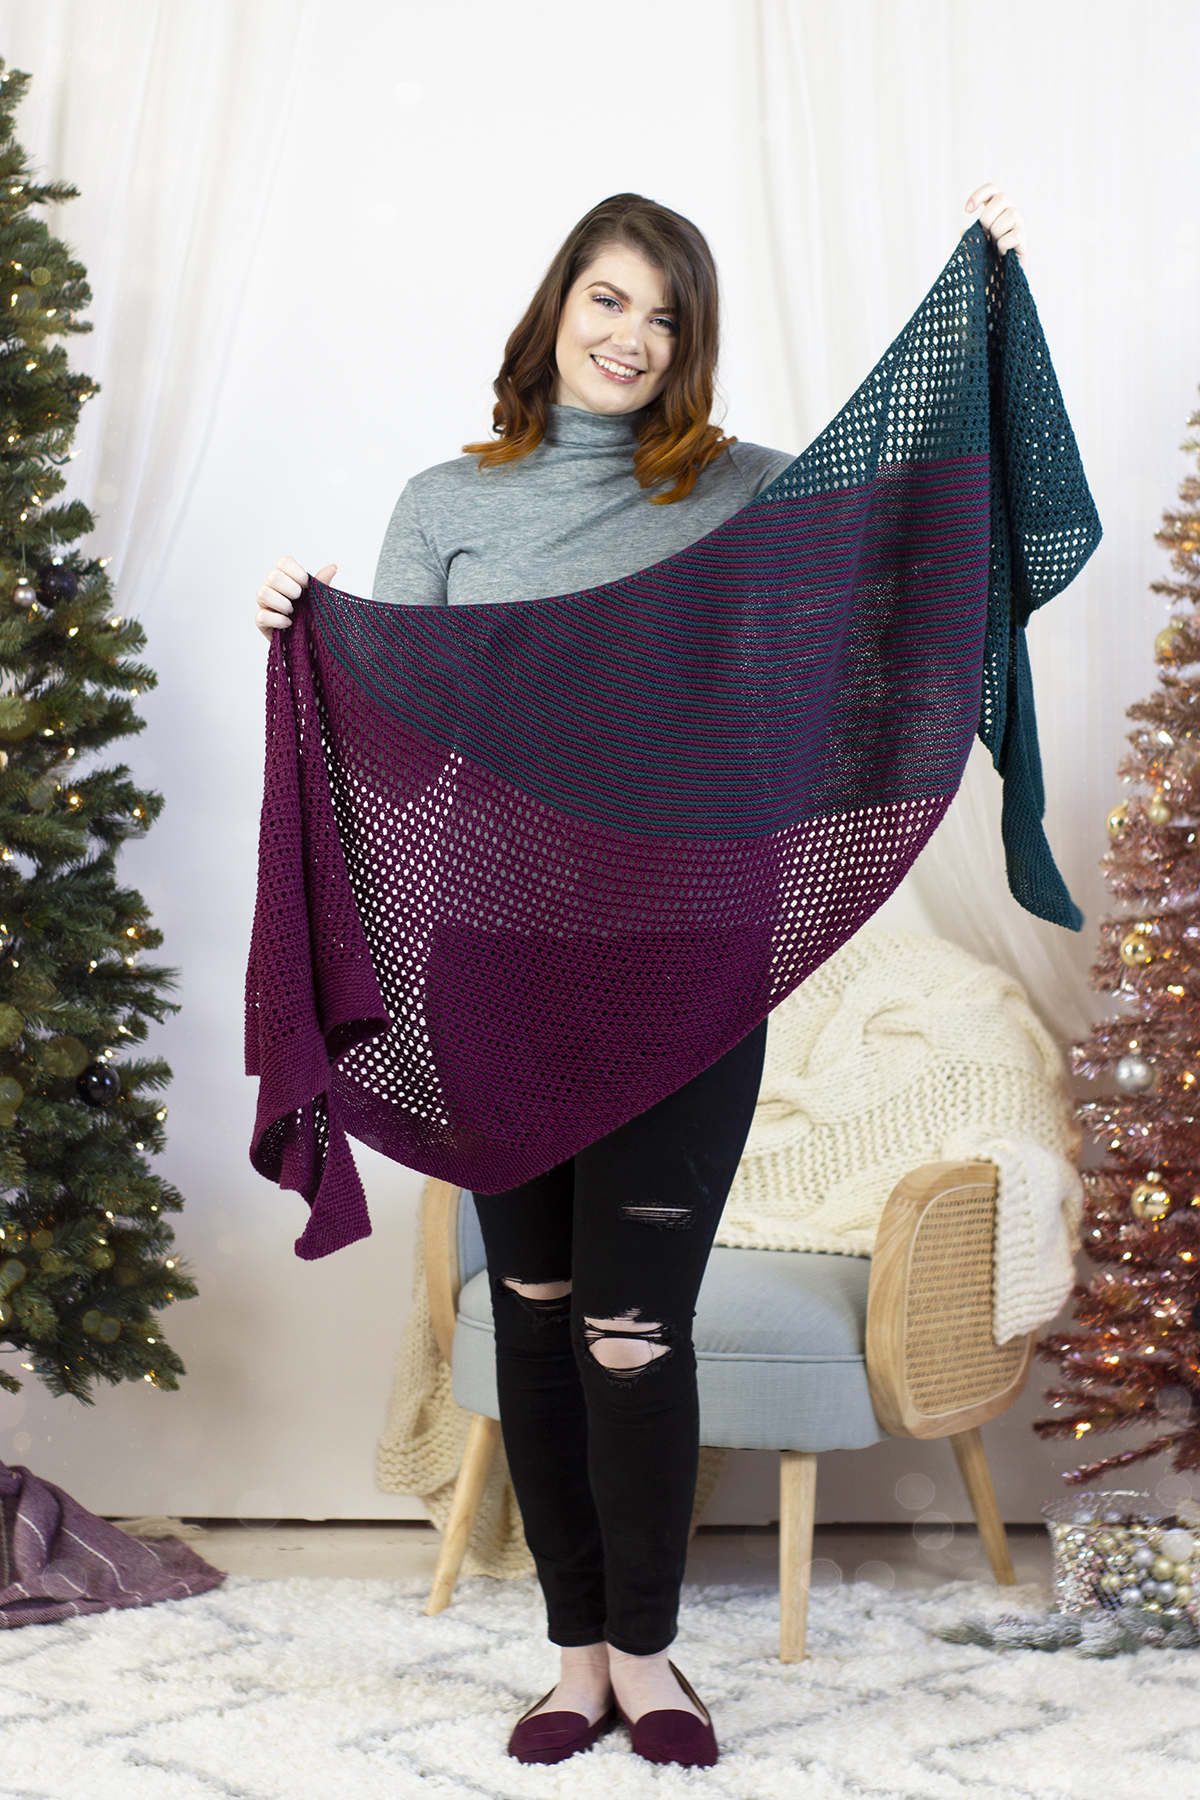
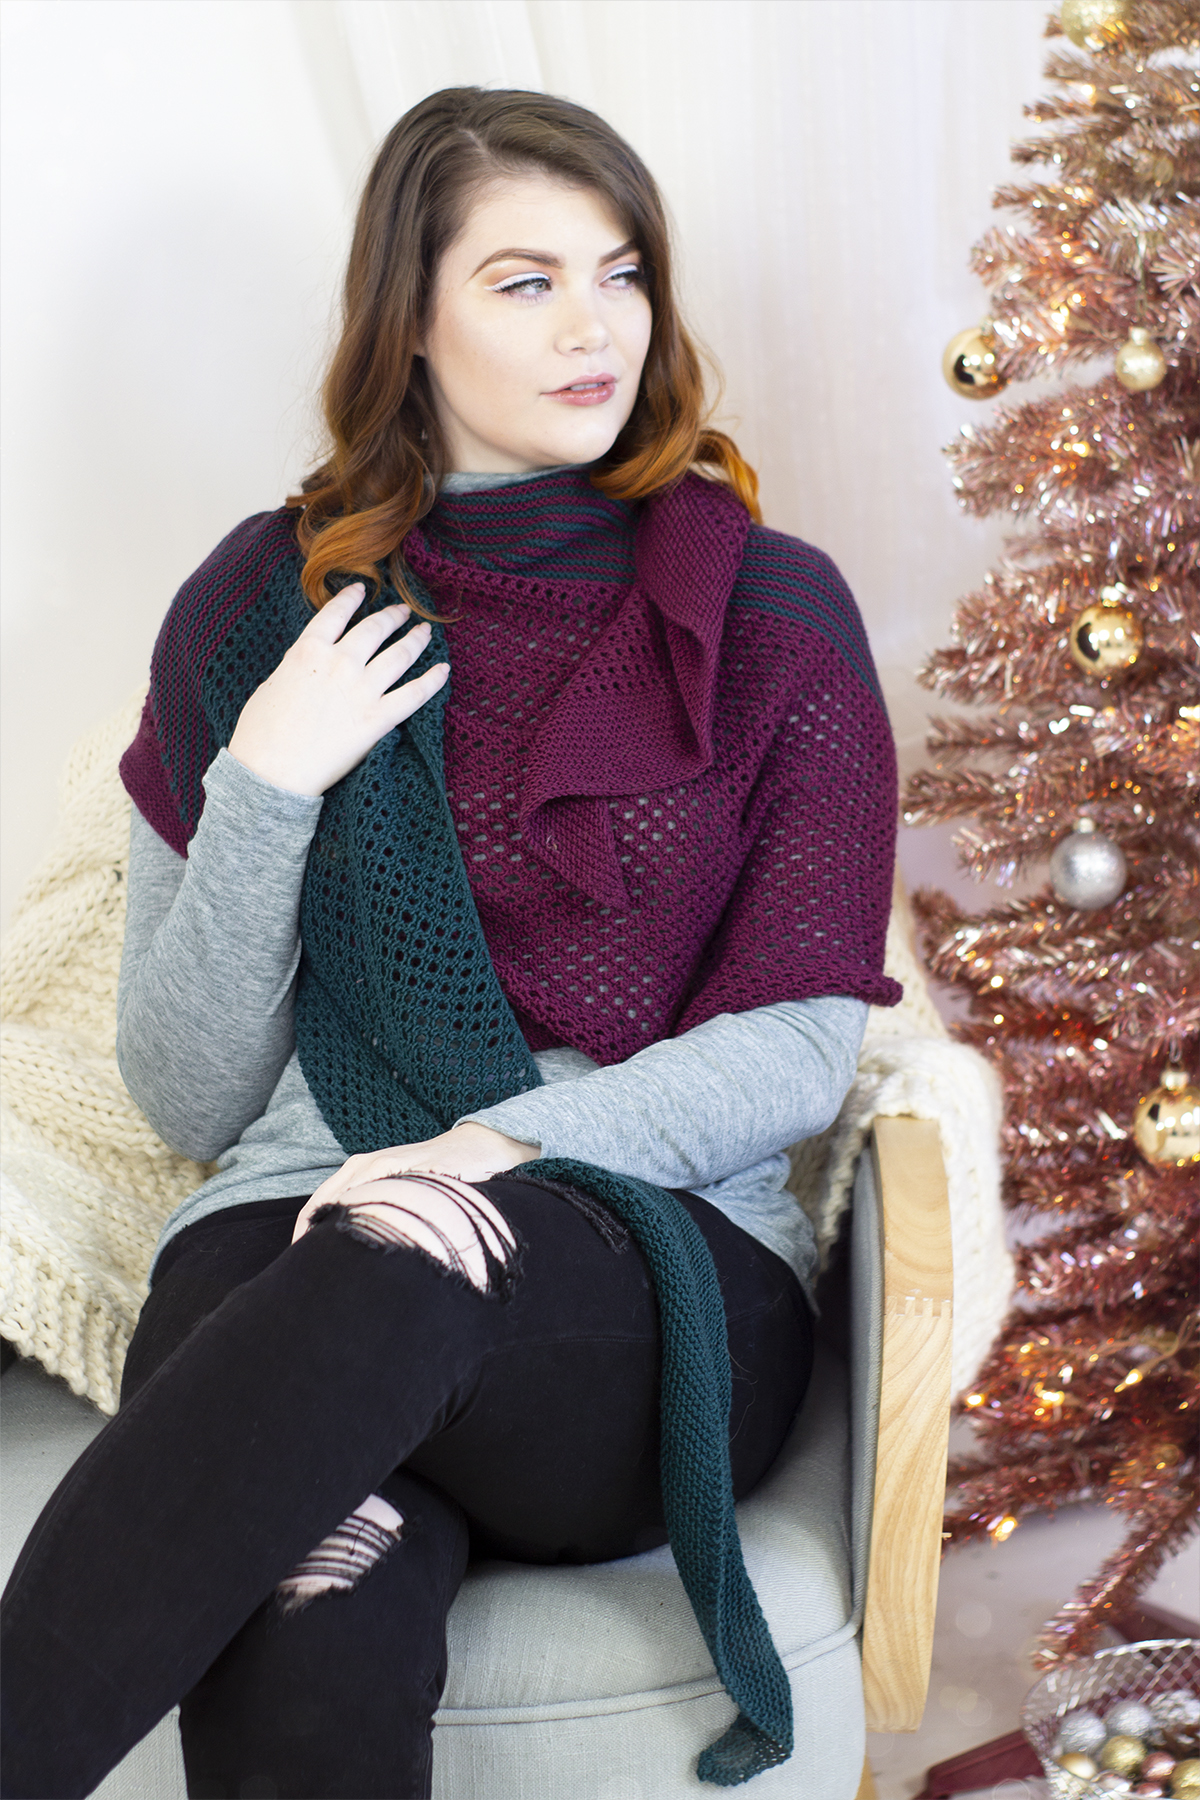
Garter stripes balance out the blocks of color on each end of this lovely shawl.
“When it comes to knitting during the holidays, I enjoy projects that allow me to knit while watching a holiday movie or enjoying a cup of hot tea or coffee while visiting with family. I wanted to design something that fit that bill, while also being a very cozy and wearable finished object. The Inkberry Shawl is perfect knitting for watching TV or chatting. The long sections of garter stitch are the best for zoning out a bit while still being productive!
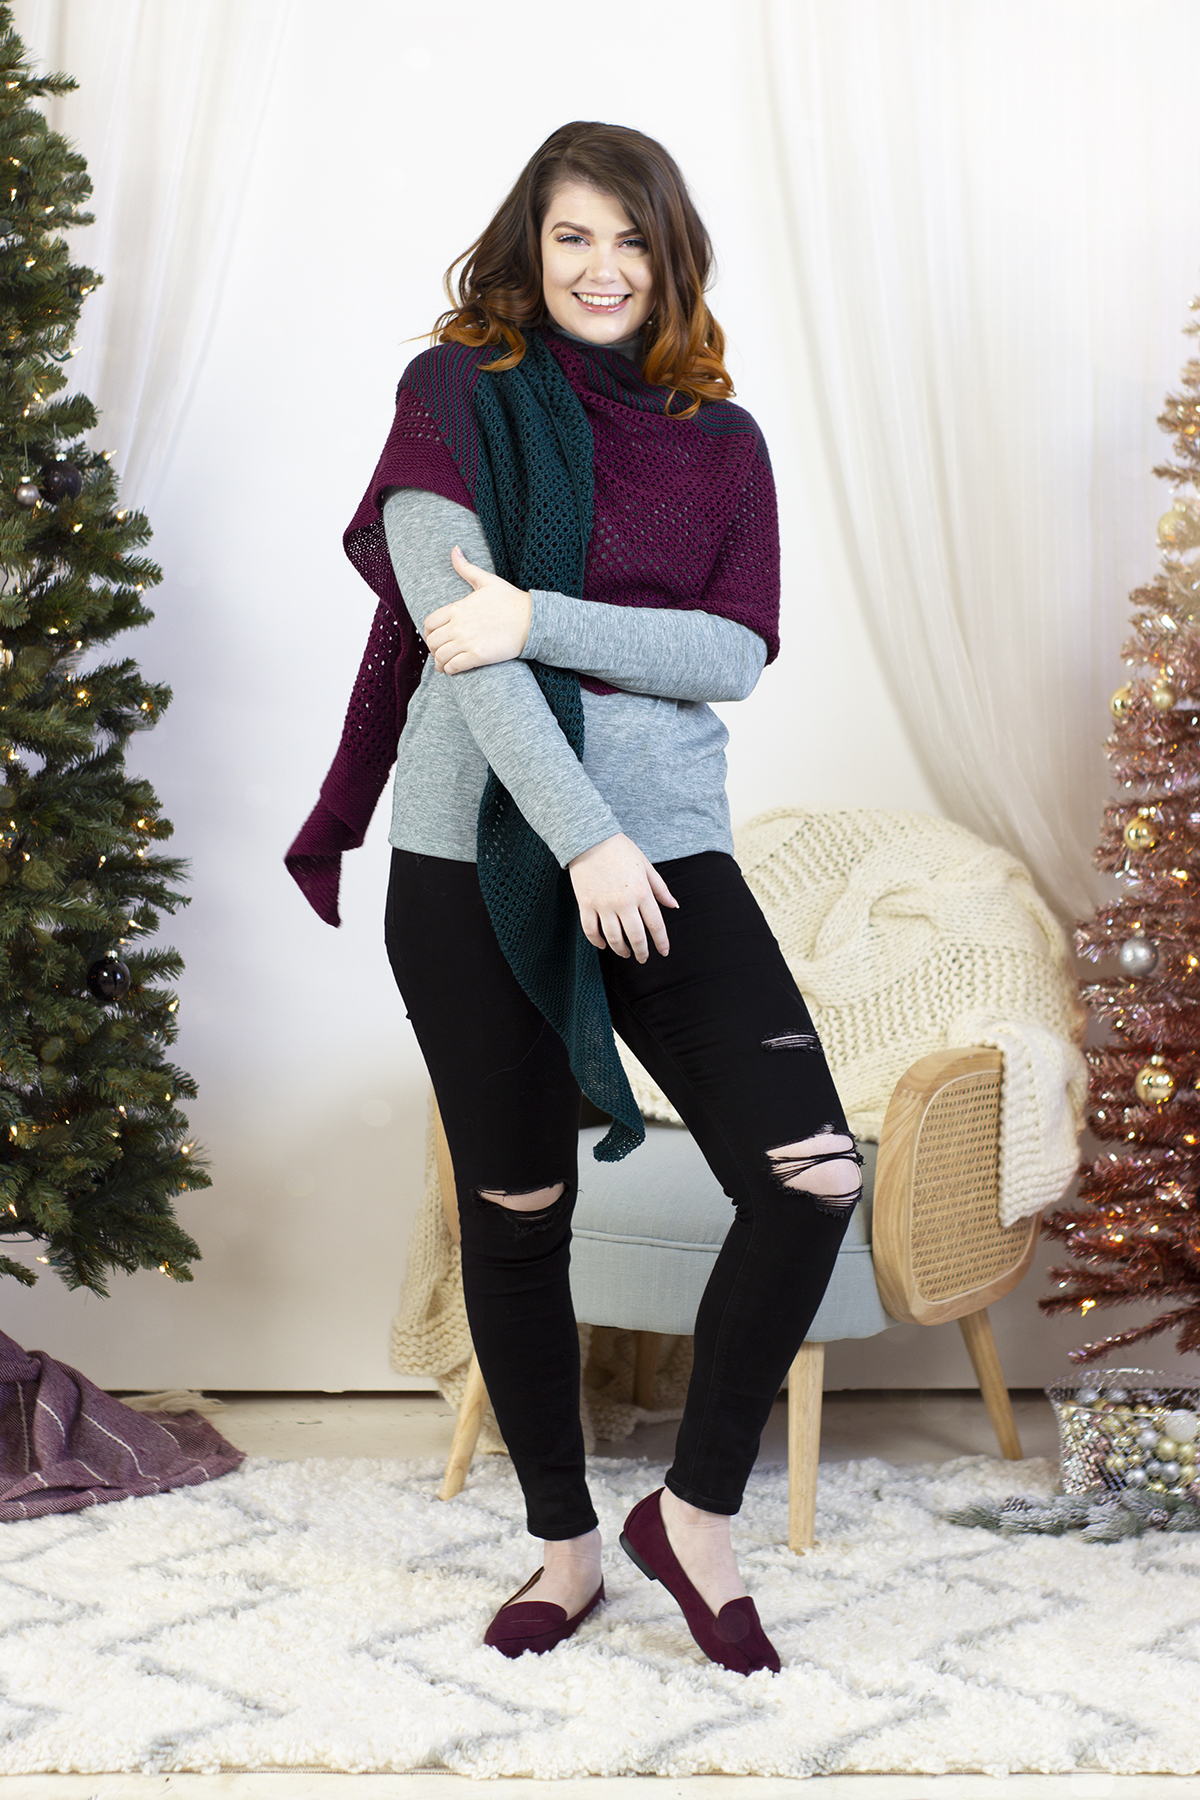
We love the generous size of this scarf.
While I love garter stitch, I wanted to add in a bit of texture for both visual and knitting interest. The garter lace stitch I chose is an easy to memorize 4-row repeat. And to make it easier to continue to zone out while knitting this shawl, there are no purls at all!
The asymmetrical triangle shawl shape is hands down my favorite shawl shape. I find it to be the easiest to wear, and a shape that requires hardly any adjustment throughout the day because it lays so nicely. The lovely Donnina yarn, made up of 100% superwash extrafine merino, gives the shawl a bouncy and squishy feel. The finished shawl would make a wonderful gift, or a lovely addition to any wardrobe. My hope is that you enjoy knitting Inkberry while staying cozy this holiday season!”
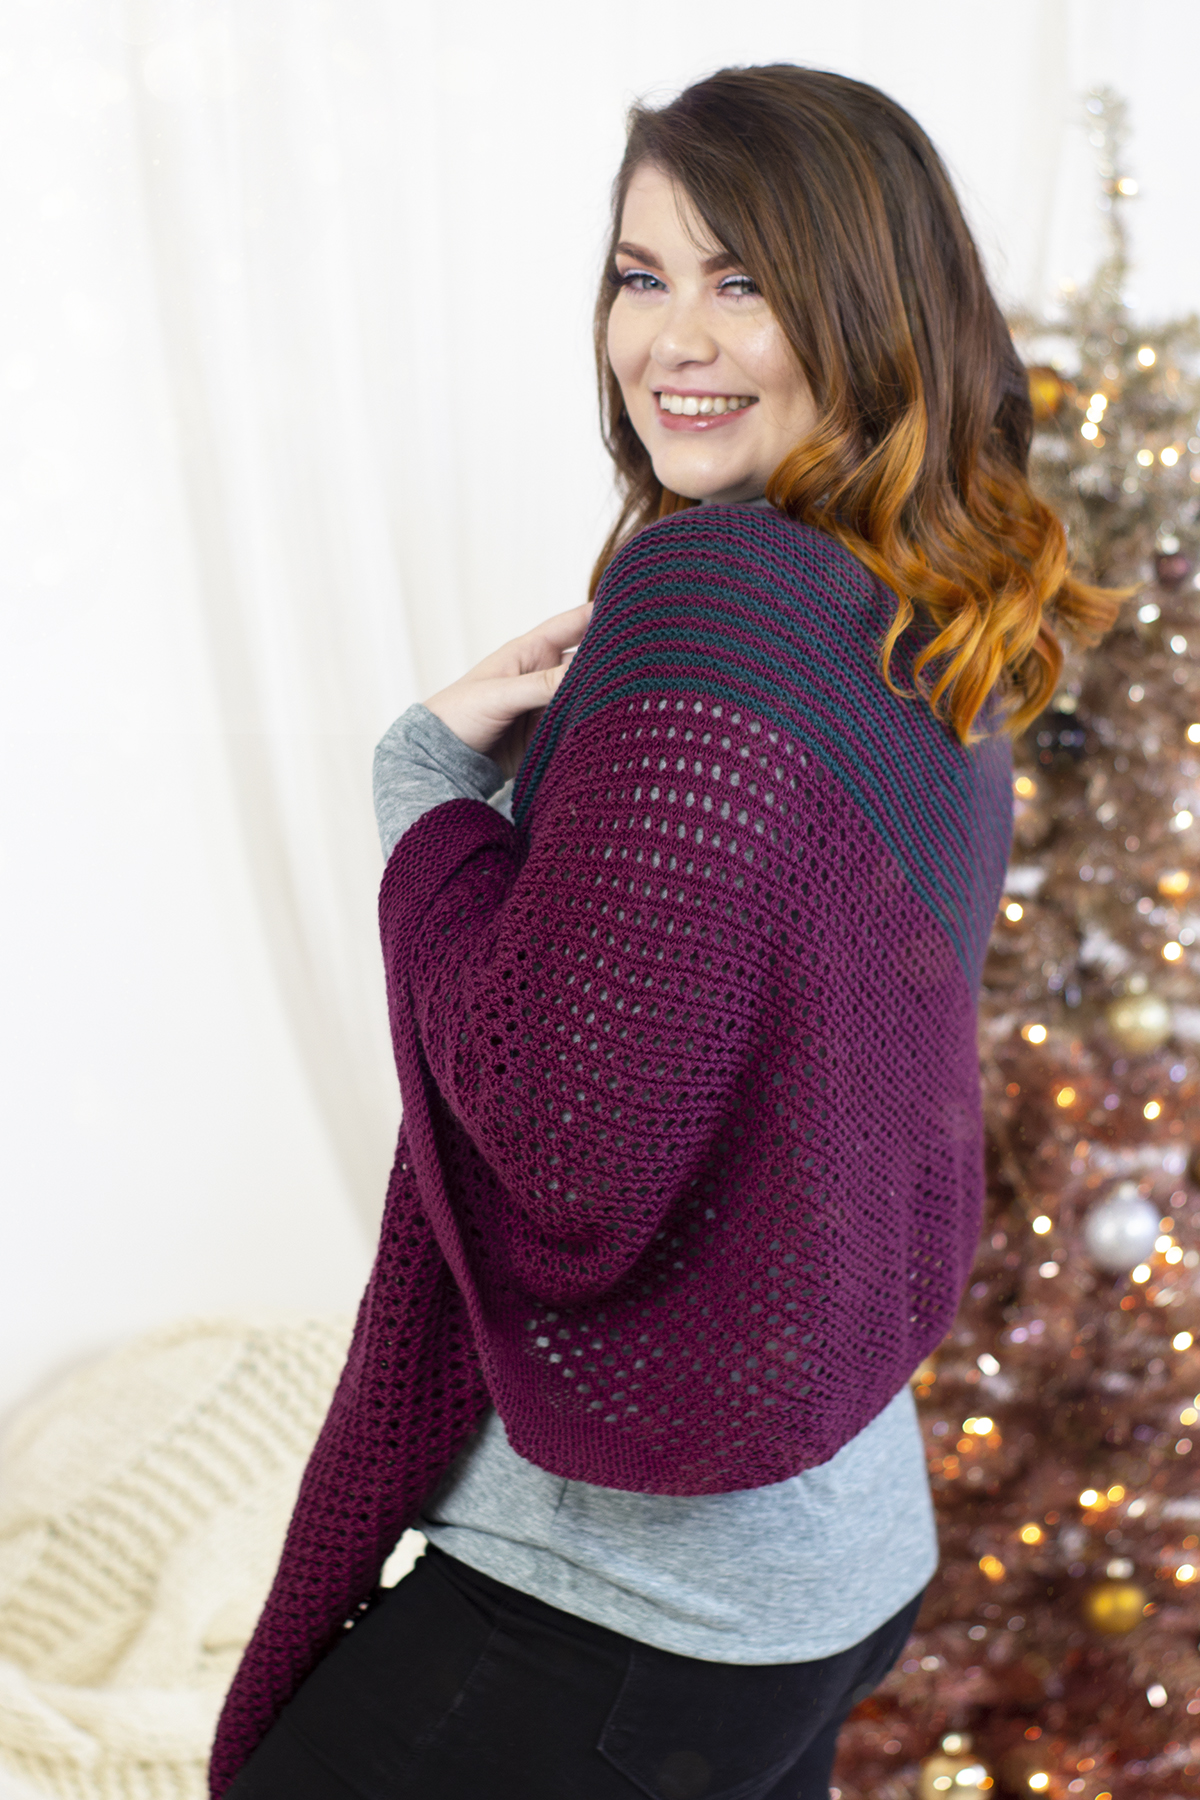
Wrap the shawl snugly around your shoulders for extra warmth and comfort.
We’re so glad that Jennifer contributed her lovely design to this kit collection. She certainly achieved the goal she set out for when she created this design. I’d love to knit one for myself, and a mindless knit sounds perfect given the crazy year 2020 has been. Despite its generous size, it would knit up surprisingly fast thanks to the simple stitch work.
This is part 9 in a 12 part series highlighting designs from our 12 Days of Winter, Series 4 Edition.
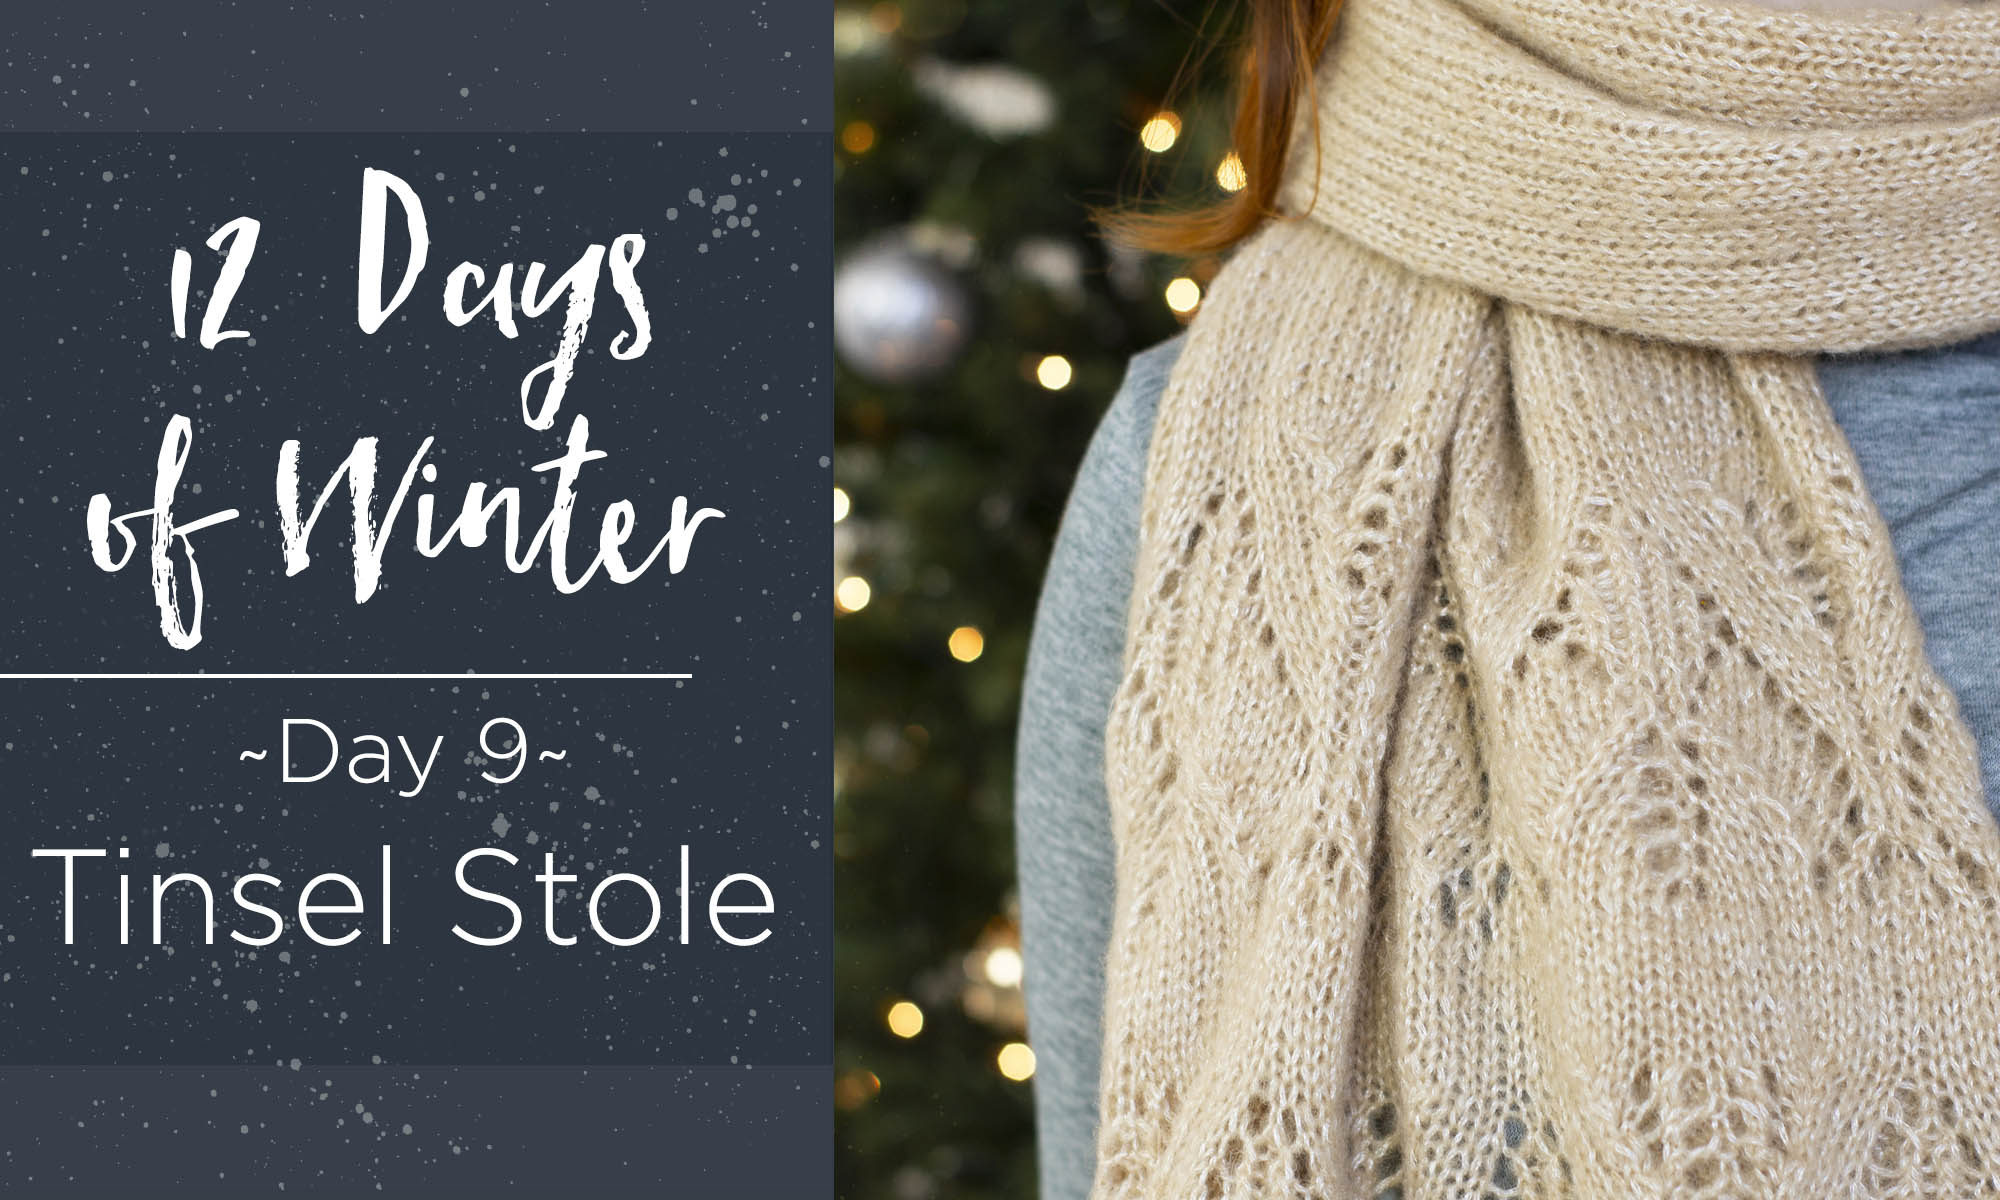
It’s already Day 9 of the 12 Days of Winter Kit Collection, Series 4! Time is passing so quickly and we’ve been having so much fun sharing each of the projects in this collection with you. Today we’re highlighting the beautiful Tinsel Stole designed by the talented Adrienne Larsen.
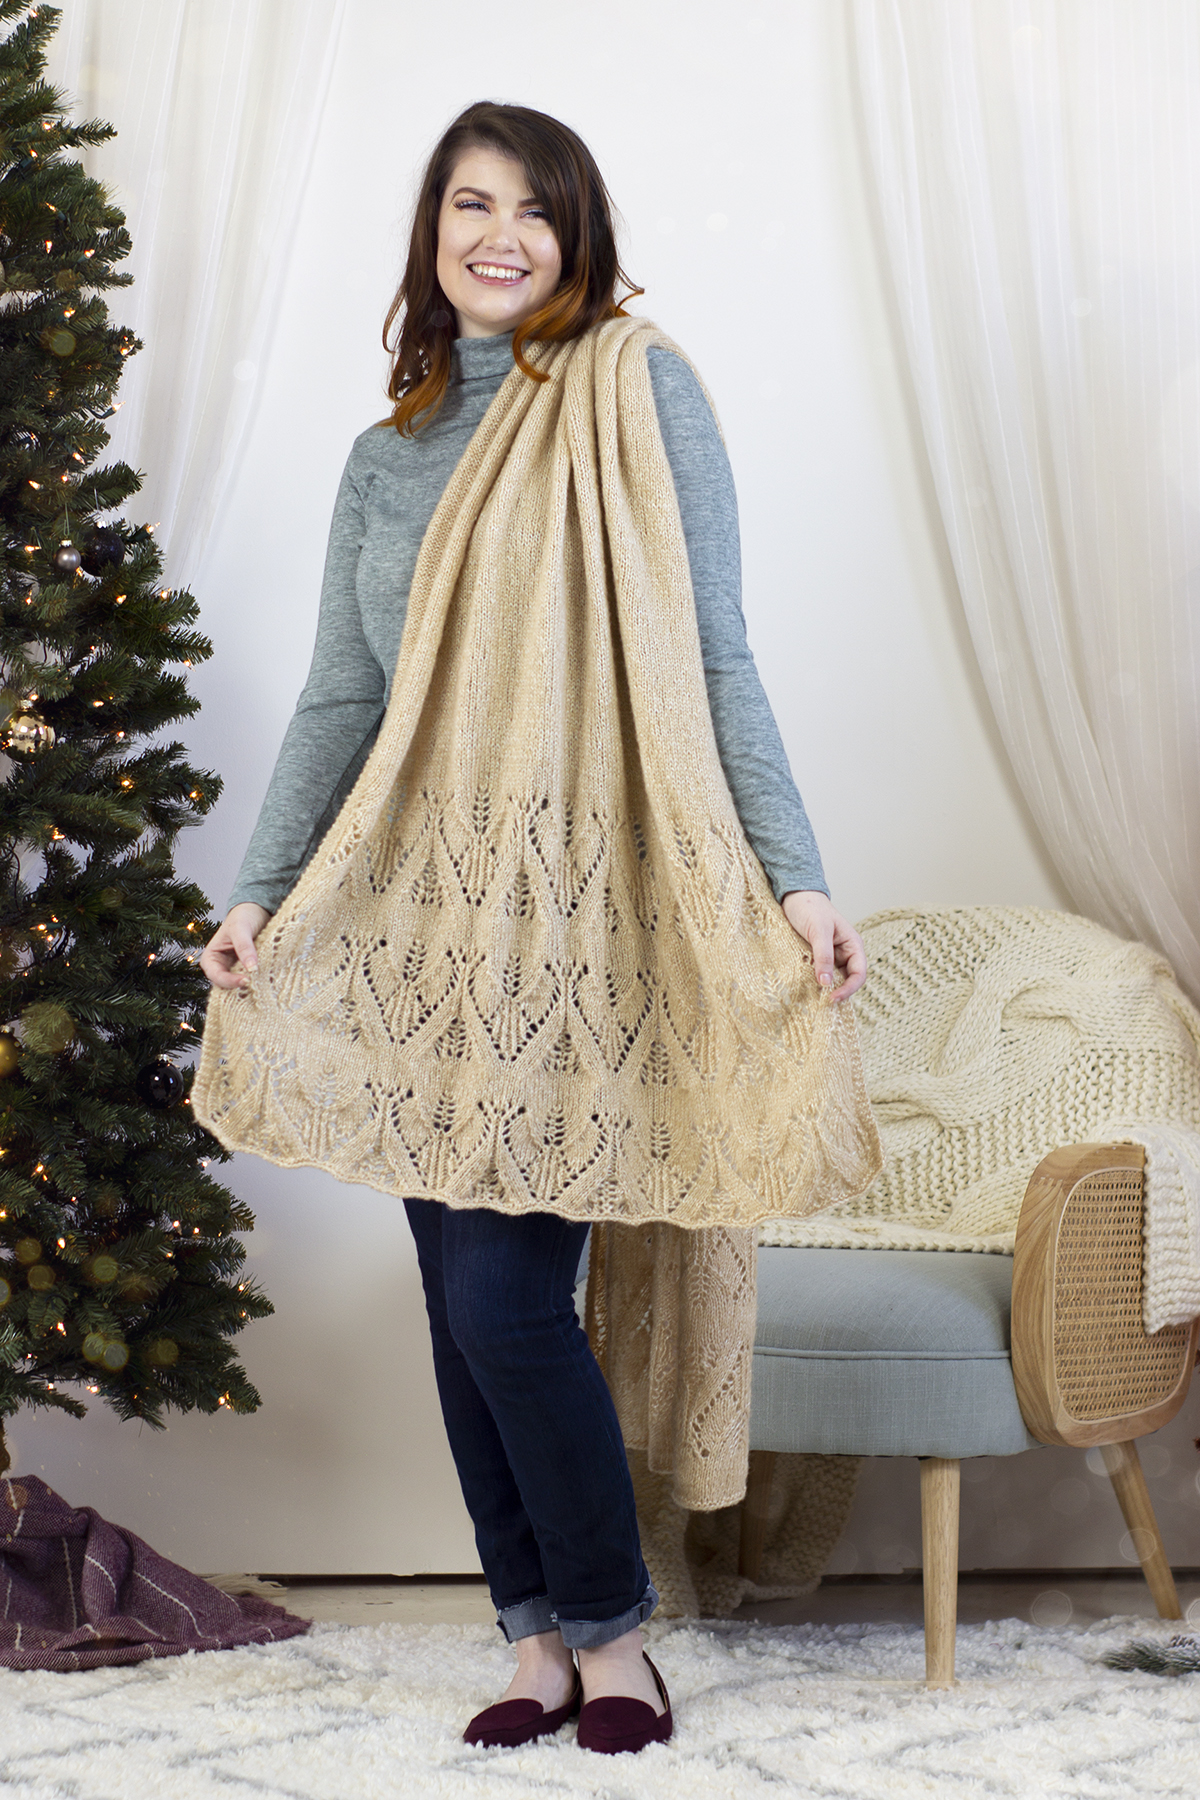
The Tinsel Stole is knit in Merino Mist in #102 Chamomile.
The Tinsel Stole is knit in Merino Mist, a blend of 60% viscose, 20% superwash fine merino, and 20% acrylic. The result is a yarn that is lightweight, feather-soft, and features a gorgeous halo and soft shimmer. It boasts great stitch definition, which can clearly be seen in the lace motif of the Tinsel Stole.
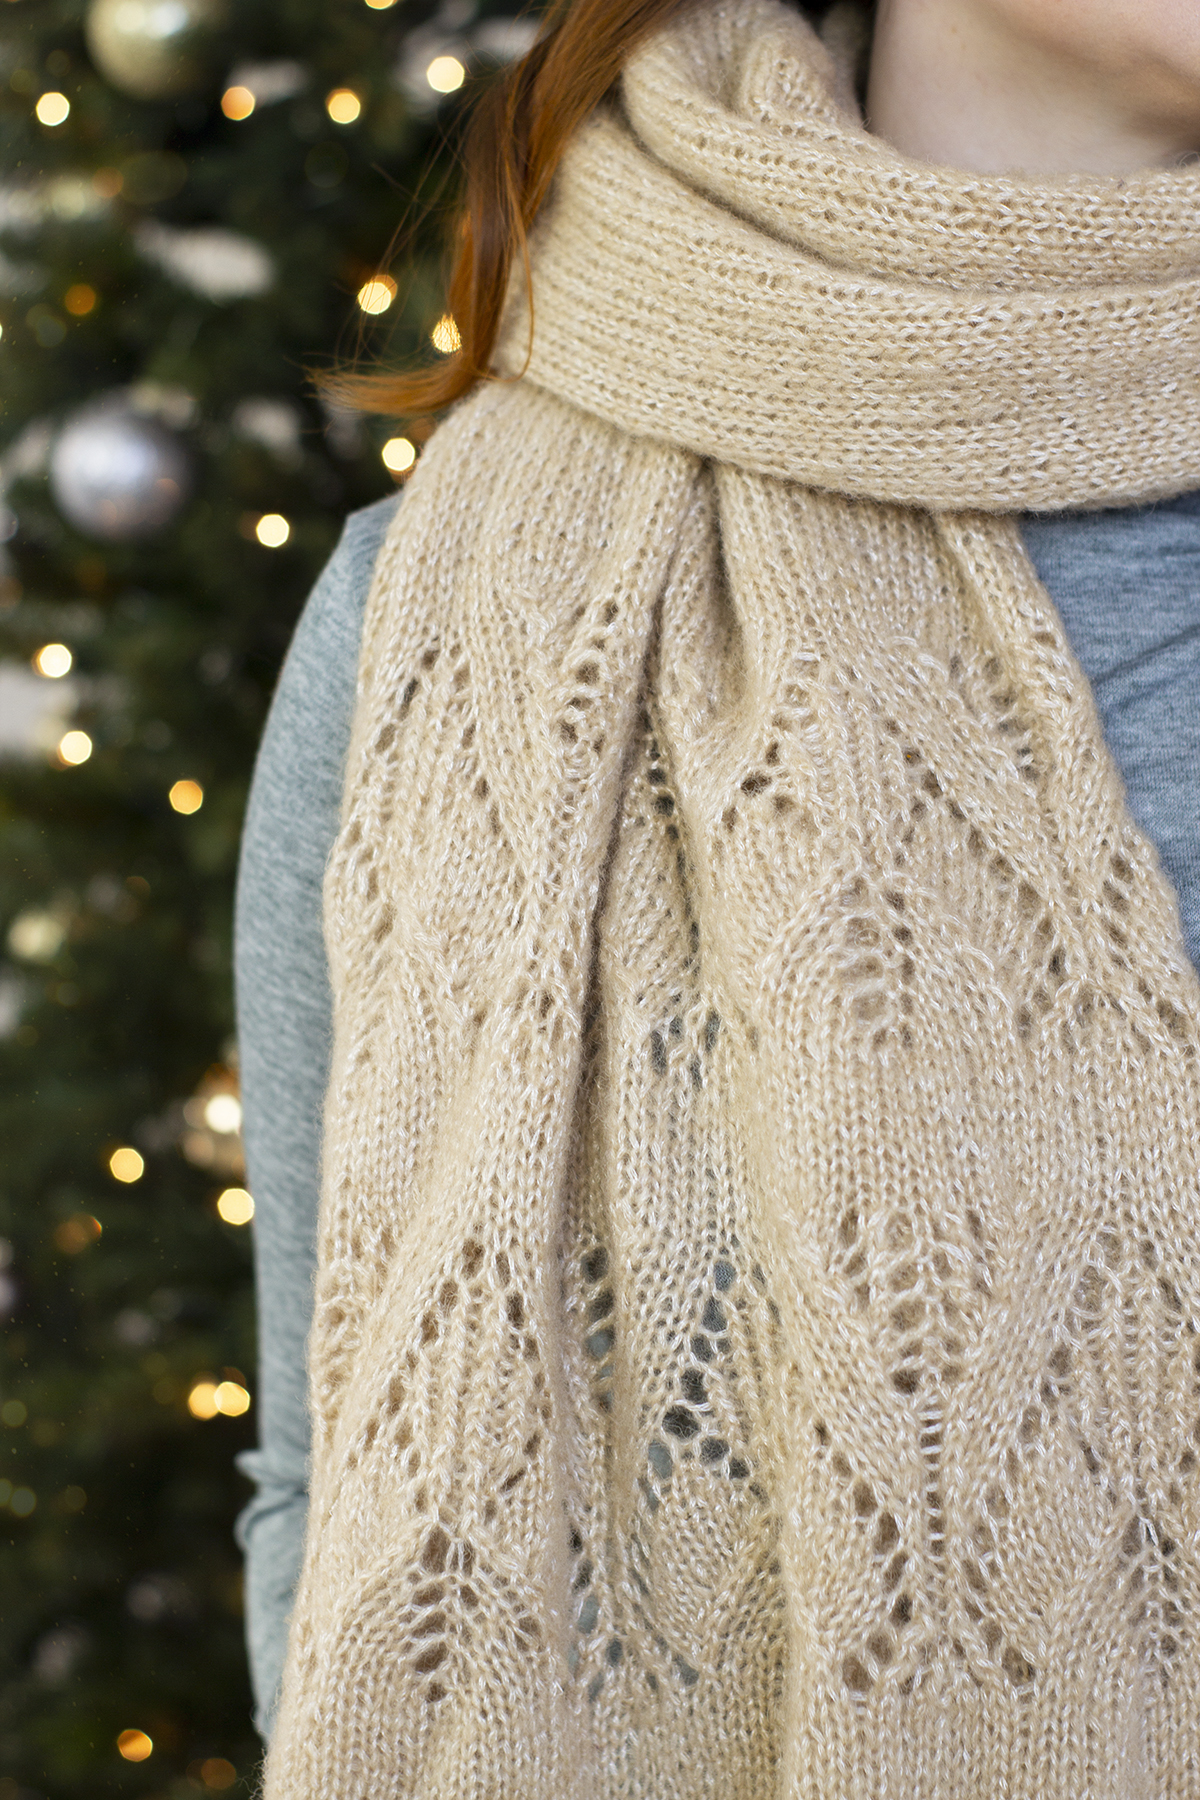
The stitch definition of Merino Mist is evident in the intricate lace of the Tinsel Stole.
I asked Adrienne to share a little about her design, and here is what she had to say:
“It’s hard to predict where a pattern is going to end. This started out as a mission to find a nice lace for a sweater. I found a stitch pattern I mostly liked in “The Japanese Knitting Bible” that I wanted to tweak. So, I transferred the chart into Excel and made some adjustments. Depending on the difficulty of the stitch pattern, I usually have a pretty good idea of what it will look like knit up. This one was pretty complex though, so it took a bit more fussing than usual. I probably knit and frogged the pattern five or six times.
Originally, the lace pattern wasn’t going to have the breaks in it. It was just going to be the alternating triangles butted up next to each other over the whole body of the sweater. It was just visually too much that way though; the complexity of the stitch work got lost. So, I stole an idea from past me. I had liked the interrupted effect in my Slate Shawl, so I thought I would try that again here. And it worked! It worked so well that I thought, “It doesn’t need to be a sweater at all.” It was special enough to be the zazzle on the edges of a scarf. And the Tinsel Stole was born!”
It’s always fun to learn about the process for a design, and we are so honored to have Adrienne’s contribution once again this year. Remember, you can find the Tinsel Stole and the rest of the 12 Days of Winter kits at your local yarn store. Click here to find a shop that carries our yarn near you.
This is part 6 in a 12 part series highlighting designs from our 12 Days of Winter, Series 4 Edition.
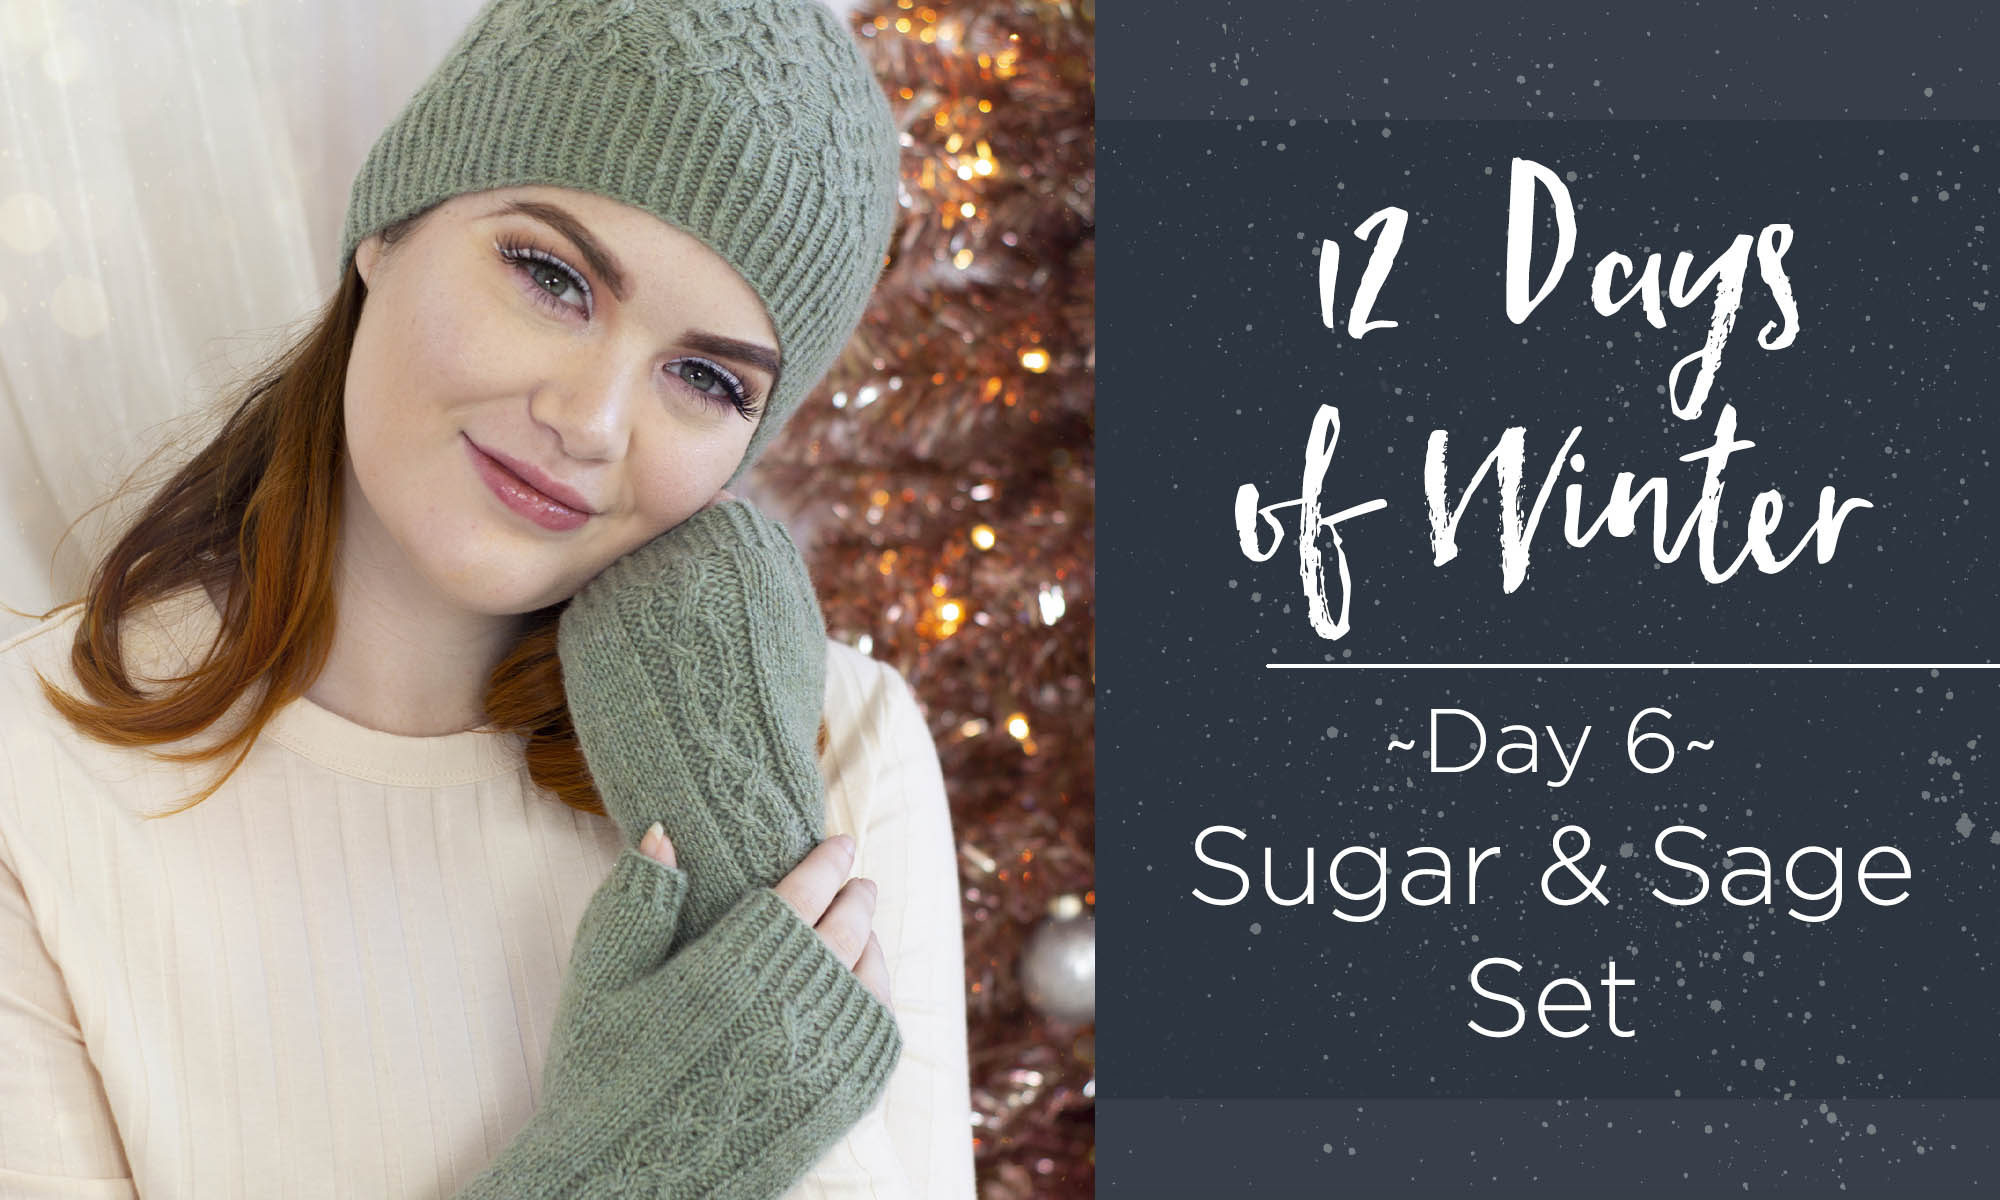
It’s Day 6 of the 12 Days of Winter Kit Collection, Series 4. Today, treat yourself to a warm and inviting accessory set knit in luxurious Cashmere Lusso.
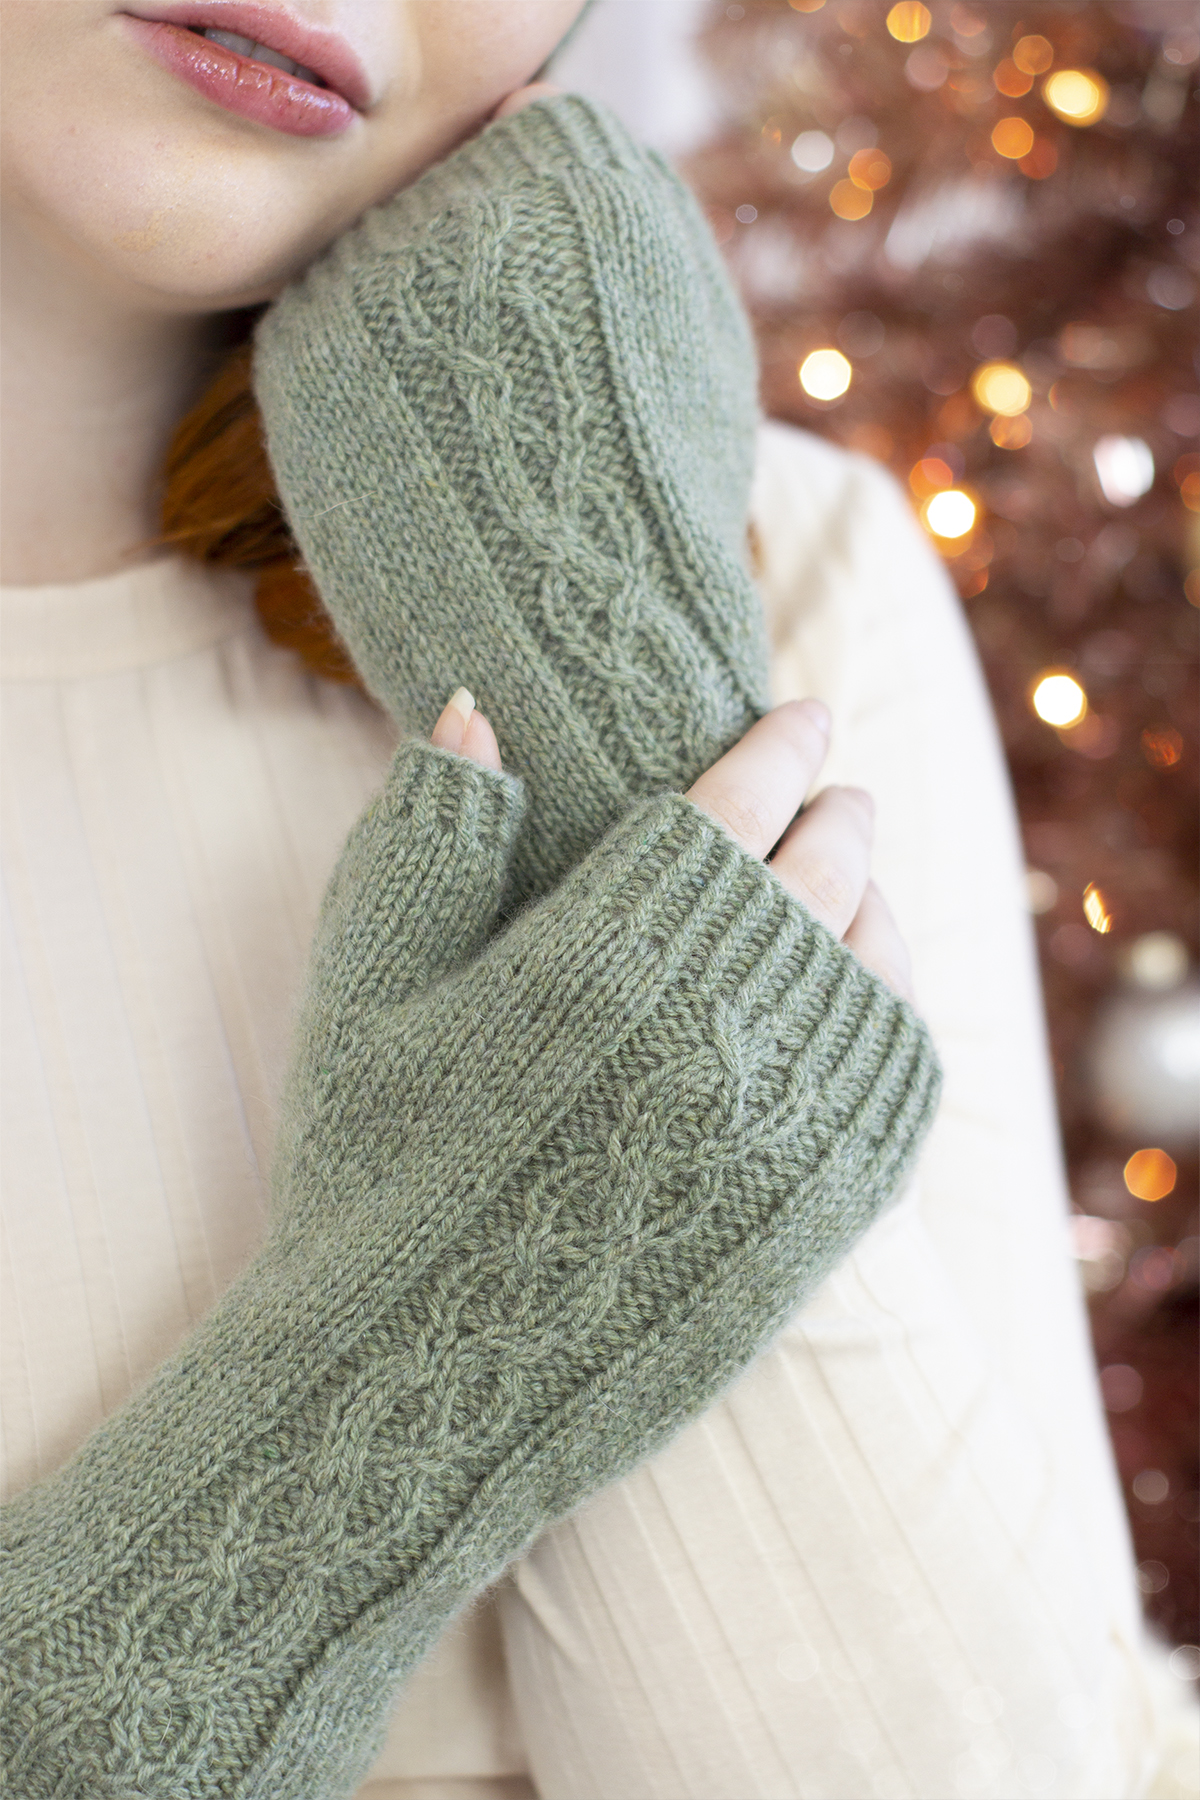
Personally, I think hats and mittens are excellent projects for building your skillset. They’re small and manageable but have endless possibilities. If you’re looking for a small project with intricate details, I’m sure you’ll love the Sugar & Sage Set.
The small cables in this pattern consist of ten different types of cables, ranging between two and three stitches wide. They’re easy to work, but it certainly takes some concentration to make sure you’re working the right stitch in all the right places. Don’t let that deter you, though, because the results are well worth the effort.
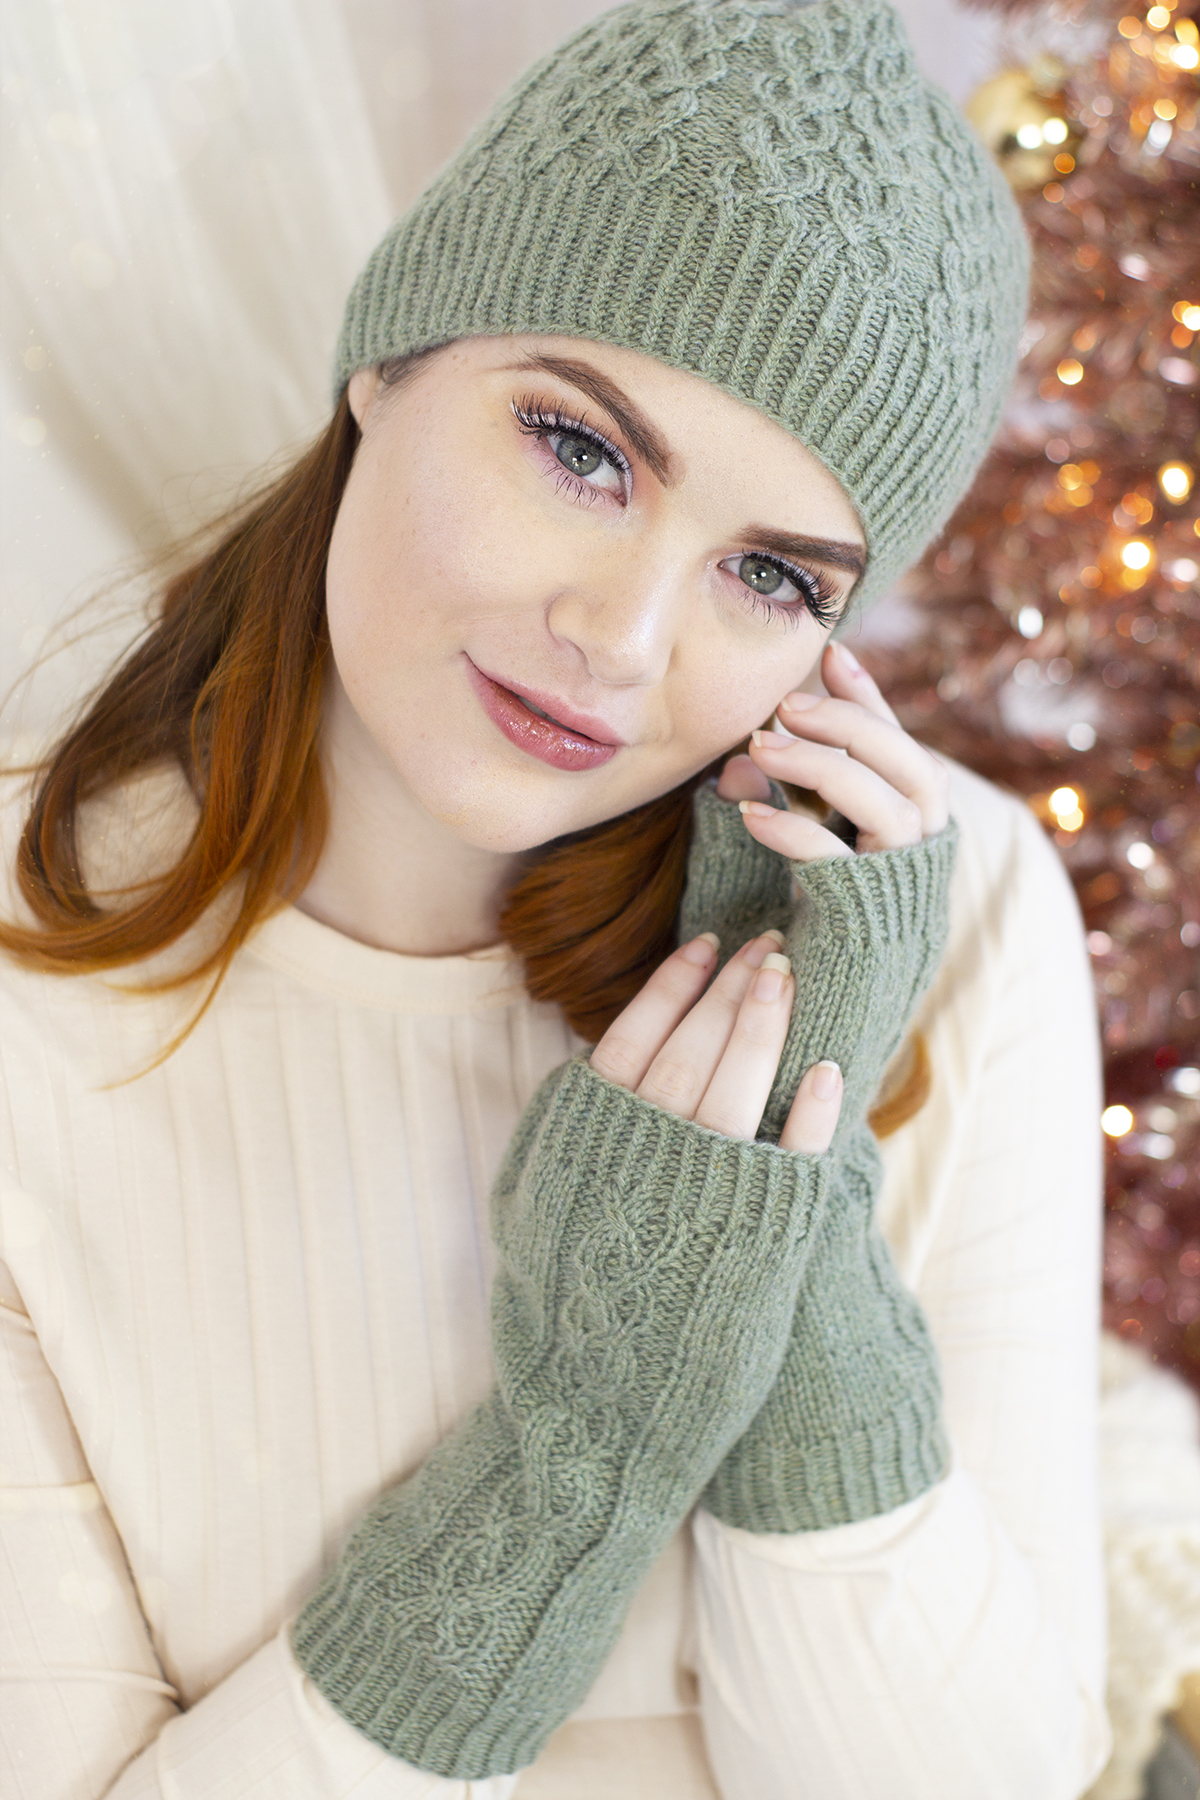
The cable pattern in both the hat and the mittens includes charts and written instructions. I know some knitters are intimidated by charts, but I encourage you to try and get comfortable with them. Especially in more complex patterns, they can help make things easier to read and to memorize. I think of charts as maps for knitting. Because charts are visual tools, they can help you conceptualize what your fabric will look like as you knit. I shared some useful tips and tricks for staying on track with charts in this blog post (link). Undulating cable panels decorate each mitt.
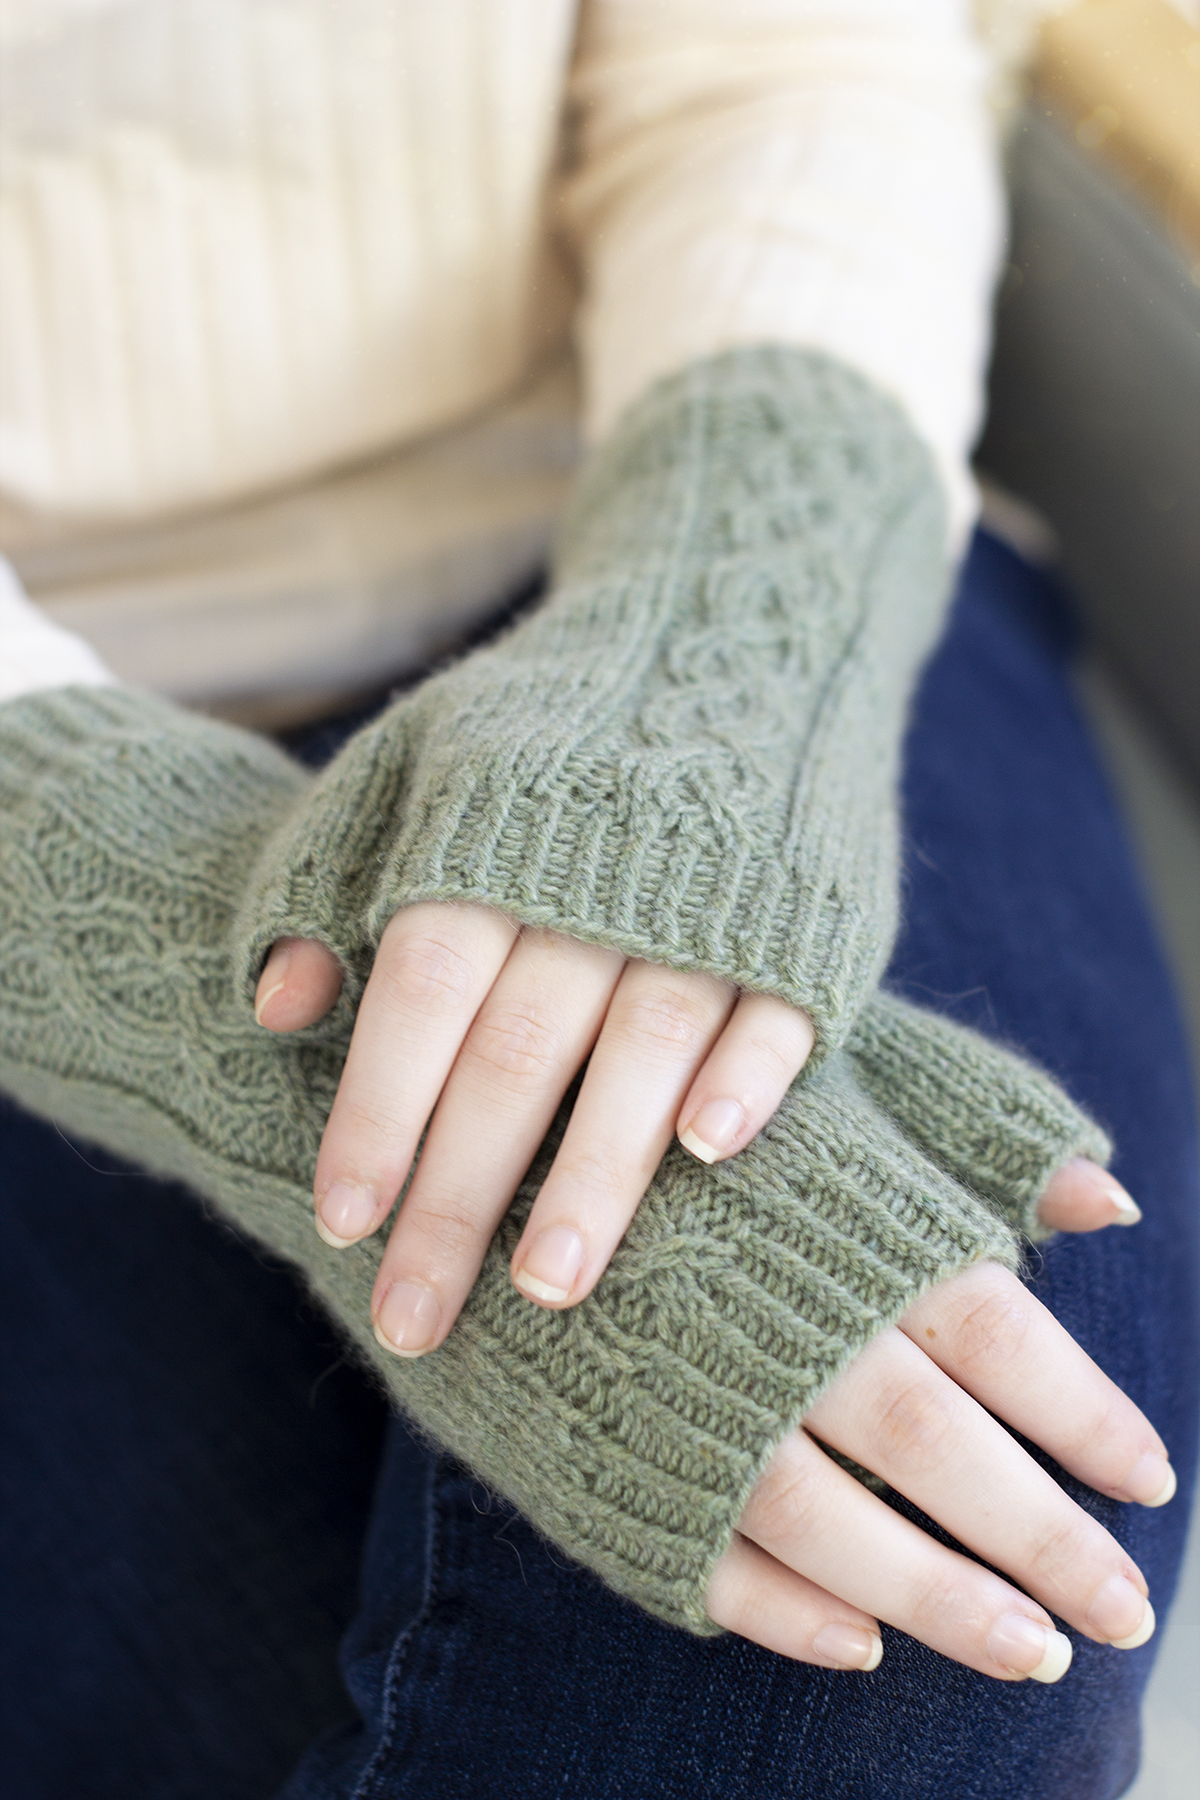
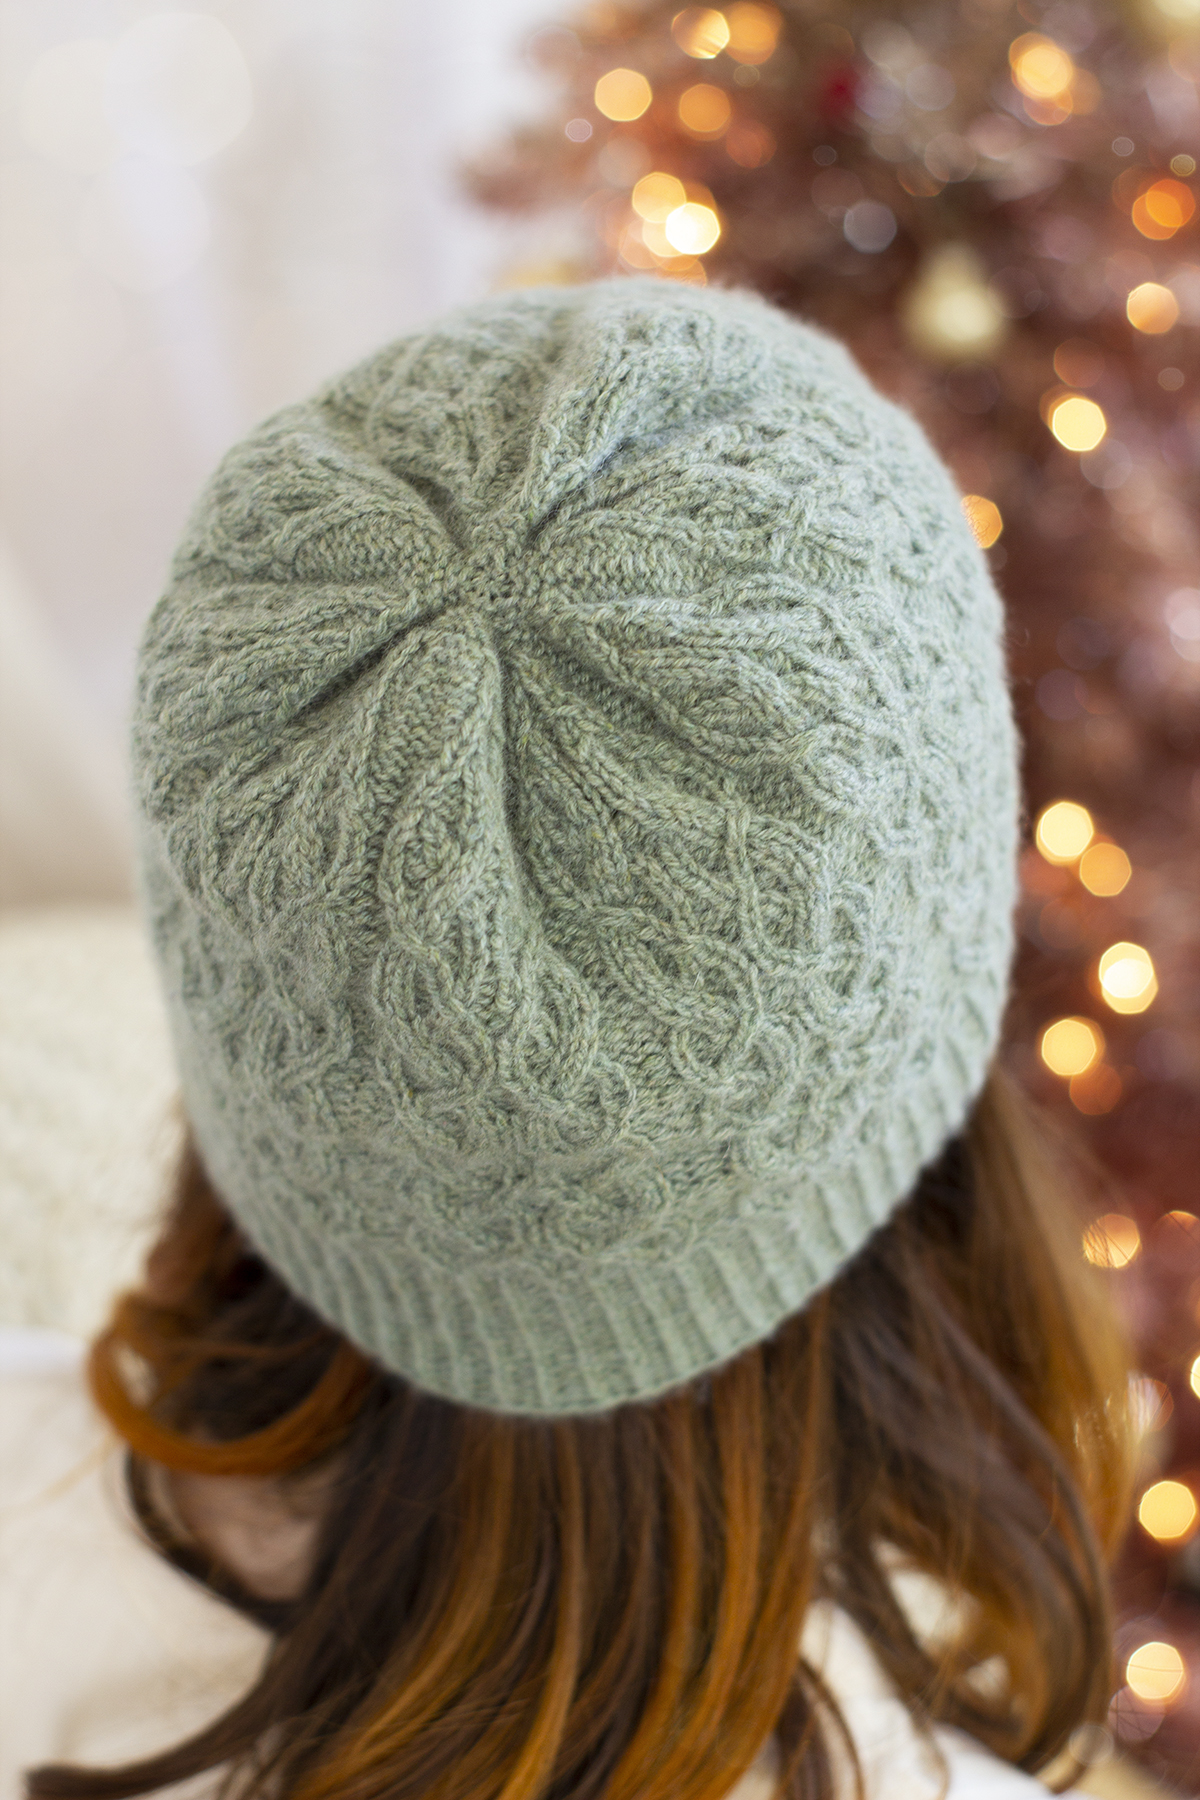
Each side of the cable panel featured on the hat mirrors the other. I love the way that it looks, but when I was designing the mitts I didn’t want them to replicate the motif perfectly. Instead, I broke the cable motif into two parts, split right down the center. Then I took each half and applied it to the mitts, so the Right and Left mirror one another, too. The result is a coordinating set of sisters in this accessory set.
Each edge of the mitts are worked in K1, P1 Twisted Ribbing.
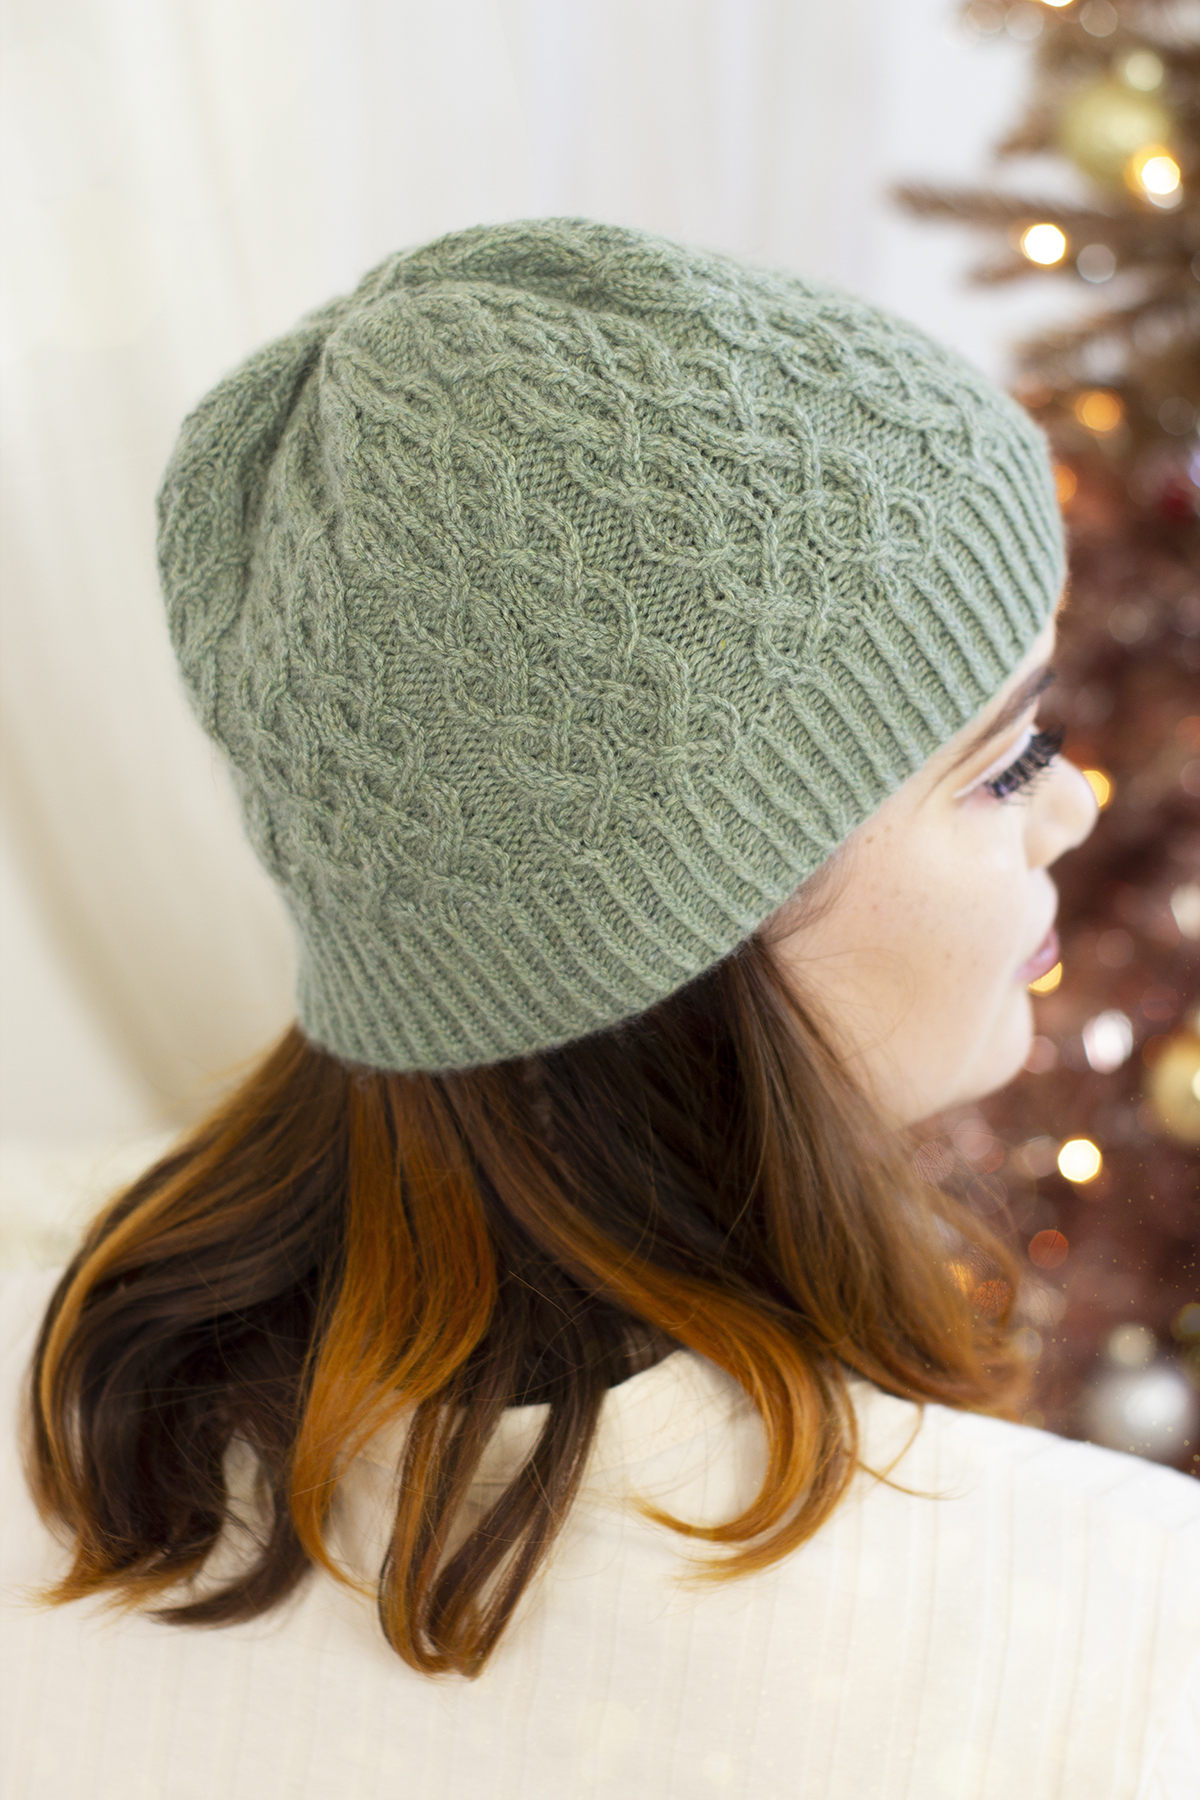
Knit in Cashmere Lusso, a blend of 50% virgin cashmere and 50% recycled cashmere, the Sugar & Sage Set is decadent. The yarn is incredibly soft and it has excellent stitch definition. This is a yarn shines however you work it: cables, lace, or colorwork, you just can’t go wrong. This kit would be an excellent gift for the knitter in your life who is truly special – that could be you, or it could be a friend!
Crown view of the Sugar & Sage Hat
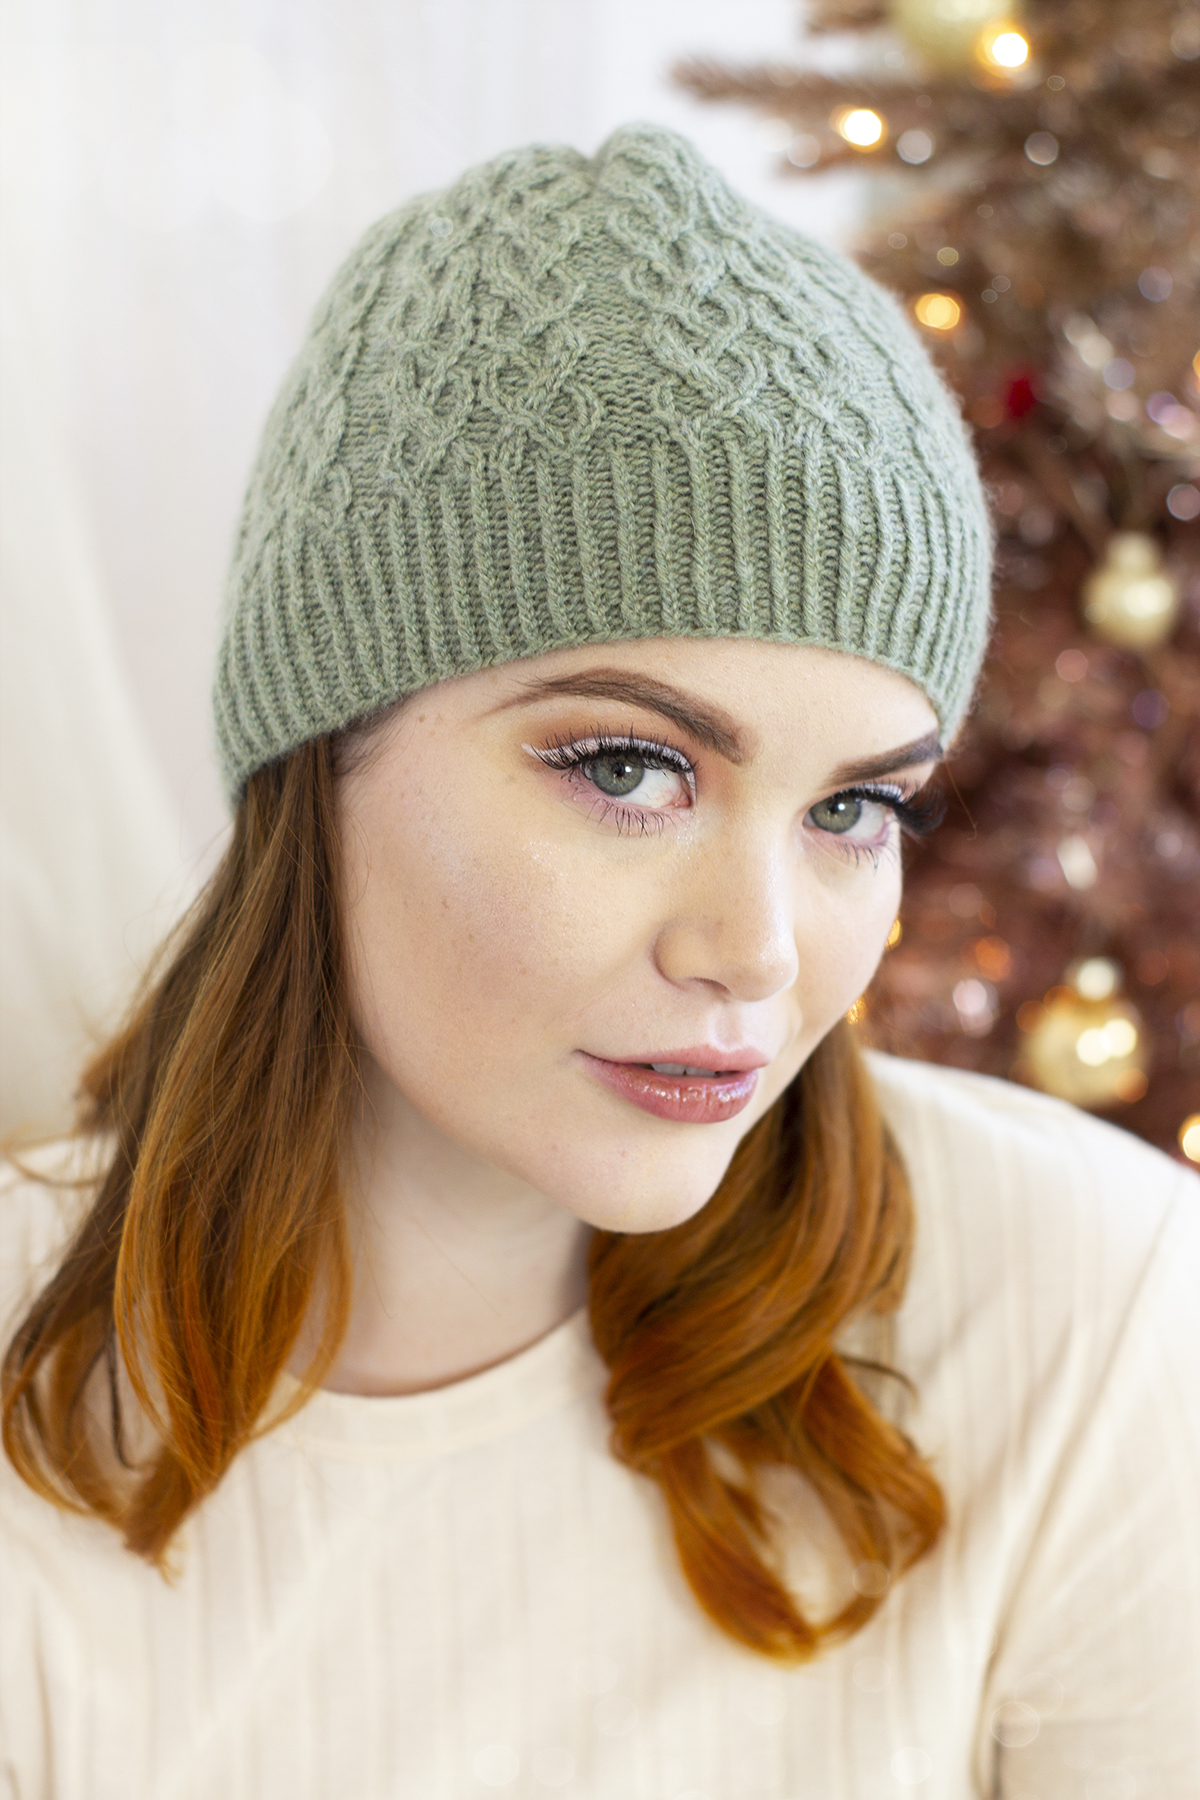
This kit has three options available: the Sugar & Sage Set (enough yarn for both patterns), the Sugar & Sage Hat, or the Sugar & Sage Mitts. Remember, you can find each version of the Sugar & Sage Kit and the rest of the 12 Days of Winter kits at your local yarn store. Click here to find a shop that carries our yarn near you. Happy knitting!
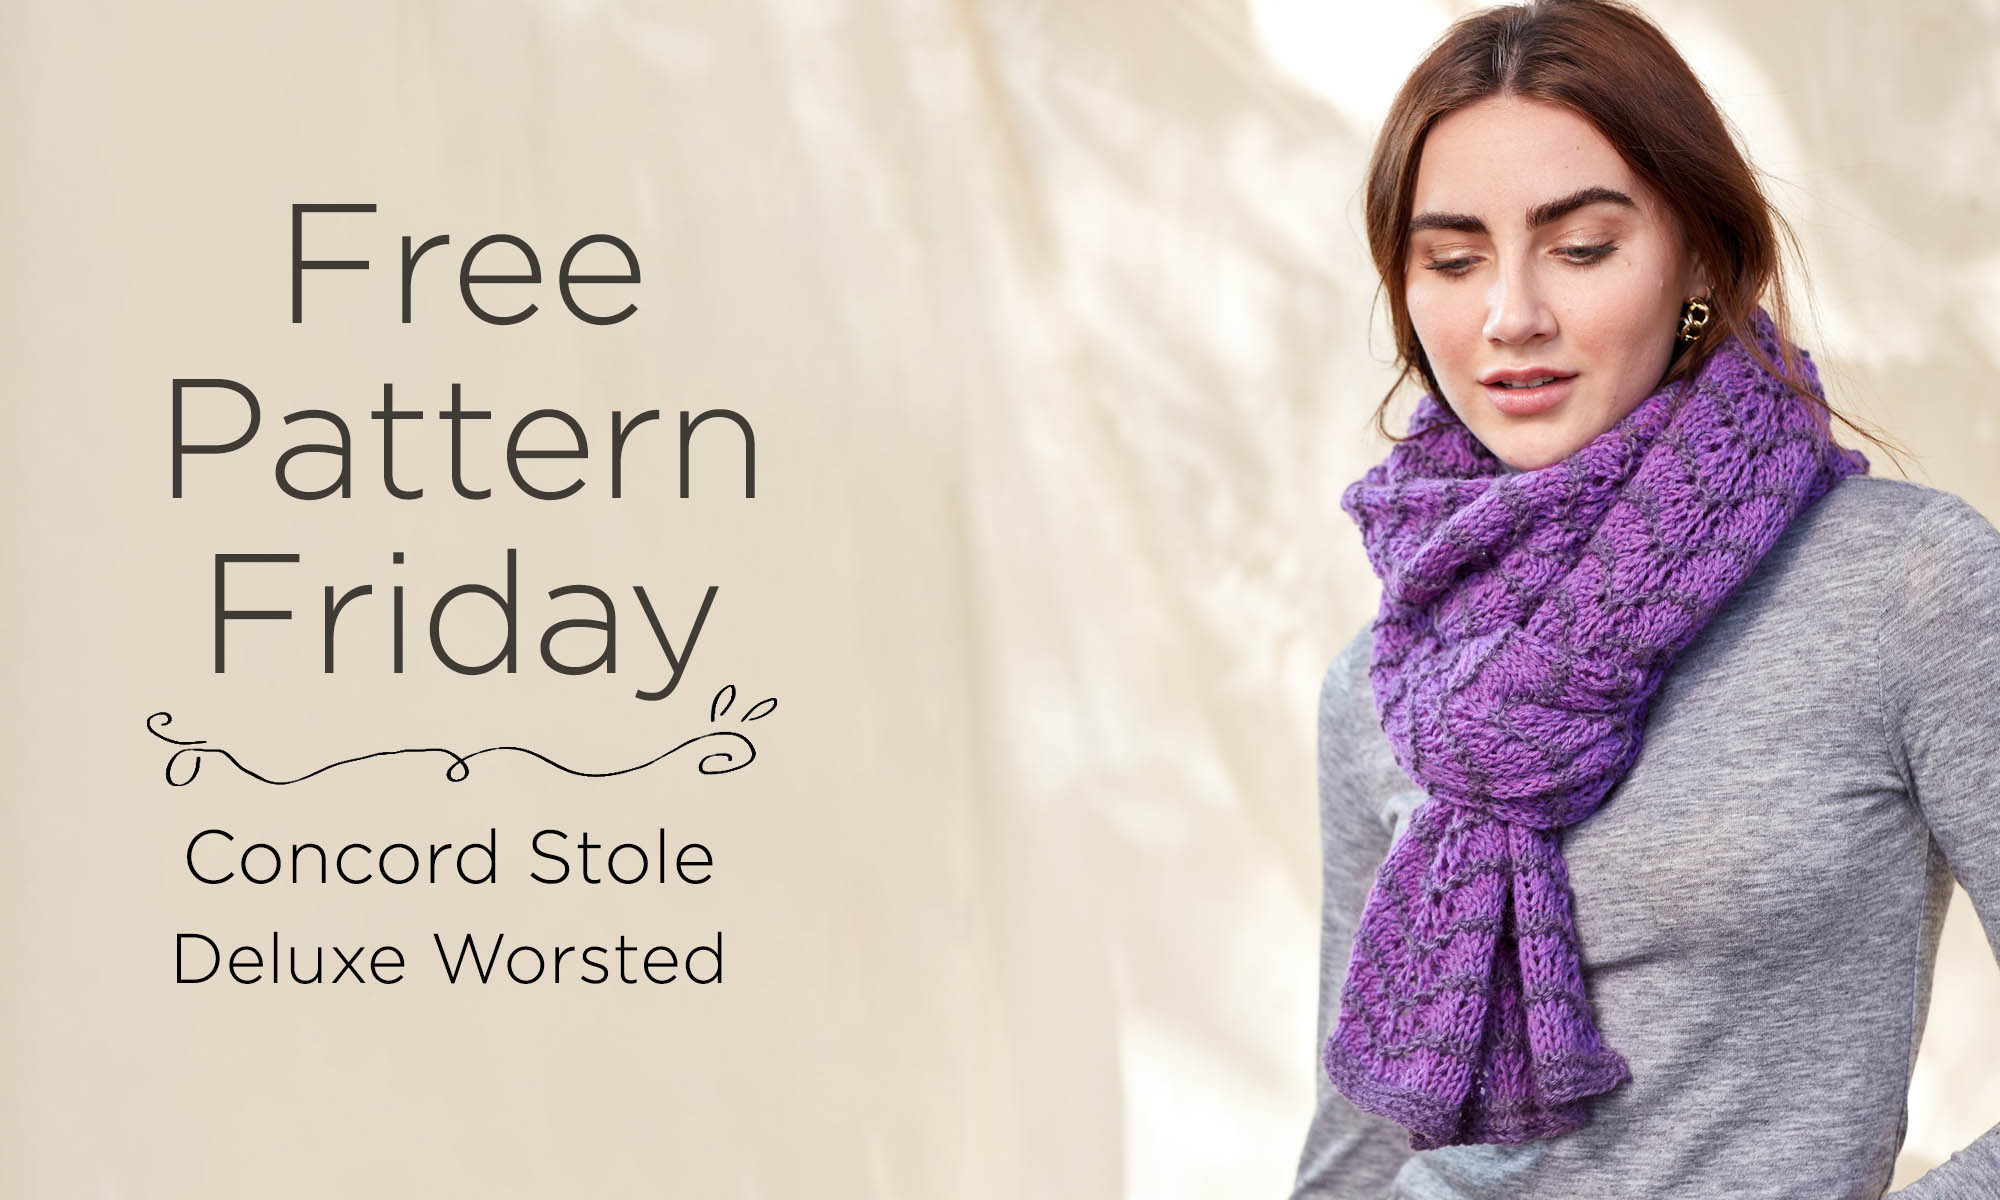
It’s Free Pattern Friday!
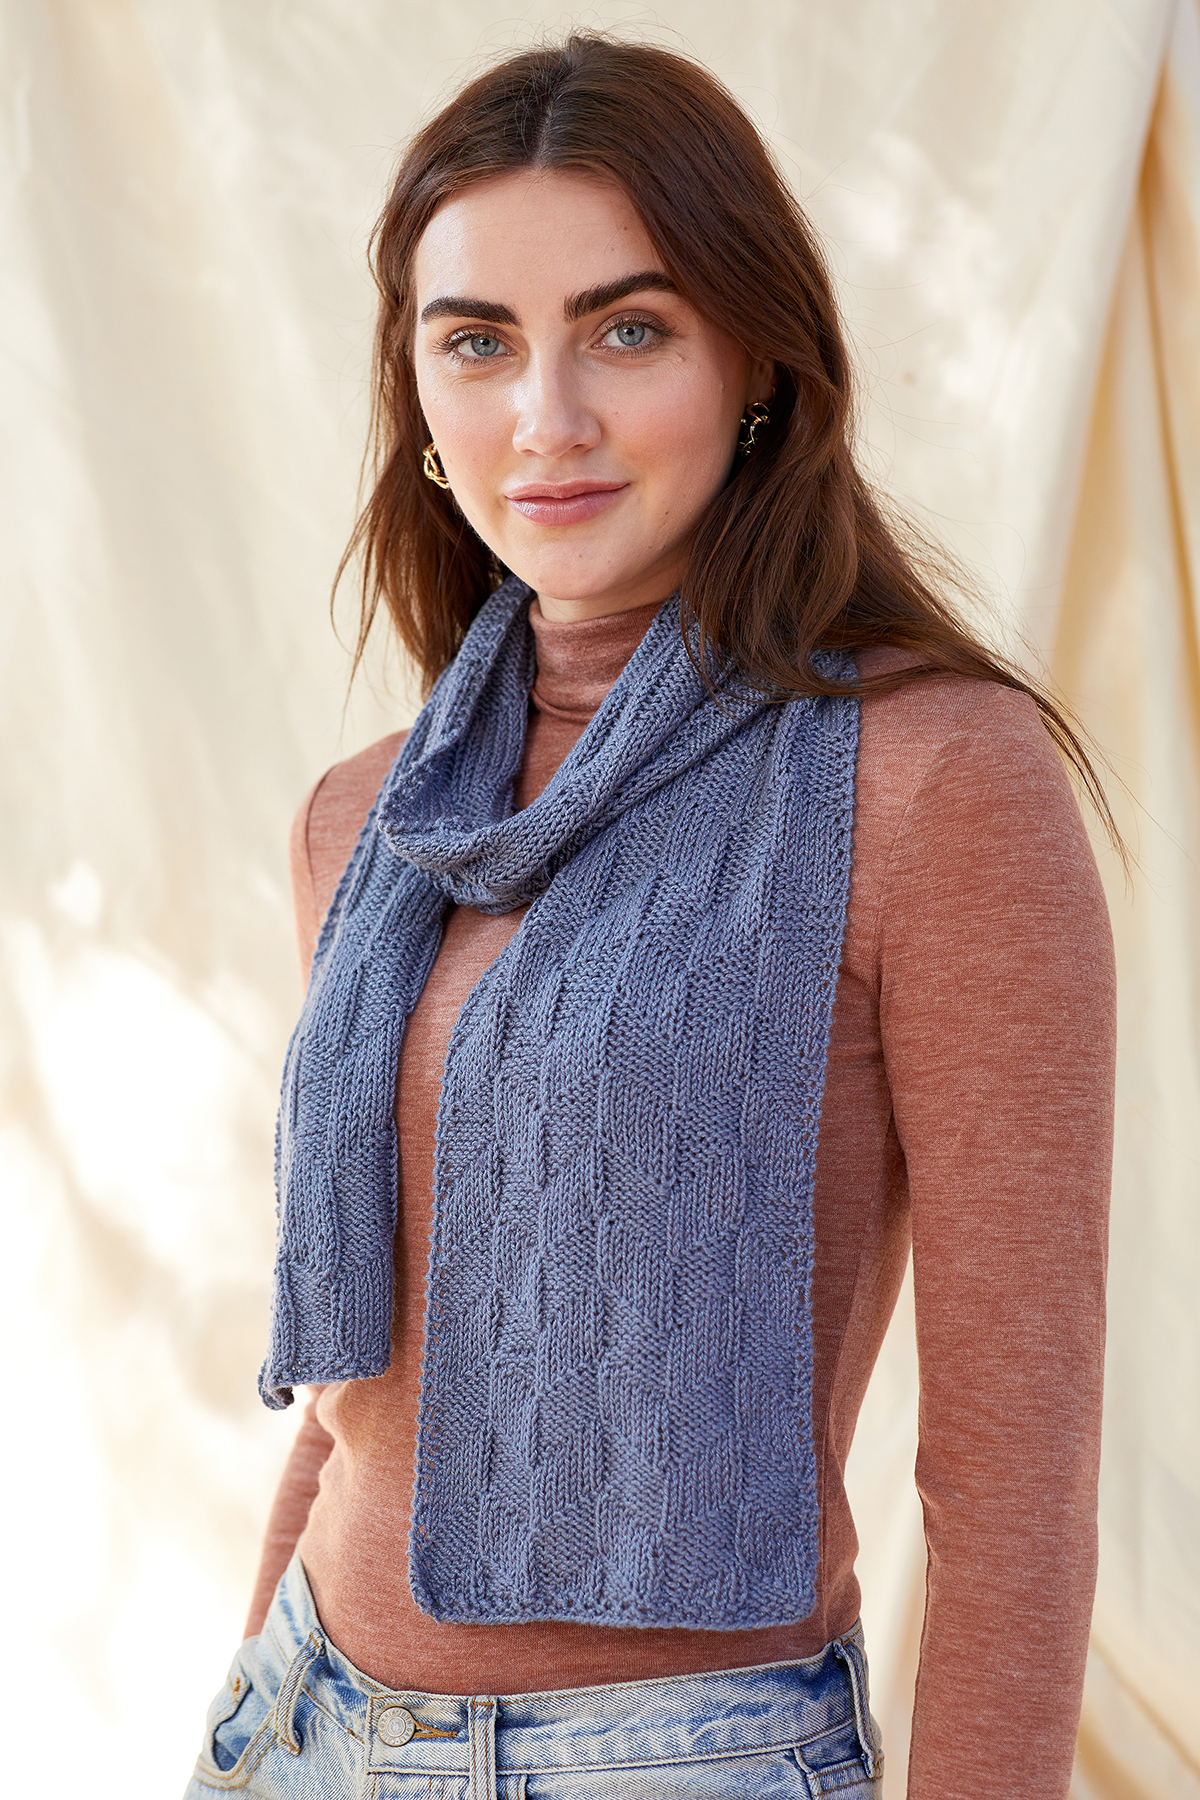
Today, the Concord Scarf in Deluxe Worsted (pattern link here).
We’re going to keep this short and sweet today so that I can spend the day after Thanksgiving in the time-honored way: scarfing down leftovers. My daughter was inspired by the Great British Baking Show this year and now we have a lot of pie. With just the three of us from the immediate household for dinner this year, I’ll have to really work to eat my share. Such a sacrifice. But before grabbing a plate, let’s take a look at this gorgeous pattern!
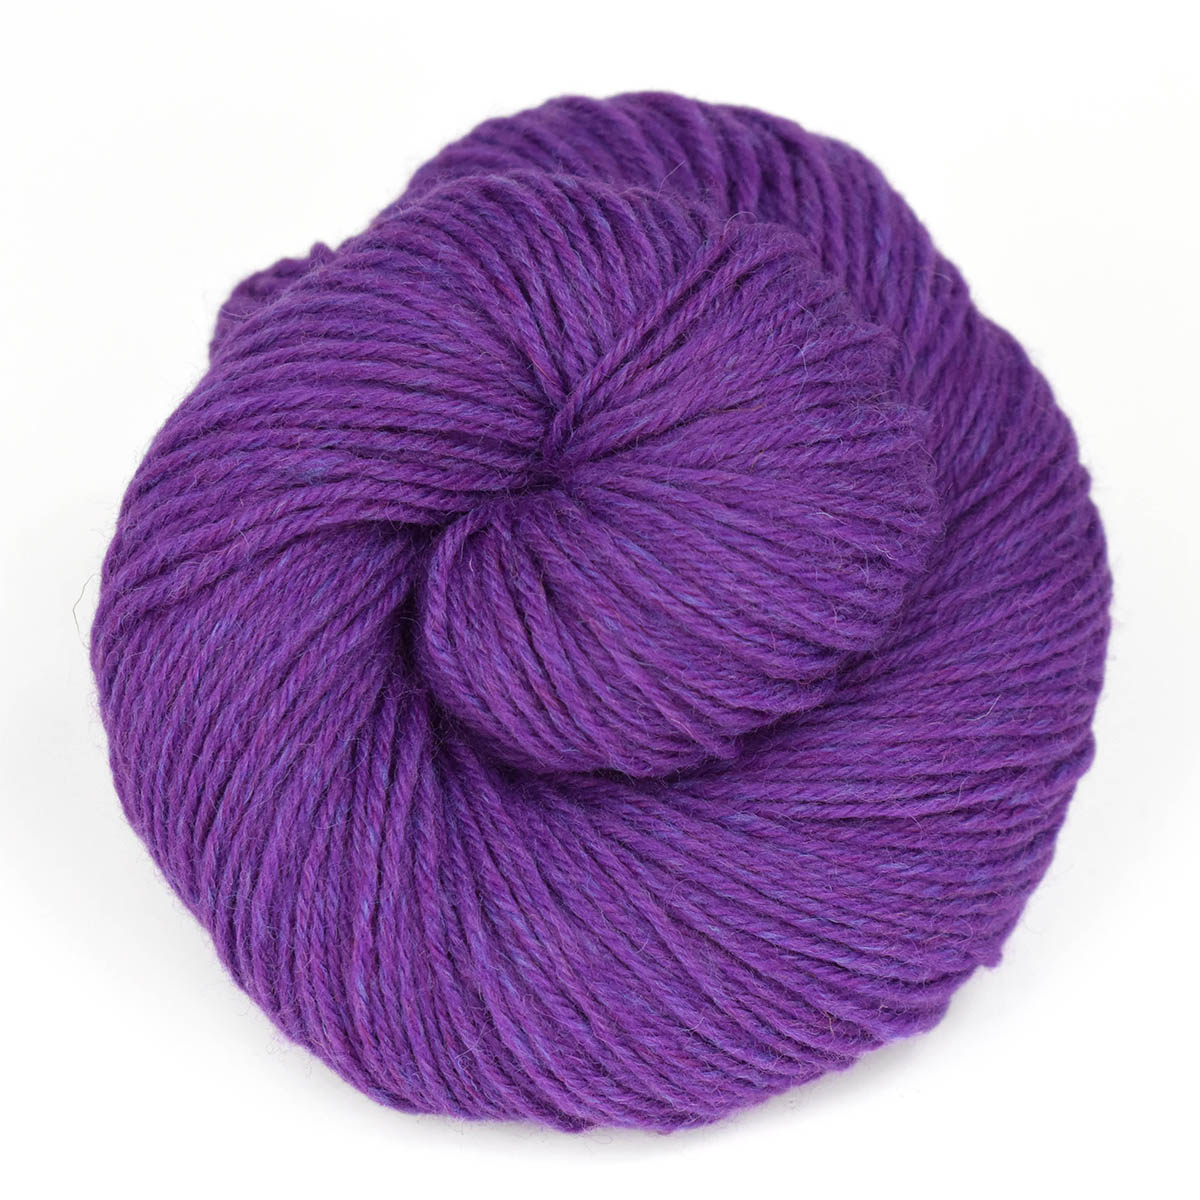
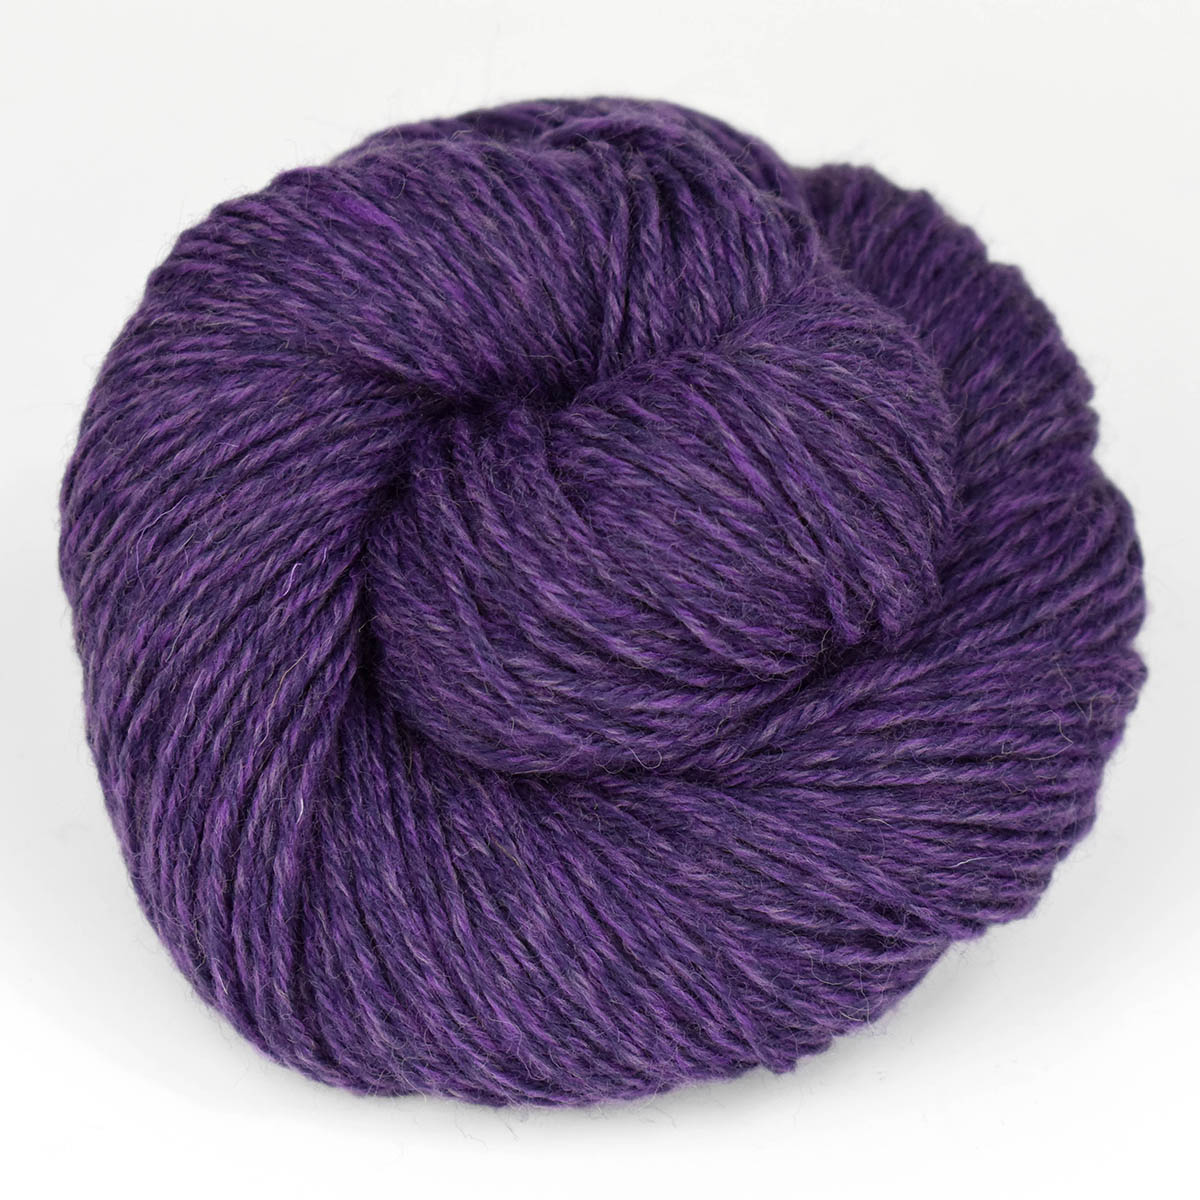
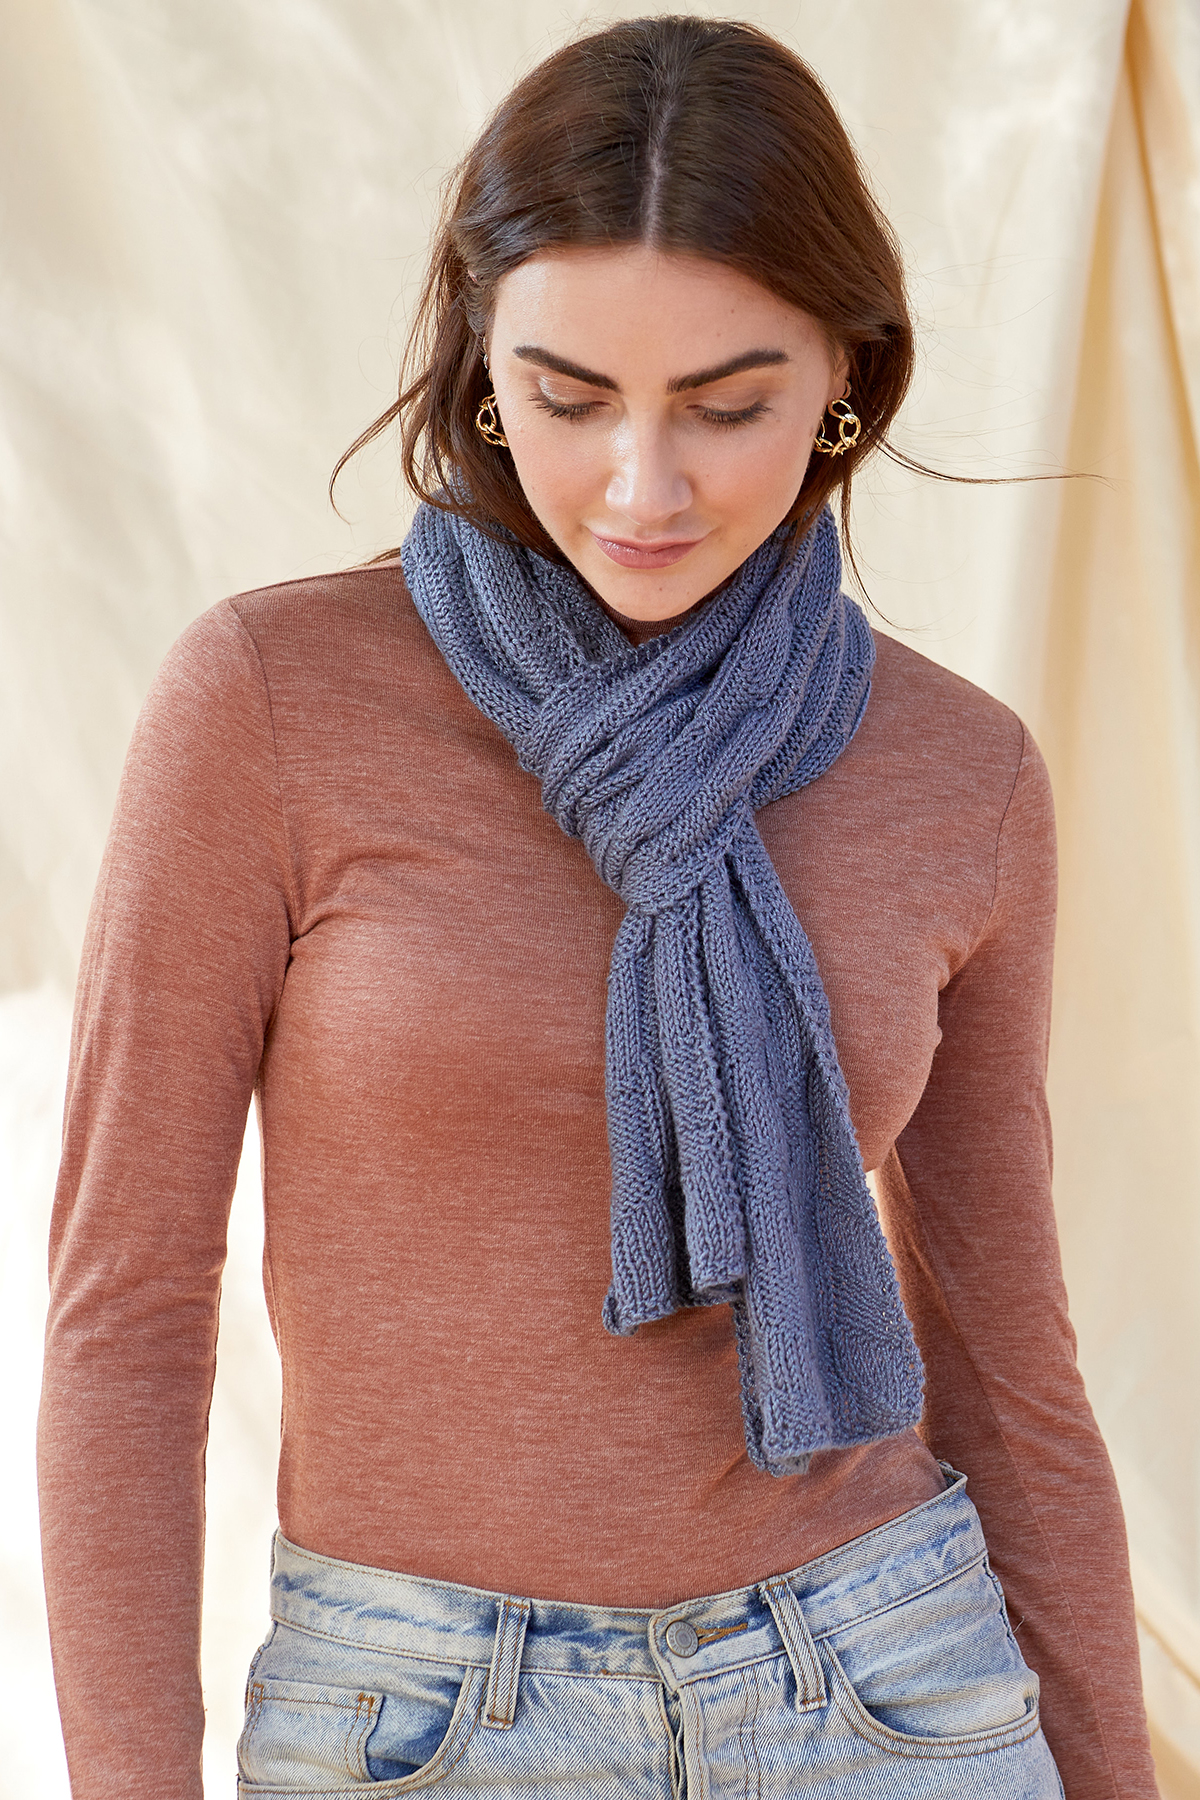
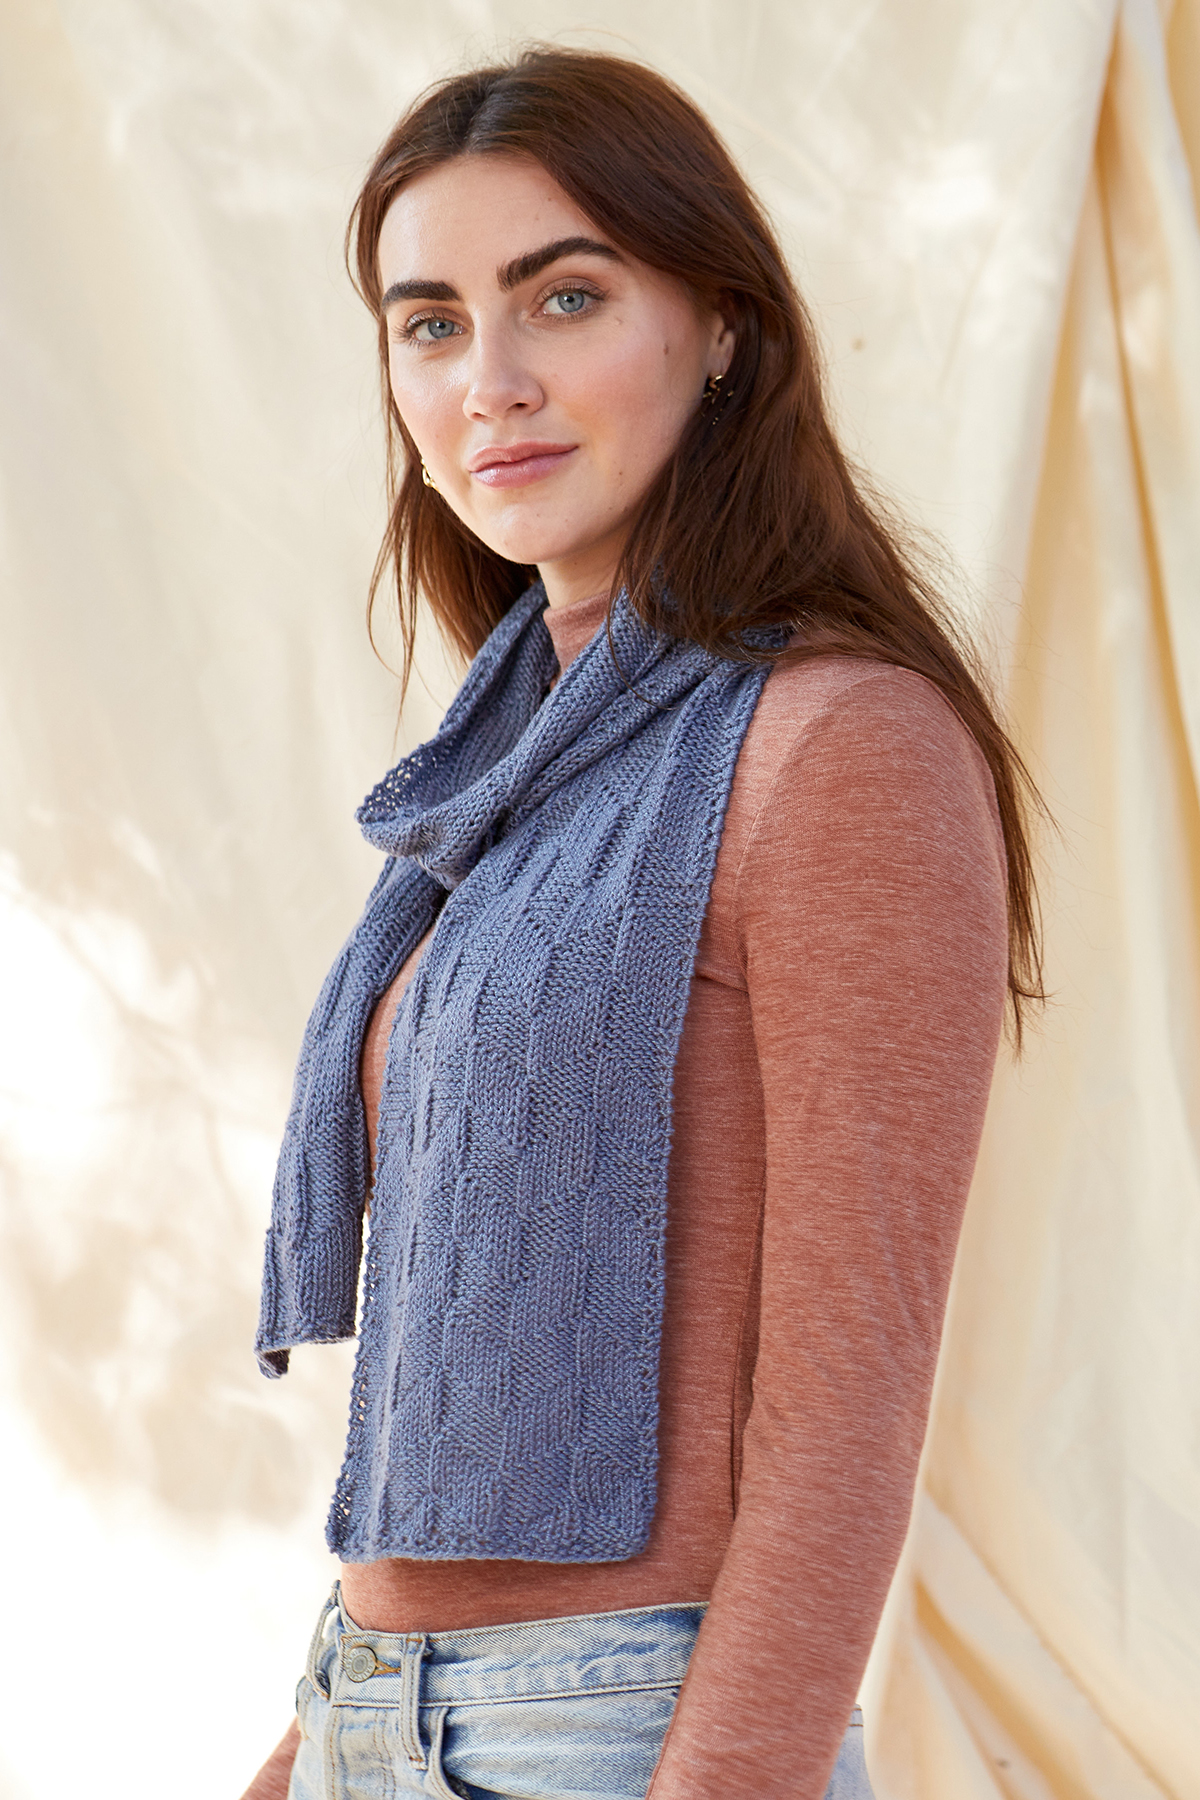
The Concord Stole is called a stole because it can work well scrunched up as shown, or stretched wide to its full 20″ (51cm) width for more coverage. Designer Aubrey Busek cleverly used two complementary tones in Deluxe Worsted wool. 15002 Violet Rustic is the lighter main, and 15003 Grape Rustic is the stripe.
Deluxe Worsted 15002 Violet RusticDeluxe Worsted 15003 Grape Rustic
The Rustic colors in Deluxe Worsted are spun in an almost marled way, making them especially well-suited to work together. If purple’s not your bag, you might pair 15004 Teal Rustic & 15005 Turquoise Rustic, or if you’re a lover of subtler contrast and blue like I am, 15009 Blue Rustic & 15008 Twilight Rustic.
15009 Blue Rustic15008 Twilight Rustic
Regardless of color choice, this sweet stole is a satisfying project. An easily memorized four-row repeat worked on US size 8 (5mm) needles makes for rhythmic, calming crafting, something we could all use right now.
Now if you’ll excuse me, there’s a piece of pie with my name on it in the fridge. Literally, since I stuck a note to it.
We hope you have a safe and pleasant weekend. Happy crafting!
This is part 5 in a 12 part series highlighting designs from our 12 Days of Winter, Series 4 Edition.
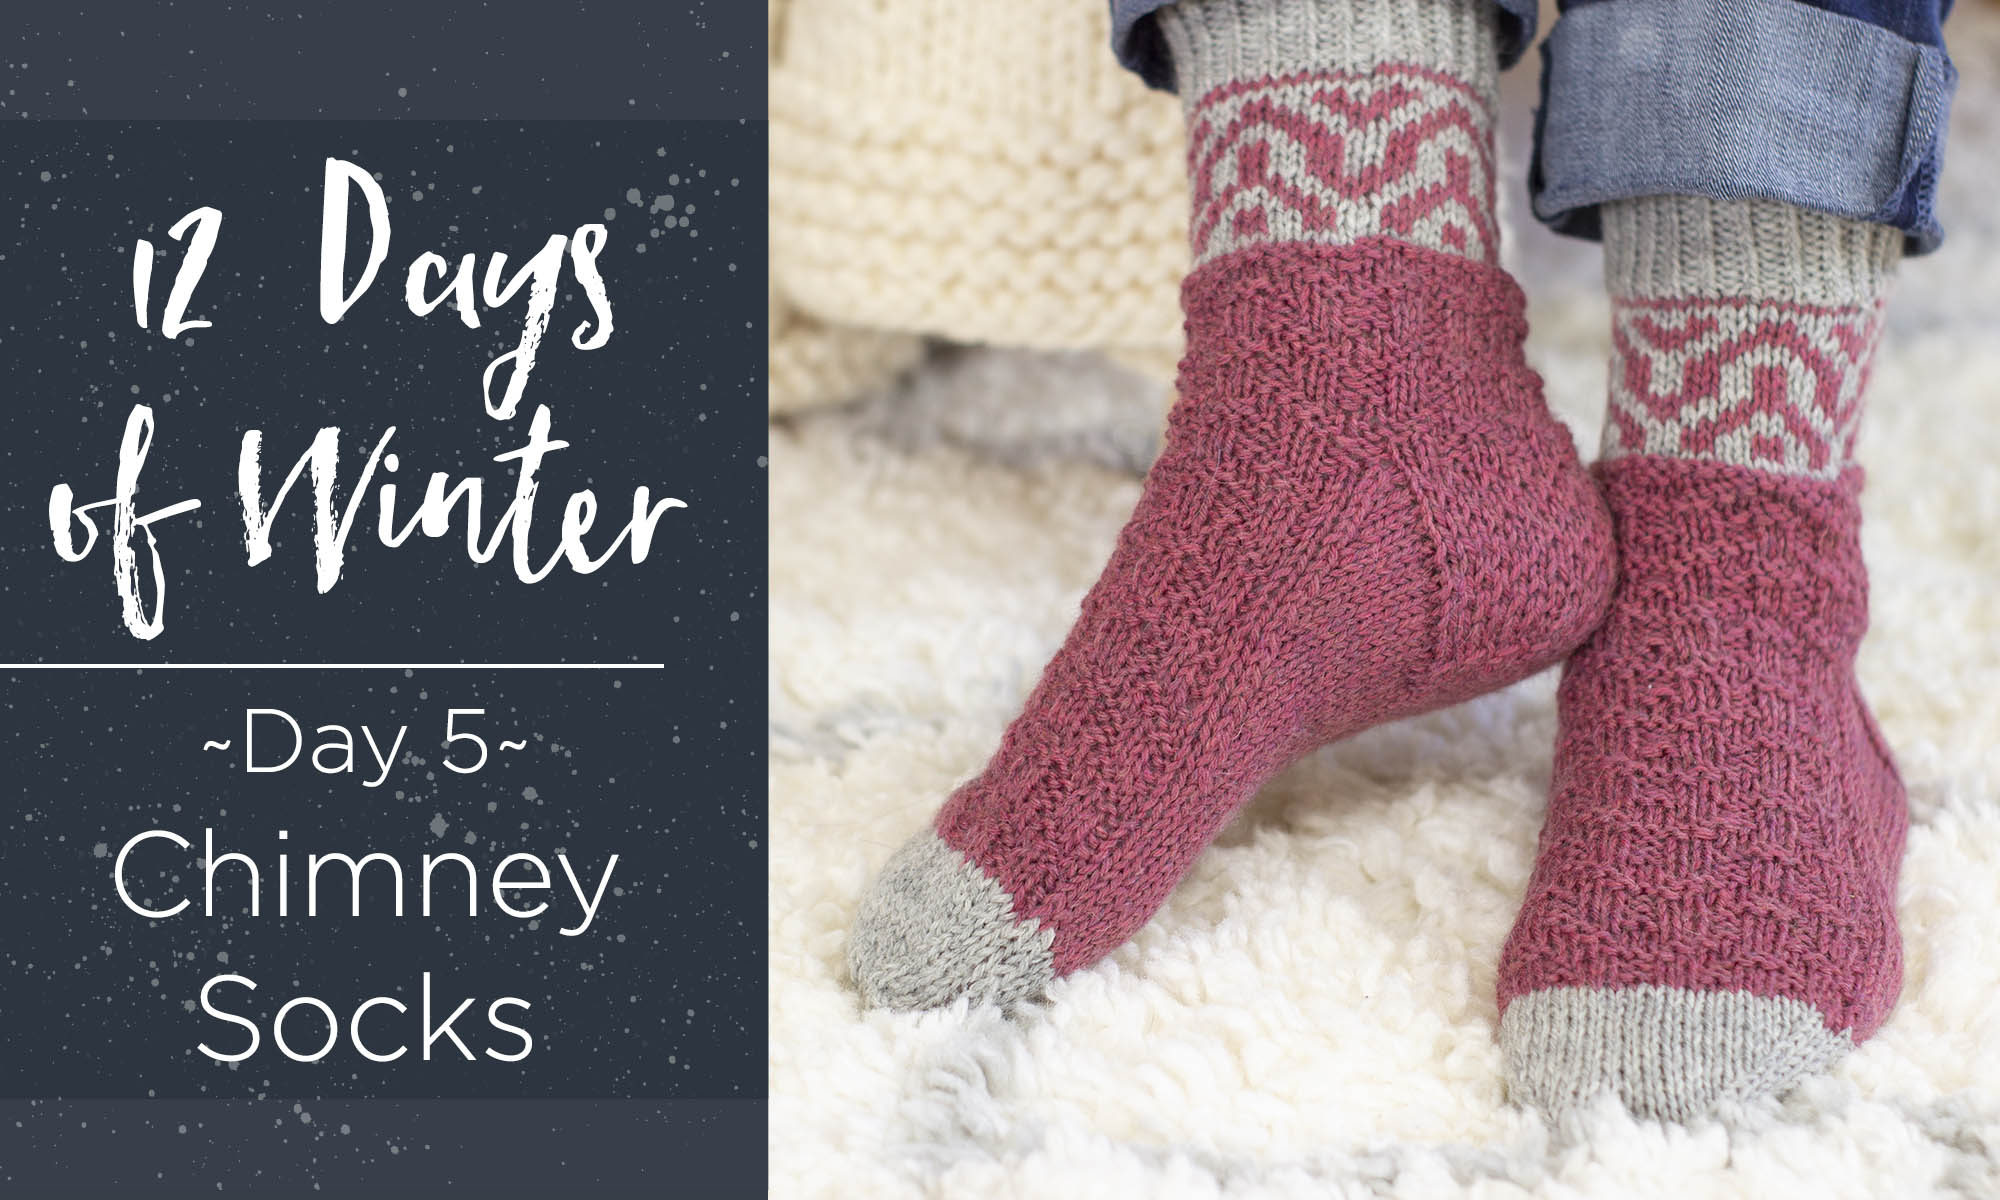
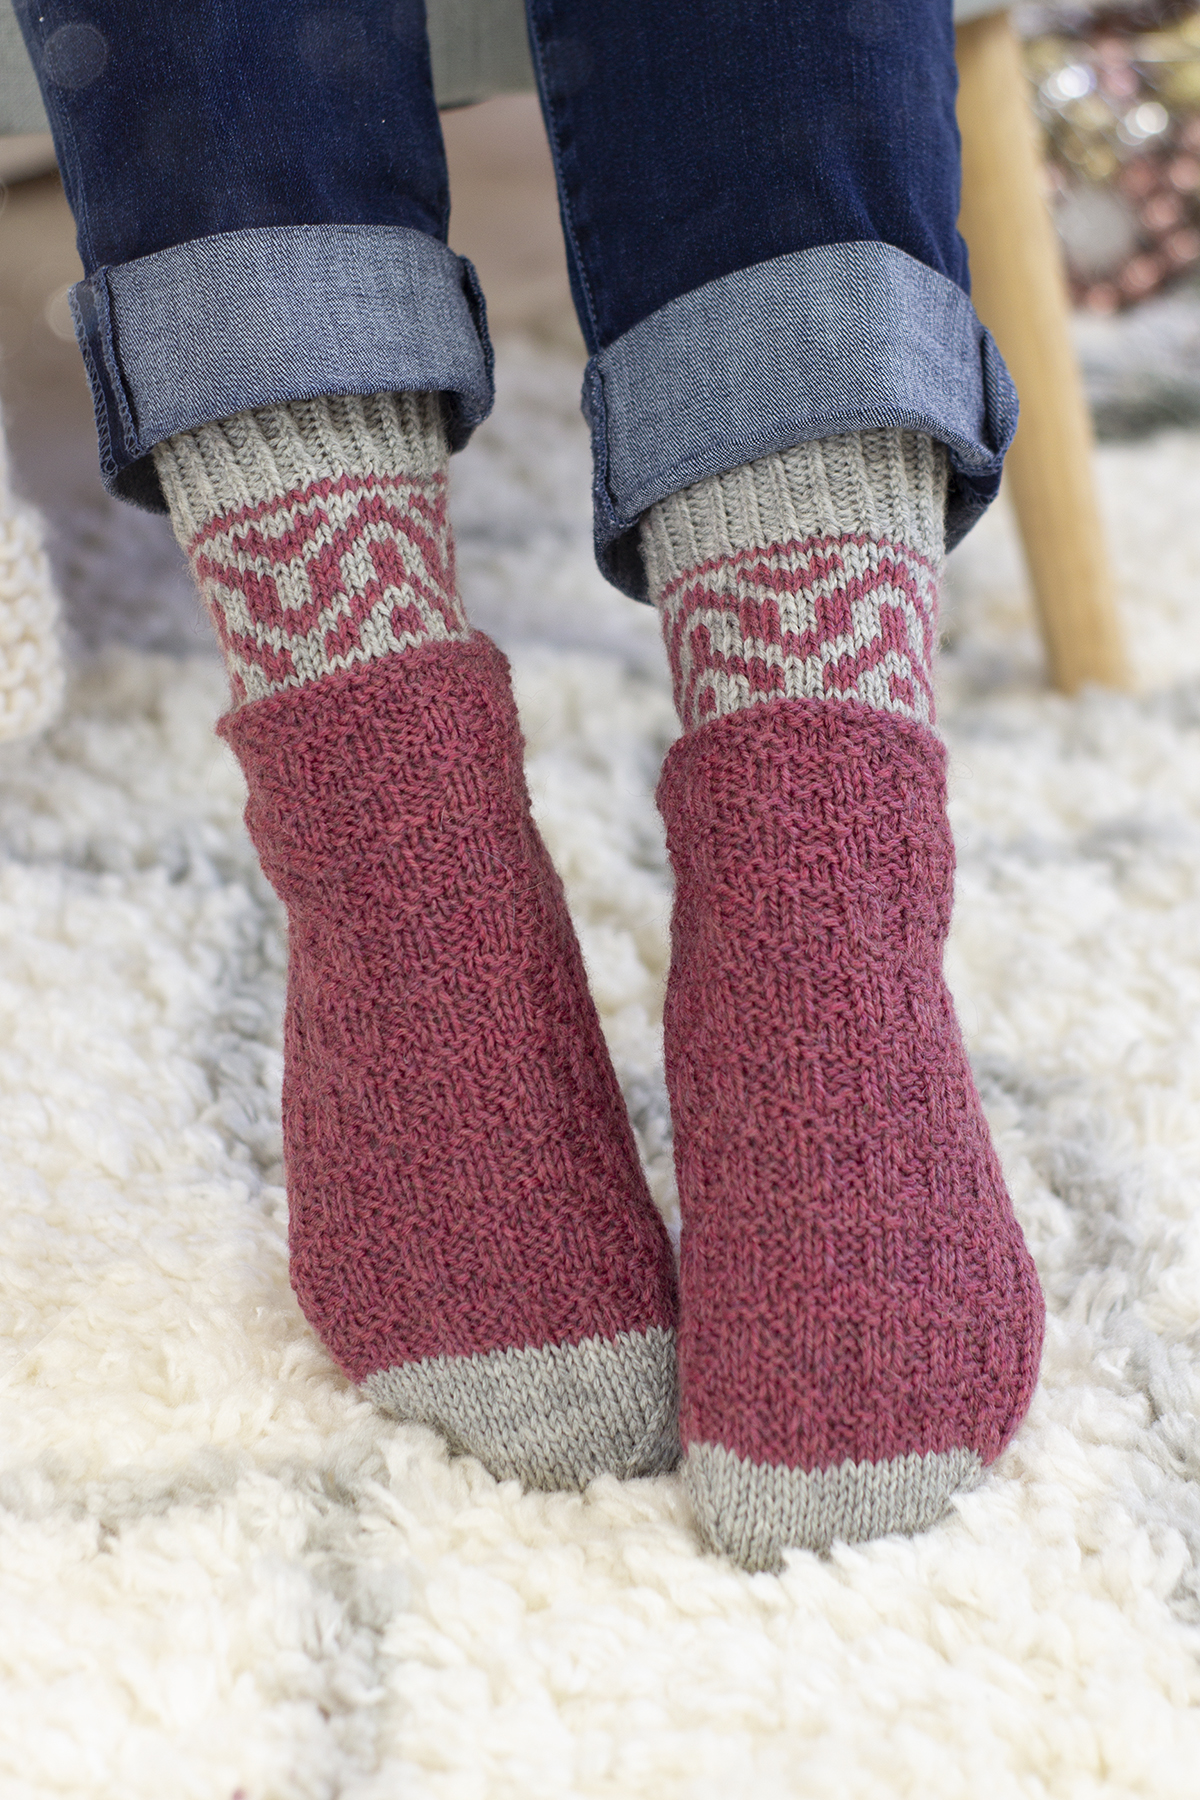
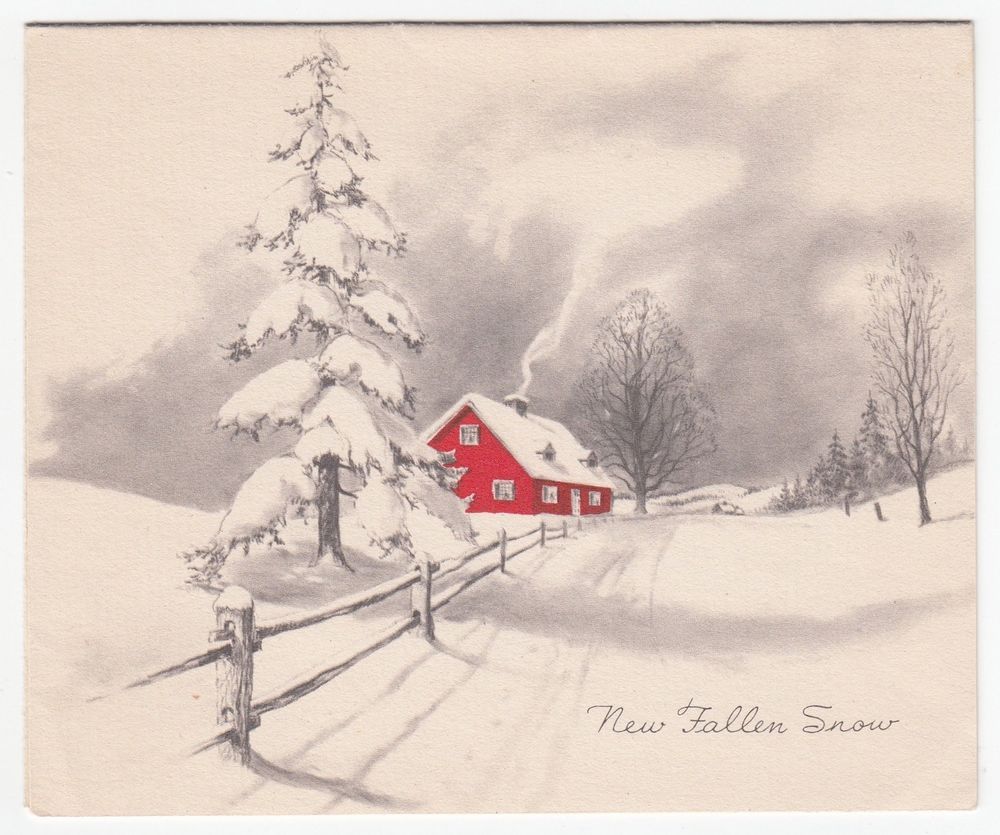
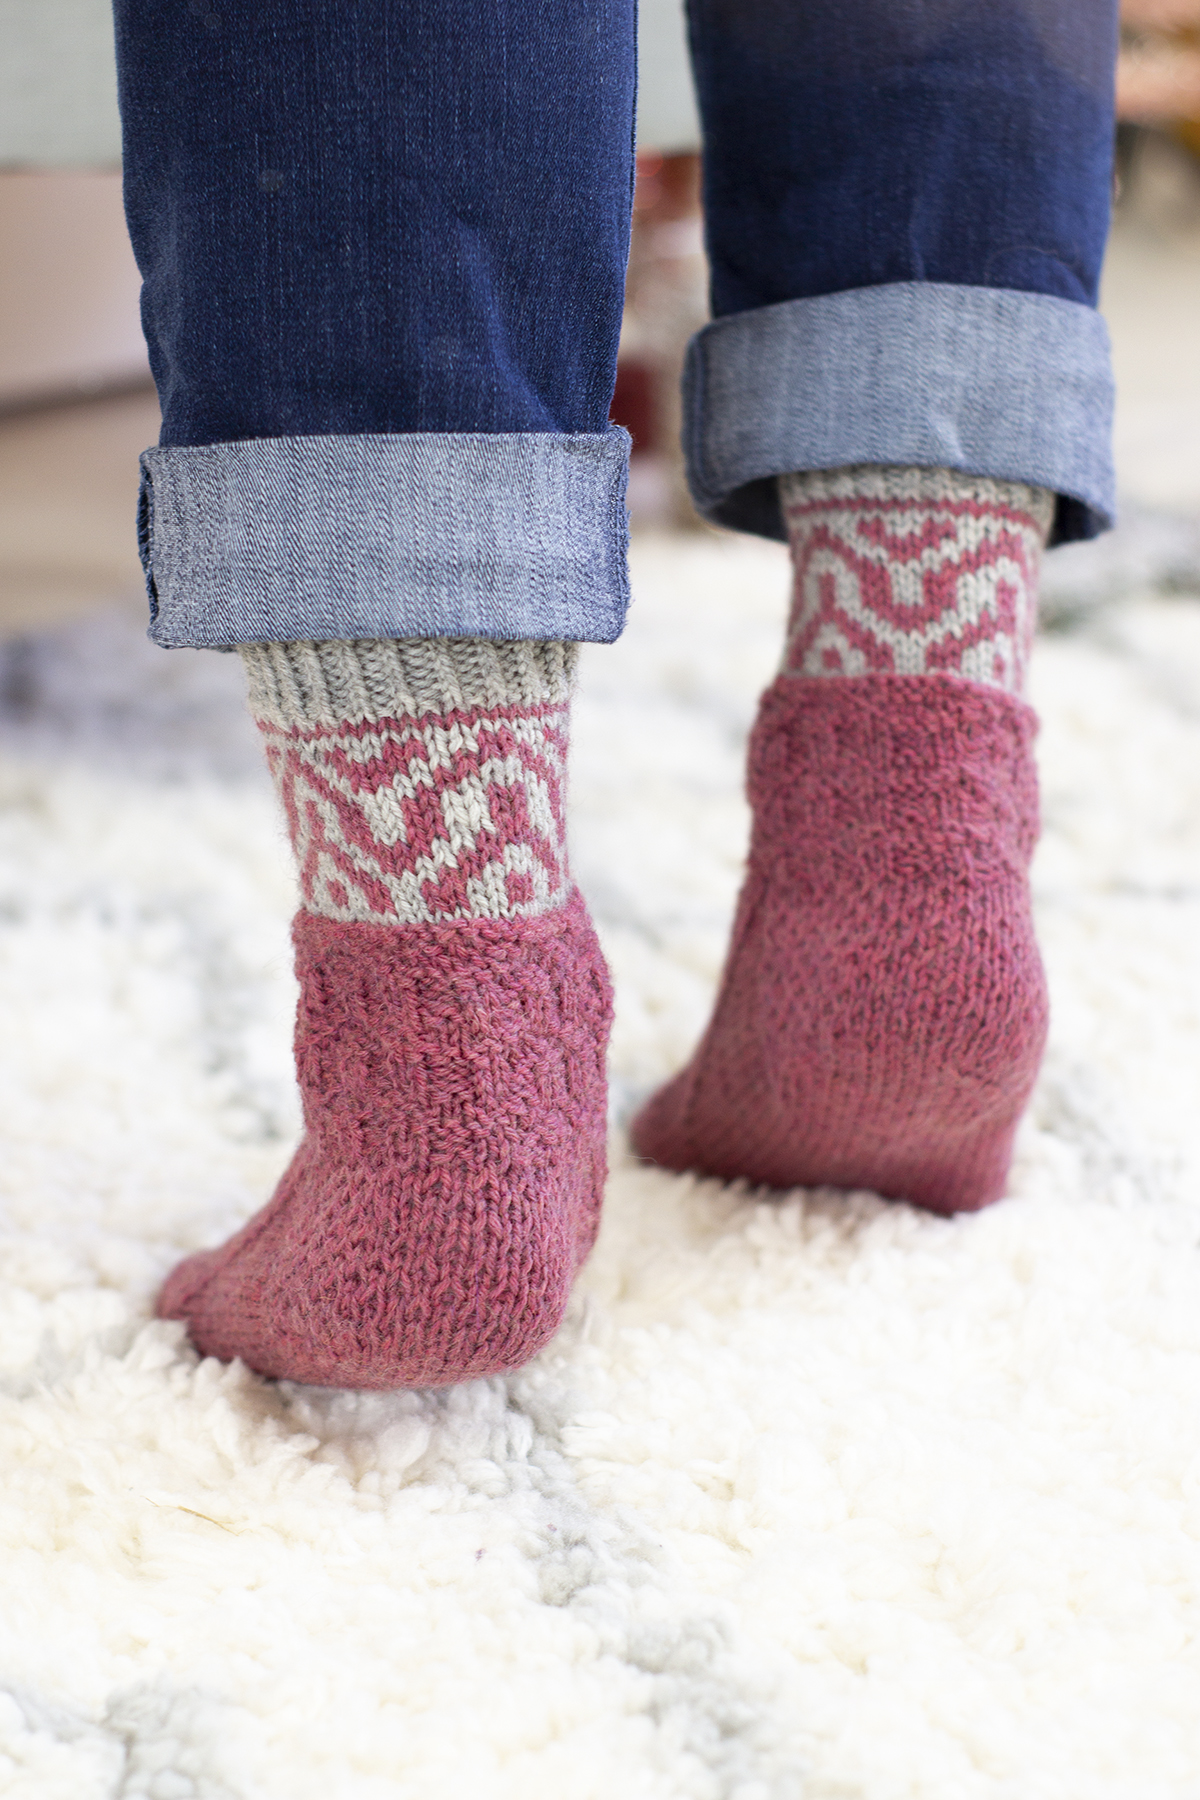
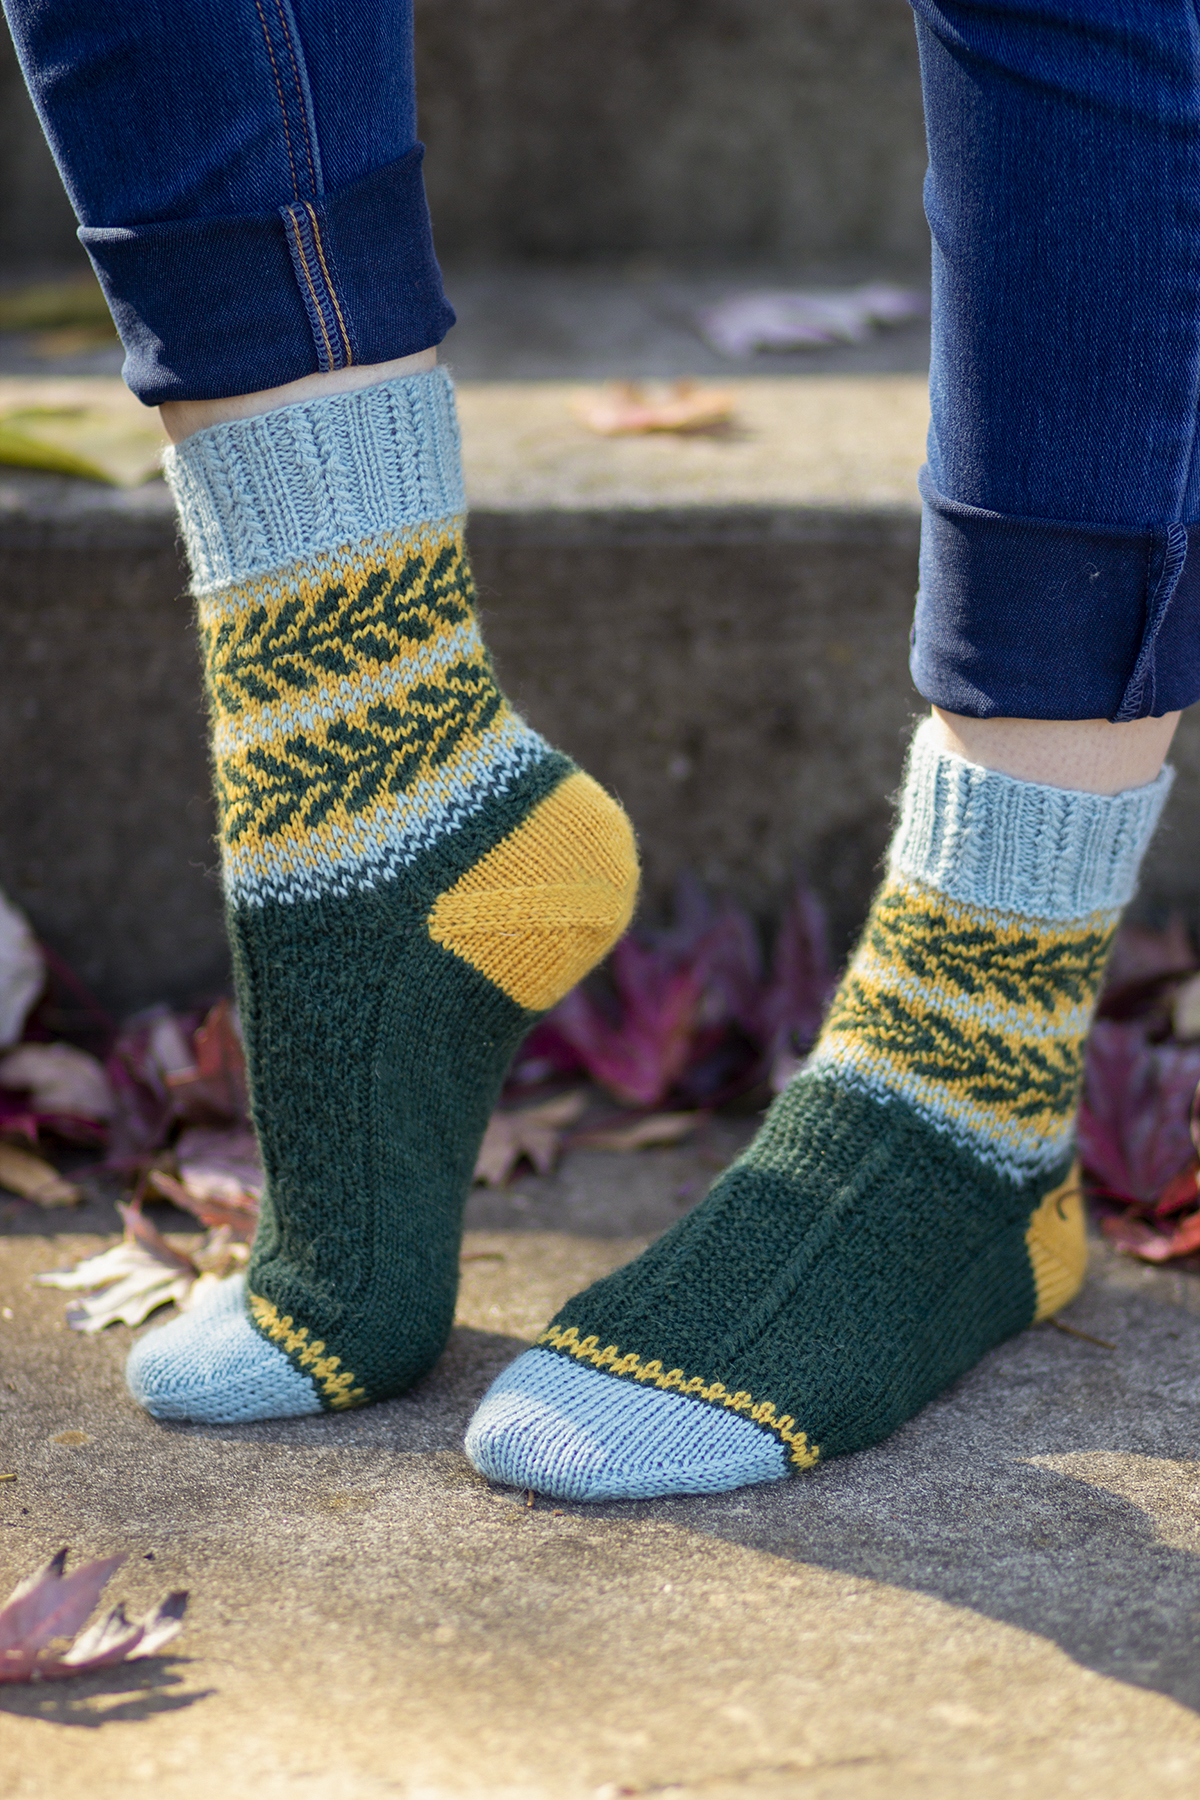
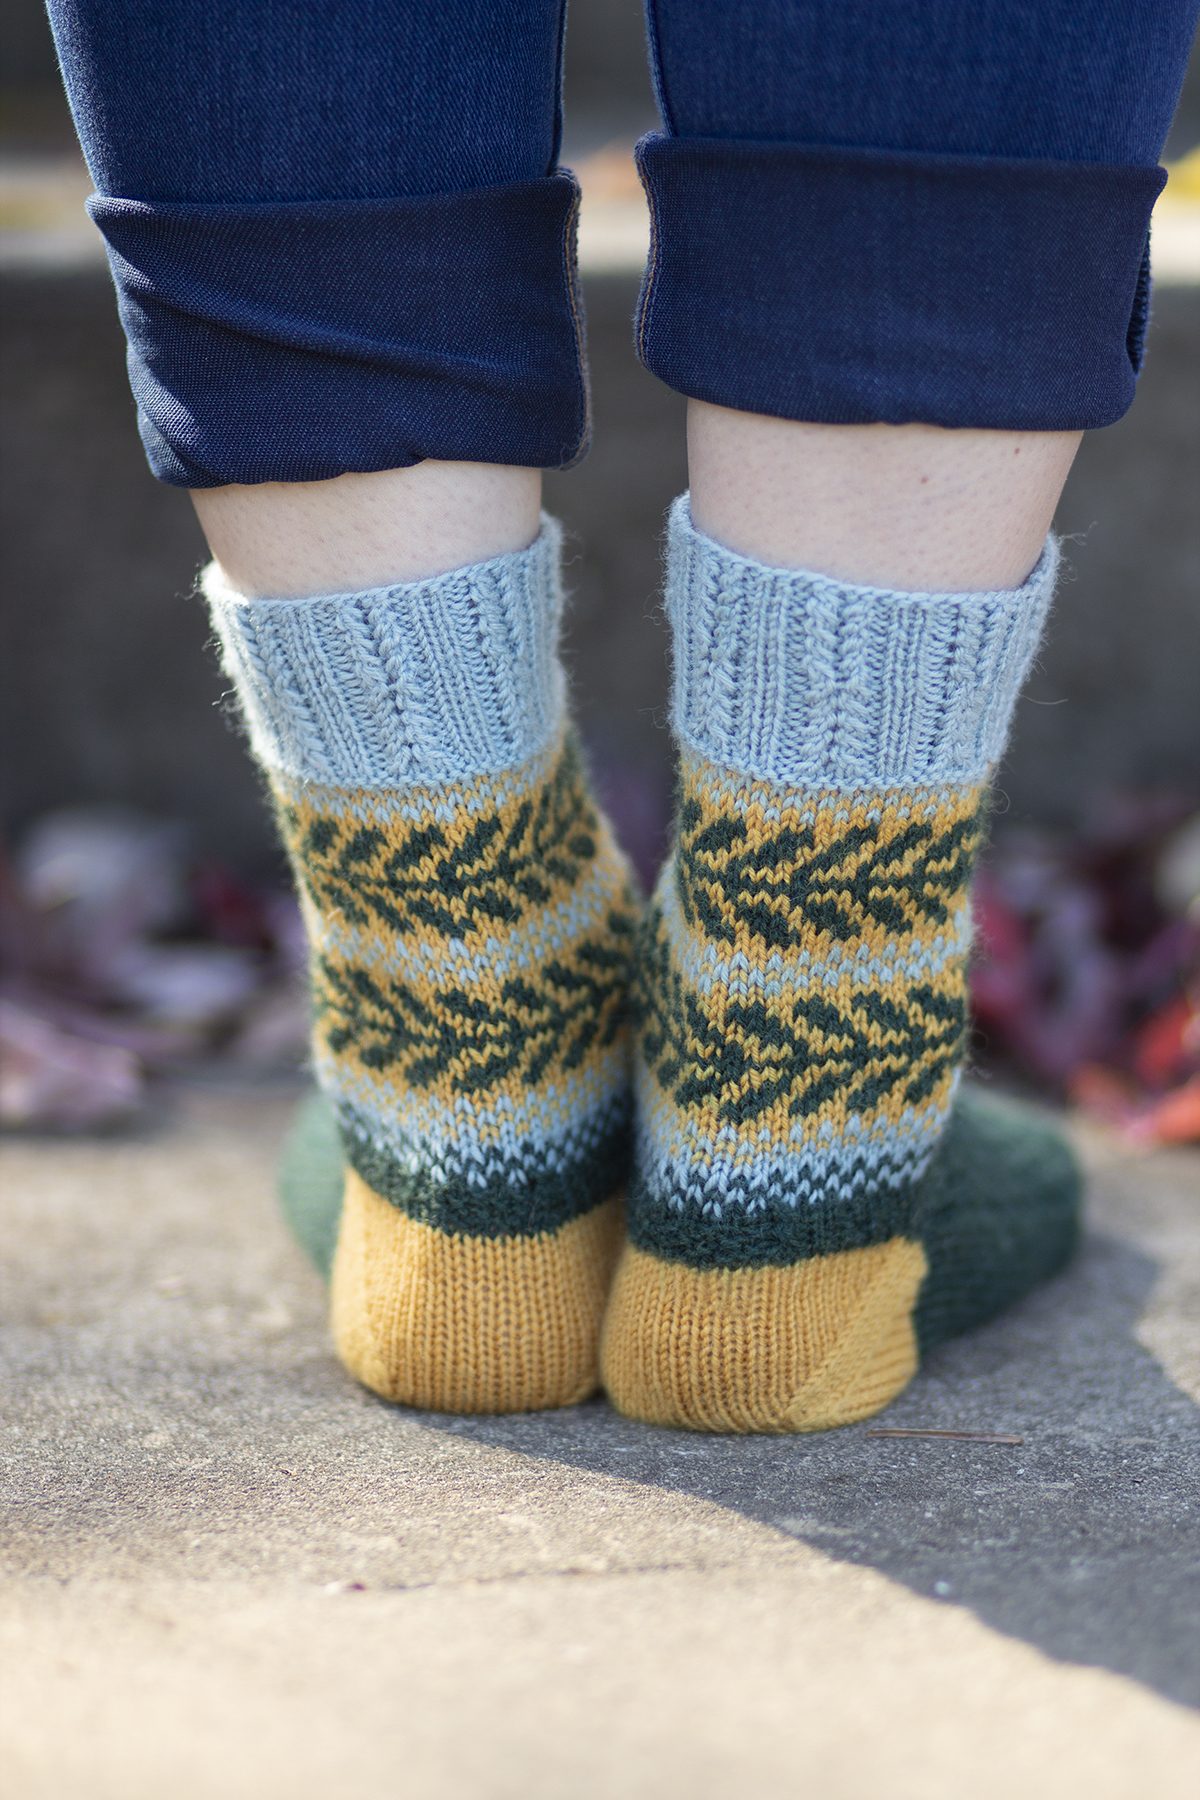
Few things are more comforting than cuddling up with a good book while warmed by the heat of a fireplace. Growing up, I spent so many winter days doing just that. I would devour book after book, with the pages illuminated by the light of the fire, and it’s something I miss dearly about my childhood home. For the fifth installment of the 12 Days of Winter Kit Collection, I wanted to create a design that conjures the comfort of the days when I could sit by the fire. The result? The Chimney Socks.
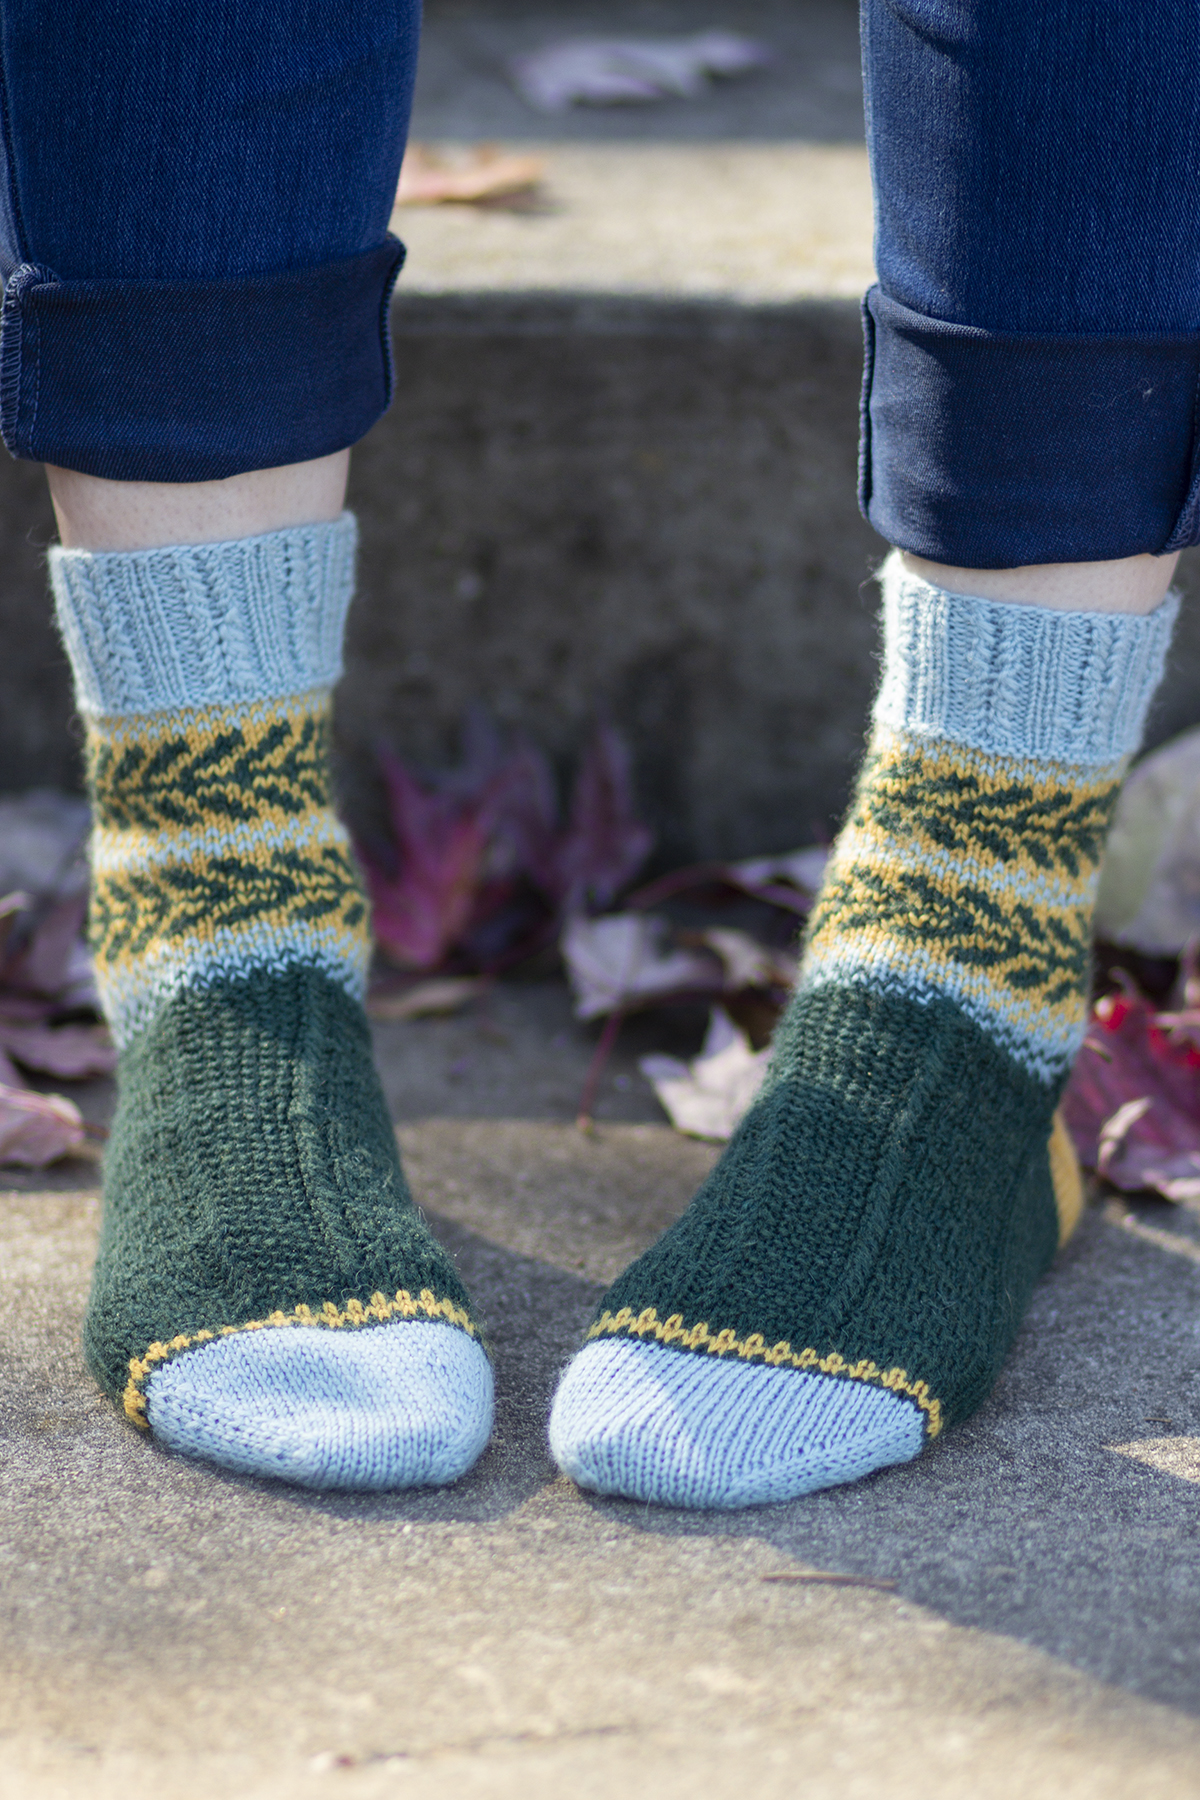
The Chimney Socks are cozy house socks that feature graphic colorwork and a knit-purl texture to match. The socks are knit using two colors of 100% wool, Deluxe DK Superwash. I chose #848 Coral Heather and #839 Smoke Heather to emulate billows of smoke emerging from a brick chimney.
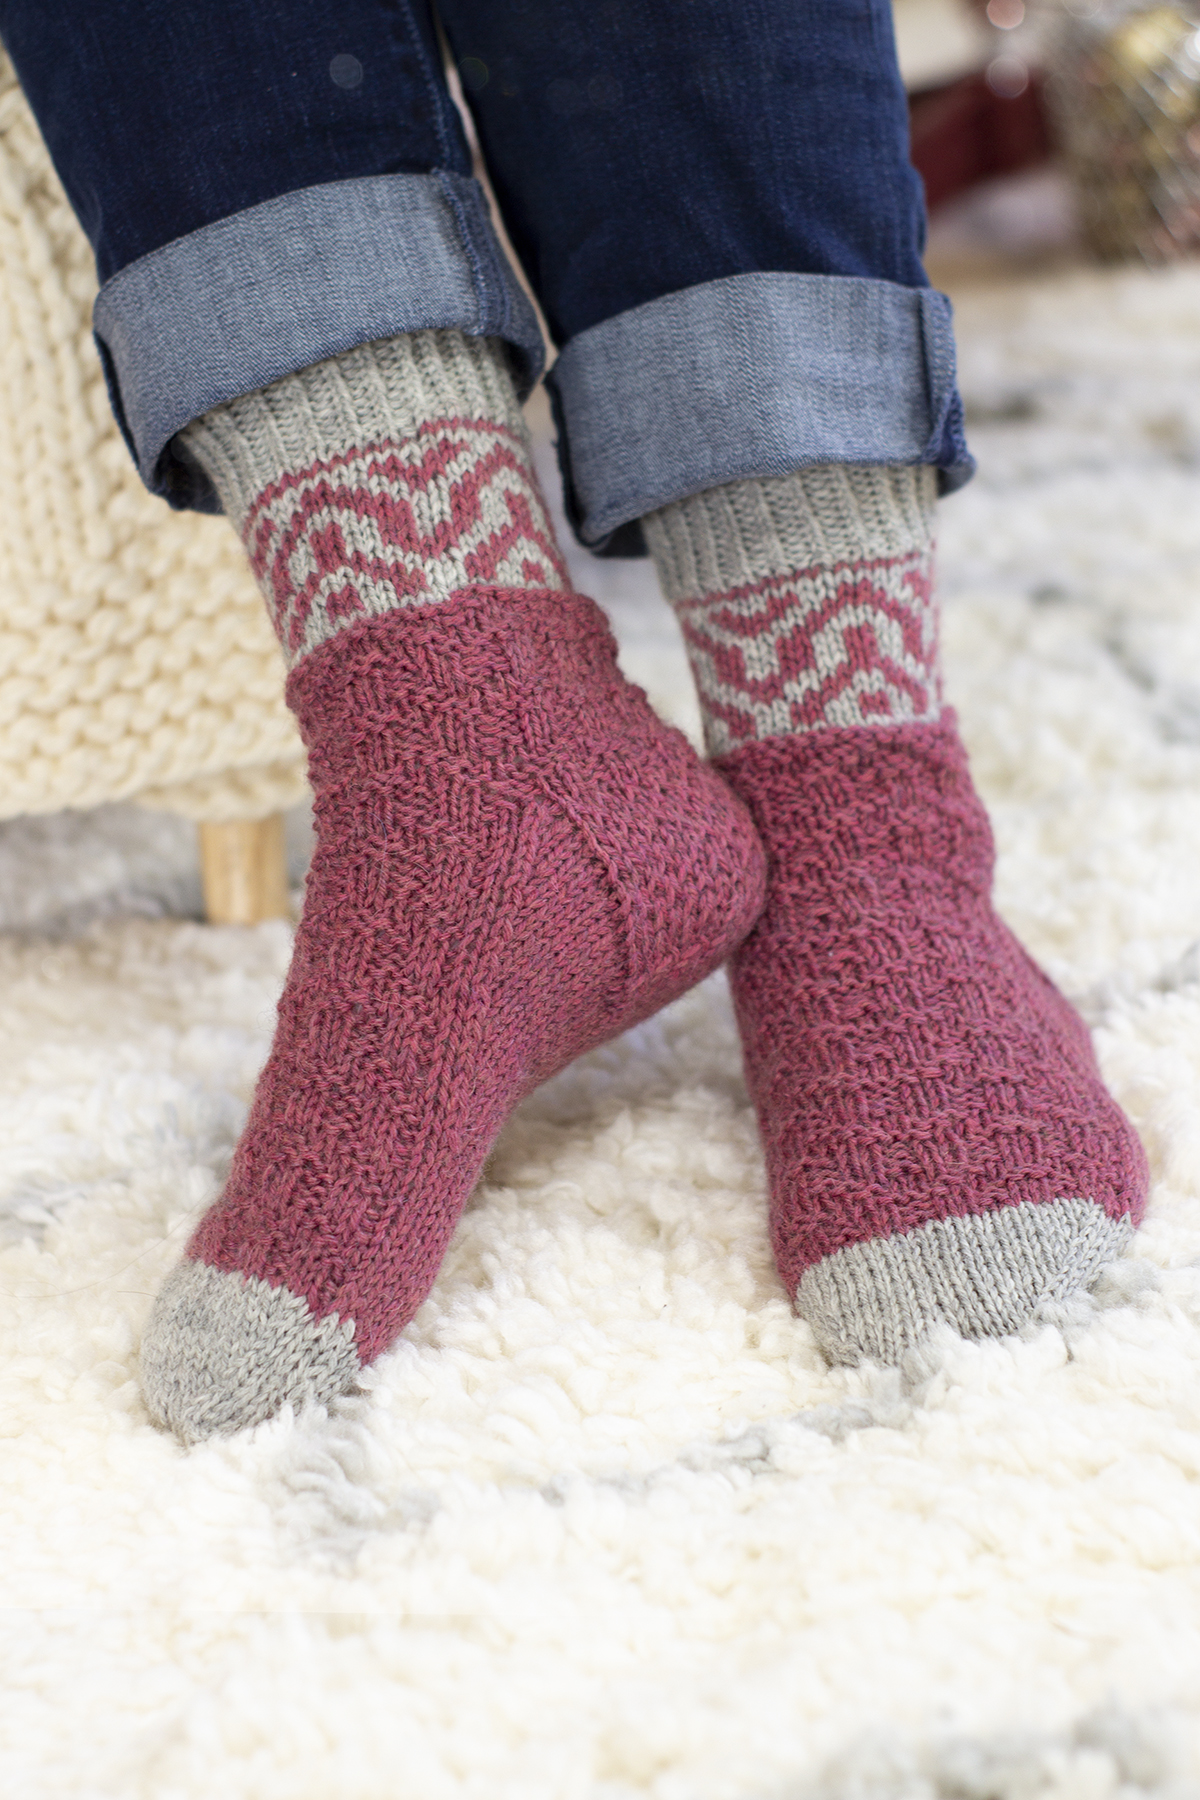
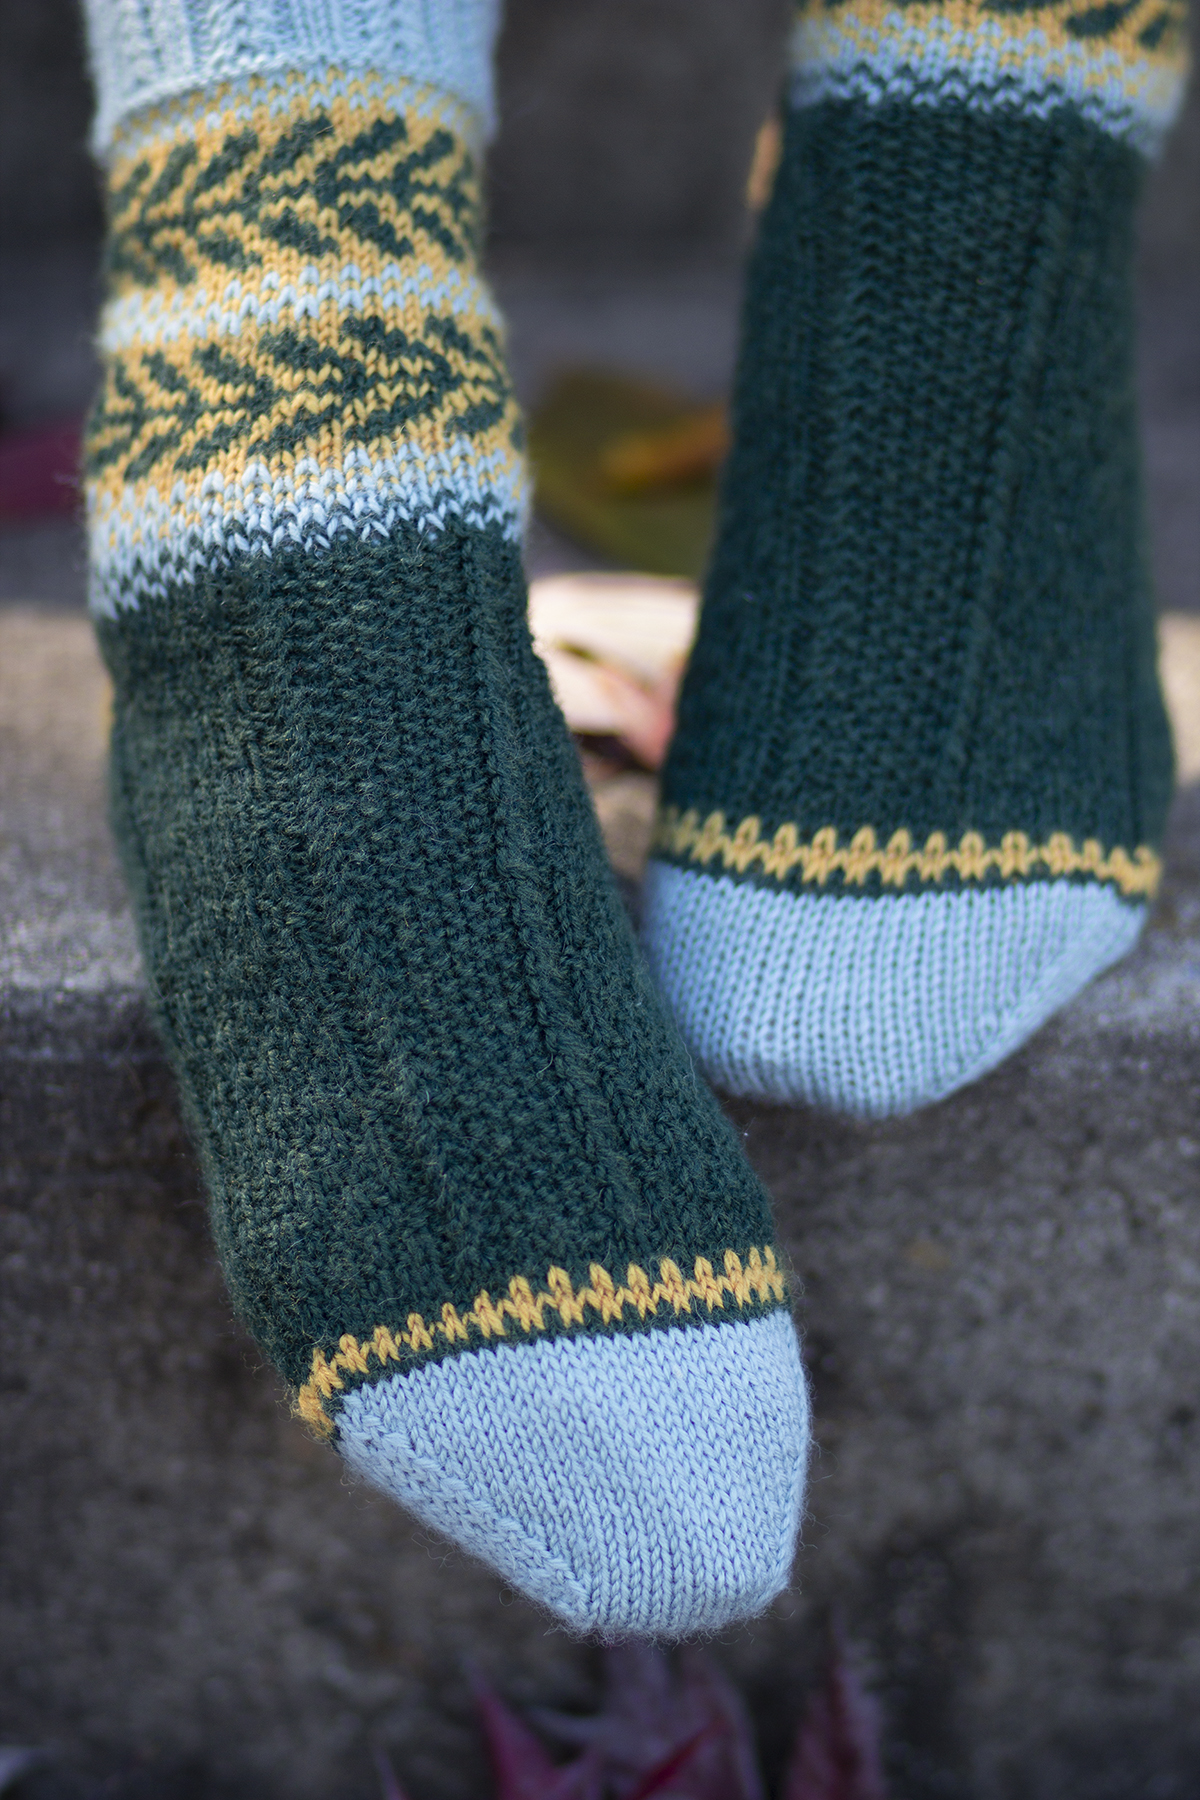
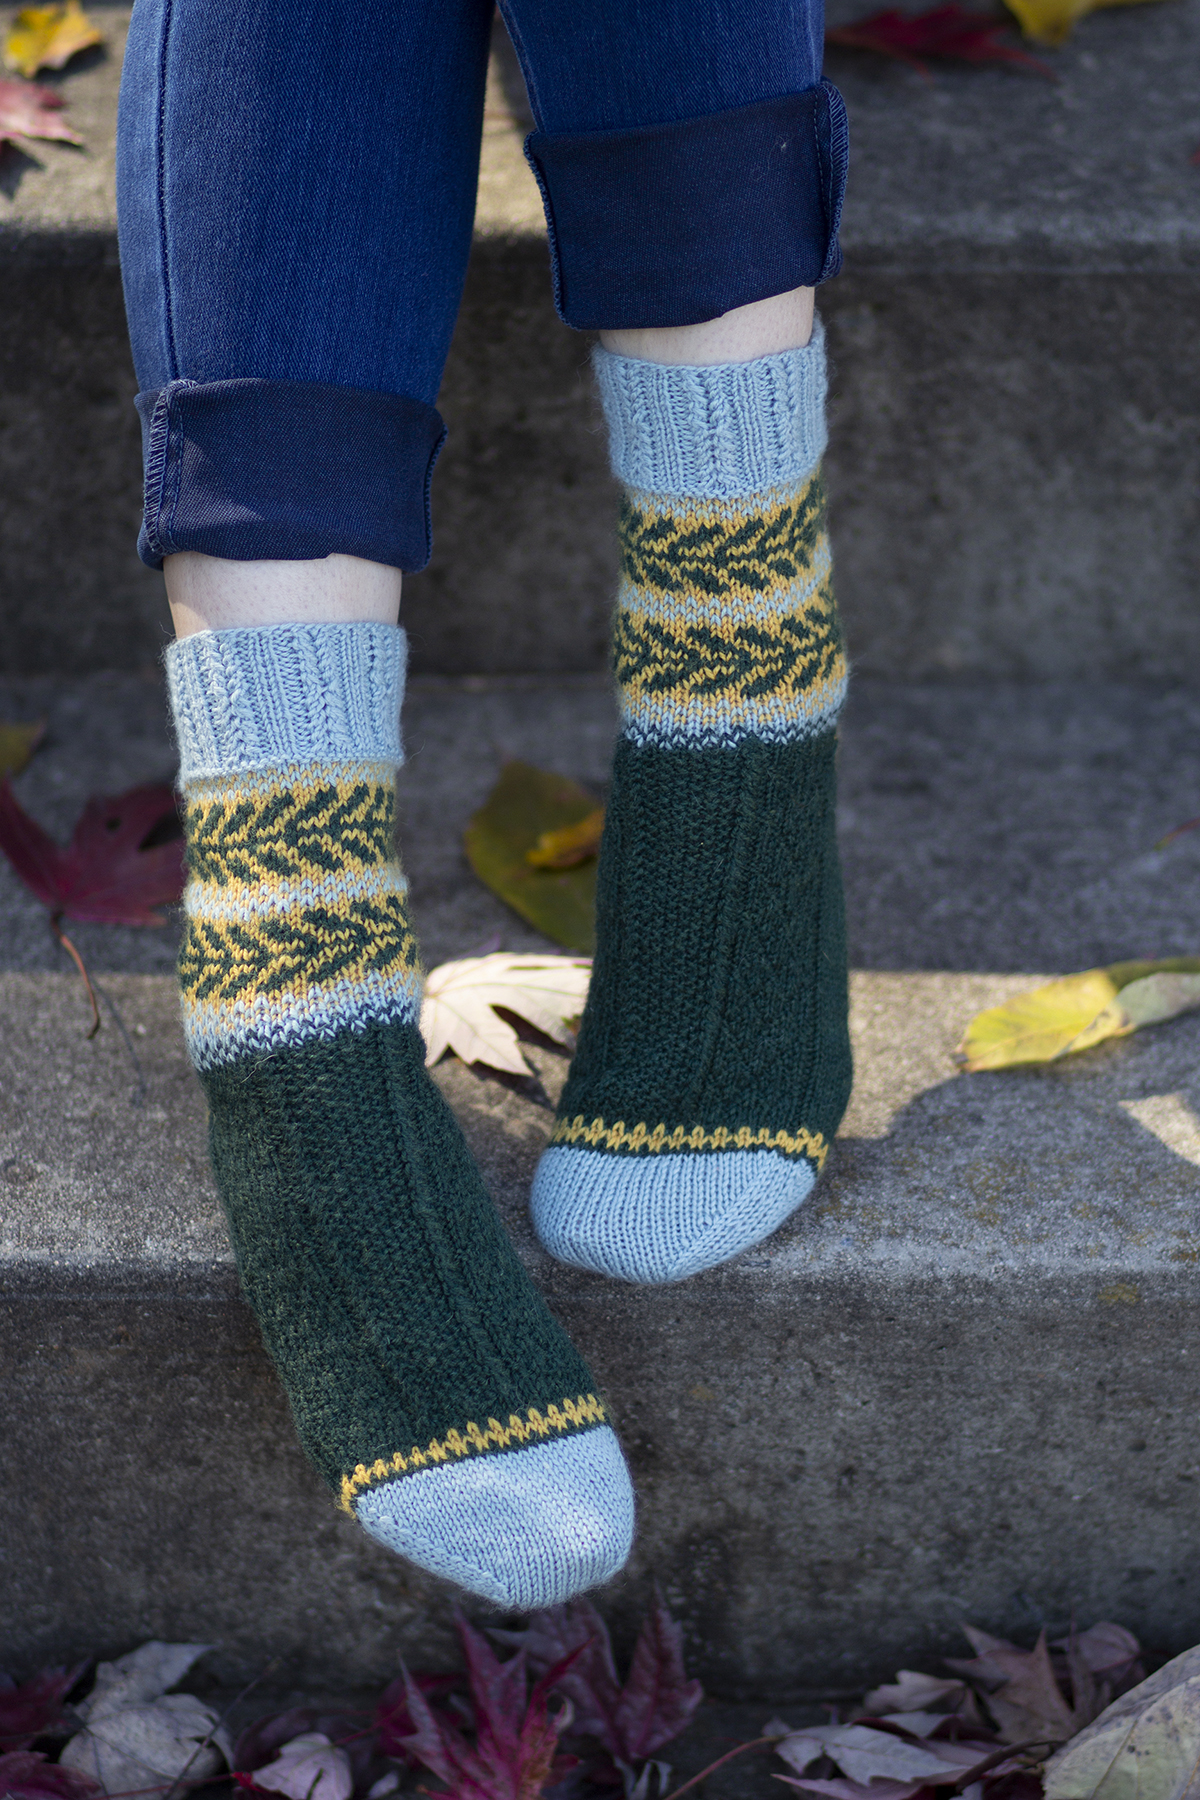
The cuff features tidy twisted ribbing in grey. It is followed by a pretty stranded colorwork motif that reminds me of little houses. Then, the same motif is transformed into a textural pattern for the foot. The toes are knit using the contrast color to balance out the cuff and leg of the pattern.
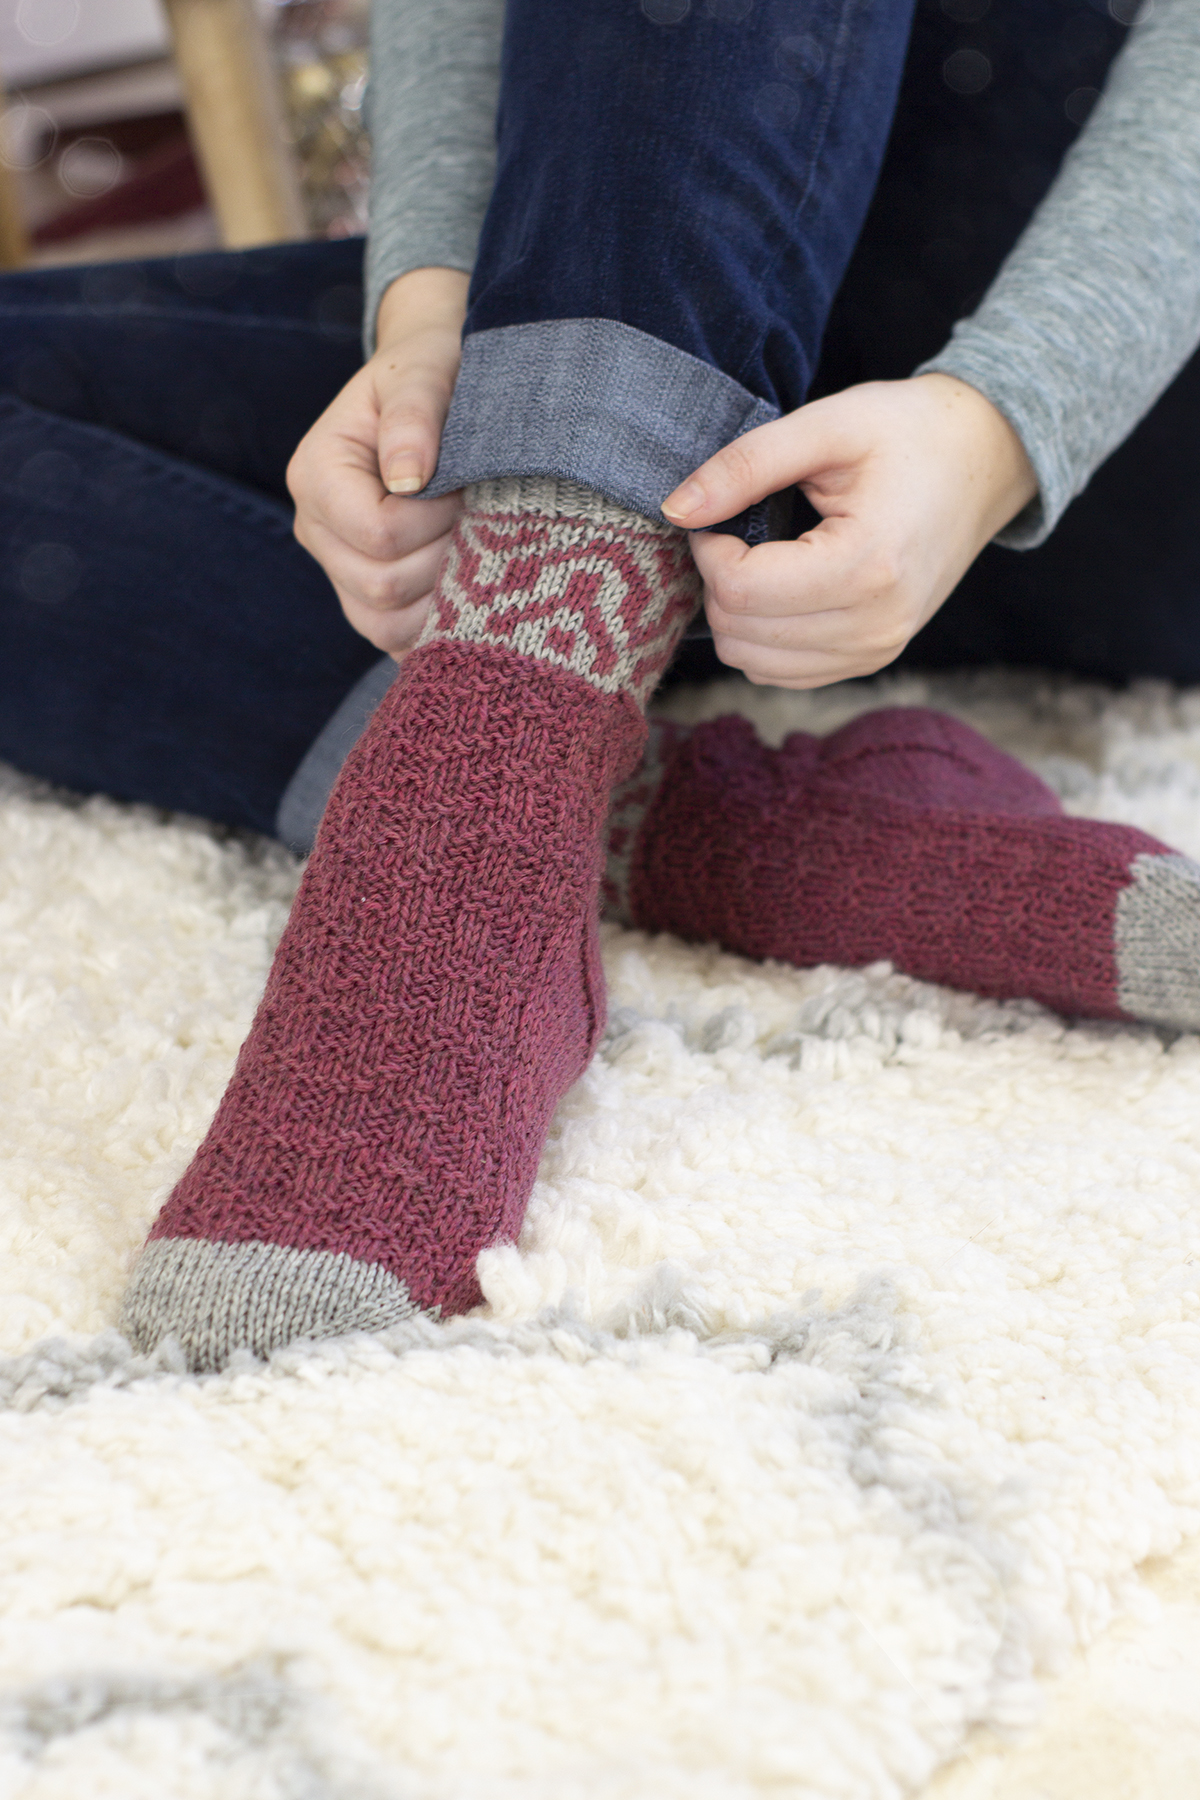
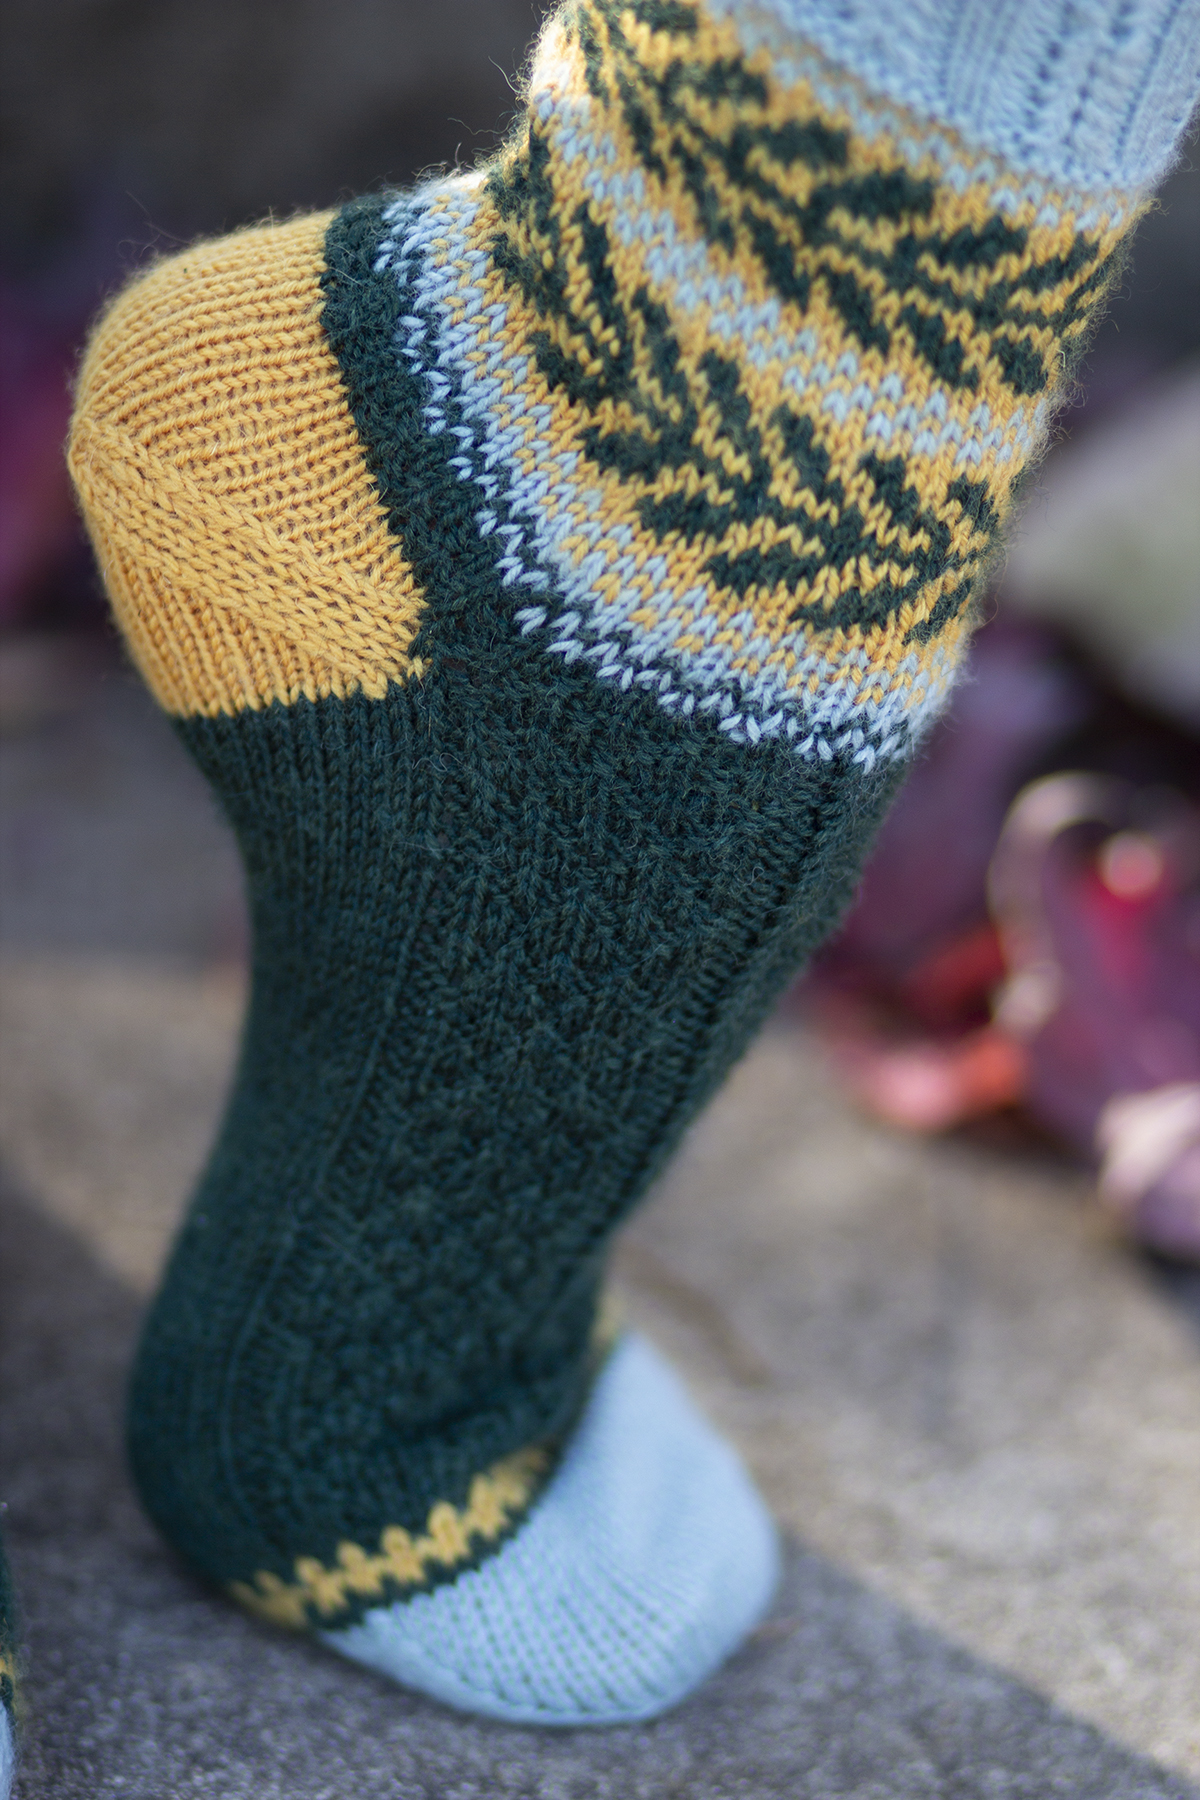
The Chimney Socks are knit from the cuff down. They feature an Eye of Partridge heel flap and gusset, creating a sturdy sock with a perfect fit. I love how quickly these socks knit up. As someone with second sock syndrome, heavier socks are perfect for me because they knit up quickly. They also make great beginner socks for the very same reason. Plus, they are just ridiculously cozy. I have multiple pairs of DK-weight socks and I get so much wear out of them during the winter.
These socks feature an Eye of Partridge heel with a gusset.
You know what else is great about this kit? It includes enough yarn to knit two pairs of socks! Simply reverse the main color and contrast color for a coordinating set. It’s perfect for giving a gift to yourself and to a loved one!
Remember, you can find the versions of the Chimney Socks Kit and the rest of the 12 Days of Winter kits at your local yarn store. Click here to find a shop that carries our yarn near you. Happy knitting!
This is part 4 in a 12 part series highlighting designs from our 12 Days of Winter, Series 4 Edition.
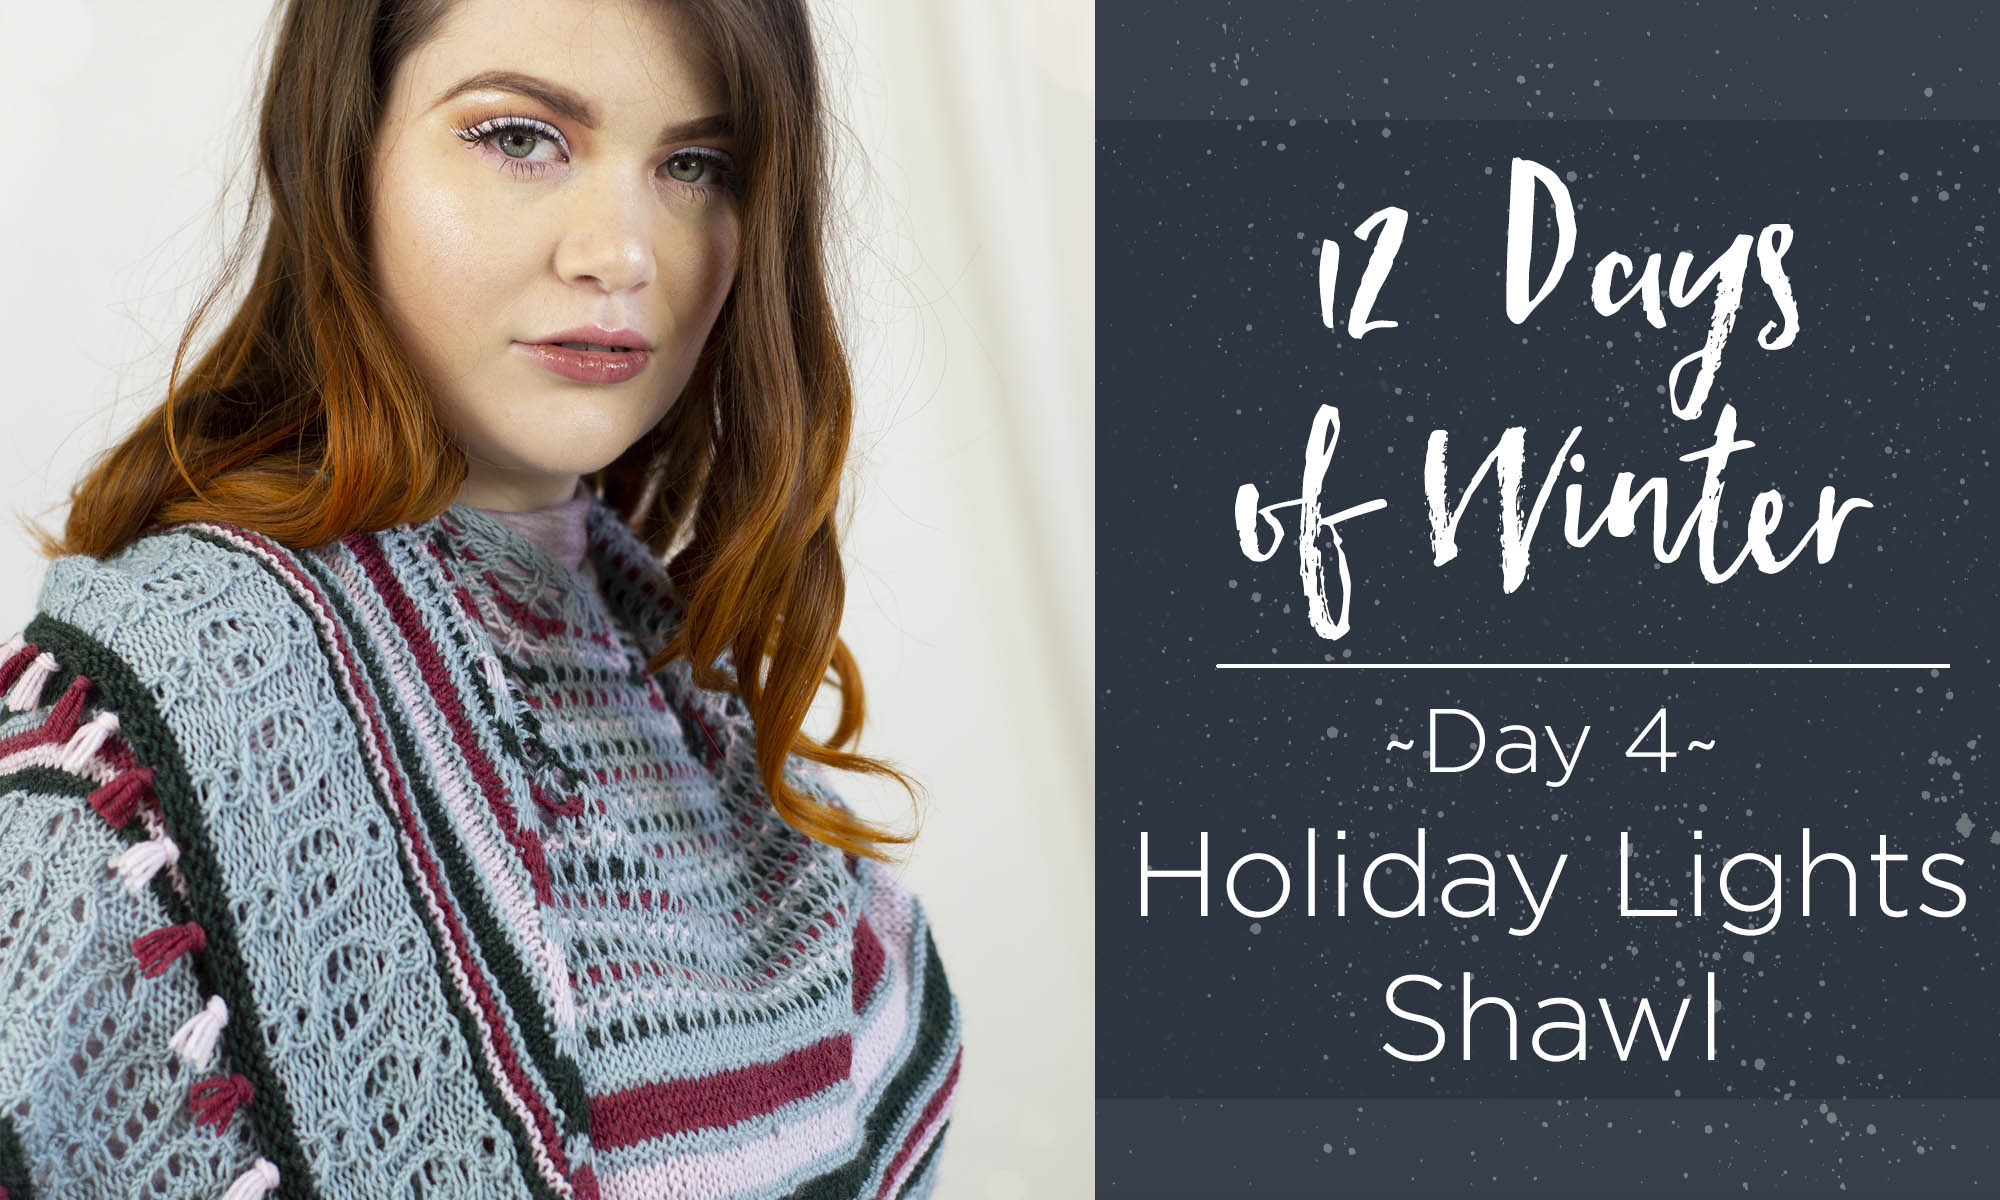
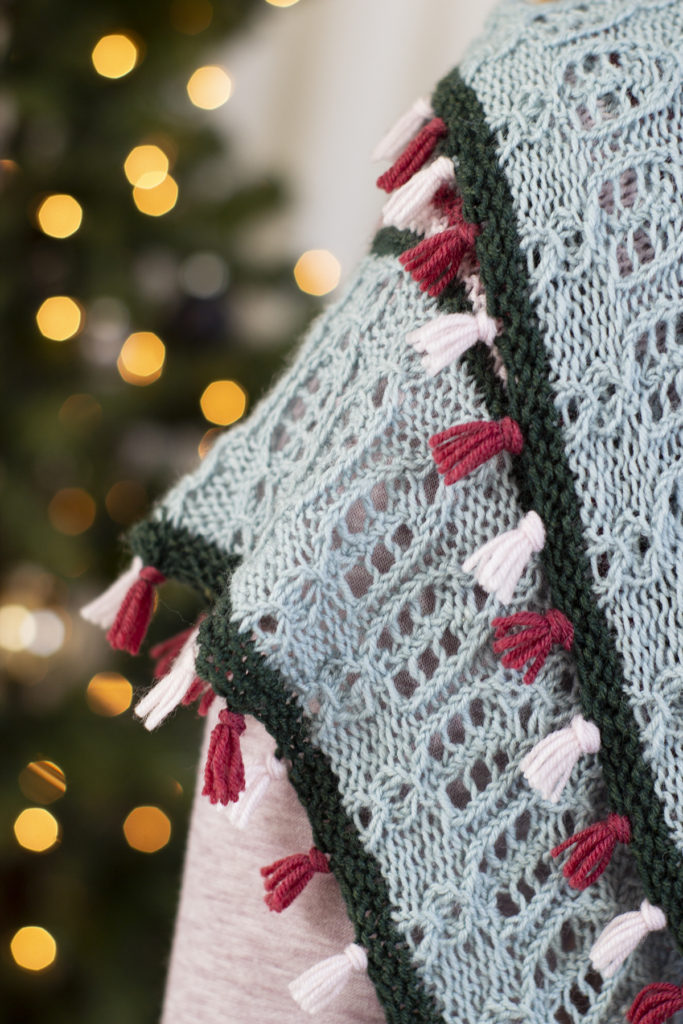
It’s Day 4 of the 12 Days of Winter Kit Collection! Today I’m excited to share a fun and festive design knit in luxurious and lightweight Bella Cash. Say hello to the Holiday Lights Shawl!
A sampling of stripes and textural stitches make this project an addictive knit!
If the name didn’t give it away, the shawl was inspired by strings of holiday lights that are so abundant during the season. I think festive lights are something we can all appreciate. Whenever I pass by a home brilliantly illuminated with thousands of little lights I feel such a childlike sense of awe and wonder. It just feels so magical to me!
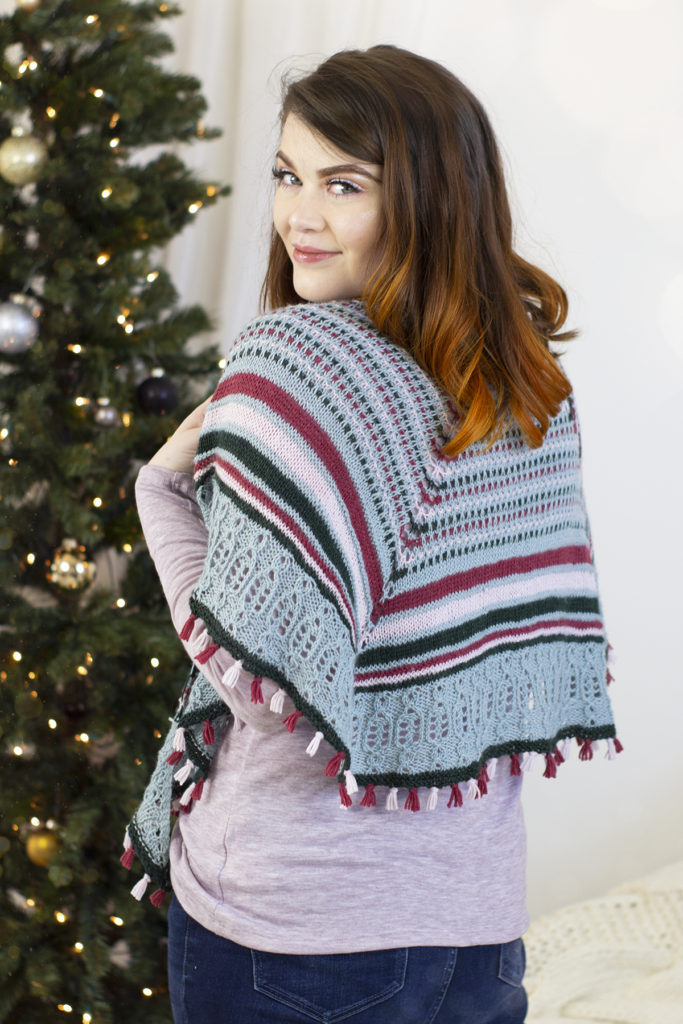
The Holiday Lights Shawl features a semi-circular shape.
There are three elements that remind me of lights in this fun pattern. Slip stitches and texture to create the effect of dappled lights throughout the first section of the shawl. Following the first section of “lights,” addictive-to-knit stripes incorporate garter stitch for a graphic and bold effect.
You can wear this shawl wrapped bandana-style around your neck. This is my favorite way to style shawls.
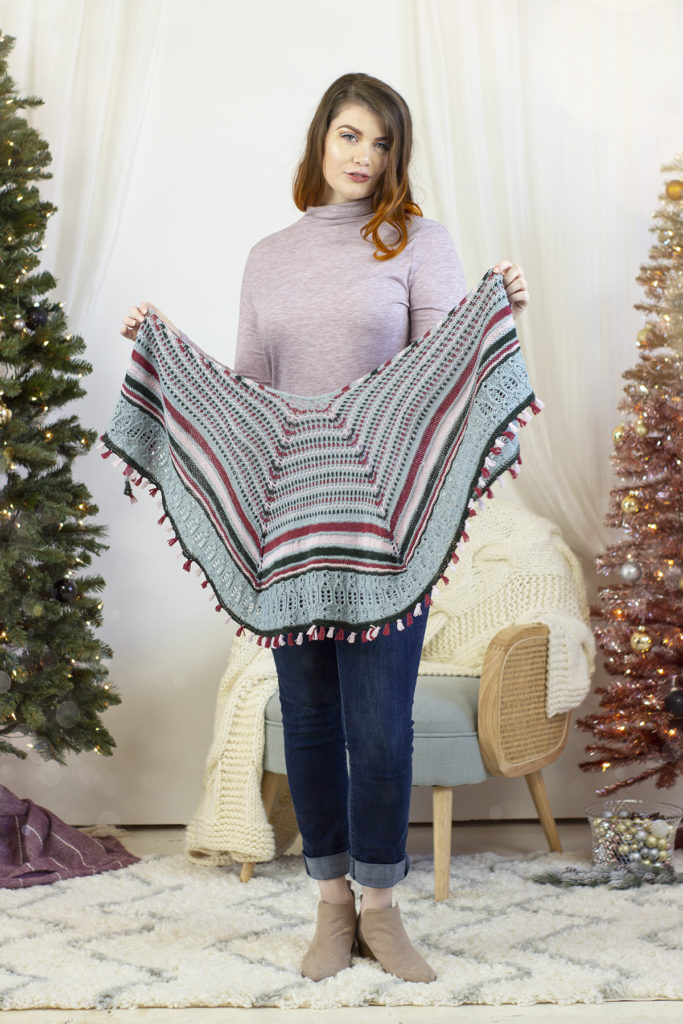
The second set of lights adorn the border of the shawl and use a touch of lace, twisted stitches, and one of my favorite decorative stitches: the lifted knot stitch. Before I move onto the final string of lights (can you guess what that might be?) I want to share a little tutorial for working the Lifted Knot Stitch (LKS).
I hope you enjoyed the tutorial and that it makes things a bit easier as you knit. Now, the final touch: the mini fringe across the bottom edge. Soft and festive, the fringe reminds me of little gleams of lights during winter nights.
Peppermint-colored mini fringe decorates the bottom of the shawl.
Remember, you can find the Holiday Lights Kit and the rest of the 12 Days of Winter kits at your local yarn store. Click here to find a shop that carries our yarn near you. Happy knitting!
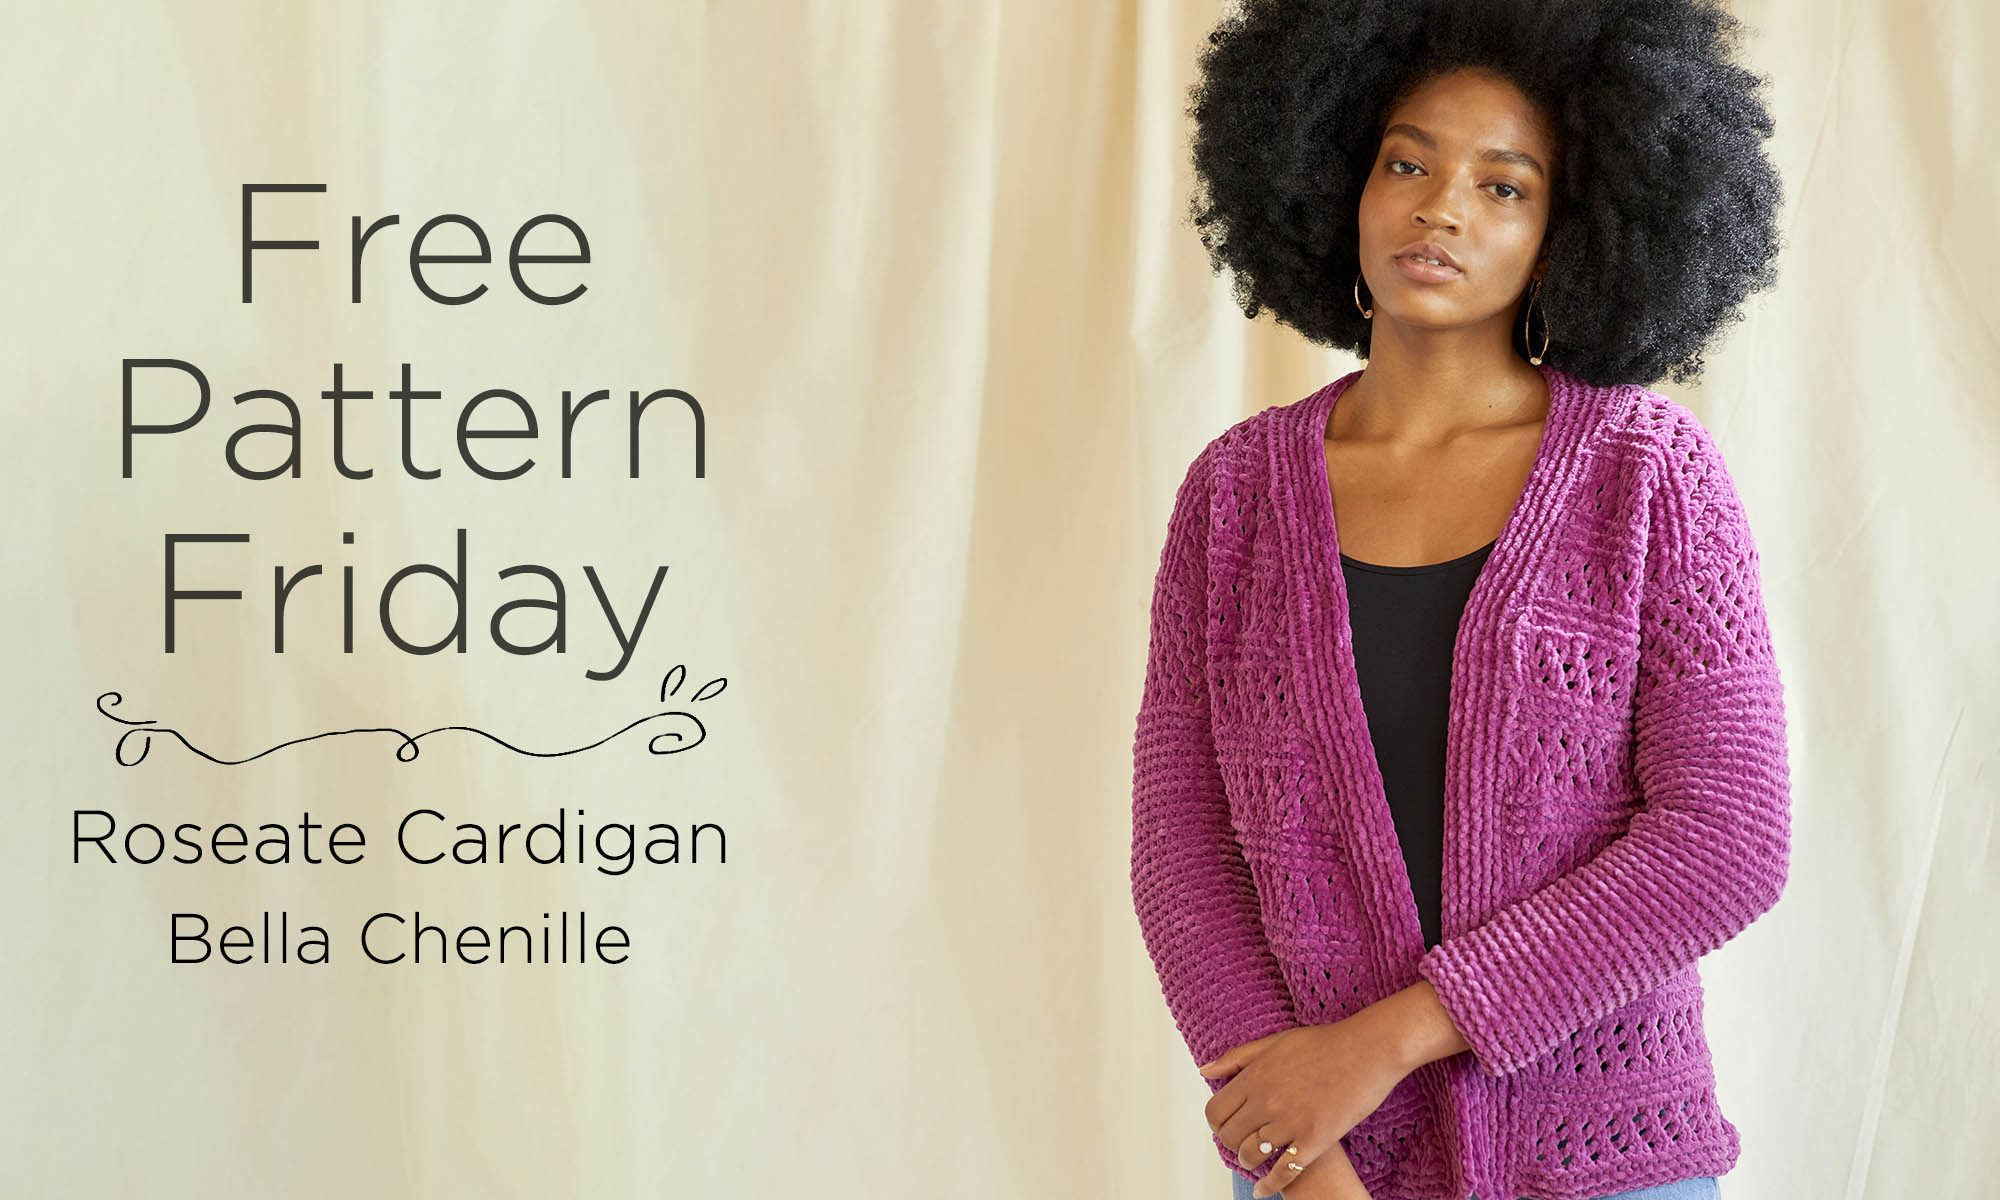
It’s Free Pattern Friday!
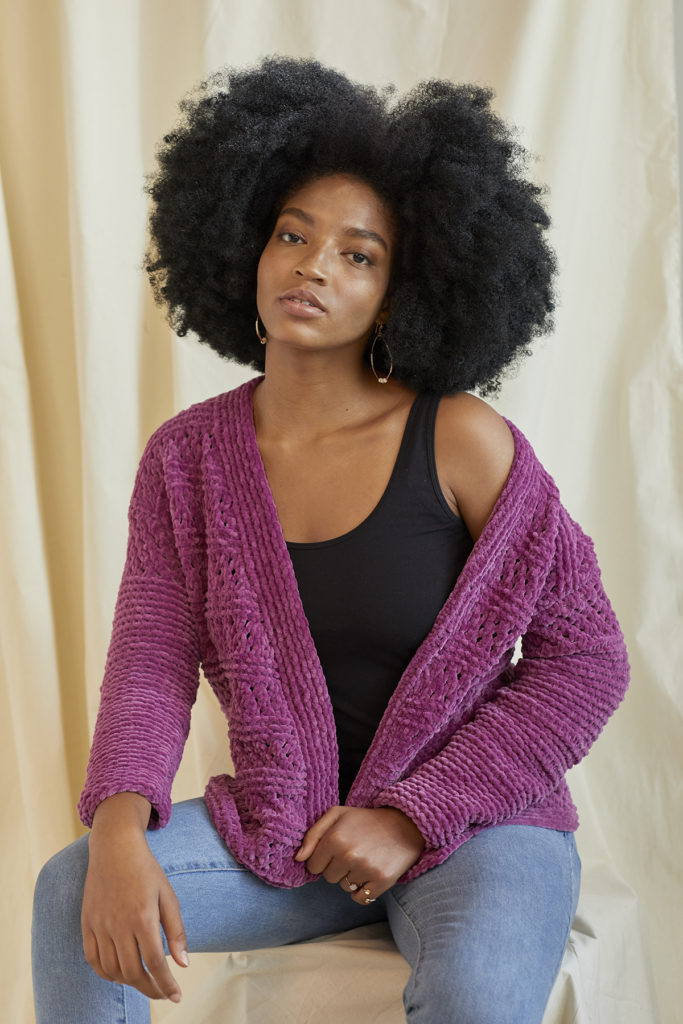
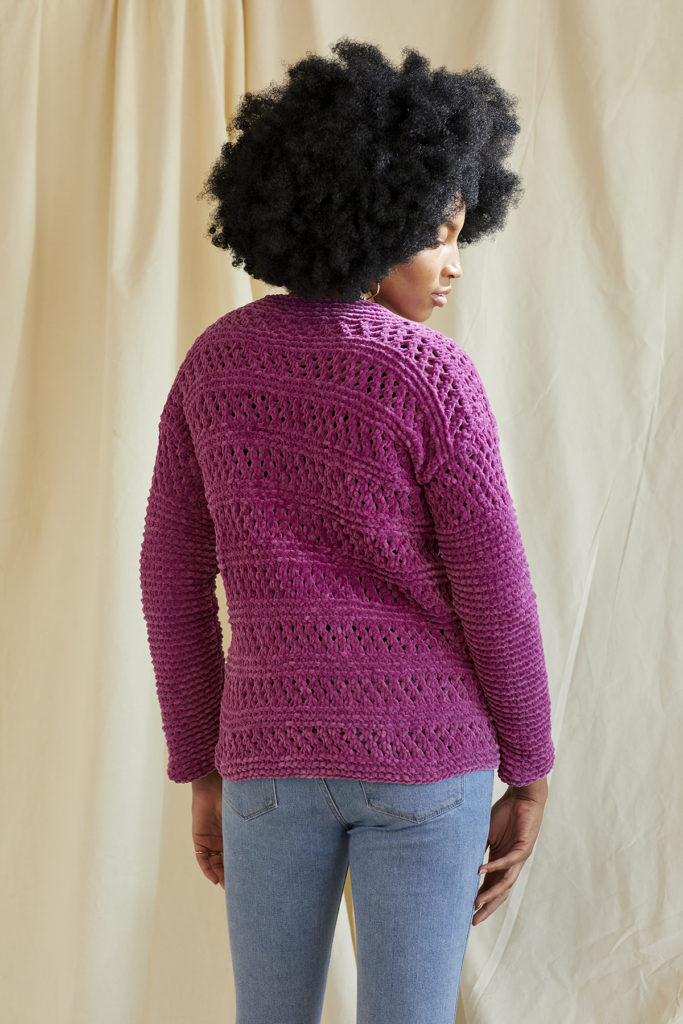
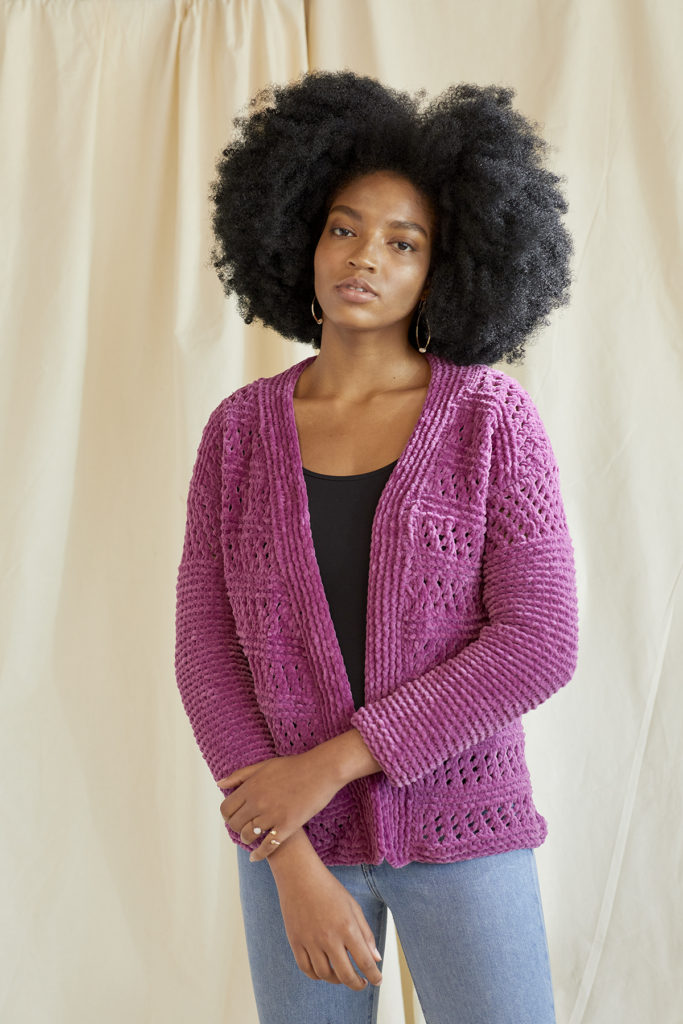
Today, the Roseate Cardigan in Bella Chenille (pattern link here).
When people look at soft, plush yarns like Bella Chenille, they sometimes think they’re only suitable for babies. That’s a shame, because it overlooks real gems, like the free Lounge Pullover.
We’re delighted today to share another beautiful free pattern for adults in Bella Chenille, the Roseate Cardigan.
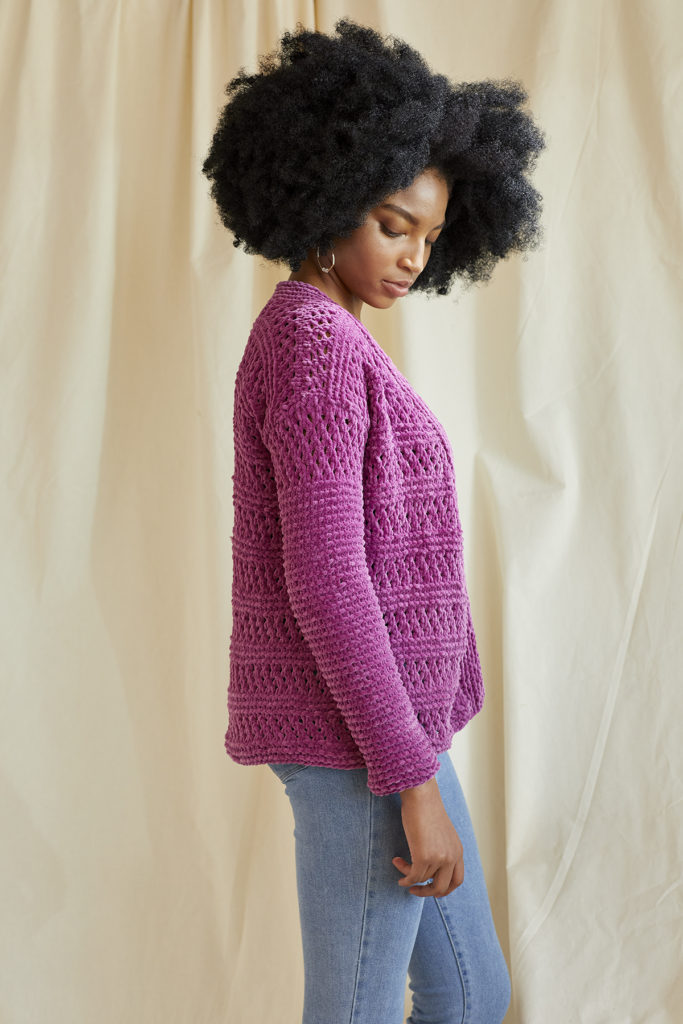
Designer Rachel Brockman uses eyelets to create a lovely texture, for an everyday cardigan that’s comfortable and stylish.
Sized from XS to 5X, this project knits up quickly on US size 10 (6mm) needles. It’s one of those pieces where you know just by looking at it exactly how soft it’s going to feel.
Absolutely delightful.
We hope you have a great weekend. Although our offices will be closed next Friday in observance of Thanksgiving, there will still be a Free Pattern Friday (yay!) Happy crafting!
Few projects are more satisfying than baby projects. I always relish the opportunity to knit baby projects for several reasons. First, they are satisfyingly fast. Want to make a sweater in less than a week? Just throw a baby project on your needles or hook! How about in a few hours – try an accessory! Second, they’re small, therefore they’re cute. Does that need any further explanation? I didn’t think so. Finally, baby projects are great for perfect, lovingly handmade gifts. I’ve created numerous projects for my niece and daughter of one of my dearest friends, and I love knowing they’re staying cozy in knitwear!
Today, I want to share some great projects for all the little ones in your life. From cute sweaters to cuddly toys, you’re sure to find a perfect project.
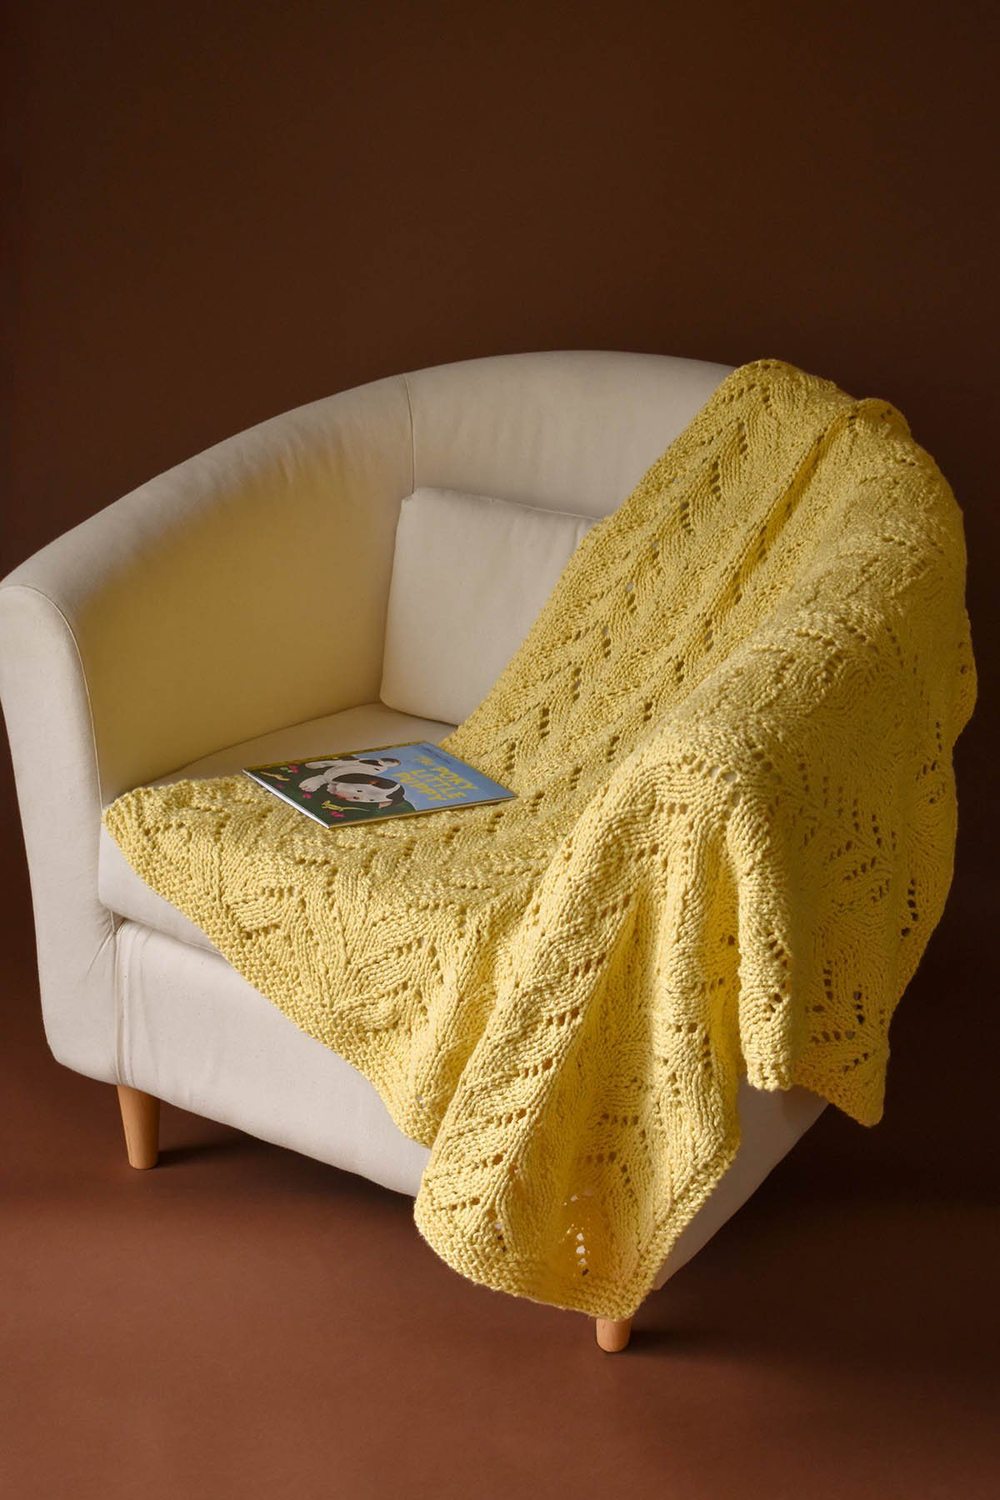
Cotton is a popular choice for baby projects because it’s soft and easy to care for. Plus, it’s gentle and great for sensitive baby skin. Last year we introduced Cotton Supreme Sapling, a 100% cotton bulky-weight yarn that is – put simply – baby soft. Since then we’ve introduced two excellent projects for babies using Sapling: the Sunshine Throw and Daisy Cardi.
Sunshine Throw in Cotton Supreme Sapling
A striking lace pattern framed by garter stitch decorates the Sunshine Throw (pattern link). The lace motif is deceptively simple. It is an 8-row repeat that you’ll memorize in no time. This blanket would be an impressive gift at a baby shower, and an heirloom piece to last for years to come.
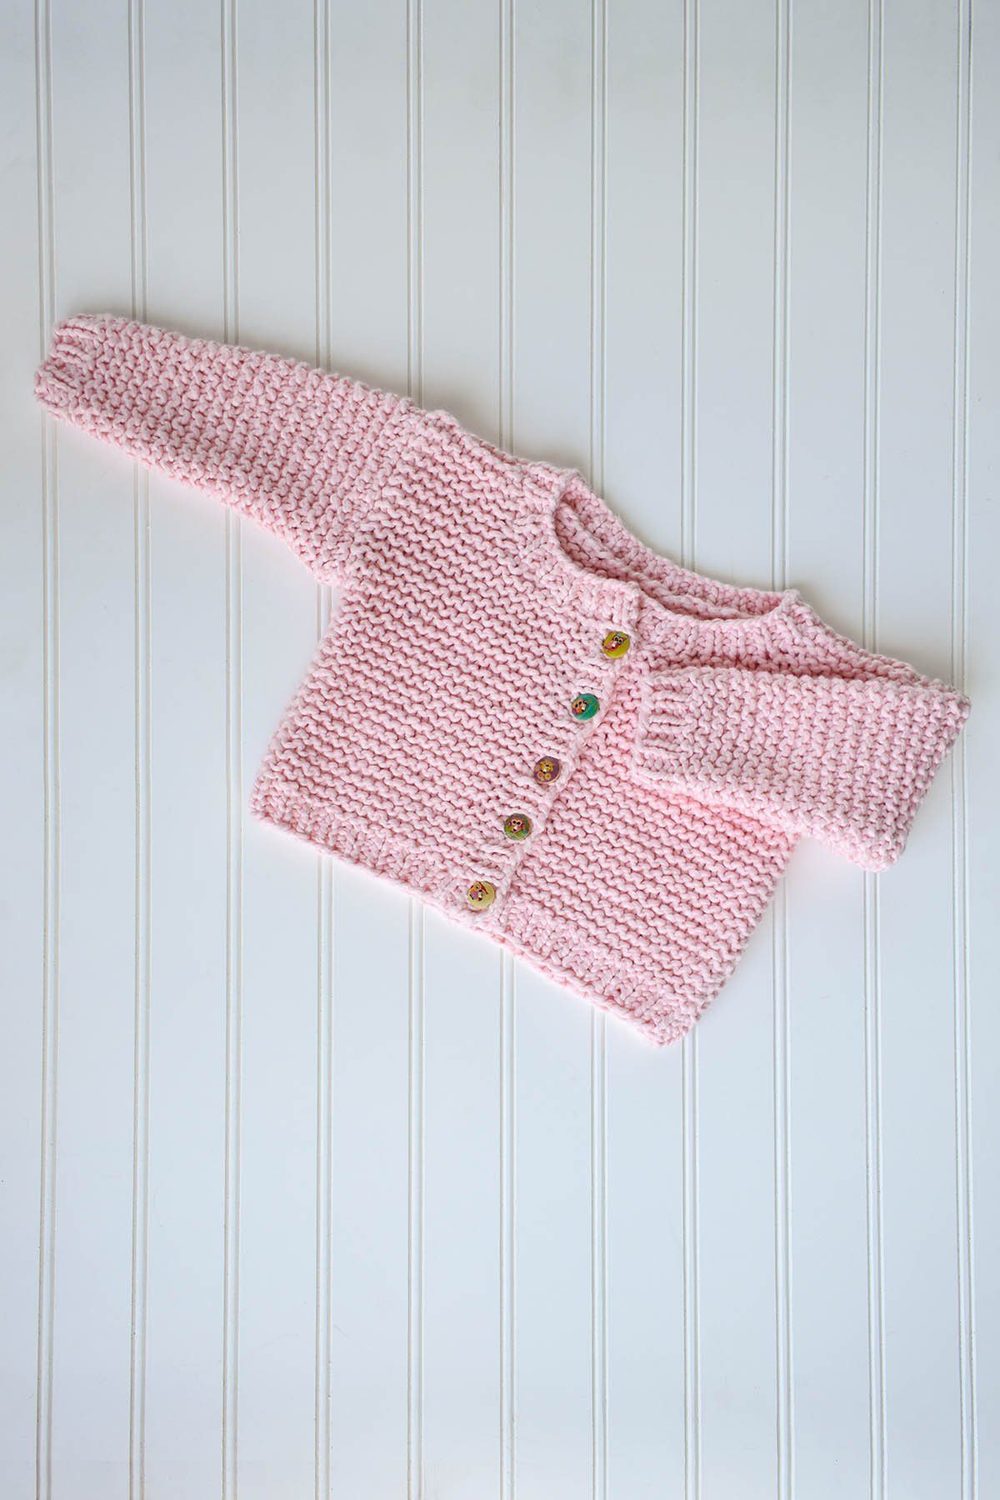
Daisy Cardi in Cotton Supreme Sapling
Whether it’s the baby’s first cardigan or your first time knitting a sweater, the adorable Daisy Cardi (pattern link) is a perfect choice. It features little more than beginner-friendly garter stitch and K1, P1 Rib but has lots of impact, especially when you add some cute buttons! Knit in Cotton Supreme Sapling, this cardigan is optimal for the chilly weather of autumn, winter, and early spring.
Storytime Blankies in Bella Chenille Big
Few yarns are softer than our chenille yarn family, consisting of Bella Chenille and Bella Chenille Big. These 100% polyester yarns create a velvety, plush fabric perfect for snuggling. The Storytime Blankies (pattern link), knit in Bella Chenille Big, are completely worthy of cuddles. These simple blankets feature a bit of twisted stockinette for a nice texture and a bold stripe in the center. It’s finished off with fun tassels little ones would love to play with. Which Way is Up? in Bella Cash
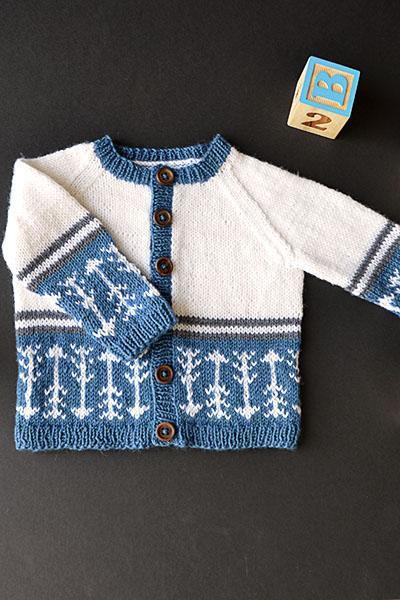
So far I’ve shared projects in bulky yarns, but finer yarns are also perfect for baby projects! Although we created Bella Cash, a blend of superwash merino, cashmere, and nylon, with all sorts of projects in mind, we specifically intended for it to be a yarn perfect for babies and children. We have the patterns to prove it, too!
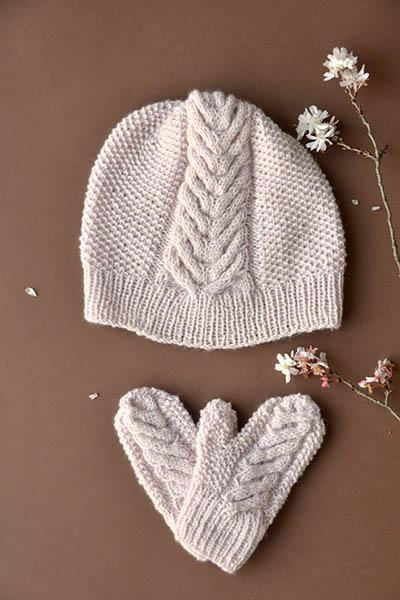
Sized newborn to four years, Which Way is Up? (pattern link) is an excellent example of a baby project using machine-washable Bella Cash. Little arrows decorate this seamless raglan cardigan. If you prefer to knit accessories, try the sweet Heartsbloom Hat & Mitten Set (pattern link) instead. The superb stitch definition of Bella Cash shines in the textured accessory set, which is great for the chilly days ahead!
Heartsbloom Set in Bella Cash
Toys also make great gifts for babies. Unlike baby accessories and clothing, little ones are sure to hang onto stuffed toys well into childhood (and perhaps beyond!).
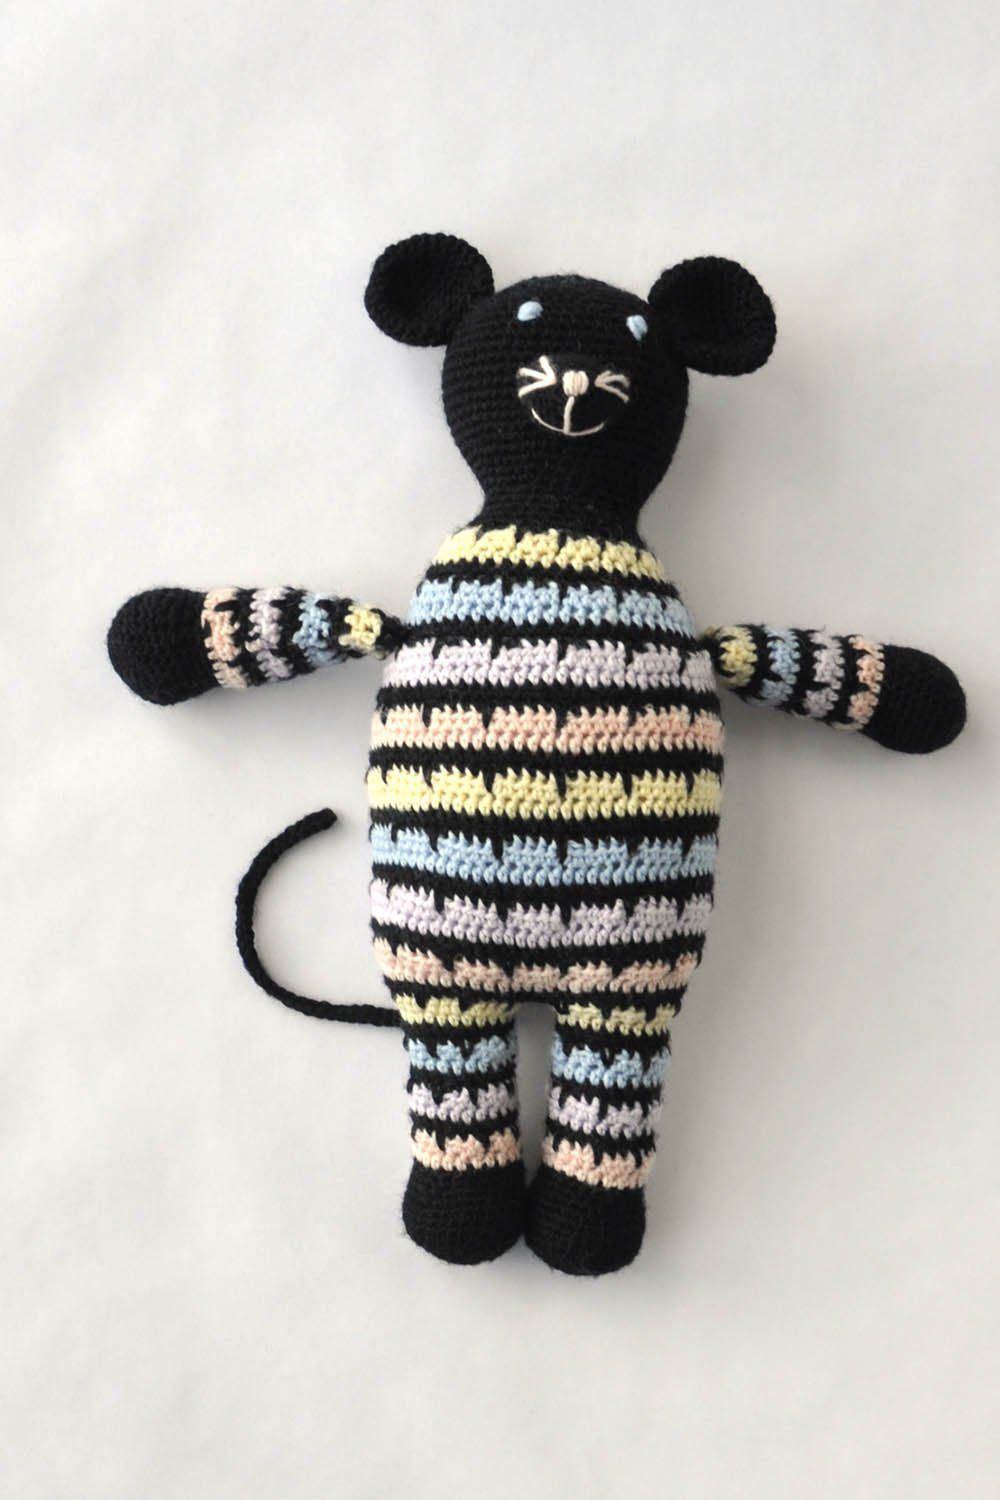
Pipsqueak in Bella CashPipsqueak (pattern link), a cute mouse crocheted in Bella Cash, is the perfect size for babies. Not too big, not too small. Spike stitches and pastel stripes add texture and visual interest to the project. All of Pipsqueak’s facial features are embroidered, too, meaning you don’t have to worry about making sure you have safety buttons for the eyes. (Side note: this pattern has a complementing jacket included – sized from 2 years to 12 years. Don’t miss it!)Itty Bitty Set in Bamboo Pop Sock
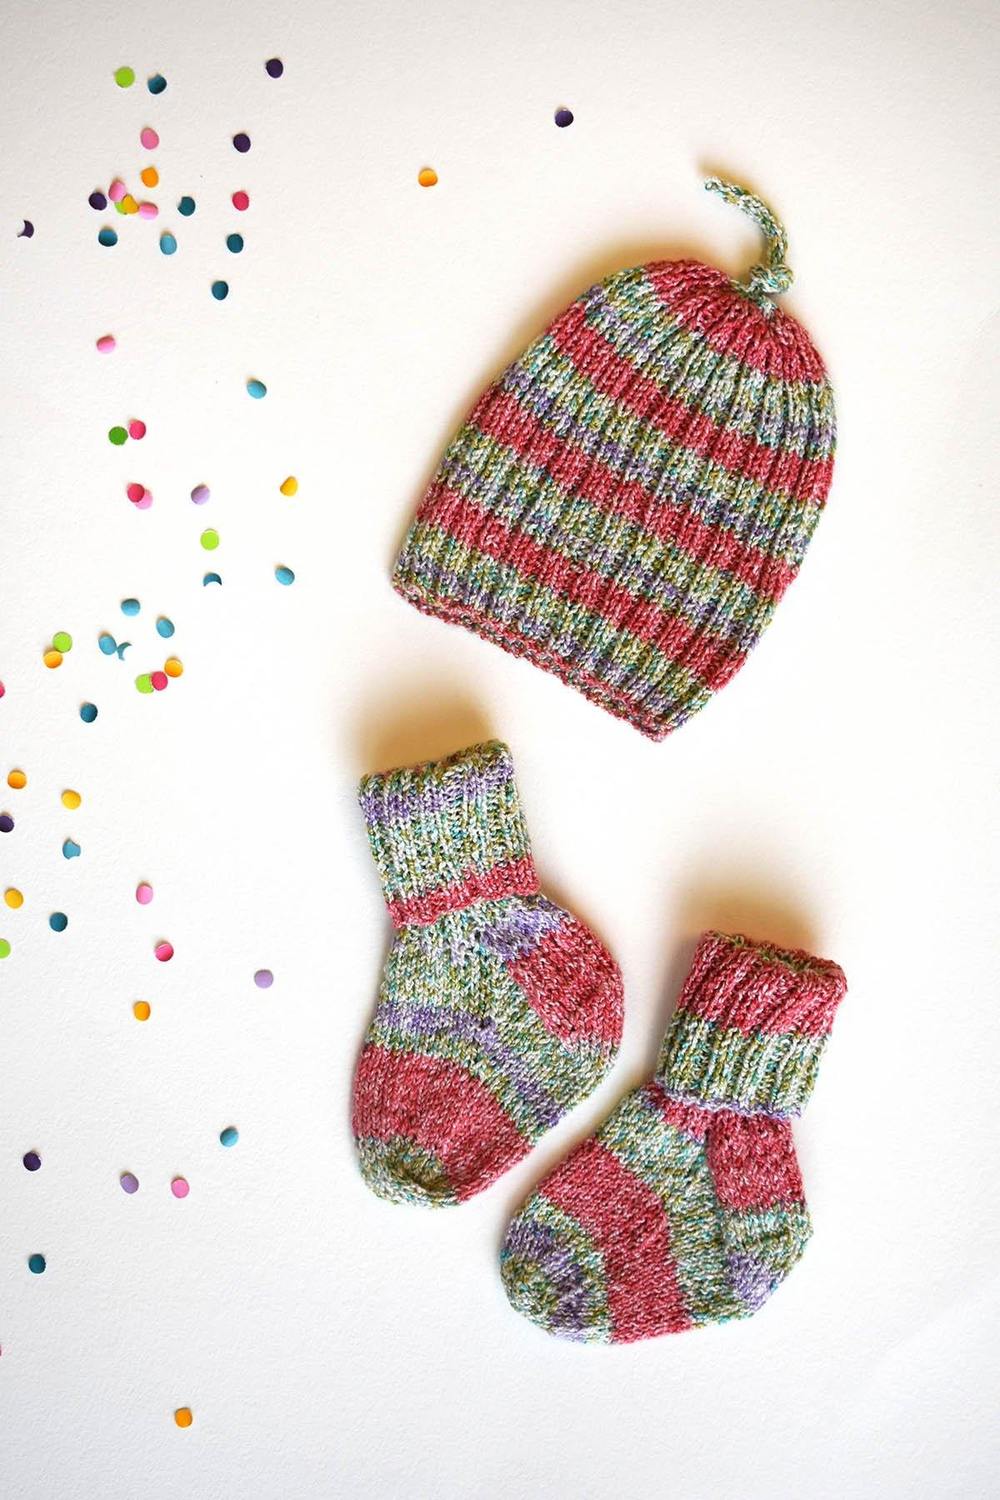
Earlier I touched on accessories for exceptionally quick baby patterns. Tis’ the season for keeping the head, hands, and toes cozy! The Itty Bitty Set (pattern link) is soft and stretchy thanks to the lightweight and breathable Bamboo Pop Sock. The combination of simple ribbing and elasticity of the yarn helps to ensure the little one can wear this project for more than a month. After all, they do grow up so fast!
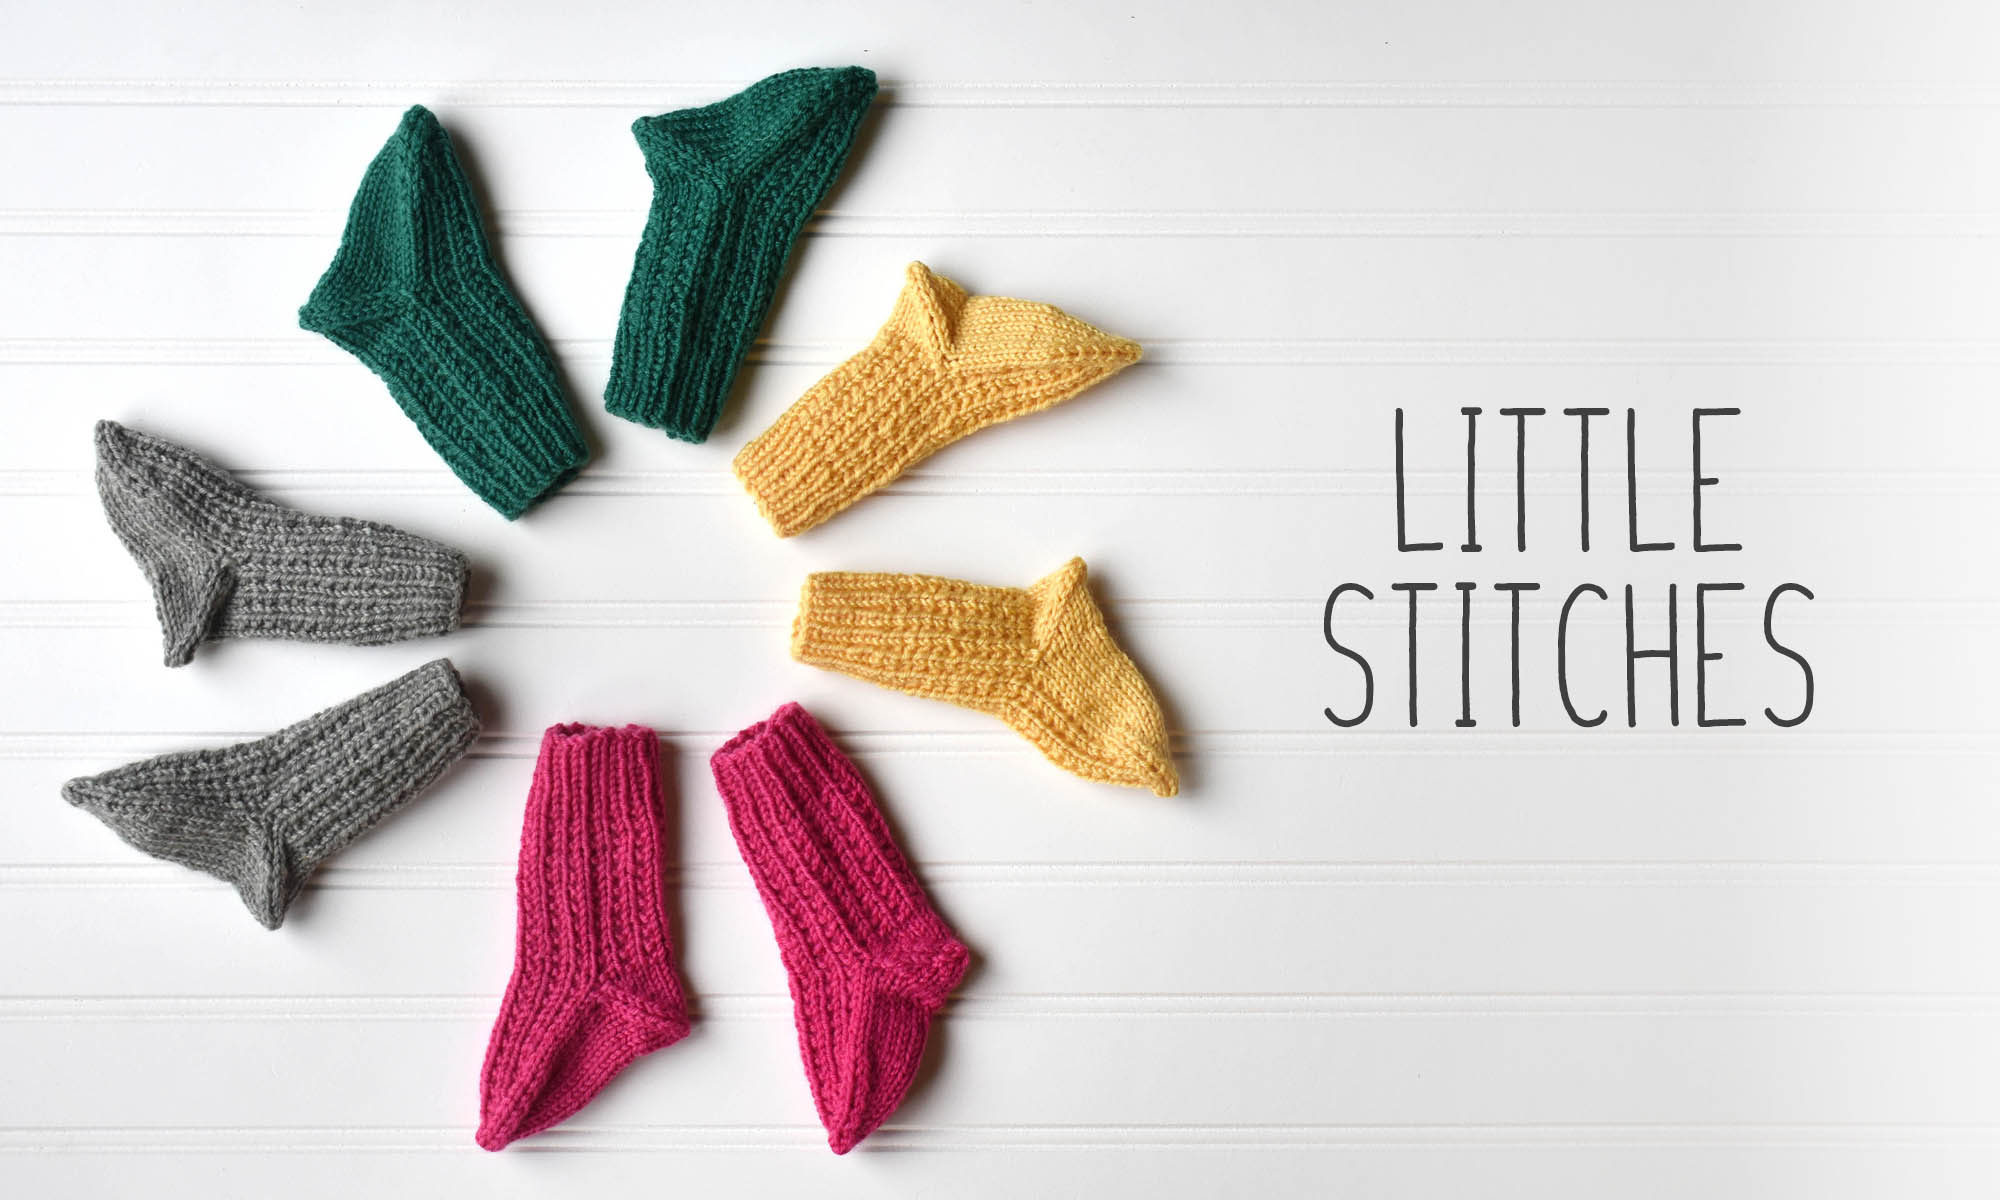
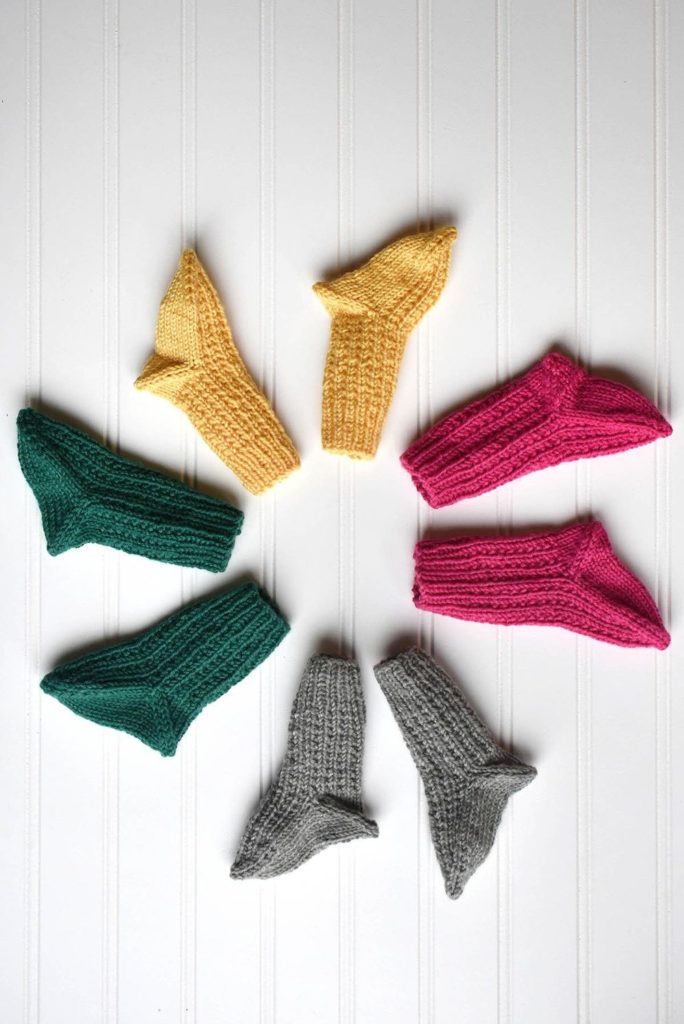
Left: Mini Mittens Right: Toasty Toes – both knit in Adore
We also absolutely adore Adore for baby projects. In fact, I wrote a whole blog post dedicated to baby projects using Adore earlier this year. You can find it here (link). Like the other yarns I’ve mentioned, Adore is touchable and soft, yet durable and easy to care for. We’ve knit everything from baby blankets to accessories in this yarn. The Mini Mittens (pattern link) and Toasty Toes (both pictured above) are both projects that are great last-minute gifts. They also require so little yarn that you could easily make many pairs from just one ball. So if you have multiple babies in your life, you’re all set!
This list is by no means comprehensive. We have a plethora of wonderful patterns for children and babies. If nothing here strikes your fancy, don’t forget to browse or selection of patterns for children! You can find all of our children’s patterns here (link).
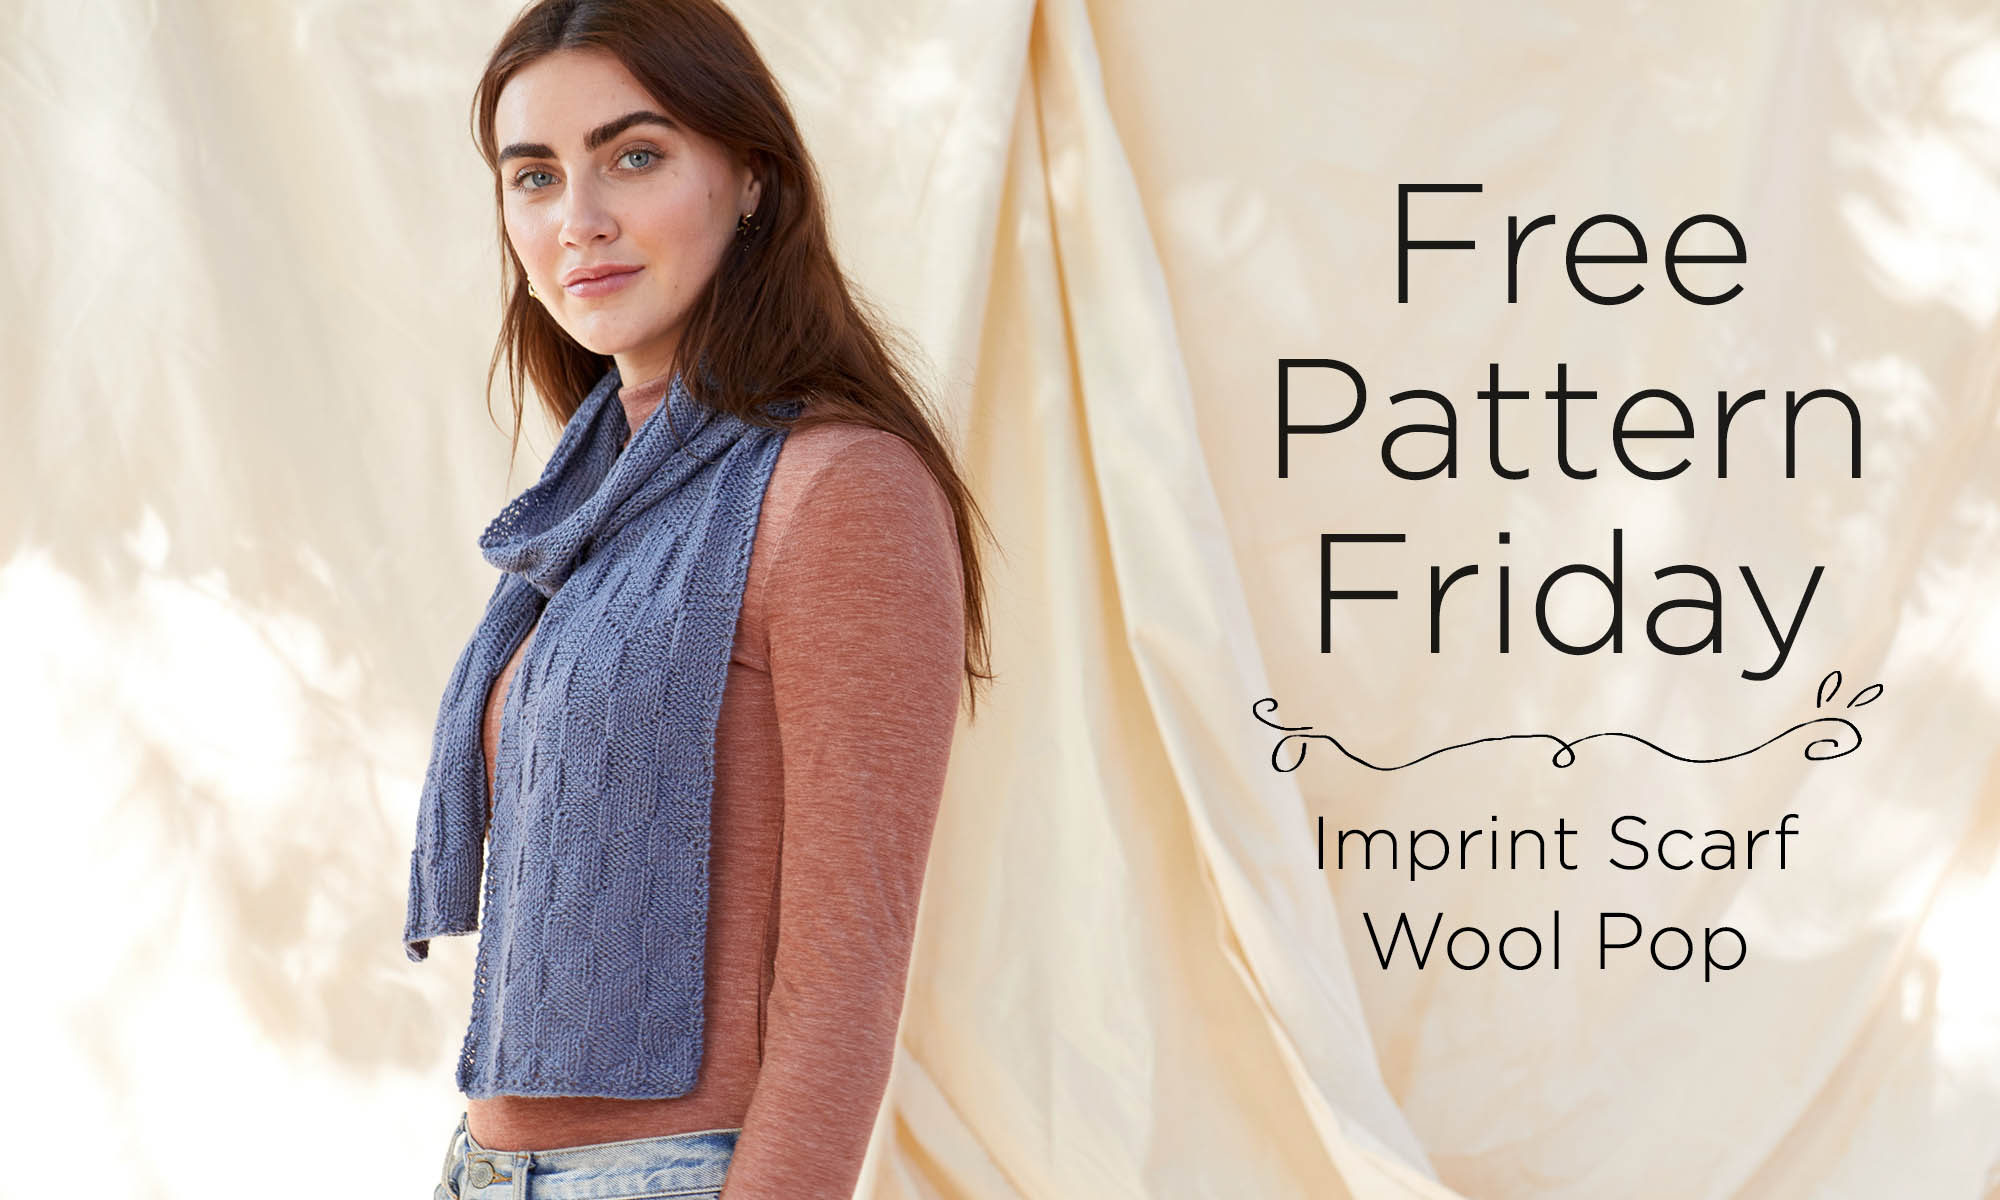
It’s Free Pattern Friday!
Today, the Imprint Scarf in Wool Pop (pattern link here).
Happy Friday, y’all! Wait, what’s that you say?
Oof. Okay then. Let’s not tempt fate with teeny tiny cabled lace. How about we keep things nice and calm, with an easy pattern in a knitter-favorite yarn?
The Imprint Scarf uses simple knits and purls to create a slanted block texture. It’s written and charted to make things easier.
Lightweight Wool Pop has a bit of a sheen from its bamboo content, giving this scarf a lovely feel. If you’re a beginner, or if you just prefer simple projects (and don’t we all, sometimes?) then this is a great project for you.
We hope you have a calm and relaxing weekend. Stay safe, and happy crafting!
It’s Free Pattern Friday!
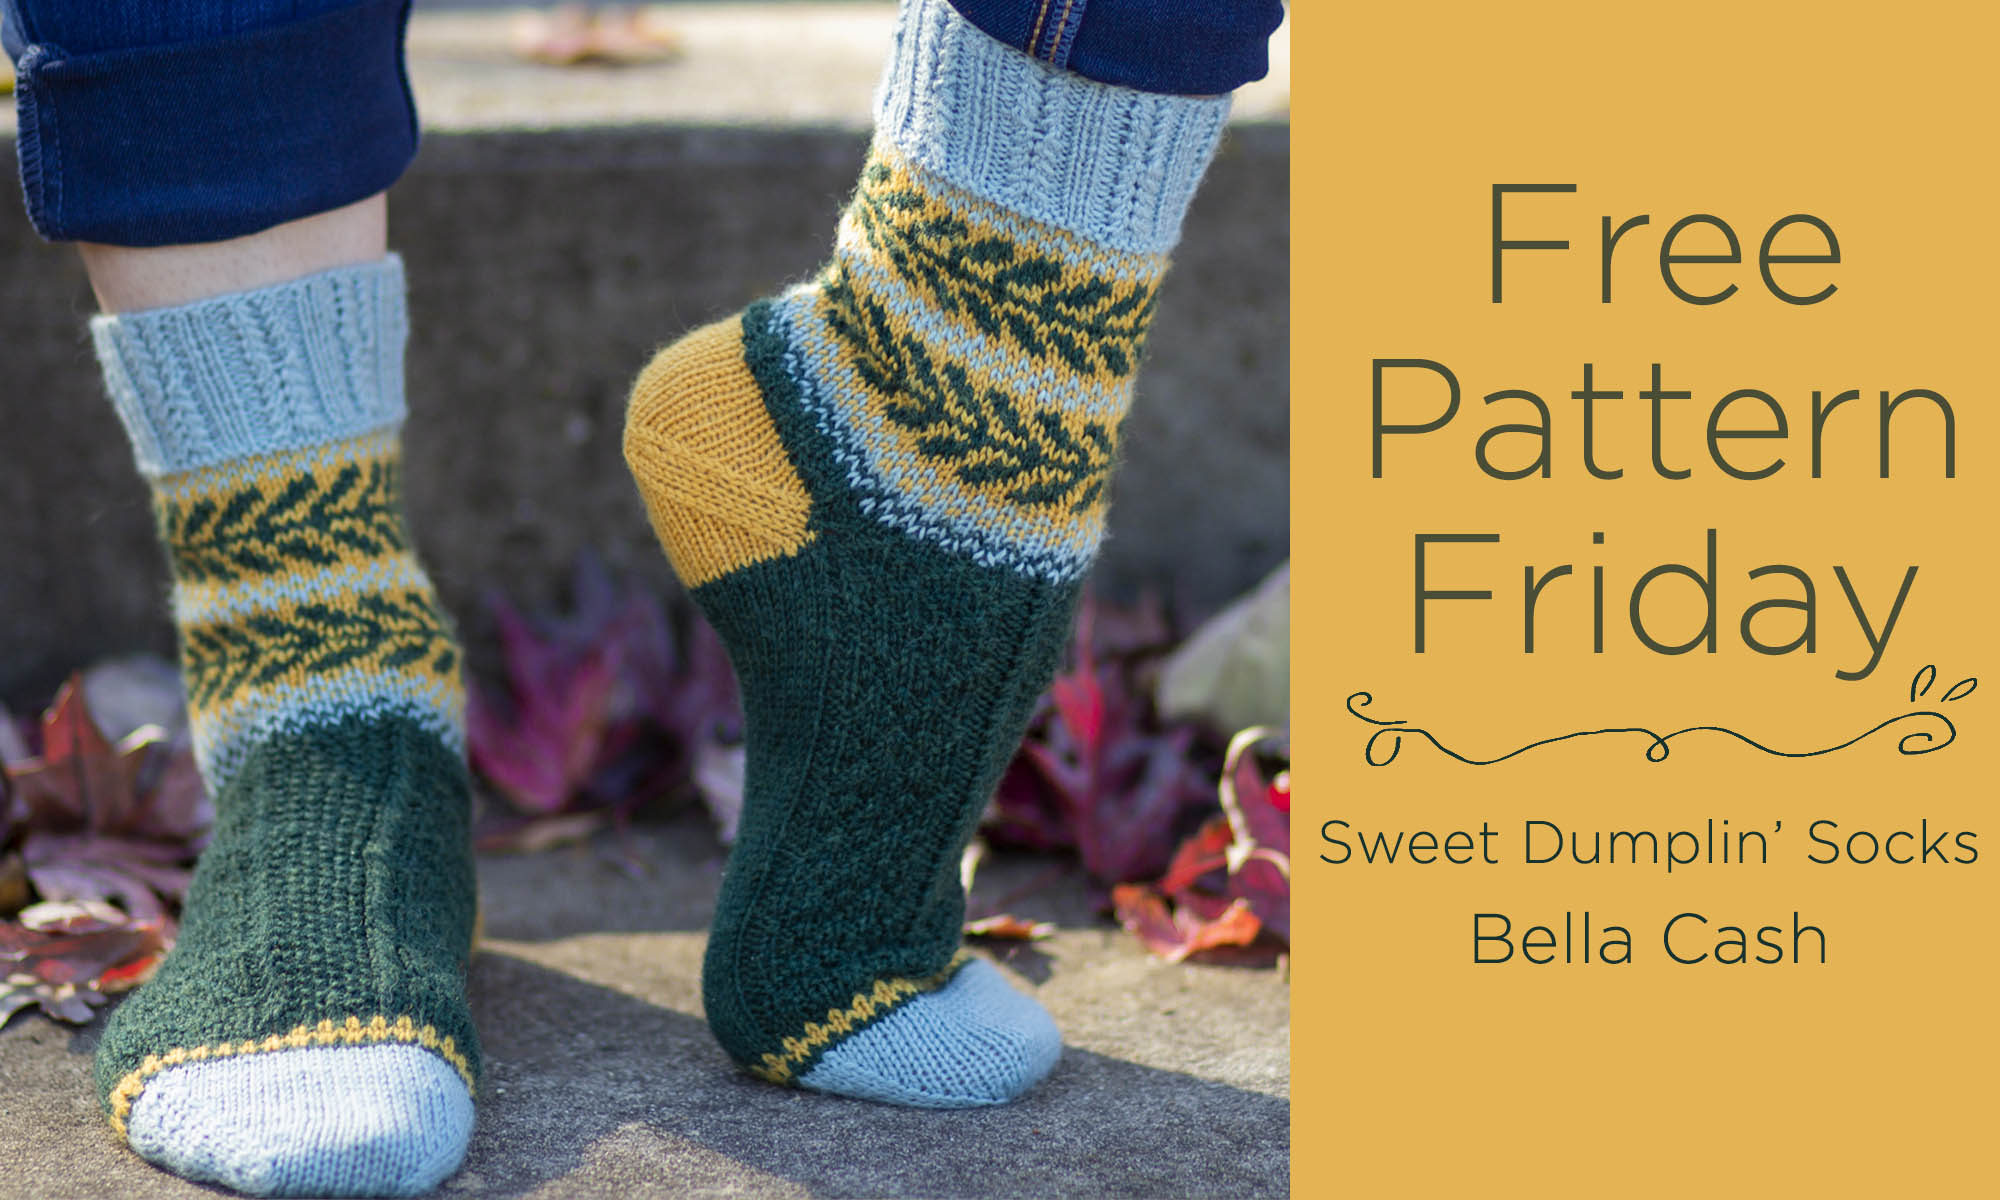
Today, Sweet Dumplin’ Socks in Bella Cash (pattern link here).
If you’ve been knitting along with us on our Bella Cash Socktober Mystery Knitalong, then you’re already familiar with today’s free pattern. However, you may not have seen the socks in their full glory!
Bella Cash was developed for garments and accessories. It wasn’t until one of us said, “you know… this would make great socks” that the light bulb went on.
I mean, who wouldn’t want machine washable socks with a touch of cashmere? I use Bella Cash for the knitworthy people in my life. Including me. (And yes, they really are machine washable. I’ve tossed my Bella Cash socks in the washer and dryer many times.))
Rachel Brockman designed the Sweet Dumplin’ Socks to be a fun sampler of techniques – right and left twists on the cuffs, Fair Isle on the leg, and a lovely texture on the foot.
She used her favorite heel – the afterthought – to finish it off. And she picked colors and patterns that shout “autumn.” I’ve been knitting along, and these have been a joy to work on.
We hope you have a great weekend, maybe with some old-fashioned apple dumplings with a side of ice cream.
Happy crafting!