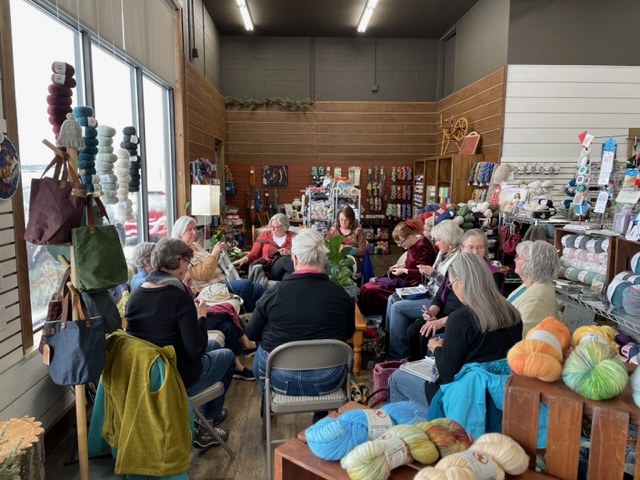


Whether you’re a mother of two, a dog mom, a caregiver, the ‘mom’ of your friend group, or just a mother-at-heart, we want to celebrate all the mother figures in our lives this week. Your support and love is deeply valued, and you enrich the lives of those around you.
Mother’s Day is coming up this weekend, and we wanted to create a special ‘gift guide’ with the idea of treating yourself in mind – so keep on reading below to get inspired!
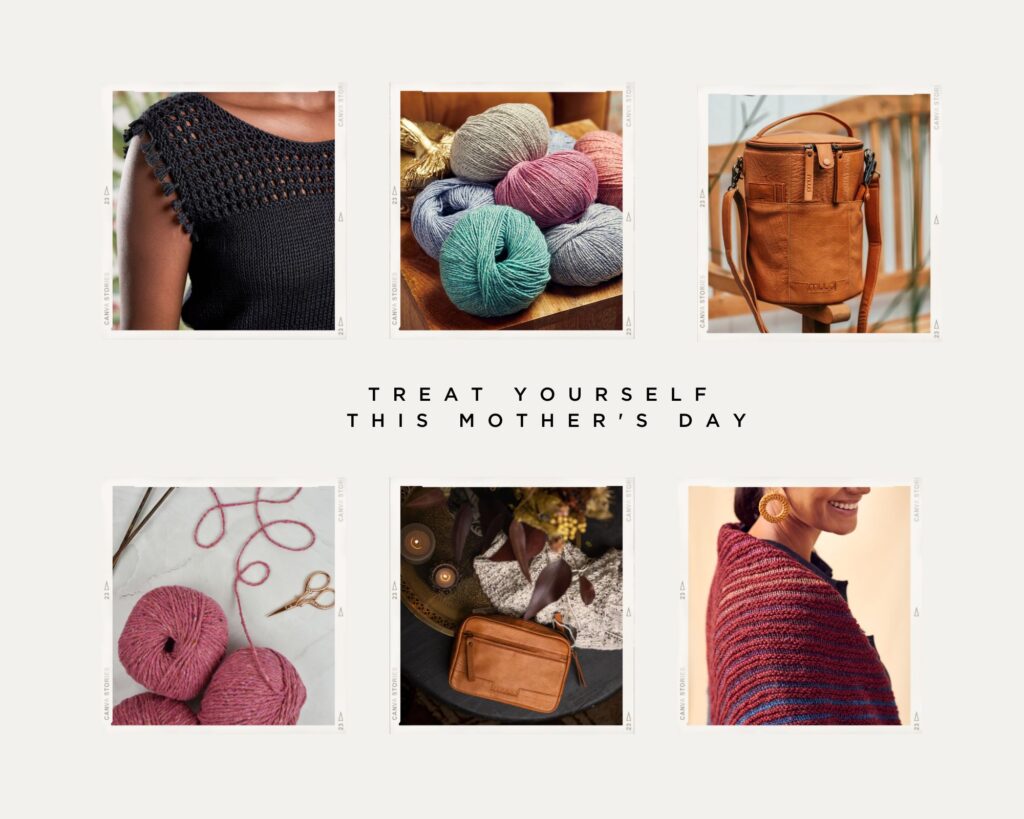
- Try Out A New Yarn
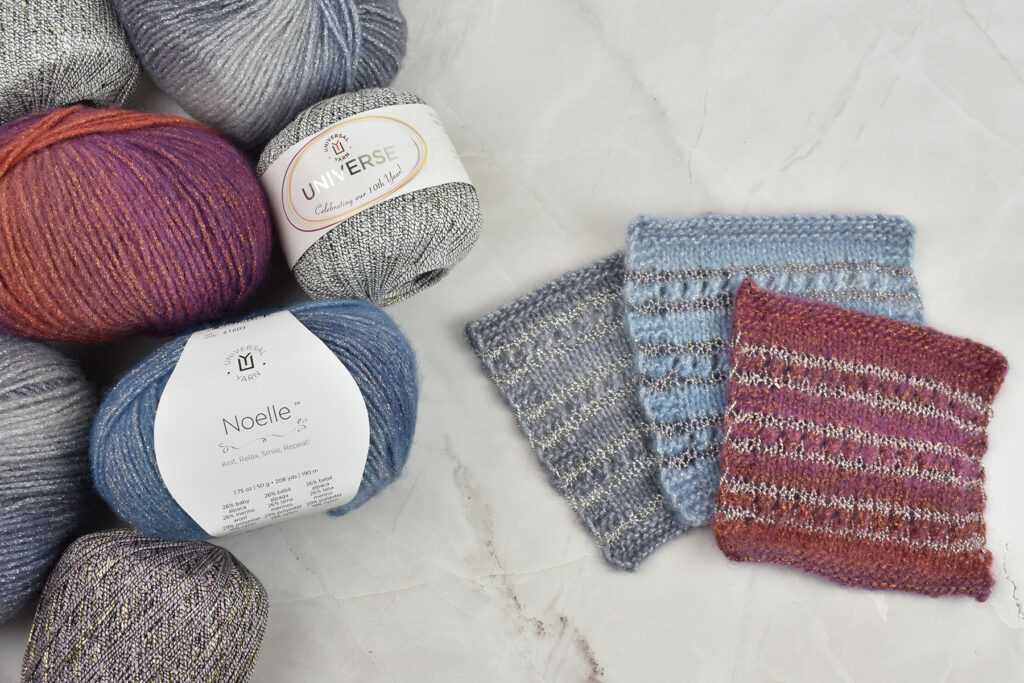
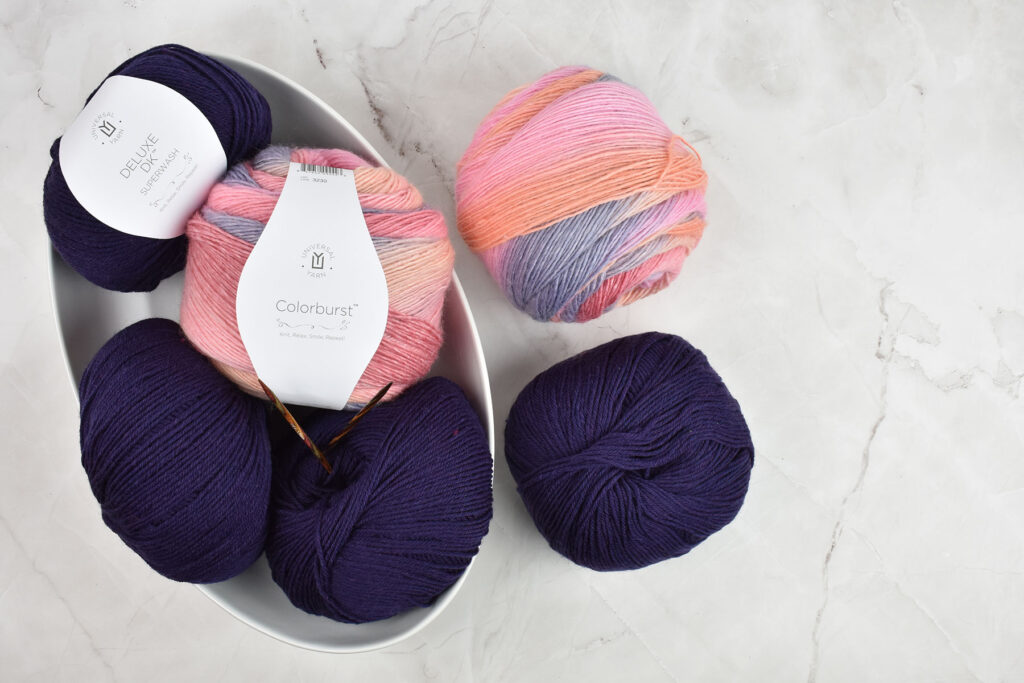
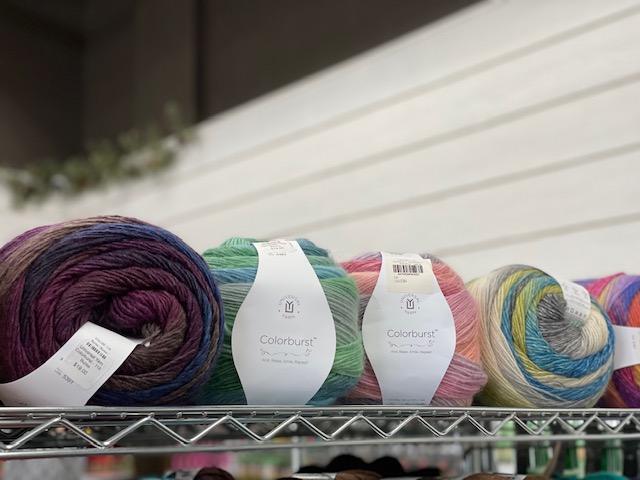
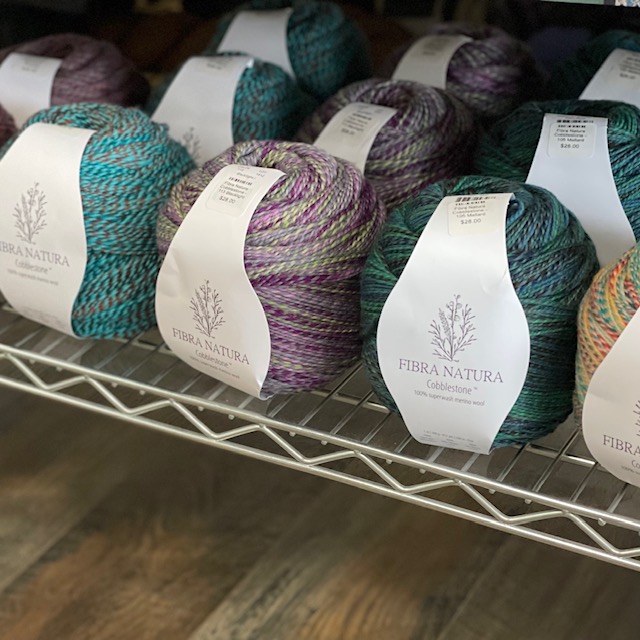
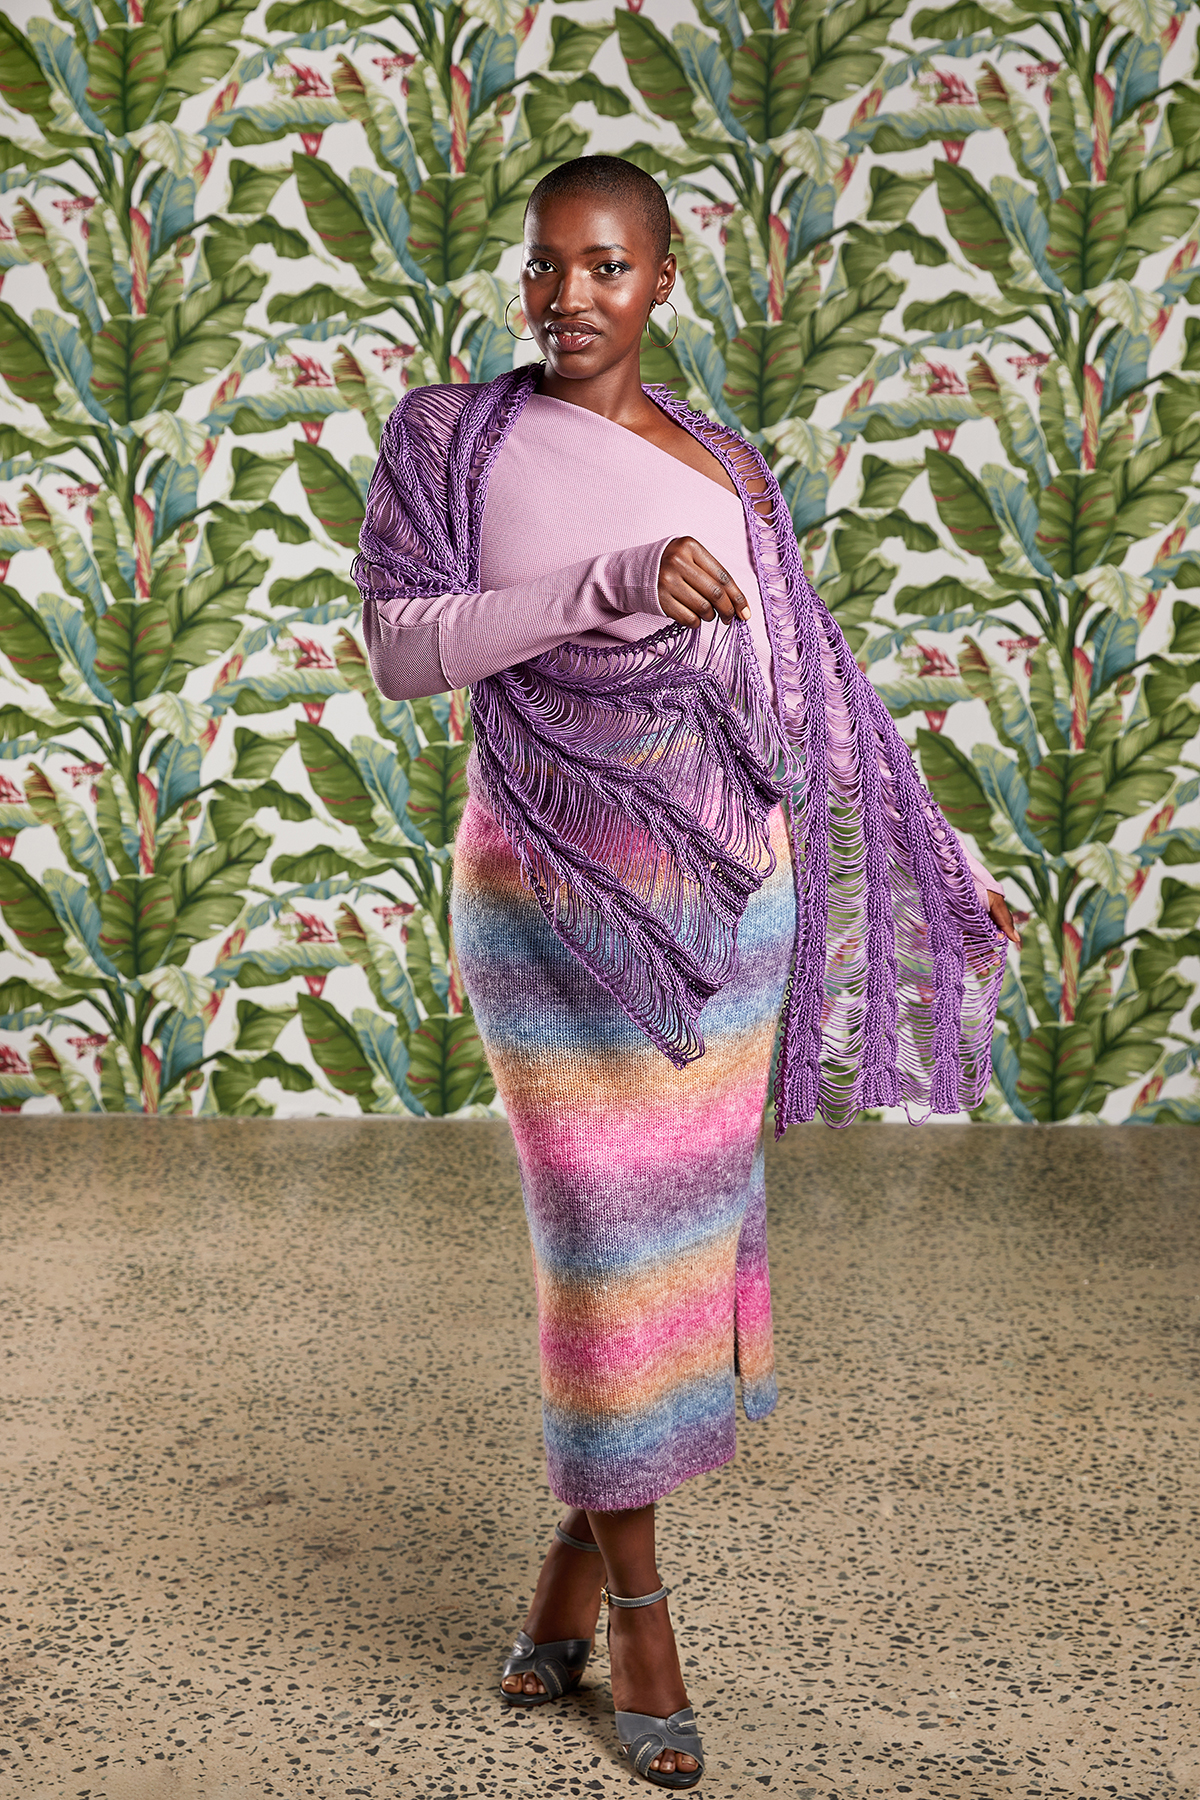
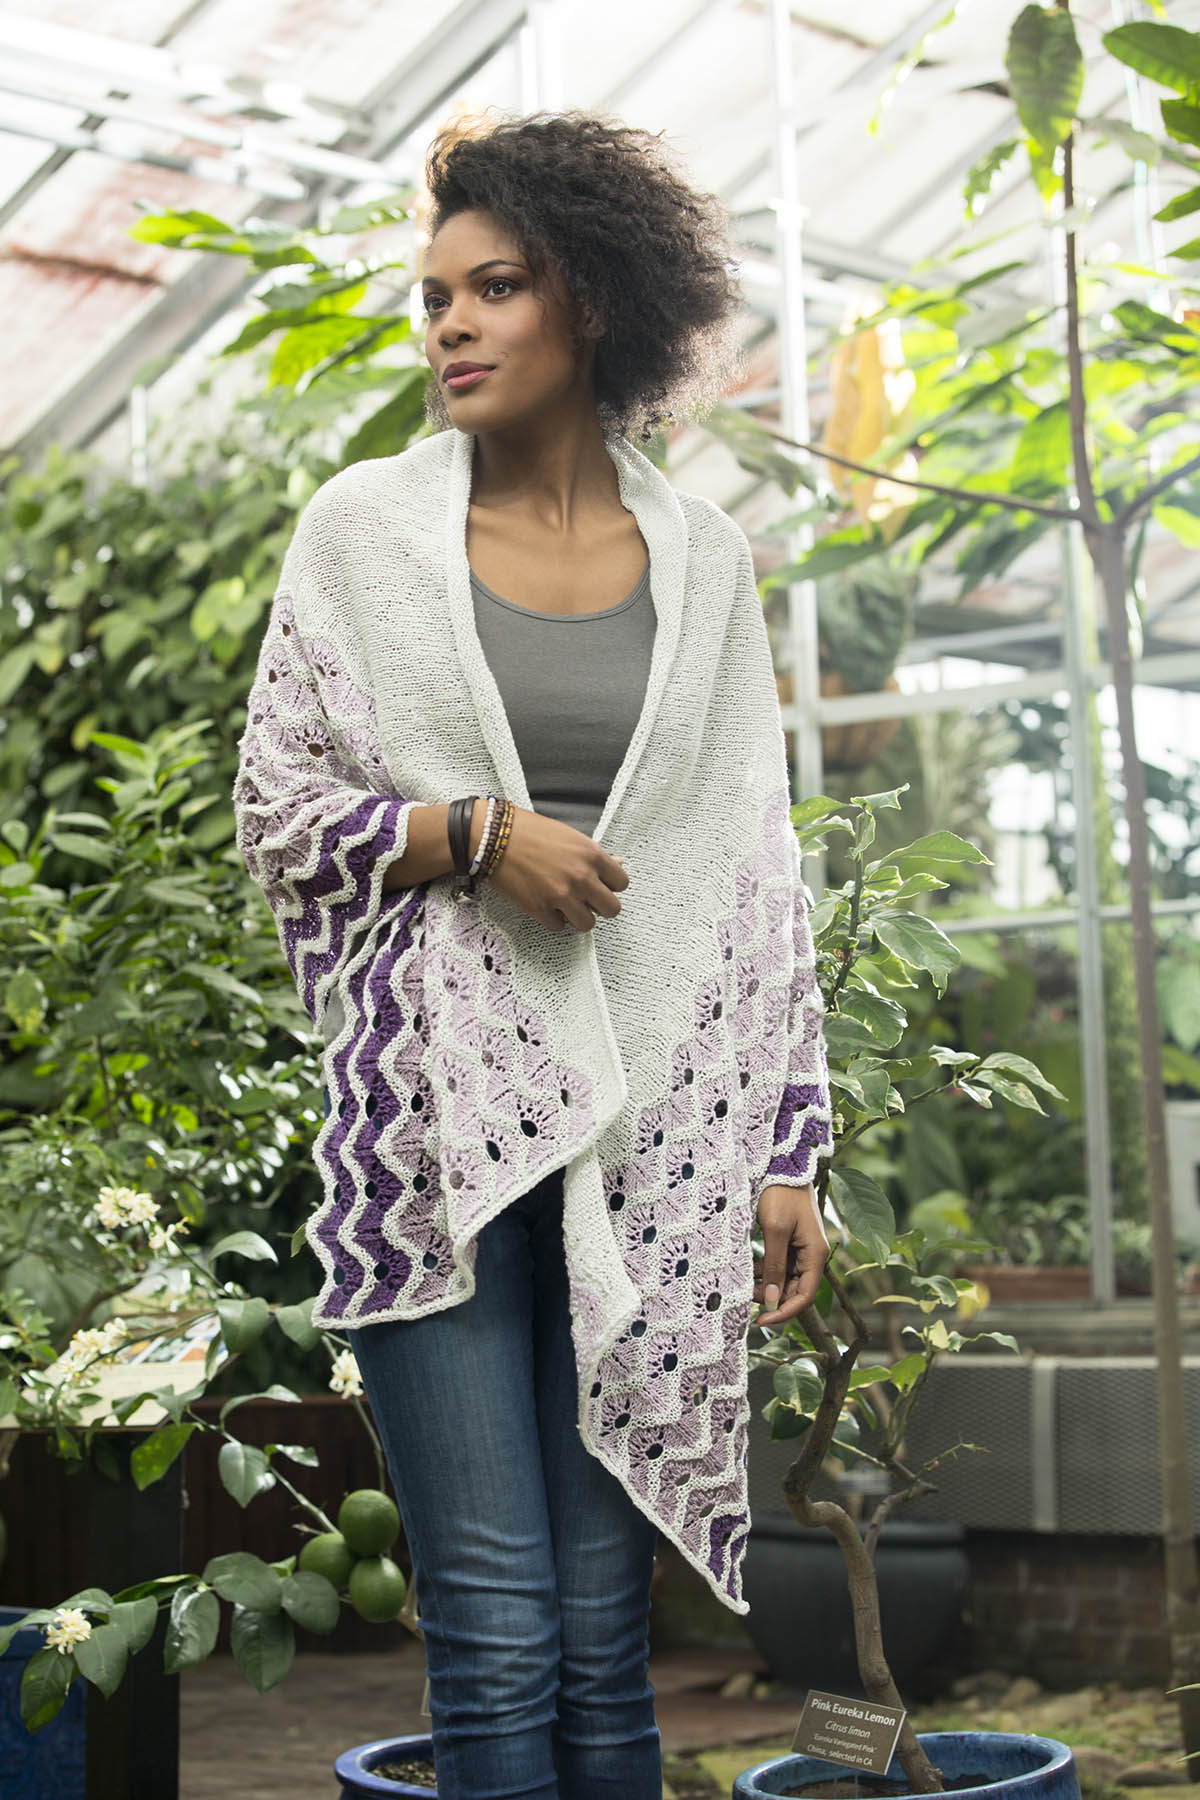
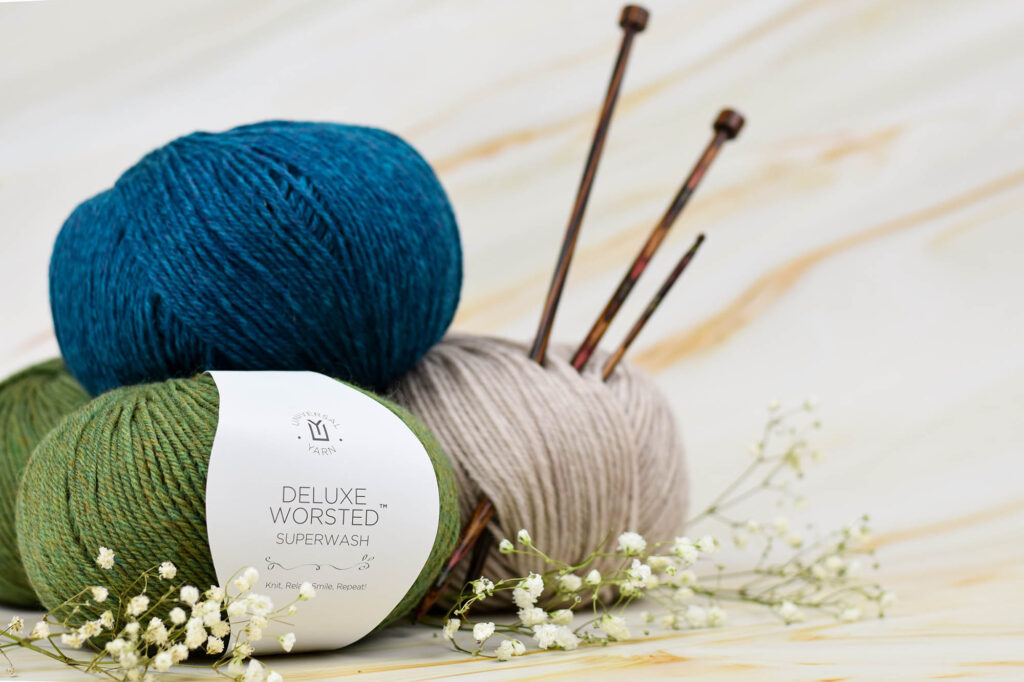
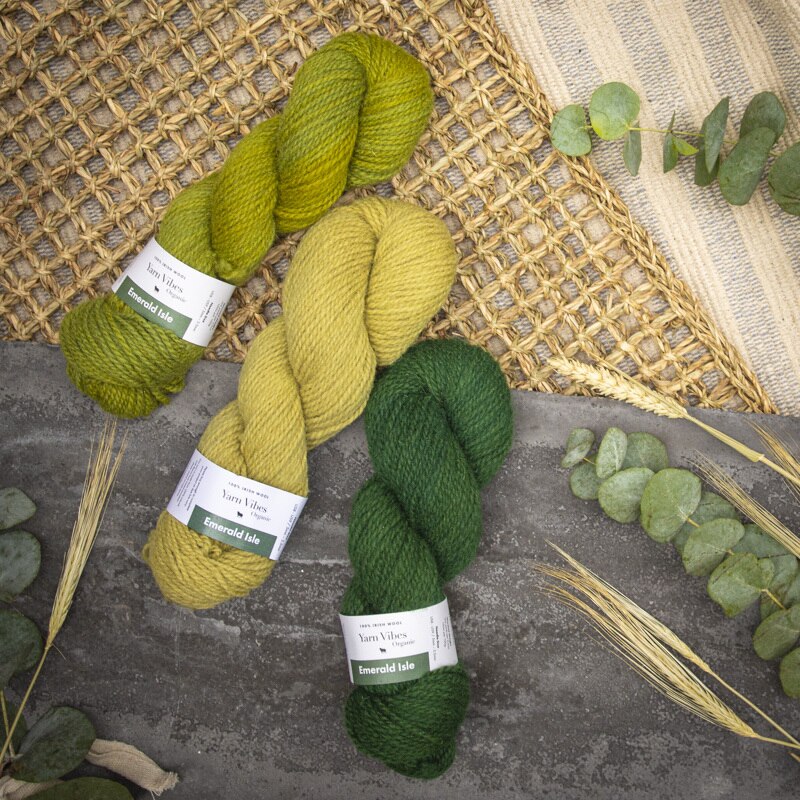
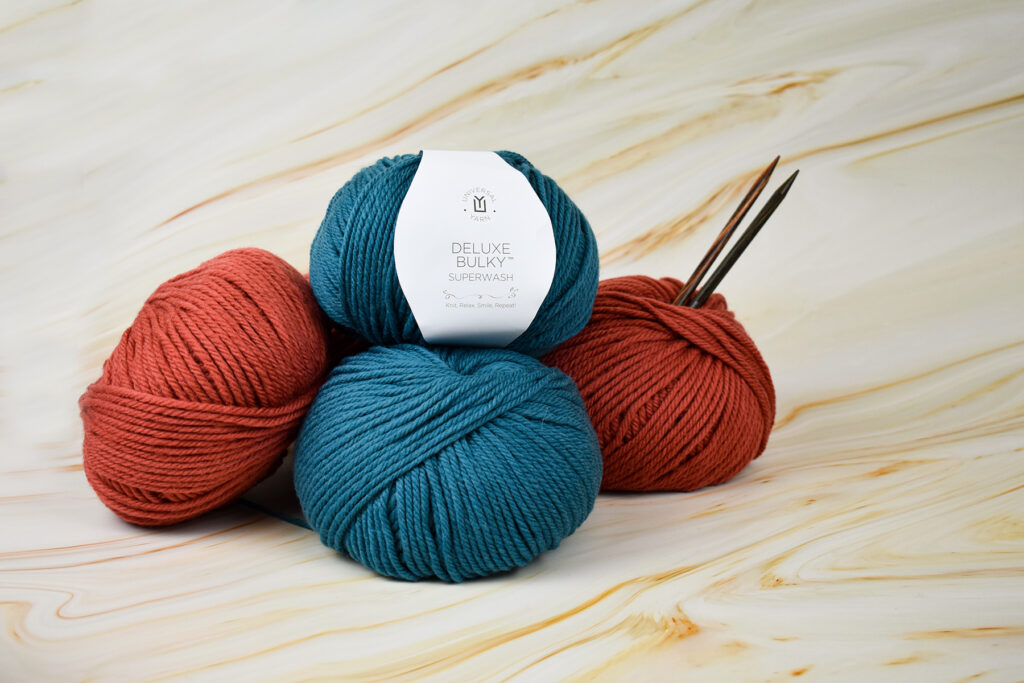
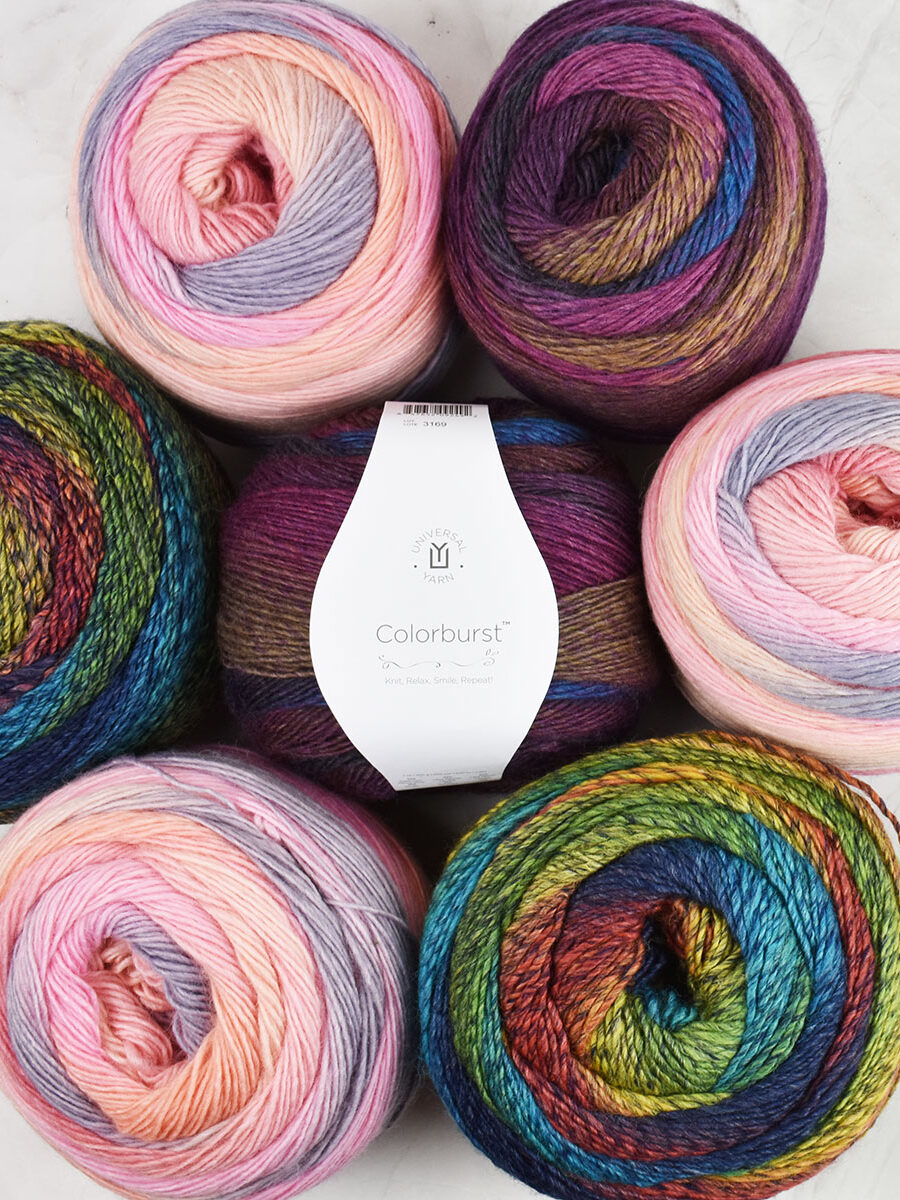
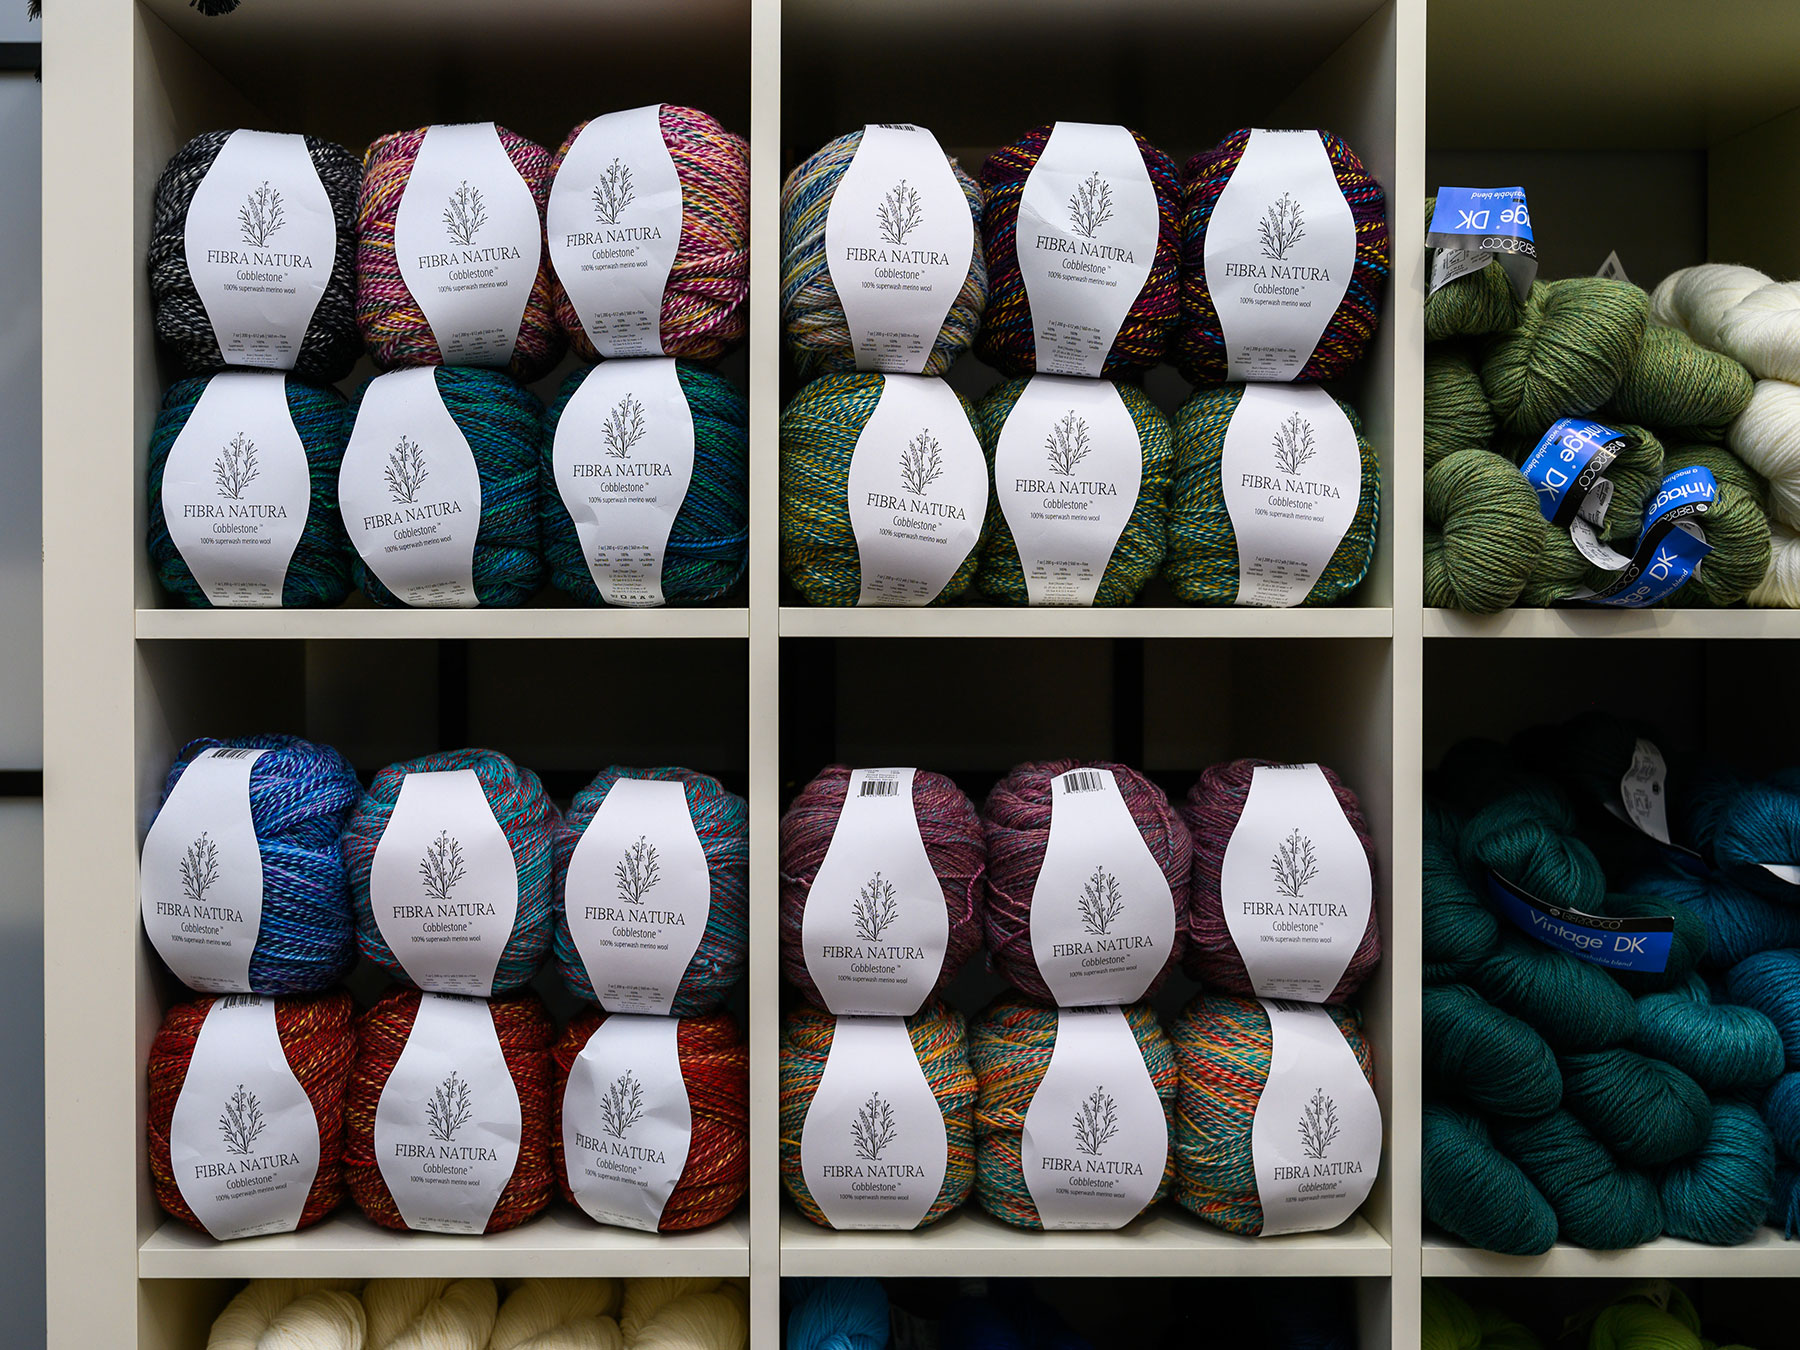
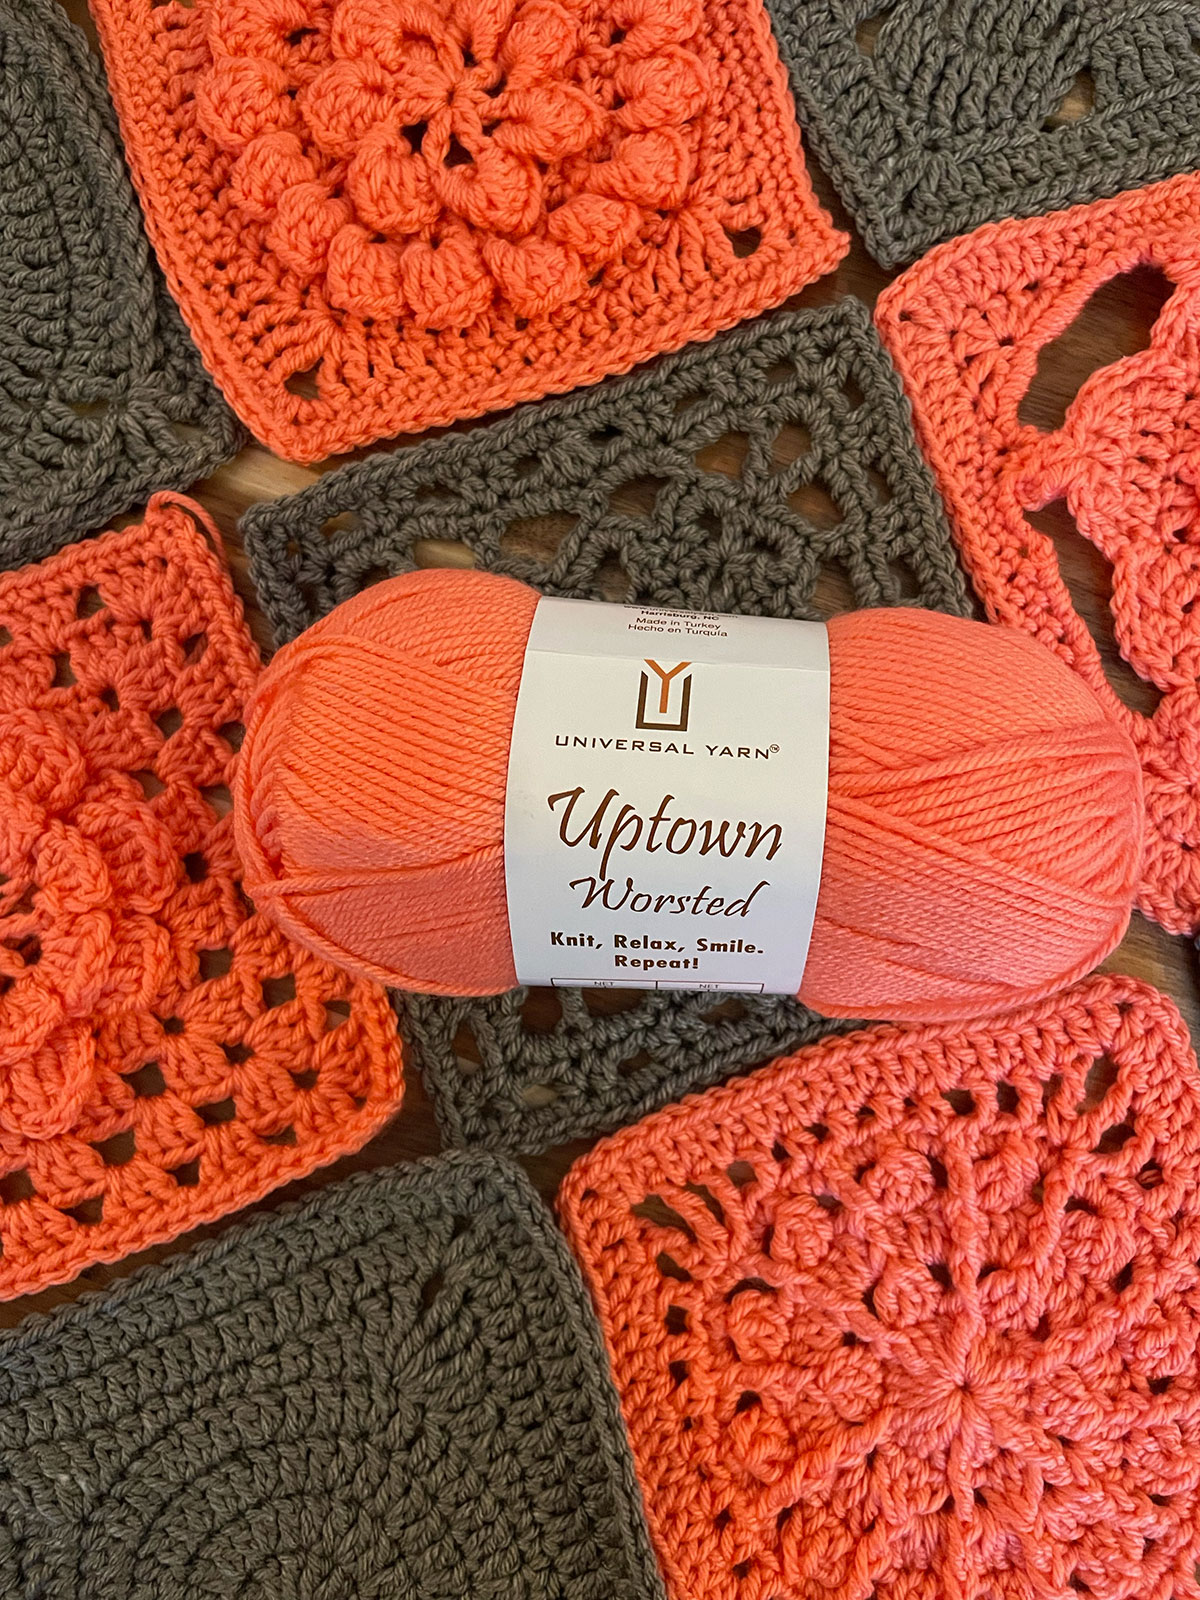
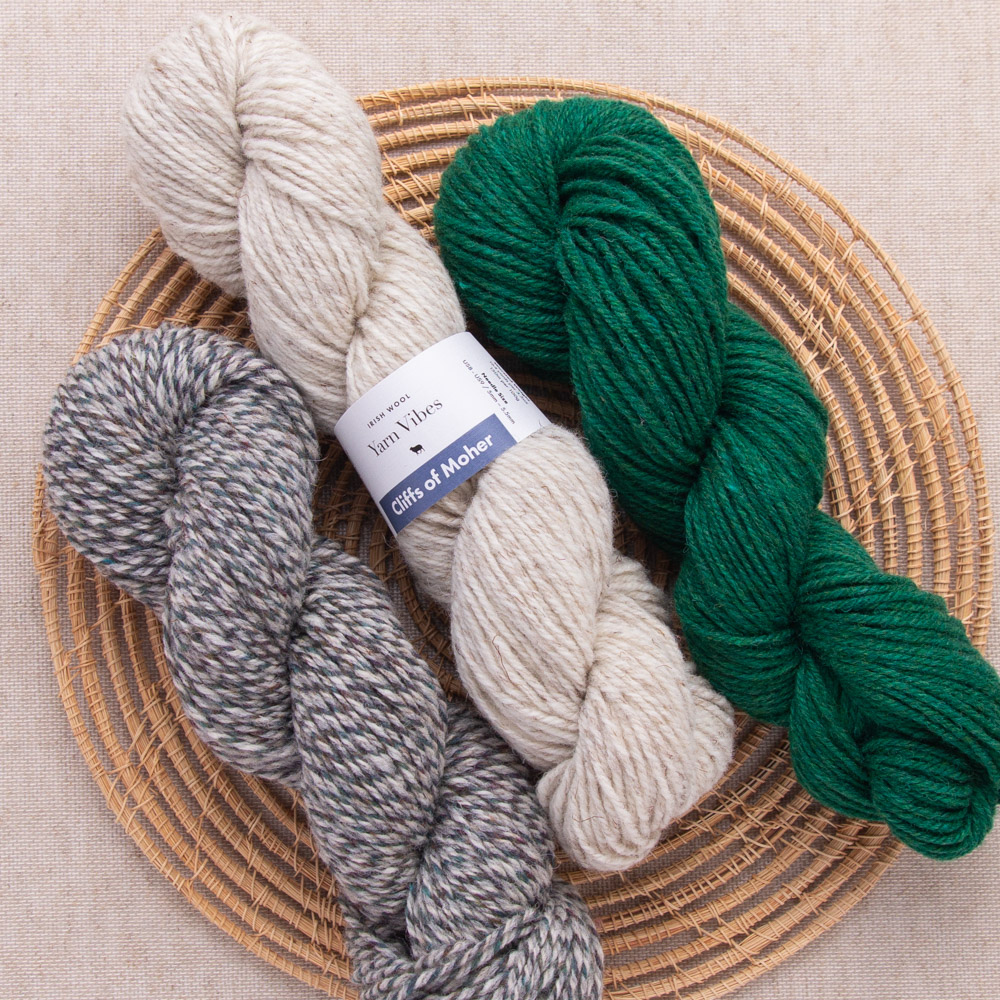
Our collection of yarns is extensive. From cotton to cashmere, we have a yarn designed with every crafter in mind. For Mother’s Day, why not try out a yarn you’ve never used before? You never know, it could be your next favorite. Always tend to knit with cotton? Try out Truva. This blend of 50% cotton and 50% cashmere is sinfully soft, and is a great introduction to a different fiber blend. Love working with wool? Explore our offerings from Yarn Vibes. This boutique line of 100% Irish wool yarns is rustic and elegant, perfect for a cabled sweater.

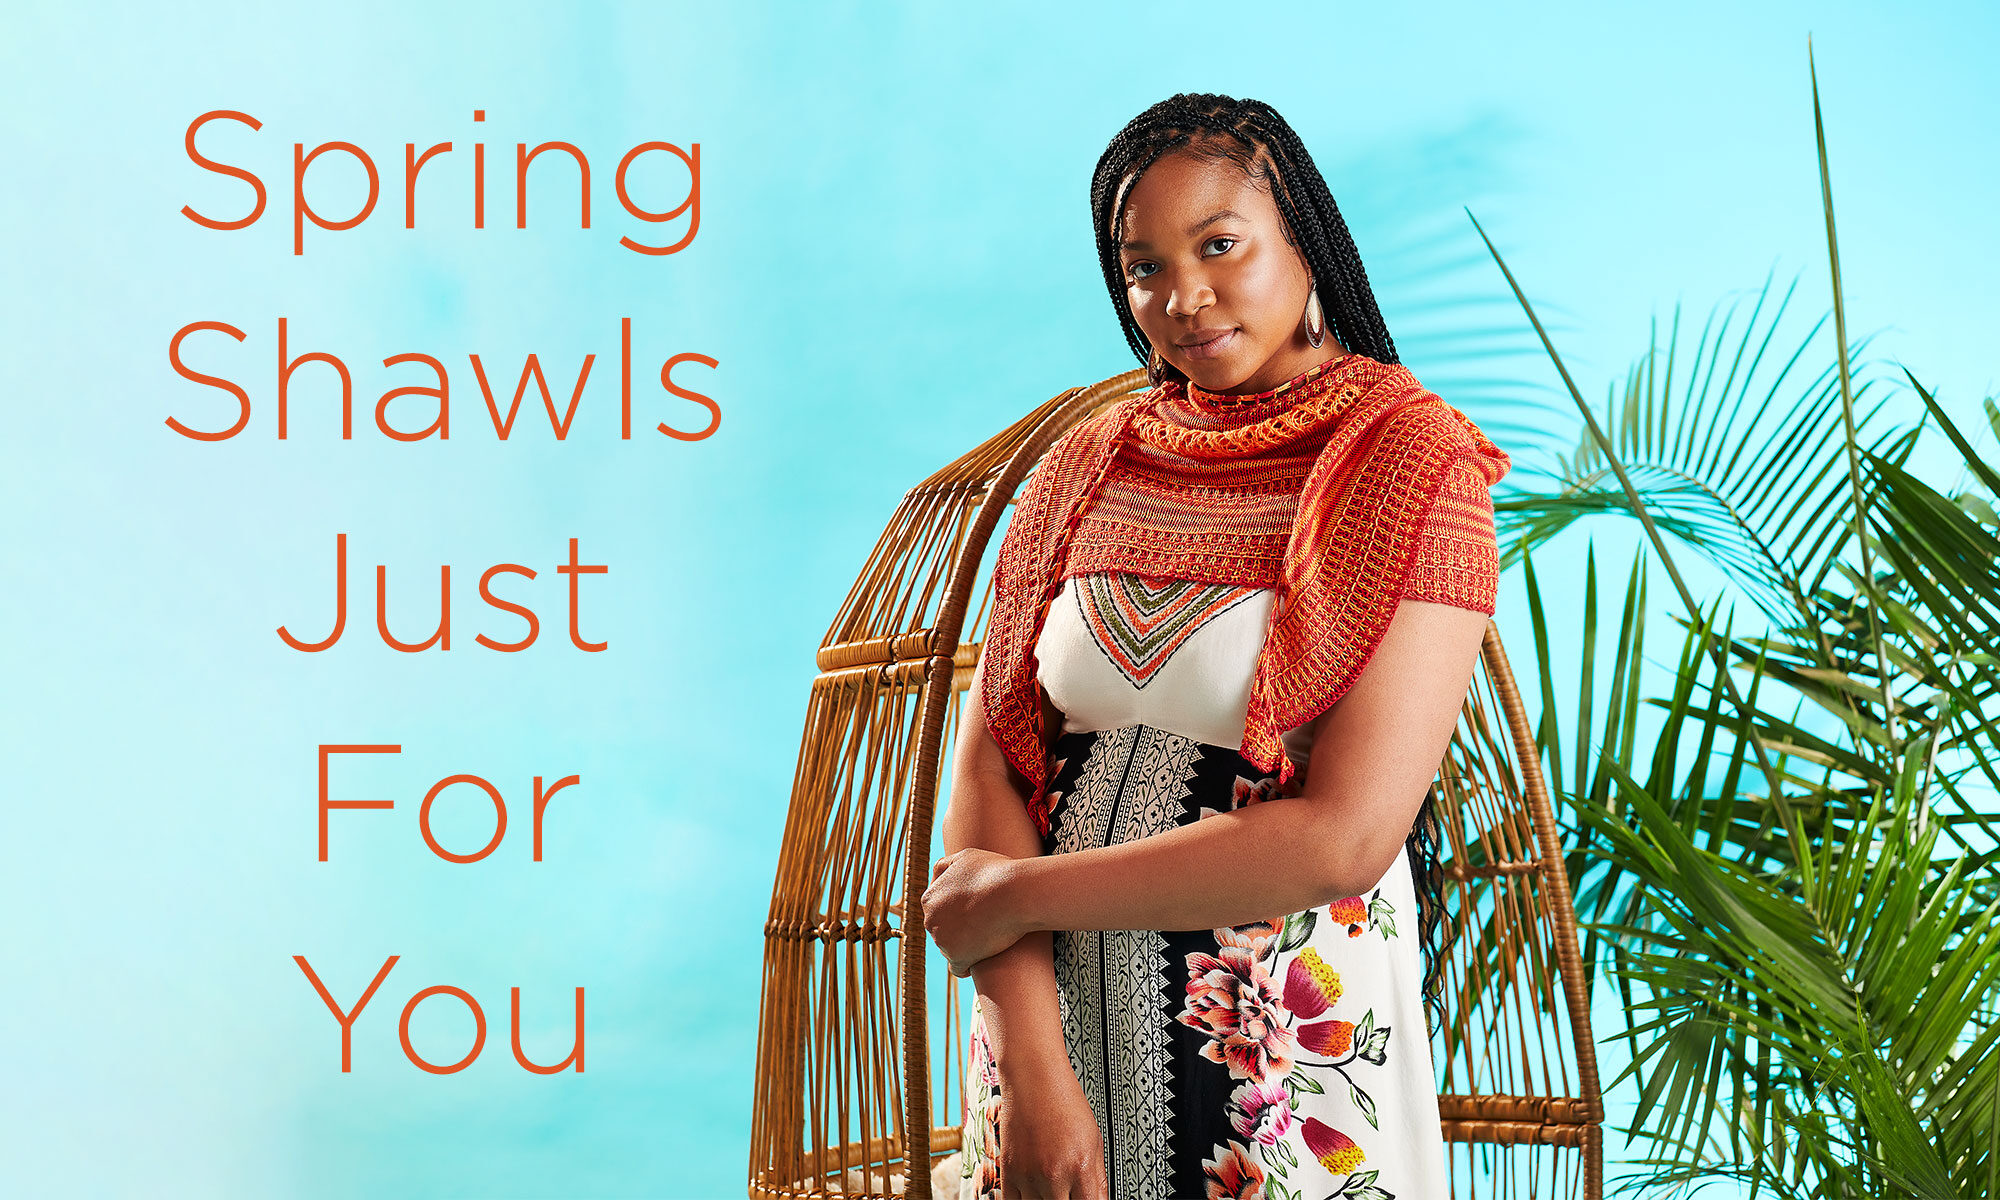
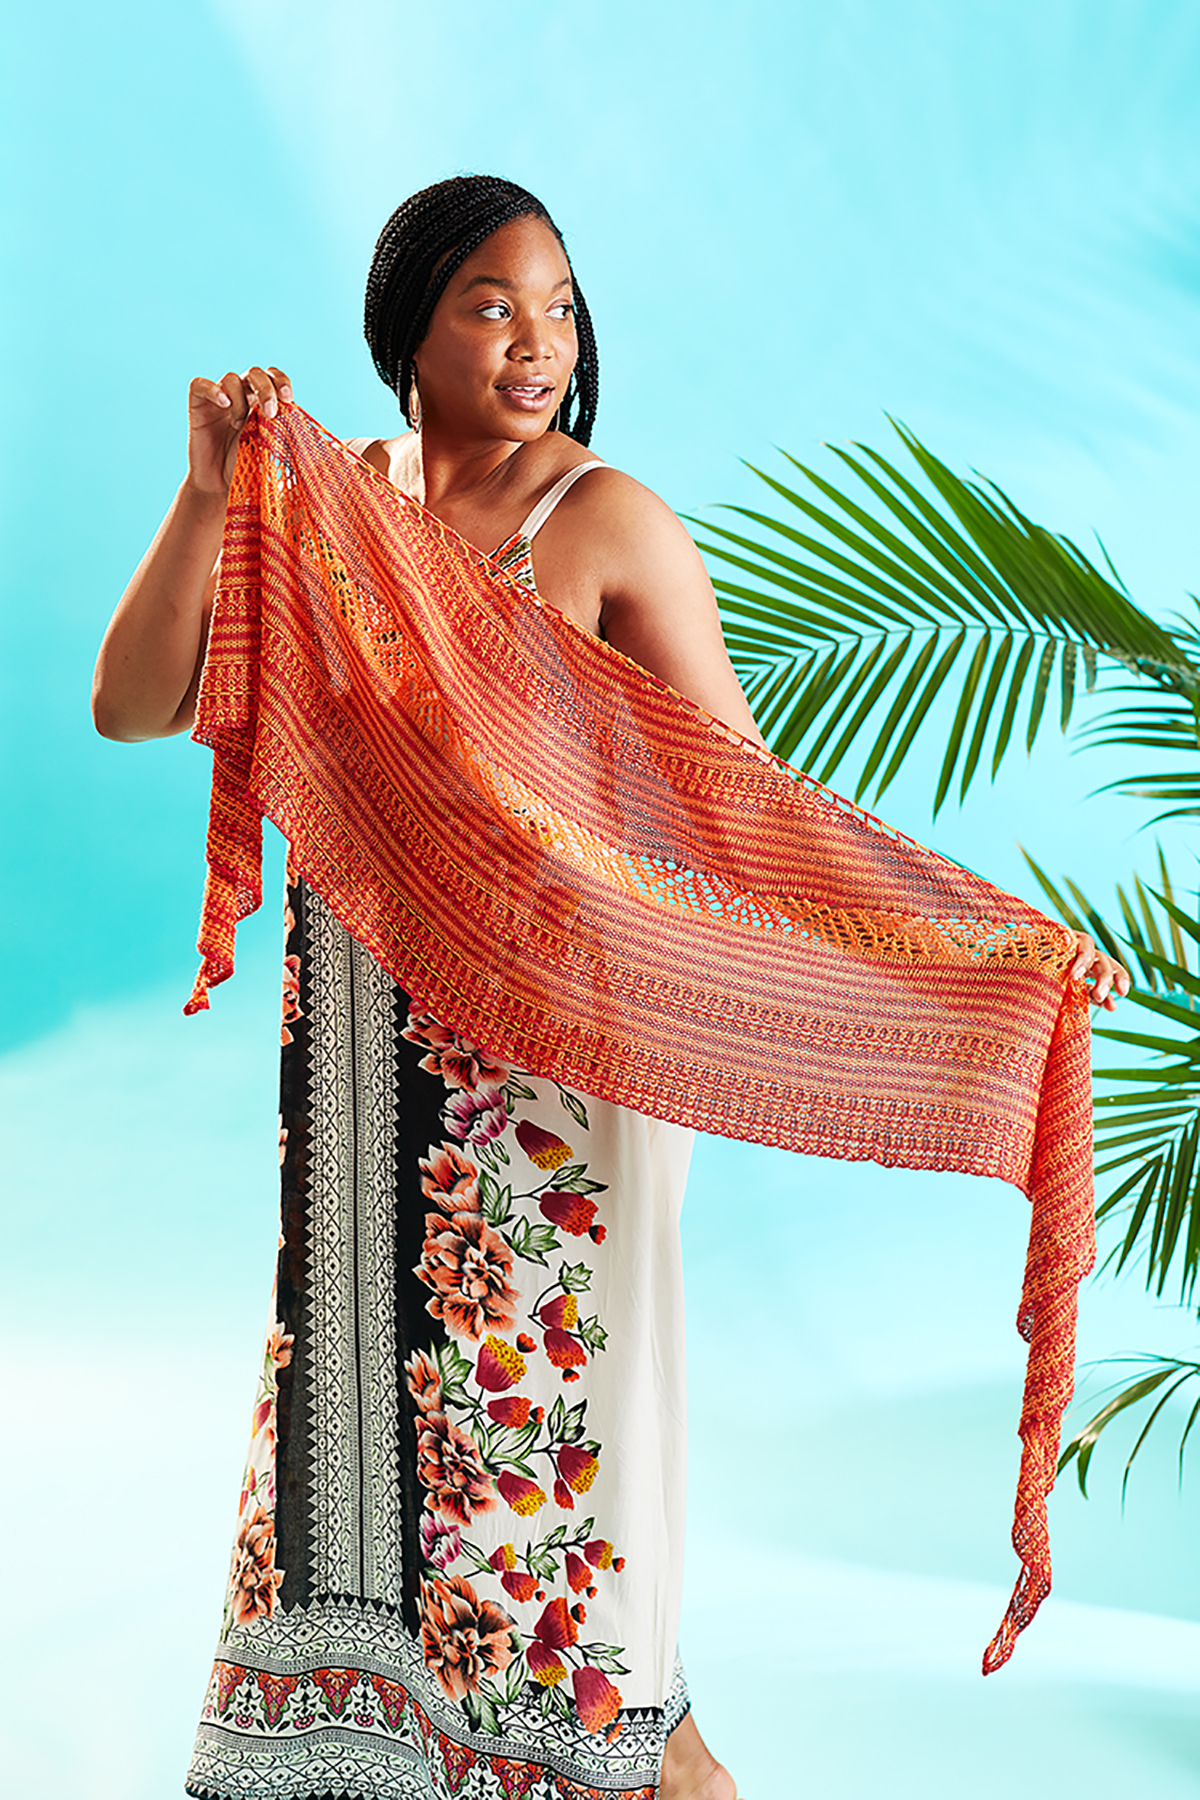
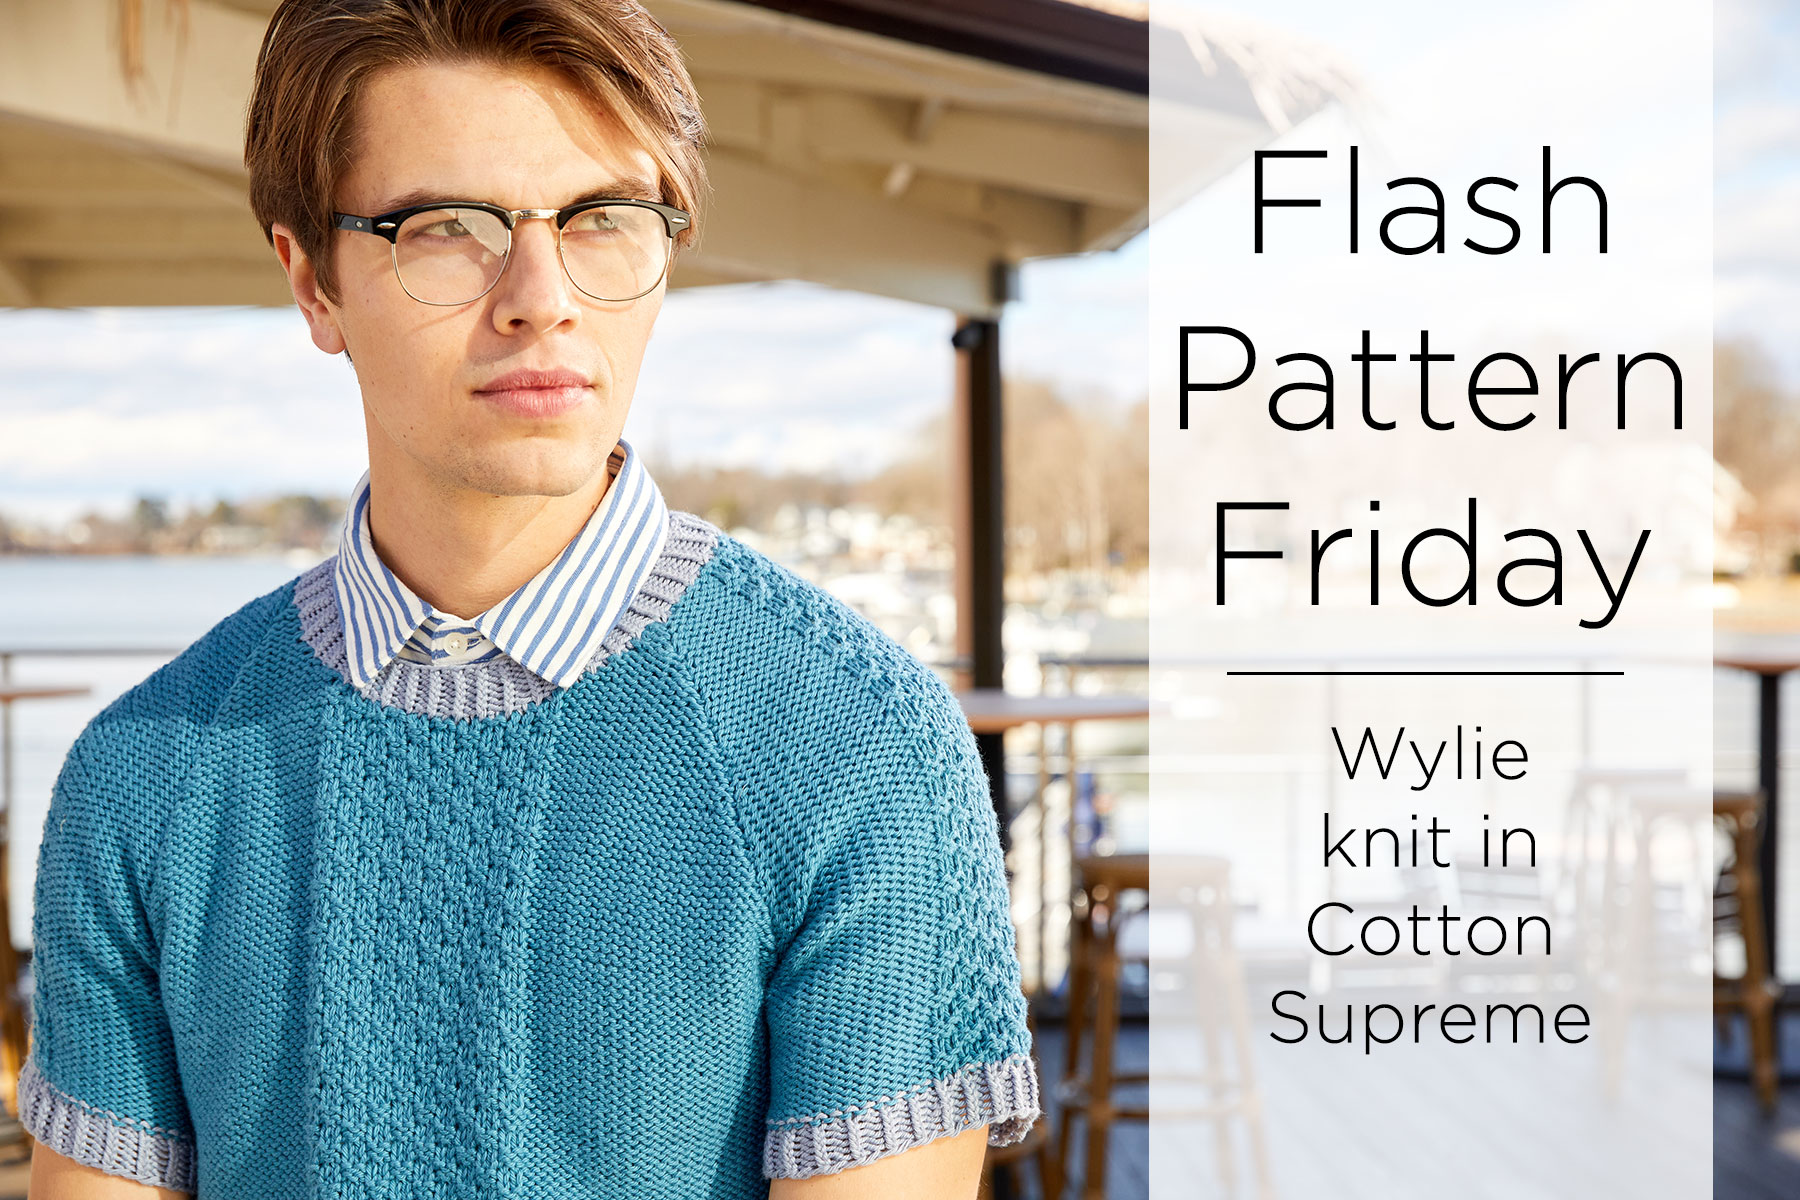
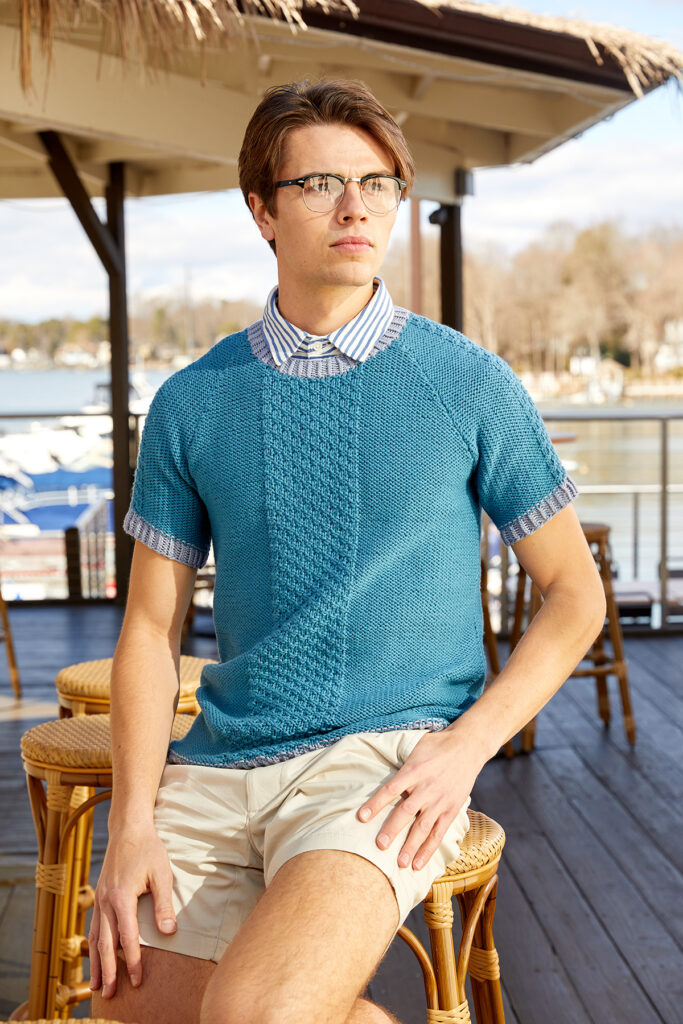
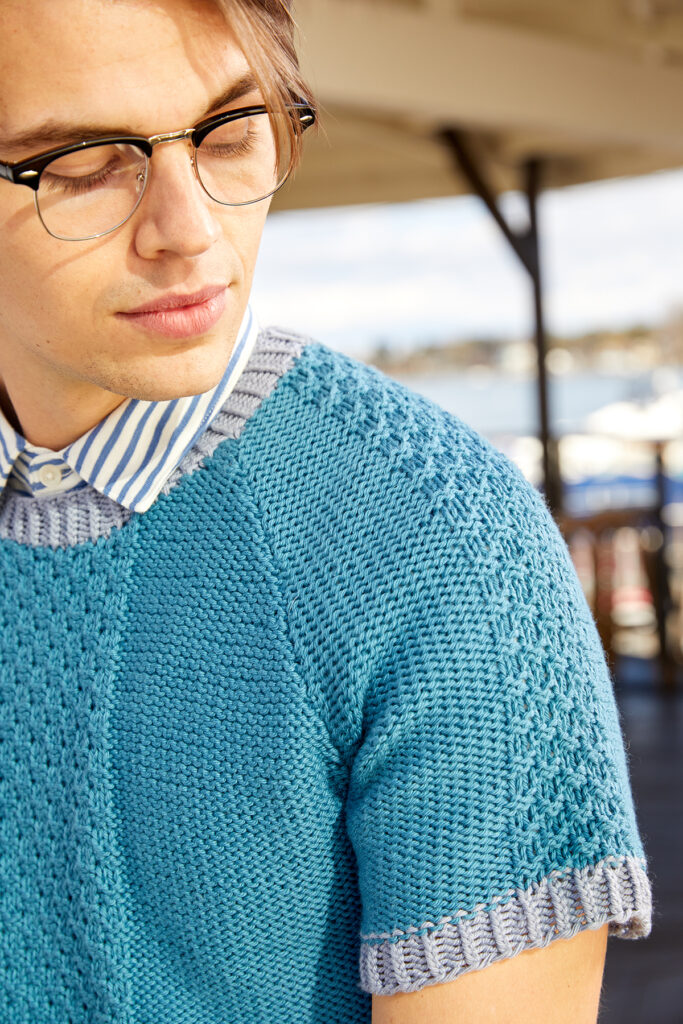
2. Queue Up A Pattern, Just For You
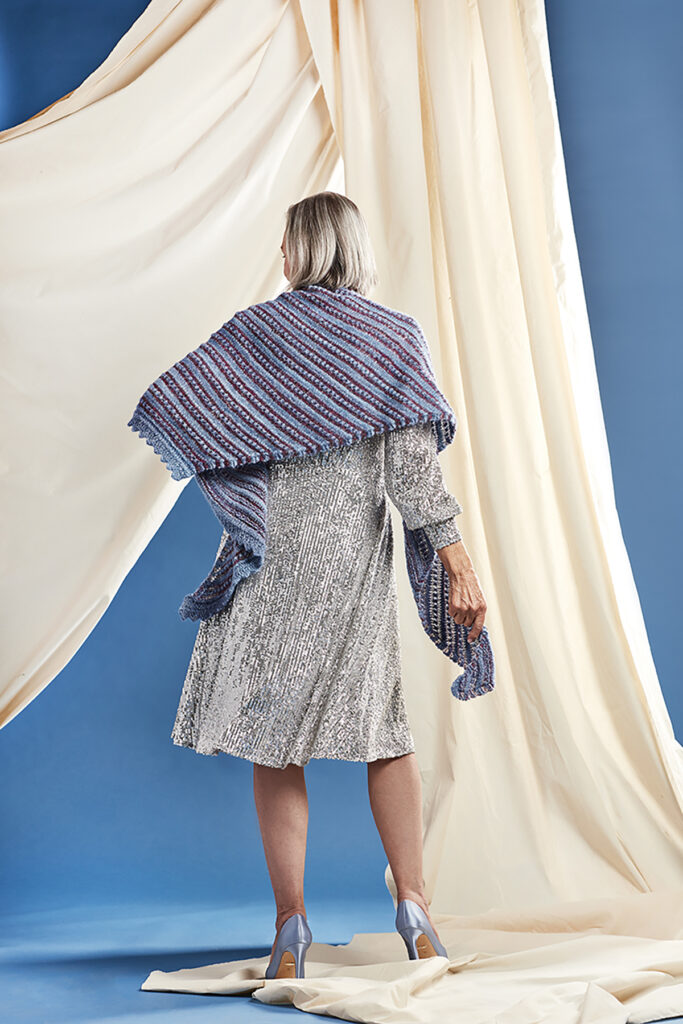
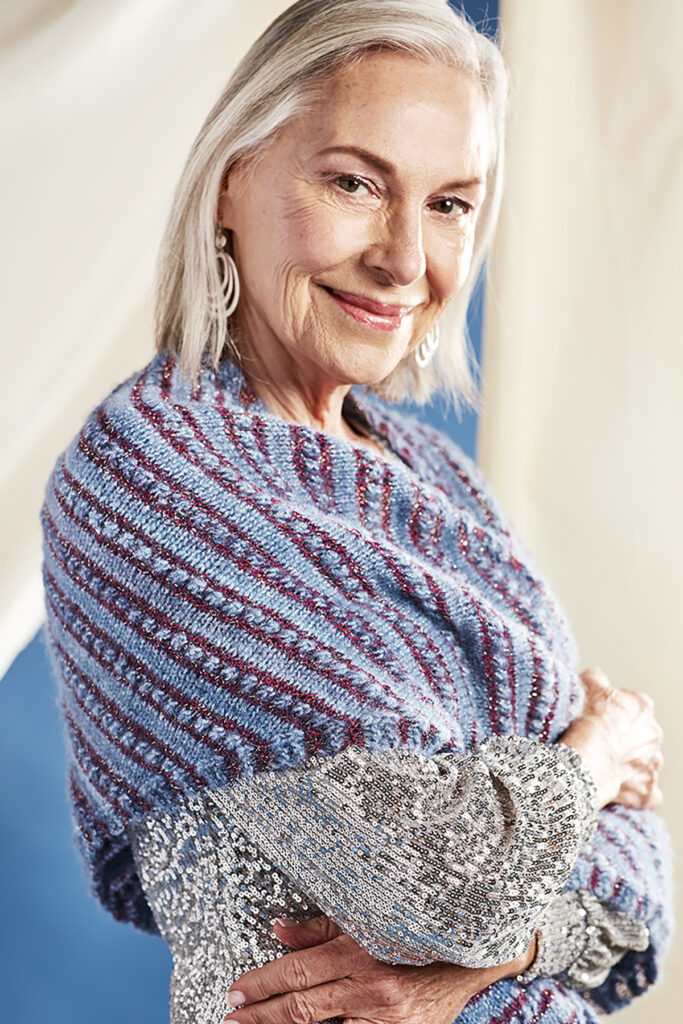
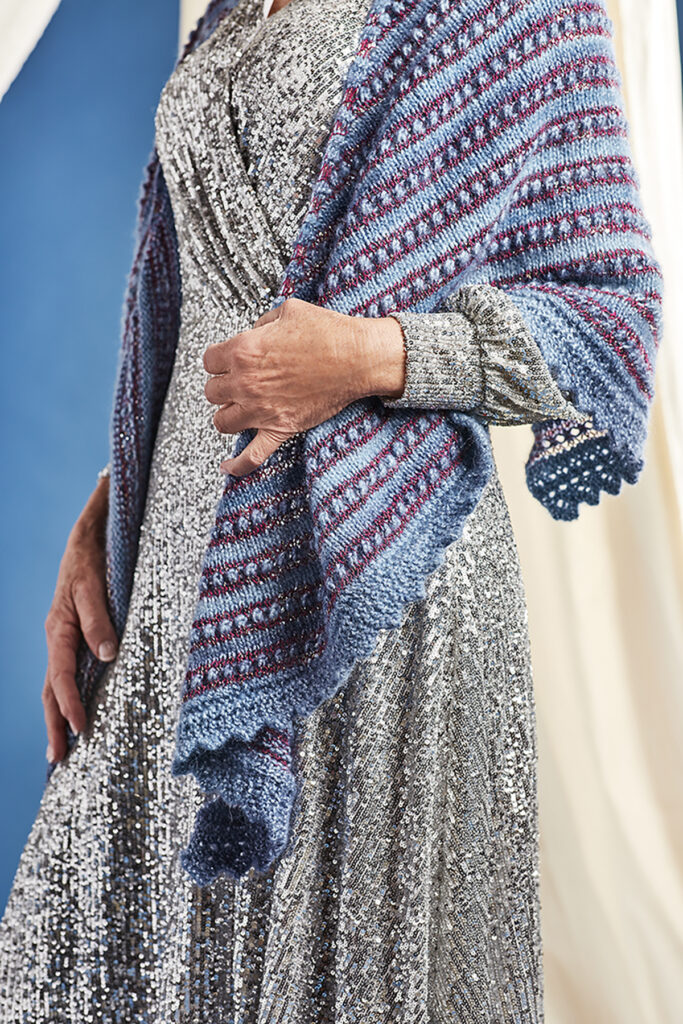
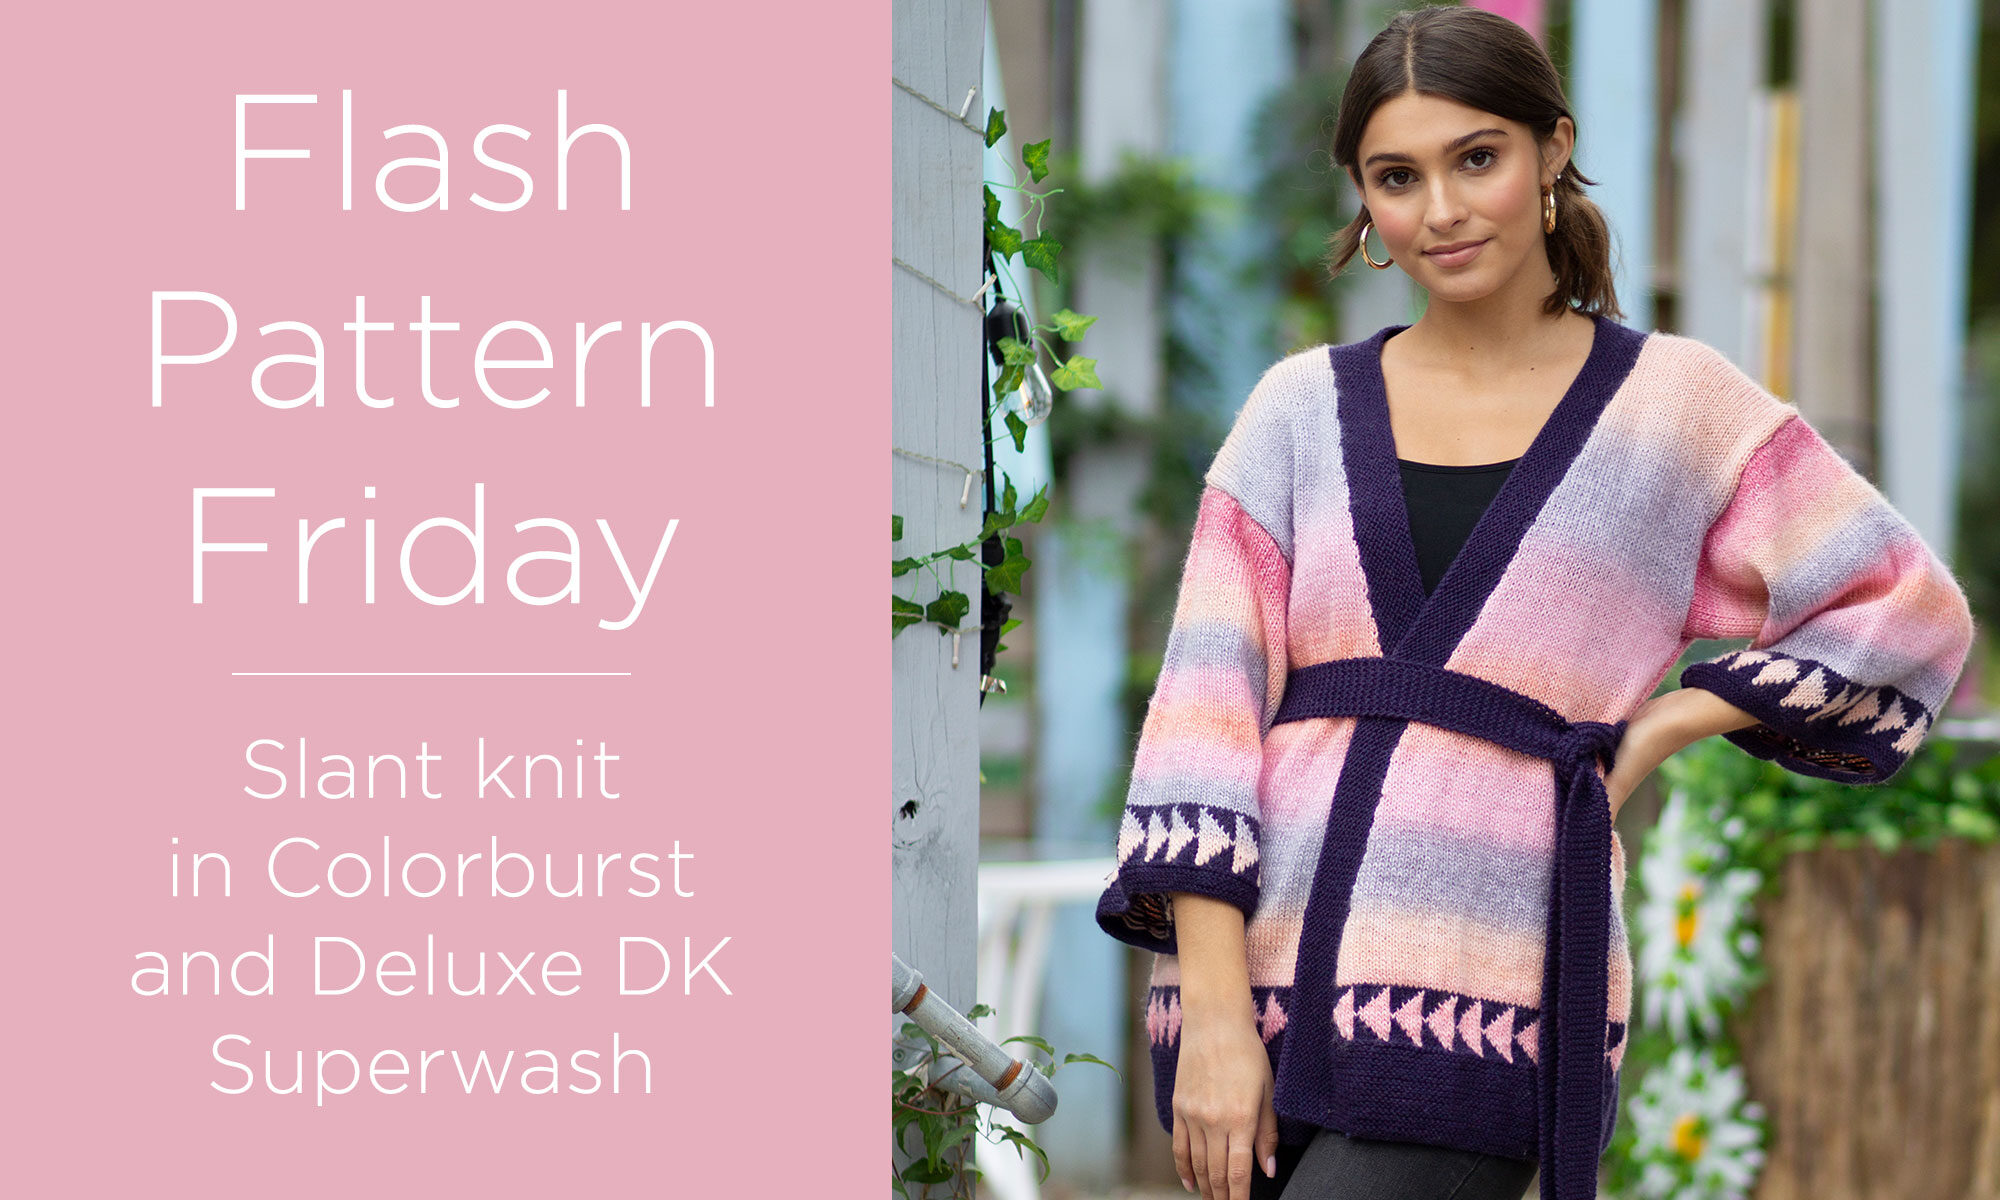
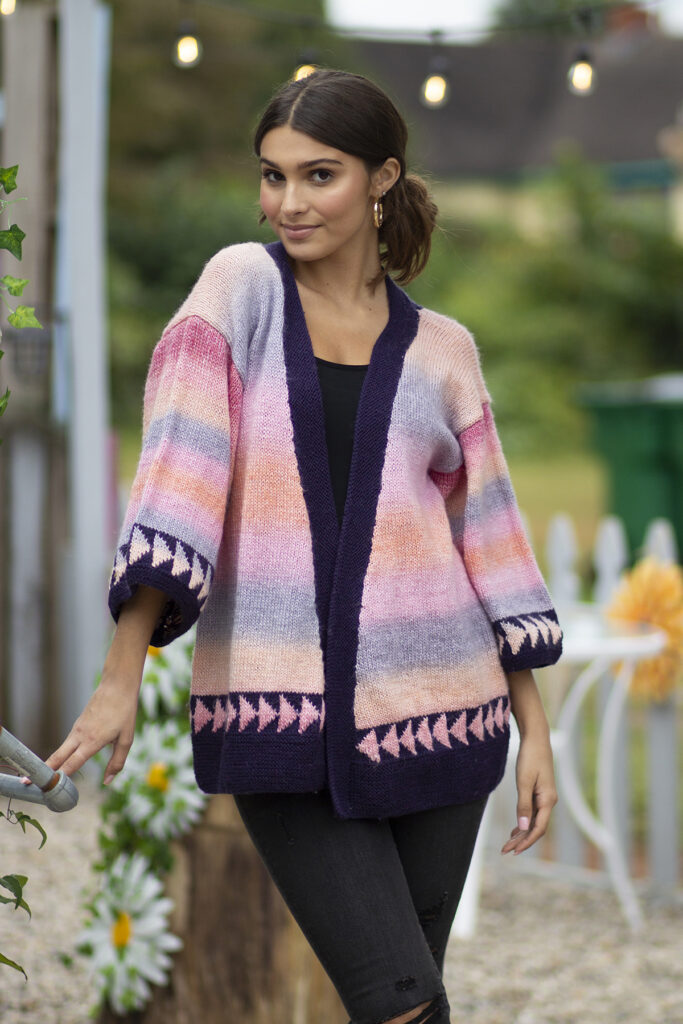
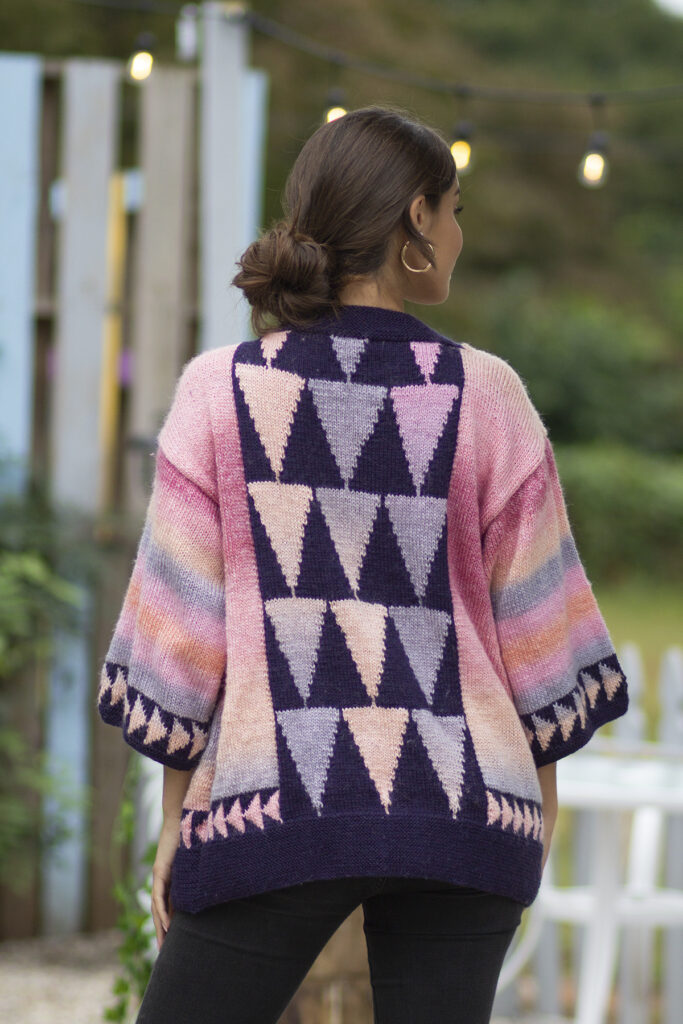
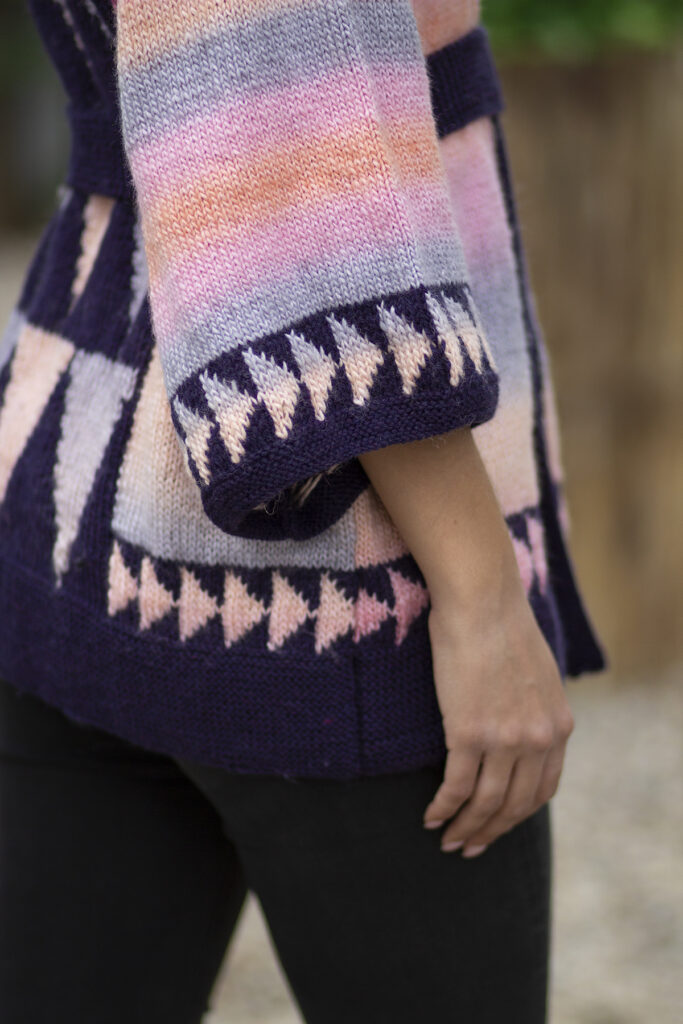
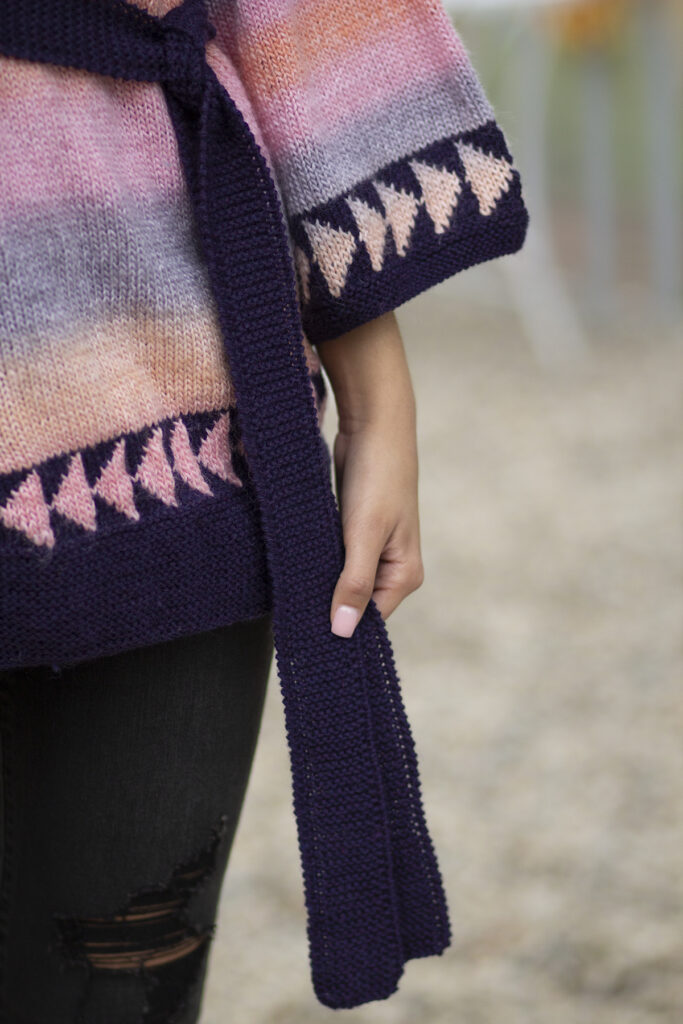
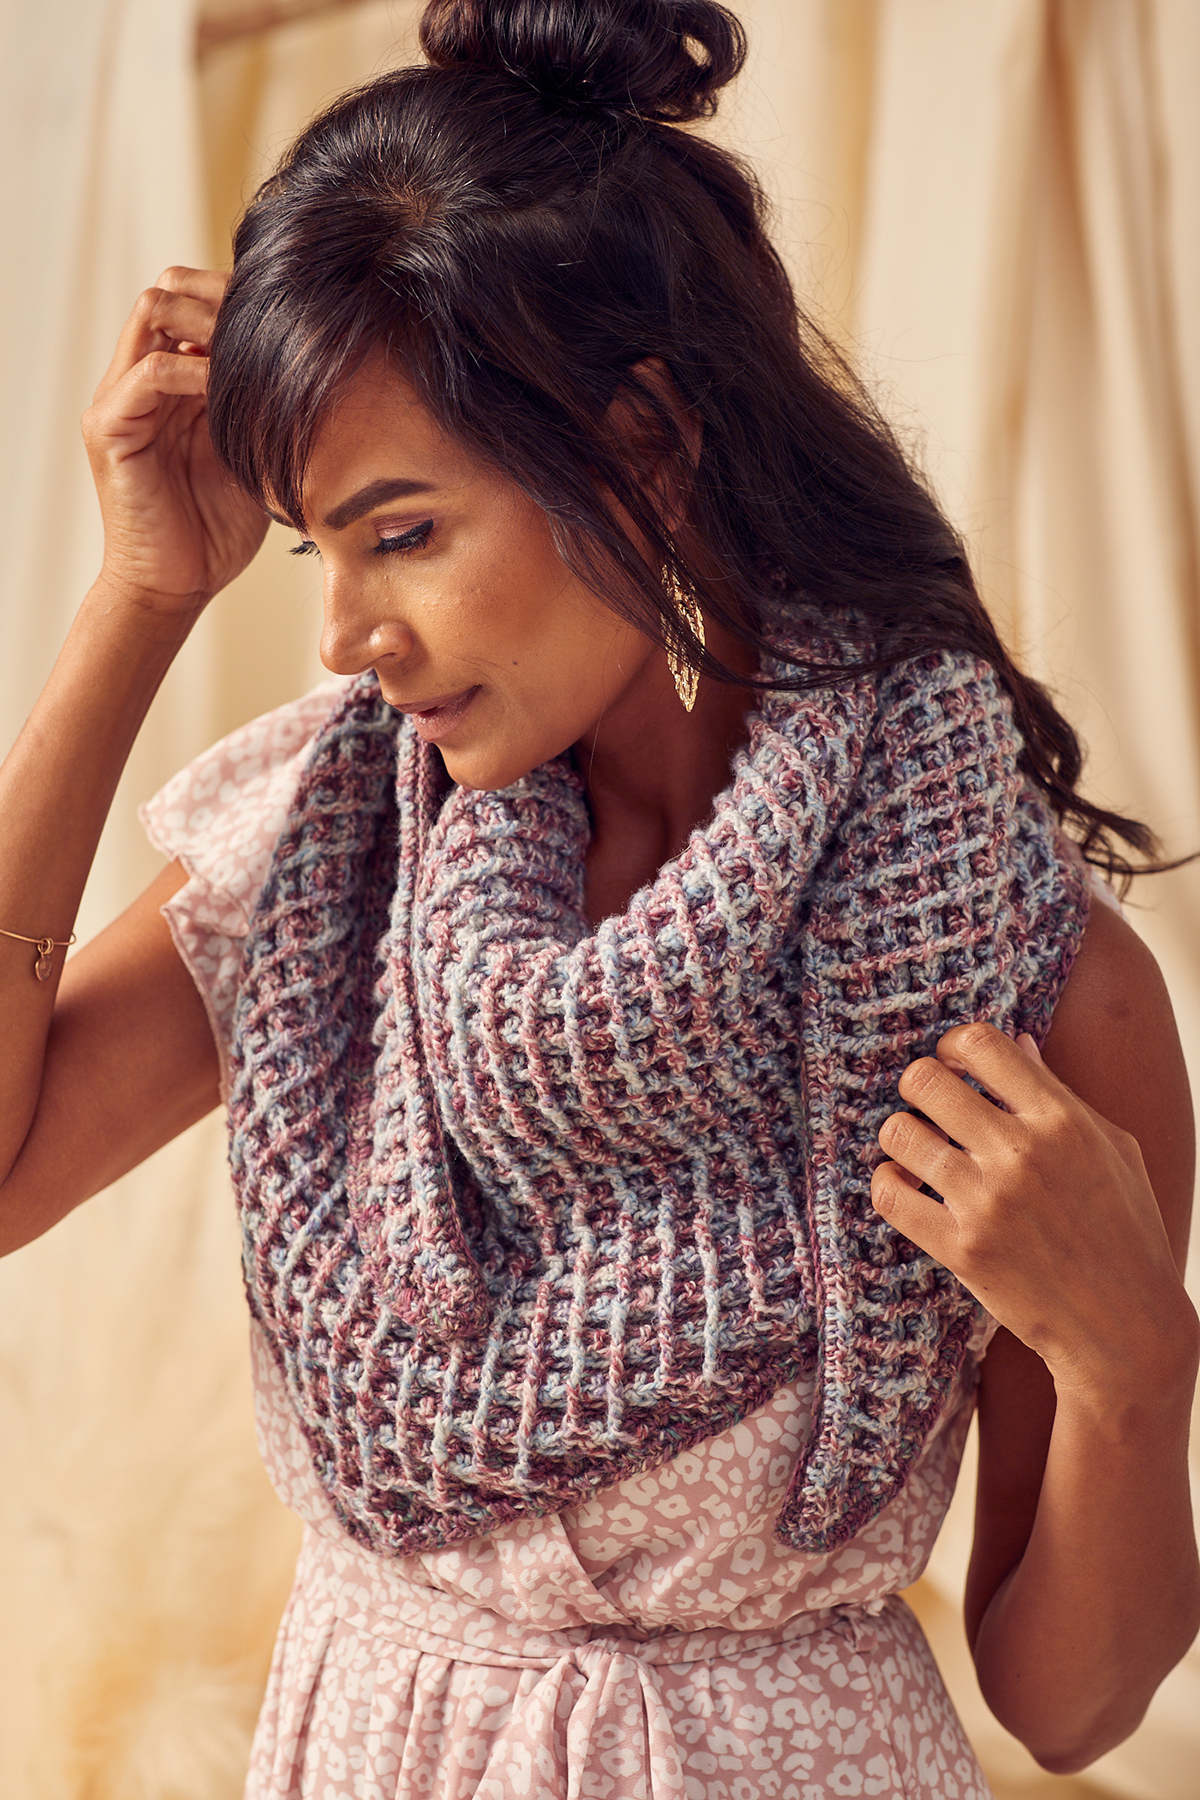
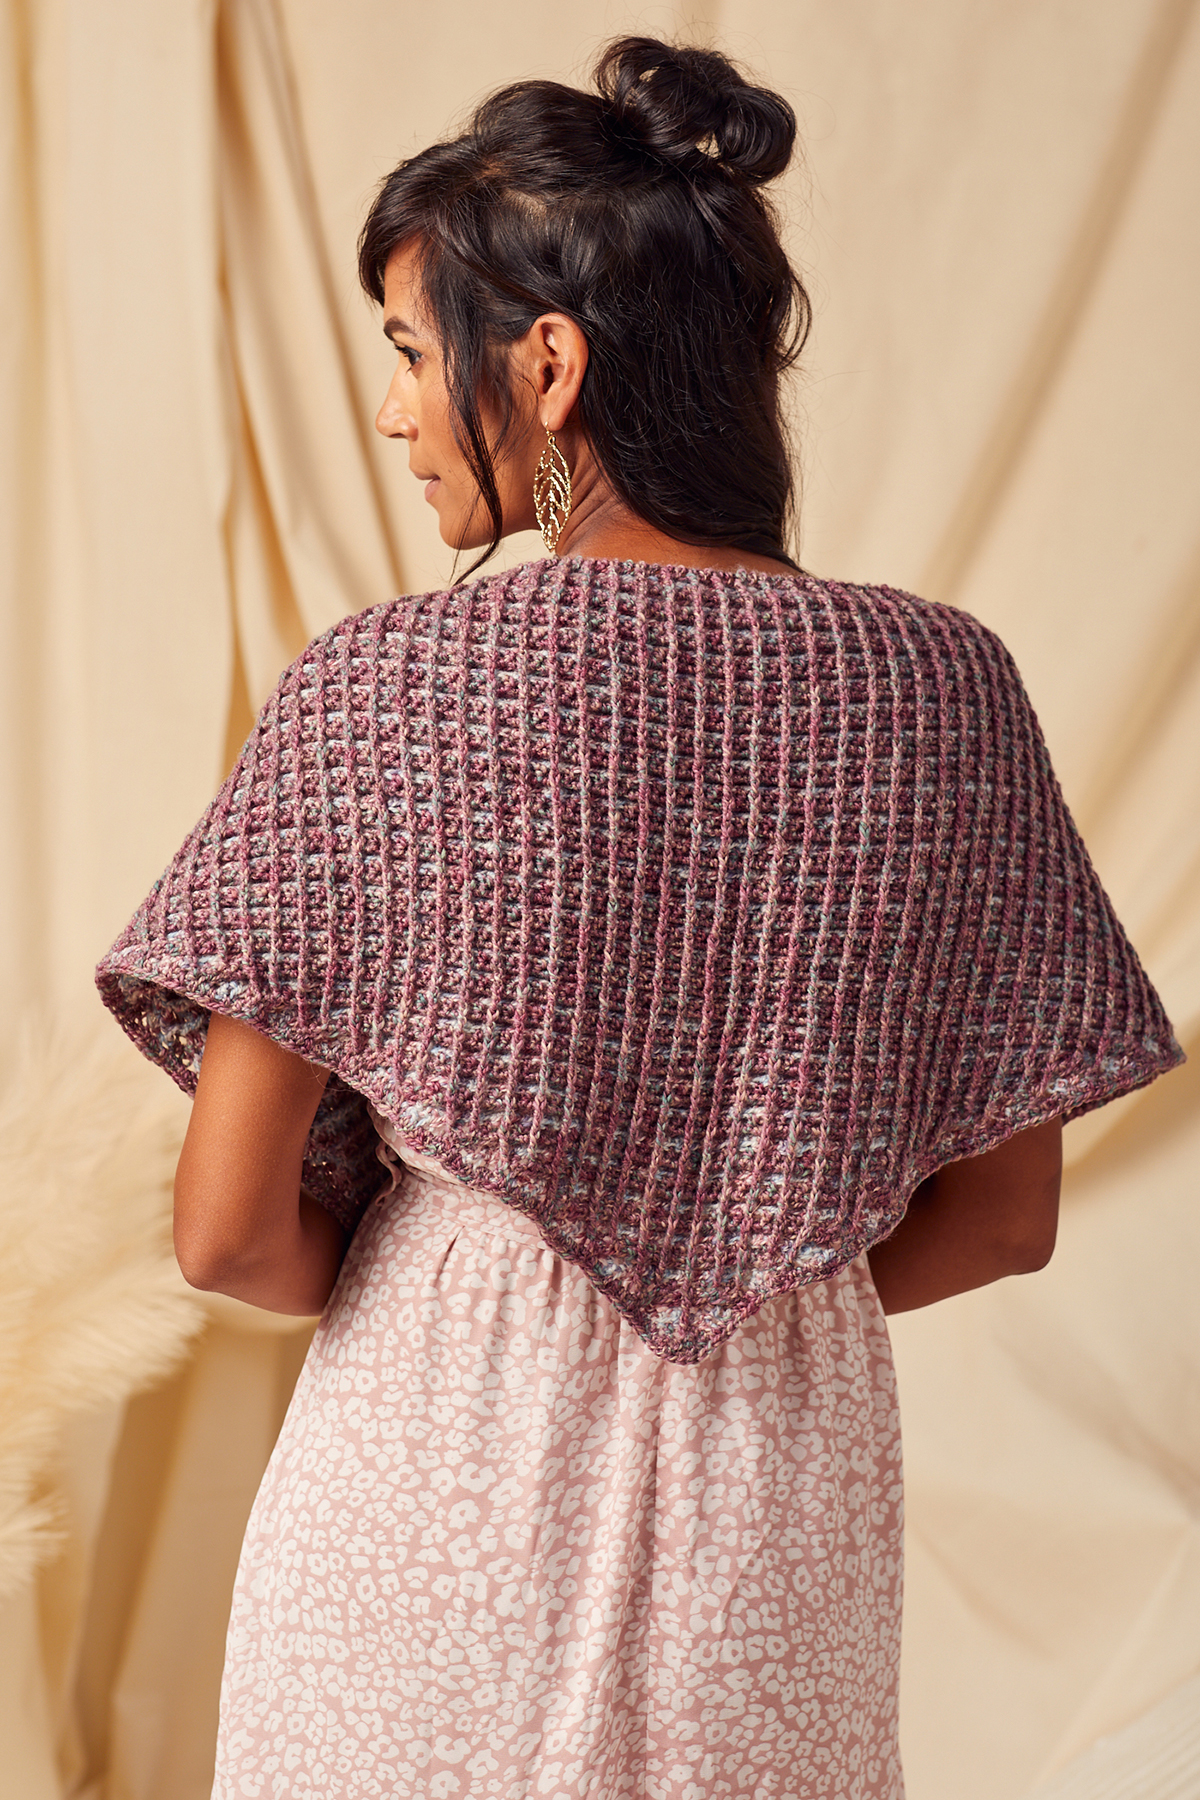
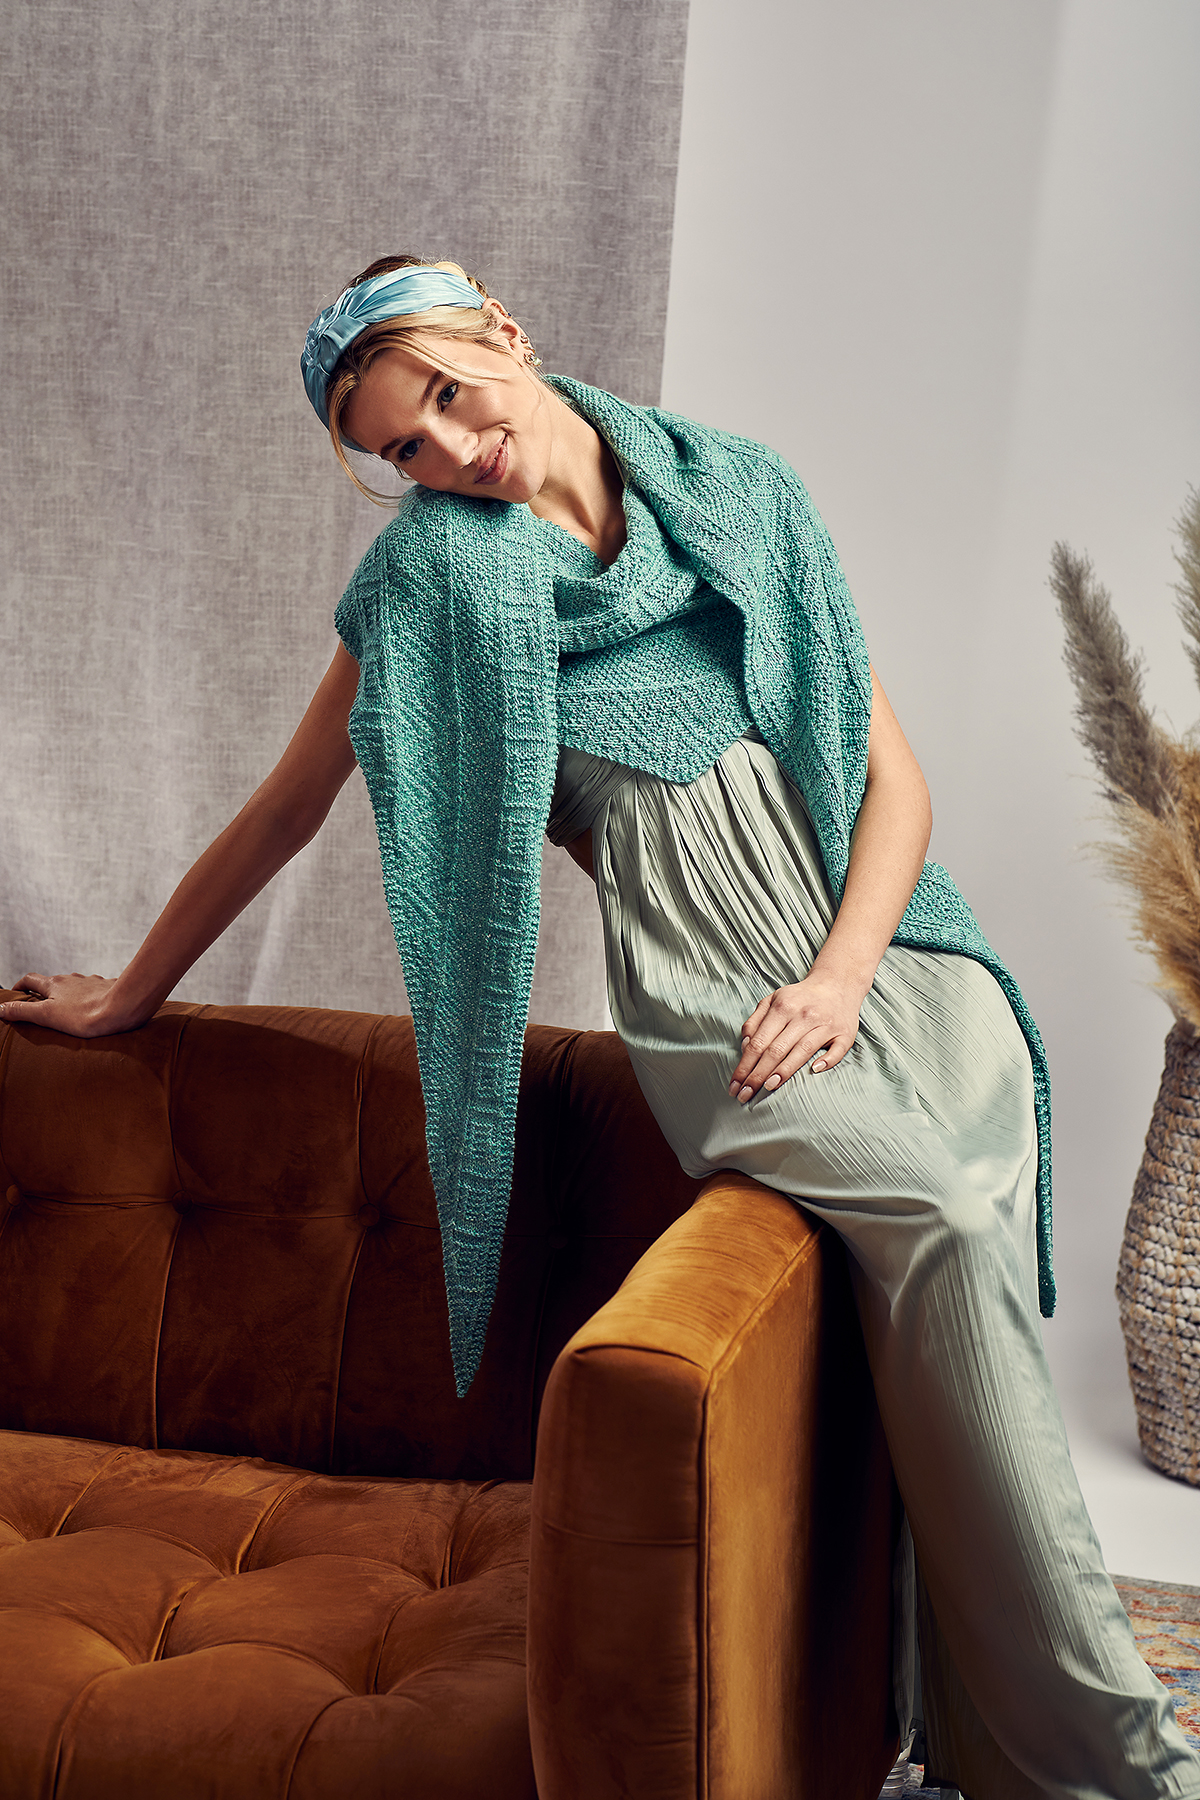
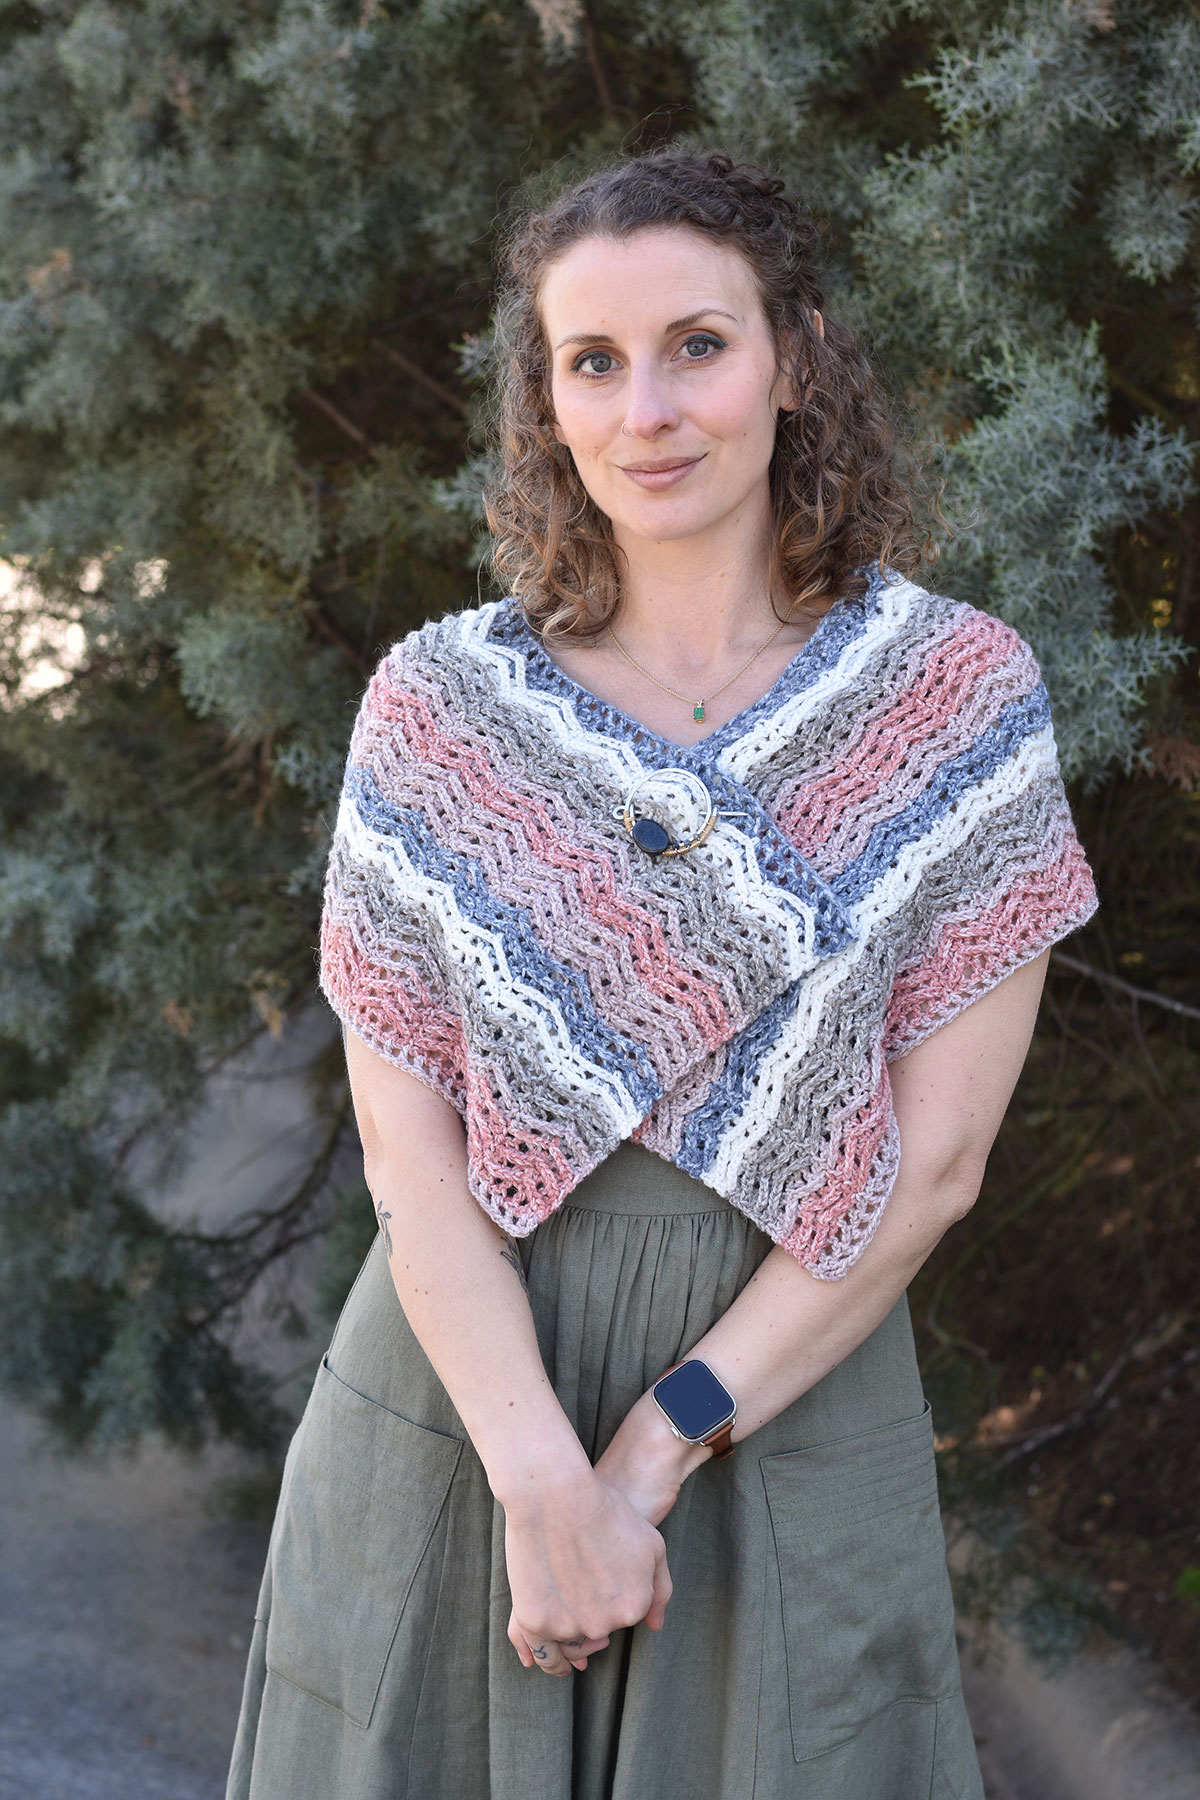
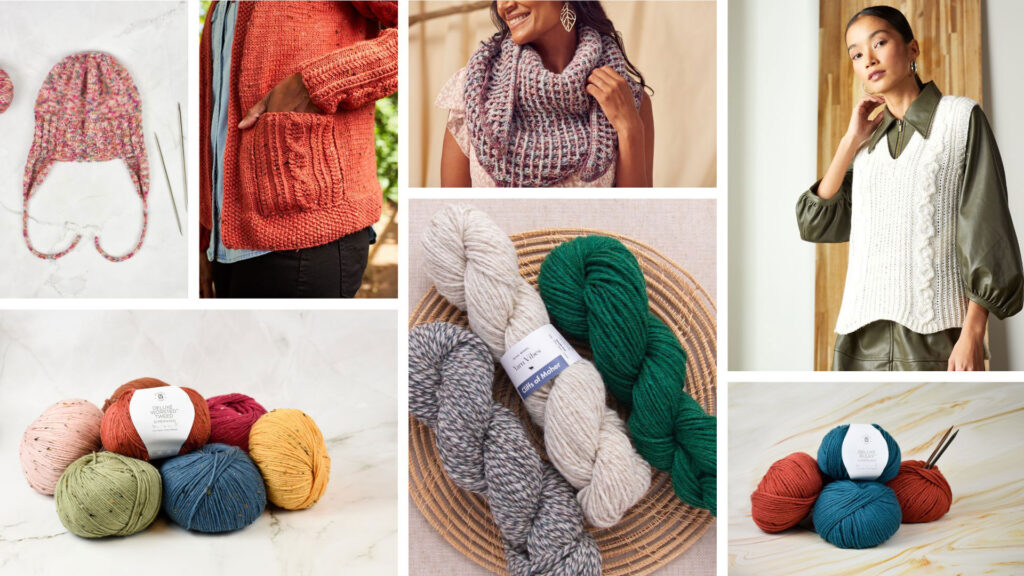
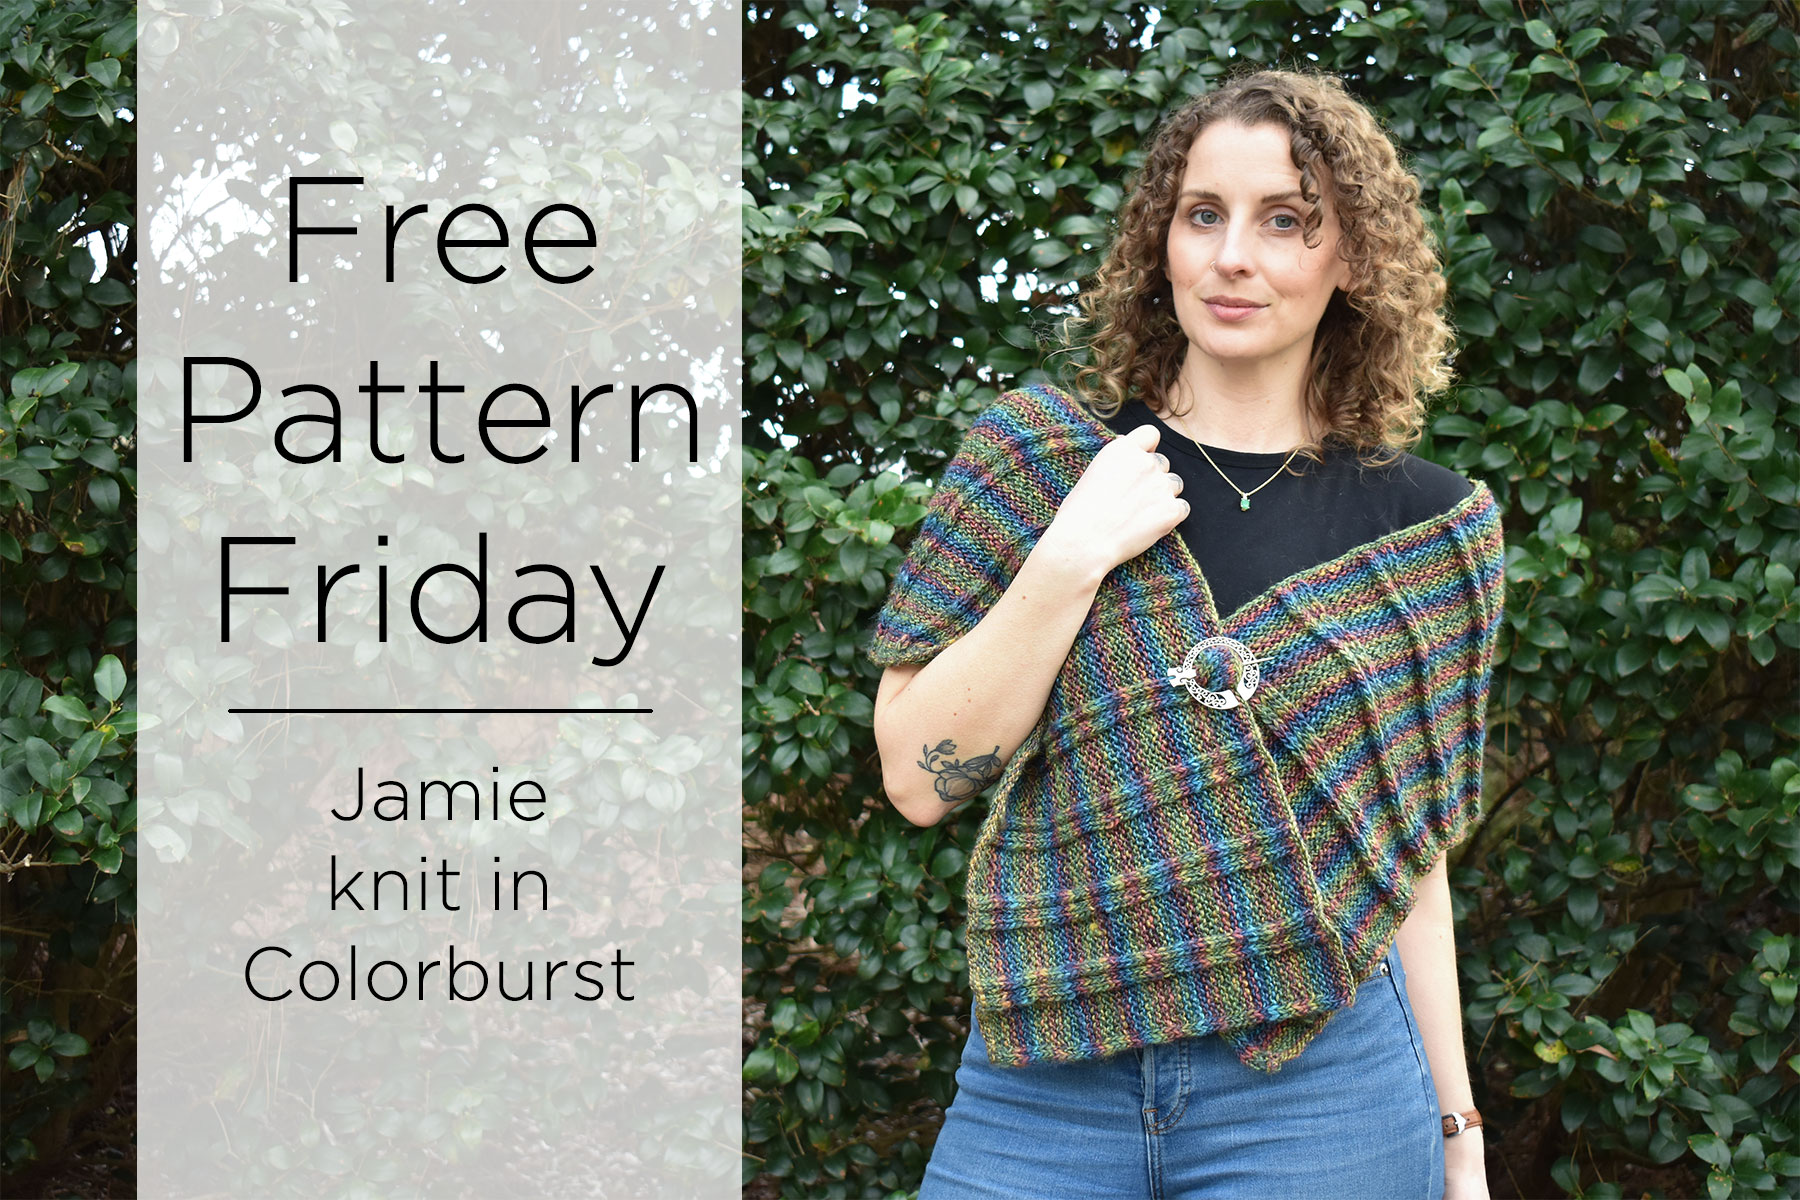
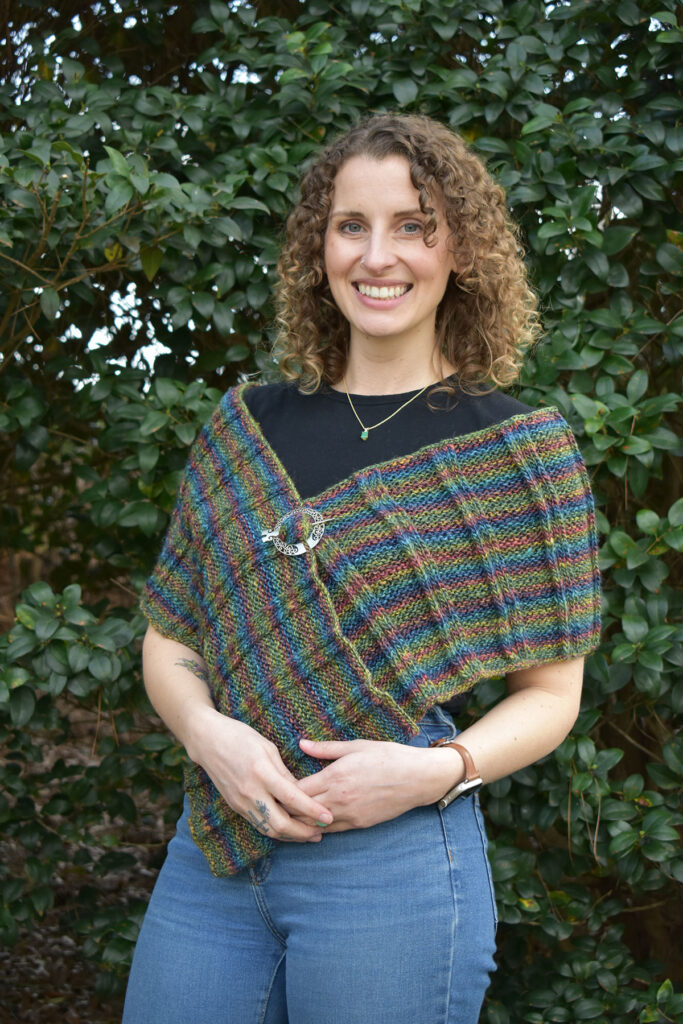
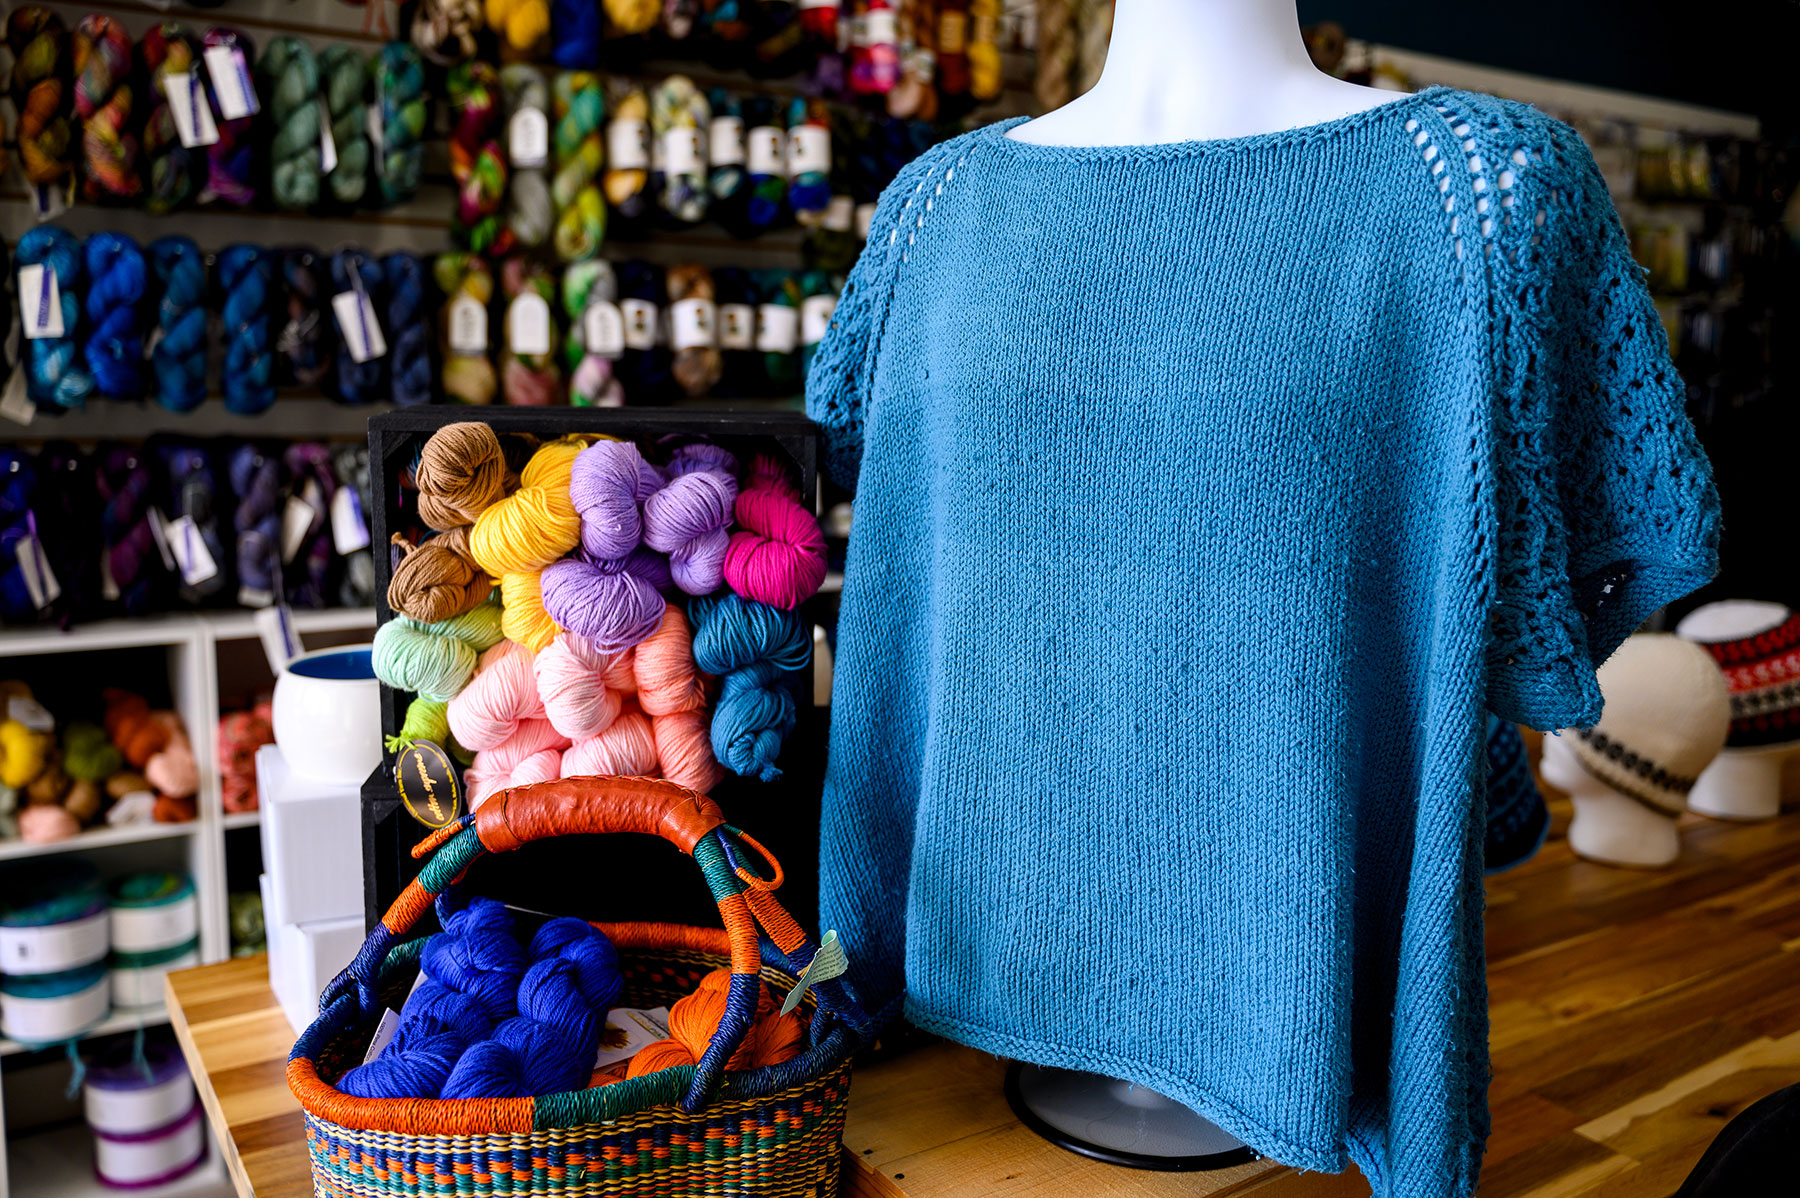
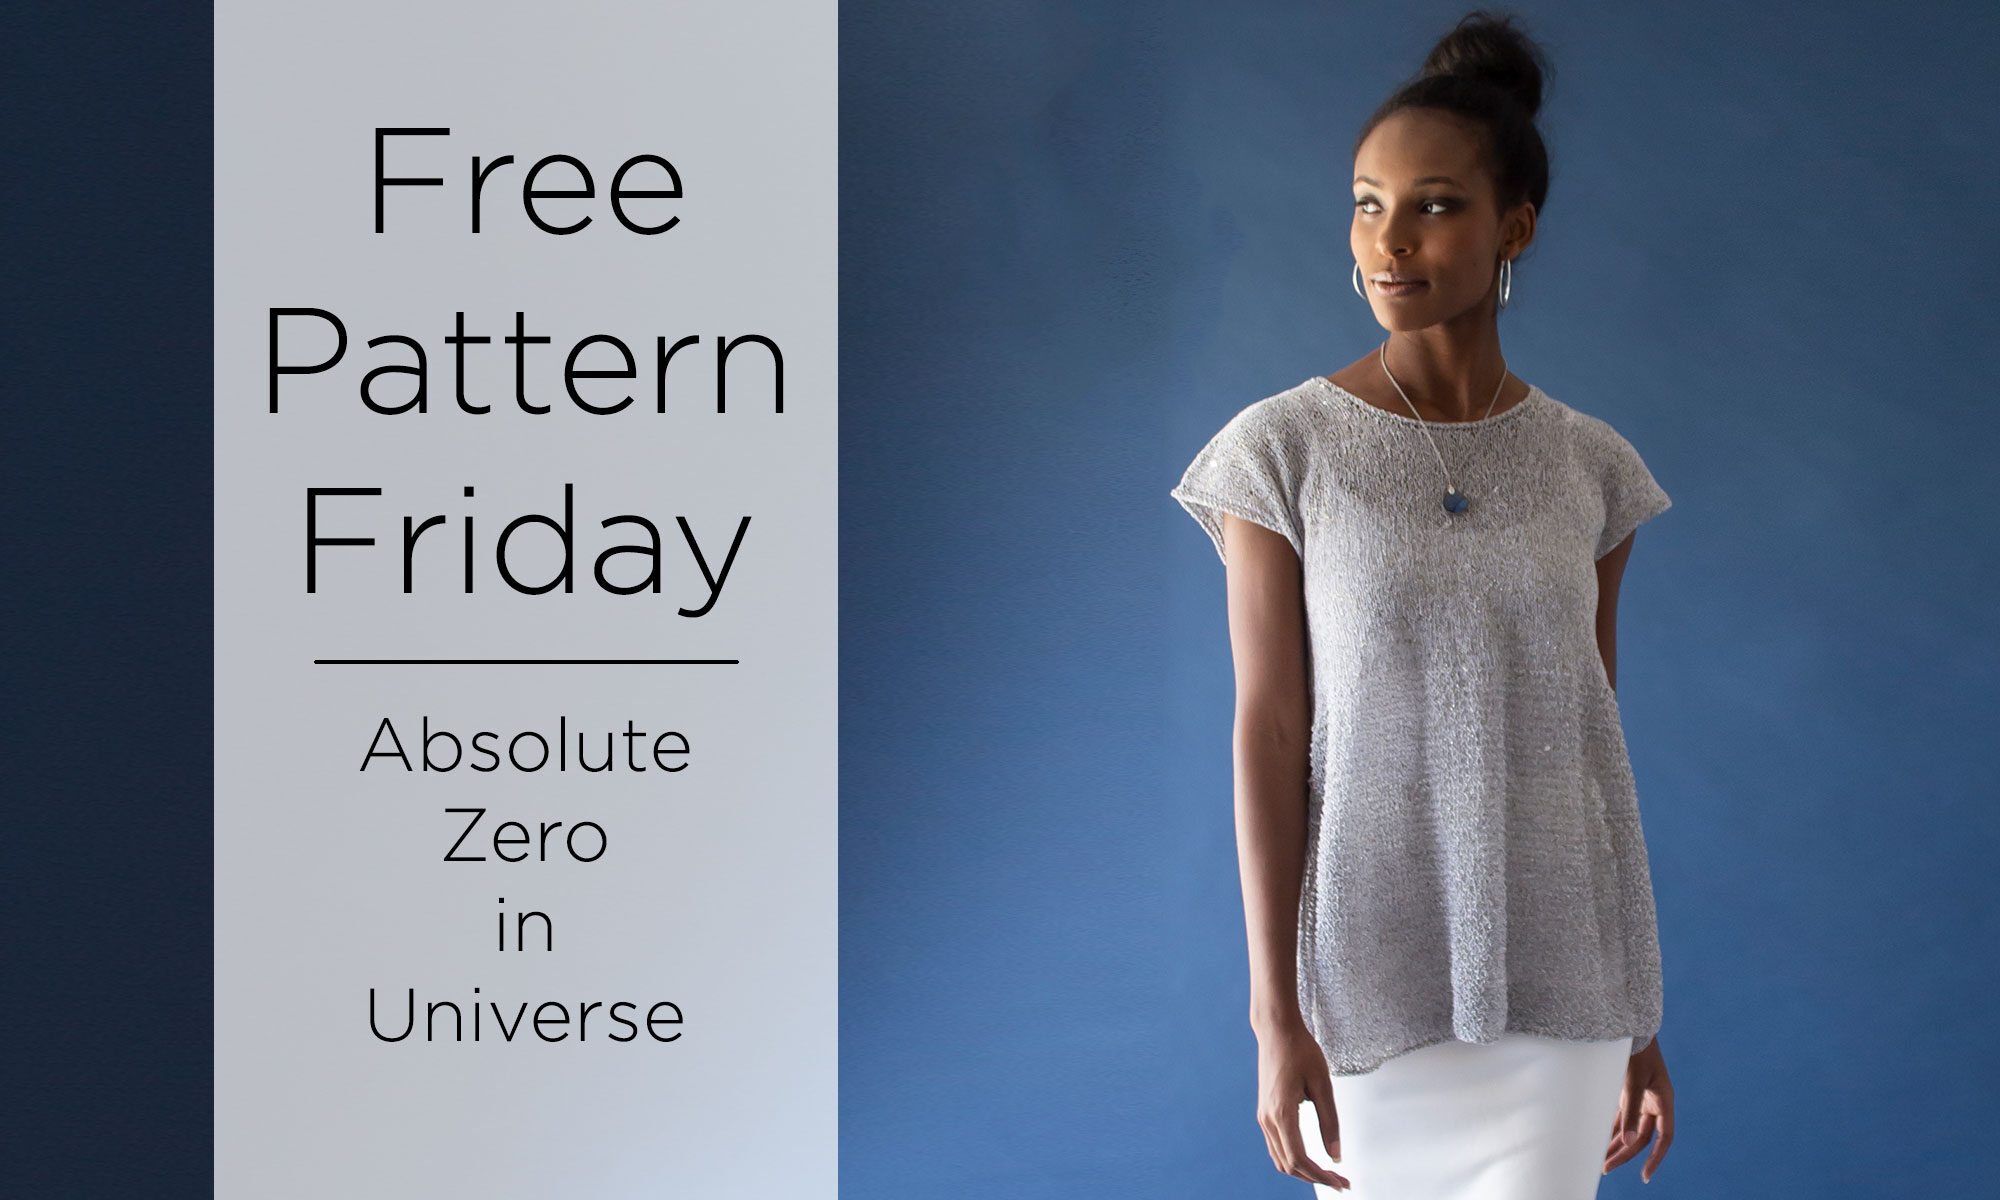
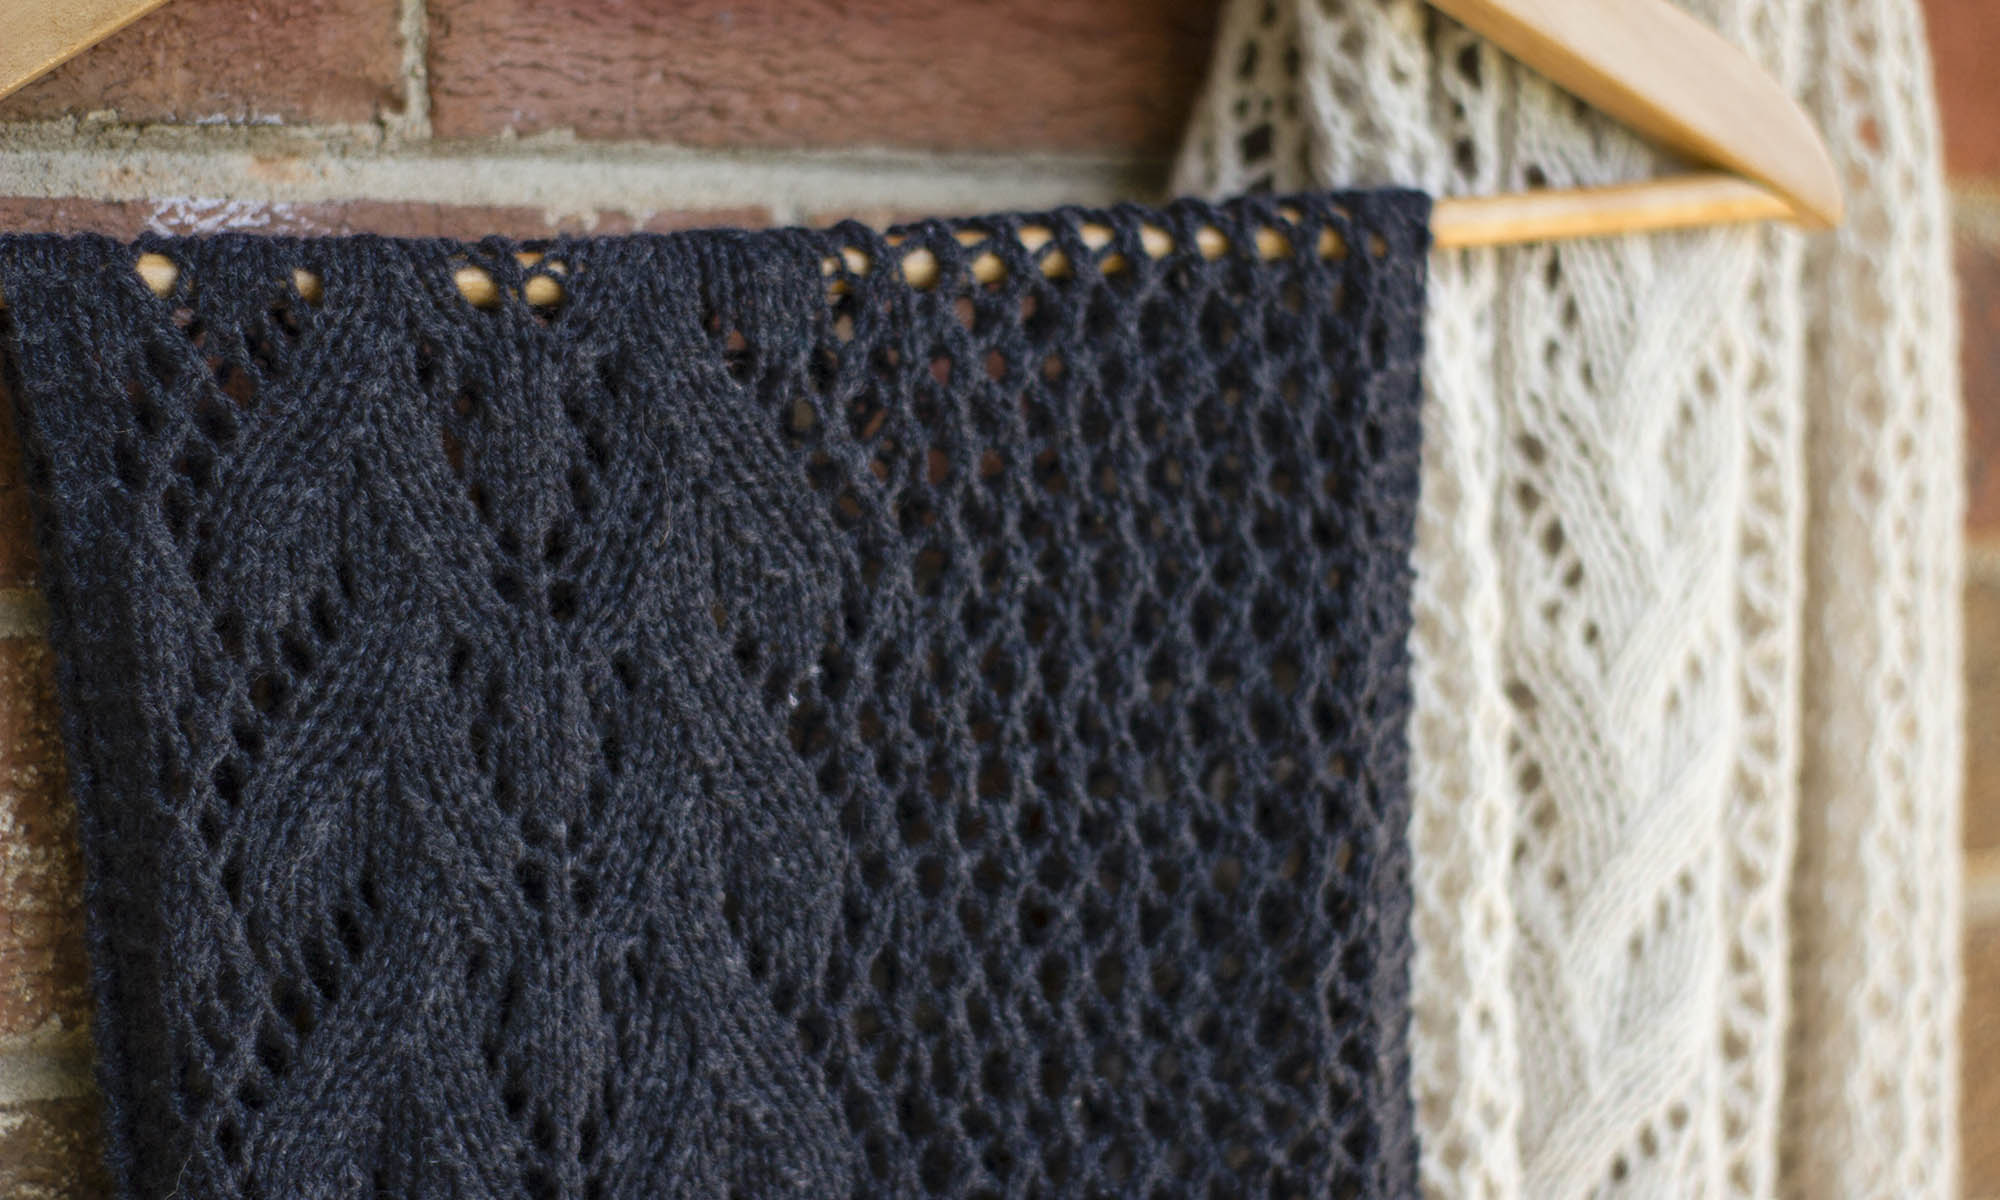
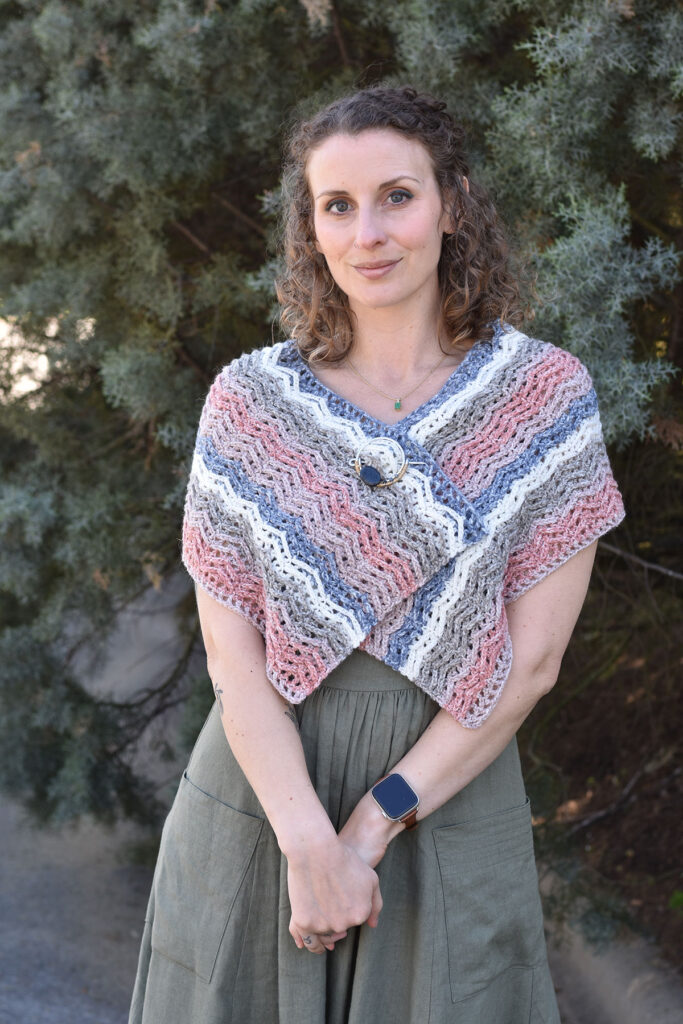
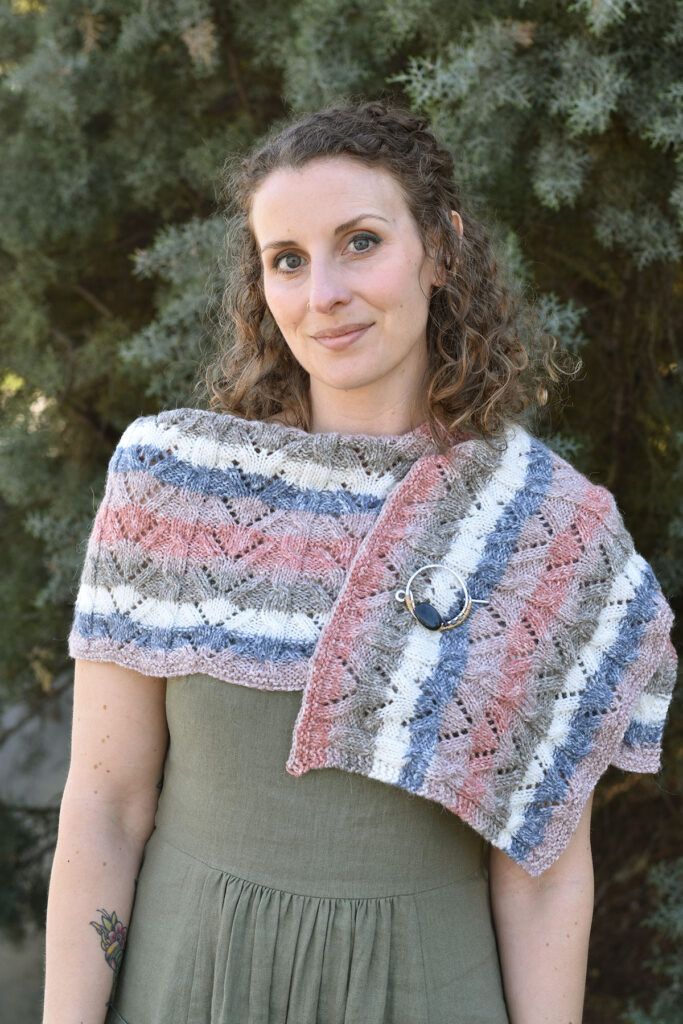
We know many of you are constantly creating projects for the people in your lives, and although that is INCREDIBLE, you deserve to make something special for yourself too! New patterns like Snapdragon and Foxglove in our Offbeat yarn are versatile accessories for both knitters and crocheters. These wraps offer rhythmic stitch patterns that are easy to work on while you binge your favorite show, and as a one-skein project, you can complete it in no time! If you’re looking for something other than a wrap accessory, just check out the ‘Patterns’ section of our website. With inclusively-sized garments and new patterns added nearly every week, we know you will find exactly what you’re looking for.
3. Grab A Kit For Convenience And Ease
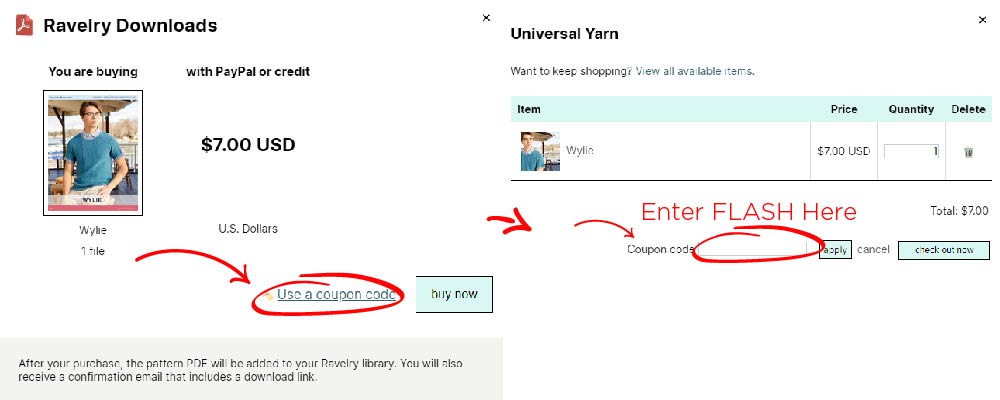
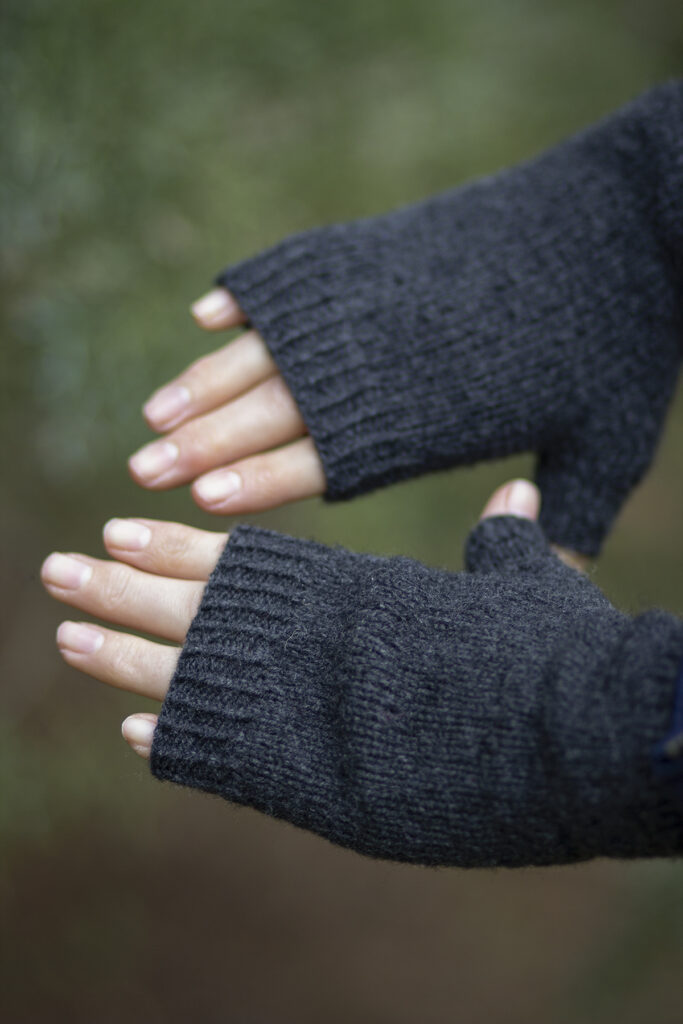
Don’t want to worry about choosing colors? Our ‘Kits’ section has already done it for you! Simply pick your favorite kit, add it to your cart, and you will receive a color printed copy of the pattern, plus the yarn required to complete the project. The Onyx Mitts kit are a wonderfully relaxing project for any knitter. Made in 100% cashmere, you’ll definitely want to wear them every time the weather is chilly!
4. Level Up Your Tools and Accessories Game
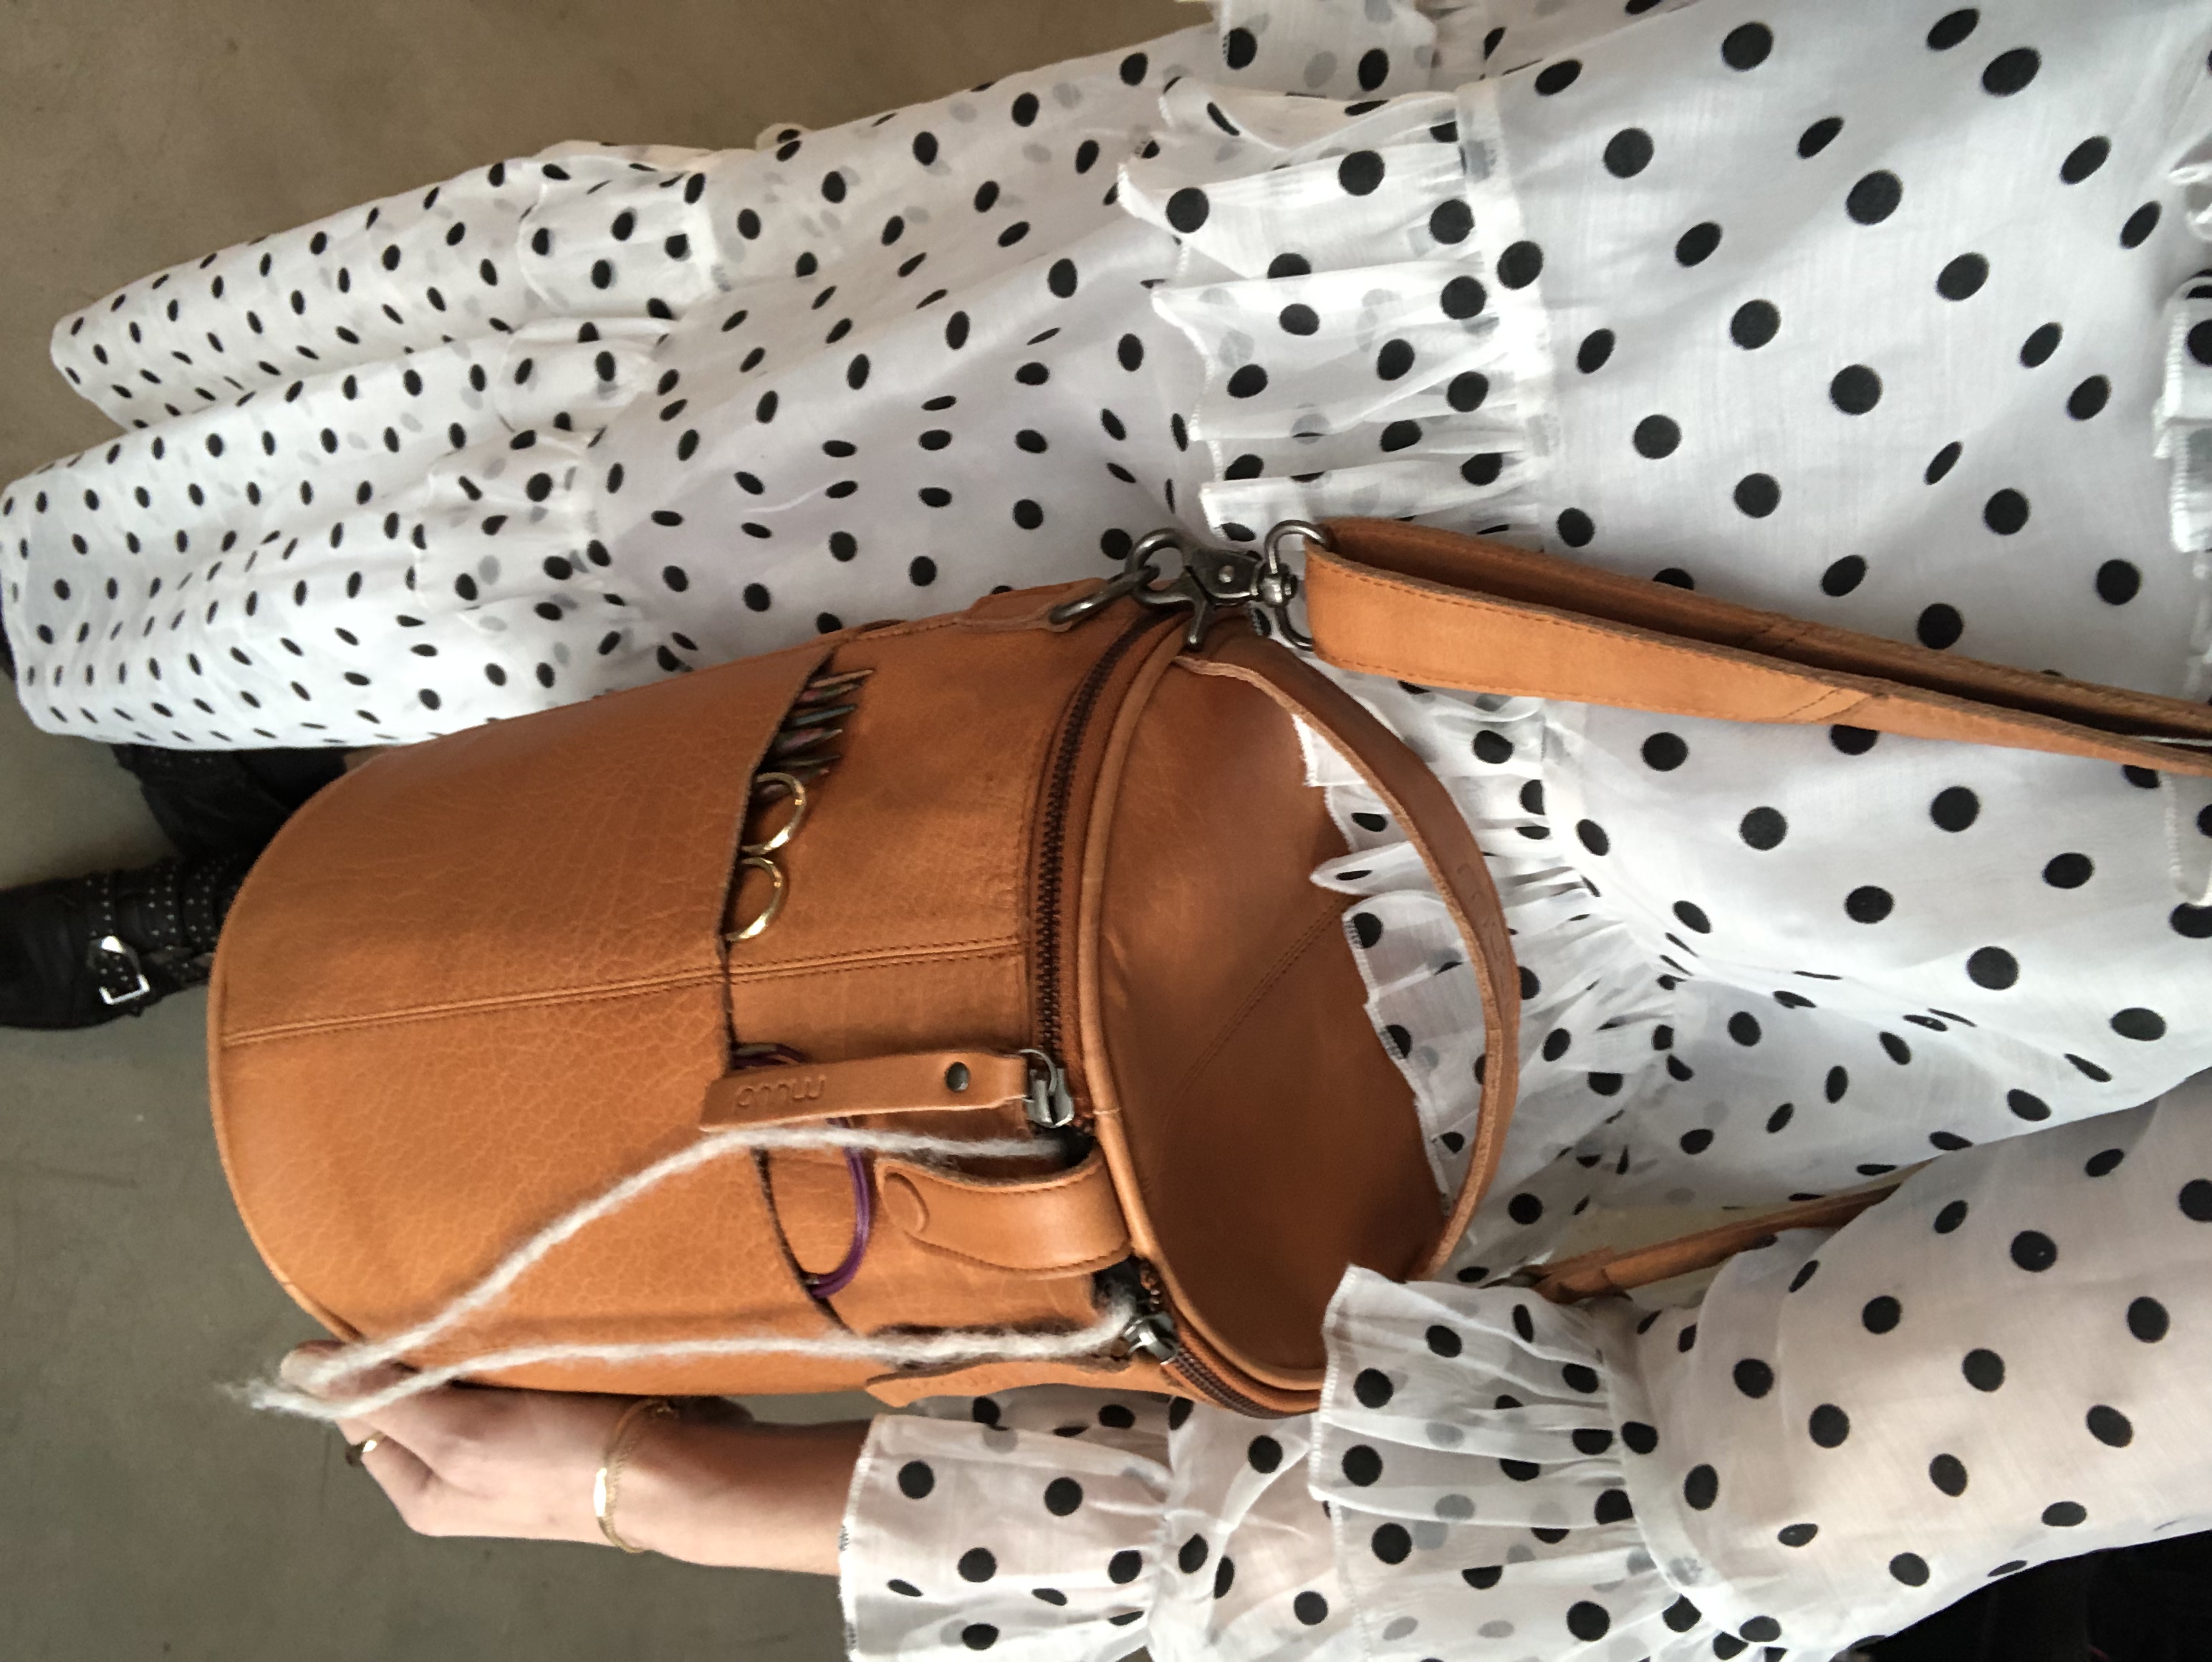
As fiber artists, we all have many tools and supplies needed to create the projects we love. Having storage solutions that are not only practical, but also stylish makes crafting on the go and at home easier and more fun! Muud is an accessories brand from Denmark that designs modern and functional genuine leather bags and cases for crafting and daily life. From notions cases like Malmo (perfect for your tape measure), to large daily use bags like the Sara tote, they have something for everyone’s needs. Among our best sellers is the Saturn XL project bag, perfect for storing your yarn, needles, notions, and WIP.
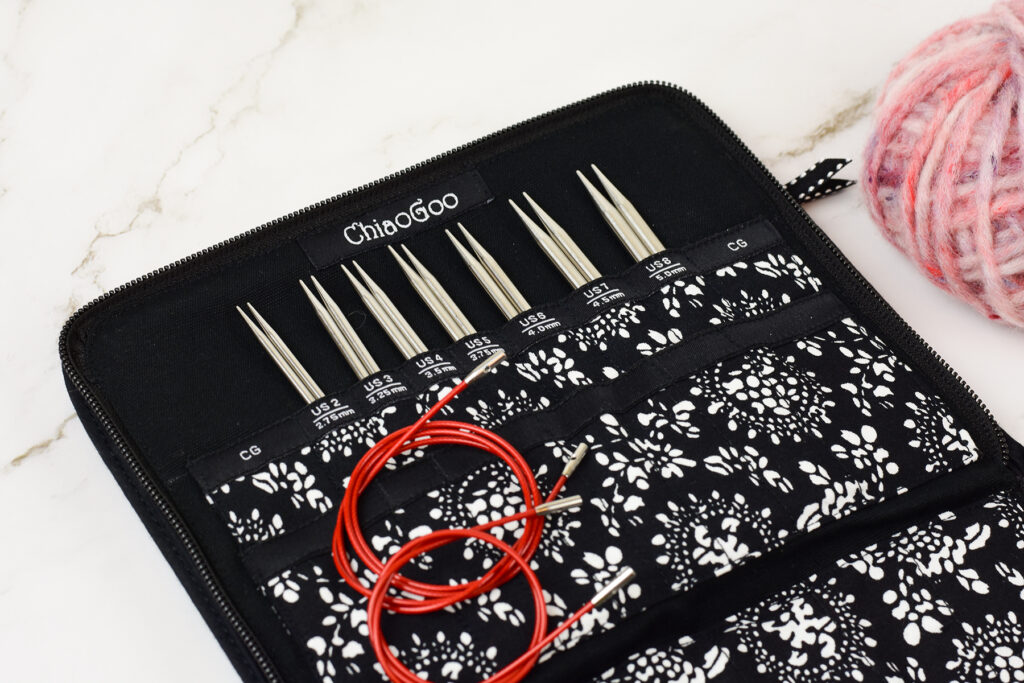
For those reading this blog that love to knit, ChiaoGoo offers high quality stainless steel knitting needles in both fixed circular, interchangeable circular, and shortie sizes. These needles are an investment that will last you many years of beautiful projects to come.
I hope this post has given you some great inspiration for your next project, and that you are eager to treat yourself to something special – you absolutely deserve it. Again, to all of the mother figures in our lives, thank you for being you. Have a wonderful Mother’s Day and year to come.
Happy Crafting,
Aubrey