
Have you ever had that moment in a yarn store when you find yourself standing before a wall of stunning sock yarn? Solid-color or variegated – the colorful skeins just call your name. As you stand there, you think about the magic of sock yarn. Each skein boasts generous yardage, so a single skein is plenty for shawls, hats, mitts, cowls, and most obviously, socks! I could go on and on about the wonderful sock yarns we offer. We really have something for everyone, but today I wanted to focus on a perfect, potato-chippy, self-patterning yarn: Pix.
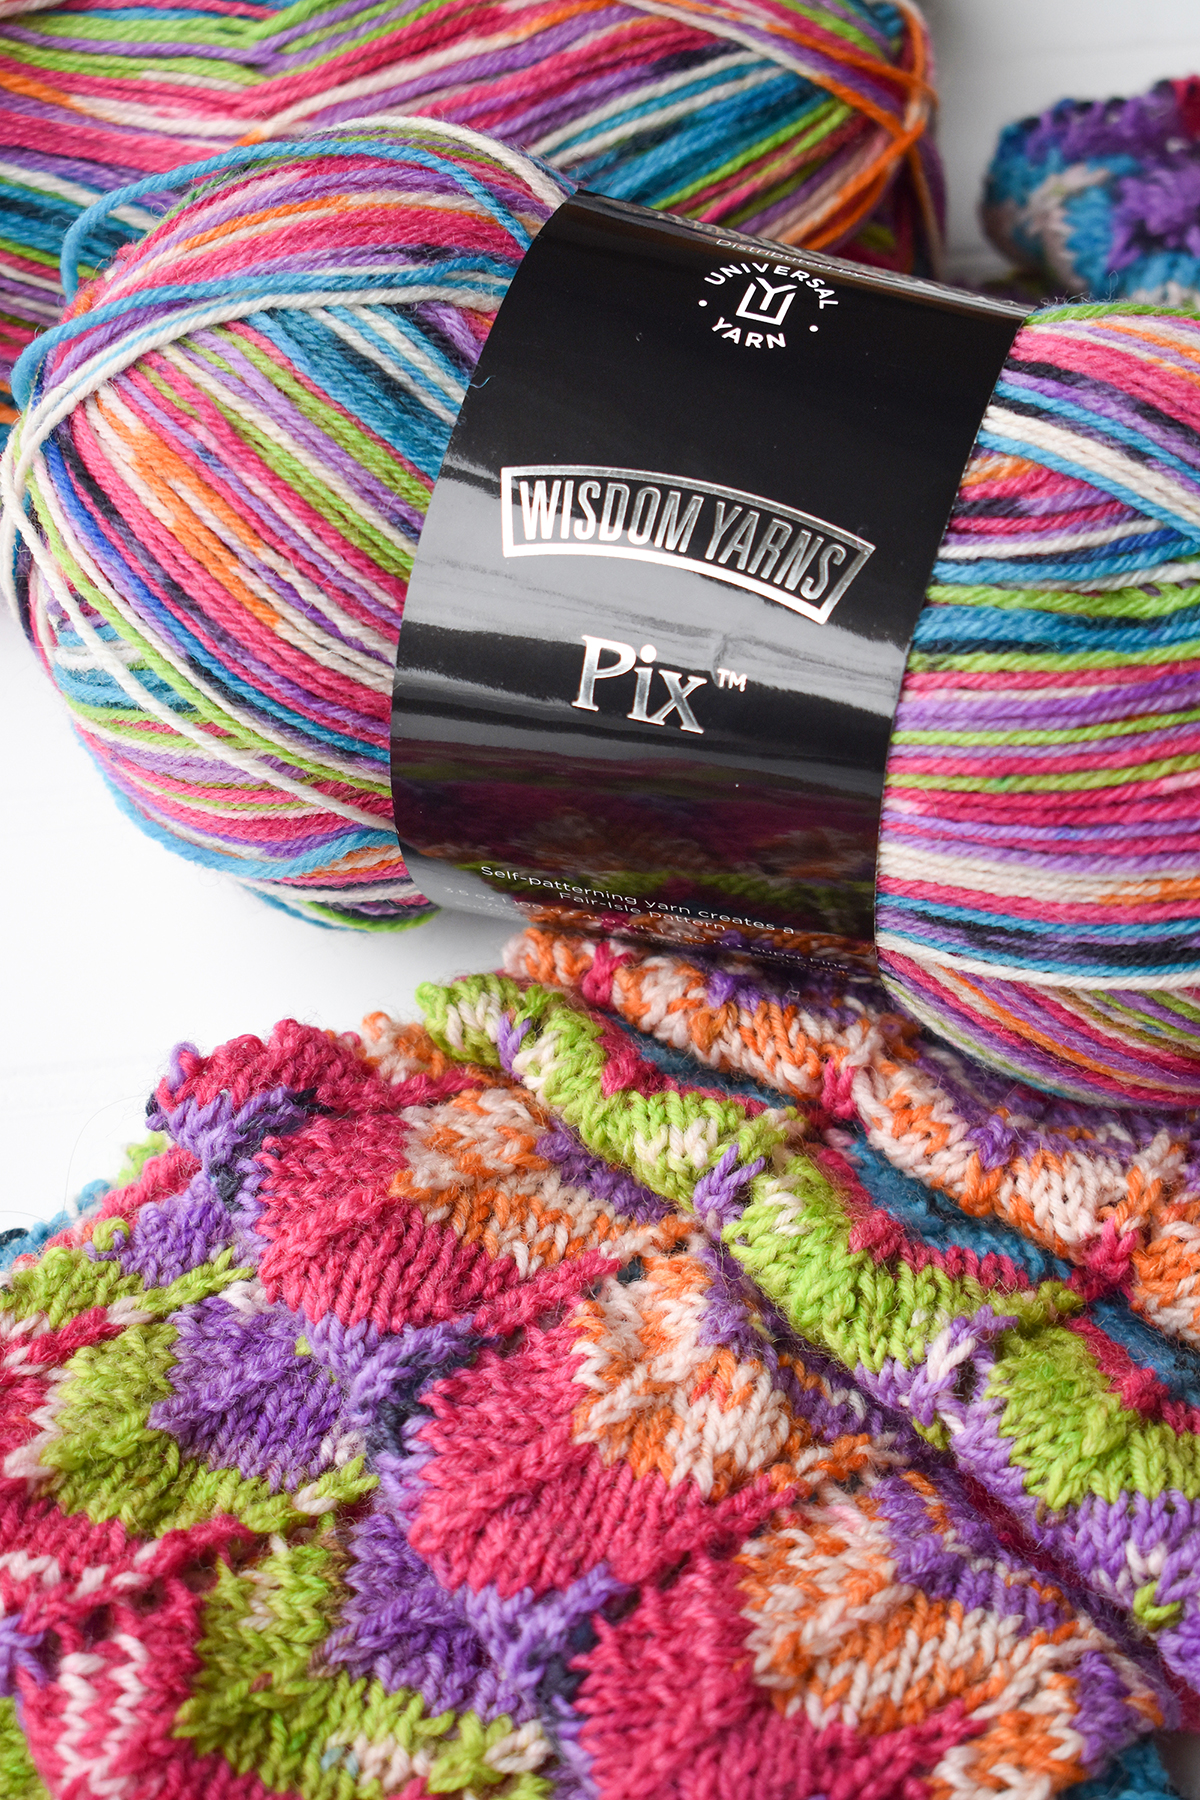
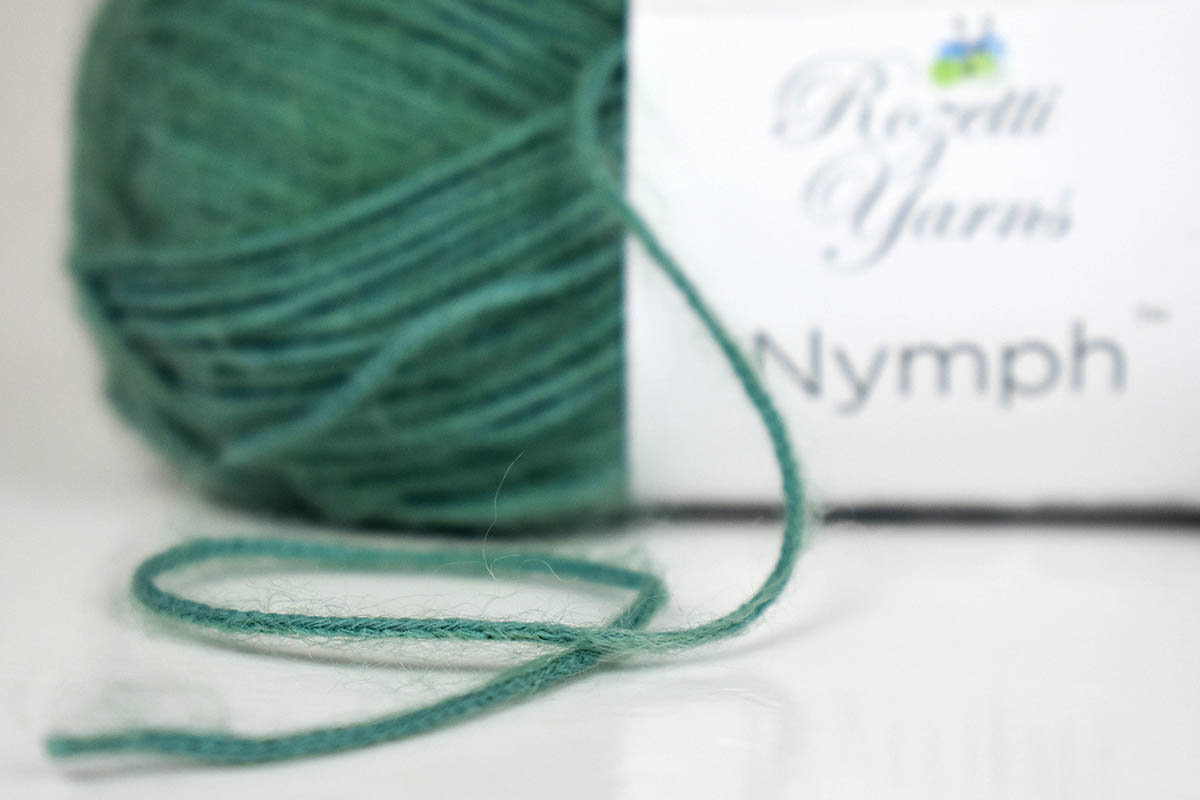
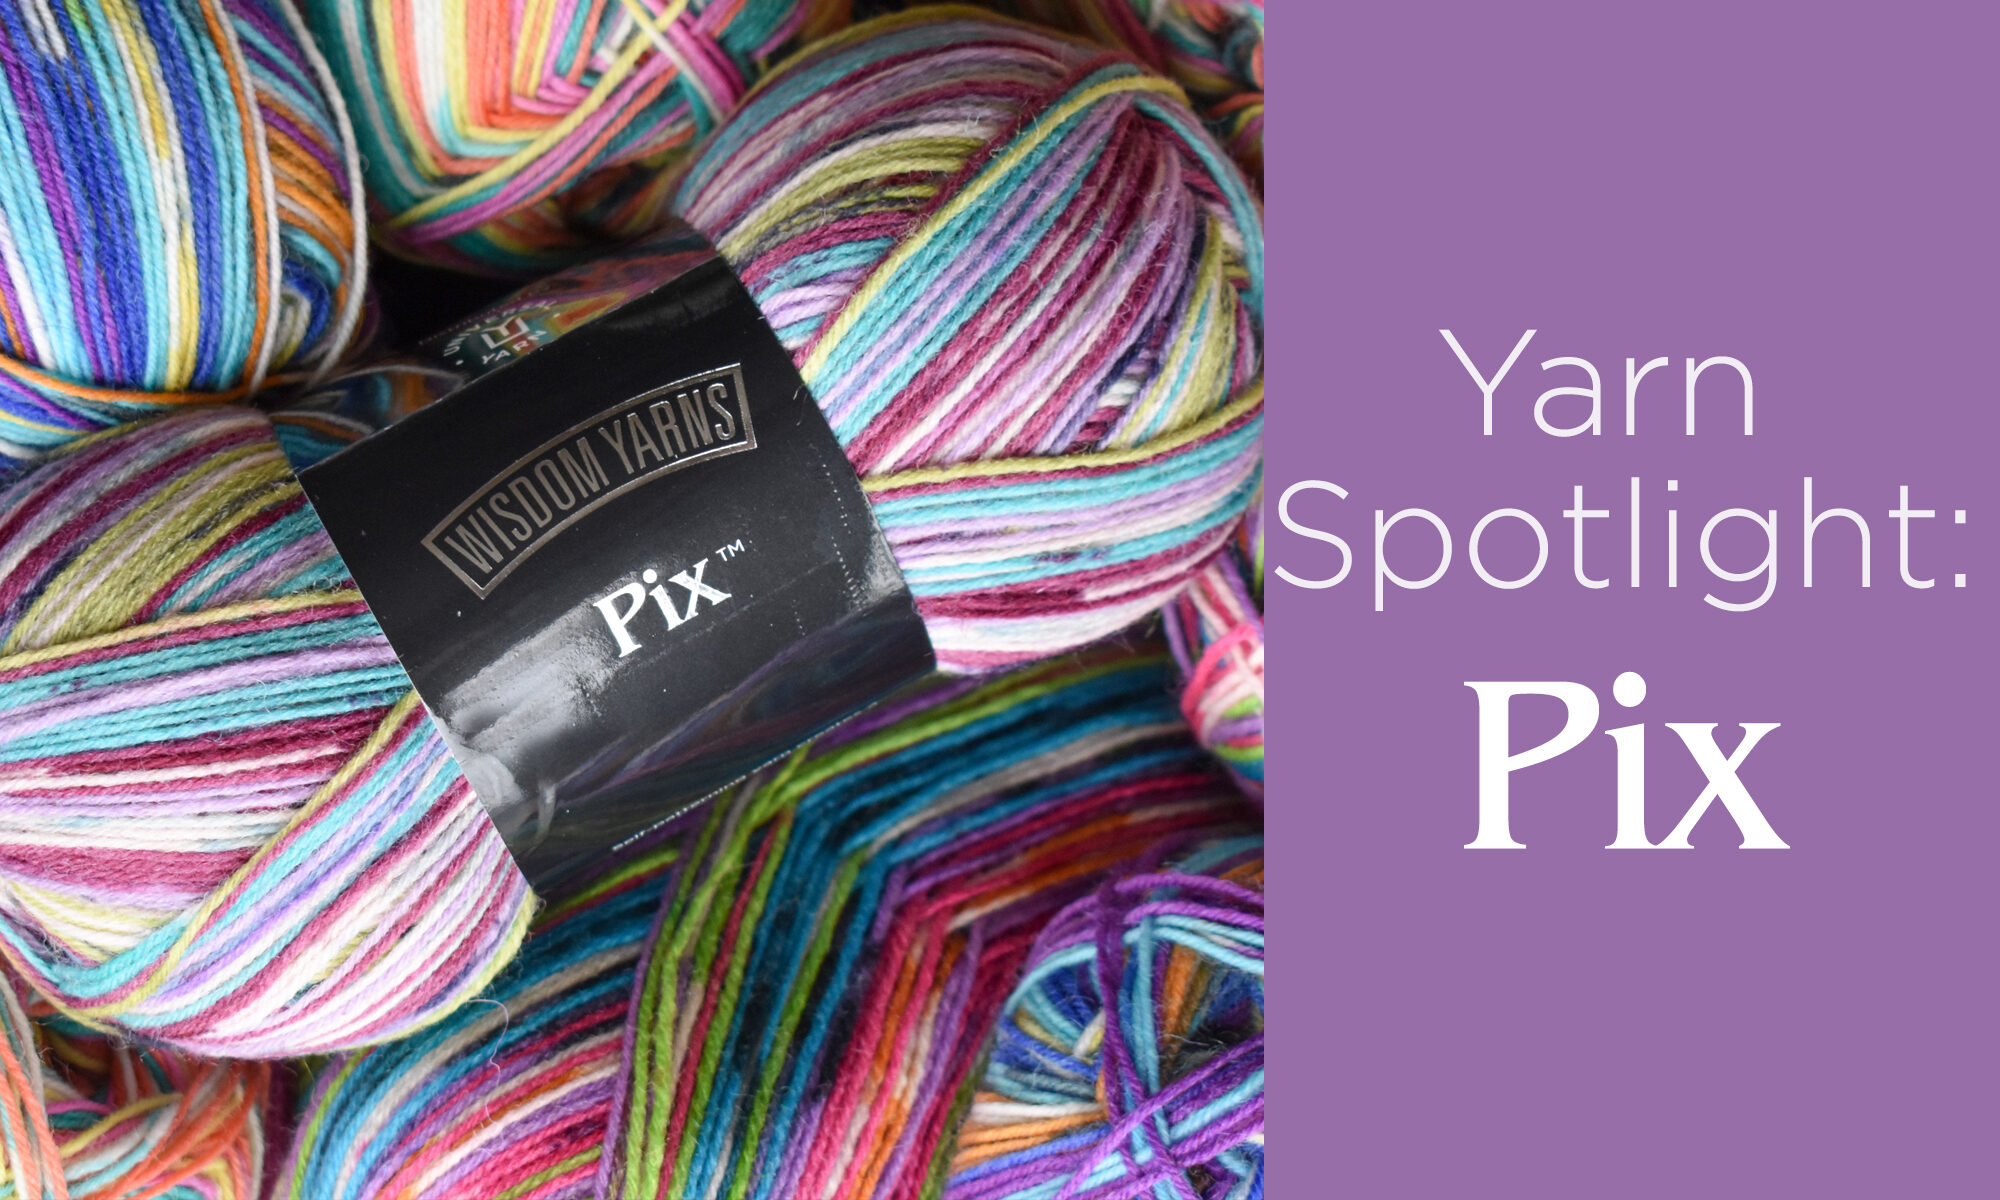
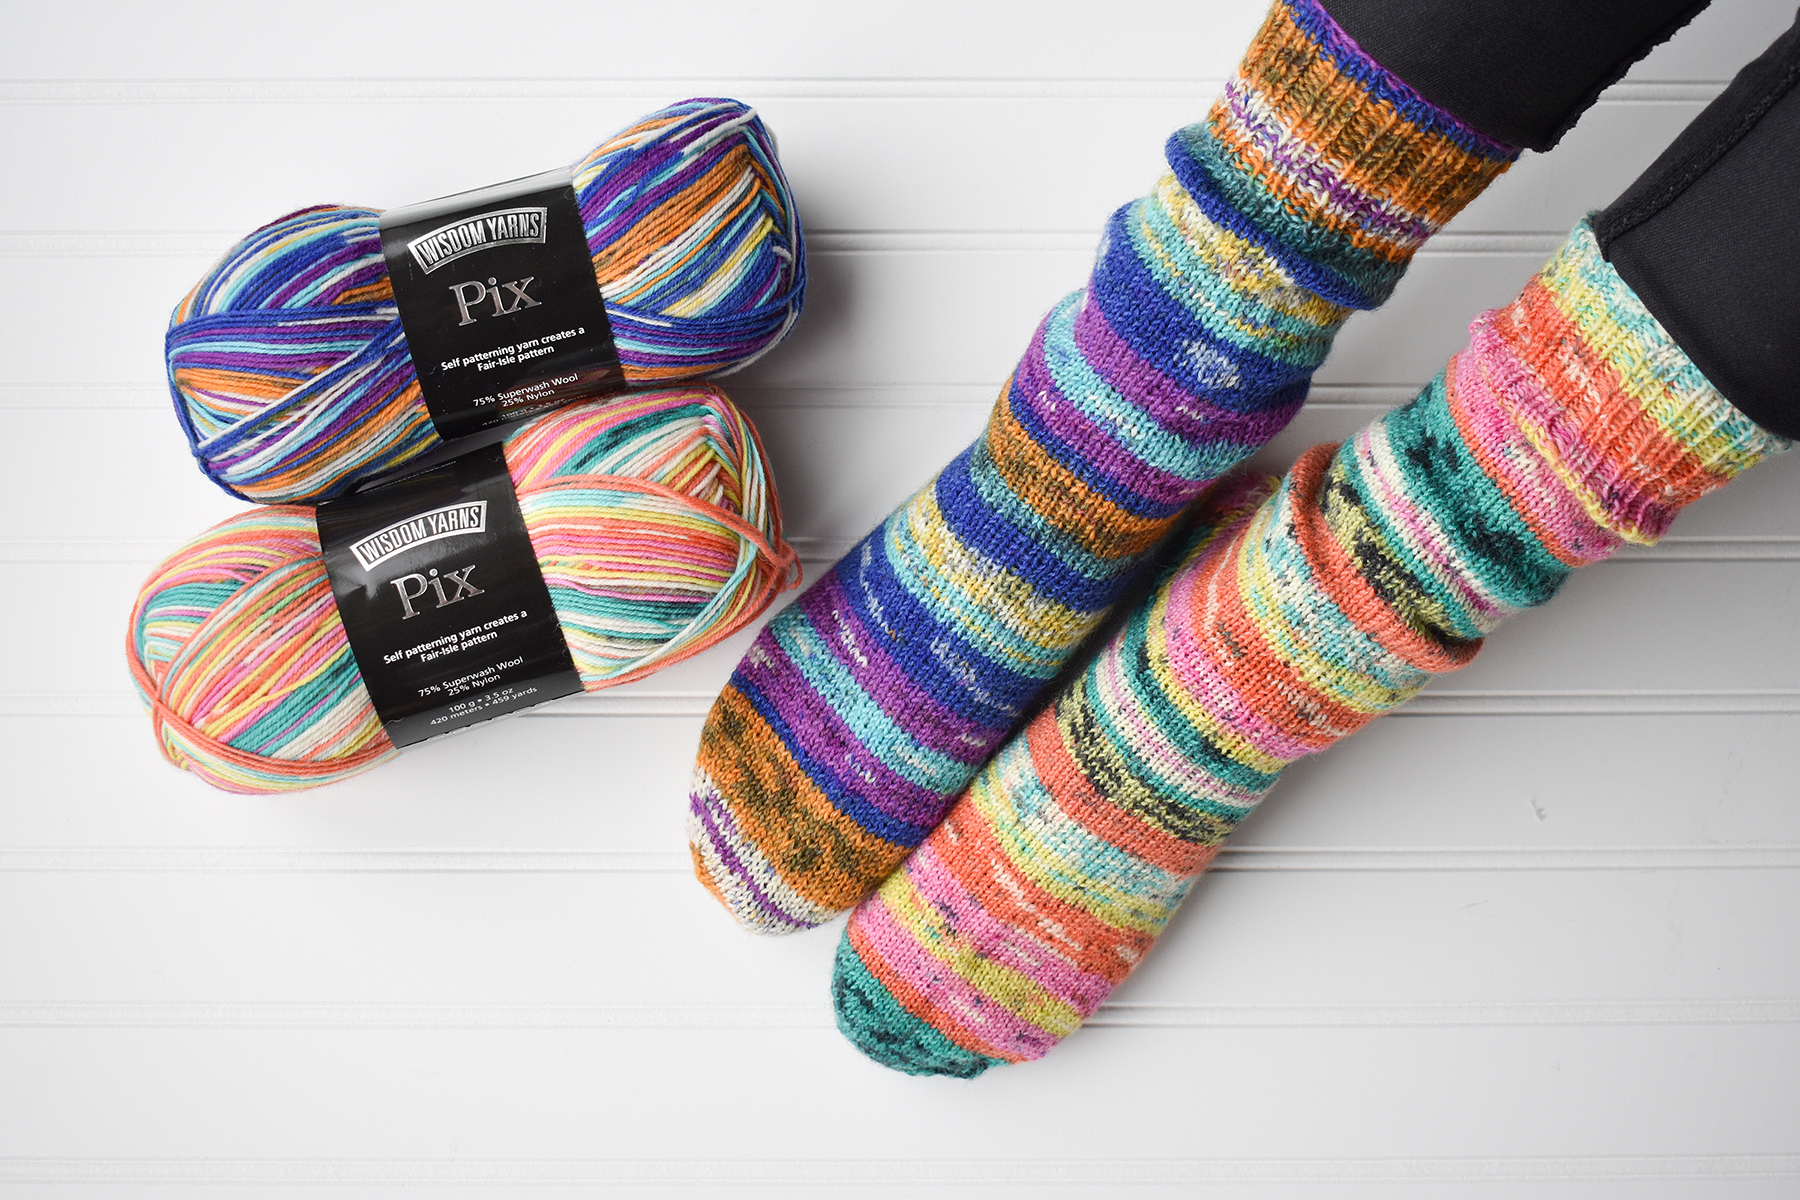
Pix features a classic sock yarn base: a blend of 75% superwash wool and 25% nylon. Both fibers are incredibly durable with just the right amount of bounce and memory. It is a smooth, worsted-spun 4-ply yarn that boasts crisp, well-defined stitches. These characteristics make Pix perfect for hard-wearing accessories. But what really makes this yarn stand out? Well, it’s a self-patterning yarn in a playful array of colors!
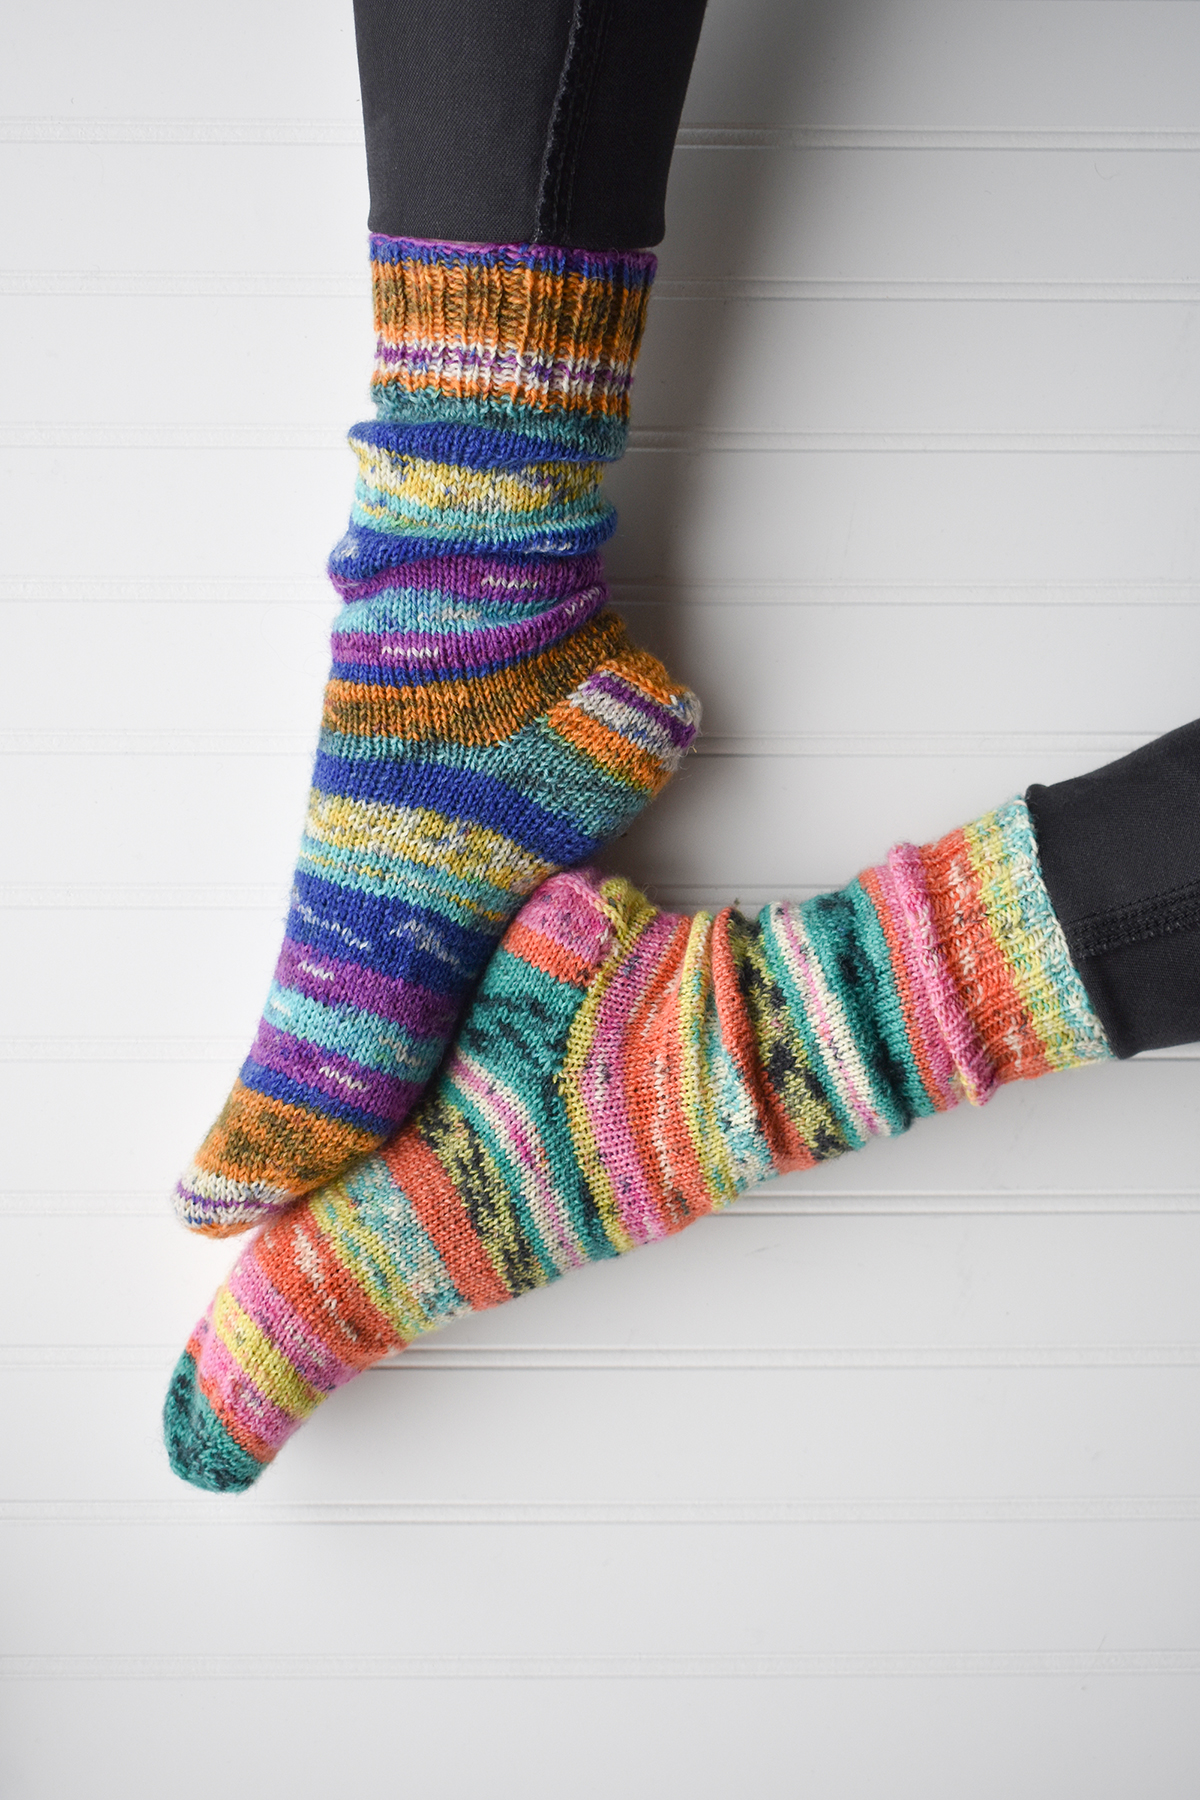
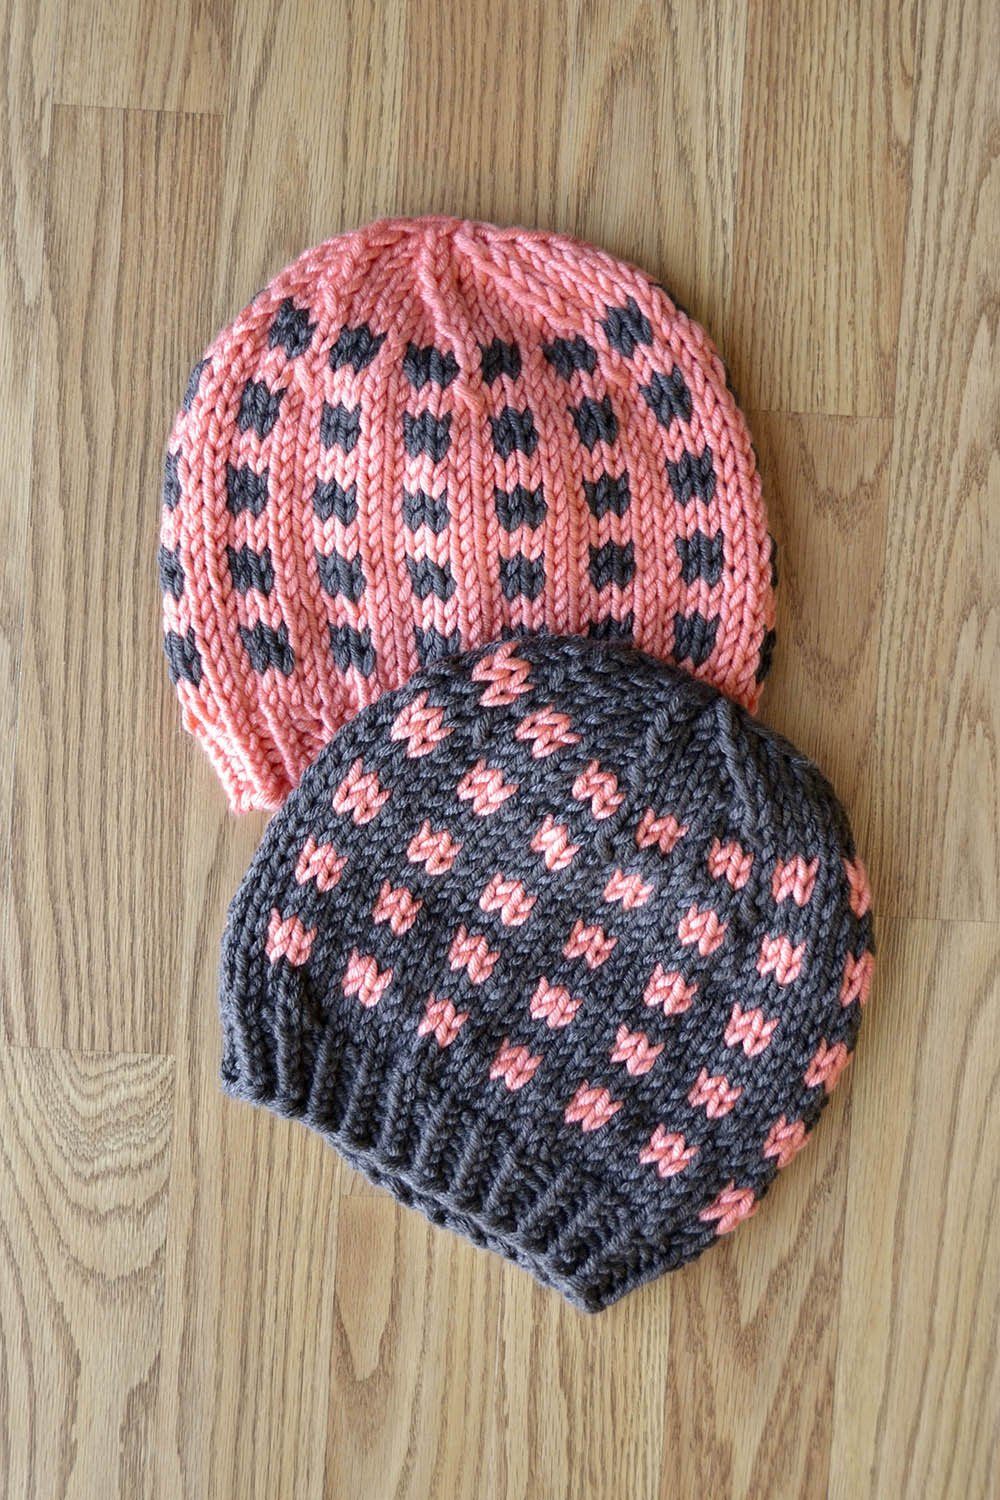
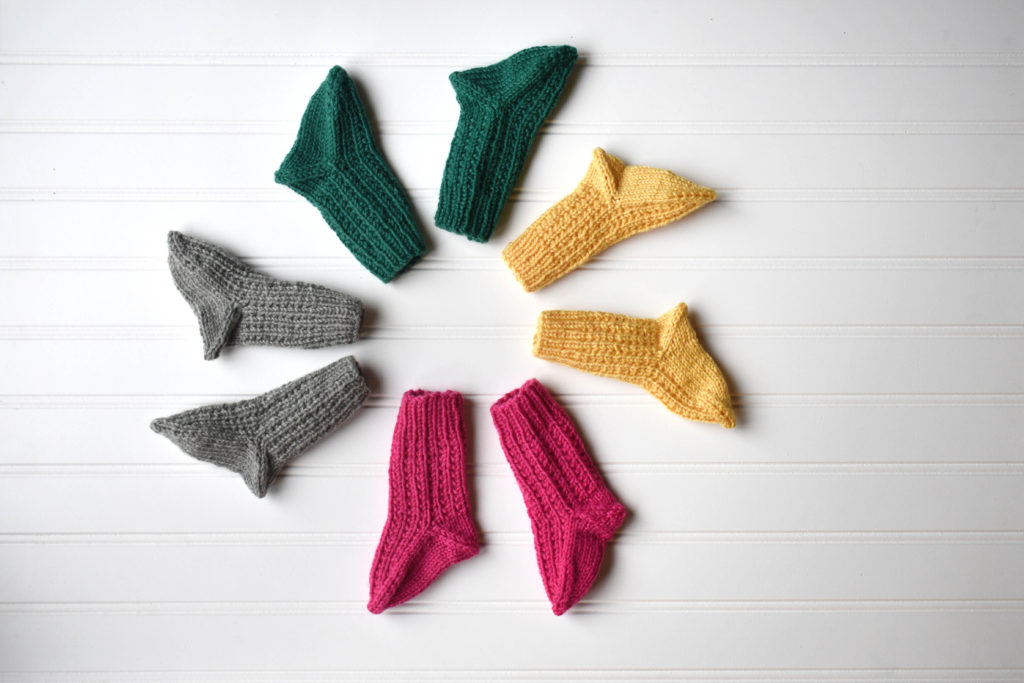
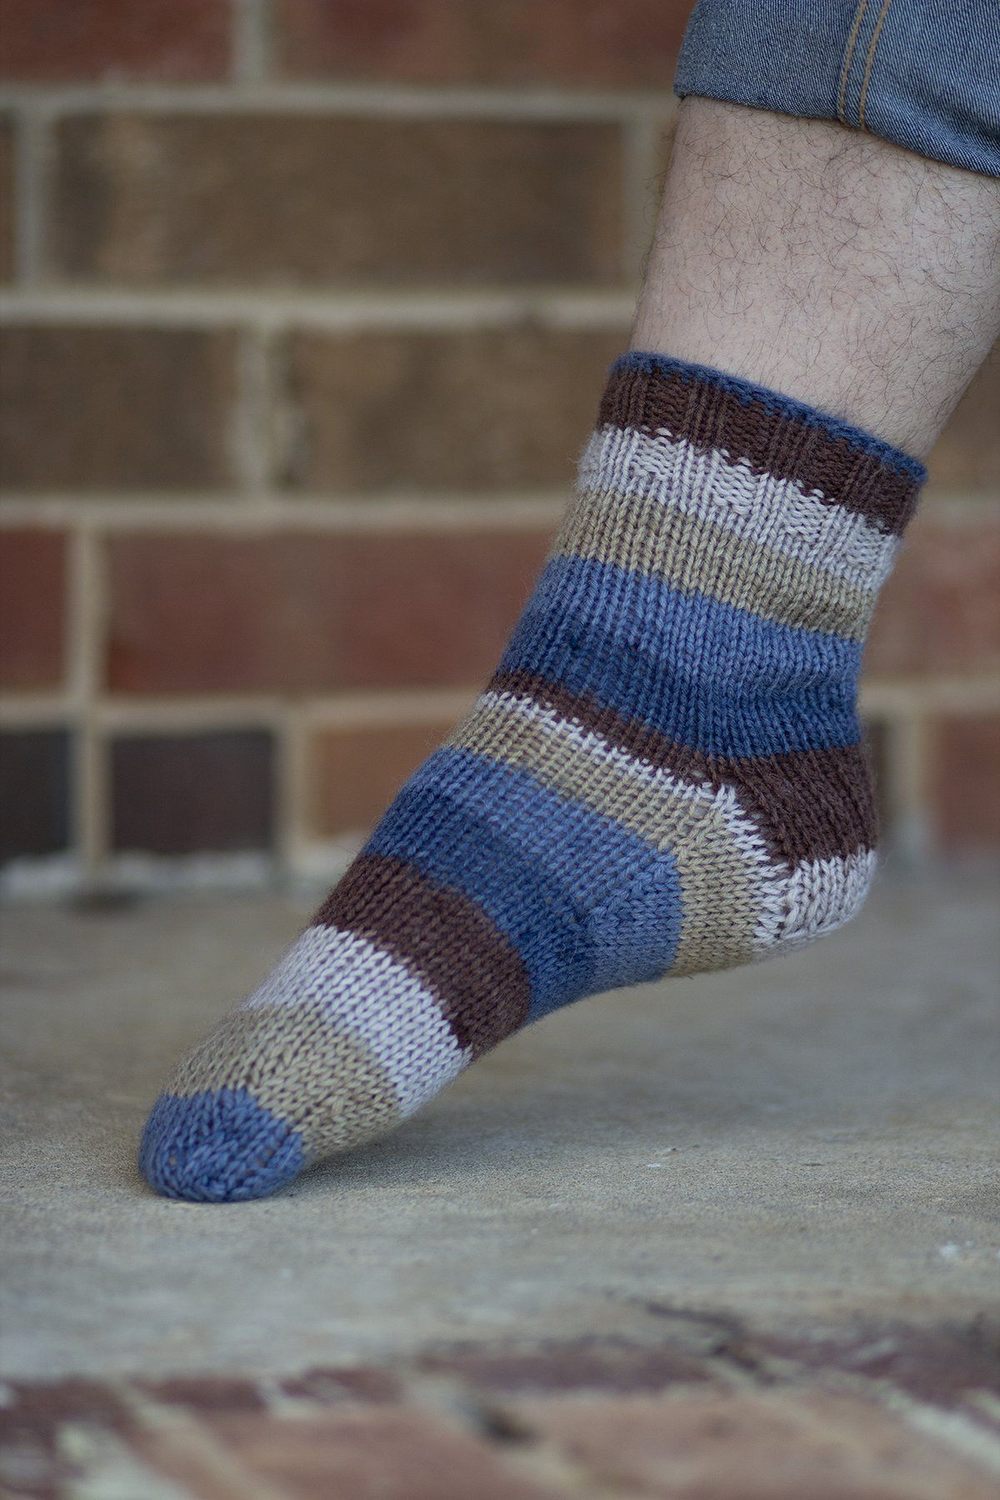
The simplest and most straight-forward way to use Pix is for knitting socks. We prefer a nice vanilla sock because it allows the colorful patterns to shine. Many sock knitters have their own preferences and recipes for plain Stockinette stitch socks, but if you aren’t armed with one, we have you covered. The free Pix Simple Sock (pattern link) is knit in the round from the toe up. It features a classic K2, P2 Ribbed cuff.
Pro-tip: I prefer socks that are sisters and not twins, but if you want your socks to match perfectly you’ll need to wind off the skein so you start the second sock in the same section of the print.
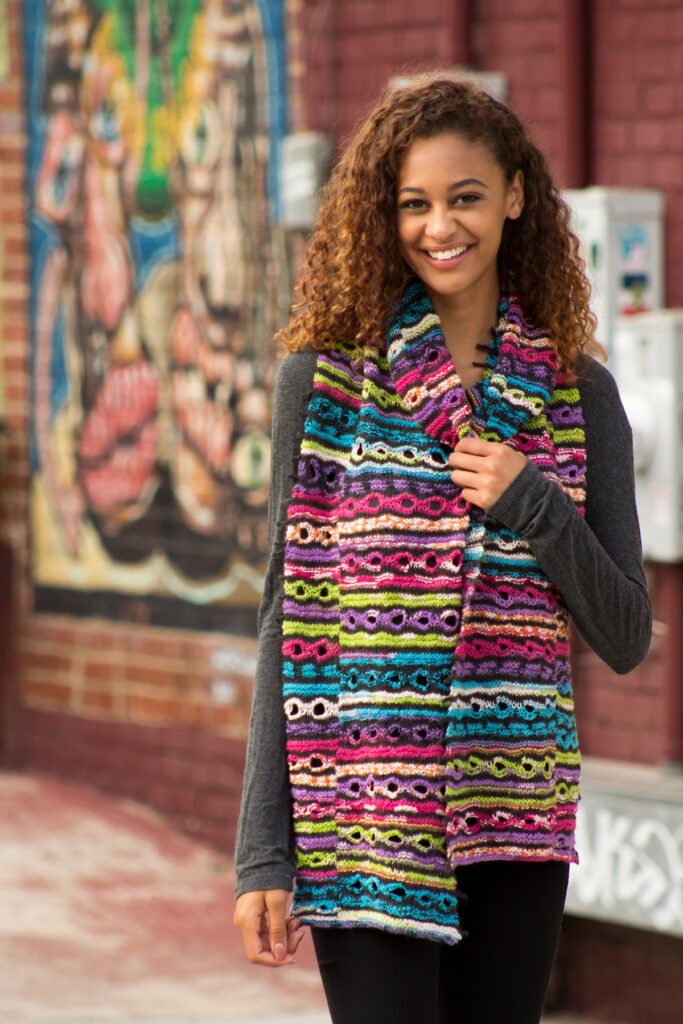
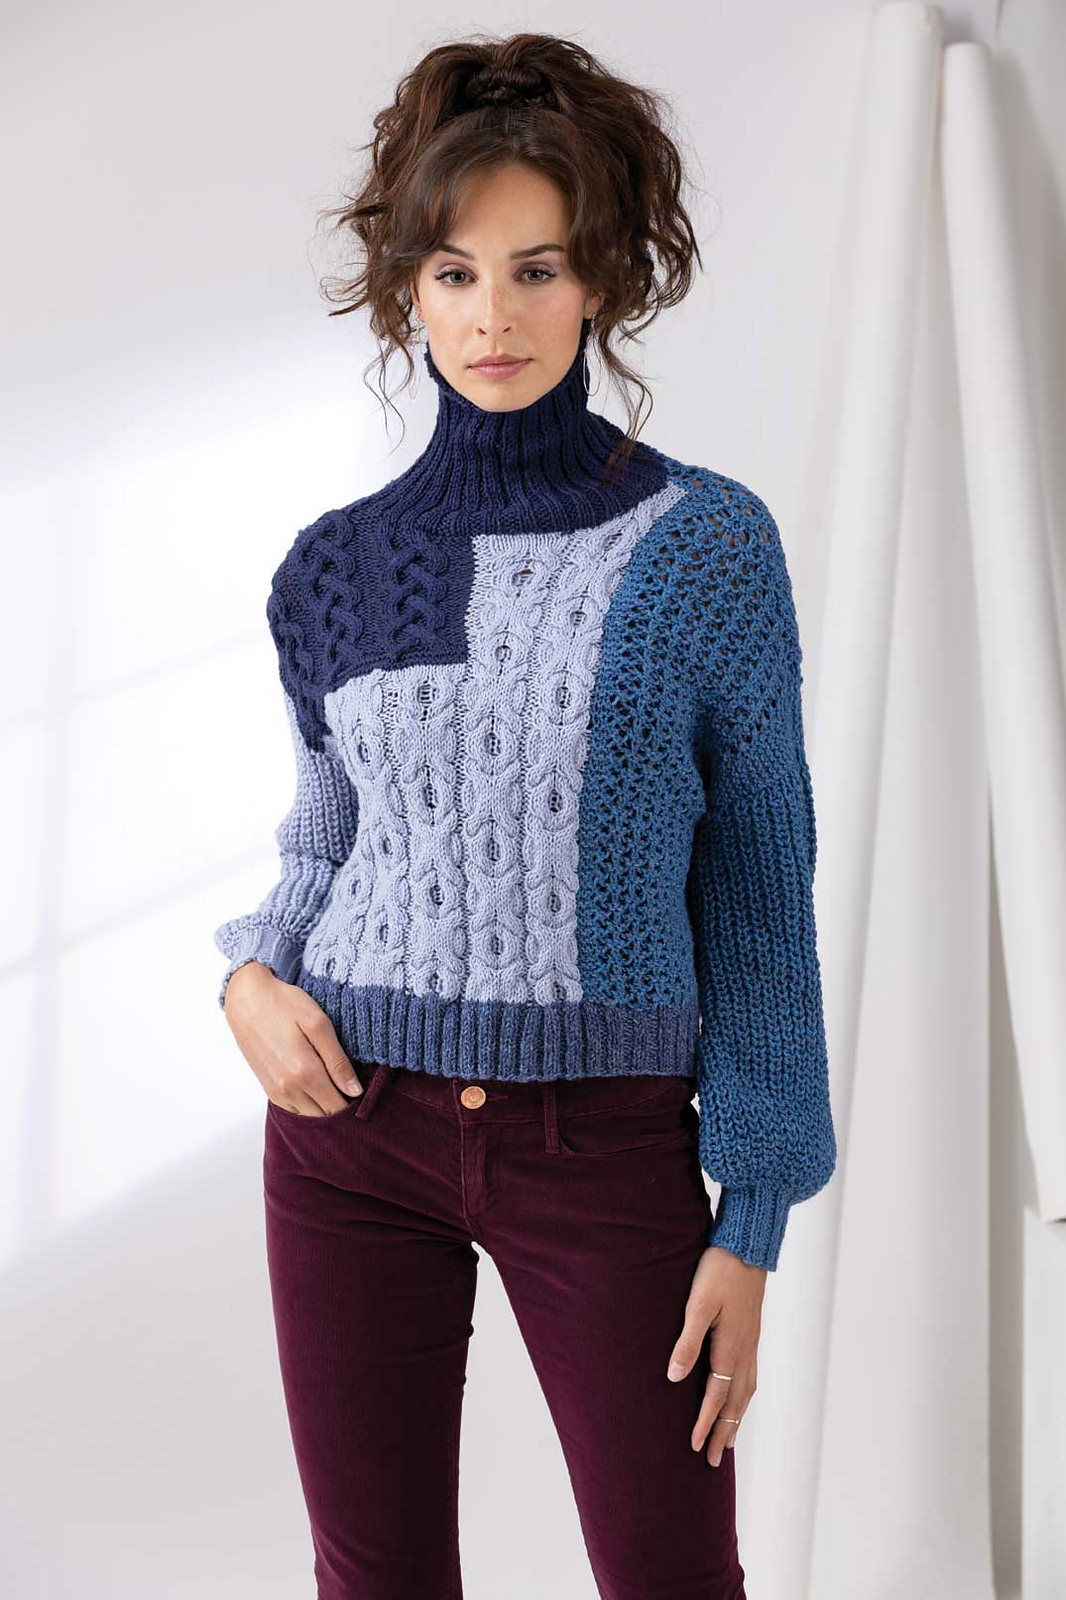
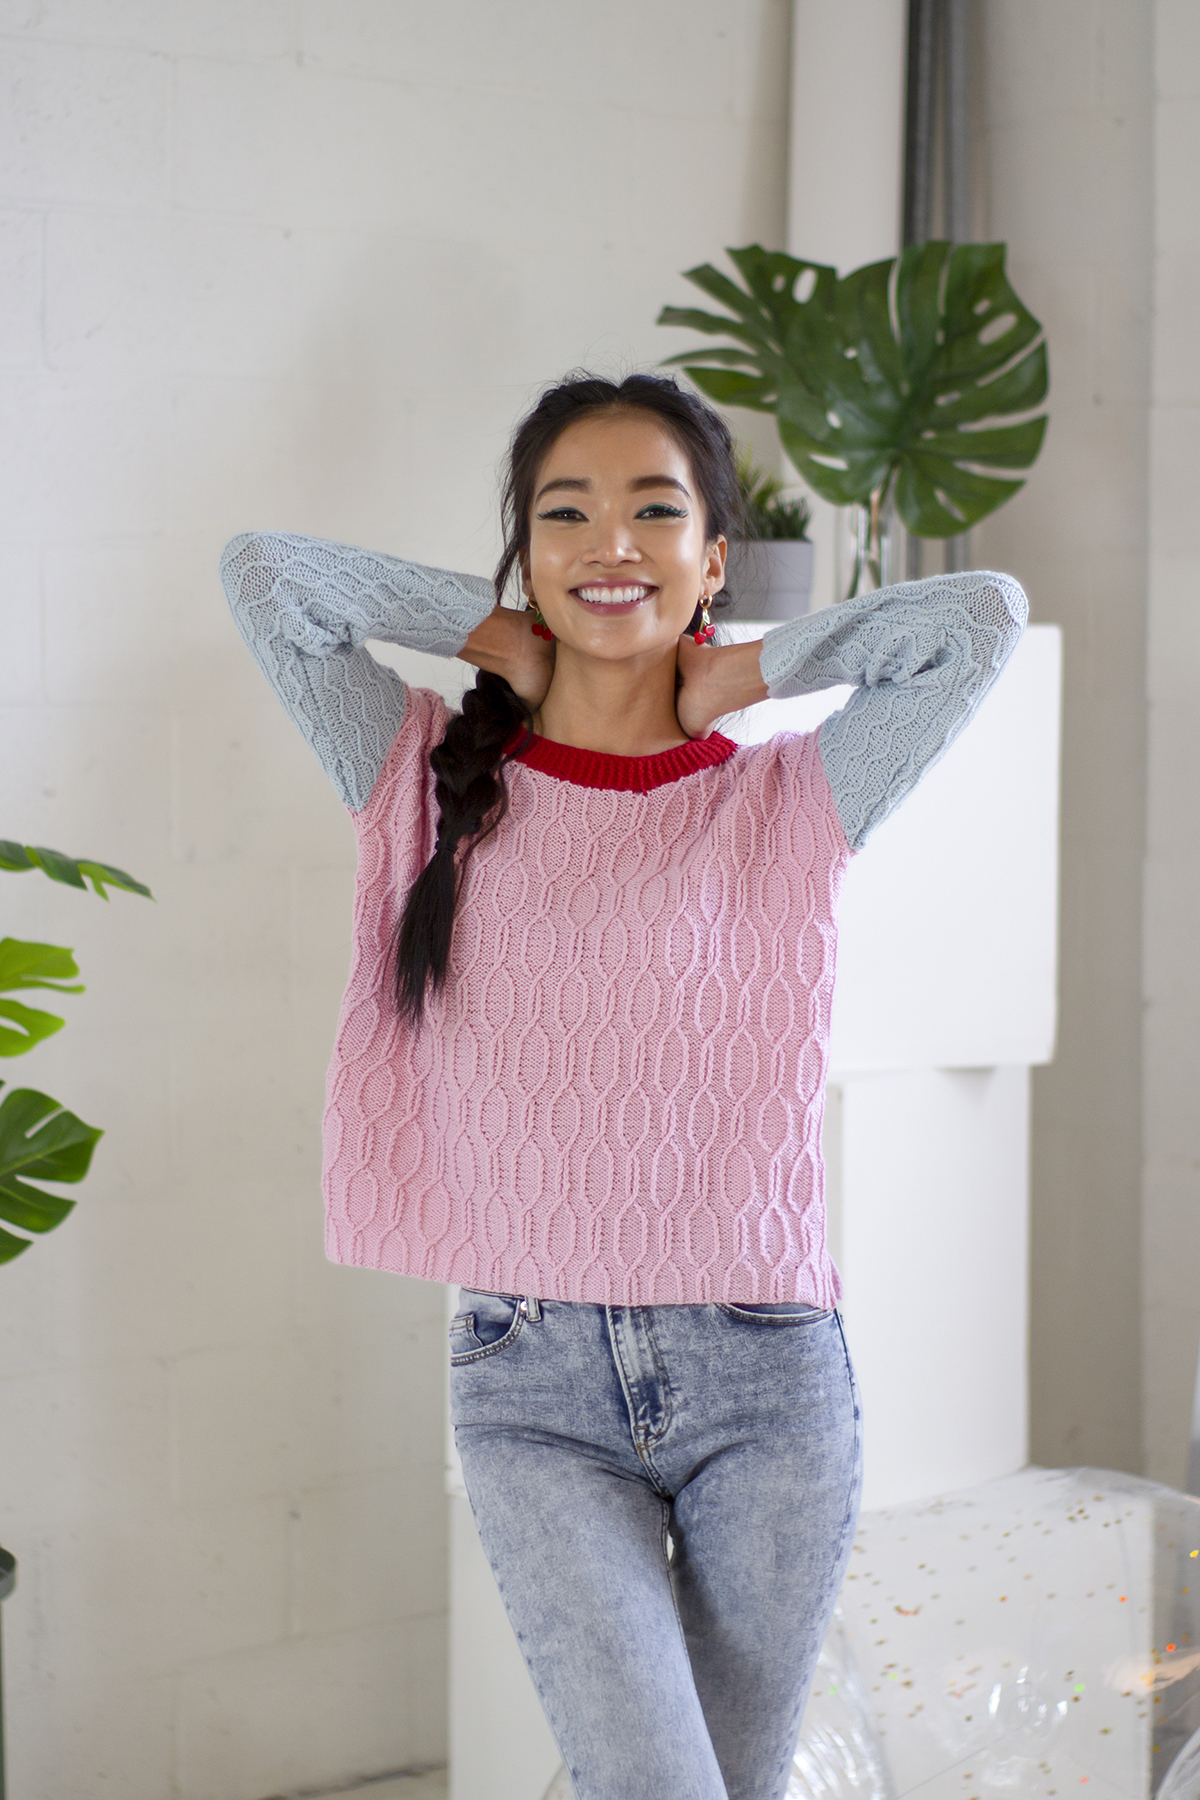
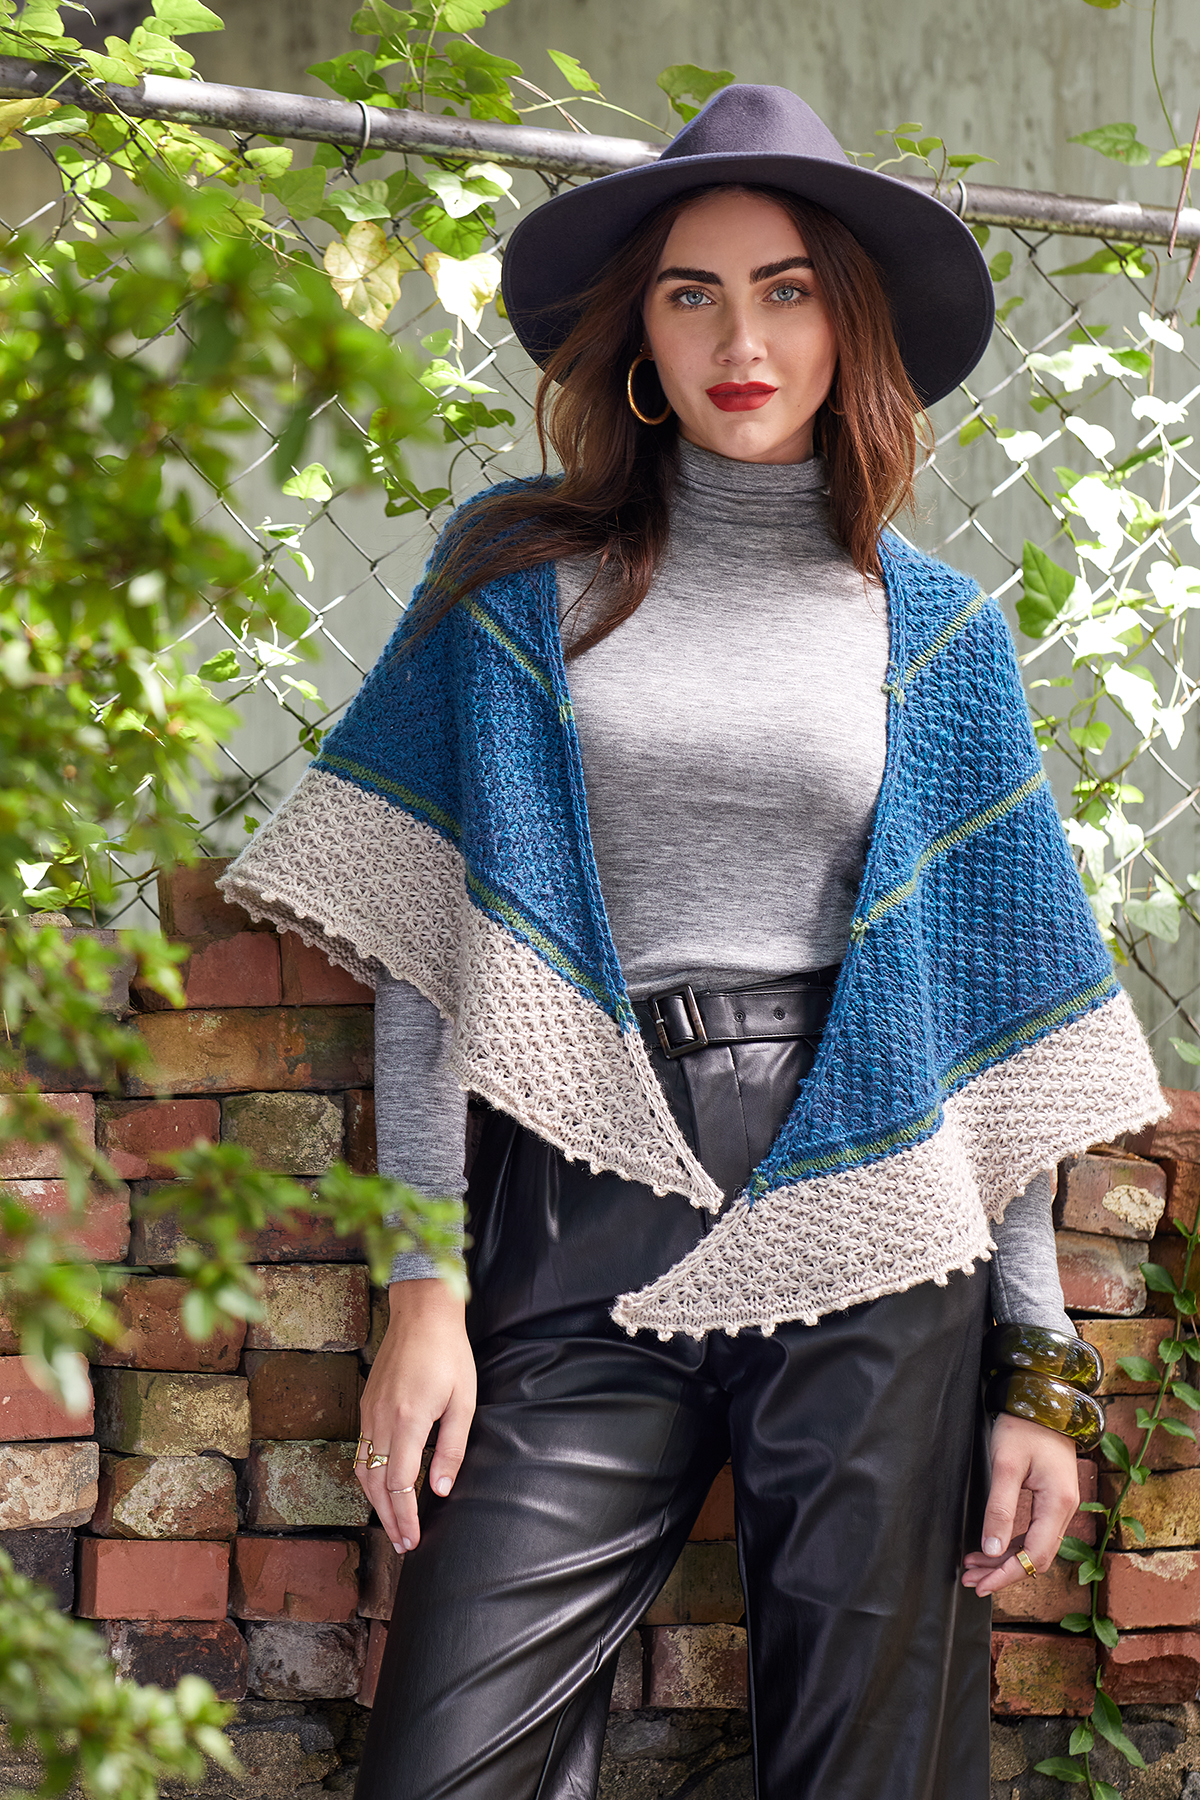
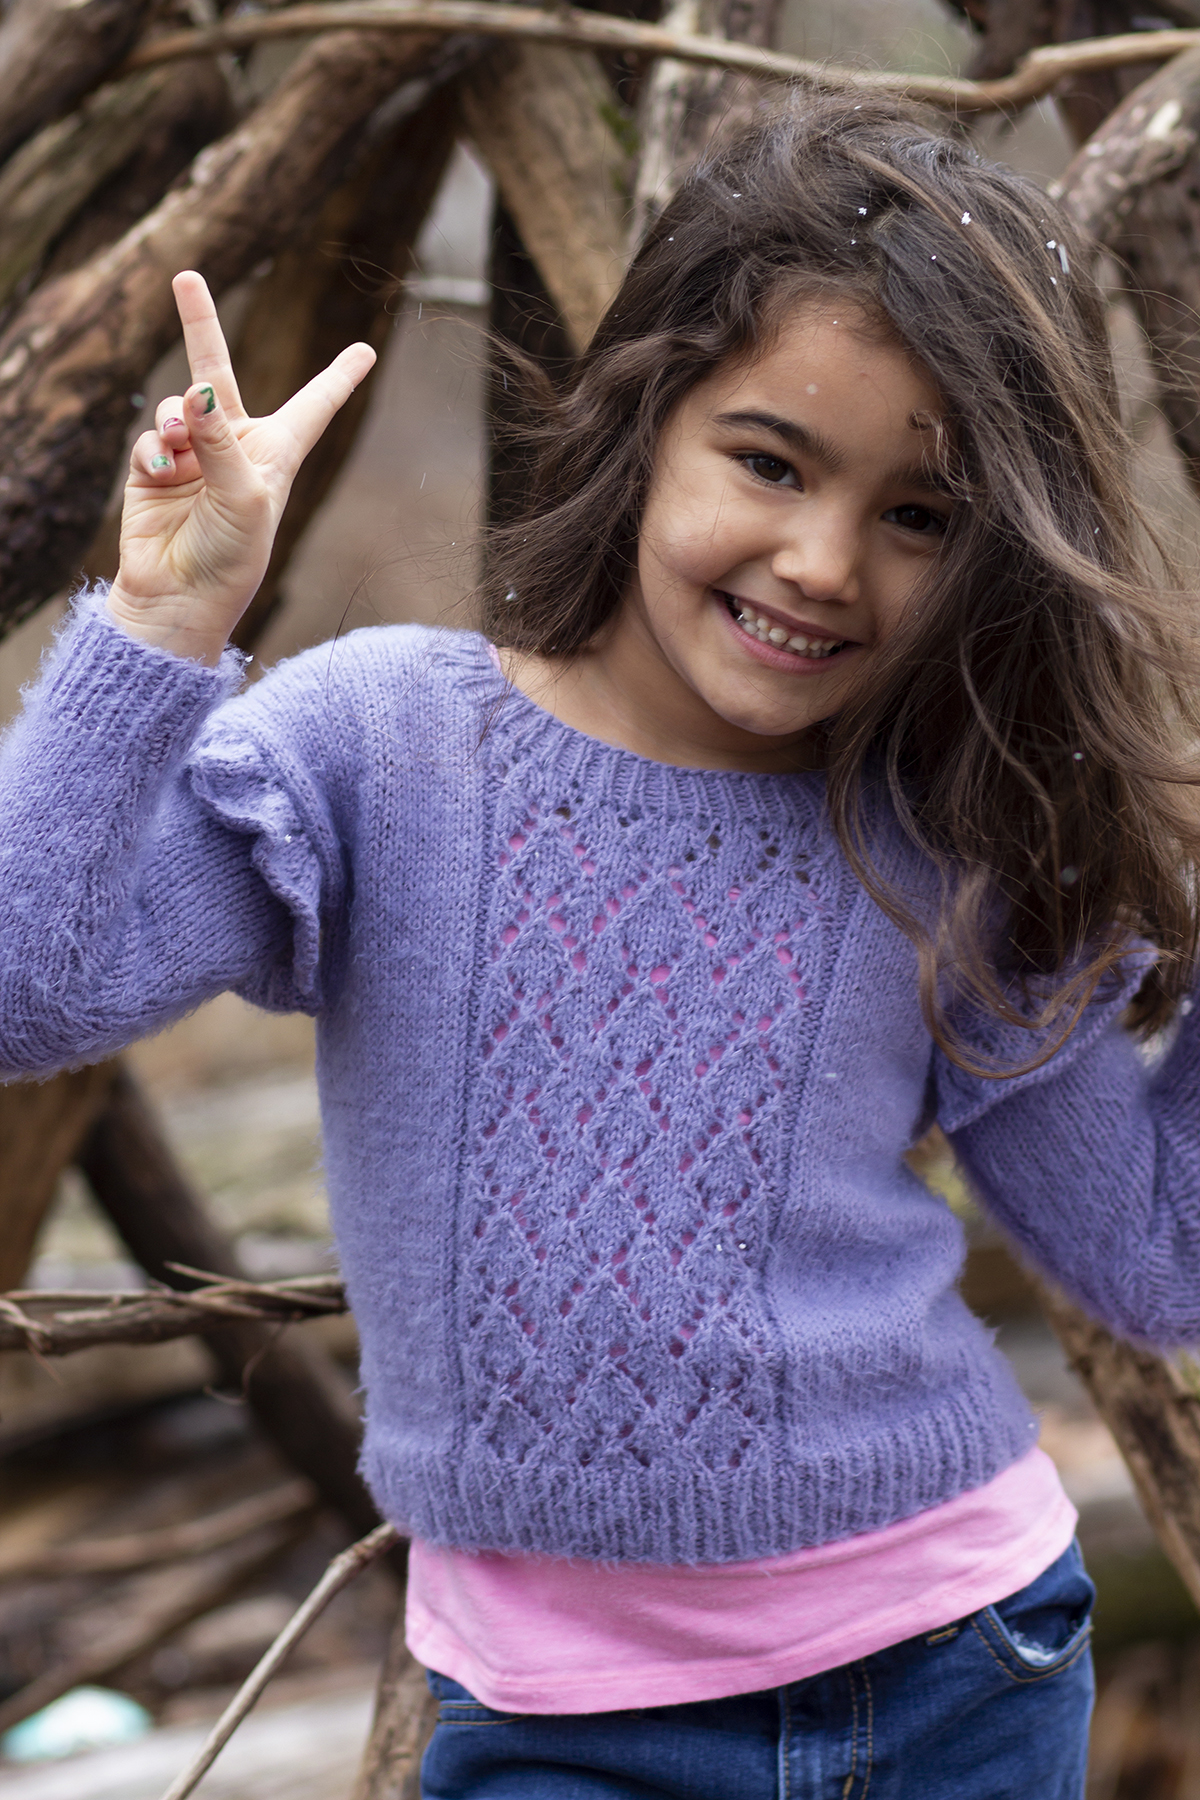
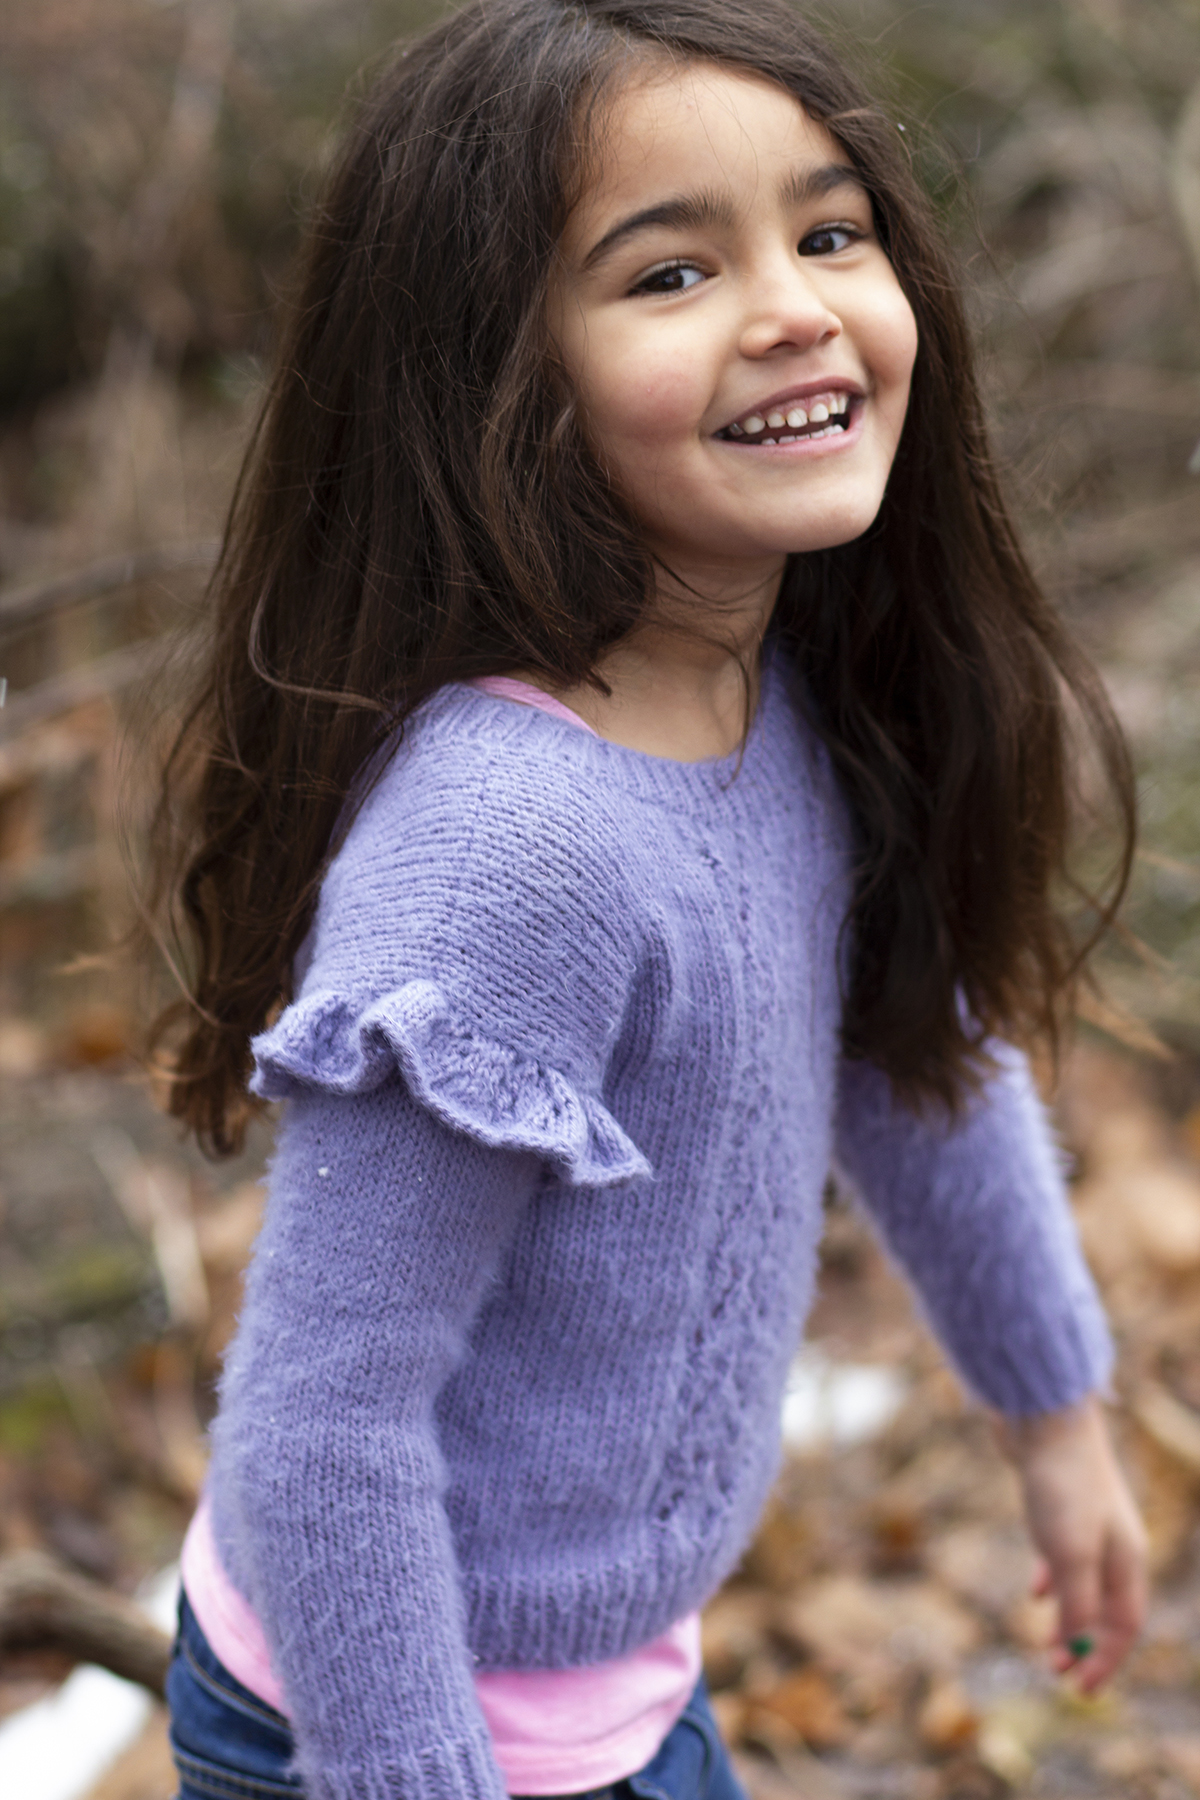
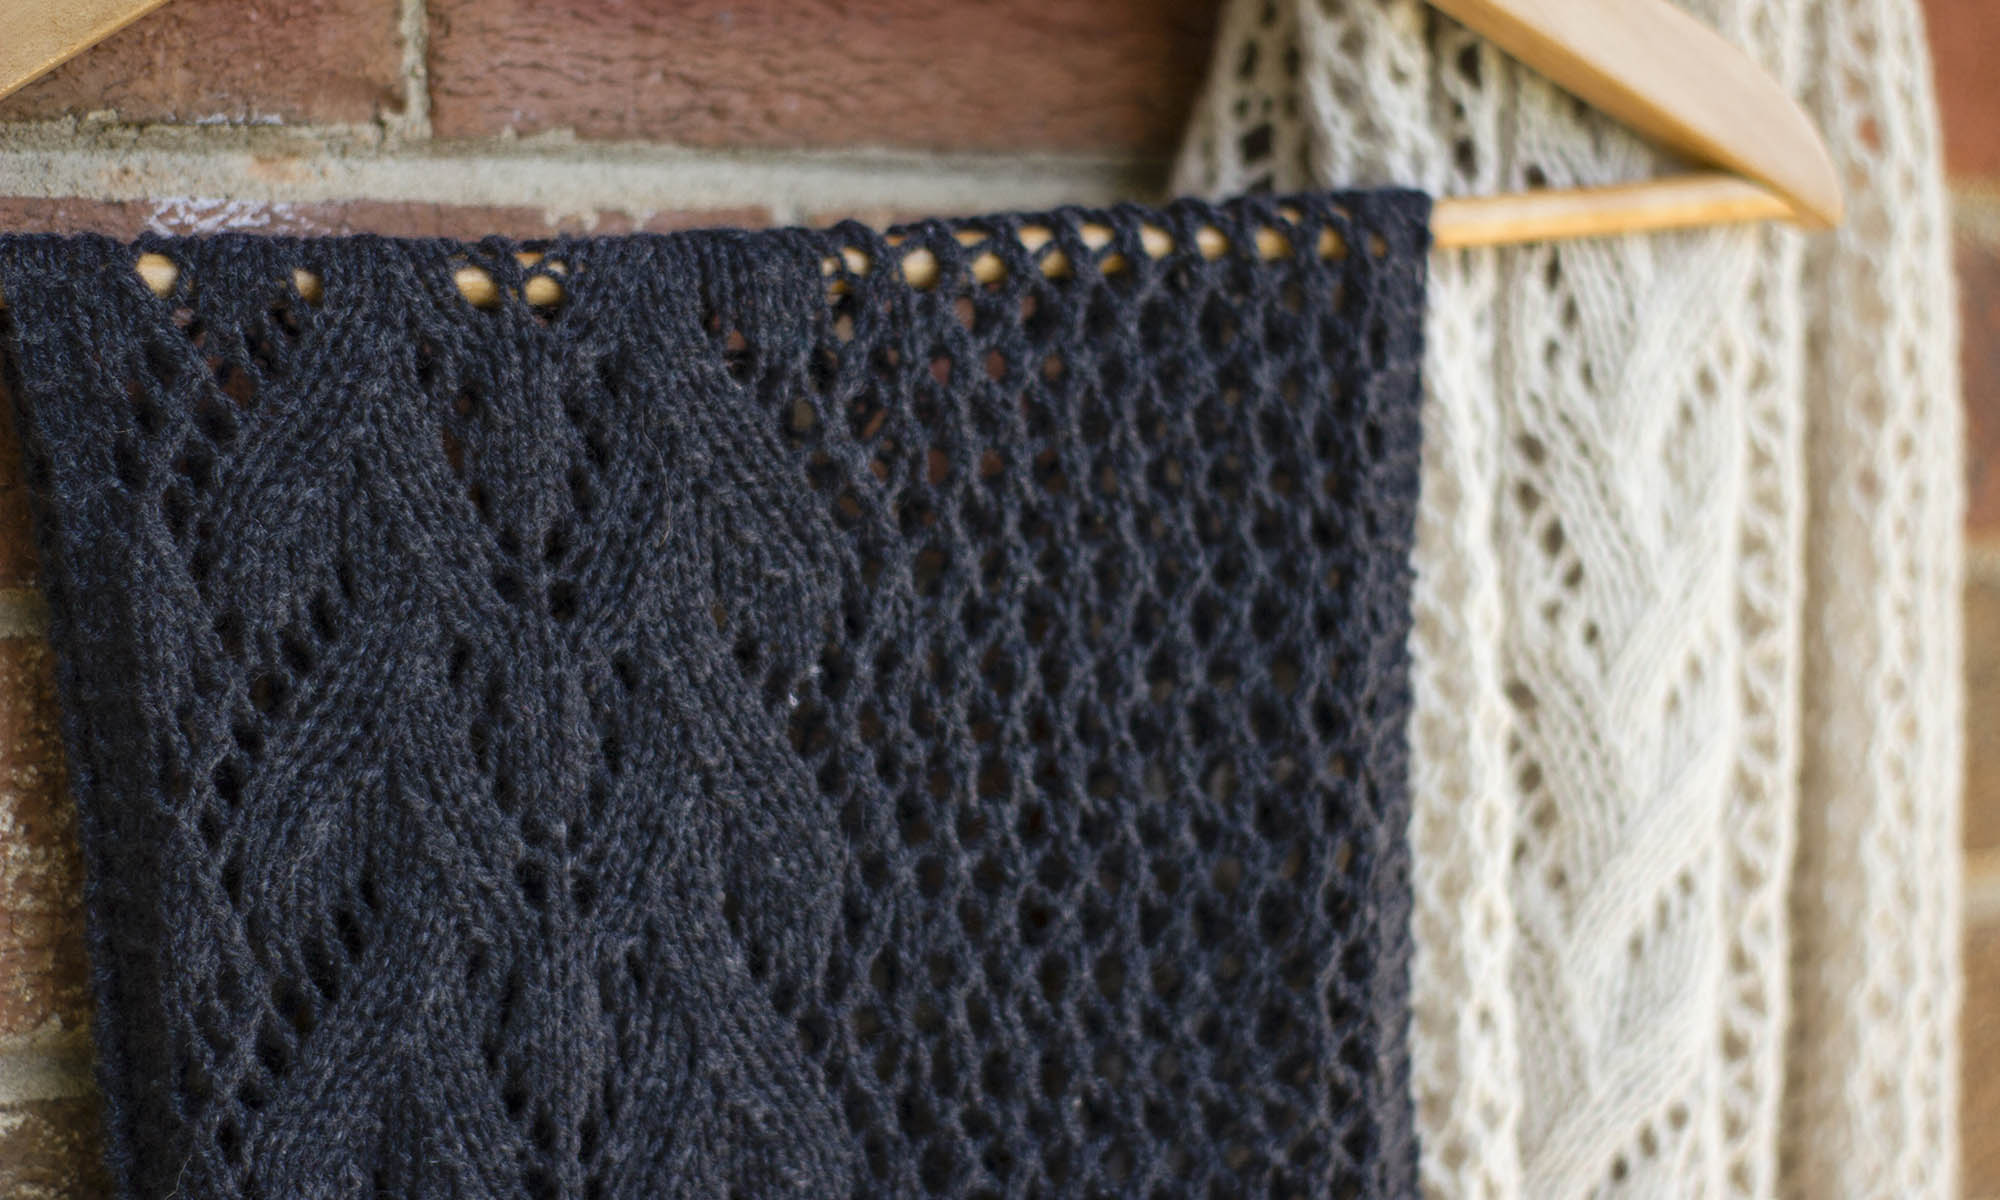
Socks aren’t the only way to play with this gorgeous yarn. Just take a look at the funky and fun Euphoric scarf (pattern link), designed by Amy Gunderson. This design cleverly pairs Pix with Whisper Lace in #111 Ebony for bold, high-contrast stripes to break up sections of color. The intarsia method is used to create an unexpected, staggered stripe effect. Cute twists of fringe decorate the long edges of this piece. Although it’s pictured with long sleeves above, I think this would be perfect to layer over a simple dress for springtime.
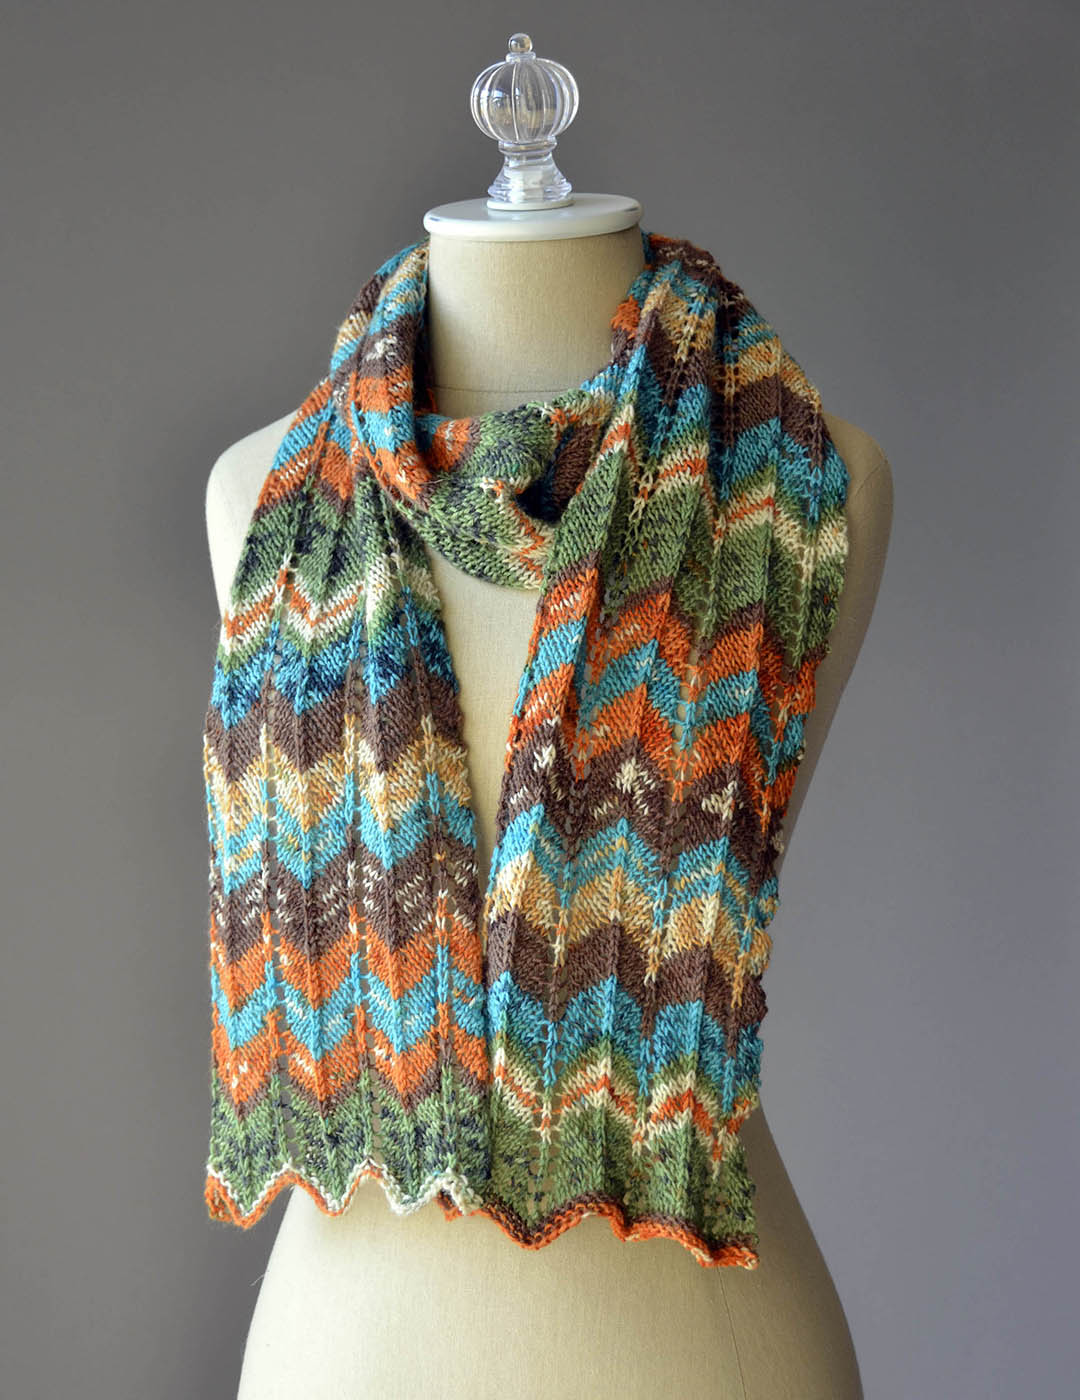
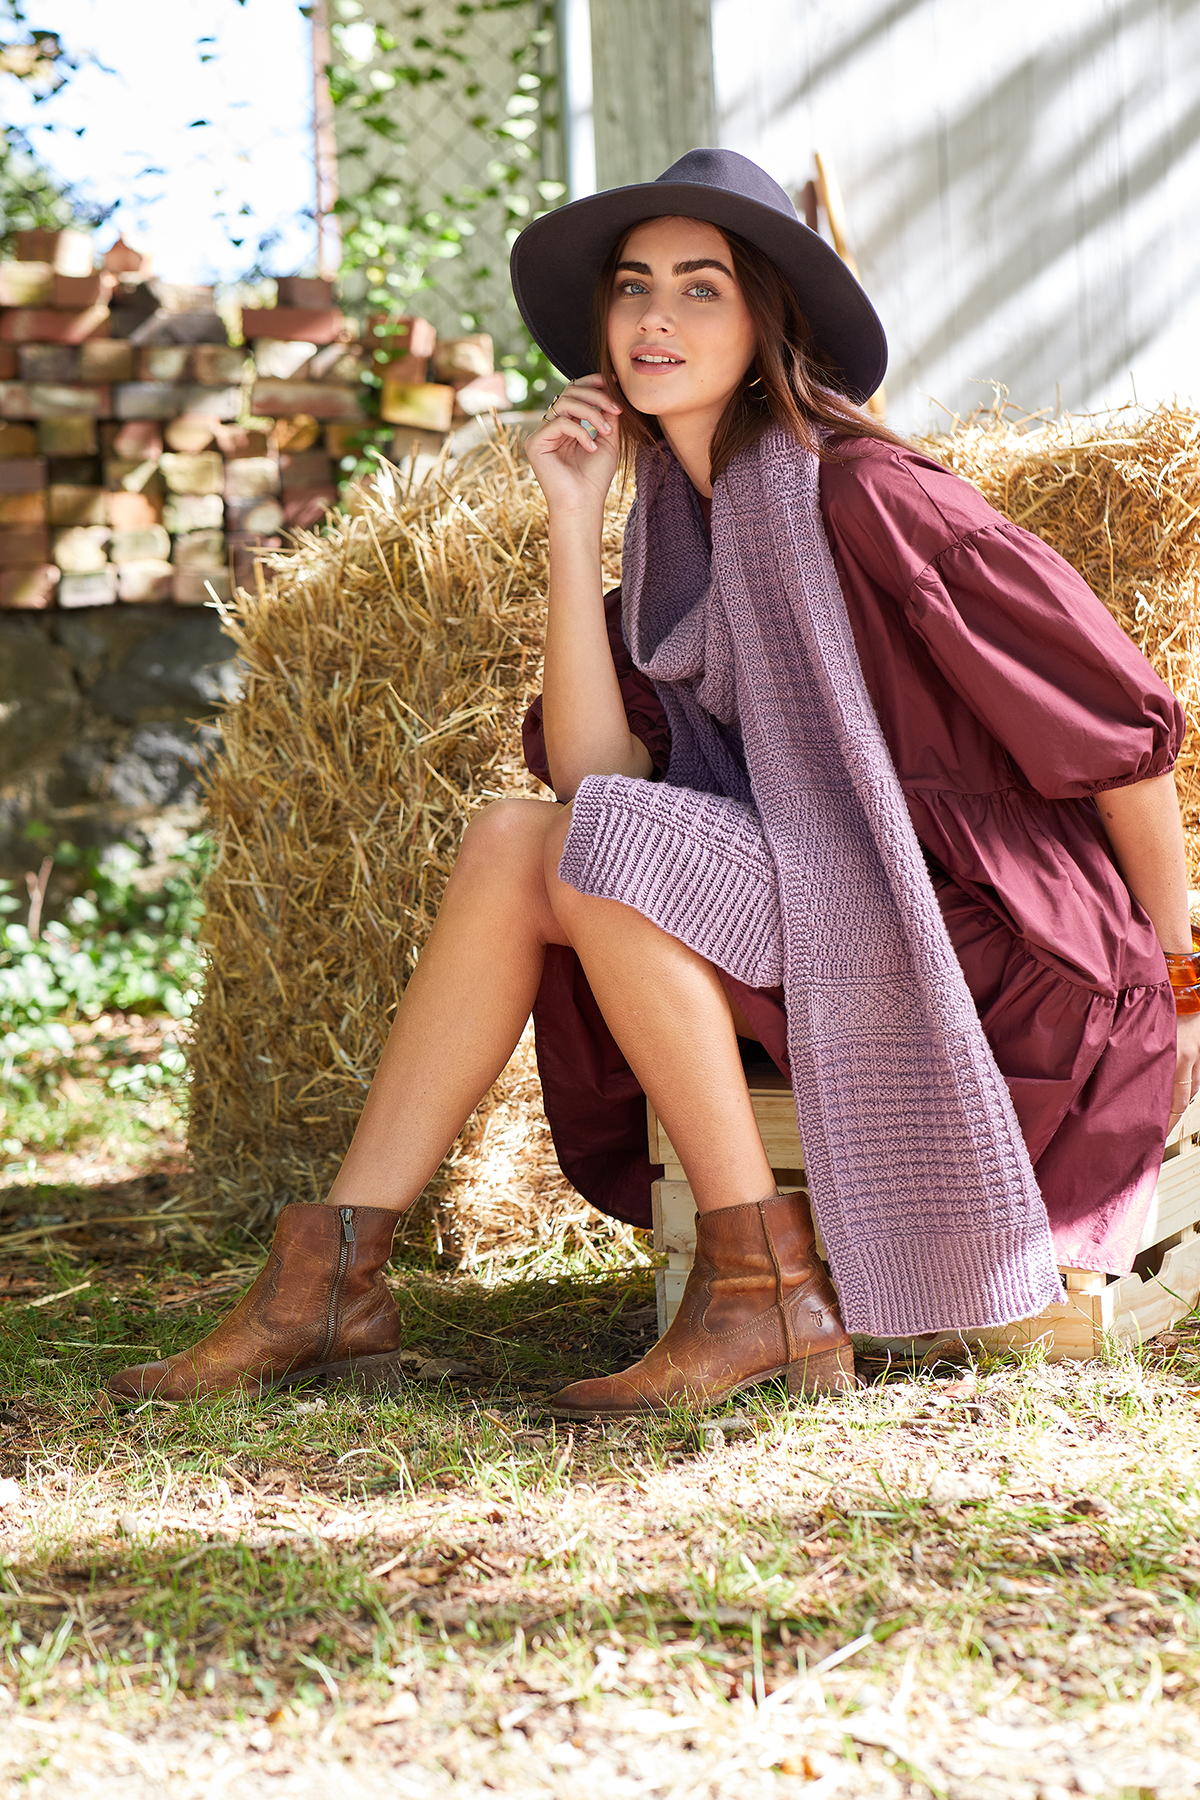
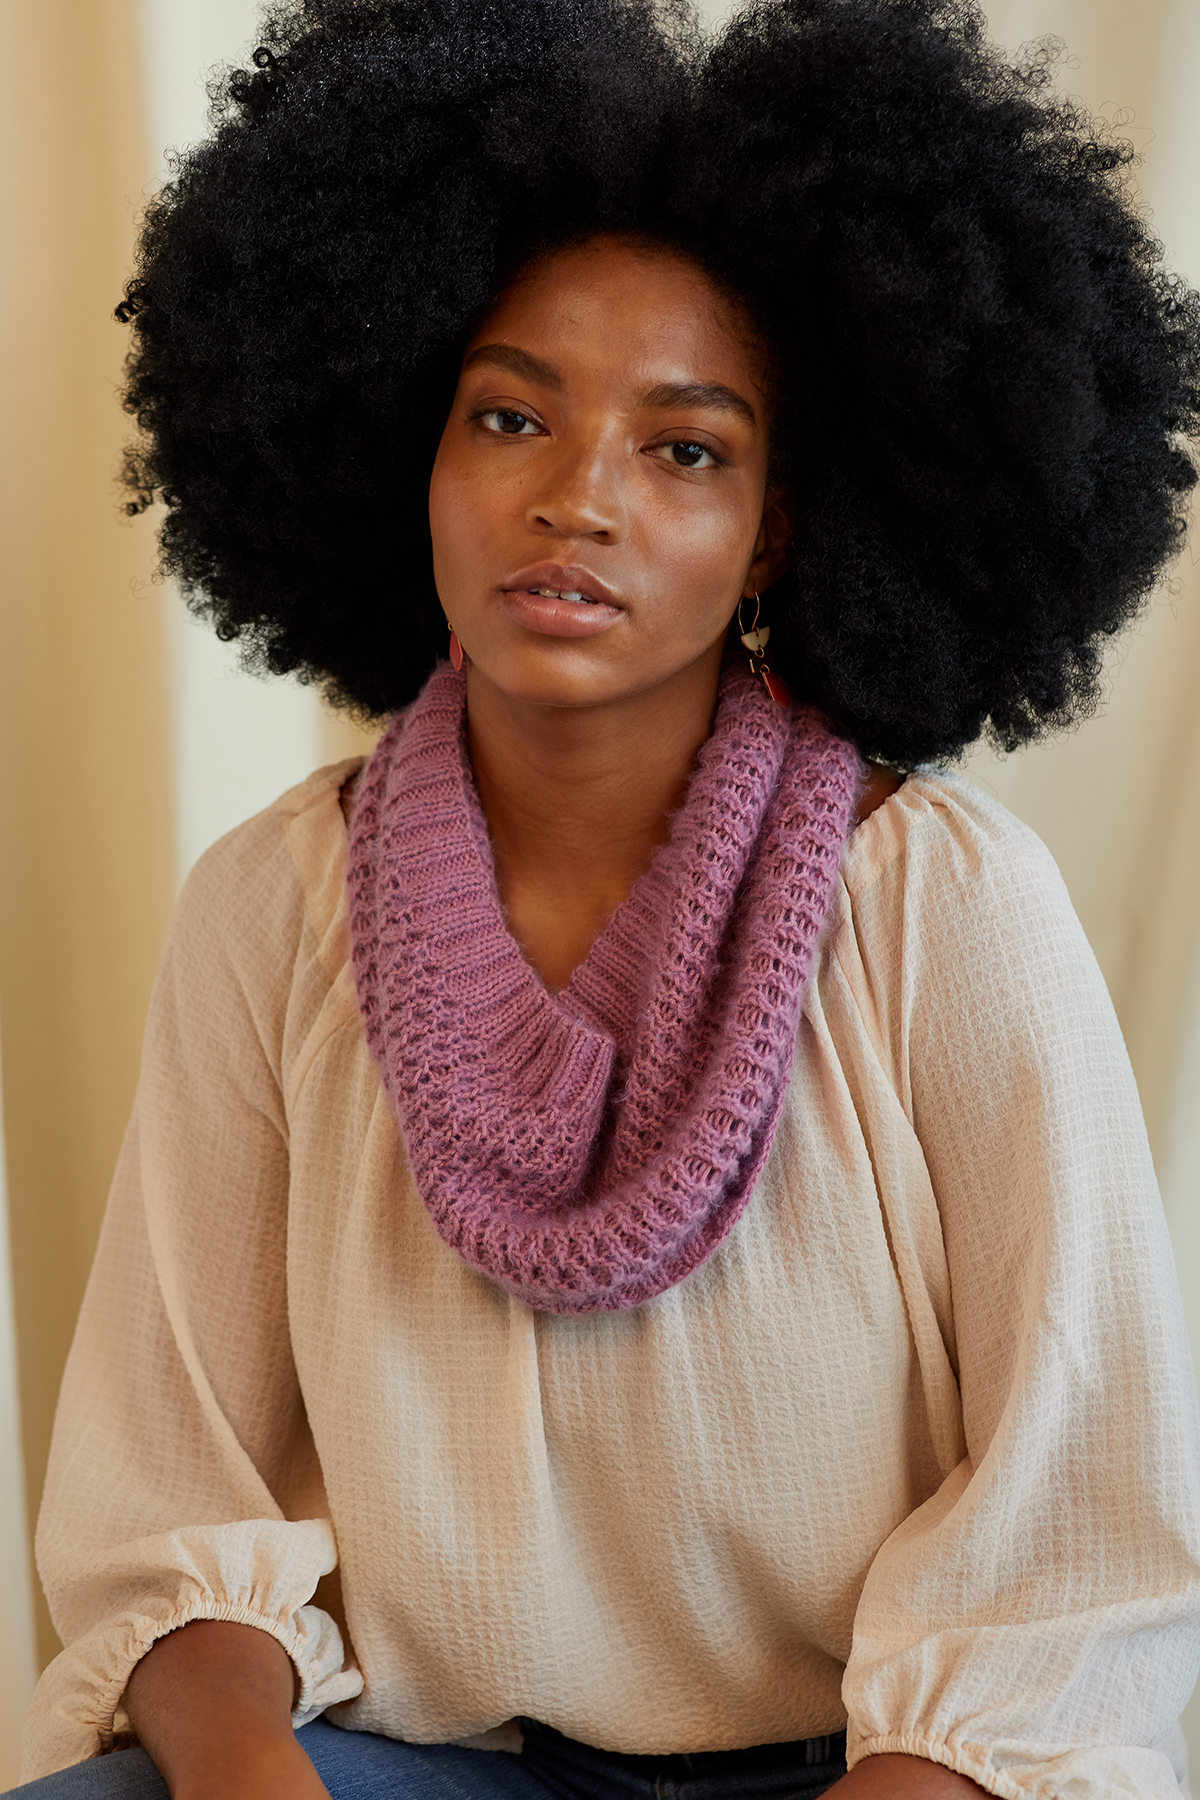
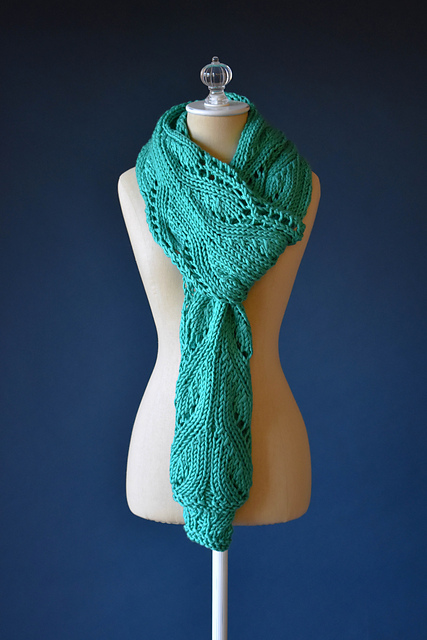
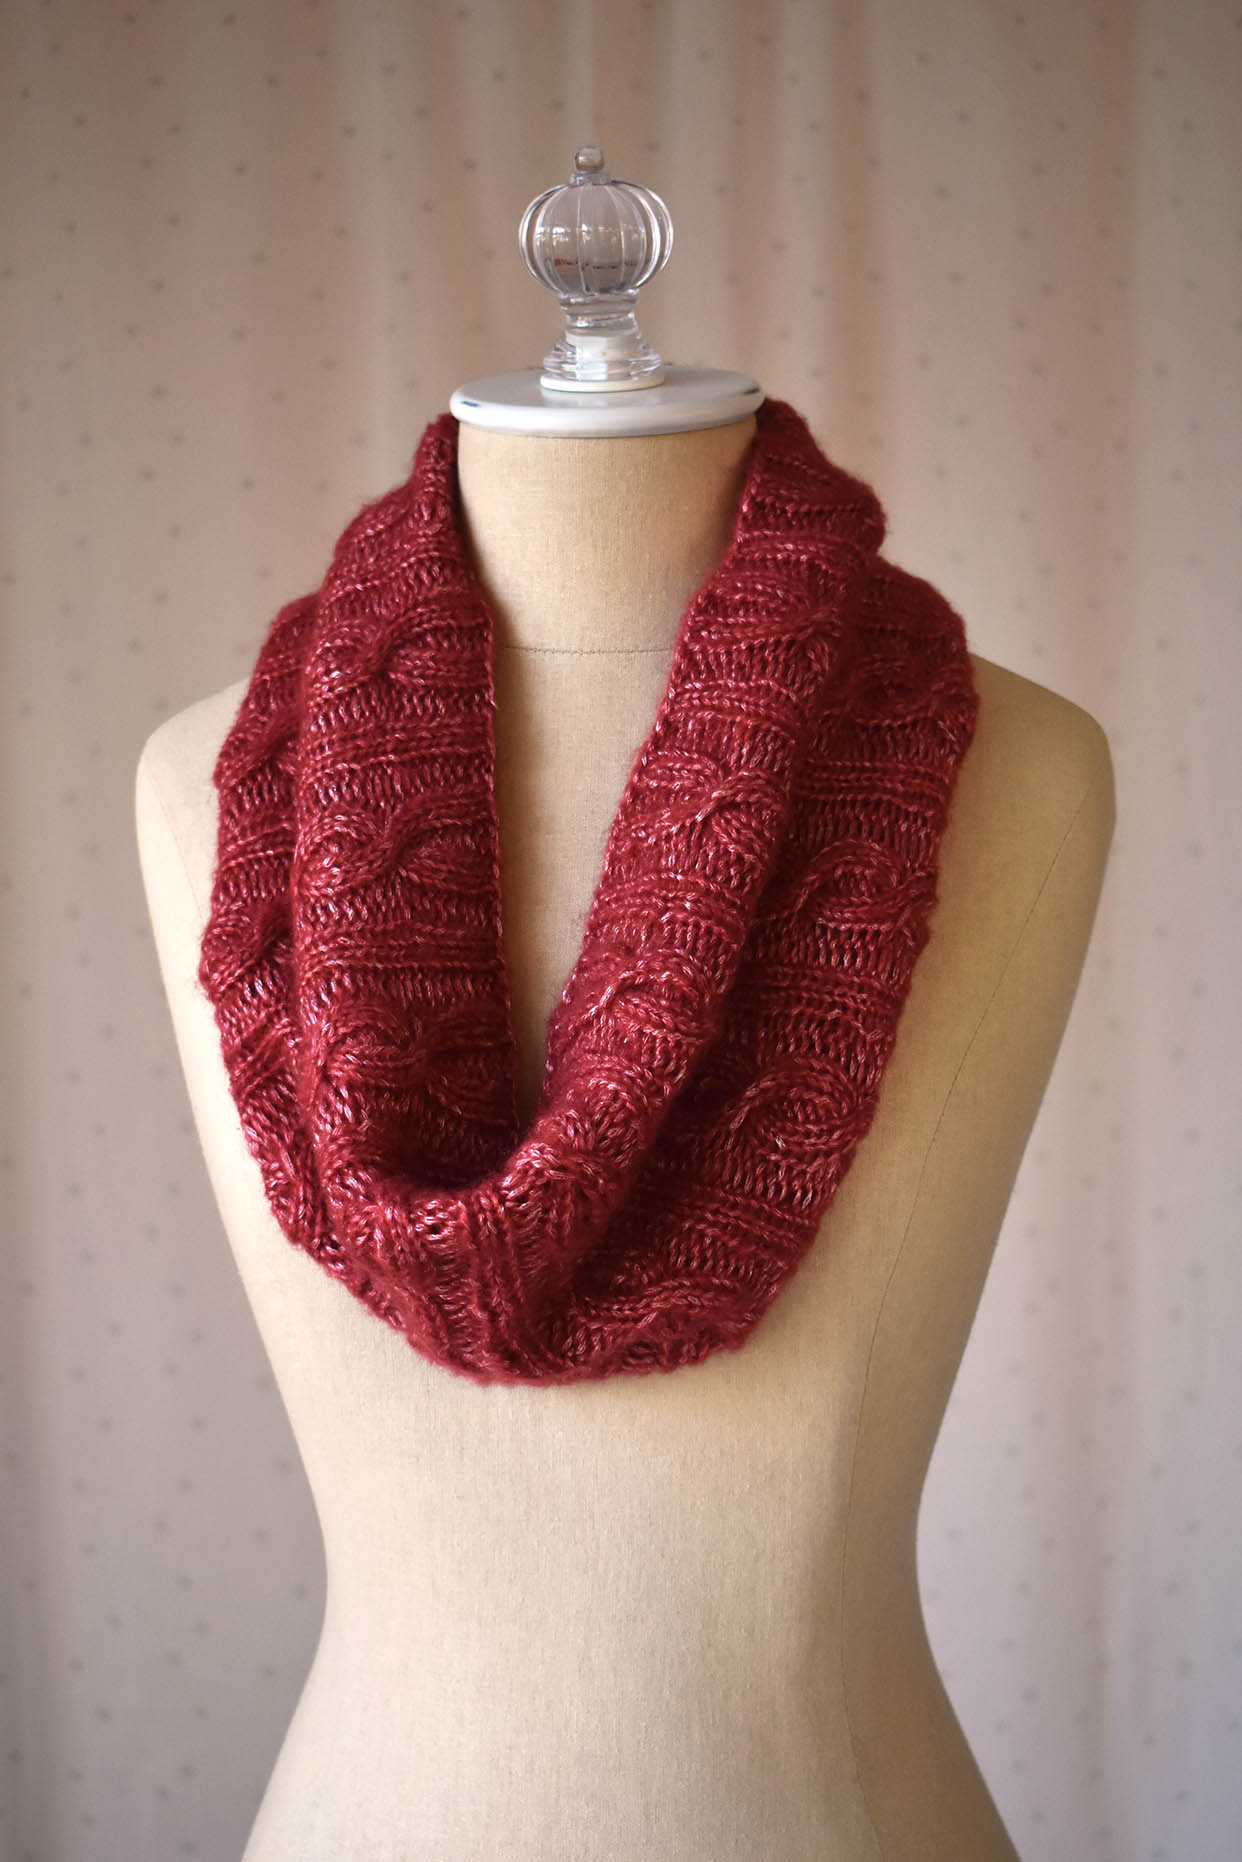
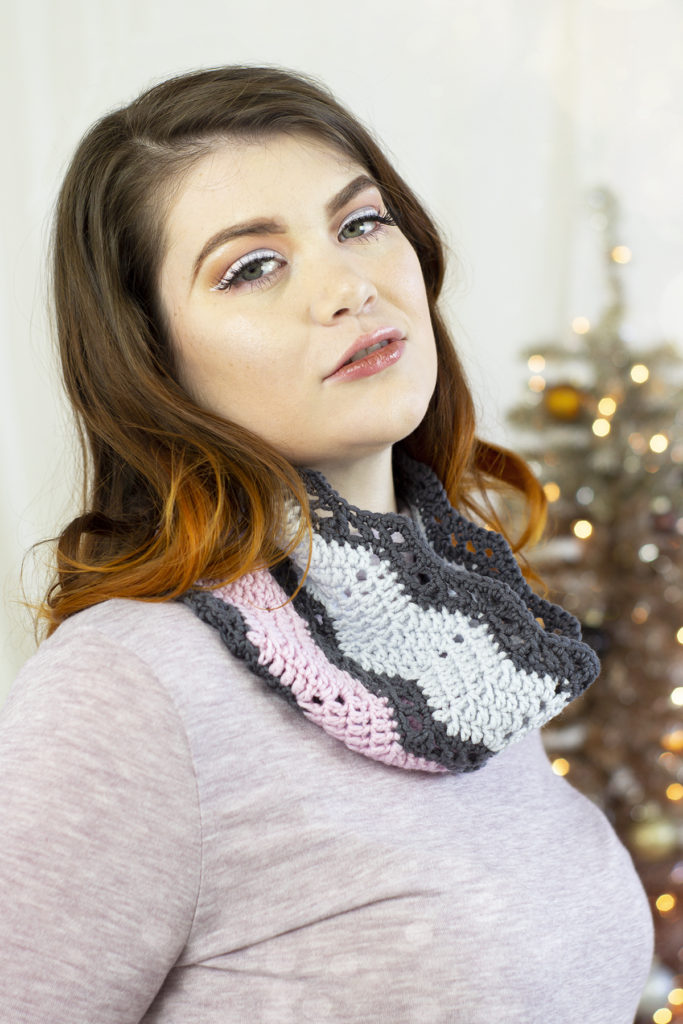
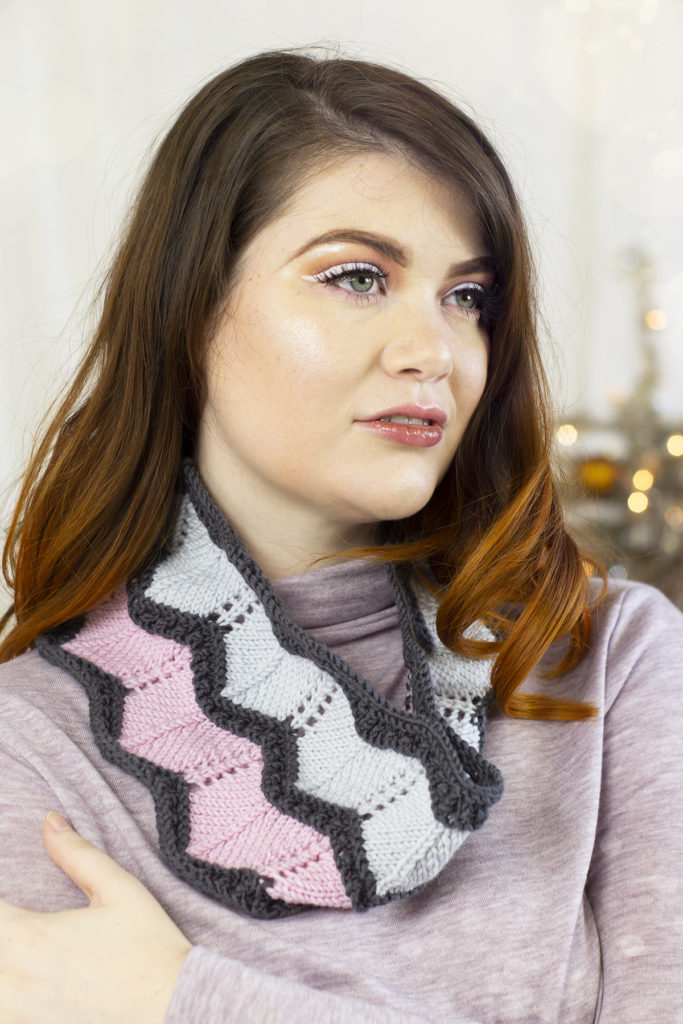
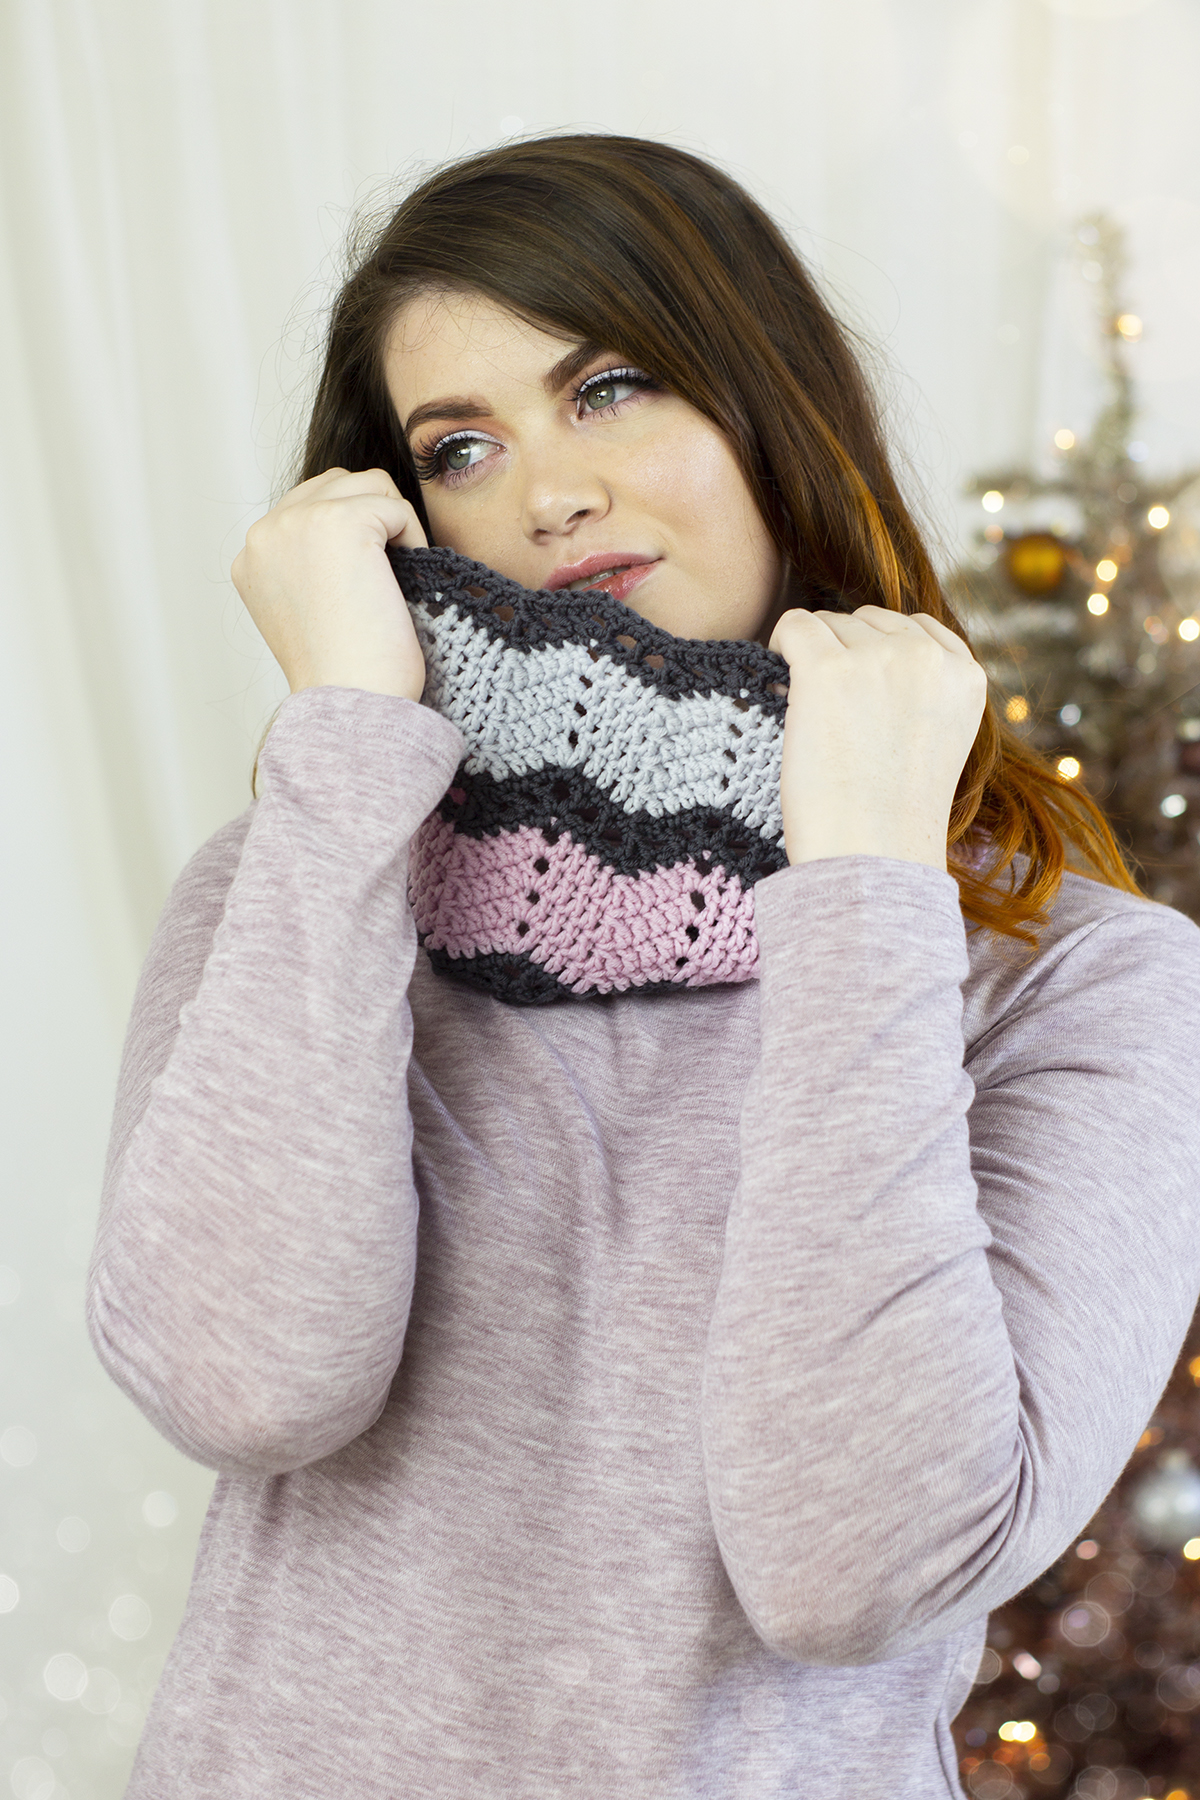
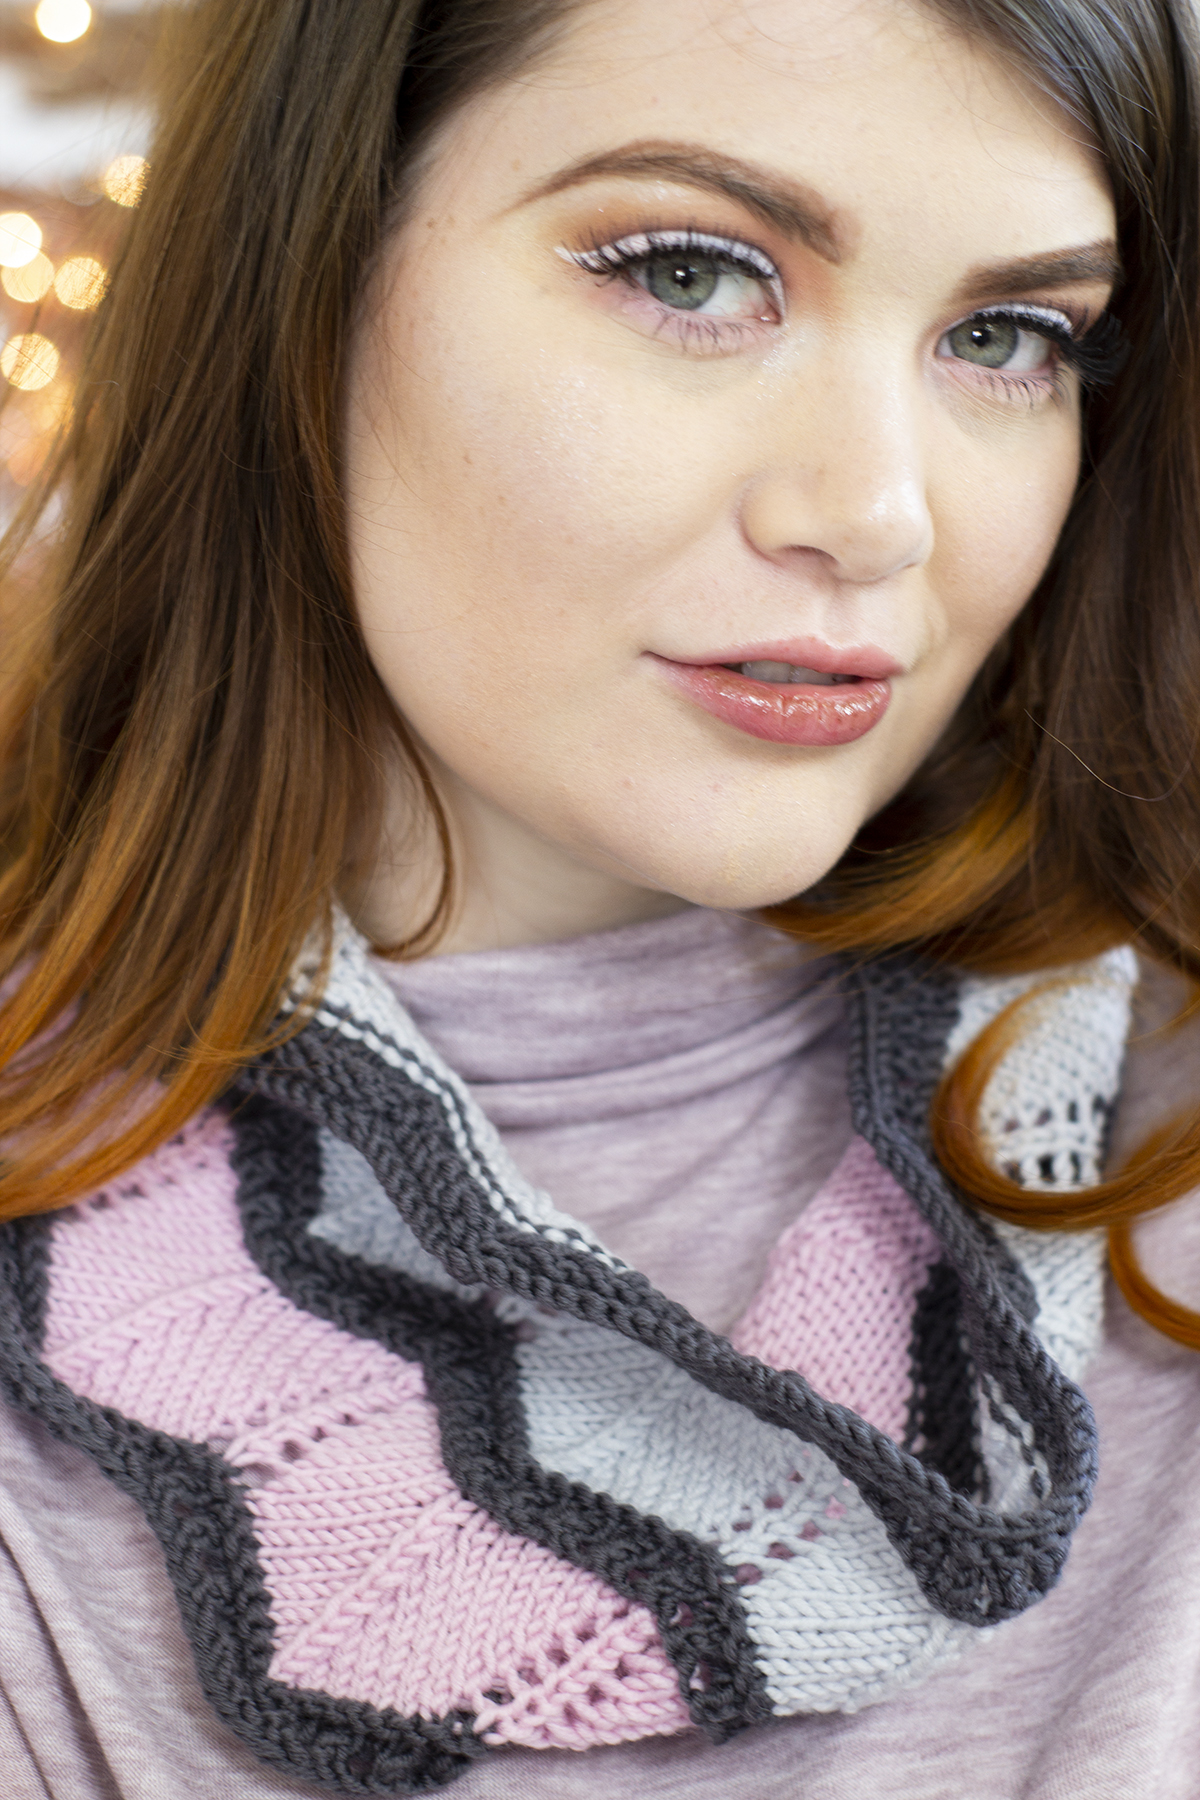
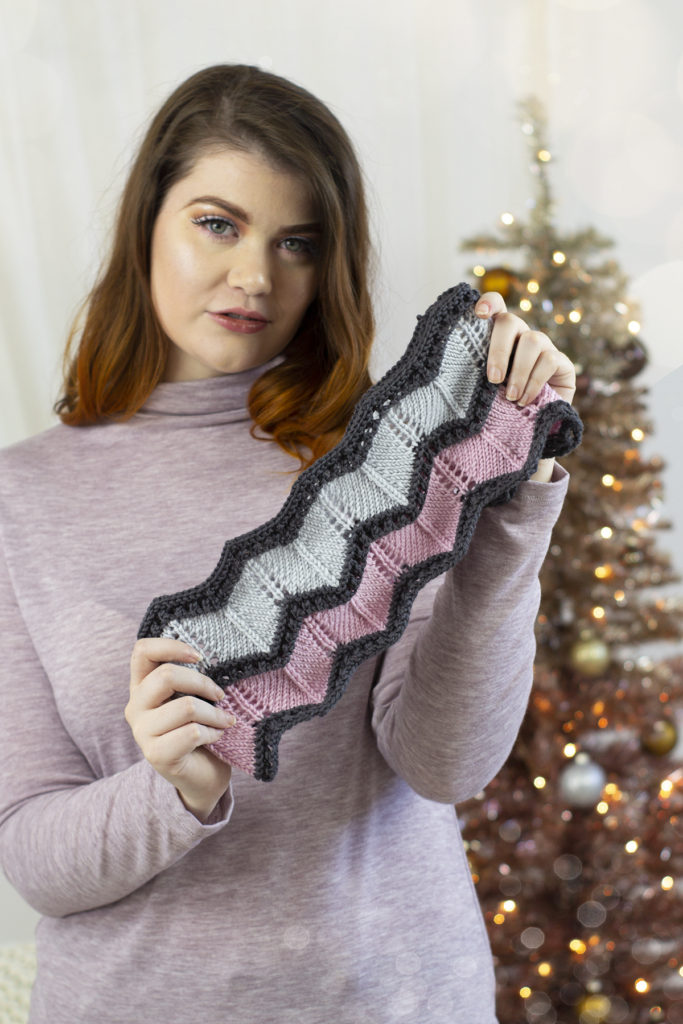
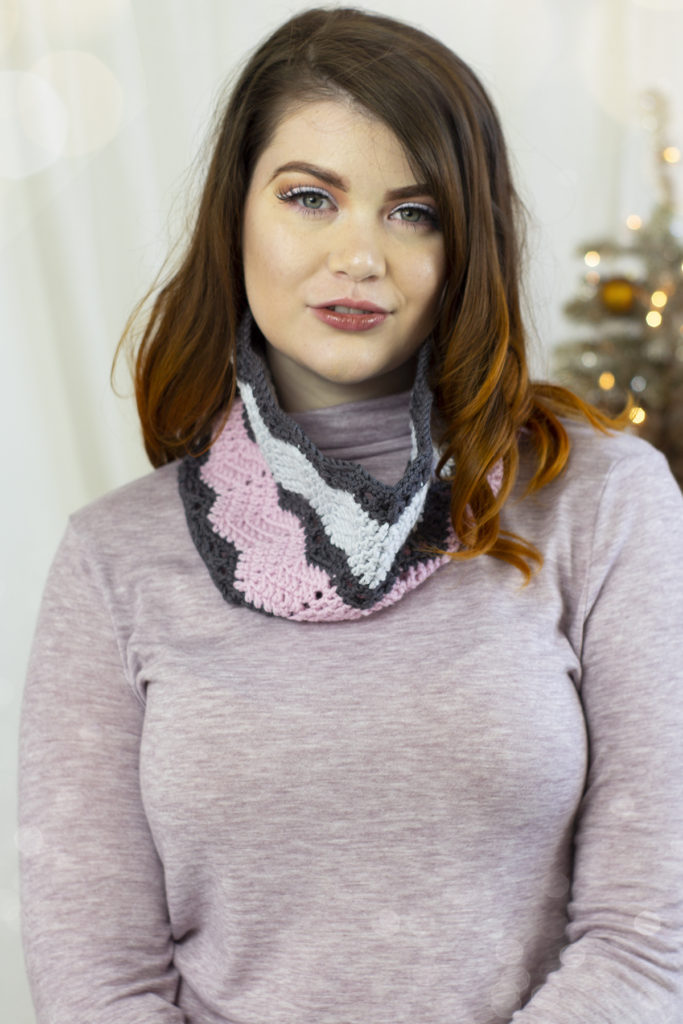
The Happy Magic Scarf (pattern link), designed by Heather Hill, magnificently displays how neat the color changes are when you throw in a chevron motif. The stitch pattern is soothing and is easily memorized, making this a great project for unwinding after a long day. This design has been well-loved in the office and by our customers for years now (it was published in 2015!). This one-skein wonder exemplifies just how far 459 yards will take you!
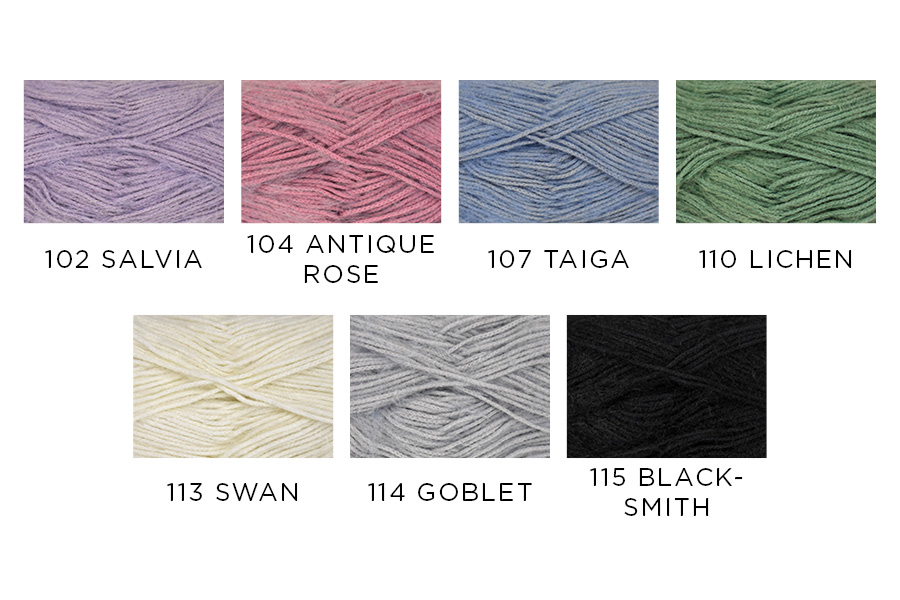
Pix features a palette of 8 fantastic colors – with combinations that include everything from bright and punchy to earthy, soothing, and warm. You’re sure to find a color you’ll love…and I’m sure you won’t stop at one! You can nab some Pix at your local yarn store or on our website. What will you make with it?