Flash Pattern Friday – A Universe of Snowflakes

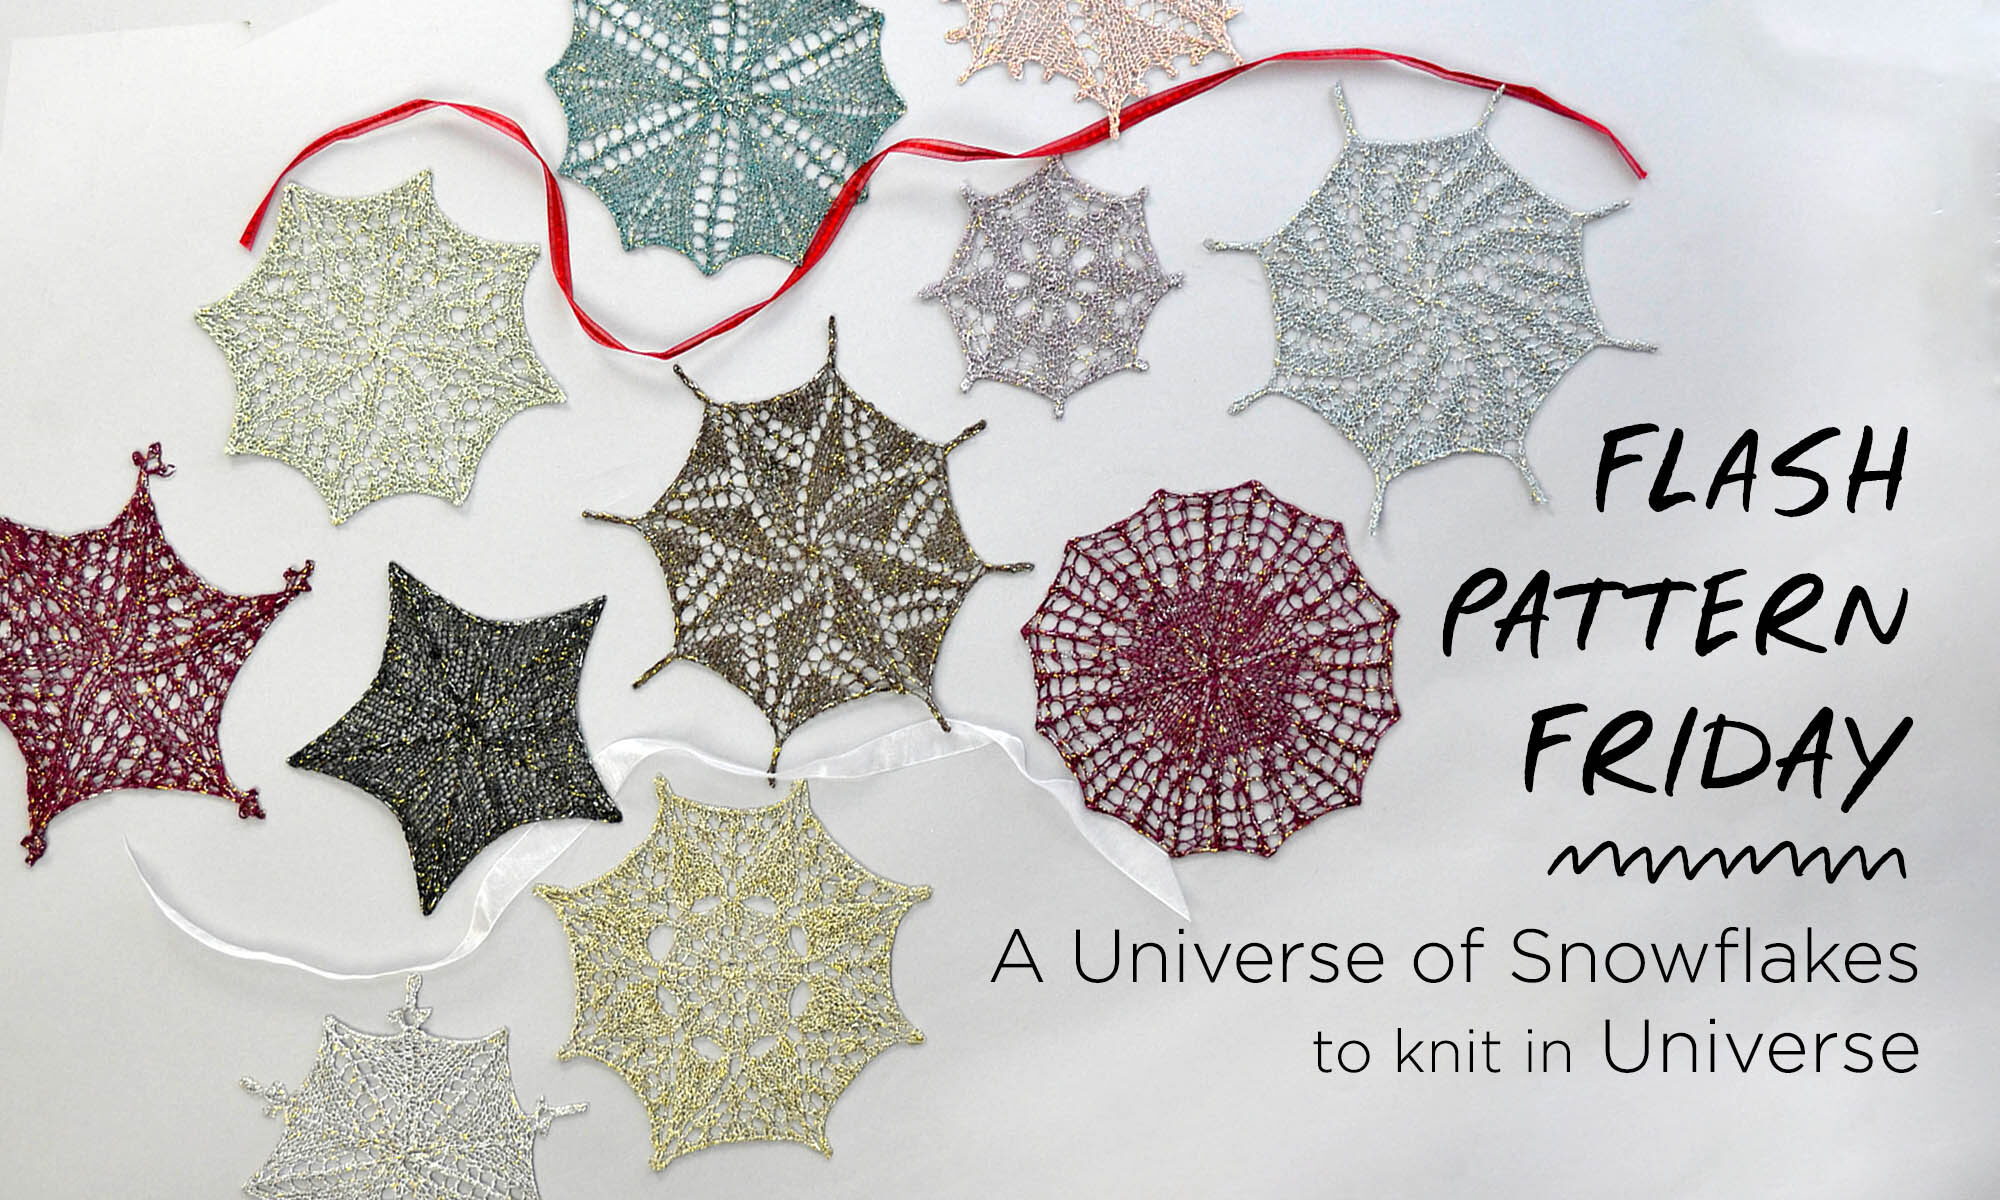
It’s Flash Pattern Friday!

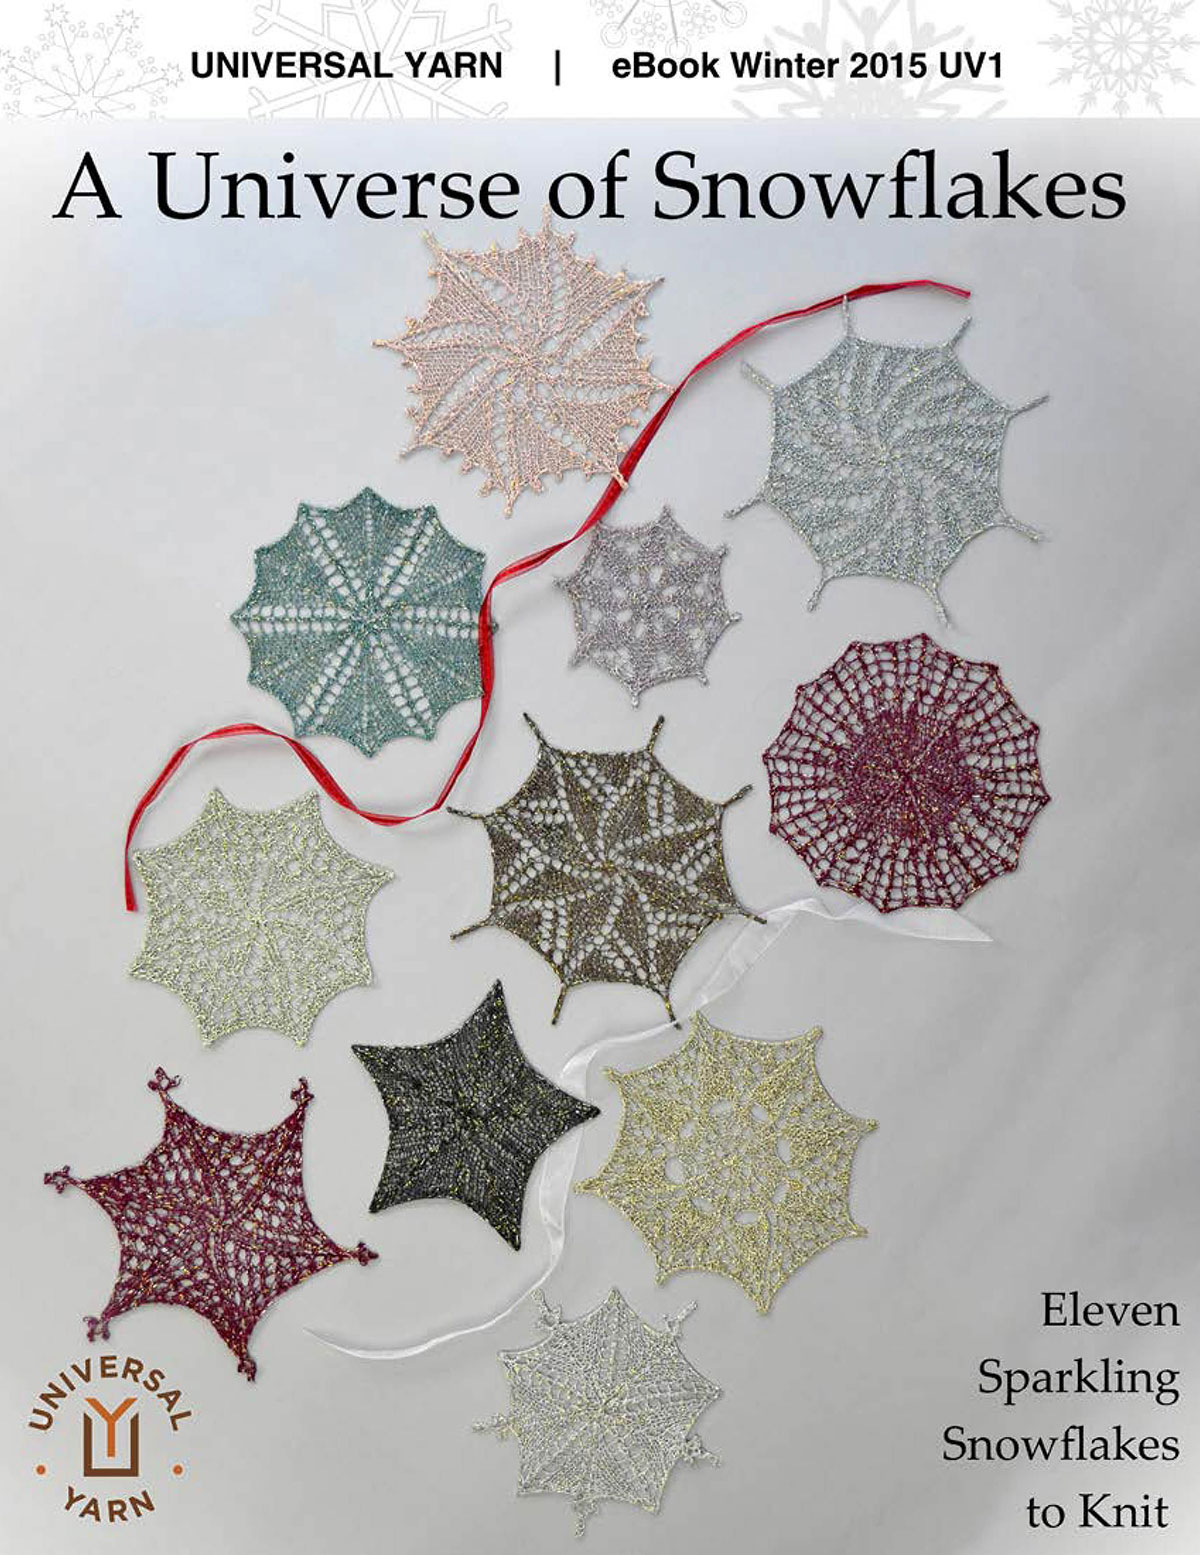
On the last Friday of the month, we take a beautiful paid pattern and set it free for a limited time on Ravelry. Today, it’s A Universe of Snowflakes in Universe (Ravelry link here).

Snowflake #6, in Universe color 10-06 Candy

We originally designed these as part of a LYS Yarn Crawl here in the Charlotte, NC area. Participants could go to each of eleven shops and get a different snowflake pattern. Personally, I feel like just getting to go to multiple local yarn shops is awesome. Adding a free pattern to it is the icing on the cake!

Snowflake #3 in Universe 10-03 Crystal Ball

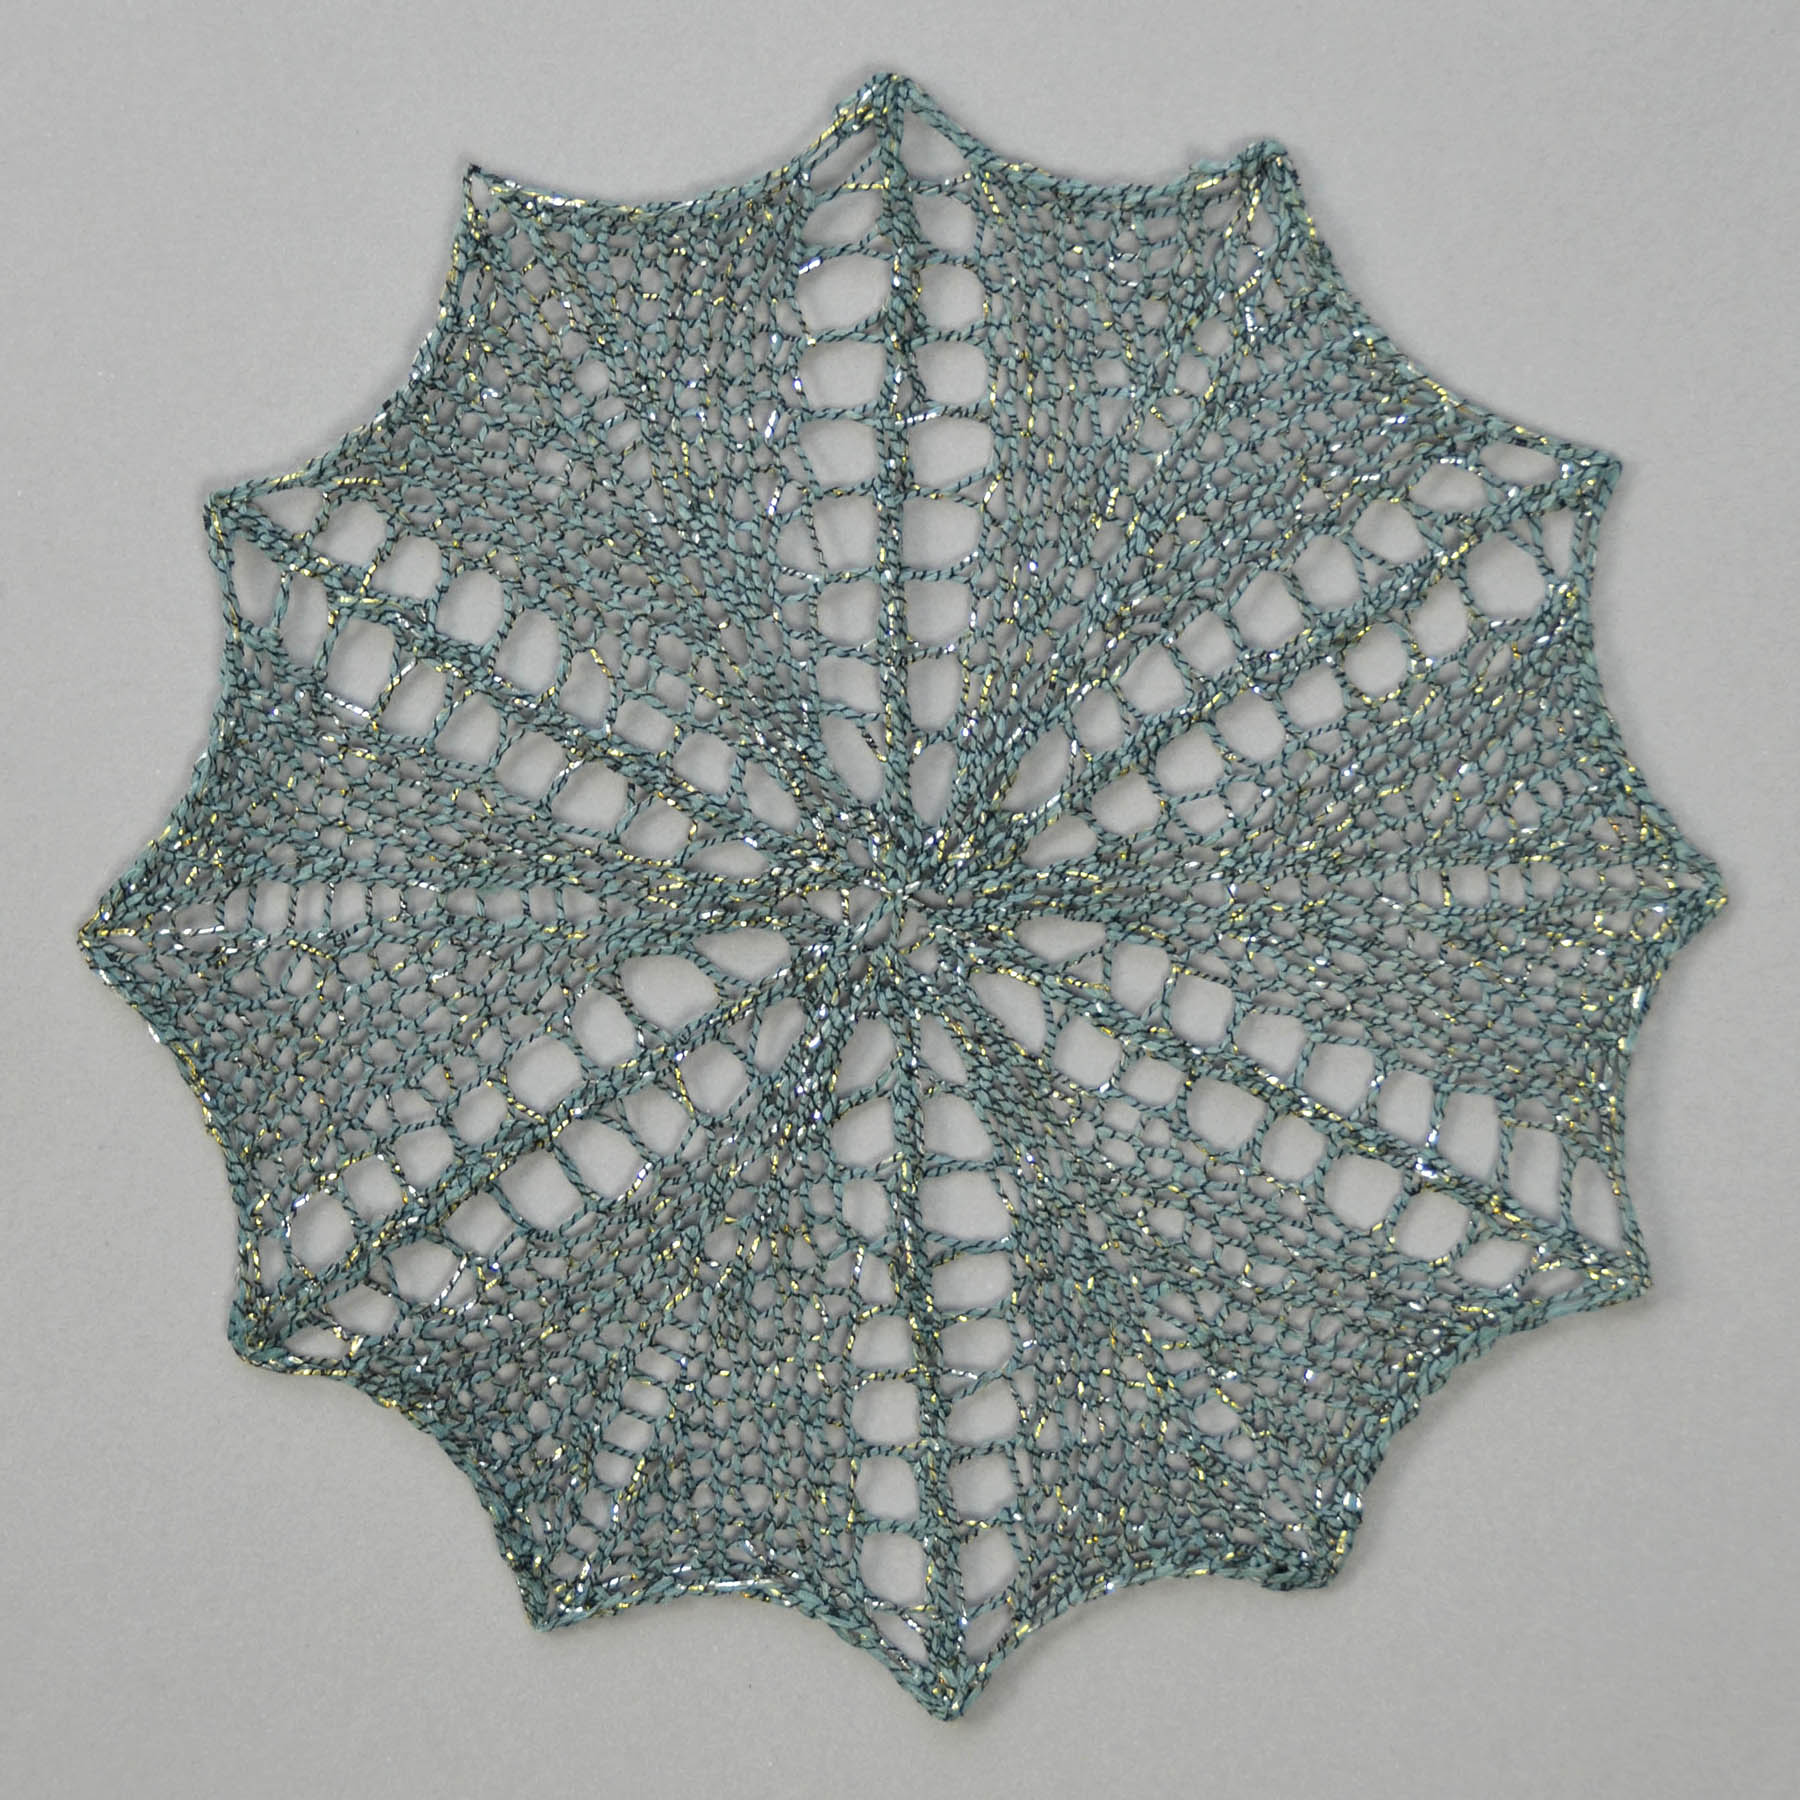
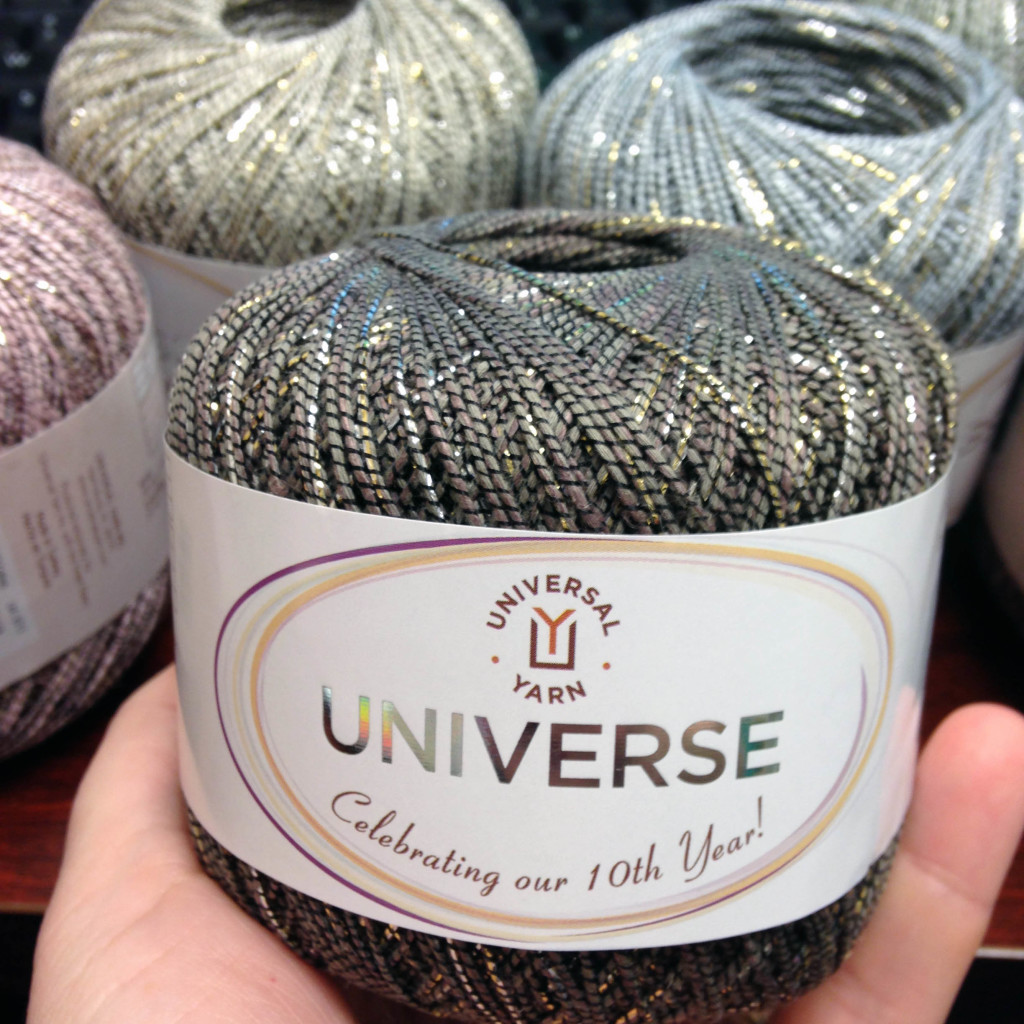
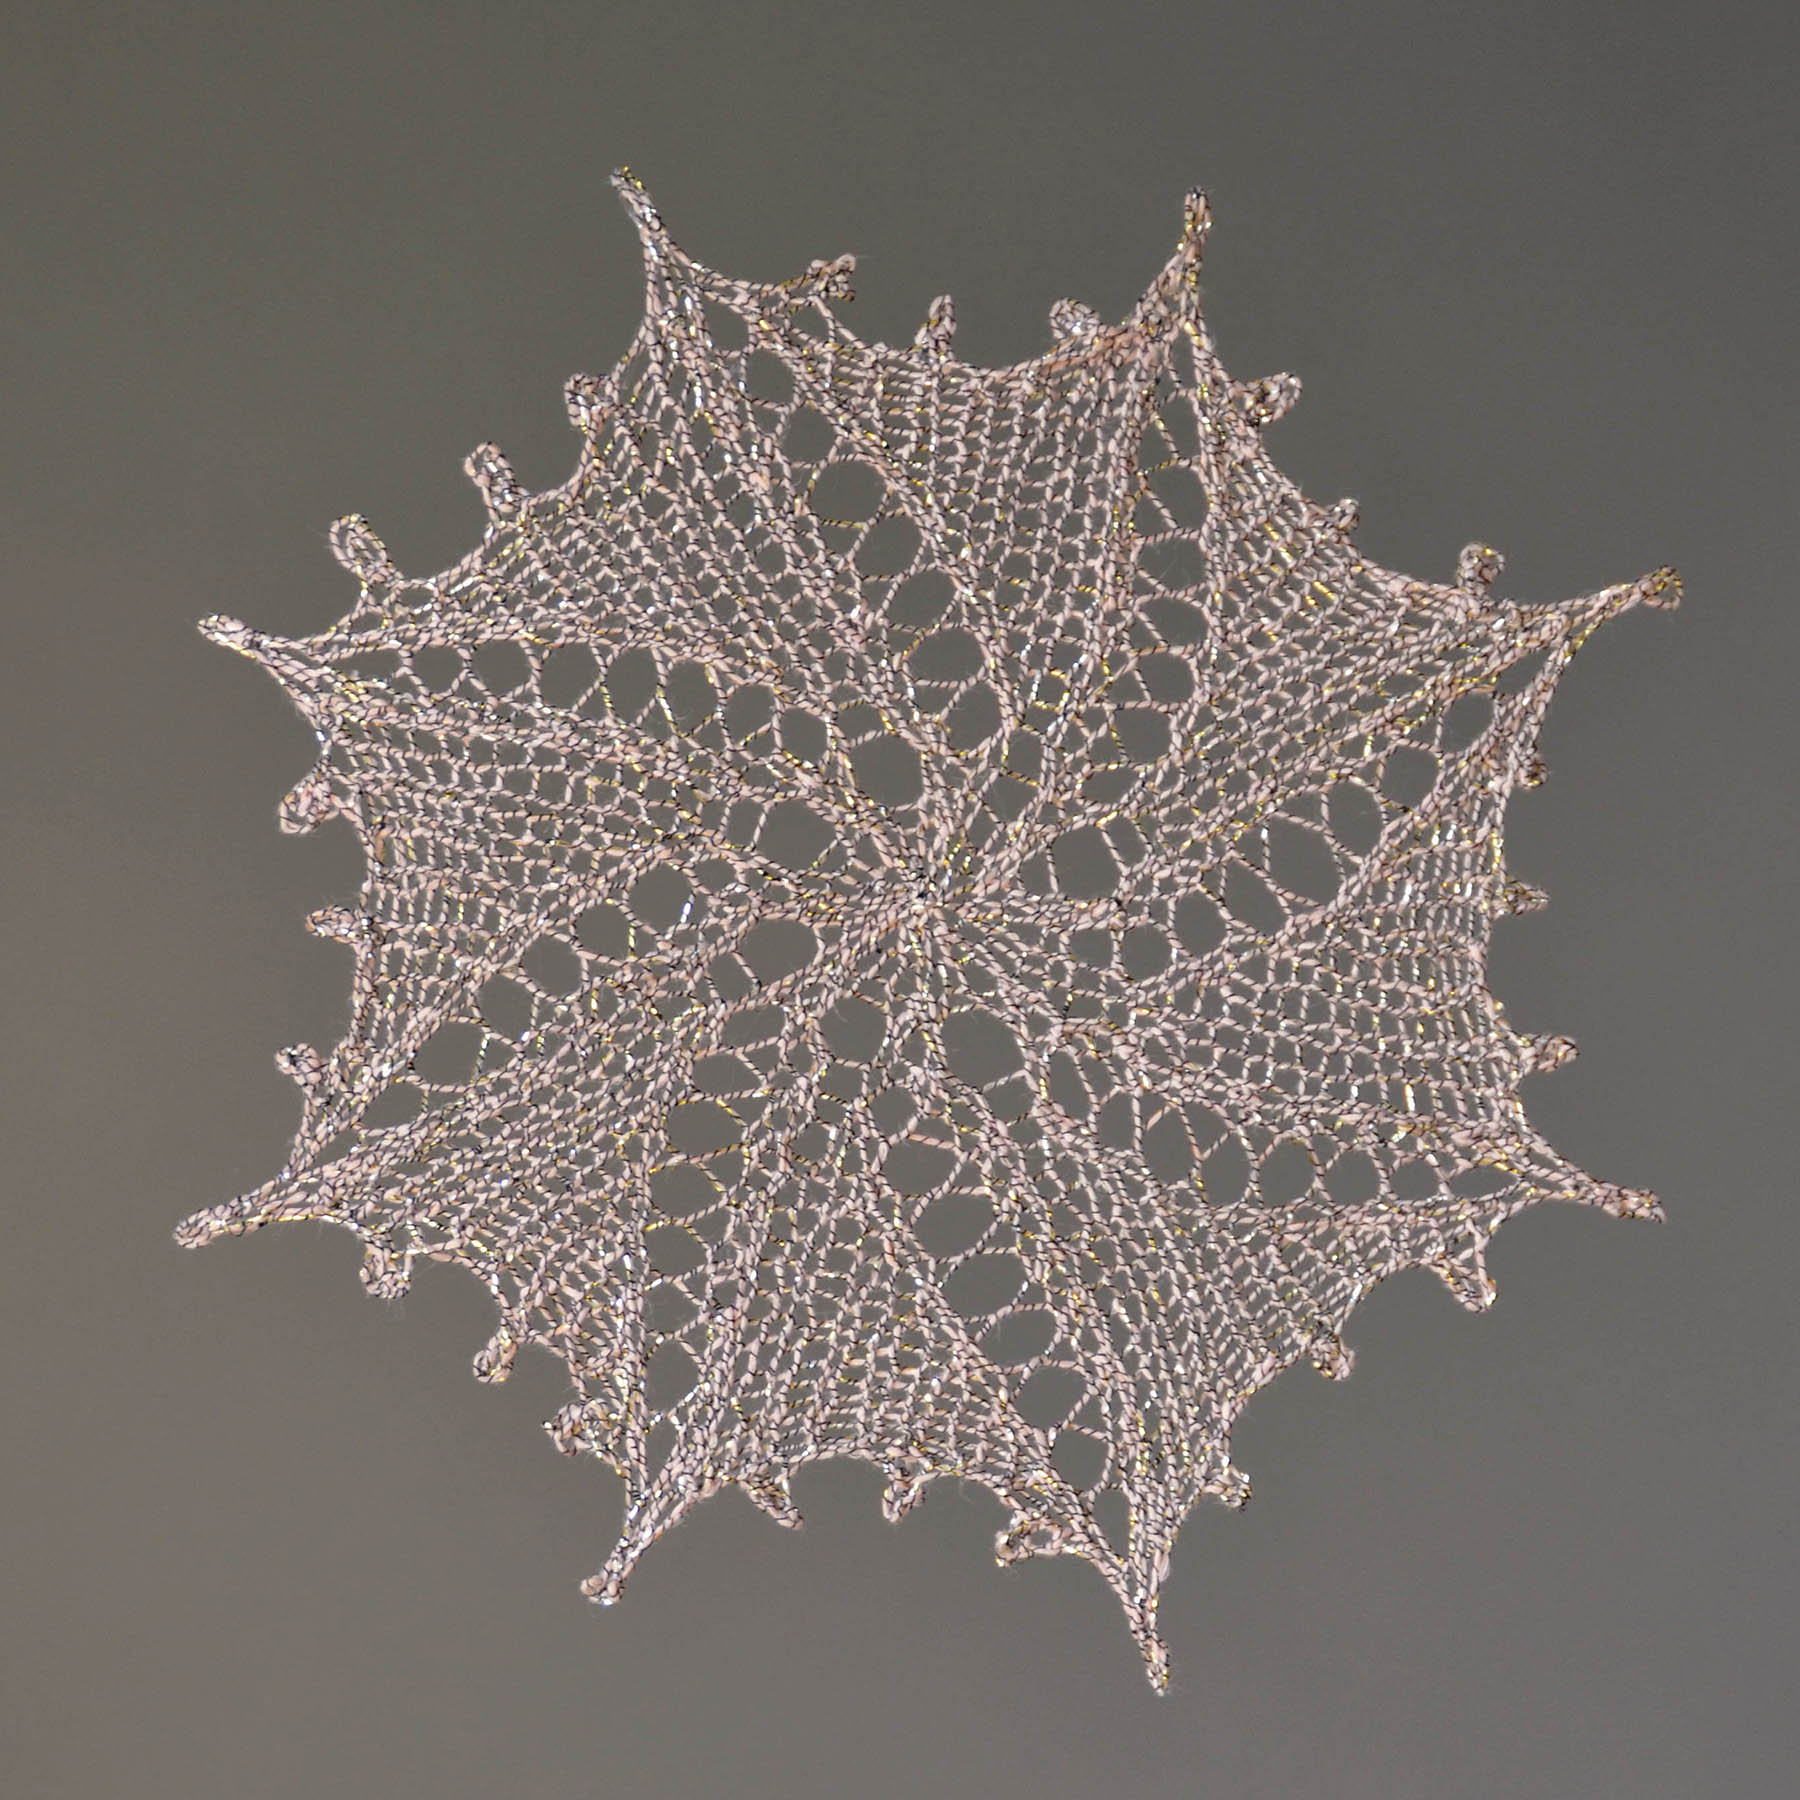
We chose Universe for the designs, because its cotton-linen structure works well for ornaments. They don’t need a wooly “bounce” as much as they need to keep their shape. For that, we used fabric starch to stiffen them during blocking. The beautiful metallic thread that gives Universe its sparkle isn’t affected, continuing to shine through beautifully!

If you’re looking for other ways to stiffen your snowflakes, Irarott Designs has good tips here. We’ve used the thinned glue technique with good results.

Snowflake #2 in Universe color #10-02 Cotton

This weekend, we’re offering this entire set of 11 snowflakes in Universe for free!

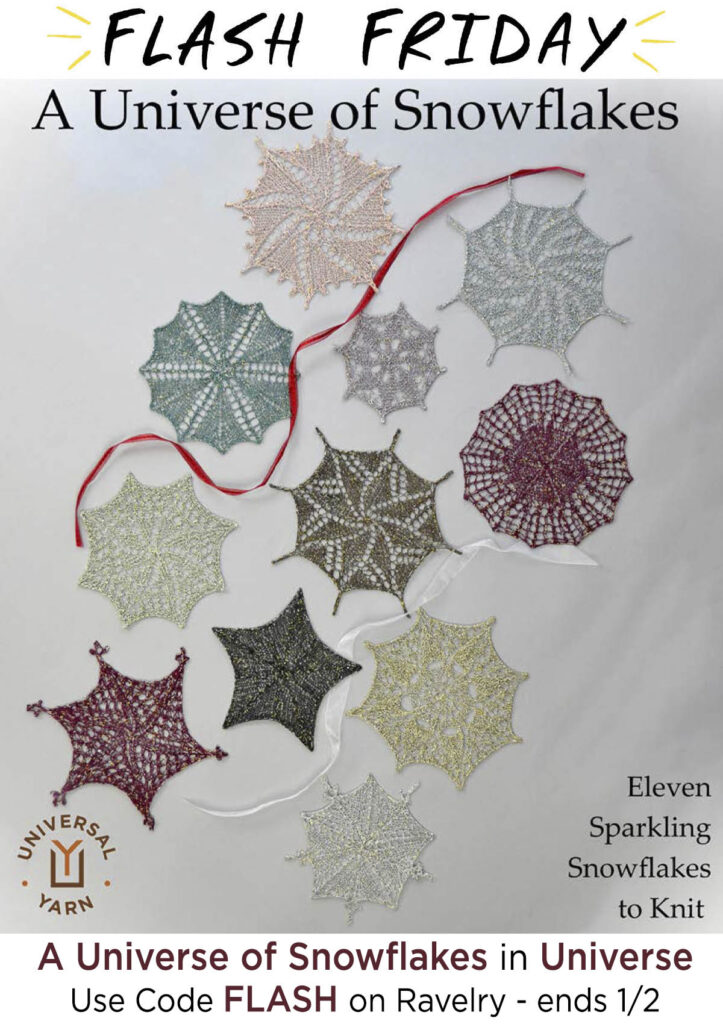
To get the Universe of Snowflakes free, use the buy it now or add to cart links on the Ravelry pattern page. Then enter coupon code FLASH where you see the “use a coupon code” links that appear during purchase. Not a Ravelry user? Drop us a line by the end of 1/2 and we’ll get you taken care of.

We wish you a happy New Year. May 2022 be your best and brightest year yet!
Happy Crafting!

Day 9 of Winter – Series 2 Edition

This is part 9 in a 12 part series highlighting designs from our 12 Days of Winter, Series 2 Edition.

Ornaments are meant to be special. Often they are passed down to us. Perhaps they’ve been collected from some treasured place, or maybe they are handmade. After all, what is more charming than lovingly made handmade items?

The  Mosaic Ornaments pattern calls for 3 balls (1 of each color) of Deluxe DK Superwash. Though there are seven different mosaic designs included in the pattern, the yarn amounts are enough to make at least 40 ornaments. Quite a bargain, eh?

Each ornament begins by knitting the two sides separately. They are then joined with a three-needle I-Cord bind-off. Sound tough? It’s not, because I’m adding a step that takes this from a three-needle bind-off to just (the usual) two needles. Keep on reading to see how I like to do it!

Here you can see that I have two sides of the Trees ornament, all ready to be joined.

What I haven’t shown in these images is that the first step is to pick up and knit stitches all the way around each square with the contrasting red color. So that’s where we are at now – stitches have been picked up around each square.

Next, place both pieces with their wrong sides facing together.

This is similar to the prep for a tubular bind-off.

What I’m doing now is certainly not absolutely necessary, but I find it makes the process so much easier. With a separate double pointed needle (dpn), first I slide a stitch from the front needle onto the spare dpn.

Next, I slide a stitch from the back needle onto this same dpn.

Keep going, alternating front and back needles/stitches until all stitches from one front and back needle have been transferred to the spare.

All the stitches from each needle are transferred. We’re ready to bind off!

Now that the stitches from both needles have been combined onto one needle, all we’re really doing is an I-Cord bind-off, but with one extra step.

To start, cast on two stitches using the knitted method. These are our I-Cord stitches.

Next, knit 1 (the first cast-on stitch), then k3tog tbl (knit three stitches together through the back loops). These three stitches are: the second cast-on stitch, a stitch from the prior front needle, and a stitch from the prior back needle. Slip the resulting 2 stitches back to the working left needle. Then: * K1, k3tog tbl, slip these 2 sts back to the left needle; rep from *

This baby 2-stitch I-Cord is works well to join the sides of the ornament and gives a nice finished look to the project, as well.

Here’s what it looks like after the side is partly joined.

All done!

Remember, you can find the Series 2 12 Days of Winter patterns on Ravelry!