
It’s Free Pattern Friday!
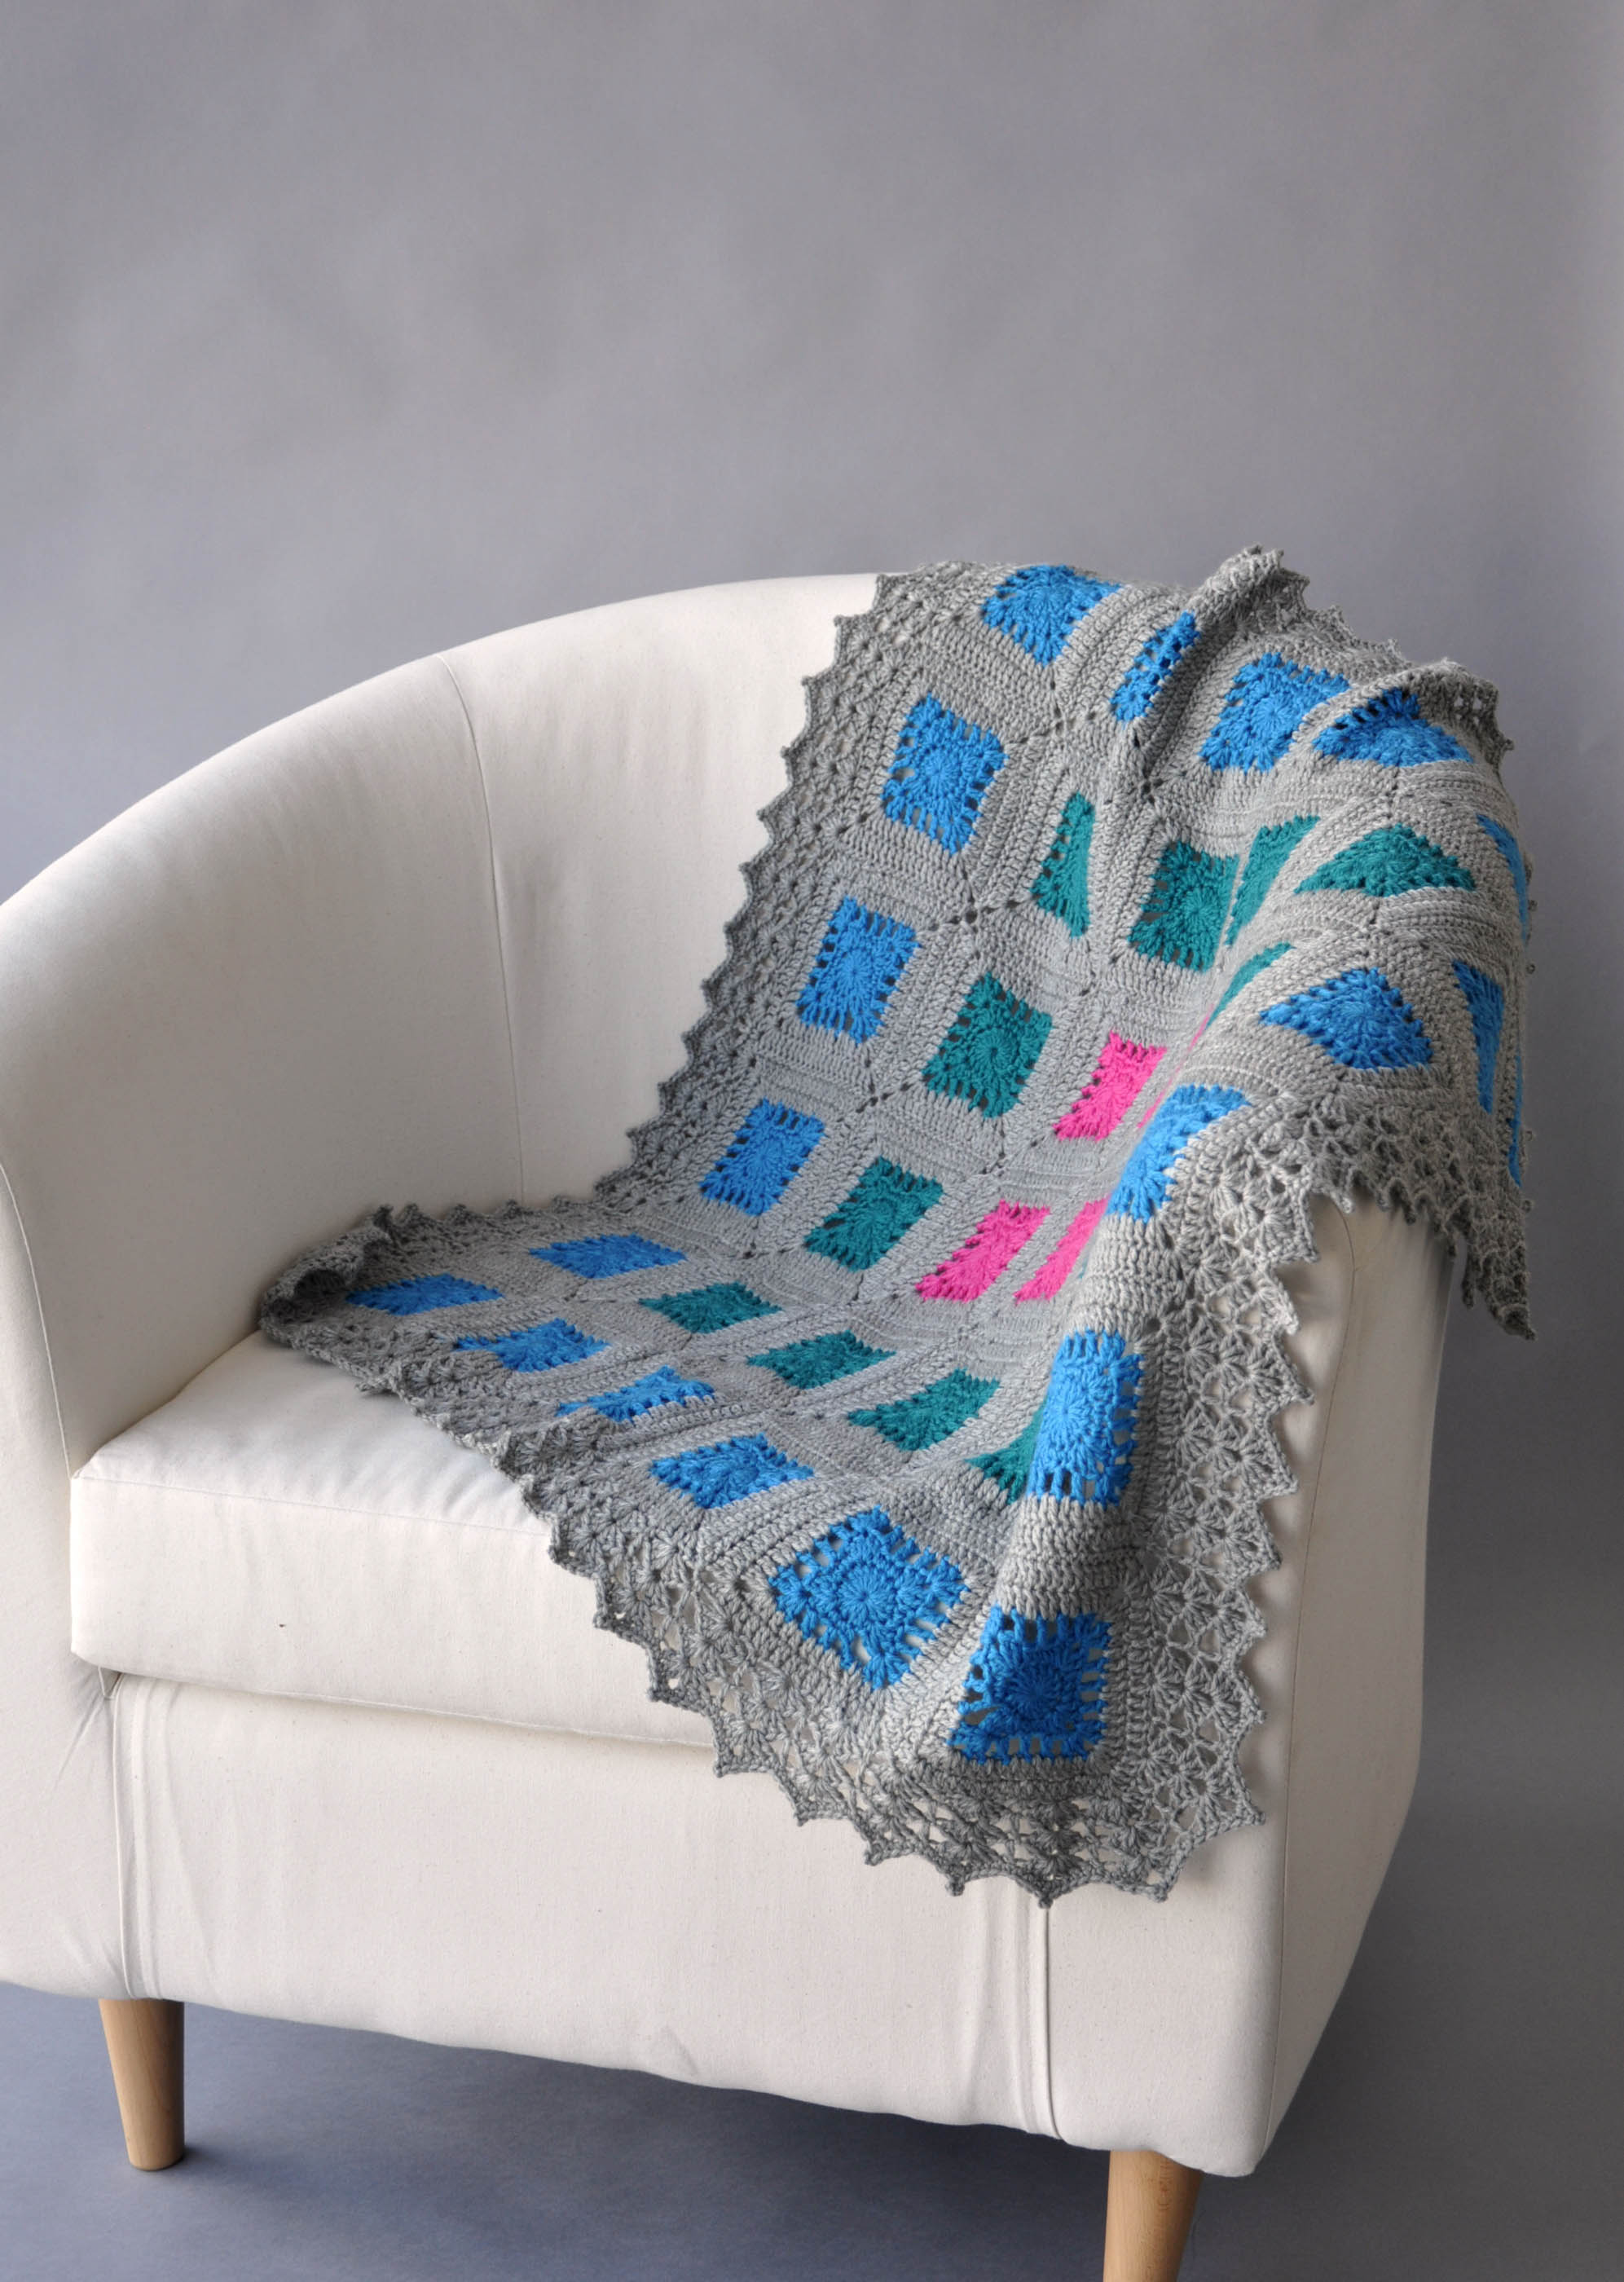
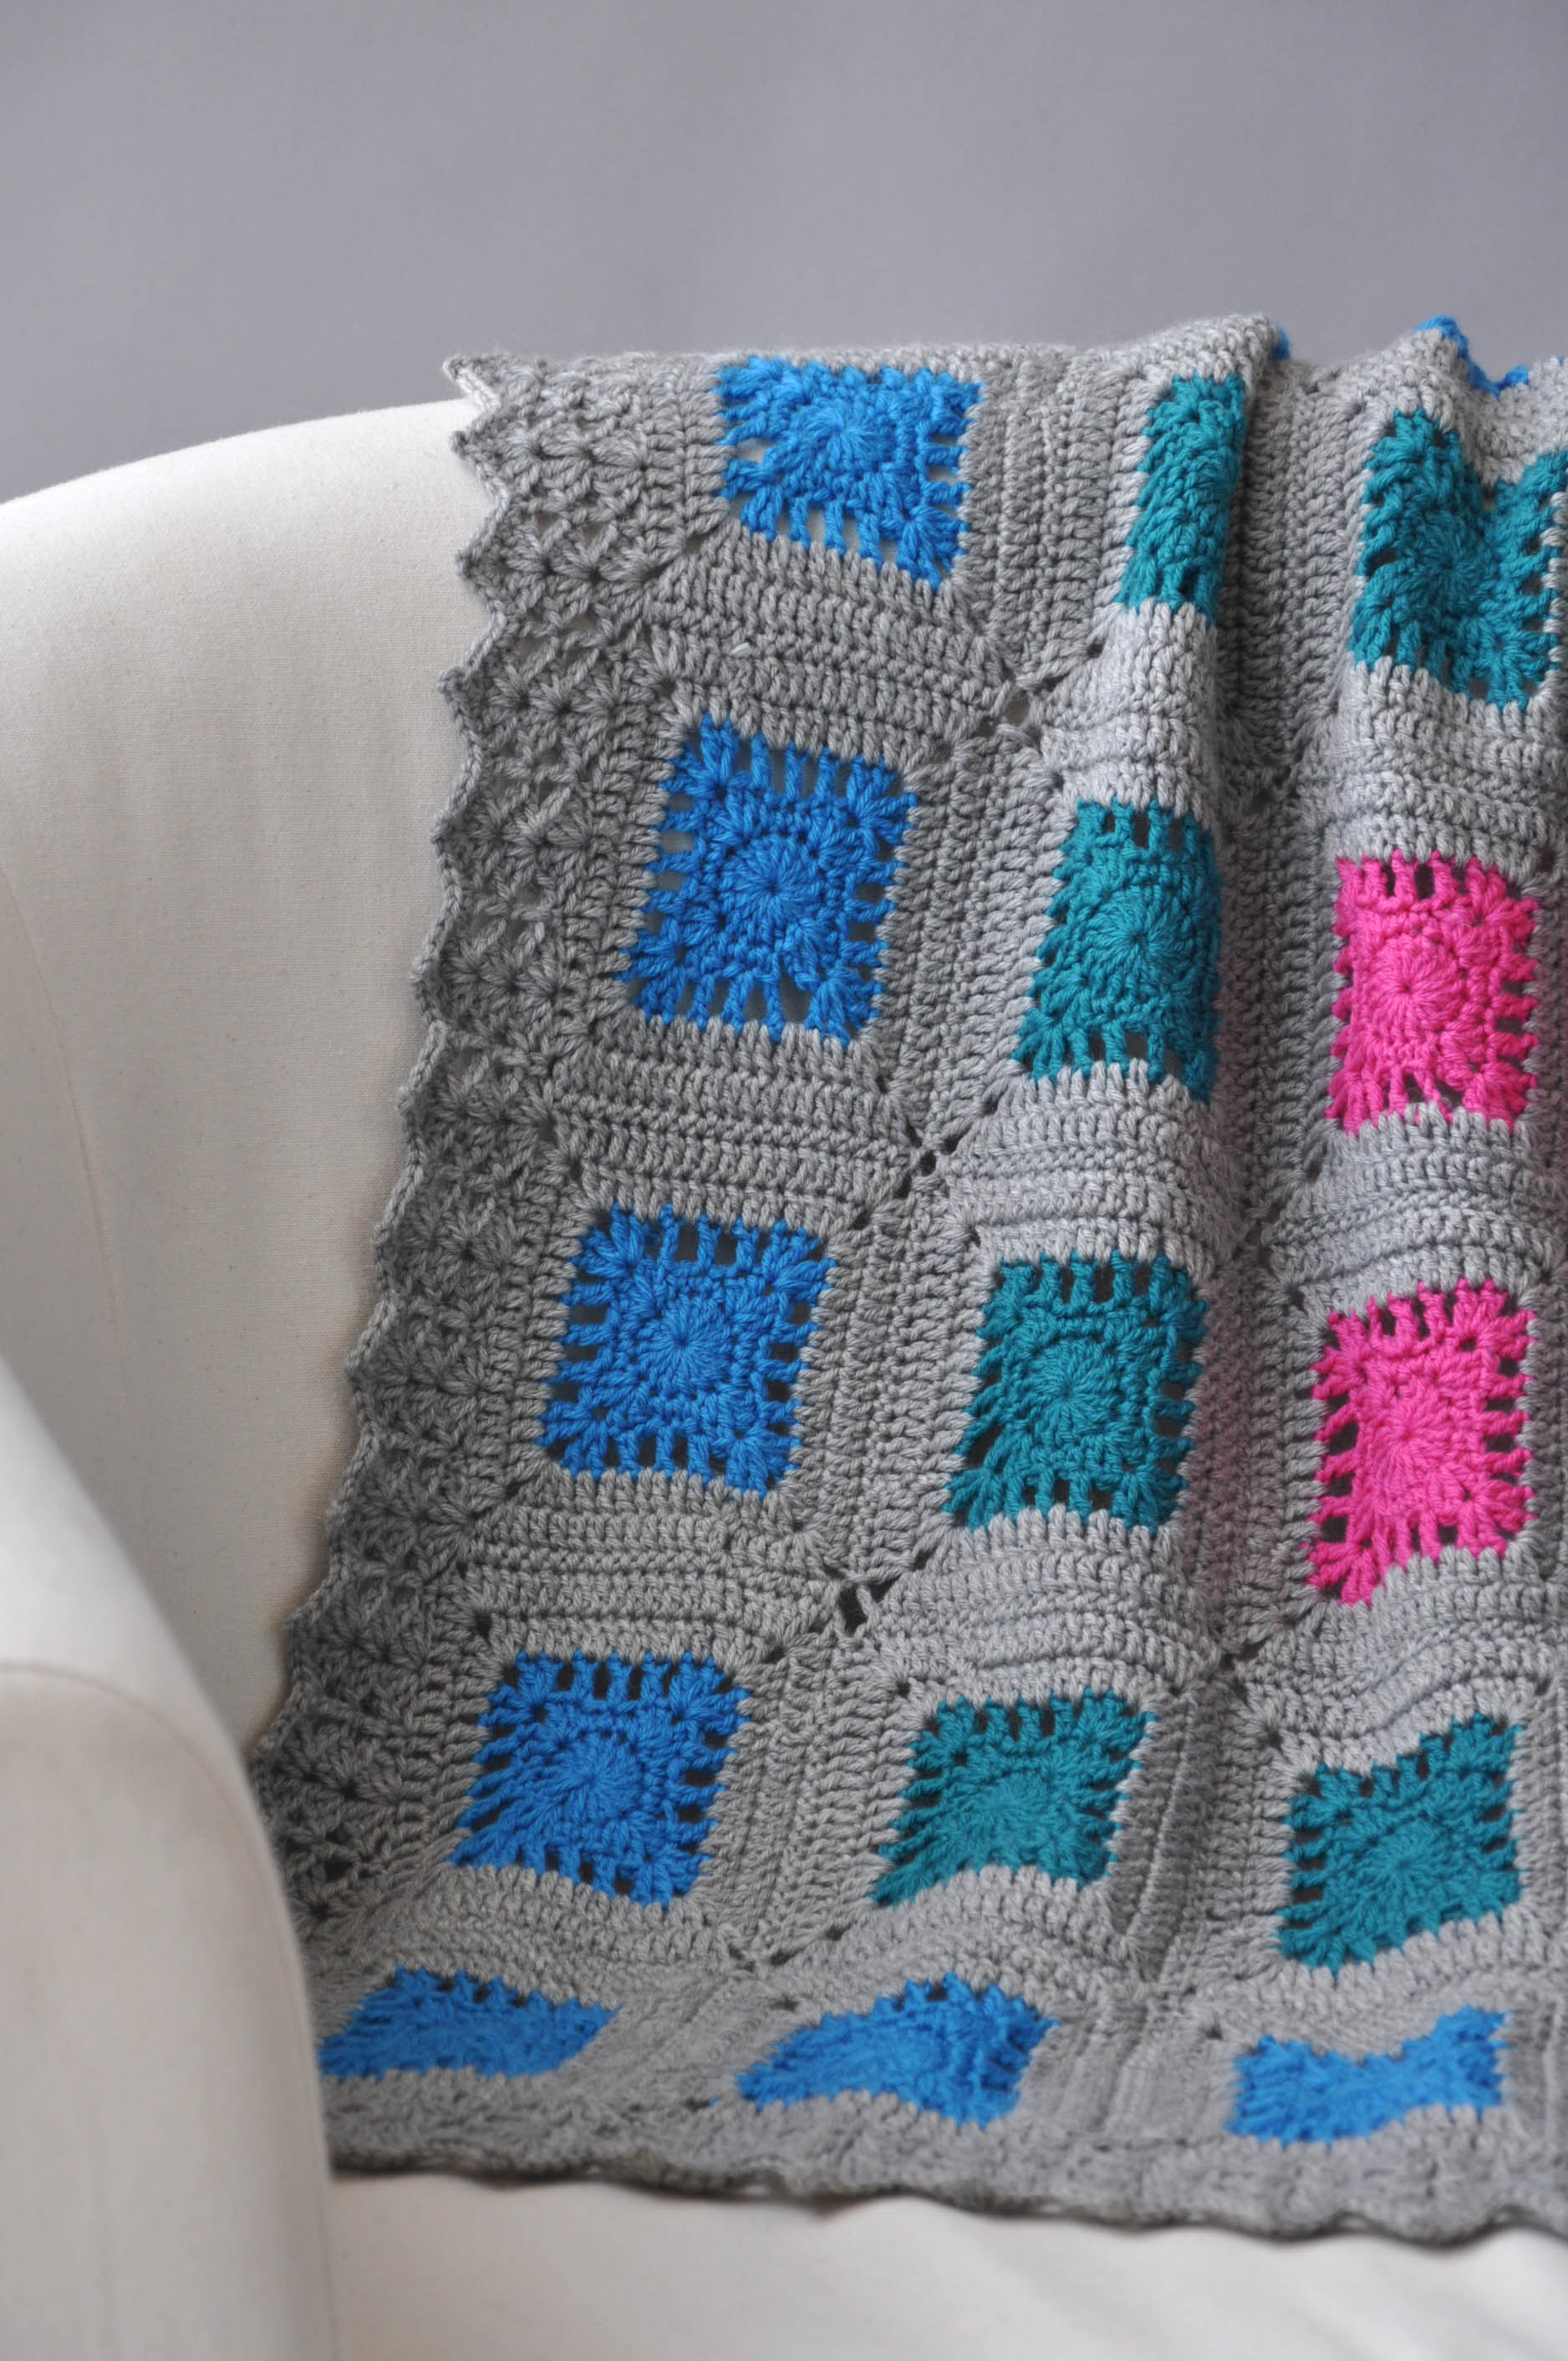
Today, the Oasis Blanket crocheted in Adore (pattern link here).
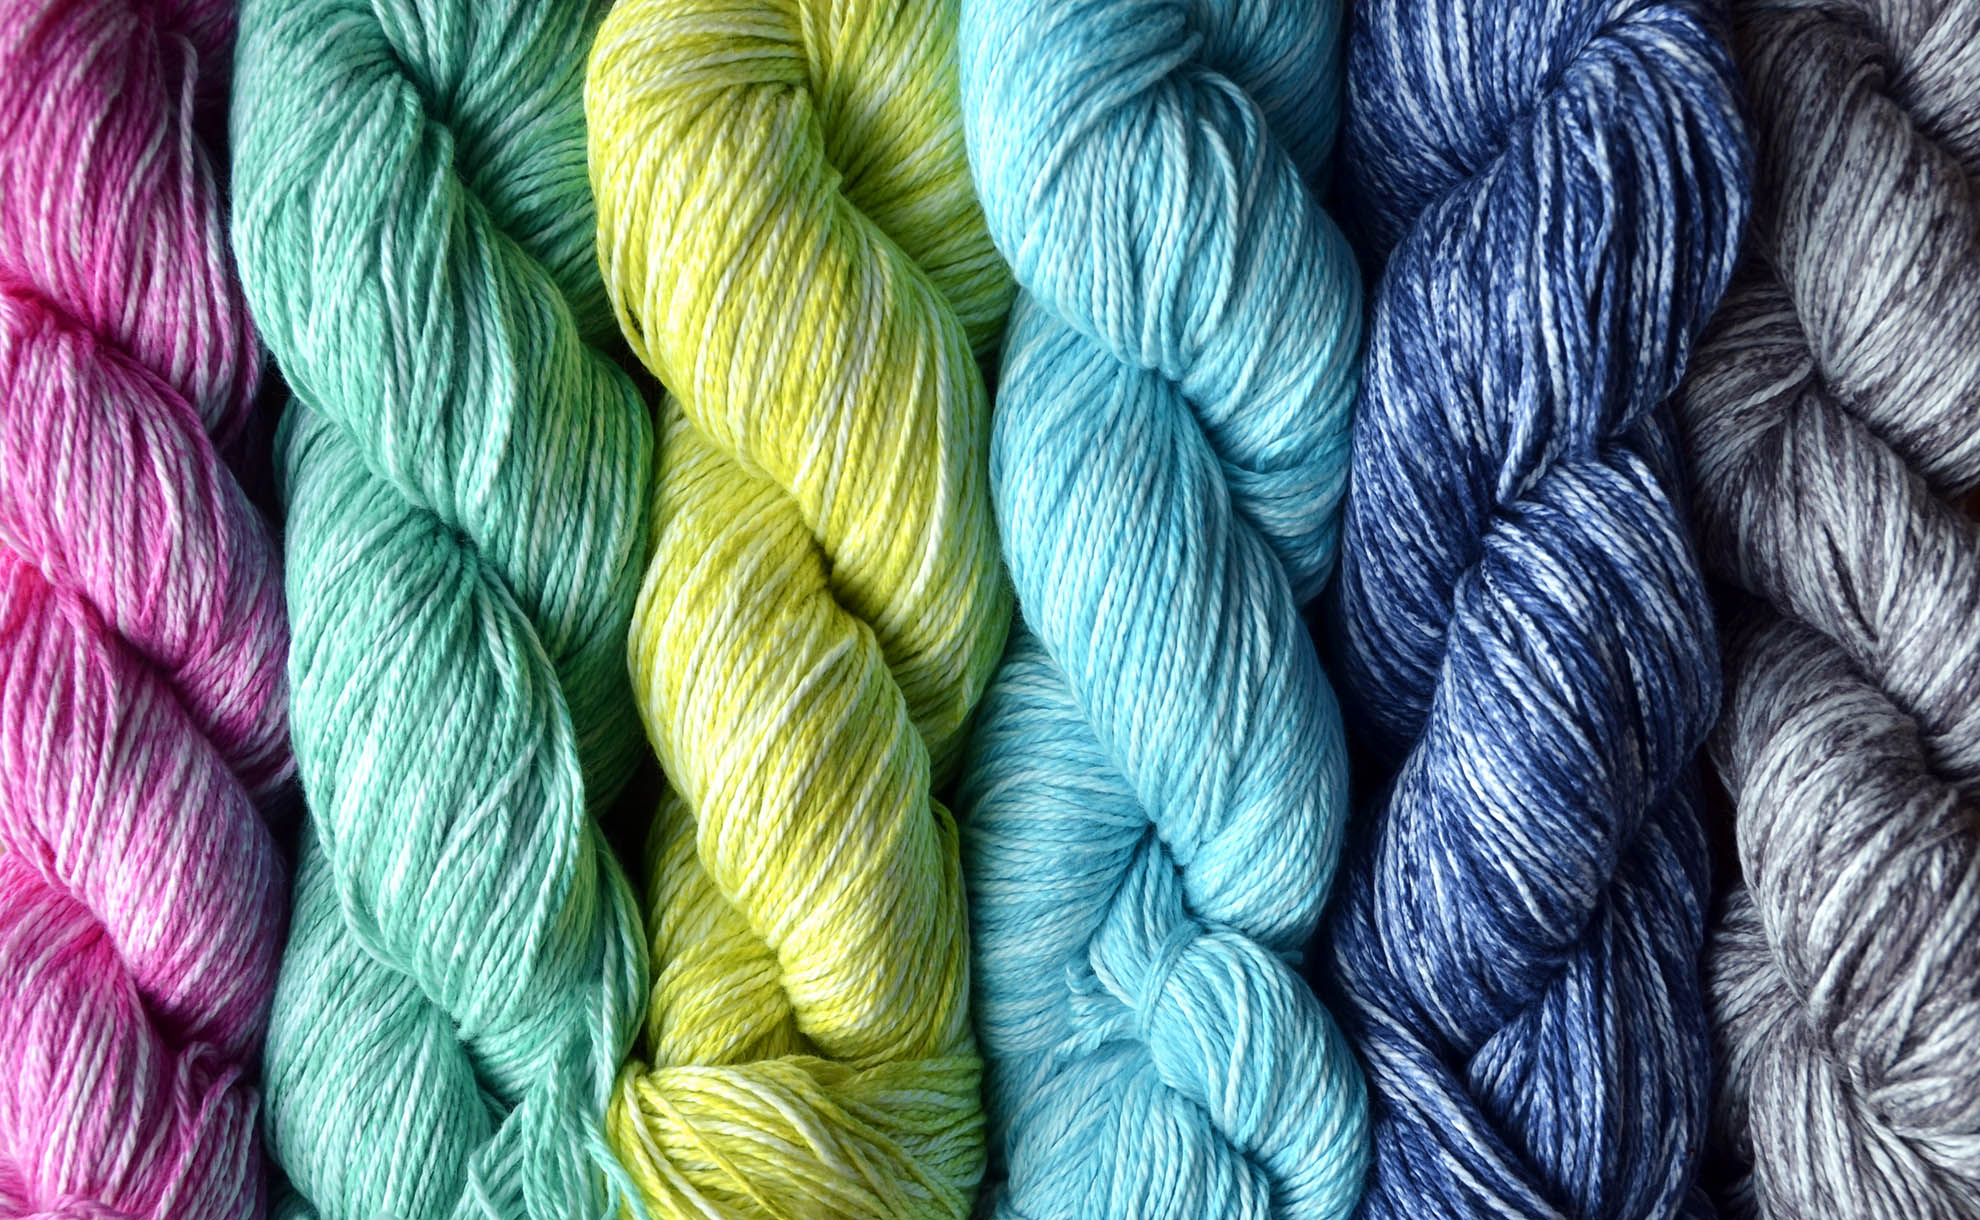
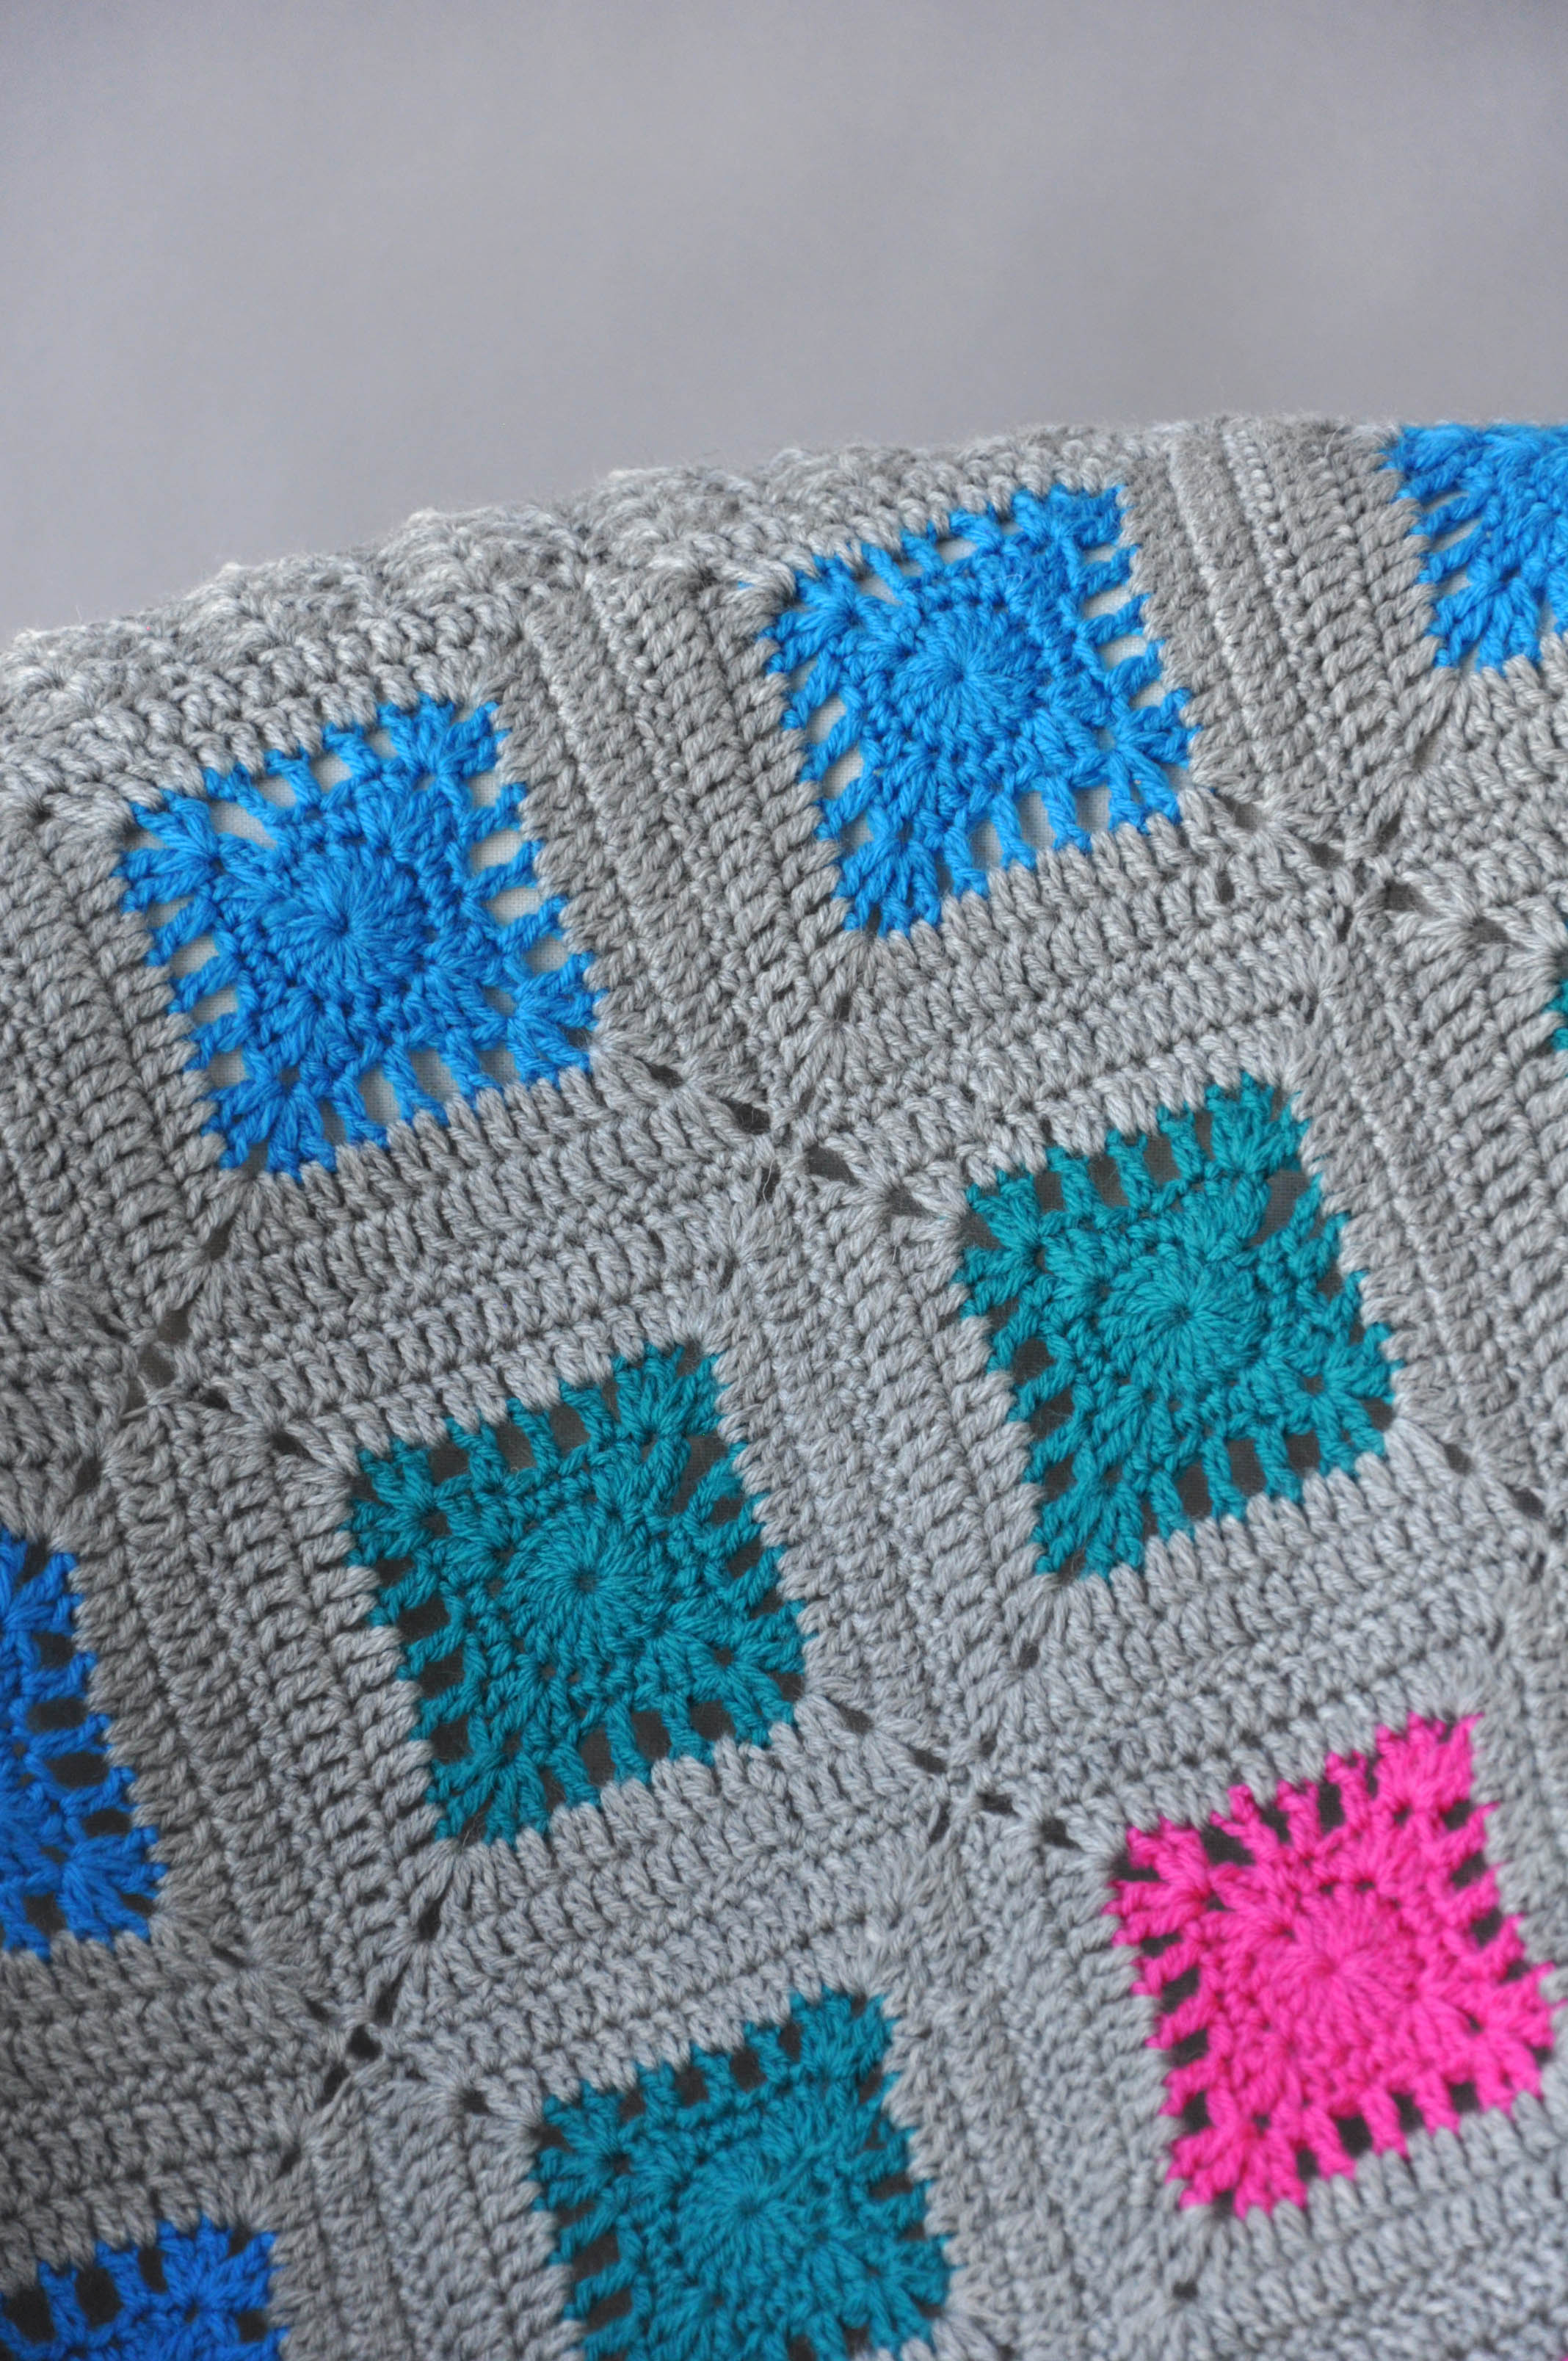
The Oasis Blanket gets its name from the bursts of color set into the gray background.
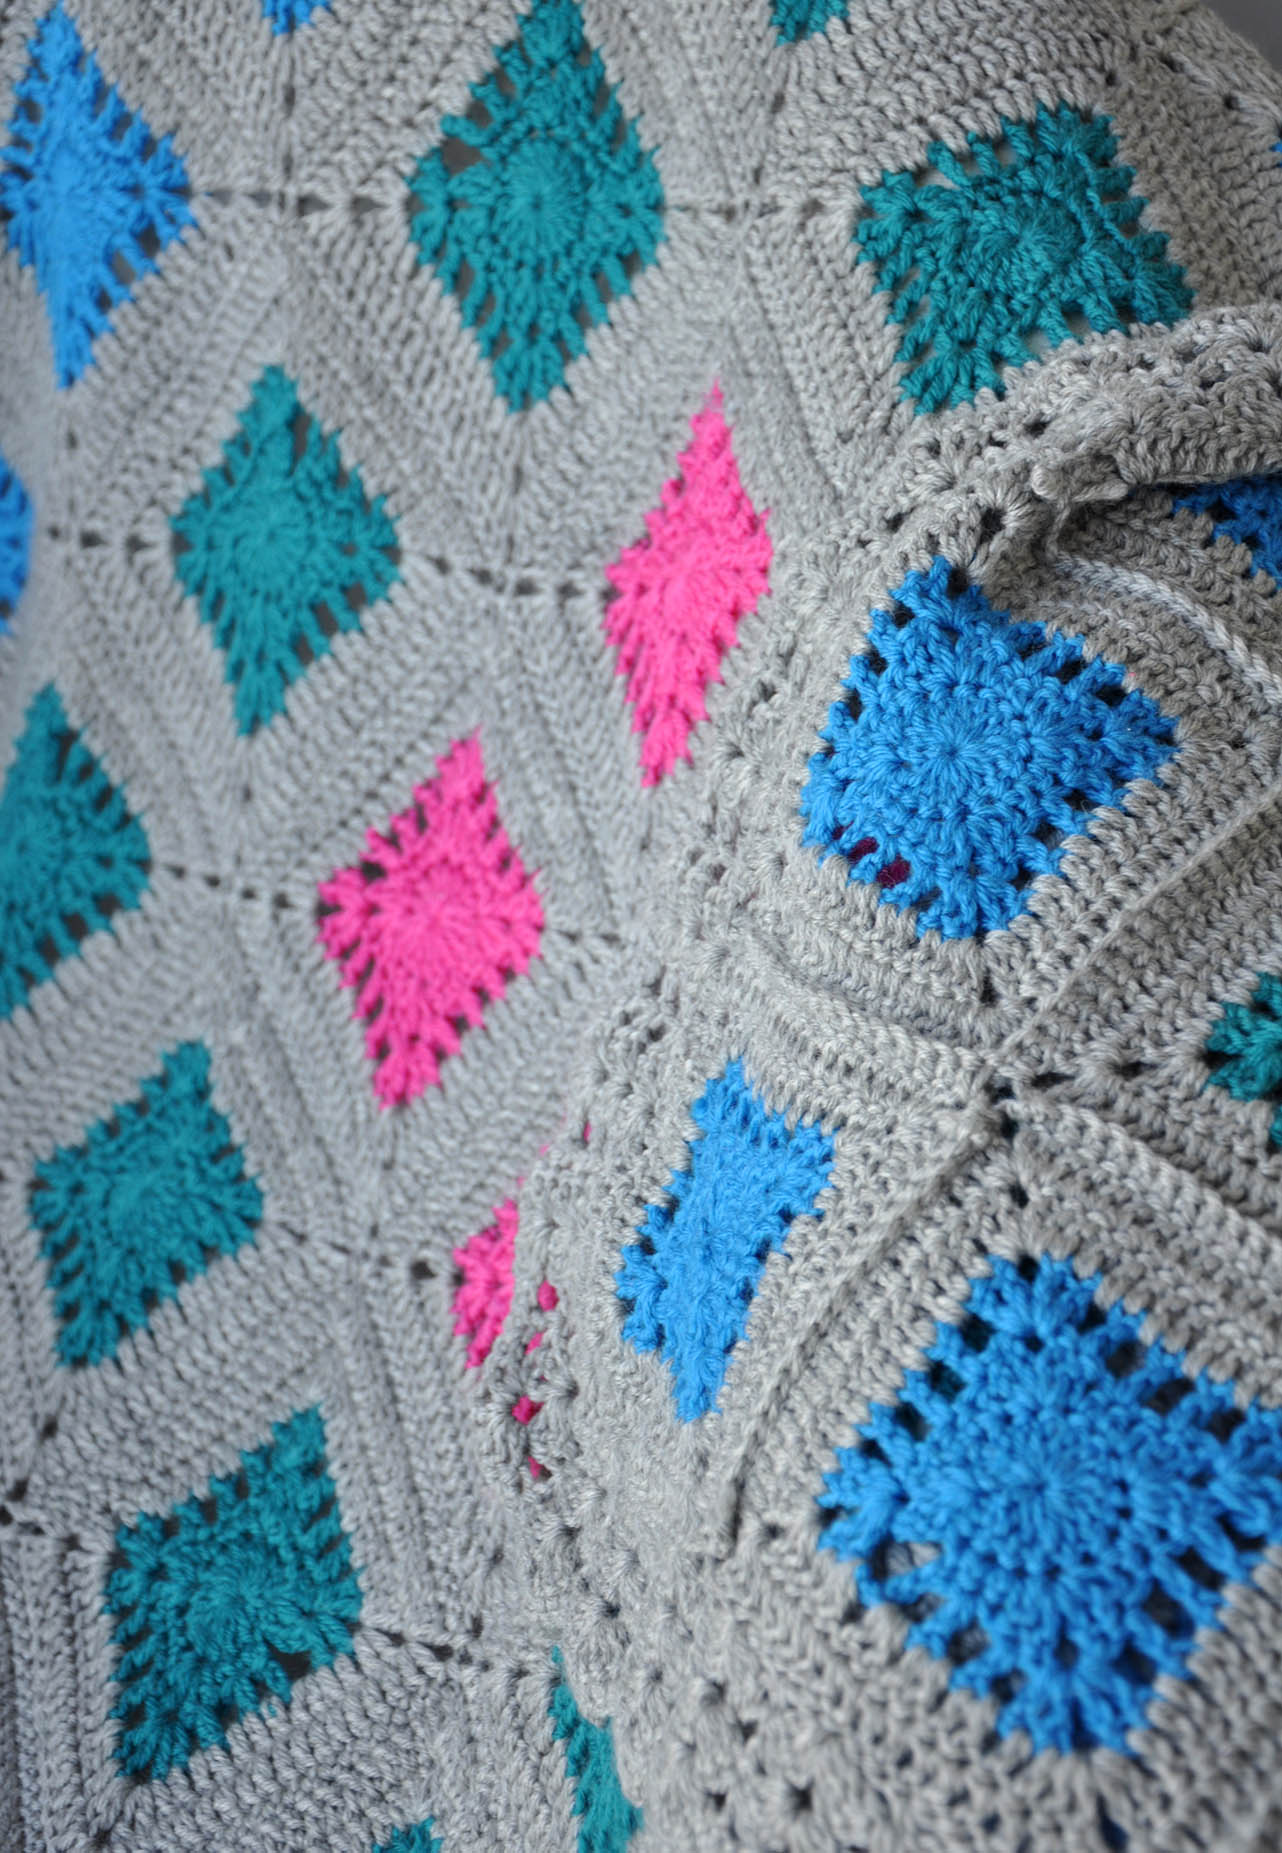
Each one is an oasis.
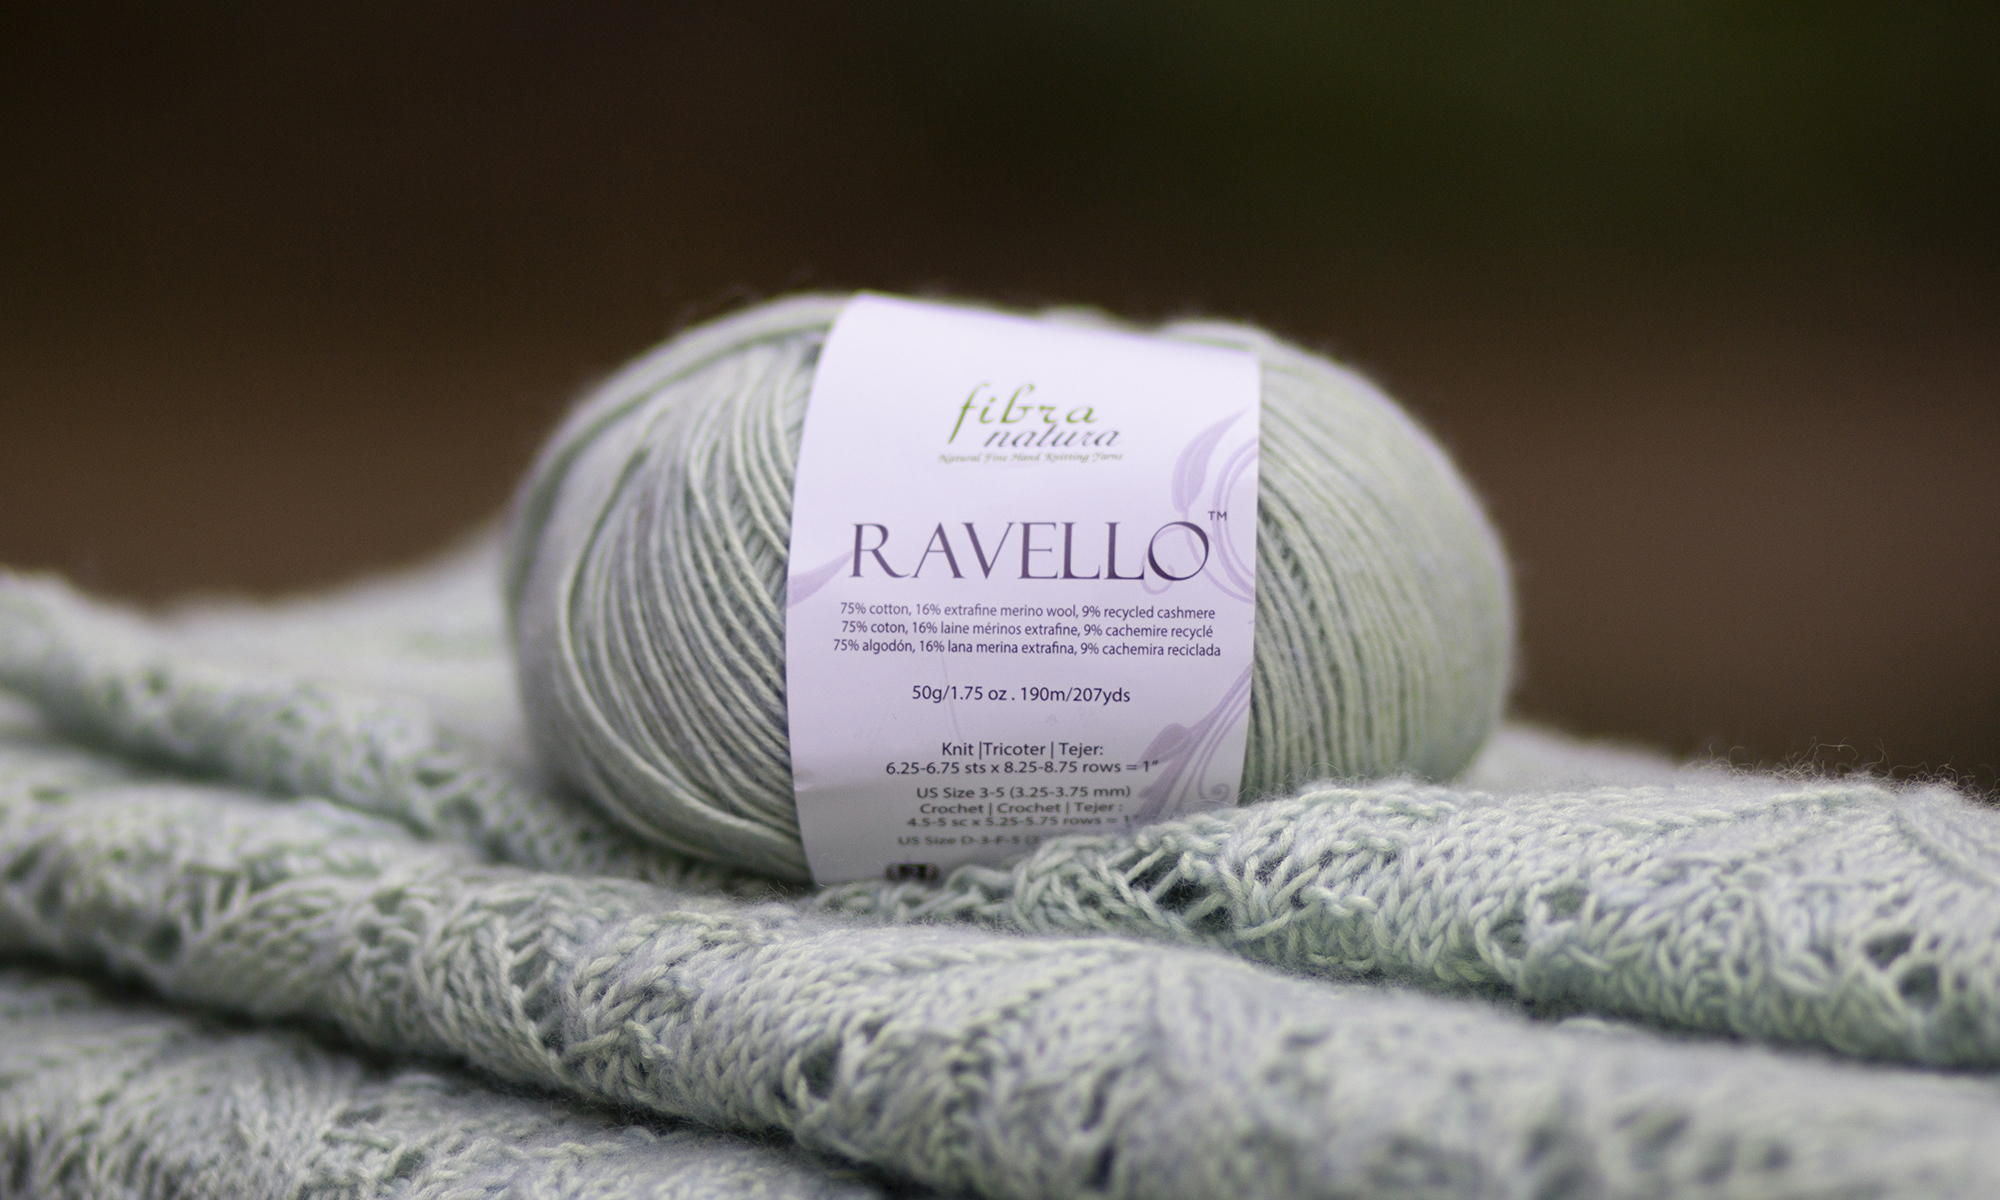
Worked in Adore (273yds/100g), a soft blend of superwash merino and anti-pilling acrylic, it’s a great piece that’s soft enough for babies but sturdy enough to stand up to the washing machine.

Each motif is worked separately, making this a very portable project. It also makes it easy to adjust the size on this 31″ x 31″ blanket as you wish – add another row of squares or take one away as needed.
We hope you have a pleasant weekend.
Happy crafting!

 “use a coupon code” links that appear during purchase.