It’s Free Pattern Friday!
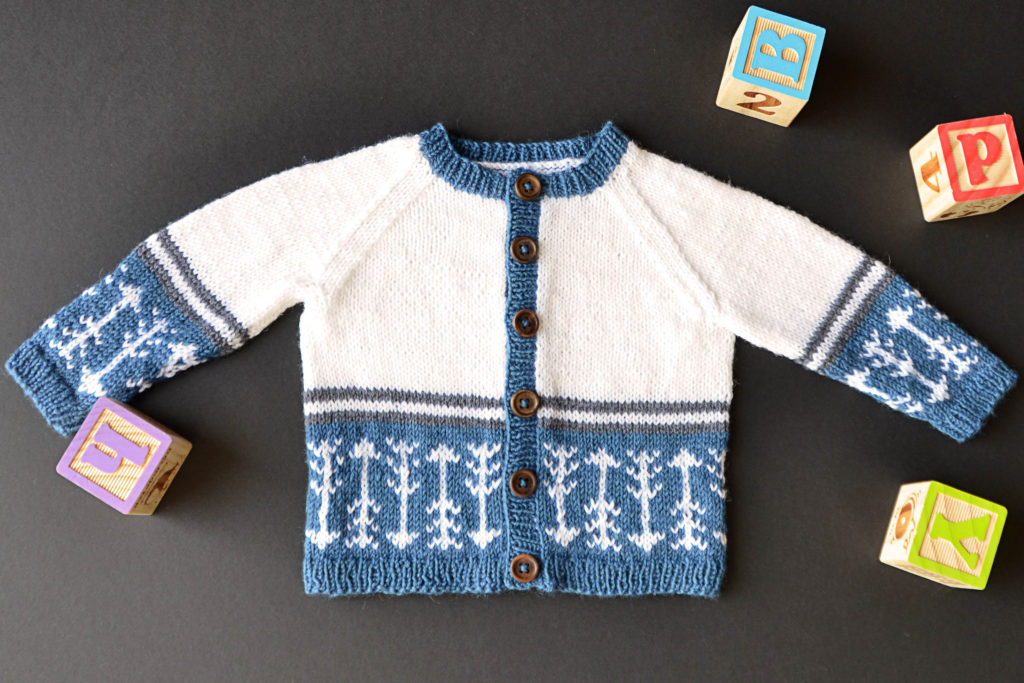
Today, Which Way Is Up in Bella Cash.
Ladies and gentlemen, the faint of heart may wish to look away from this next sentence, lest it chill you to your very soul!
We’re more than halfway to Christmas.

I know. I’m sorry you had to read that.
But better to face it now, while there’s still plenty of time to start on holiday projects than later, when it’s a mad rush.
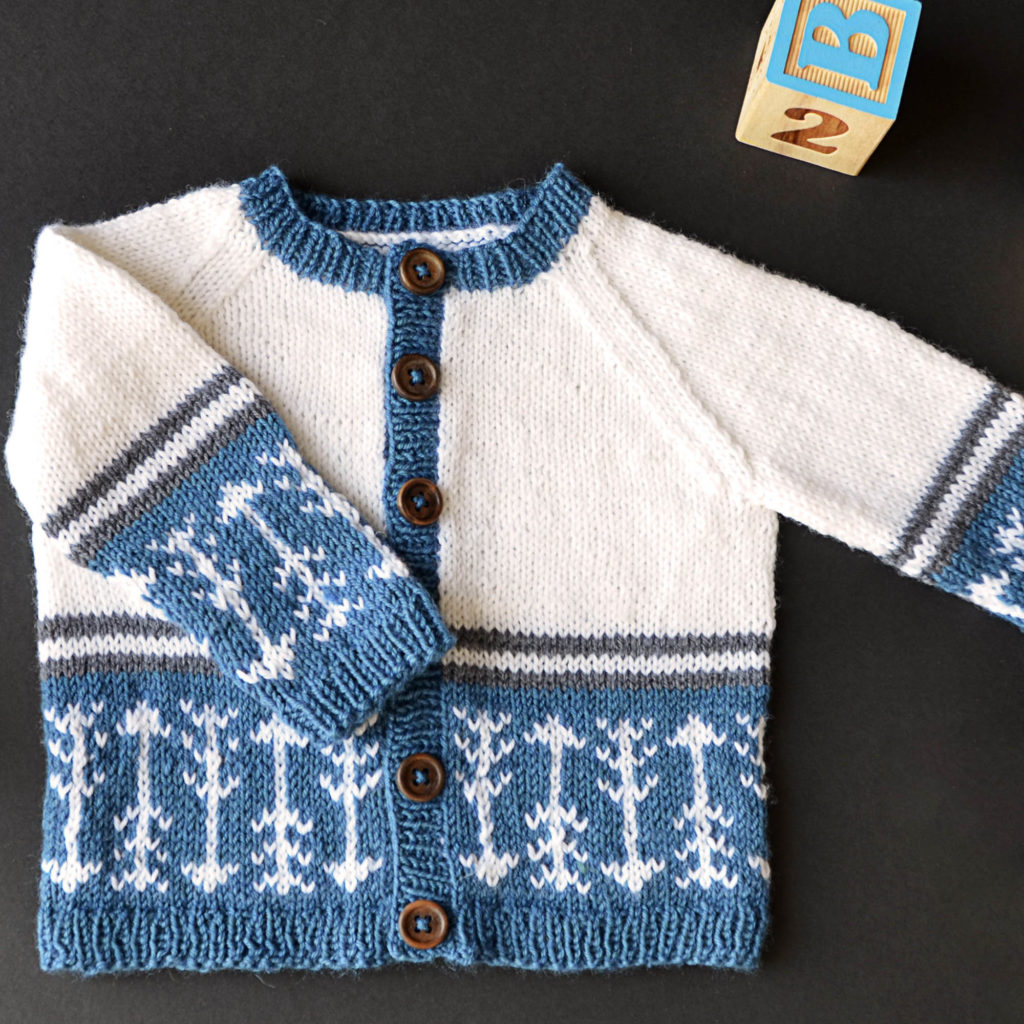
Fortunately, we’ve got some charming projects in the works that would be great for gifts, like this week’s pattern, Which Way is Up. Sized from newborn to 4-year, it’s a Fair Isle cardigan that calls for machine washable Bella Cash, a fine merino/cashmere/nylon blend. Knit the cardi bottom up, join the raglan sleeves and body, and add the button band. Classic and cute.
This would be a good small project to tackle to get ahead of the game, or just to be ready when the next baby shower takes you by surprise.
We hope you enjoy this stylish and adorable pattern.
Happy knitting!