
Earth Day is a week away – and that’s something we should all be celebrating. We are just one of the estimated 1 trillion species on Earth…and we are also the life form that arguably has the greatest impact on the natural world. Recently, I listened to David Attenborough’s reading of his book, Life on Earth, originally published in 1979. In the last couple of chapters, he wrote about our impact on the planet, and this quote truly strikes a chord:
“The fact remains that man has unprecedented control over the world and everything in it. And so, whether he likes it or not, what happens next is very largely up to him.”
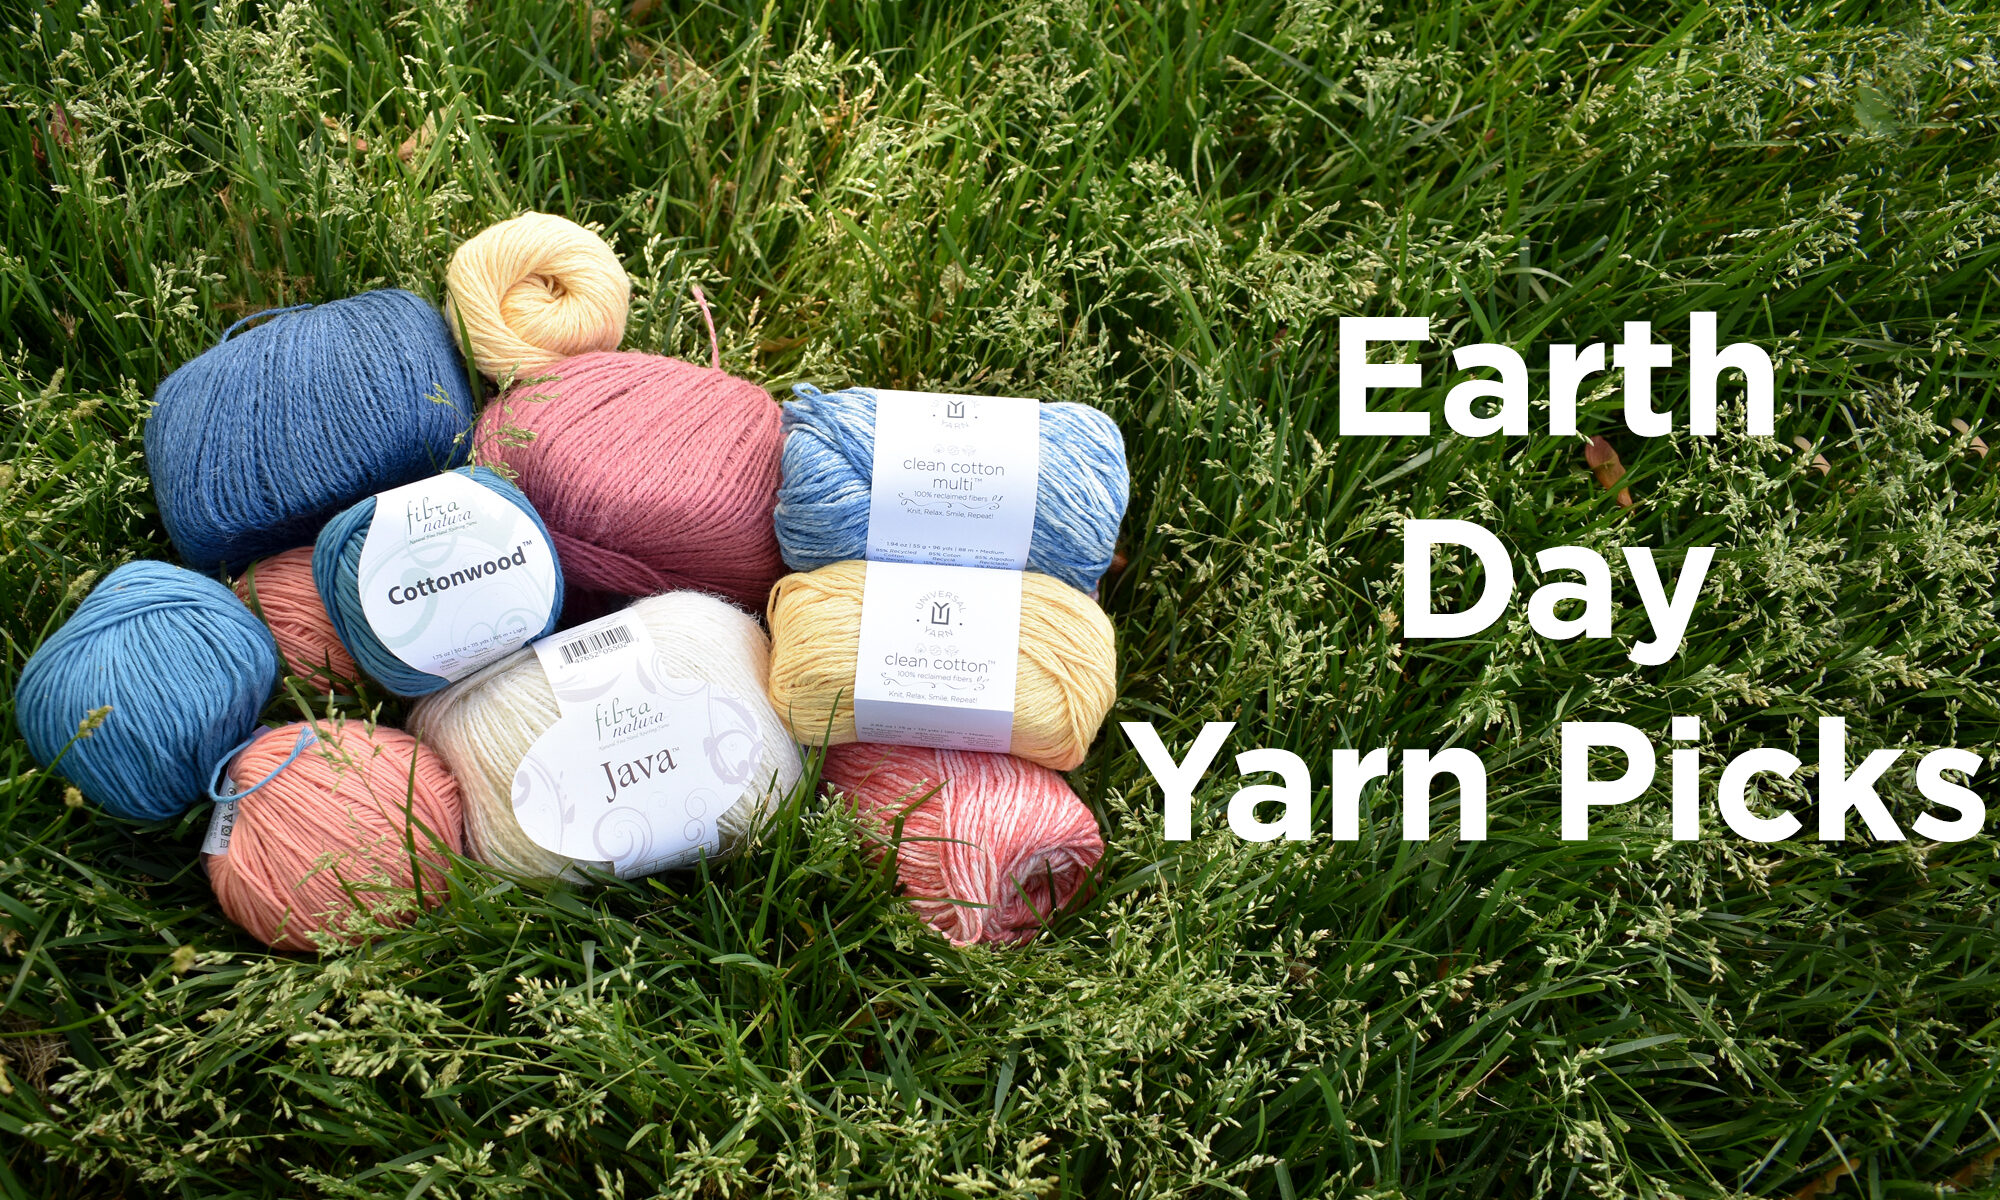
There is so much information available about how to ease our environmental impact. It can be very overwhelming at times! These conversations can often be heated, controversial, and even lead to confusion about what we can do. Ultimately, though, we can all take small steps to help preserve this remarkable place we call home. So, what does that have to do with yarn? Well, today I wanted to highlight some of the yarns we can use to minimize our footprints and create practical, reusable projects.

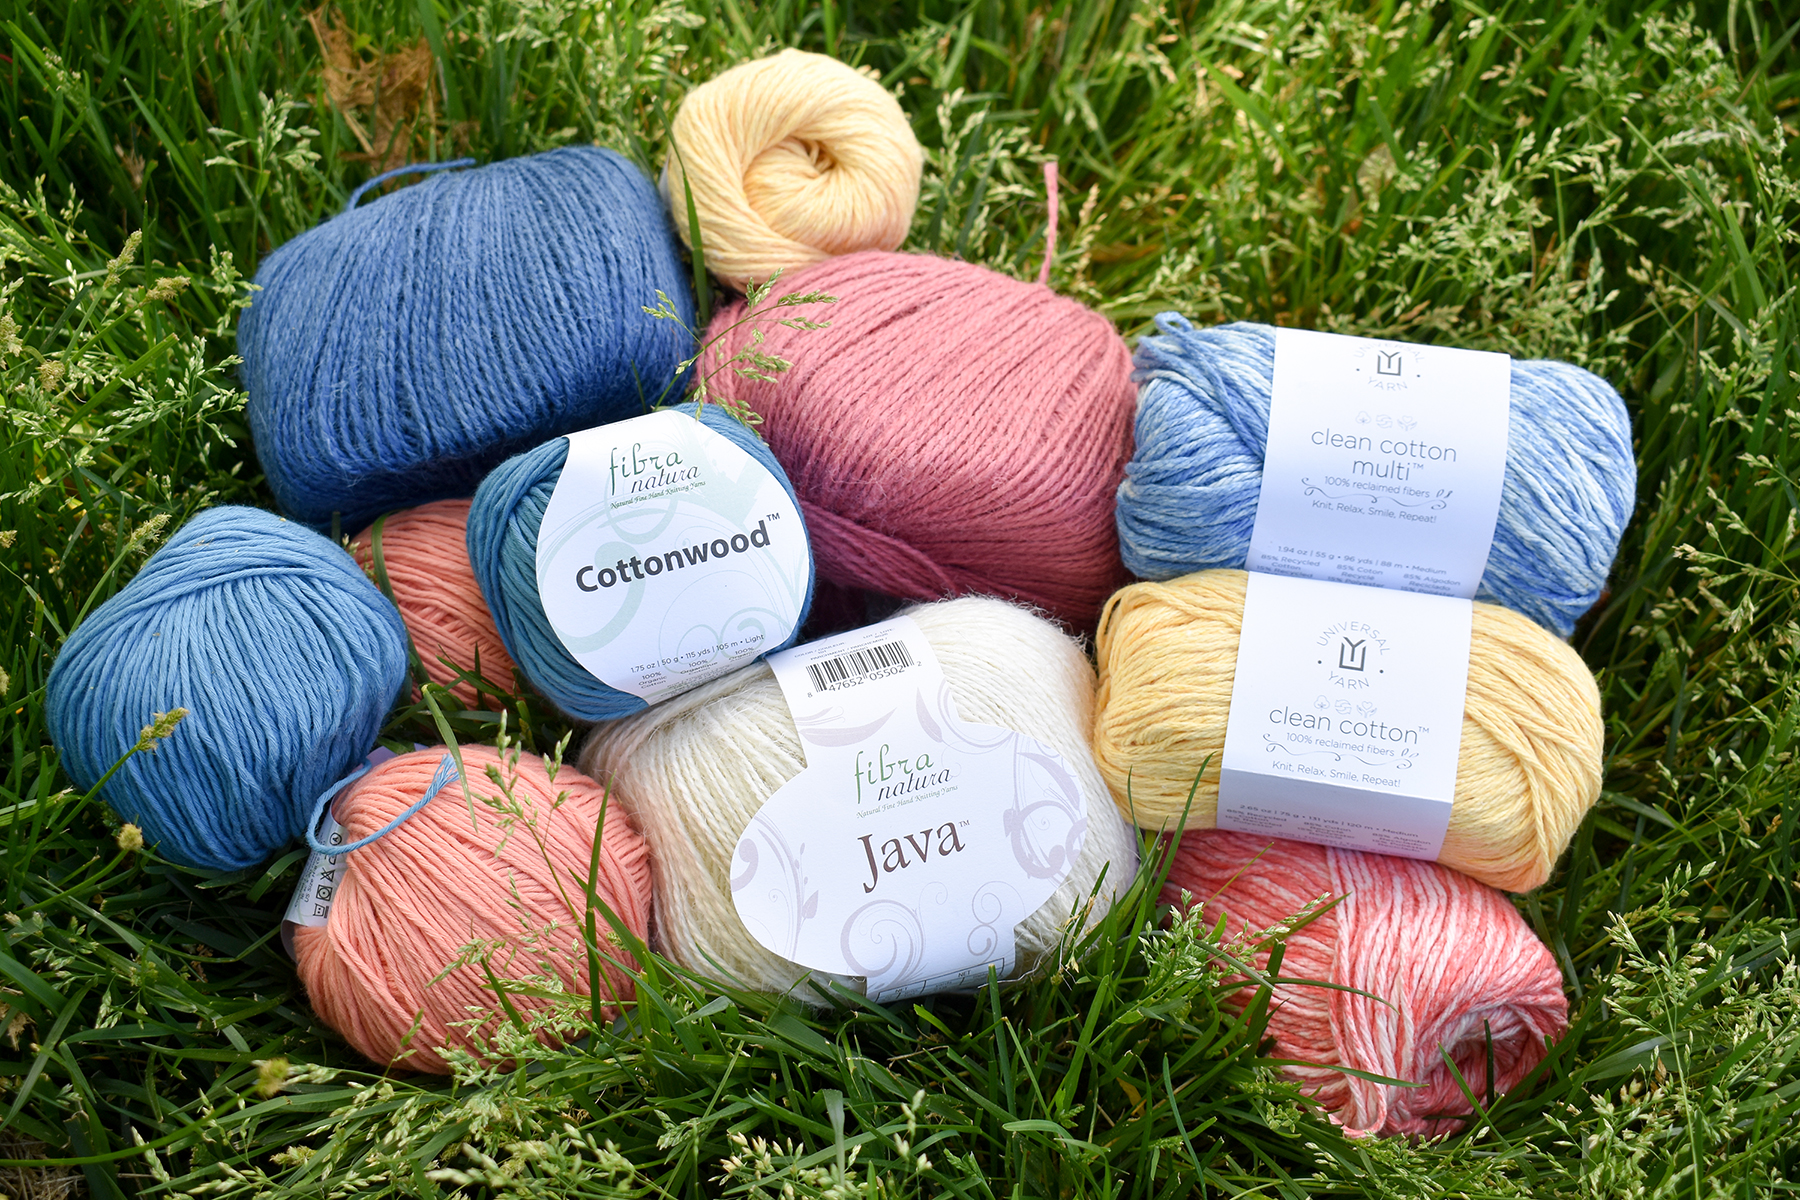
Java
Our Java yarn is made with 100% hemp fibers. What’s so great about hemp? Well, for one thing, it requires significantly less water to grow and process! It’s an incredibly strong and durable fiber and is also very colorfast. Java has a rustic hand and is well-suited for projects such as washcloths and home décor.
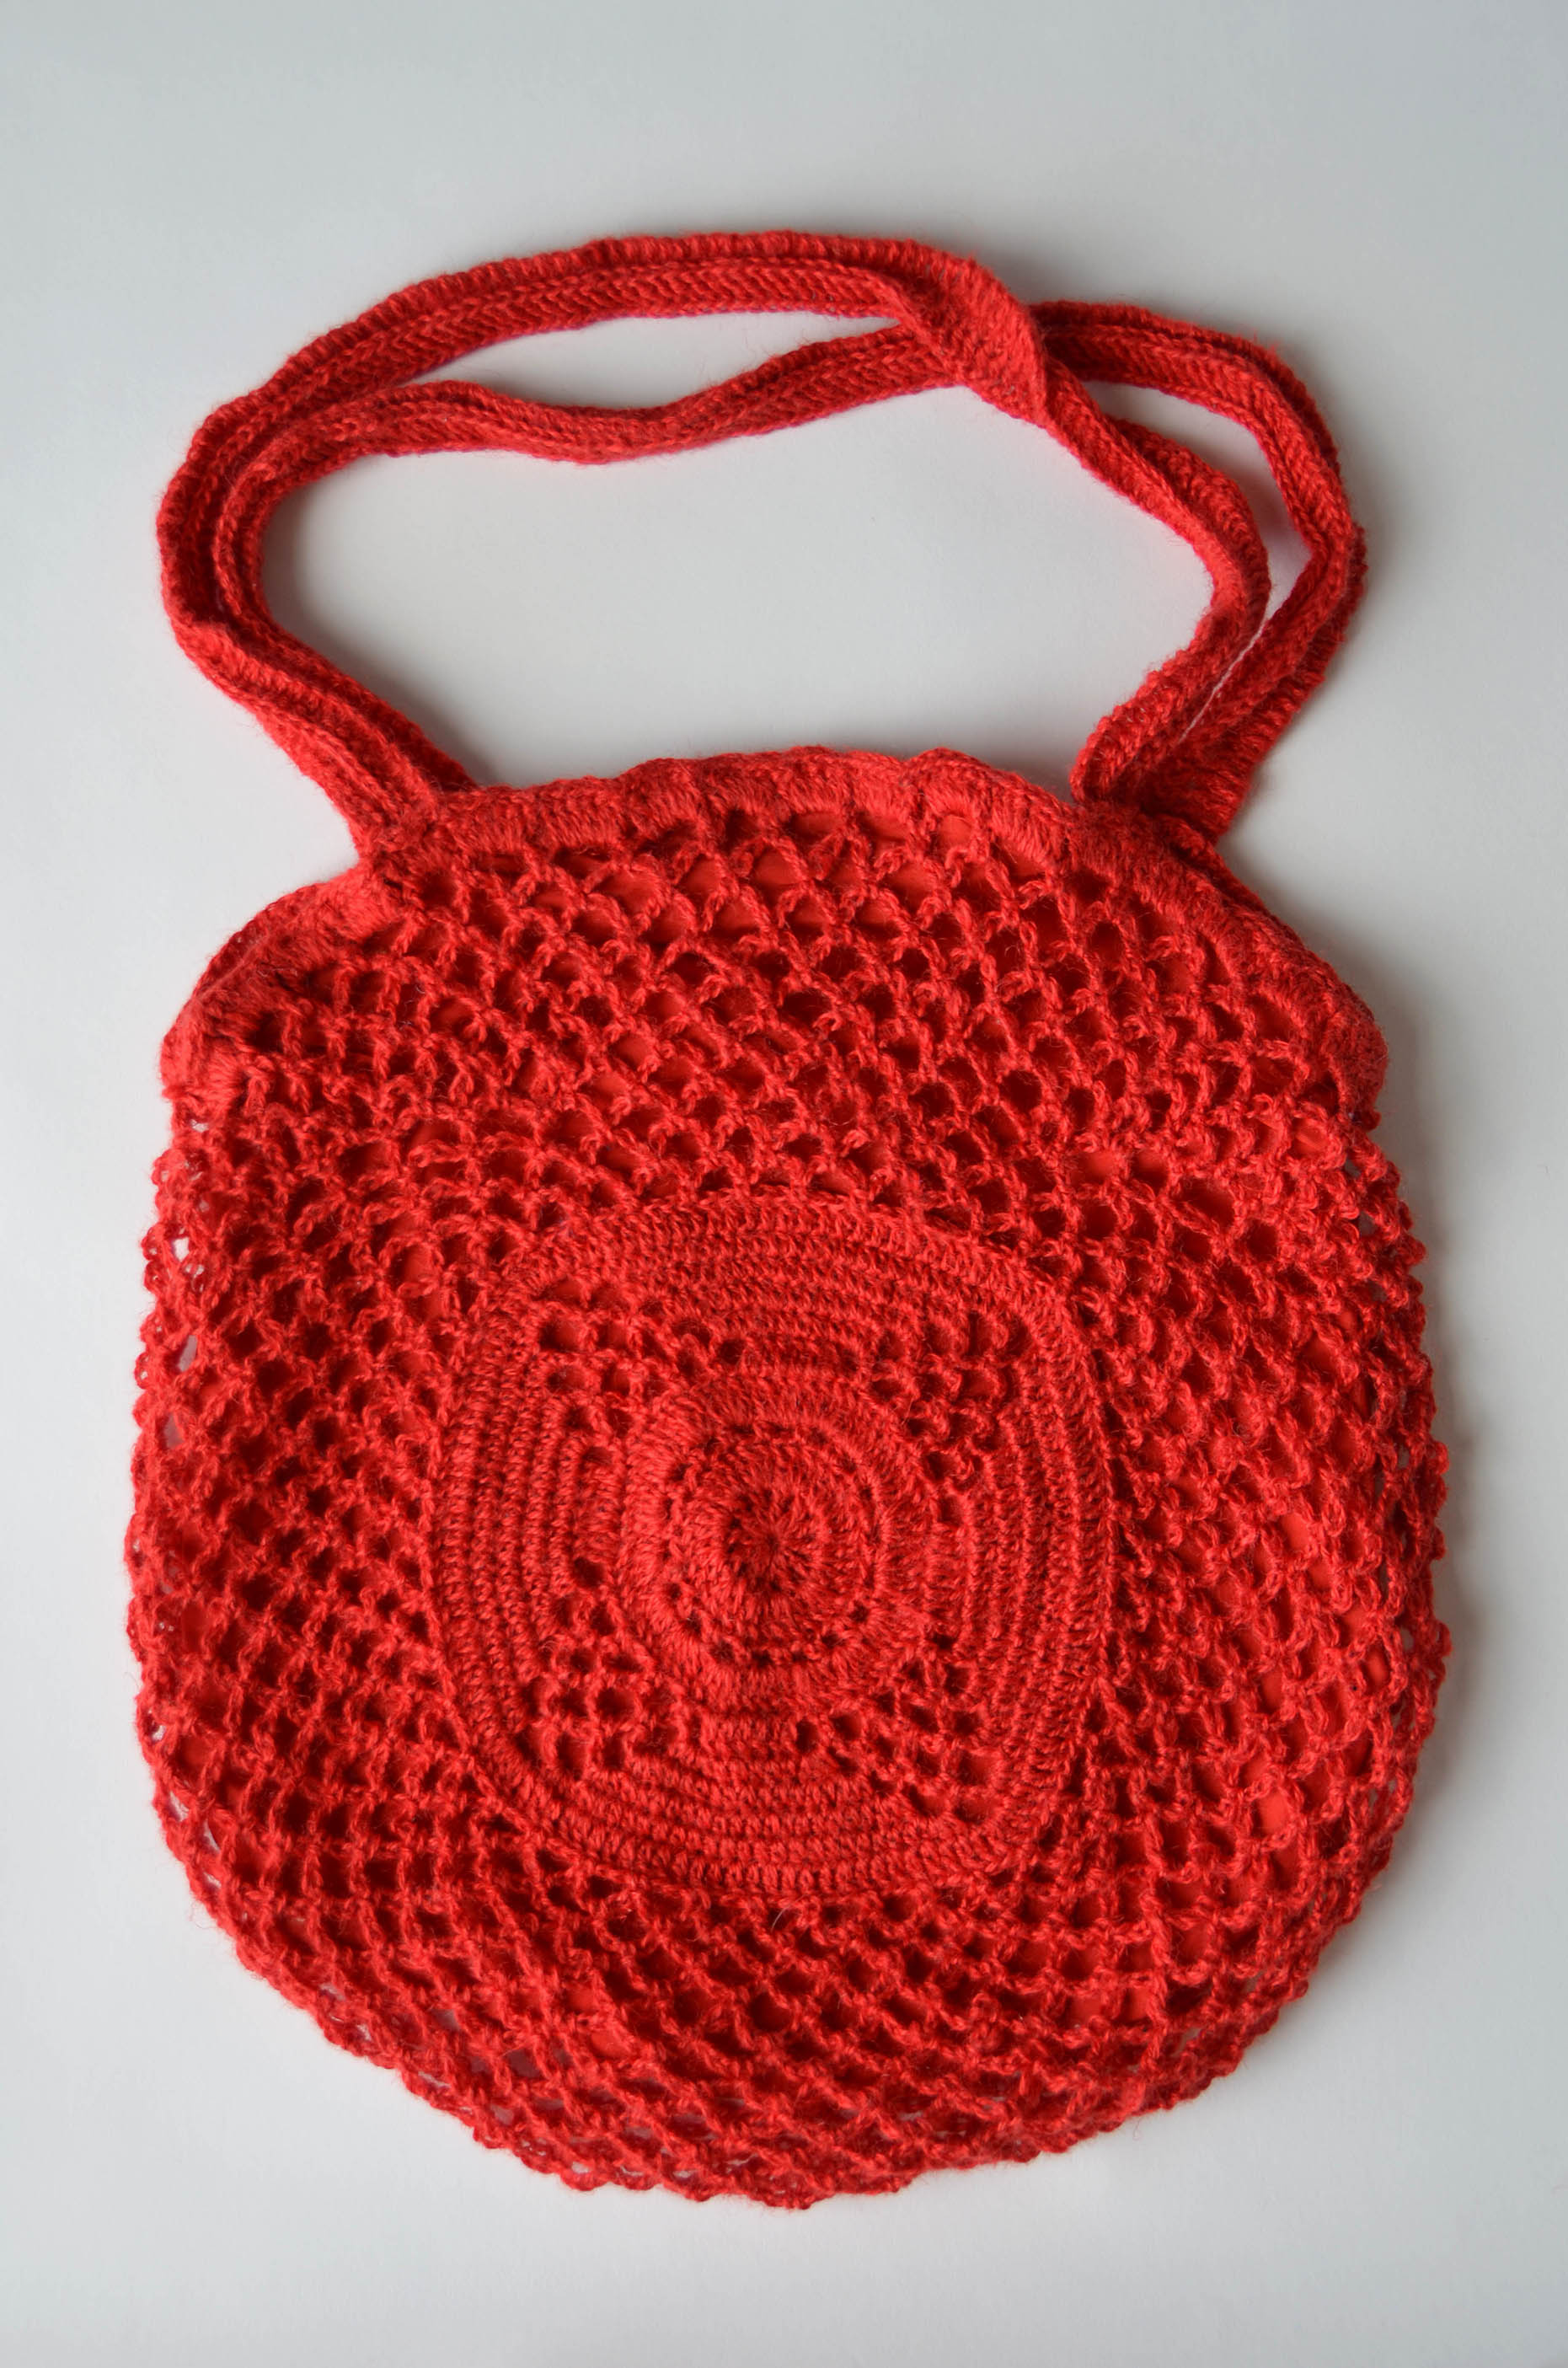
An easy step for reducing your carbon footprint is to swap plastic shopping bags with reusable bags. At this point, several states have banned the use of plastic shopping bags altogether. And while your state may not have taken those measures, toting (pun intended) your own shopping bag is a great idea! Stroll to your local farmer’s market in style with the Sunfire Bag (pattern link). This crochet project is worked modularly and boasts plenty of space. I’d love to make several of these bags in an assortment of the 12 colors in the Java palette.
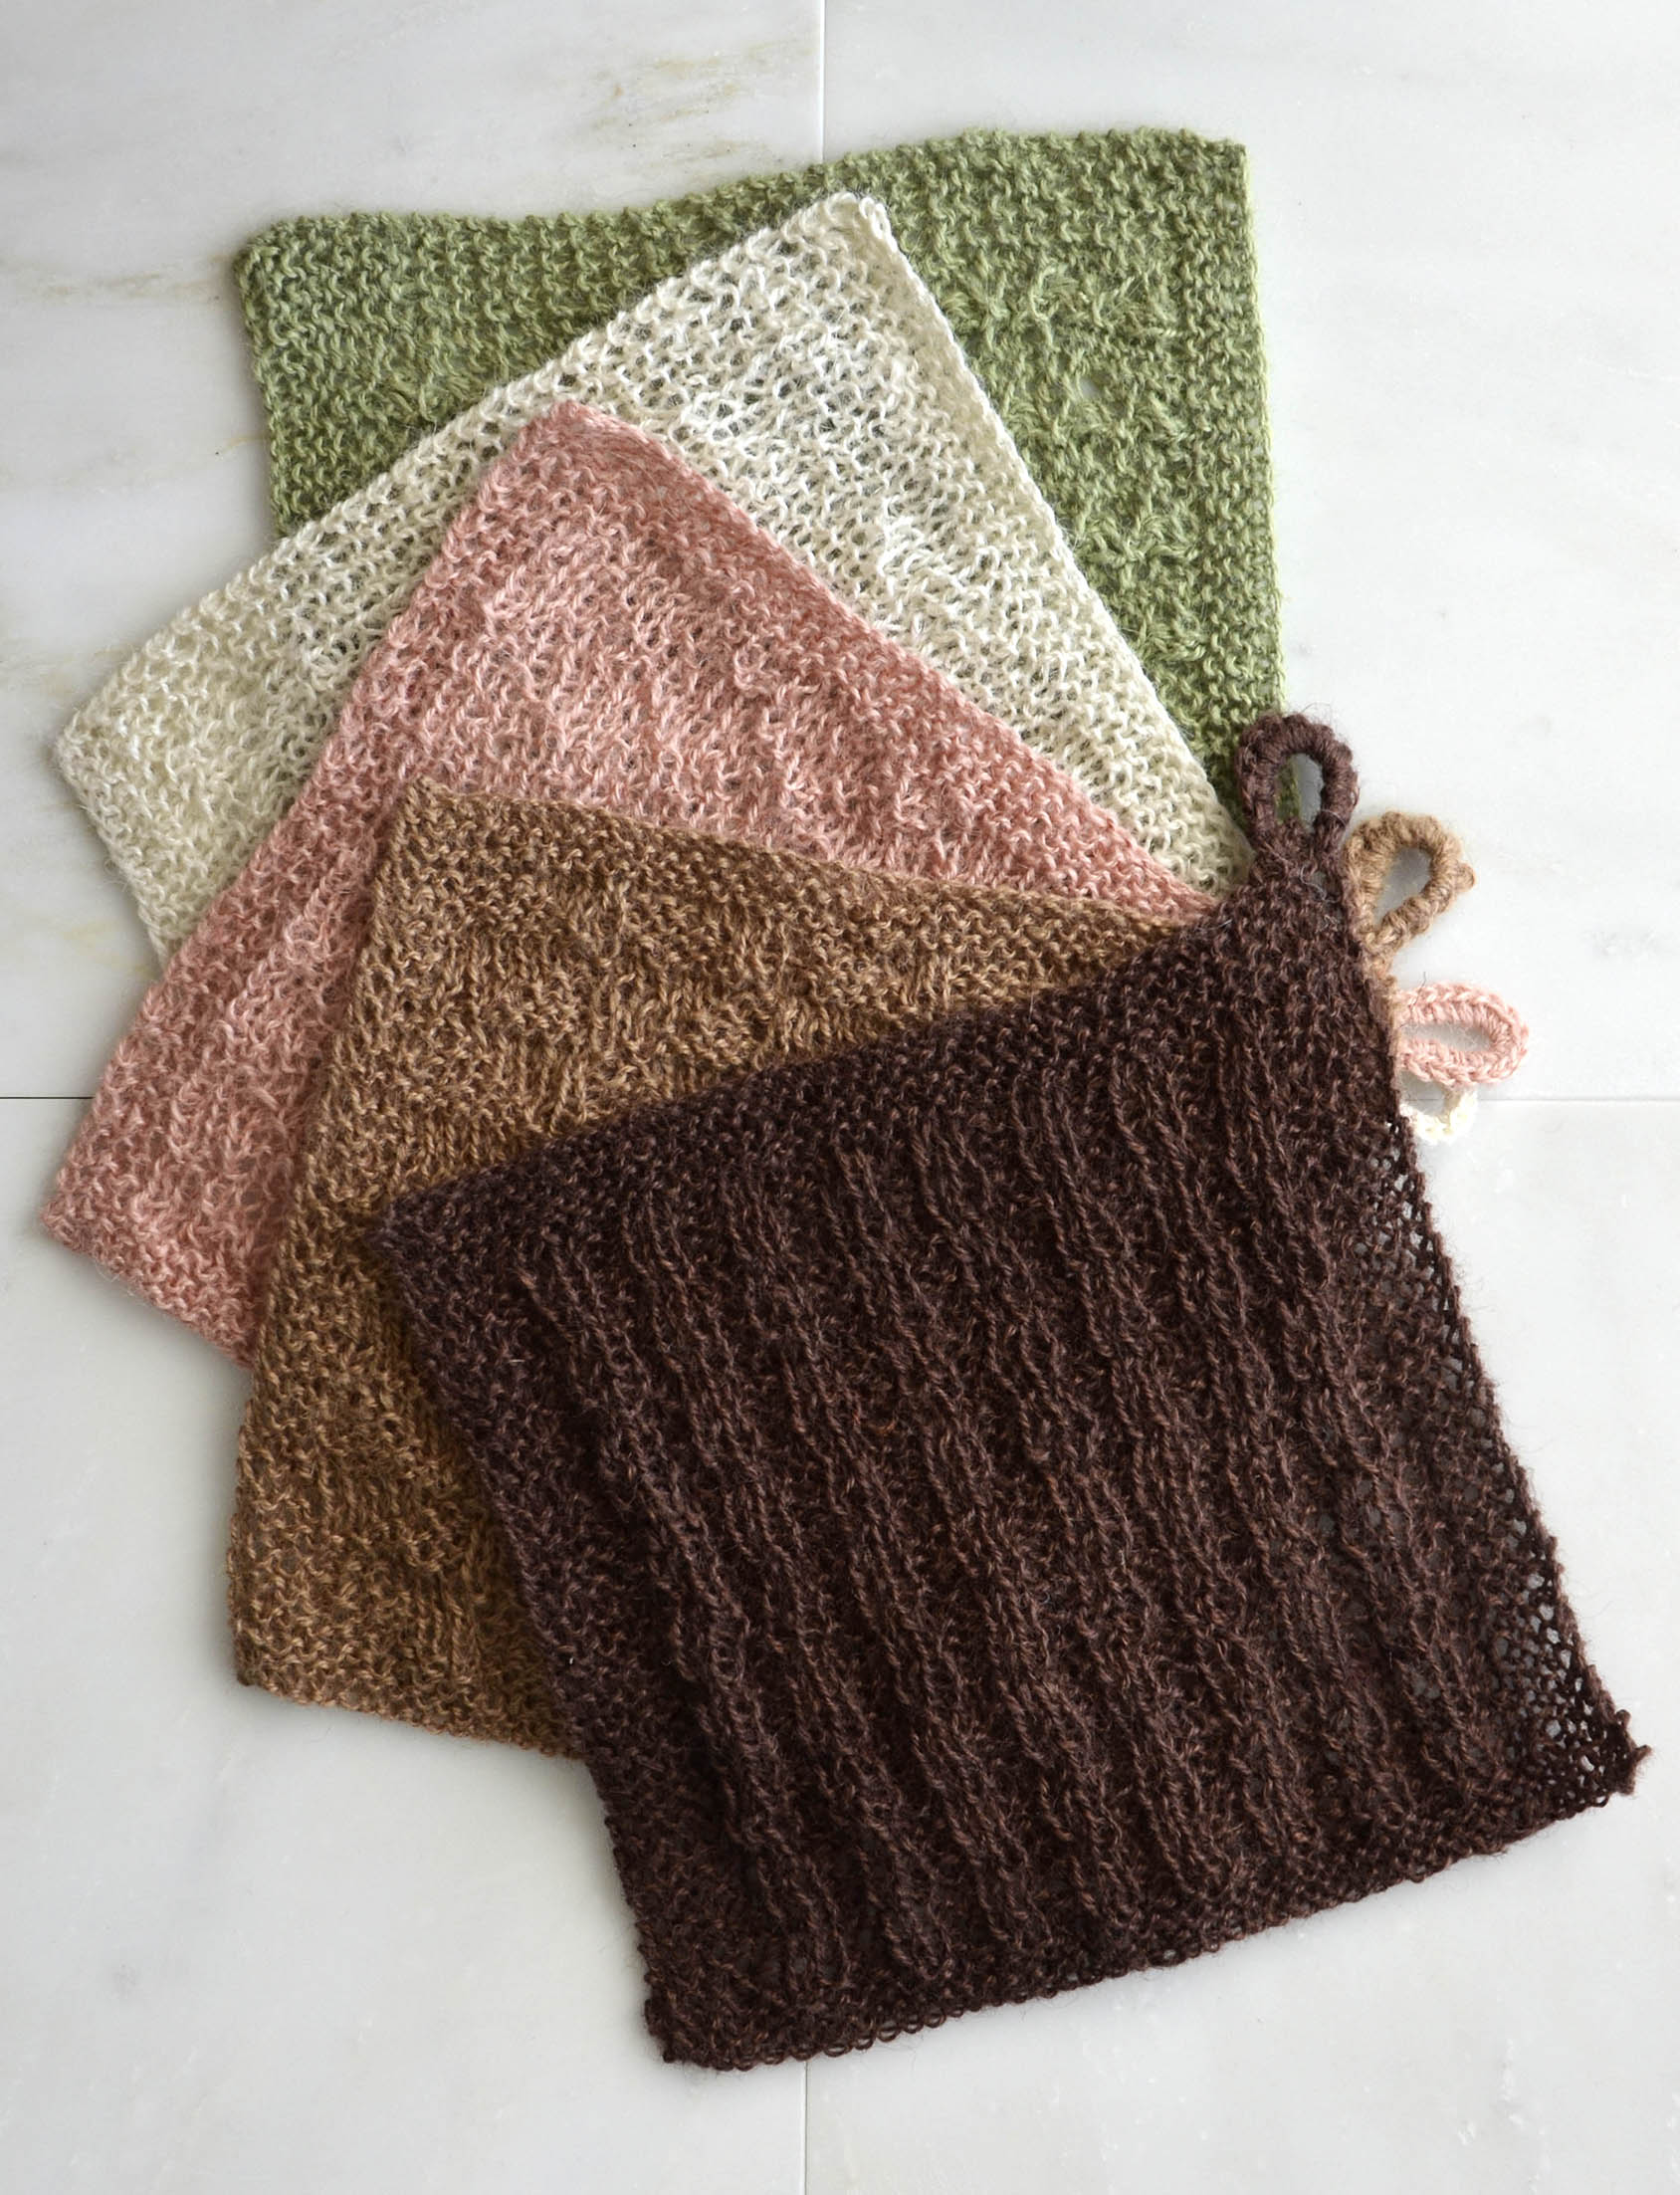
Forget paper towels and disposable wipes! The Stitch Sampler Cloths (pattern link) are great reusable projects that work as well for spa days and personal hygiene as they do for scrubbing your dishes. Taking care of these cloths is a snap because they are machine washable and dryable. Each cloth in the pattern features a unique stitch motif, so you won’t get bored while knitting. Plus, they have a loop that’s convenient for hanging!
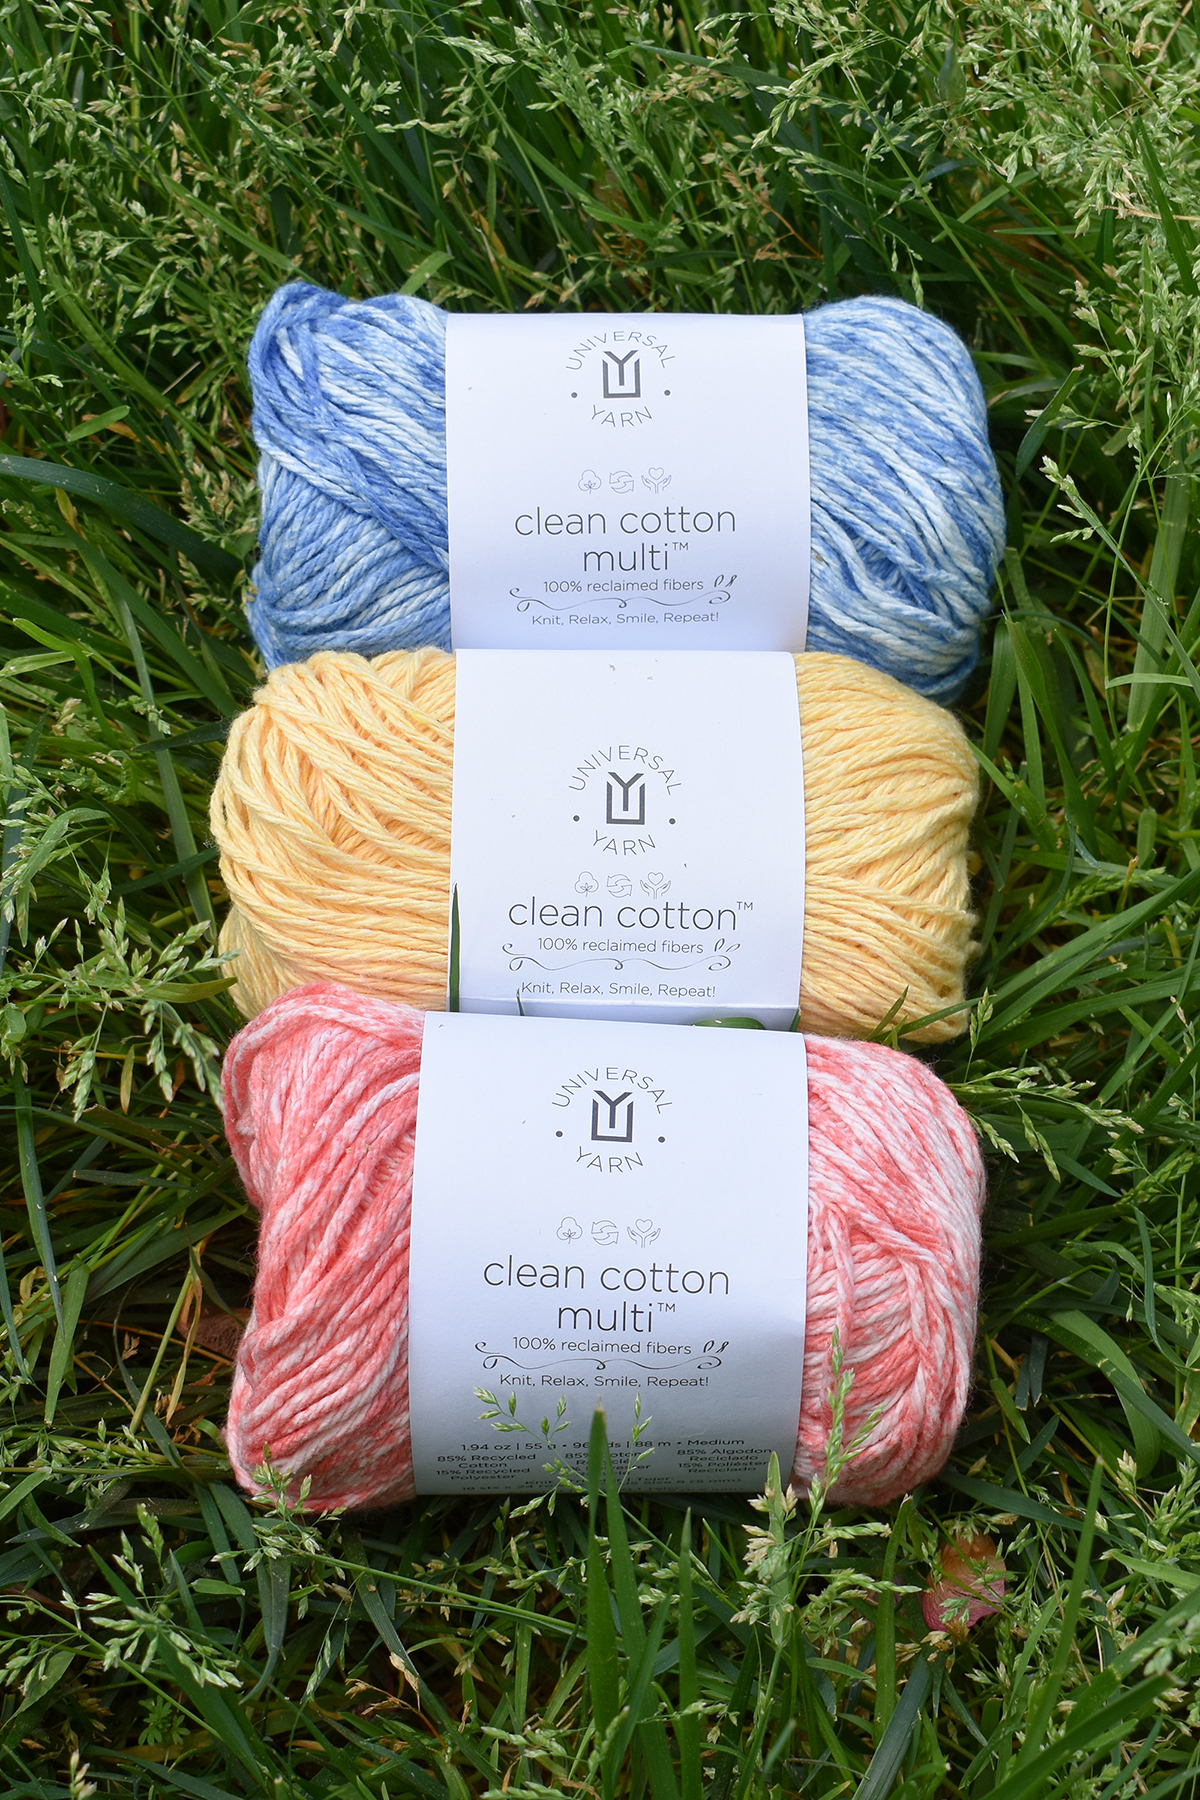
Clean Cotton & Clean Cotton Multi
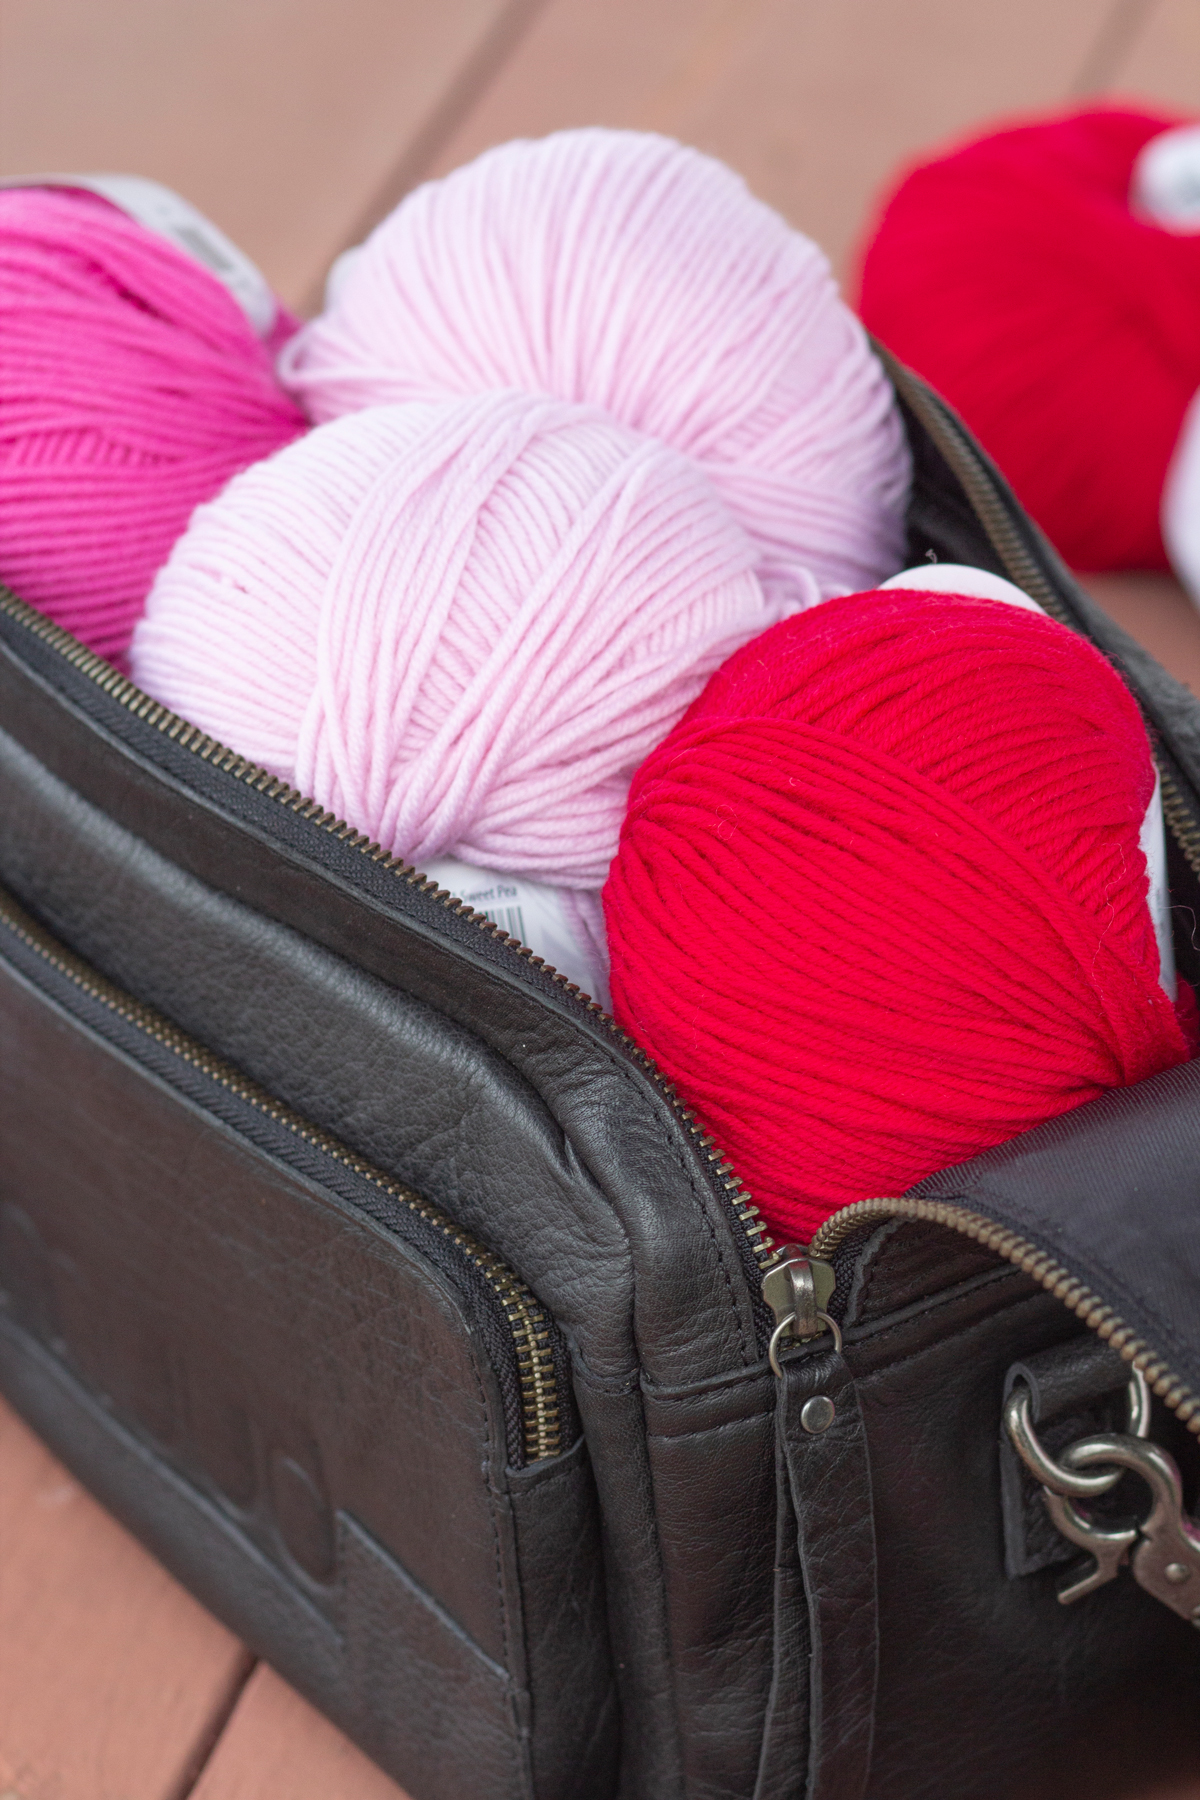
Most people first learn about the benefits of recycling in elementary school. I know I did! I’ve been known to unravel thrift store sweaters to recycle the yarn, but we’ve made the process even simpler with our Clean Cotton and Clean Cotton Multi yarns. Both yarns are made entirely of reclaimed fiber. Our mill gathered waste yarn scraps and bits of fluff from other yarns to give it new life as a soft, durable, and practical yarn at an impressively economical price point. Each yarn in the Clean Cotton family (which also includes Clean Cotton Big) is comprised of 85% recycled cotton and 15% recycled polyester. While we created this yarn with projects like cozies, washcloths, dish towels, and bags in mind, it’s surprisingly soft. We’ve had several customers (myself included) create breezy garments, too!
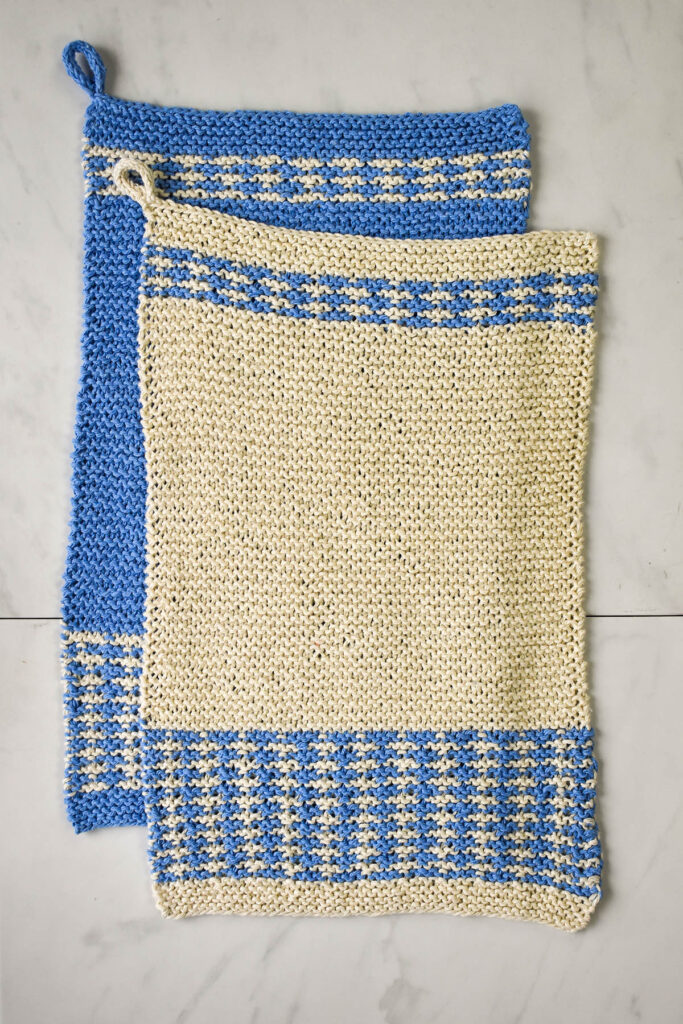
The Mosaic Dish Towels (pattern link) are a coordinating set of kitchen towels that are absorbent and can be used to wipe up a spill here and there, dry your hands, hold hot plates, and more. All it takes is two skeins of each color and you’ll get at least two towels (as shown above). This straightforward pattern features a pretty motif along the bottom edge and garter stitch throughout the rest of the fabric. An I-cord loop is convenient for hanging these pieces in your kitchen, but you can just as easily drape them over your oven door handle. This design is an excellent choice for beginners interested in dipping their toes into a more exciting project.
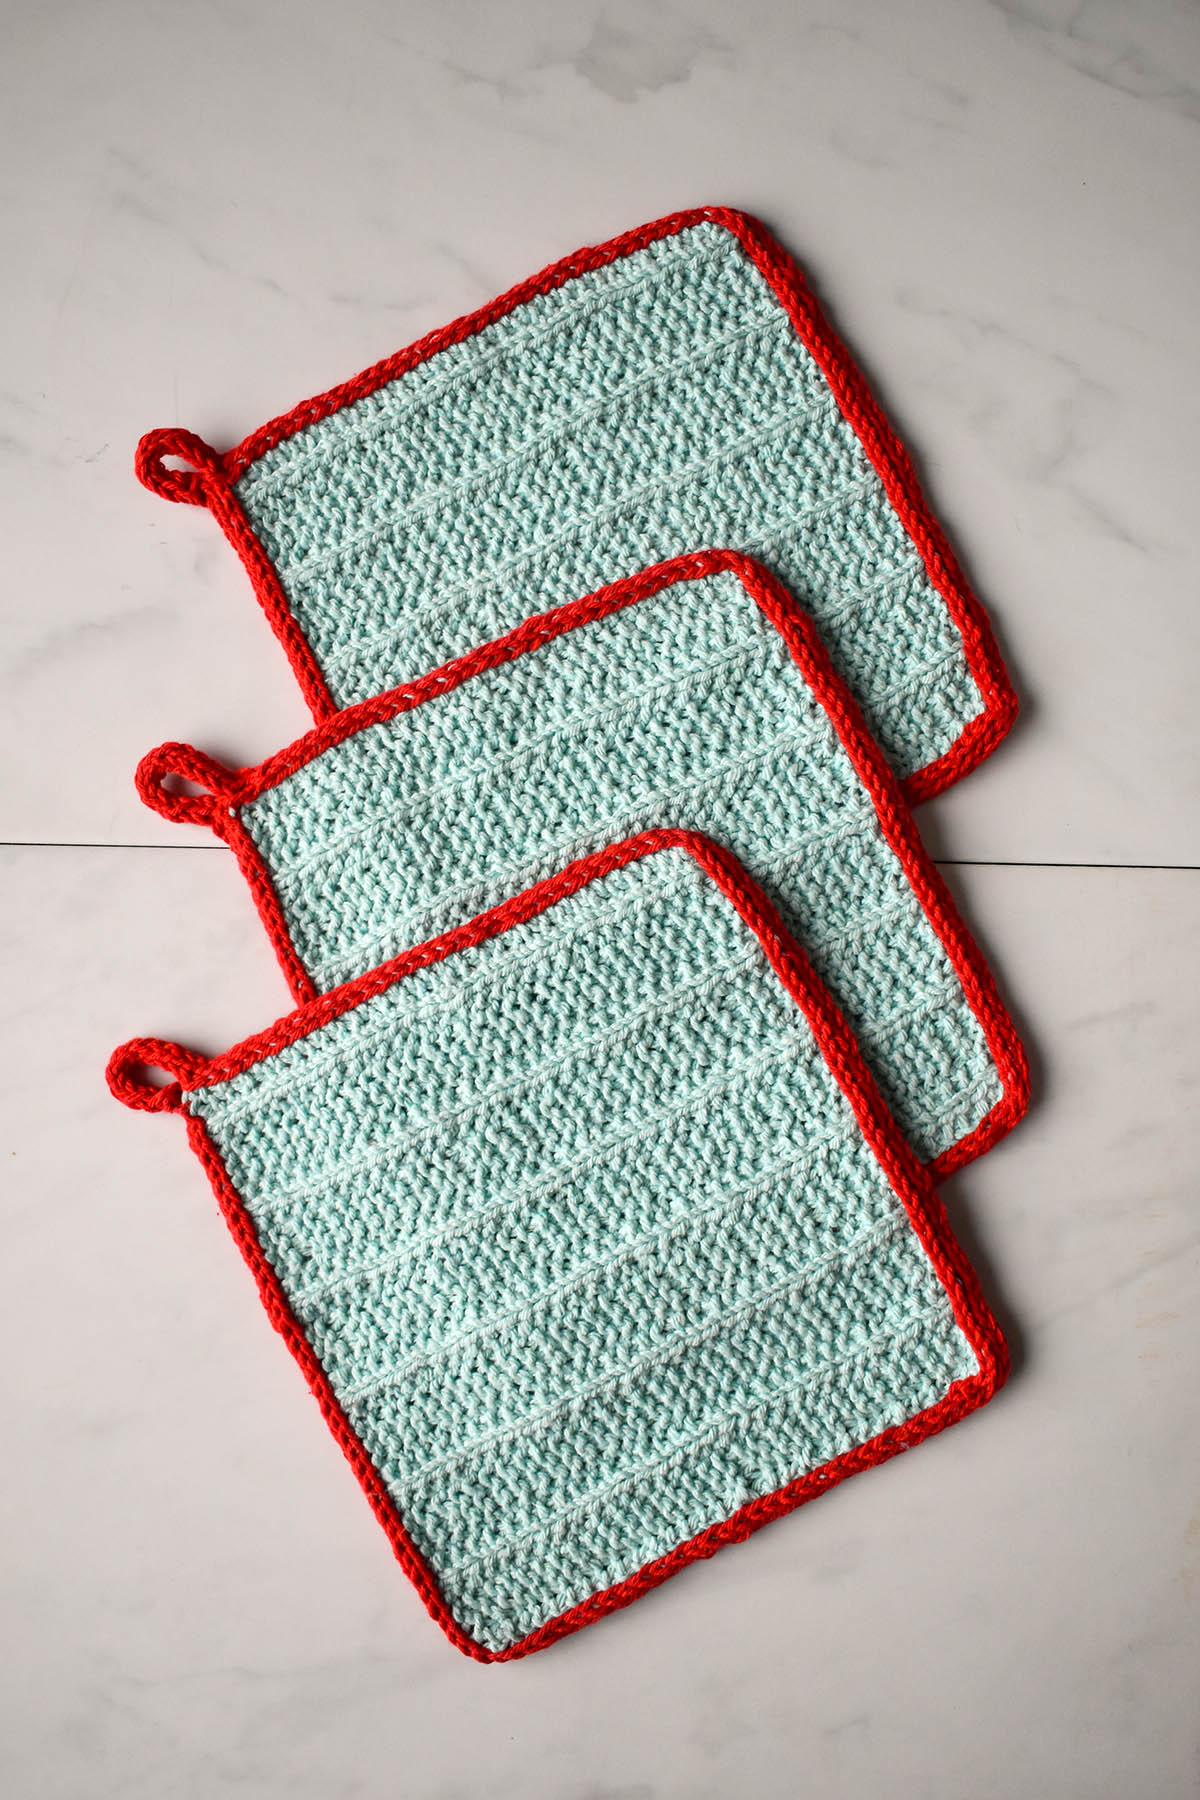
Great for your kitchen or your bathroom, the Fresh Air Washcloths (pattern link) are just as practical as the Stitch Sampler Cloths I mentioned earlier. The saturated hues of Clean Cotton make it easy to add a pop of color to your home. These washcloths are knit flat from the bottom up in a broken garter stitch pattern. After you finish the square portion, an I-cord edging is worked around the edge using a contrast color. I think these would be great in Clean Cotton Multi, too!
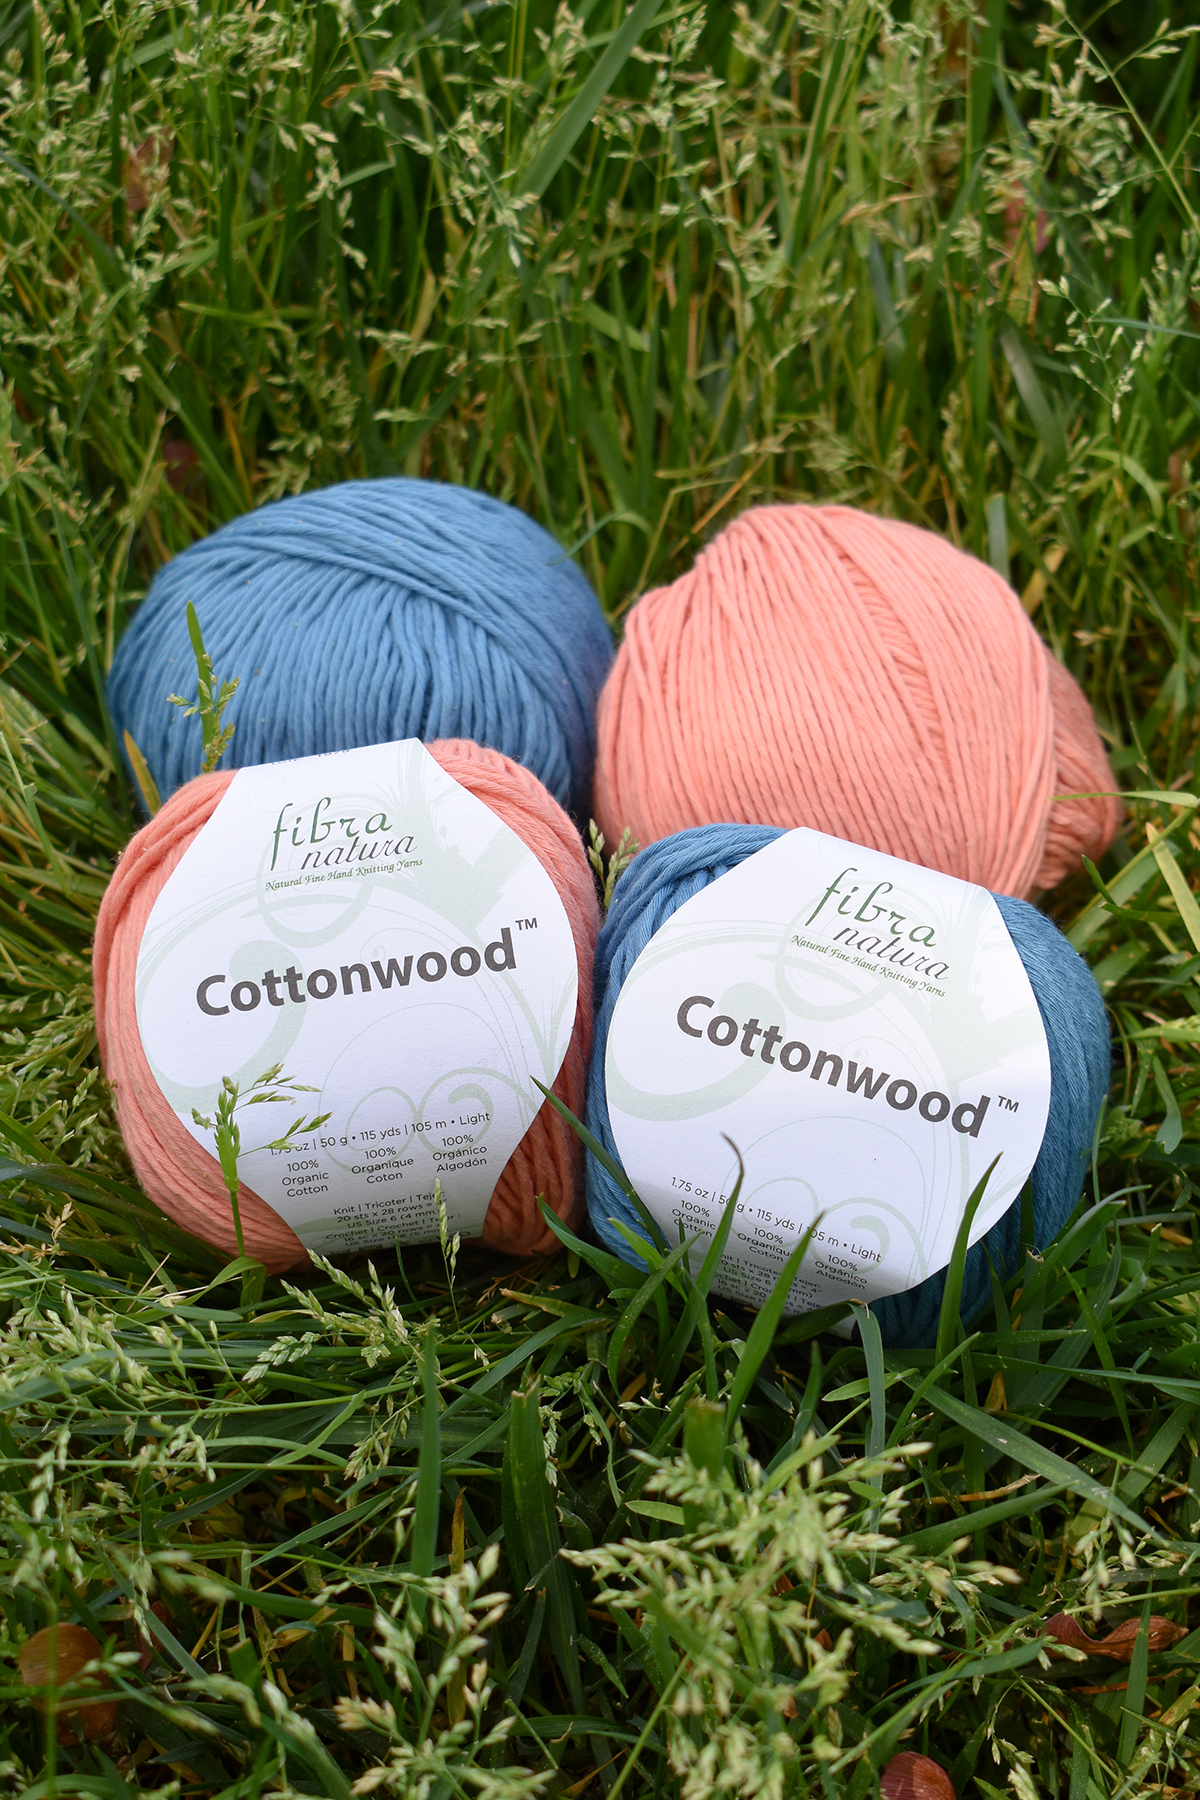
Cottonwood
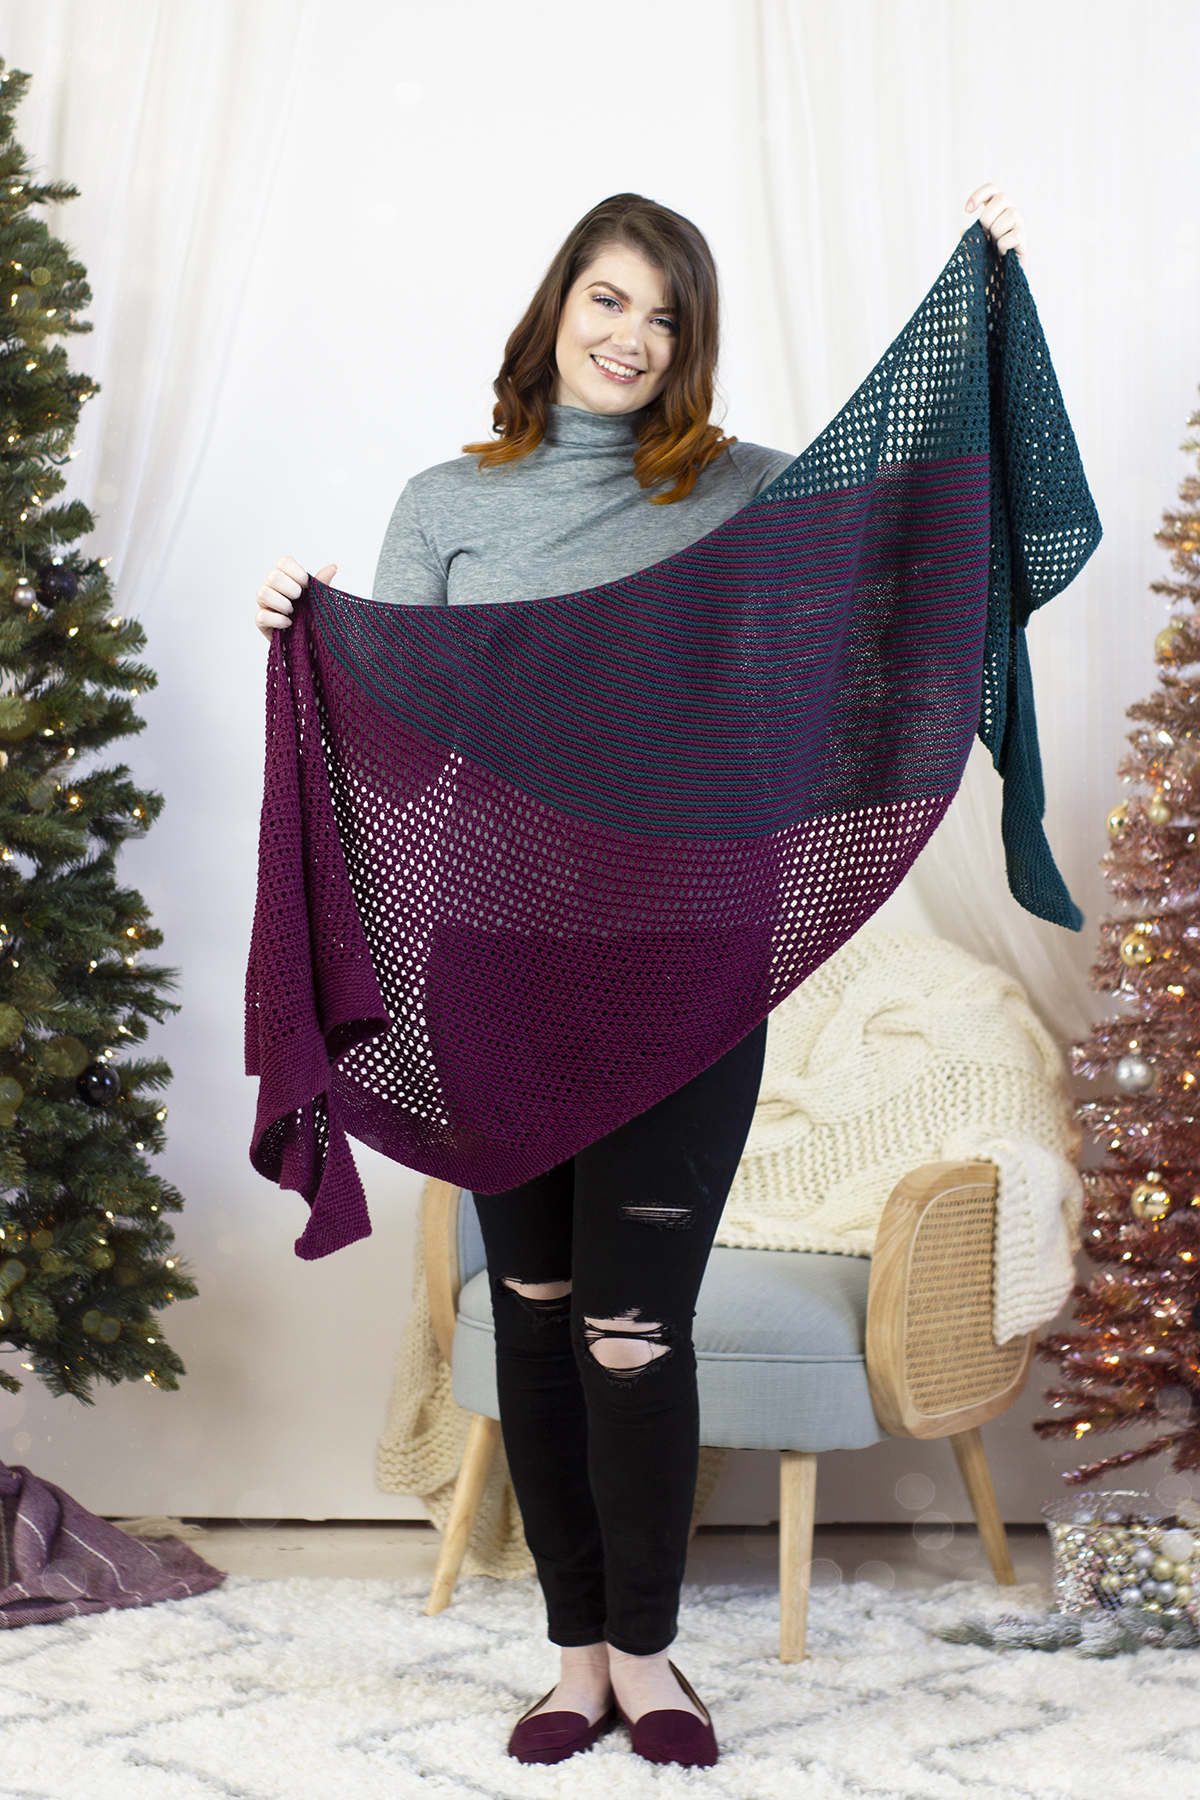
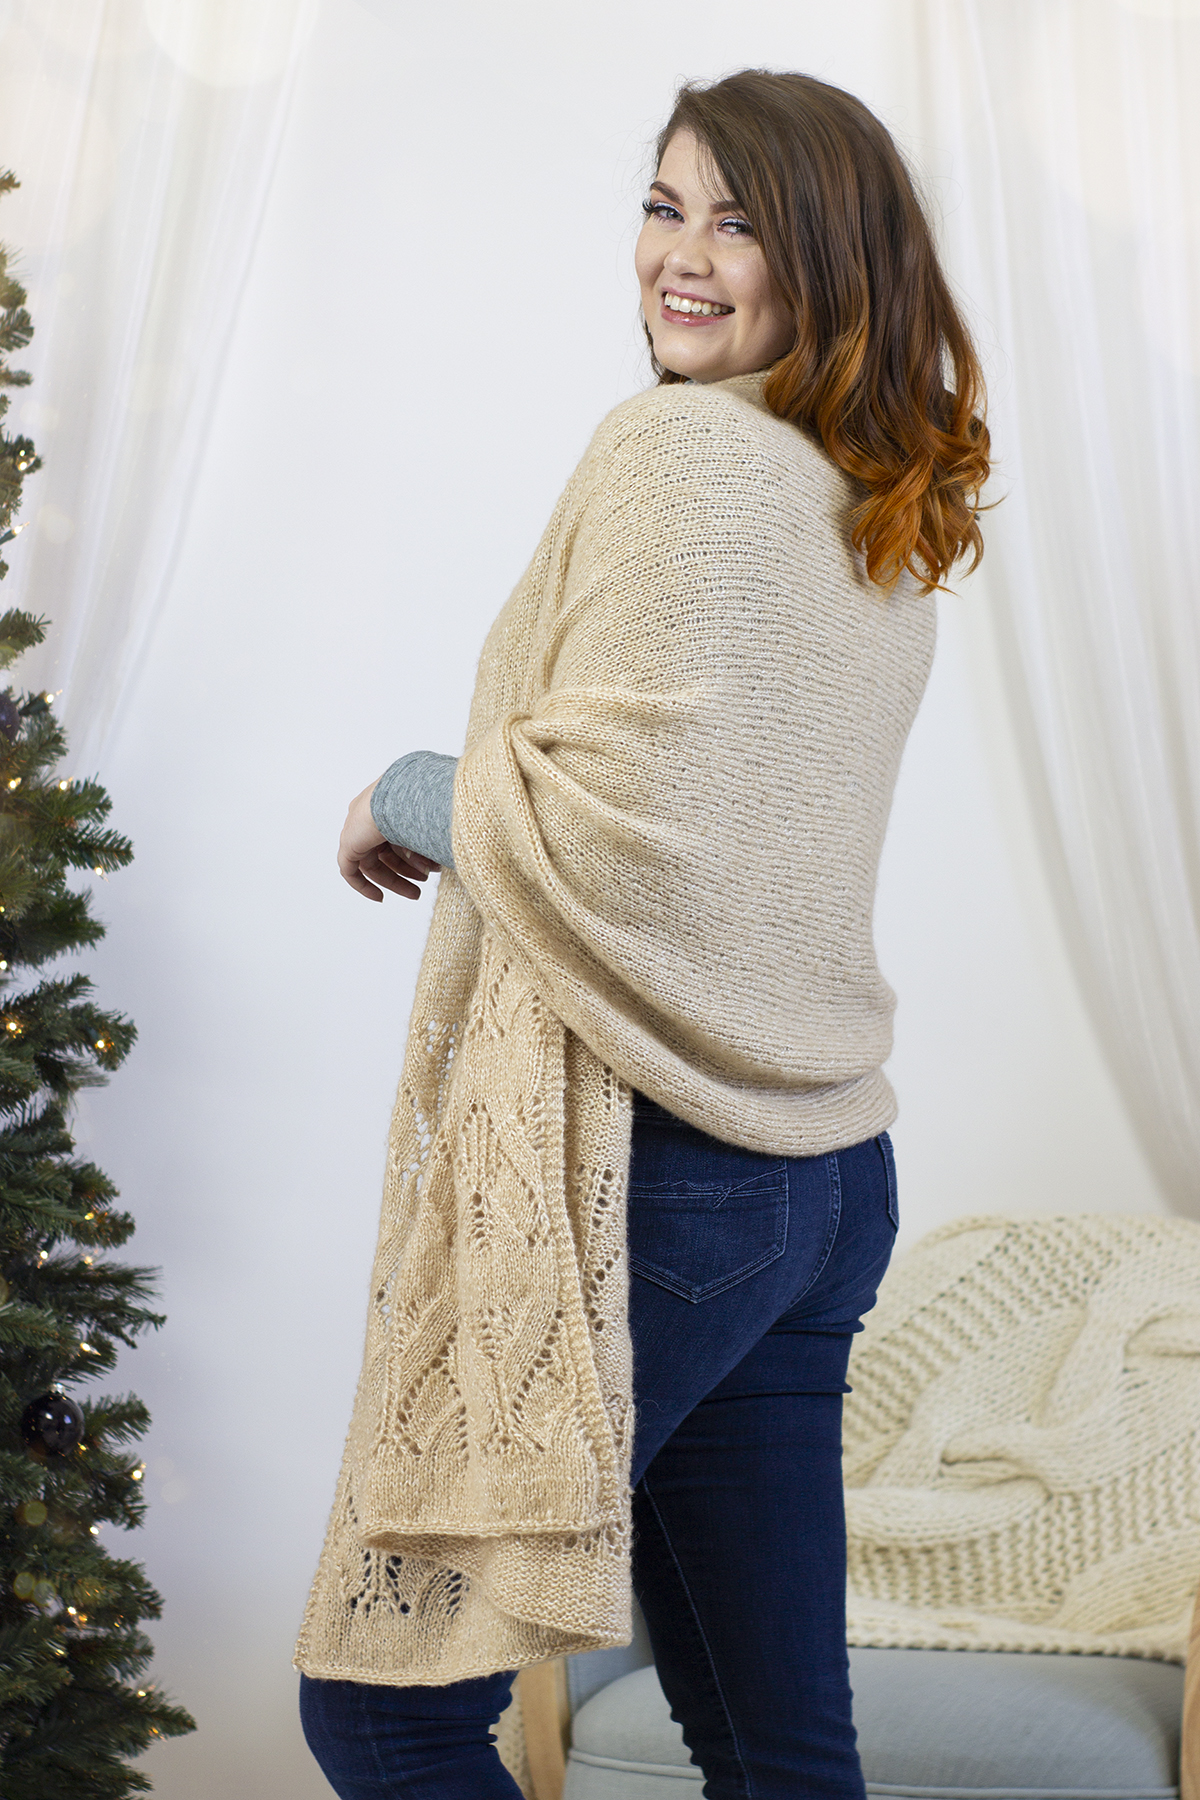
Perhaps the most versatile eco-friendly yarn we offer is Cottonwood. Cottonwood is a GOTS-certified 100% organic cotton yarn. It is soft, smooth, and boasts excellent stitch definition. We’ve used this yarn for garments, accessories, and the same functional home products similar to others I’ve highlighted in this post. Last Friday, Heather gushed about the Sandbar shawl on the blog (link). In addition to an ebook, Cottonwood Arboretum, we have a plethora of free patterns to support this yarn, too.
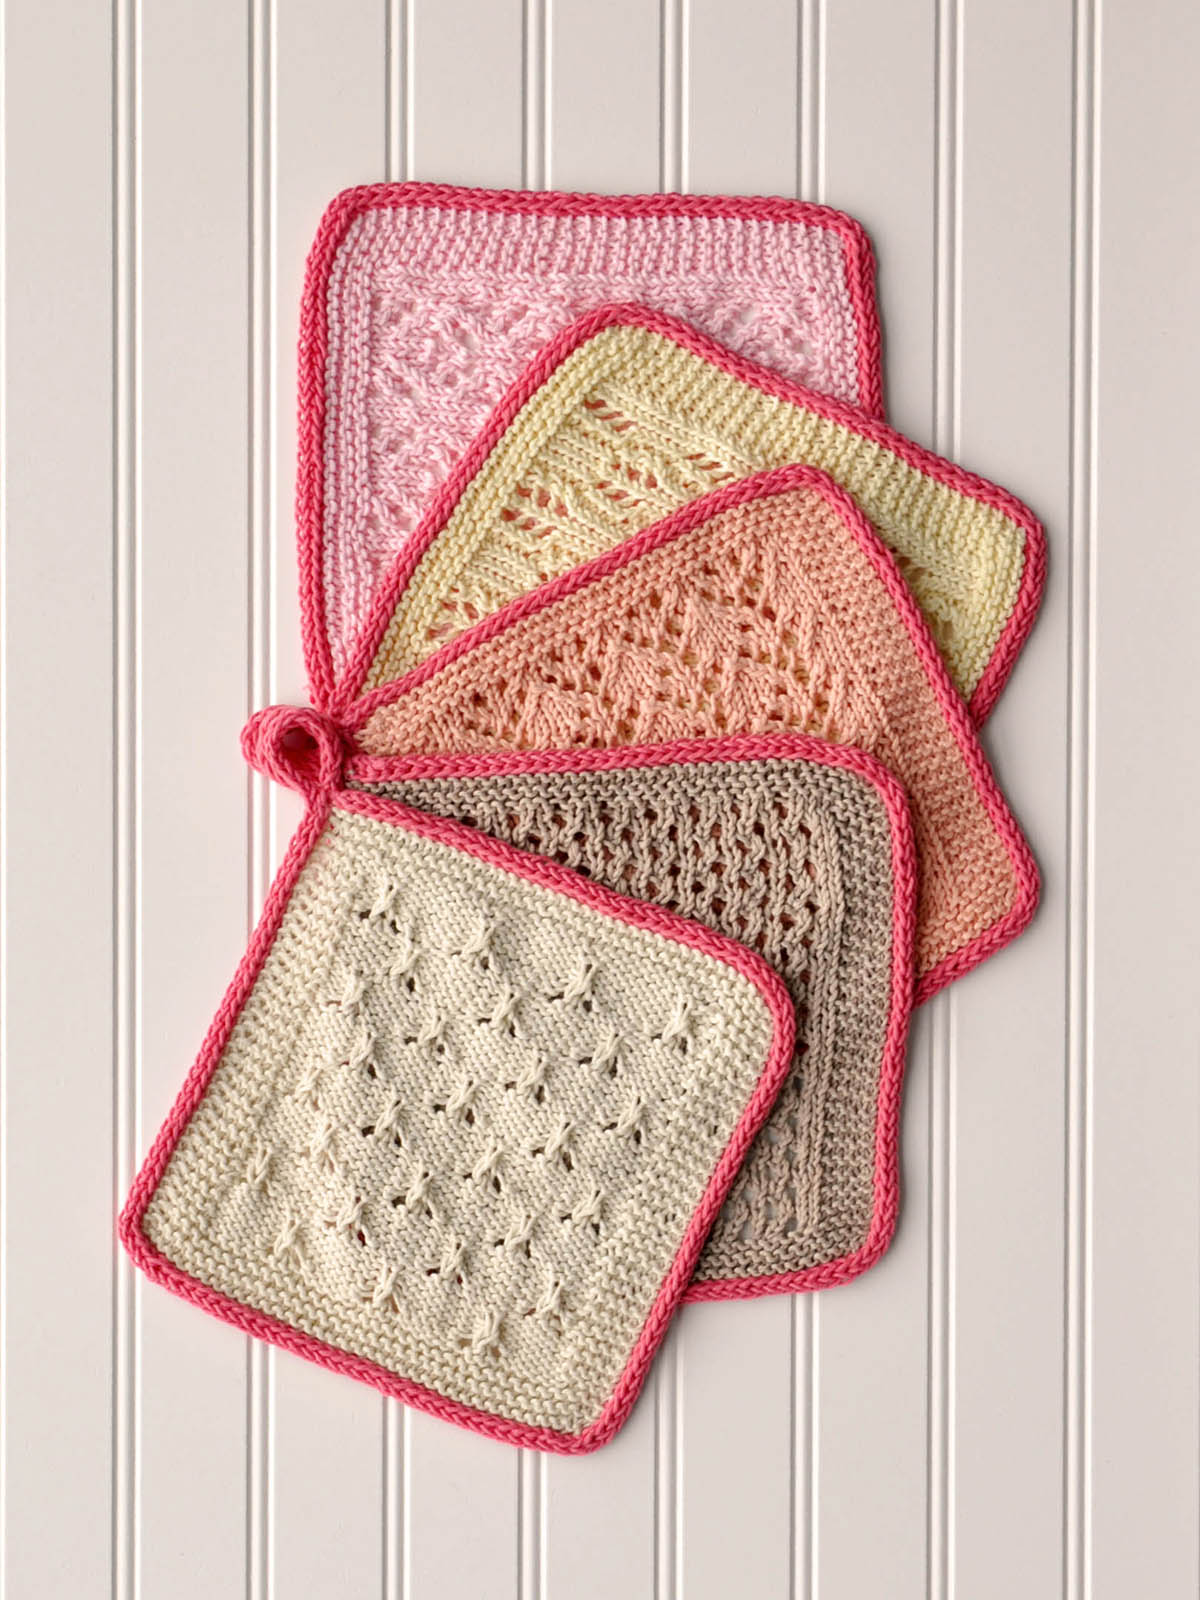
In keeping with our theme, though, let’s take a look at the Macaron Cloths (pattern link). With yarn this soft, we truly had your skincare routine in mind. They are gentle on the skin, yet highly absorbent, making them a terrific choice for your next spa day. The construction of these cloths is extremely similar to the Fresh Air Washcloths I mentioned earlier, but where they really shine is the array of stunning stitch patterns. Featuring long stitches, twisted stitches, lace, and I-cords, you’ll expand your knitting skill set and there is certainly no risk of boredom. Because each cloth is different, this is like getting five patterns in one!
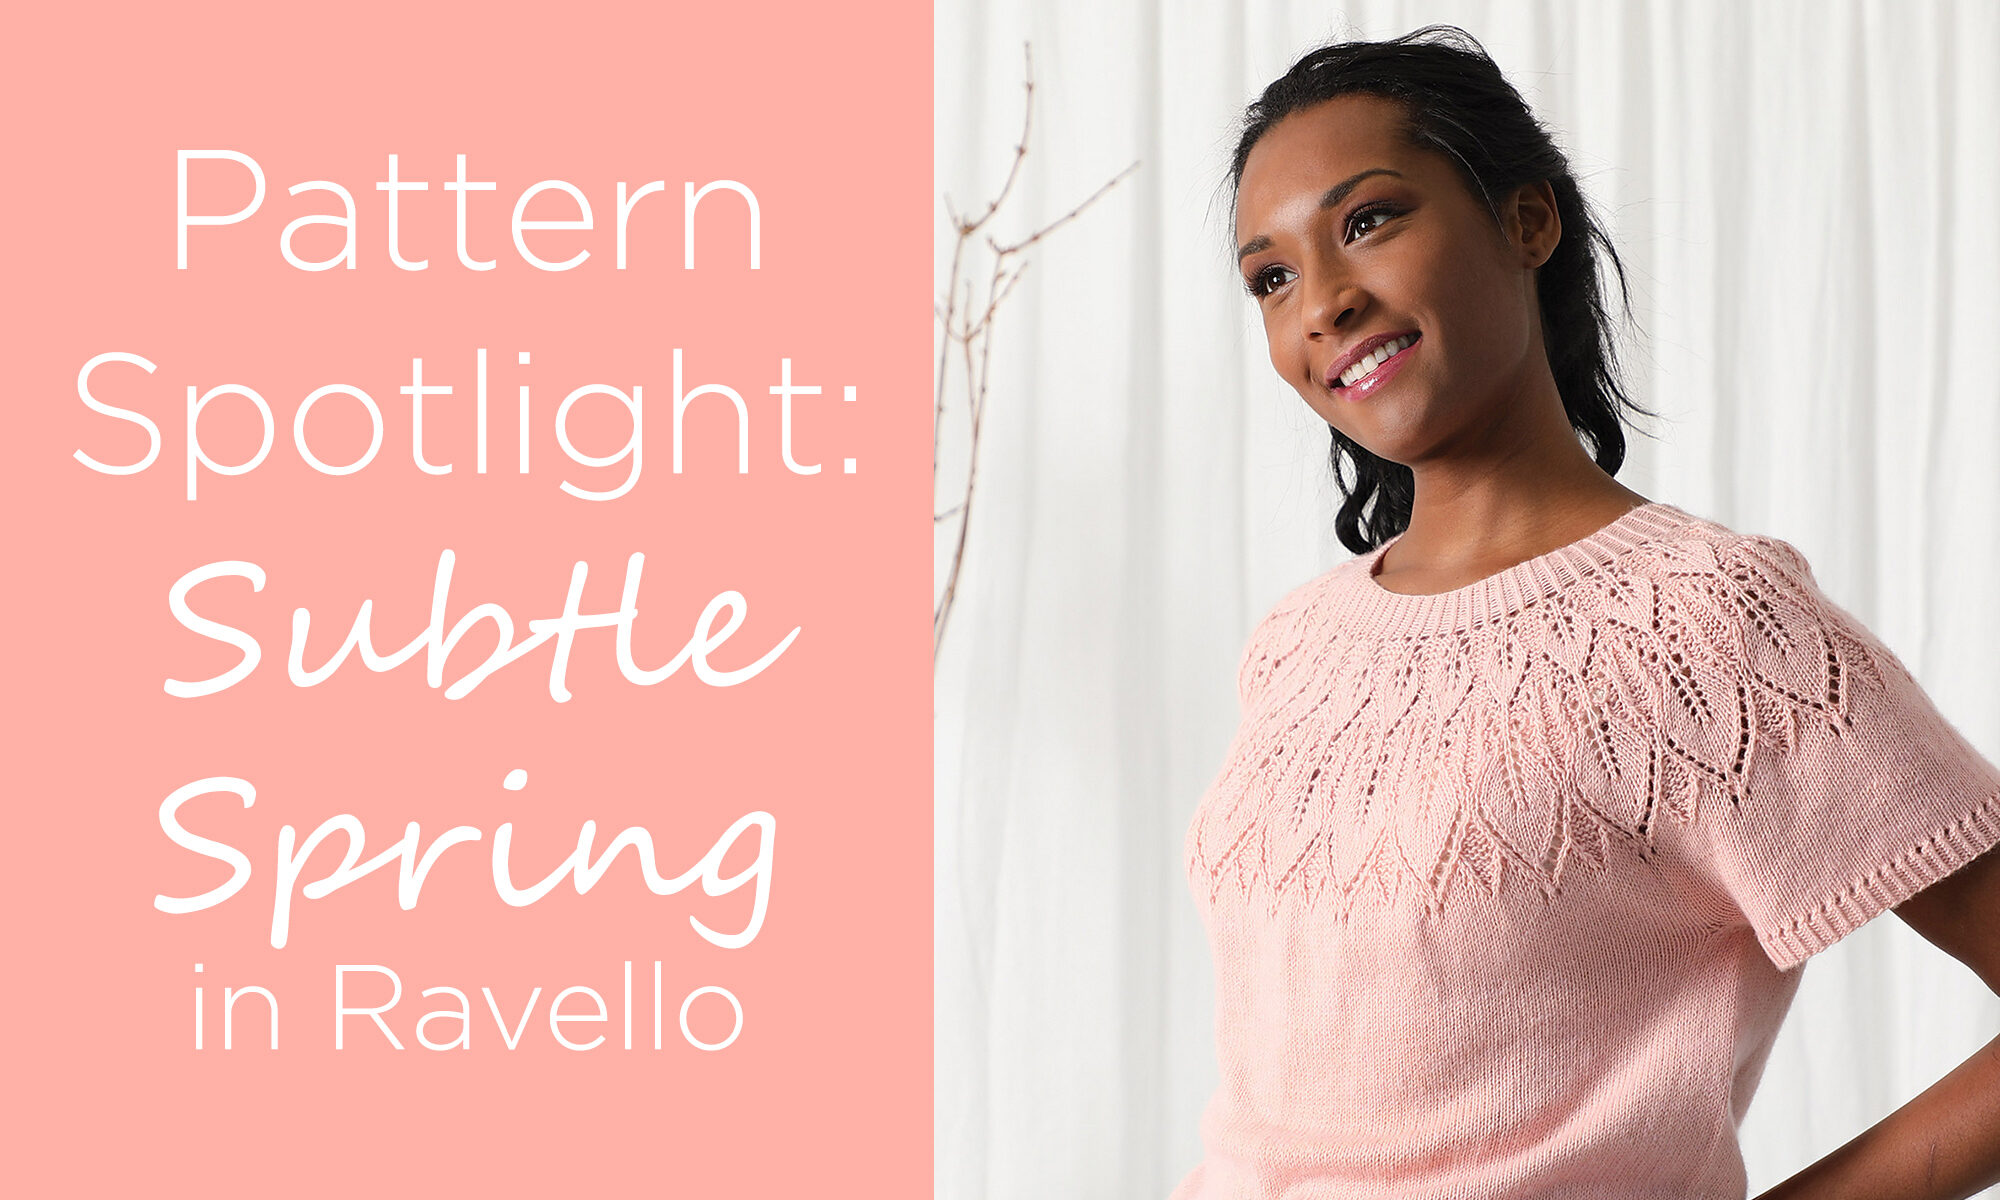
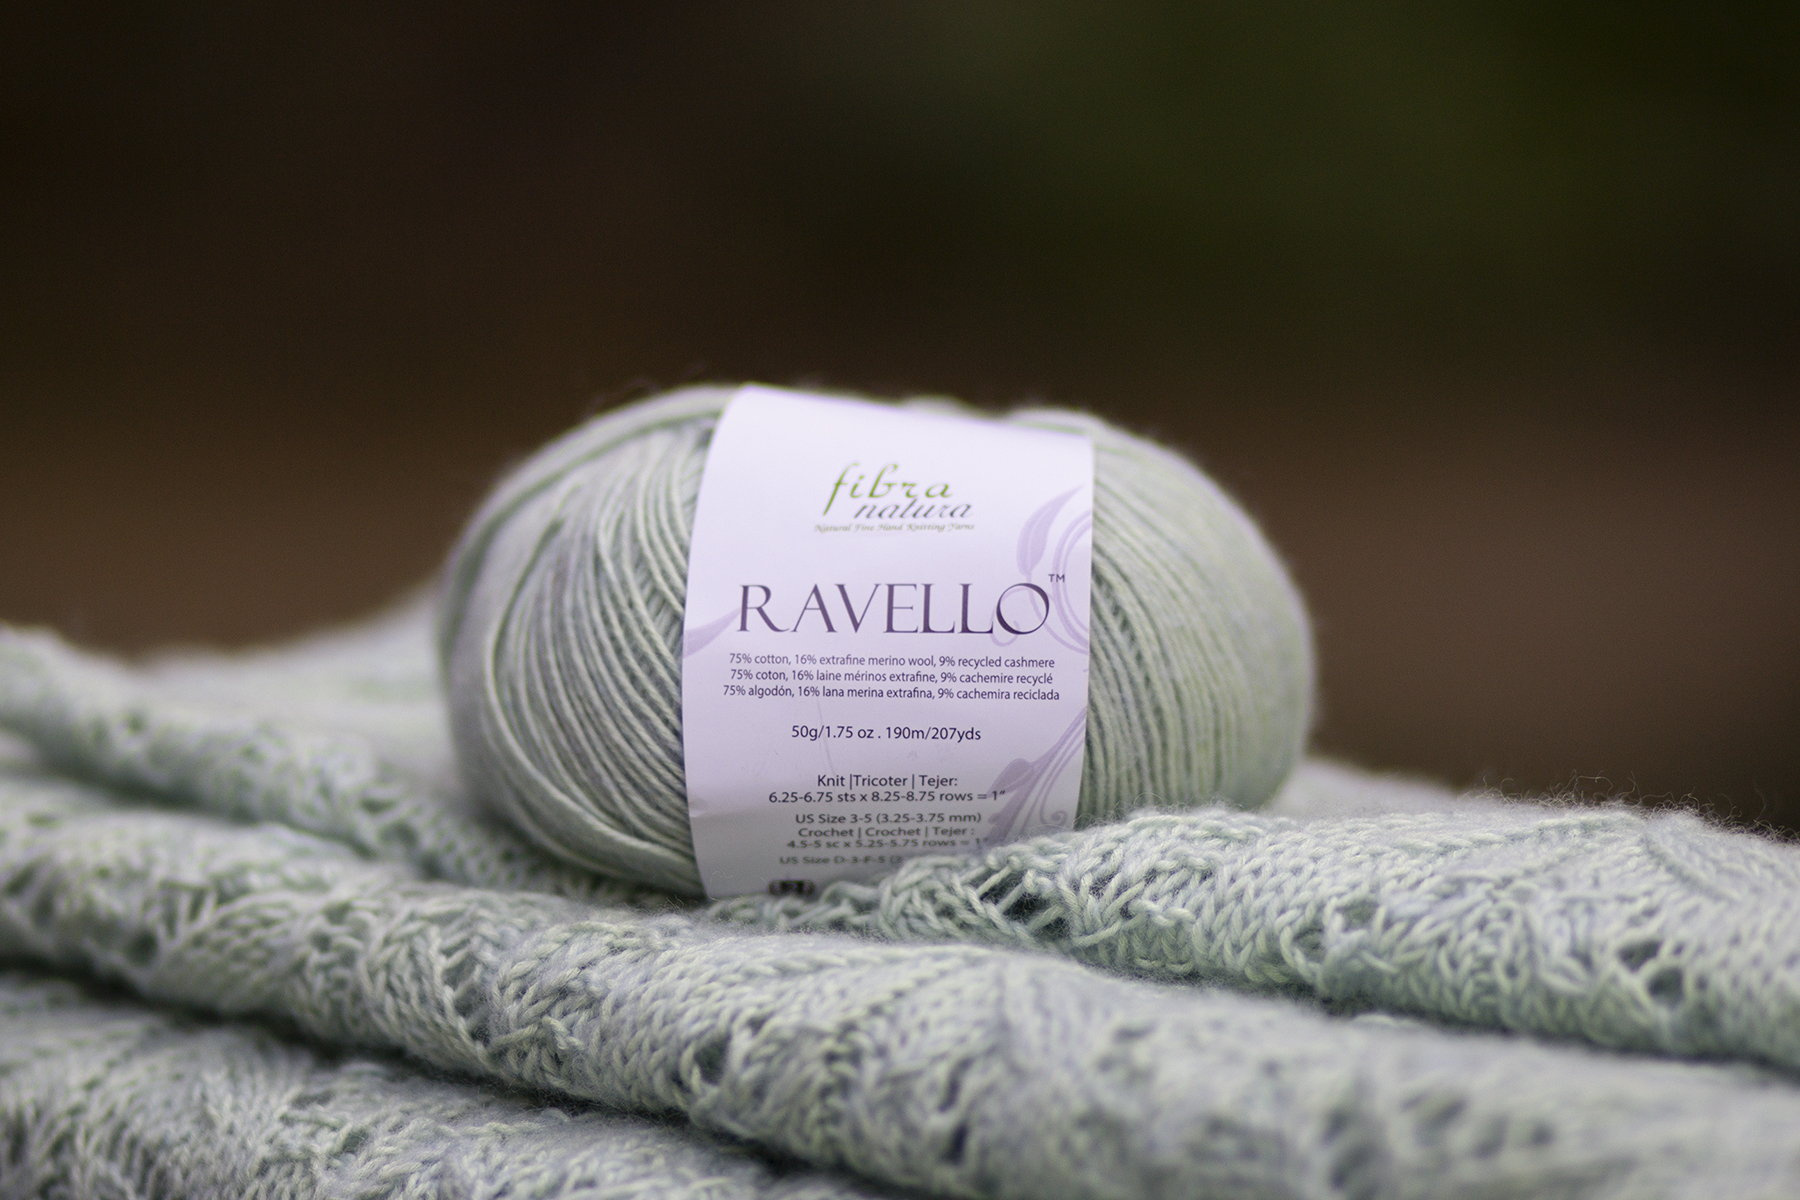
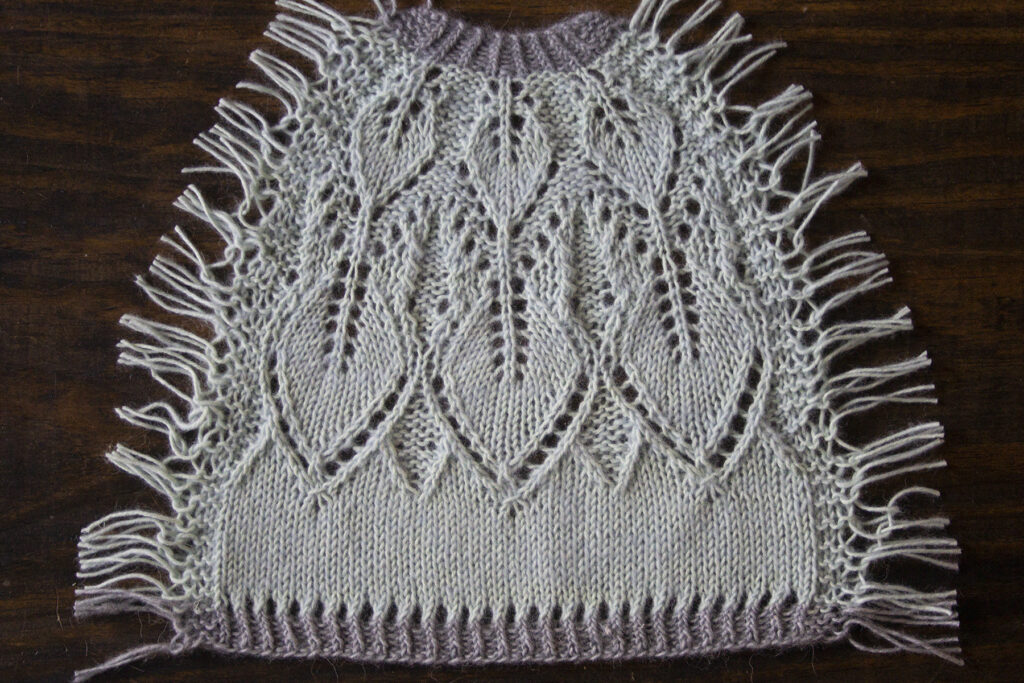
Today I focused on some of the eco-friendly yarns we offer that use plant fibers. However, if you’re looking for some luxurious animal fiber yarns that are Earth-friendly, don’t miss Ravello and Cashmere Lusso – which both contain recycled cashmere, or Deluxe Worsted – a non-superwash wool yarn with a handful of natural, undyed colors.
So, this Earth Day, celebrate our planet and our craft with some beautiful, environmentally friendly yarns and patterns. Take a walk outside, plant a tree, clean up trash in your neighborhood, and take some time to show gratitude for our amazing home.
Oh, and one last thing, please do not place your yarn scraps outside for birds’ nests!
Happy Earth Day and, as always, happy crafting!