
This is part 7 in a 12 part series highlighting designs from our 12 Days of Winter, Series 2 Edition.
Socks! Though I’m a pretty dedicated sweater knitter, I also love to knit socks. When I first started knitting about a decade ago, I was obsessed. Cuff down, toe up, afterthought heel, gusset – I loved it all.
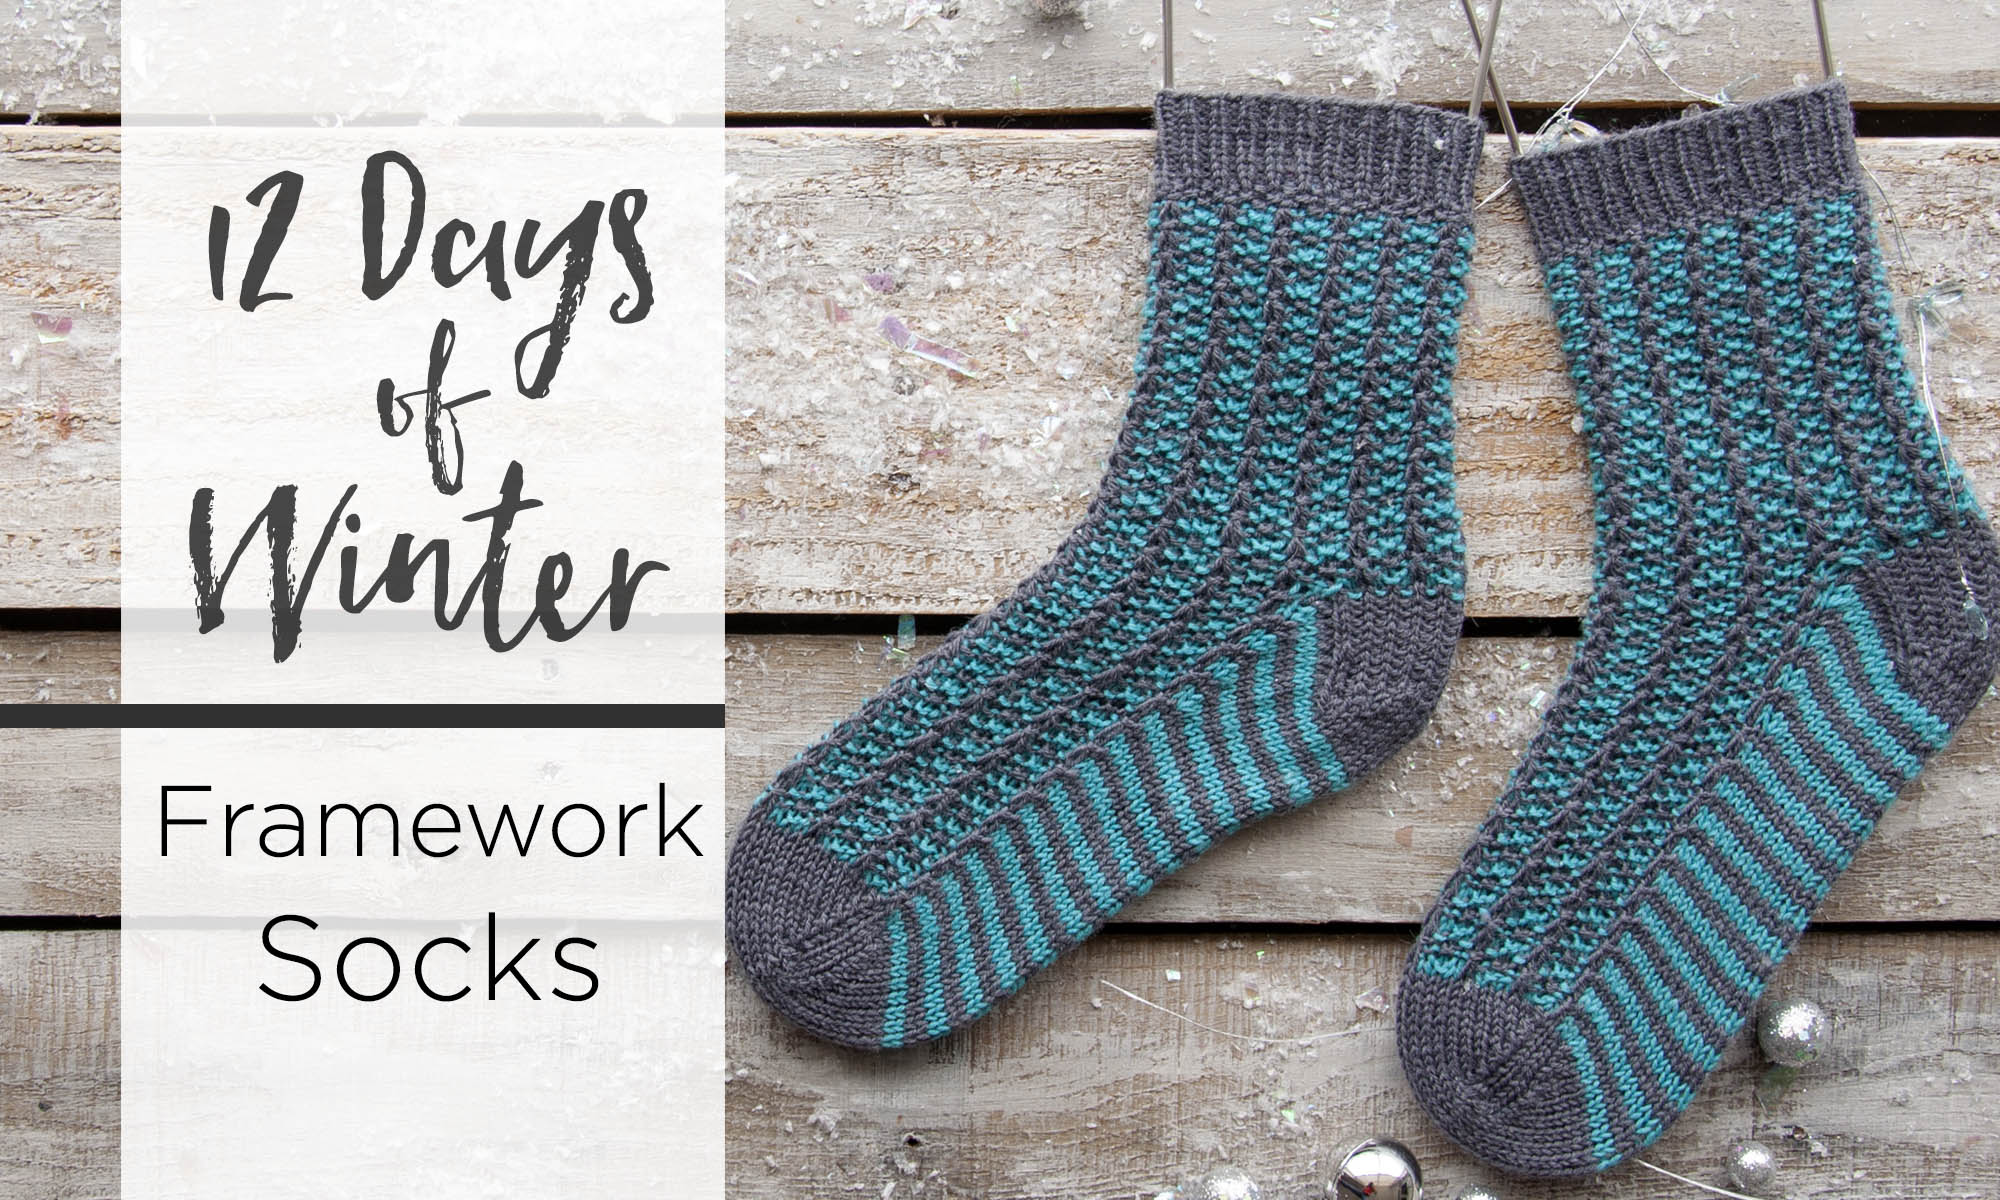
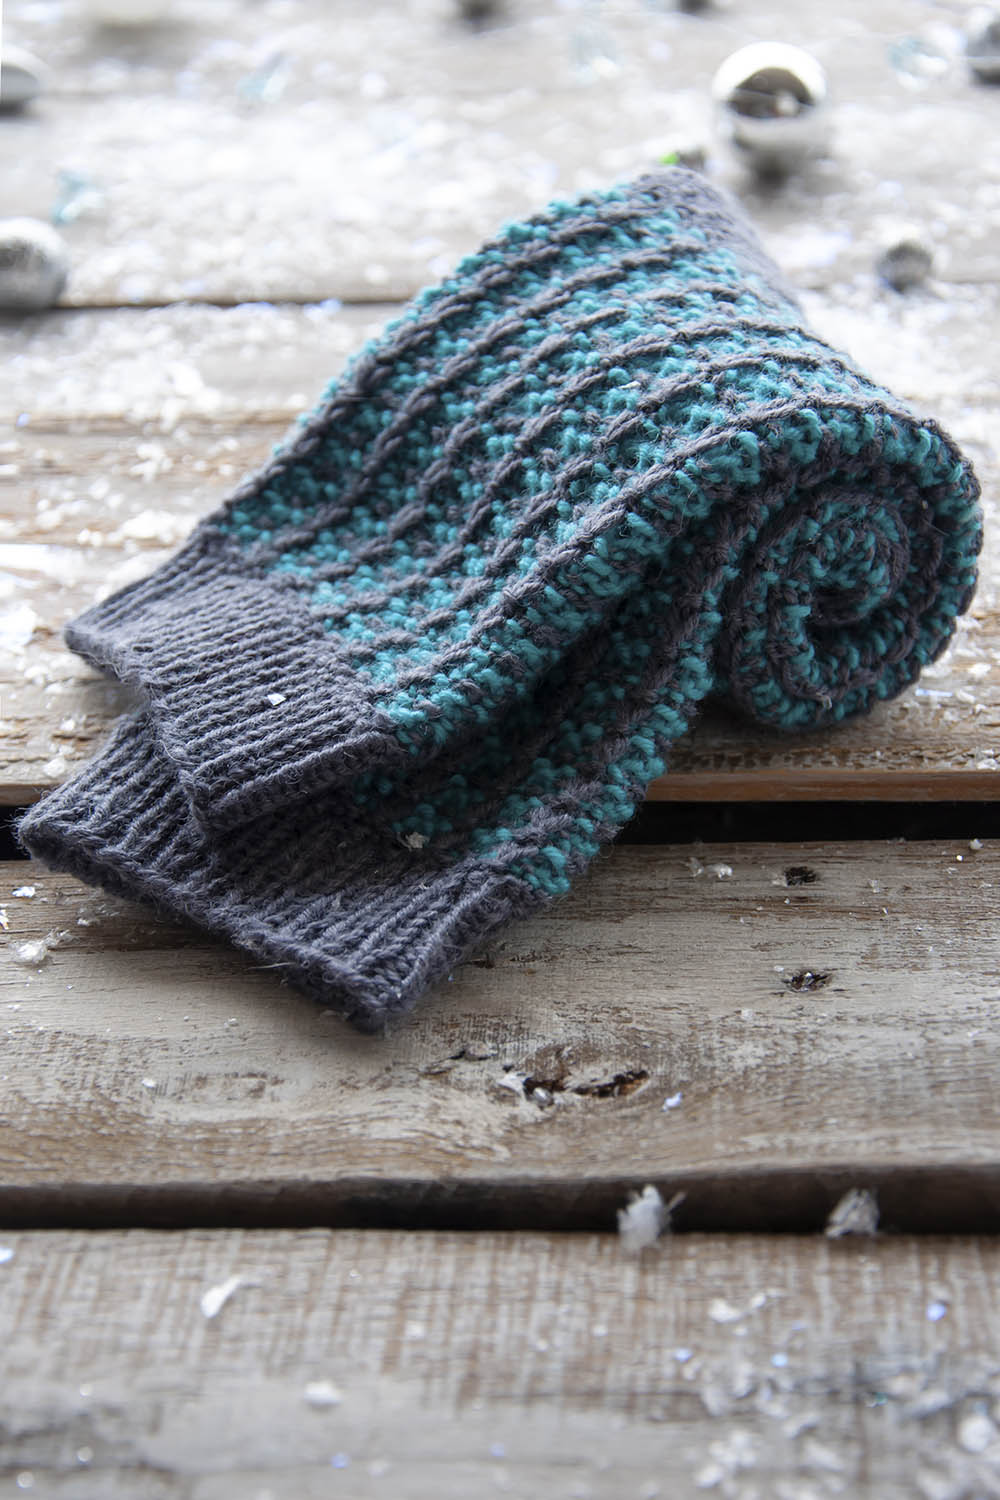
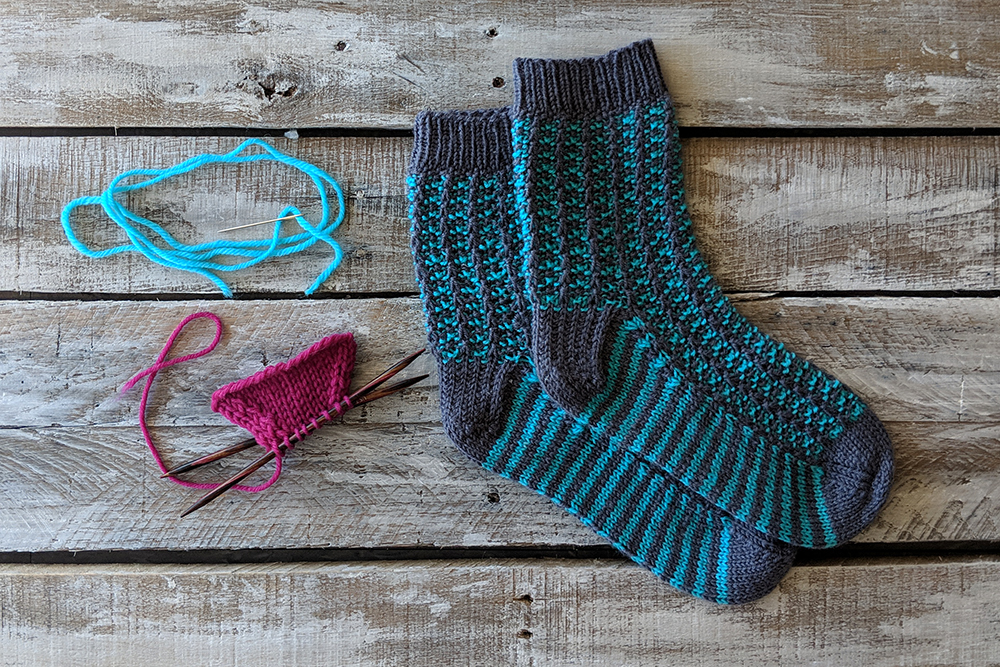
Framework Socks (pattern link) in Bella Cash are knit from the cuff down in two colors of this machine washable cashmere (ooohhhh) blend. A slip stitch pattern creates the interesting texture on the leg and foot, but that’s not what I’m focusing on today.
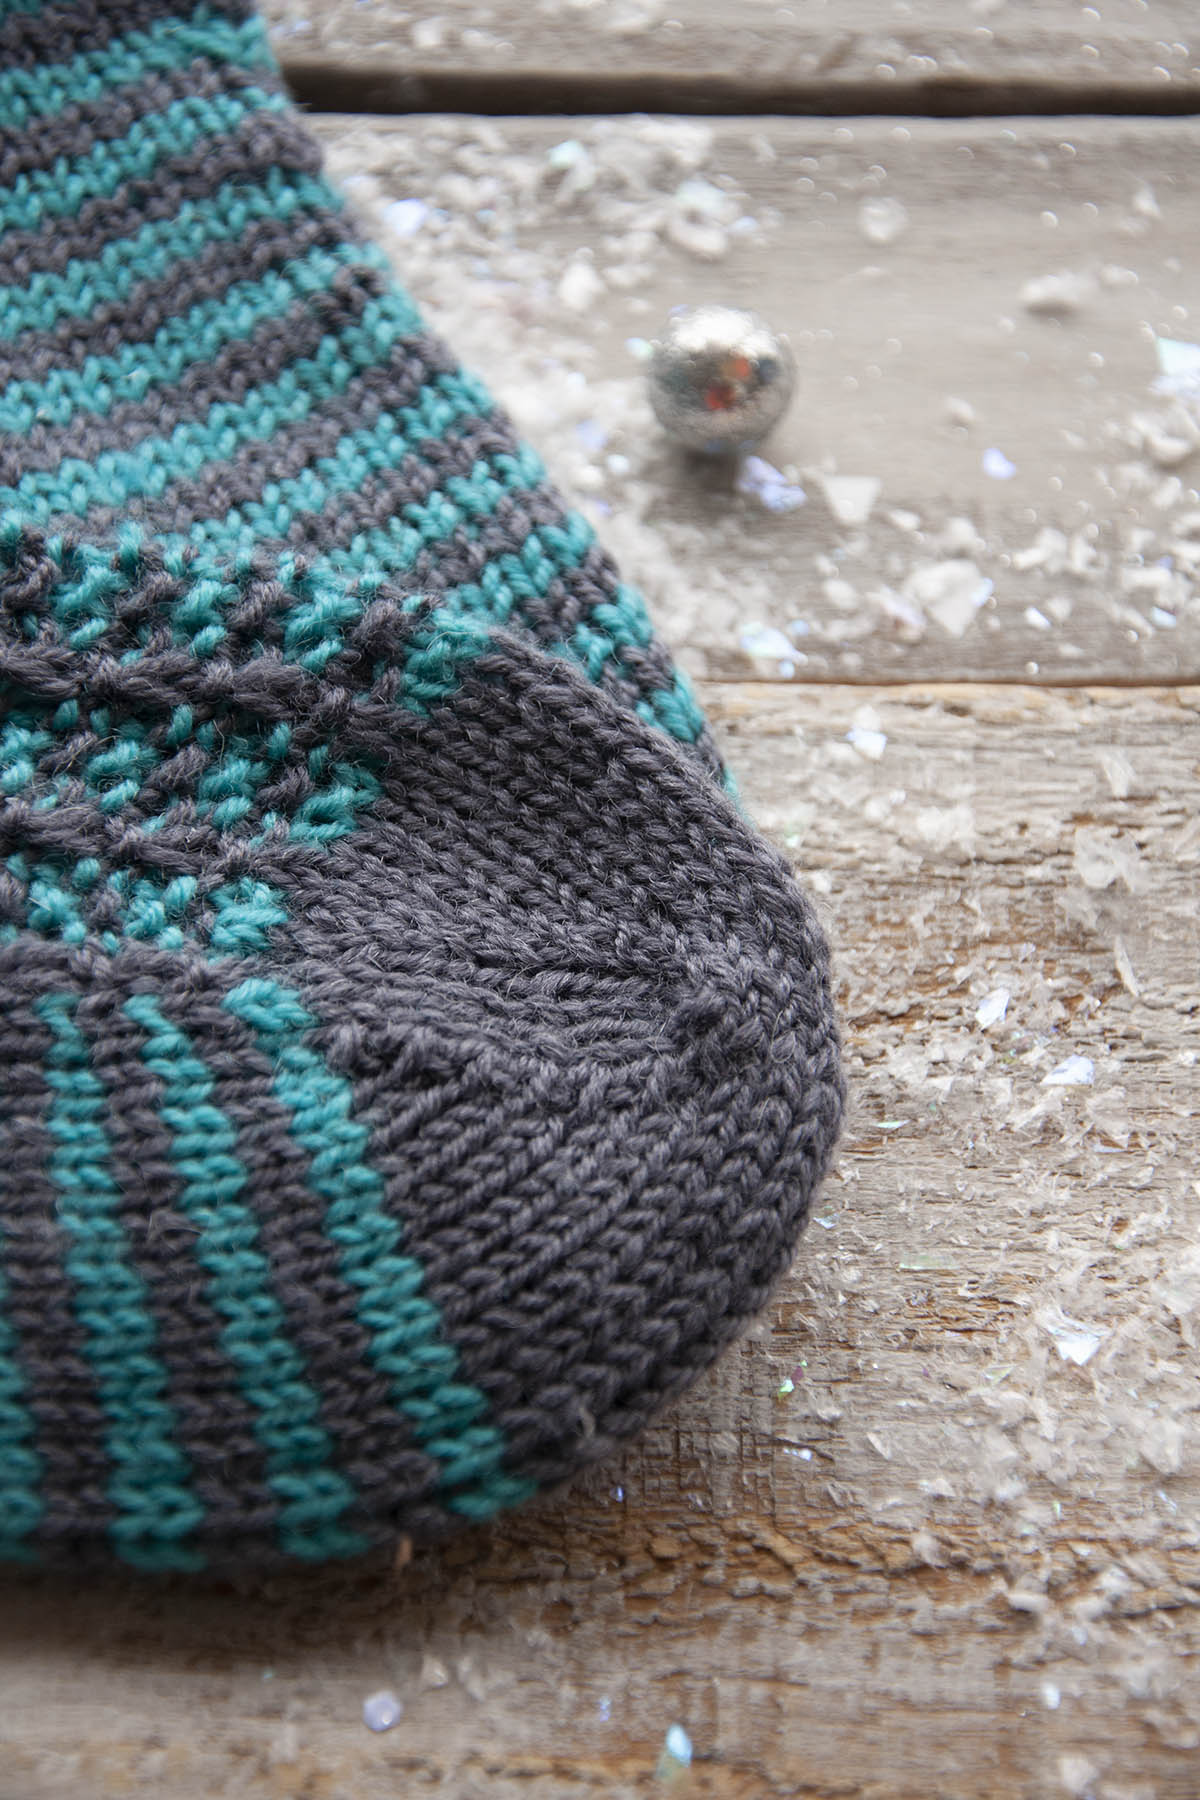
I’m here to talk about the toe finishing on a top-down sock. The best way to join remaining stitches at the toe of a sock is by grafting, AKA Kitchener stitch. This is a technique that basically creates a row of knit stitches that is formed while joining two sets of live stitches. It is far superior to a seam because – who wants an uncomfortable seam on their toe?
The first thing to do is to cut your yarn after the last row of your pattern, leaving a tail about 3-4 times the width of the toe. Thread this tail through a tapestry needle. Place half your stitches on one dpn (front), and the other half on a second dpn (back).
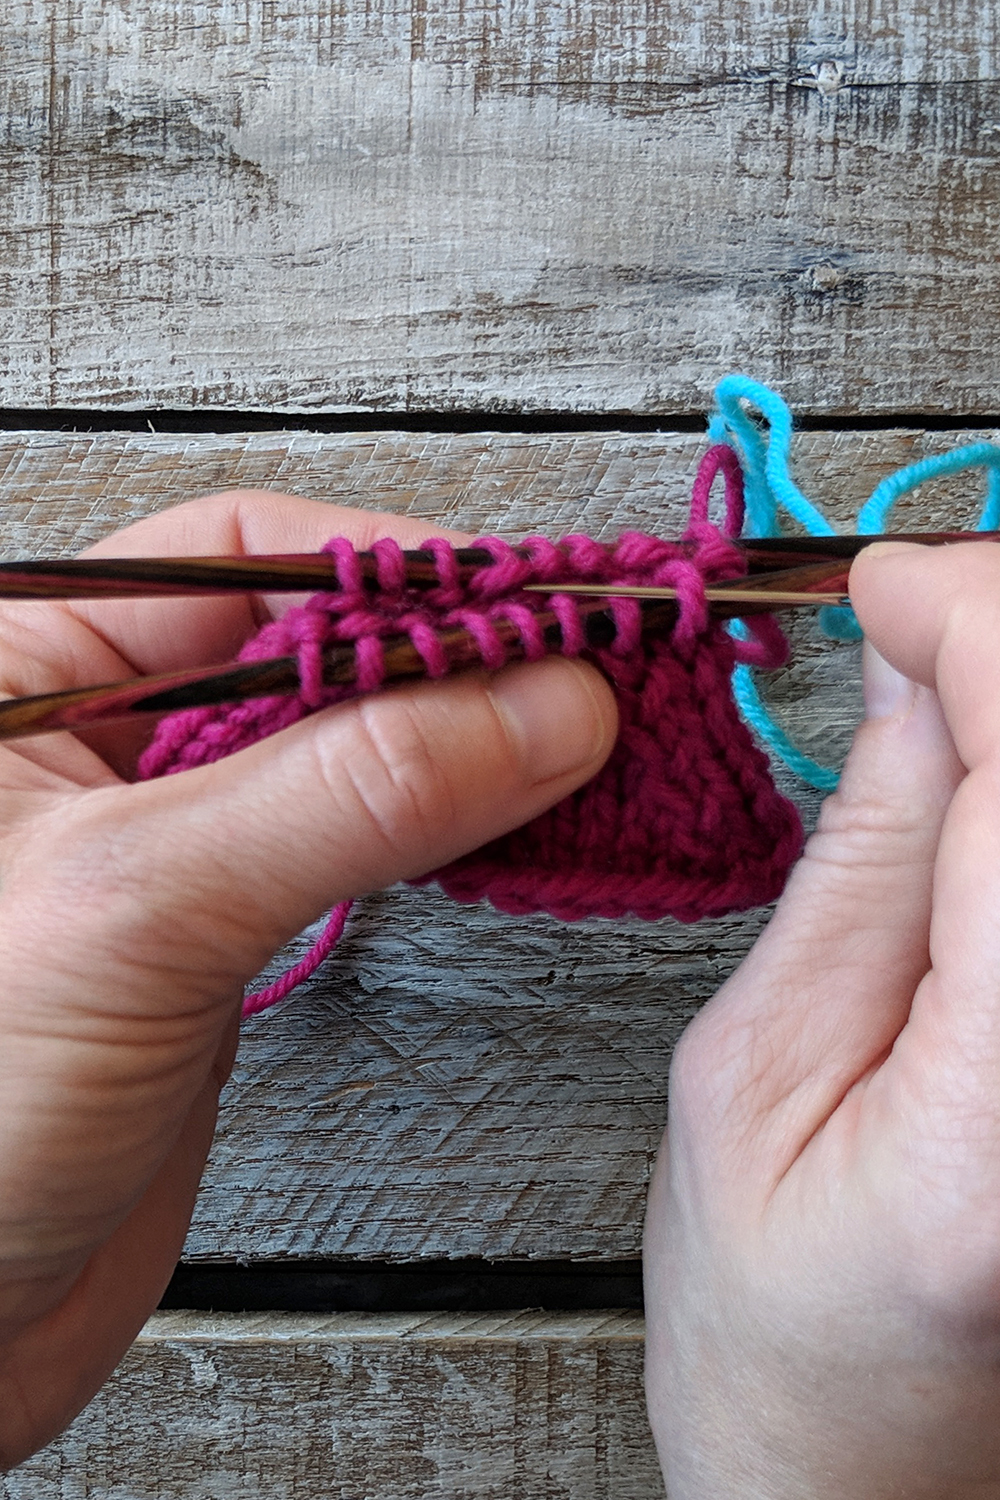
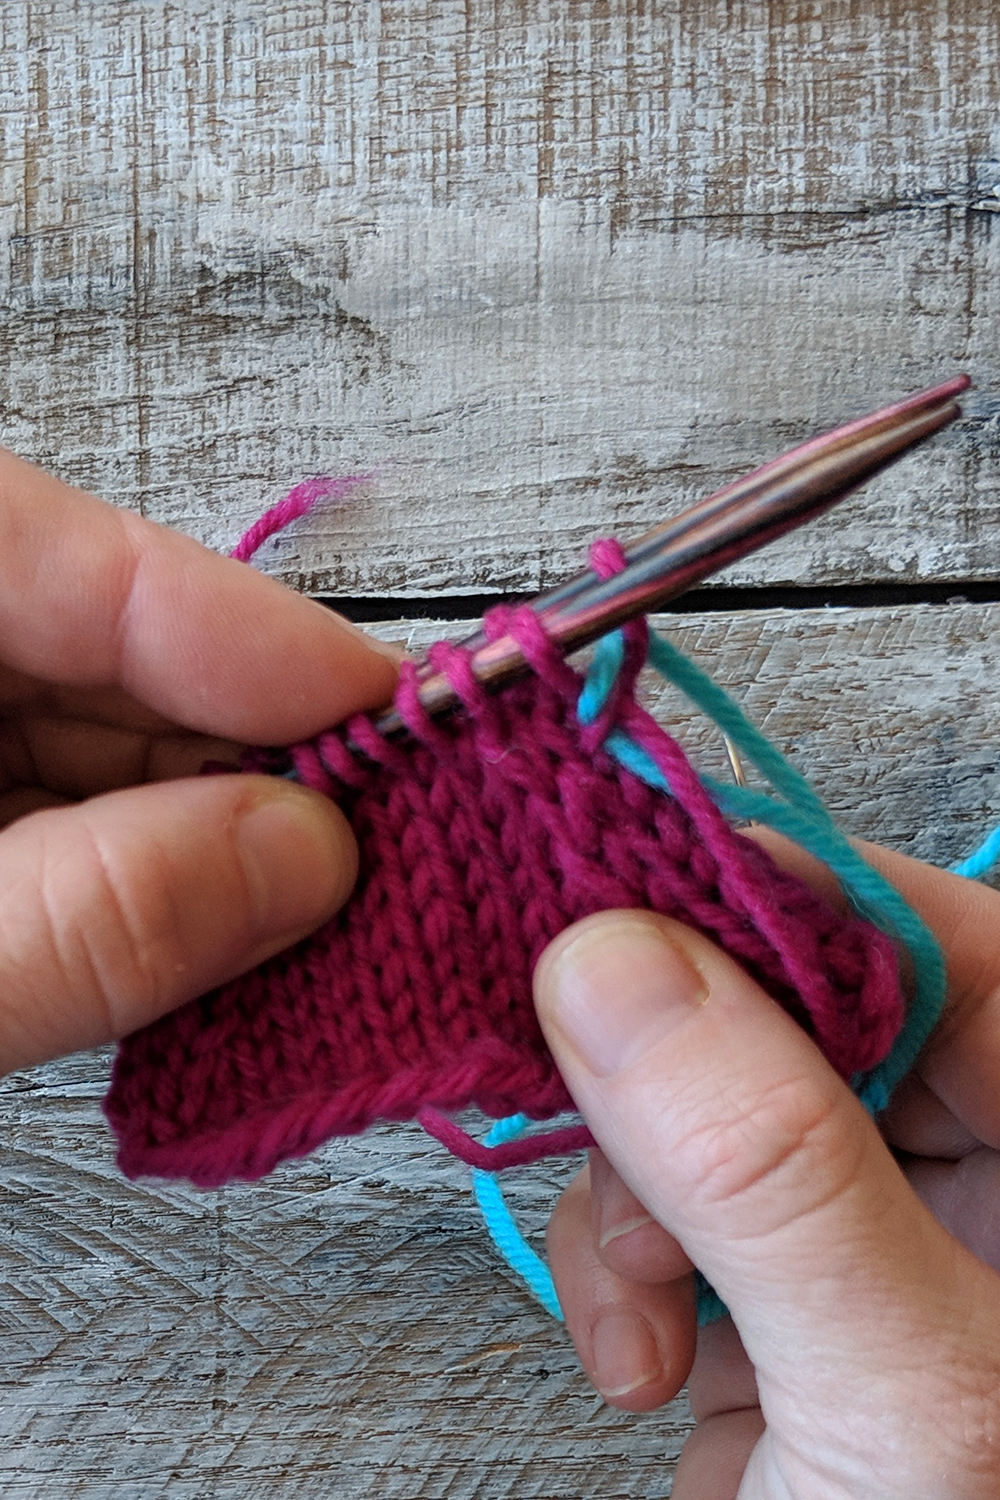
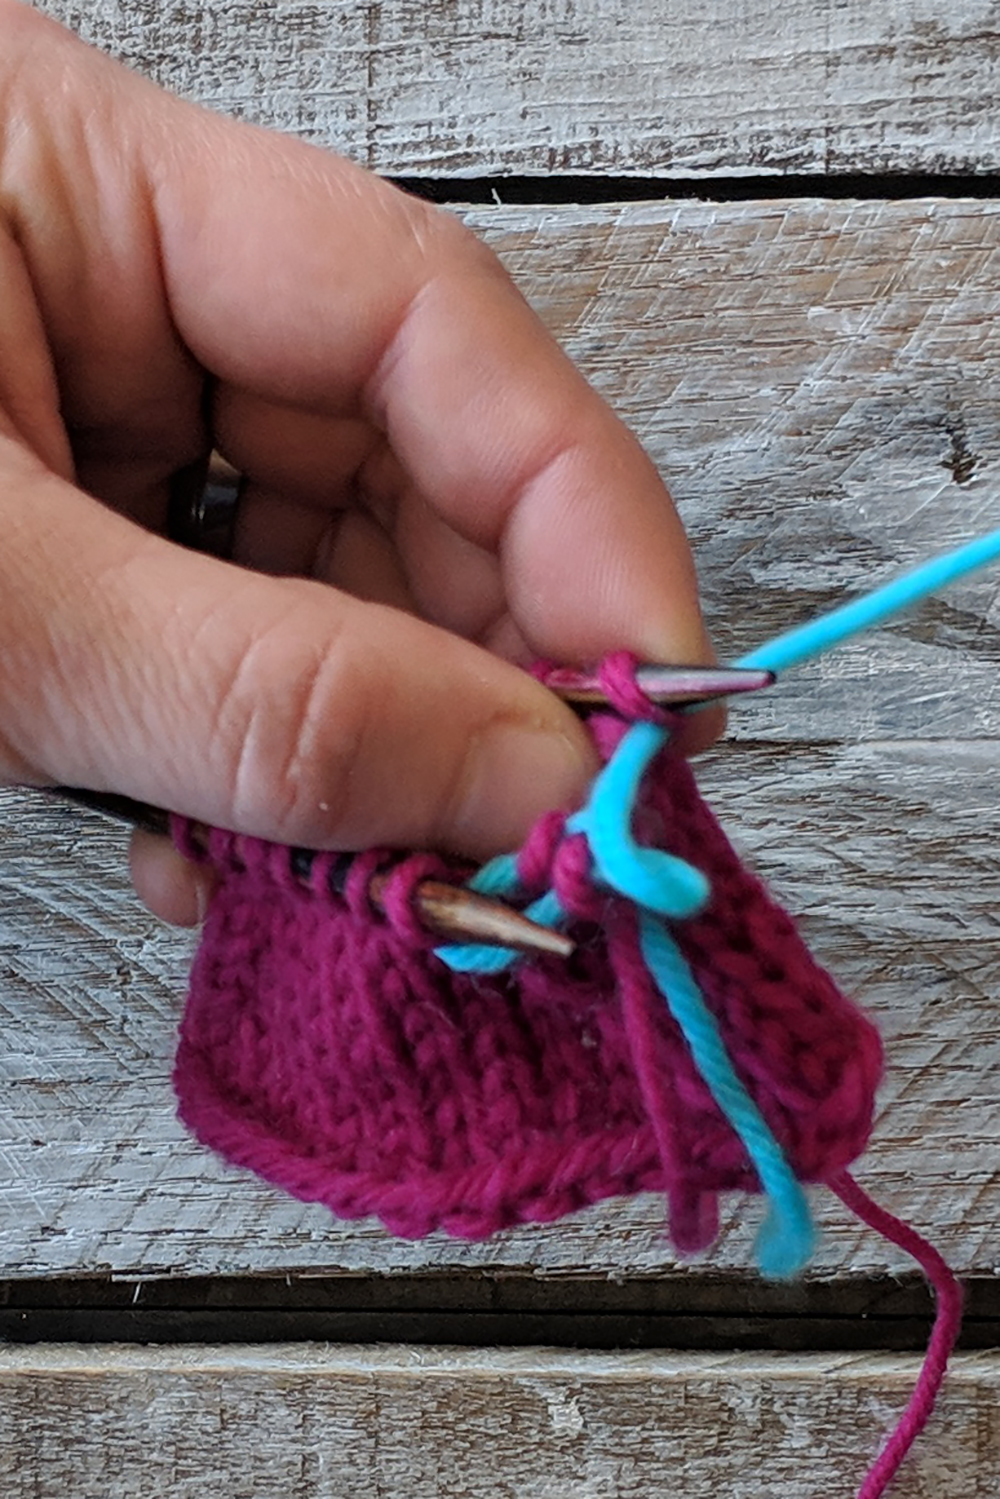
Preliminary Step 1: Insert your needle purlwise through the first stitch on the front dpn.
Pull the yarn through the stitch, leaving it on the dpn.
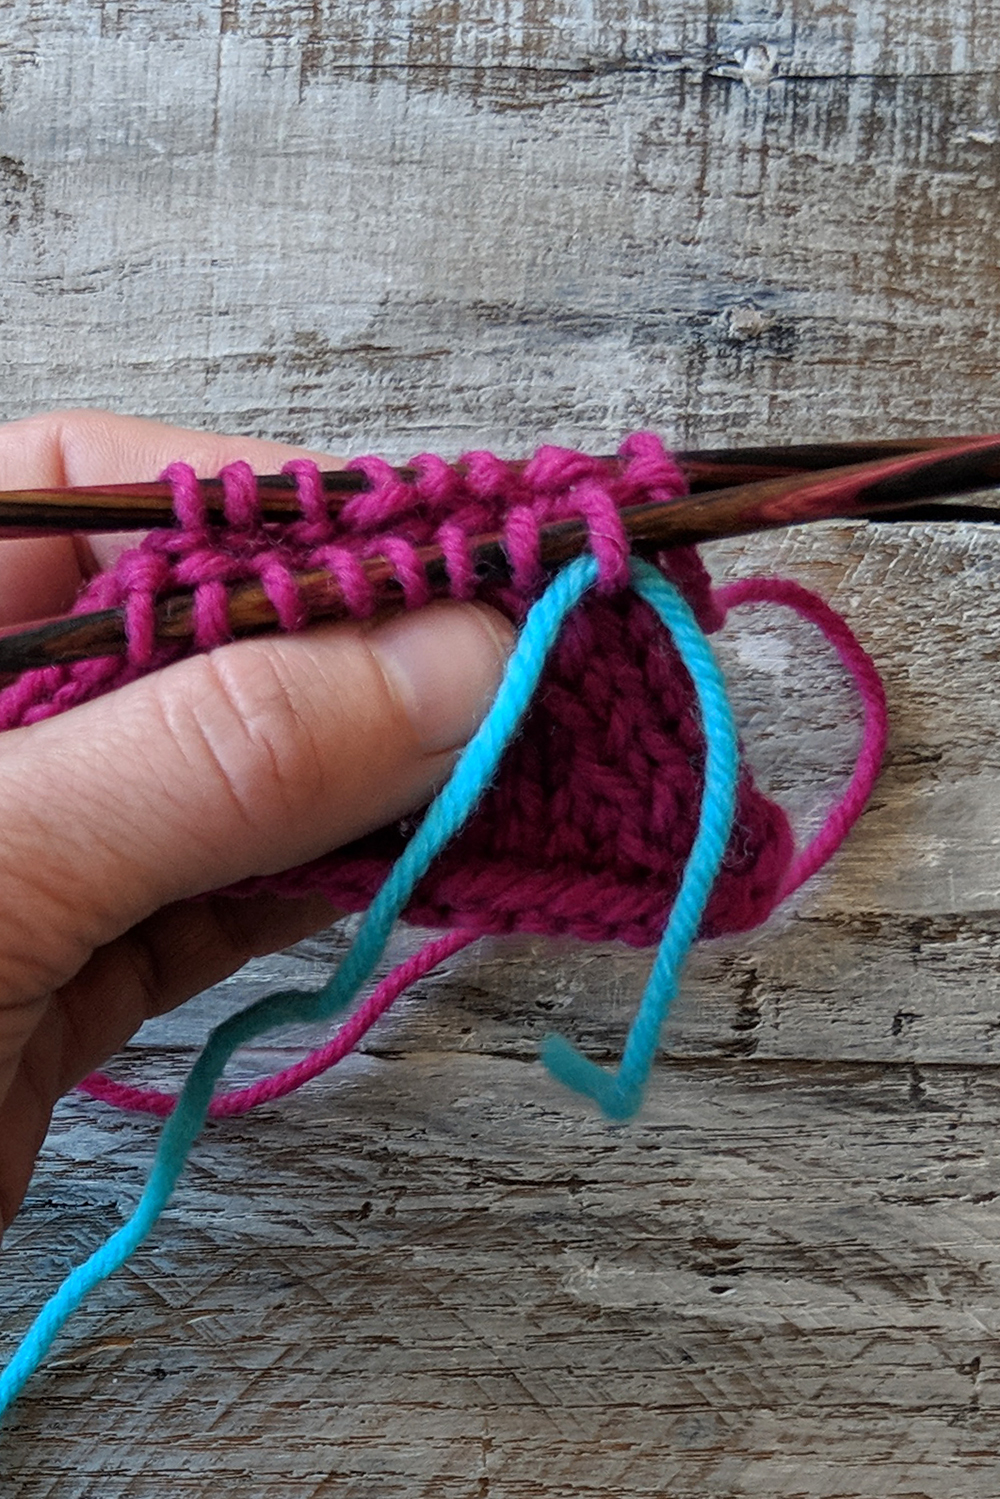
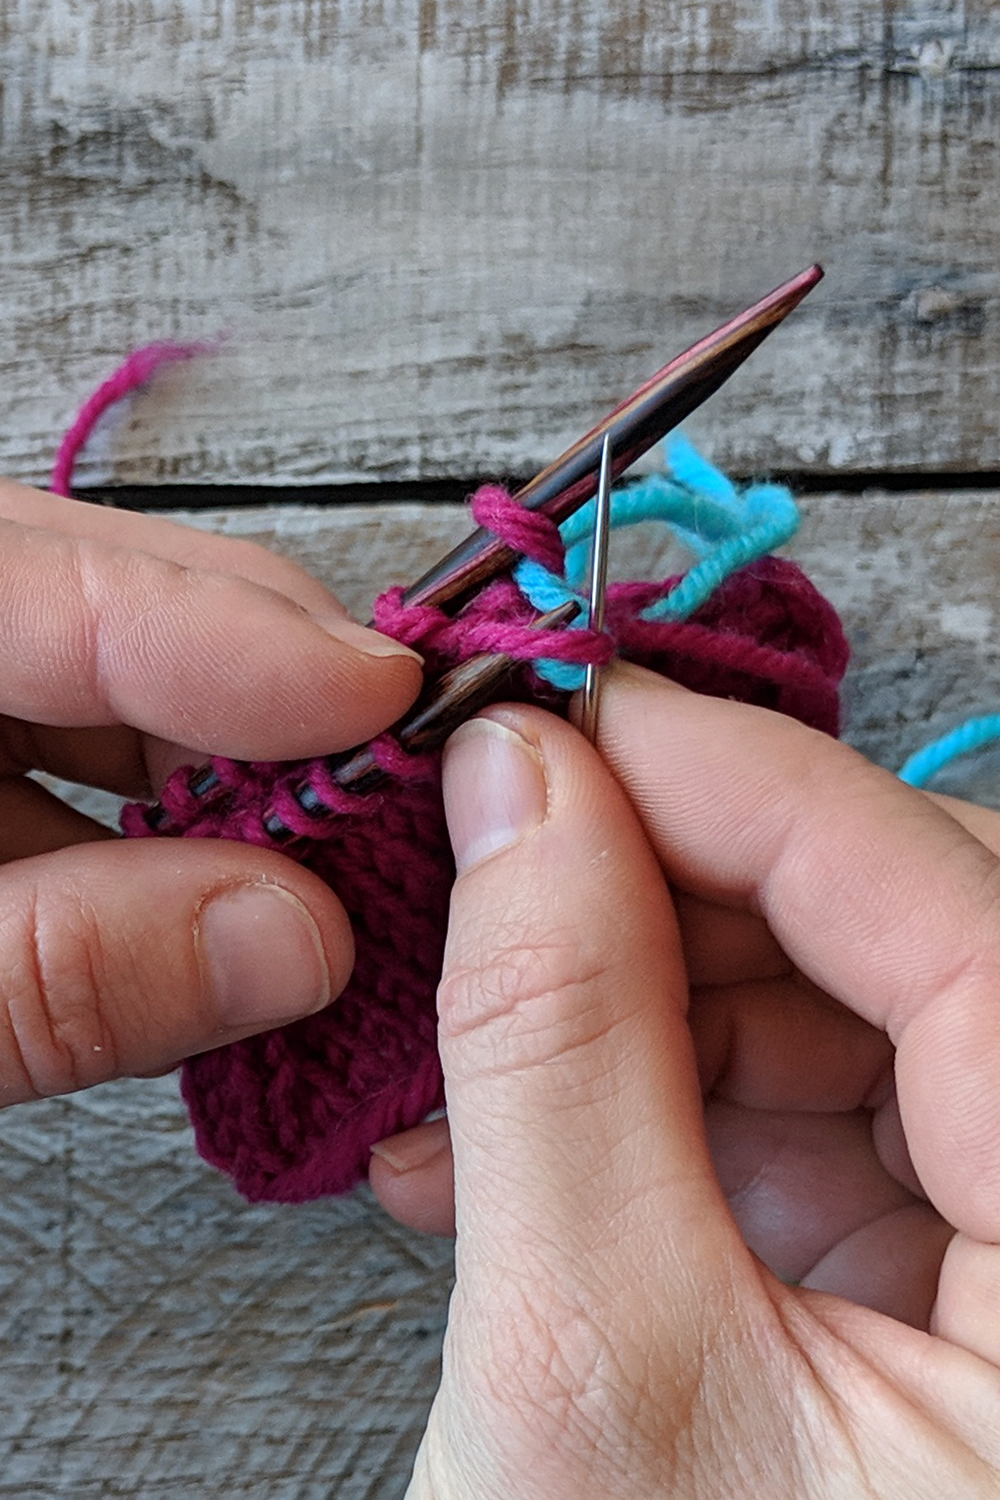
Preliminary Step 2: Insert your needle knitwise through the first stitch on the back dpn.
Pull the yarn through the stitch, leaving it on the dpn. Set-up is complete. Now for the repeating action of grafting!
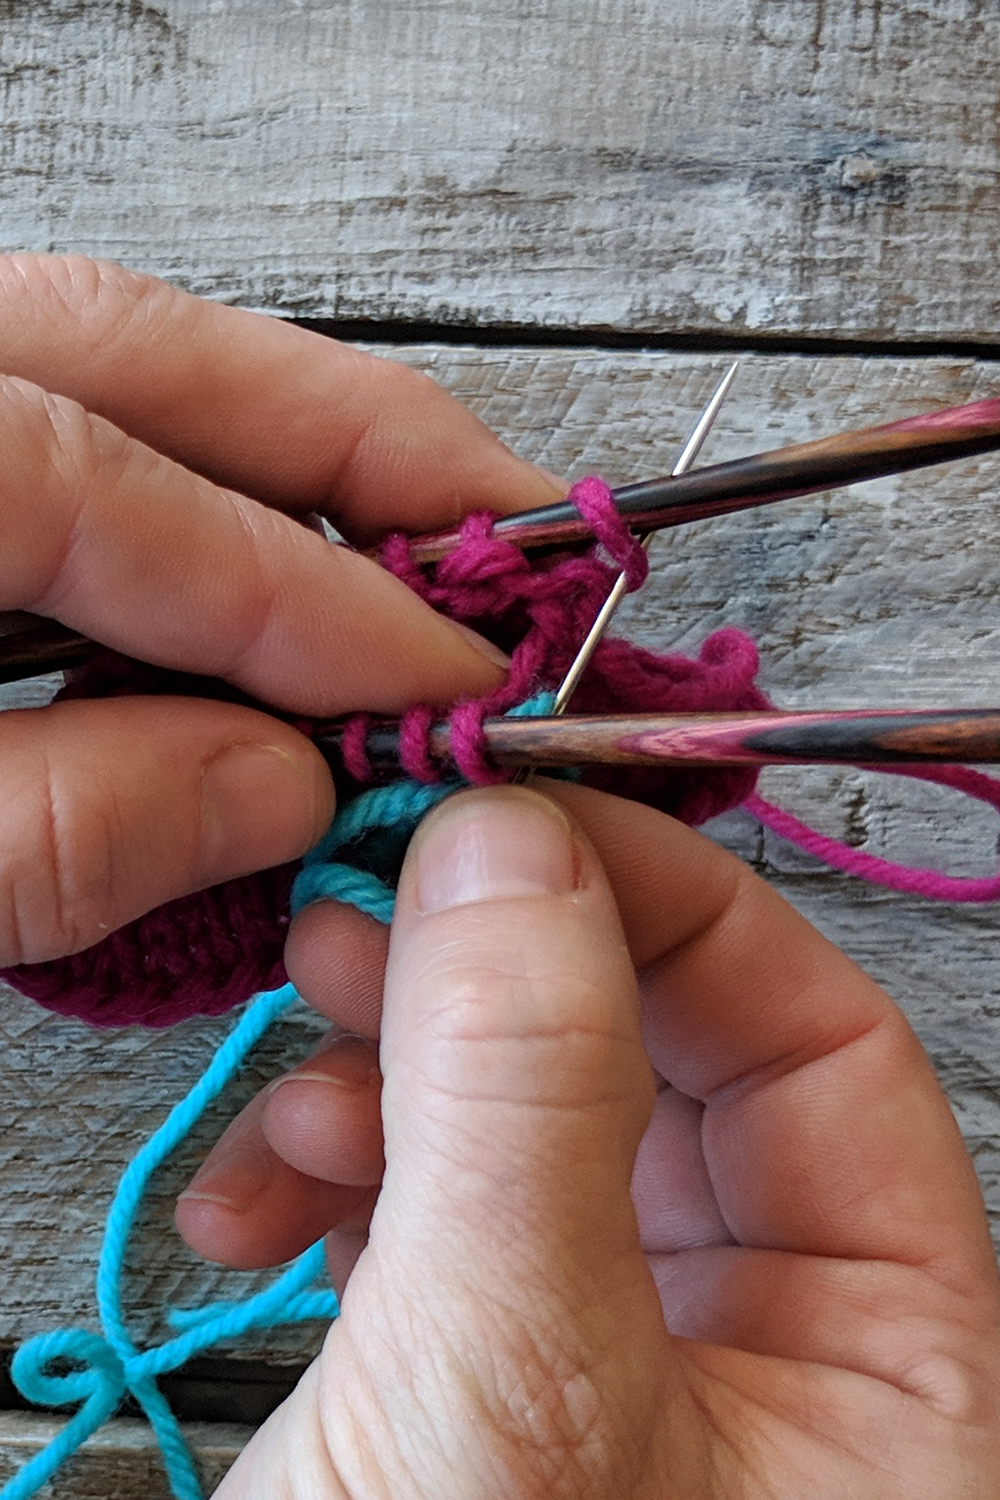
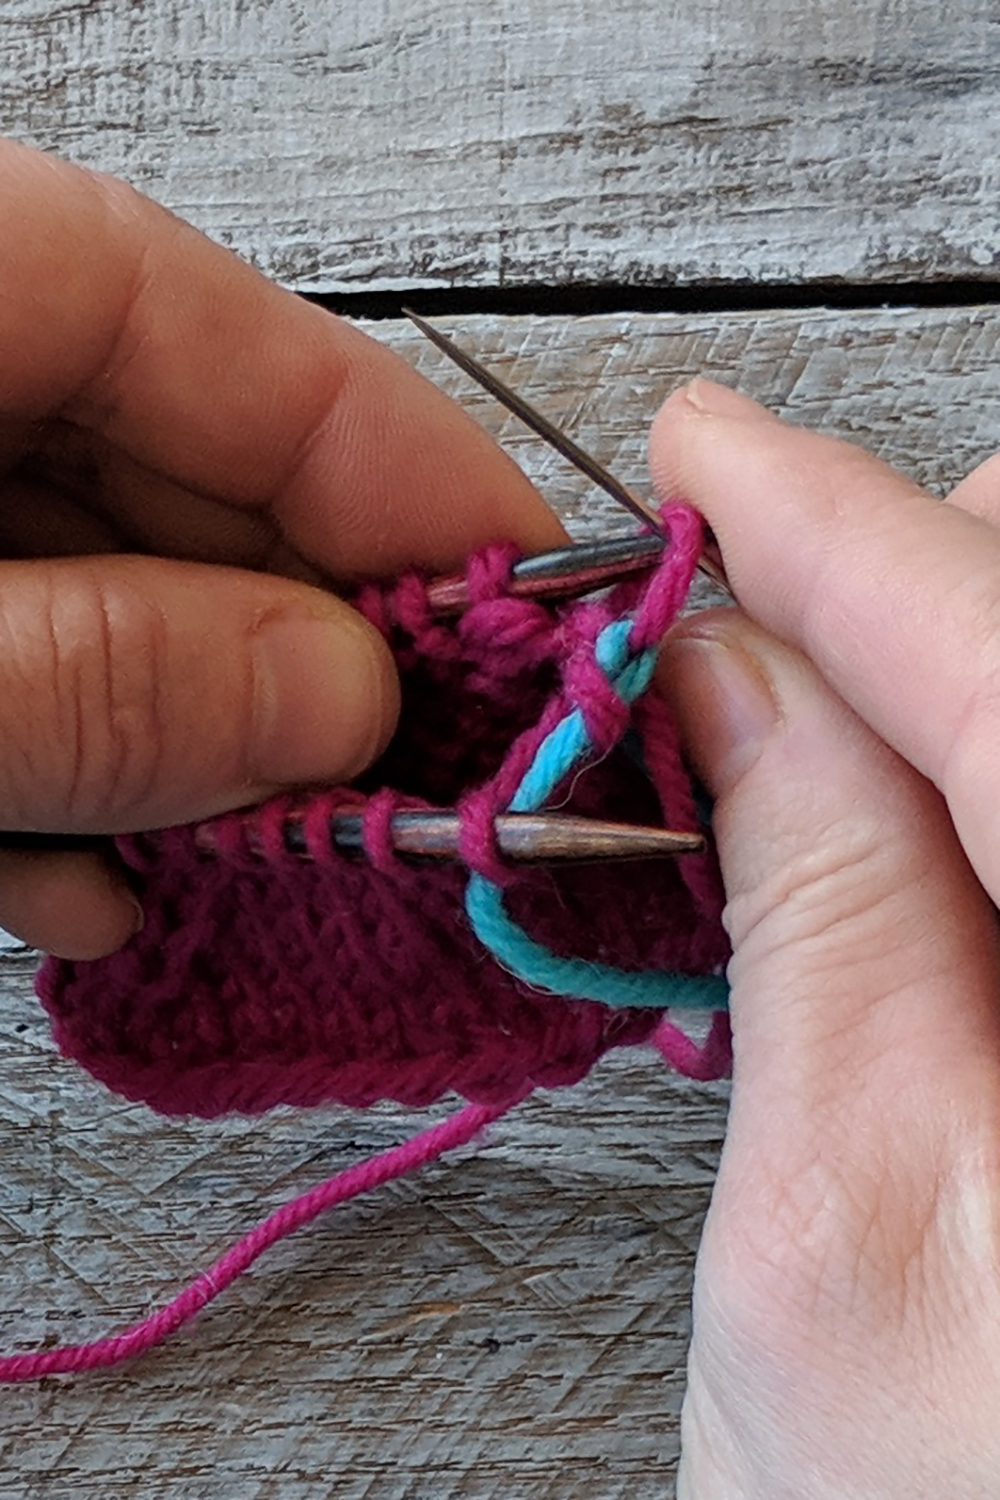
Step 1: Insert your needle knitwise through the first stitch on the front dpn and let this stitch slide off the dpn.
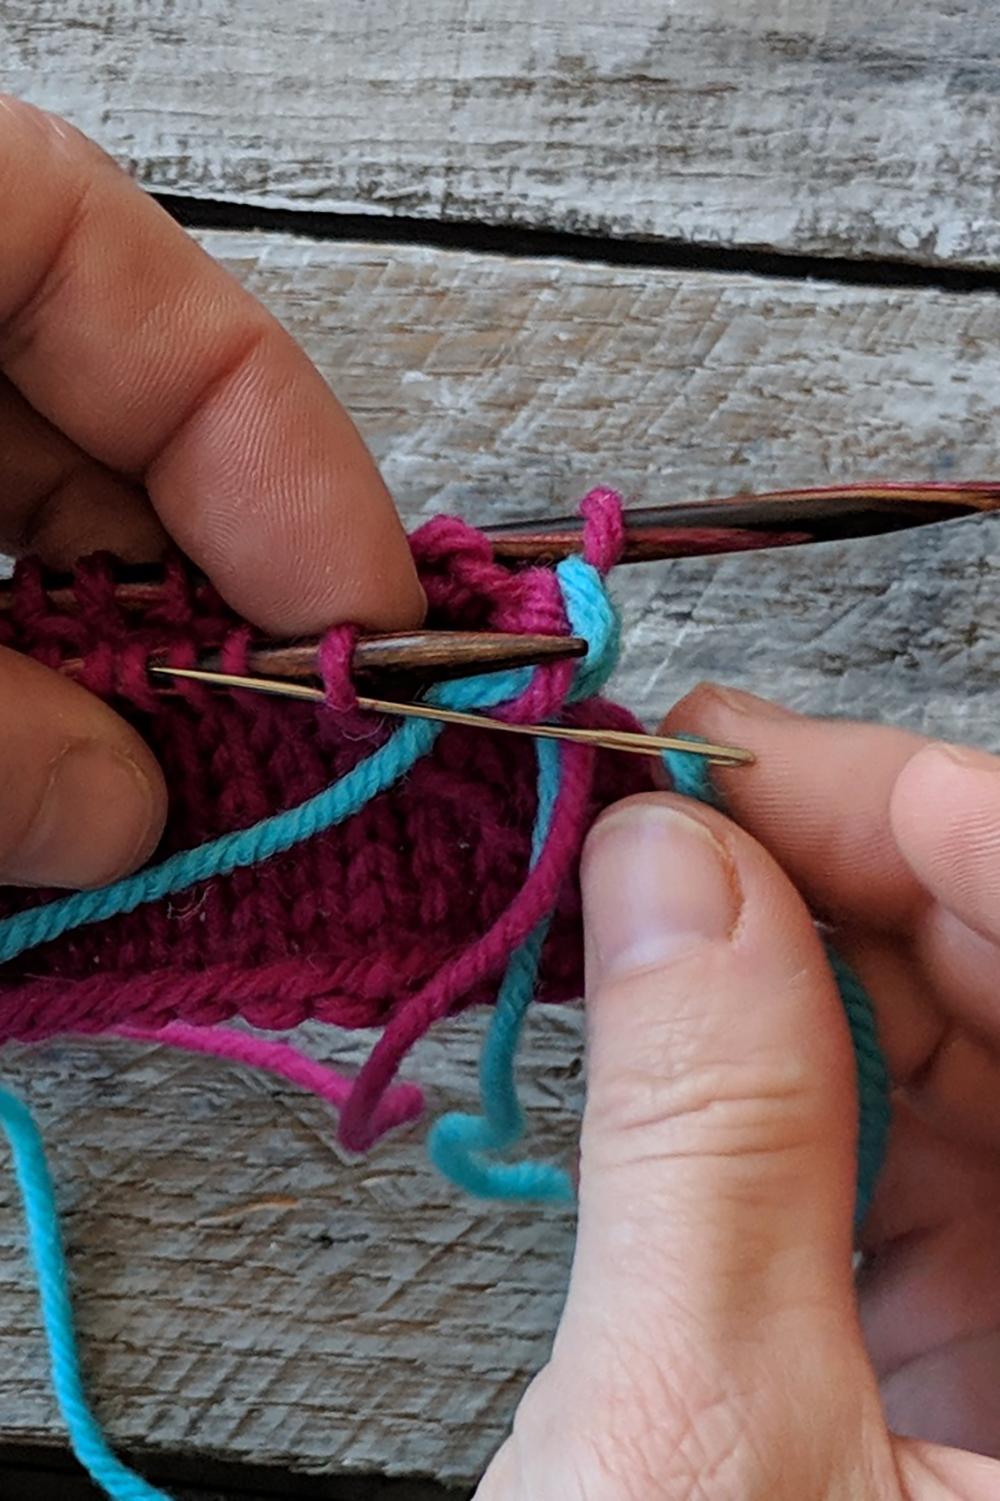
Step 2: Insert your needle purlwise through the next stitch on the front dpn but do not slide off the dpn.
Pull the yarn through.
Step 3: Insert your needle purlwise through the first stitch on the back dpn and let this stitch slide off the dpn.
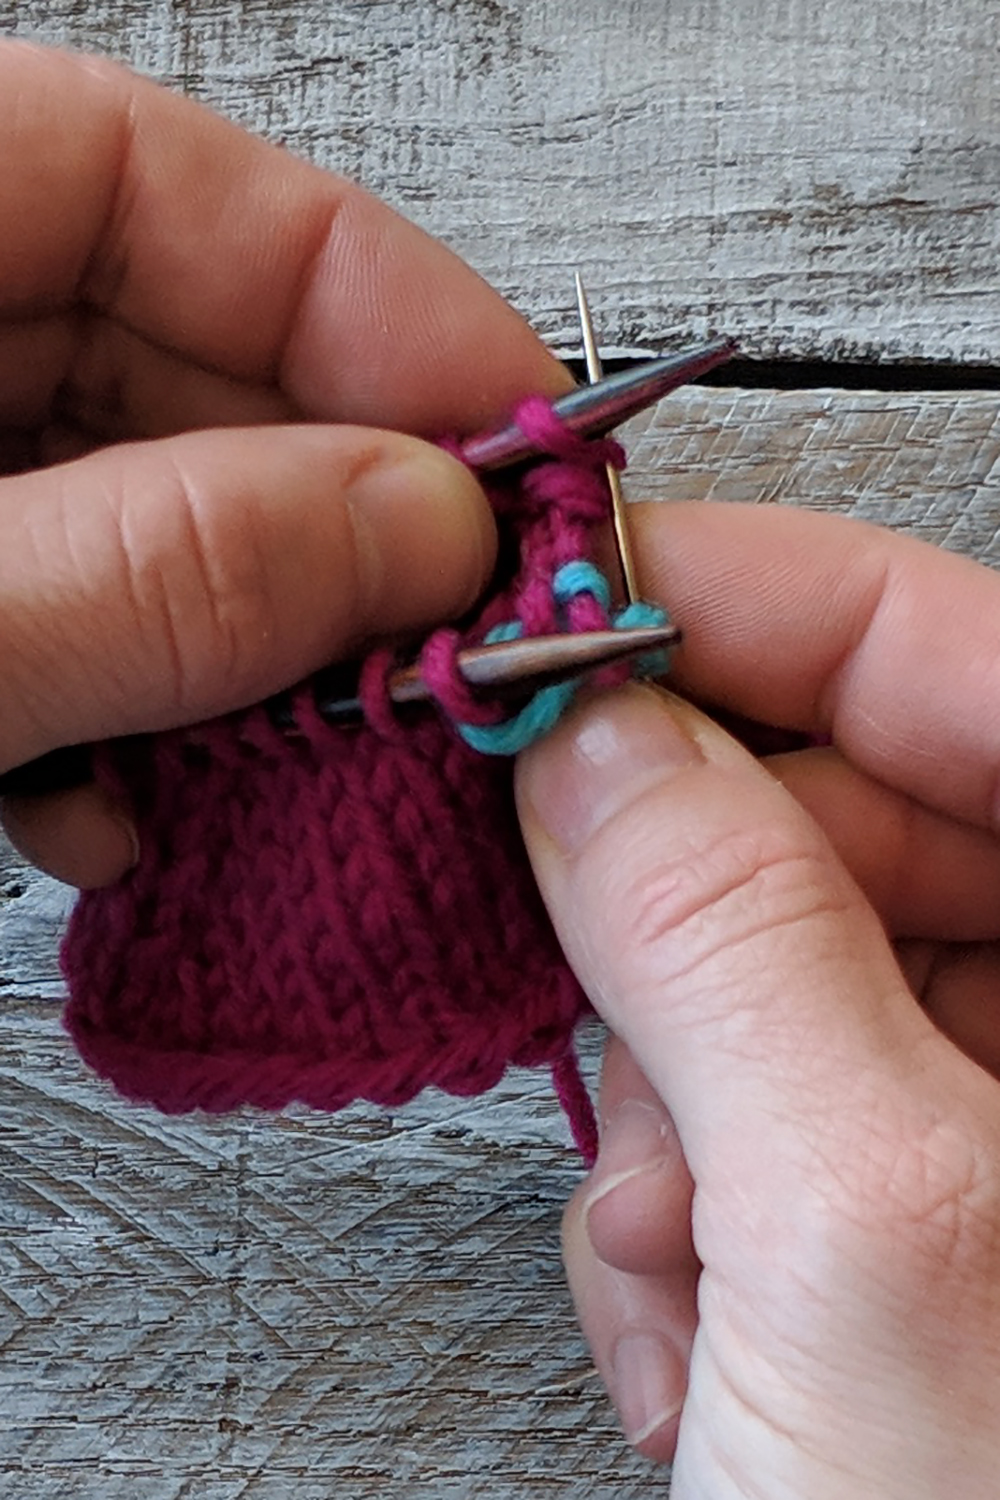
Step 4: Insert your needle knitwise through the next stitch on the back dpn but do not slide off the dpn.
Pull the yarn through.
Repeat steps 1 through 4. When I’m grafting, I always have this running through my head: “Knit, Purl, Purl Knit.” It helps to keep me on track. If you’re grafting for the first time, I definitely recommend having a quiet space in which to practice. Once you get the hang of it, it’s easy enough to visually know where you are in the process. But in the beginning, it does require a bit of concentration.
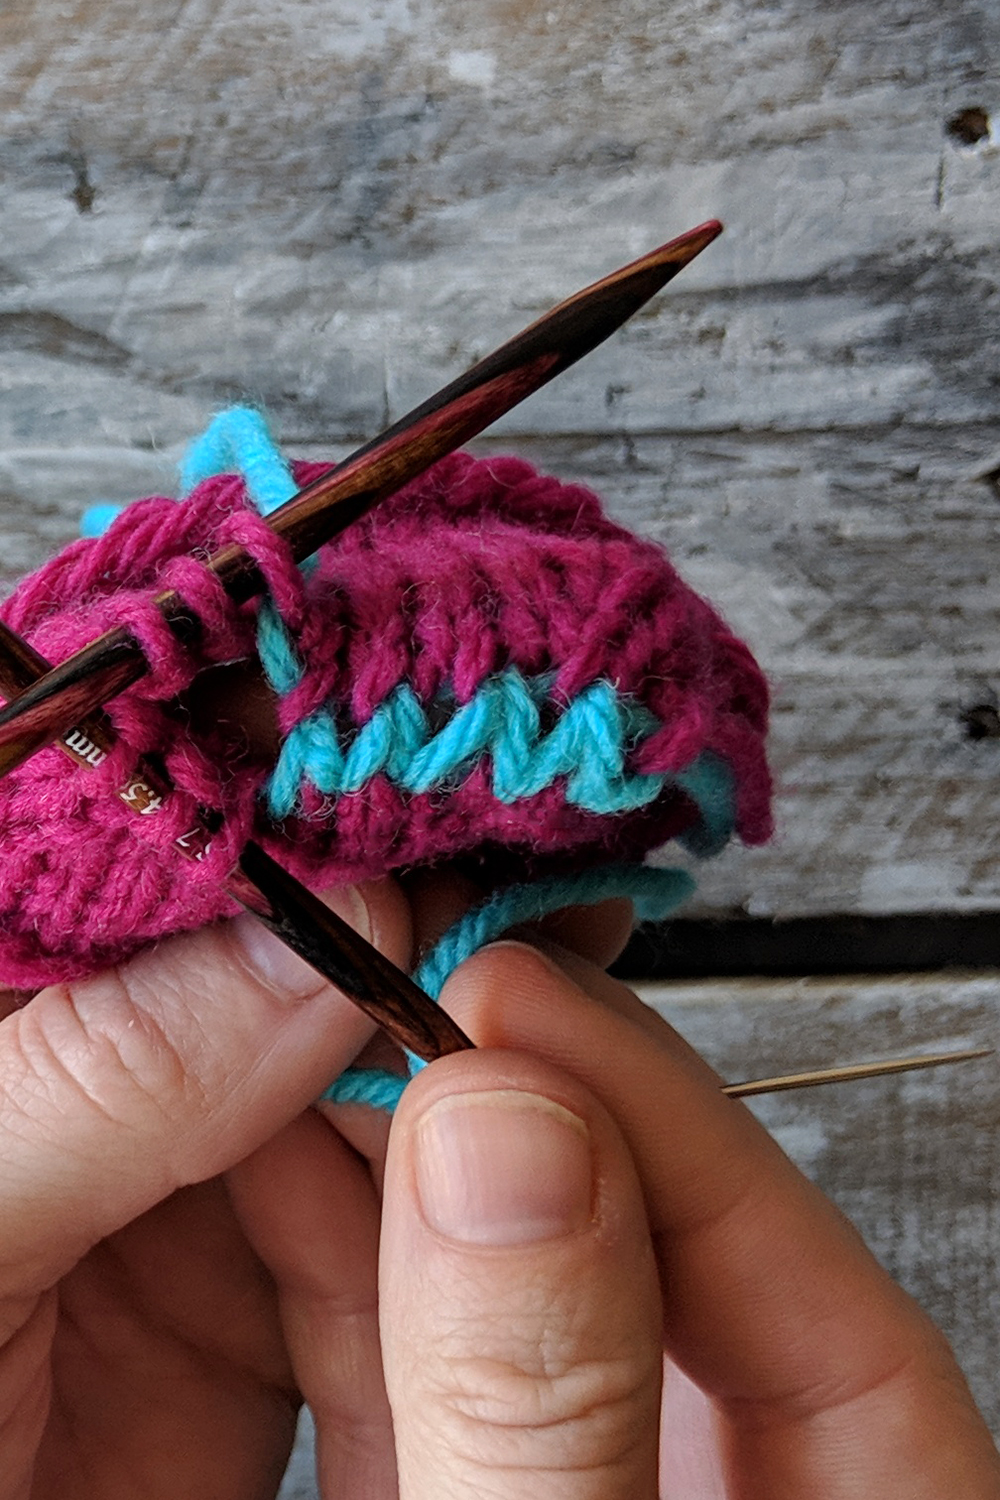
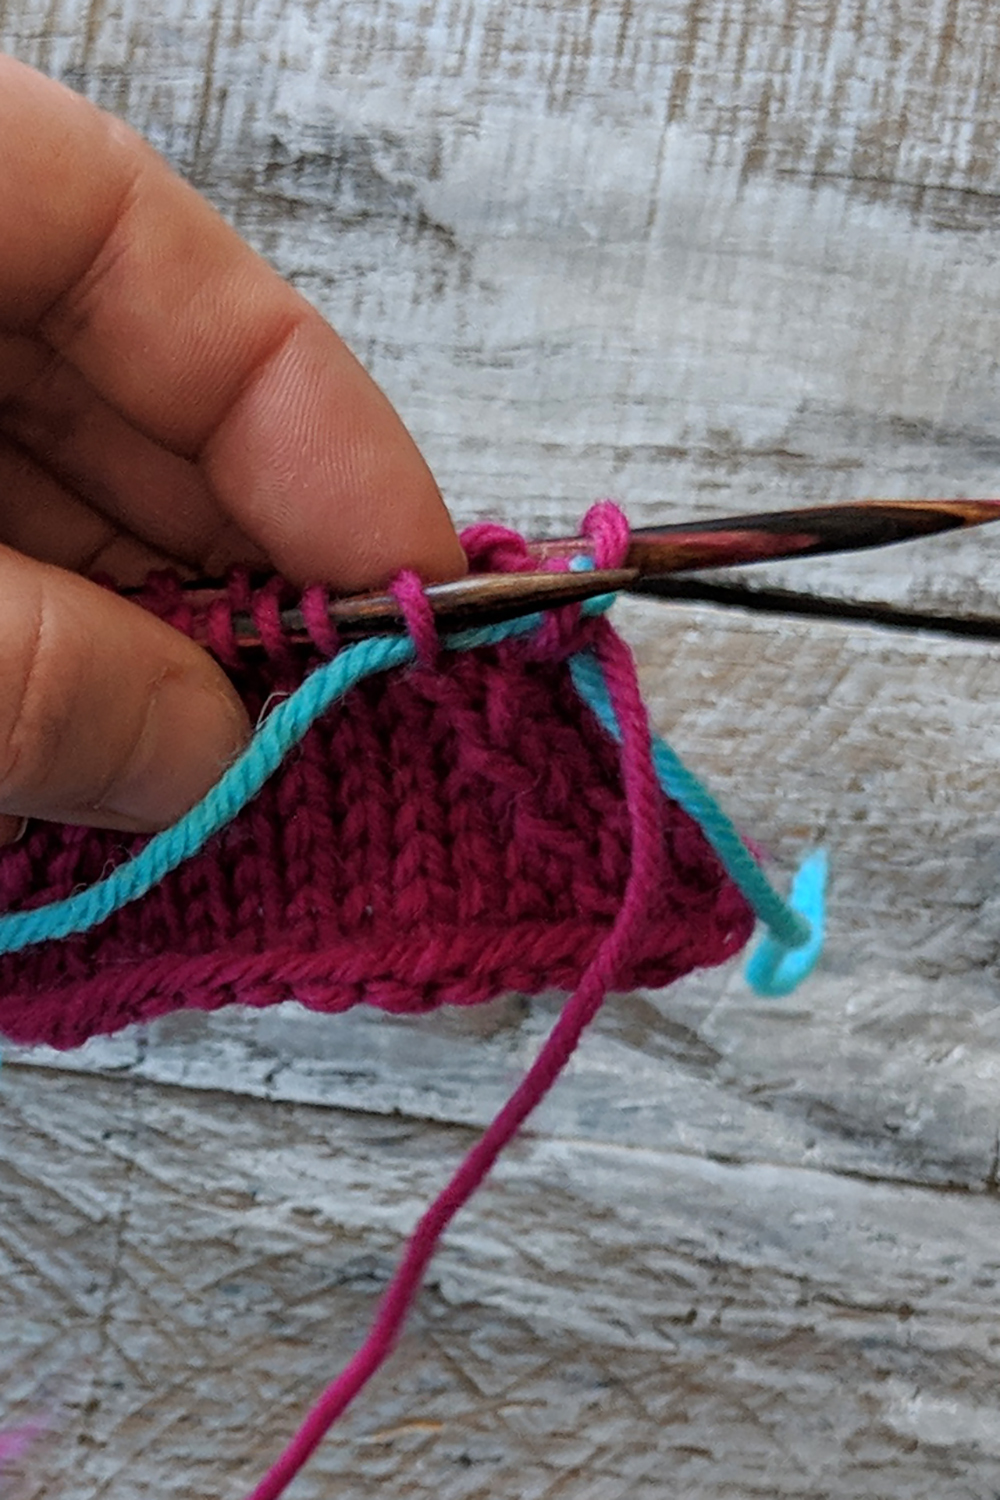
Heres what my practice toe looks like after a few more passes. You can see how the contrast yarn is forming a row of Vs, just like a row of stockinette stitch.
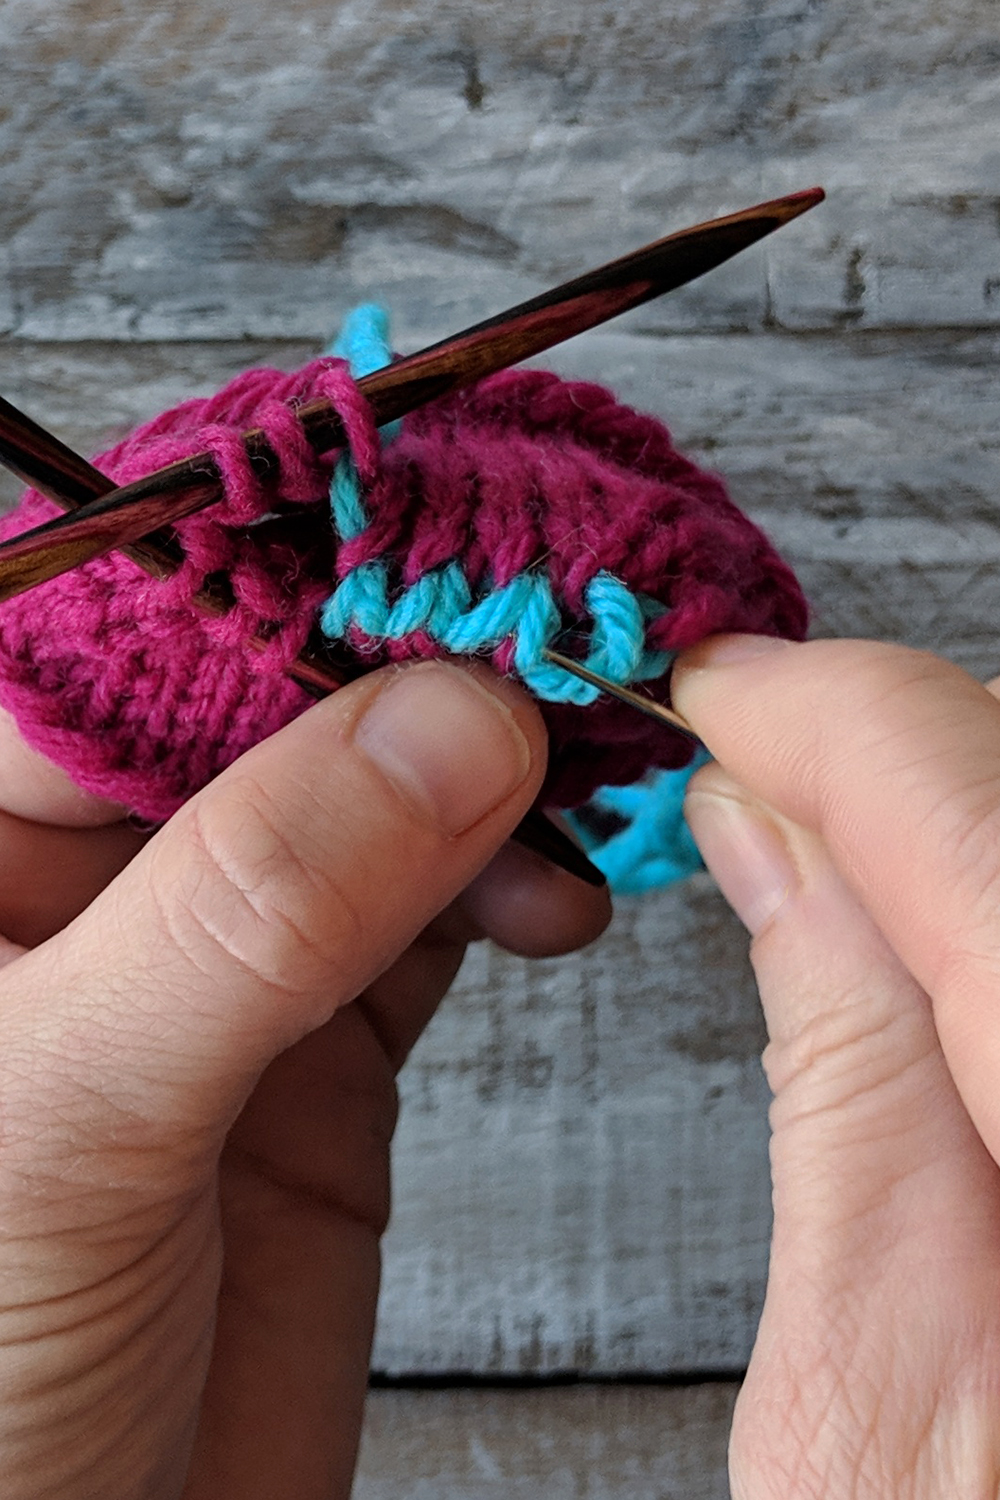
I didn’t tighten up my yarn enough while grafting, so the stitches look sloppy. But its okay! I can just take the tip of my tapestry needle and snug up the loose stitches, traveling the slack off to the side.

The final two steps when there is just one stitch remaining on each needle is: knitwise through the front stitch, purlwise through the back stitch. Pull the remaining yarn tail through. The end!
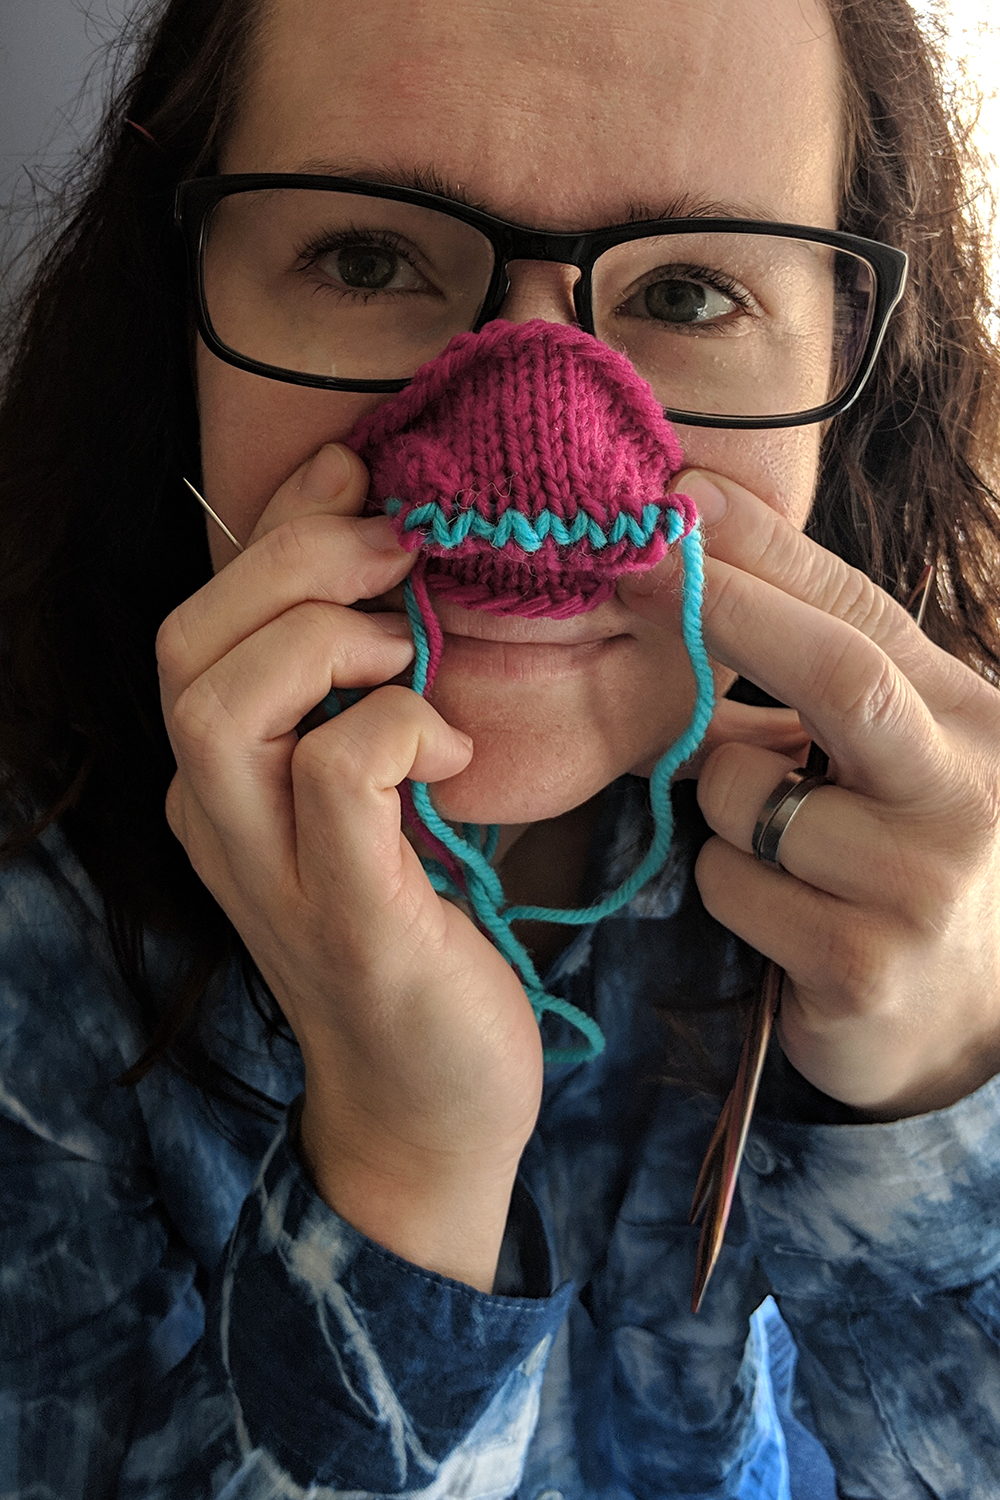
And actually, if you’re making a practice toe, you should definitely wear it on your face as a mask.
Remember, you can find the Series 2 12 Days of Winter Kit Patterns on Ravelry.
You’re wearing your indigo shirt! Love it!
Why yes I am – thank you for noticing!