
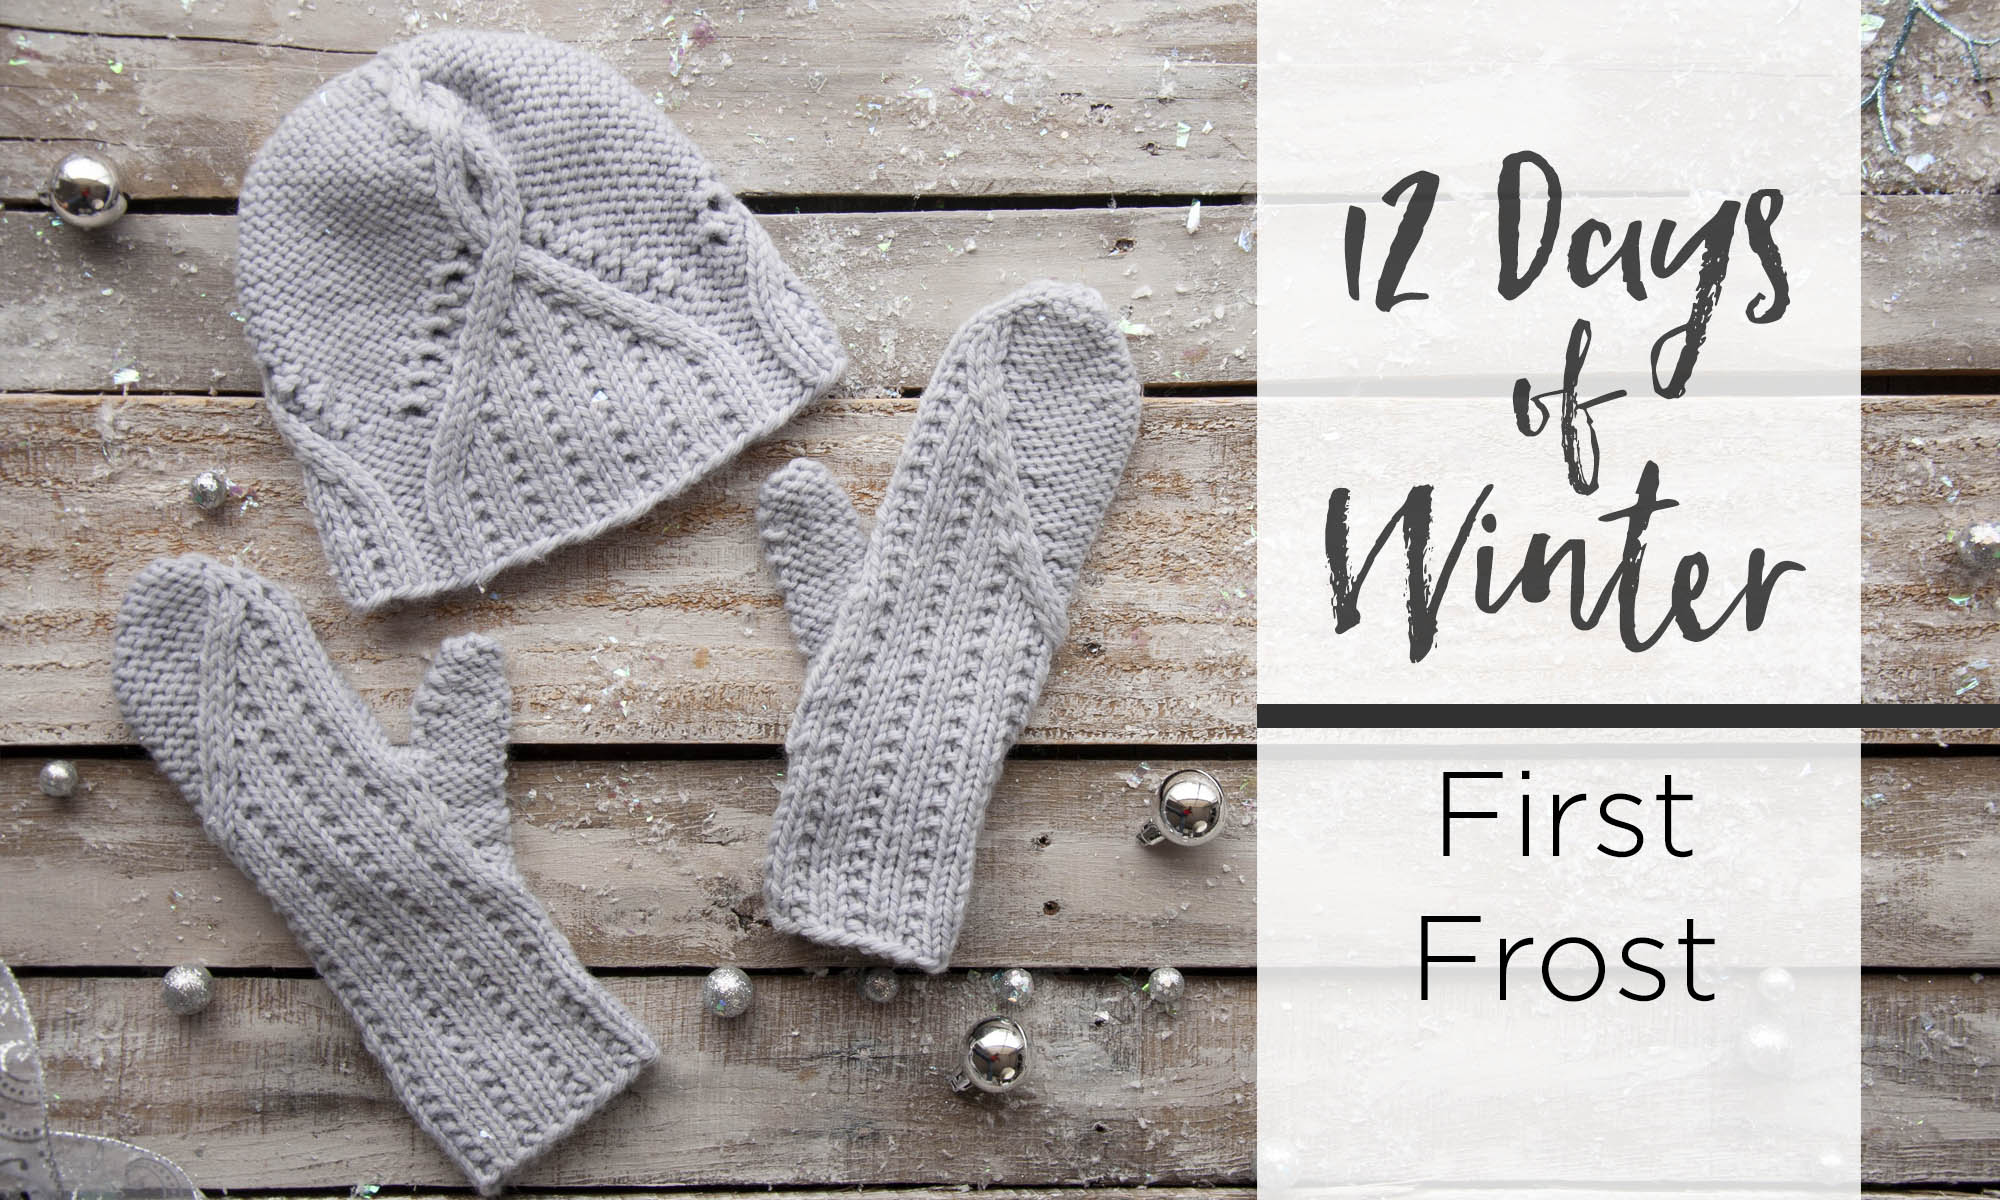
This is part 11 in a 12 part series highlighting designs from our 12 Days of Winter, Series 2 Edition.
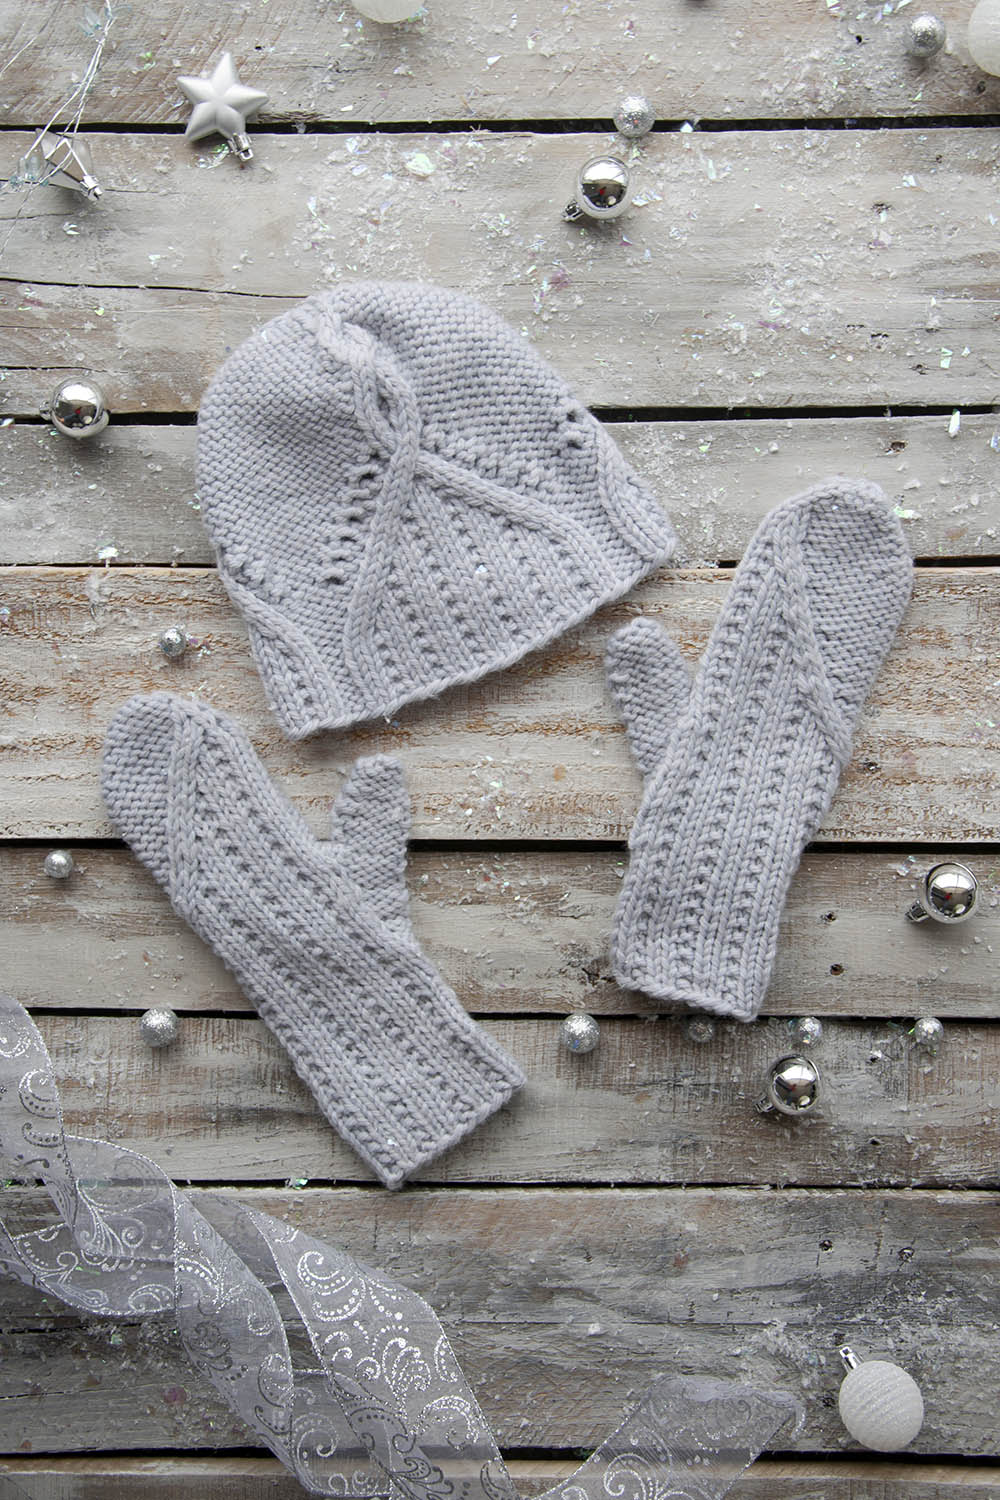
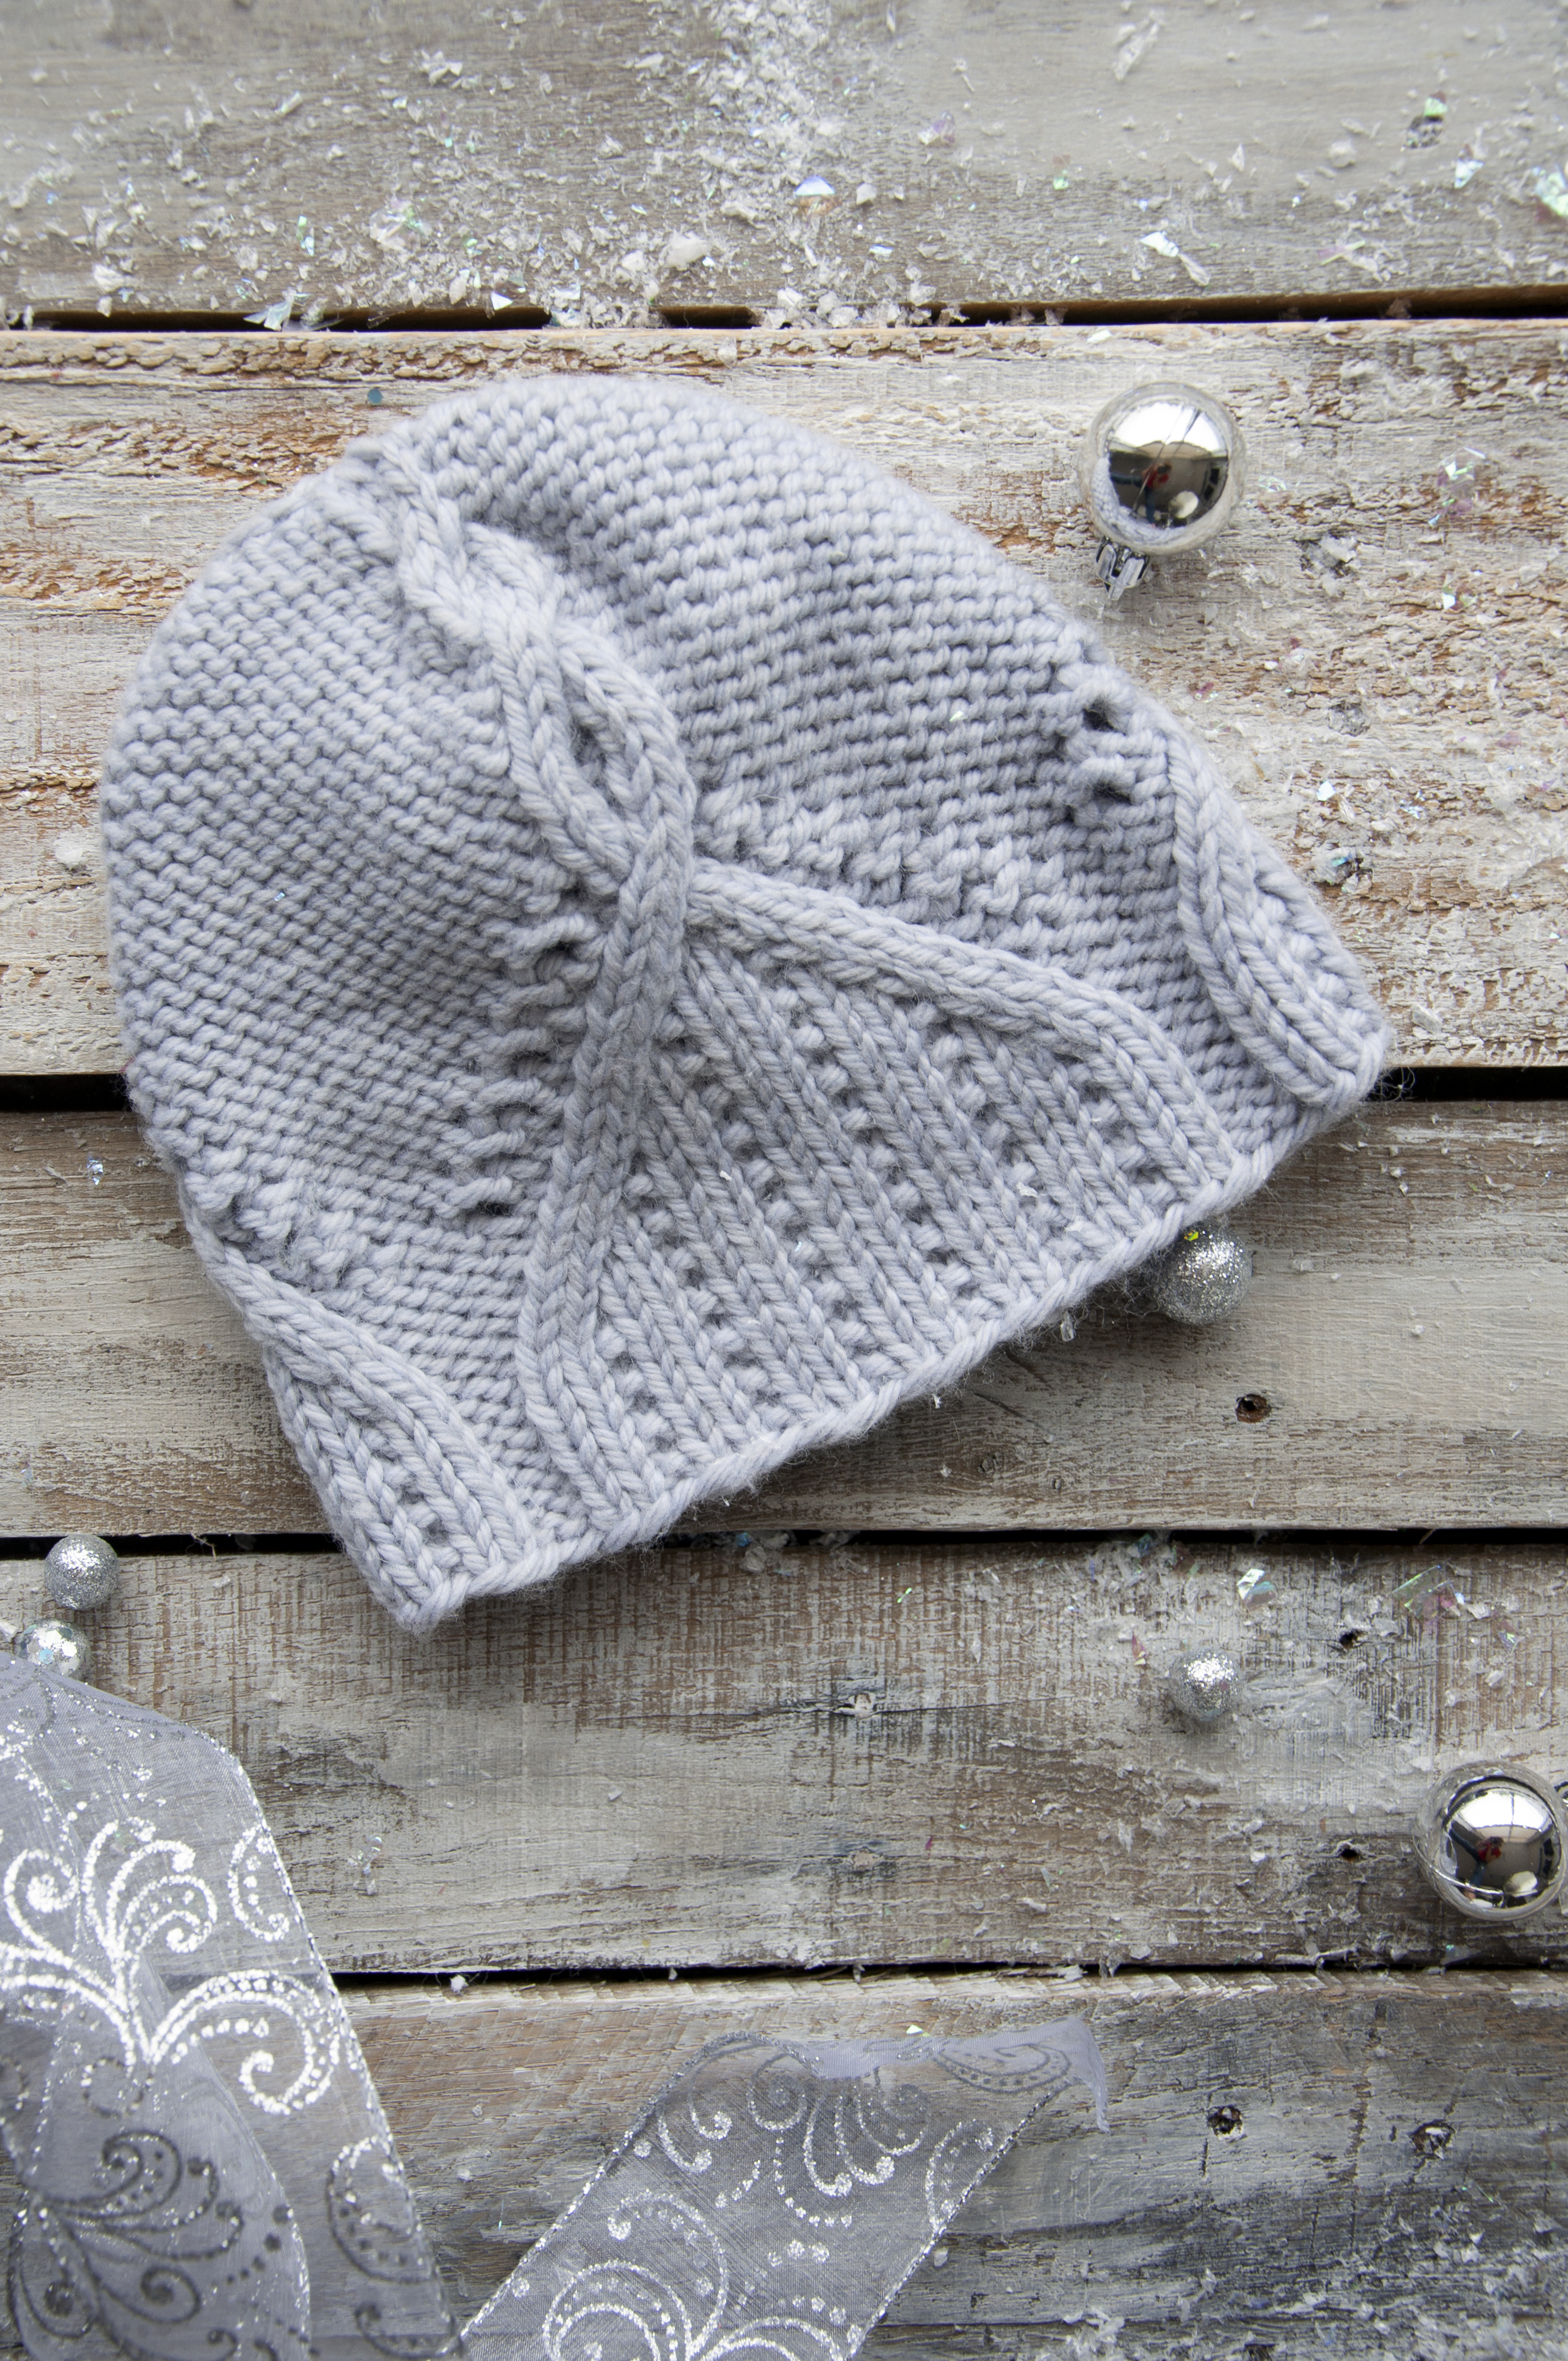
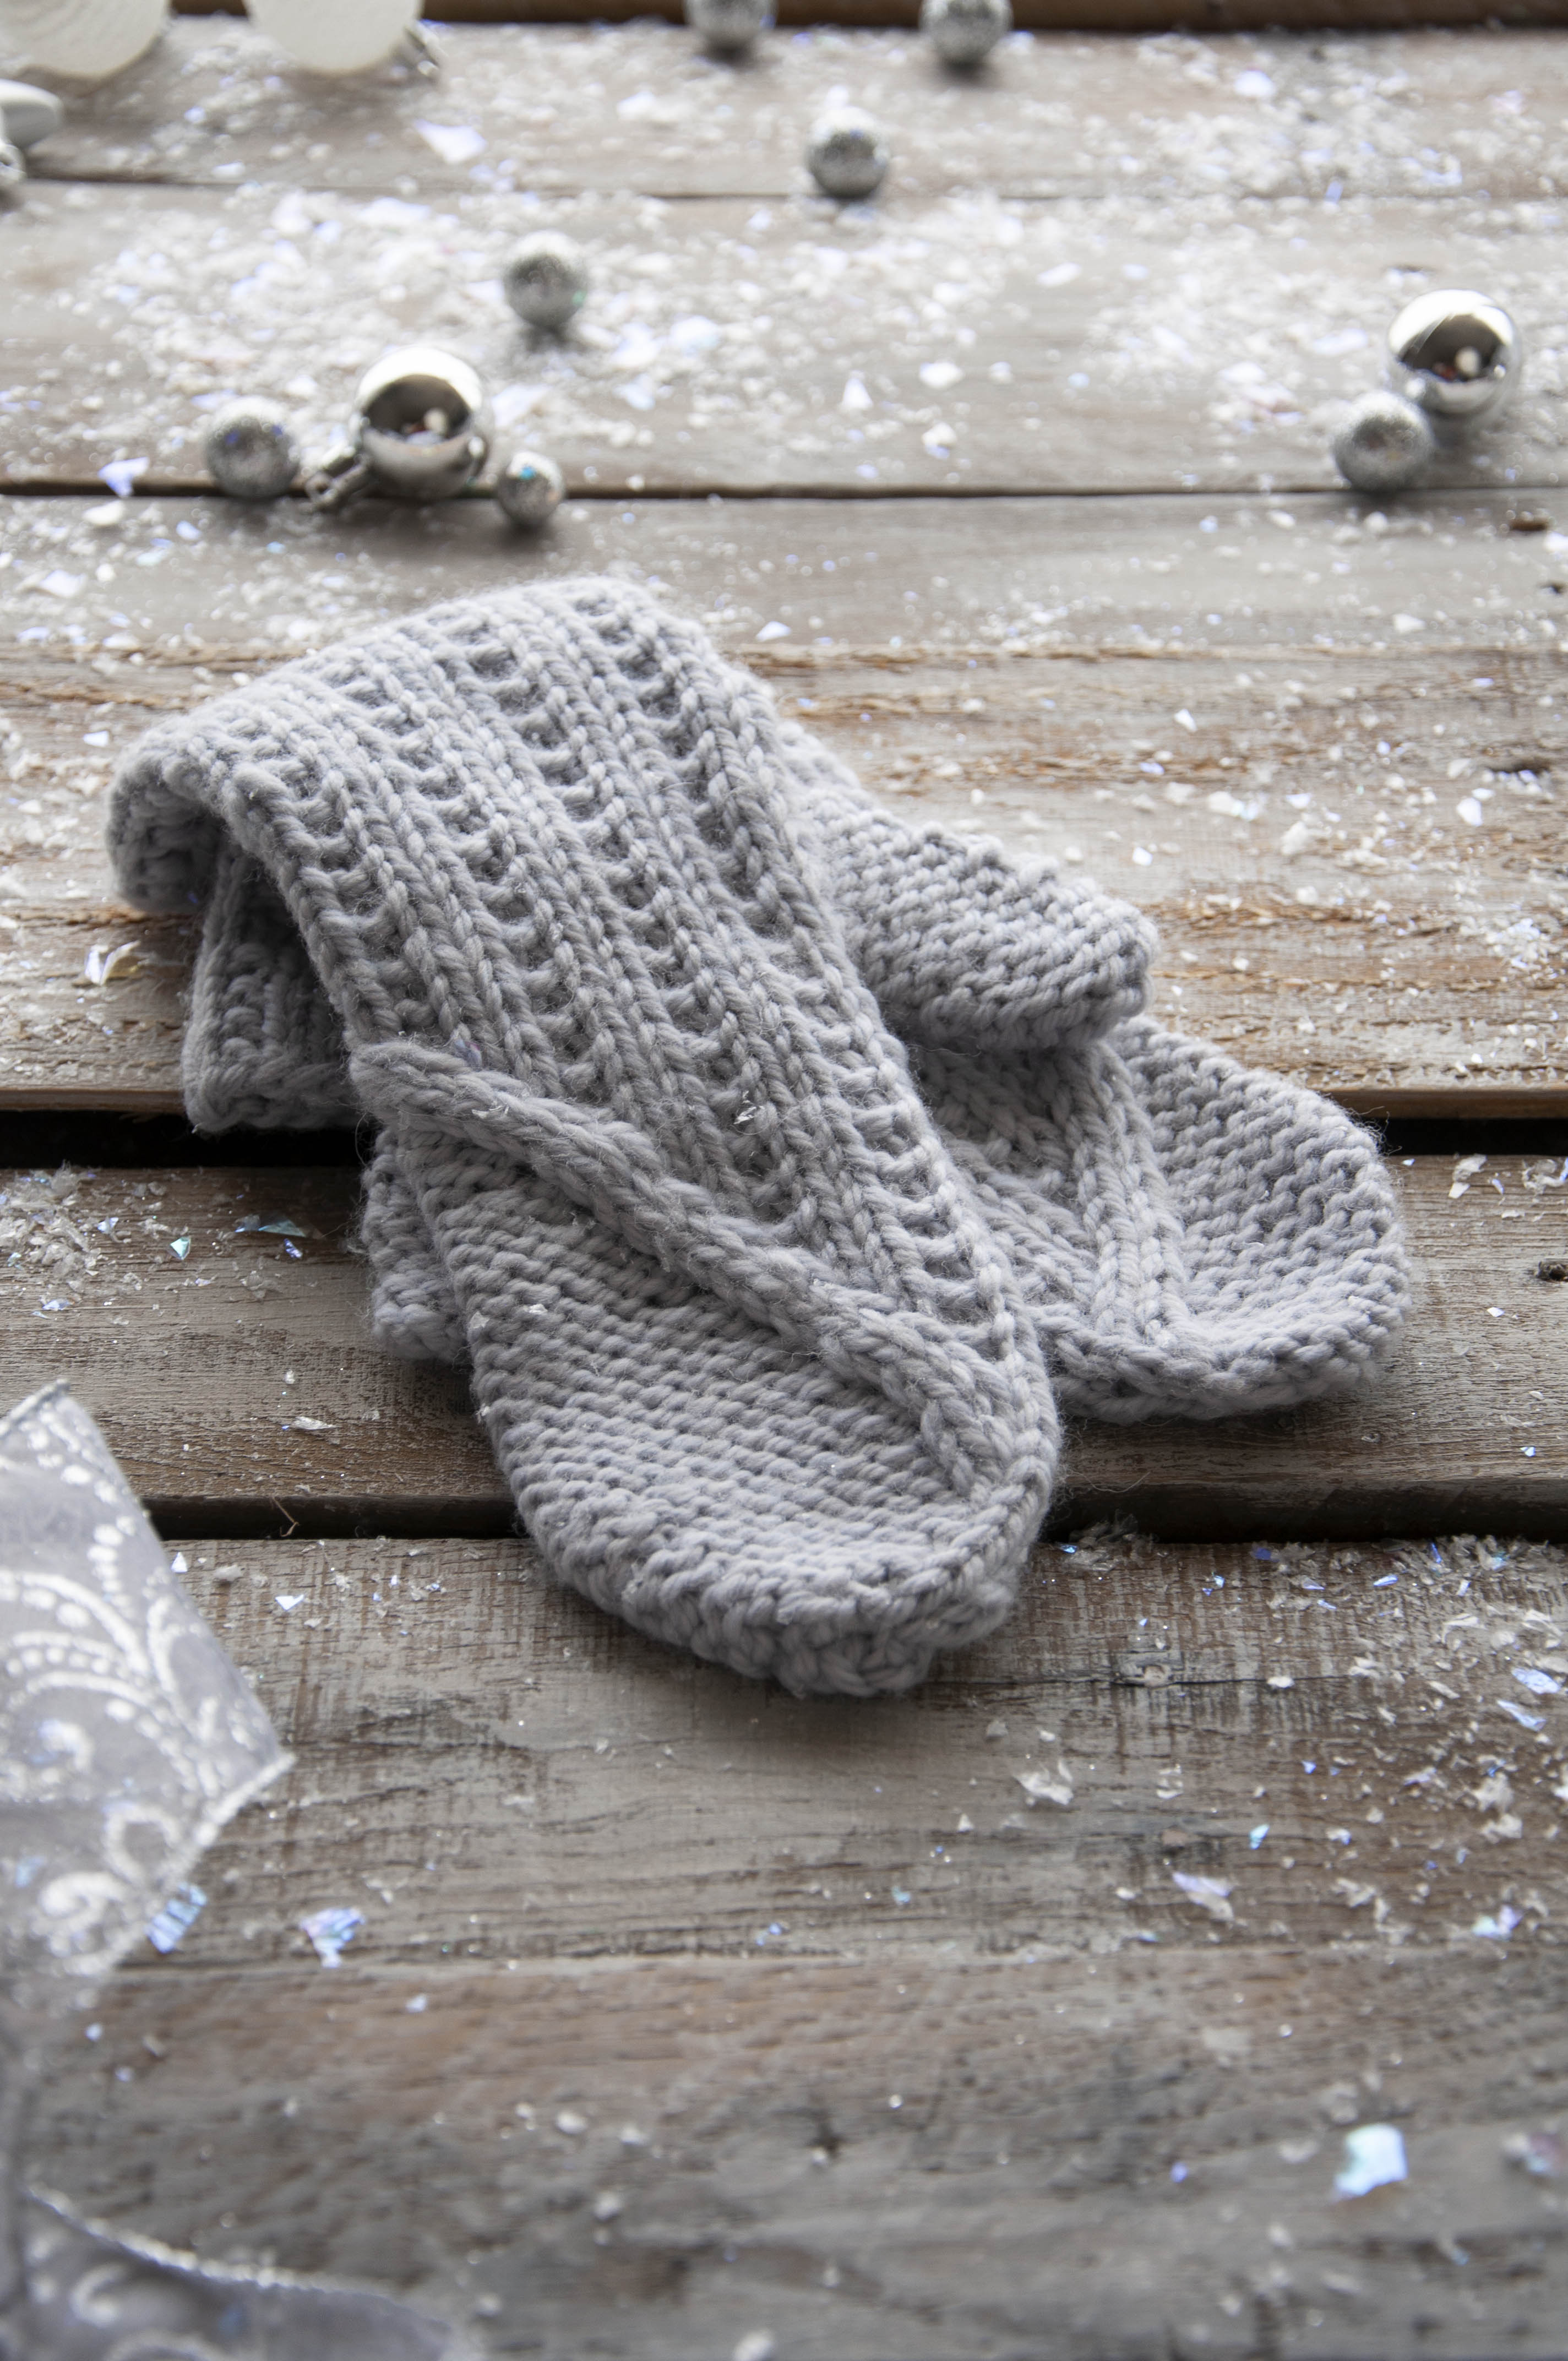
Say hello to First Frost, an accessory set that is sure to warm you up this season!
Ah, knitting. I love everything about it. However, some techniques sing to me more than others. Cables are one of those techniques. I can never get enough. If I can squeeze them in, I do. They don’t have to be complicated – but they can be. Either way, I love them. I want to knit cables as often as I want to eat Kit Kats or Reeses’ Peanut Butter Cups – all the time!
I actually really like using cable needles, but I occasionally lose them. The crevices on my sofa are likely home to several. So what do you do when you don’t have a cable needle or spare DPN handy? Do you find another project? NO! Of course not! You simply cable without a cable needle. I’m going to show you how with a quick tutorial!

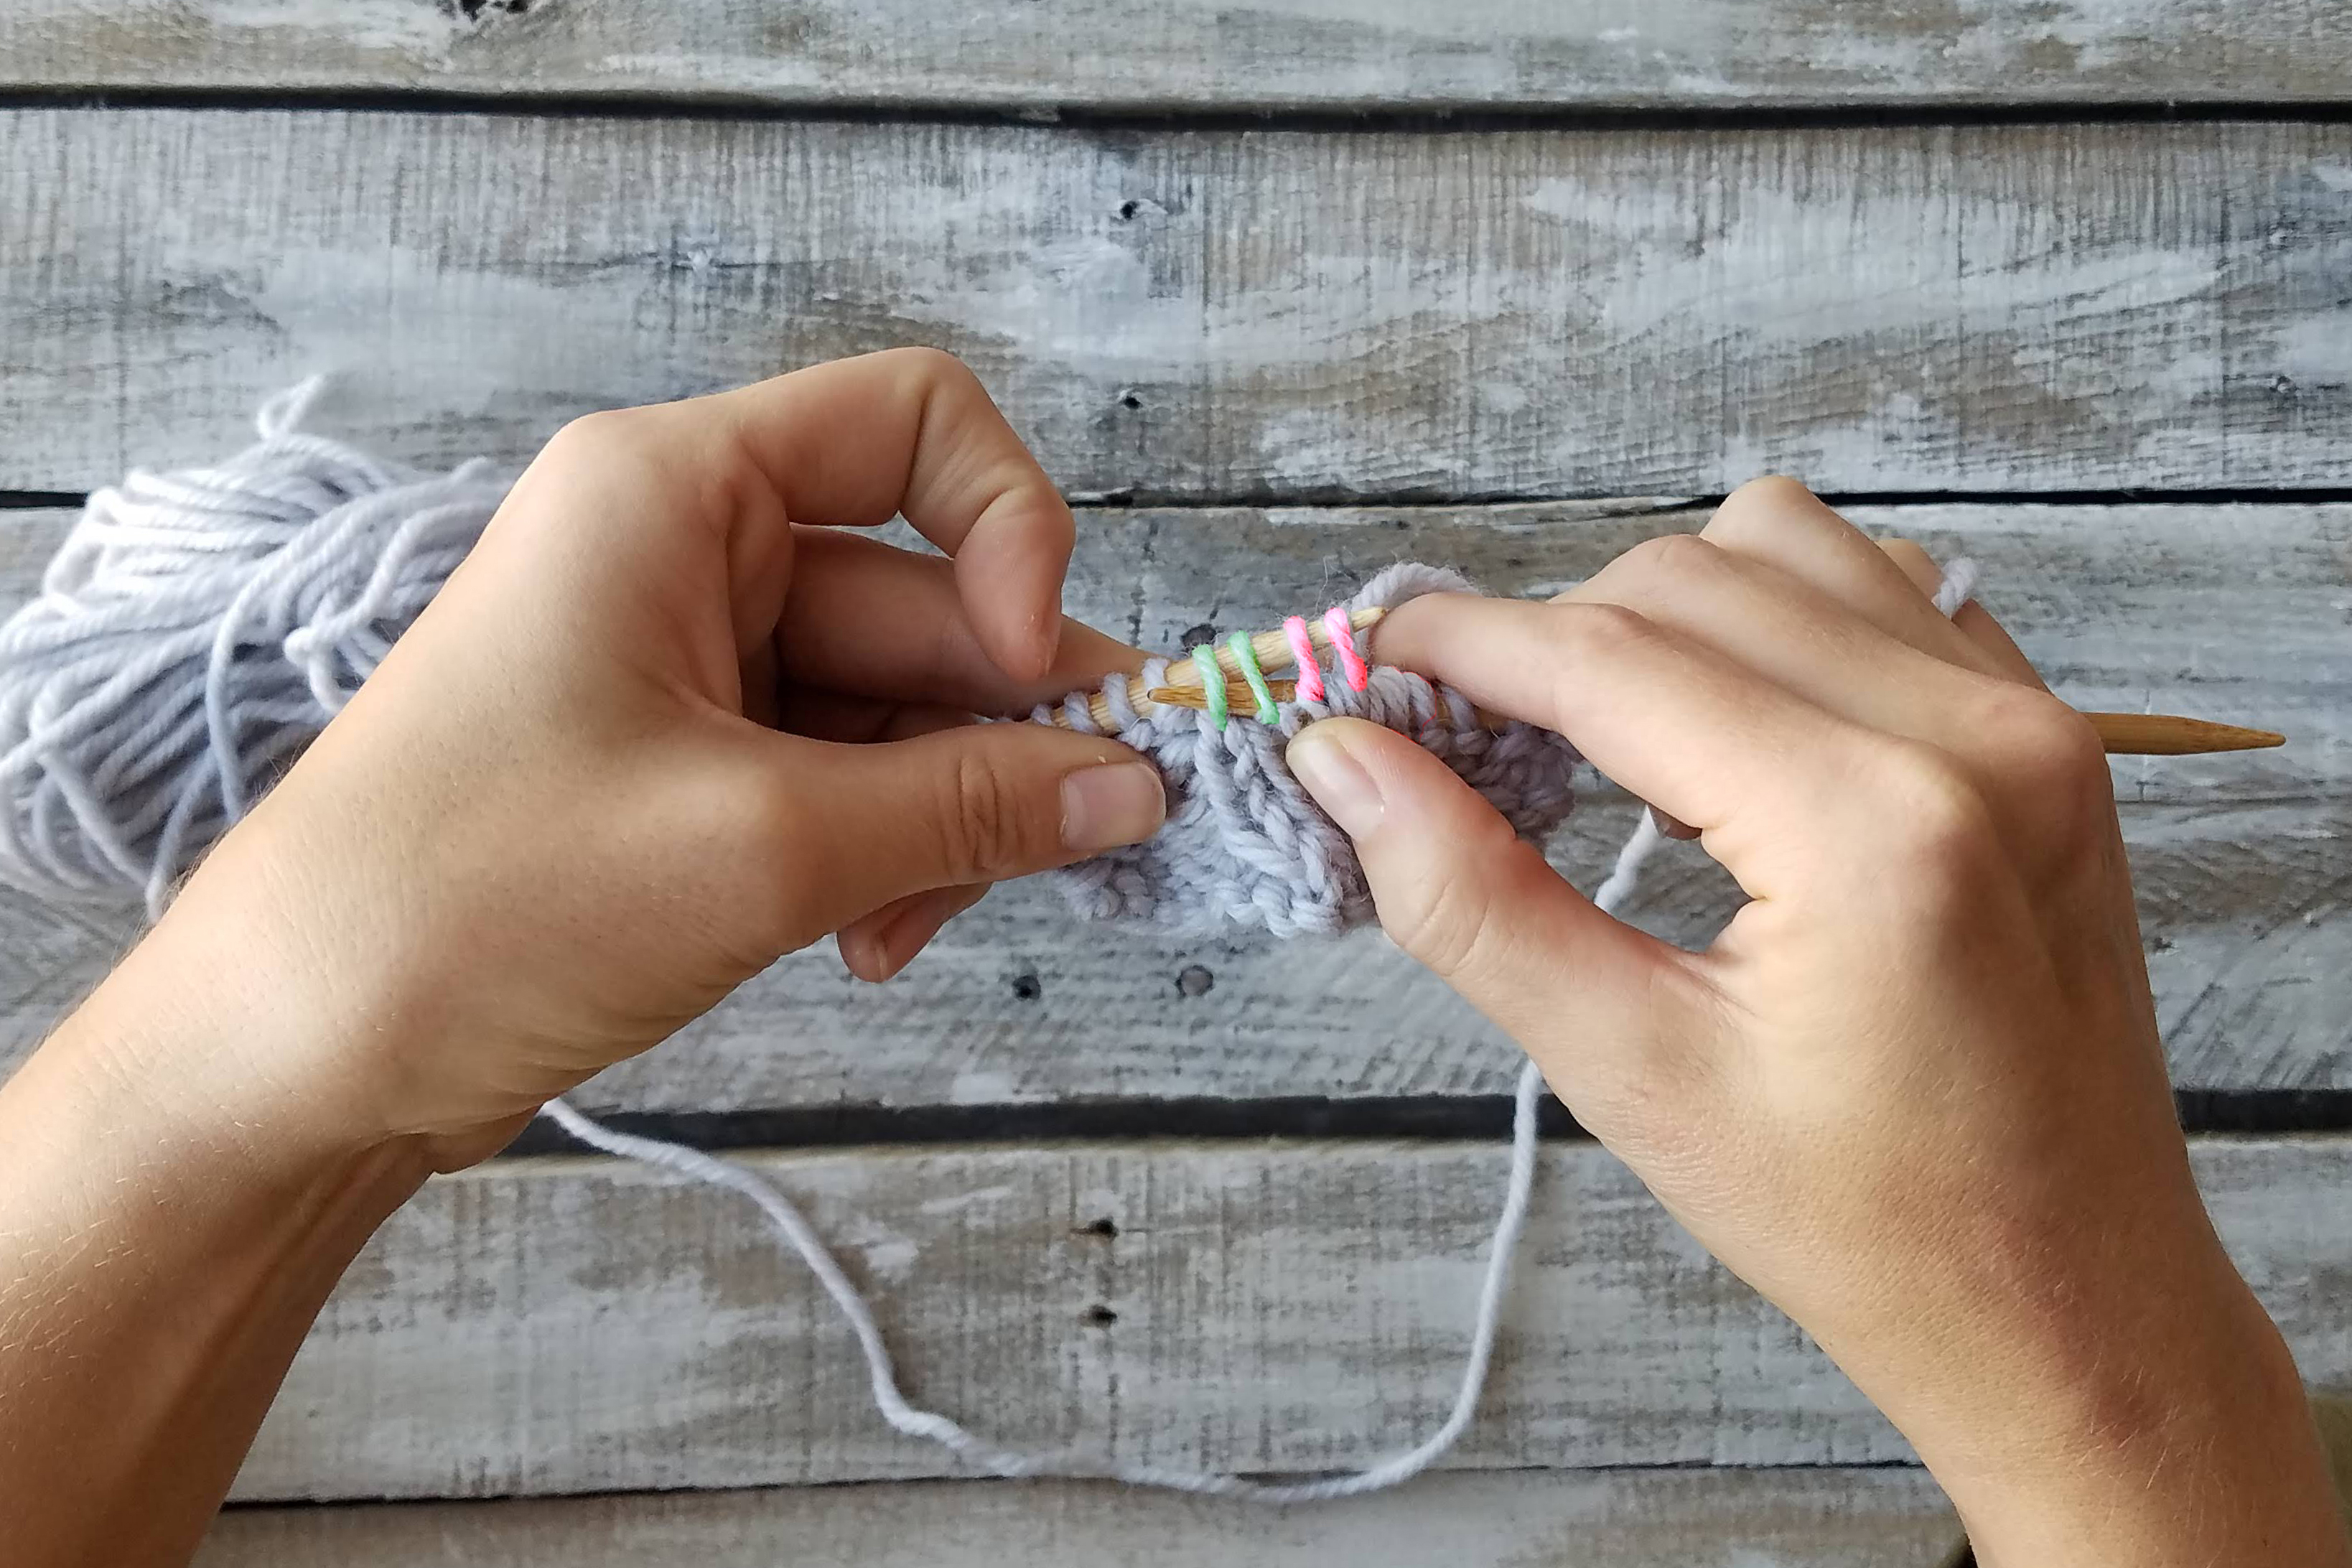
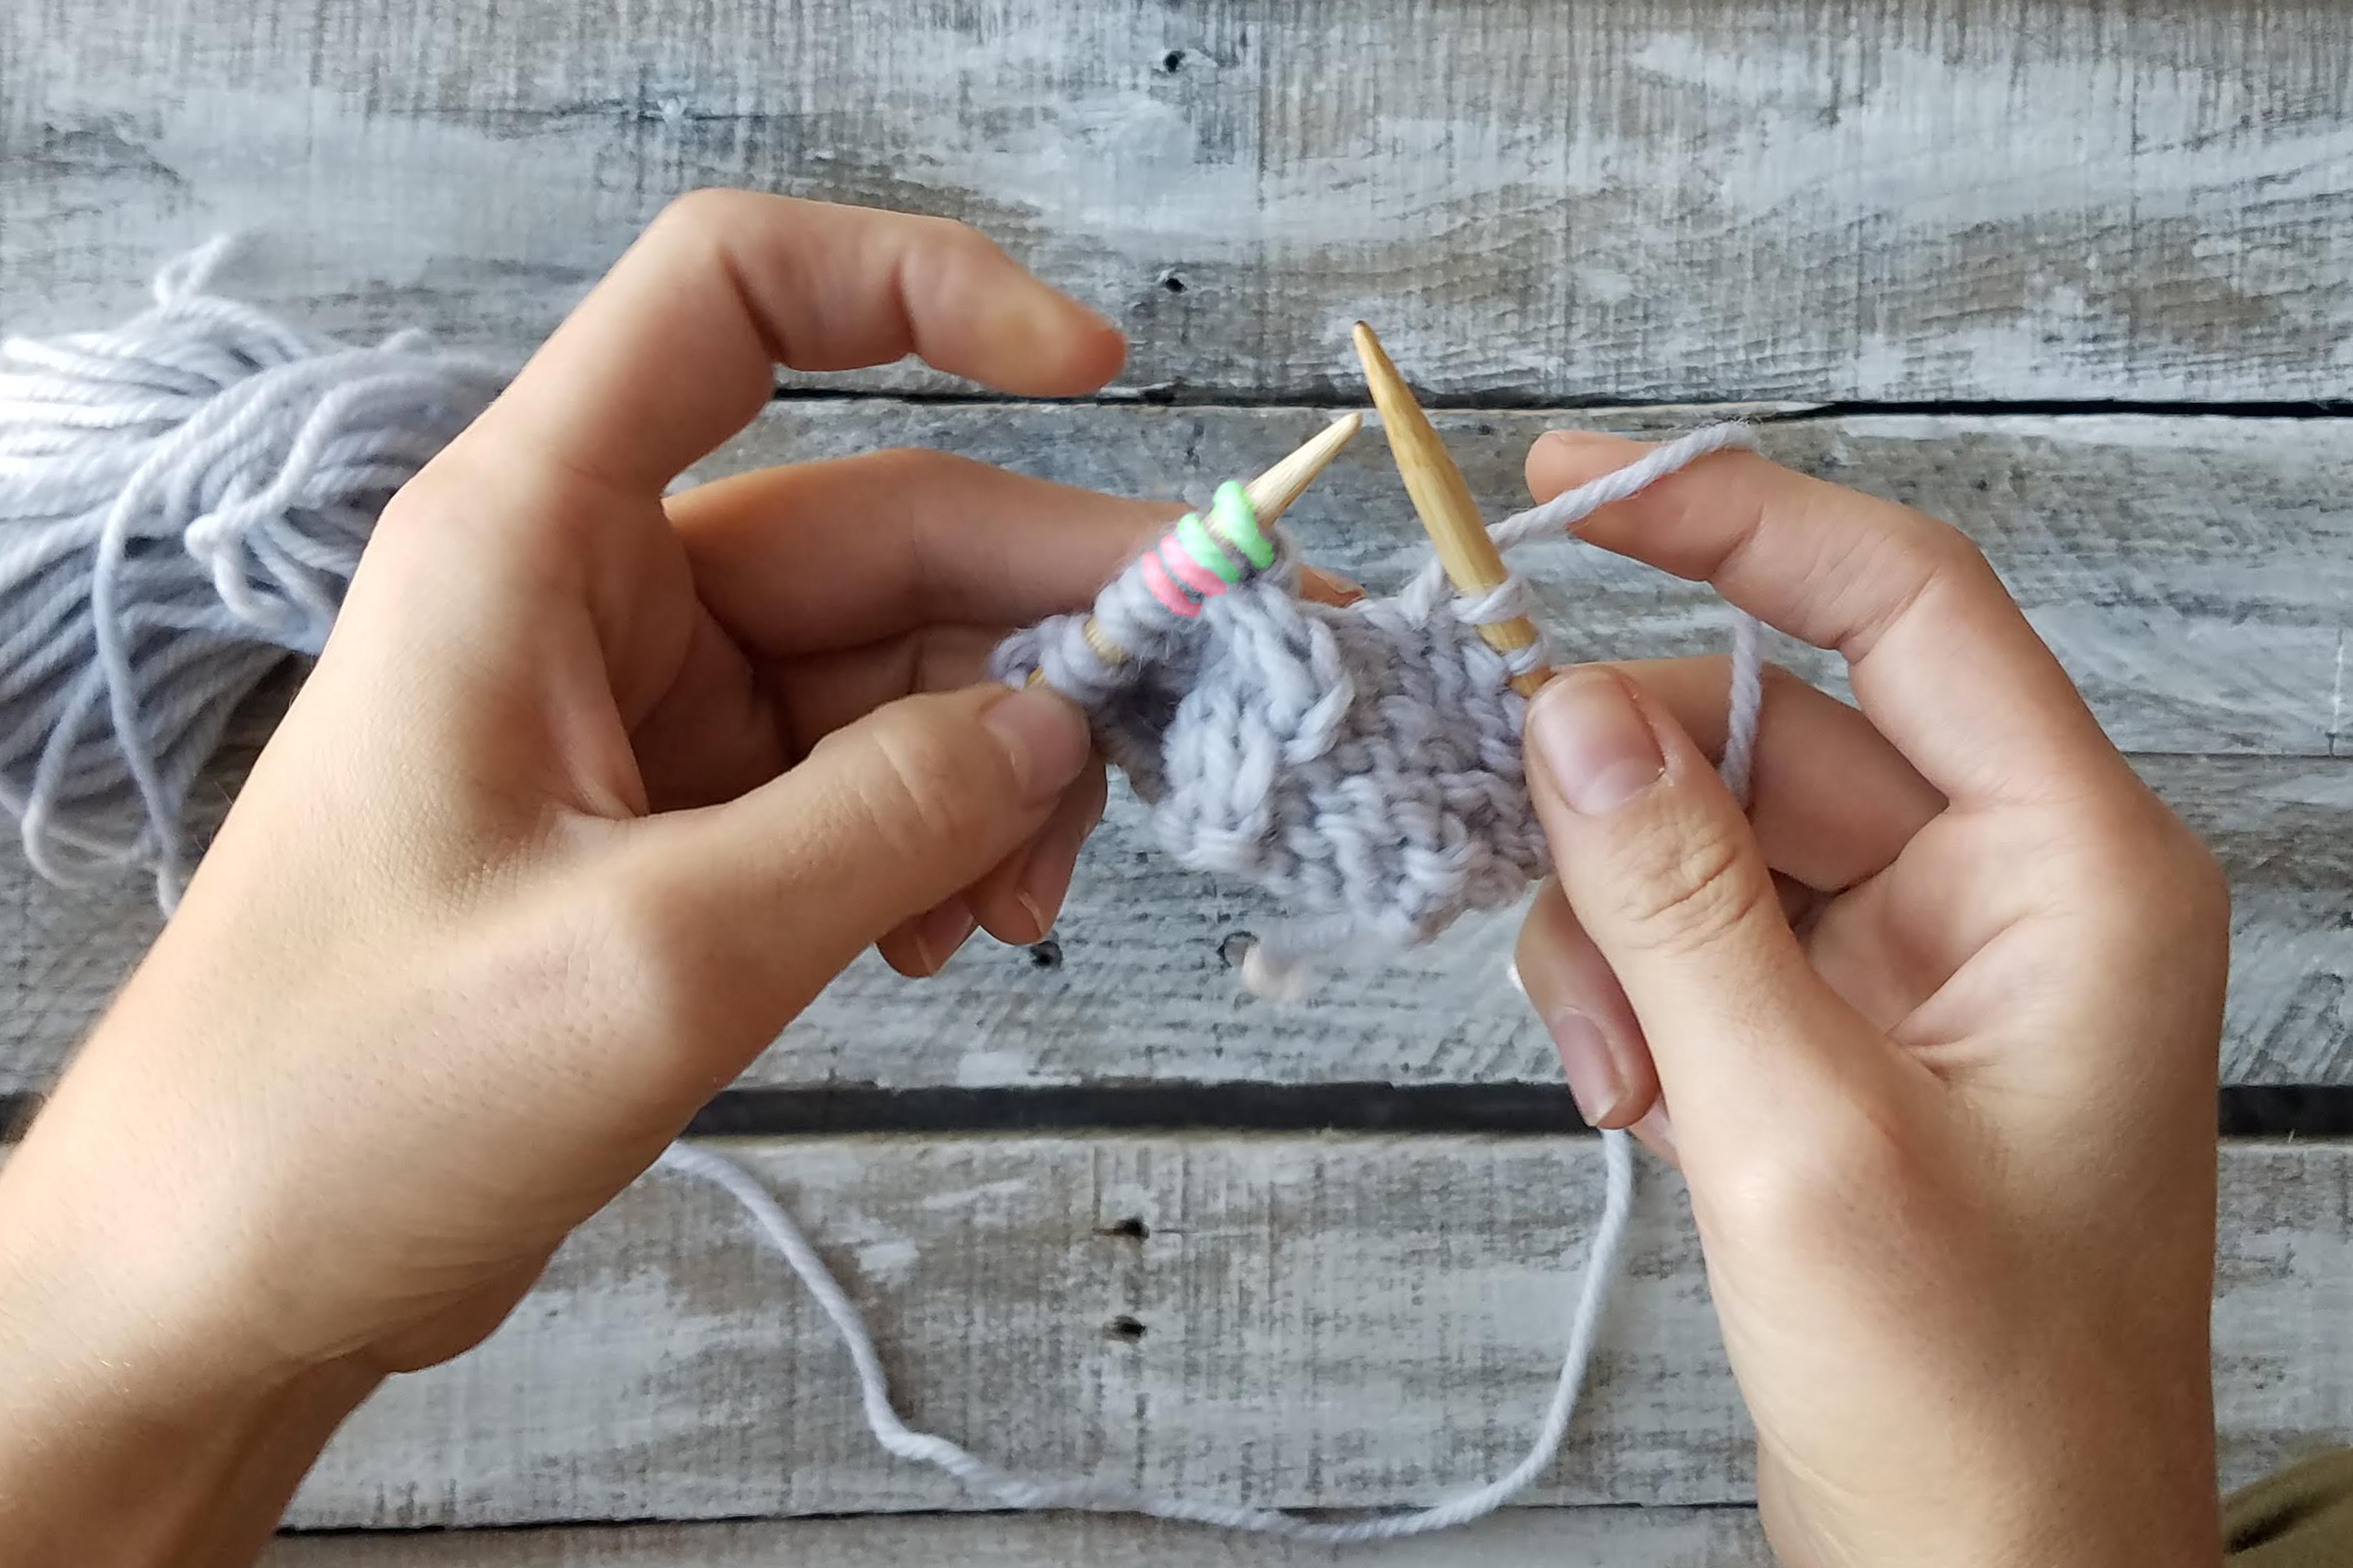
Going behind the first two stitches (red) on the left-hand needle, slip the third and fourth (green) stitches to the right-hand needle. The first two stitches will be in FRONT of the work. If you were working this as a right cross, the red stitches would be in the BACK of your work, and you would slip the green stitches purlwise from the front.
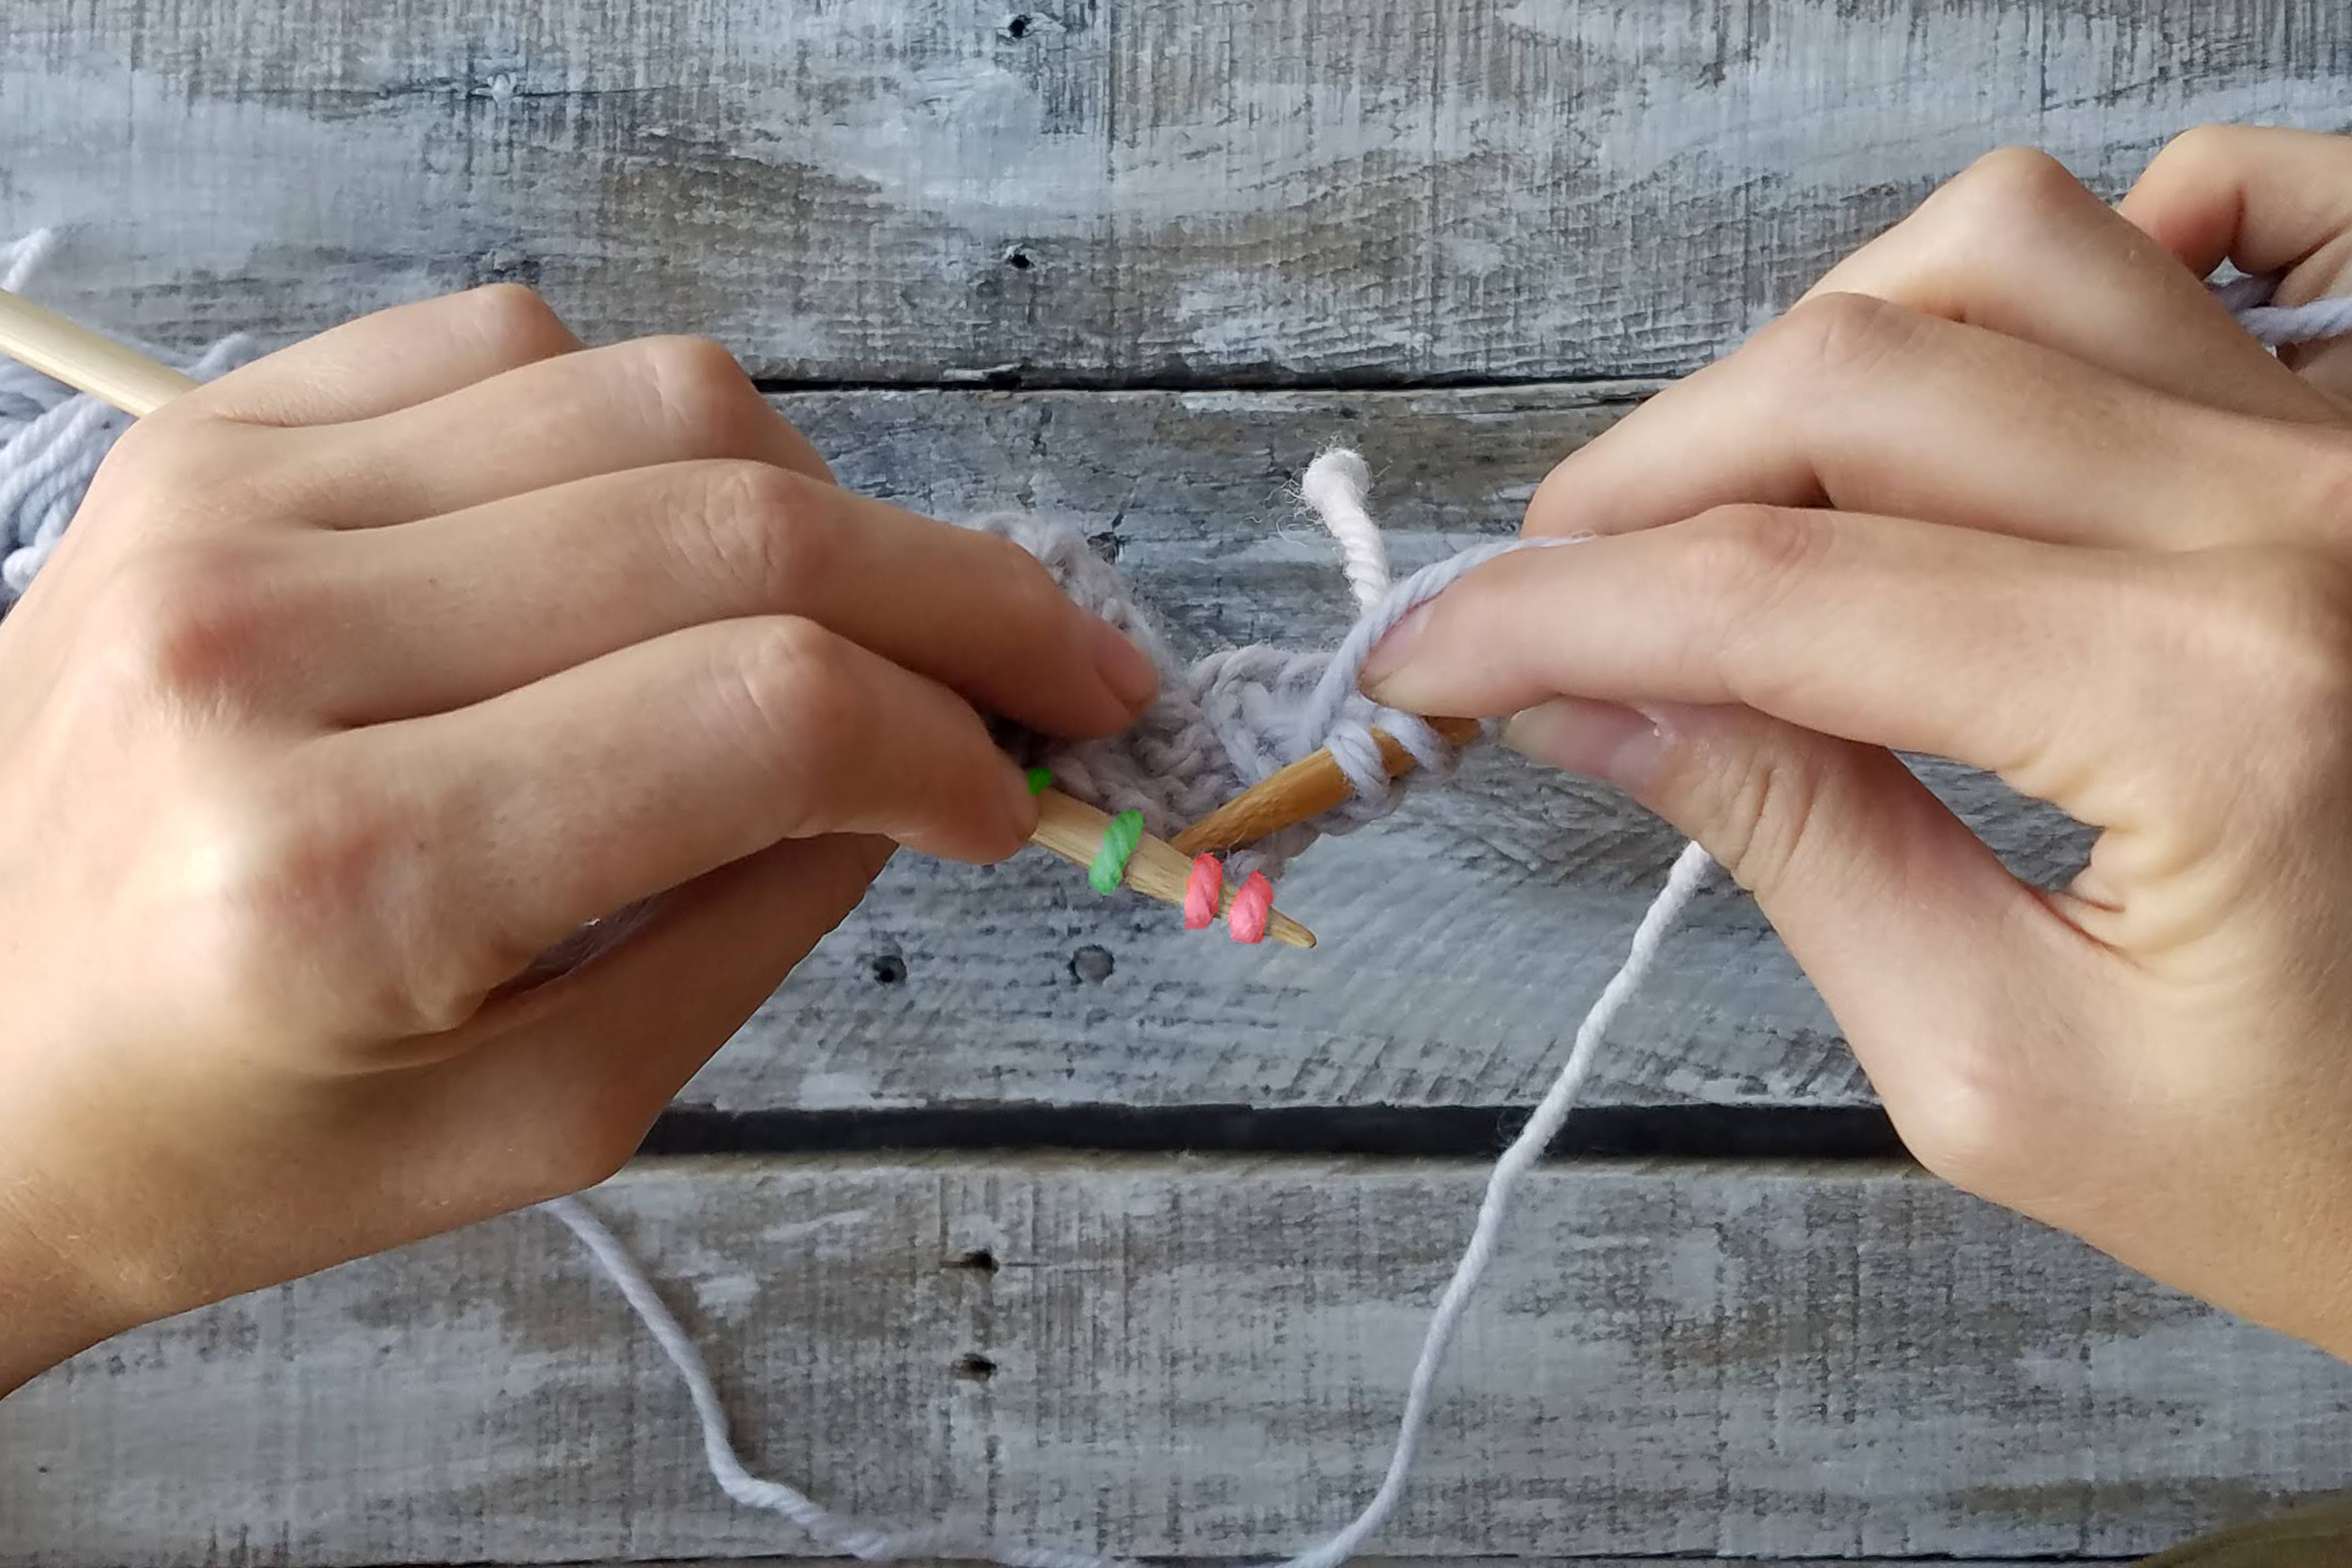
If the above photo scares you, just take a deep breath. It’s really not that scary! When you slip the green stitches, the red stitches will fall off your needle. That is okay – that’s what you want!
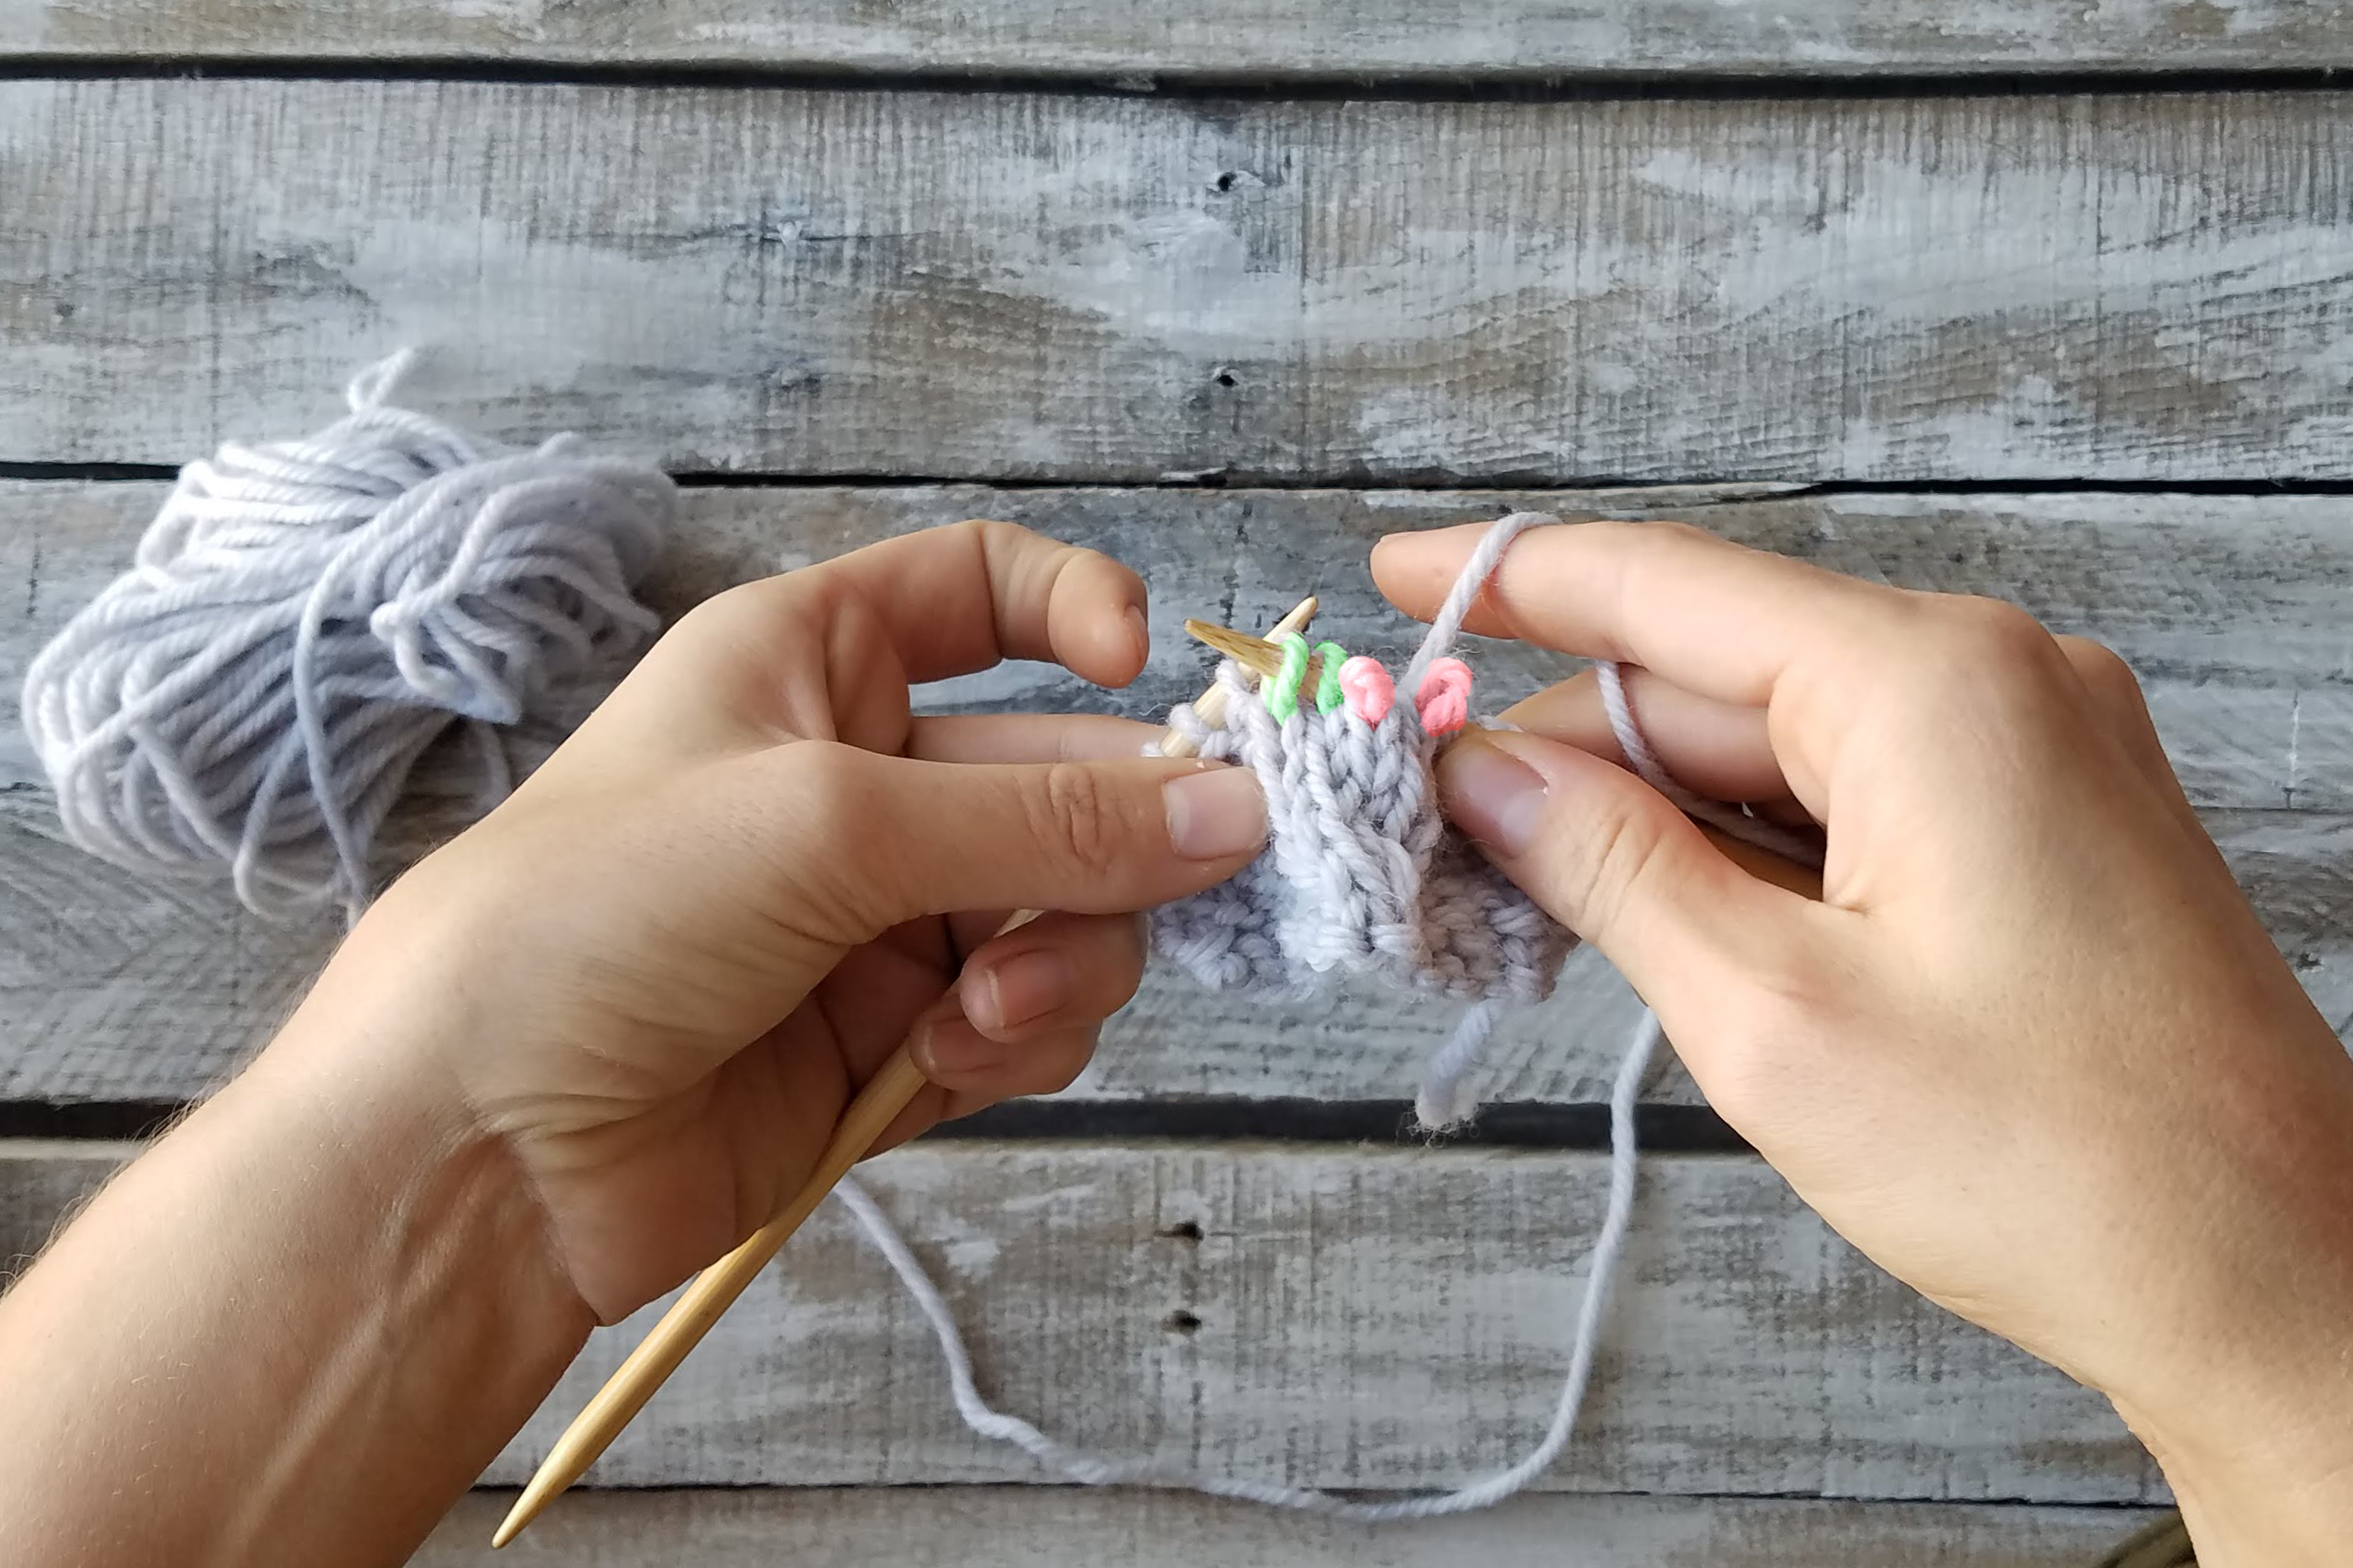
Carefully scoop the red stitches up with your left-hand needle. Breathe a sigh of relief – your stitches are safe again. Notice, we are simply re-arranging the stitches. * If you were working this as a RIGHT cross, the red stitches would be in the back of your work.
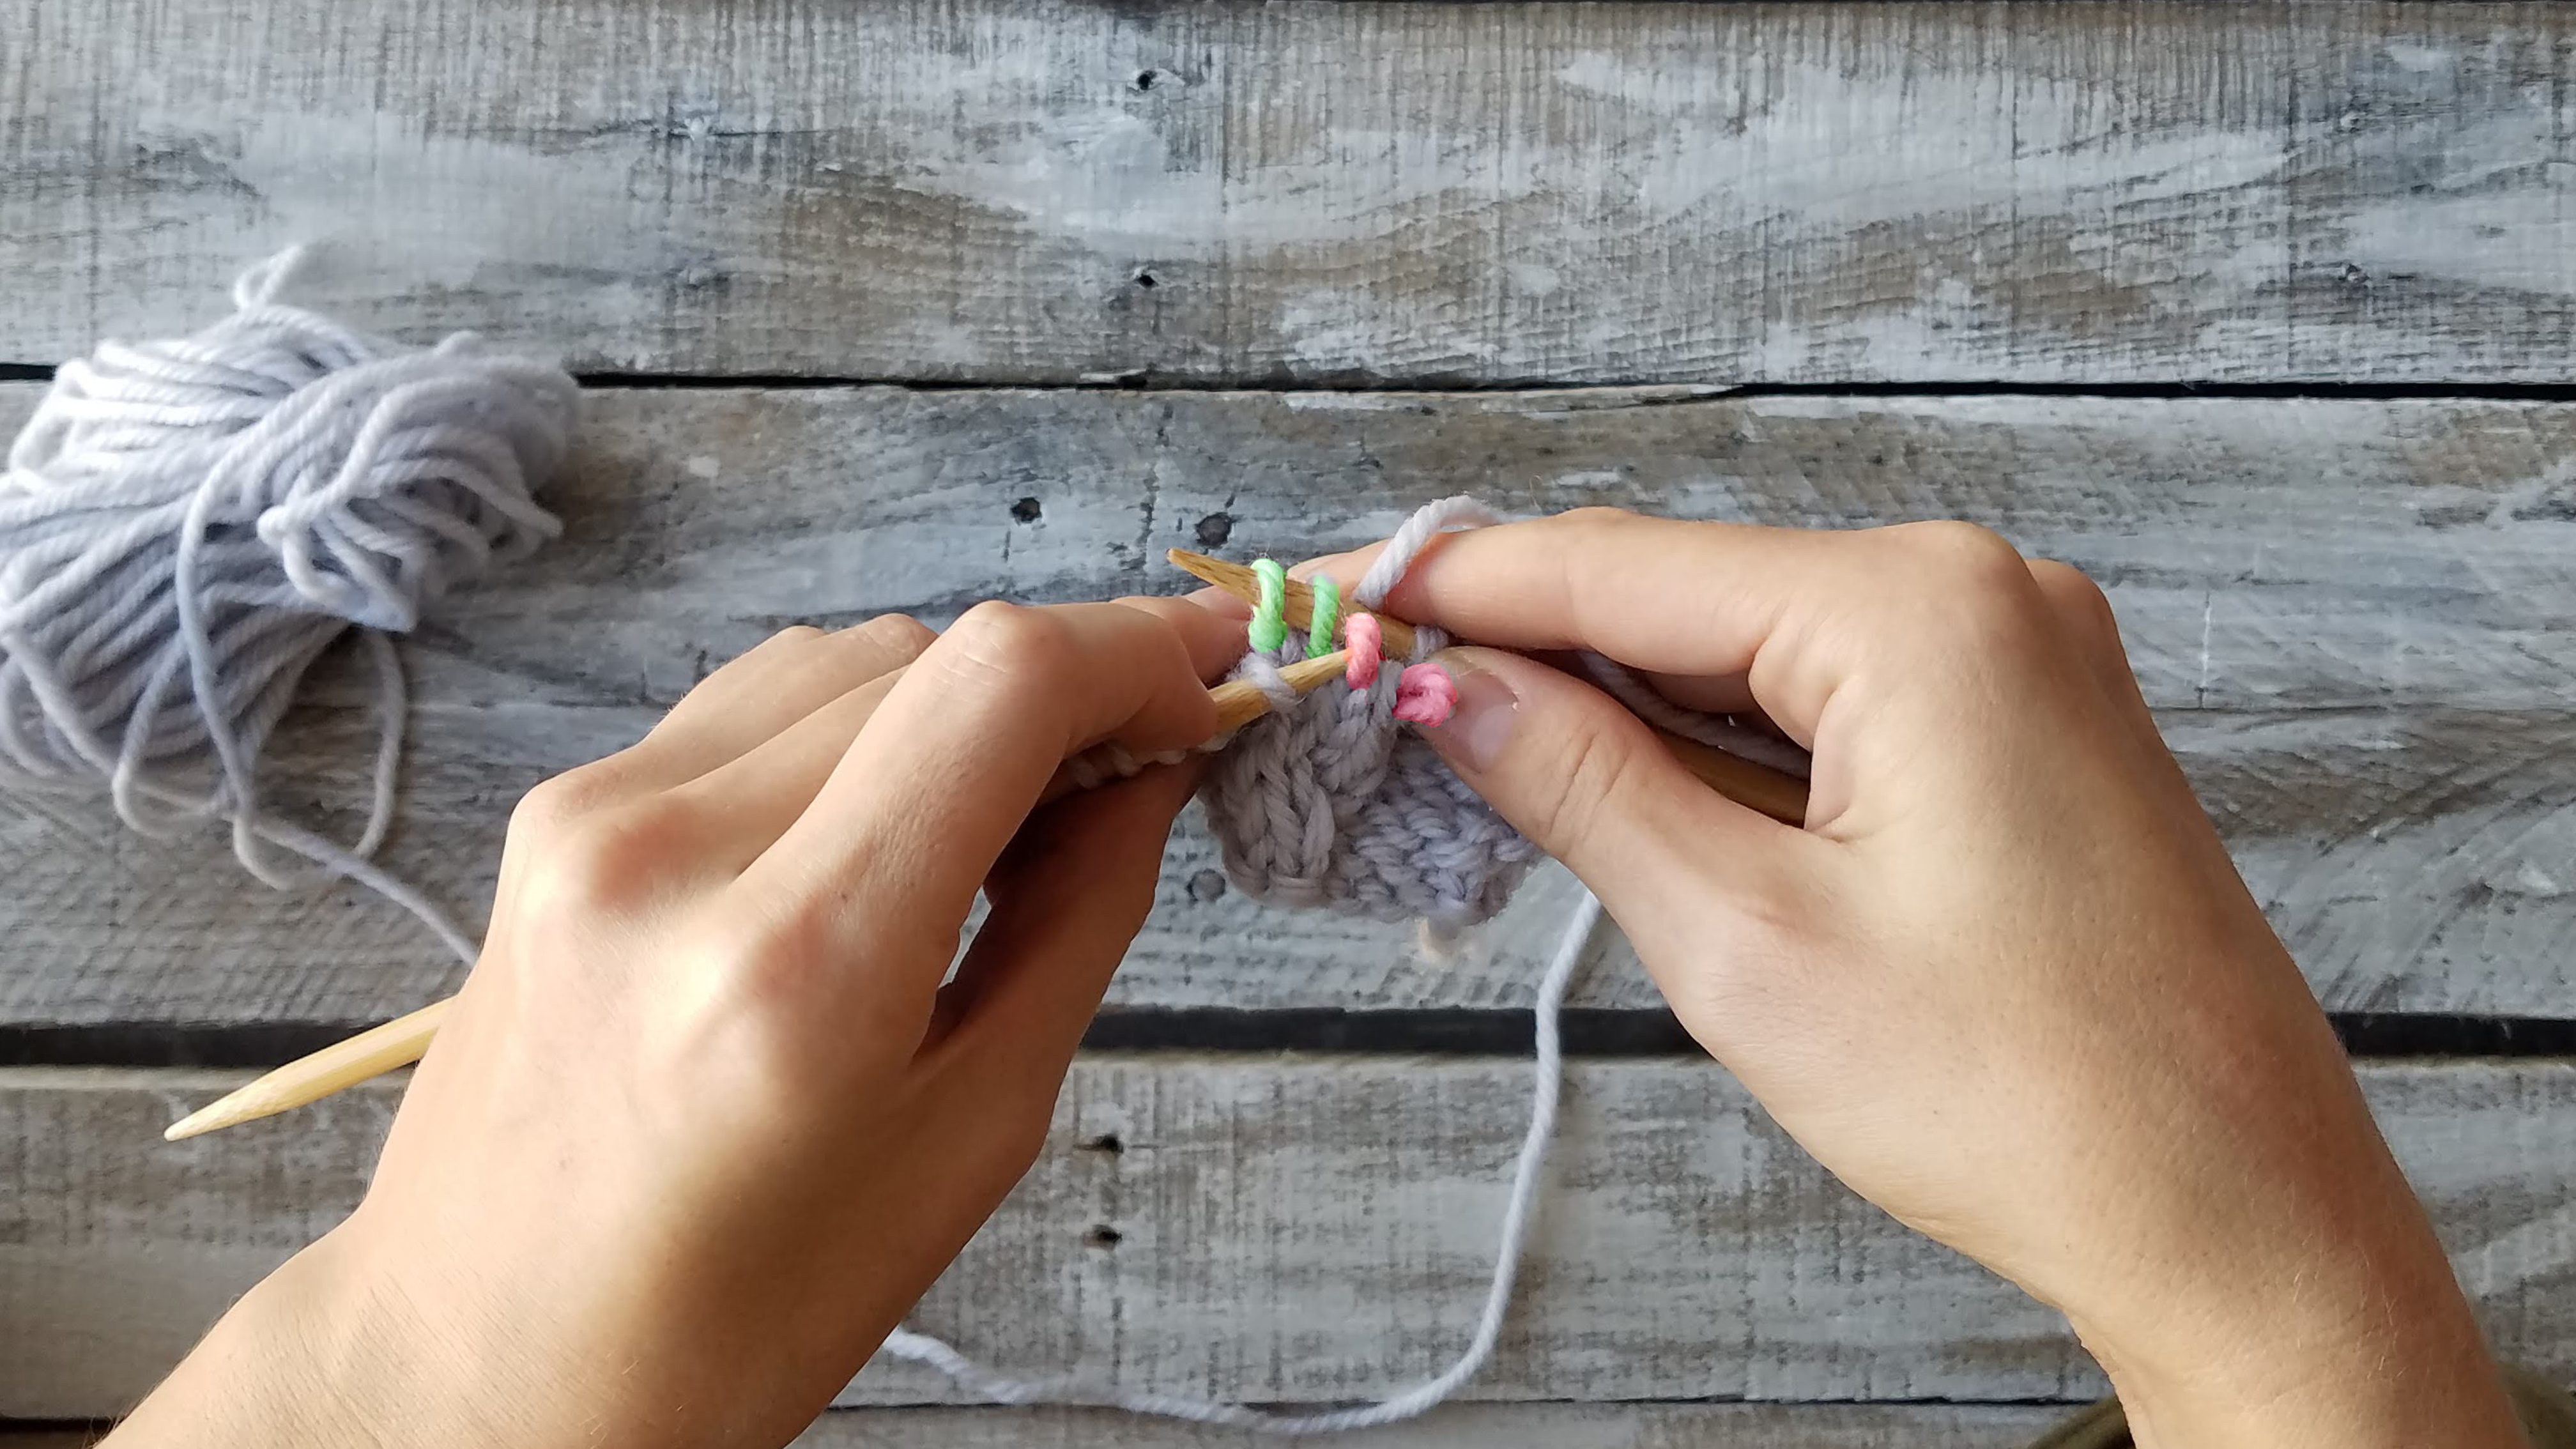
After the stitches are all back on the left-hand needle you may continue knitting as usual. You can already see the twist in your work.
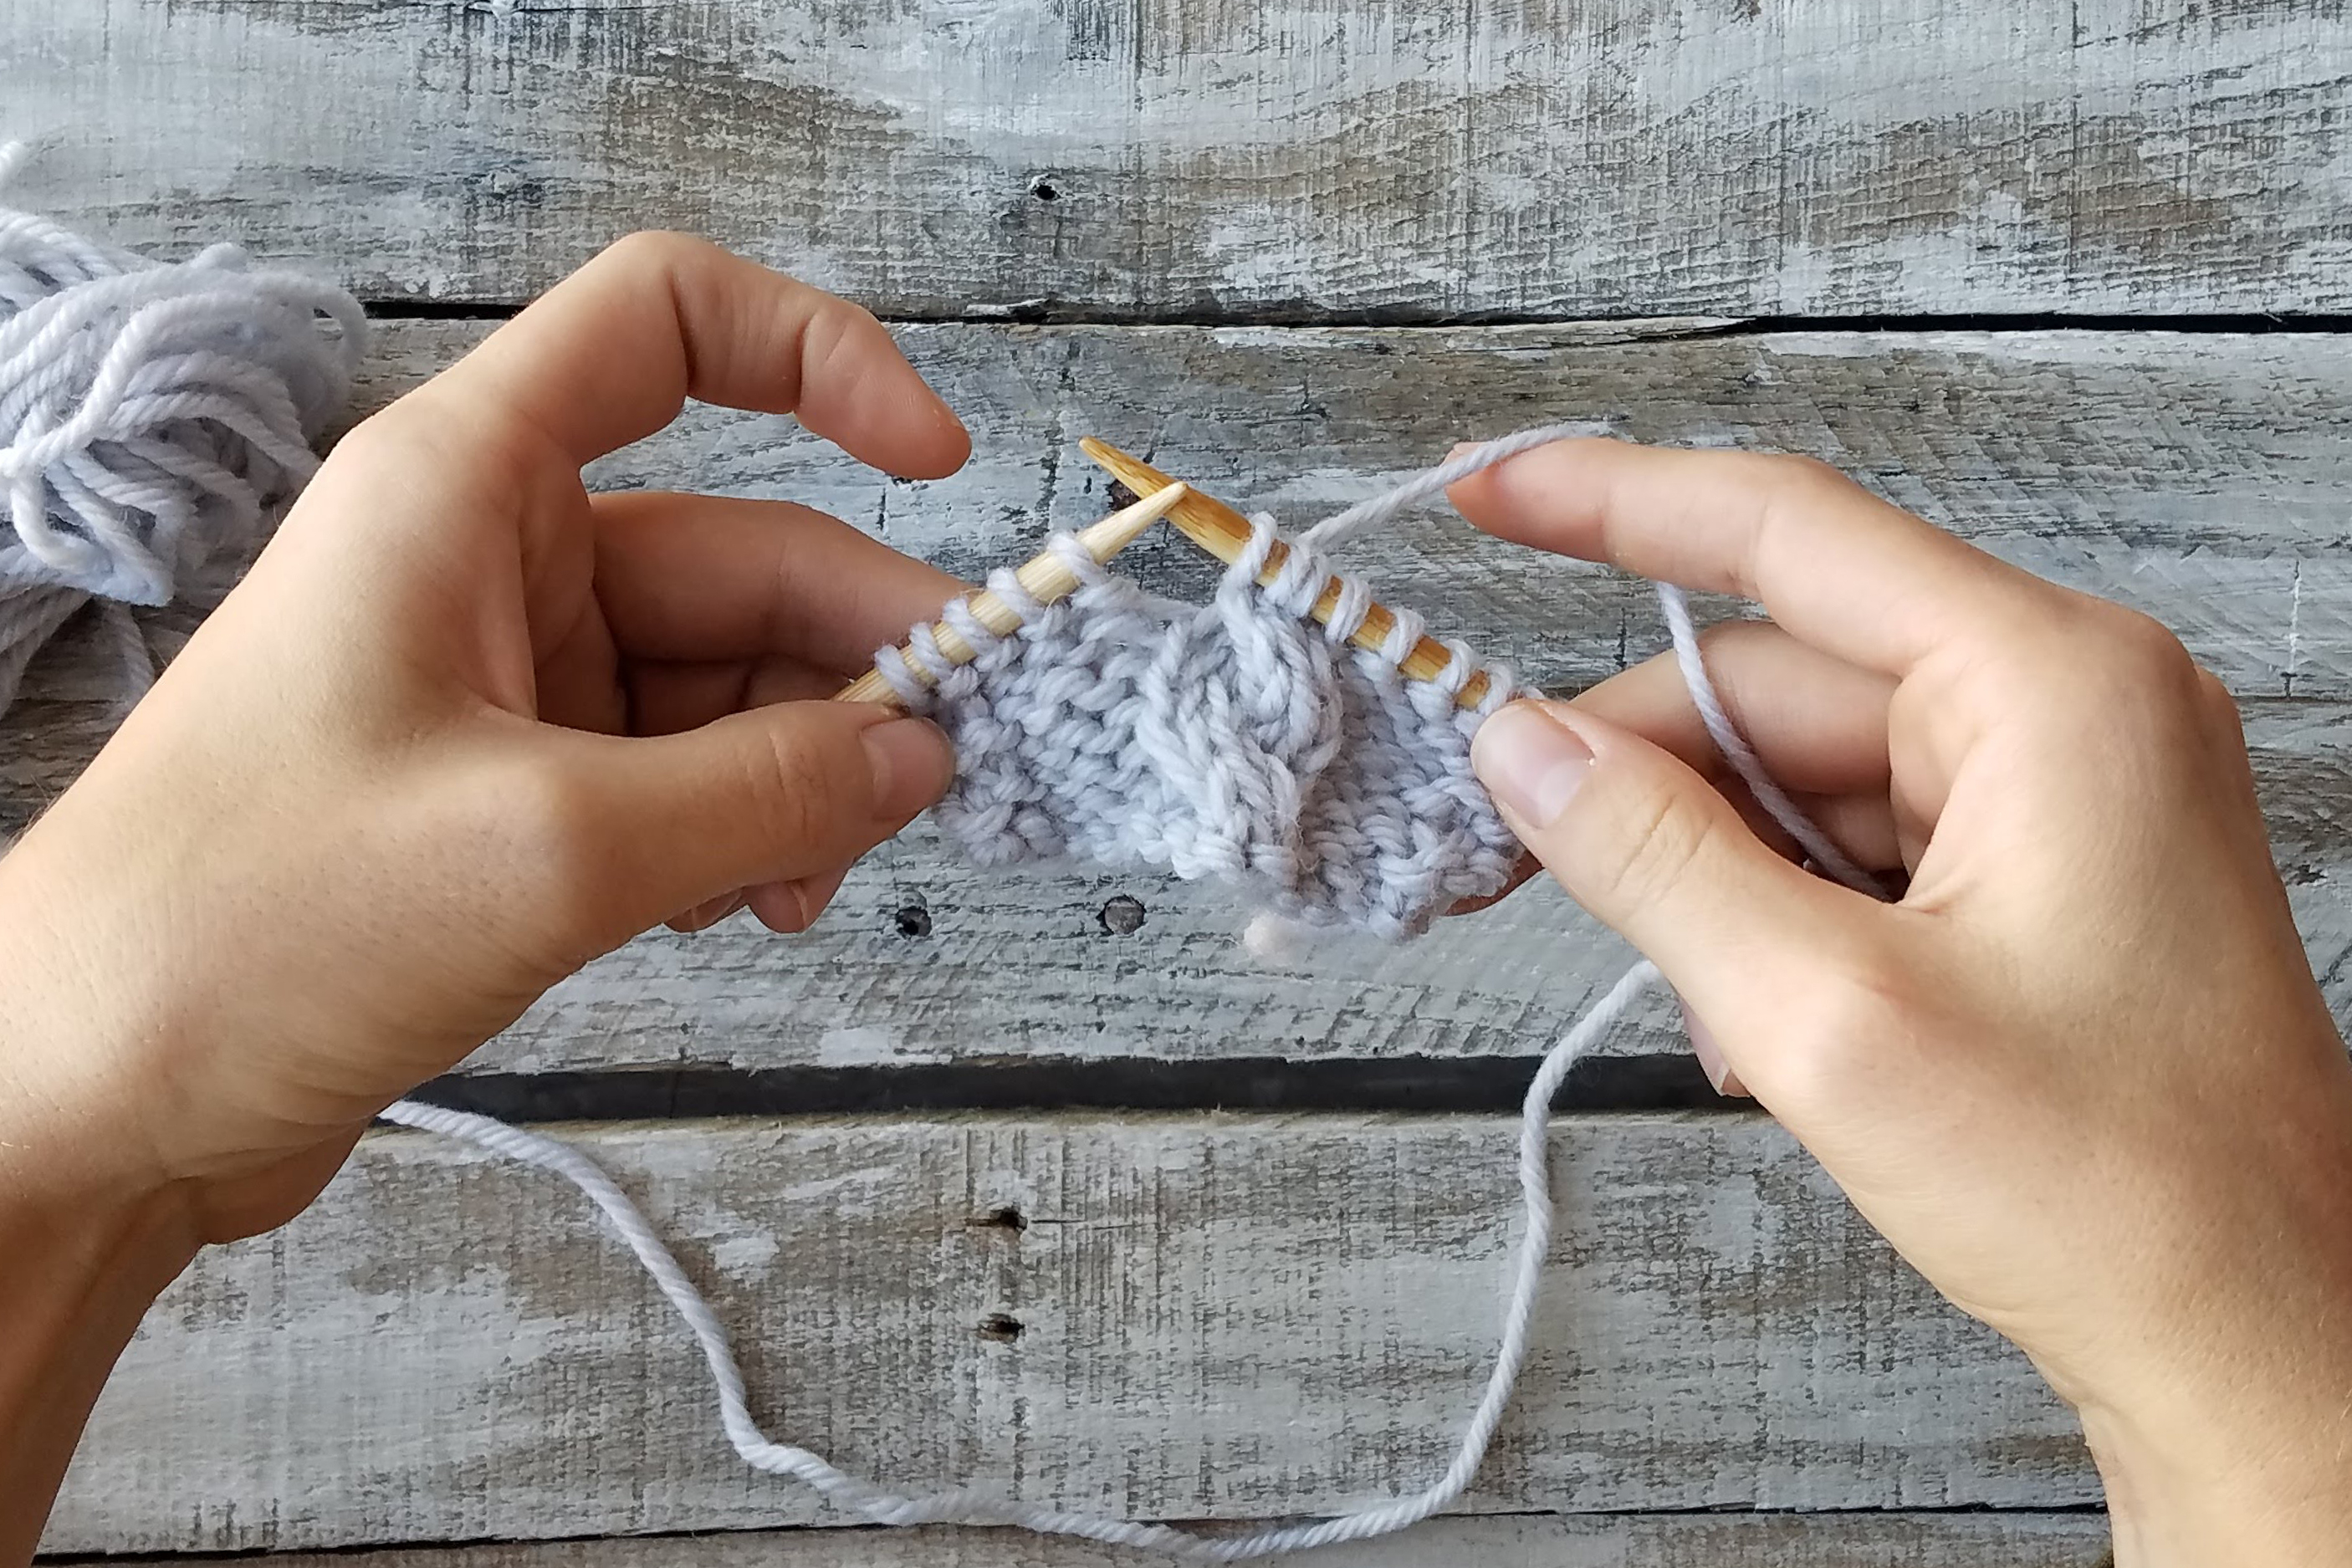
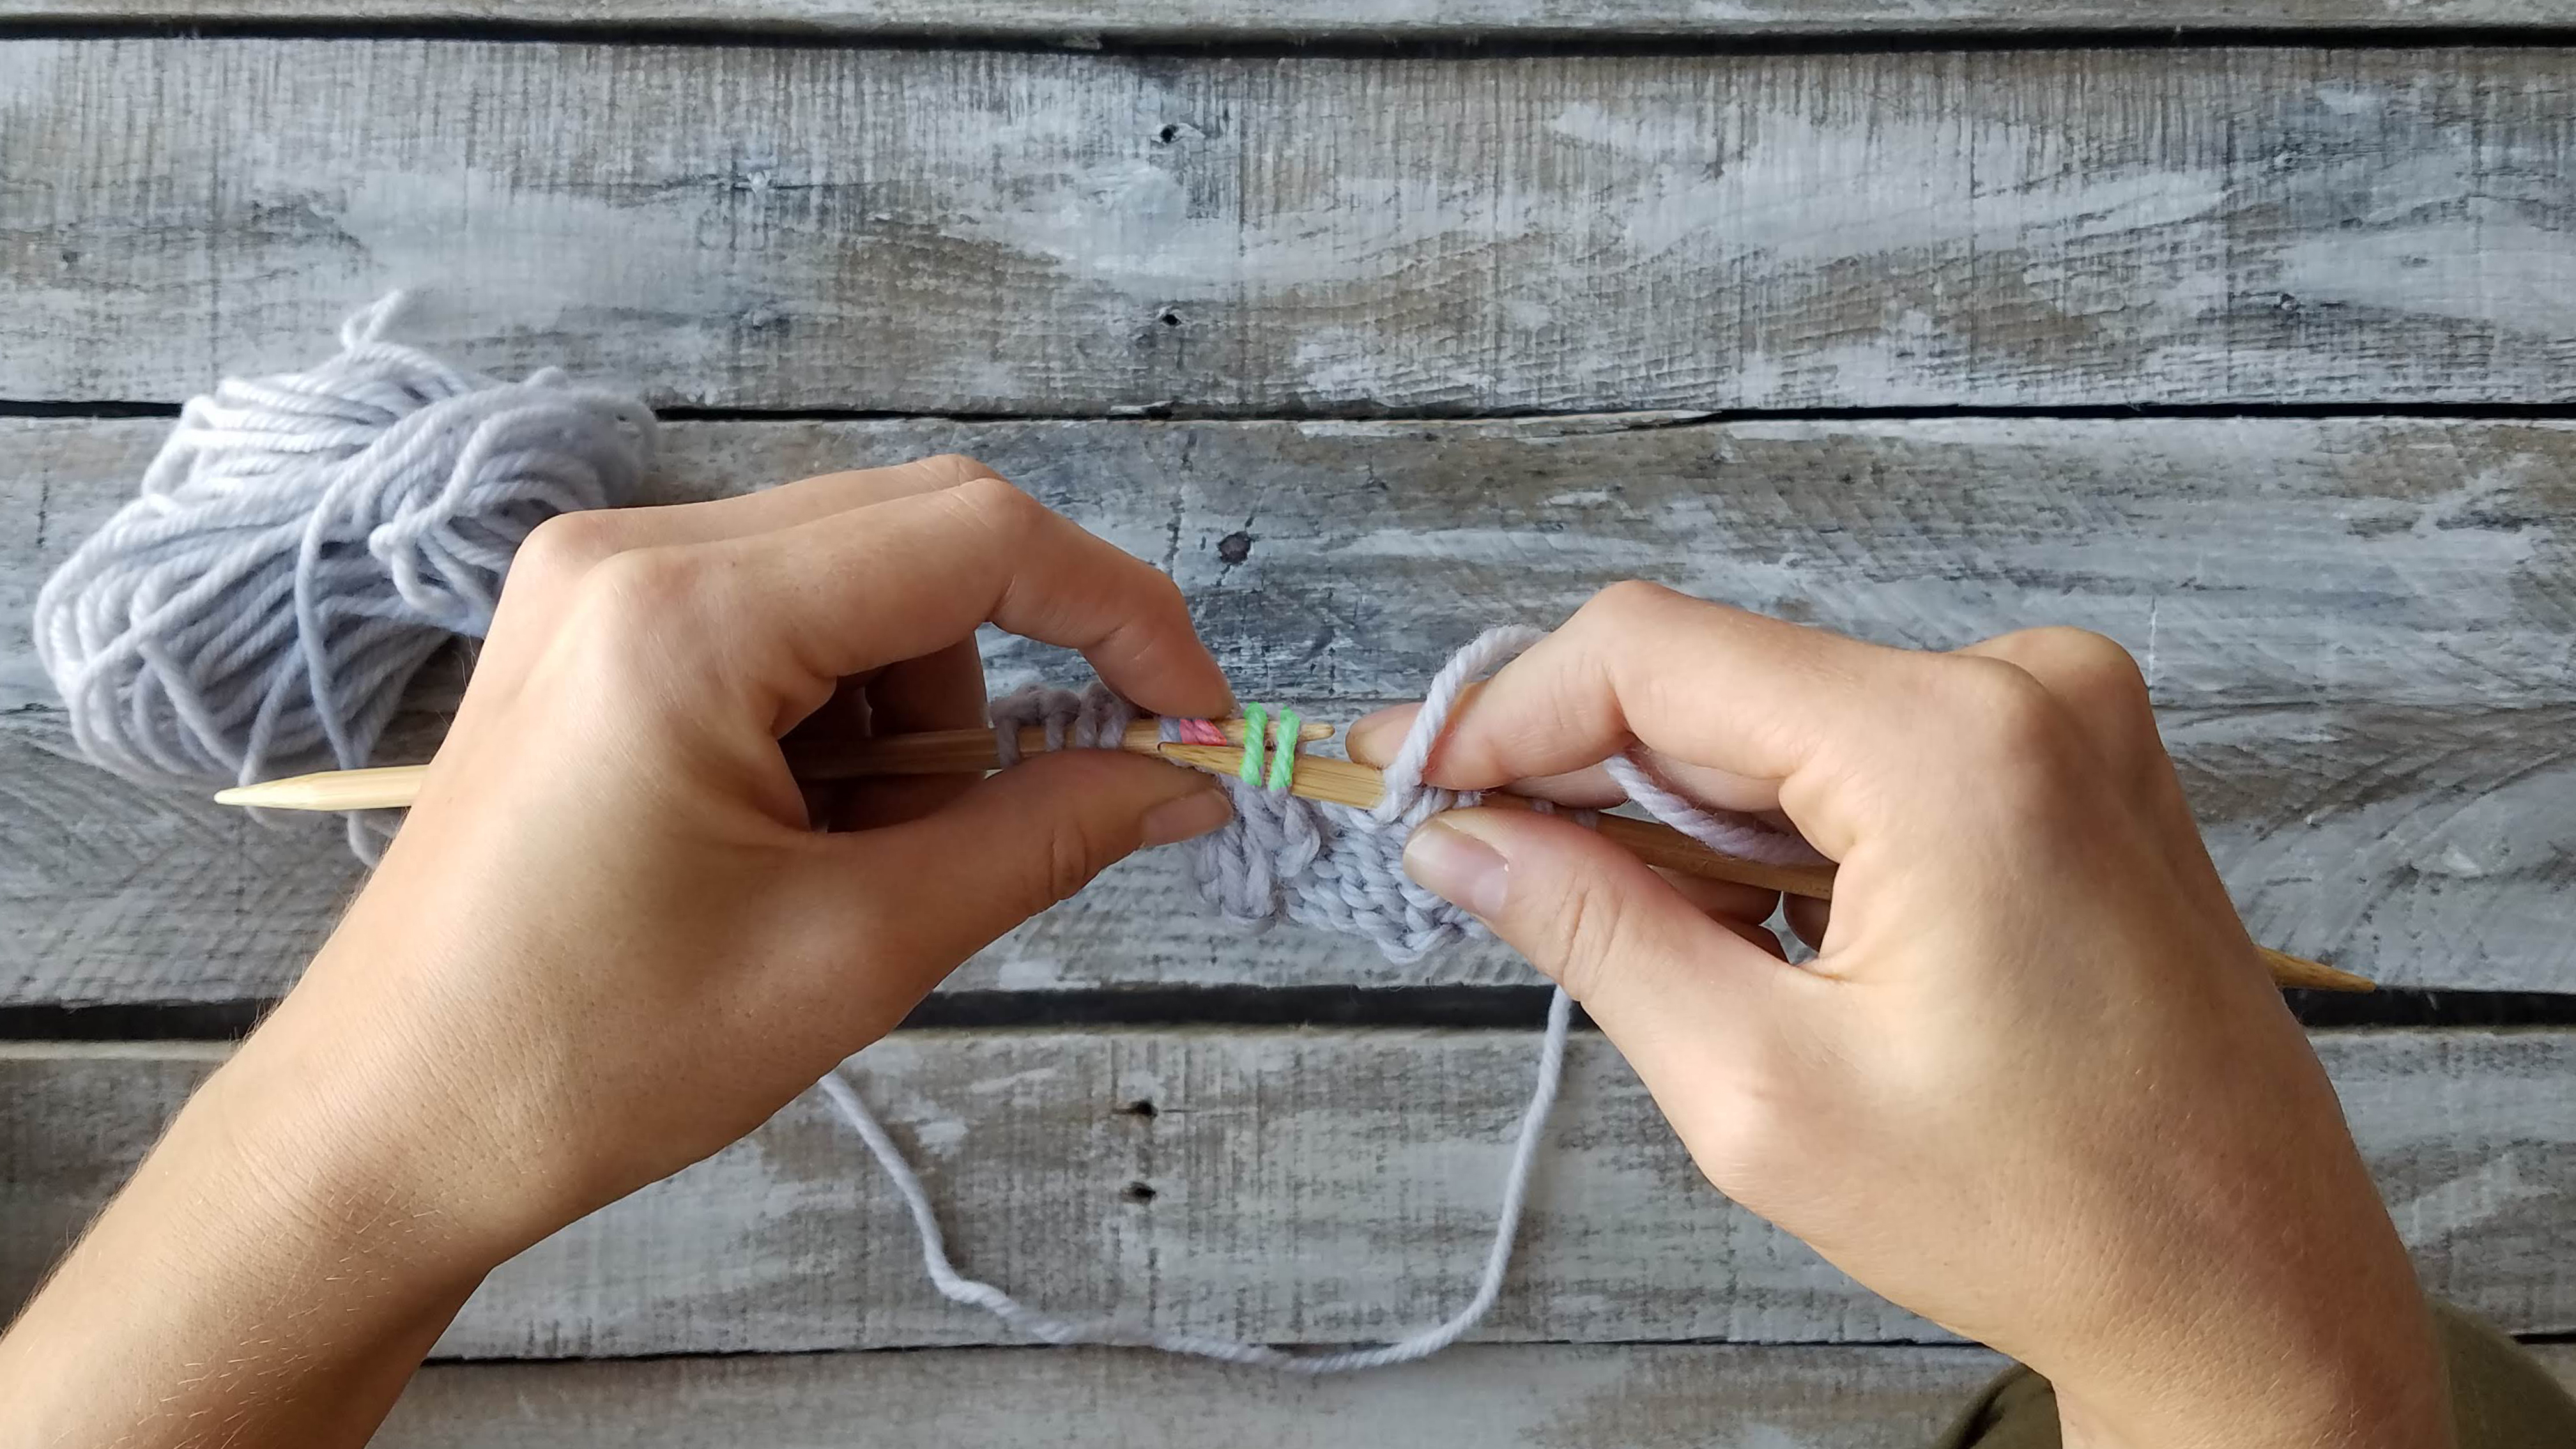
That’s it! You’ve created a beautiful cable without a cable needle.
I realize that I’ve only included instructions for a 2×2 Left Cross here, but my hope is mainly to give you the courage to go forth without a cable needle. In fact, the pattern features left and right crosses; so if you choose to skip the cable needle you’ll have plenty of time to practice both.
You can do this on any number of stitches, but I wouldn’t recommend working cables without a needle on anything more than 3×3 crosses. Any bigger than that and things can start to look sloppy and feel fiddly. Cable needles are great and help to maintain an even tension, but the same results can occur without them. Some find that skipping the cable needle feels faster, too. In personal projects, I go both ways. It depends on my mood and whether I can find my cable needle!
Remember, you can find the 12 Days of Winter Kit patterns on Ravelry.