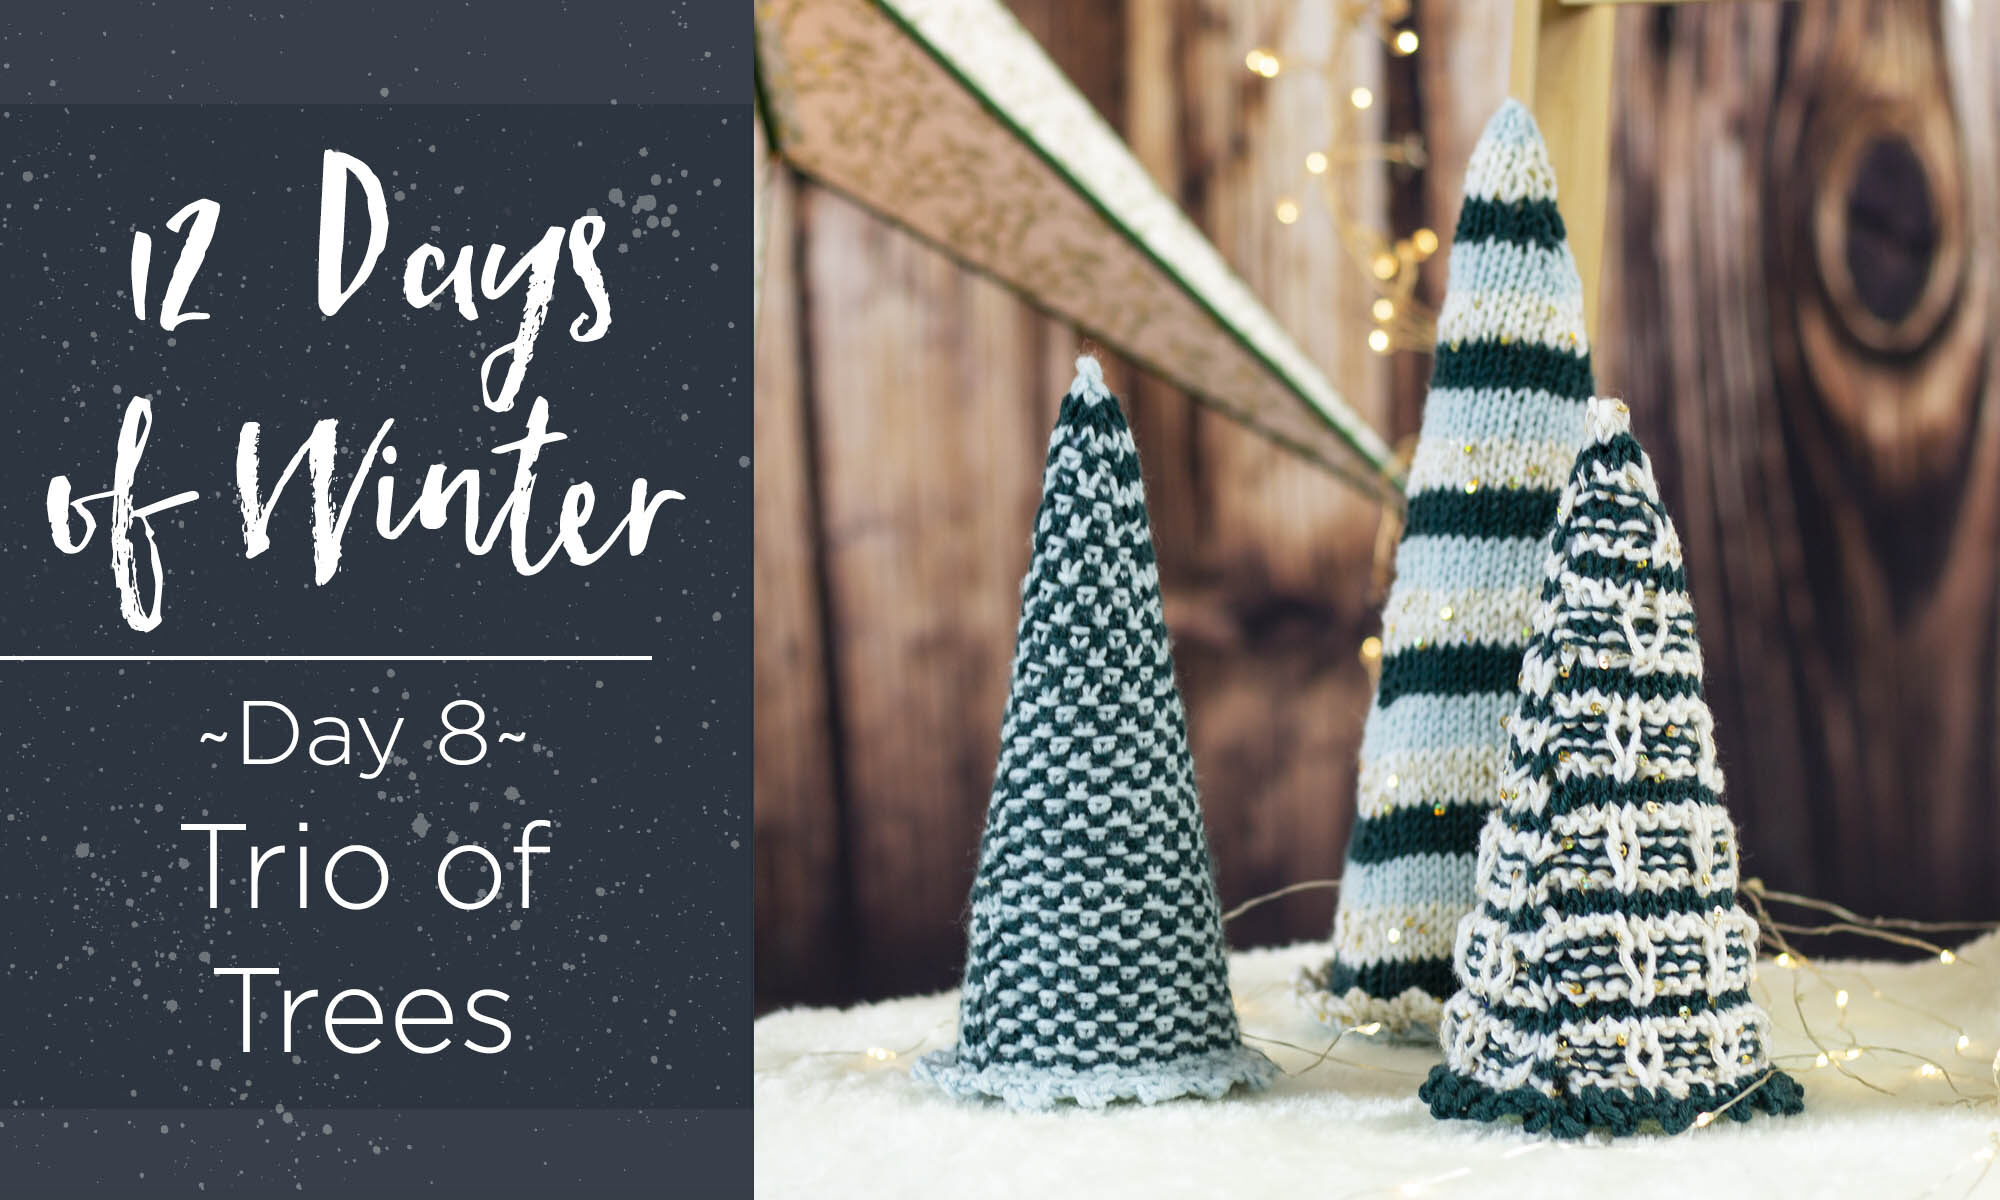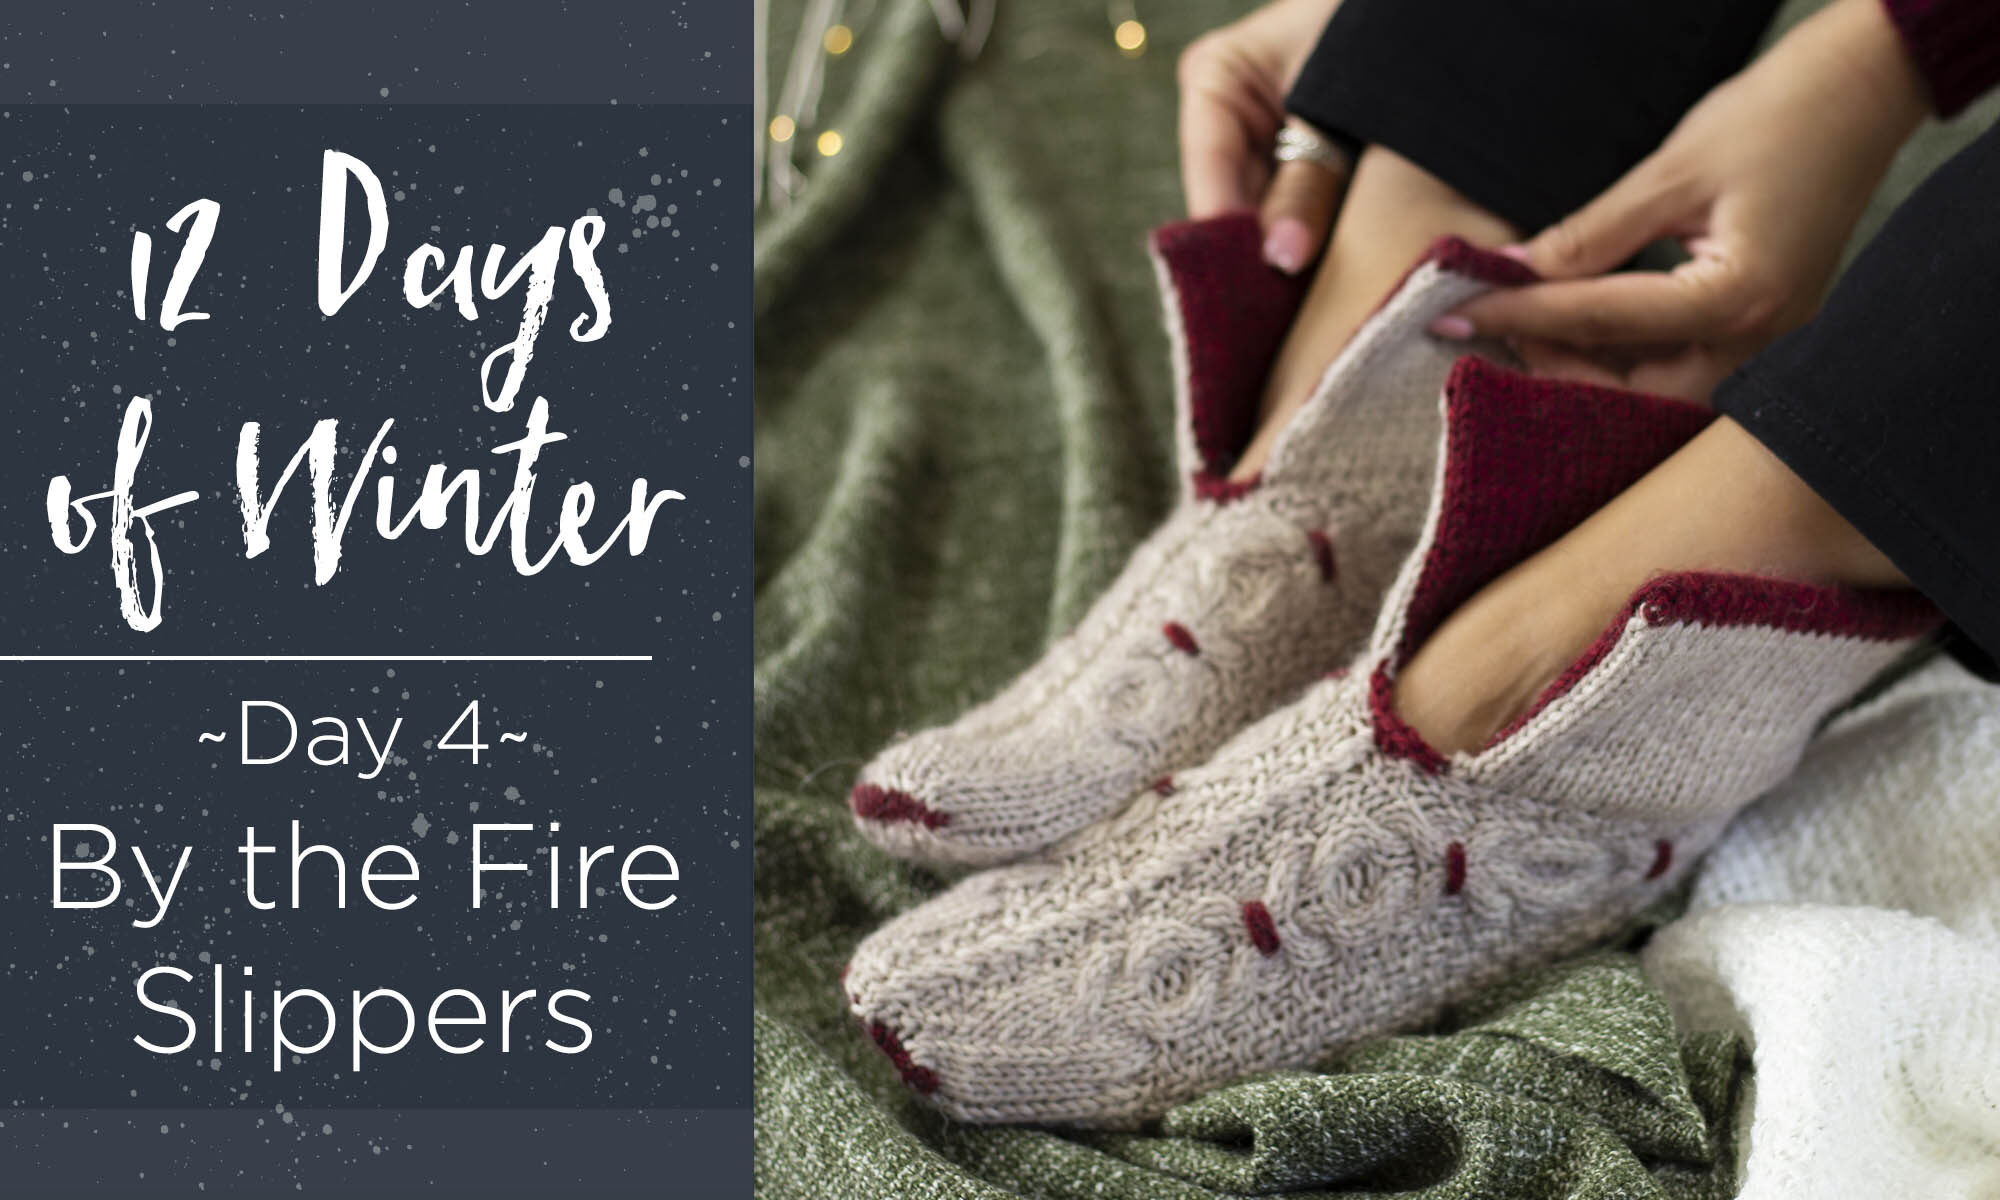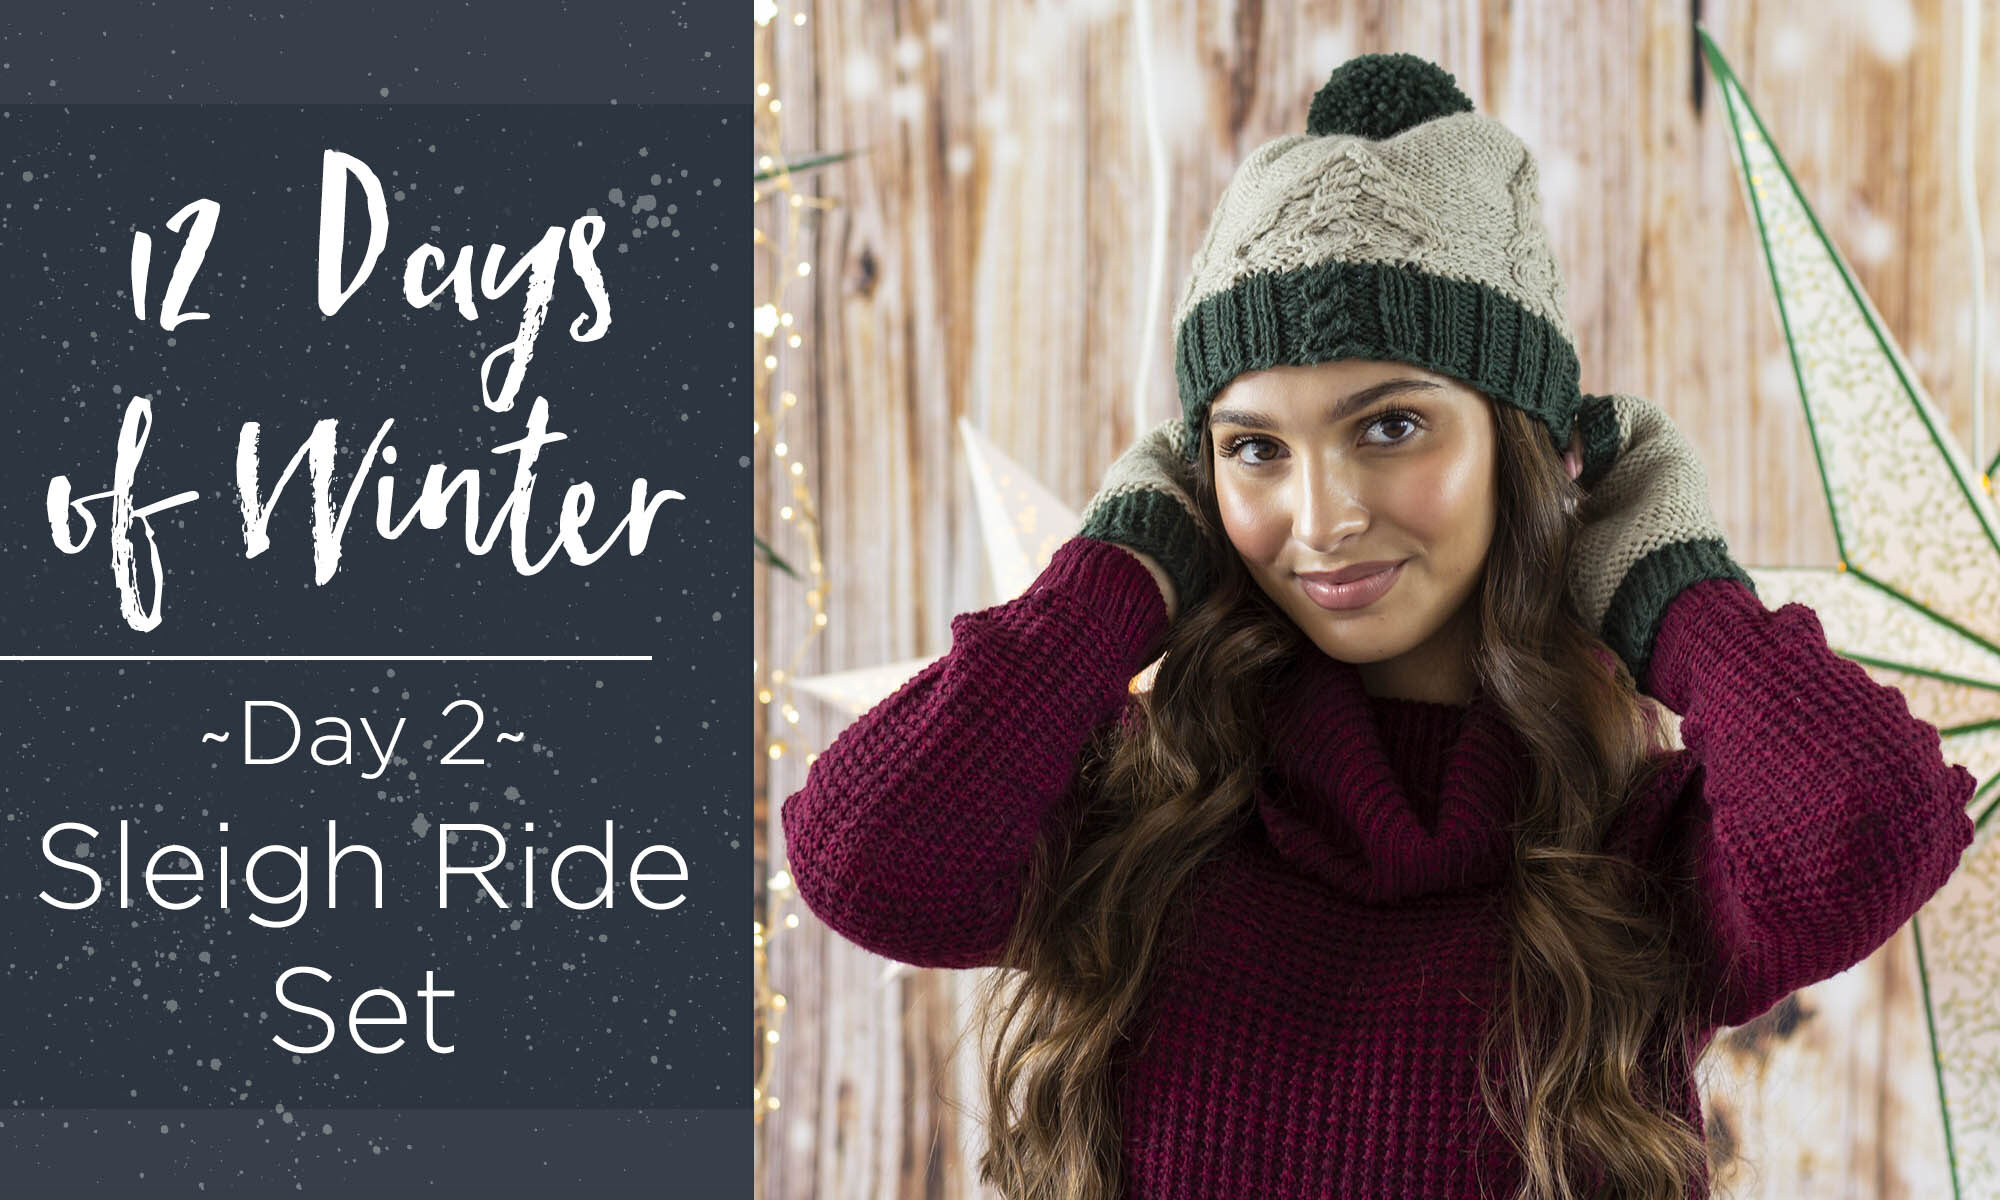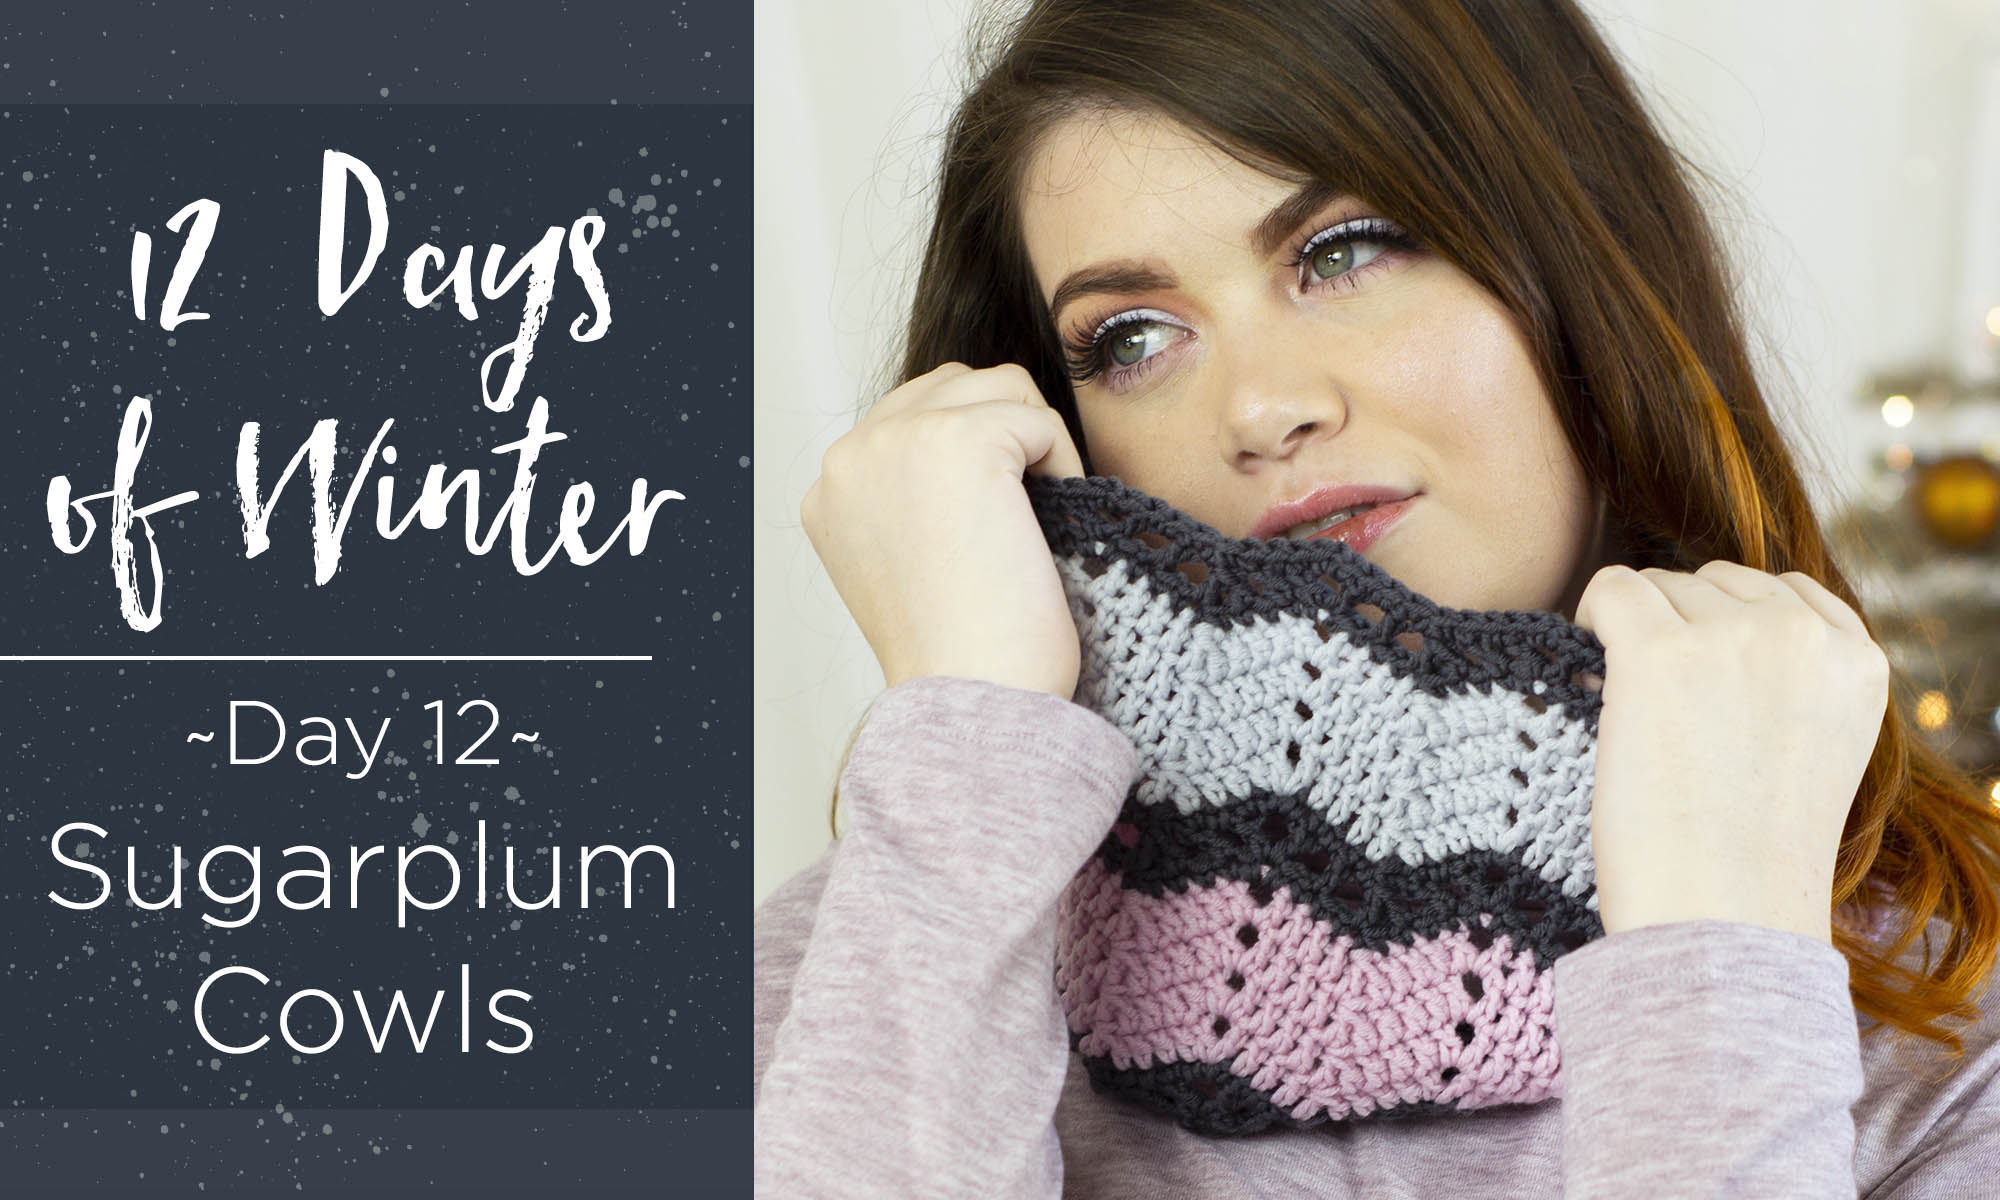


This is part 9 in a 12 part series highlighting designs from our 12 Days of Winter, series 5 Edition
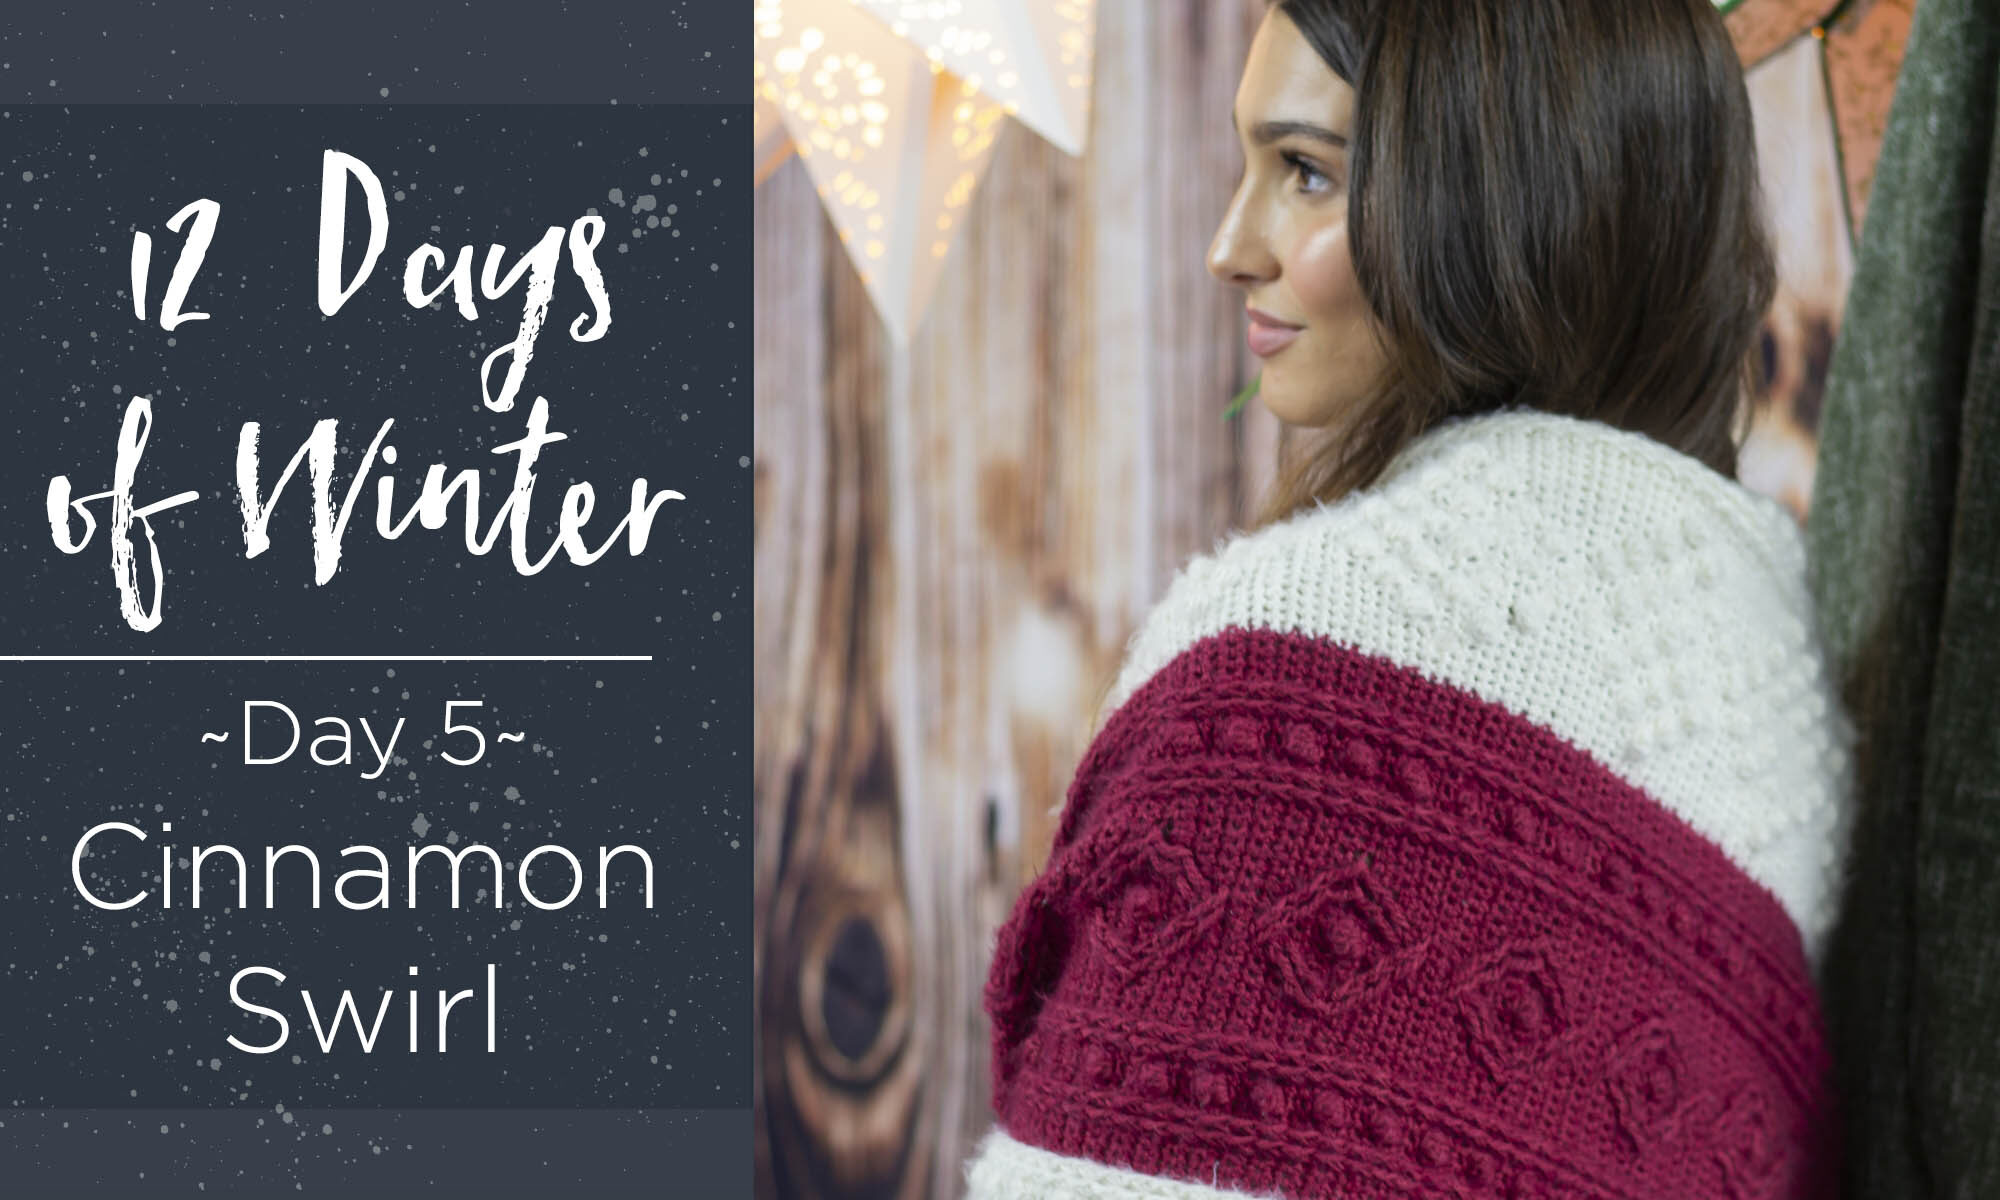
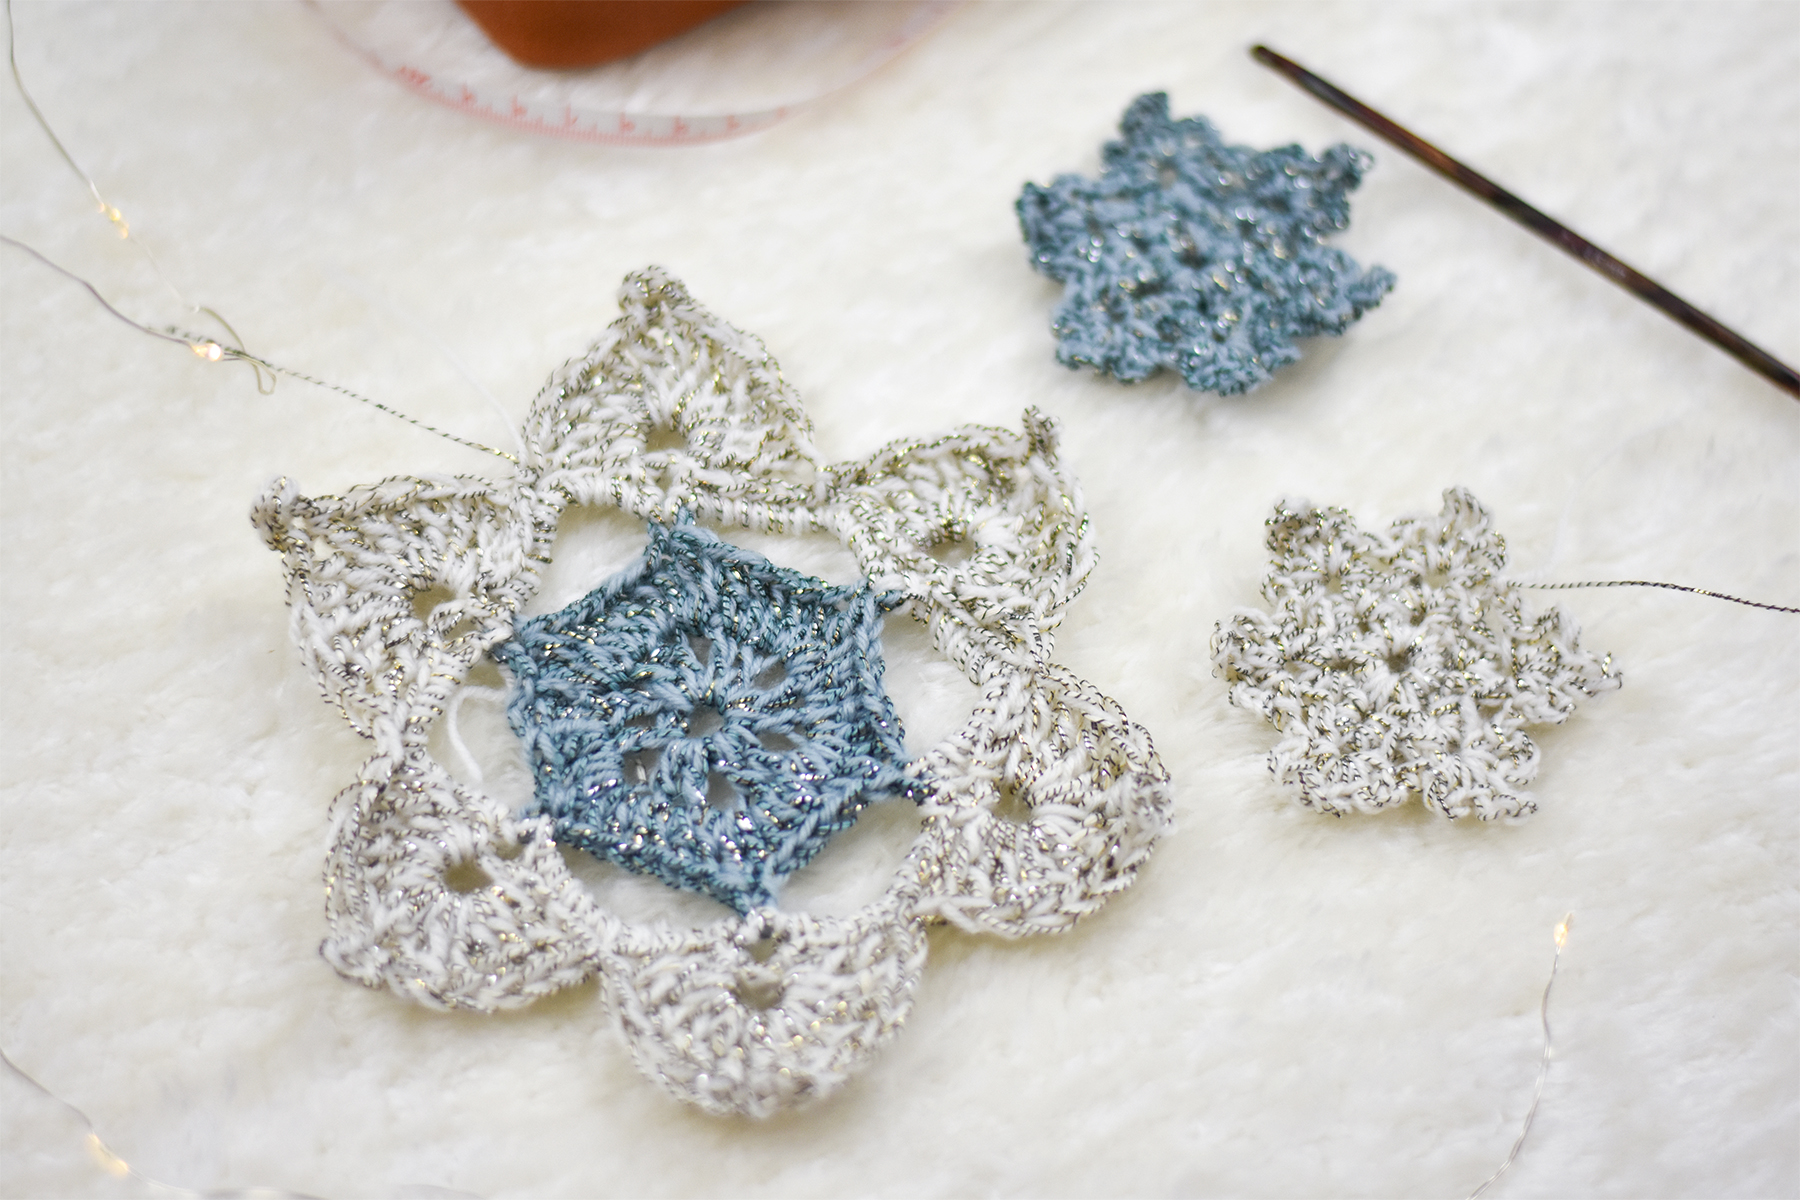
Hello there! As we inch closer and closer to the end of the Holiday Season, you are likely on the go non-stop with errands like shopping, running to the post office, sprinting for groceries and more. With that in mind, this project is the perfect way to stay creative while staying moving. Winterworld is a crochet table runner (or beautiful accessory!) that is made from many small twinkling snowflake motifs assembled as a statement piece that you’ll cherish for years to come.

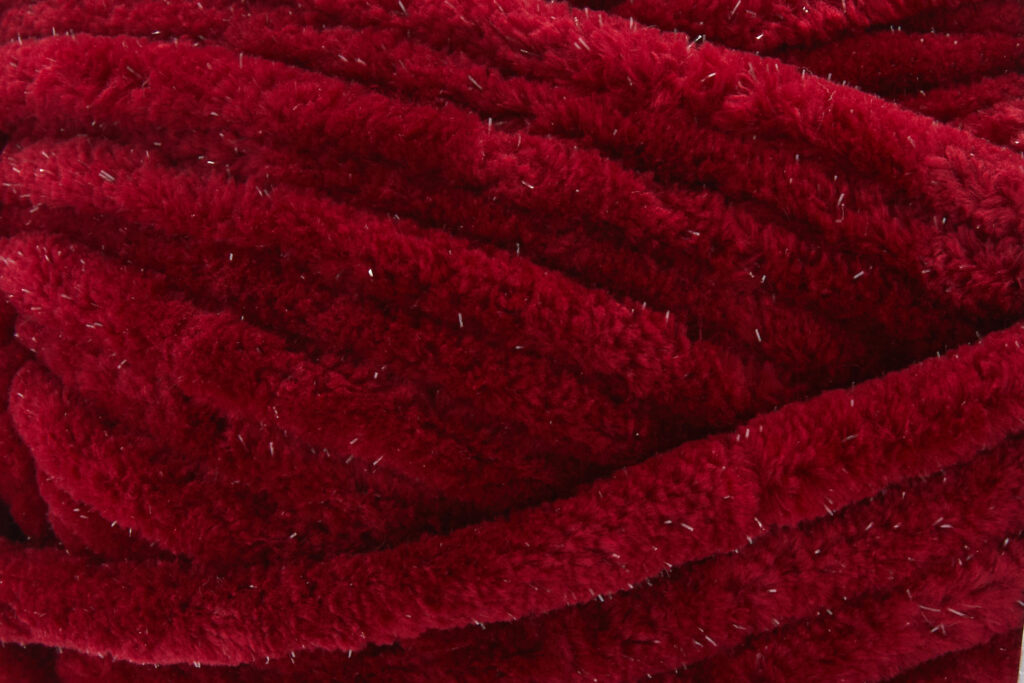
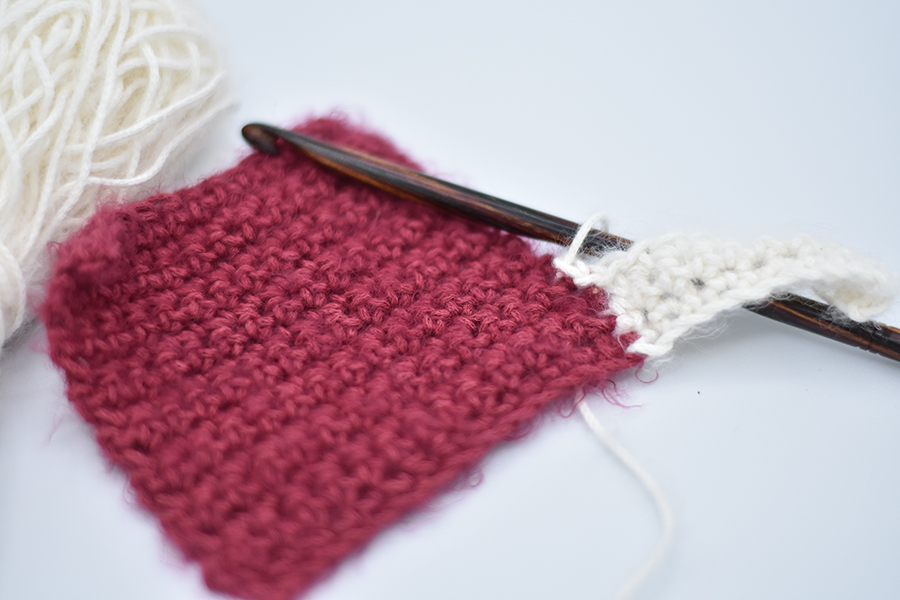
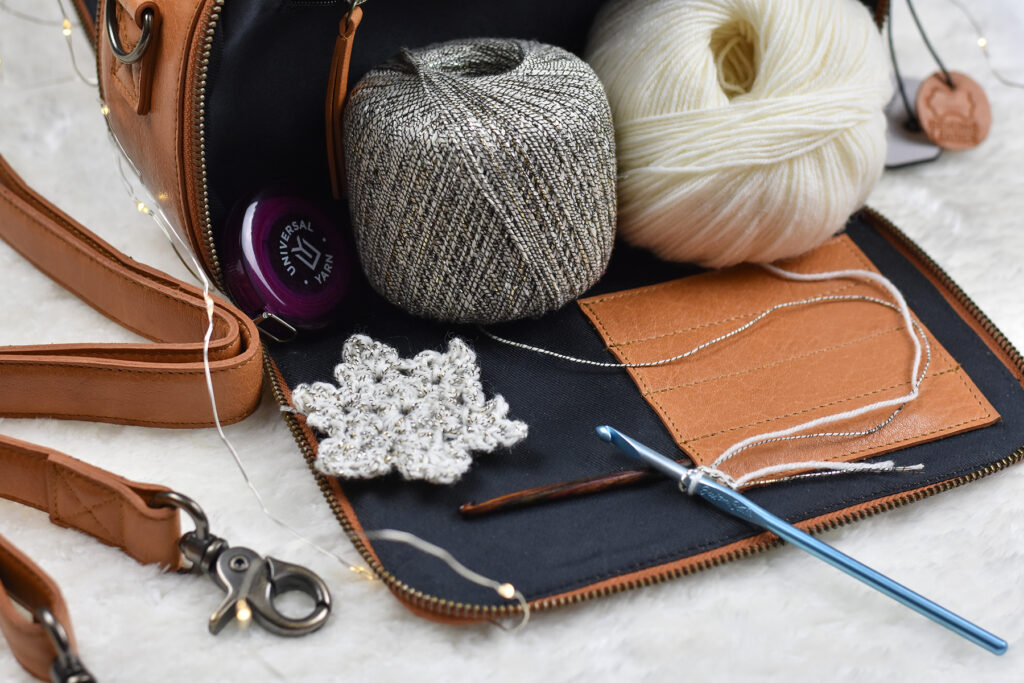
The snowflakes are made using Bella Cash and Universe held together. I love this combination so much, the Bella Cash is made from Merino, cashmere and nylon making it ultra soft, yet very sturdy to work with. The Universe is made from cotton, linen, polyamide and glitter creating a blend that has depth and a bit of sparkle.
Some techniques you’ll explore working on this project are:
- Working with 2 yarns held together
- Working in the round
- Using a picot to create a motif
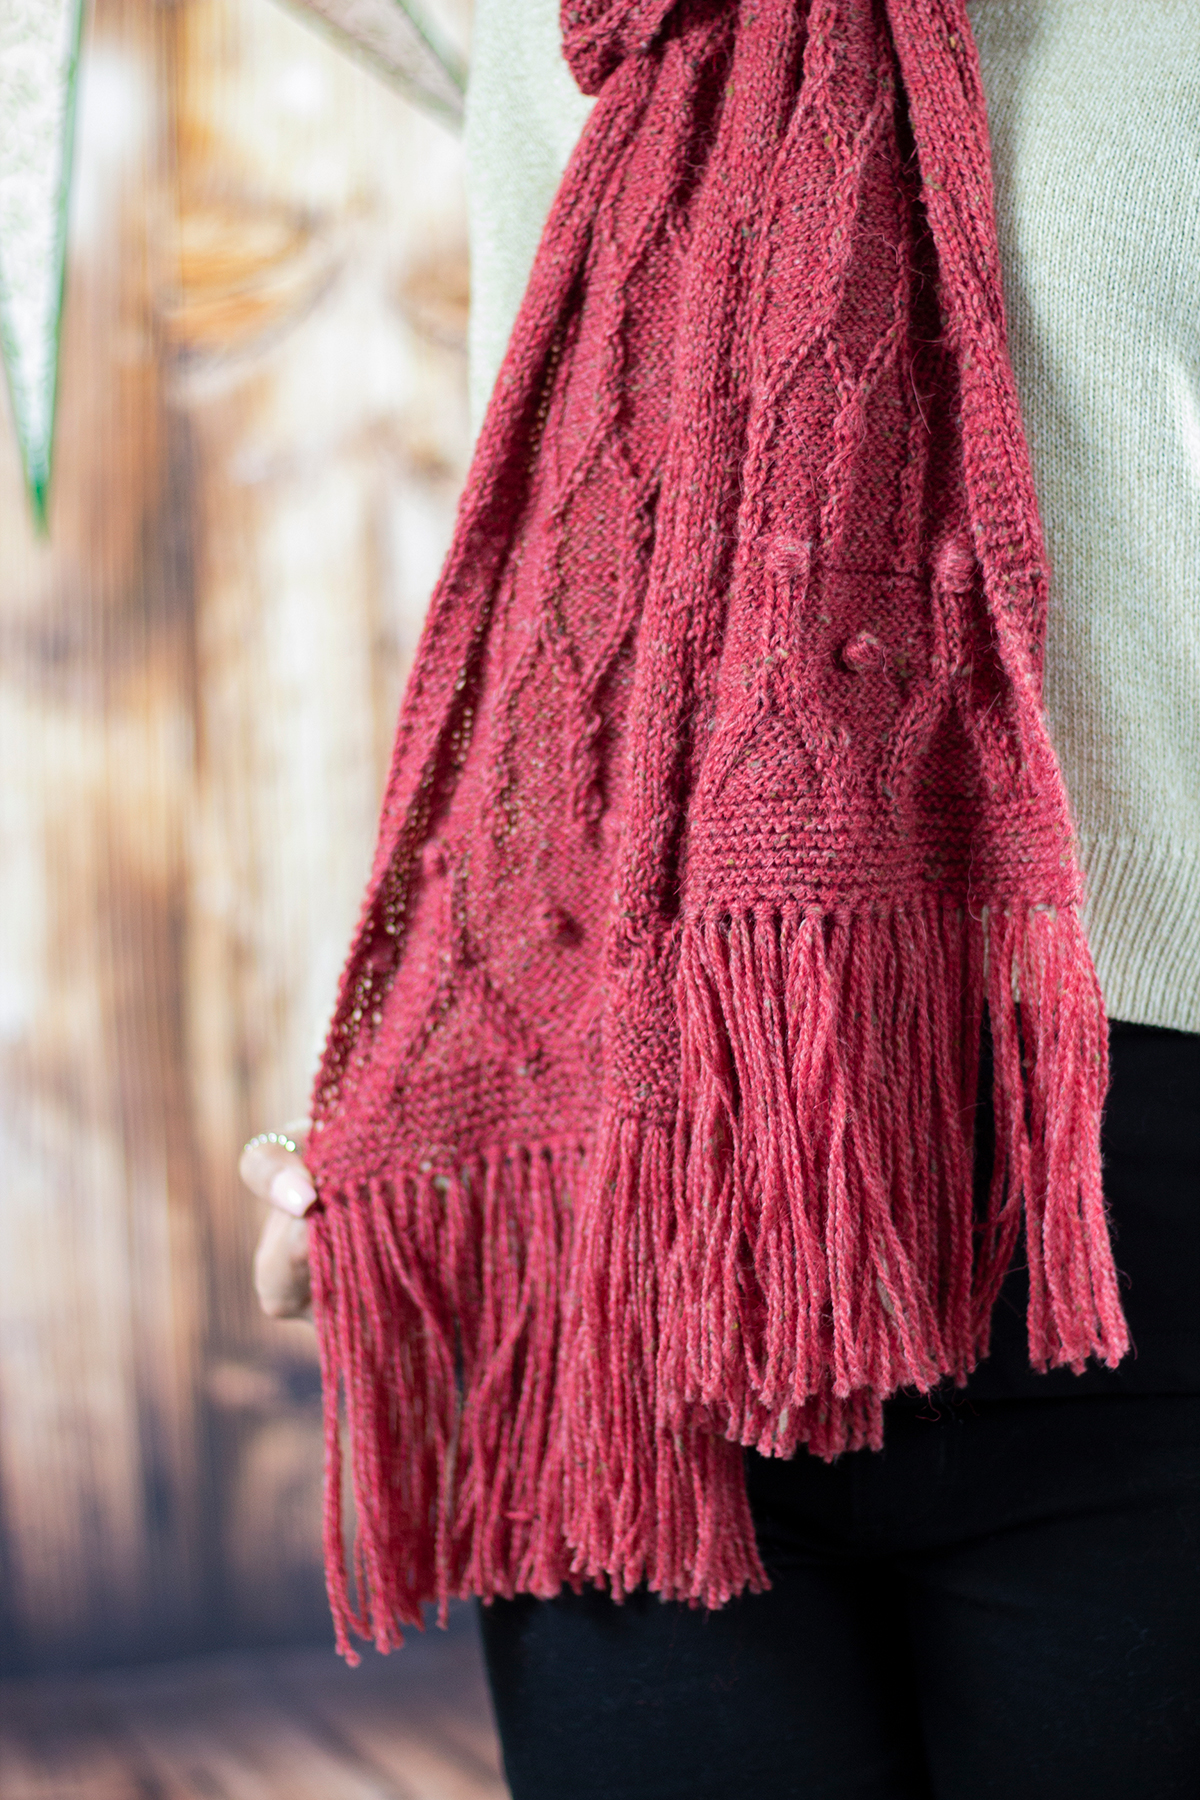
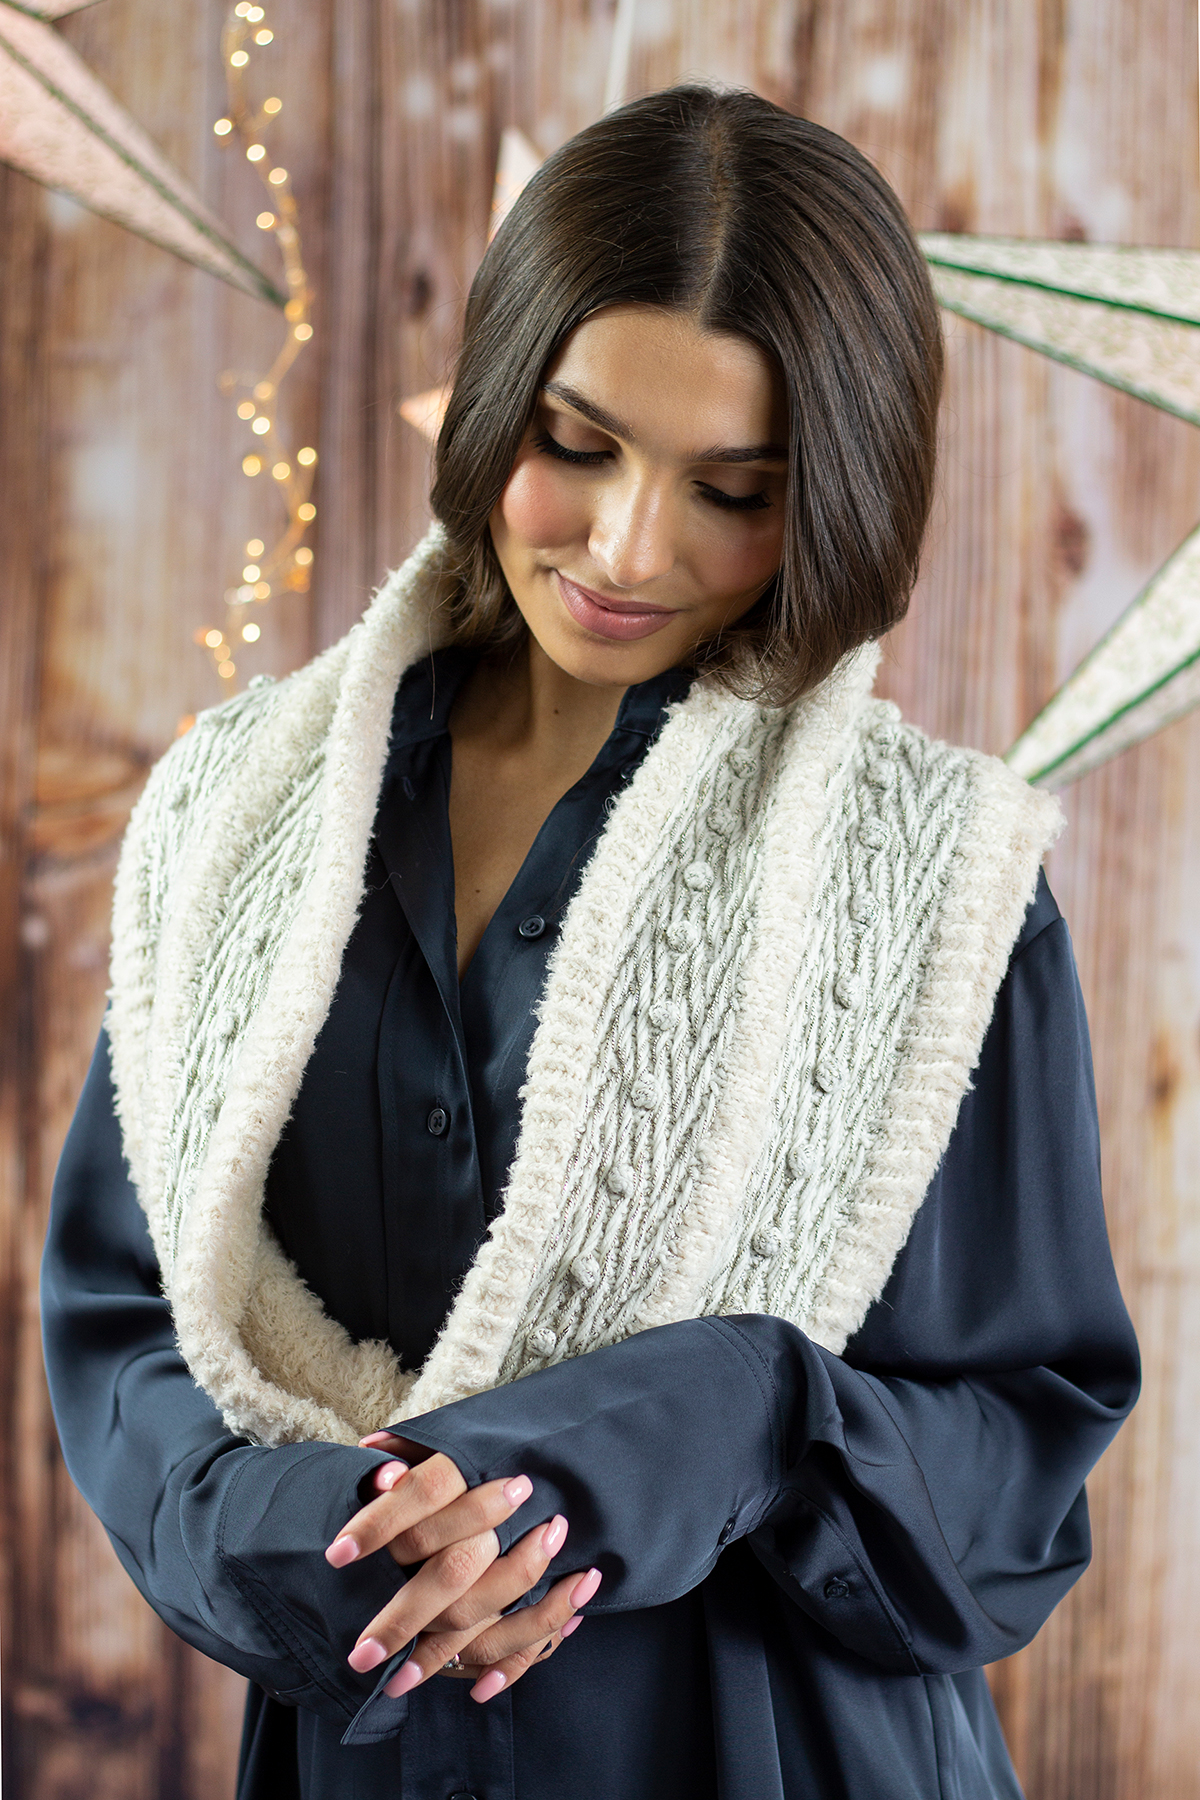
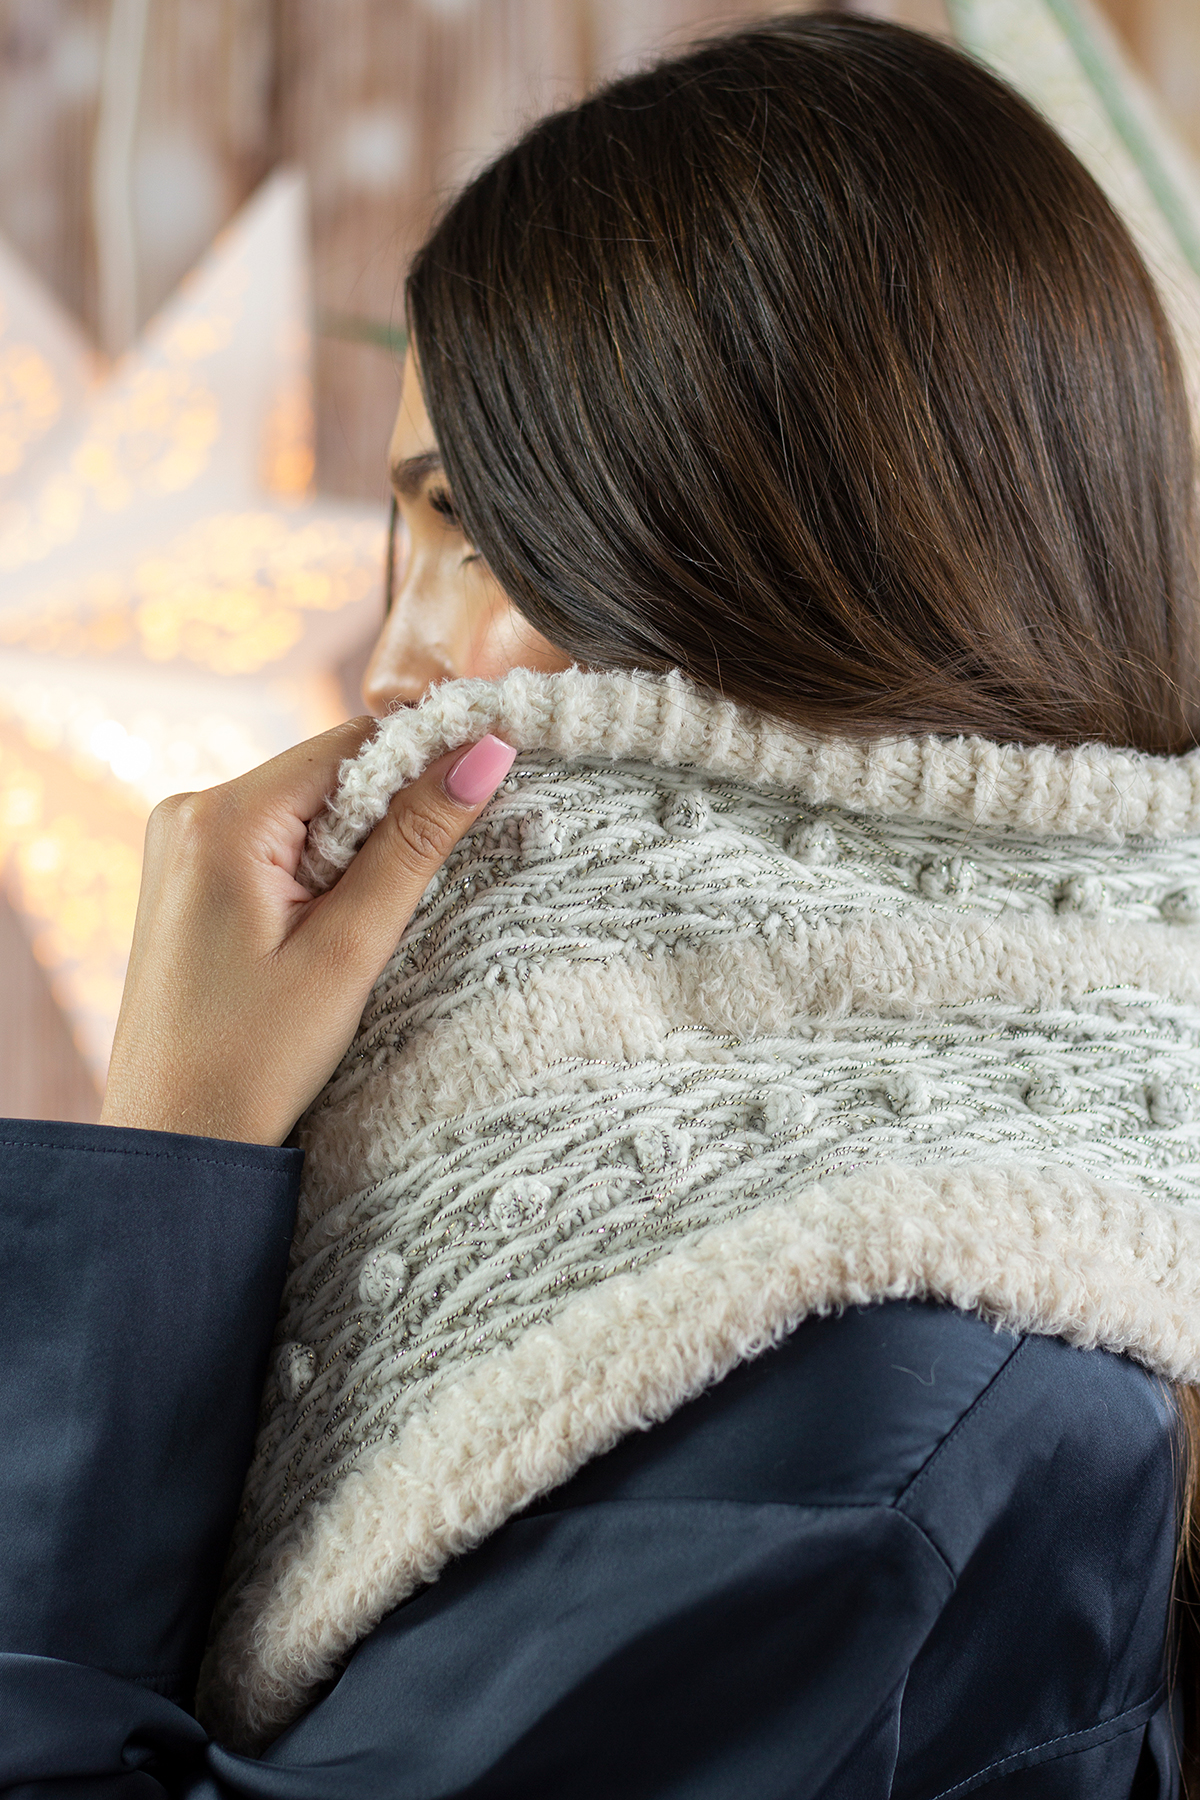
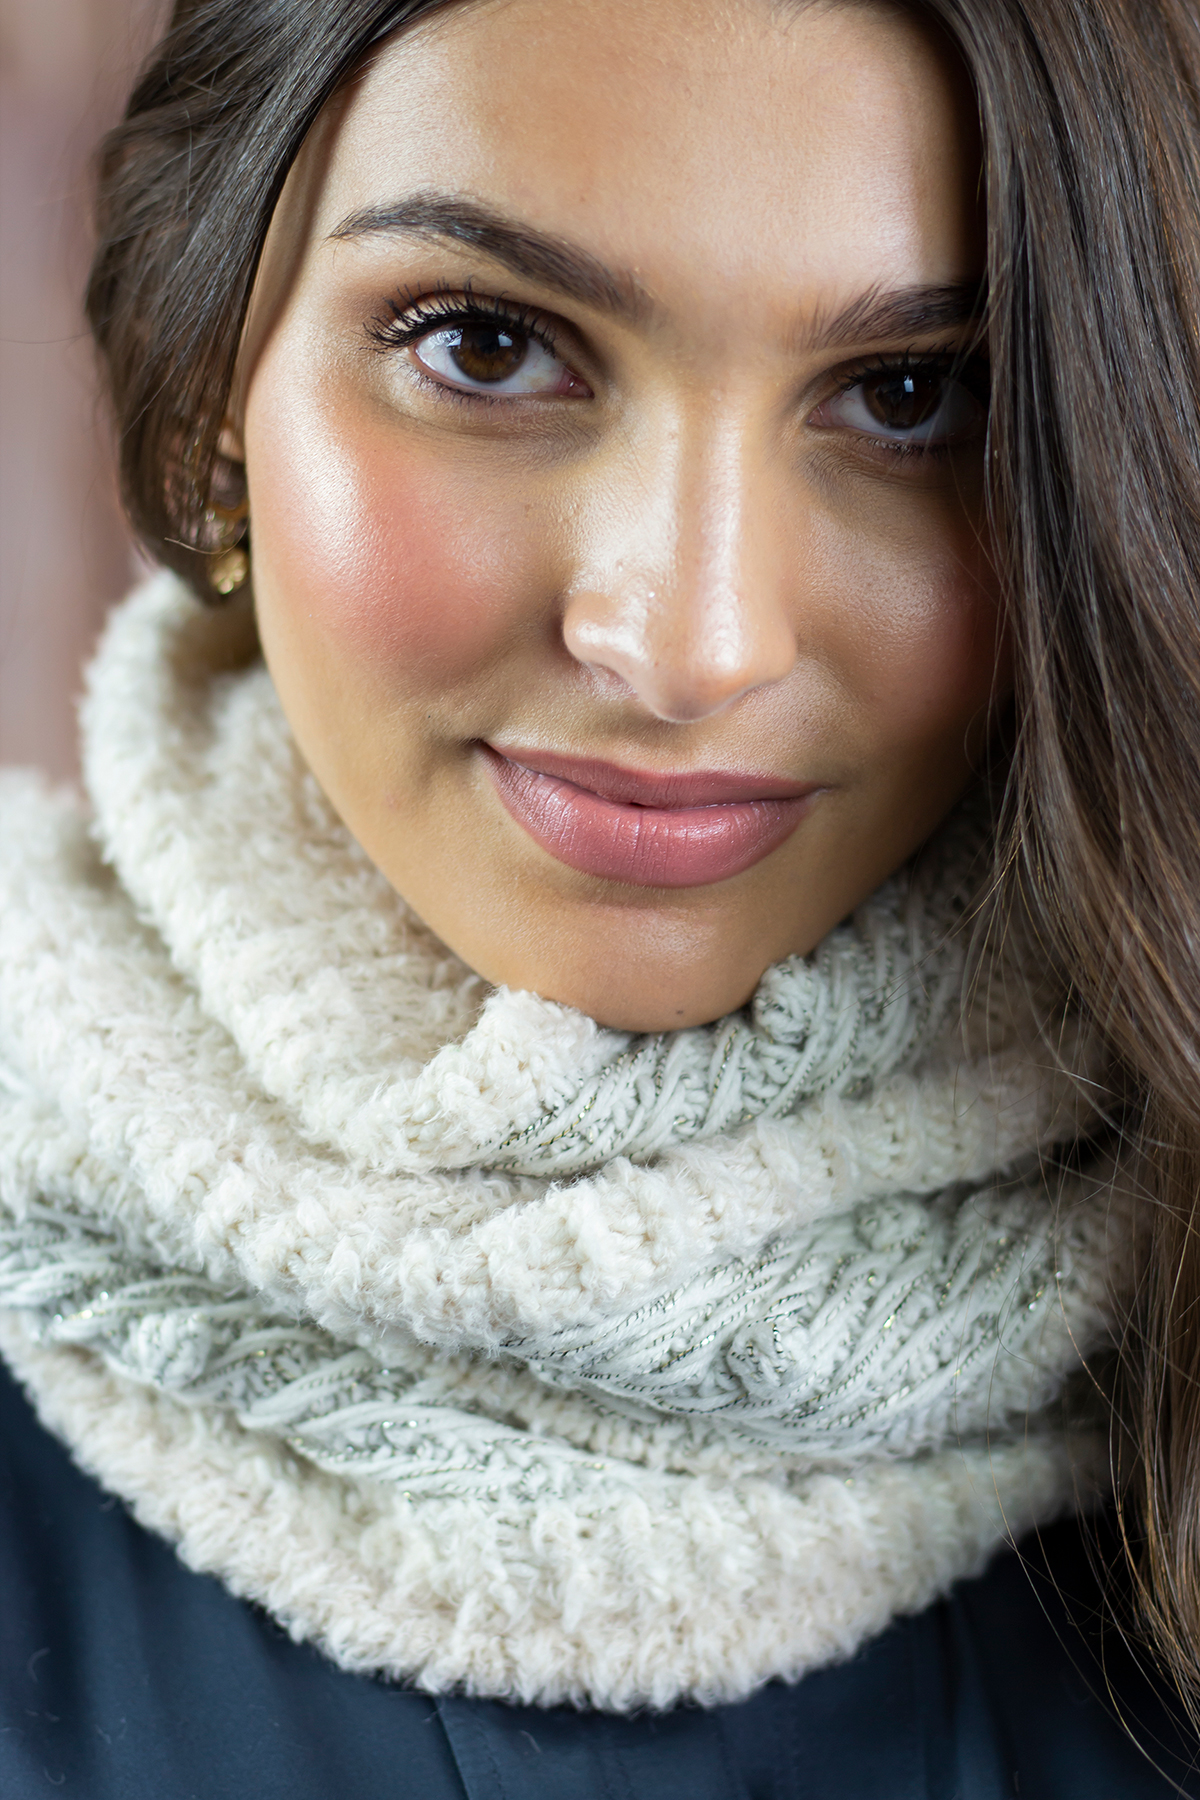
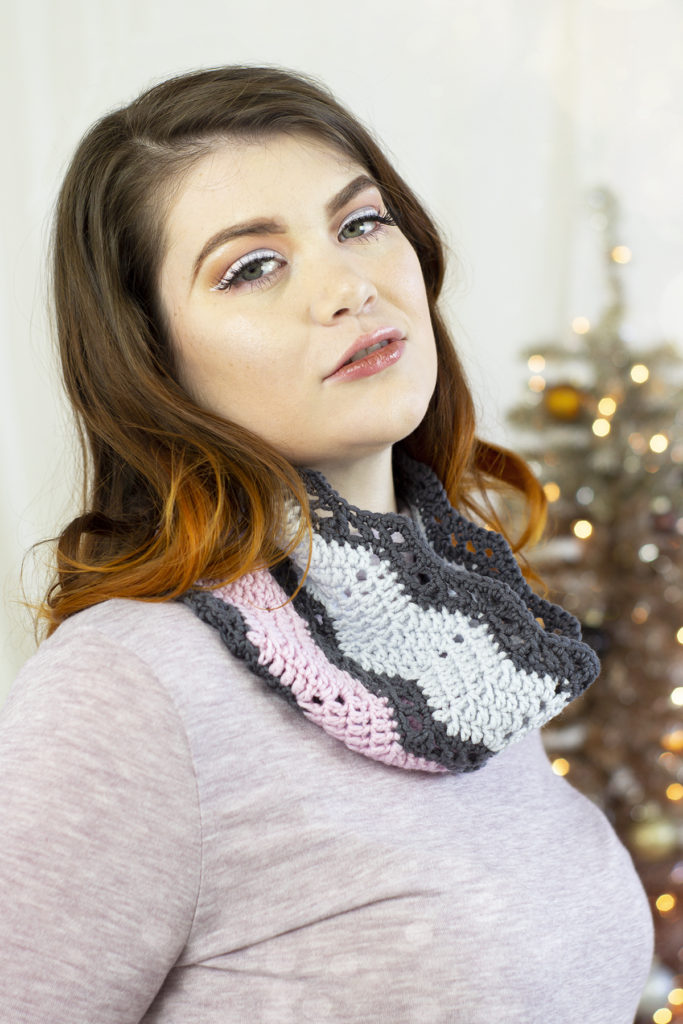
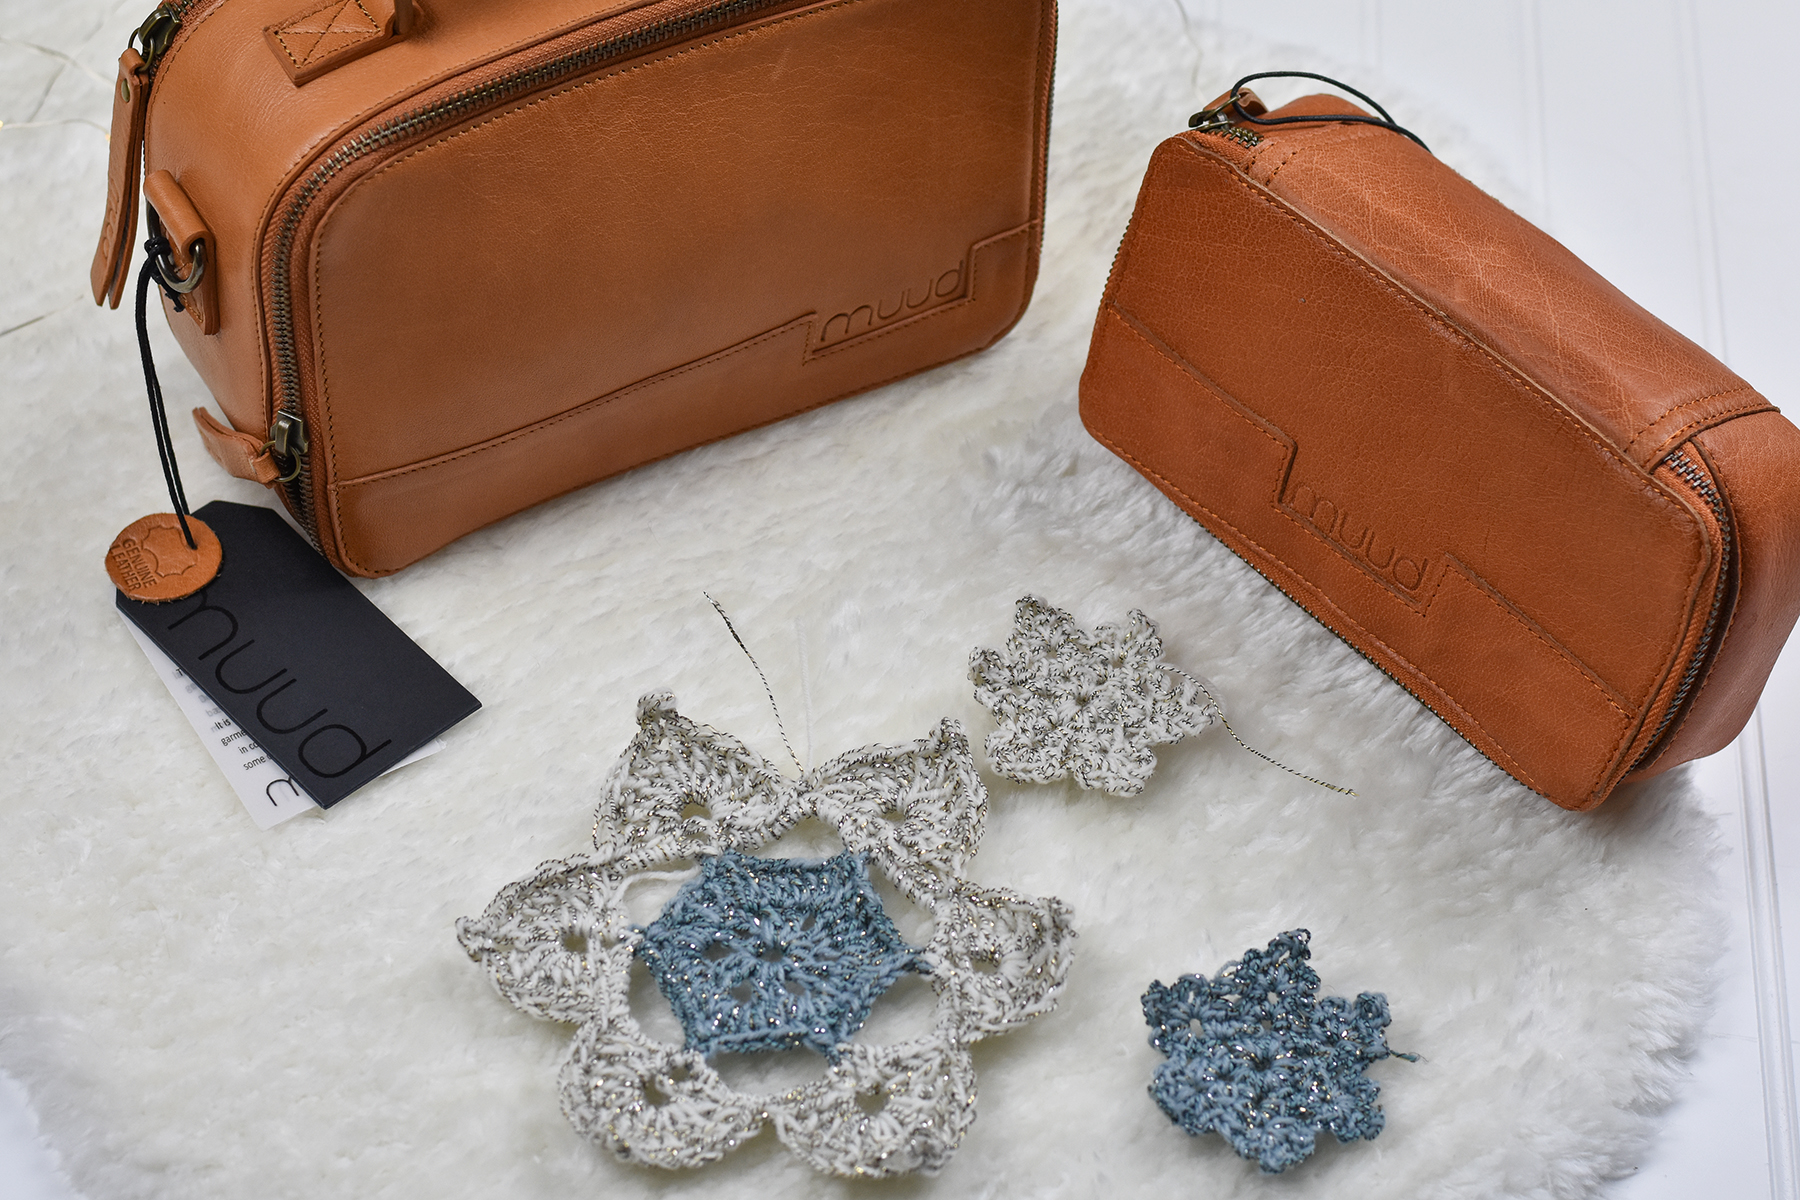
The end result makes beautiful snowflakes with an understated twinkle – perfect for bringing the magic of the season into your home.

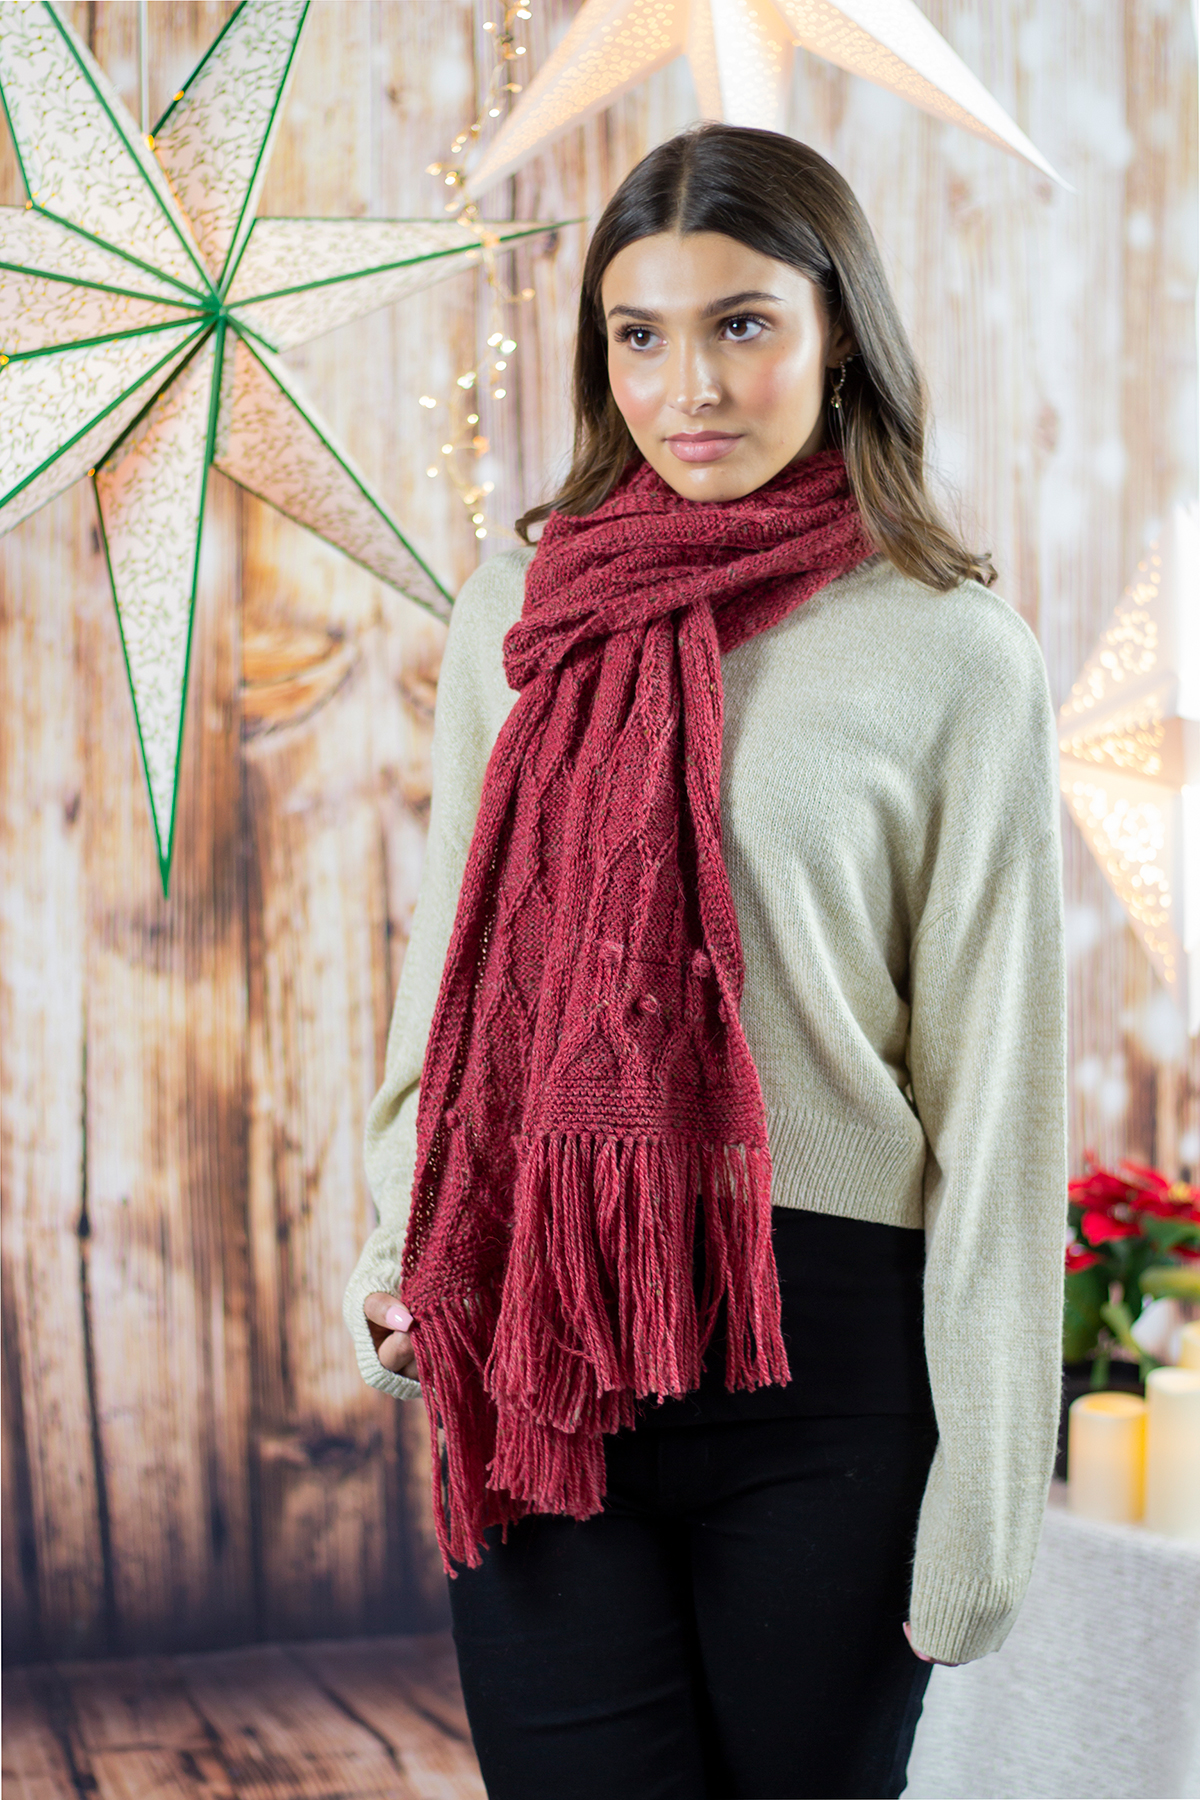
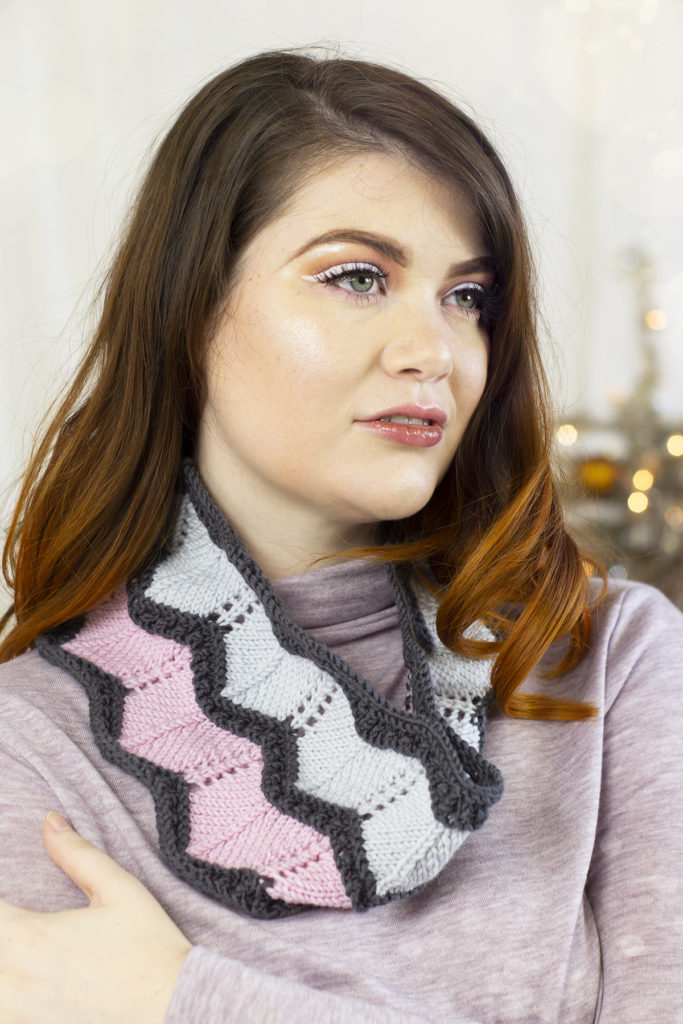
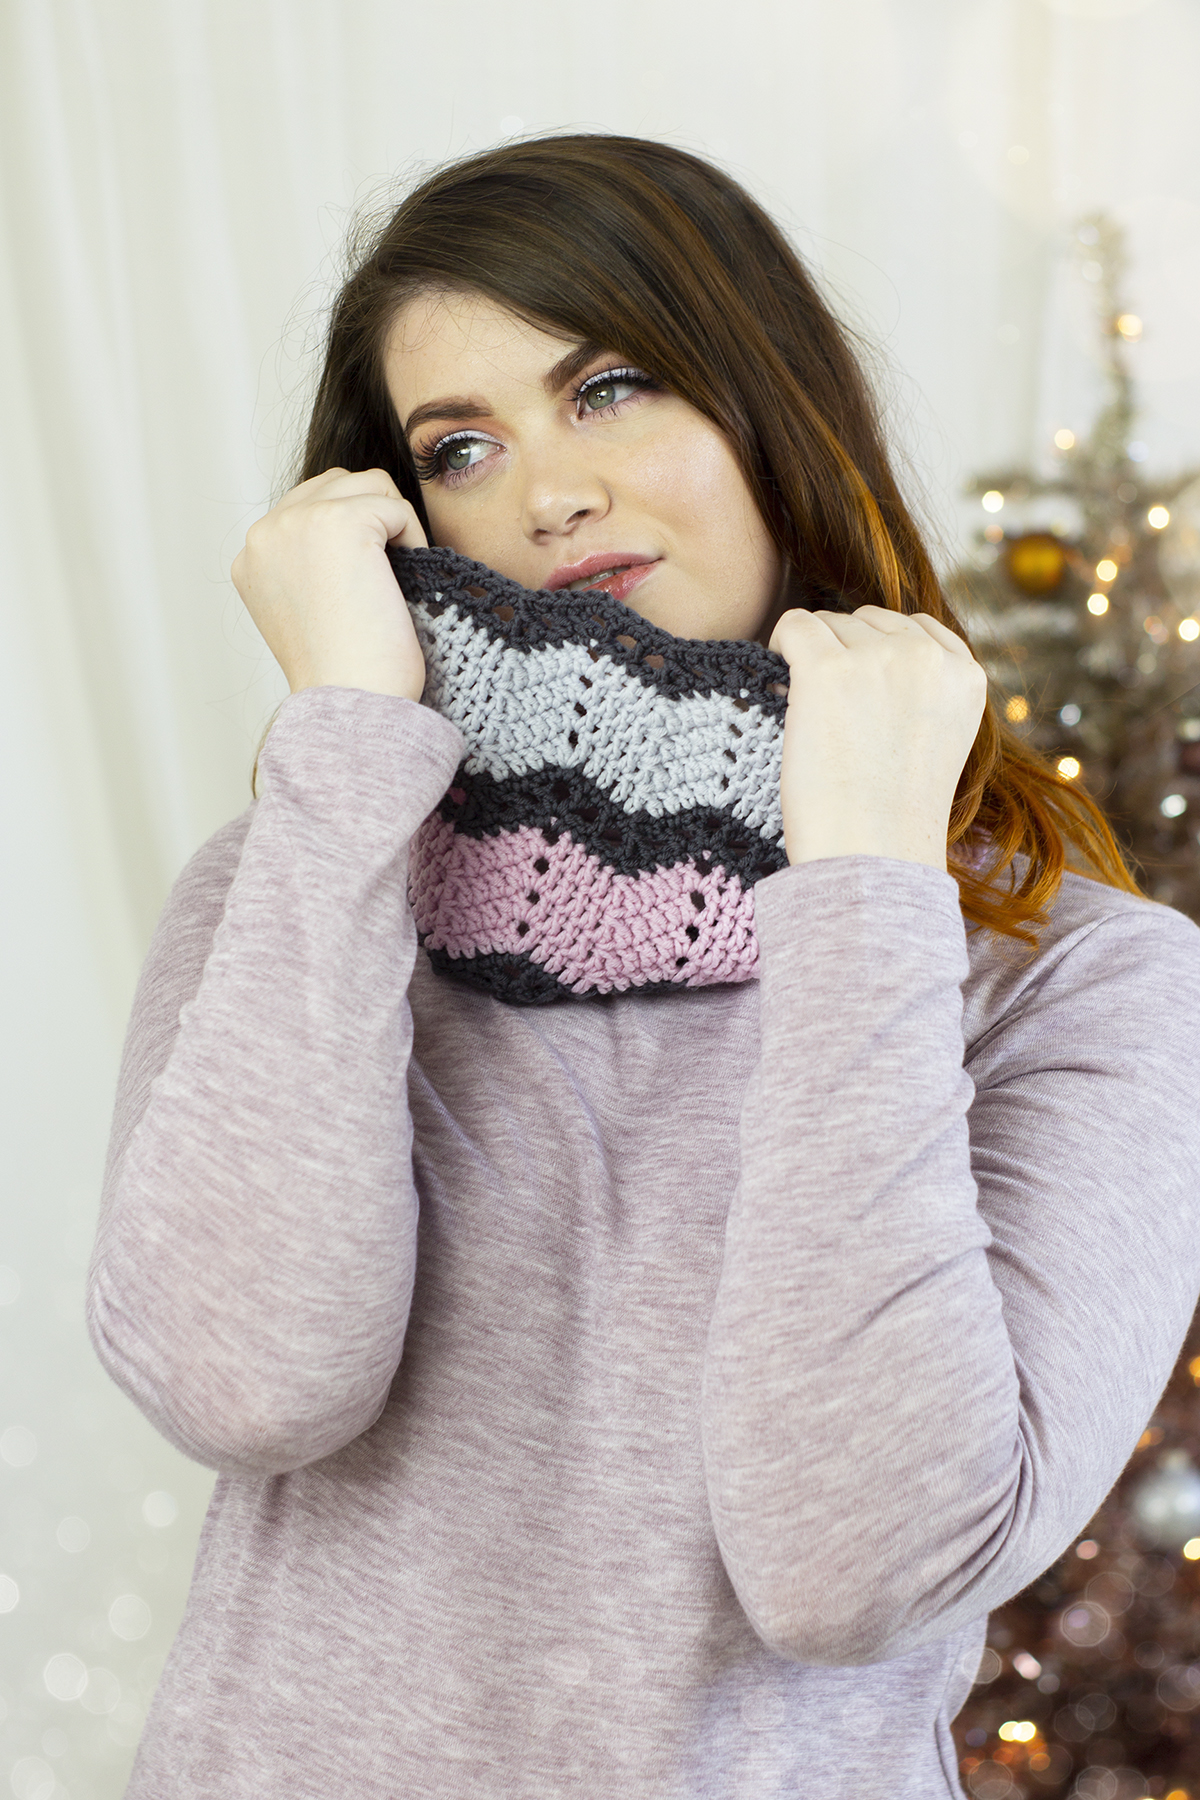
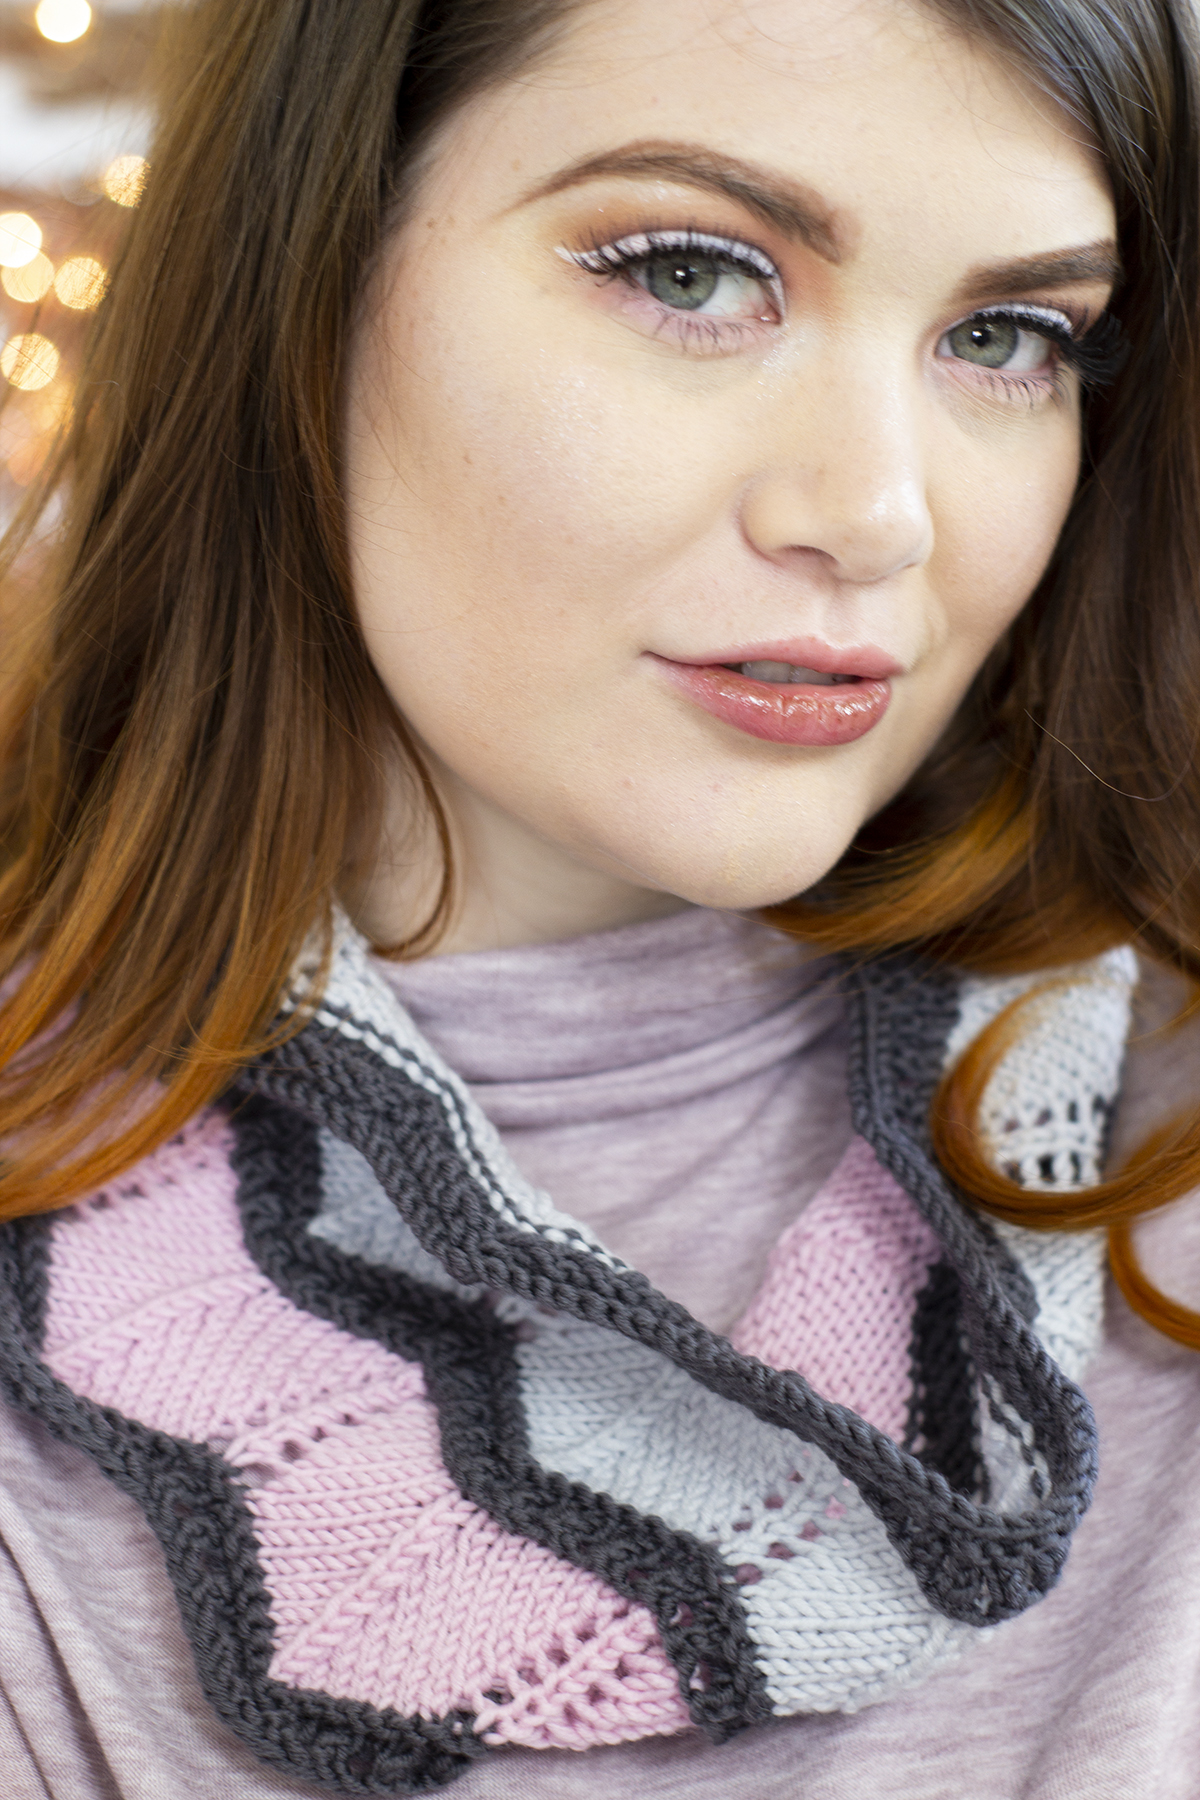
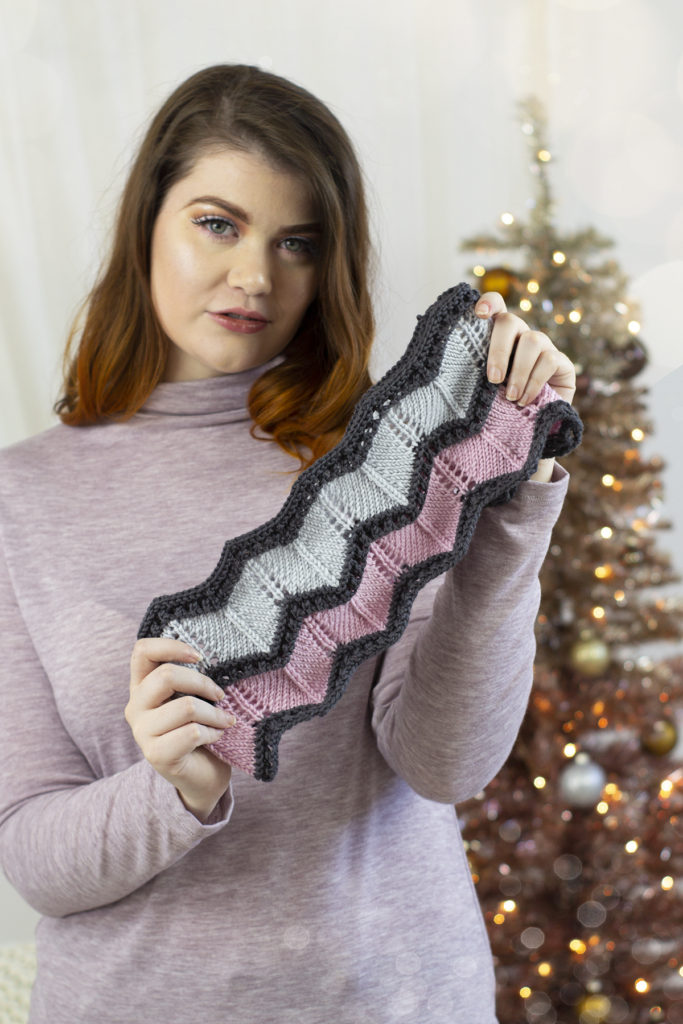
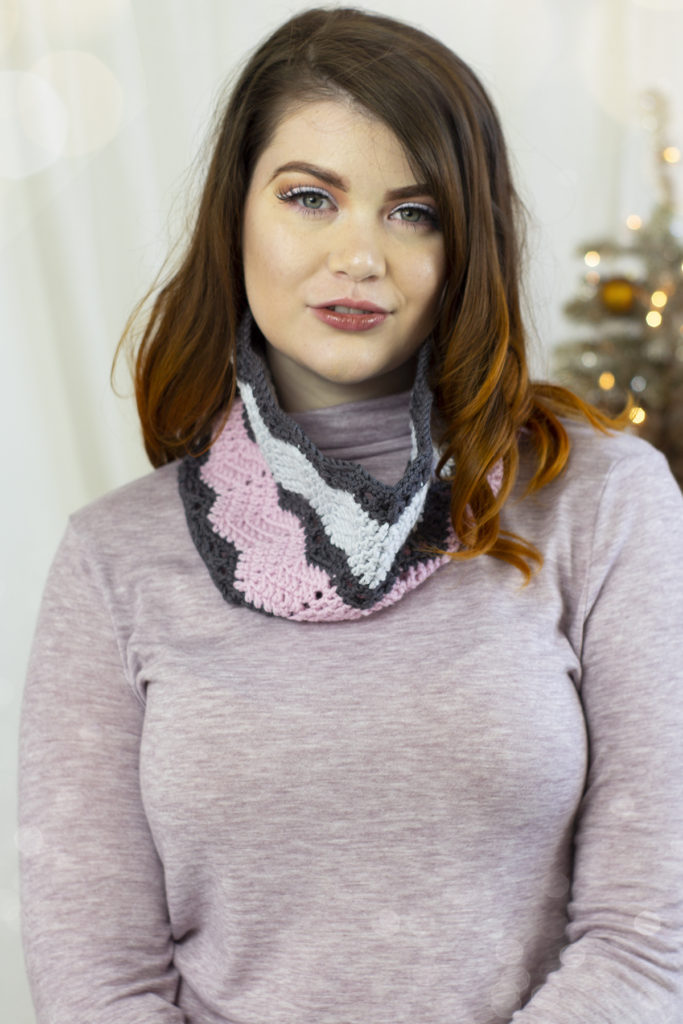
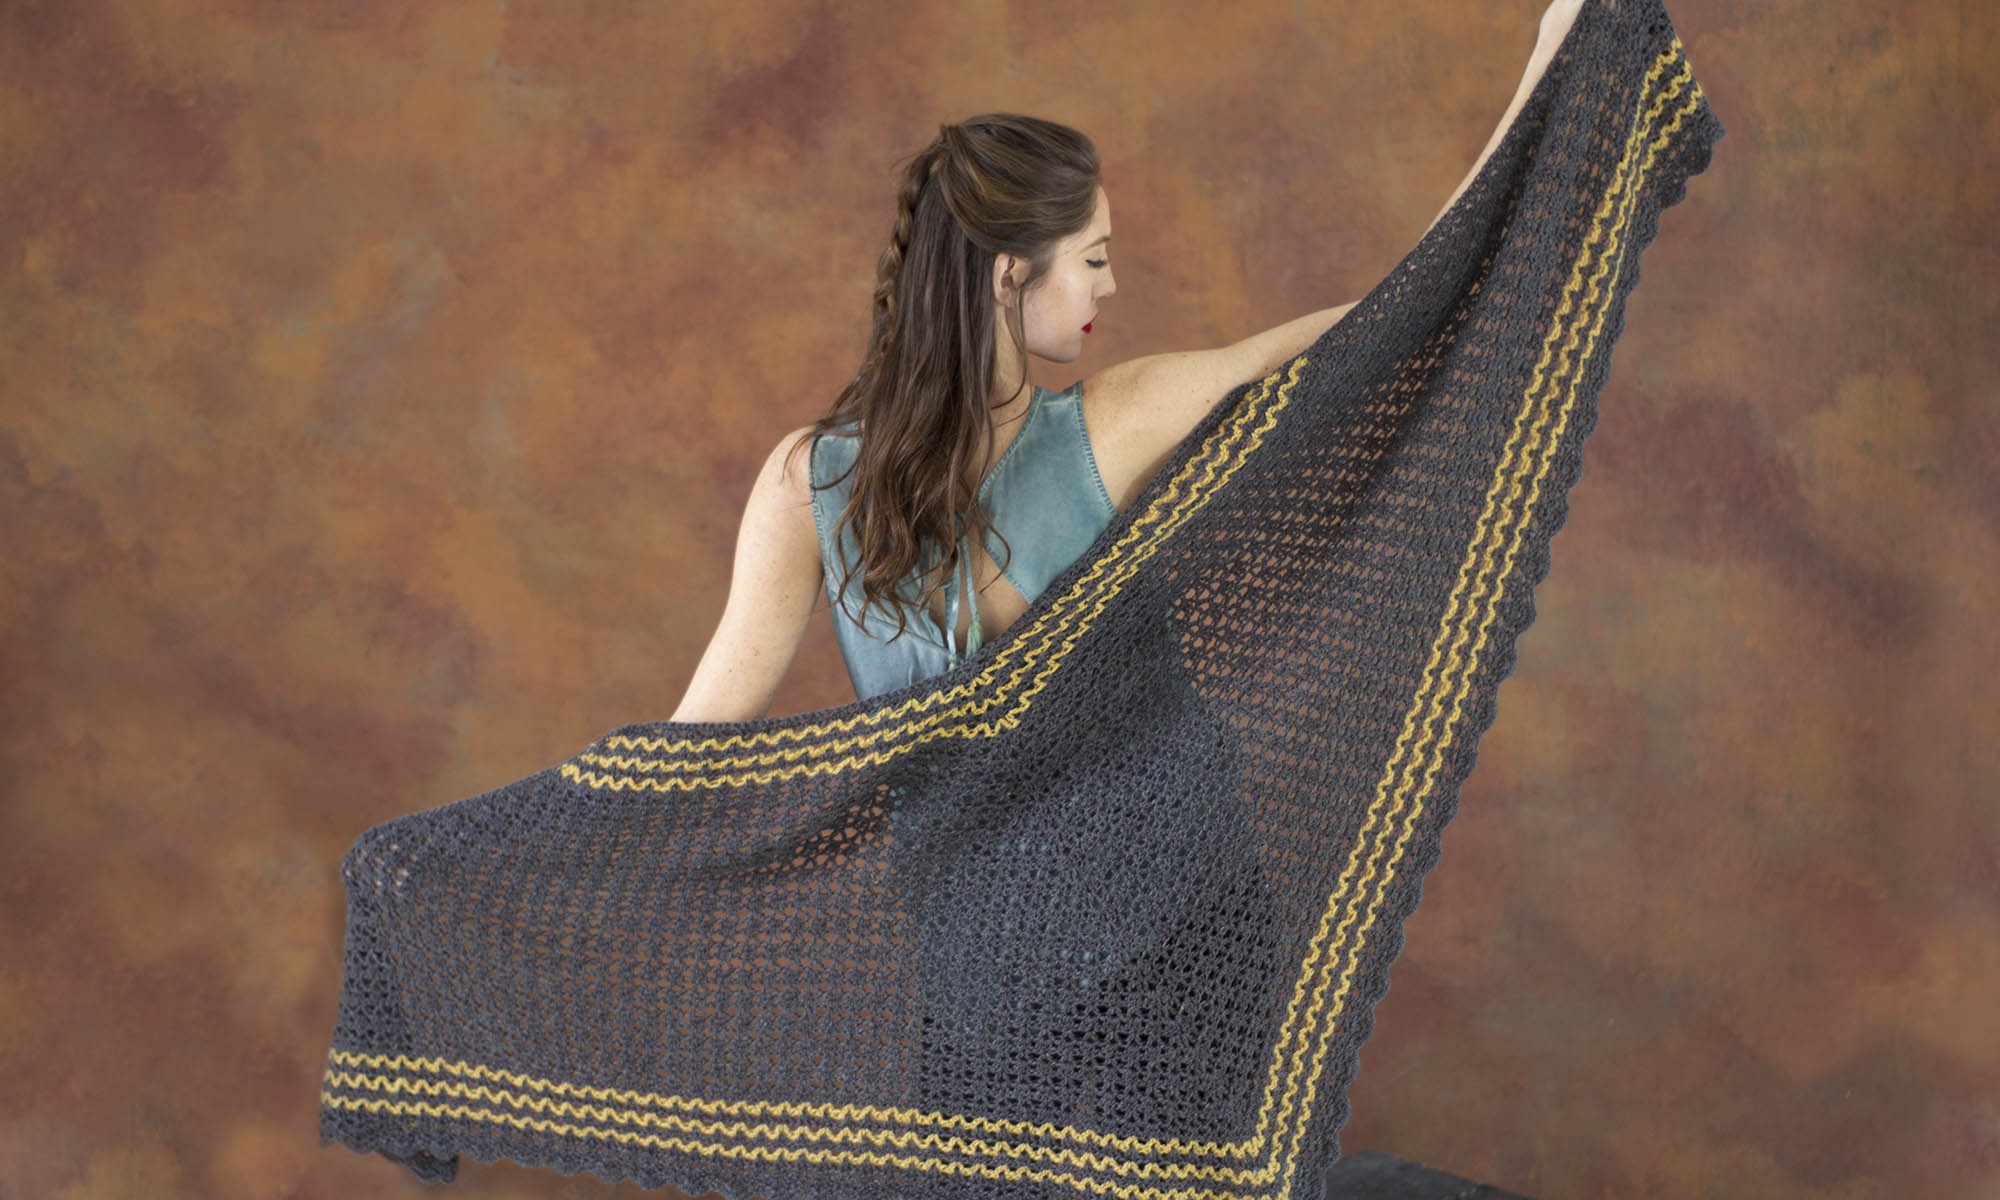
The finished piece also makes for a very fun wrap or stole if you’re looking to add some festivity to your look!

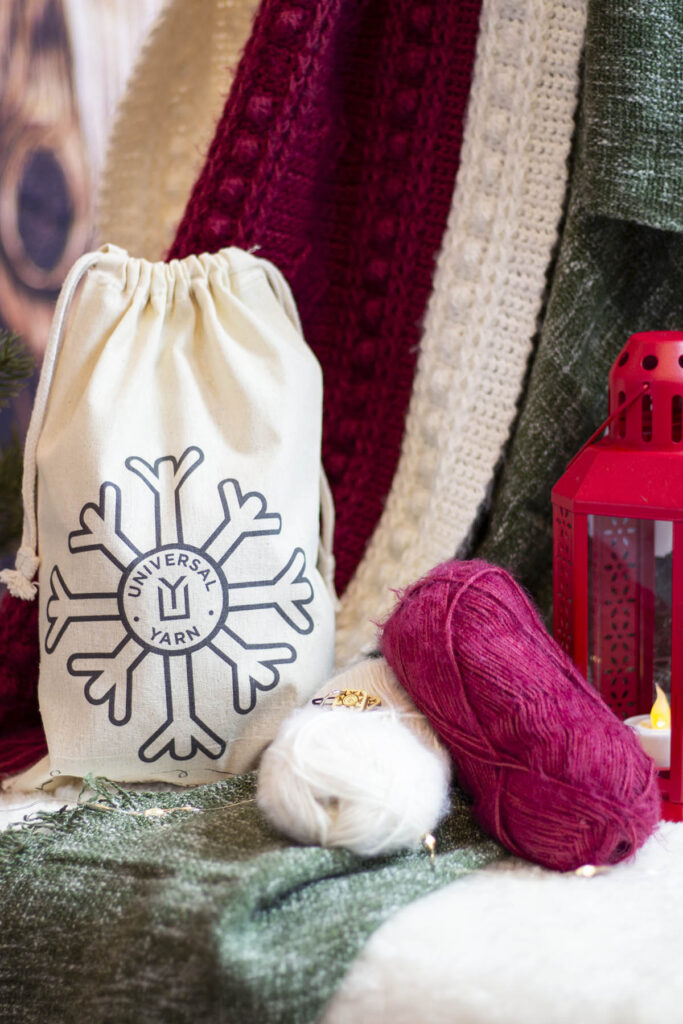
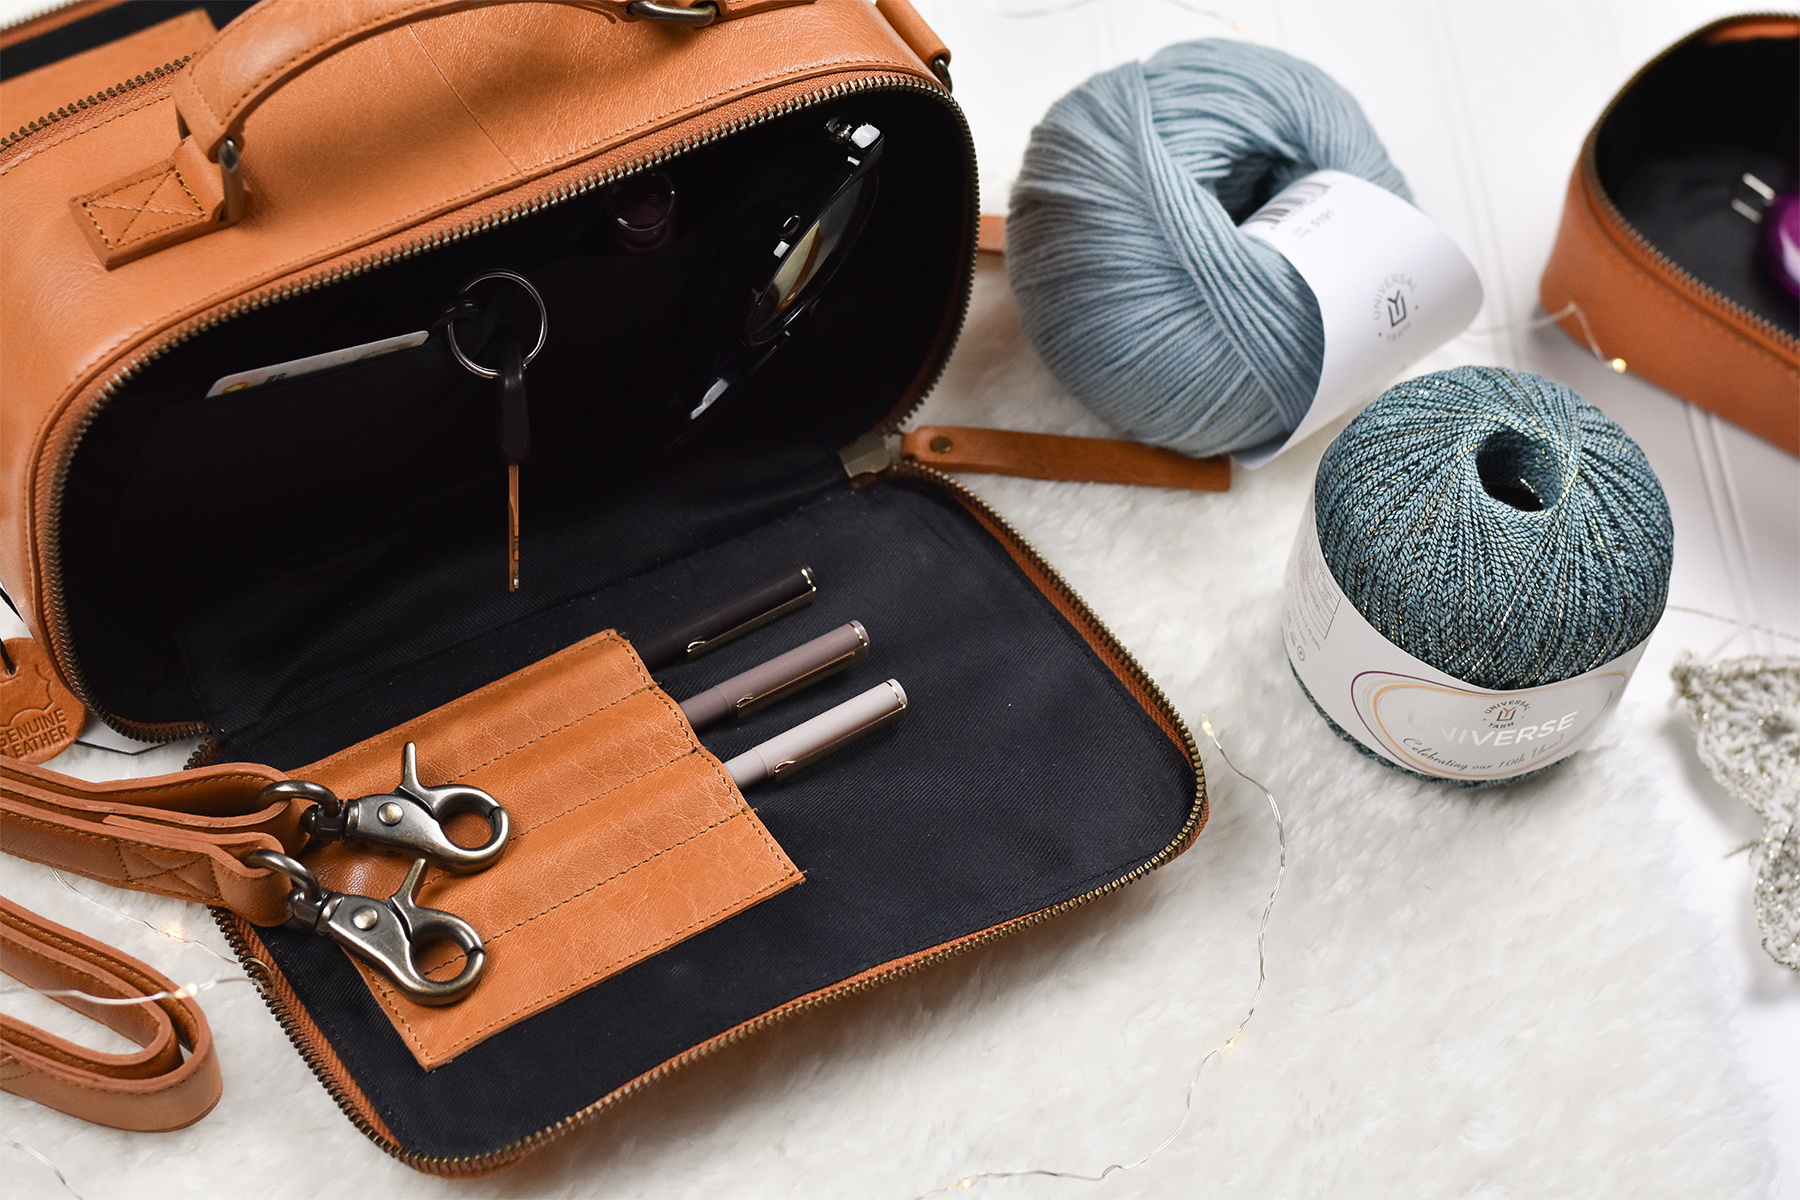
Winterworld was intentionally designed so that you can work on it anywhere and everywhere! Bella Cash and Universe are each wound into 50 g balls which are the perfect size for stashing into a small project bag with your crochet hook. With each snowflake being made individually, you only have to worry about 1 of each yarn at a time being with you, and making little snowflakes is quick and easy no matter where you are!
For getting out and about with yarn, I’m obsessed with some of the muud handcrafted leather products that we carry! For this project specifically, I recommend the Hope crochet box or the Heaven bag. Hope is perfect for tucking in to a larger bag as it has a sleek shape, room for the 2 balls of yarn, and an elastic band for up to 6 hooks. It is compact, tidy, and just what you need for bringing a project along to any occasion.

Heaven is my personal favorite. It comes with a strap to turn this project case into its own bag! Don’t worry about tucking and transferring a project bag into a tote, and just make this your all-in-one project purse! The two sides zip fully open to reveal compartments suited for small projects like Winterworld, as well as your daily essentials. With fiber in mind, the bag was designed to have holders for hooks or needles, as well as interior zip compartments and pockets.
There are plenty of options for having your Winterworld project with you as you navigate holiday parties, shopping and more. Tell us in the comments, what are your favorite places to bring your on-the-go projects!?
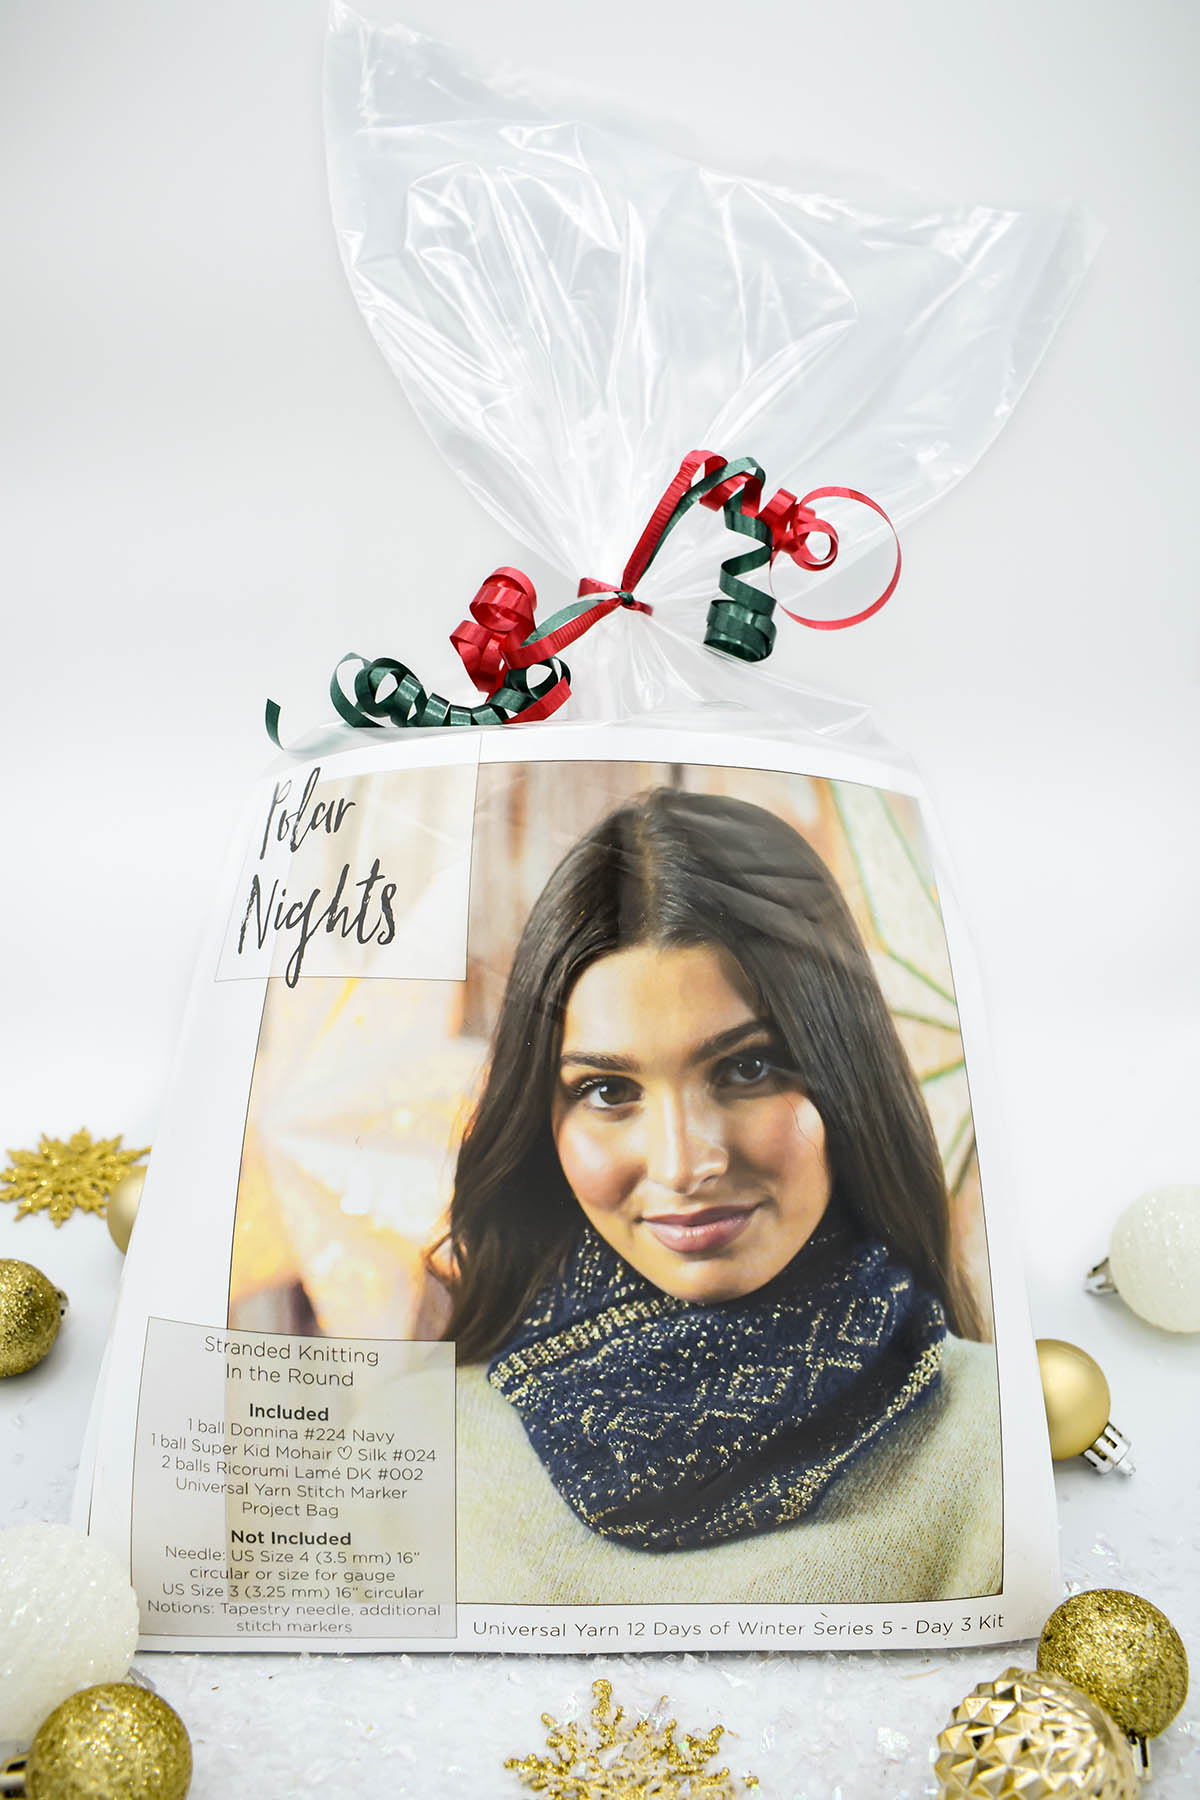
Remember, these exclusive kits can be purchased at local yarn store retailers near you. Not in stock at your local shop? Ask them about drop shipping – order through them, and we ship to you! Each kit comes with the pattern, the yarn required to make it, a mini Universal Yarn project bag, and stitch marker. Use our store locator to find your nearest Universal Yarn retailer!
Warmly, Ashley Jane McIntyre