Greetings knitalongers! After joining shoulder seams on my Catawba River Poncho last week, I’m all set to pick up stitches for my side ribbing.
At this stage, my poncho is starting to look like a wearable thing. Which is exciting! All that’s left now is the side ribbing and then the collar. The side ribbing is more of the mock eyelet ribbing pattern, the same stitch pattern that’s used on the hem.
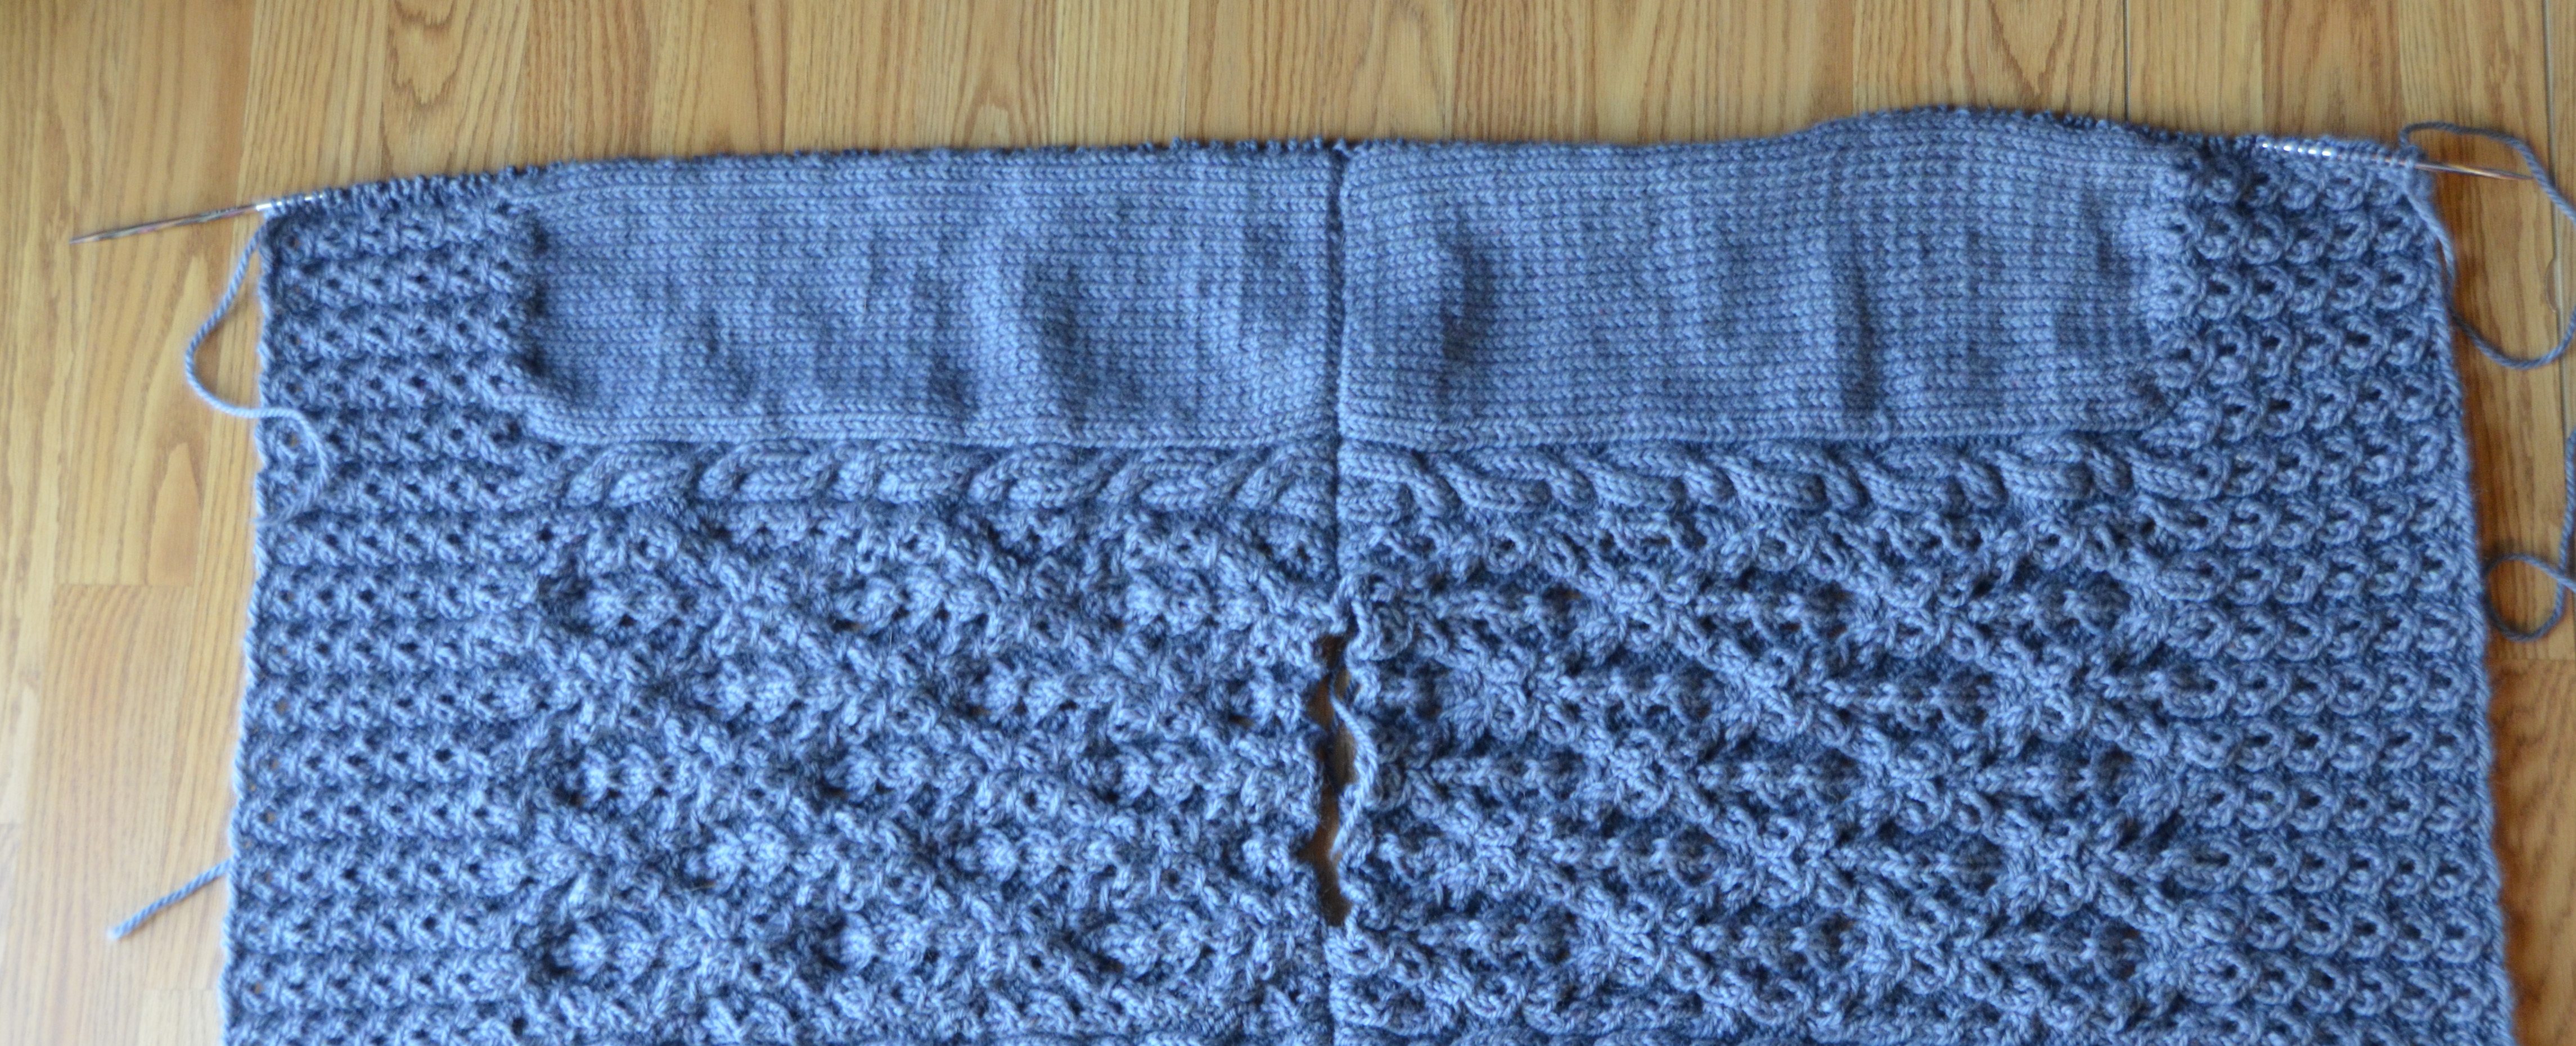
As you can see before the ribbing is added, I have an unattractive rolled stockinette thing going on here at the sides of my piece. But this will soon change.
The instructions in the pattern state to “pick up and knit 162 (167, 177) sts. To pick up and knit stitches, I am going to pull through loops of yarn and place them on my knitting needle to form my base row.
But first things first. How in the heck do I figure out how to pick up that many stitches evenly along this thing? It can seem like daunting task, but I’m going to share a few of the little tricks I like to use when doing this.
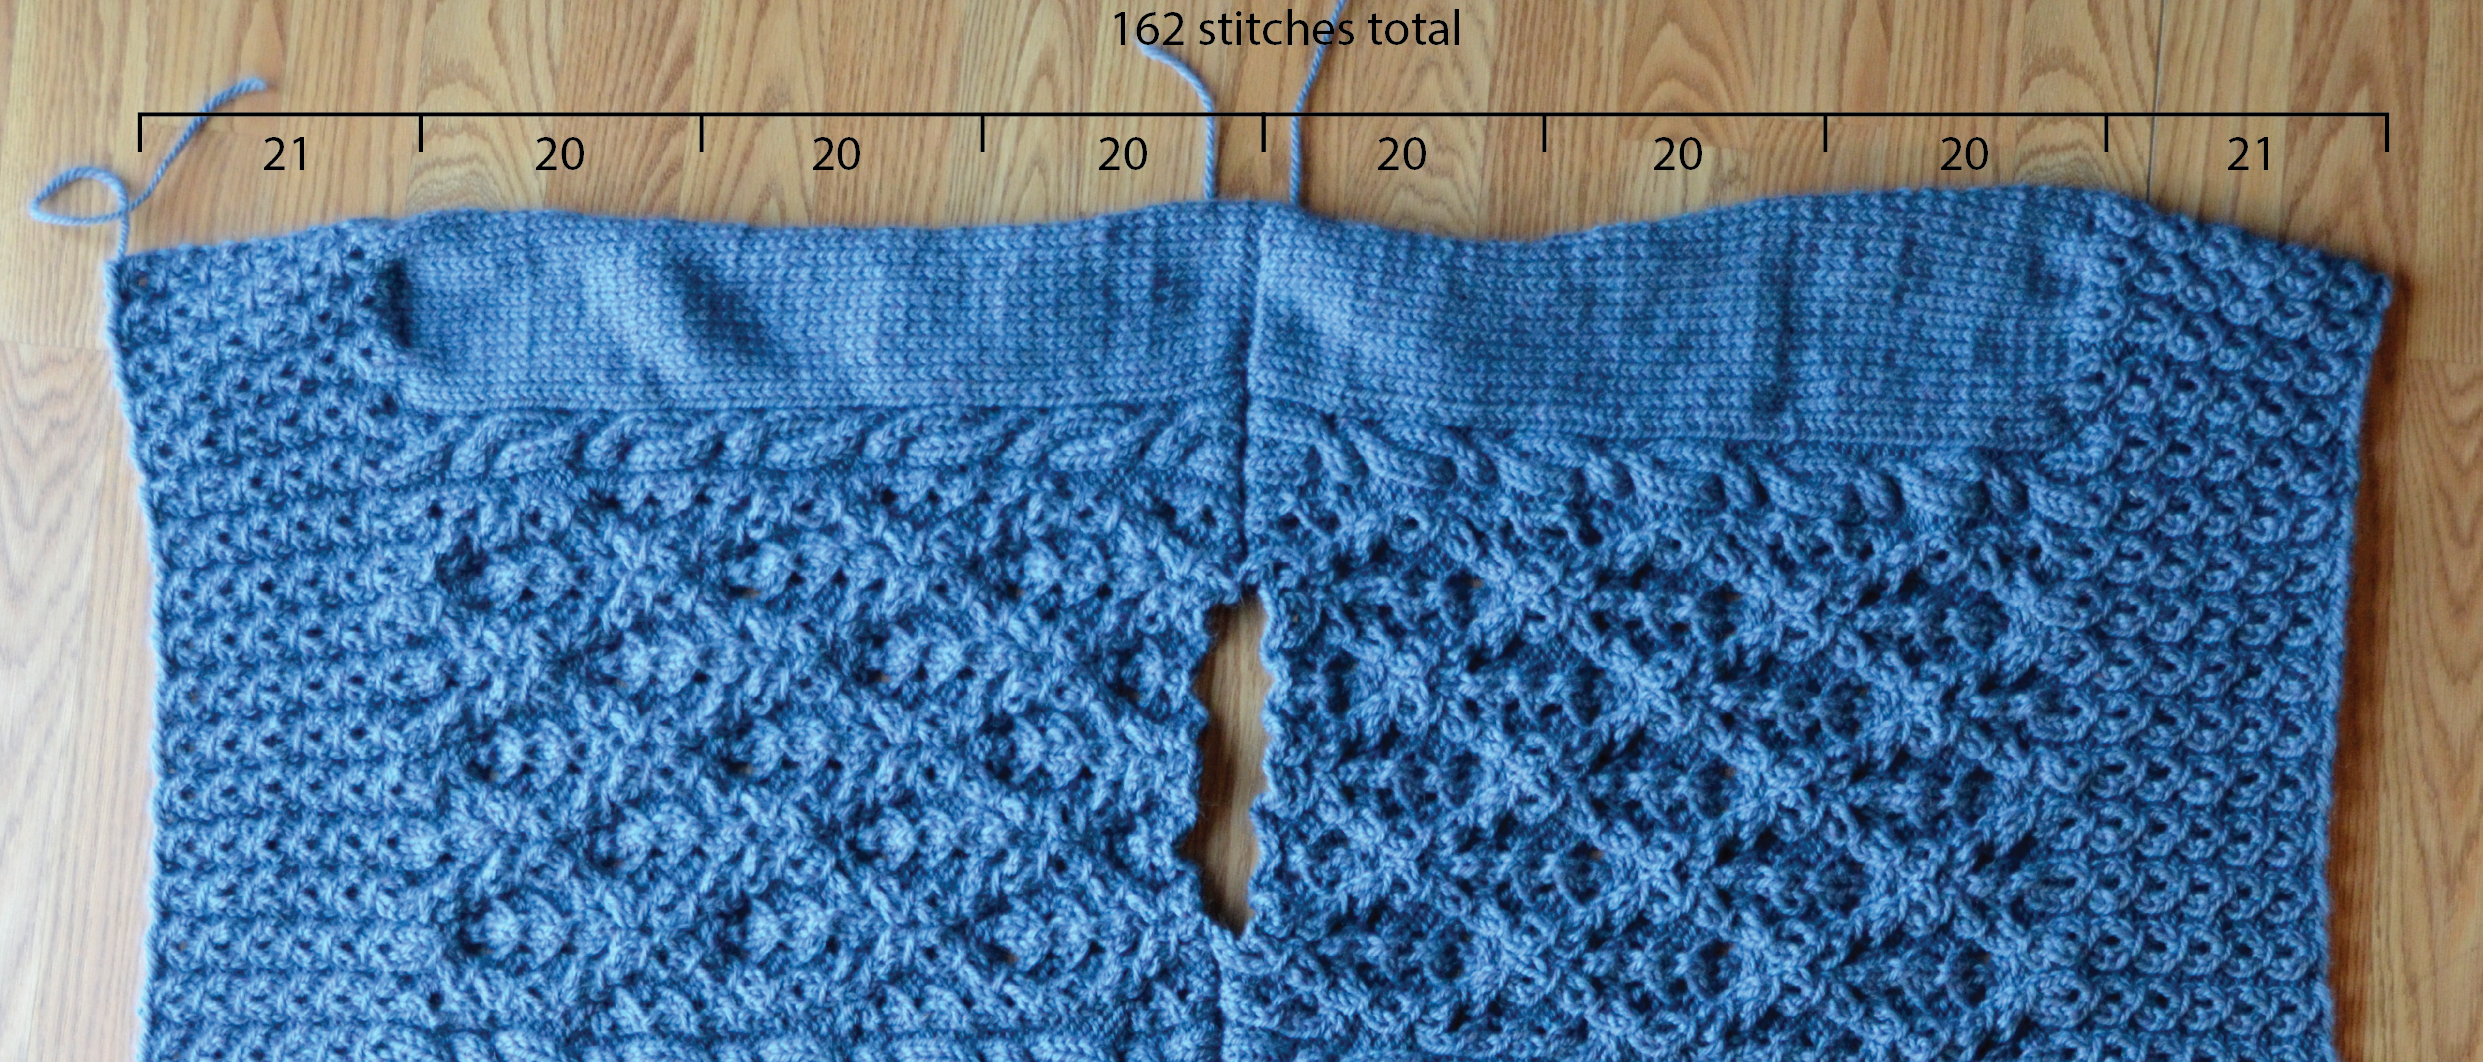
I’m making the small size, which means I need to pick up and knit 162 stitches. I’m going to break this down into more manageable numbers.
My usual method is to cut the length in half, then in half again, and again, until I get to a small enough section that doesn’t hurt my head. If I wanted in the illustration below, I could have halved the 20 stitch sections to 10, but I’m comfortable with 20 stitches at a time.
162 / 8 sections = 20.25 stitches per section. I’m going to solve this by making 2 of my sections 21 stitches instead of 20. In the scheme of things, a stitch here or there rarely makes much of a difference. I placed safety pins at each of my divisions
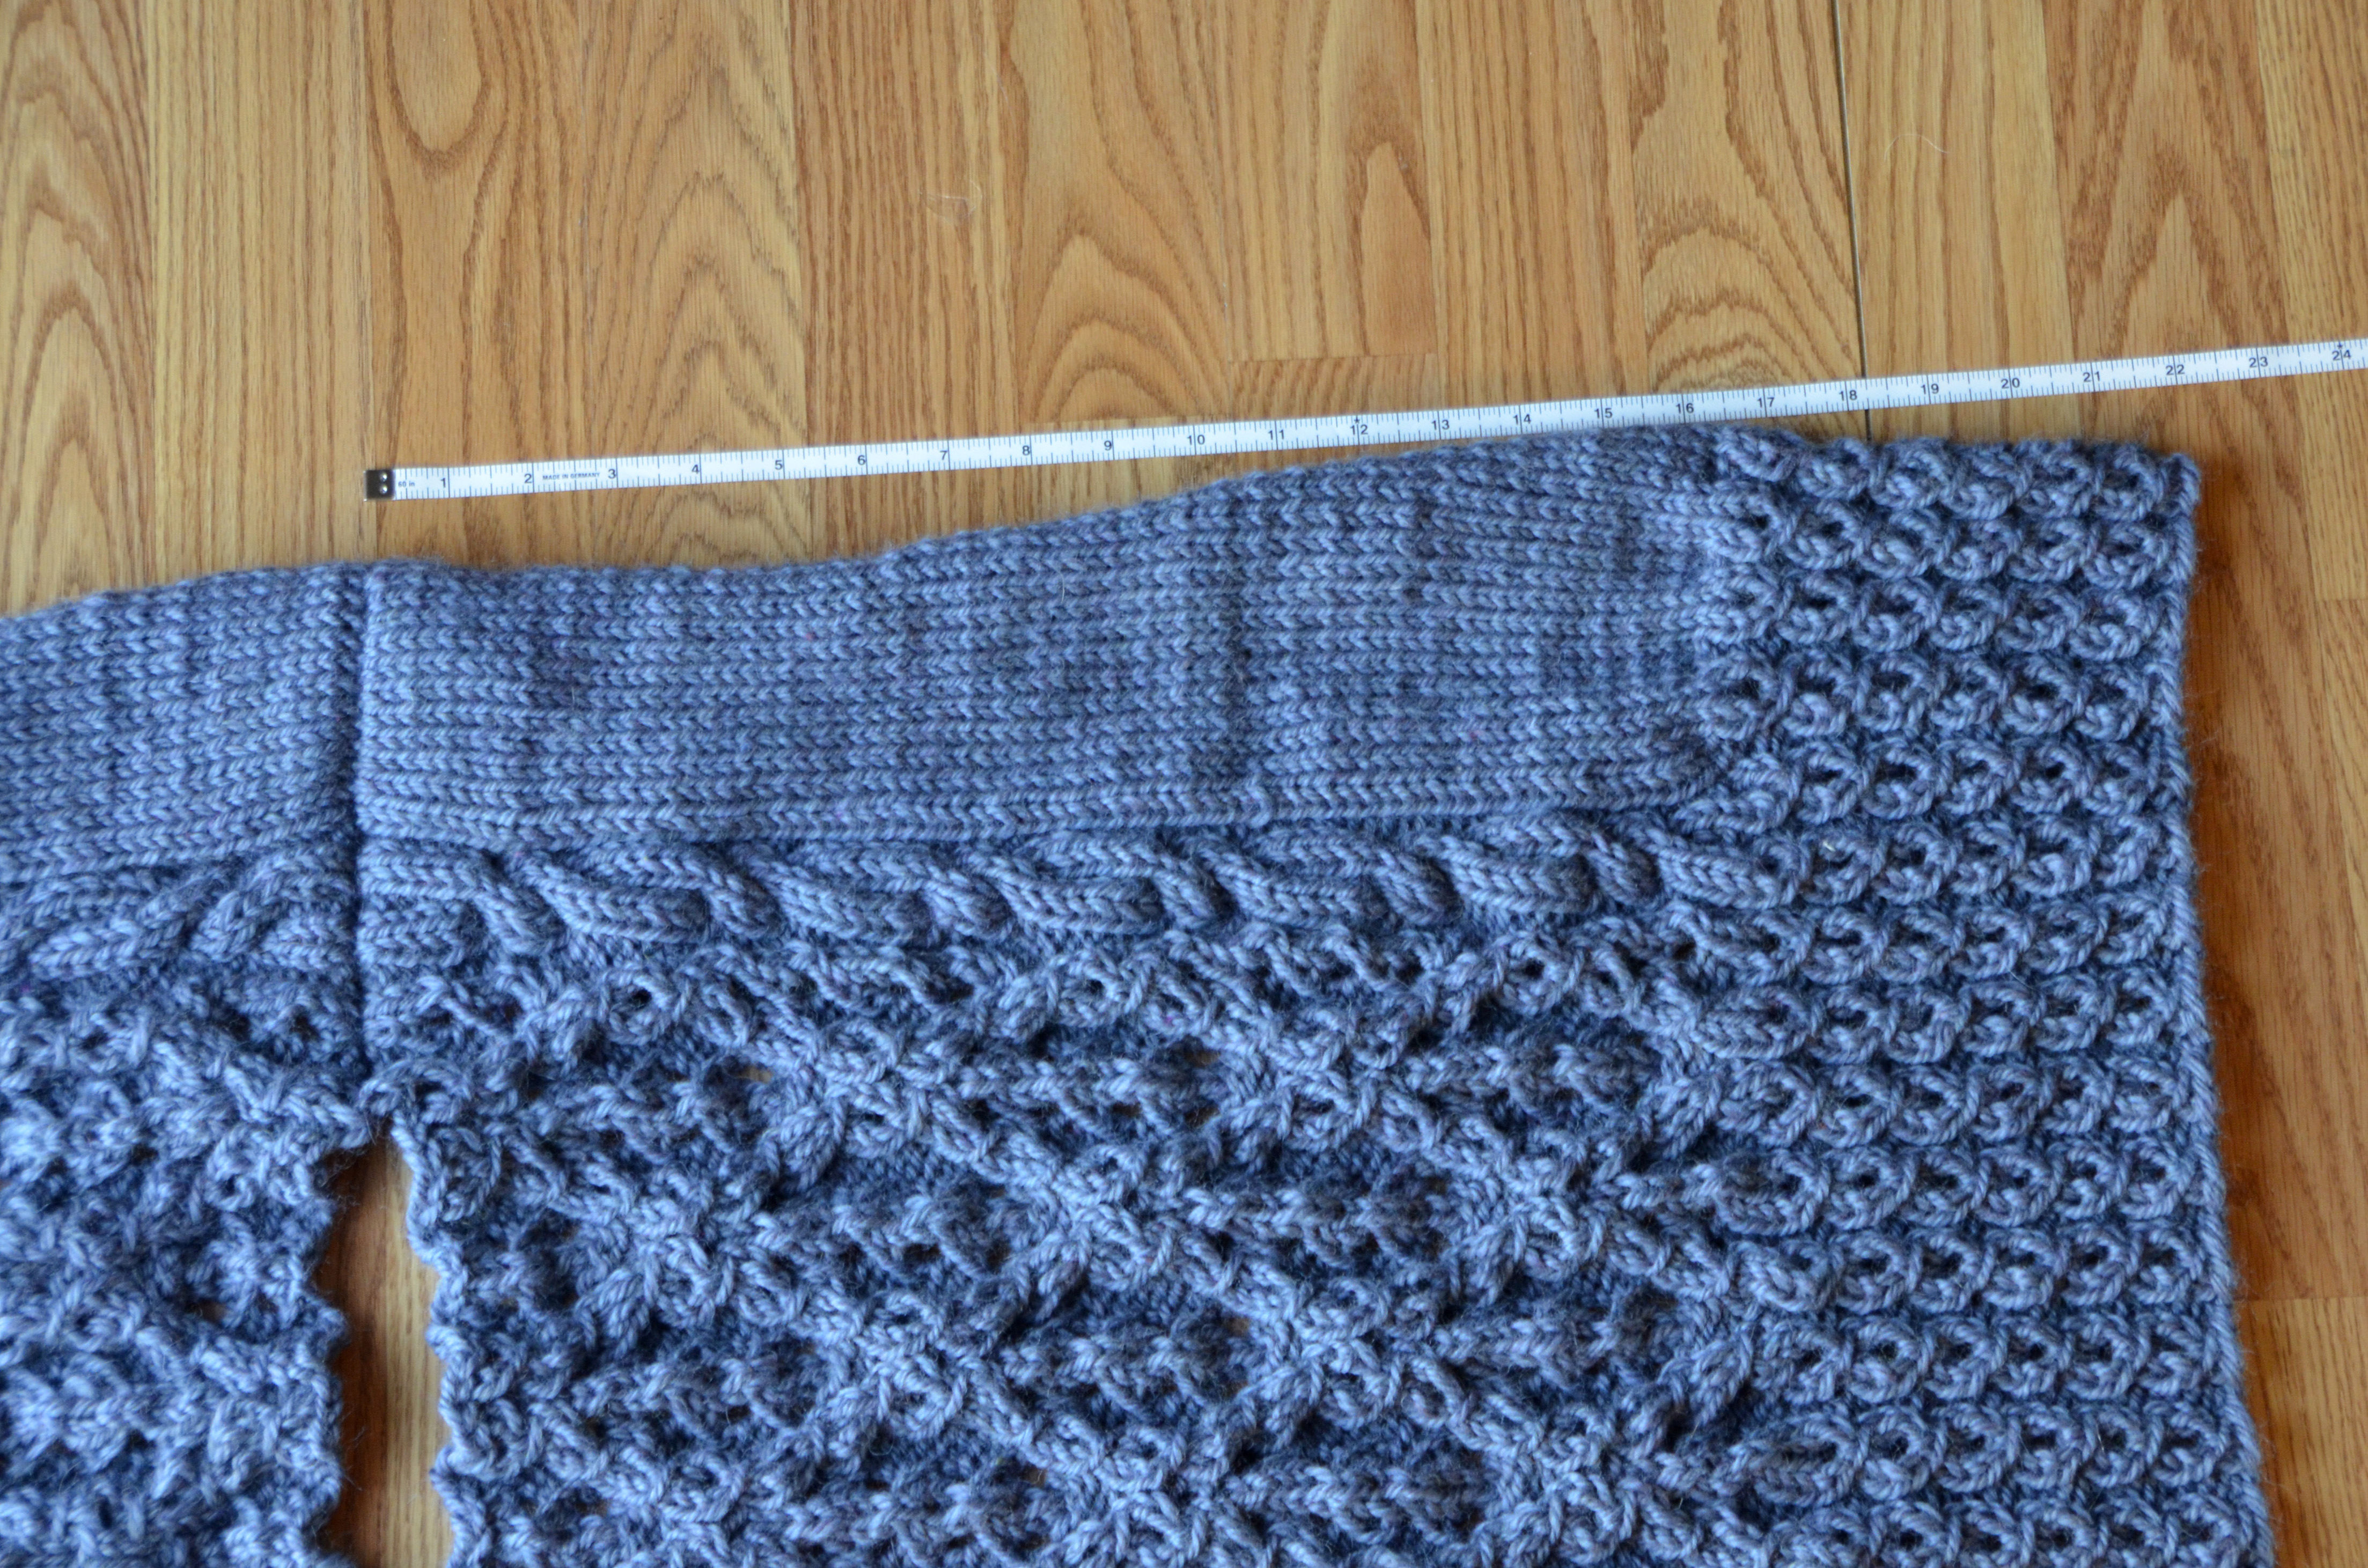
Next, I need to figure out the rate at which I’m going to pick up my stitches. I counted the rows in a couple of my 20-stitch sections, and found that each of these had 24 rows. I will be picking up 20 stitches over 24 rows.
Now I’m going to put some of my fancy math skills to work with fractions! 20/24 can be reduced to 5/6. This means I’m going to be picking up 5 stitches for every 6 rows. For you, this number could be the same, but it could also be different. It all depends on your row gauge.
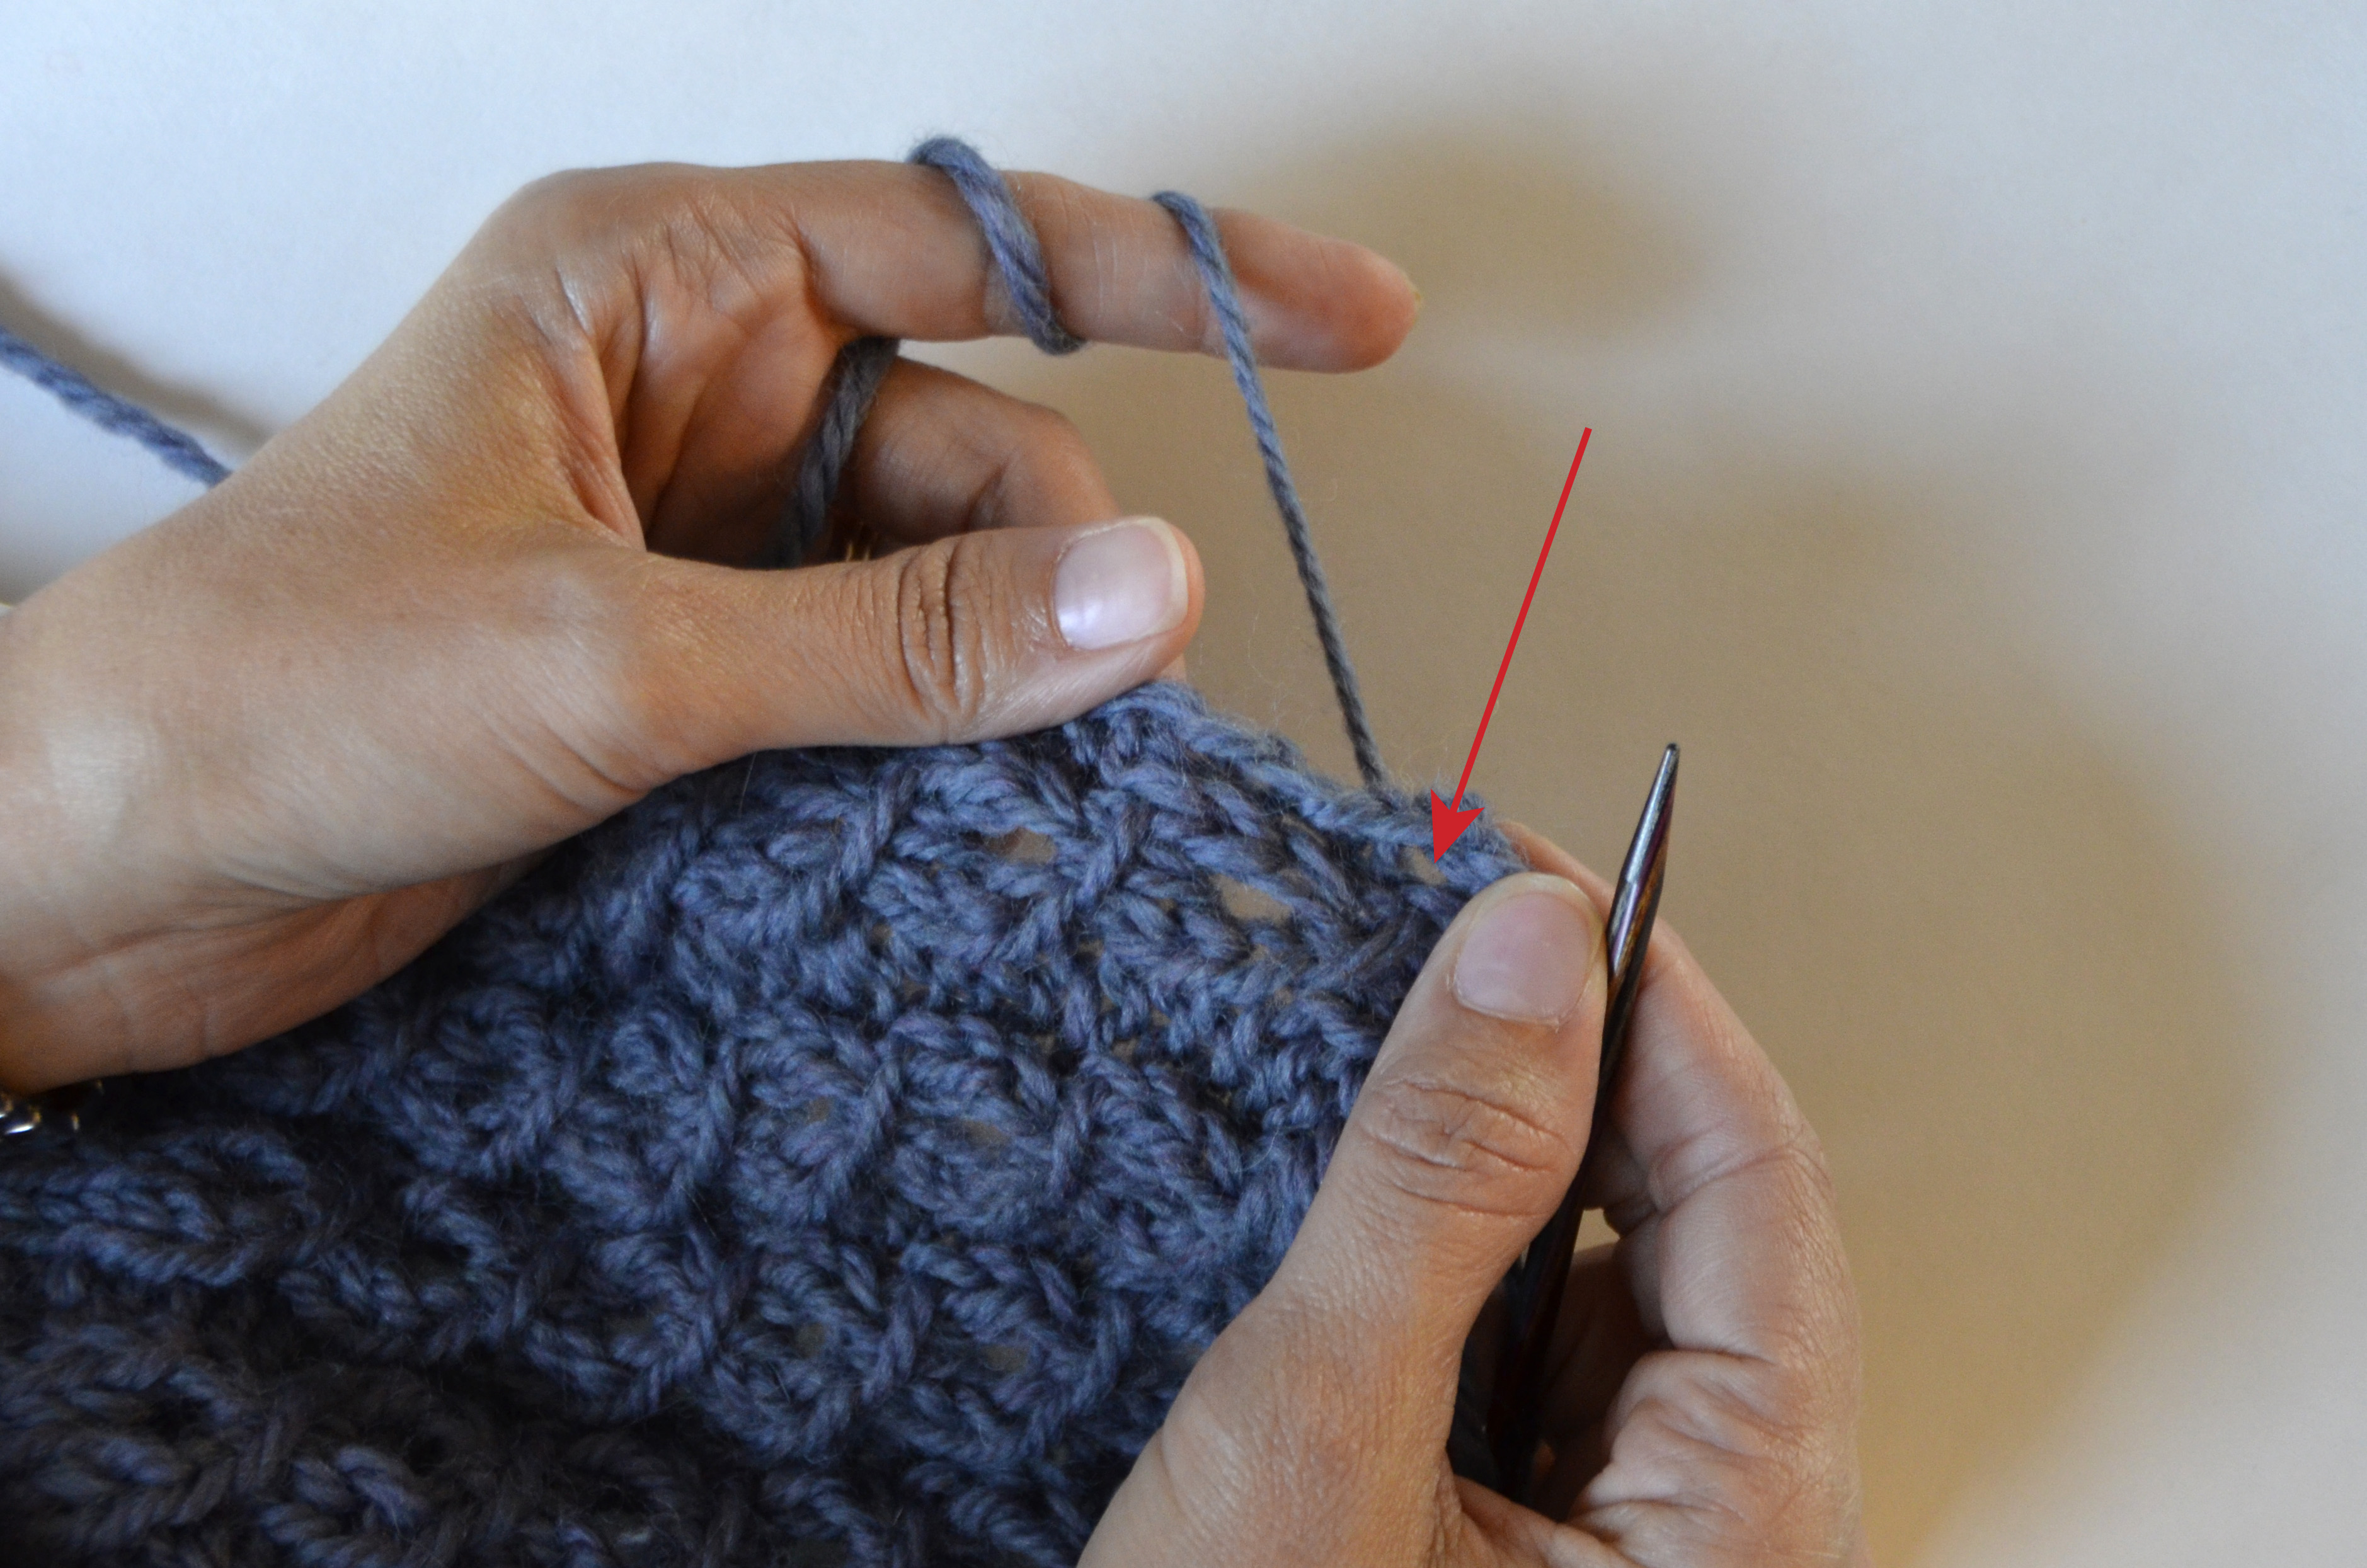
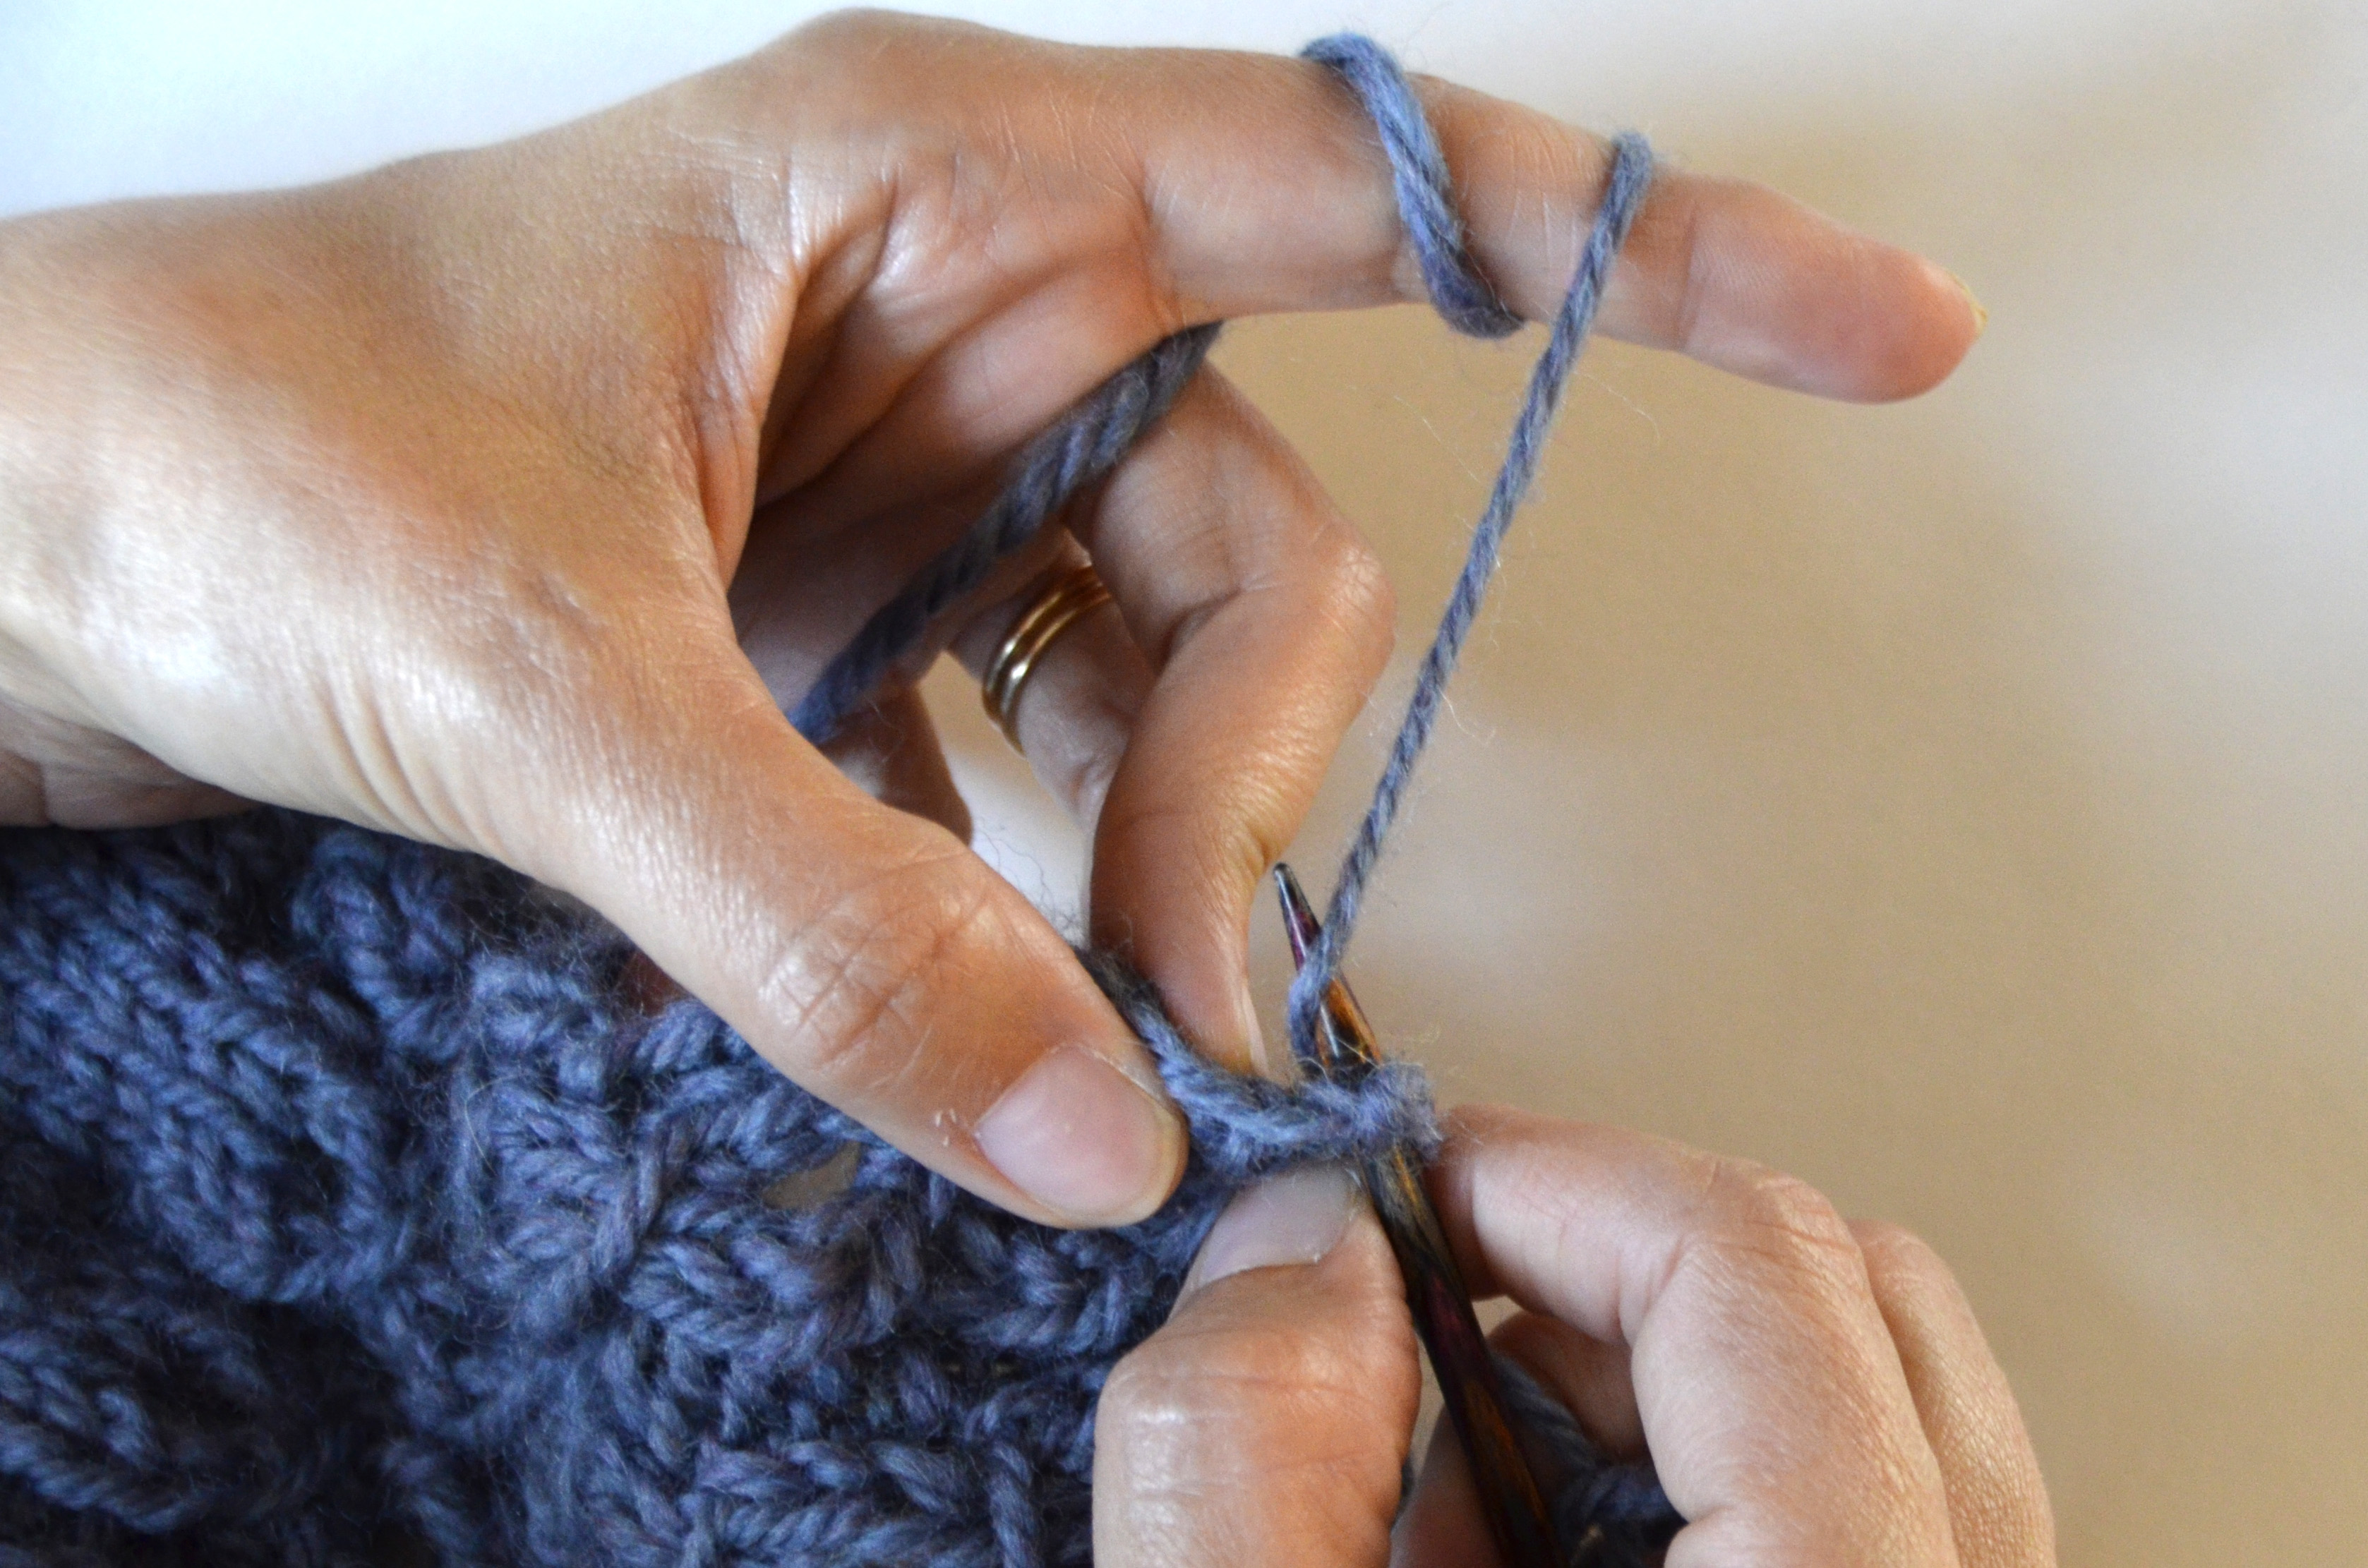
To pick up and knit, I’m first going to start at the right-hand side of the piece. In most cases when I’m picking up stitches, I like to pick up between the outermost stitch and the next stitch in. In a super chunky yarn, I might pick up in the center of the outermost stitch to reduce the bulky of the seam. But Deluxe Chunky isn’t too heavy, so I’m going one stitch in as usual.
Insert your needle into the space between those first two stitches. Wrap yarn around the needle,
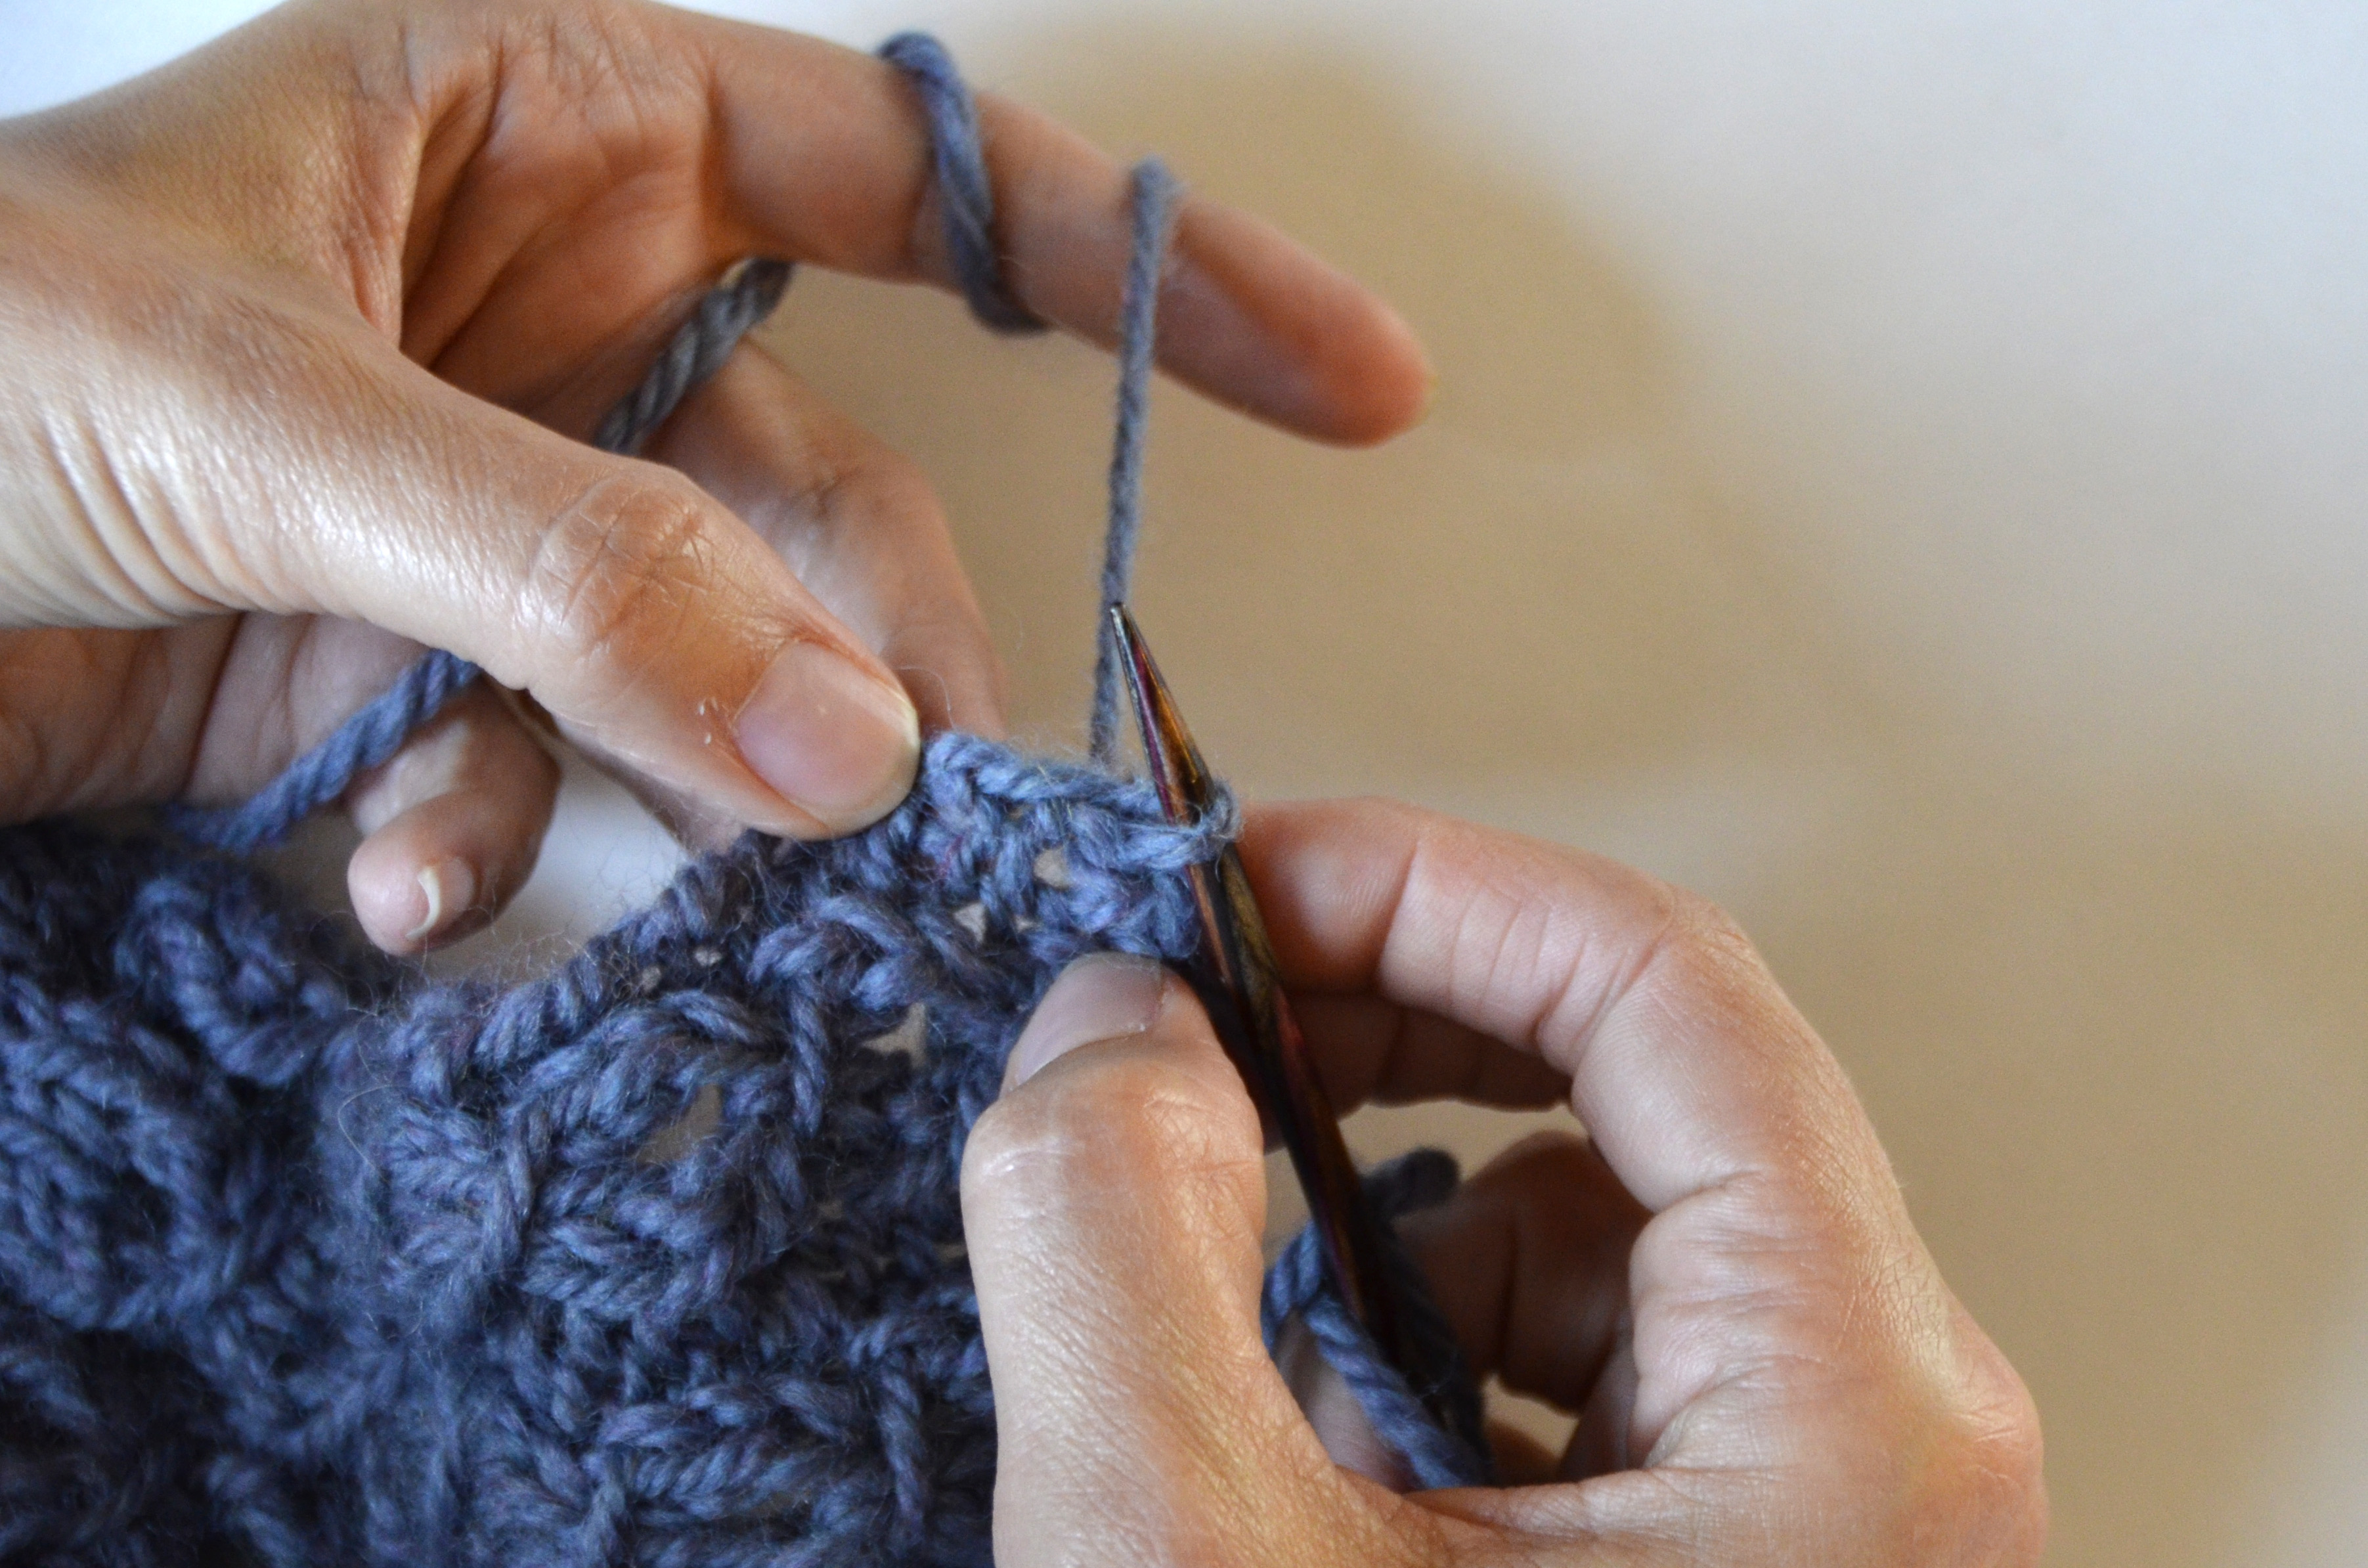
And pull through.
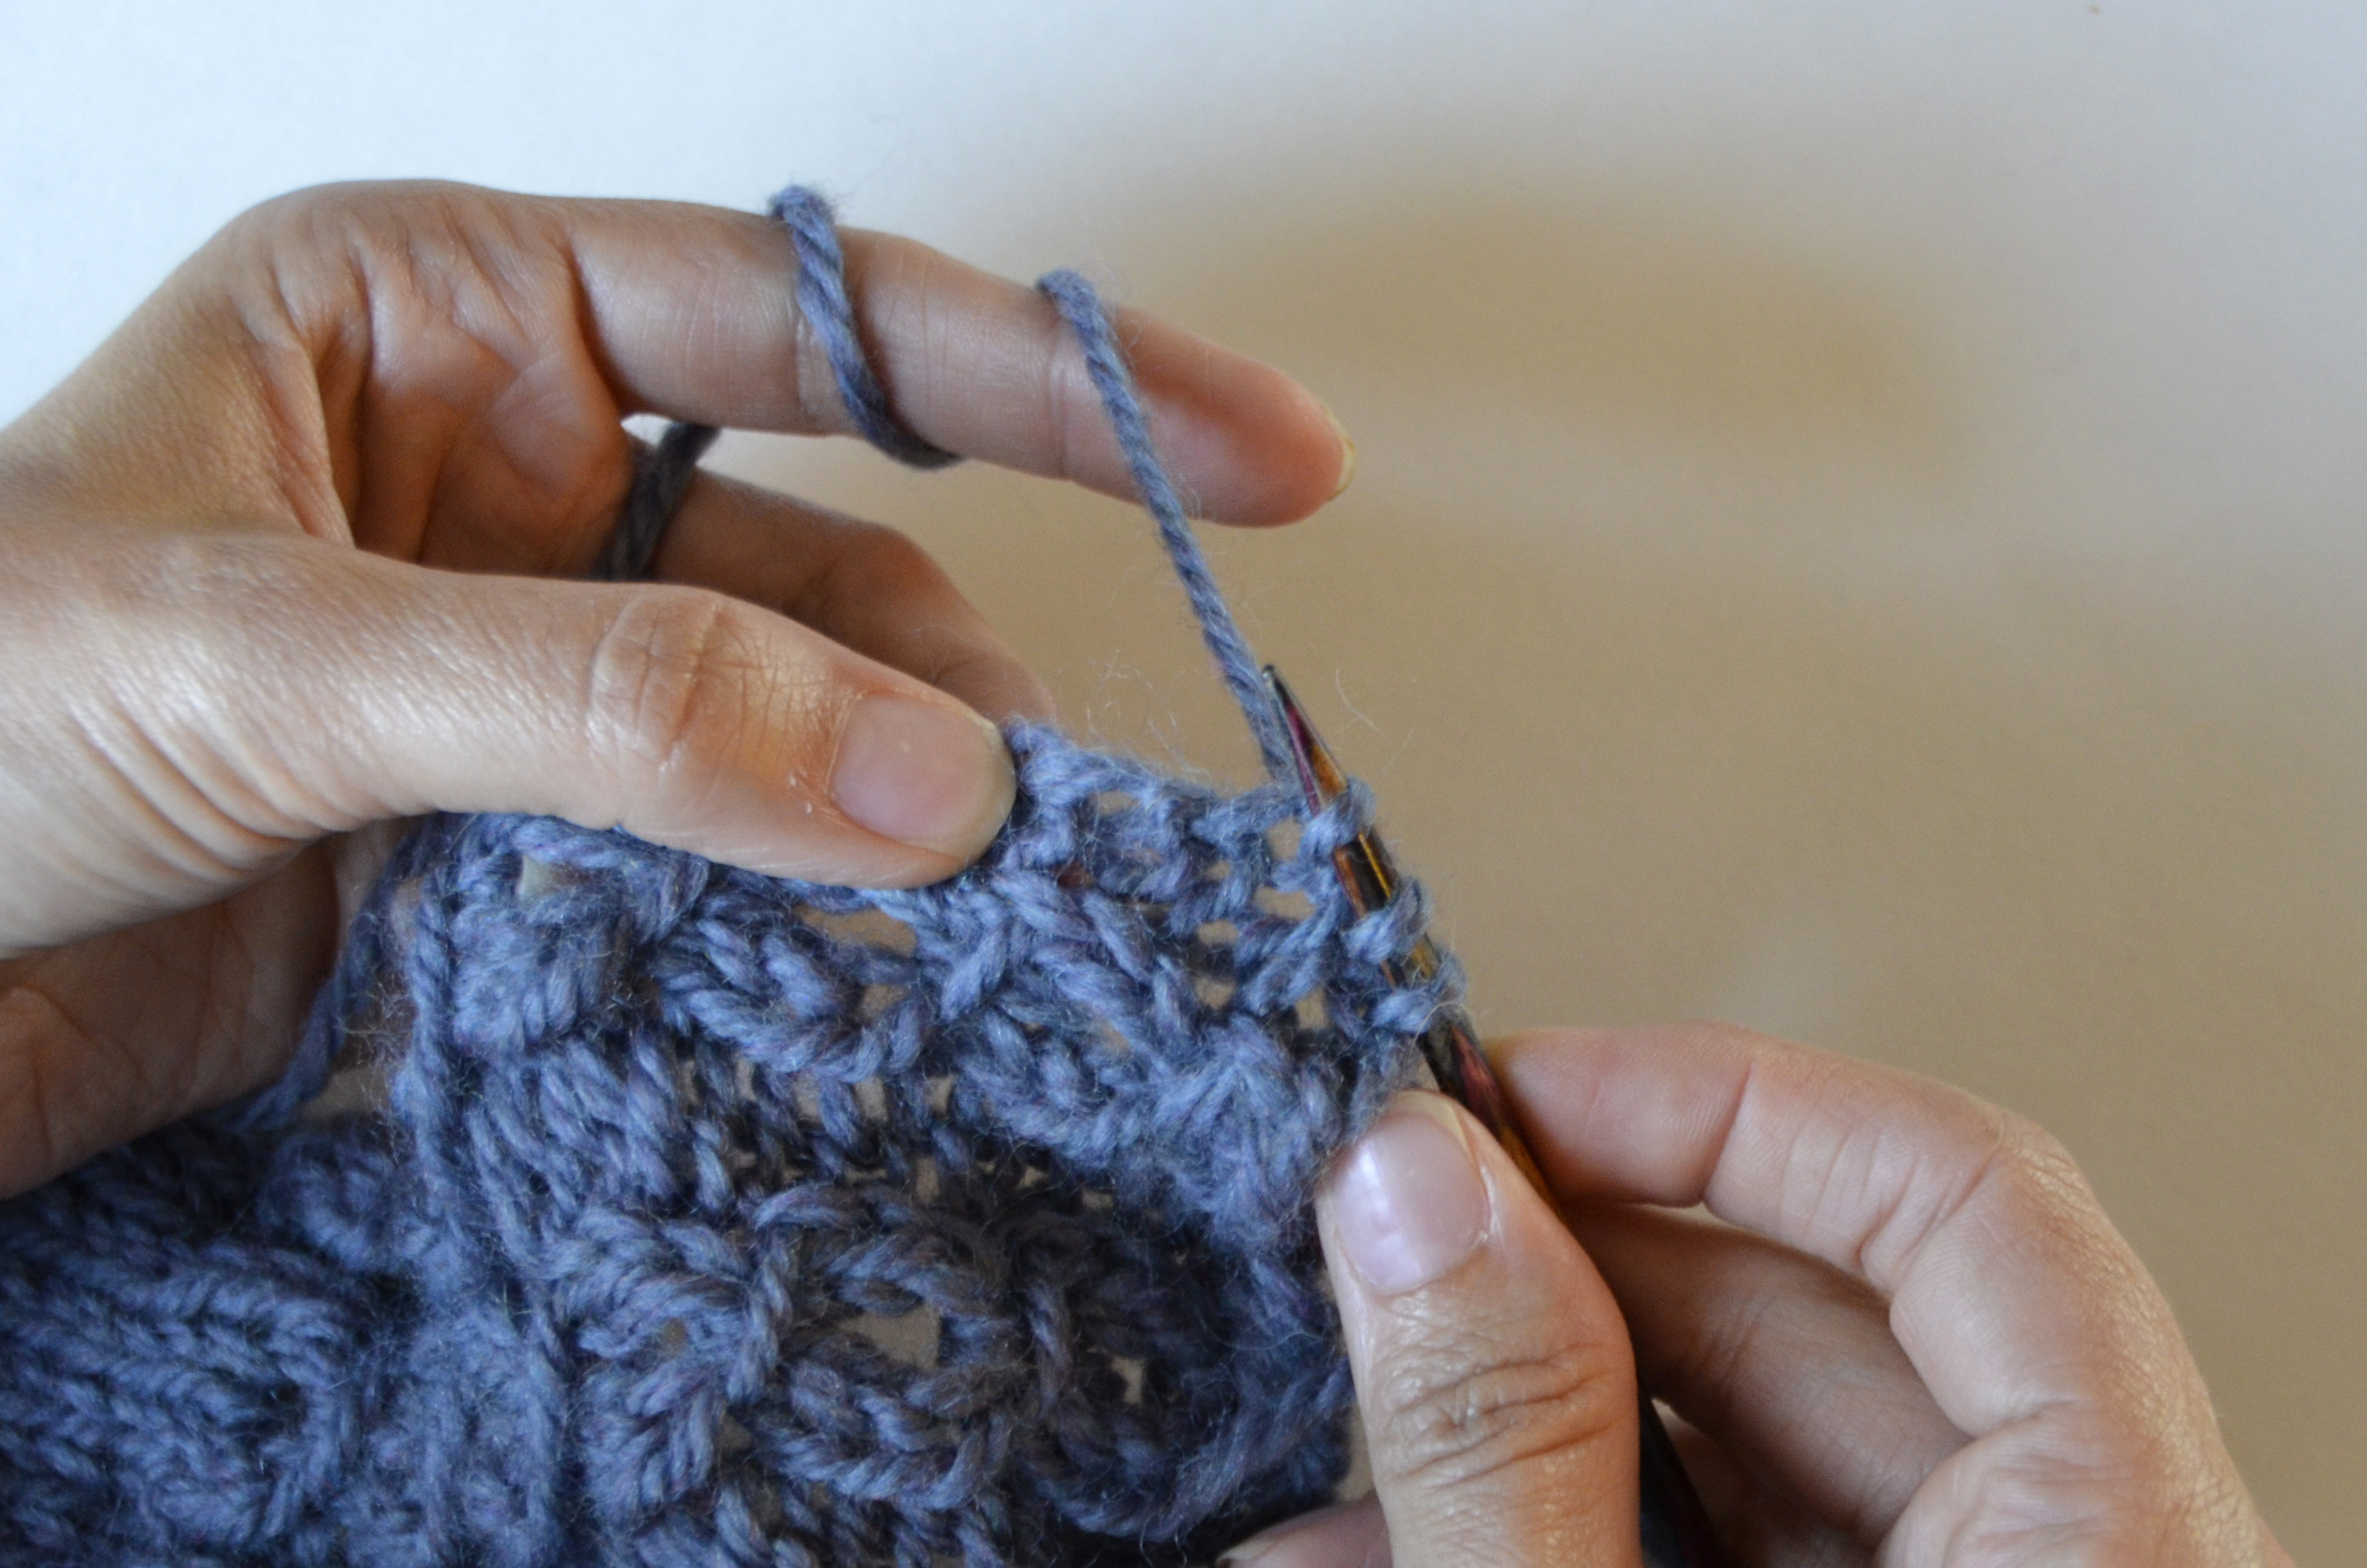
Here we are with a few picked up stitches on the needle.
And with the first 21 stitches on the needle. My markers make it easy to see my sections and to count back to make sure I have the right number of stitches.
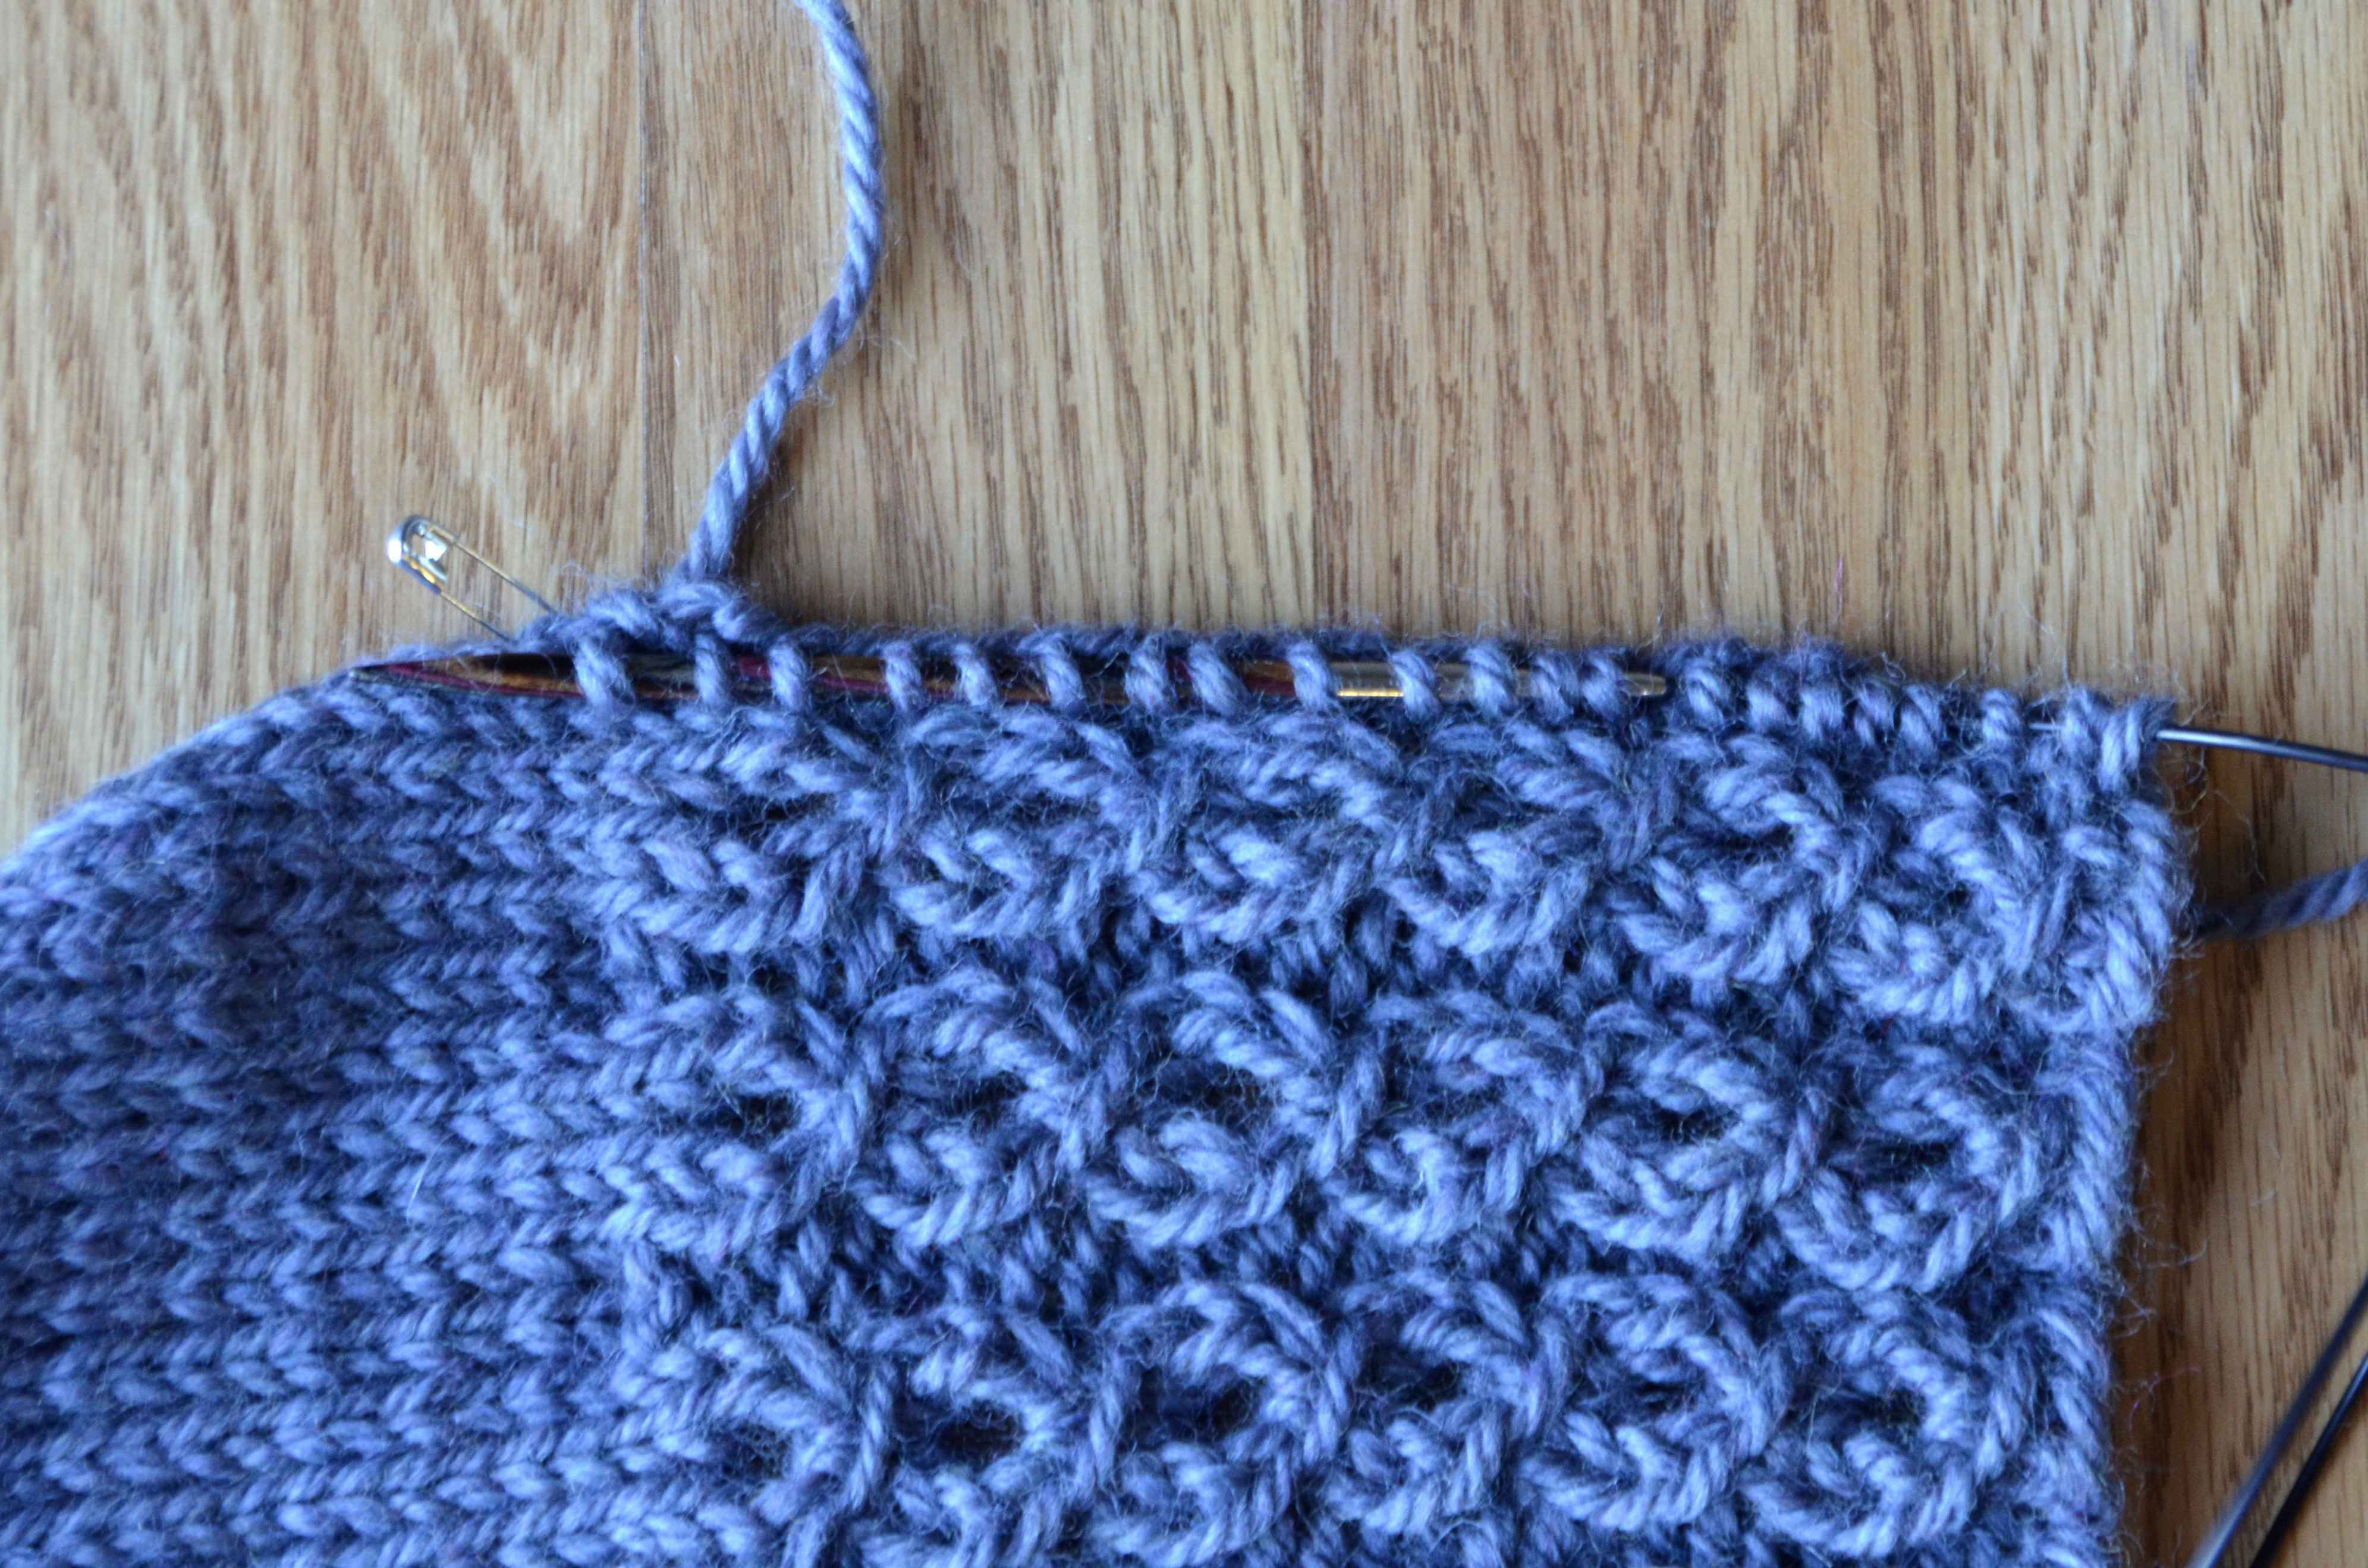
Here are all the stitches on the needle:
What you can’t see here, is that I picked up an extra stitch on one half of the piece. If this happens, it’s no big deal. Just k2tog or p2tog over the next row to adjust.
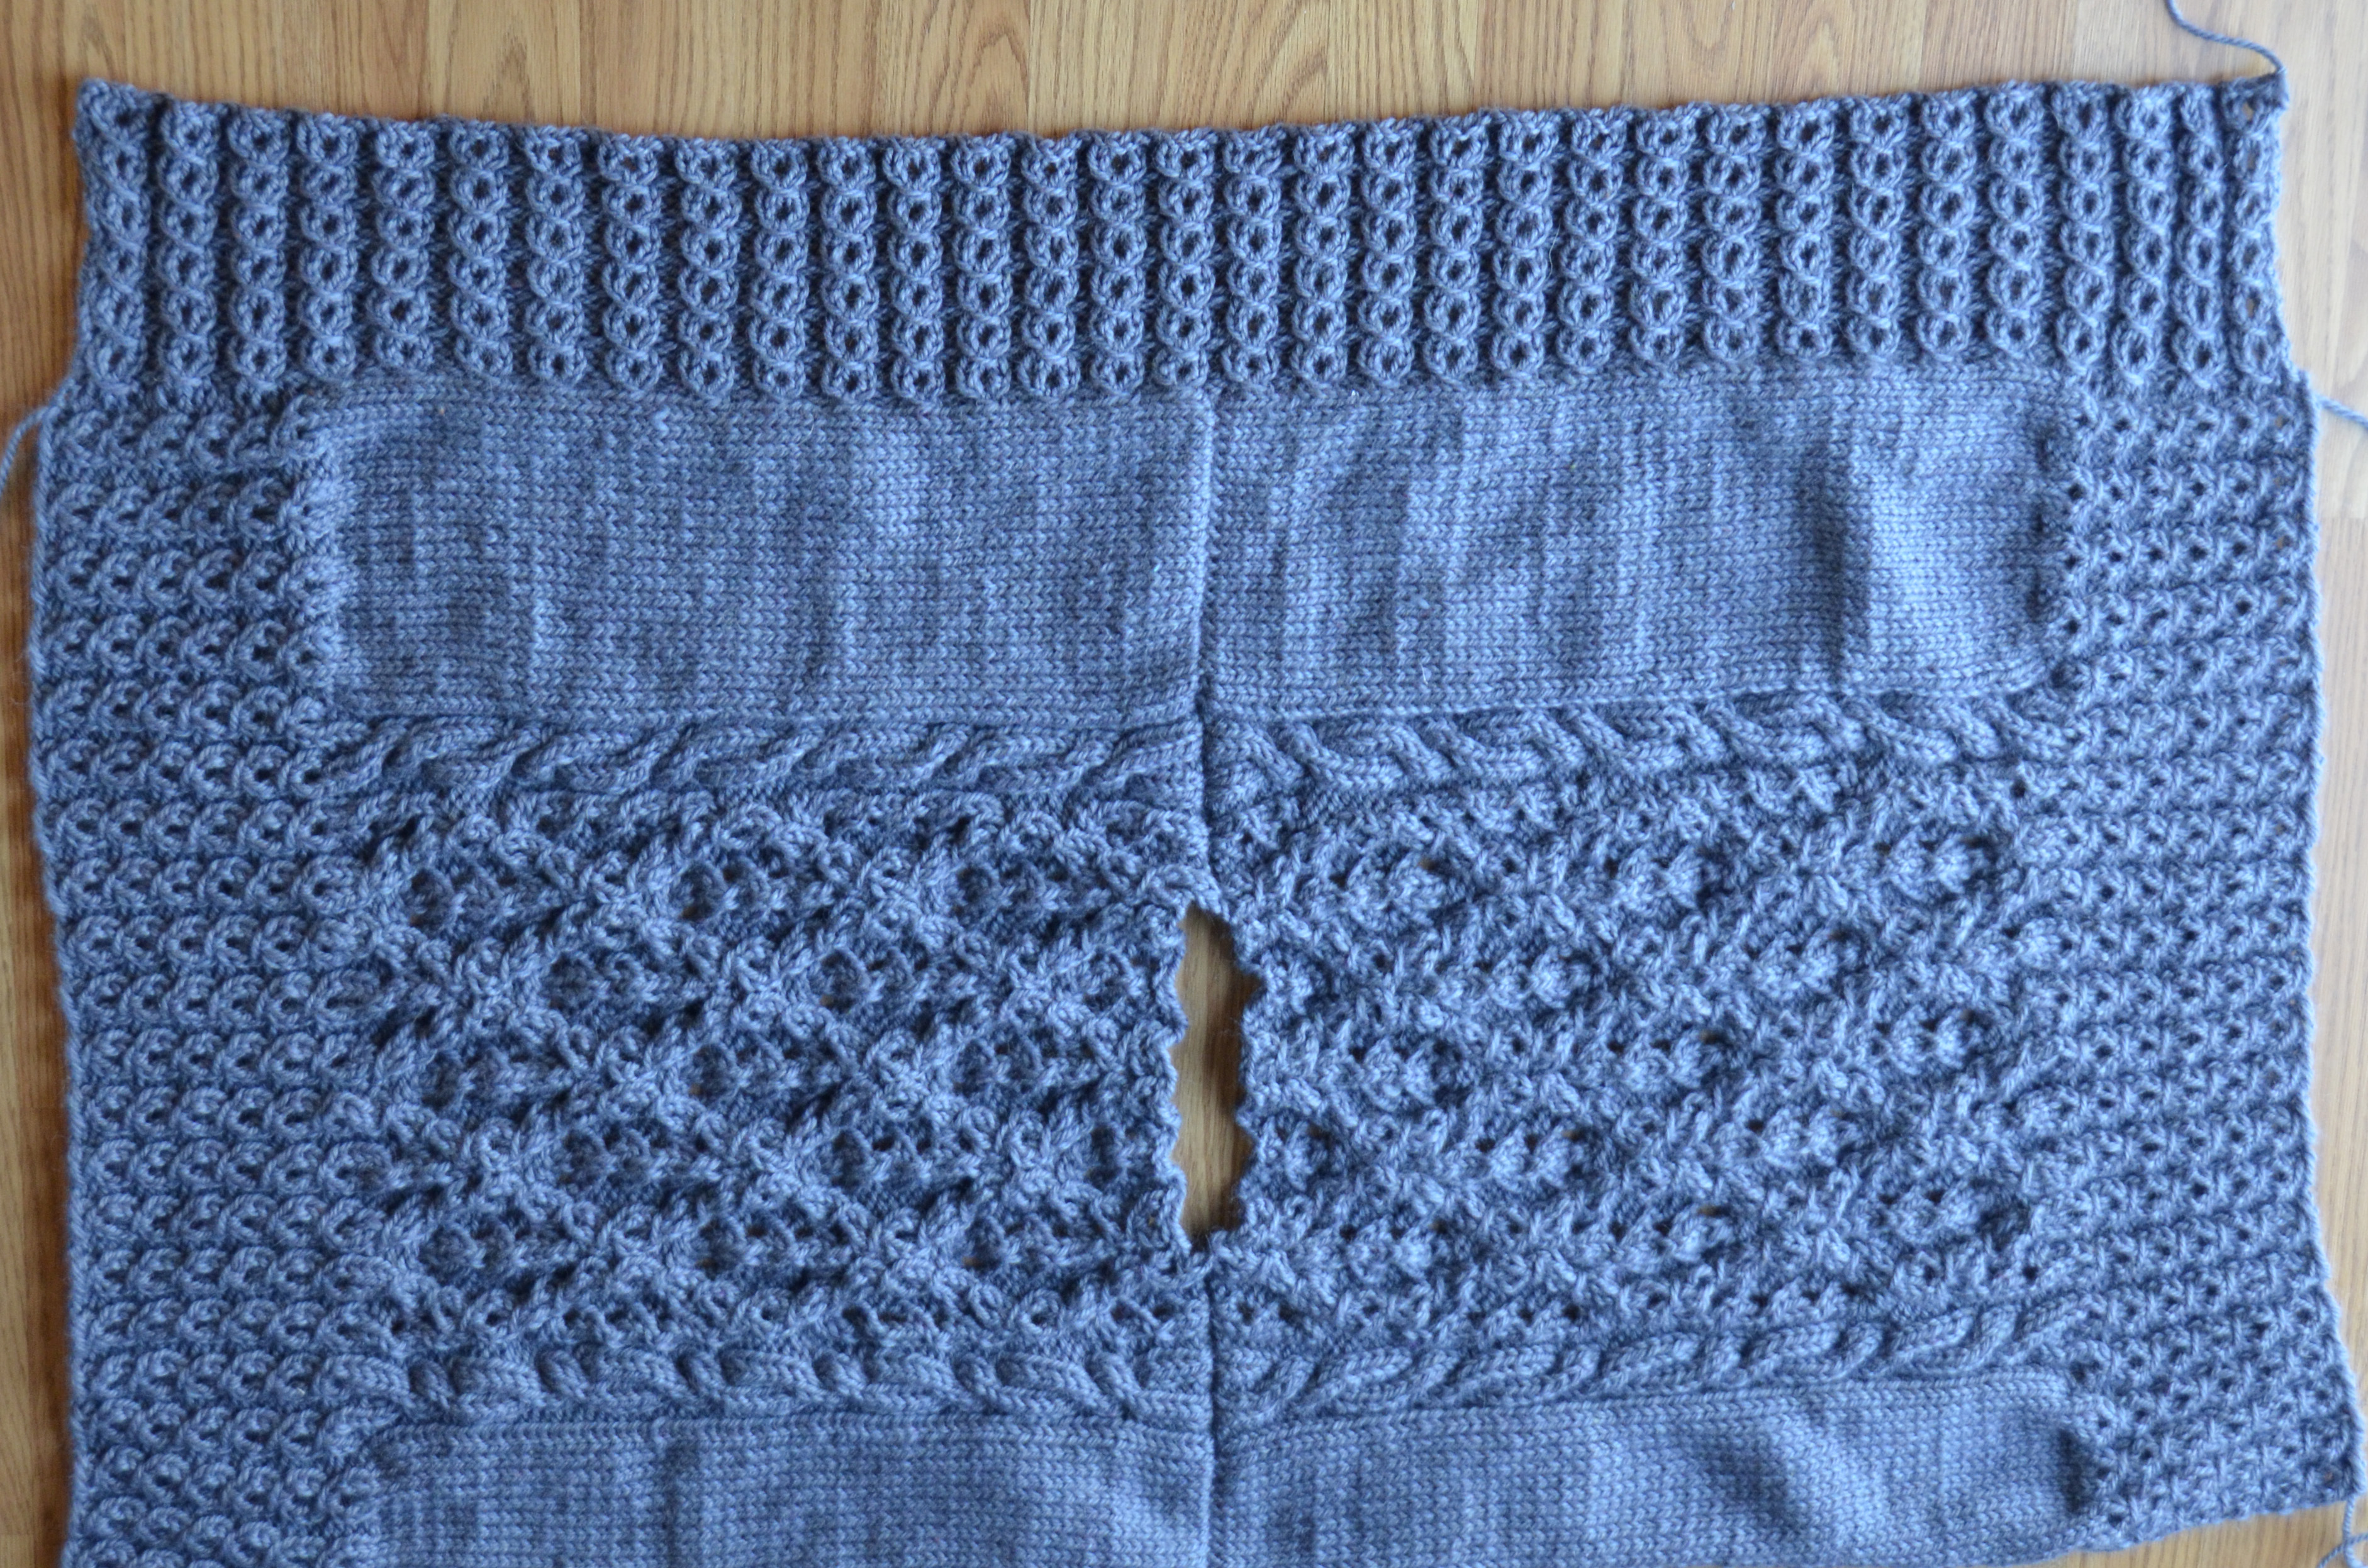
And, the edging completed:
All that’s left is my other side edging, a collar, some blocking, and it’s done!
As I was sitting outside enjoying my evening the other night, I could smell the autumn in the air for the first time this year. It’s coming, people. It’s coming! How is your knitalong project coming?

how to purchase ebook of deluxe cable collection??
Hi, Nan! Click on this link to be taken to the Ravelry page. From there, you should see a “buy it now” button that will walk you through the process.
Let us know how else we can help! 🙂