I Sampled!

Crafting is often a lesson in patience, right? In knit and crochet projects, we’re always told to “gauge swatch” before beginning a project, particularly one where we’d actually like the item to fit. It can be a drag, but is also very worth it when the piece turns out just as we want it to.

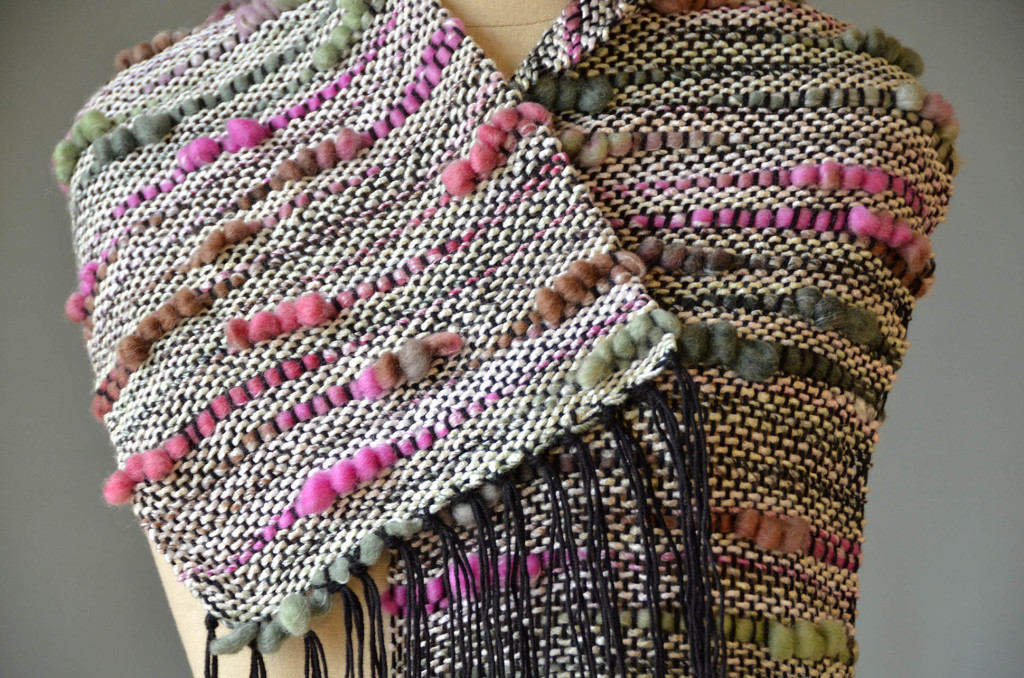
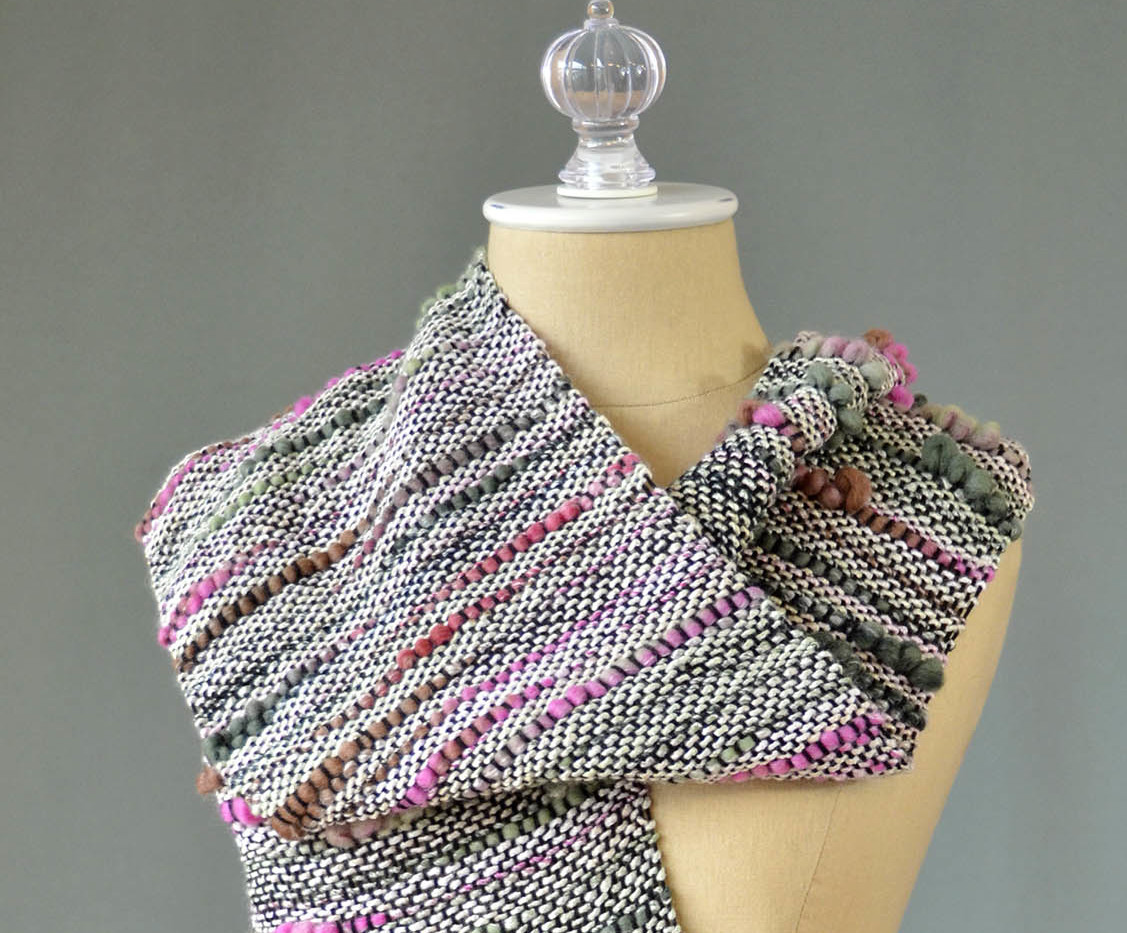
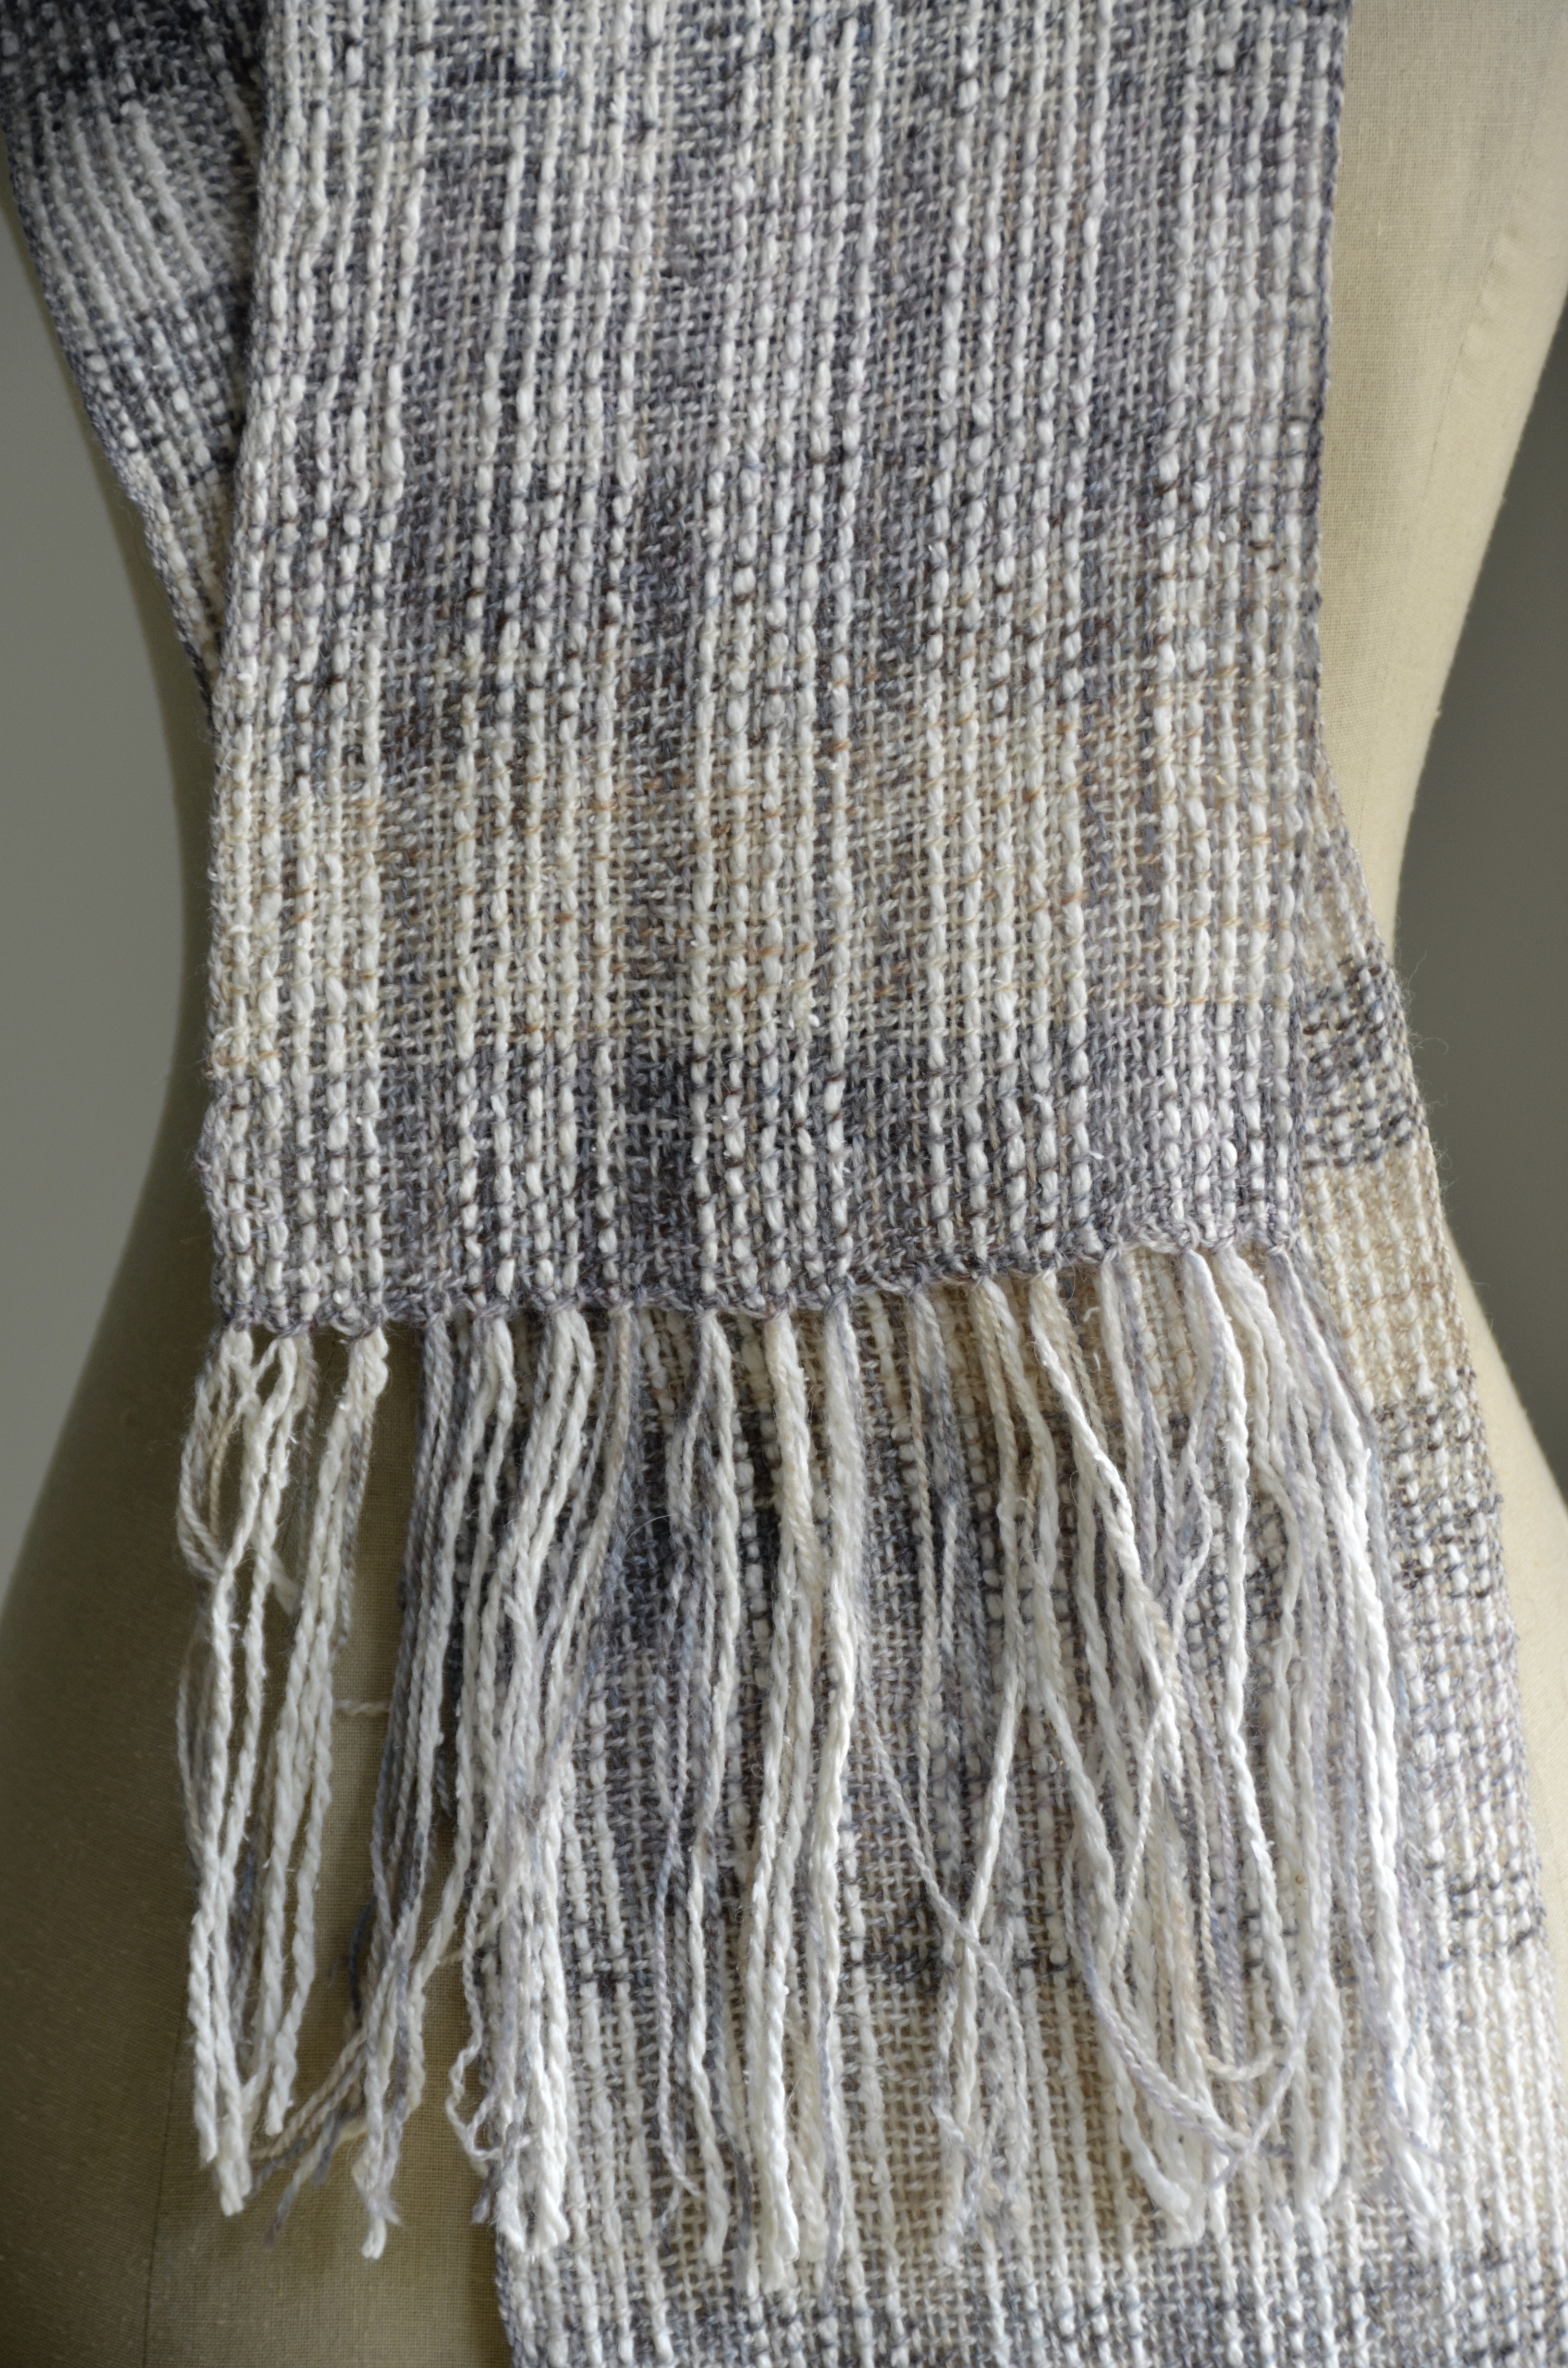
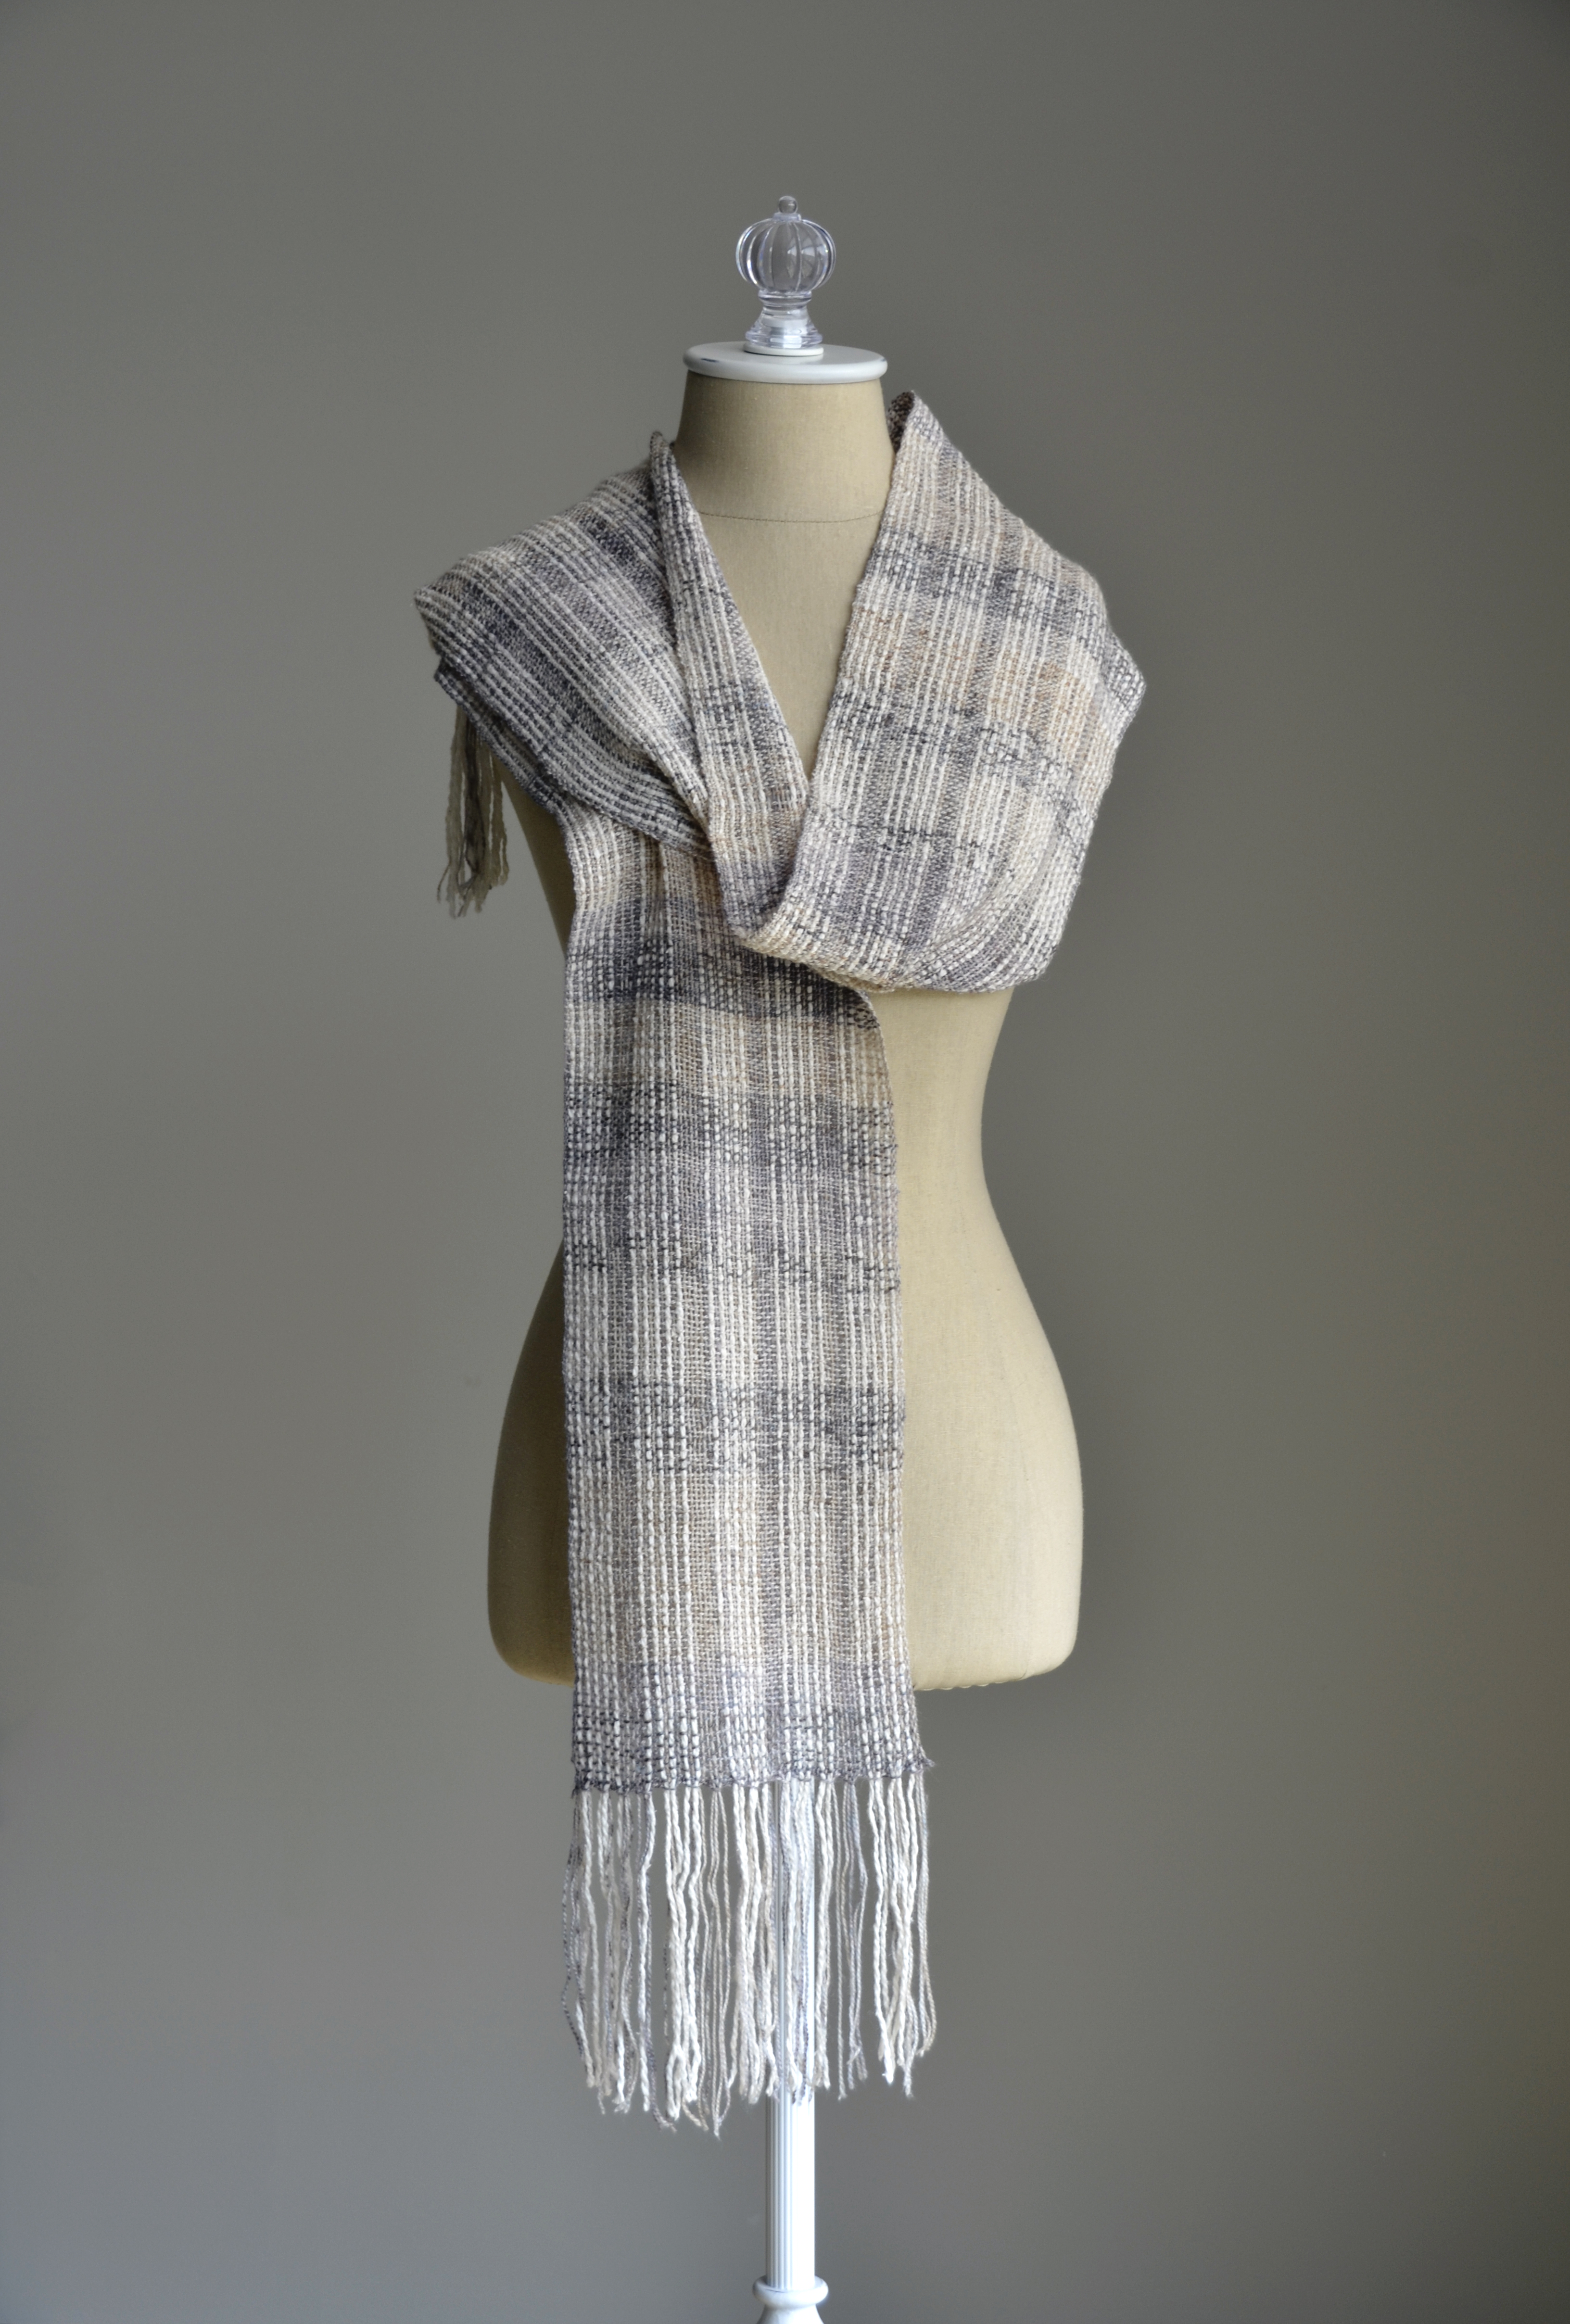
Weaving is no different. Except in weaving, we call it “sampling” instead of “swatching.” You may remember the felted scarf I wove a couple of months ago using regular Deluxe and Deluxe DK Superwash. I was pretty happy with the finished project, but there were some aspects I wasn’t crazy about.  No surprise, this was something I just dove into without first sampling.

Semi-felted Scarf_blog

Of any project to start on without first swatching or sampling, a scarf is probably the safest. I mean, it’s a scarf! It can really be any size or shape we want it to be. And my felted pucker scarf fit just fine. But one thing I didn’t like was that the regular Deluxe, the part of the scarf the felted in the washing machine, was a little thick for my taste. I had warped and woven that portion with 2 strands next to each other.

I wondered, if I use just a single strand of wool, will it felt to itself, not having that other strand next to it to adhere and shrink with? To answer my own question, instead of committing to an entire big scarf, I decided to make a small sample.

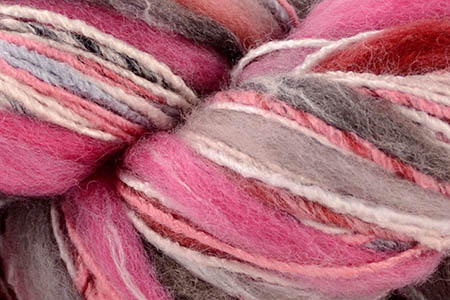
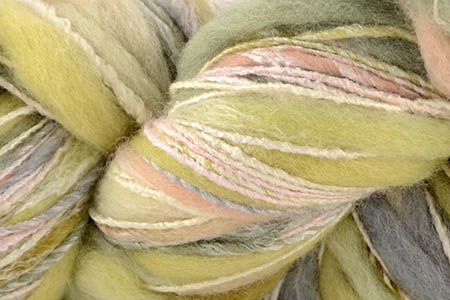
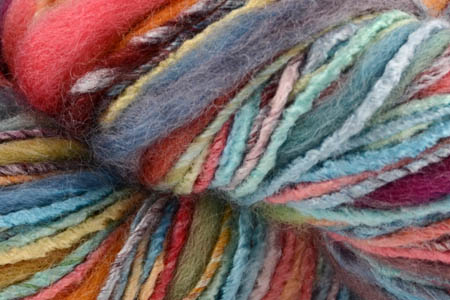
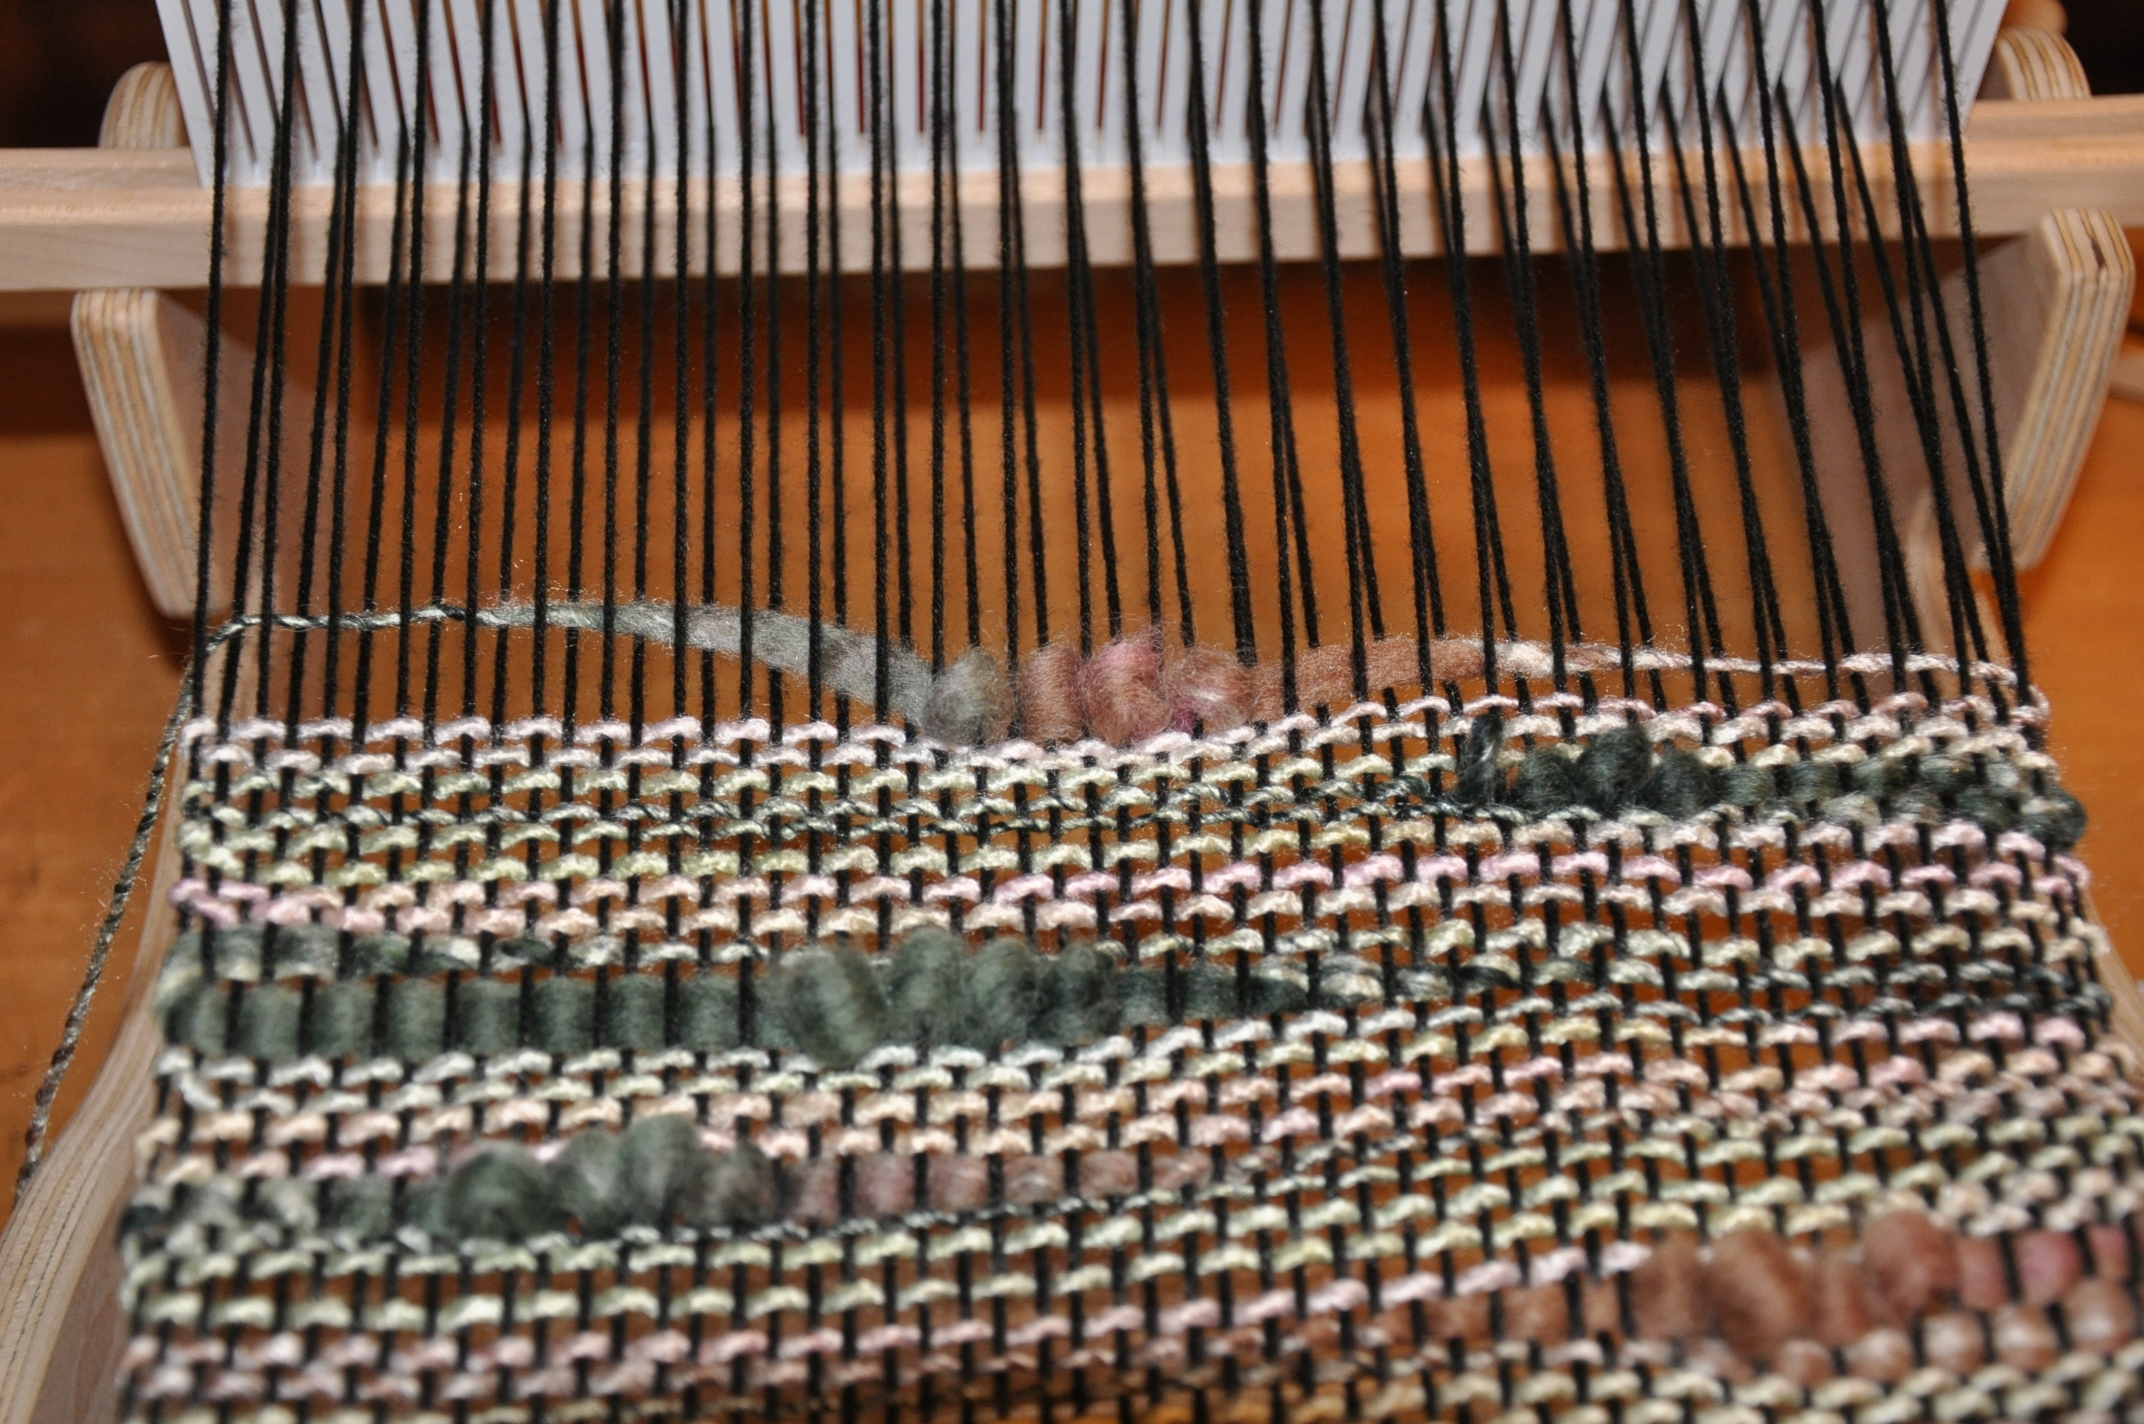
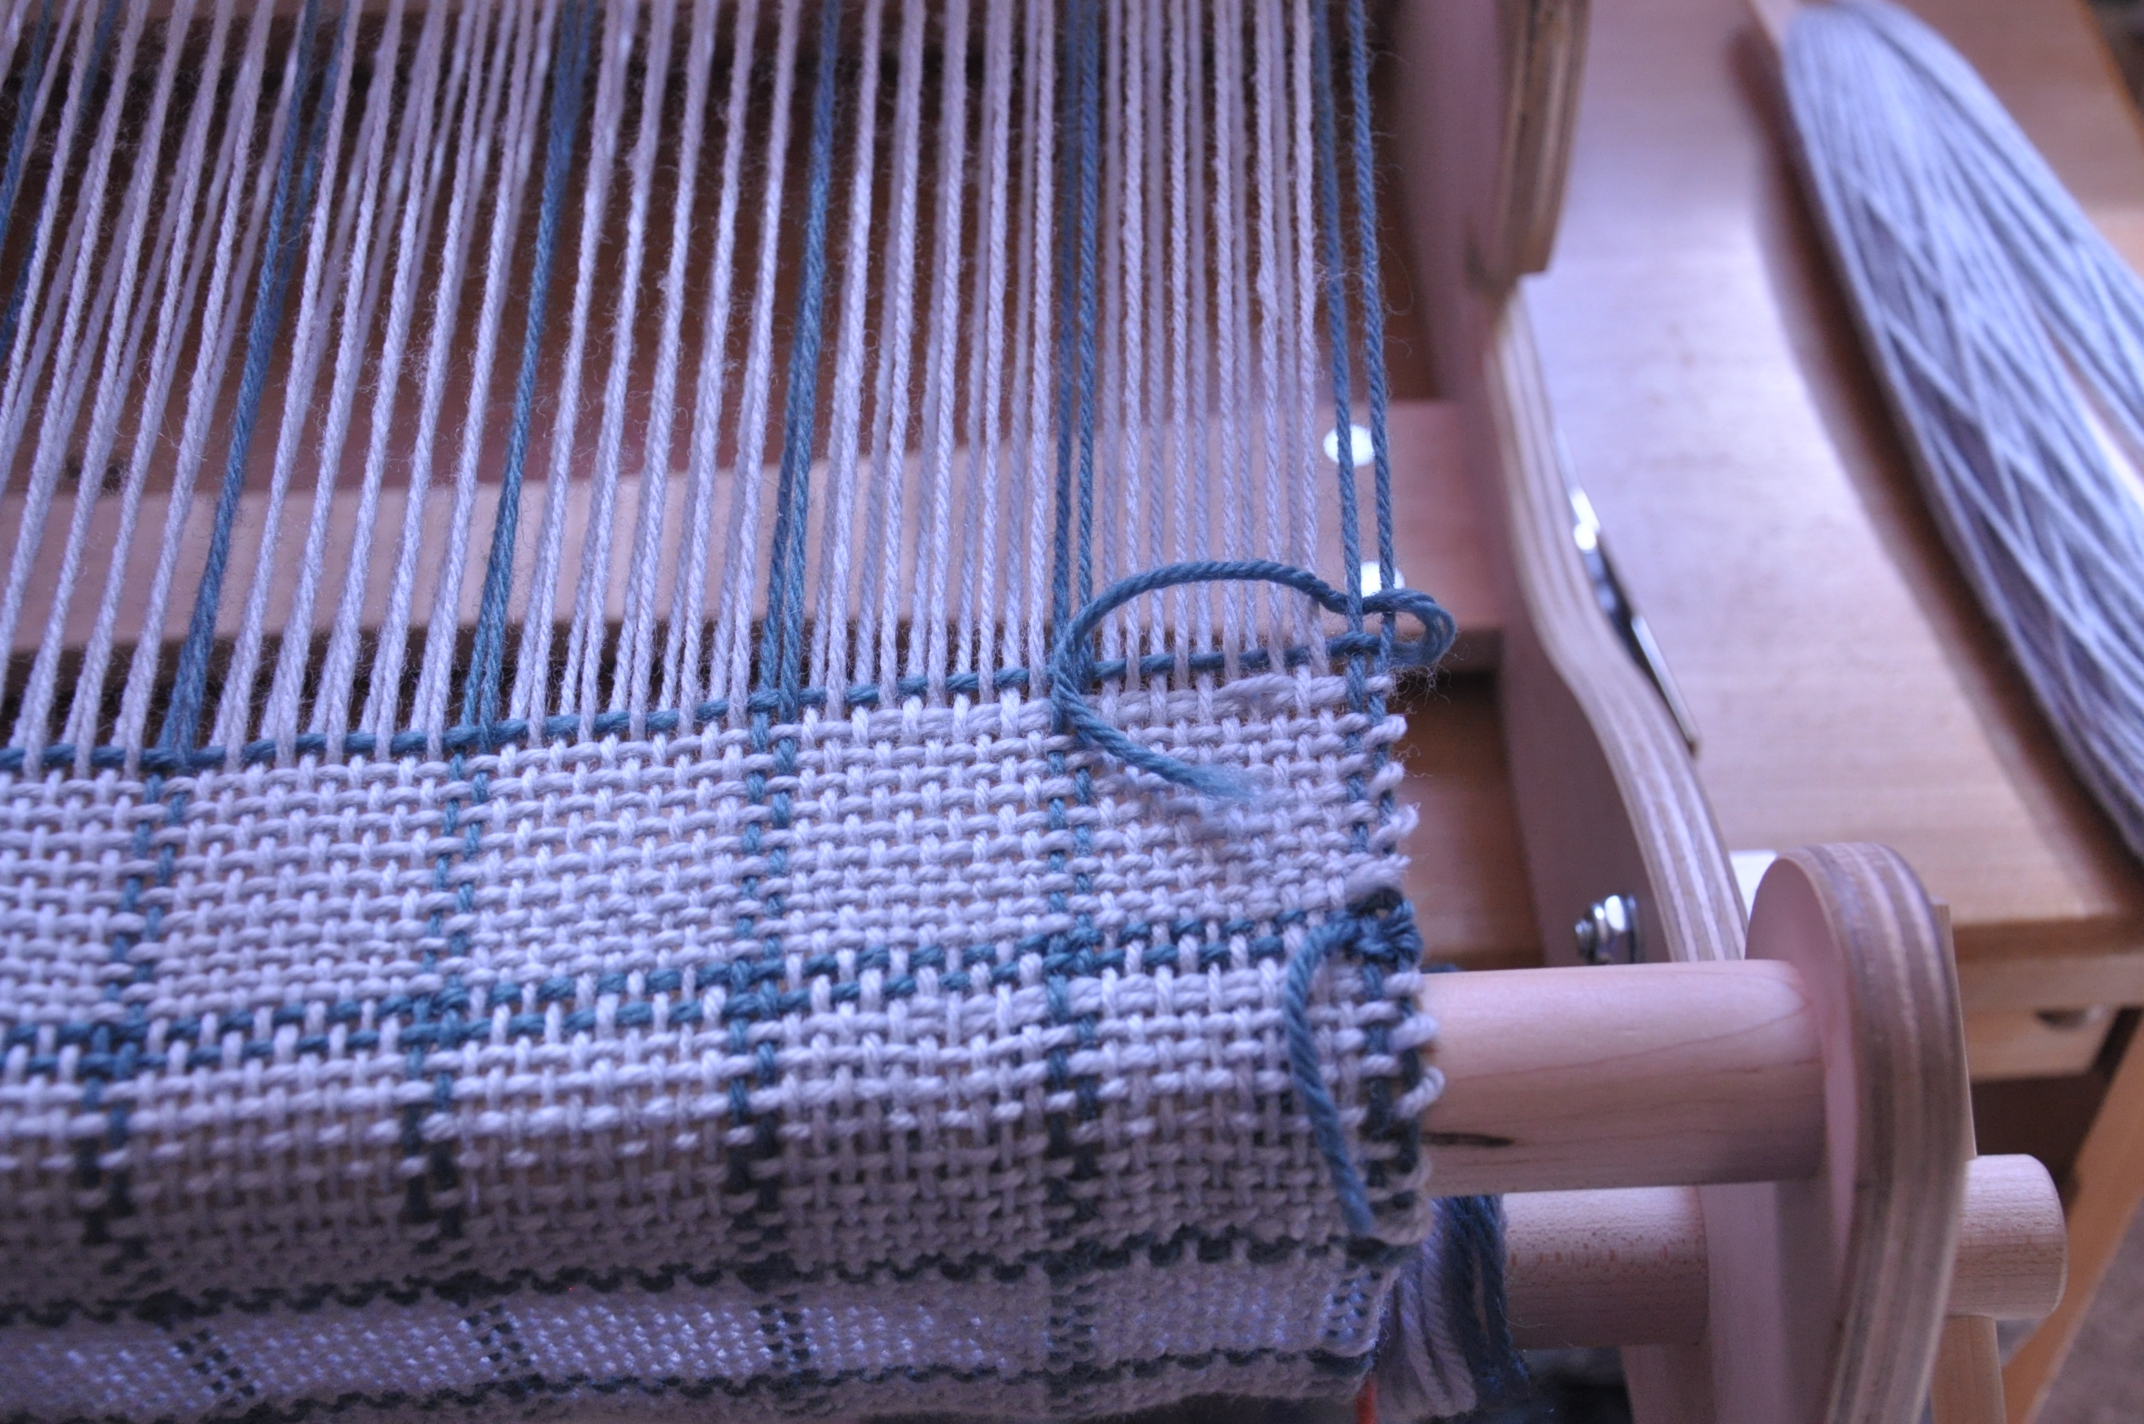
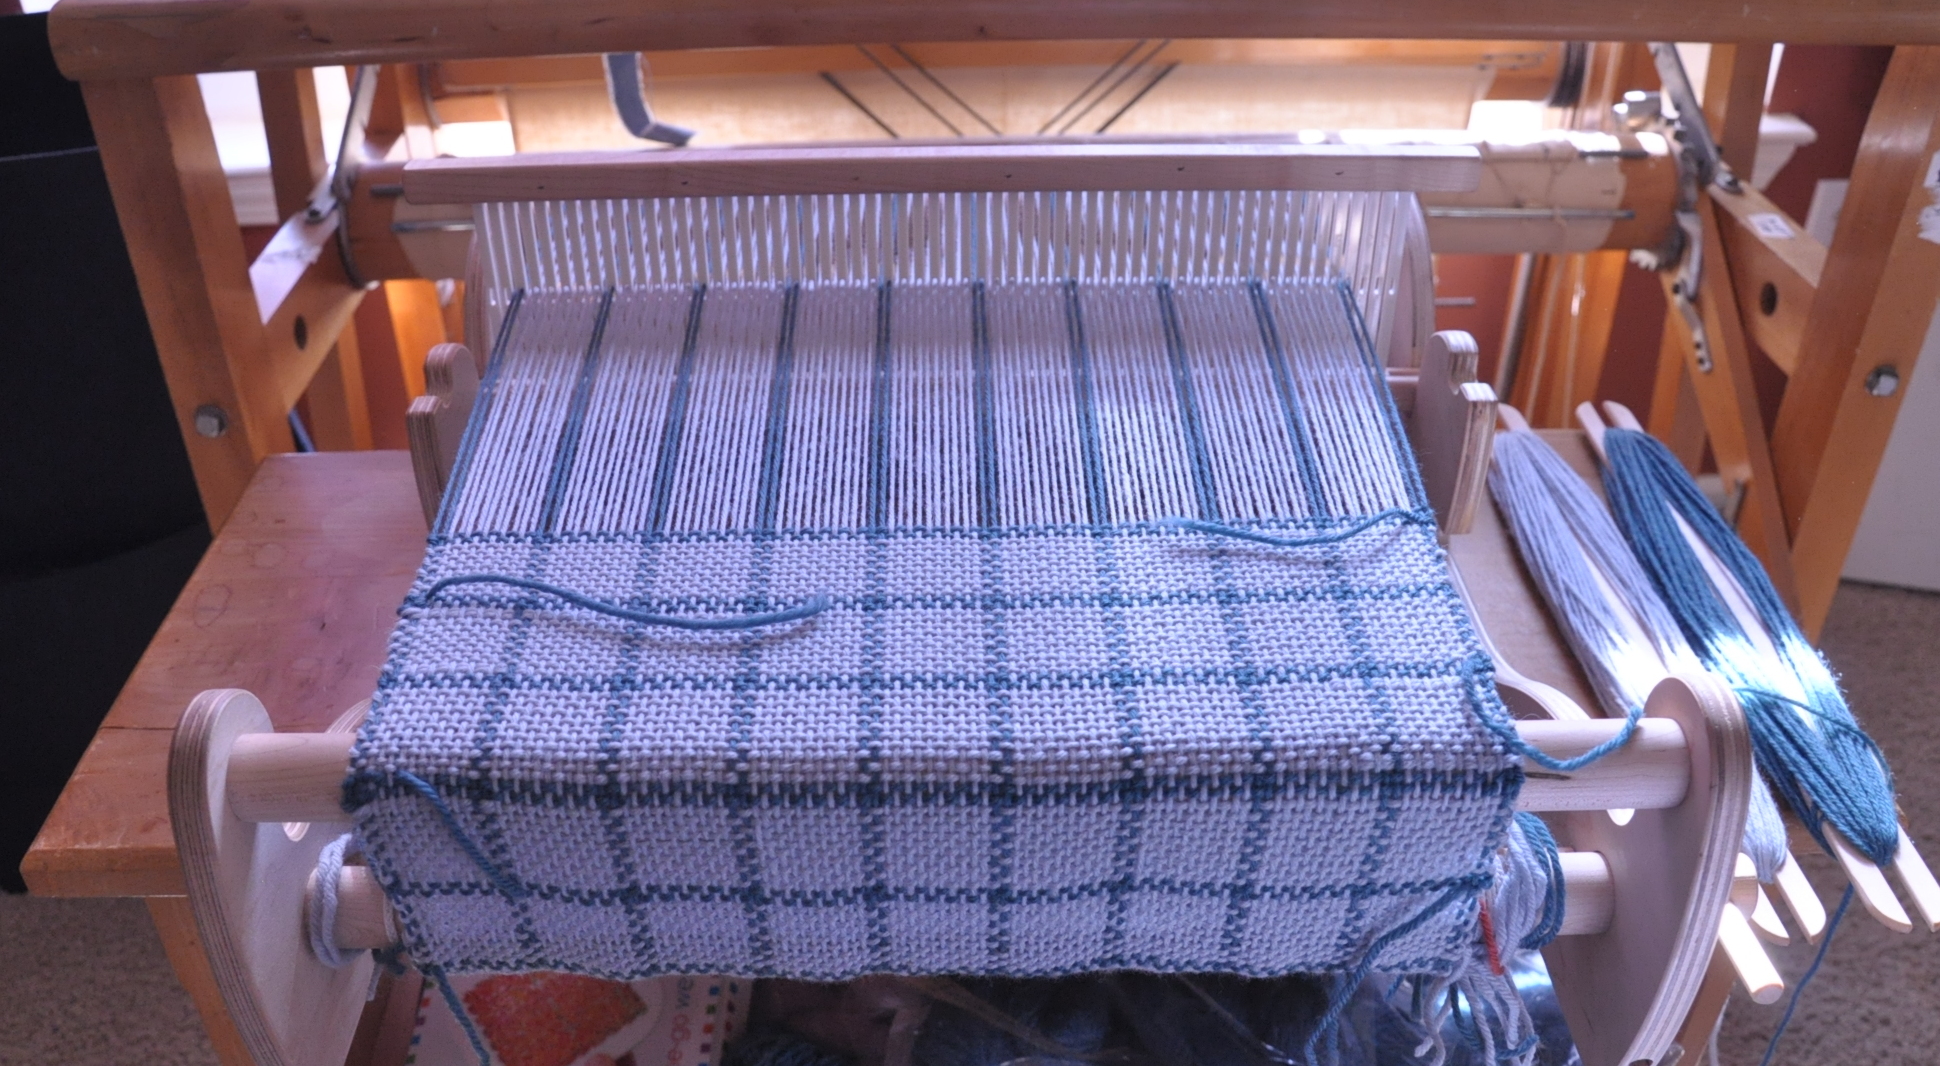
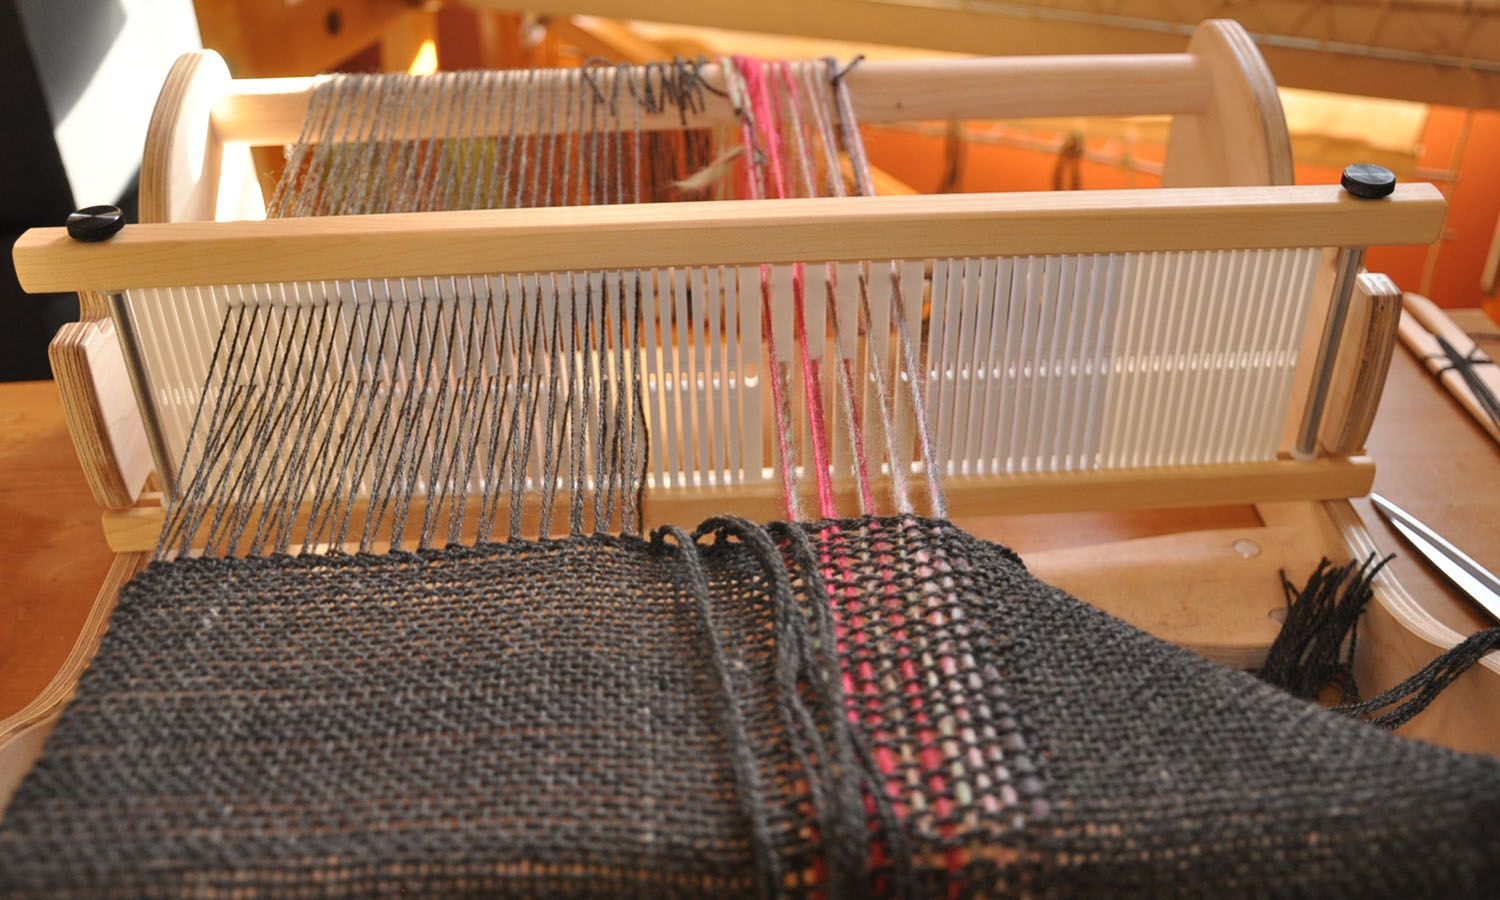
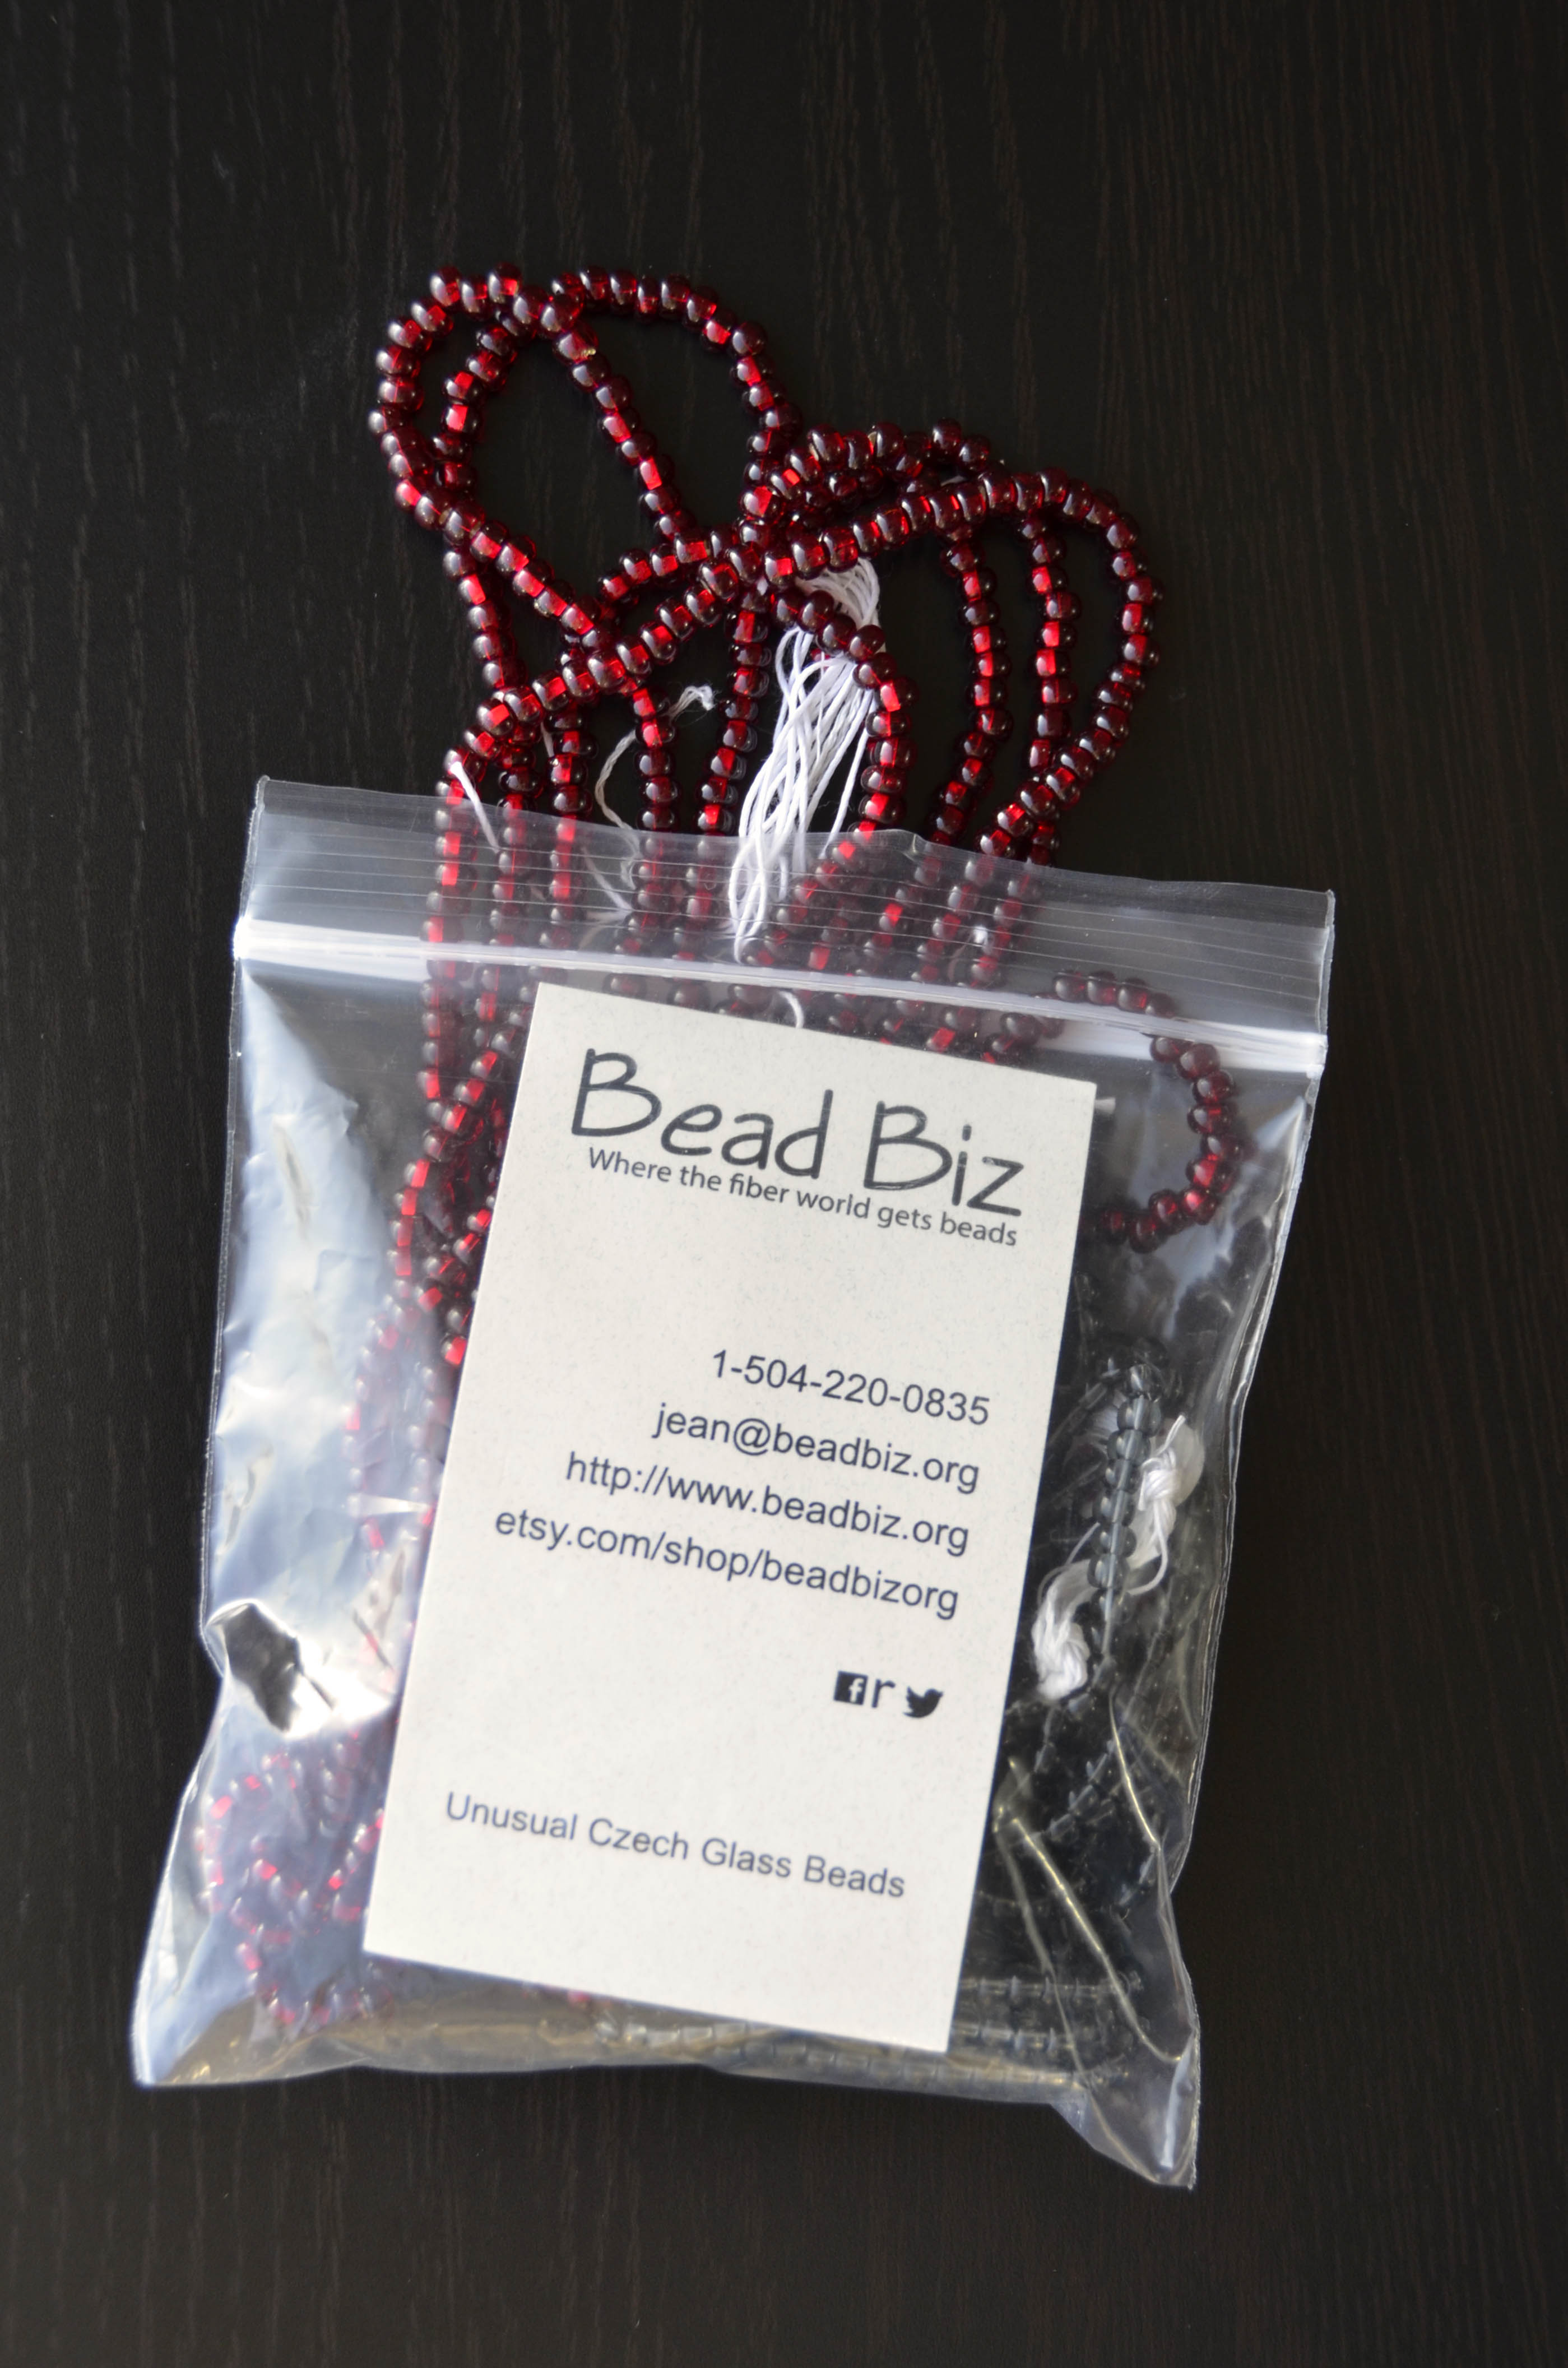
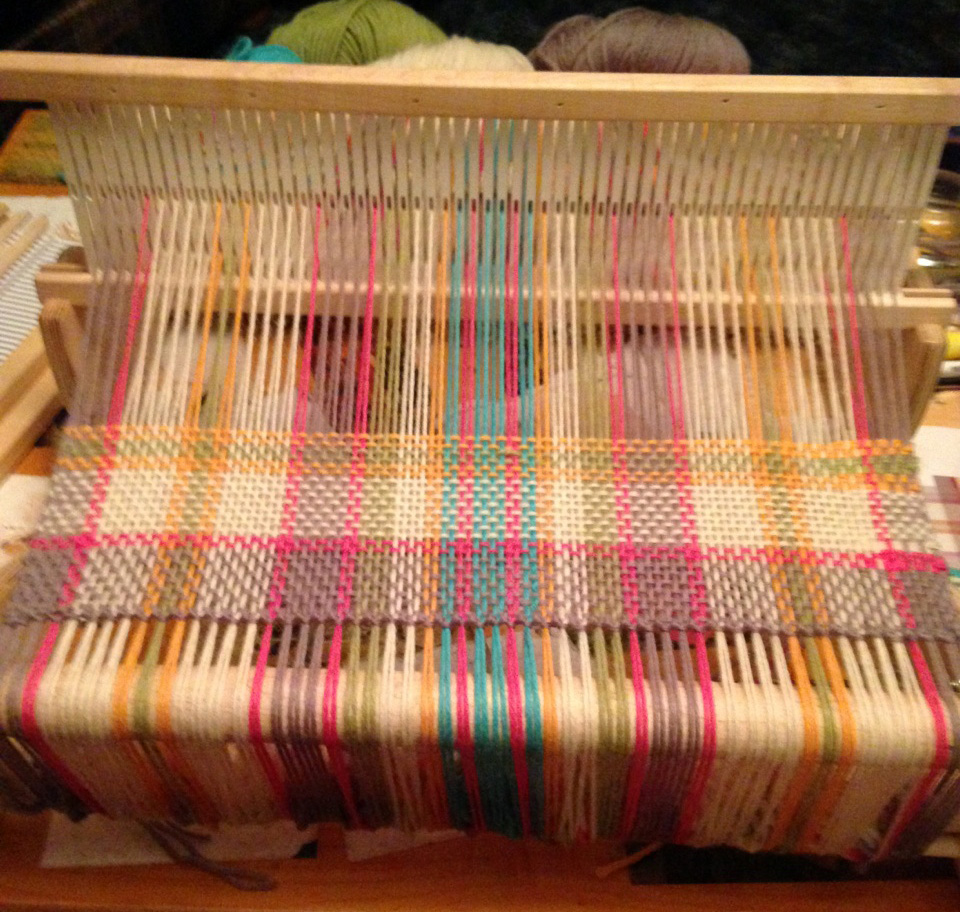
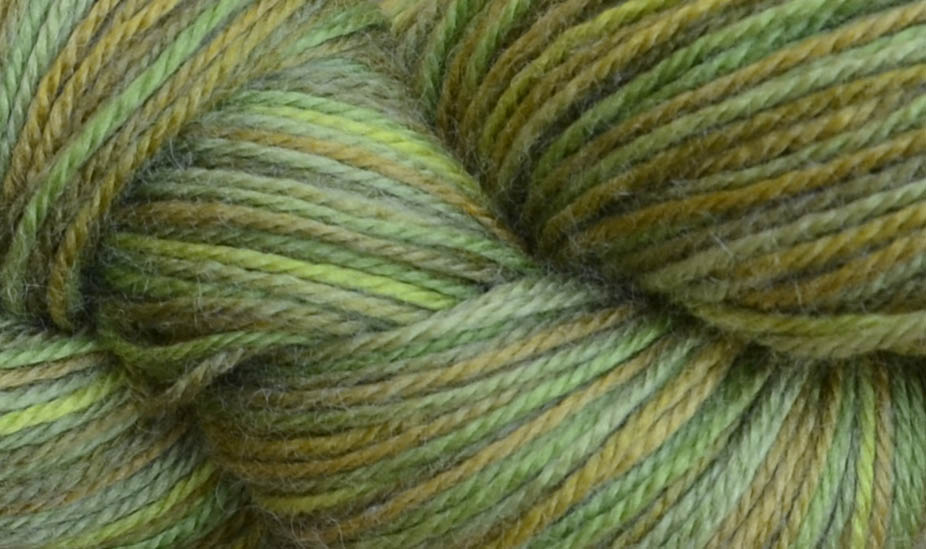
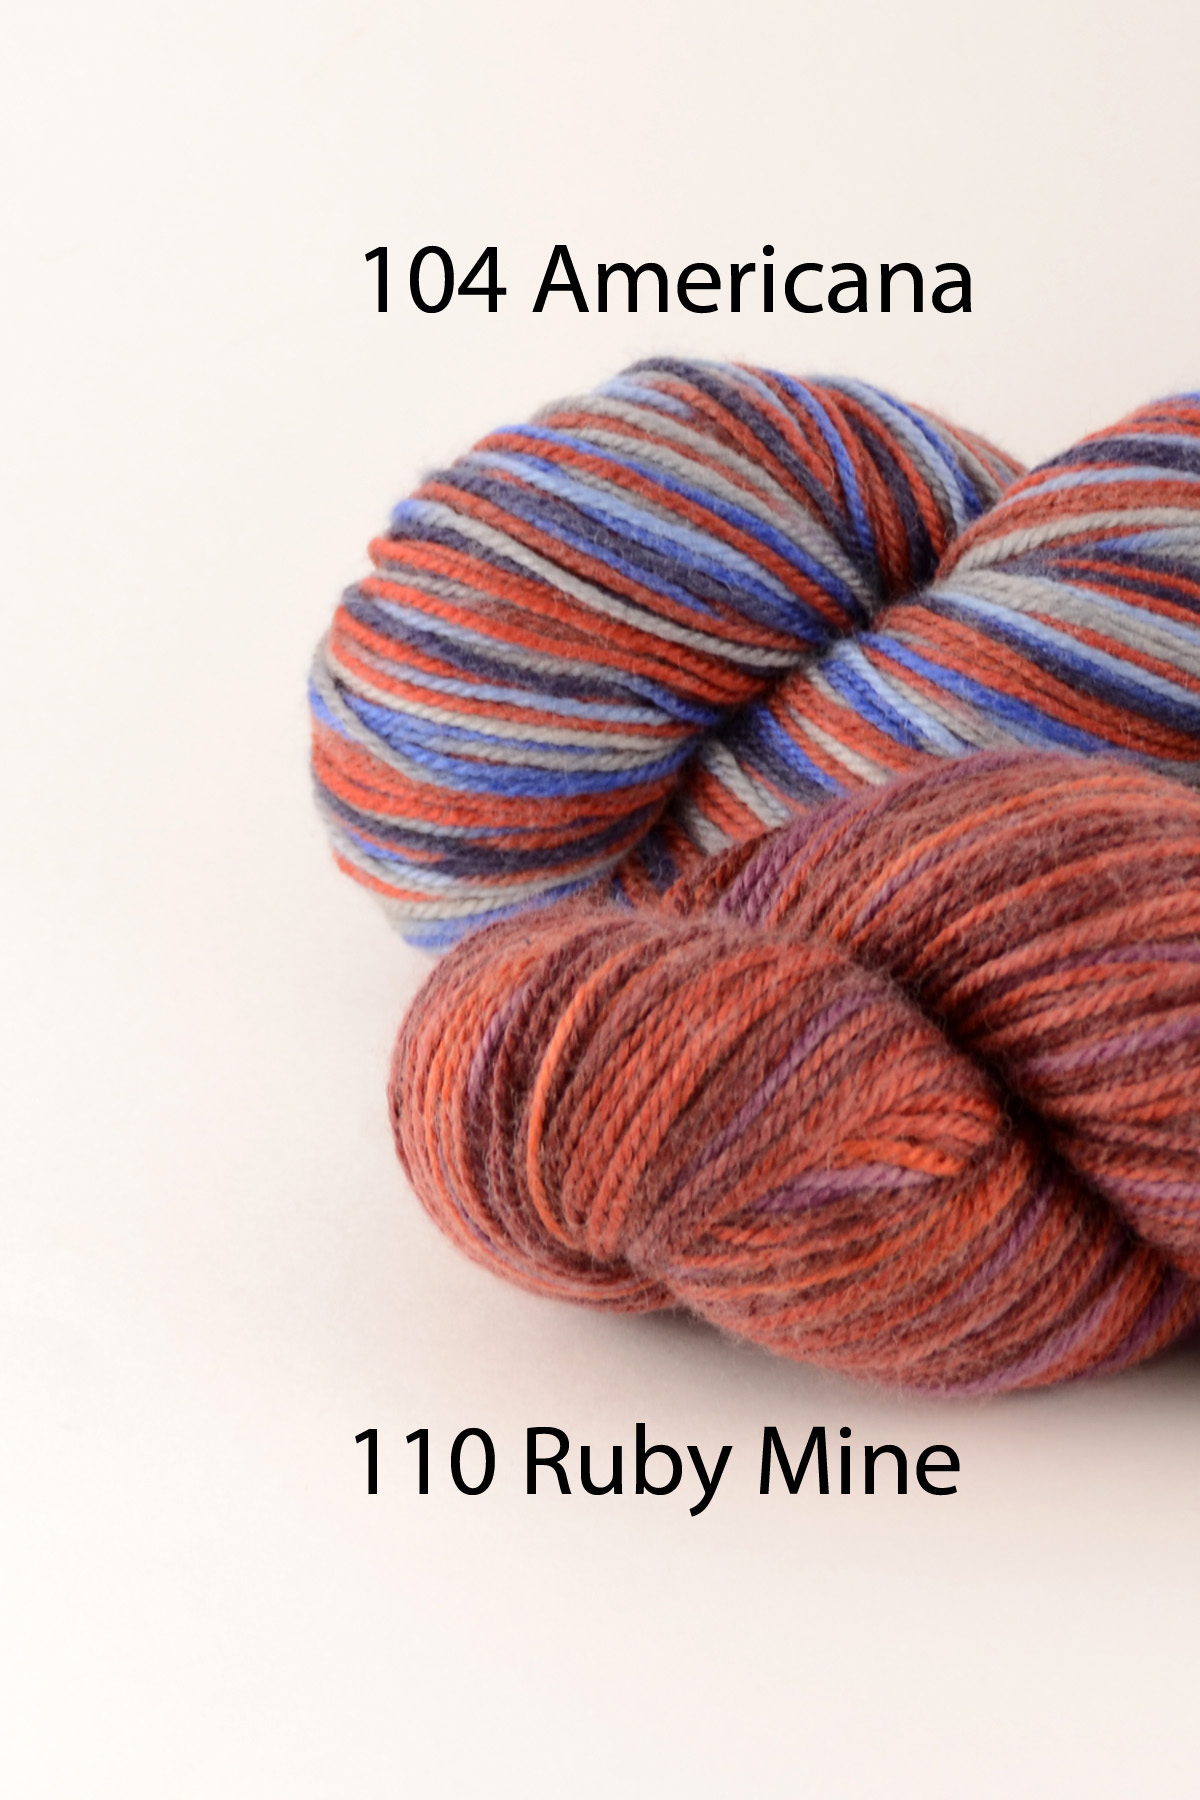
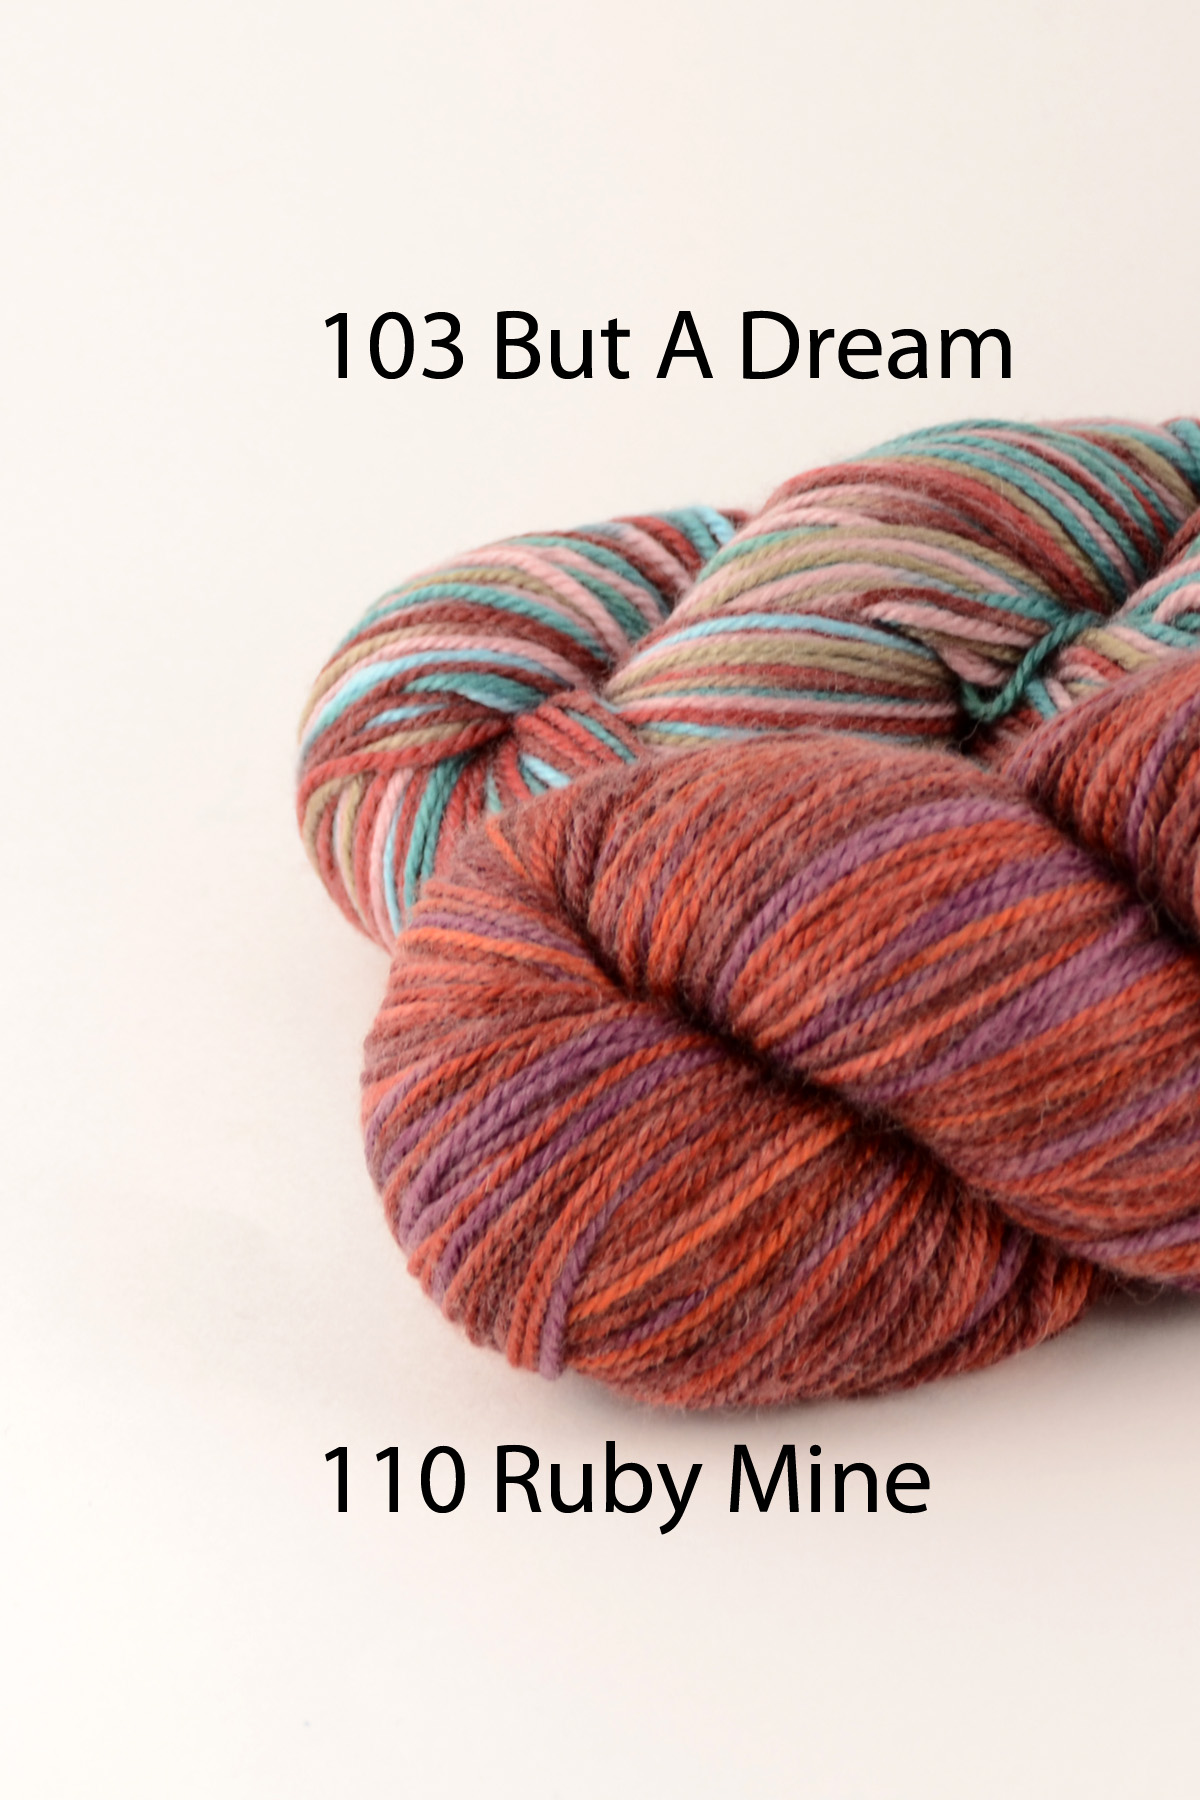
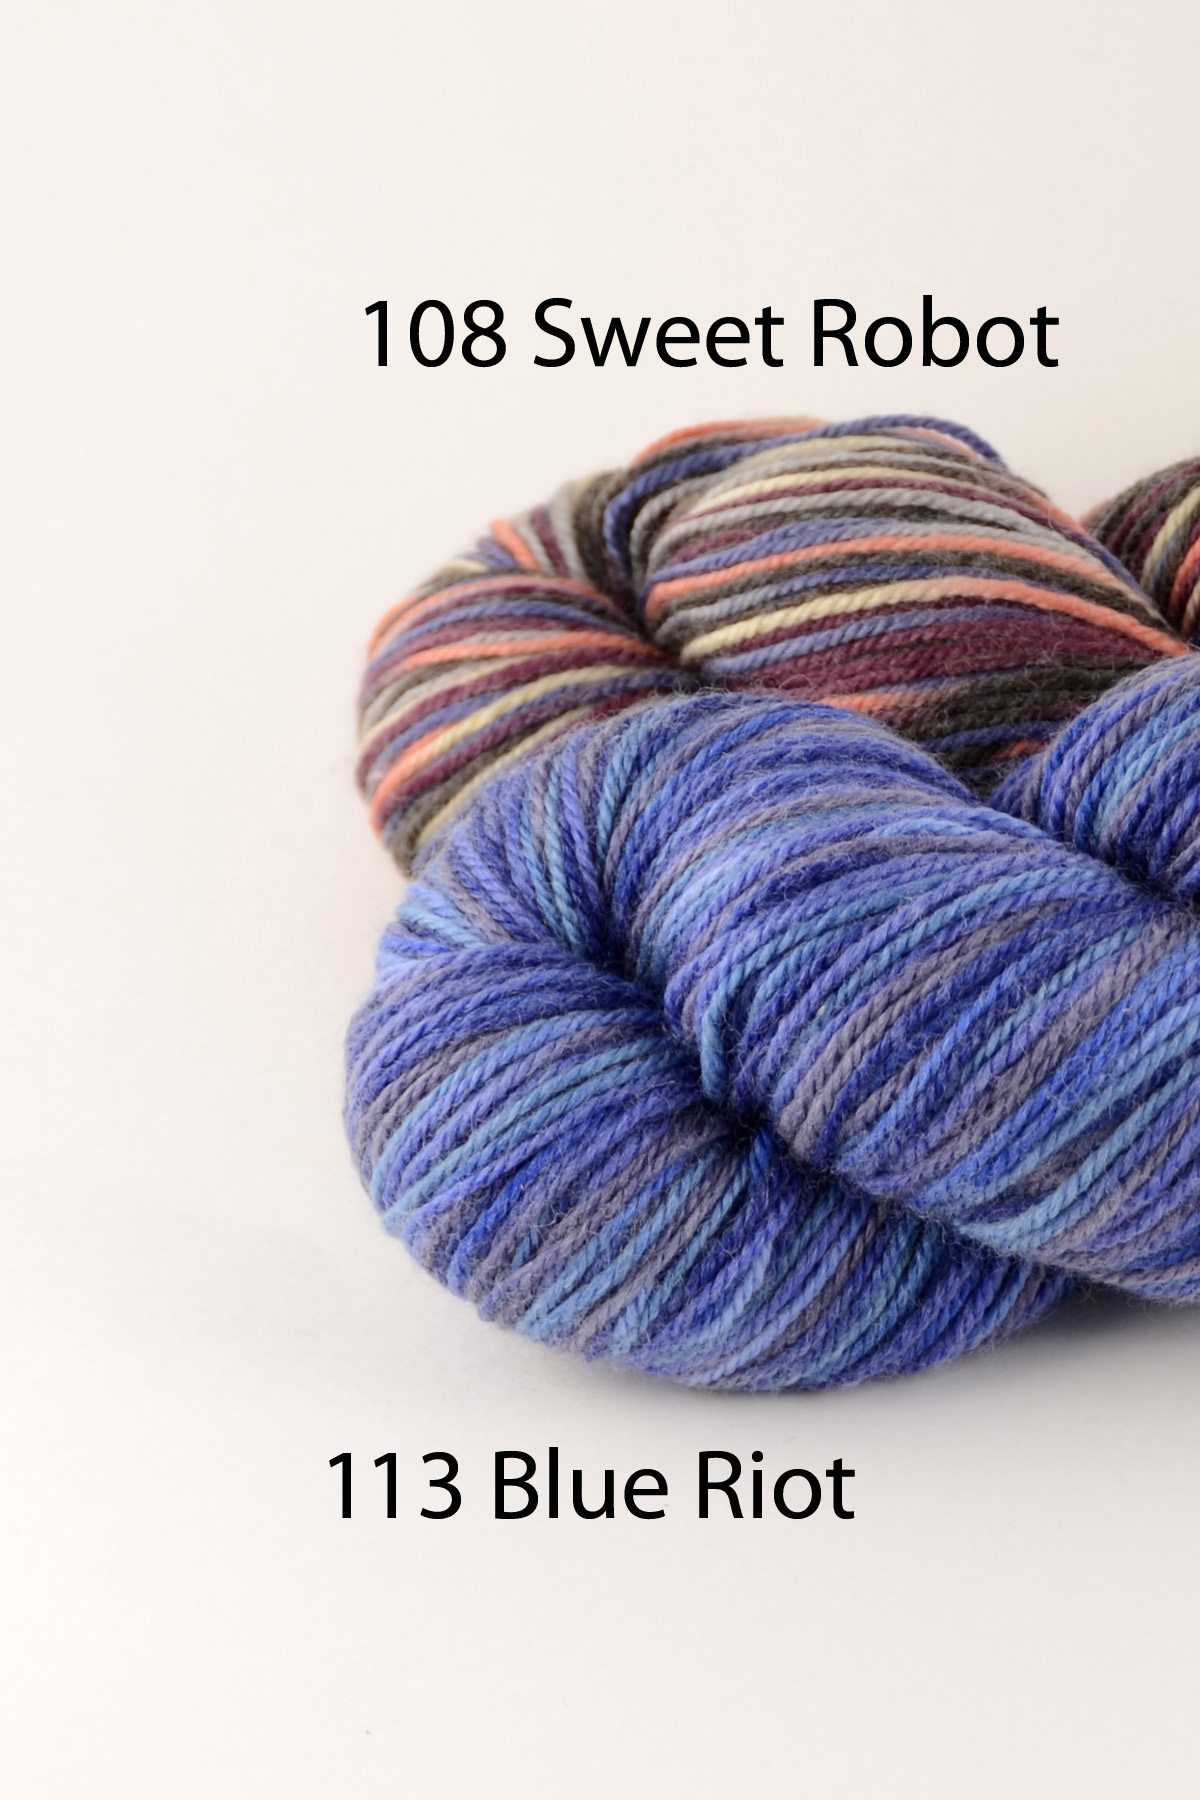
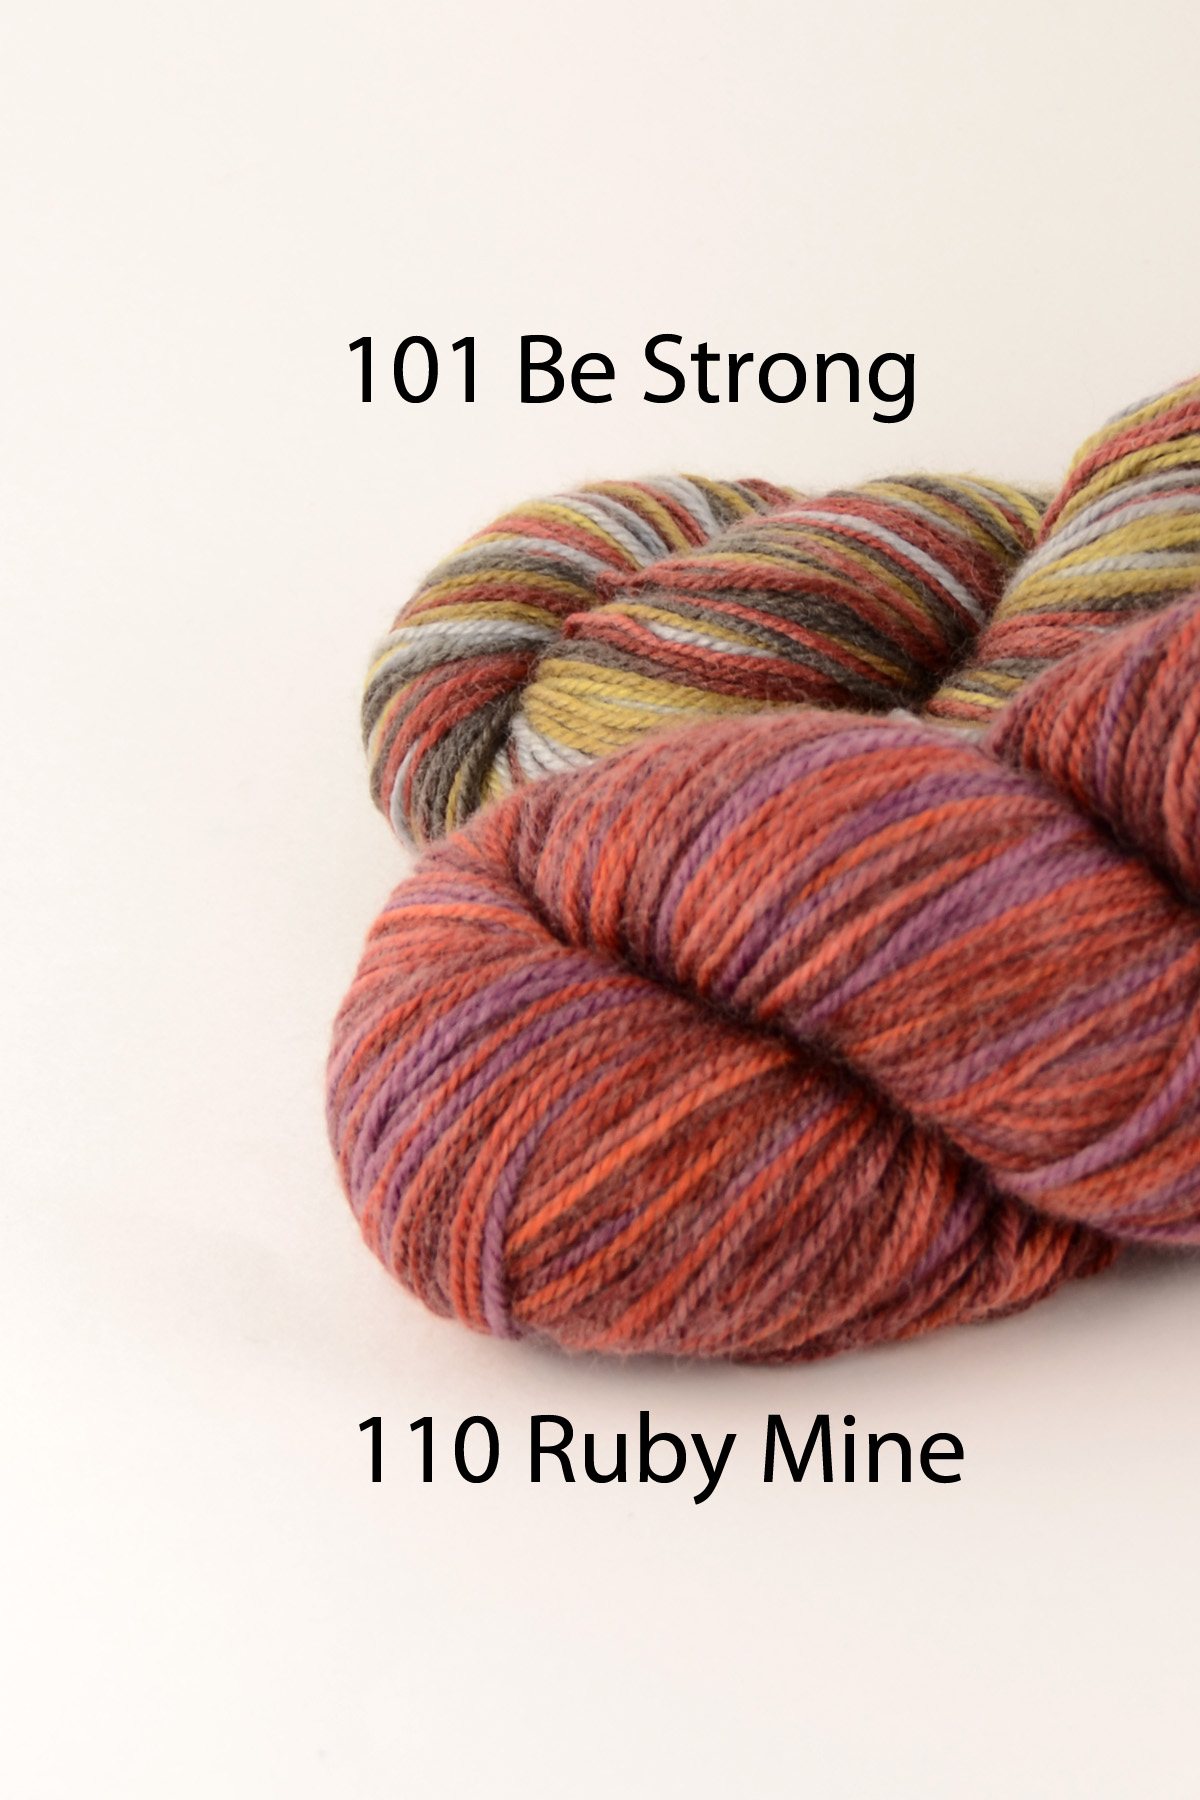
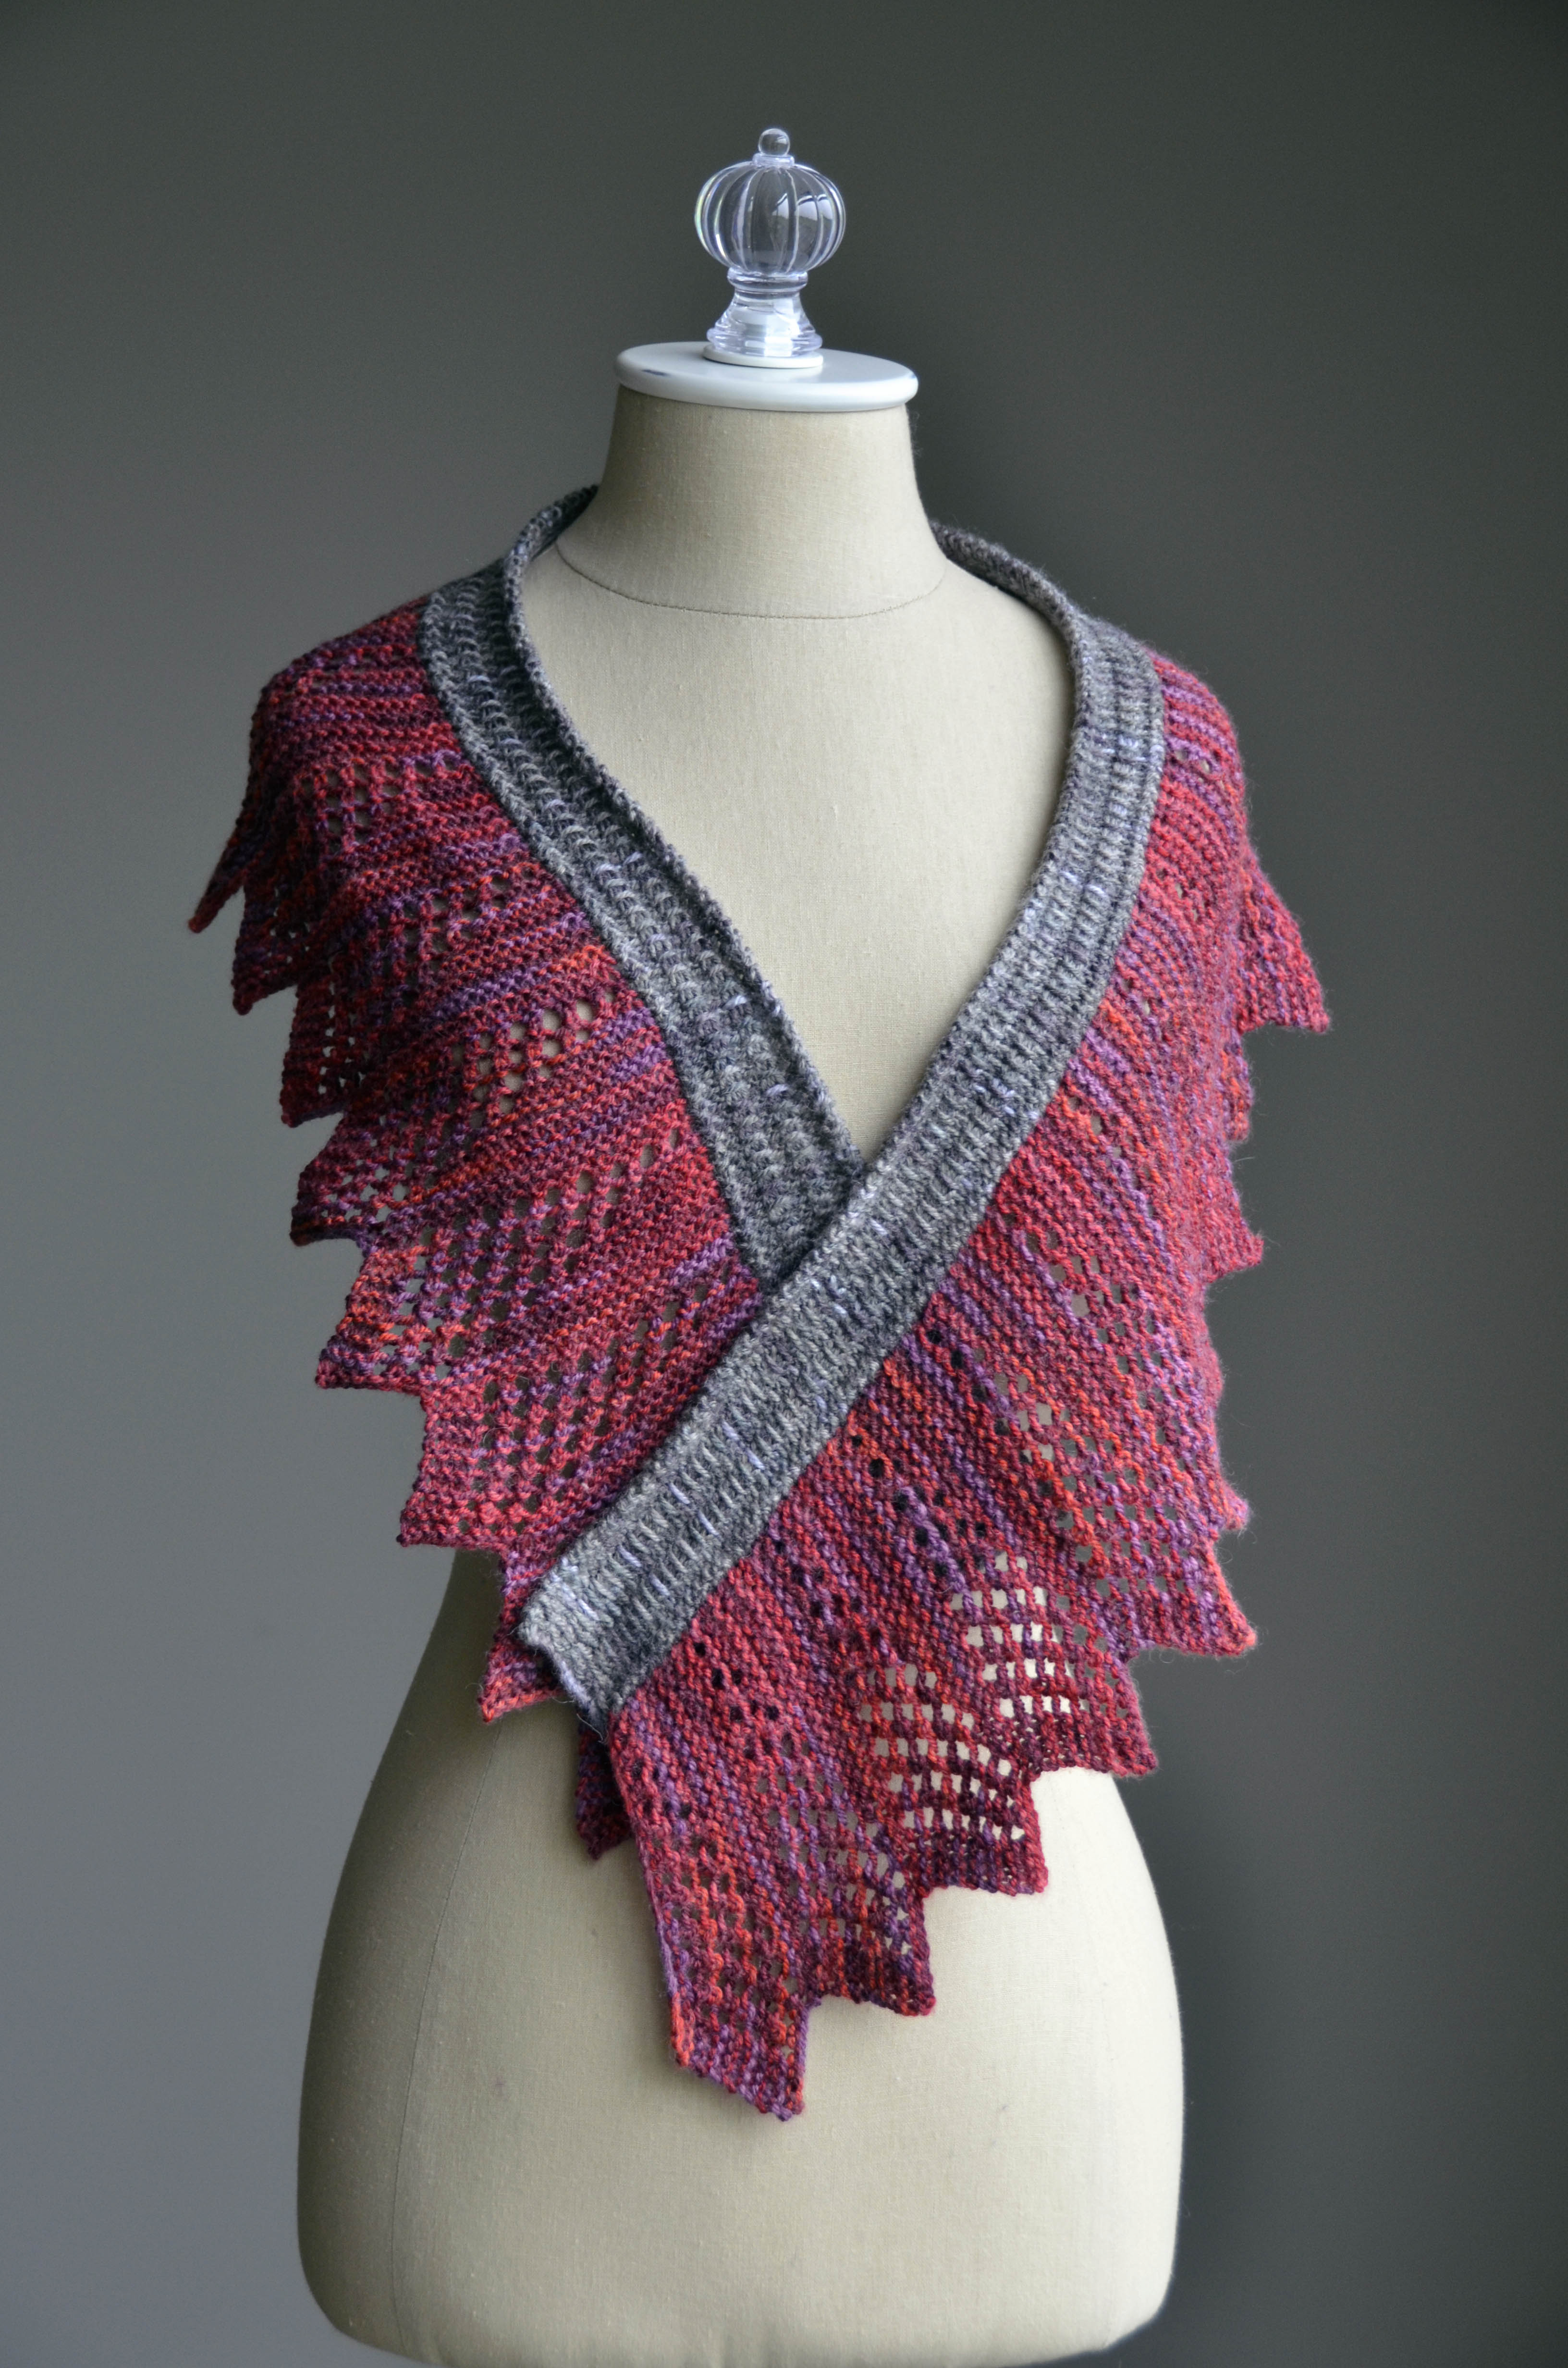
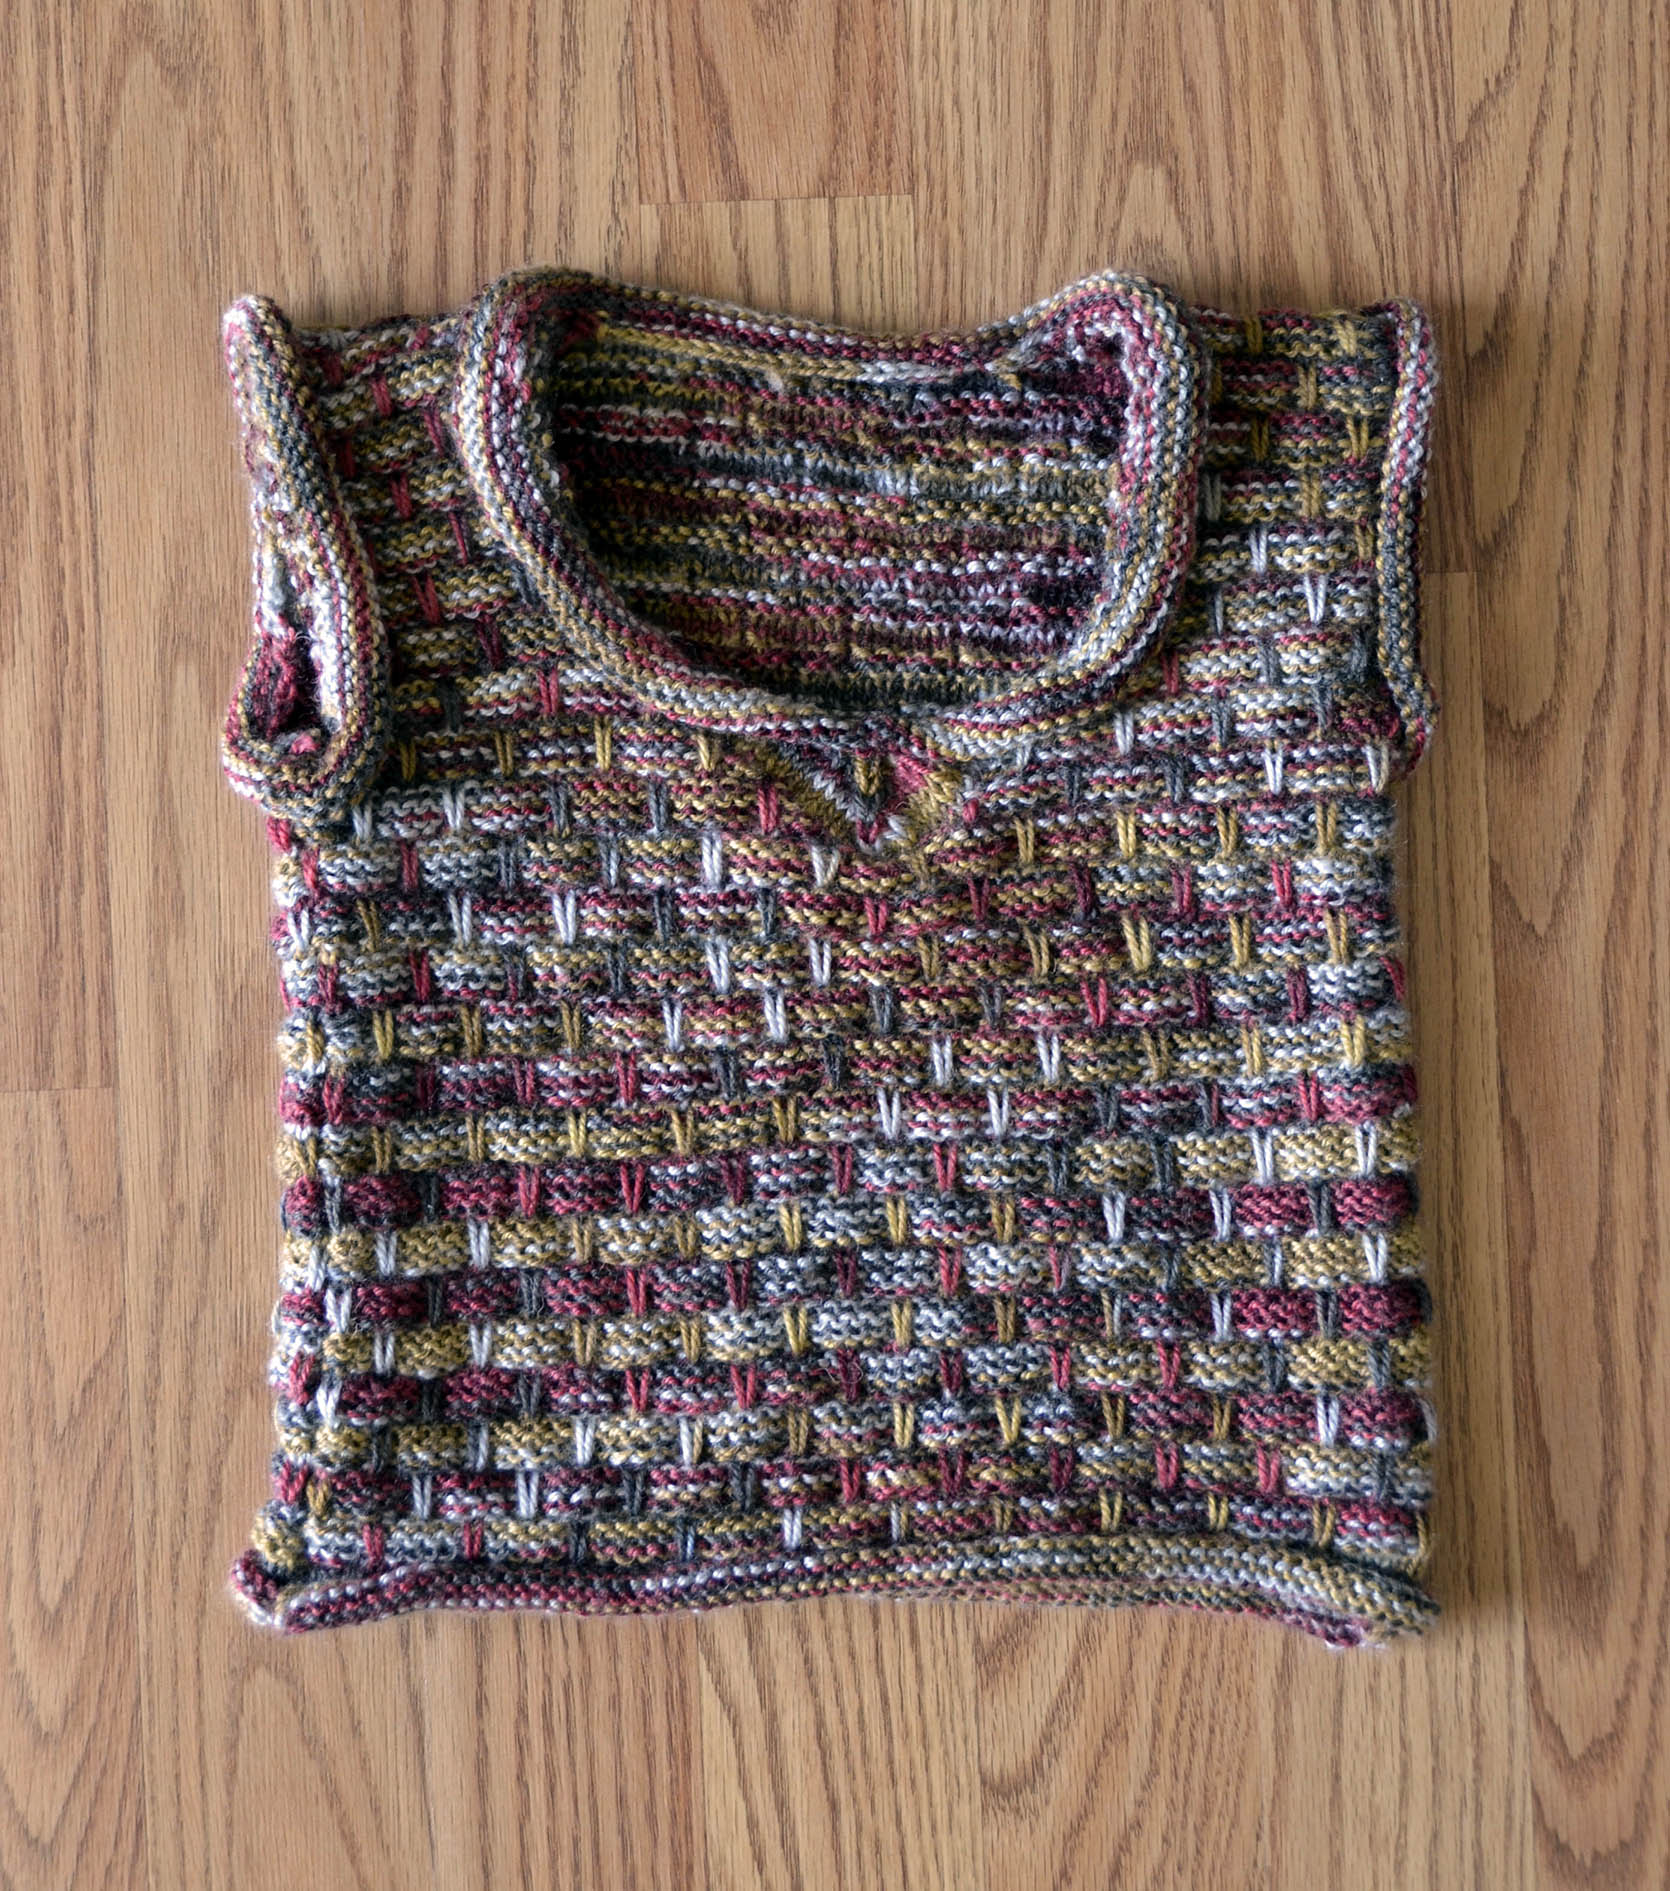
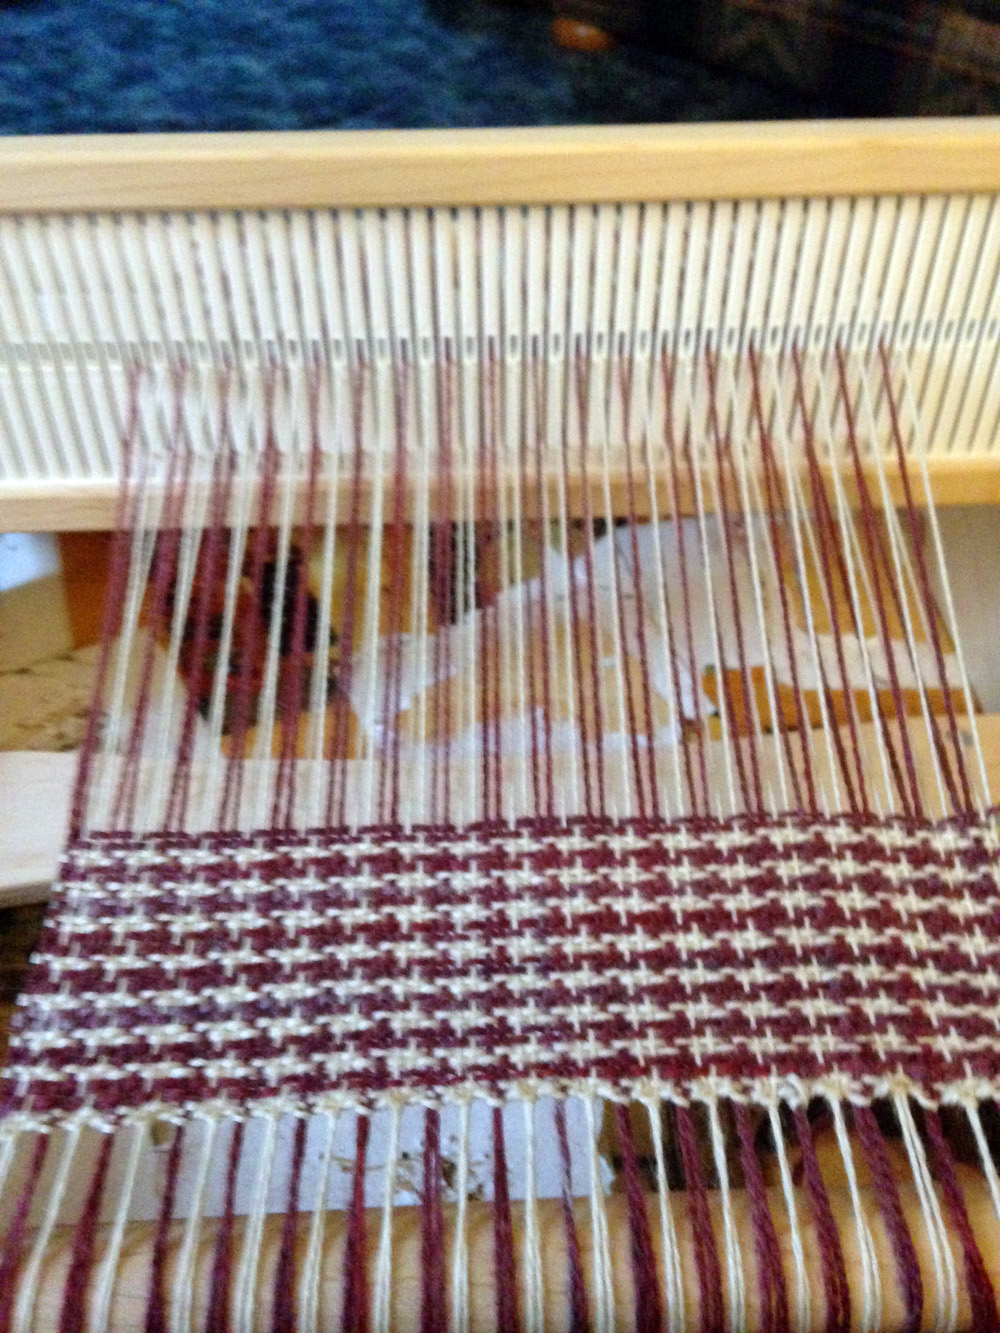
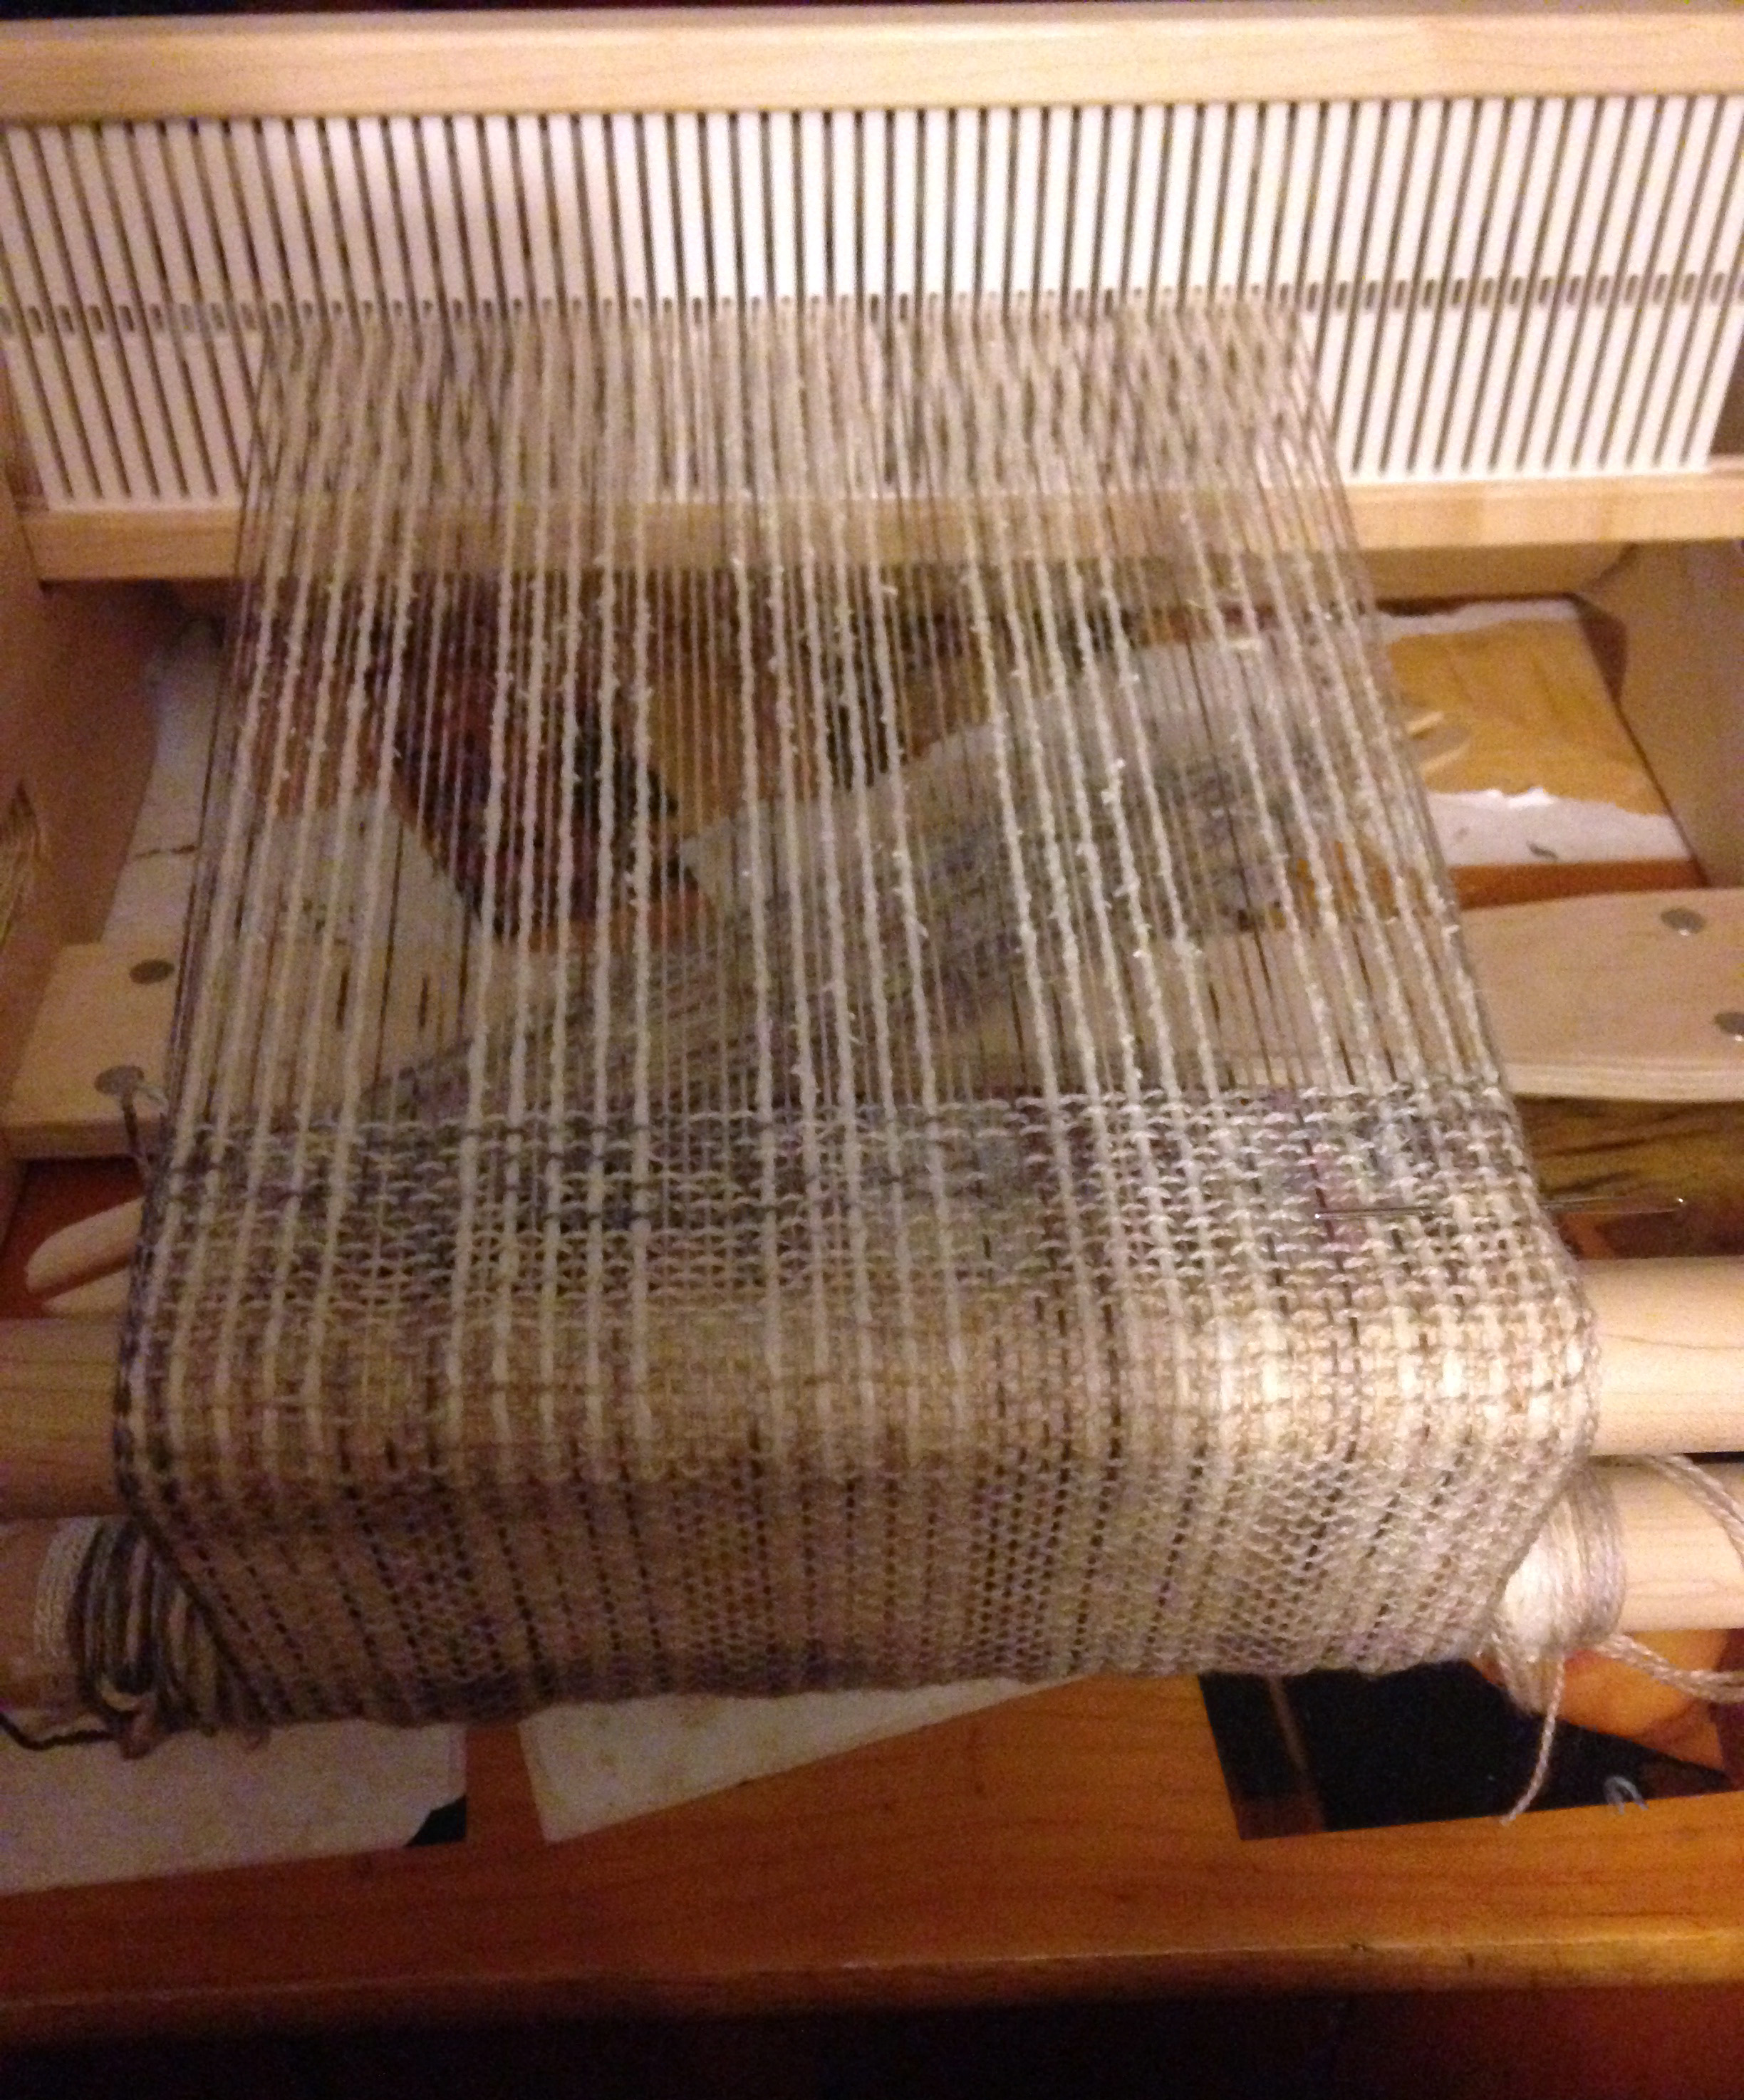
For my sample, I warped my Cricket using an 8-dent reed, Infusion Handpaints color 110 Ruby Mine, and Deluxe Chunky in 91904 Pomegranate Heather. As a side note, I love love love this color of Deluxe so much, I did a cabled sweater (free pattern!) last year out of it.

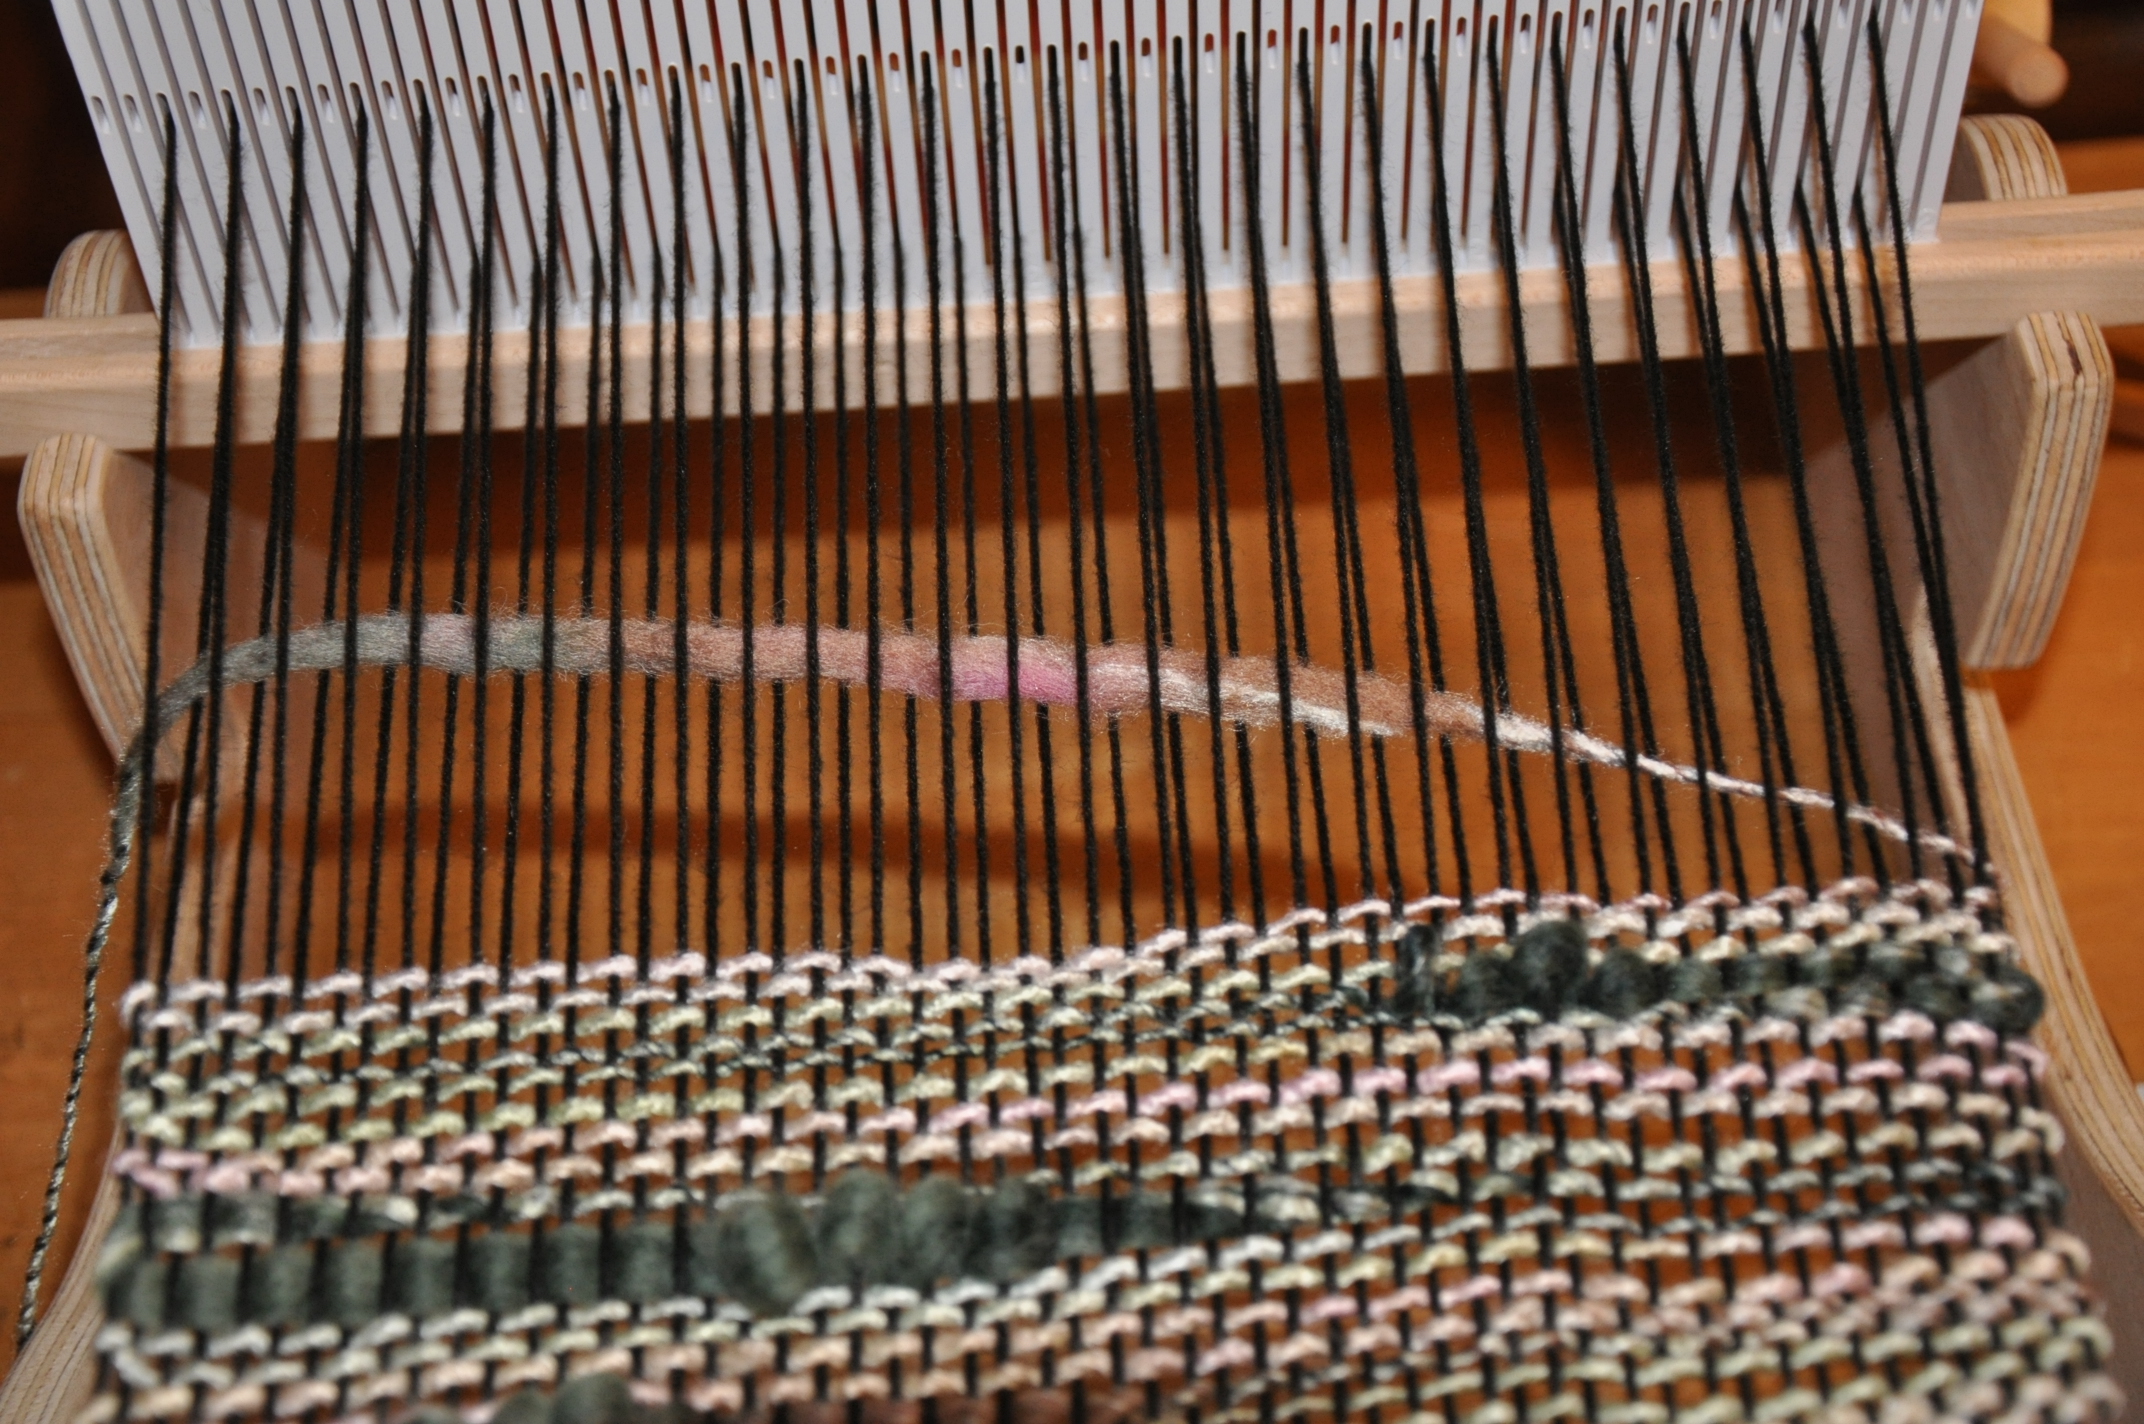
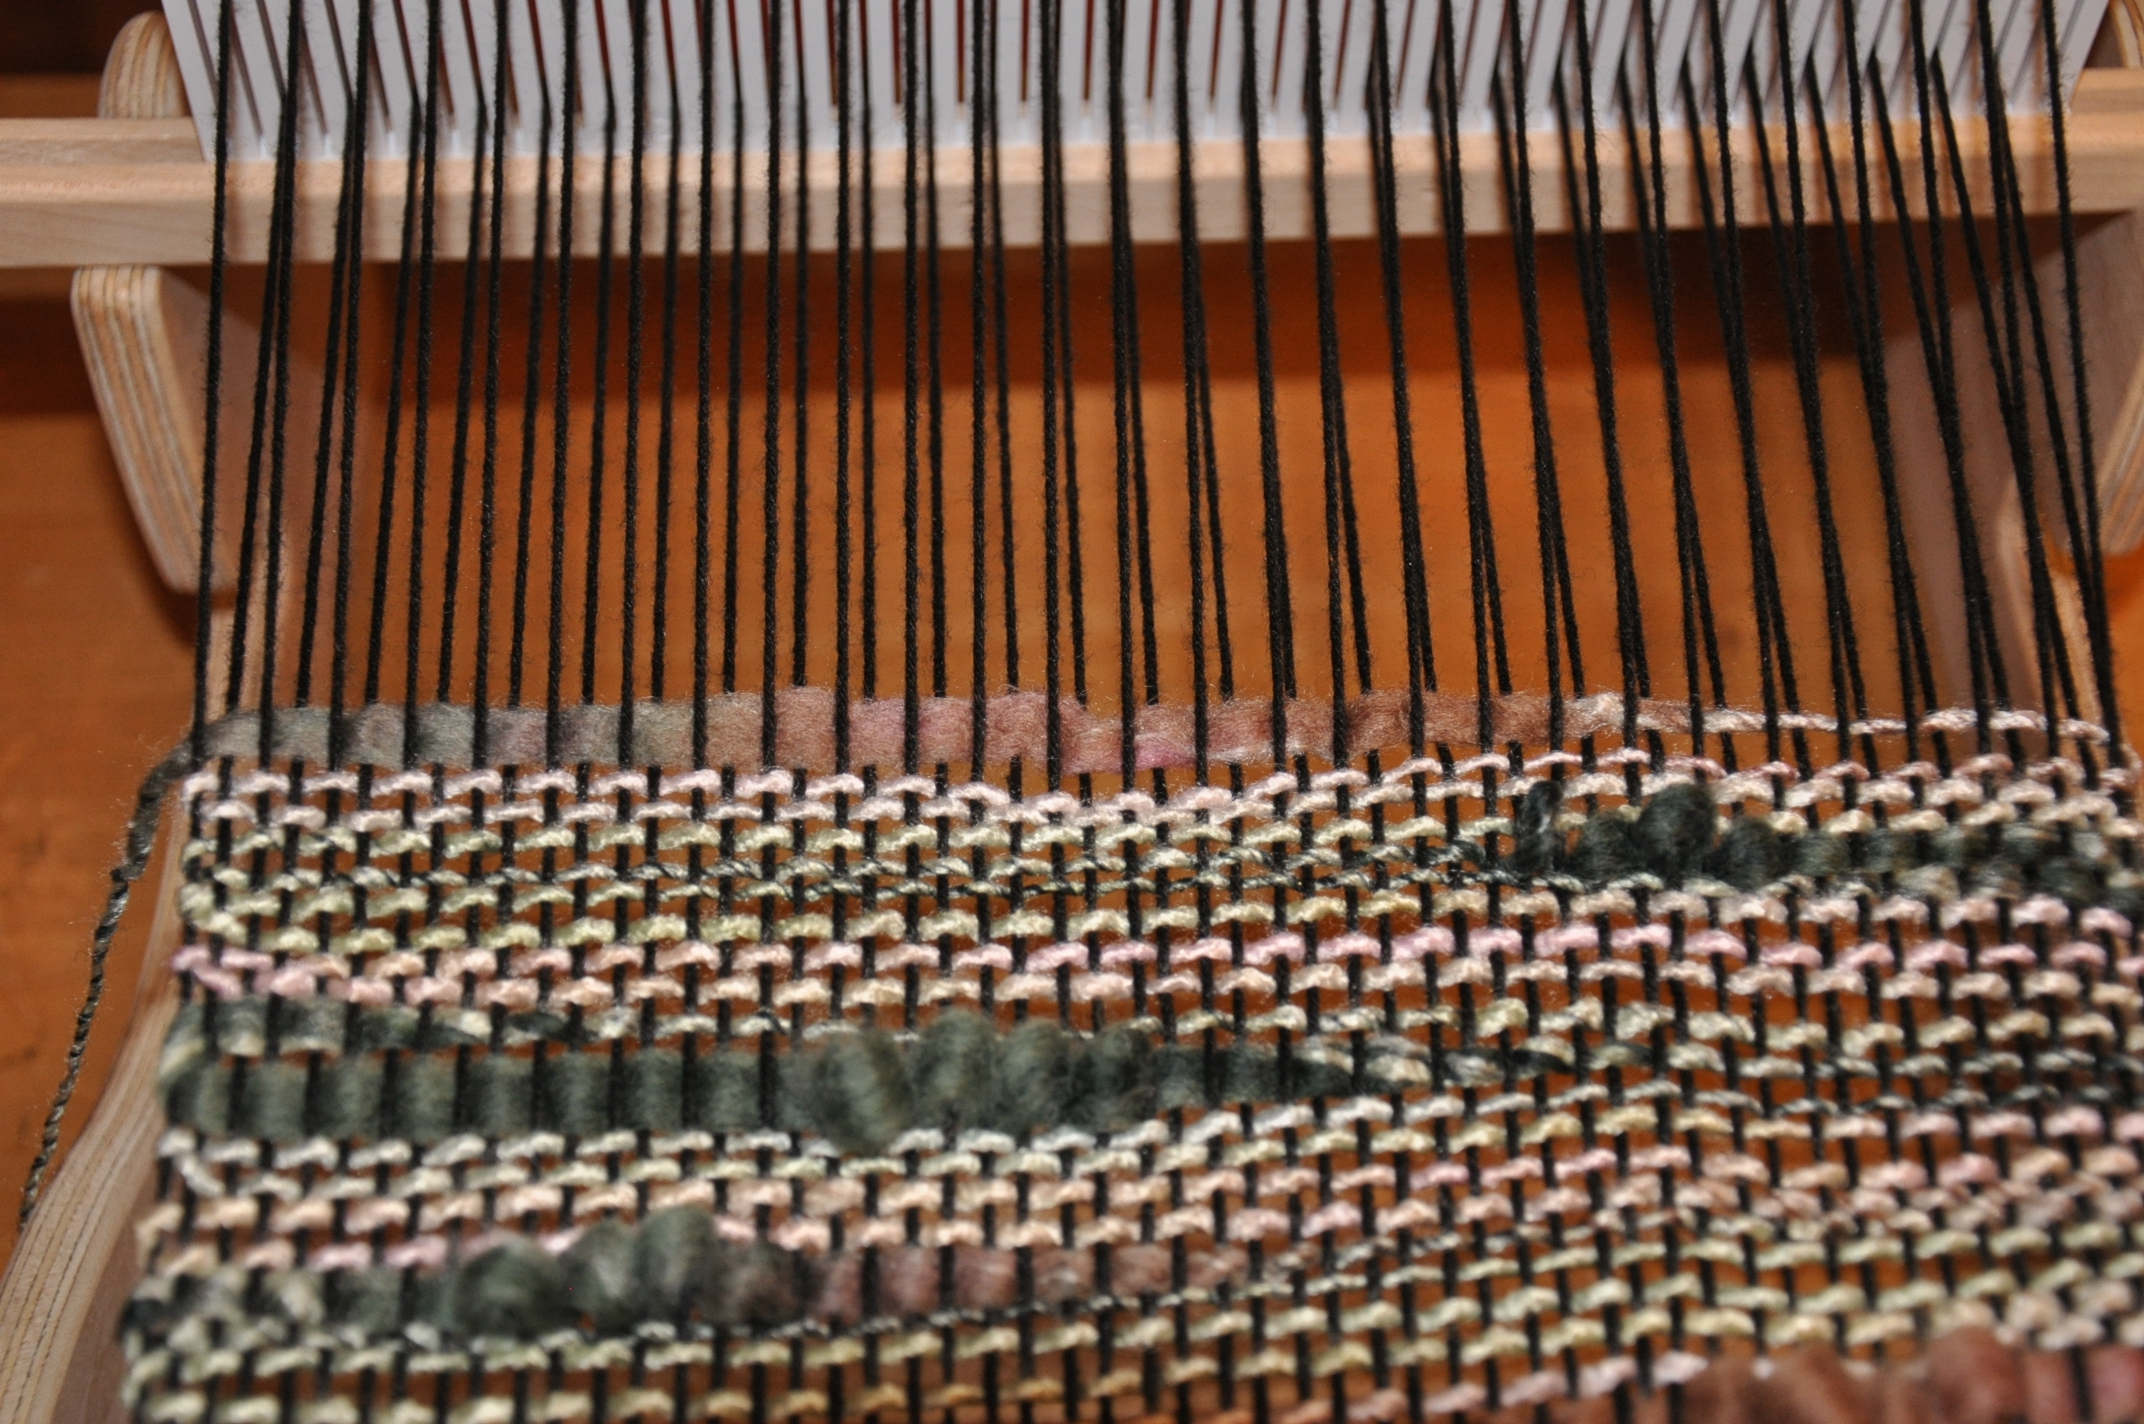
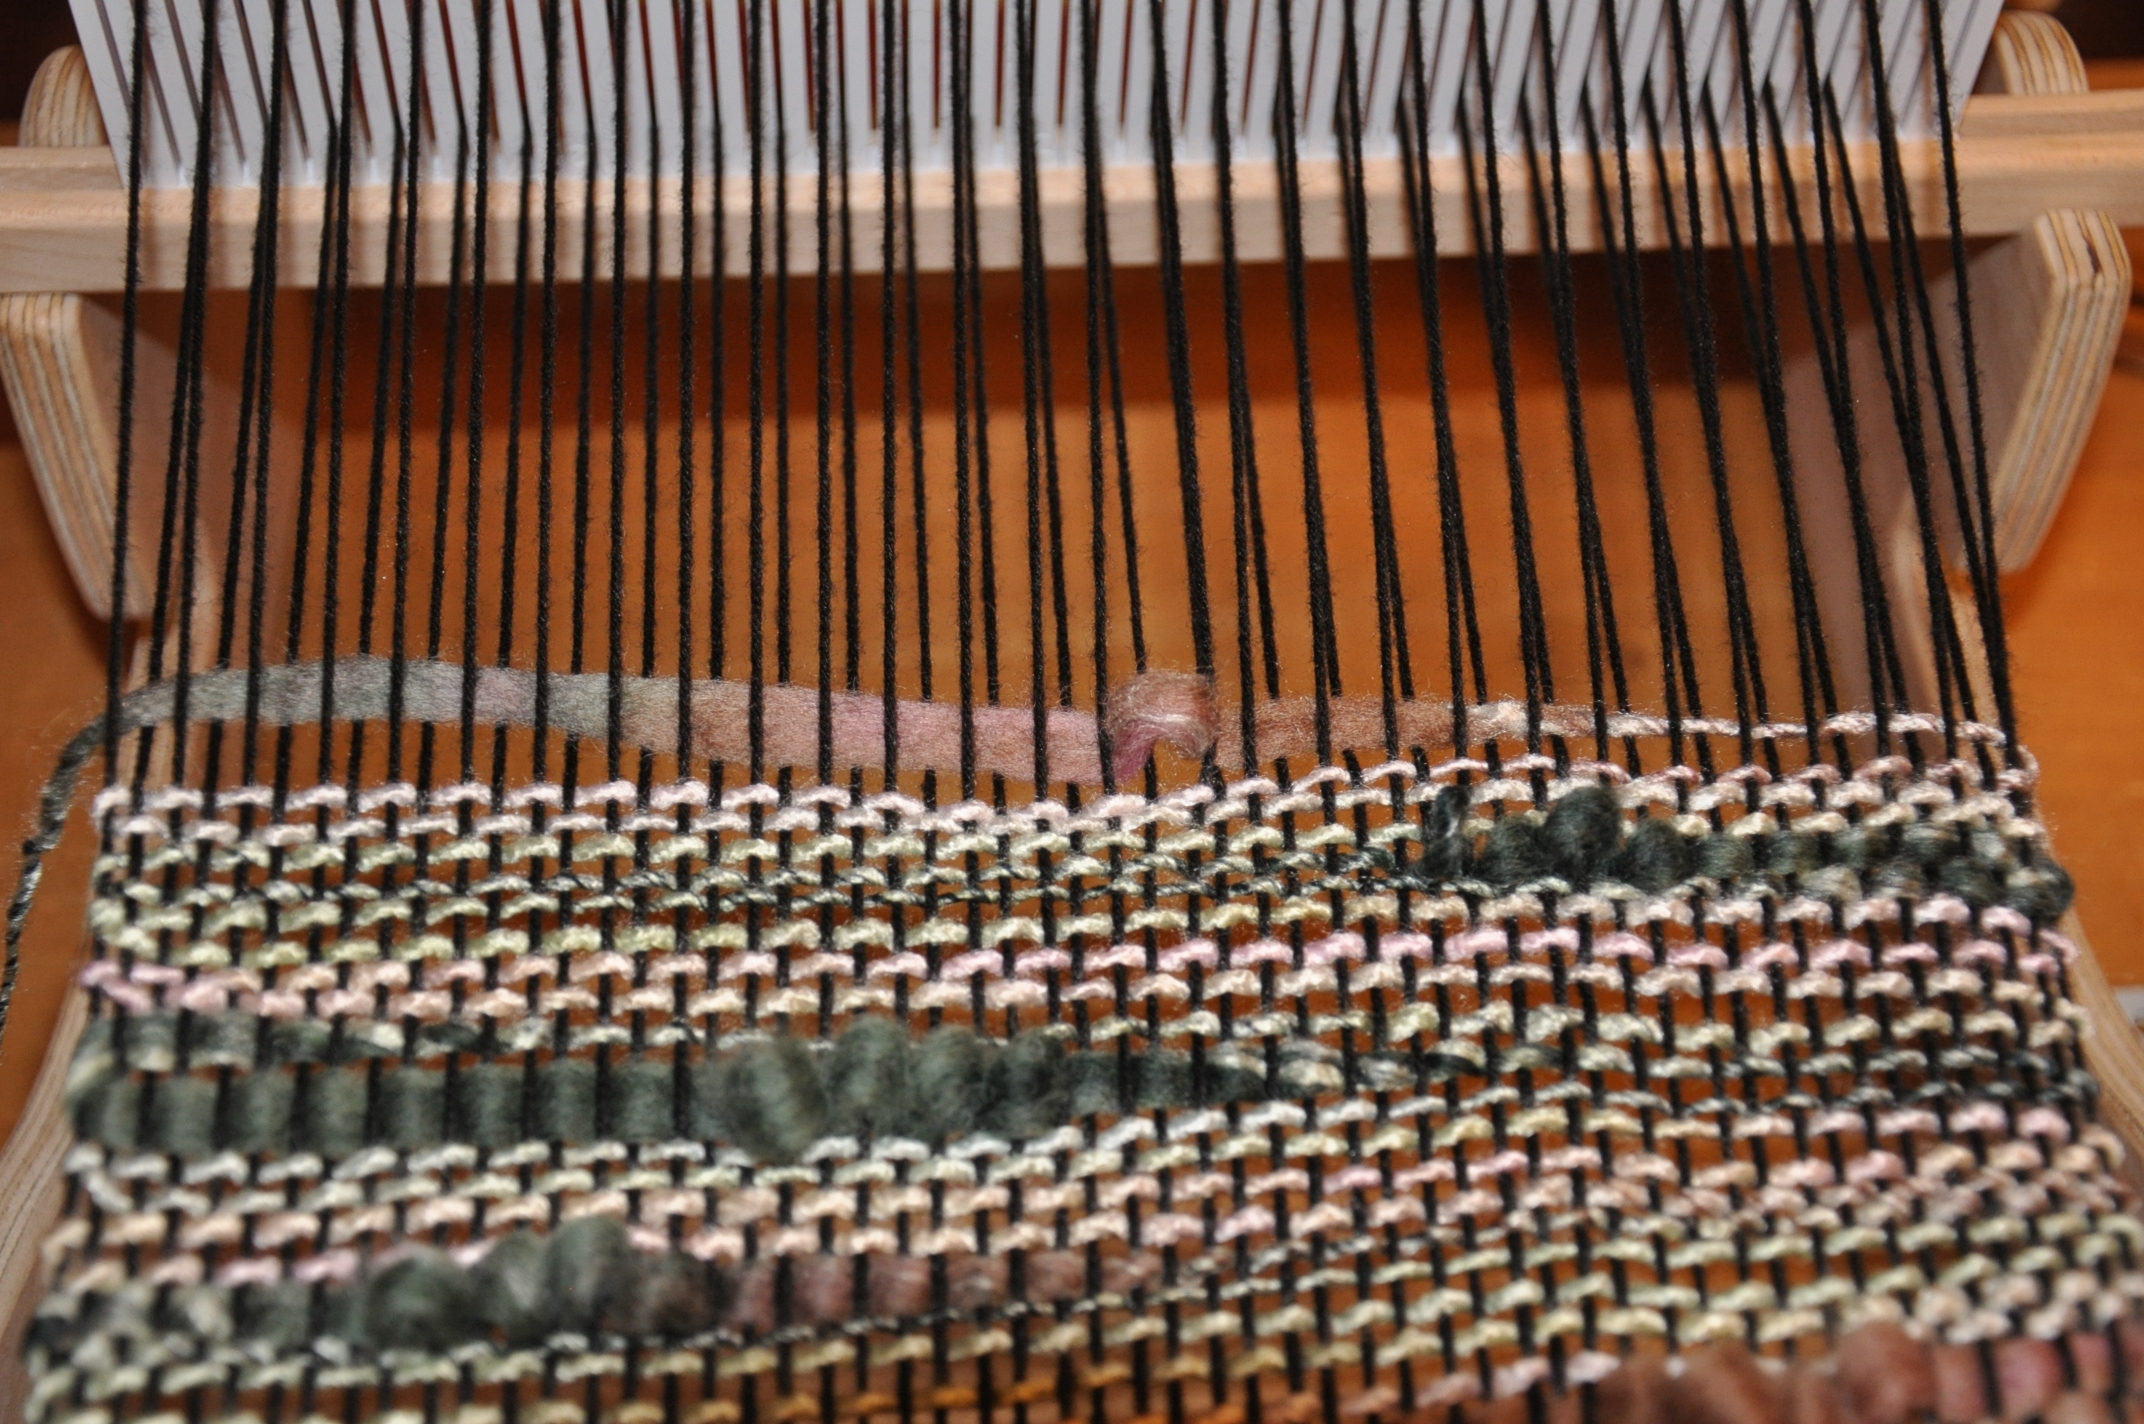
Again, I did a plain weave structure and wove in the same order I warped: 1 pick of Deluxe, 8 picks of Infusion Handpaints.

Inprogress_1


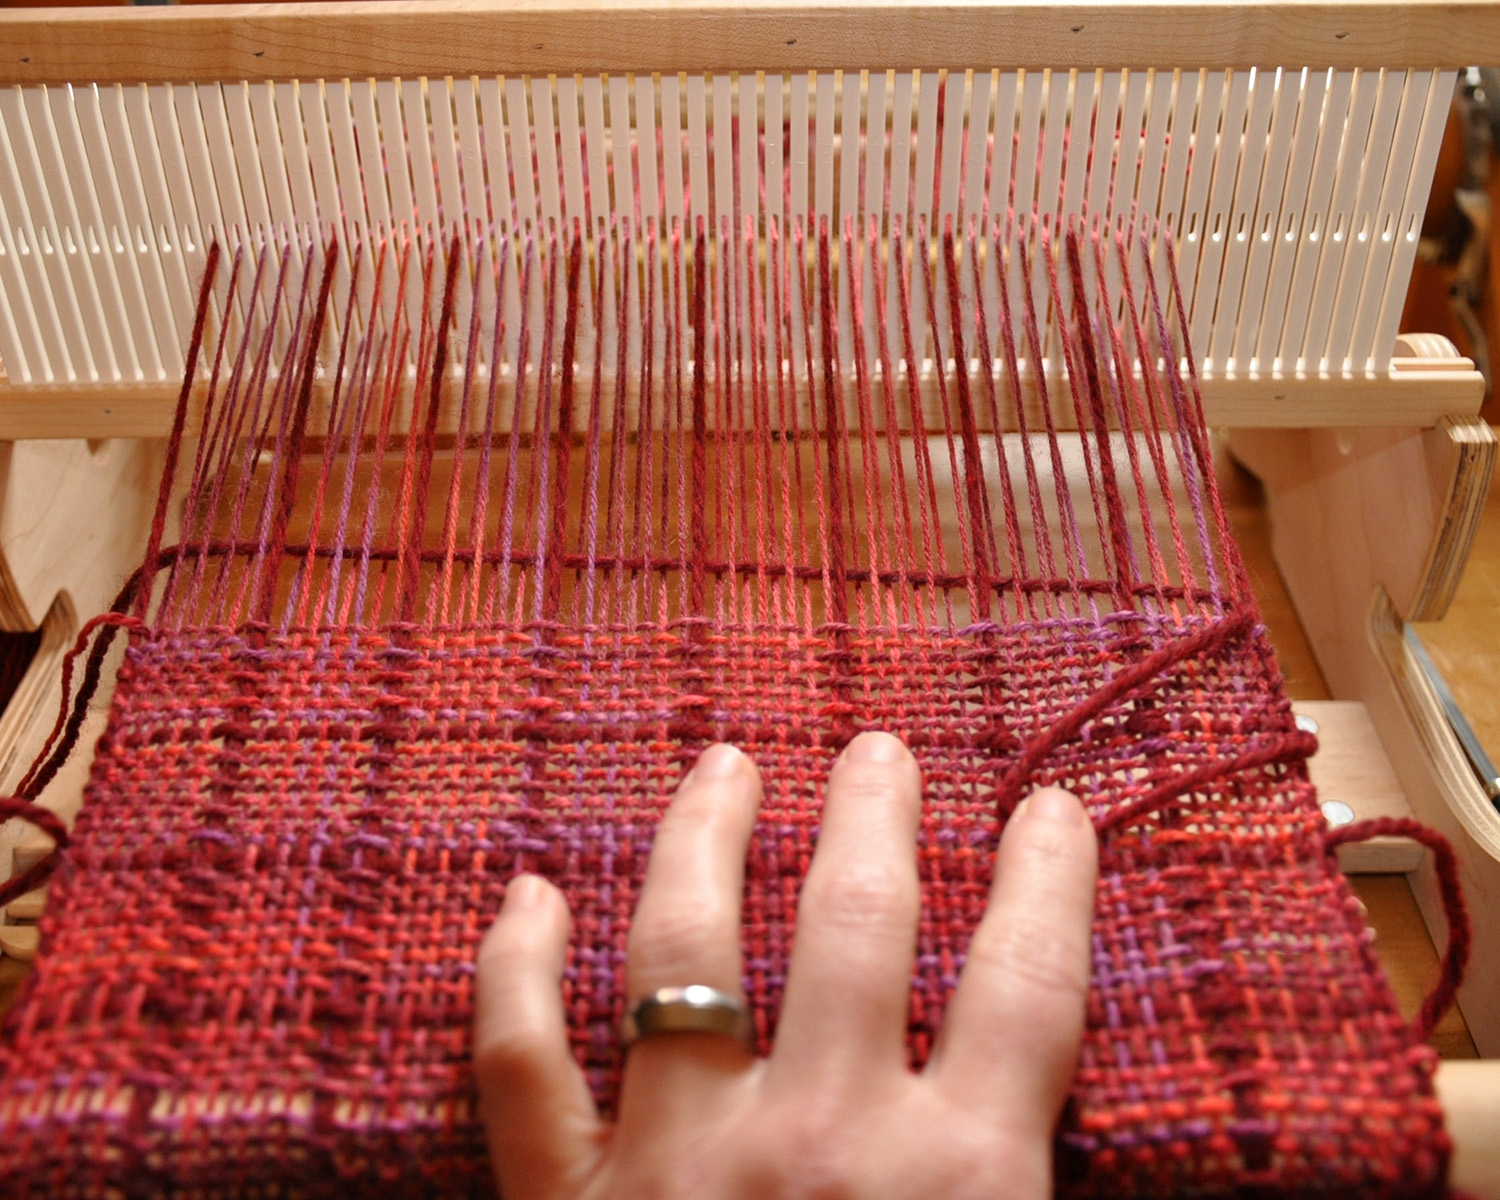
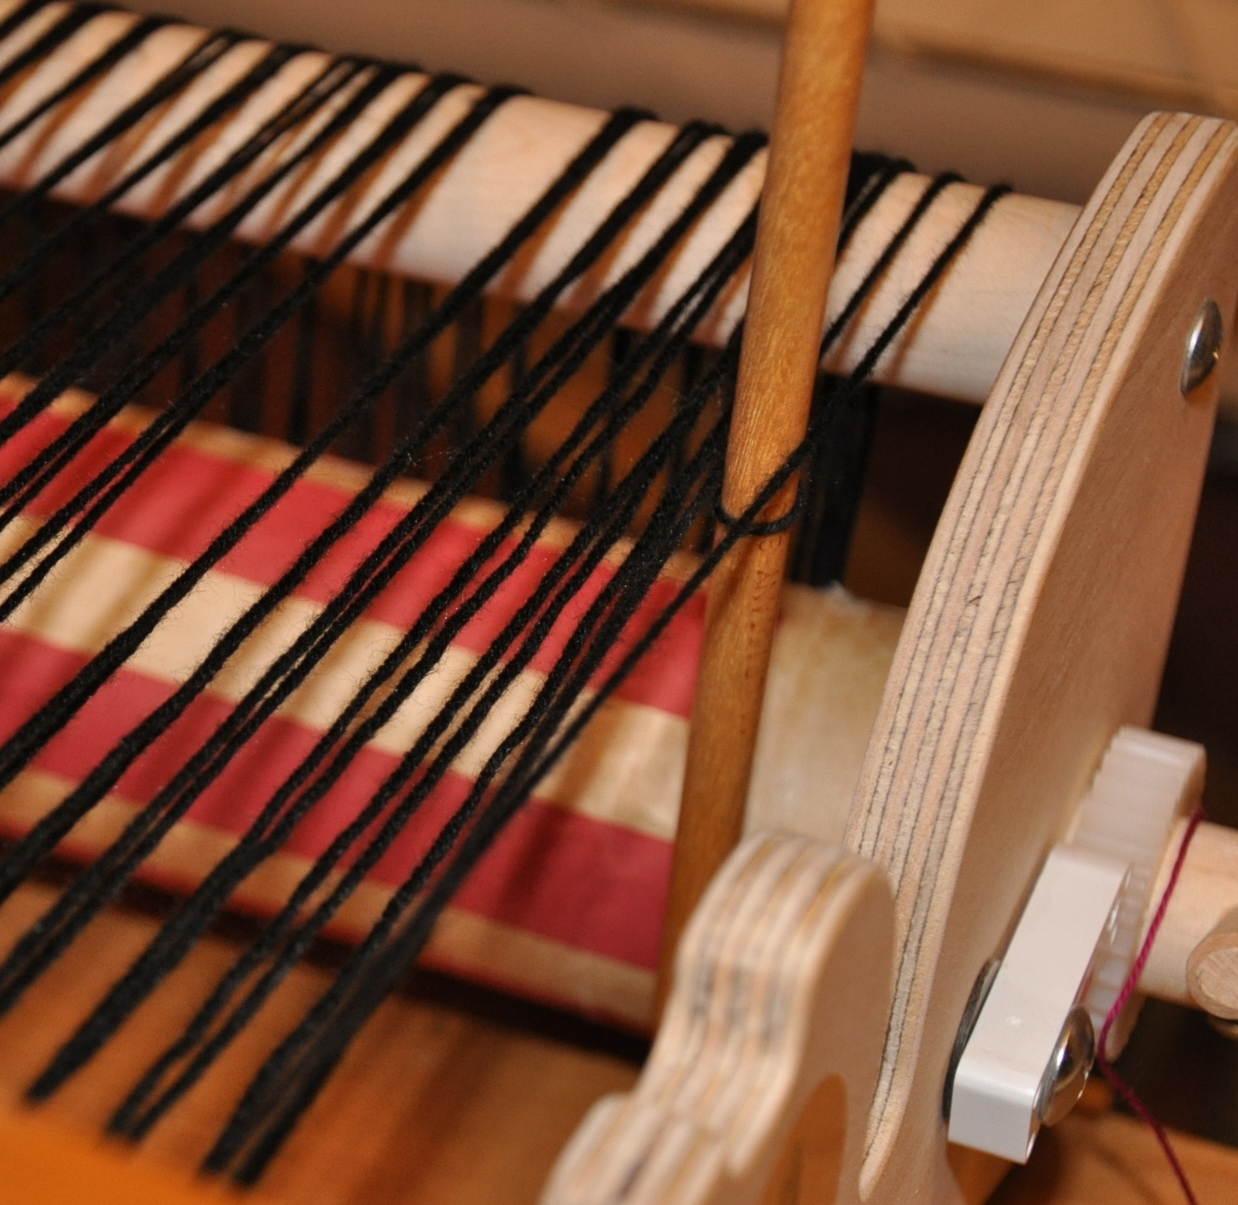
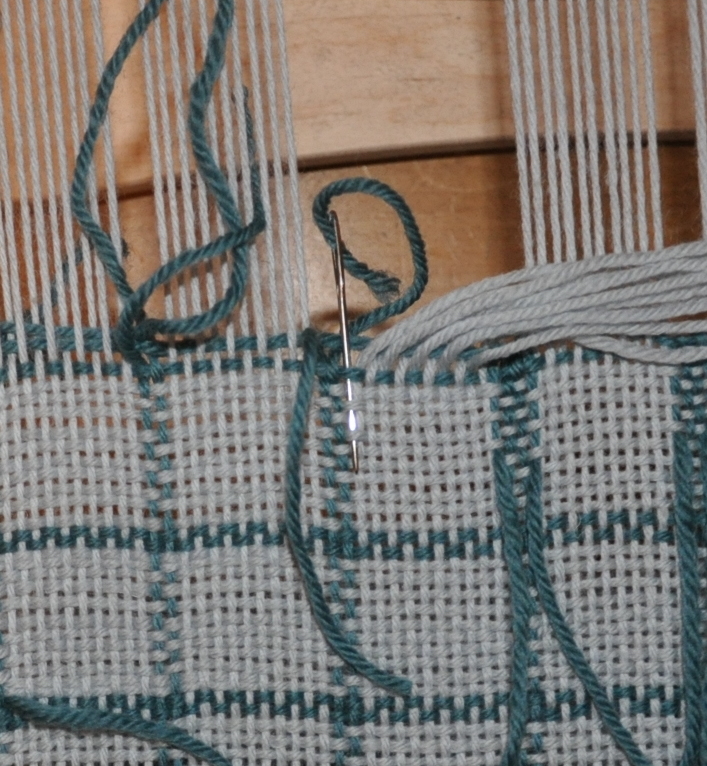
Instead of starting and stopping the Deluxe after each stripe, I tried something new.  I wove my pick, then I pulled out a long loop at the side. After the felting process, I knew I would be able to simply cut off those loops, thereby avoiding any unnecessary bulk.

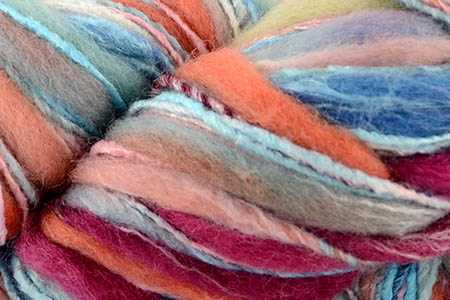
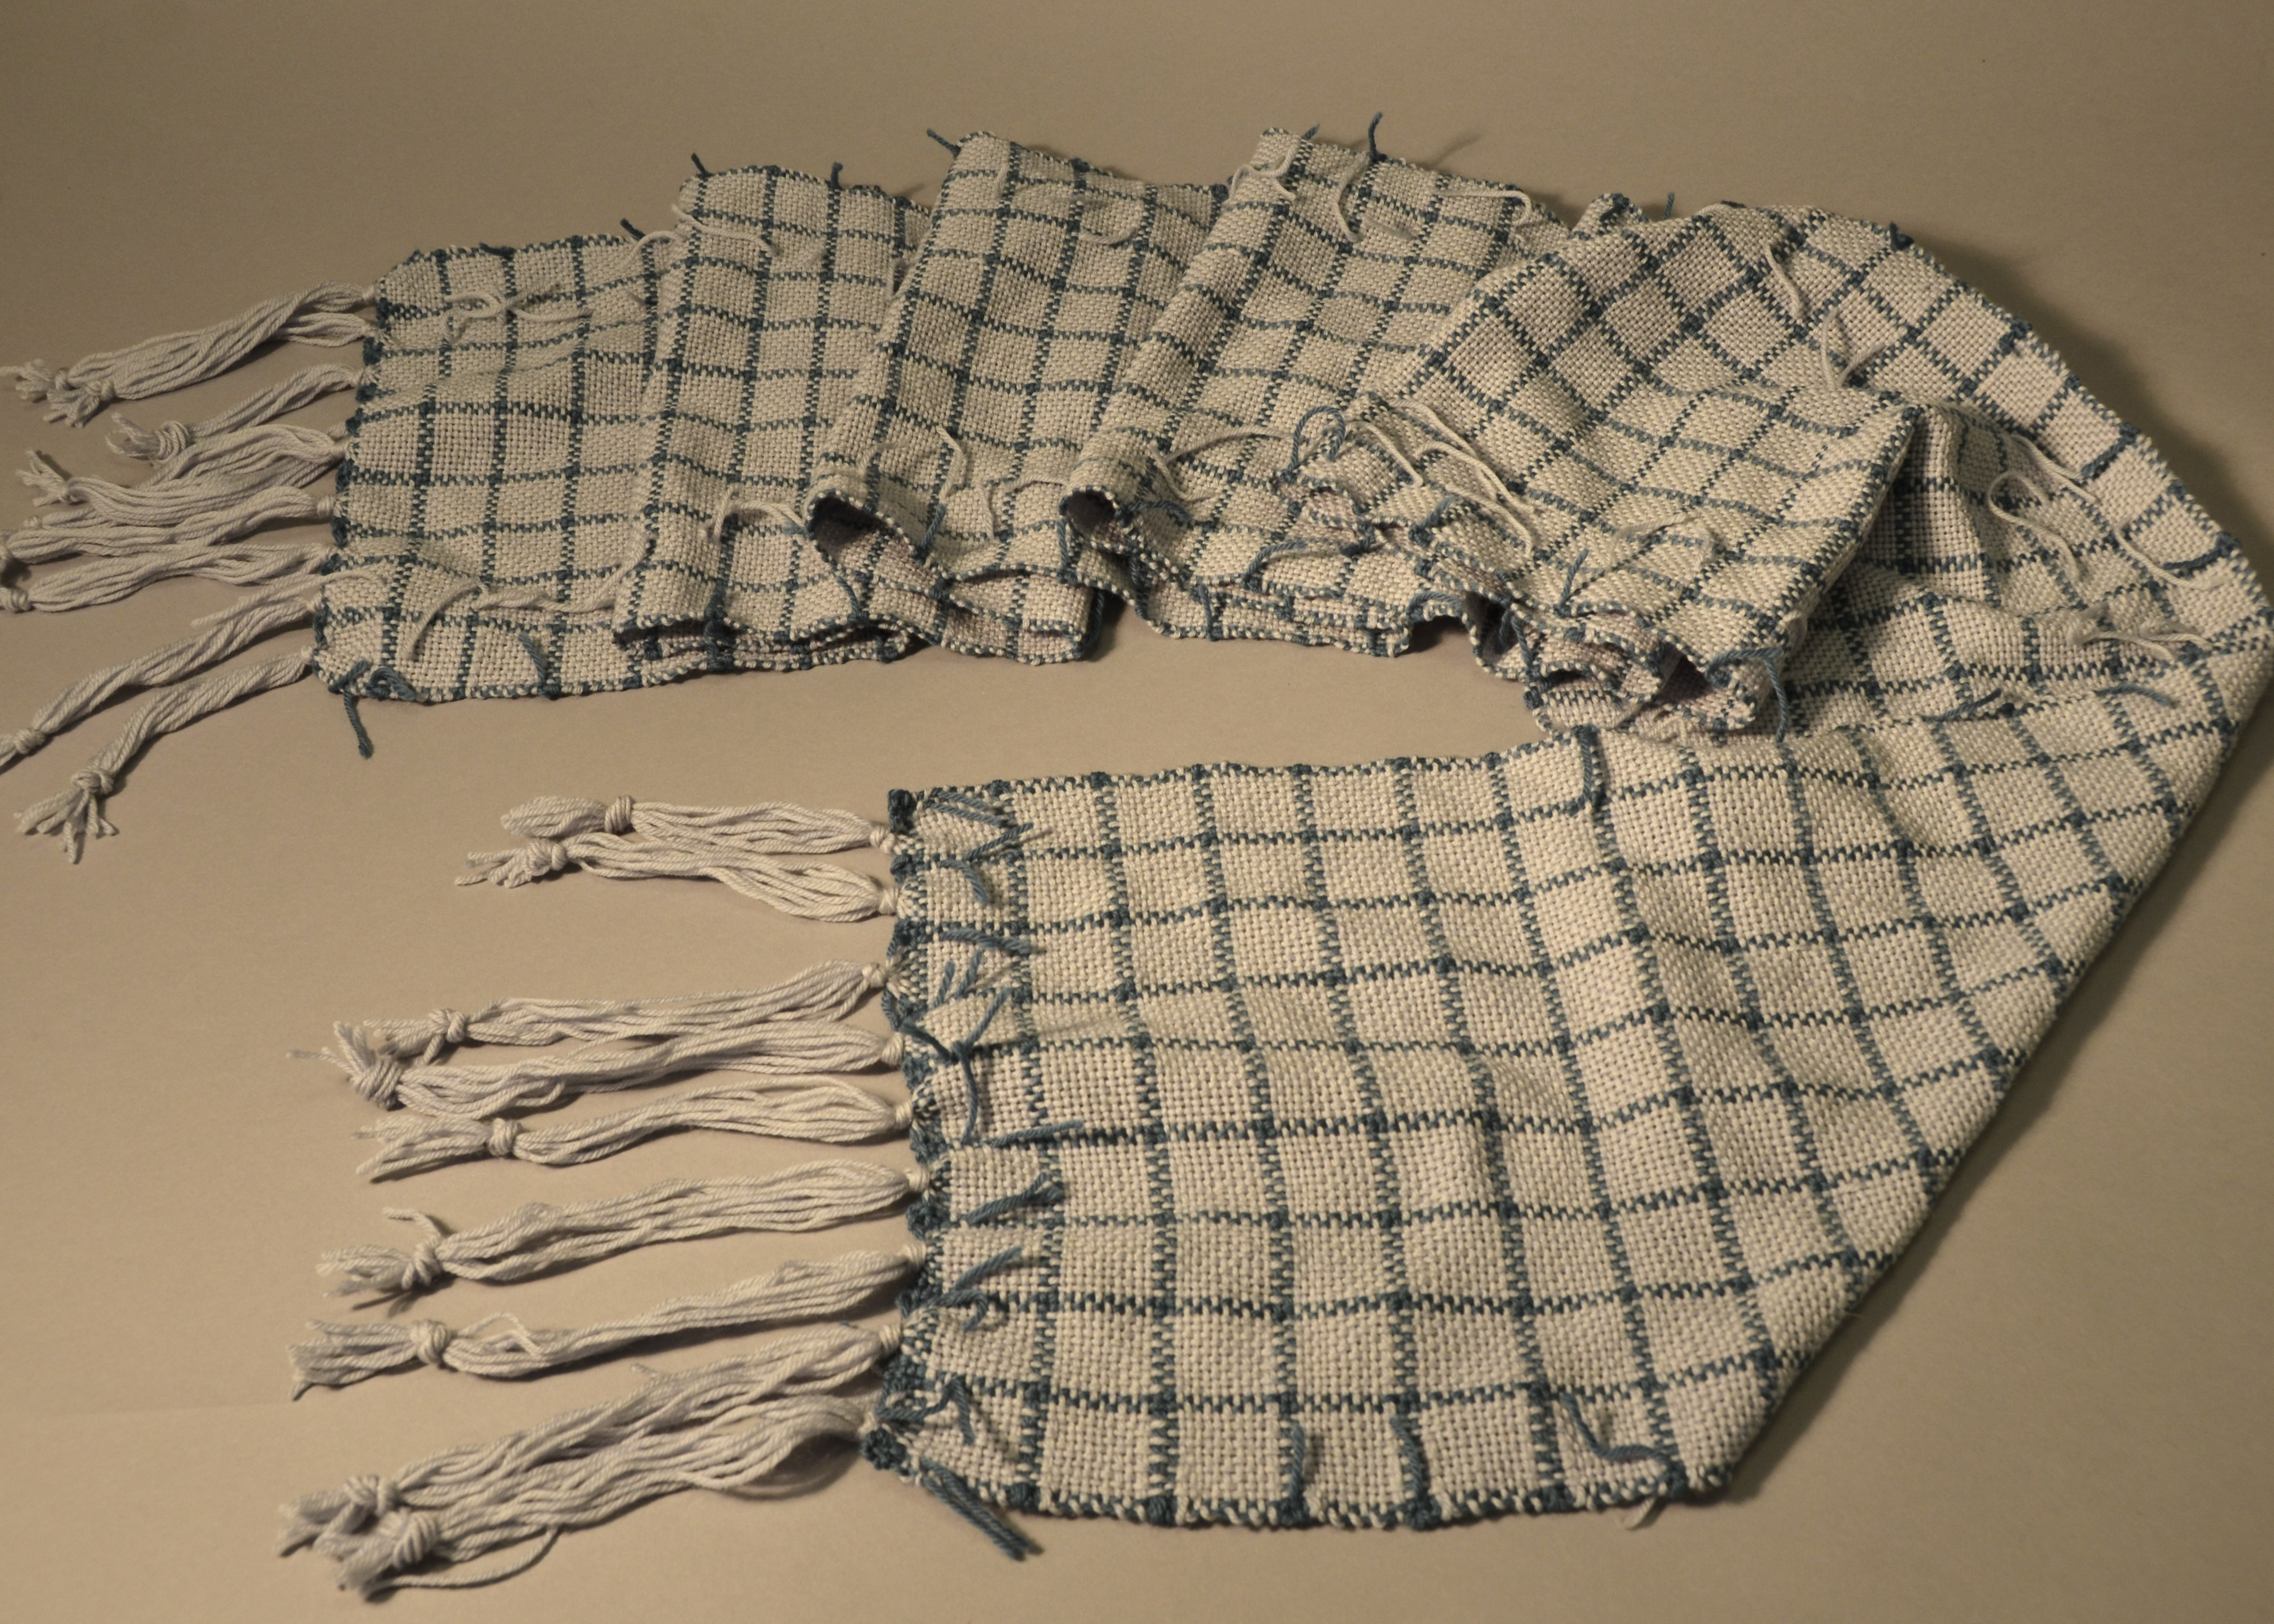
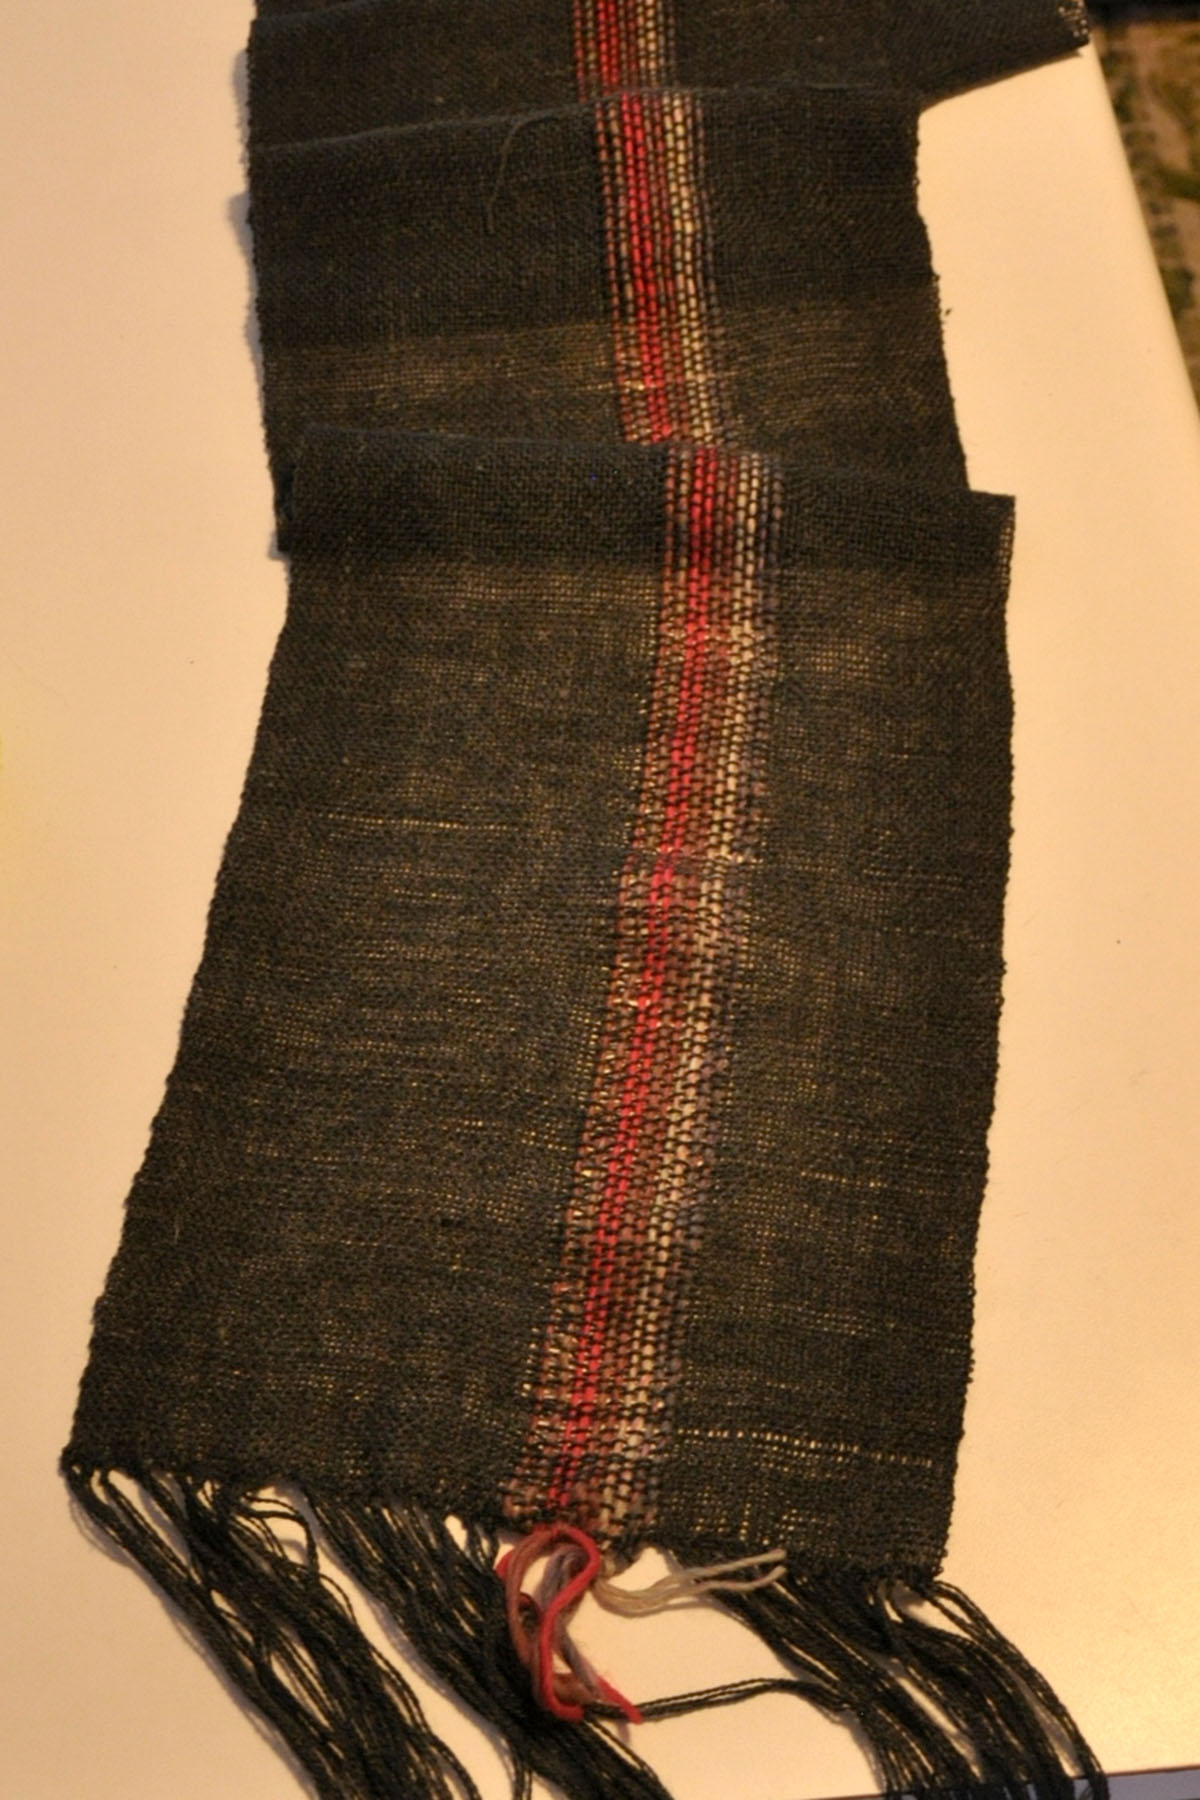
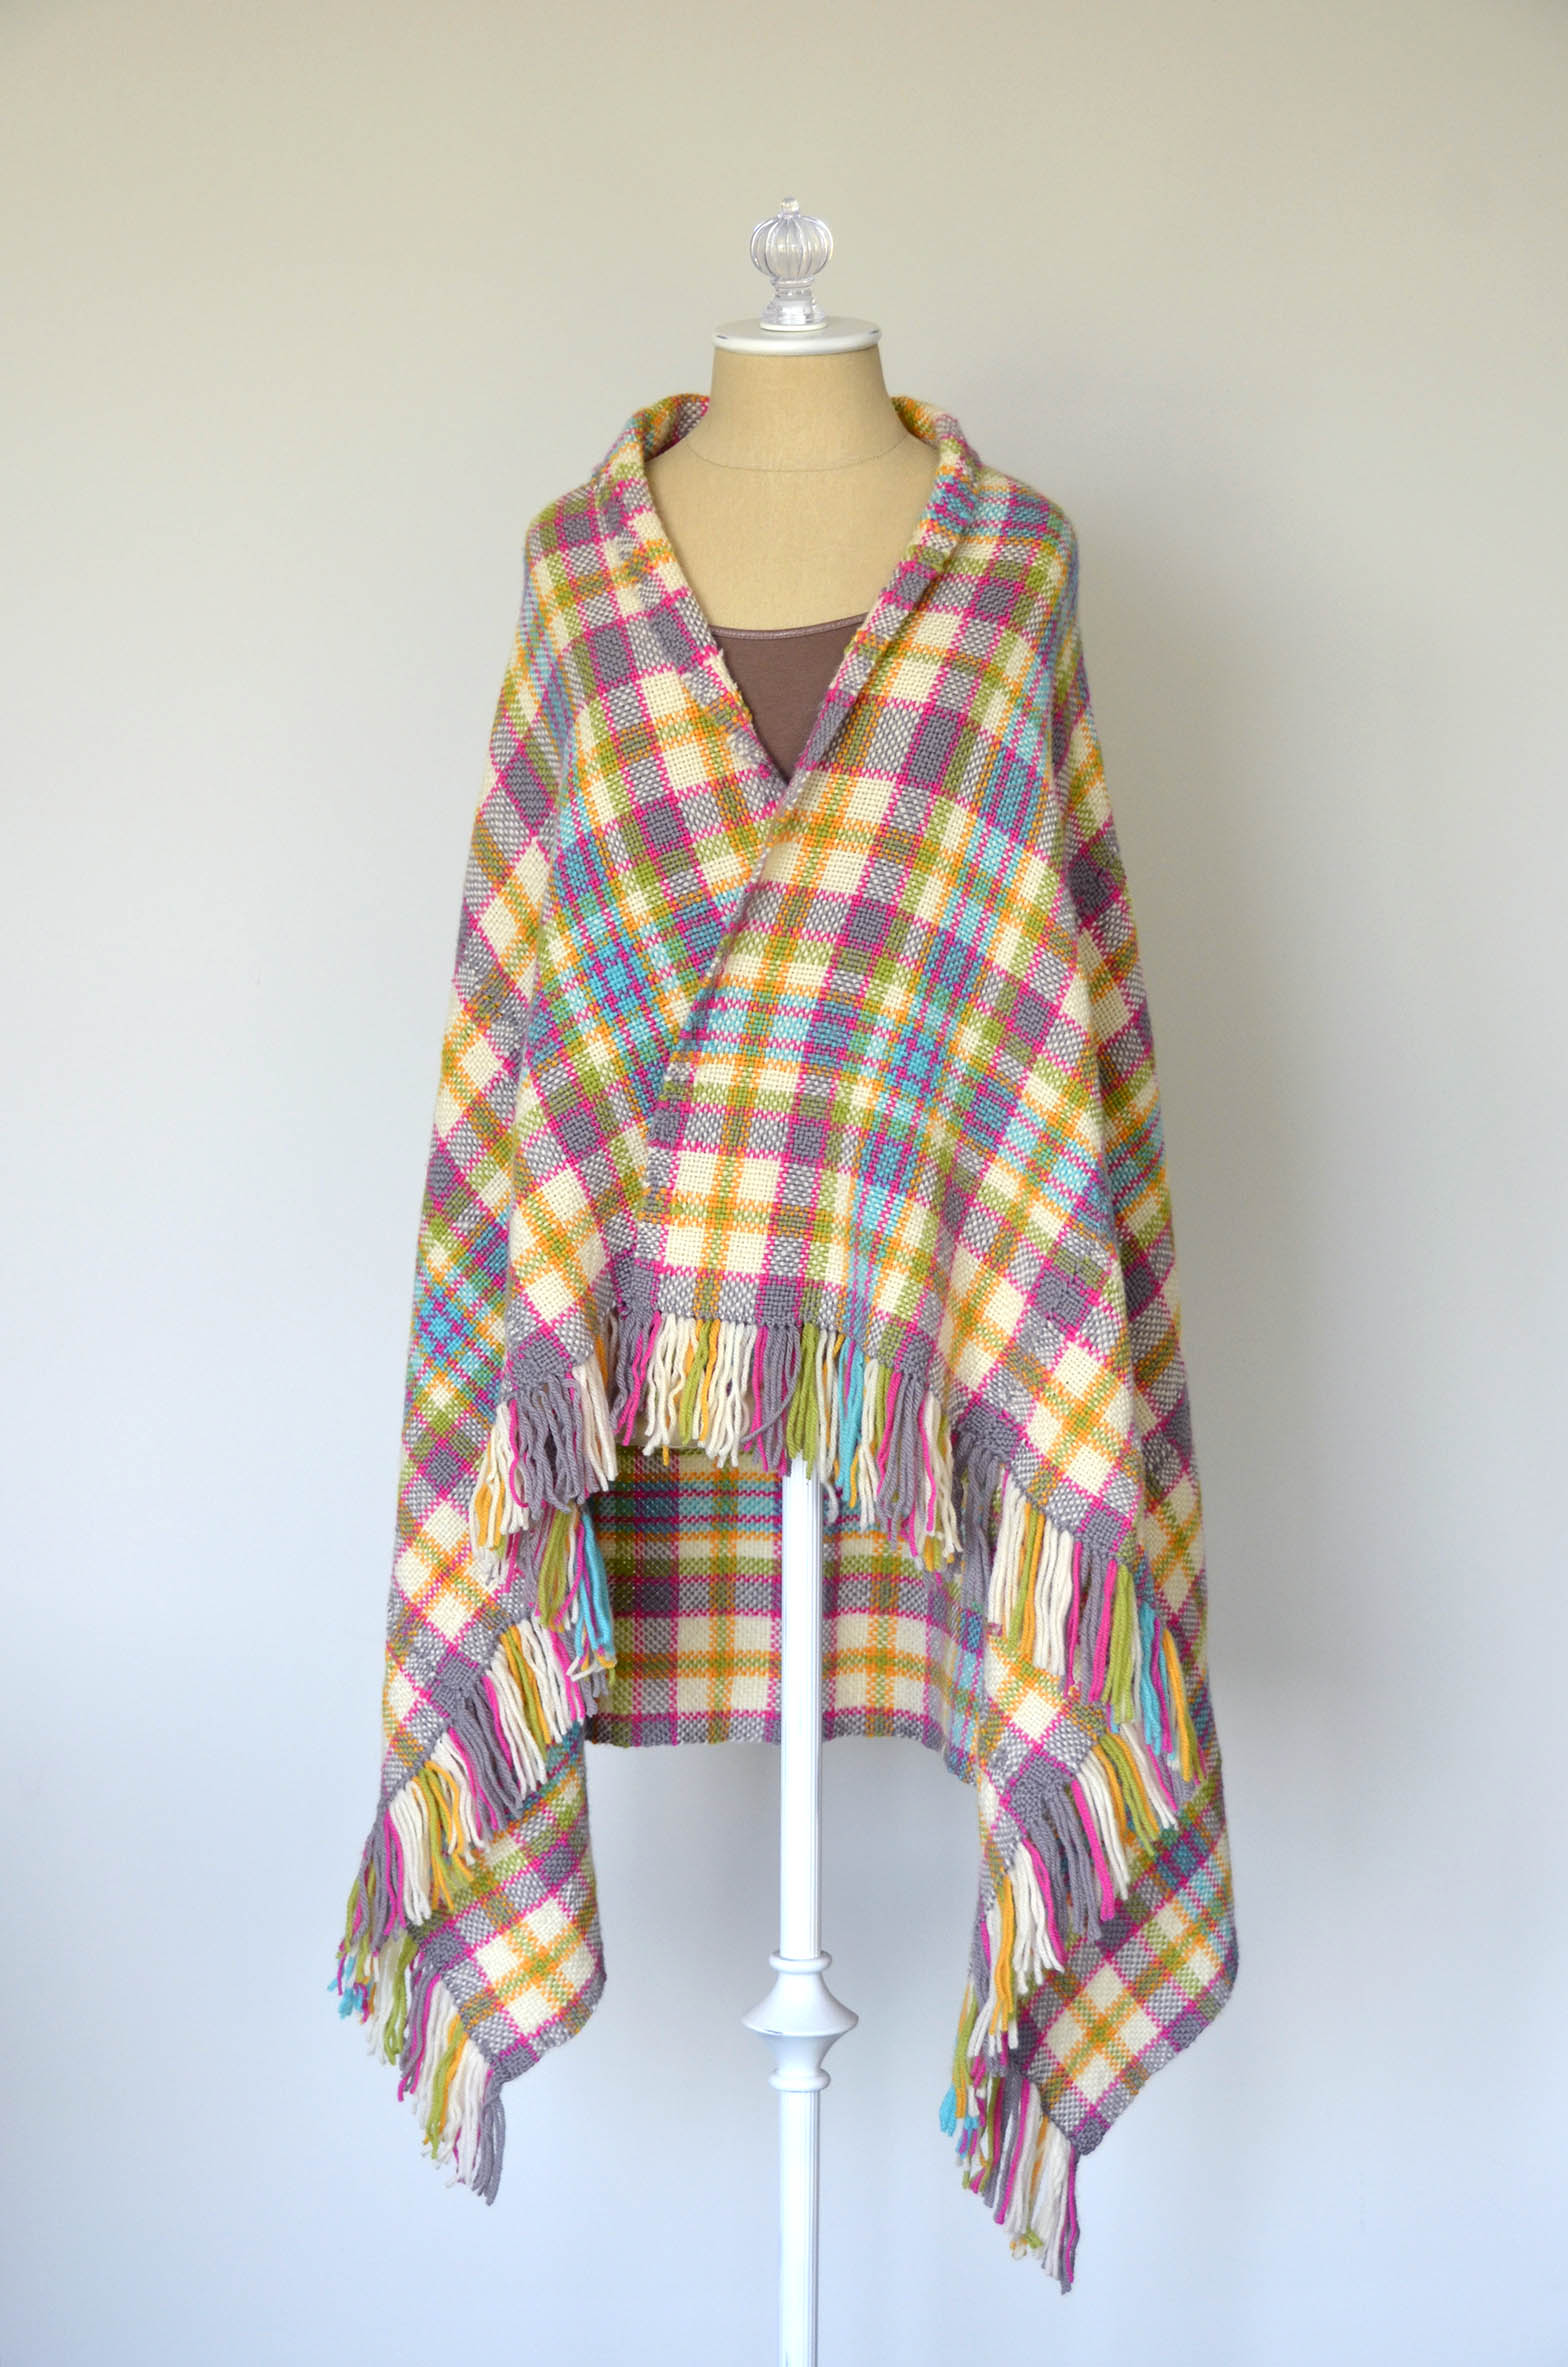
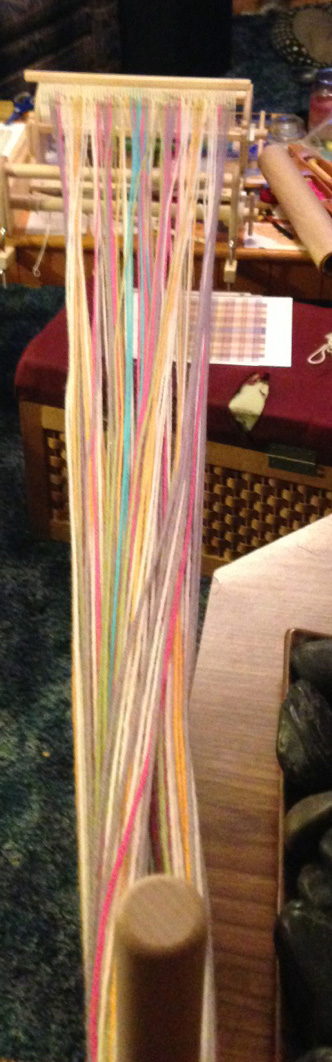
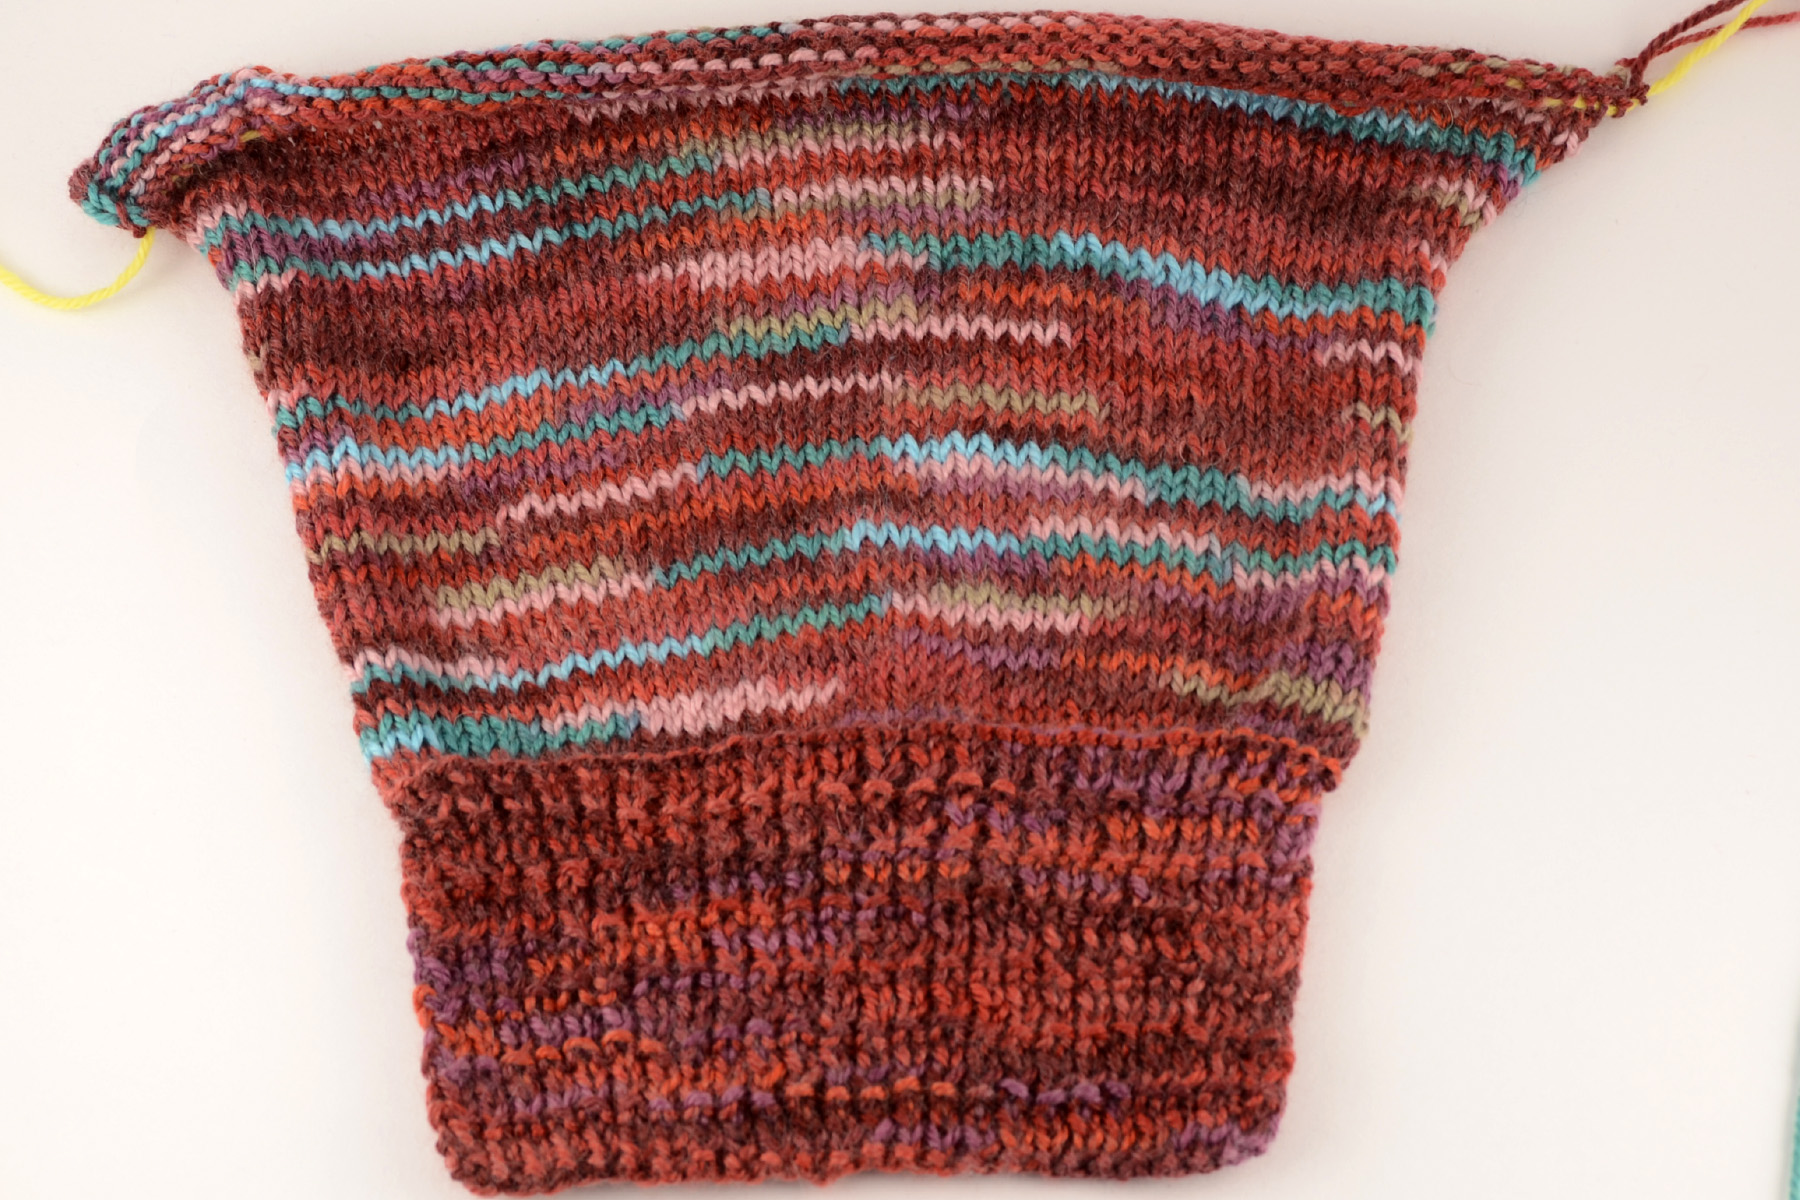
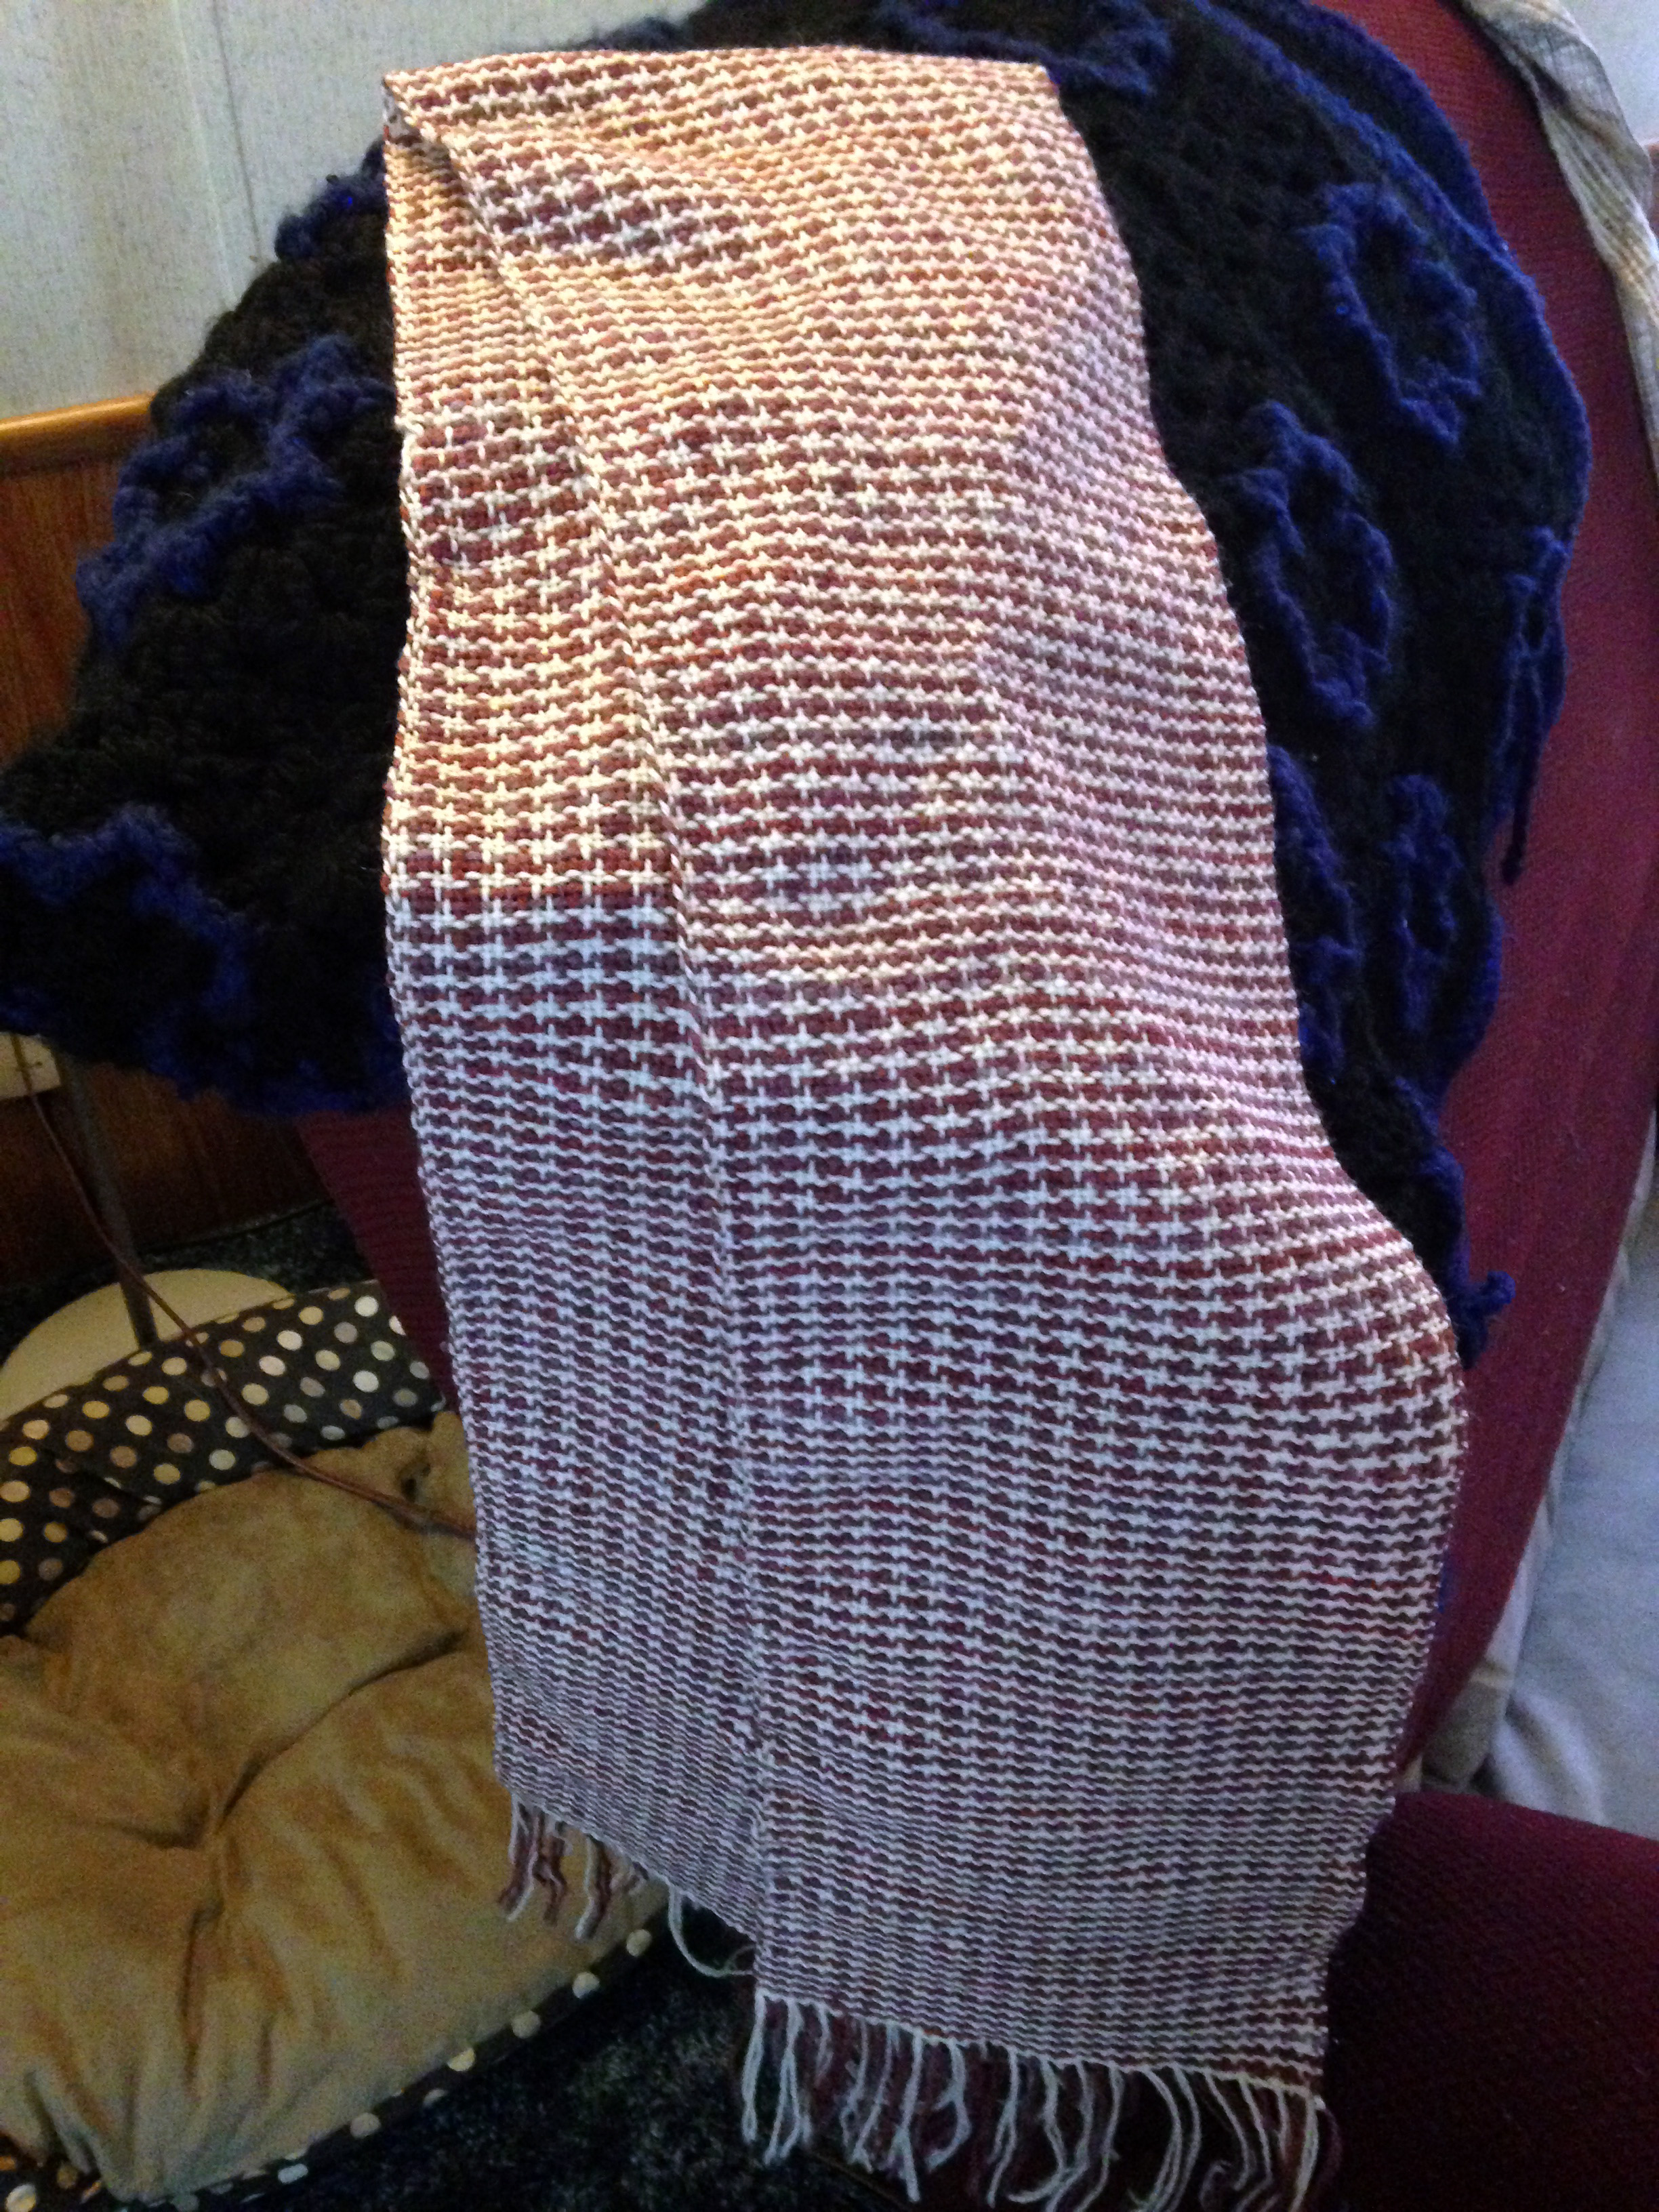
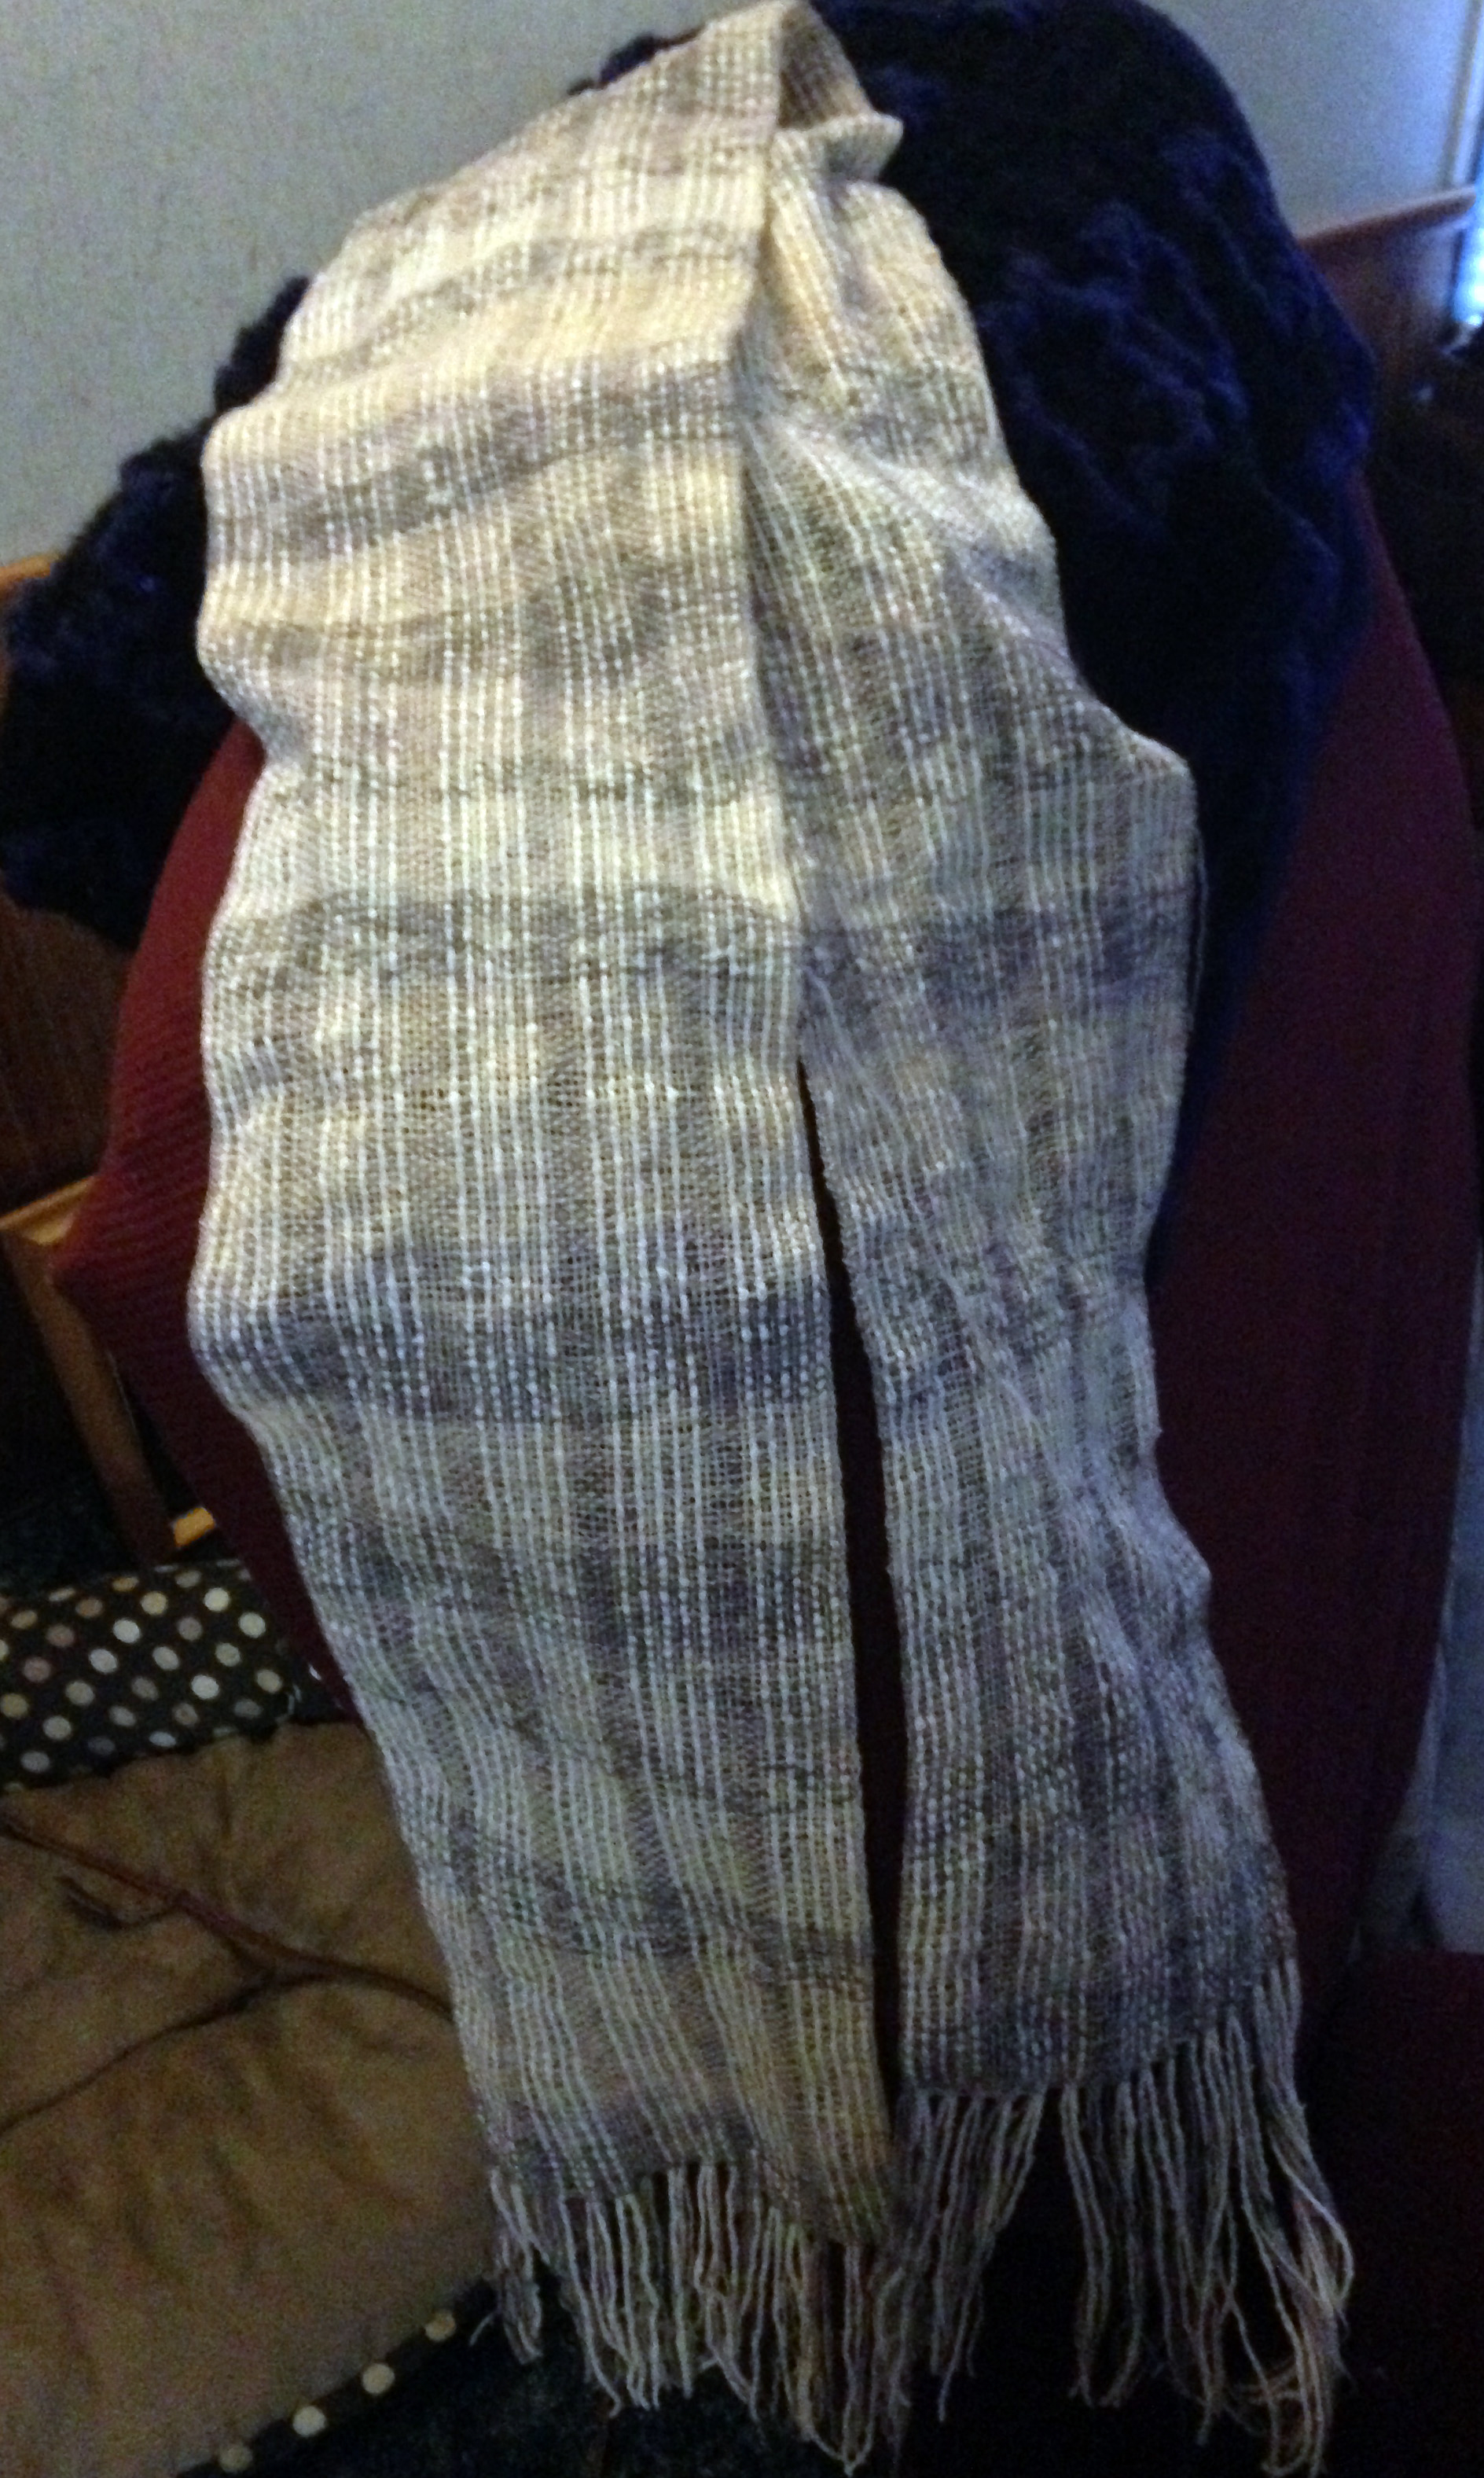
Here it is off the loom, nice and drapy:

OfftheLoom

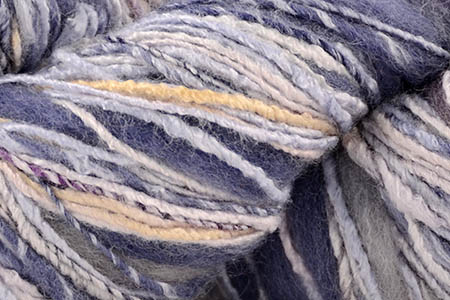
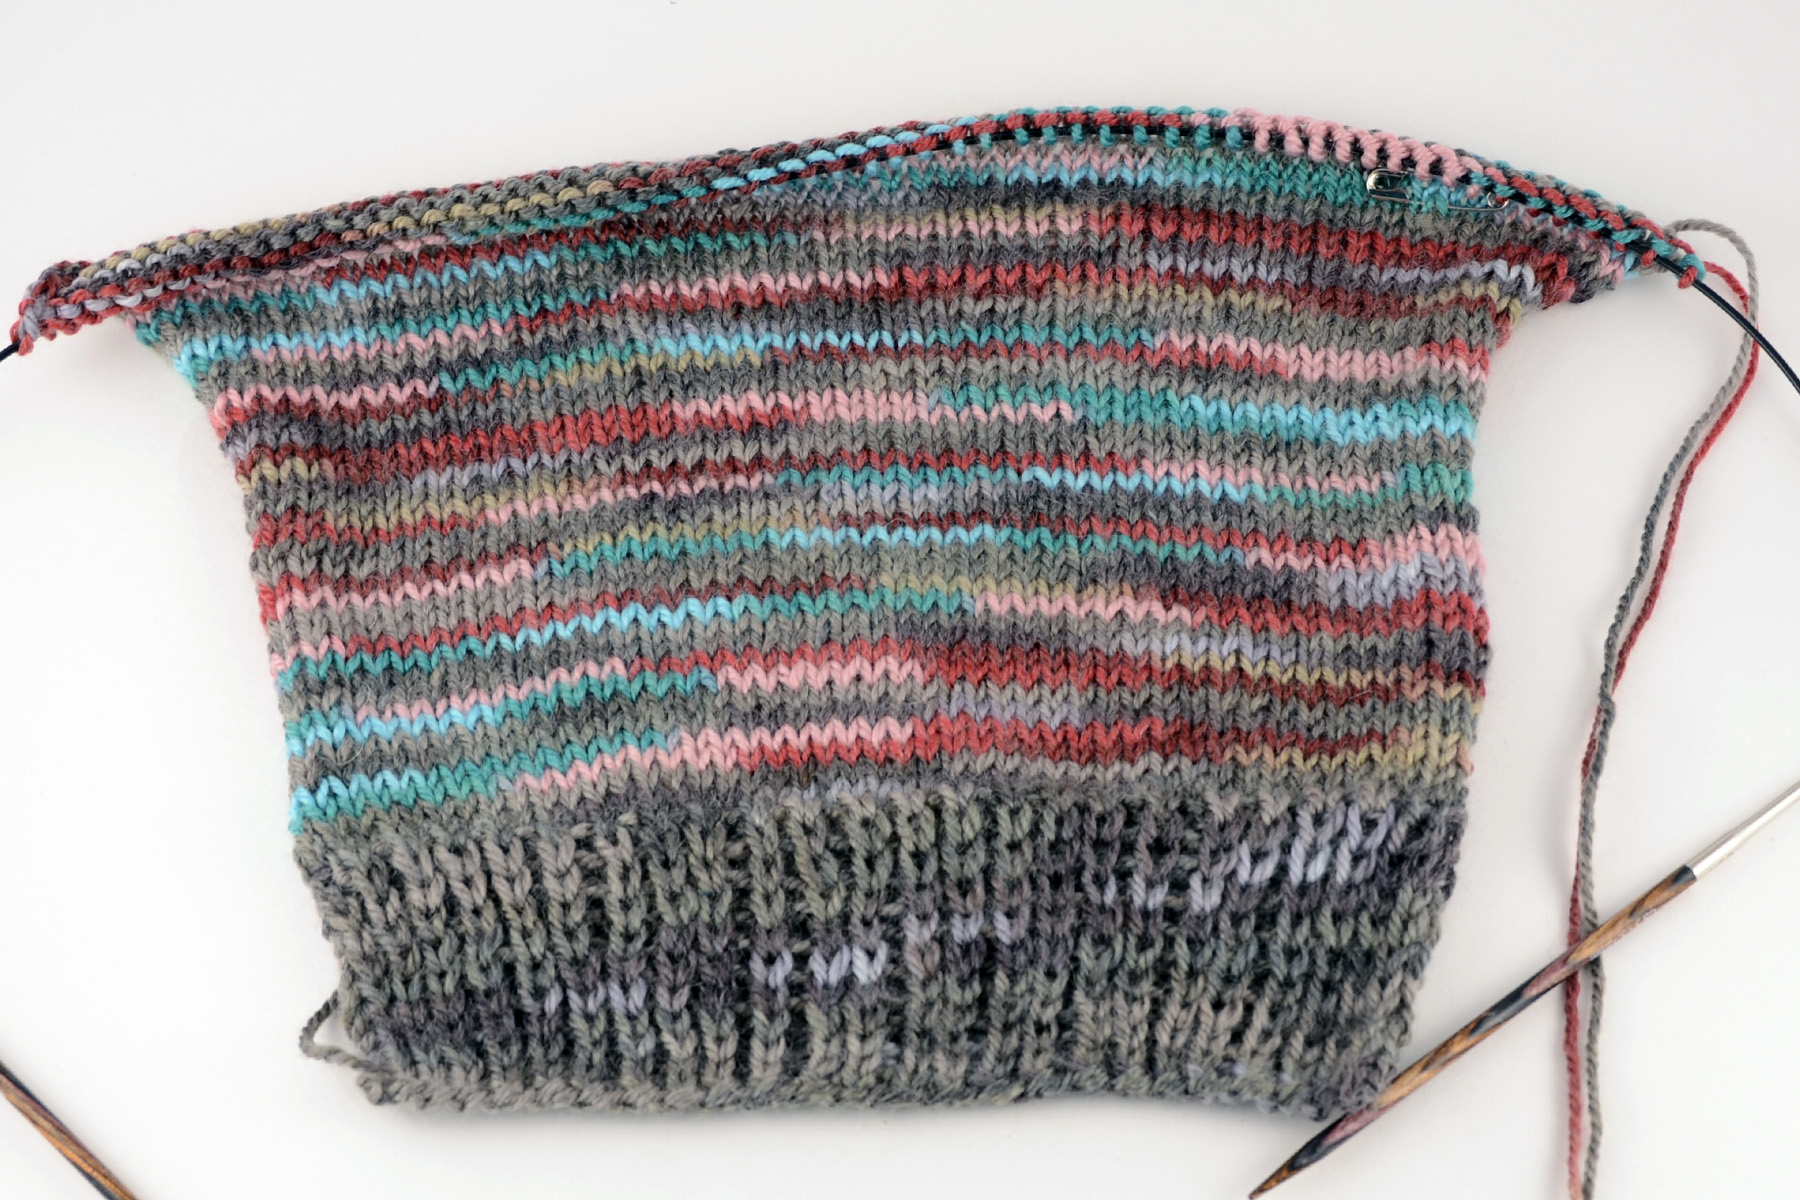
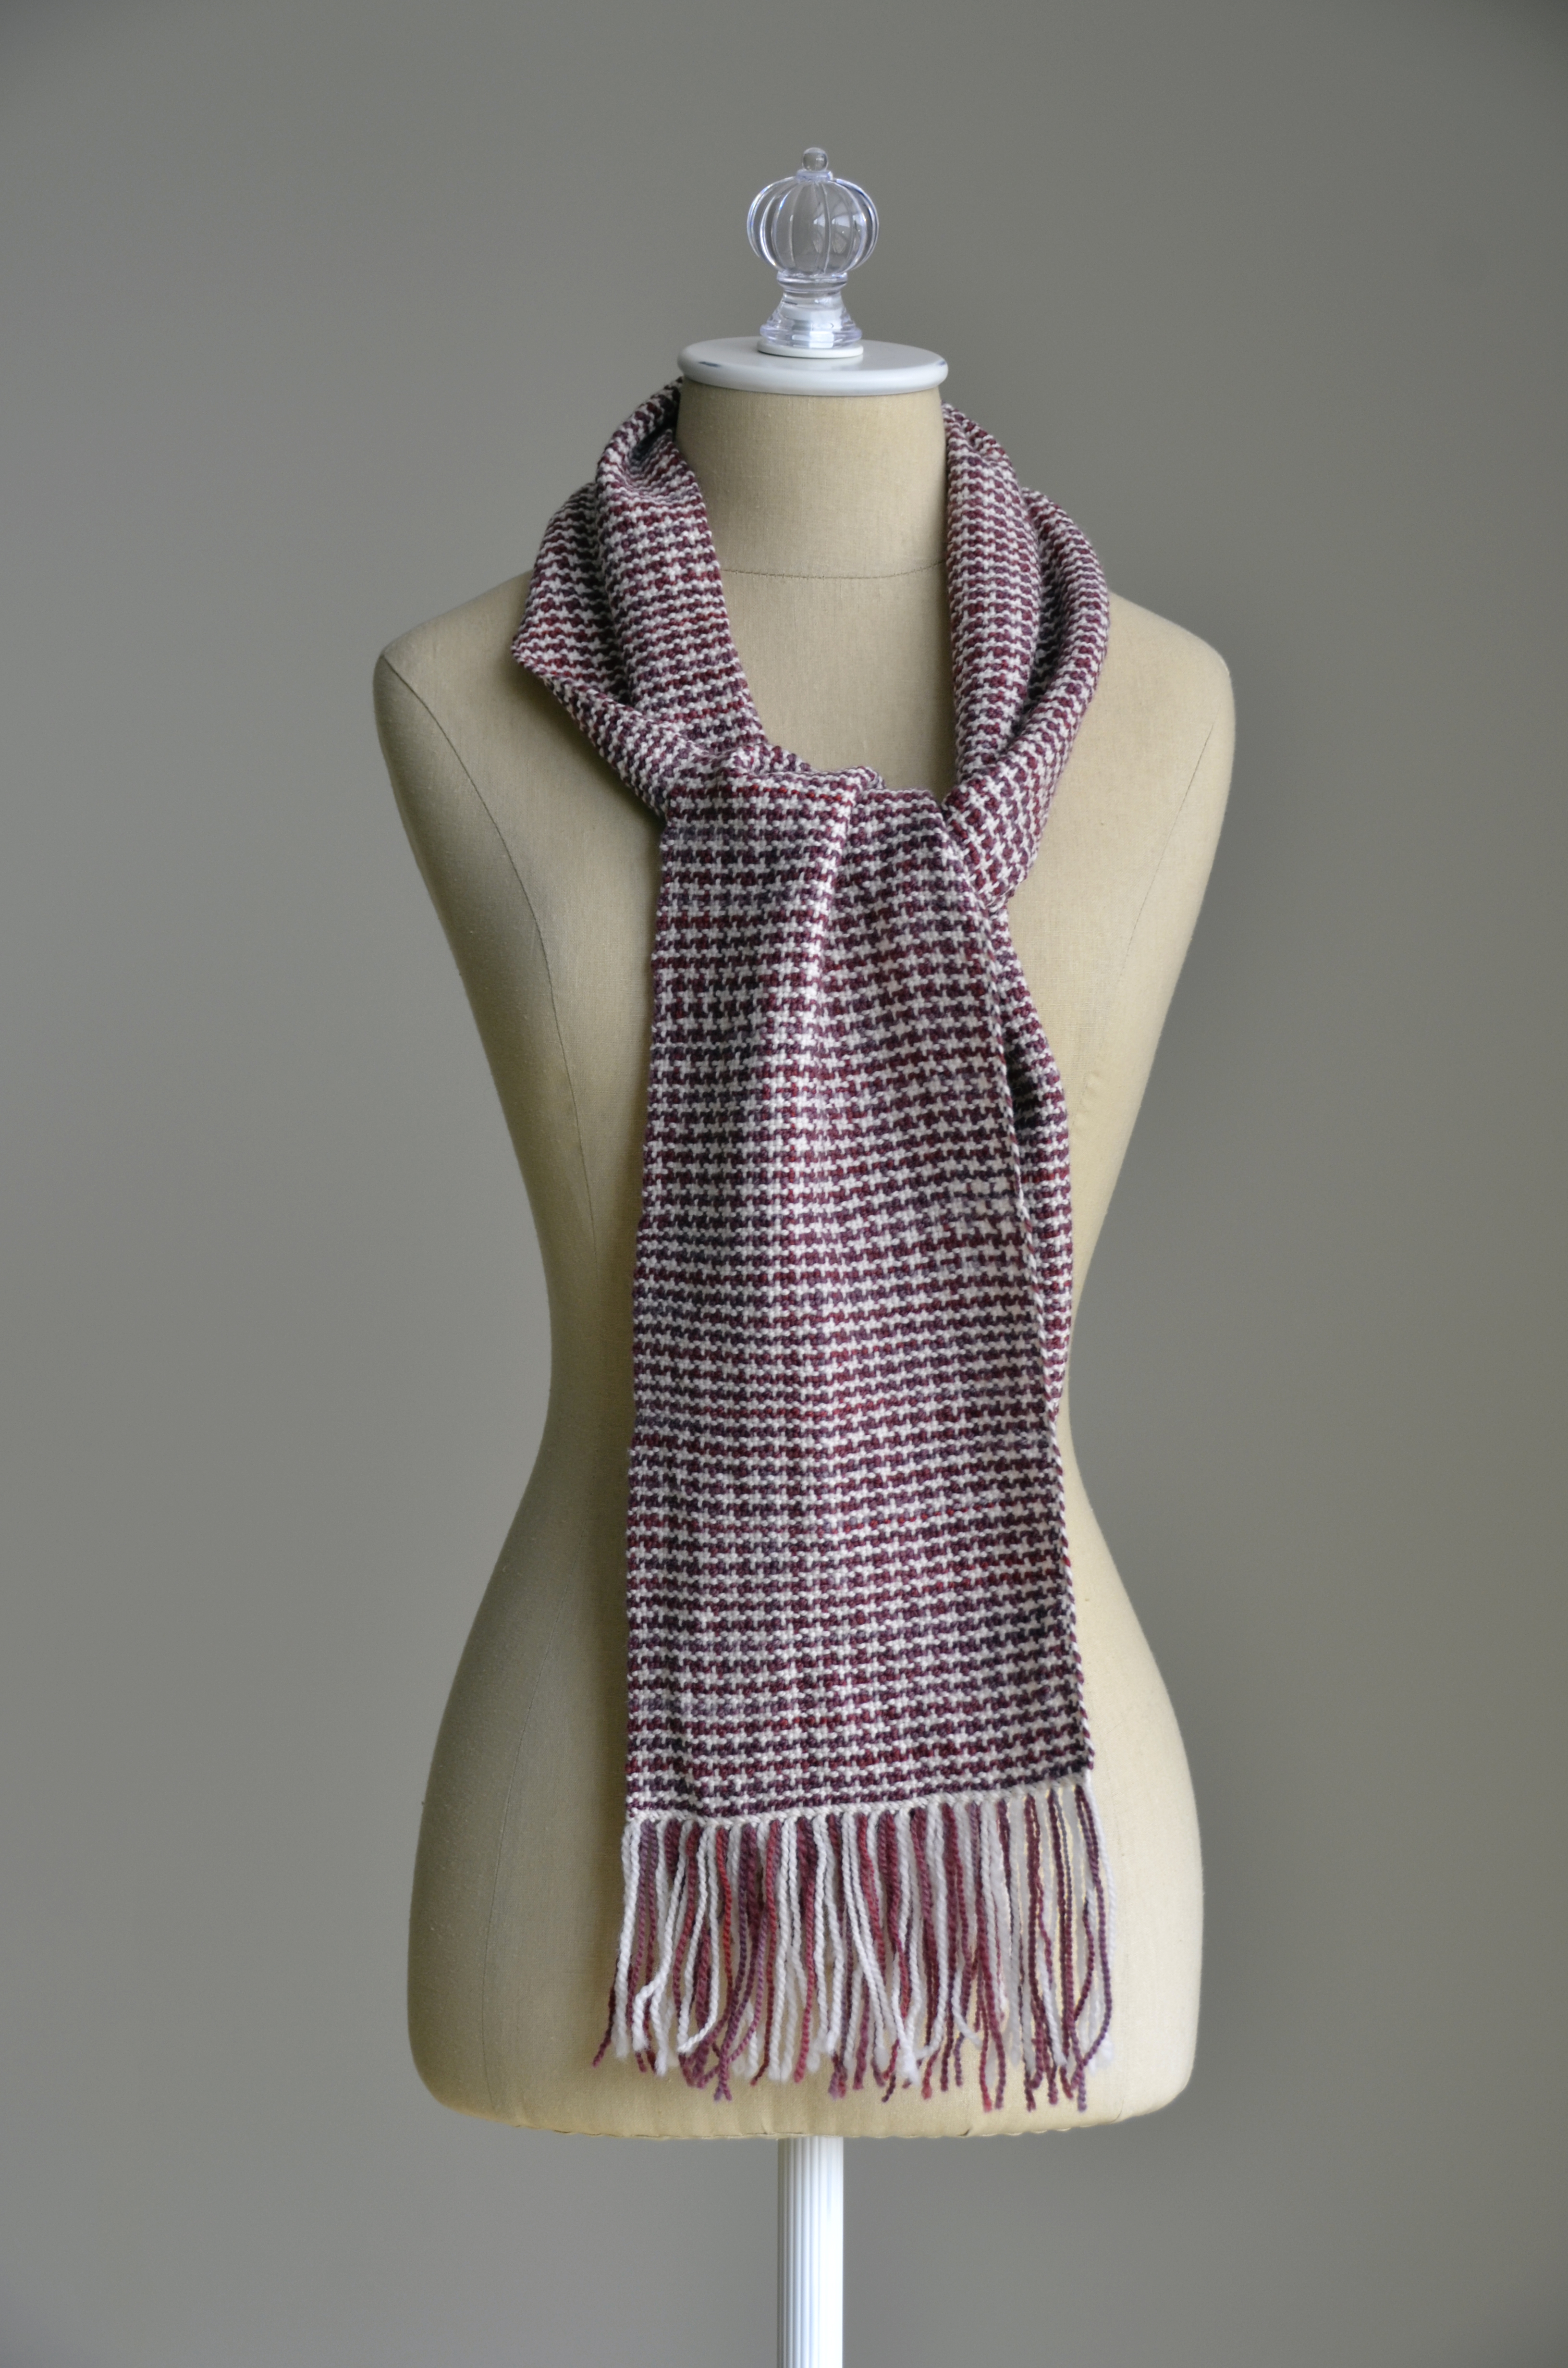
Here we are after one cycle in the washing machine on cold:

After1Cycle

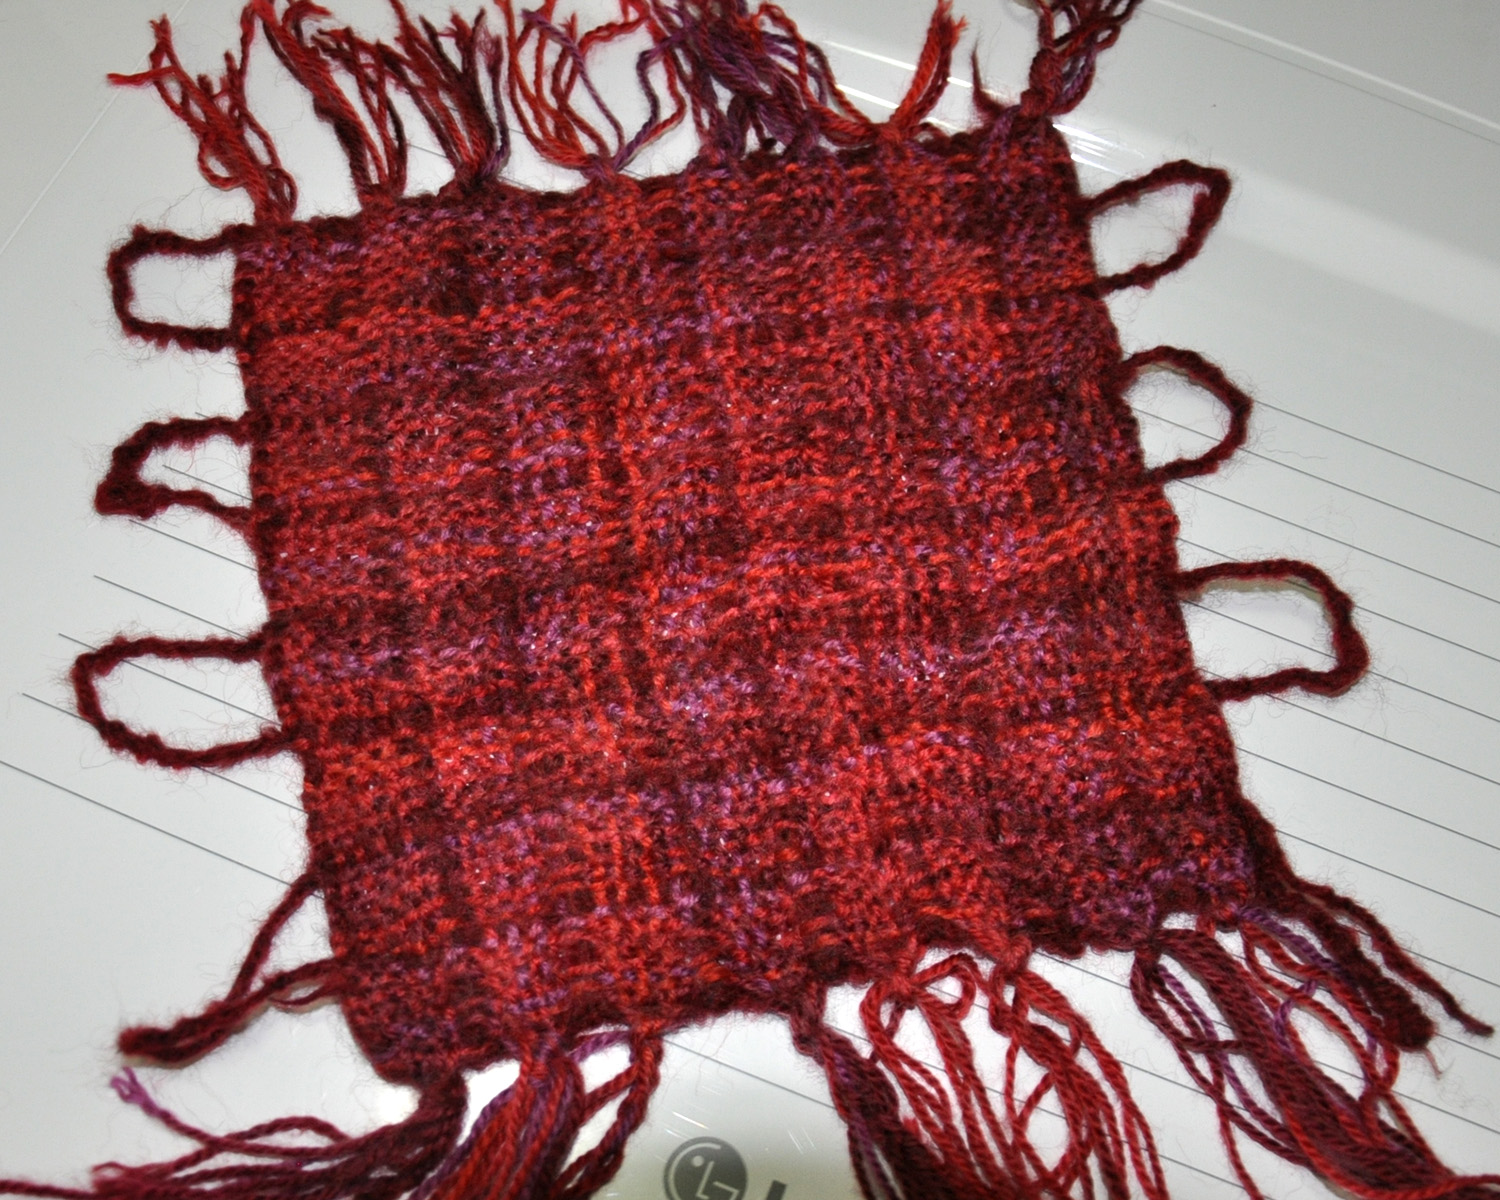
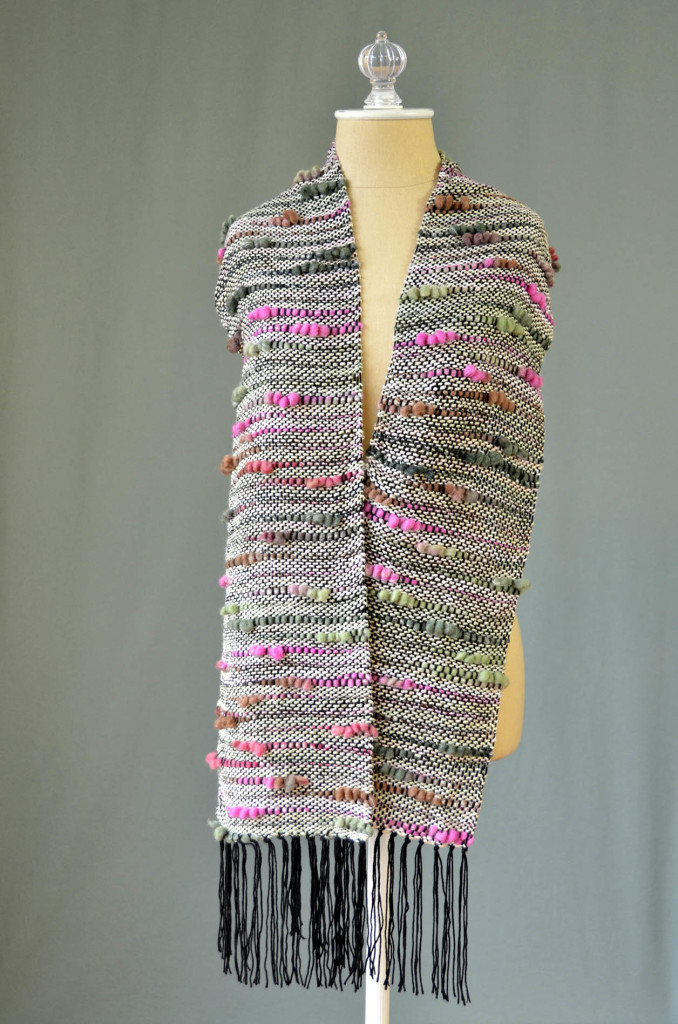
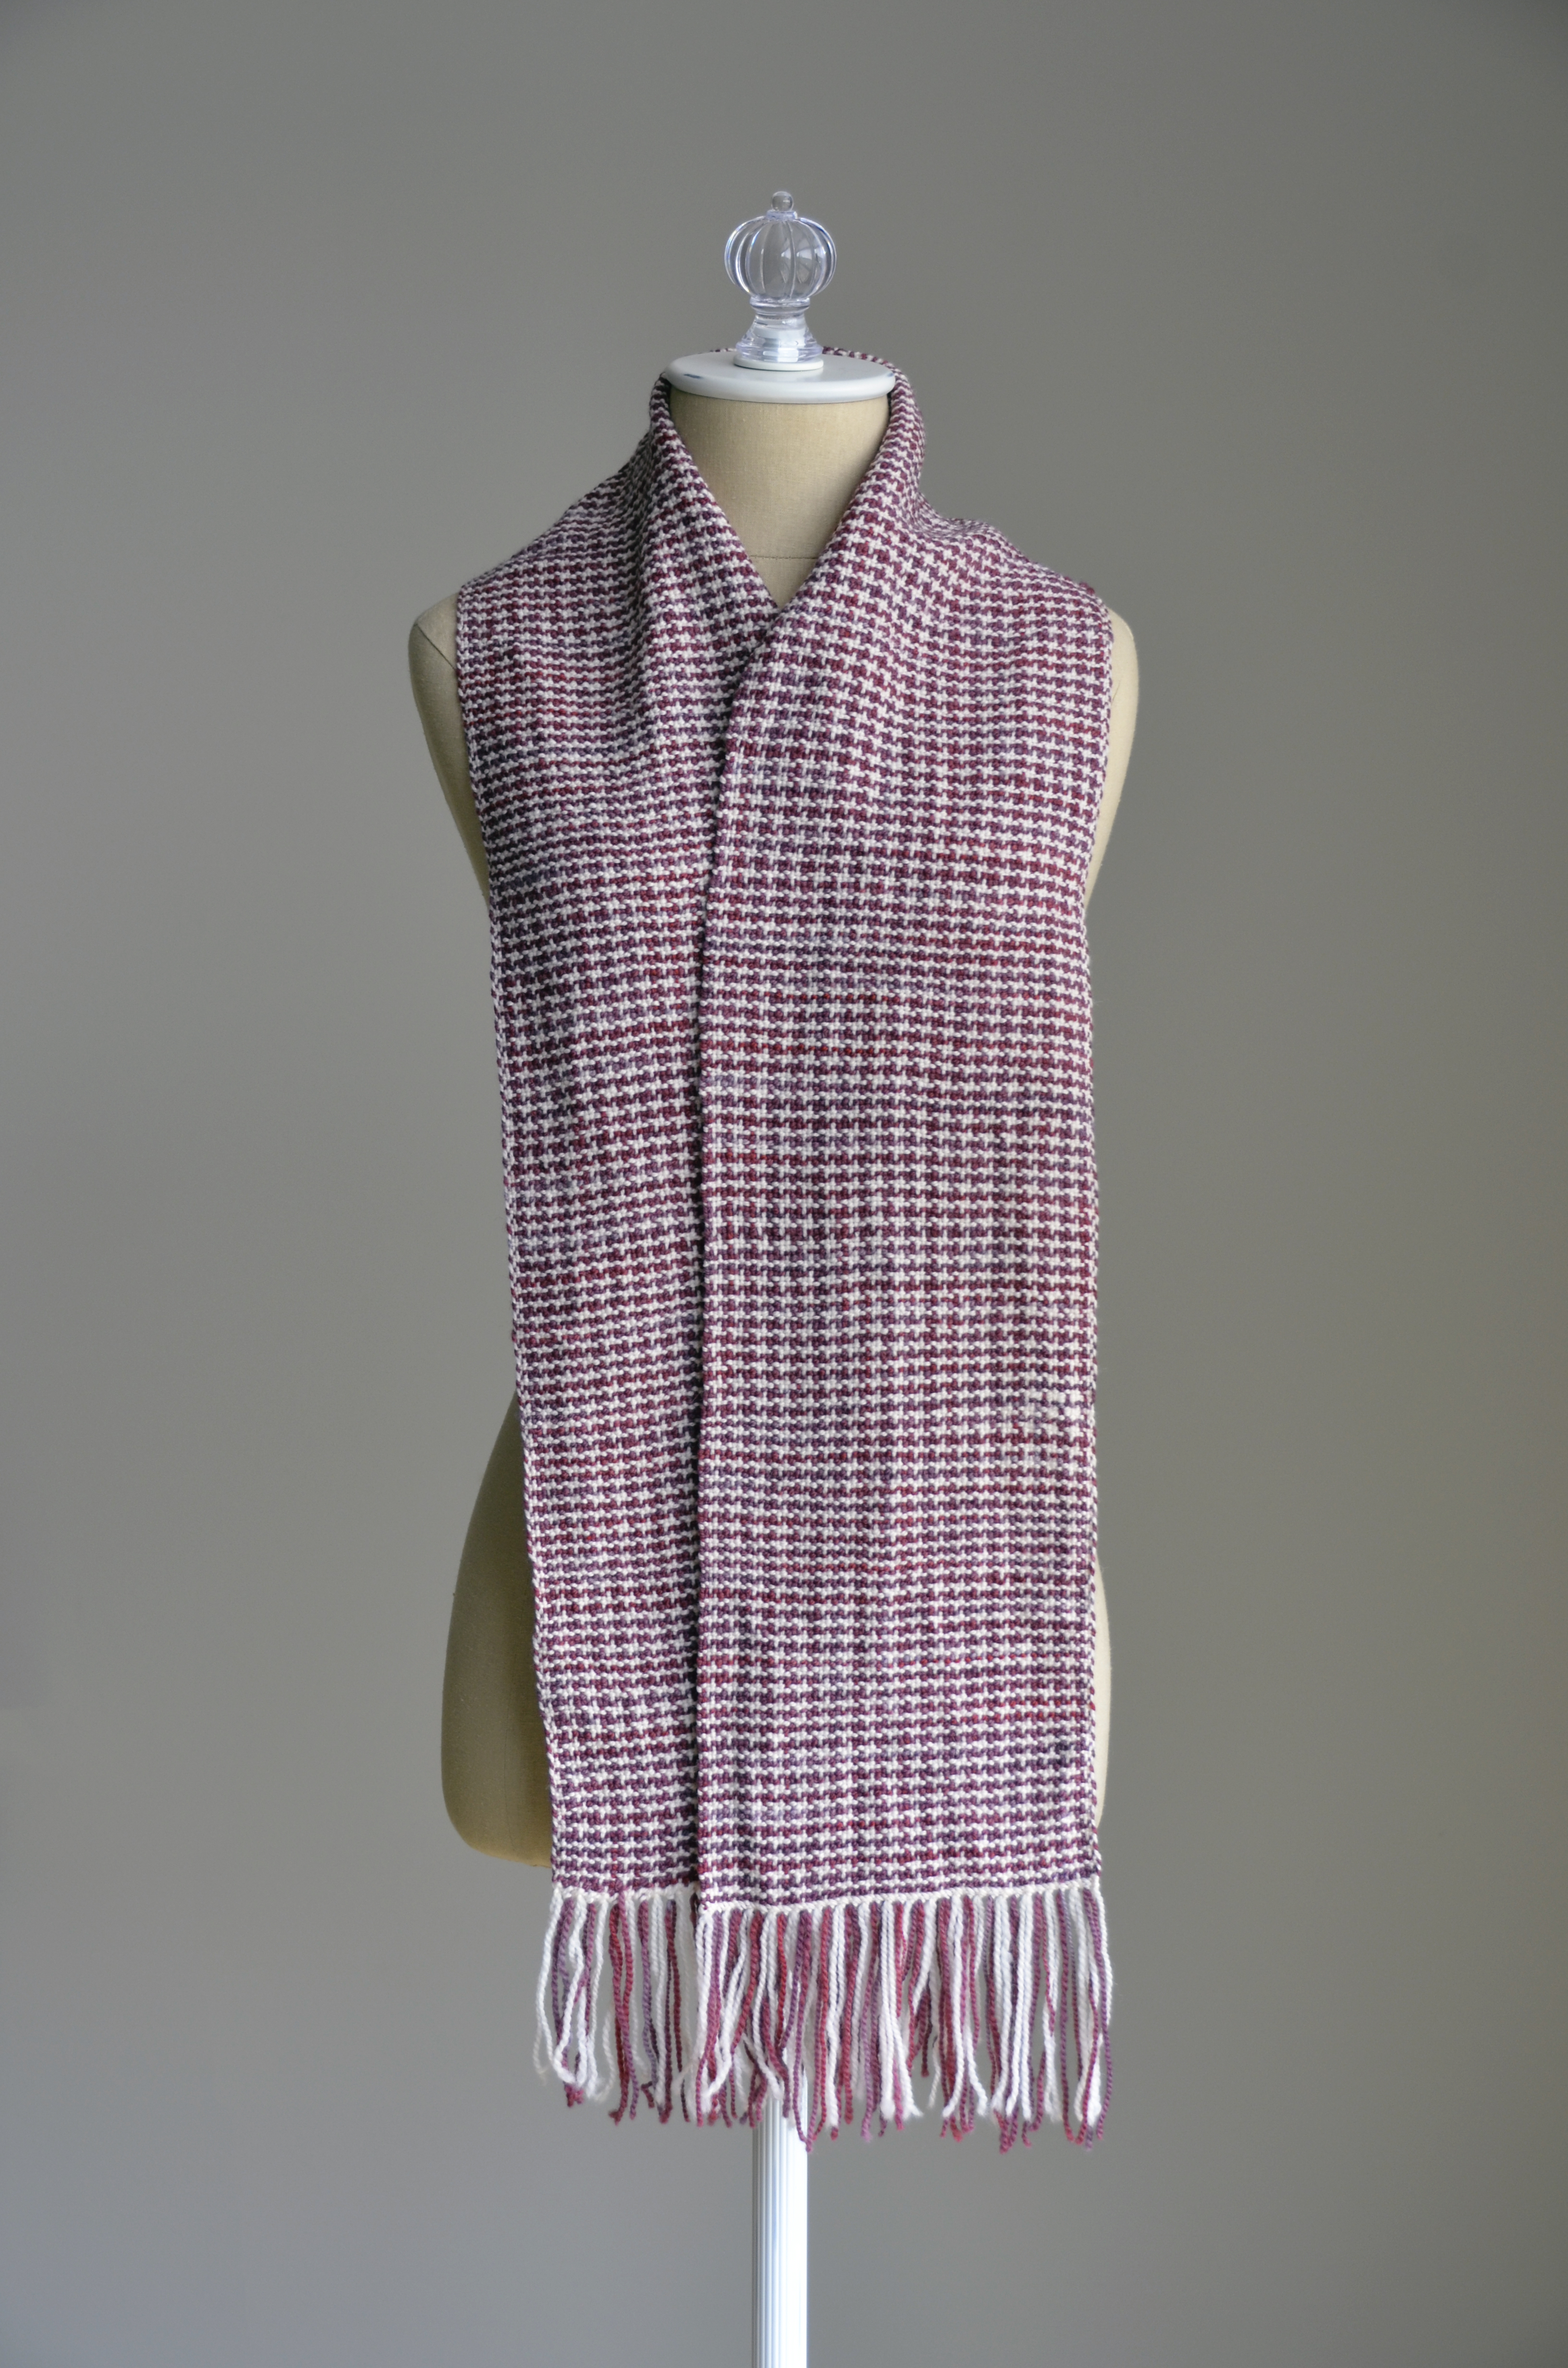
It was somewhat felted, but not quite enough for my taste. I put it through another full cycle on cold, and it was perfect!

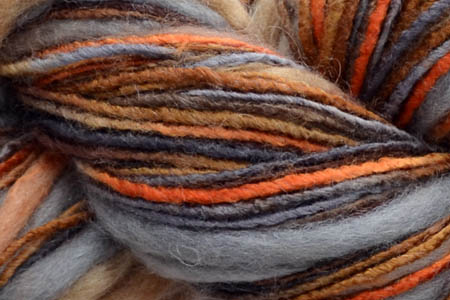
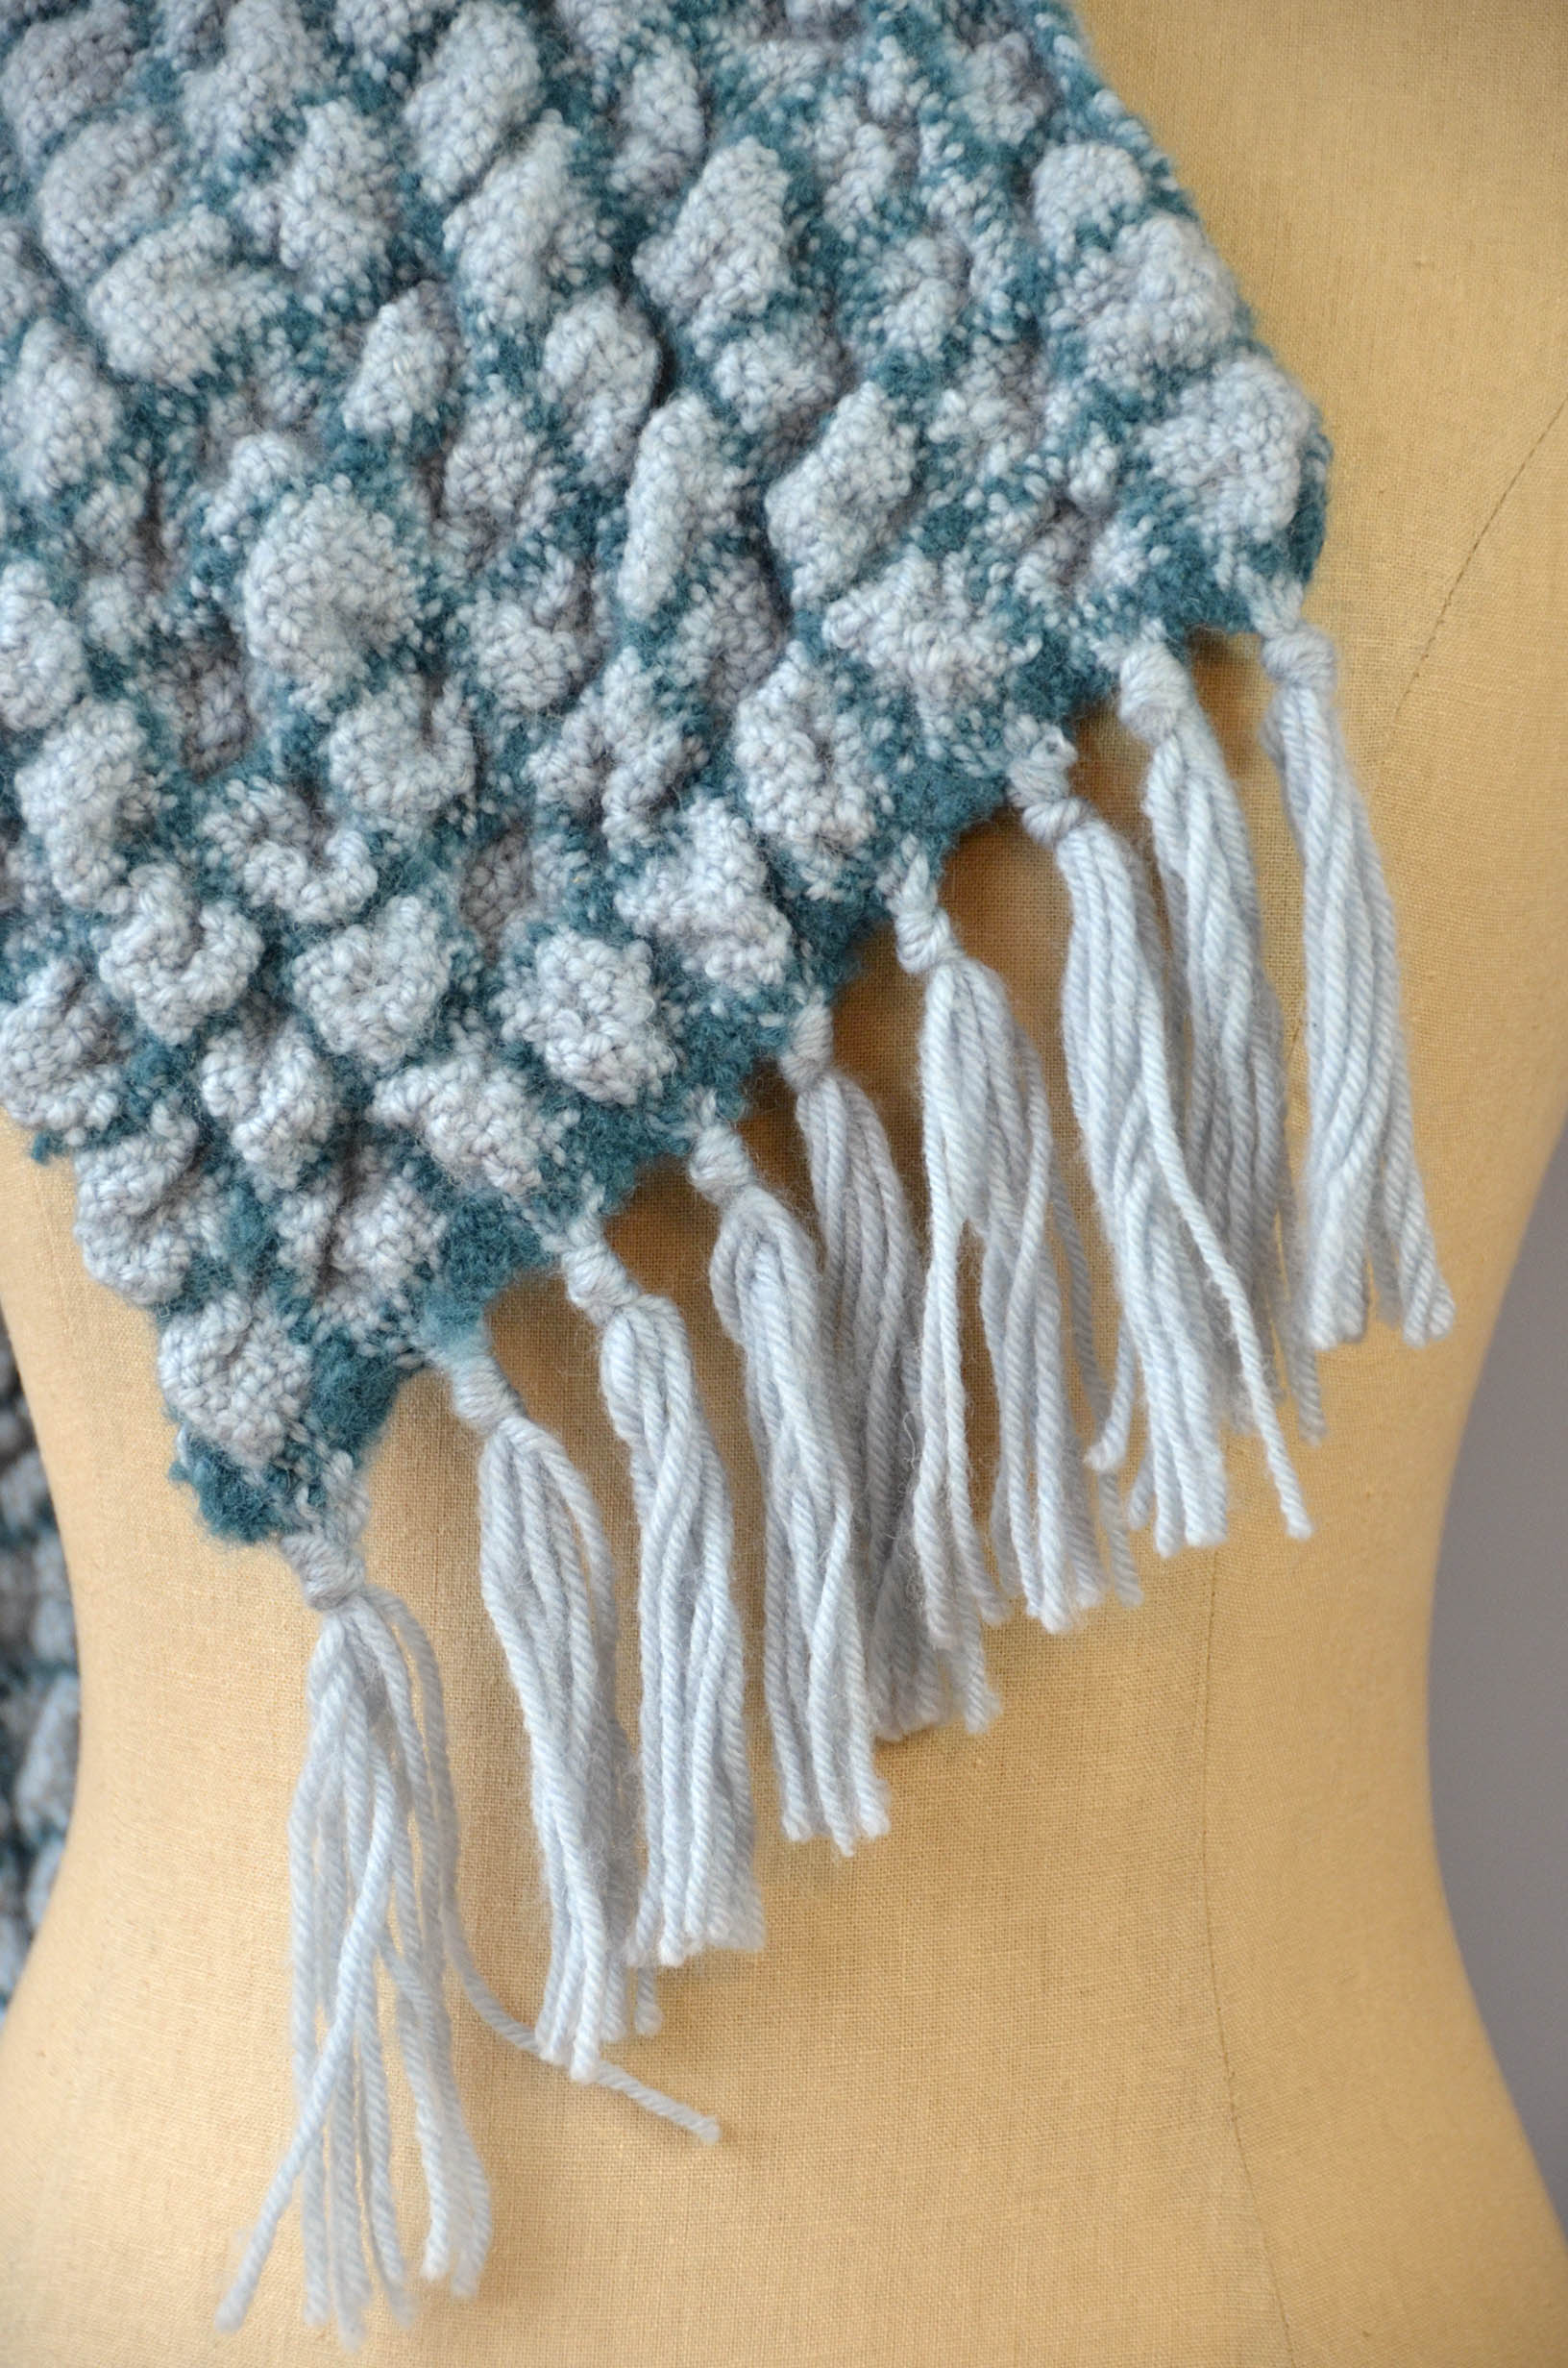
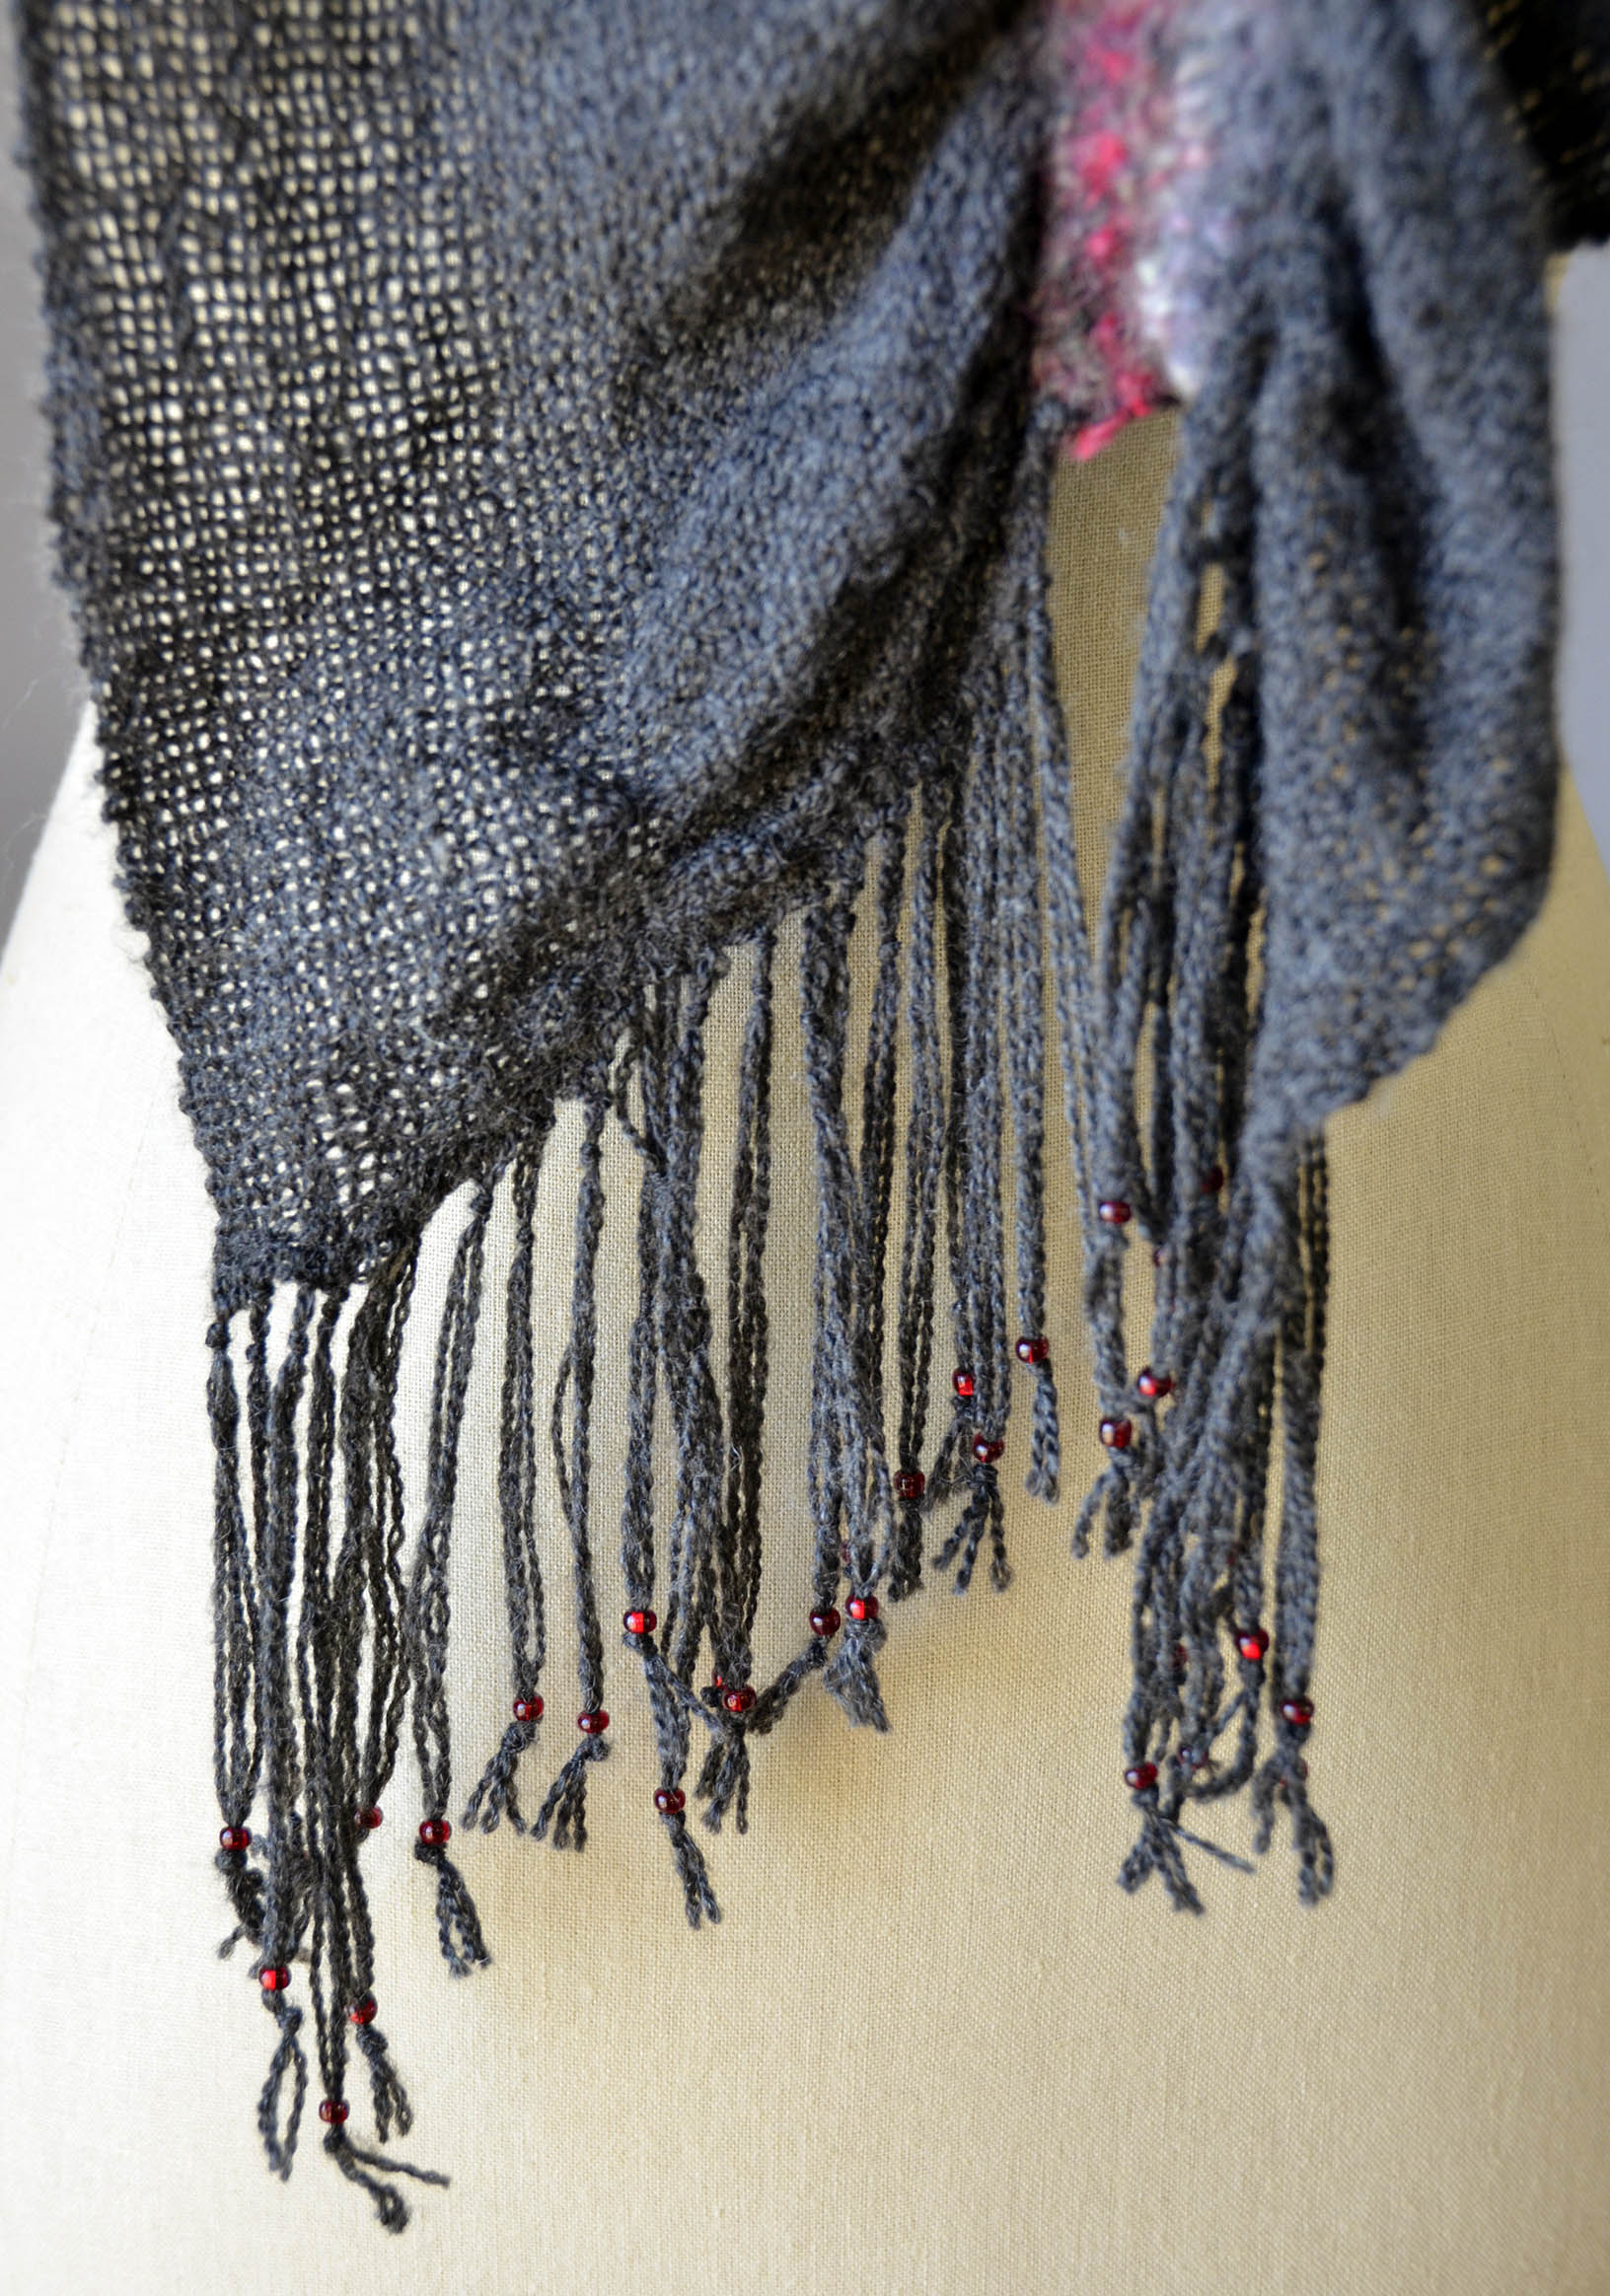
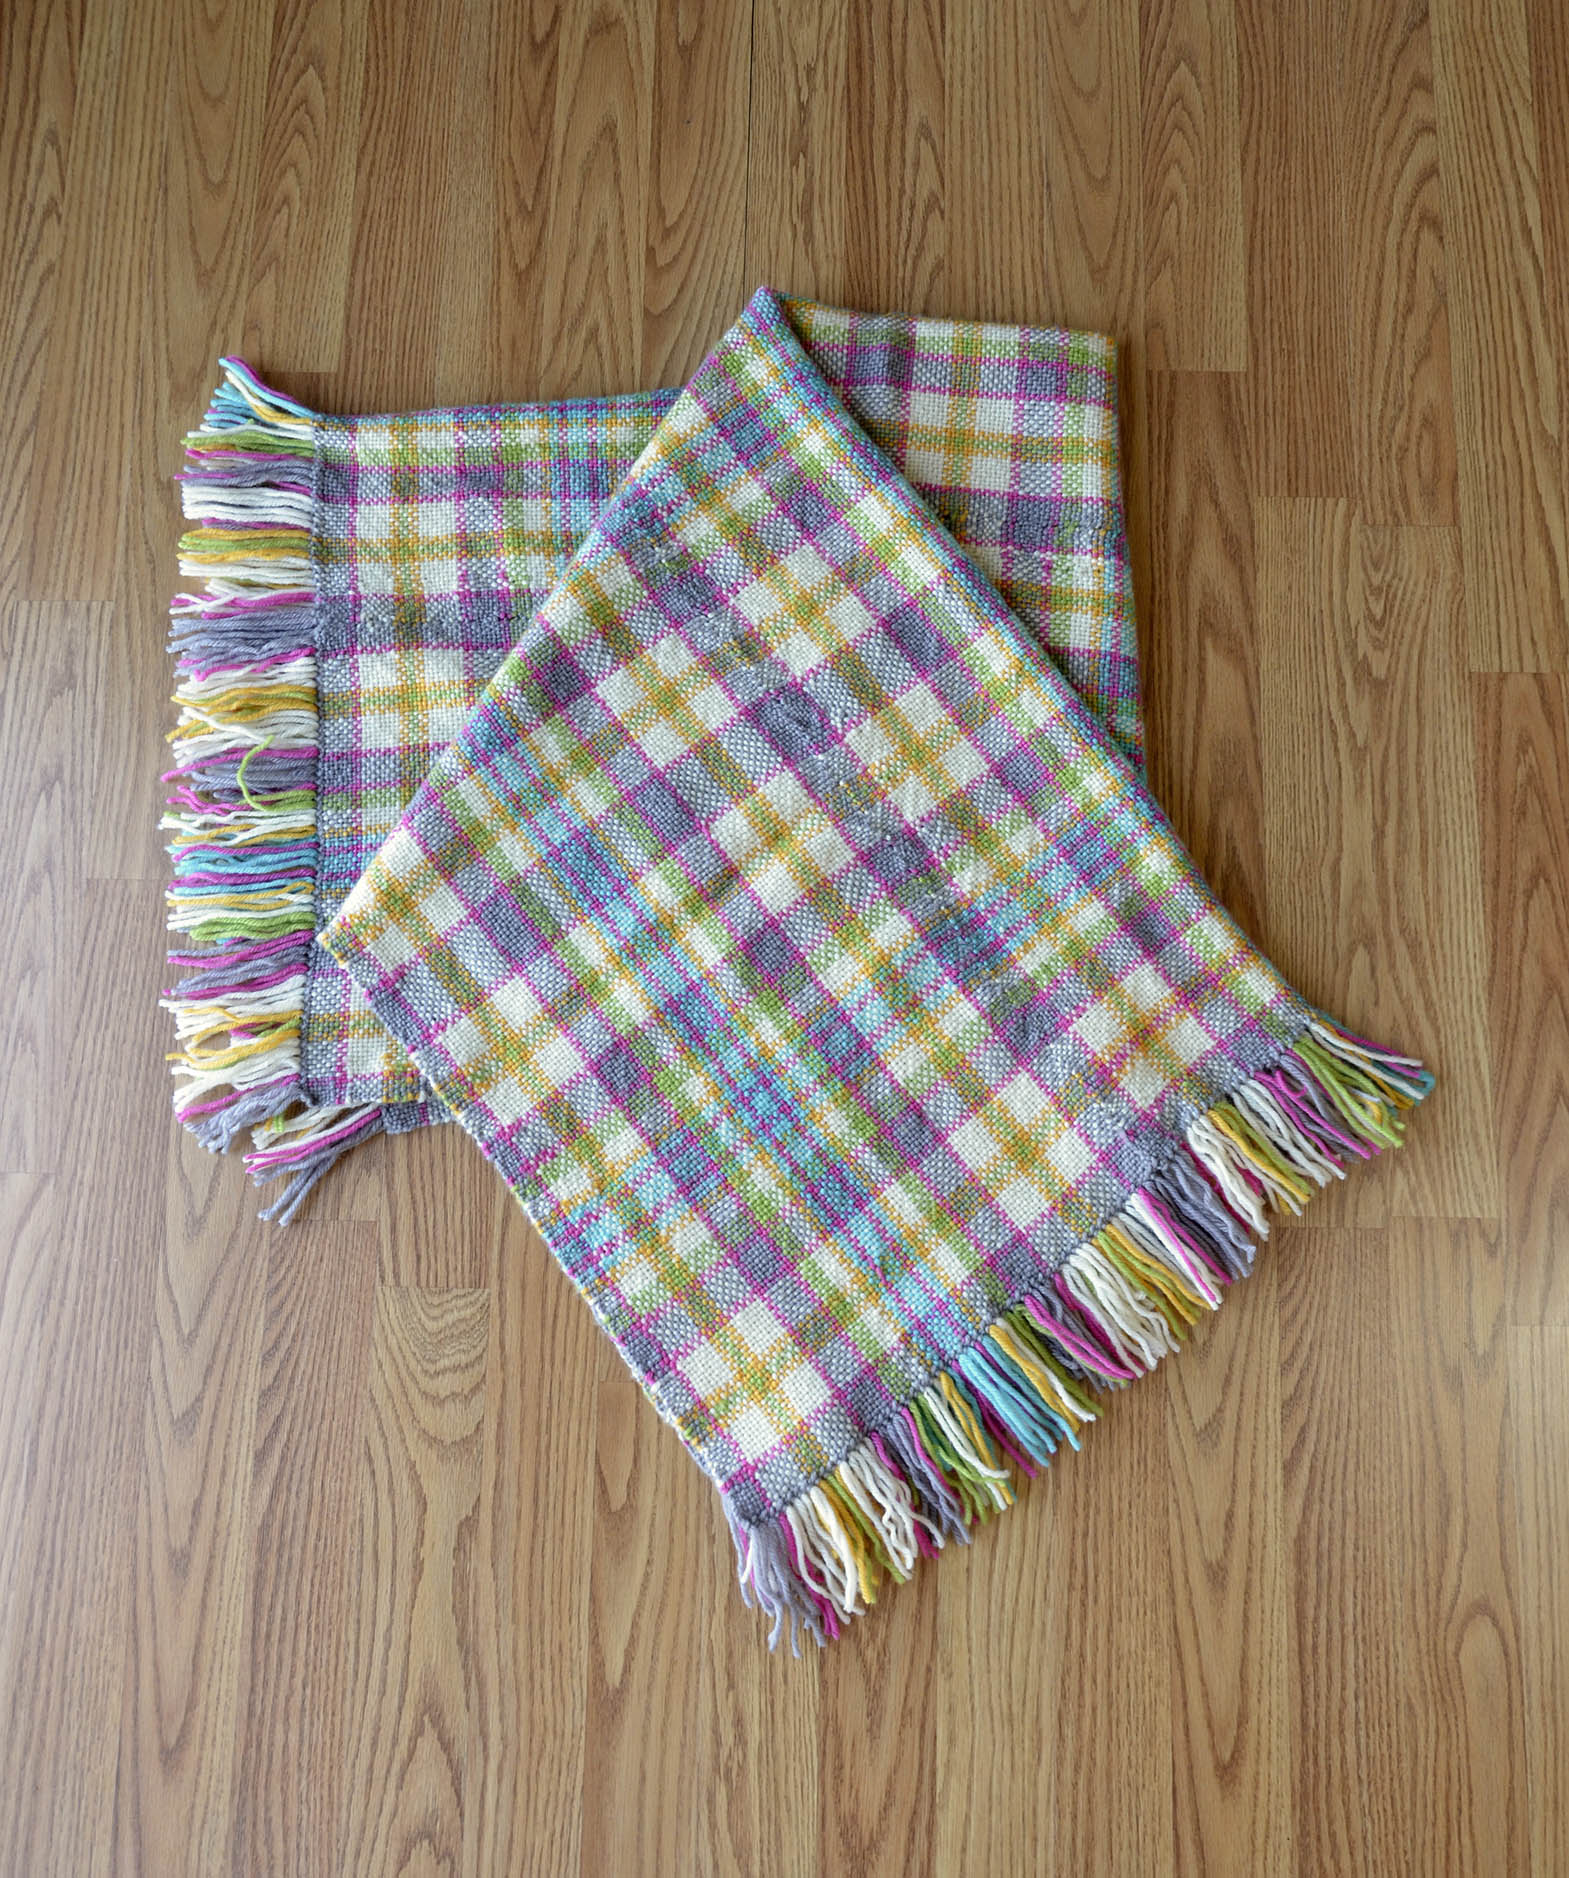
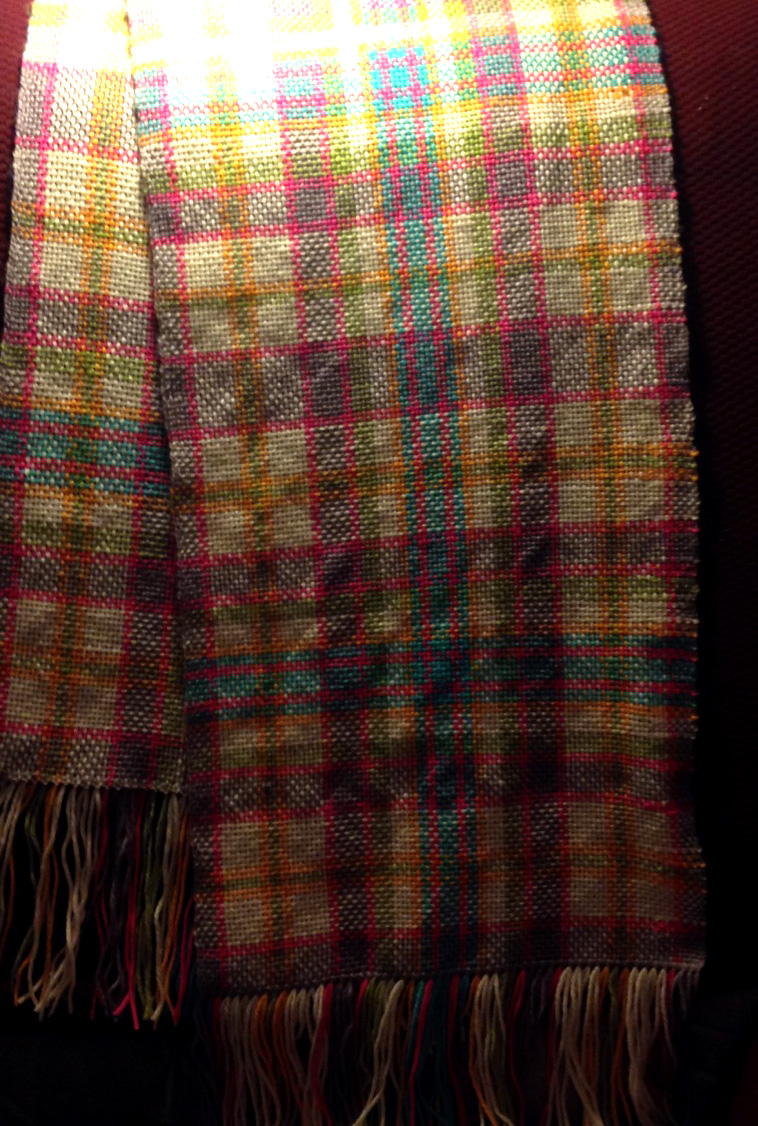
Here it is after the felted loops and fringe were trimmed:

sampler

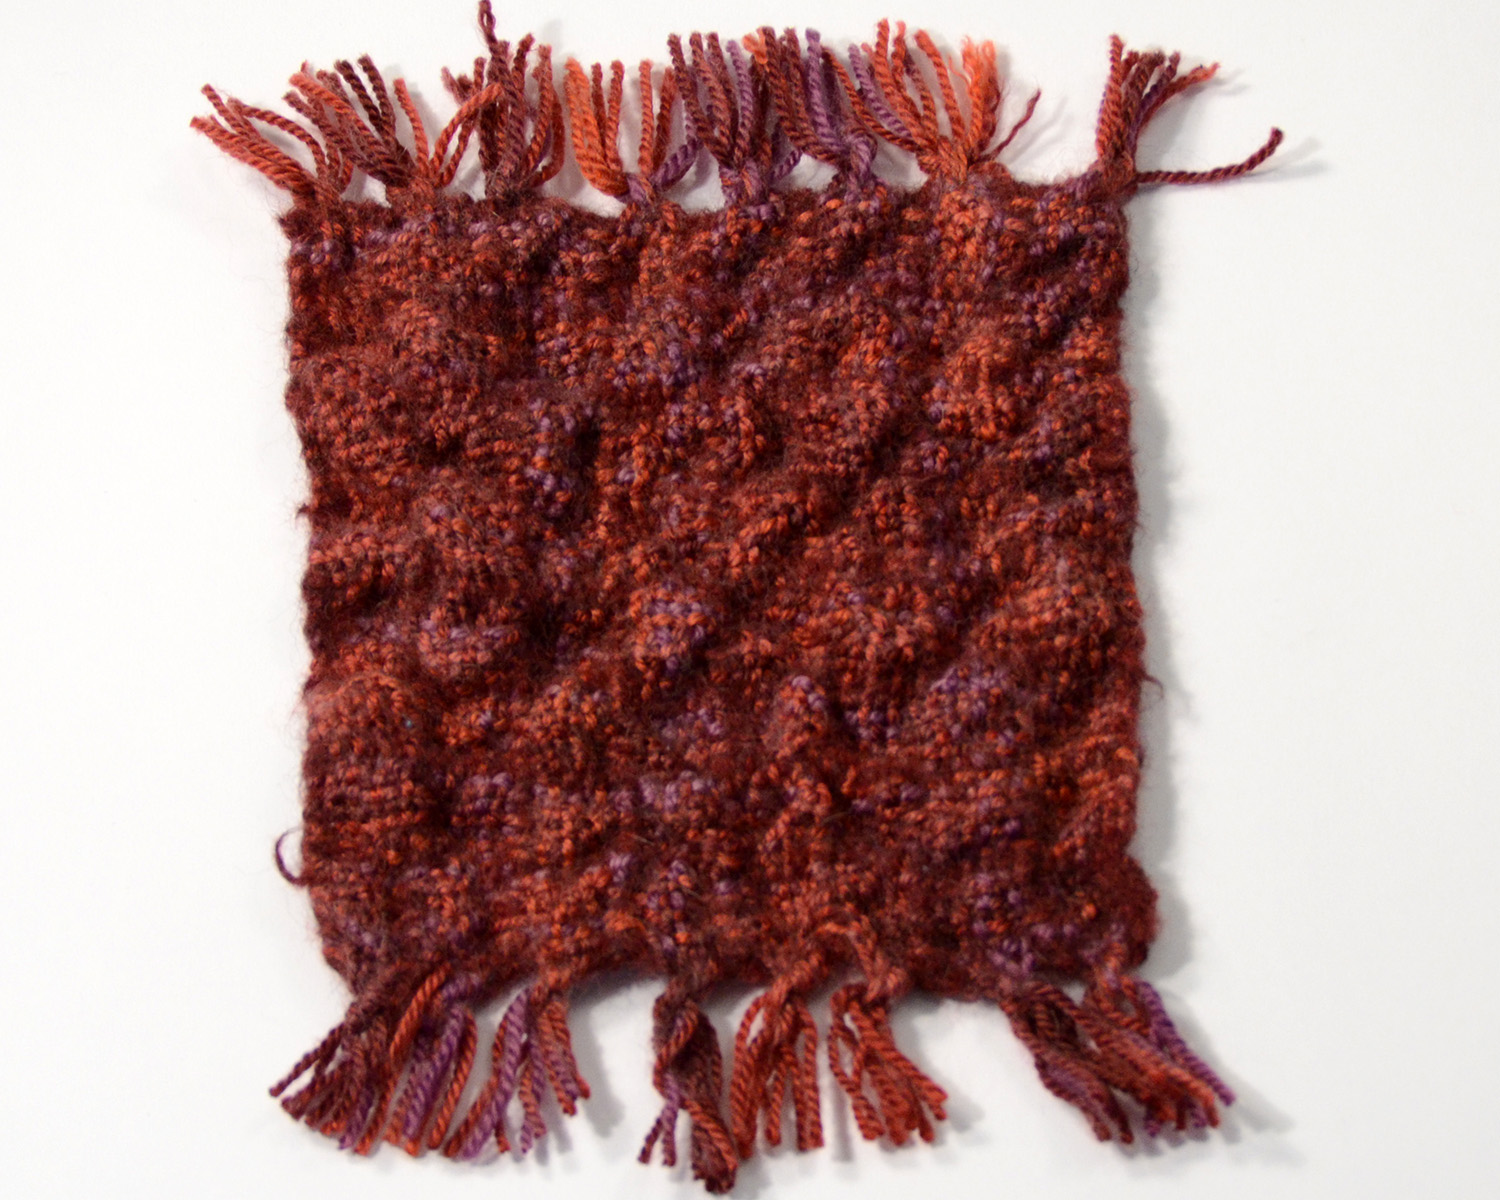
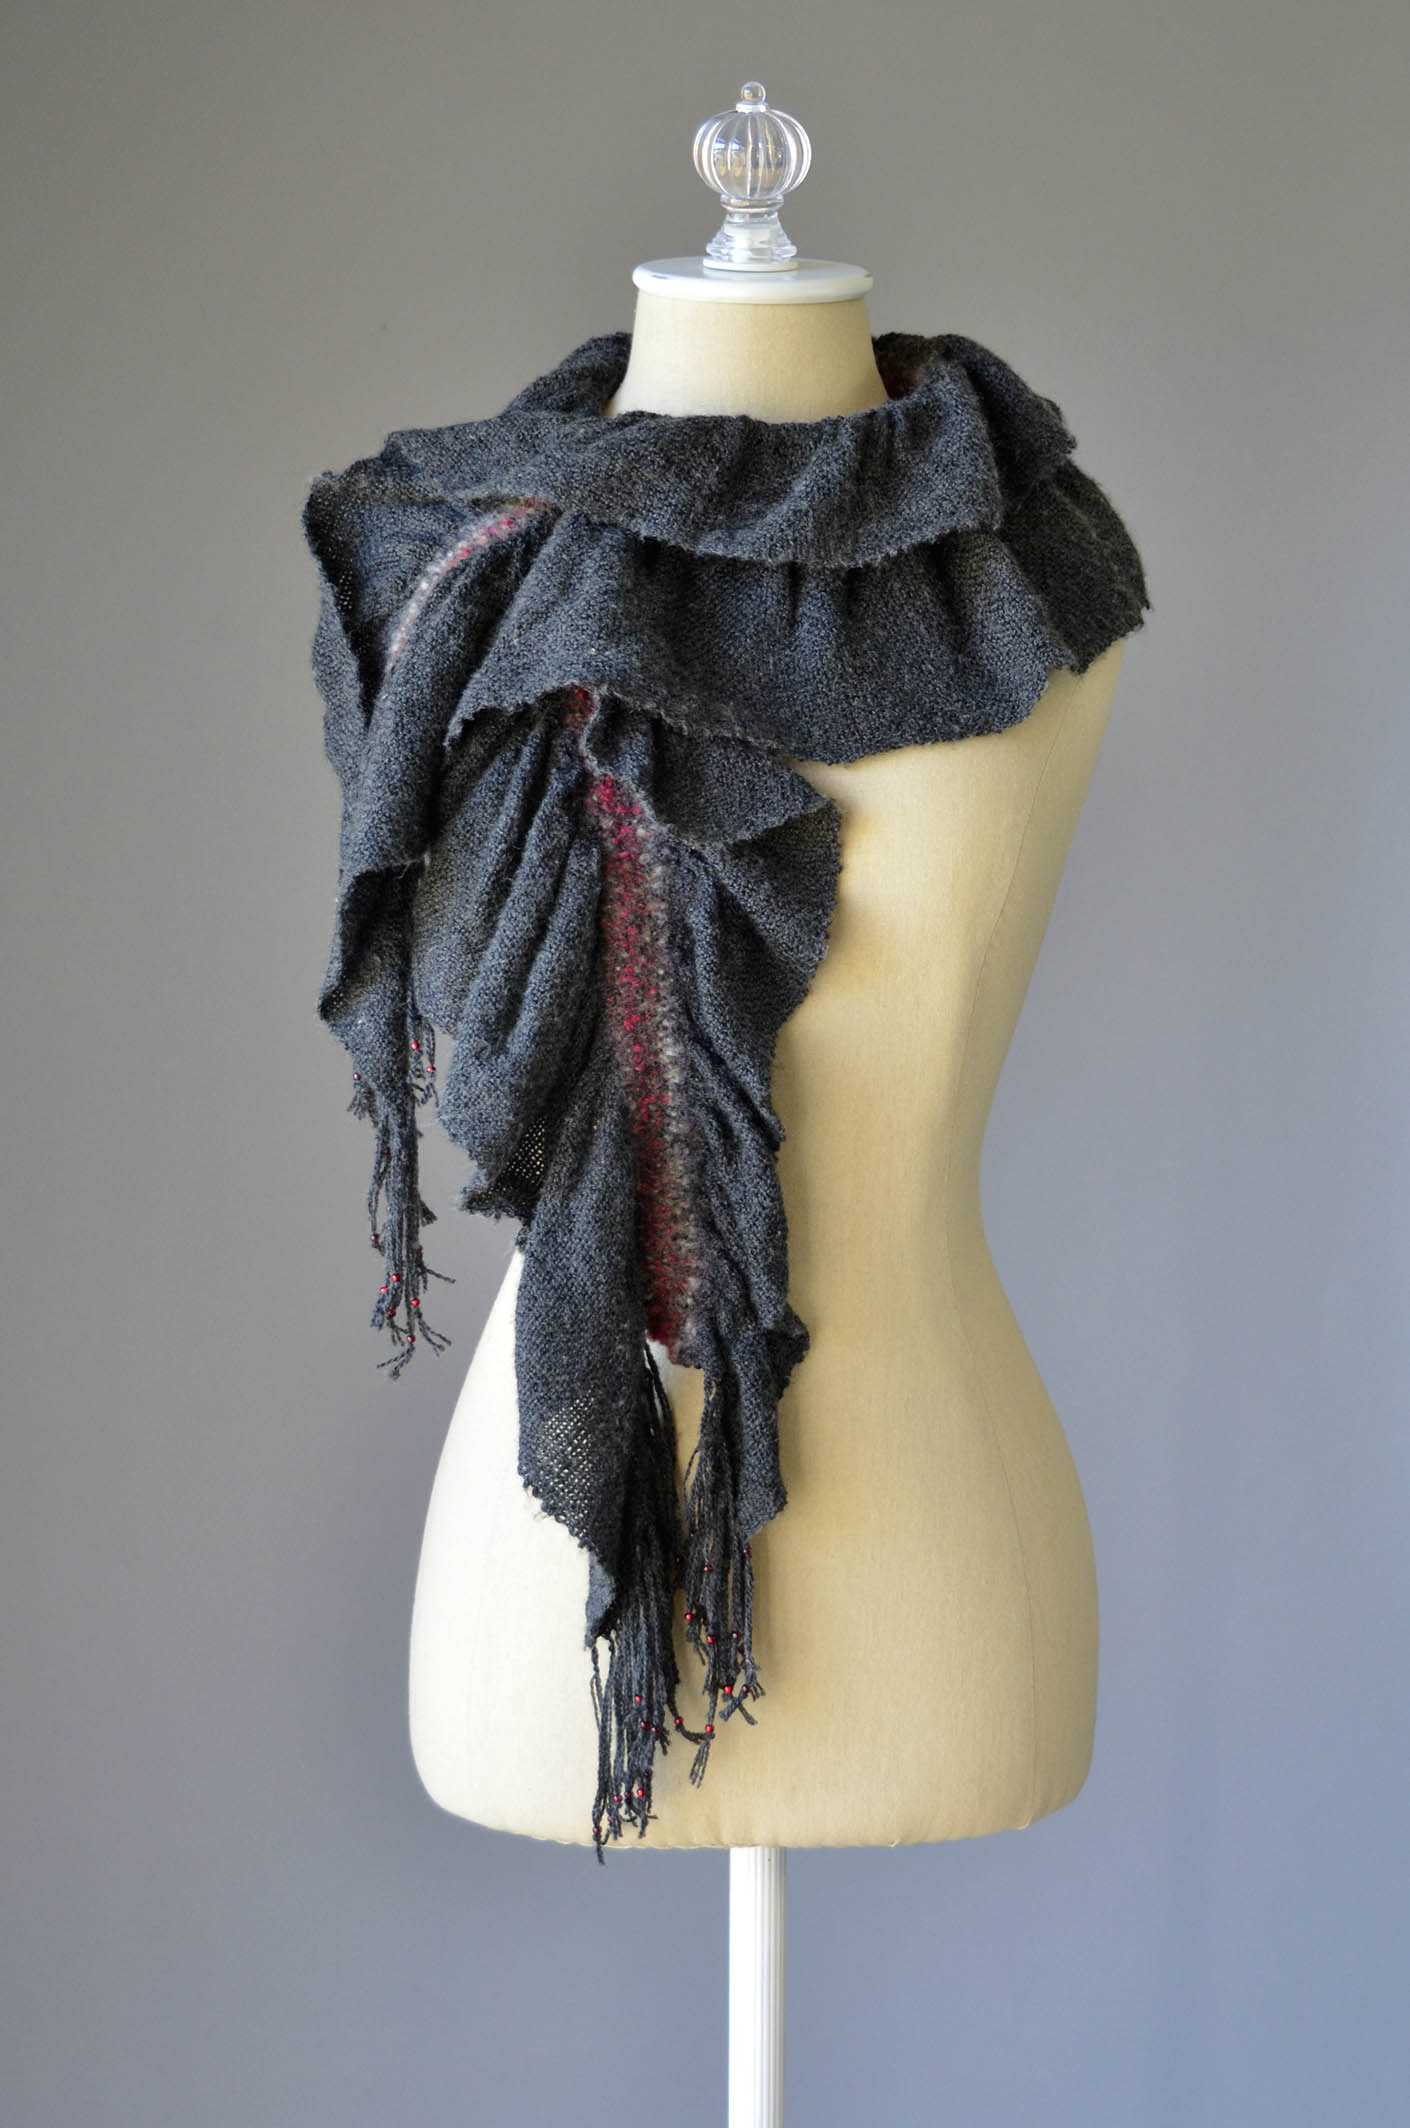
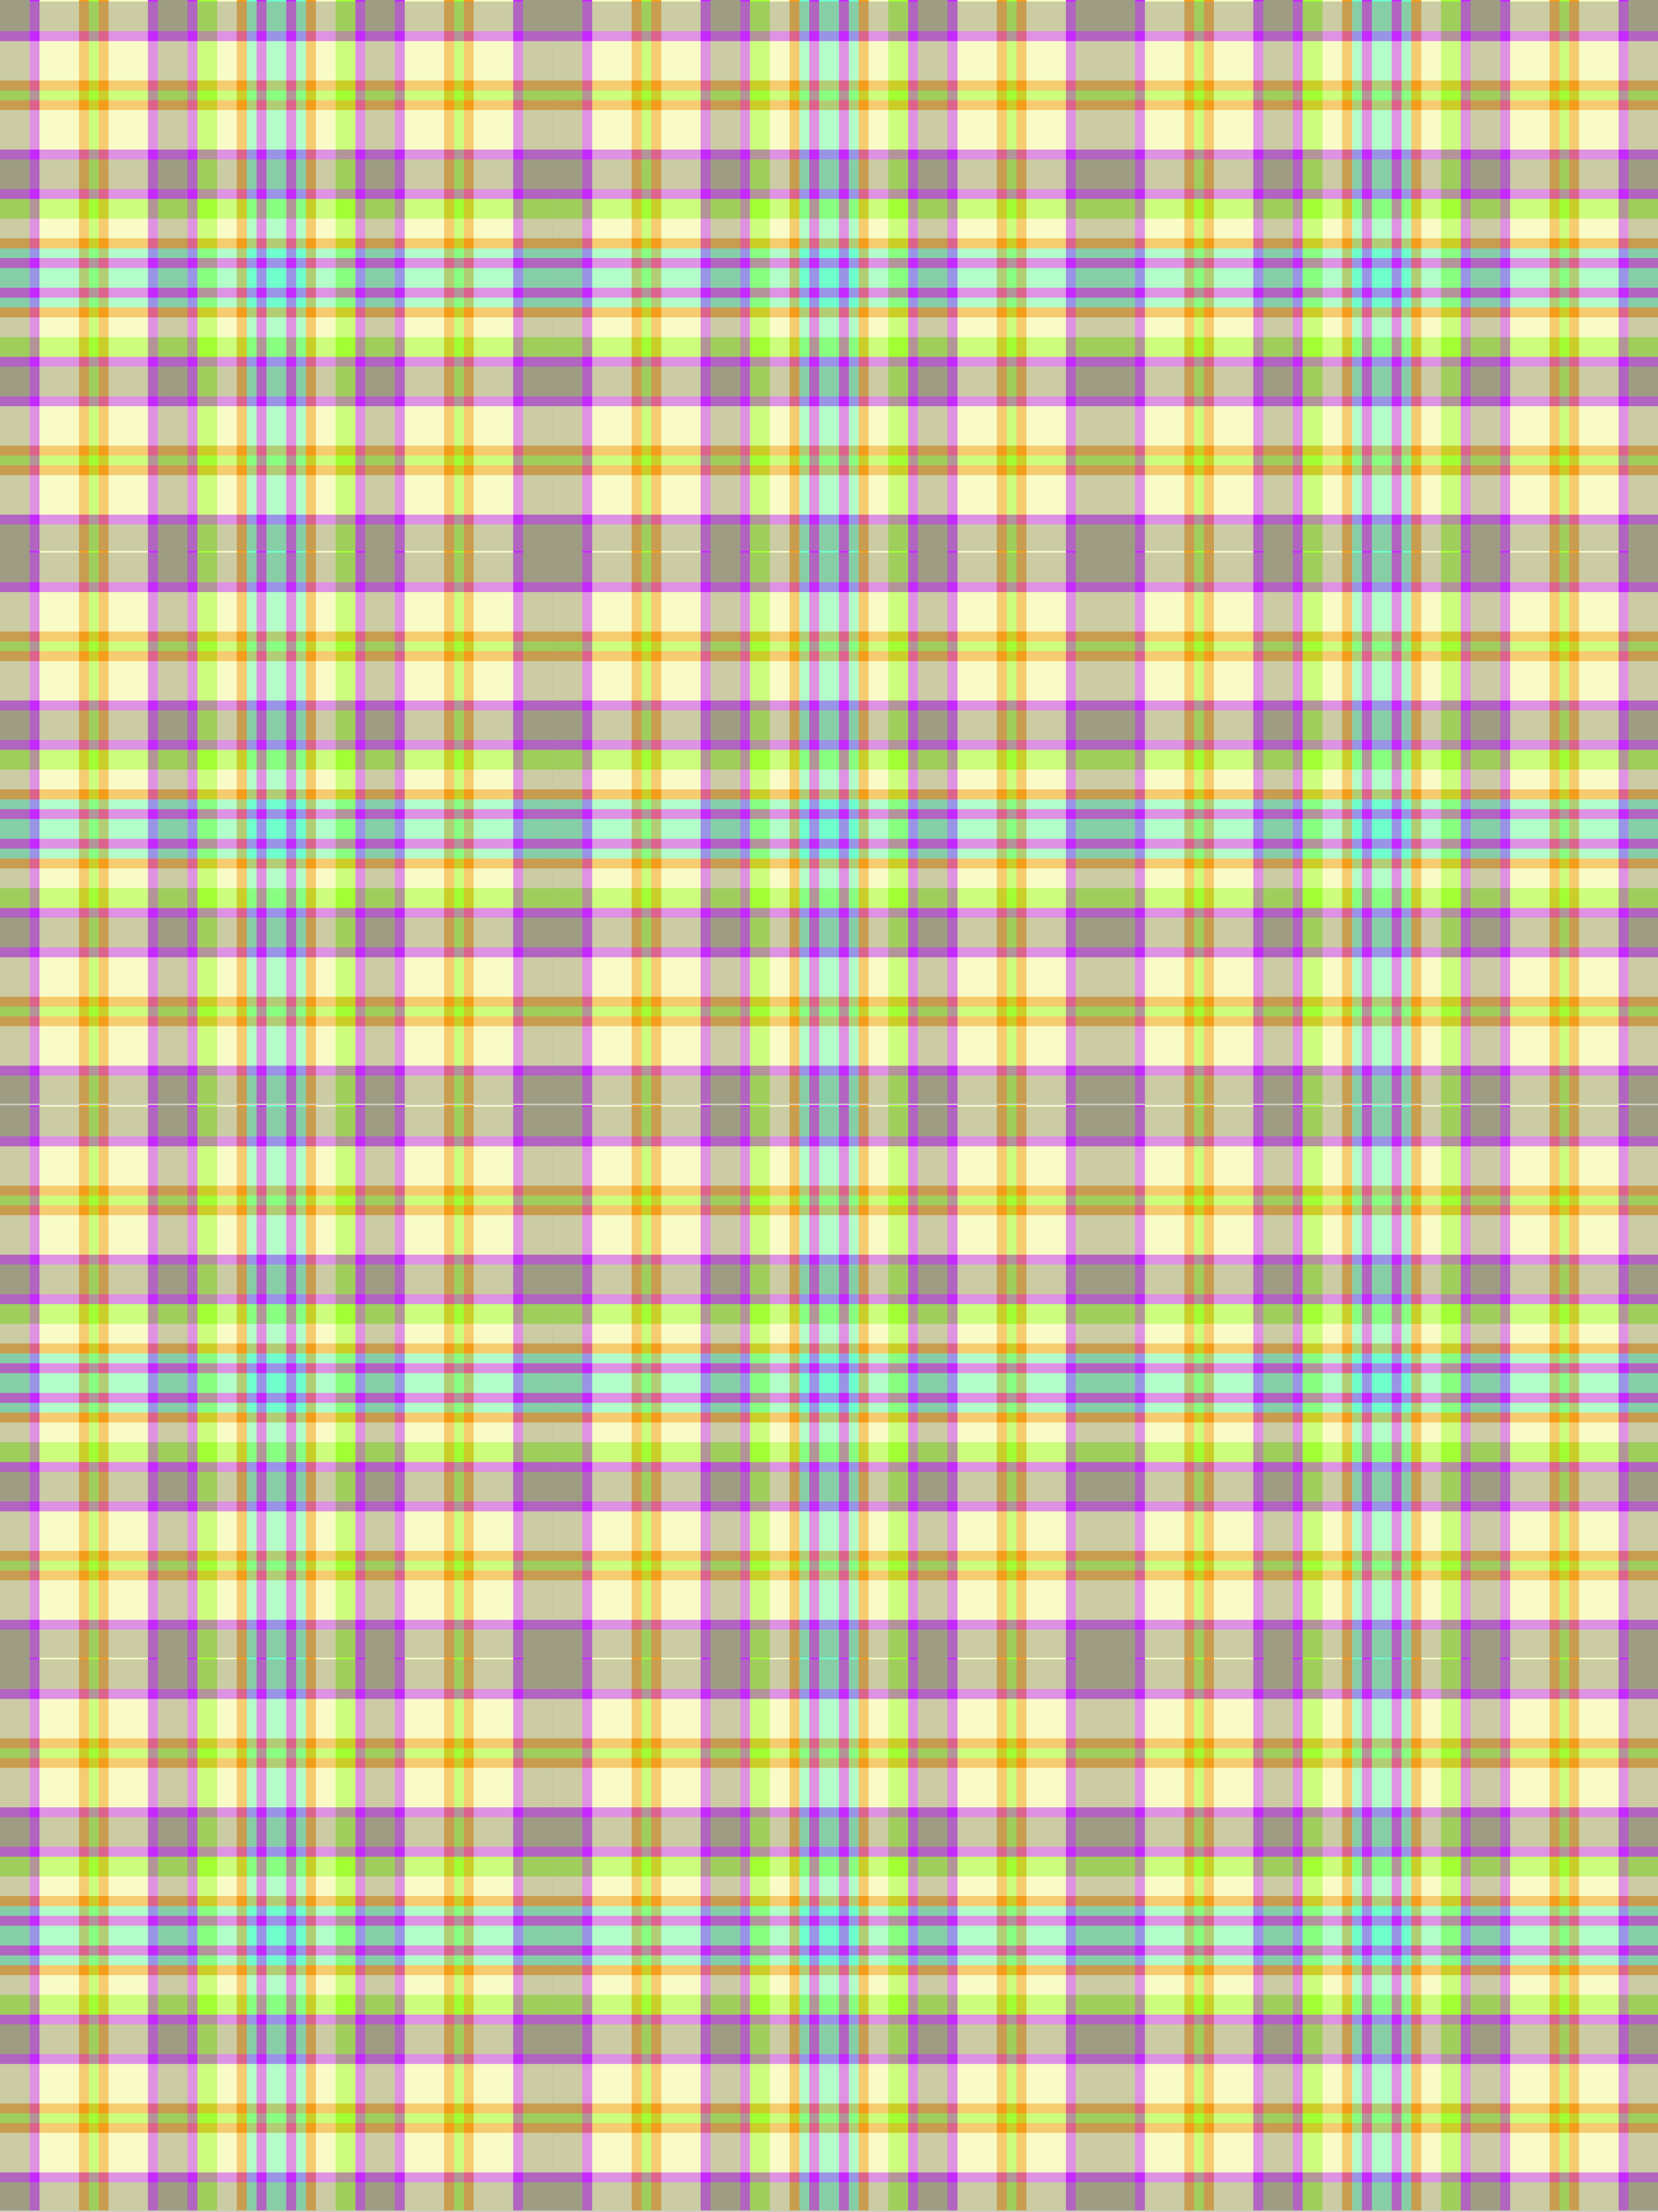
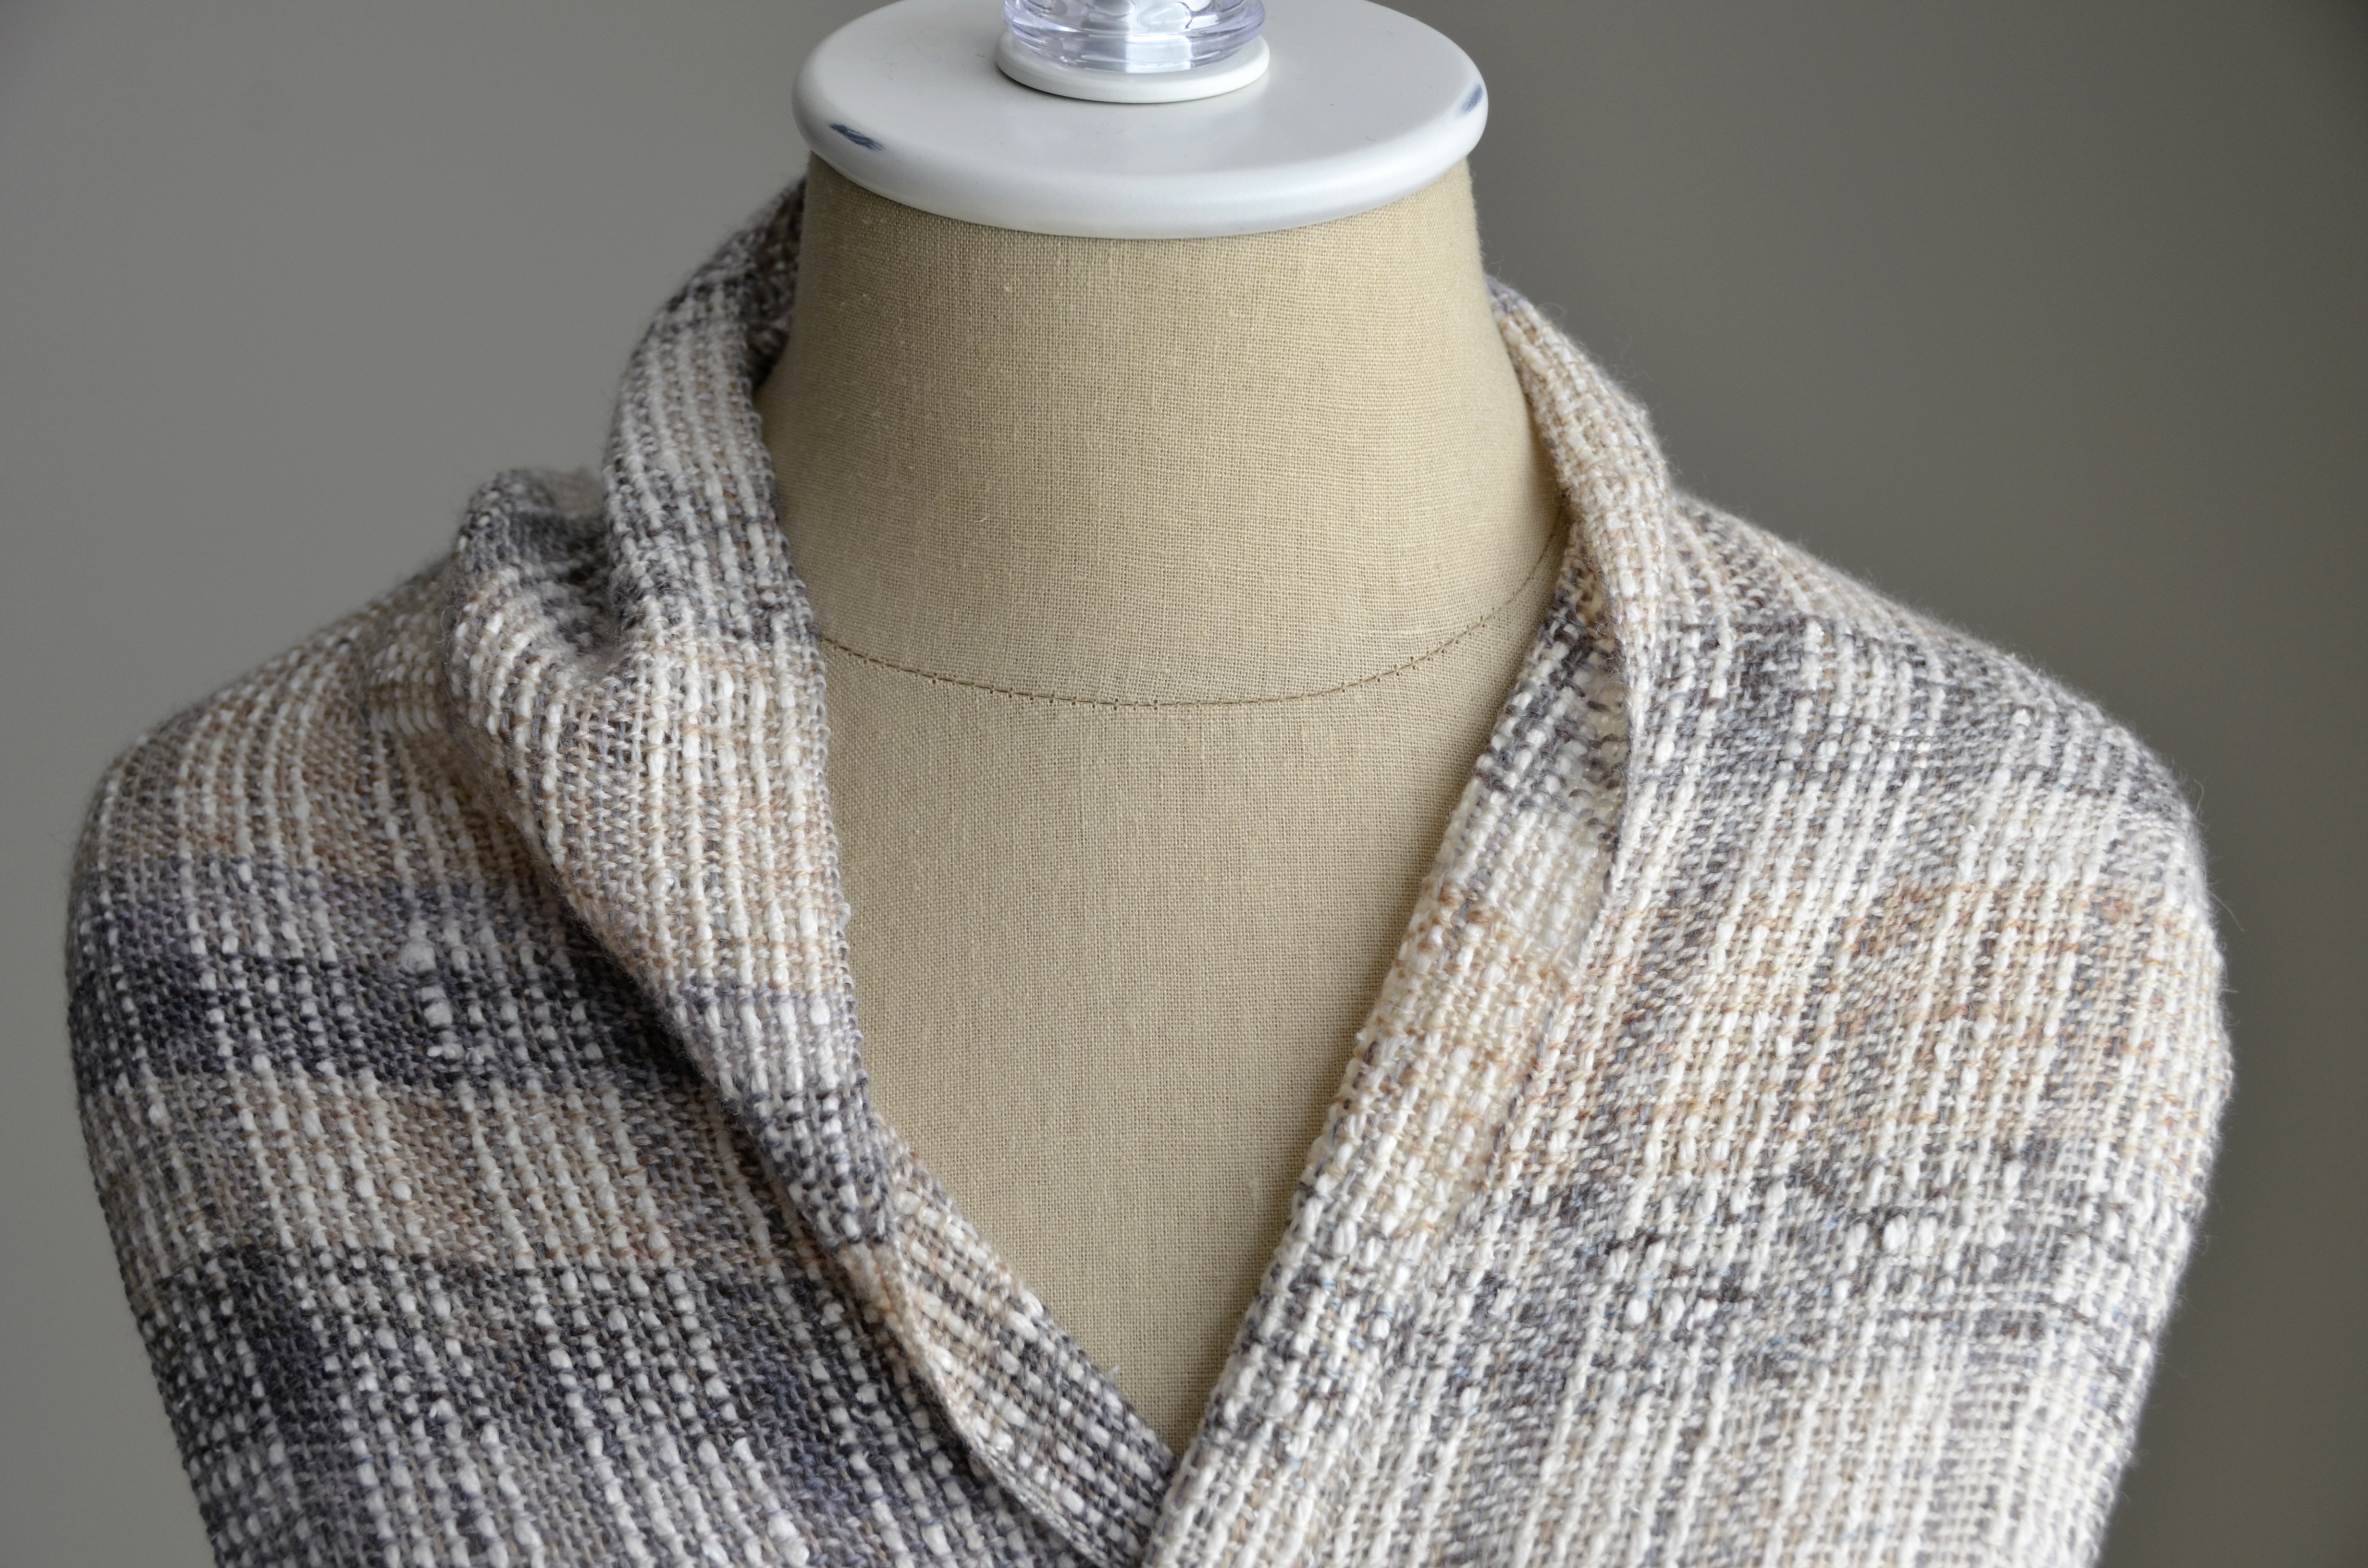
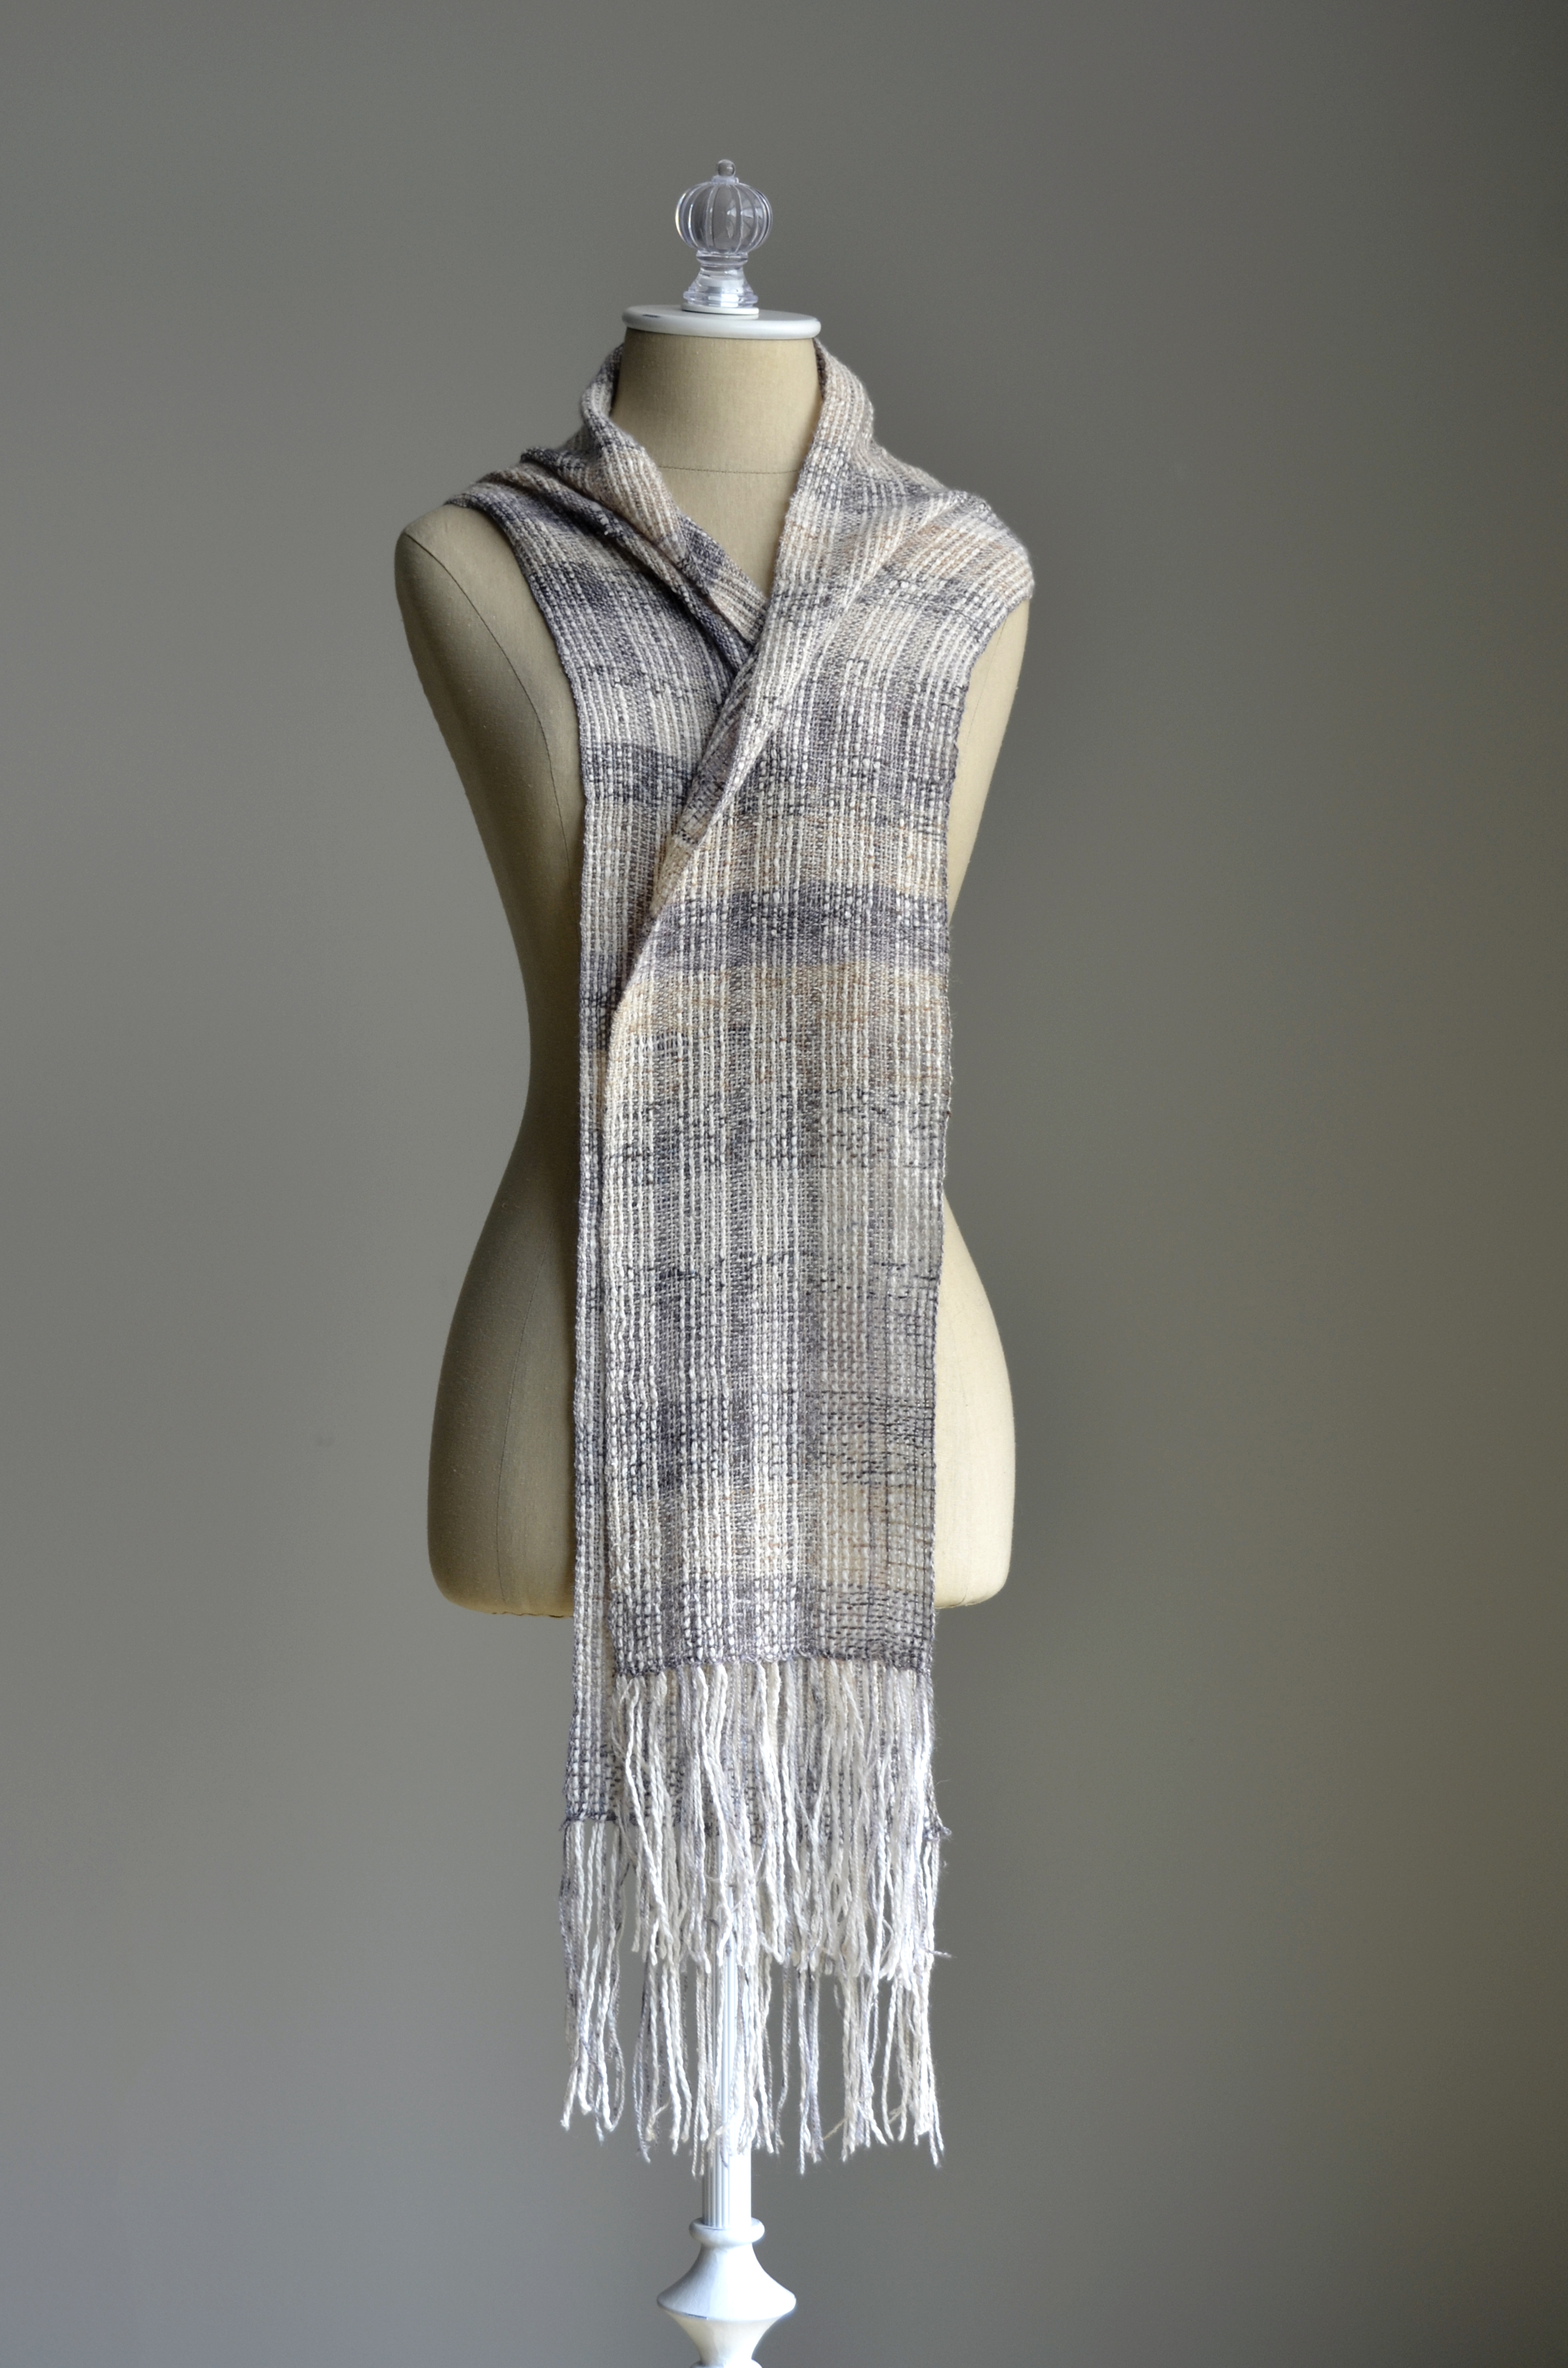
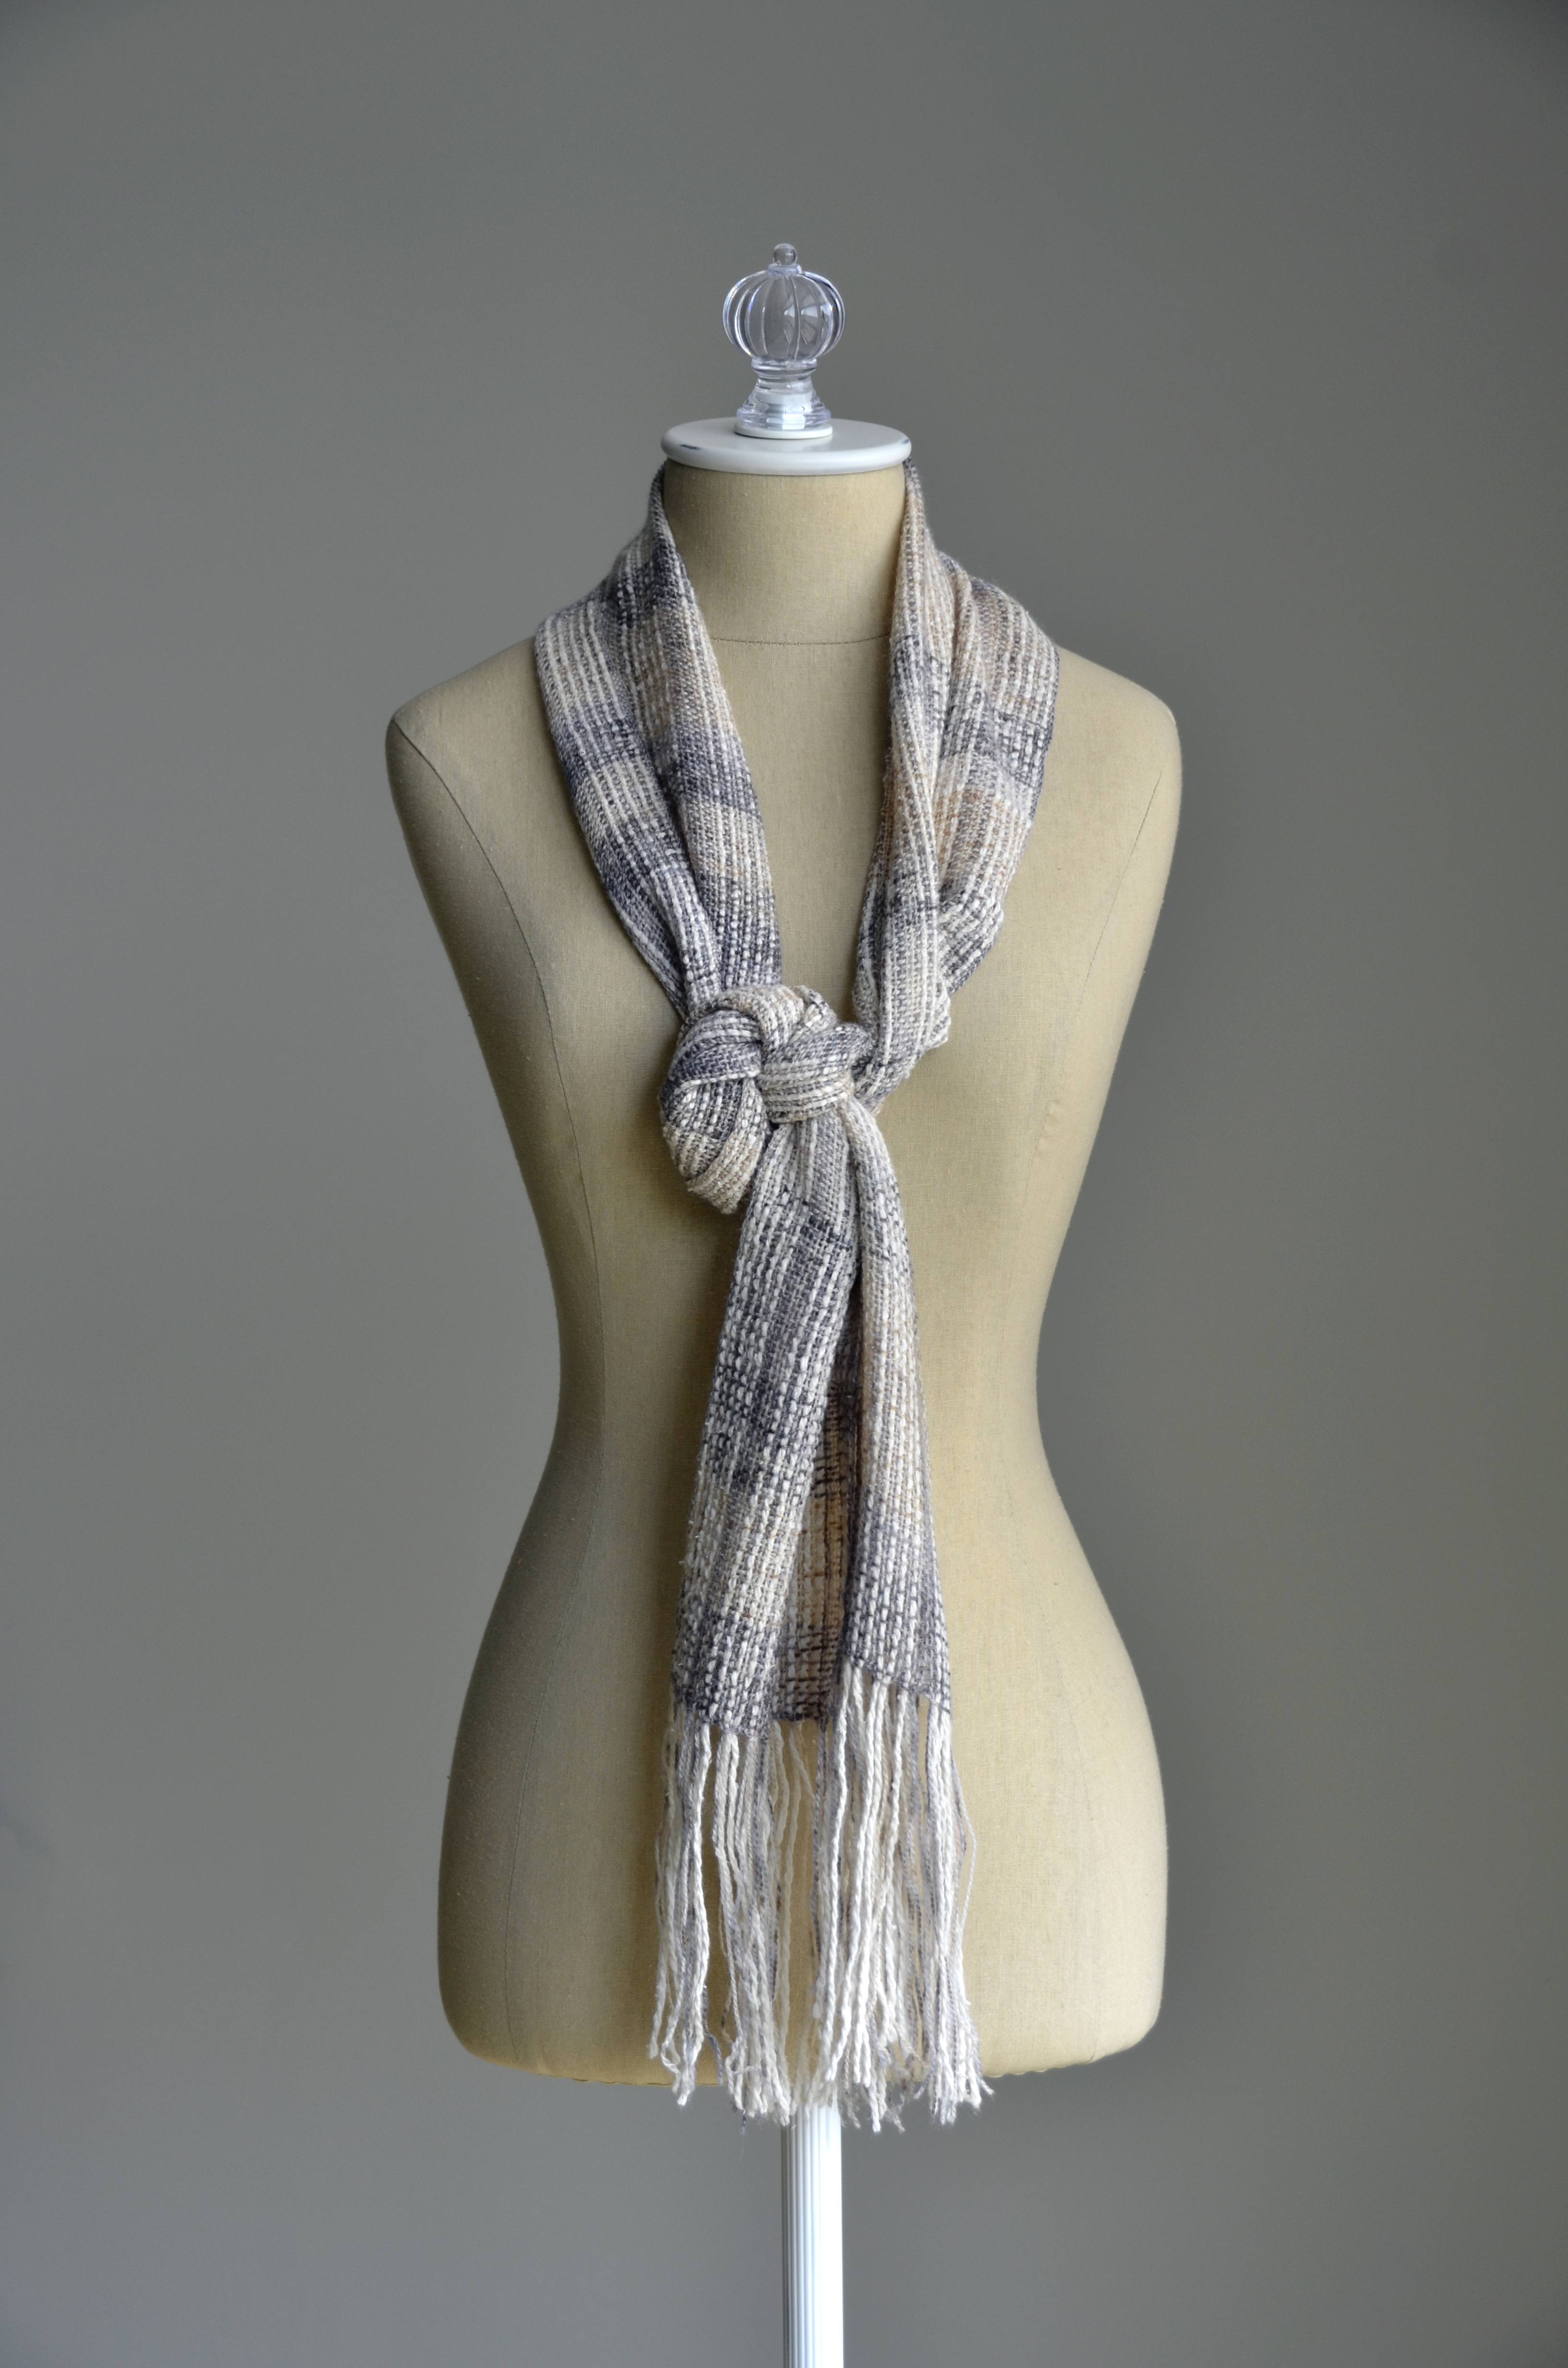
I’m very happy with my experiment! As you can see, the single strand of Deluxe felted beautifully with no problem. I really love the resulting texture. And the variegation of the Infusion really makes for a complex looking piece that was, in fact, super simple to weave!

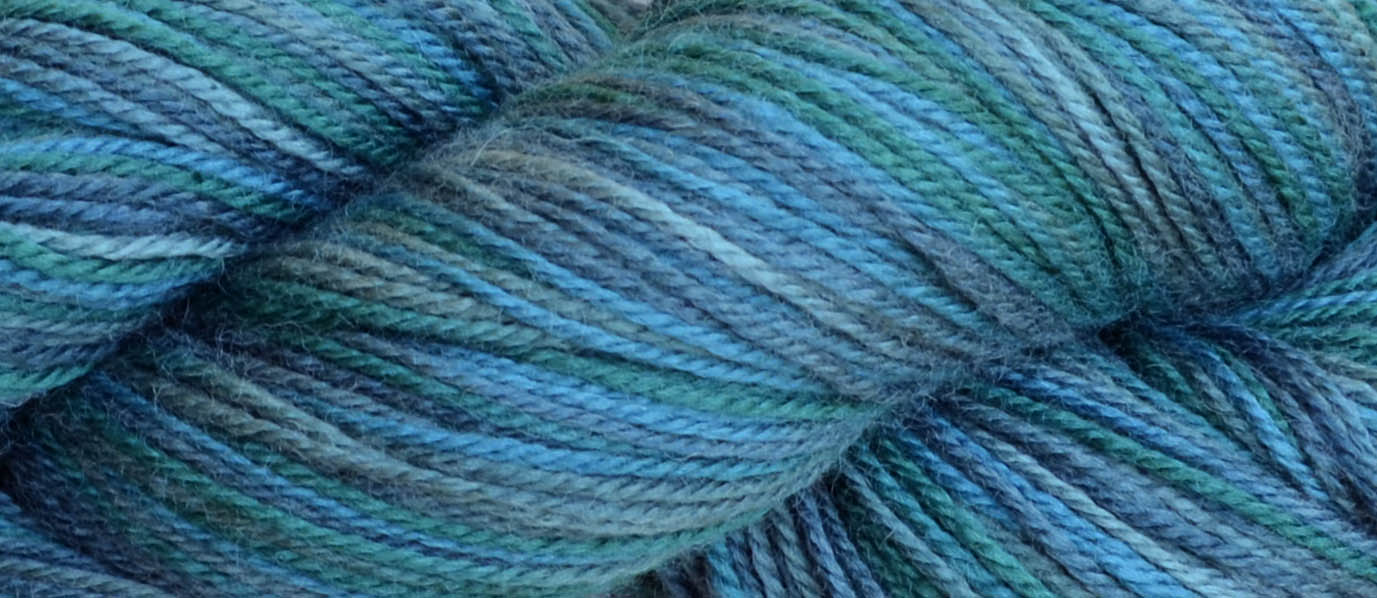
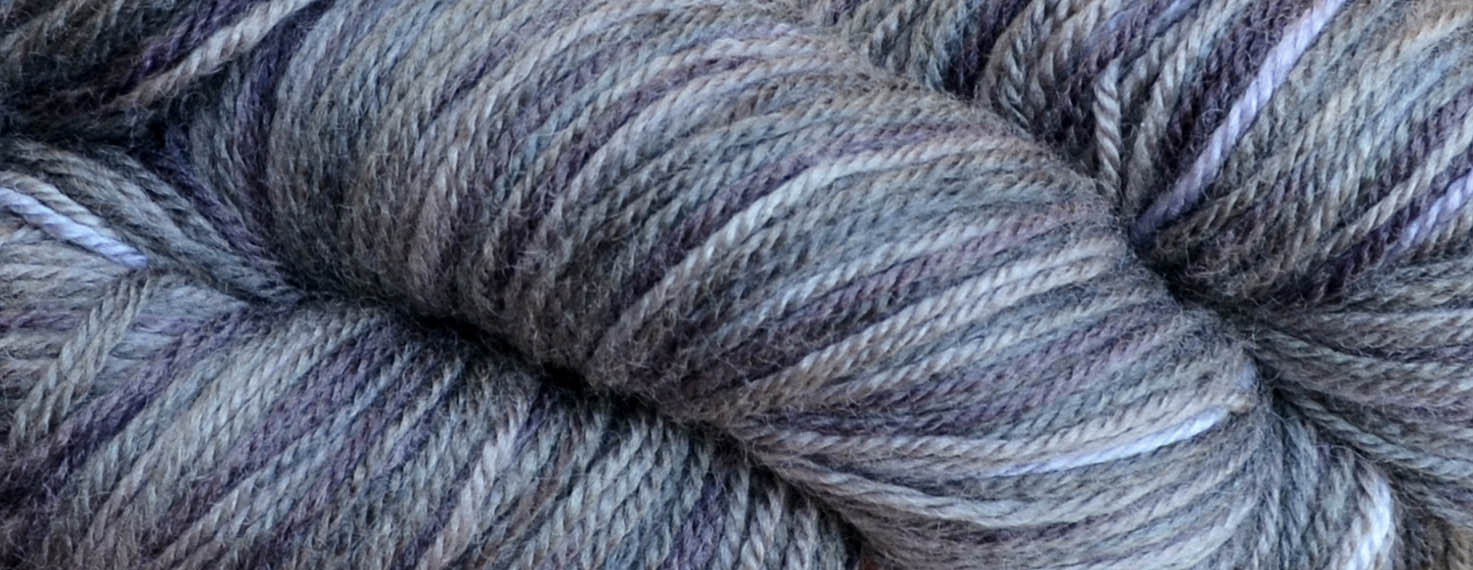
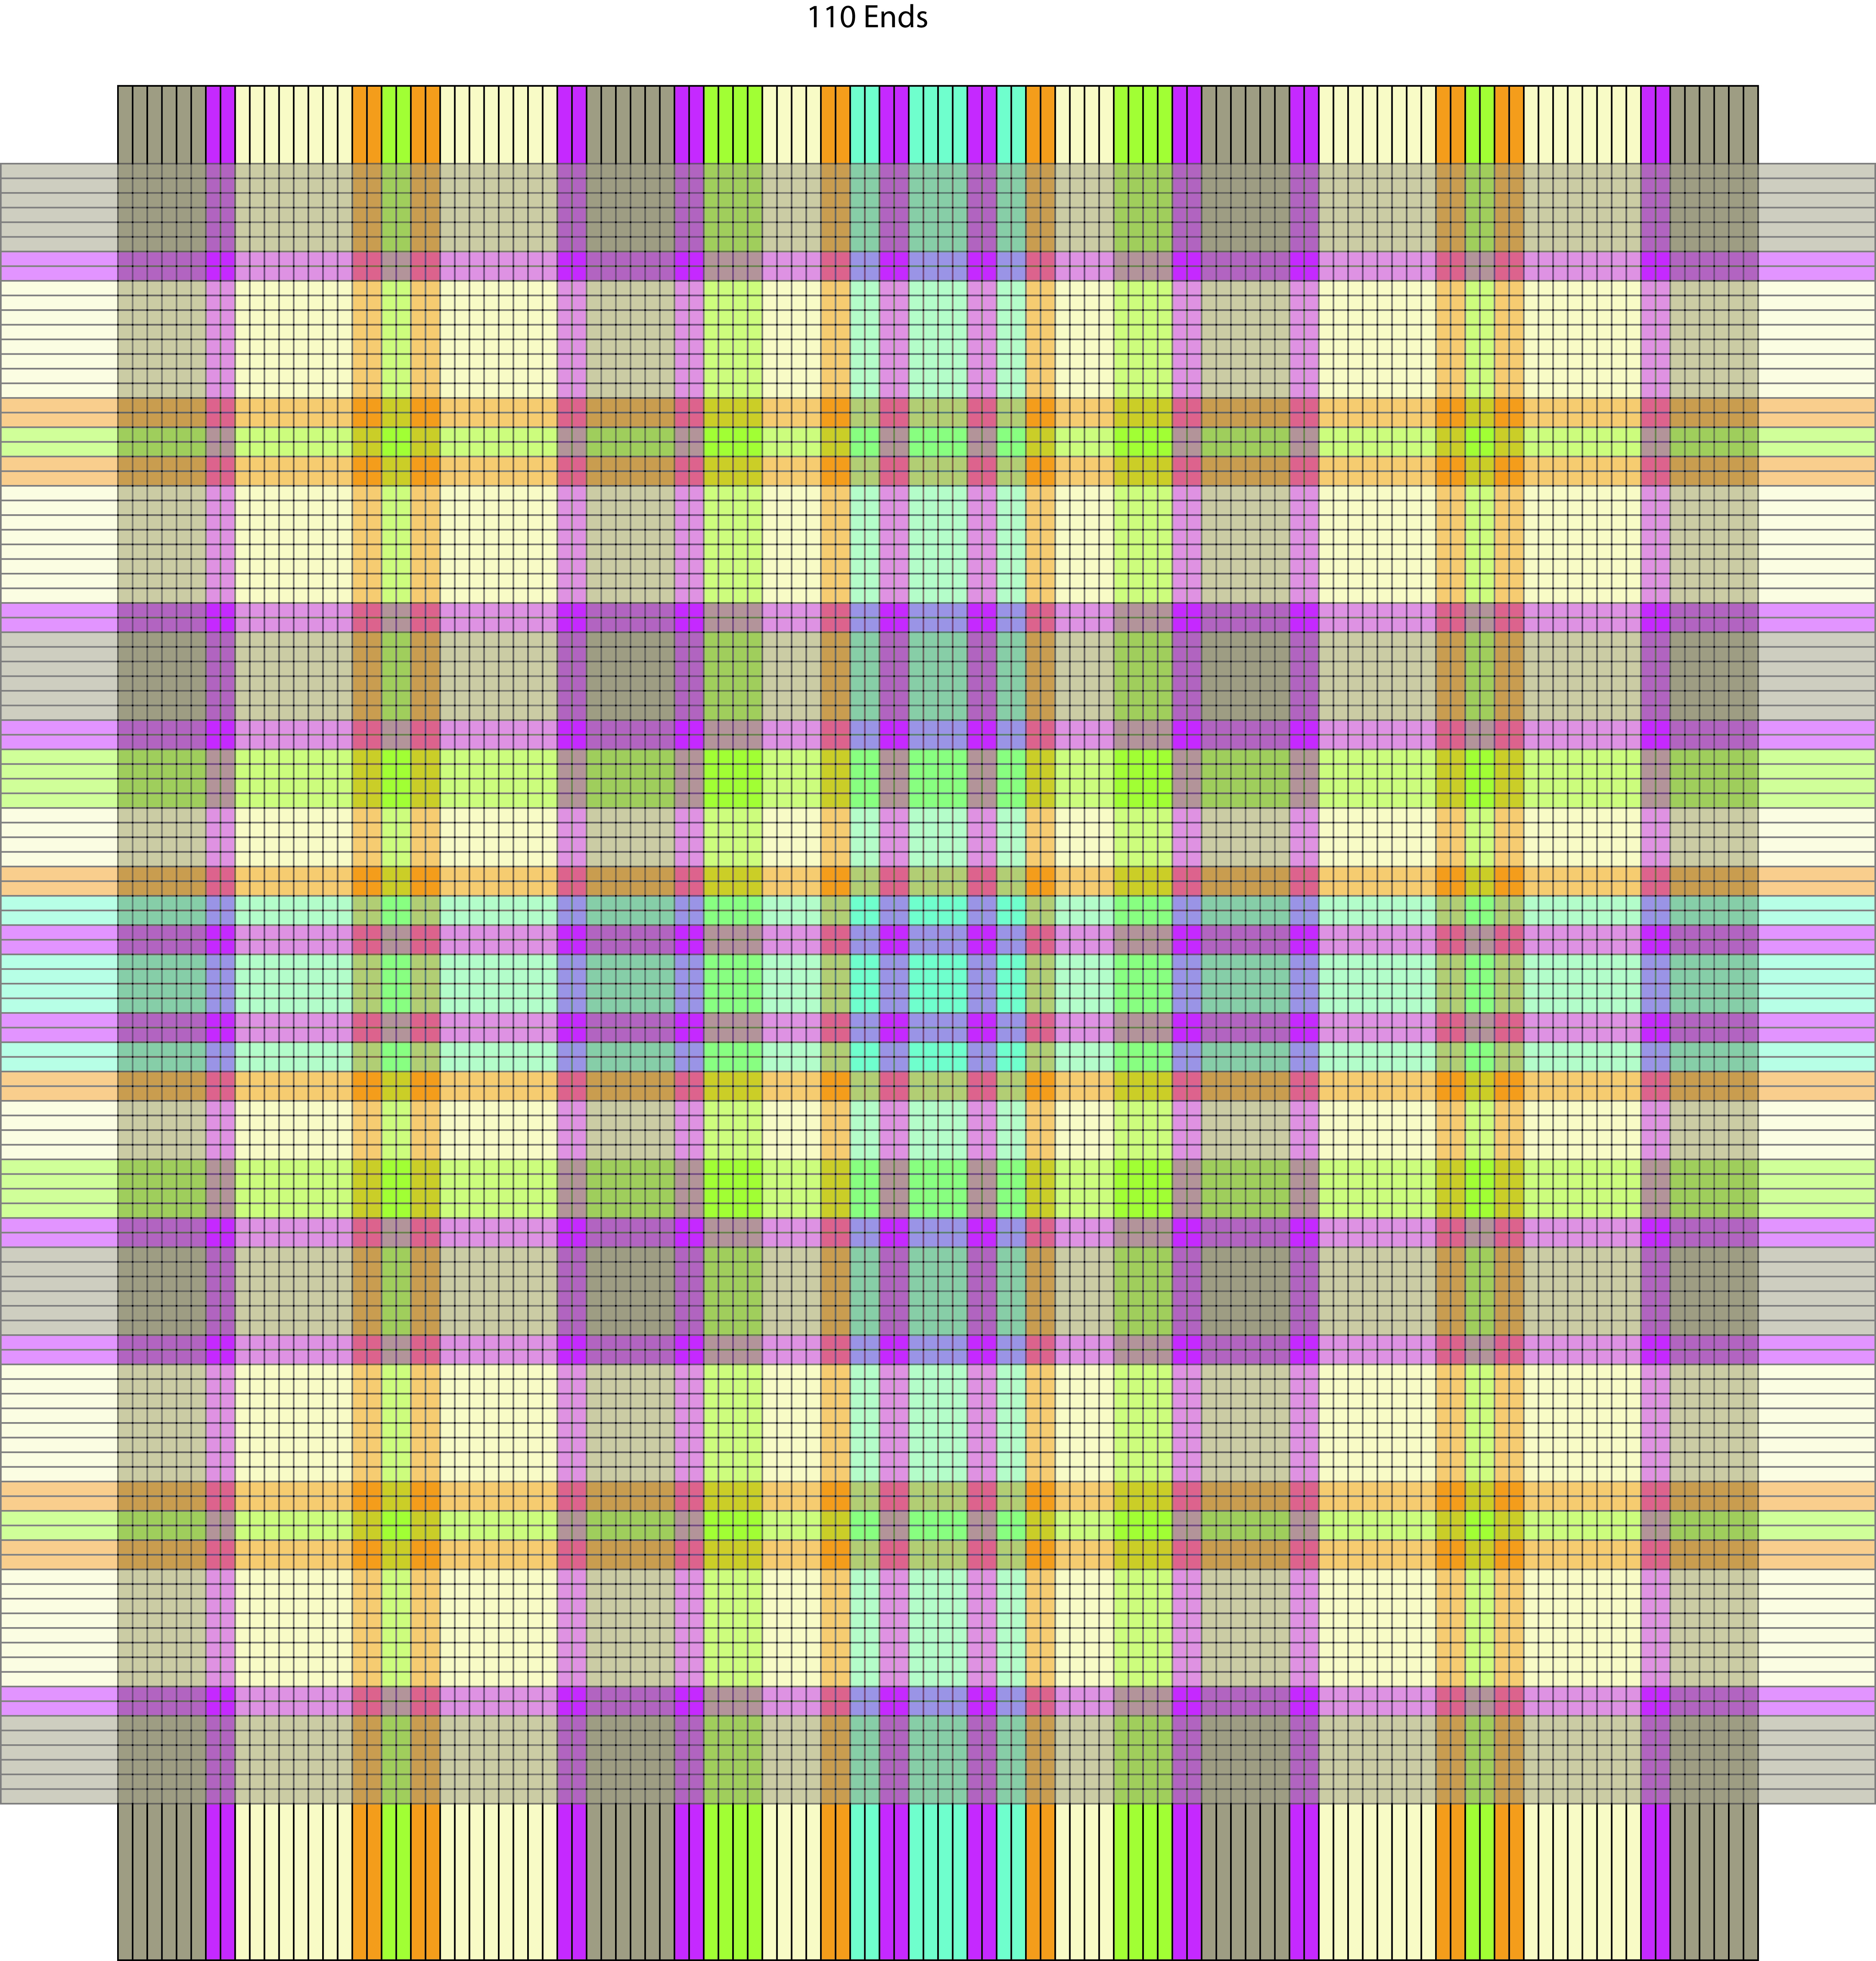
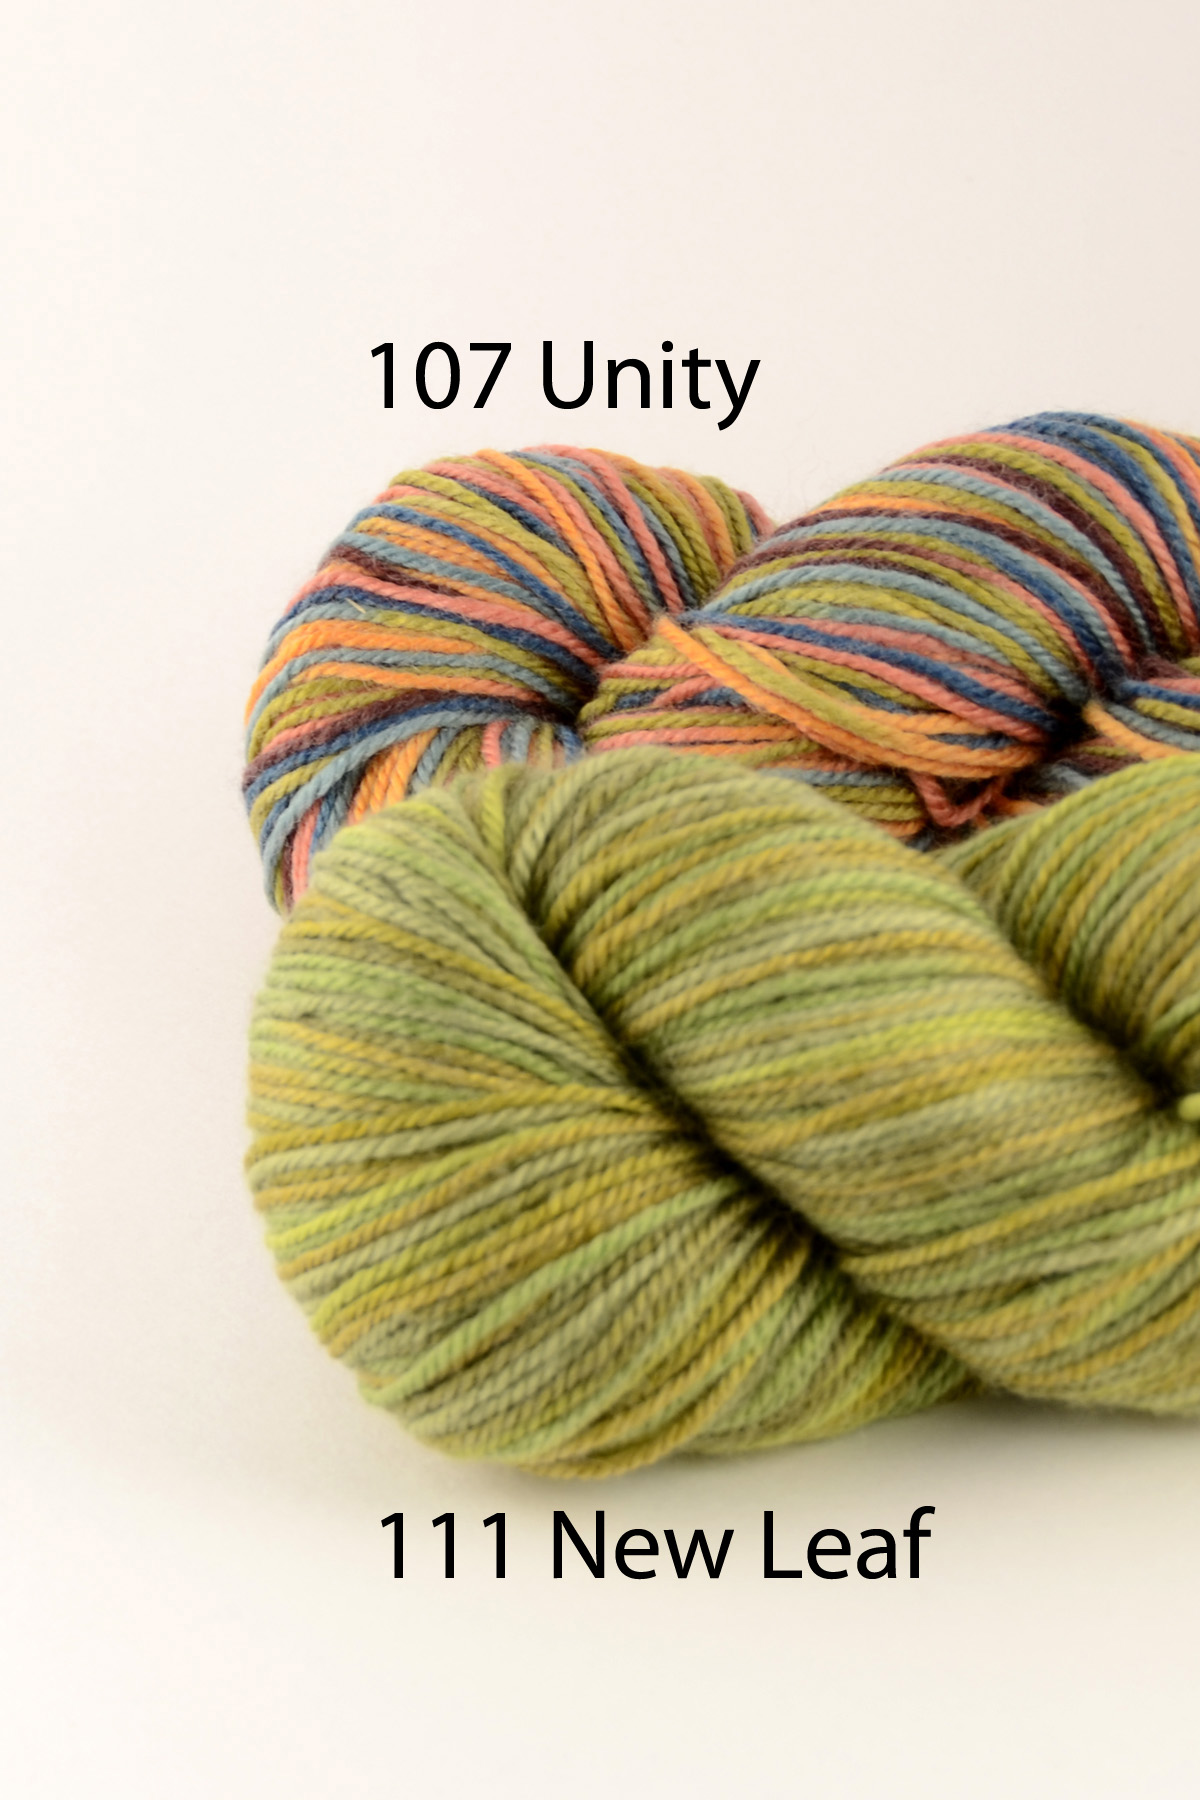
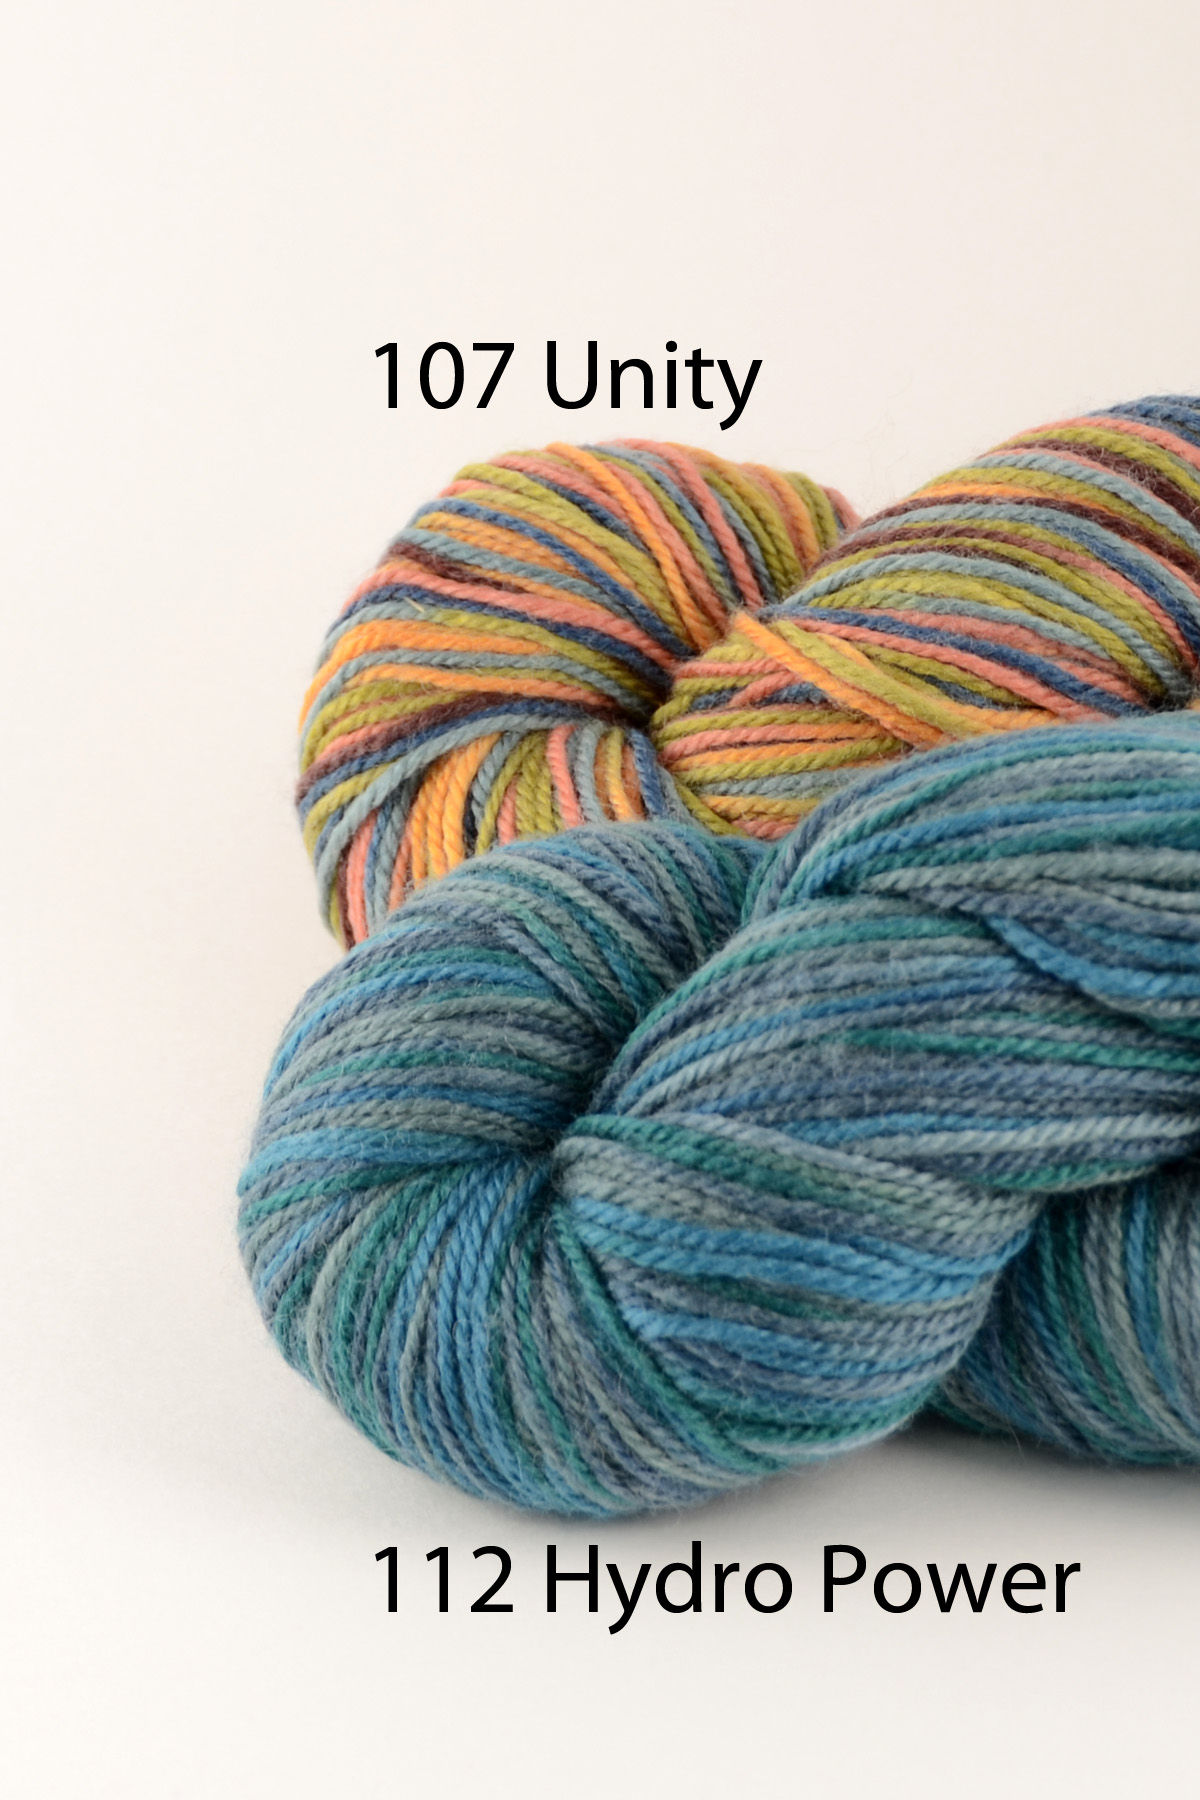
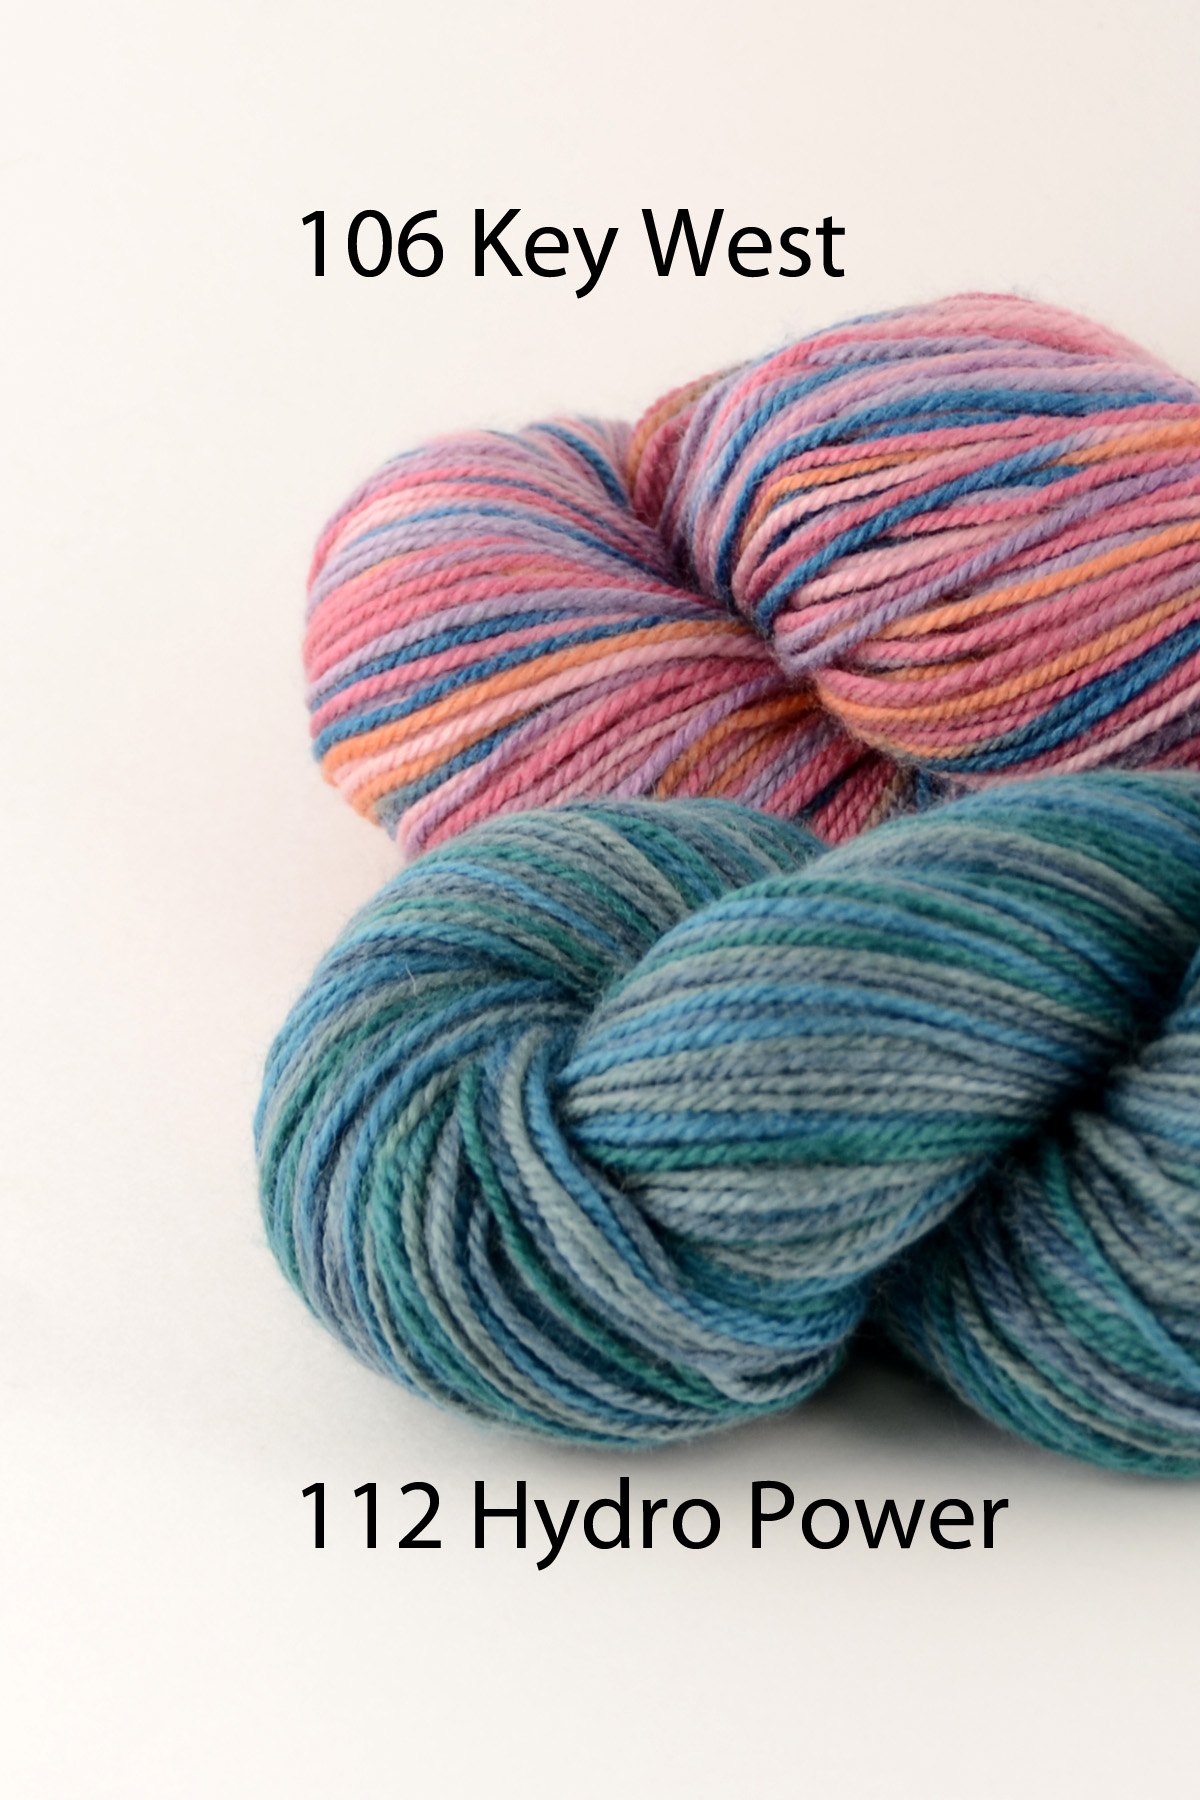
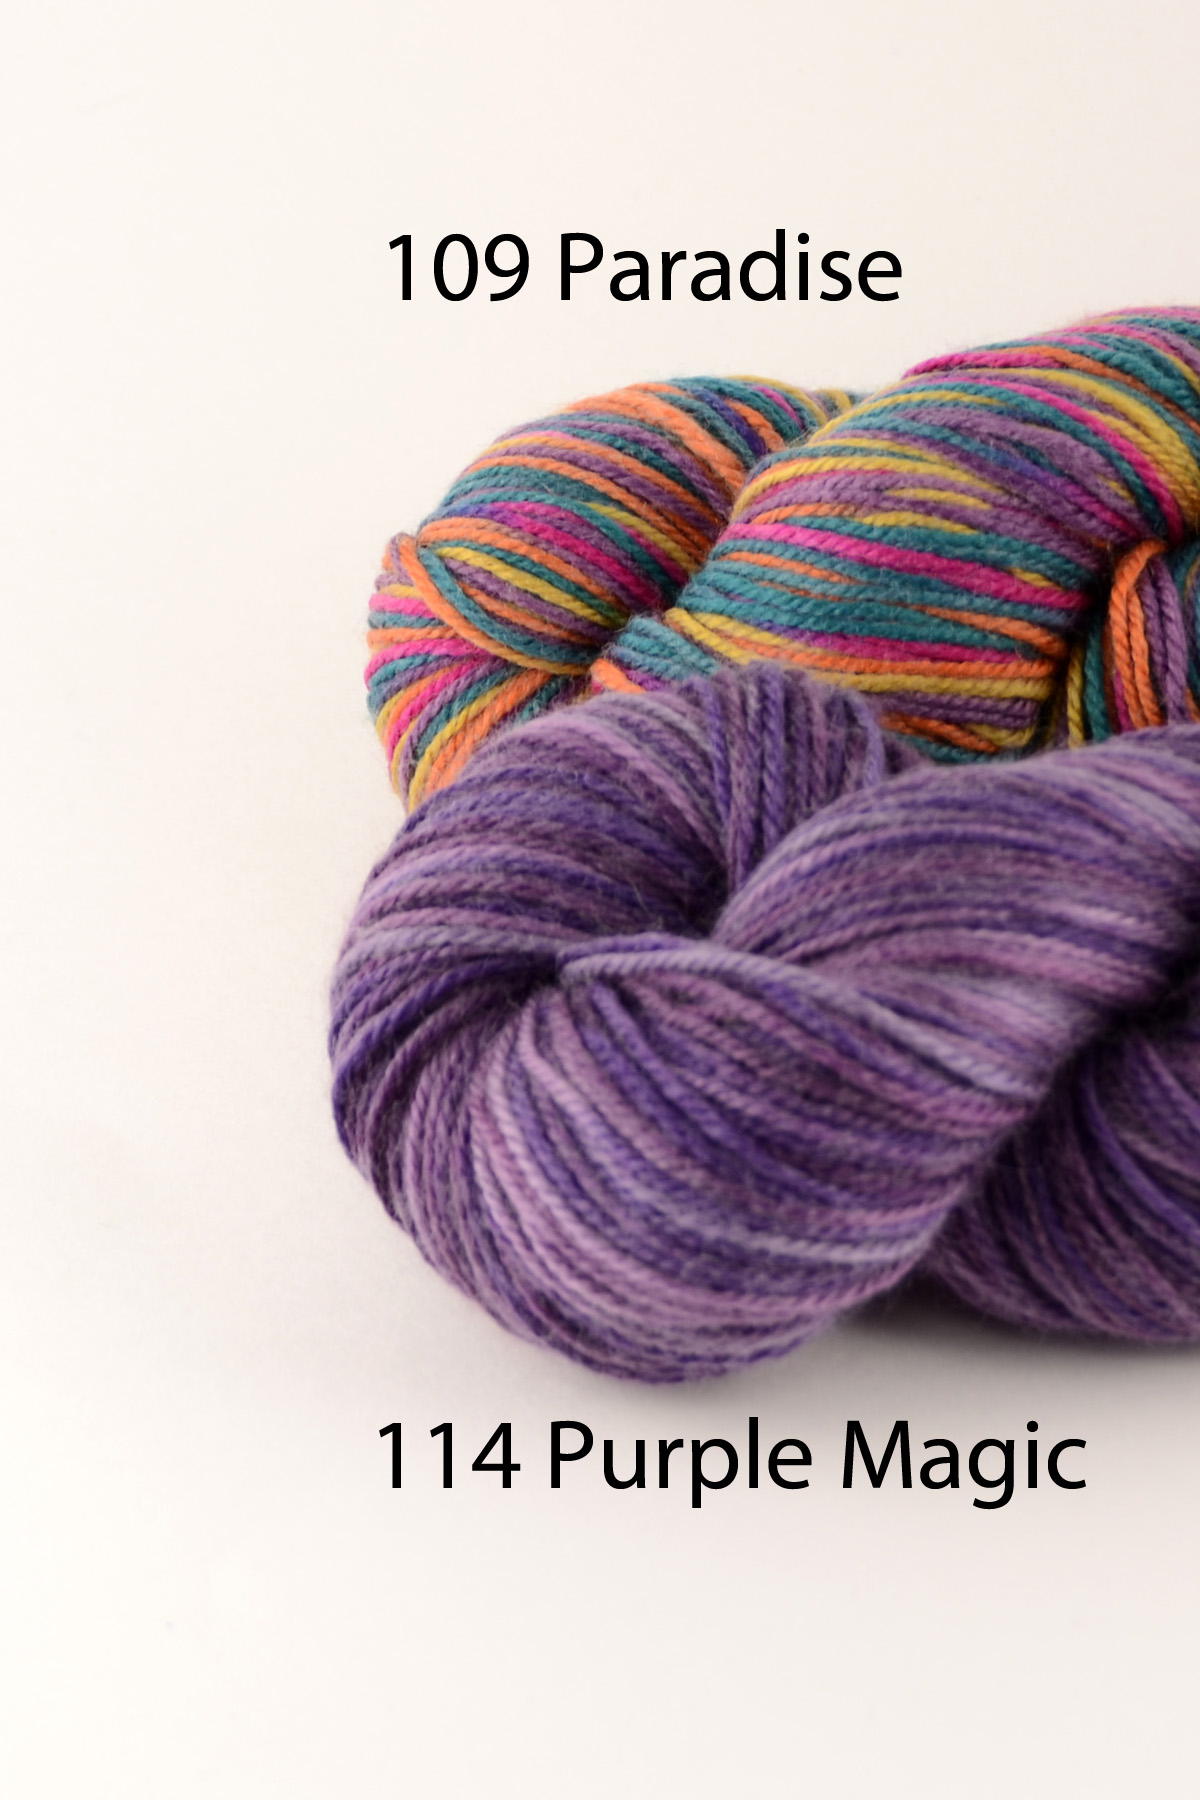
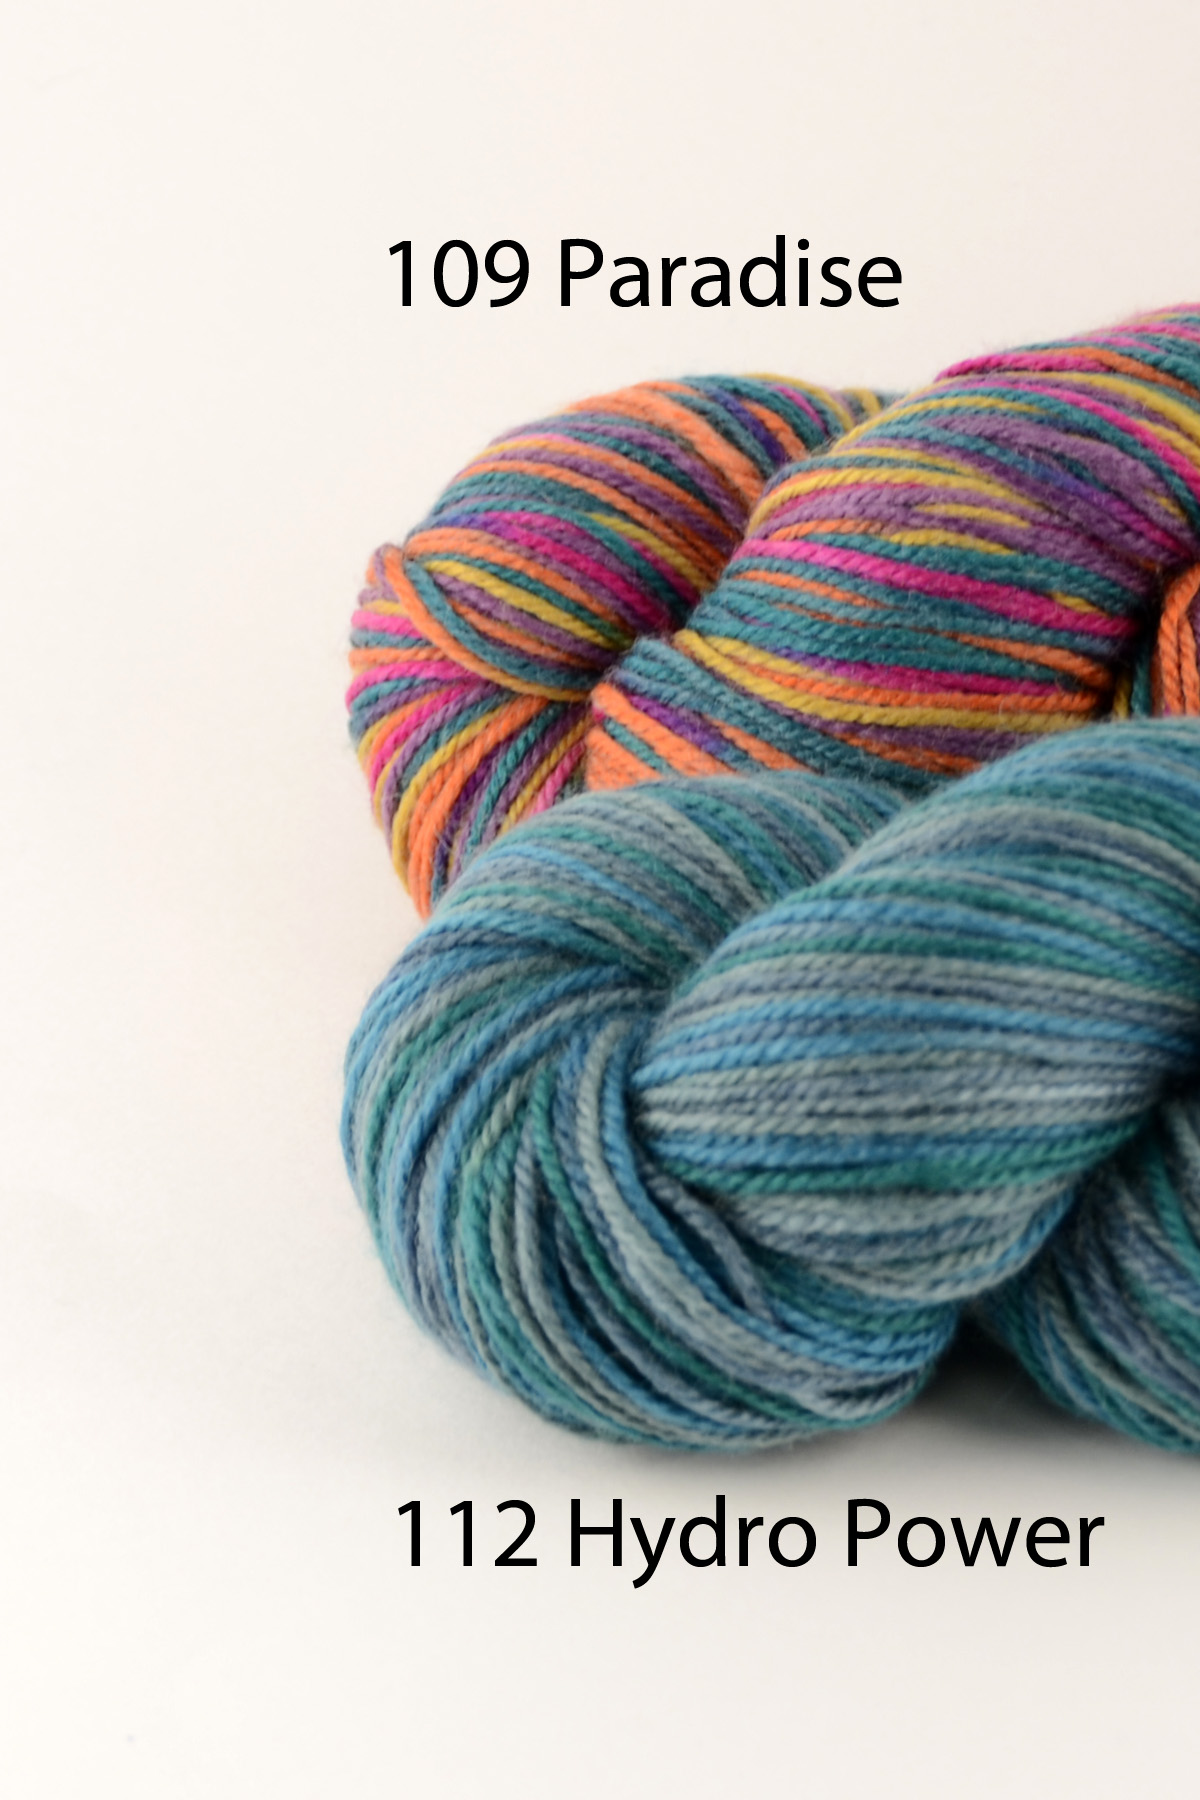
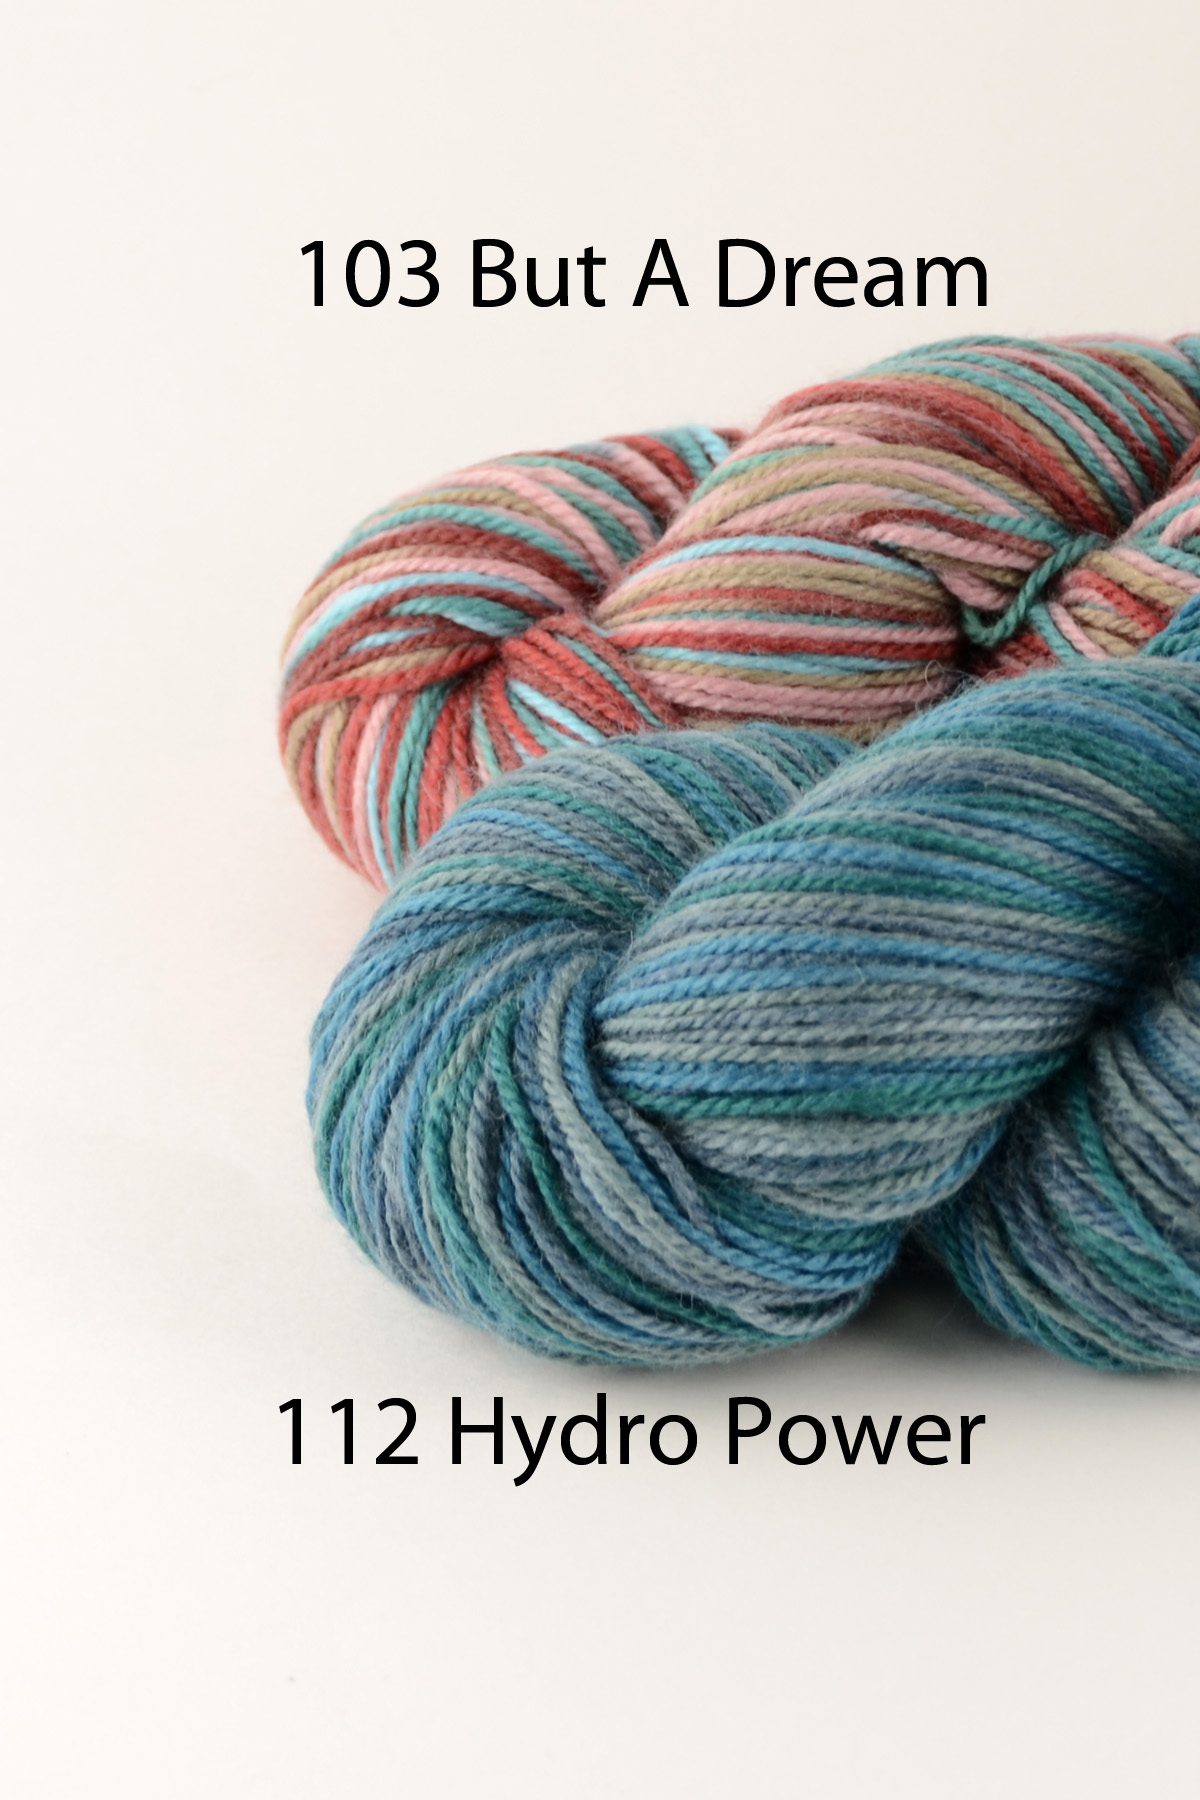
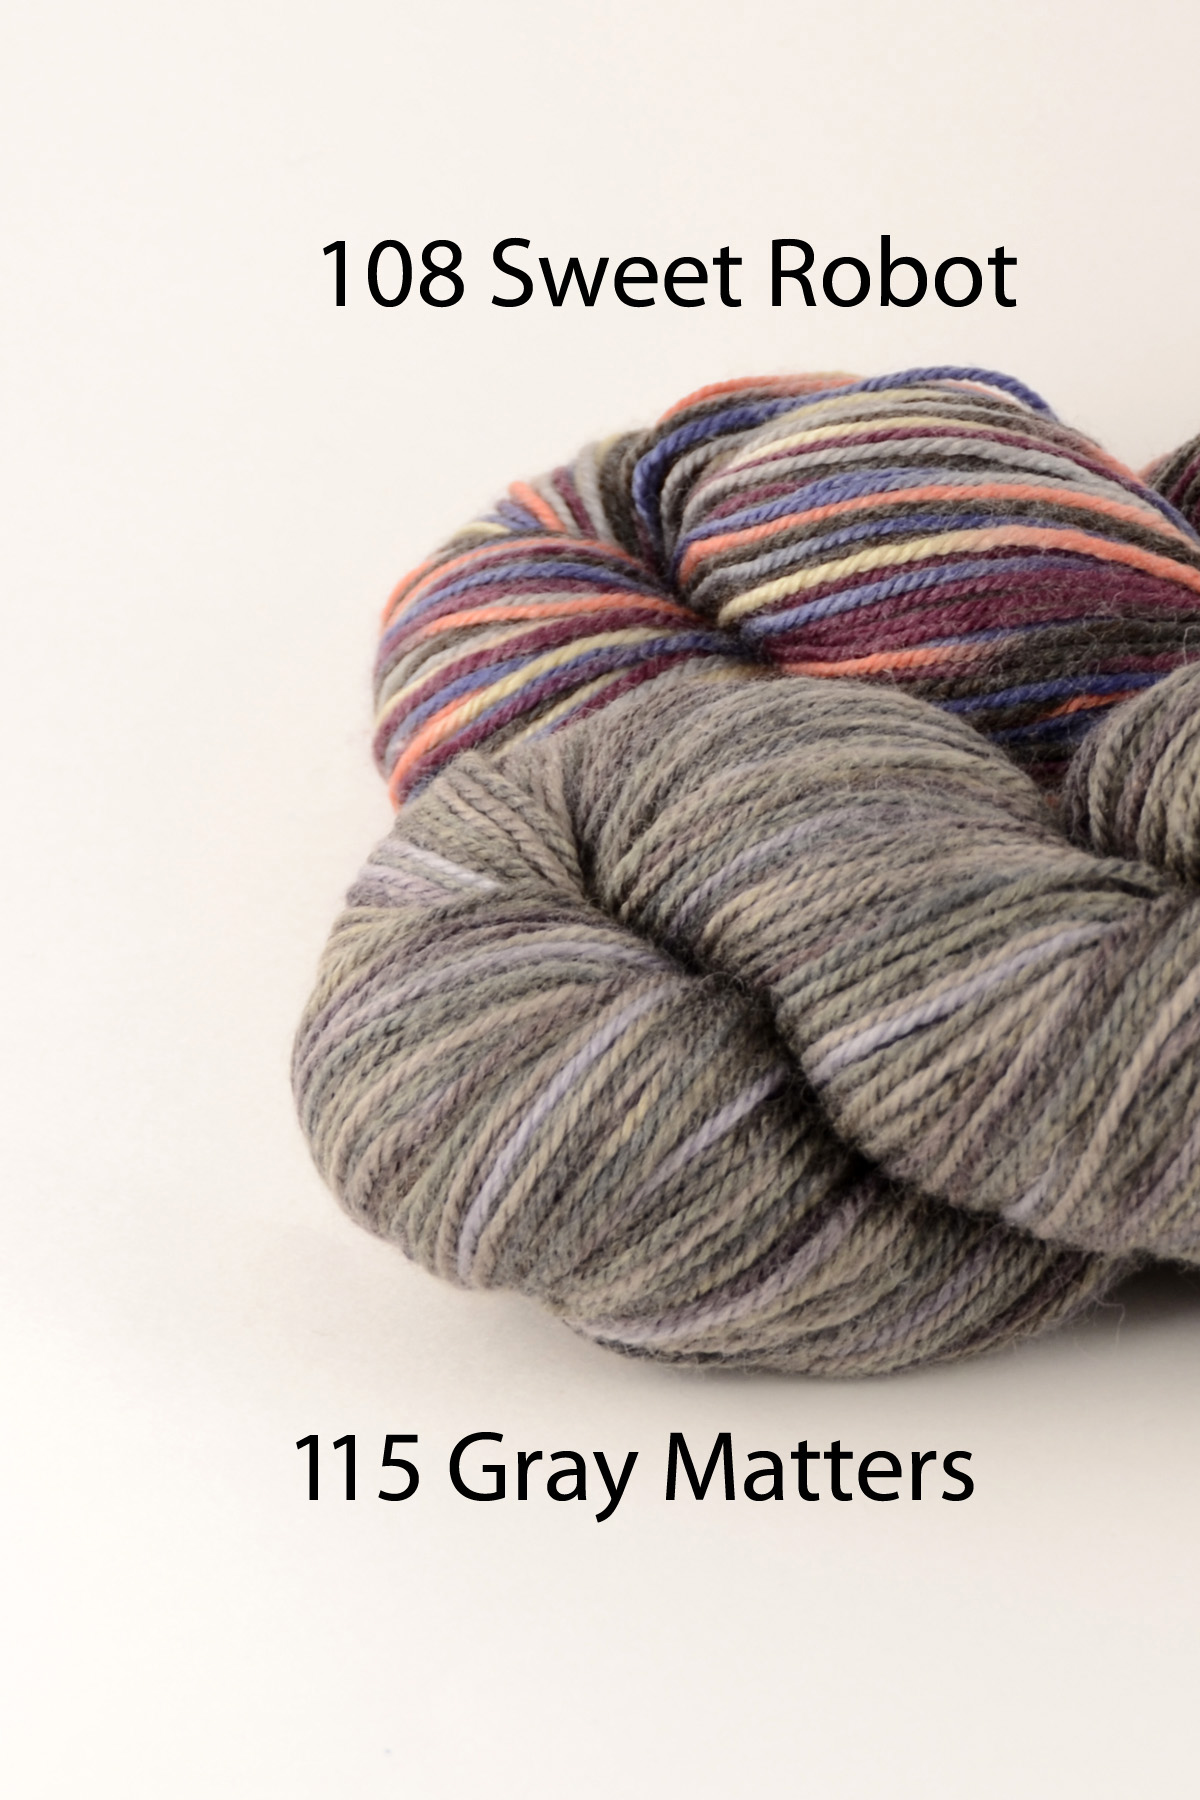
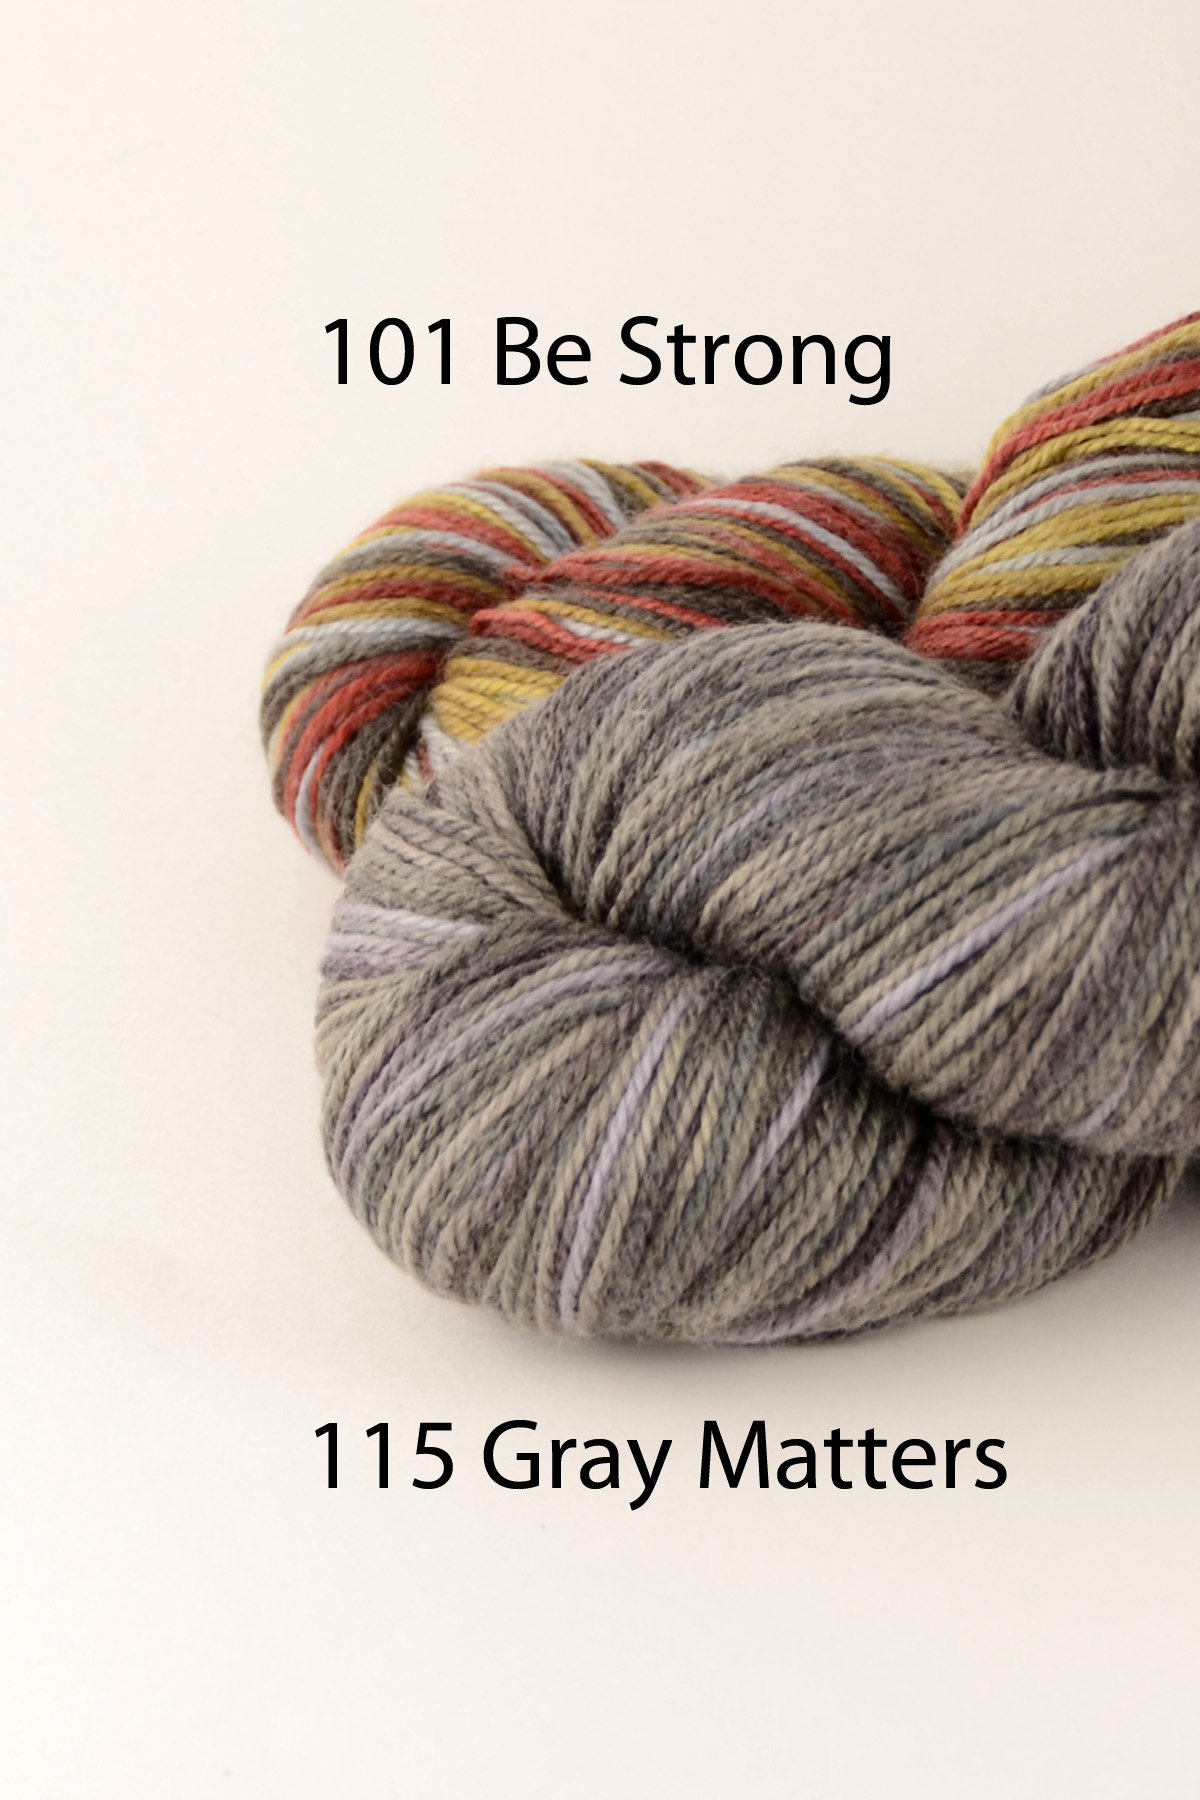
The piece was comprised of 82 ends, was 10 1/4″ wide on the loom, and shrank to 6 1/2″ wide, or by about 1/3.  I have definite plans to weave an entire scarf following this sample, probably with these same colors. I’m also lusting after Infusion Handpaints 115 Gray Matters and 112 Hydro Power. Perhaps I’ll just have to make all 3!

Infusion HP 112 Hydro Power hi-res Infusion HP 115 Gray Matters hi-res


Poof! Done!

Bamboo Bloom Handpaints is a unique and lovely yarn. It’s a customer favorite and is just so pretty on the hank:

BBH skein pic Tarik_web

A blend of wool and rayon from bamboo, this is one of those yarns that doesn’t need much in the way of fancy stitches or weaves. Its innate beauty does all the work! It’s a thick-thin yarn with tufts of soft wool here and there.

BBH 320 Dragon web BBH 321 Miko web BBH 319 Forest Light web BBH 318 Emperor web BBH 317 Sensei_WEB BBH 313_Kanji_web

We also just updated the palette with some scrumptious new colorways. We have some really nice one skein knit patterns for cowls, including this Persephone Cowl.

The beauty of this simple cowl is that all you do is knit until you come to one of those tufts of wool. At that point, you work a dropped stitch by yarning over which enhances the tufts. I wanted to try a similar technique, but with weaving.

First, I set out to warp my loom. For the warp, I chose Little Bird in color 113 Shoe Polish. I opted for this yarn partly because I wanted a light yarn that would allow the Bamboo Bloom to shine, and partly for its strength (100% microfiber acrylic). For this project I used a 10″ Cricket and the only reed size I have for this loom is a 12 dent. I knew I didn’t want the scarf to be too dense, so I threaded only half the slots/holes, making it 6 ends per inch.

The weave structure is simple plain weave. The fun happens whenever the tufts of wool appear.  First I pass the shuttle through the shed, and then lightly beat.

DSC_0009

DSC_0010

See where the thick wool slub is? I just used my fingers to pull up a little loop through the warp threads.

DSC_0011


Then I pulled up 3 more little loops, and then beat again to hold everything in place.


DSC_0012


It’s as simple as that! You’ll notice that the wool slub extends beyond both sides of the 4 loops.  In order to avoid stacking the loops, I pulled them up sooner or later after the slub began so that a staggered effect happened. Just a little extra extra action makes this plain weave scarf more interesting to weave and to wear!

And now, dear friends, it’s learning time. My weaving project did not happen without incident. I don’t know where my head was while warping, but this was not my best warping job ever.

I made one crucial mistake: the paper I used to roll onto the back roller was not quite wide enough, so a few of my warp threads slipped outside the paper and had tension that was very different than the others. I really didn’t even notice the problem I was about until about halfway into my scarf.

It began with a single warp thread that was much looser than the others. To combat this problem, I wrapped a double pointed needle around this thread behind the reed to even out the tension. Every time I advanced the warp, I would have to re-position the dpn.

DSC_0014

Then, after a few more inches of weaving, many of the surrounding threads were showing to be too loose. I inserted my pick-up stick underneath these threads to make the tension consistent with the rest of the warp.

DSC_0017


These are just a couple of the tricks I’ve used to combat my  occasional poor warping skills.  If you have any tips, I’d love to hear about them!

Oh yes, and the reward for sticking with it all is this:

Bamboo Bloom woven scarf 2042 blogBamboo Bloom woven scarf 2051 closeup blog

And here’s what the back (loop-less) side looks like:

Bamboo Bloom woven scarf 2049 blog

I used about half the 100g skein of Little Bird for the warp, and one skein of Bamboo Bloom Handpaints #315 Cherry Blossom.  I’m thinking these will make great last-minute gifts for a few special women on my list.


Pucker Up

Before becoming a knitter some 5 or 6 years ago , I did lots of sewing. Although I tend to be FO oriented with my fiber crafting, experimentation solely for the purpose of learning and entertainment is very gratifying. It’s a low pressure way to work and has low to no expectation of success (in my world). One of my favorite things to play around with is fabric manipulation. It can be achieved in so many different ways – pleats, ruffles, gathers, godets, smocking, etc etc.  A quilt made up of pleated blocks; ruffles around a neckline; a smocked bodice.

Last time on Weaving Wednesday, I made a scarf that used the technique of felting as a means of gathering. I decided to modify that thought this week, again using felted wool to manipulate the fabric. But instead of one long felted strip, I wanted an all-over gathered effect.

I opted to combine Deluxe Worsted (100% wool) and Deluxe DK Superwash (100% superwash wool). The regular (non-superwash) Deluxe will felt when agitated, the Superwash will not because it has been specially treated. Both Deluxe and DK Superwash are available in So Many colors, that choosing just two was very hard for me! Most folks in the office here know that I’m a total sucker for gray. I almost did go with two shades of gray, but branched out and went with one blue and one gray. Adventurous, right?

DSC_0011

Starting with regular Deluxe Worsted, I did a direct warp on the 15″ Cricket.  I threaded one slot, then skipped 5, and repeated this all the way across ending with one slot threaded. Then I went back and filled in the large gaps with my DK Superwash. The last felted scarf I wove shrunk in length more than I had expected, by almost half! I do like my scarves long, so I went ahead and warped about 130″. I figured about 10″ of loom waste each end, and after shrinkage, I should end up with about a 60″ scarf plus fringe.

DSC_0012

I wove following the same sequence as I warped – 2 picks with Deluxe, 10 picks with DK Superwash. I decided to cut my yarn after every “stripe”, although in retrospect this may not have been entirely necessary.

I was sure to alternate sides that I began each color section in order to avoid “stacking”. I didn’t want all of the color changes to occur on just one side of the scarf. And I made it easy on myself. I didn’t measure a thing while weaving, aside from making sure my work was square (same picks per inch as ends per inch). I simply wove until I ran out of warp, and finished off.

I clipped the non-superwash Deluxe and fed the ends back through the length of the warp for an inch or two. I did this because I knew I would be putting my scarf through at least a cycle or two in the washing machine. Had I not done this, I would most likely have had a big tangled mess where the Deluxe had felted around parts of the DK Superwash.  I also tied the ends of the Superwash in a loose knot along each group of fringe to protect them from unravelling too much in the wash.

pre-felting

Here it is, off the loom, ends clipped but not fully clipped, all ready for felting! I have a top load machine without a center agitator. I placed the scarf along with a pair of jeans, a couple of towels, and a little other assorted laundry I didn’t mind putting through more than one cycle. I started with a delicate cycle, cool water.

There was definitely some felting that happened, but not enough for my taste. If I was smart, I would have continued the delicate wash, checking every 5 minutes or so to make sure the project was felting to my satisfaction. Instead, I started the machine on a regular wash with warm water and threw caution to the wind.  The scarf came out a touch more shrunken than I would have liked, but not by much. I still like it a lot, but I could have opened that washing machine to find a mess. Learn from my mistakes, weavers! Be cautious!

Semi-felted Scarf closeup1_blog

Here’s a close-up of the finished fabric. After taking out of the washing machine, I did have to pull apart a few parts of the scarf where it had sort of felted on itself. But this was easy to do as long as it was still damp. I also clipped all the ends close to the surface while it was still wet, trimmed the fringe, and pulled things into shape a bit. After that, I let it dry fully.

Semi-felted Scarf_blog

Here it is in its full puckery glory. It has the appearance of seersucker fabric, particularly in these colors. I’m really itching to try variations on this – more contrasting colors, cotton in place of the superwash, larger “grids”; the possibilities are many!

And here are the details for anyone wanting to give this a try:

  • Length of warp on loom: 130″
  • Length off loom: 110″
  • Length after felting: 70″ (not including fringe)
  • Width on loom: 14″
  • Width off loom: 13″
  • Width after felting: 8″
  • Ends: 110
  • Ends per inch: 8 (8 dent reed)
  • Weave structure: plain
  • Materials: Deluxe Worsted, color 14011 Sea Glass – 1 hank; Deluxe DK Superwash, color 832 Icy Grey – 3 balls

See you next time for a weaving experiment with Bamboo Bloom!

Variation on a Warp

Ever since I acquired a variable dent reed for my 15″ Cricket, I’ve been wanting to play around with it.  I happened upon this blog post by Jane Patrick over at Schacht, where the folks there had a variable dent reed challenge a few months back.  Jane based her scarf on one from “Woven Scarves” by Stephanie Flynn Sokolov. Here, I present you with my scarf based on Jane’s scarf based on Stephanie’s scarf. Whew!

First, let’s touch on this variable dent reed. It is just what it sounds like: a reed that can have varying dents in it. This is achieved by having multiple pieces of the reed with different dents (widths of holes) which can be arranged to one’s liking in the wooden frame of the reed.

VARIABLERE.20INCH.zoom.1

For my scarf, I arranged the dents such from right to left such that I had 1×12 dent, 1×10 dent, 1×5 dent, 2×10 dents, and 1×12 dent.

FeltedCenter_1


I warped my Whisper Lace #111 through the 10 & 12 dent sections, and Poems #606 through the 5 dent sections. Poems is 100% wool, meaning it has the capability of being felted. Stephanie’s original scarf employing this method is a brilliant way of taking something simple and adding interest. As you can see, the scarf is just plain weave using Whisper Lace.

I hemstitched both ends and added knotted fringe at each end.

FeltedCenter_2

Directly off the loom, it’s a perfectly nice scarf.

FeltedCenter_3

I love the way Whisper Lace weaves up. It has a great classy yet rustic feel. But the real magic is yet to happen! Off the loom, I then hand-felted the center stripe of Poems, causing the yarn to shrink up. The result of this shrinking, is that the surrounding yarn that was not felted gathers causing a gentle ruffle.

Felted Scarf blog

Because one side of the Whisper Lace is narrower than the other, it can overlap for a nice layered look.  Stephanie’s scarf in the book incorporated beads on the fringed edge, which I really loved and wanted to do for my scarf too.

Felted Scarf Fringe closeup blog

When hemstitching, I had grouped my ends into 3s. I added a single bead to each group of 3 ends and tied a couple of knots to secure. I had this project on the loom a couple of weeks ago when we were at Stitches East in Hartford. I knew at that point I wanted to add beads, and found just what I wanted at the Bead Biz booth:

_DSC1454

Beautiful glass beads, and very affordable! I only used a small fraction of what I purchased, so now I’m feeling the need to incorporate more beading into my projects!

For anyone wanting to make their own felted center scarf, here are my specs:

  • Whisper Lace, color 111 Ebony, 2 balls (I used only 1 1/2); warp and weft
  • Poems, color 606 Time Travel, 1 ball (I used only a small portion); warp only
  • Warp Length: 100″
  • Width on loom: 13″
  • Scarf off loom: 12 1/2″ x  85″
  • Center stripe after felting: 45″ long
  • Weave structure: plain weave using Whisper Lace only

I think I’ve just embarked on a felting kick. Join me next time for more adventures in intentional shrinking of yarn!


Plaid, Part Two

A few weeks ago, Katie started on her plaid blanket using 6 different colors of Deluxe Worsted Superwash. After weaving 3 identical panels, sewing them together along the selvedges, and blocking, here is her reward:

Katie plaid blanket finished 1078 blog


After blocking, each panel measured about 12″ wide  x 48″ high. The finished blanket is 36 x 48, a perfect size for a couch throw or even a baby blanket.

Katie plaid blanket flat 1090 blog


Just 8 balls of Superwash and a few hours of weaving later, and Katie gets this awesomely colorful throw for her living room.

Katie, greys and greens and blues would look great in my house…hint hint. Kidding!

Next time, join me as I incorporate some beads and felting into my weaving!


Sequins and Shading

We’re in an off week with our usual every-other Wednesday Weaving schedule. But Denise over at Schacht posted a really terrific article on weaving with shading yarn, in particular, our Classic Shades Sequins Lite, and I couldn’t resist sharing.

sequins

You may remember our very first Weaving Wednesday post a few months ago where I did a scarf in Sequins Lite. But what I didn’t talk about was how to wind your shuttles for weaving. Be sure to check out Denise’s post to find out how.

See you next week for the continuation of Katie’s amazing plaid blanket!

Crochet Slippers – 1, 2, 3…Win!

Win a magazine and yarn! Keep reading!

One of the many fun parts of my job here at Universal Yarn is getting to see all the new projects about to go live in magazines. Not long ago I received an email and photo from the folks at Crochet! Magazine letting us know about an adorable pair of slippers made in our Deluxe Worsted Superwash yarn. This project is the Lucy Slippers by the talented Dora Ohrenstein.

CrochetGiftsIn1-2-3_Cvr-1 Lucy Slippers

This particular issue of Crochet! is jam-packed with tons of great projects. We’re so proud to have our yarn featured in such a cute, wearable item! I was so excited about these slippers that I wanted to do a small crochet along here in the office. Katie in customer service (you may know her for her recent weaving obsession) is also an avid crocheter. She was happy to participate!

Katie decided to do her pair in the same yarn used in original Lucy, but opted to mix things up by using several different colors. She chose 709, 710, and 731. After skimming the pattern and construction, I decided these would look great in one of our self-shading yarns. Poems was my yarn of choice, in color 584 Aurora.

Crocheted Slip‬pers hi-res

We’re partnering with Crochet! magazine to bring you a great gift, either for yourself or a loved one. We’re right on the tip of the beginning of gift-crocheting season, right? All you have to do is answer this question in the comments:

Who would you make the Lucy slippers for, and why?

One lucky winner will receive  a copy of the Winter Crochet Gifts in 1-2-3 issue of Crochet! Magazine, 2 balls of Poems and 2 balls of Deluxe Worsted Superwash in colors of her or his choosing. The cut-off for the contest is midnight, September 30. We can’t wait to hear your answers!


Just Plaid

If you’ve been following along with our Uptown Afghan knitalong, you’ll know that we’re on a plaid kick ’round these parts. There are few patterns as timeless or versatile as plaid. Whether knit, woven, watercolored, or expressed in some other form, there’s a plaid out there for everyone.

With autumn approaching, I decided it was a great time to do another exercise in woven plaid. We’ve been doing lots of scarves and other smaller projects on the Cricket tabletop loom. But did you know it’s possible to make larger items like blankets on it? Natural-born weaver Katie agreed to take on this project.

To start, I picked out some skeins of Deluxe Worsted Superwash. We often have extra skeins here and there sitting around the office. To be conservative and use what we had, I picked the following 6 colors from our “honker” area:

DWorsted Superwash 721 Honeysuckle_webDWorsted Superwash 709 Lime Tree_webDWorsted Superwash 739 Turquoise_webDWorsted Superwash 728 Pulp_webDWorsted Superwash 729 Neutral Grey_webDWorsted Superwash 705 Orangesicle_web


Katie dutifully wove and blocked a swatch with the Superwash using an 8-dent reed, so we knew about how much take-up there would be in the finished pieces.  Next I had to do a little math. I decided a 36″ x 50″ blanket would be a nice size for a couch, and could be done in 3 separate panels. A 14″ woven piece would shrink up to about 12″. 14″ of weaving on an 8-dent reed = about 112 ends.

From there, it was time to plan the actual plaid pattern. I often turn to a graphics program like Adobe Illustrator when planning designs, etc. But for this project, I decided to see what the internet had to offer in terms of apps. I was not disappointed! I came across this website: www.plaidmaker.com. I was able to customize a plaid pattern and mirror it, using any colors I chose, any number of strands per color, etc. It was super easy! I ended up transferring the pattern to Adobe Illustrator so I could easily make notes on how many ends per color, etc:

Superwash Plaid

I also wanted to do a full mock-up of the finished blanket, just for fun:

Superwash Plaid_blanketmockup

The above mock-up represents 3 panels, each identical. One panel is woven following the same plaid in the warp. After doing some quick calculations, I determined Katie should be able to weave the entire blanket using 2 balls each of 728 Pulp & 729 Neutral Grey, and 1 ball each of 721 Honeysuckle, 709 Lime Tree, 705 Orangesicle, and 739 Turquoise. Who says plaid has to be boring! I ran the plan by Katie and got her approval.

Here are some in-progress pics from Katie:

warping

Katie makes great use of the warping peg. I can’t say enough good things about the ease of direct-warping to the Cricket!

weaving

Katie shows off her hemstitching. She plans on finishing the blanket with a natural fringe.

first panel


And…panel 1 complete!

I really do find plaid fascinating. The way the colors blend can be entrancing, depending on whether a particular strand is crossing over another strand of the same color or a different color; it’s like an optical illusion.

Be sure to check back in a couple of weeks for a finished blanket, some how-to photos for sewing the panels together, and some beauty shots from Heather!

Infuse Yourself

I’m pretty excited. Last week, we got our first shipment of Infusion Handpaints new colors here at our warehouse in Harrisburg, NC:  Six brilliant shades to coordinate with existing colorways of Infusion.

Infusion HP 110 Ruby Mine hi-res Infusion HP 111 New Leaf hi-res Infusion HP 112 Hydro Power hi-res Infusion HP 113 Blue Riot hi-res Infusion HP 114 Purple Magic hi-res Infusion HP 115 Gray Matters hi-res

I was quoted as saying, “Oh man, all I want to do is knit with this stuff for the next month. Nothing else.” Fortunately I’ve had some time to work with the new colors, but let’s face it, I still need to eat, sleep and work.

There are a lot of things I love about this yarn, not just the delightful colorways. It is machine washable. It’s sportweight, making it great for socks, garments, and accessories. It’s an all-around joy!

As you can see, the new colorways are tonal, meaning all the shades in each color are very close to one another and belong to the same color family. Each of these tonal colorways was designed specifically to coordinate with the earlier multis. Because it can be tough to pair colors with one another without having the benefit of having all the skeins with one in person, I’ve put together this handy guide. Each of the groupings below illustrates a multi (color numbers 101-109) along with the new tonal colors (color numbers 110-115) that have an exact match with one or more shades.

_DSC0337_DSC0336_DSC0338

_DSC0340 _DSC0339

_DSC0341 _DSC0342 _DSC0343

_DSC0345 _DSC0344

_DSC0347 _DSC0346

_DSC0349 _DSC0348

_DSC0351_DSC0350

_DSC0353 _DSC0352

_DSC0356 _DSC0354 _DSC0355

As you can see, each multi colorway has either 2 or 3 tonal colors that is a direct match. Here is an example of 103 But a Dream paired up with 110 Ruby Mine:

Cuff_1

As you can see, this yarn has decided to be a sweater. The sleeve cuff here is worked in 110 in a simple broken rib pattern. The sleeve uses both 103 & 110, alternating every 2 rows. You can see the luscious blending that occurs, since both colorways share some of the same red tones.


Here’s a second example, this time using the same multi (103 But a Dream), but paired with a contrasting tonal color, 115 Gray Matters.

Cuff_2

Here I’ve worked a shorter cuff in a slipped 1×1 rib, using just color 115. Again, I’ve striped 115 & 103, changing colors every 2 rows.  As you can see, the striping is more pronounced. It would be even more so using more highly contrasting shades.

I haven’t decided which version to proceed with yet – I love them both! It really is like watching a watercolor painting grace the canvas right before my eyes while knitting.

The tonal colors work great all on their own, as seen here in the Razor’s Edge Shawlette:

Infusion Dragon's RazorsEdge final long

Instead of using 2 tonals, I think this project would also look great worked using a multi in place of the gray, and sticking with a tonal color for the red.

And heck, the multis look great all on their own, too. Using a slipped stitch pattern, a classic method of “mixing” handpaint variegated yarn, this little vest would look adorable in any of the colorways.

Infusion Over and Out Vest_blog

Enjoy, I know I am!

Honeymoon

I’ve seen it in myself many times before, and it’s been so much fun to see it in my coworker, Katie: the New Craft Addiction Honeymoon Period. After we had a little learning session here in the office with basic warping and weaving, Katie took home the 15″ Cricket to play with. It was quite evident from the three (yes, 3!) scarves Katie finished over the course of just one week, that Katie had been bitten by the weaving bug. Today, I want to talk about two of these scarves.

Both scarves were taken and adapted from Jane Patrick and Stephanie Flynn Sokolov’s book, “Woven Scarves”, and both used an 8 dent reed.

WovenScarves_cover

The first was based on the “Chunky Check” pattern from the book. It’s a plain weave technique that’s all about strategic color change in both warp and weave. Katie used our Ready to Dye angora blend yarn for warp and weft. Half was undyed, and half was dyed using…get this…Crystal Light packets! I’ve heard of Kool-Aid dyeing before, but never Crystal Light. Makes sense it would work in the same way!

Houndstooth_1

Here’s an in-progress pic. Katie is obviously a natural – her selvedges look perfect.

Houndstooth_2

Off the loom. Katie opted for hemstitching at each end with tied fringe. This scarf took only about a third each of her two Ready to Dye hanks.

_DSC9774_retone _DSC9772_retone

And beauty shots here in the office. Katie gets tired of hearing me harp about the importance of blocking. But look what a difference it makes! With a few exceptions, I never consider a knit, crochet, or woven project to be complete until either wet or steam blocking have happened.

Scarf number two is based on the Posh Plum scarf from “Woven Scarves”. This project is another excellent illustration of how plain weave can often look anything but plain. Two yarns, in this case Llamalini and Whisper Lace, both from our Fibra Natura collection come together in an indescribable harmony. Colors are 204 Cloudy Morning in the Whisper Lace, and 101 Birchbark in the Llamalini.

Because Whisper Lace is a laceweight yarn, working this project on an 8 dent reed made for an extremely light, airy scarf.

striped_1 Striped_2


Here it is on the loom, and just off the loom. Katie also went with hemstitch and fringe finishing on this scarf. After handwashing, it measures 80″. Can you believe she used less than a ball/hank of each yarn?

_DSC9778_retone _DSC9777_retone _DSC9776_retone _DSC9780_retone_DSC9775_retone

As you can see, Heather really likes this scarf; lots of glamour shots! I must say, I covet this one myself.

Stay tuned for next time when Weaving Wednesdays breaks into fall projects!