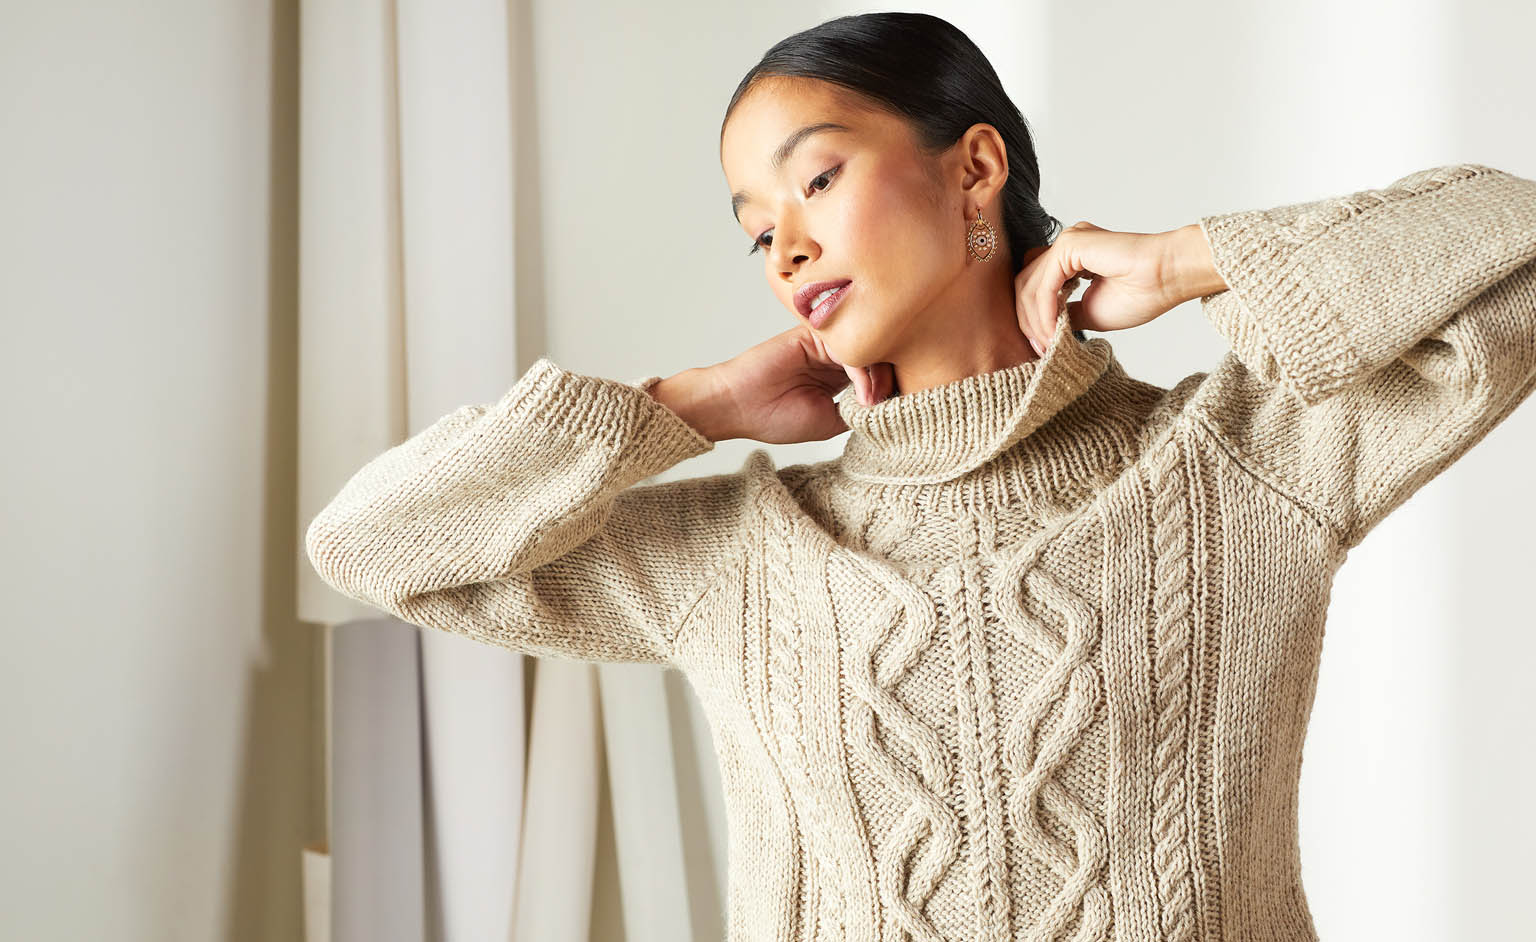
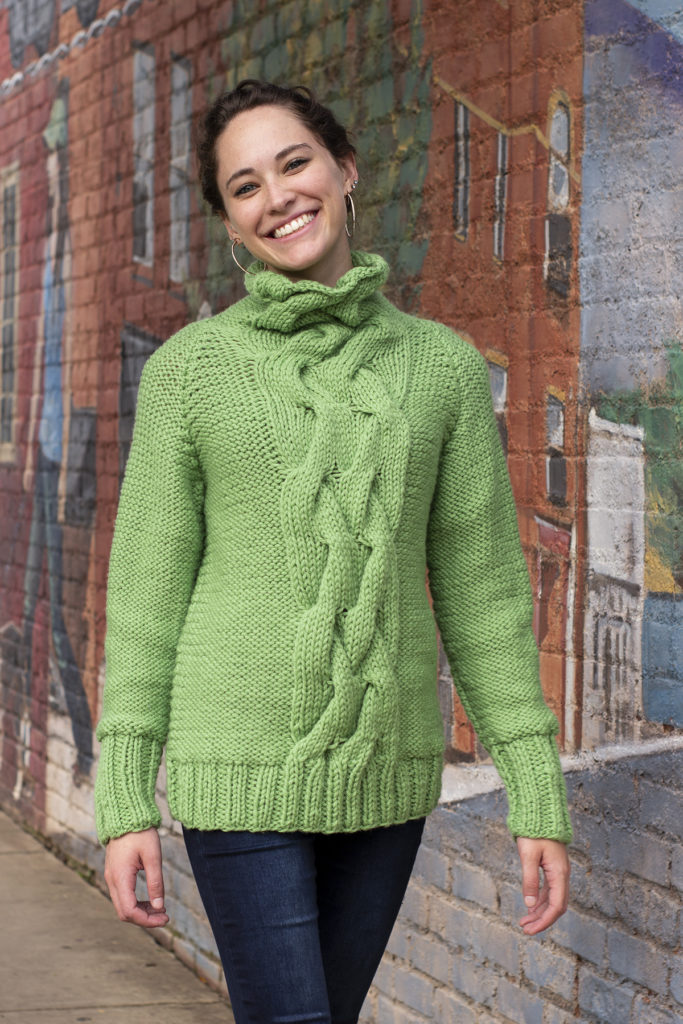
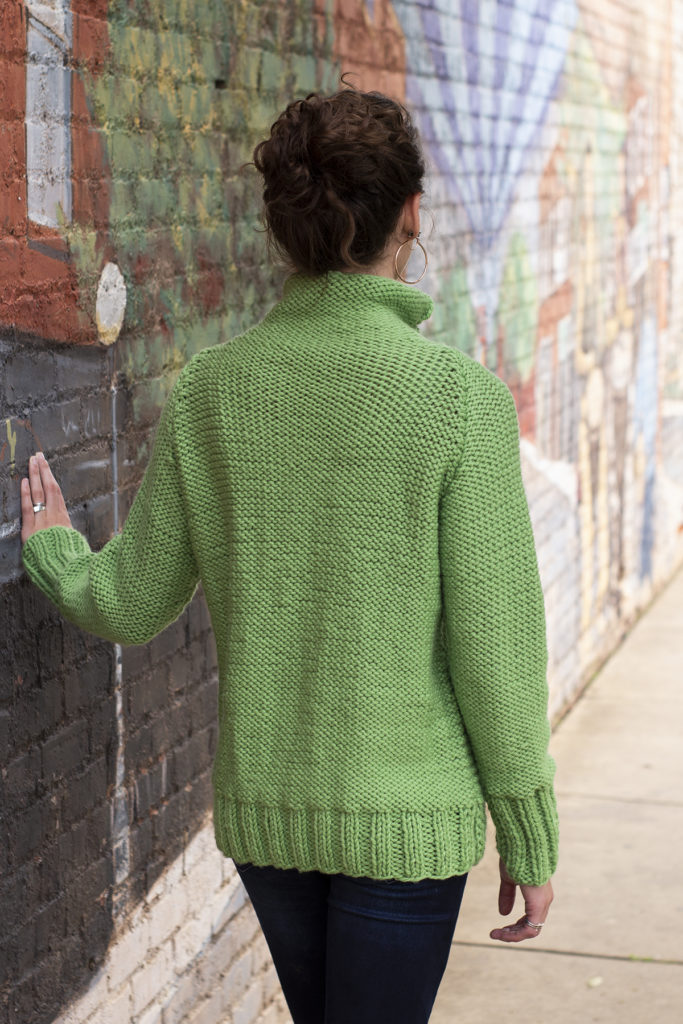
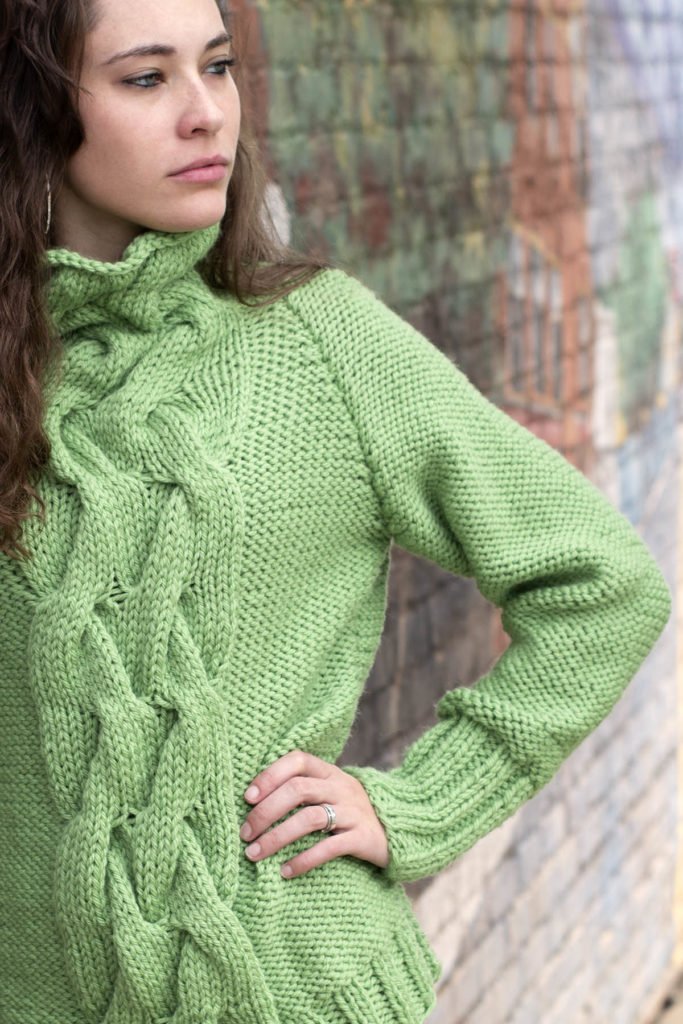
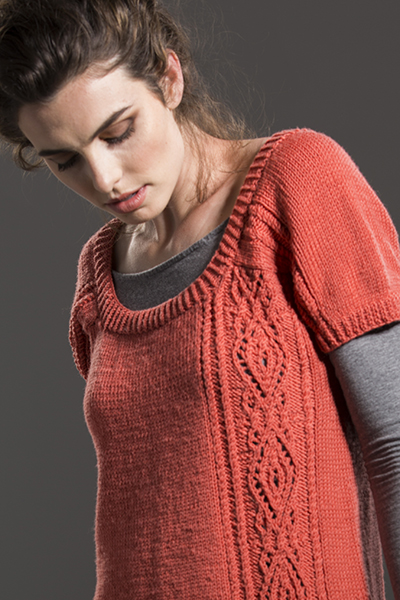
Looking at this pullover, it’s easy to see where it gets its name.
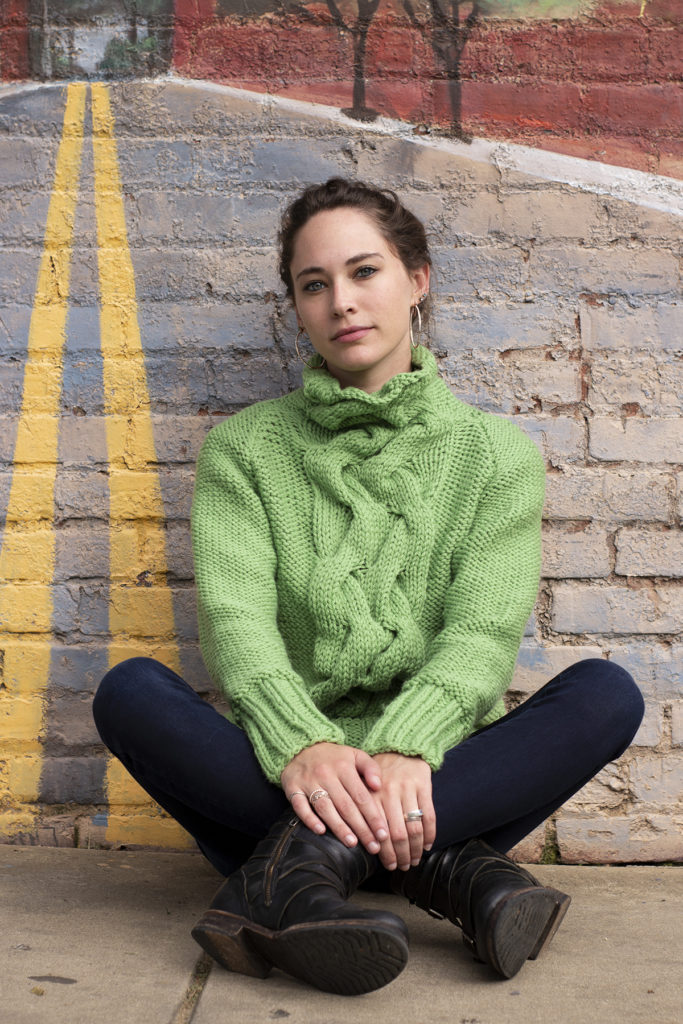
Huge cables rise dramatically up the front, carried up through the collar. It’s big, and cozy, and just the thing for midwinter.
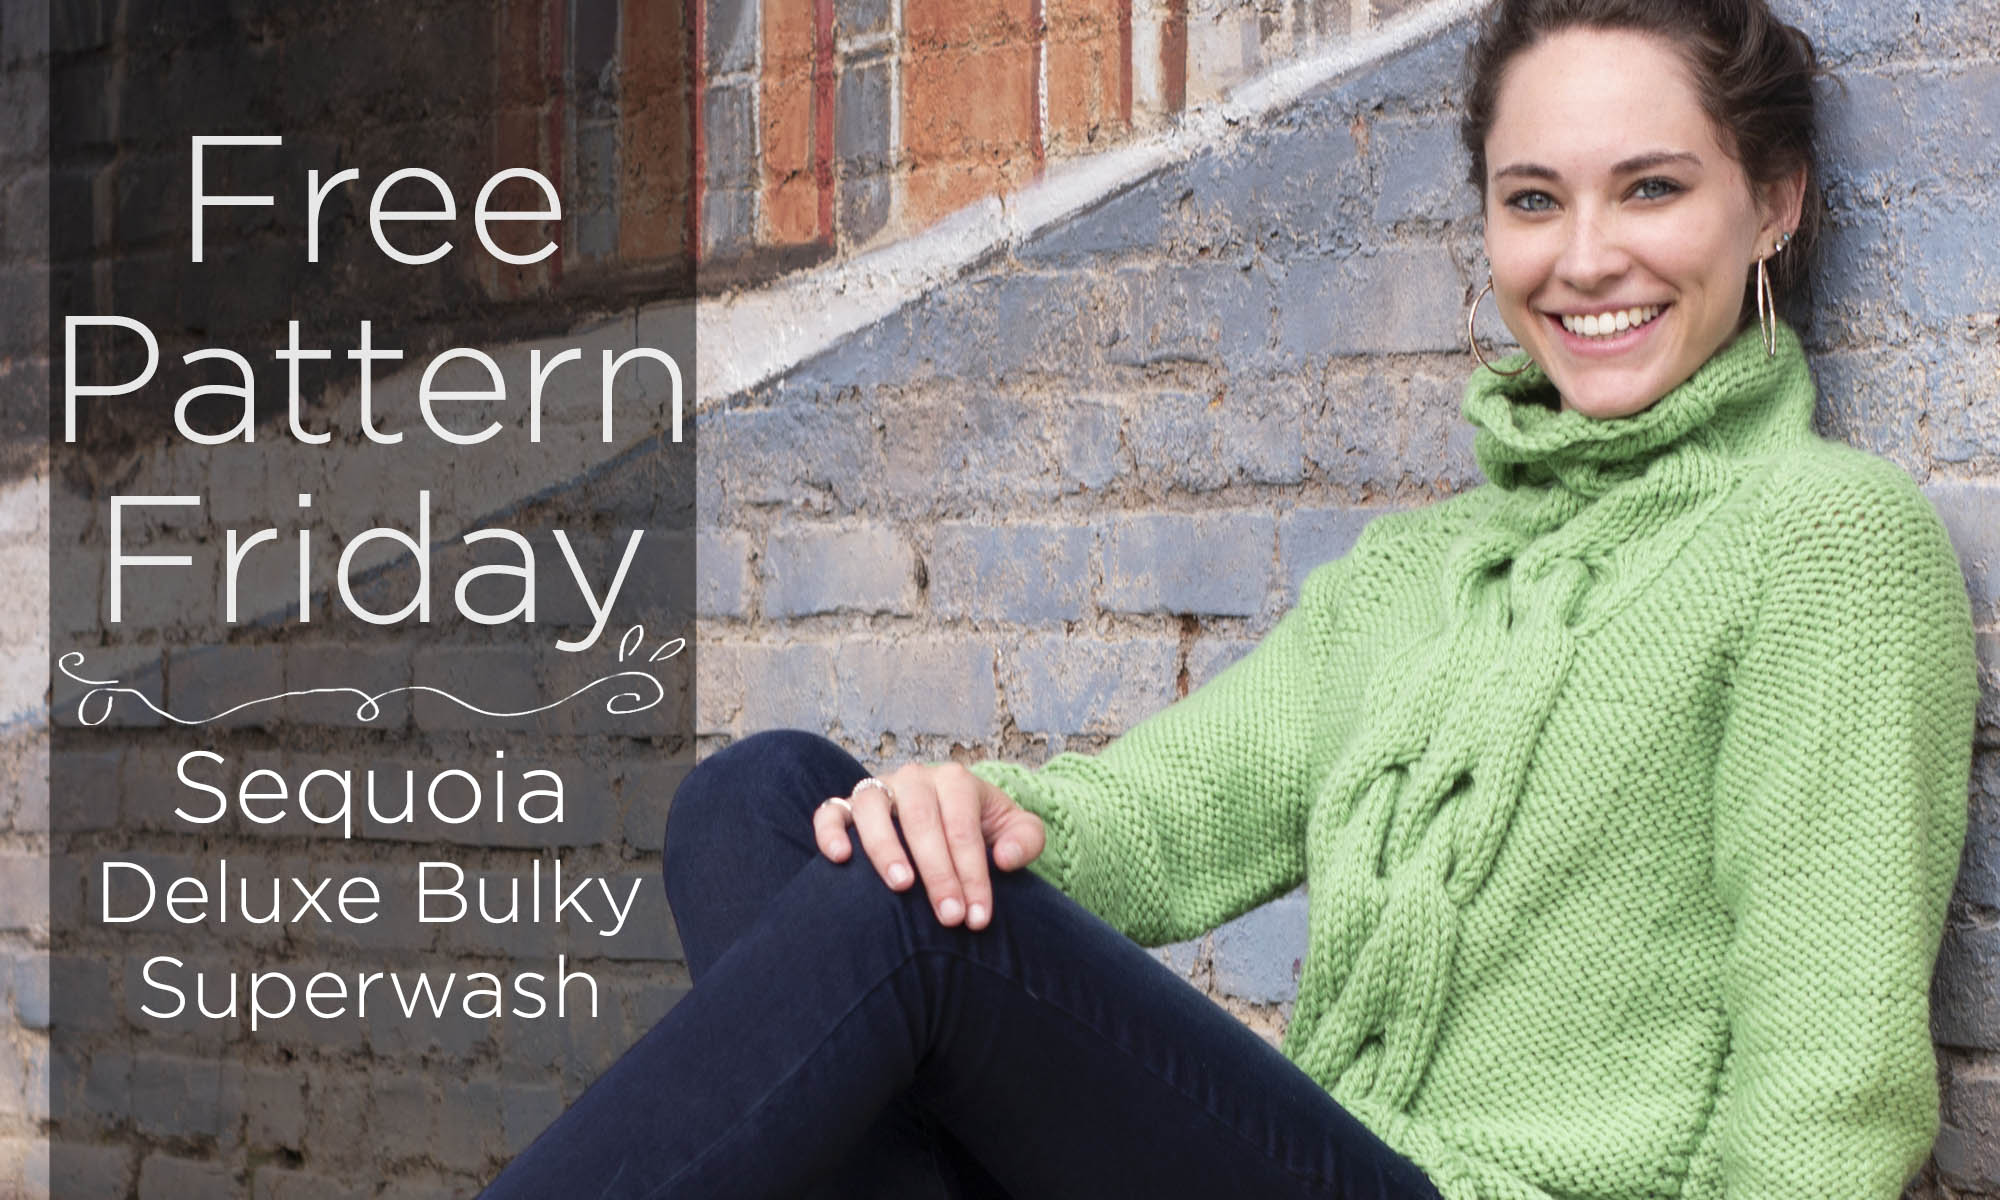
The raglan-sleeved sweater is knit hem-up in pieces and seamed, with the cowl neck added in the round afterward. Deluxe Bulky Superwash wool makes the piece easy to care for.
Universal will be closed Monday and Tuesday for the holidays, and this might be the project that I grab some yarn for during the extended break. Cozy!
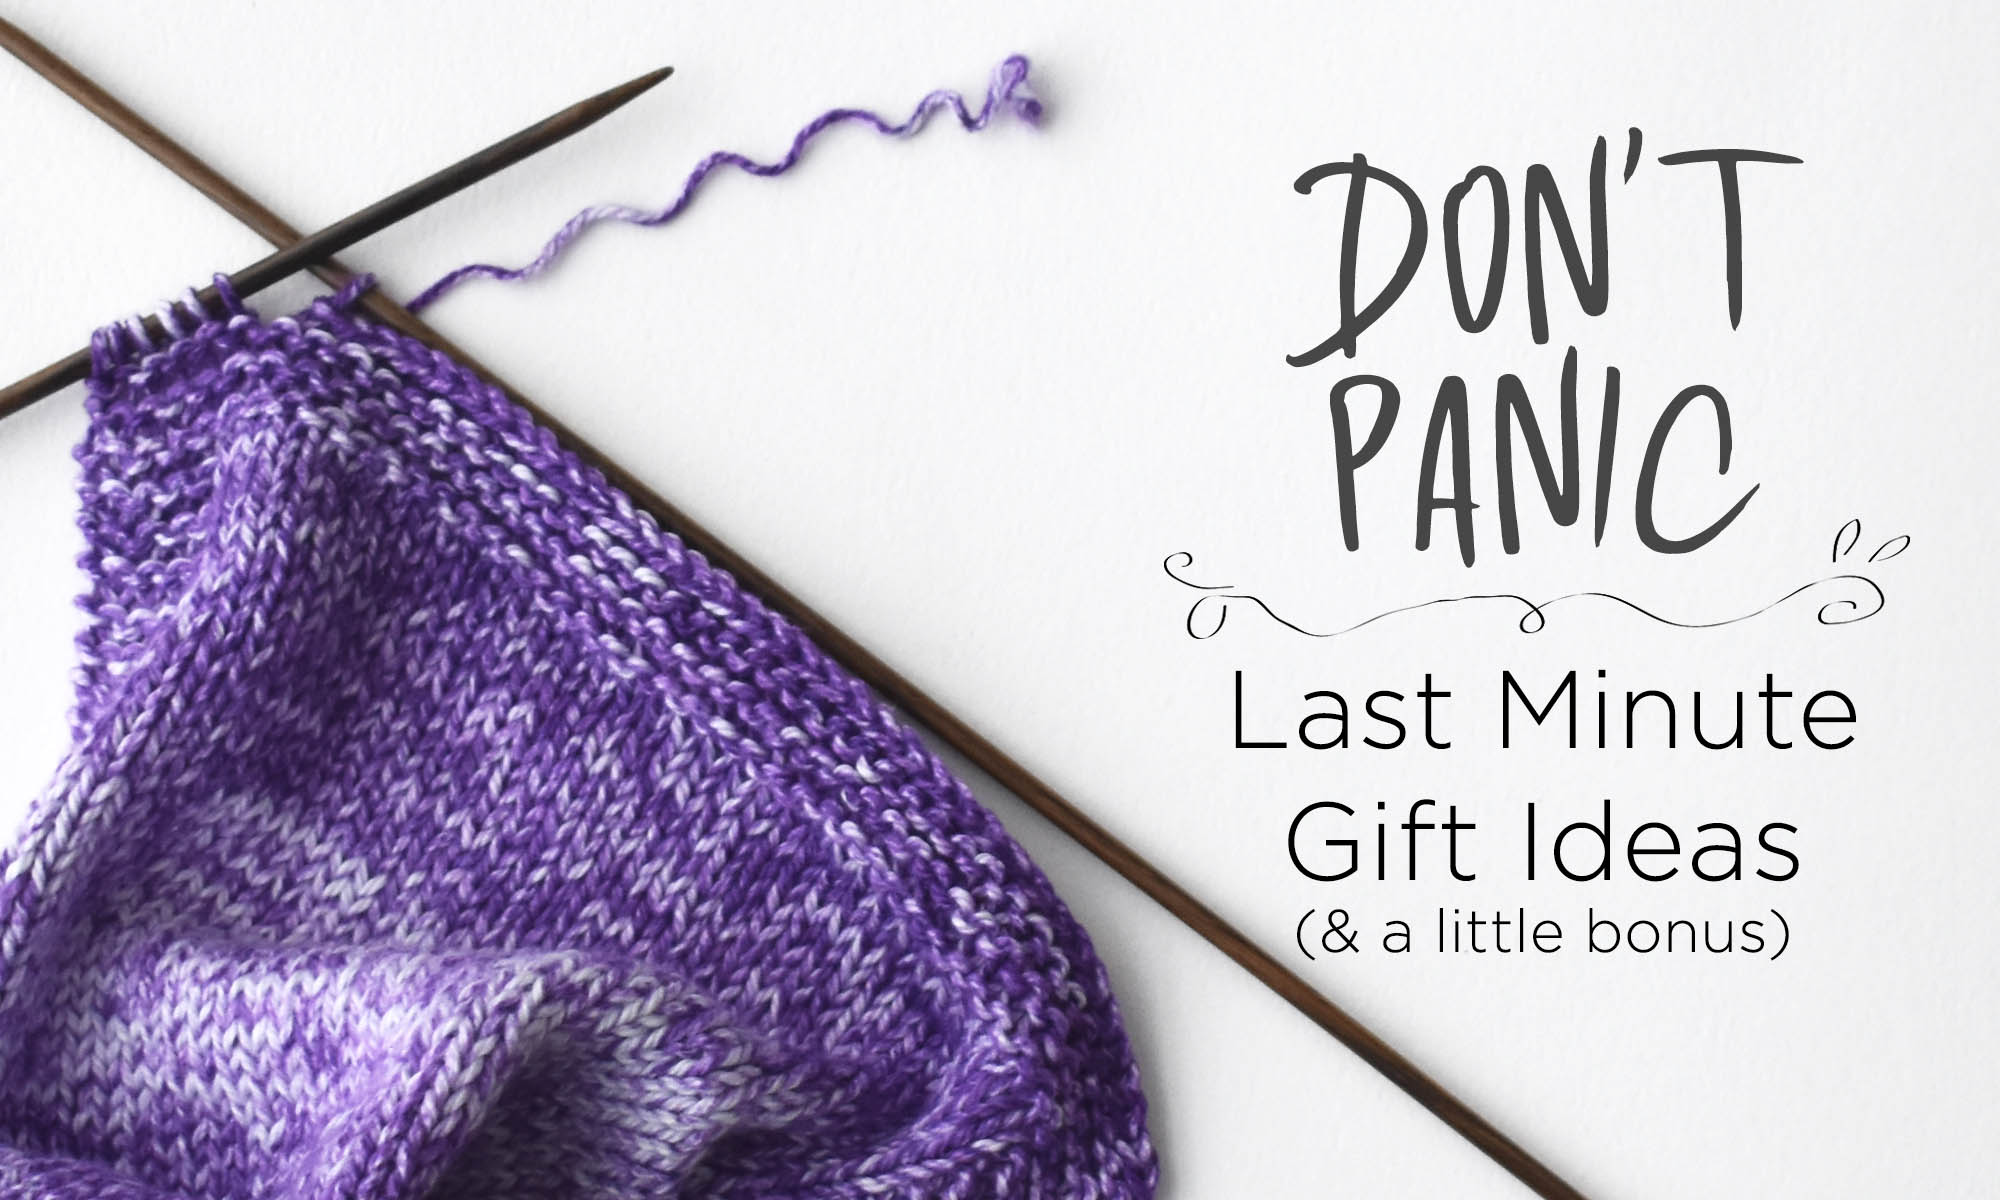
How’s everybody doing? All caught up on your handmade gifts?
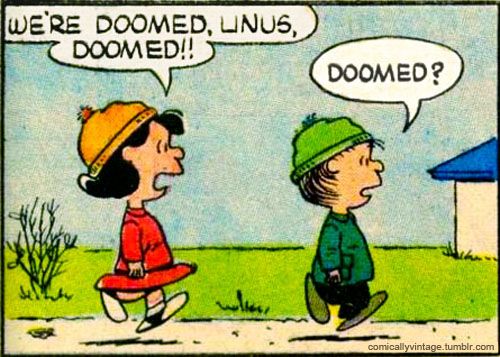
There are two kinds of crafters.
If you are, then good for you! If you’re not… join the club! Fortunately, there are still some quick, good-looking projects that you (and I) can make at the last minute. And if you still can’t quite finish, well… we have some options at the end of this post.
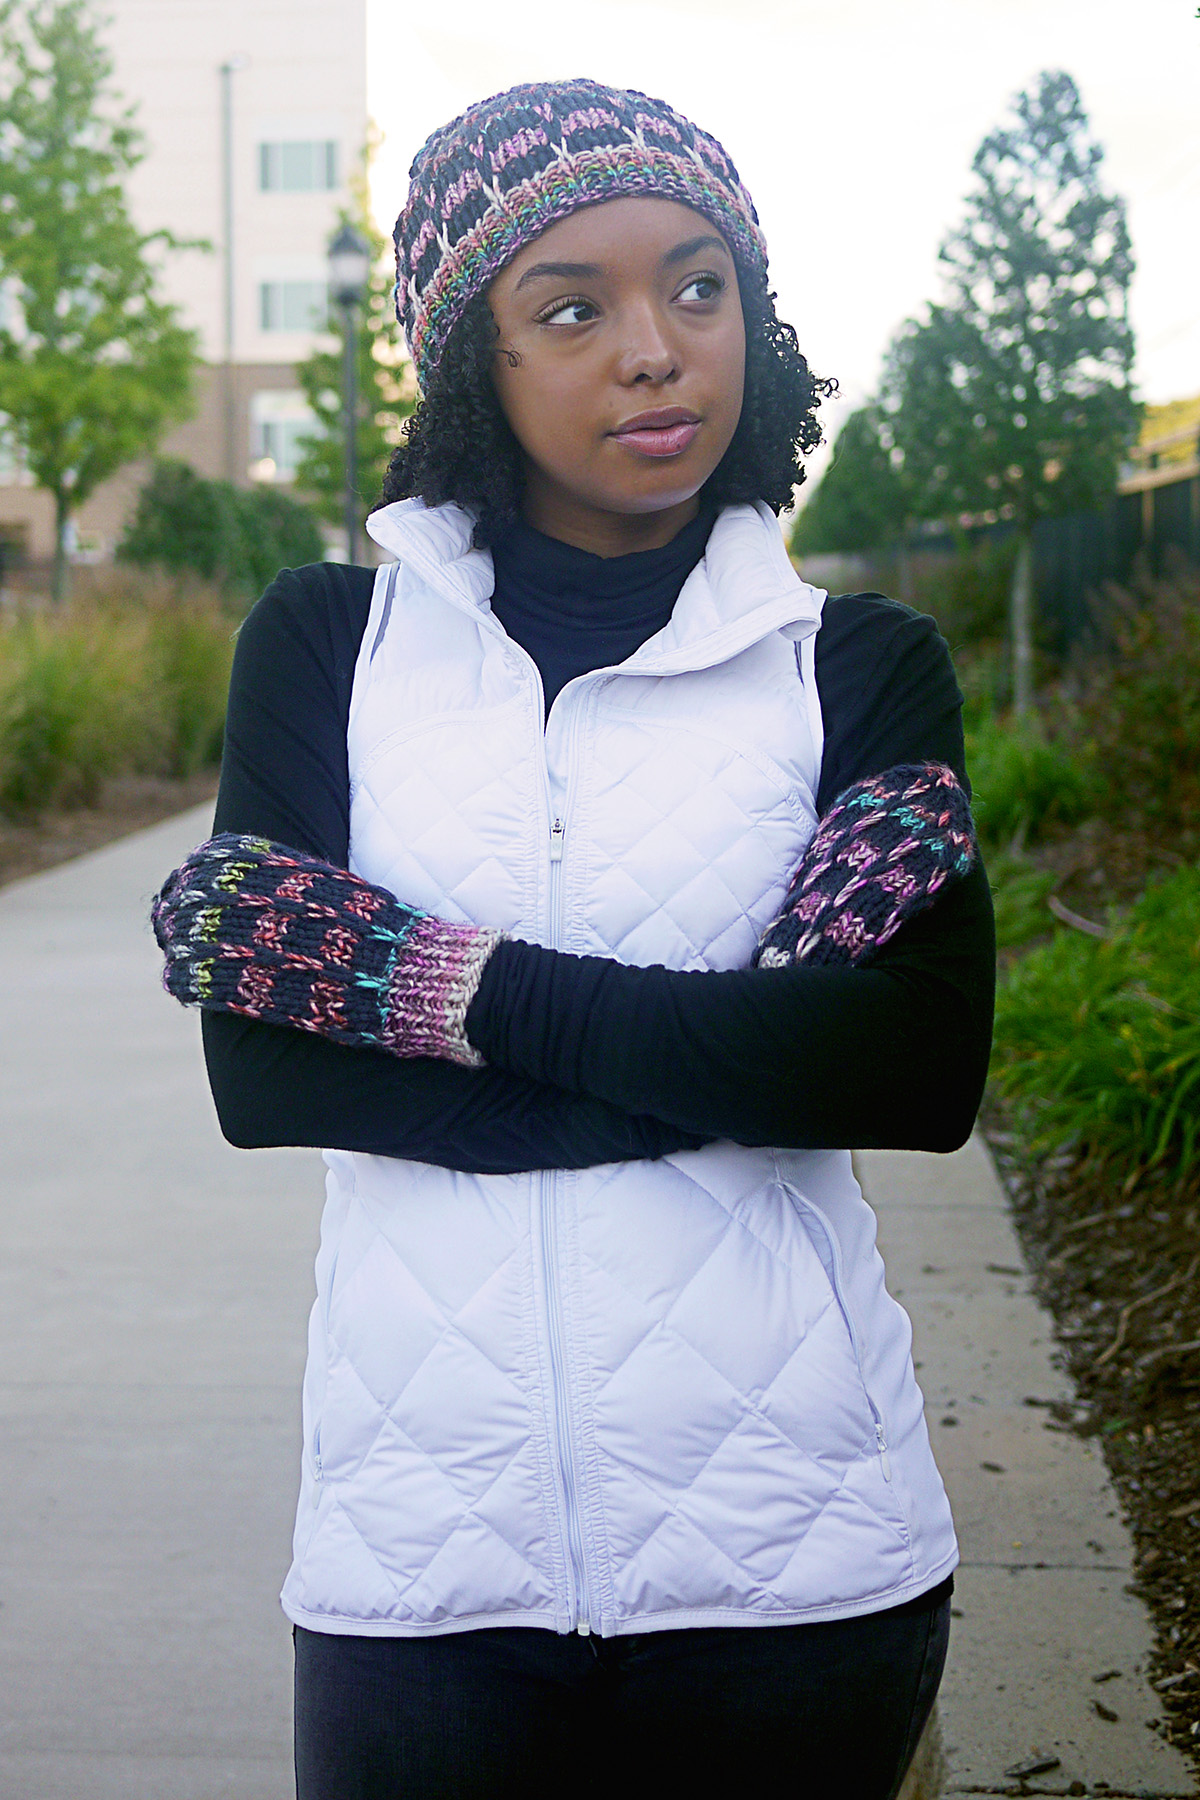
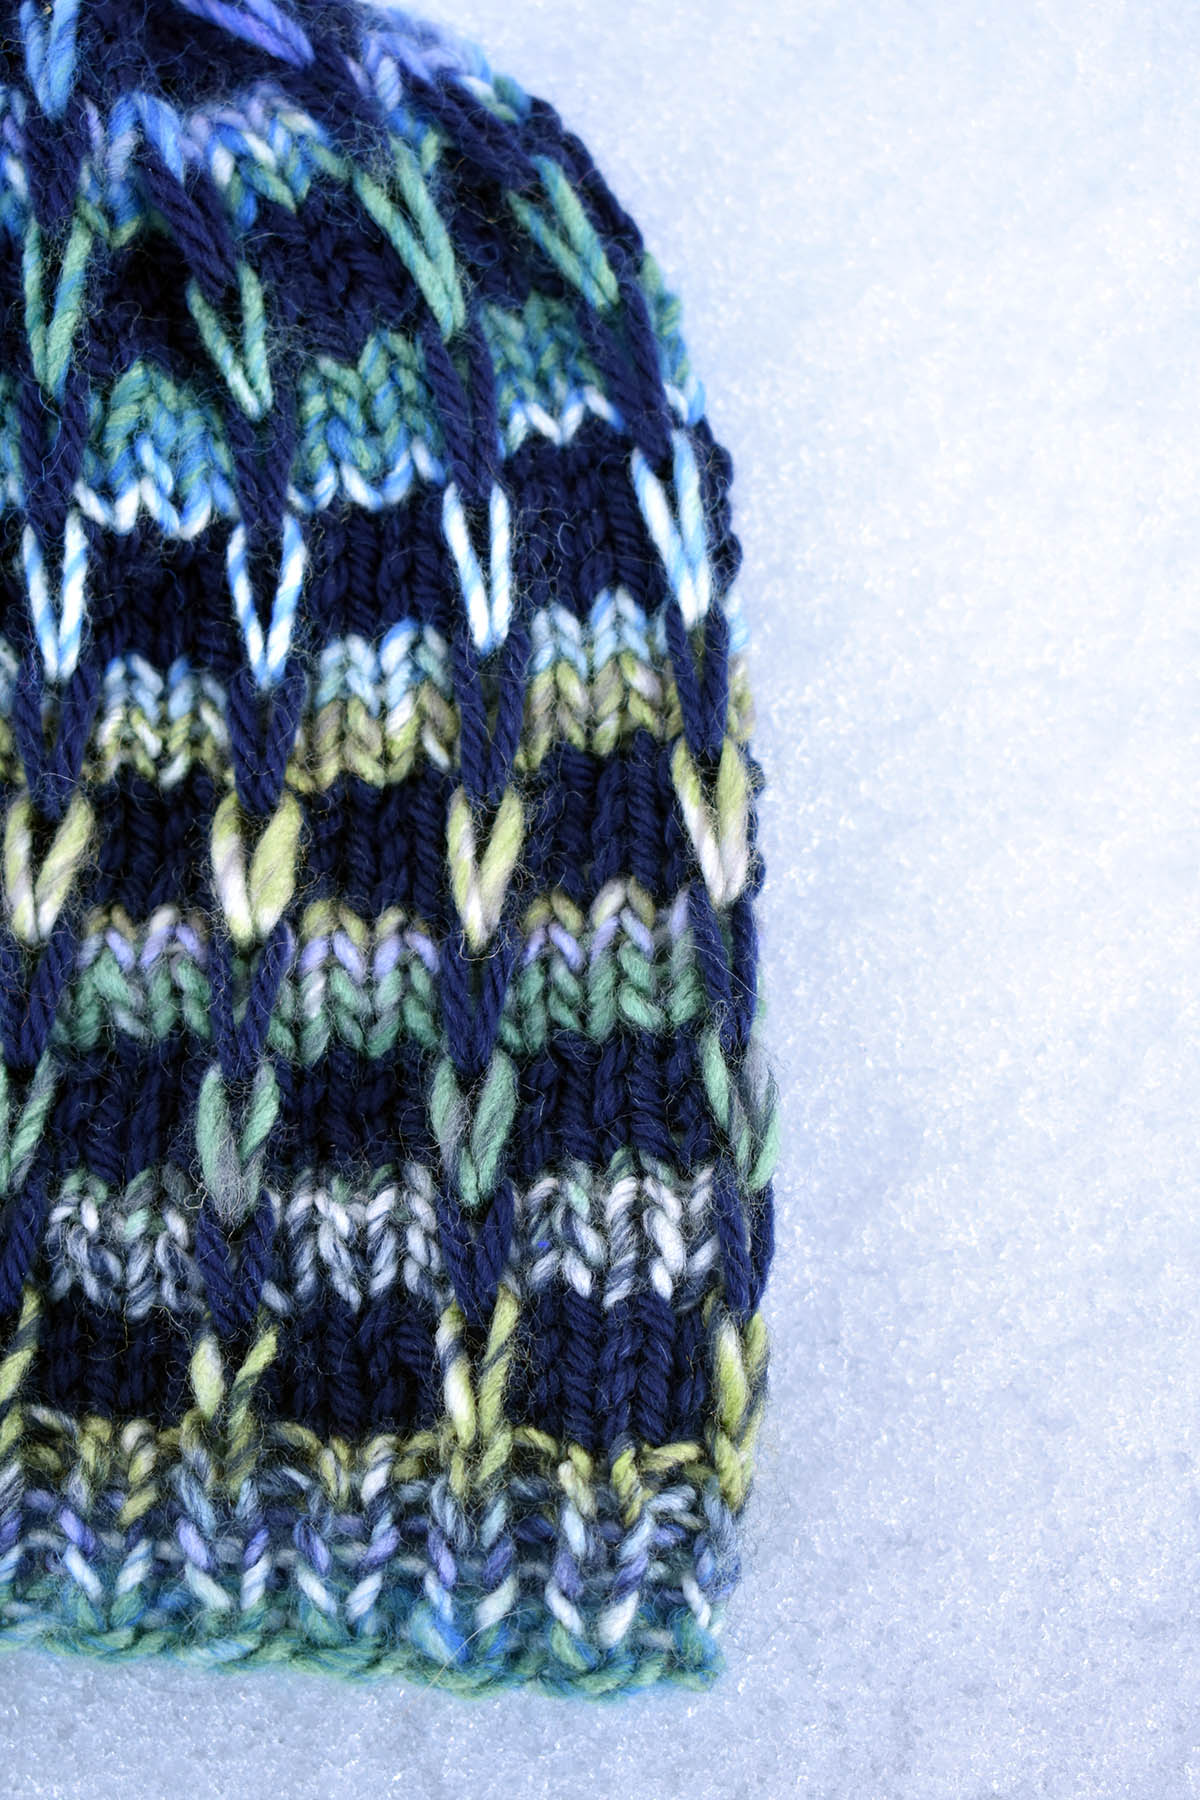
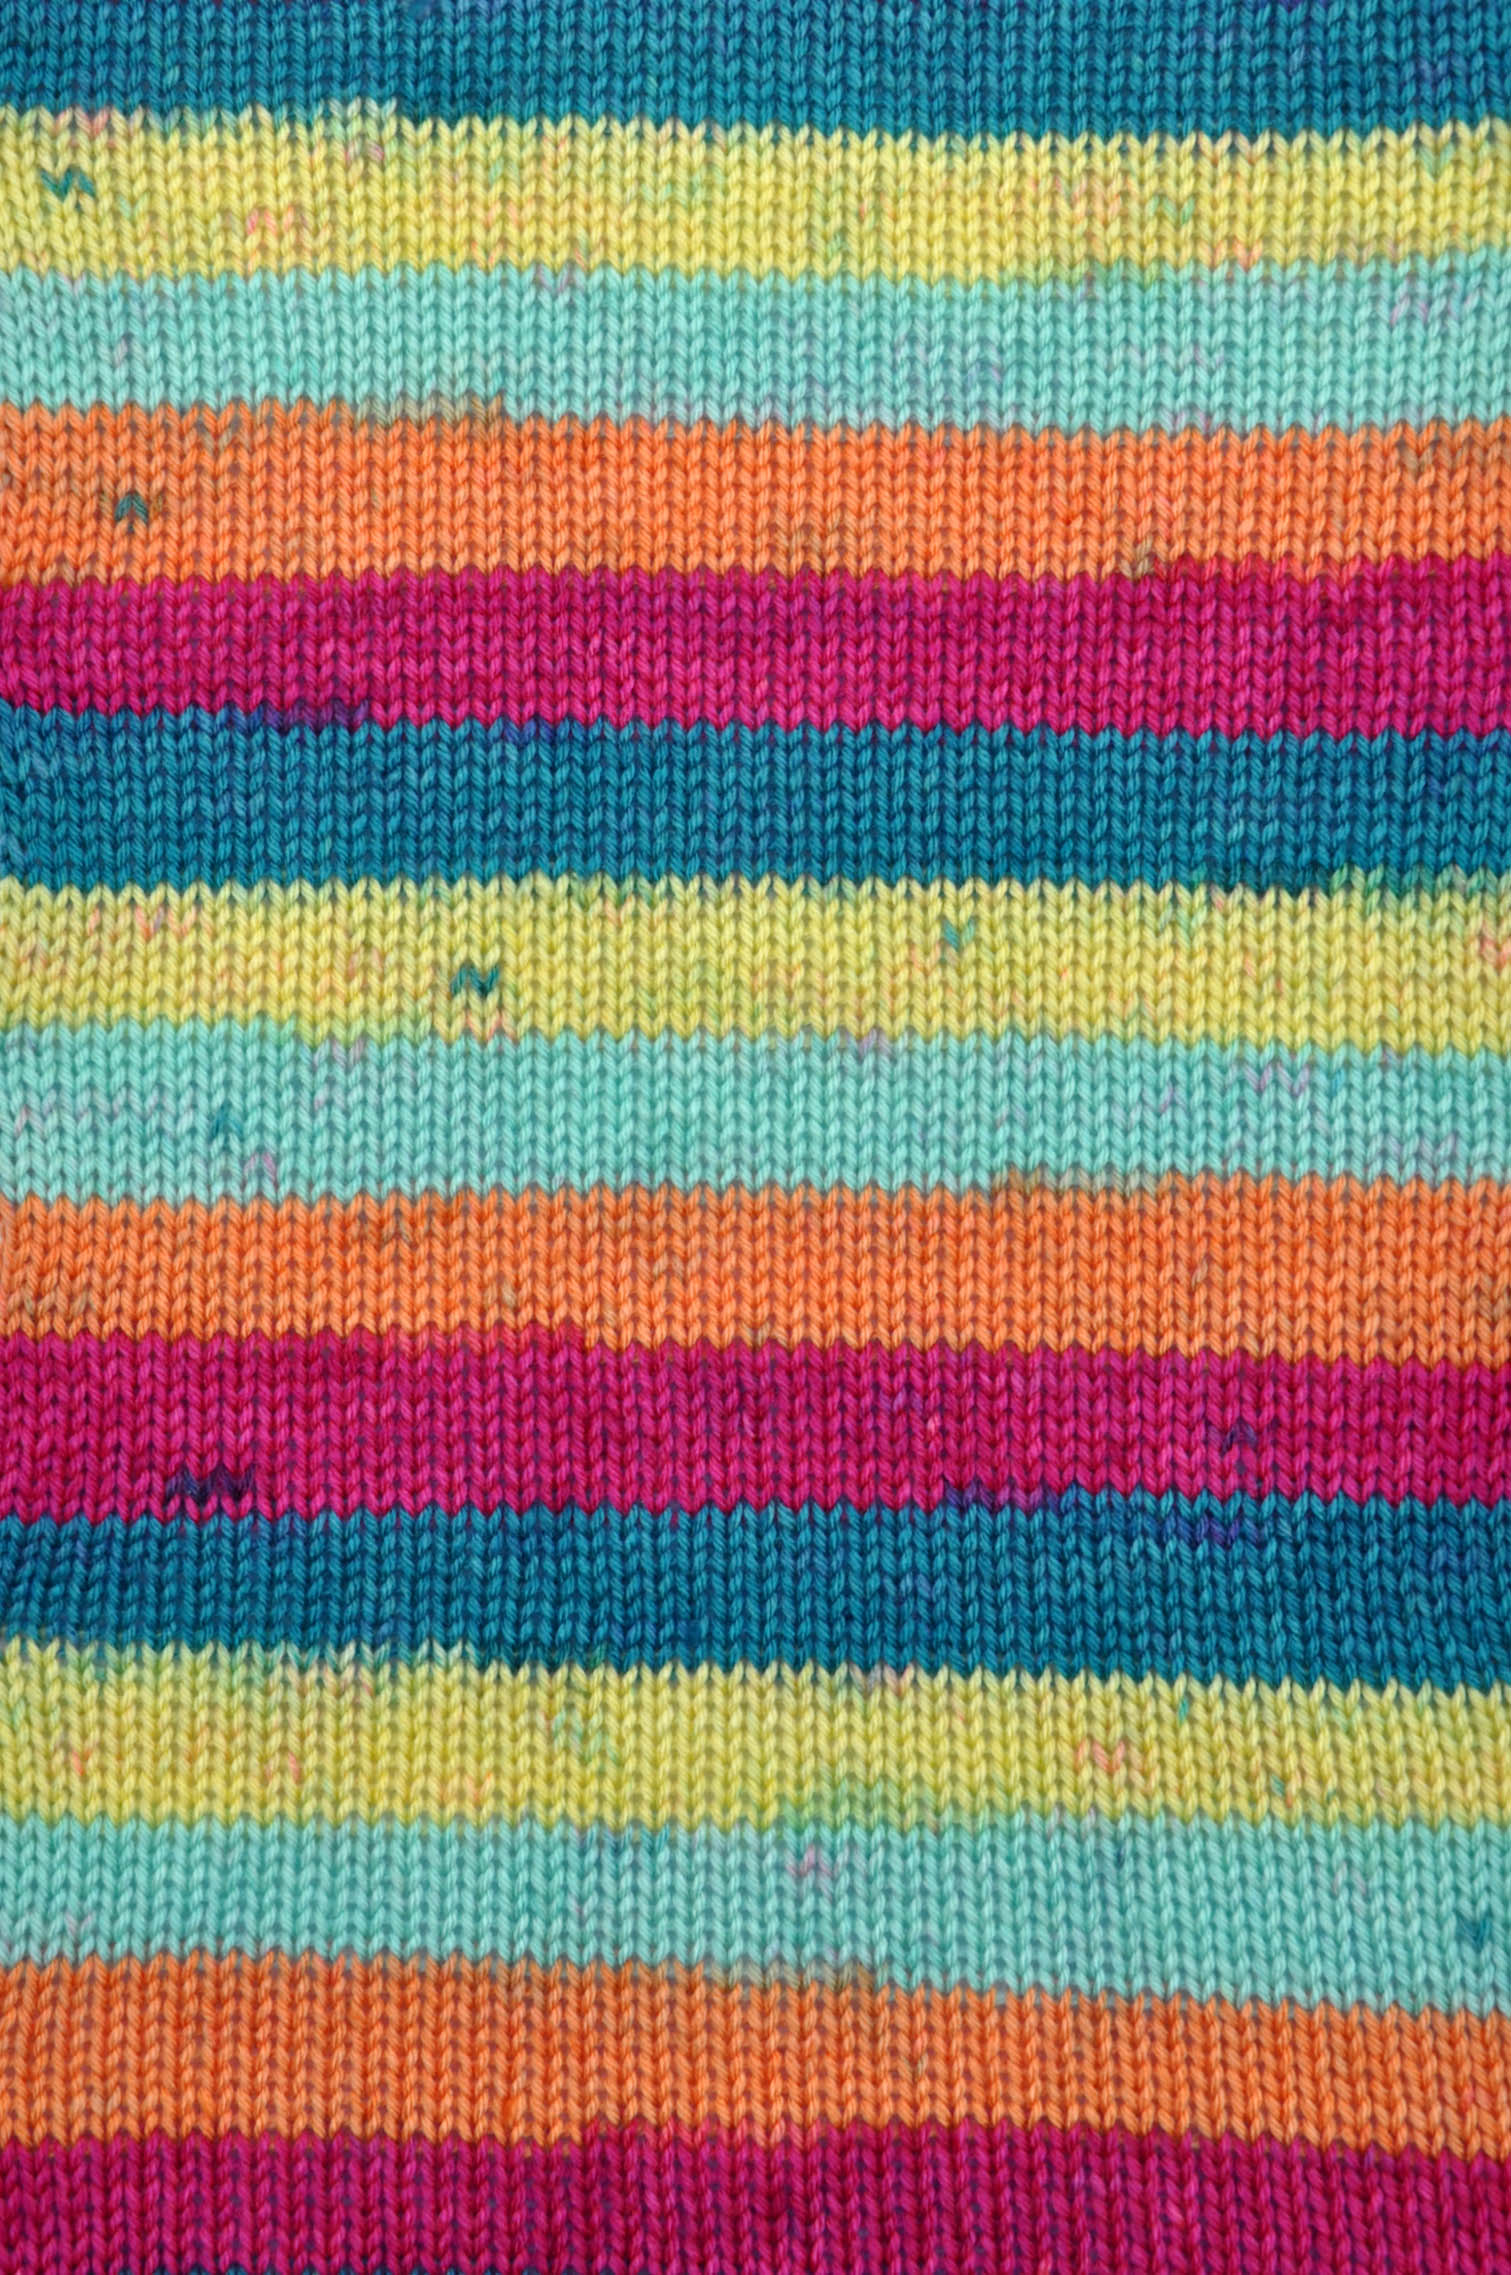
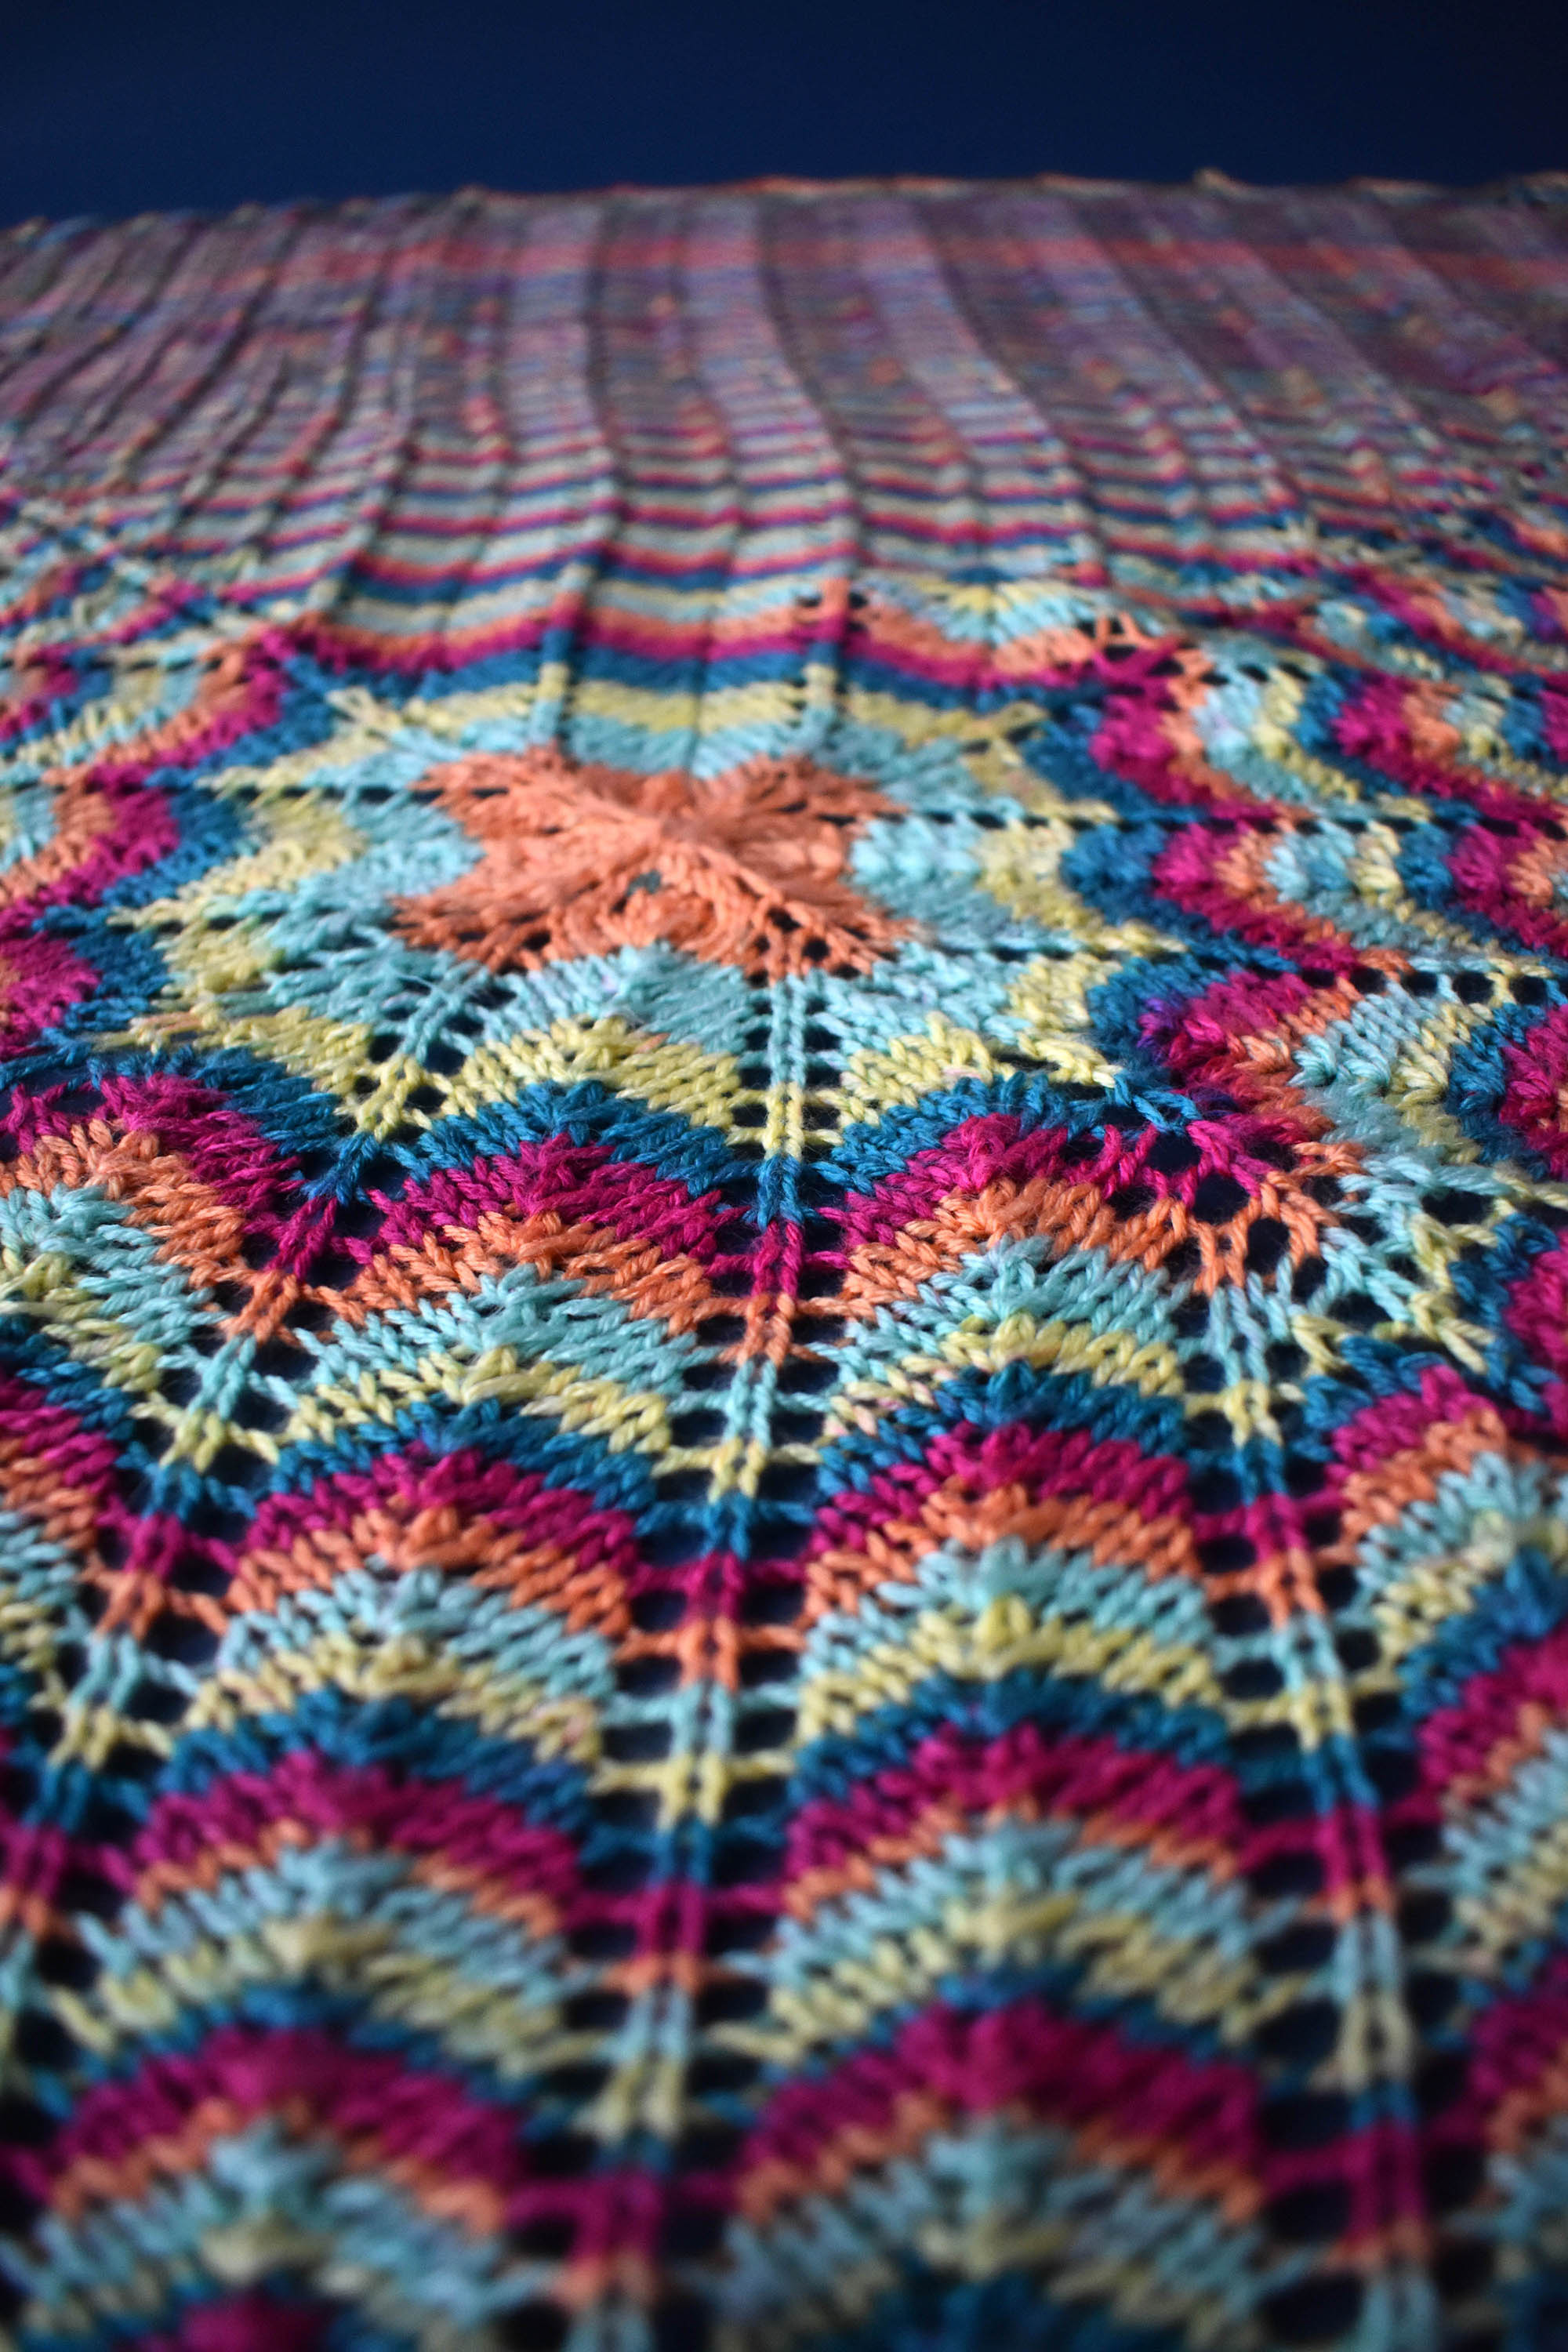
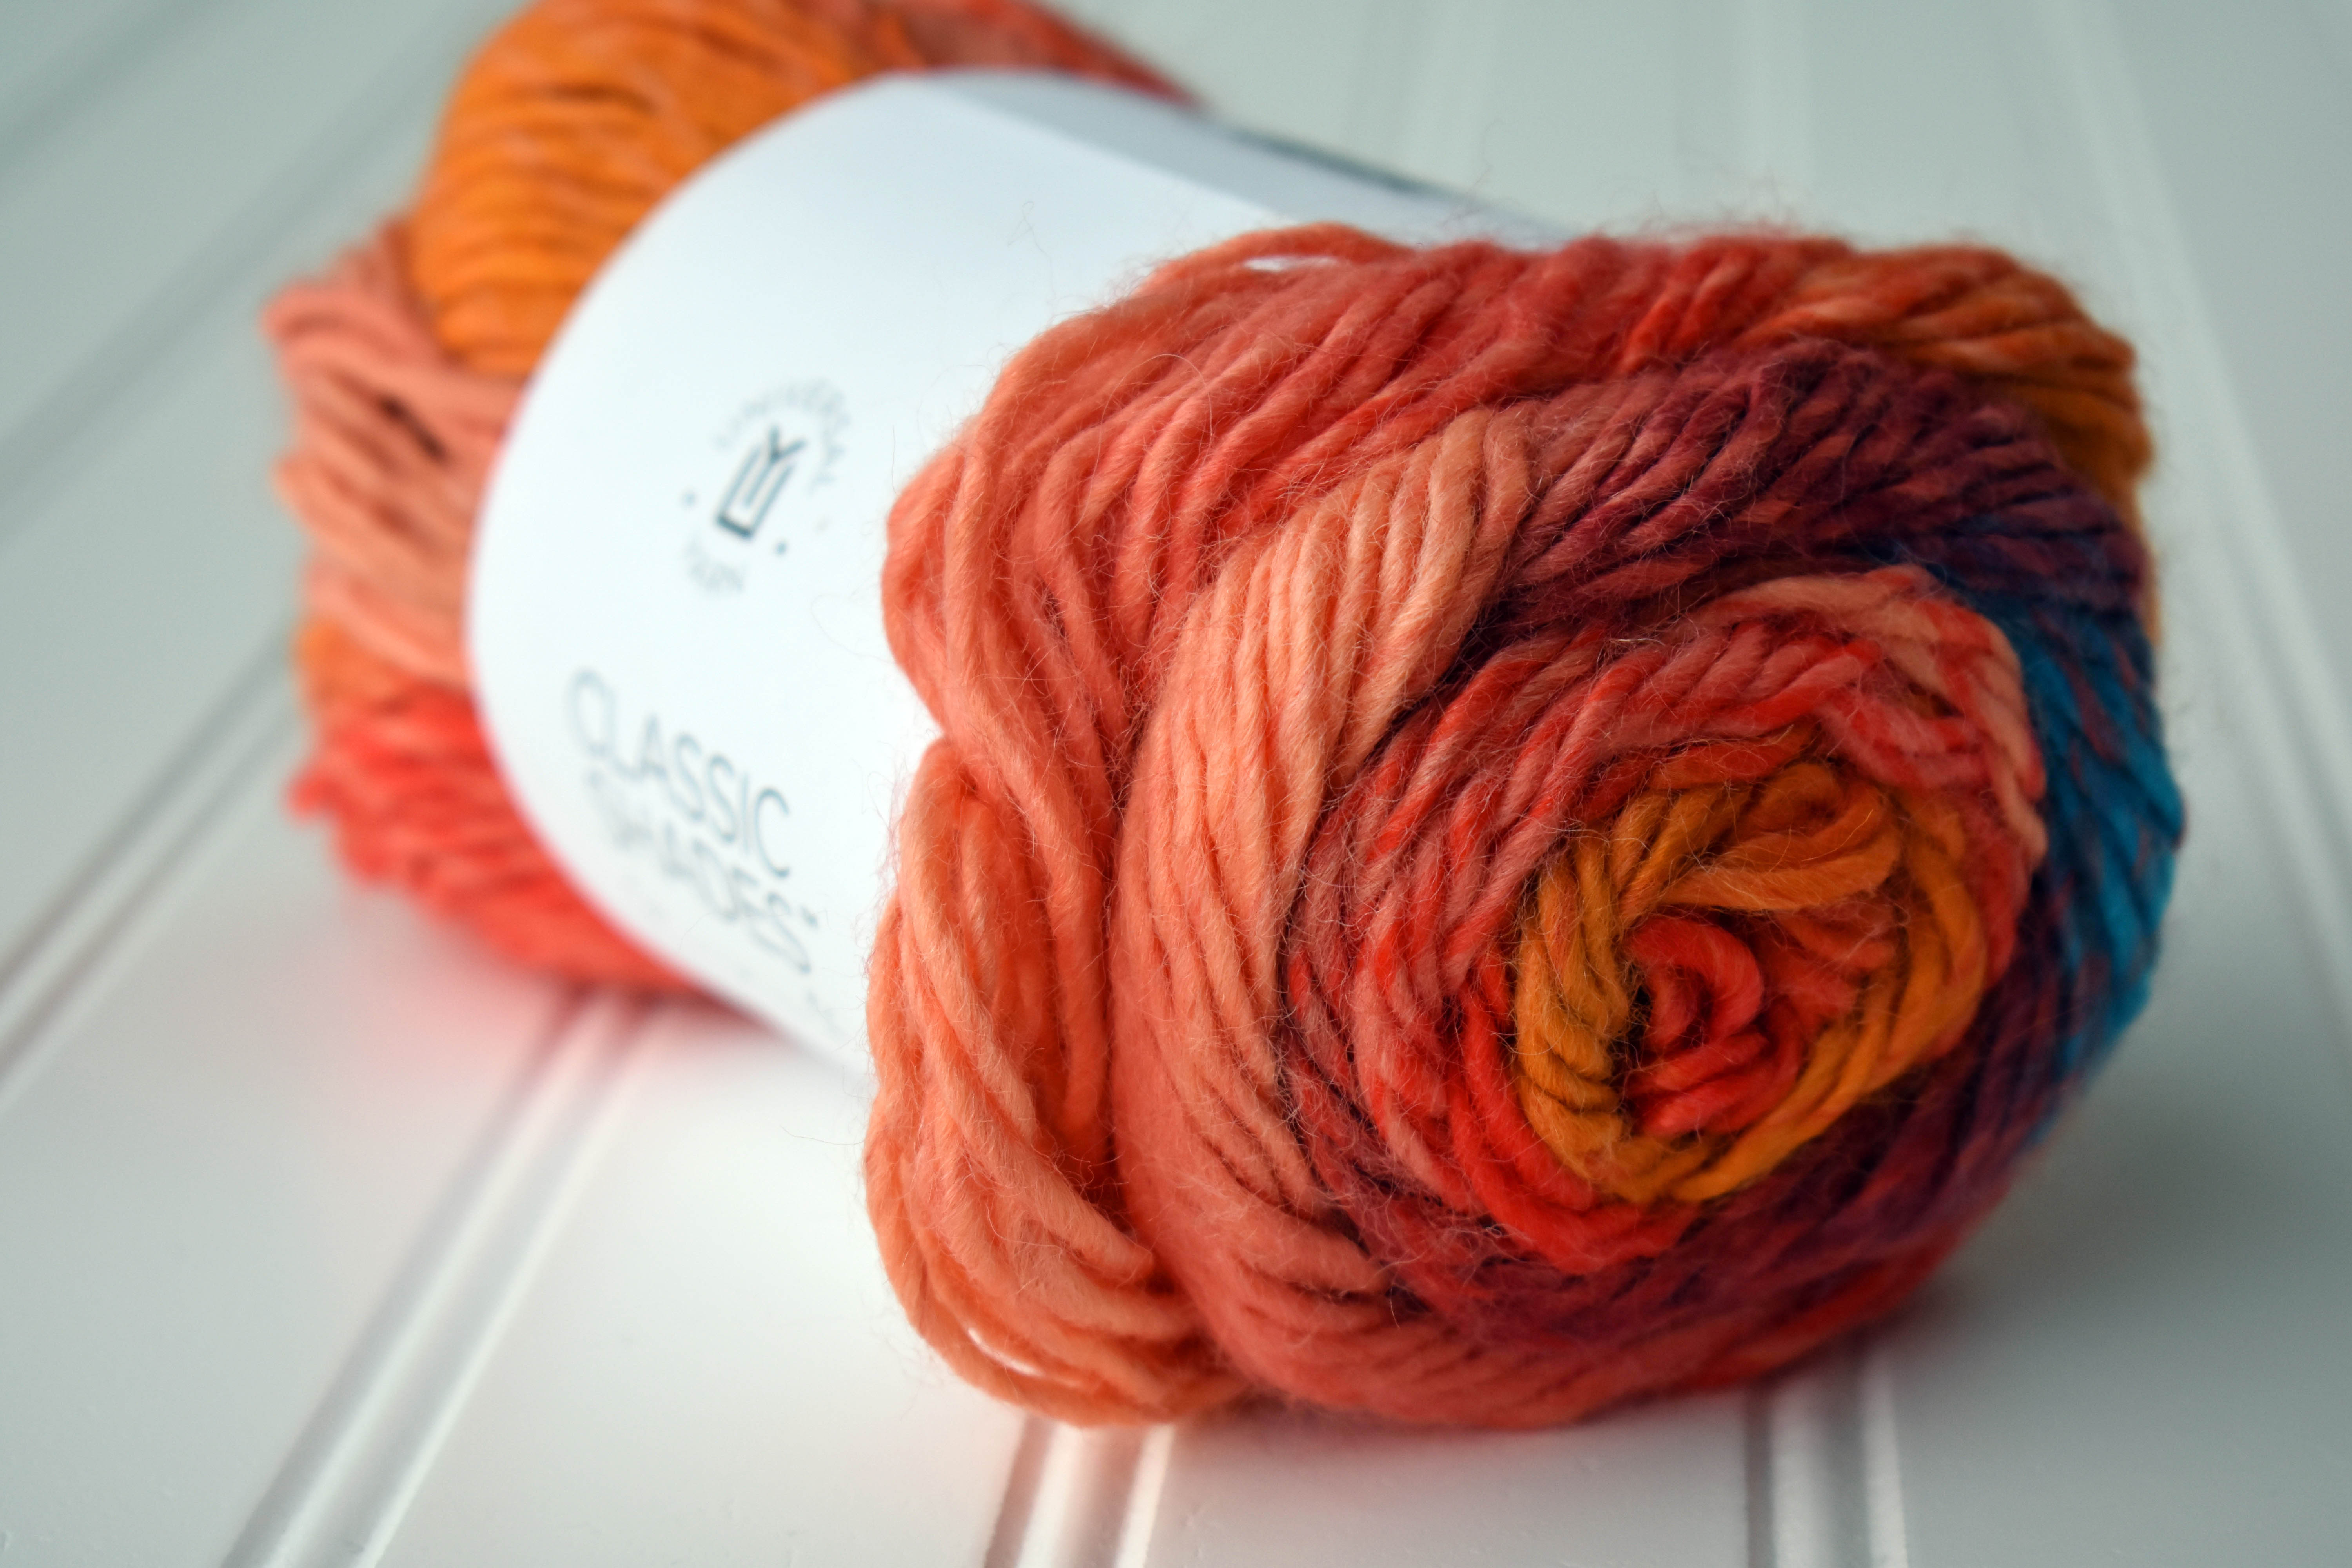
I made one of these myself, and it was fun and easy. The Classic Shades Frenzy is a smart choice because it lends visual interest without extra work – always a consideration when you’re on a deadline.
I actually wound up keeping this one.
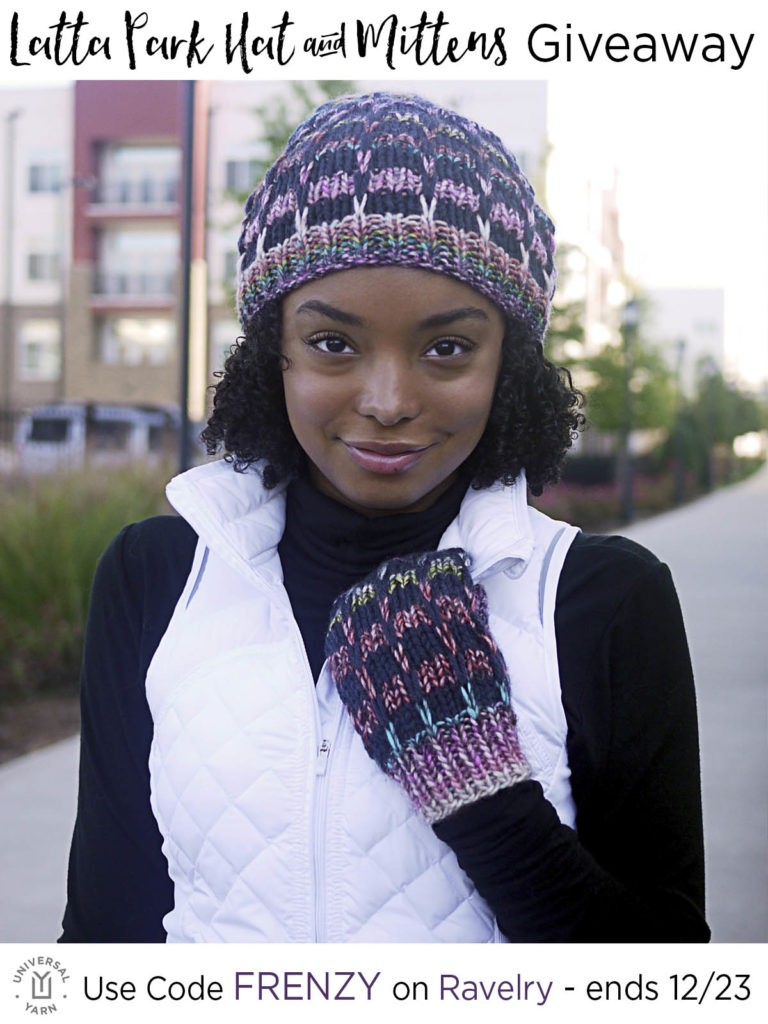
As a little holiday gift, we’re running a giveaway of the Latta Park Hat and Mittens. (Also, consider signing up for our newsletter. Subscribers already heard about this!)
You can enter this coupon code by going to the Latta Park Hat and Mittens page on Ravelry, and entering FRENZY at the “use a coupon code” link that appears during purchase. Use it by 12/23.
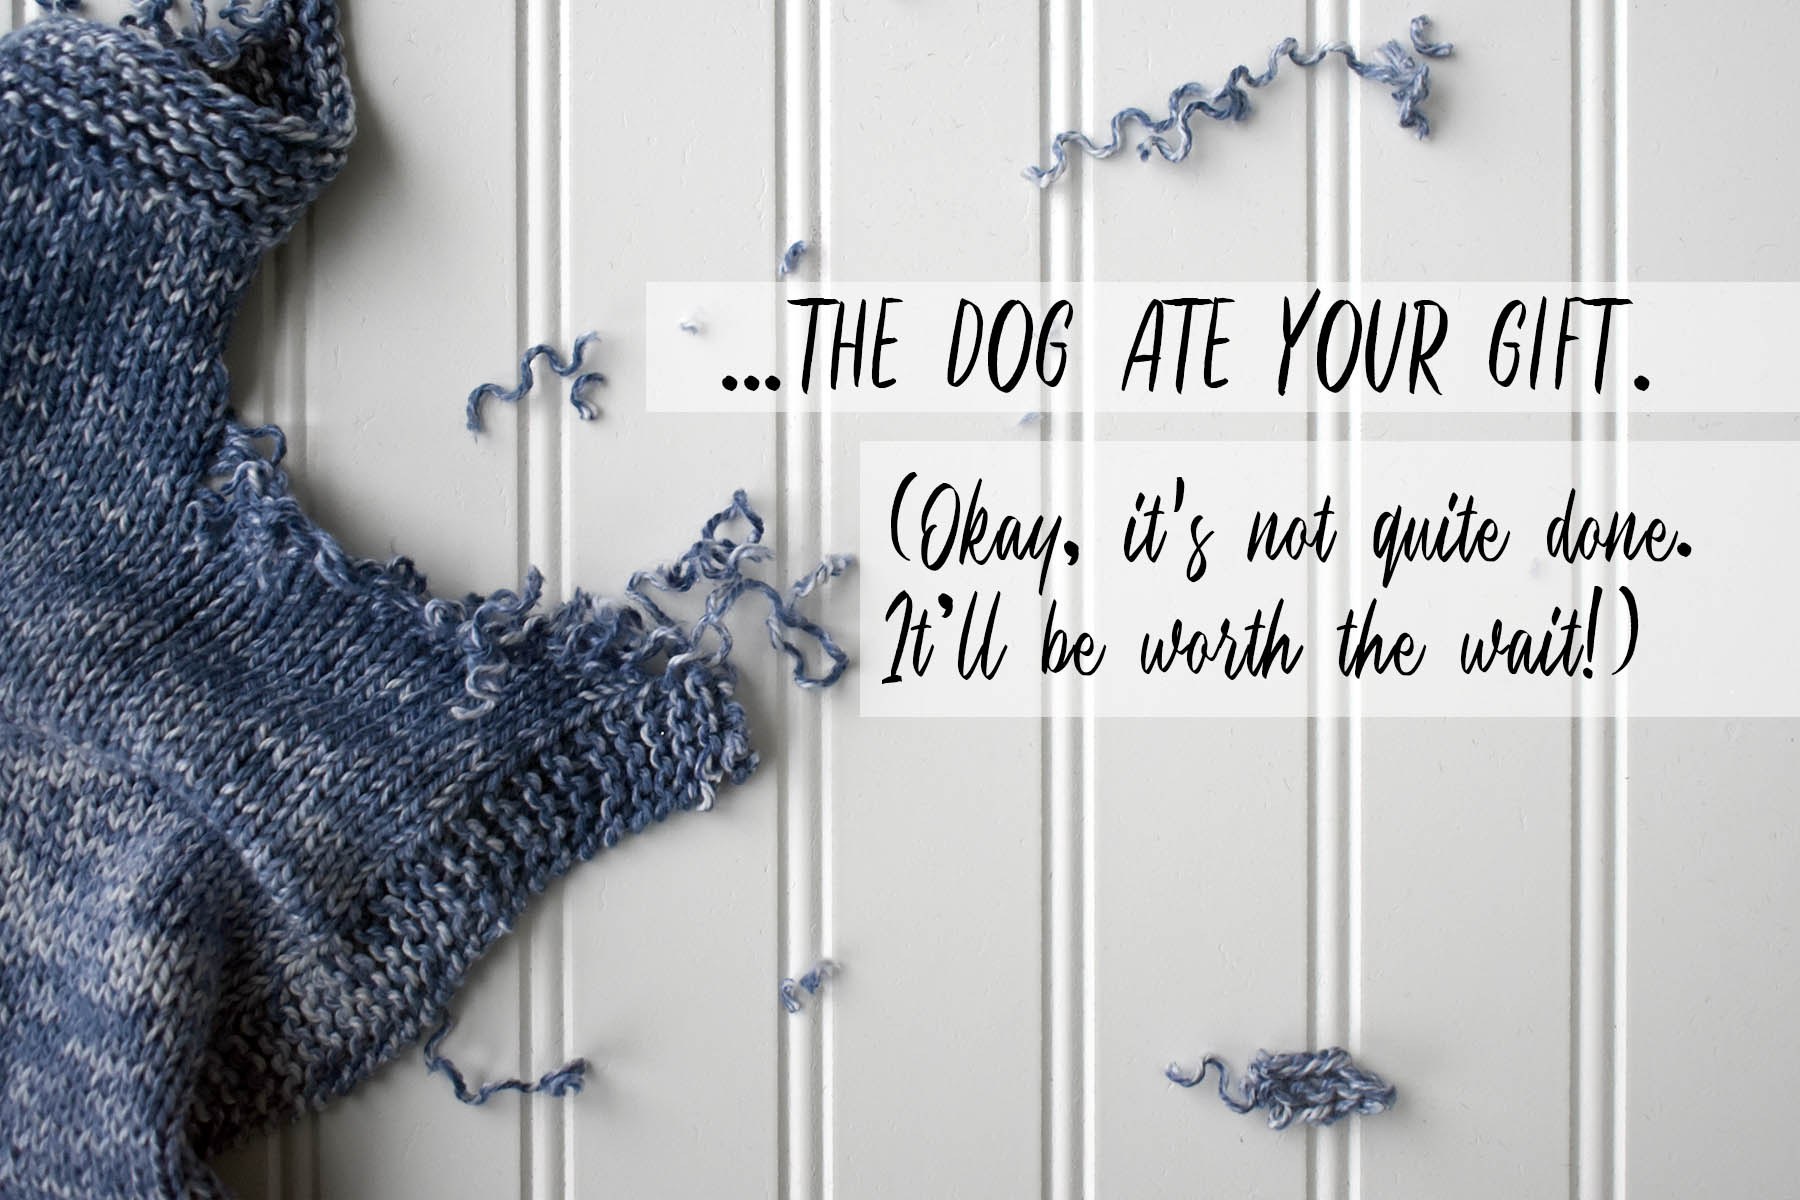
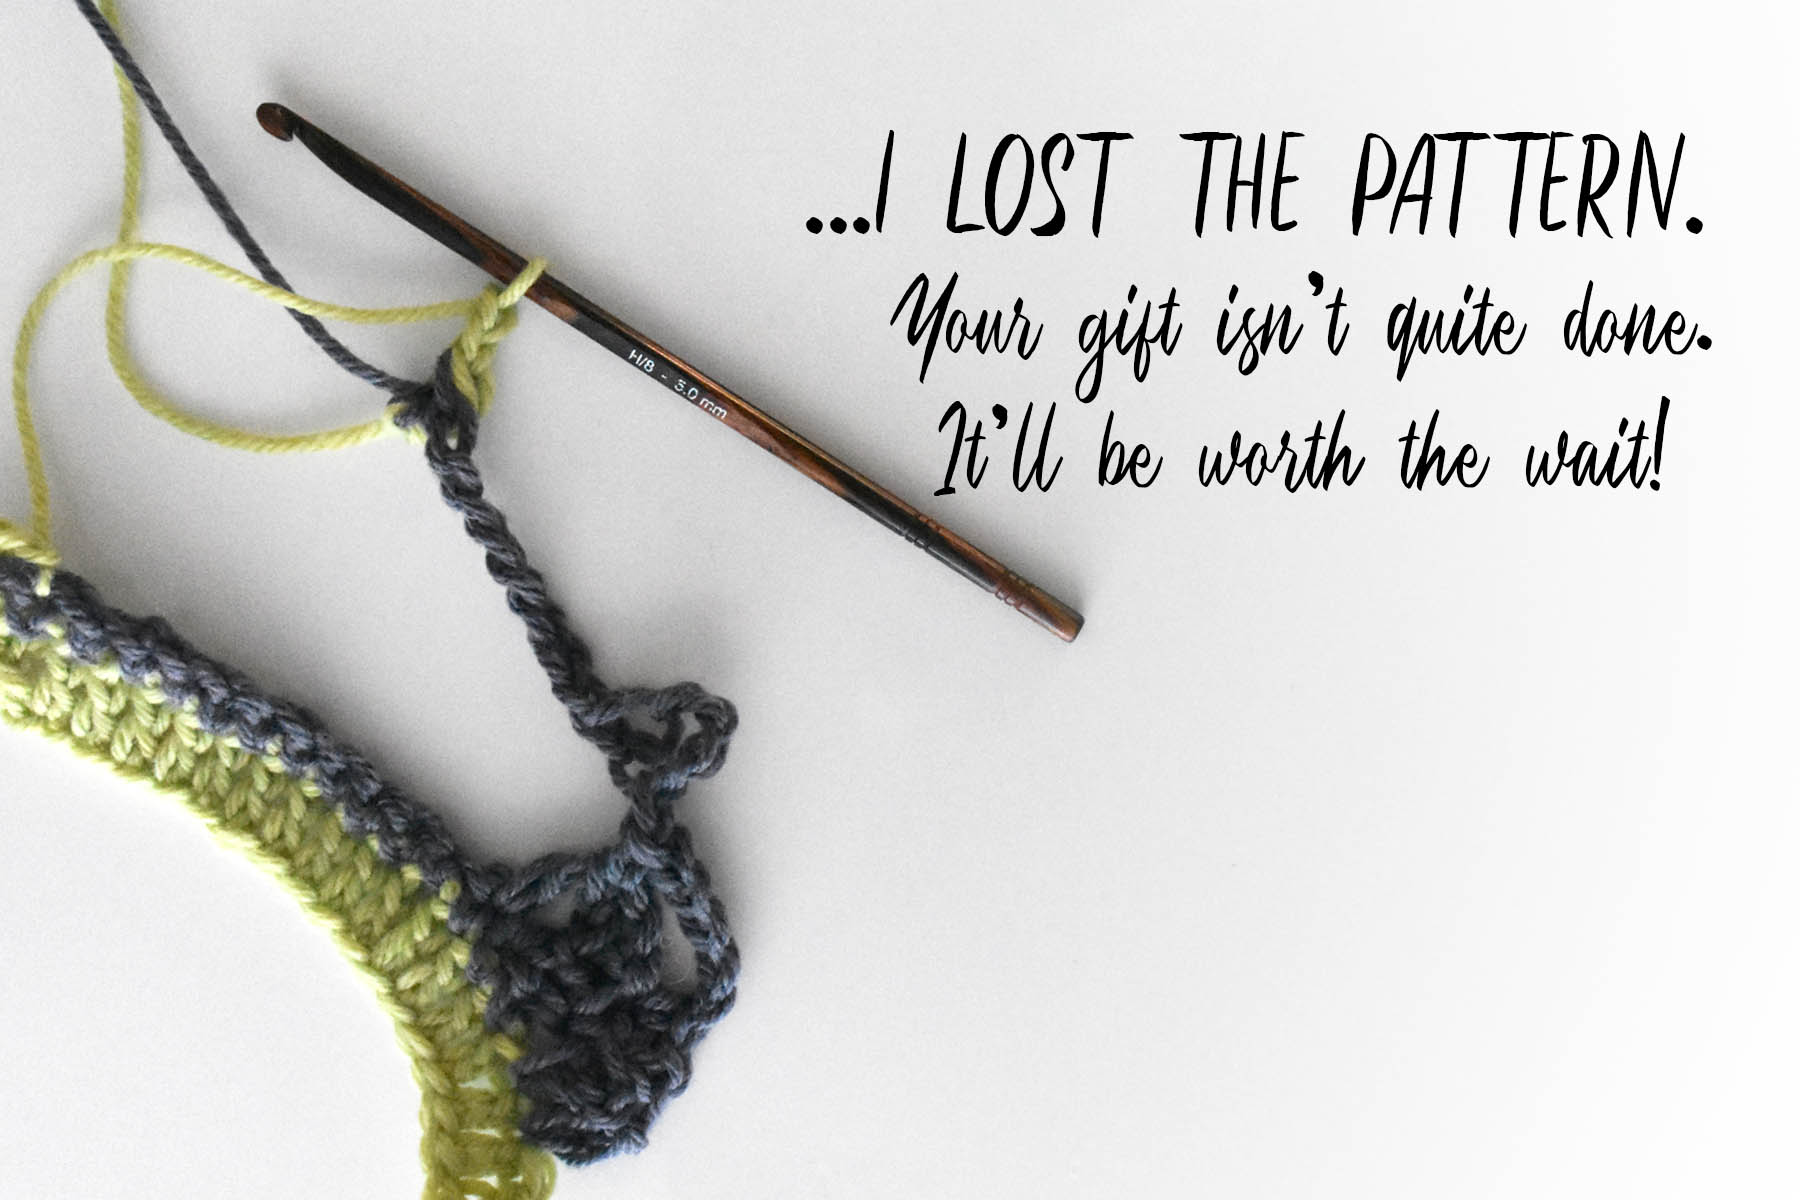
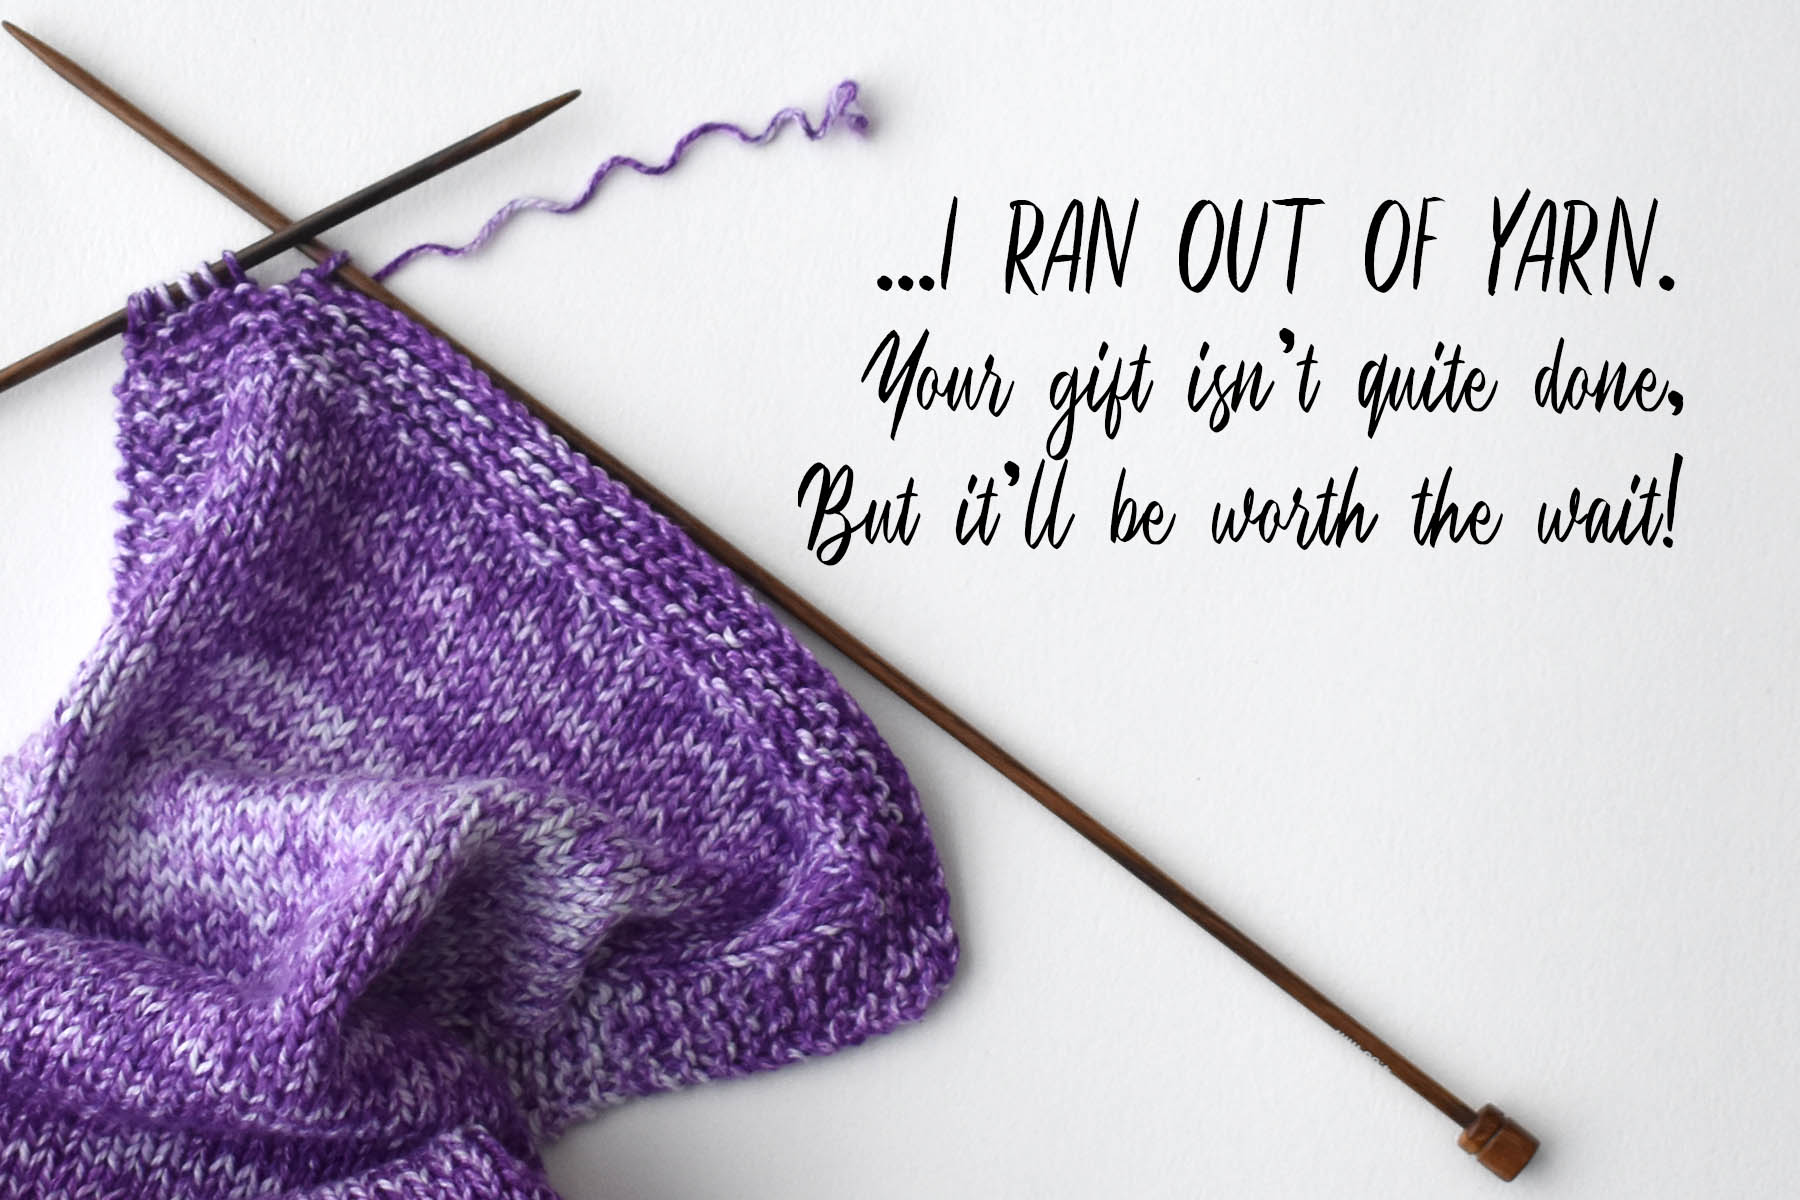
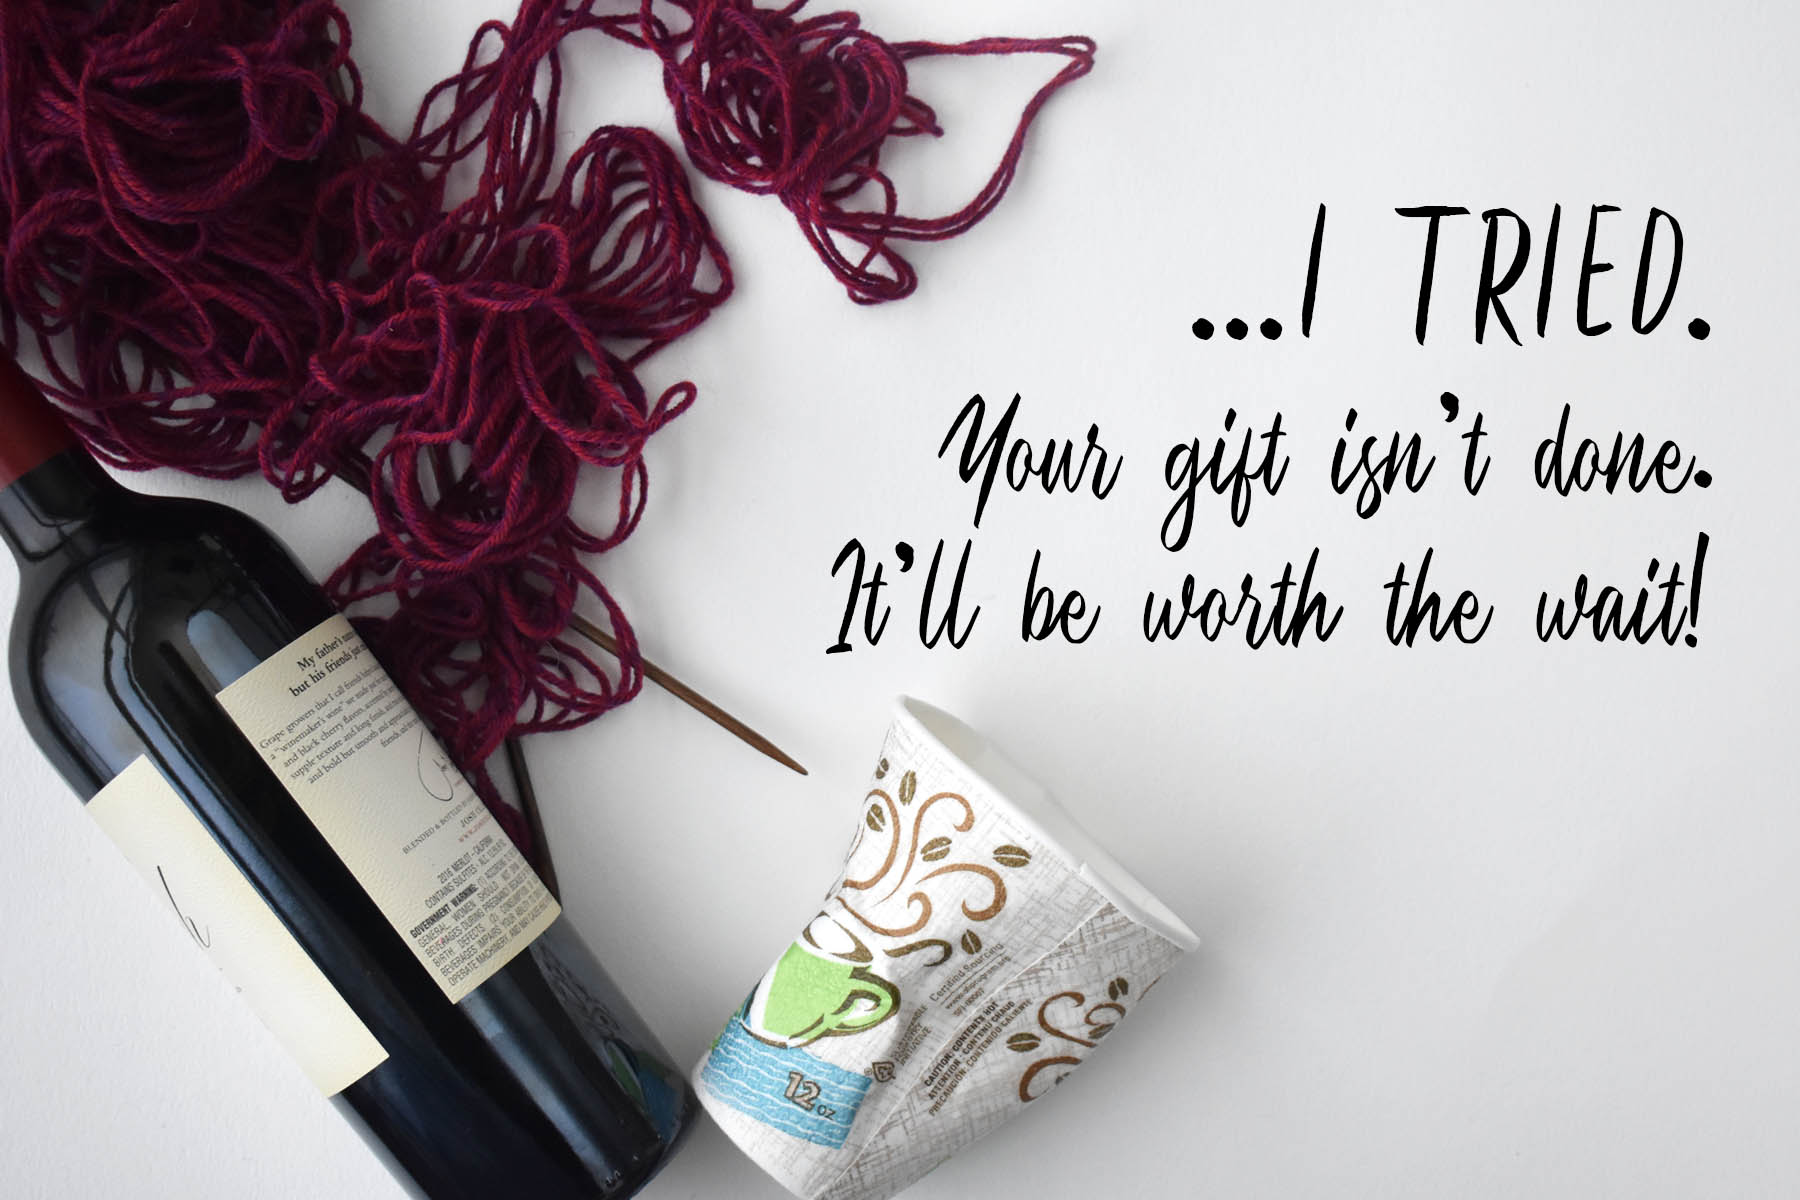
Finally, if you’re just not gonna make it, we still have some options. How about a card to let your giftee know that their gift is on the way? We made a few printable options for you.
Regardless of how your holiday gifting turns out, we hope you’ll be able to make time to slow down and enjoy the season as best you can.
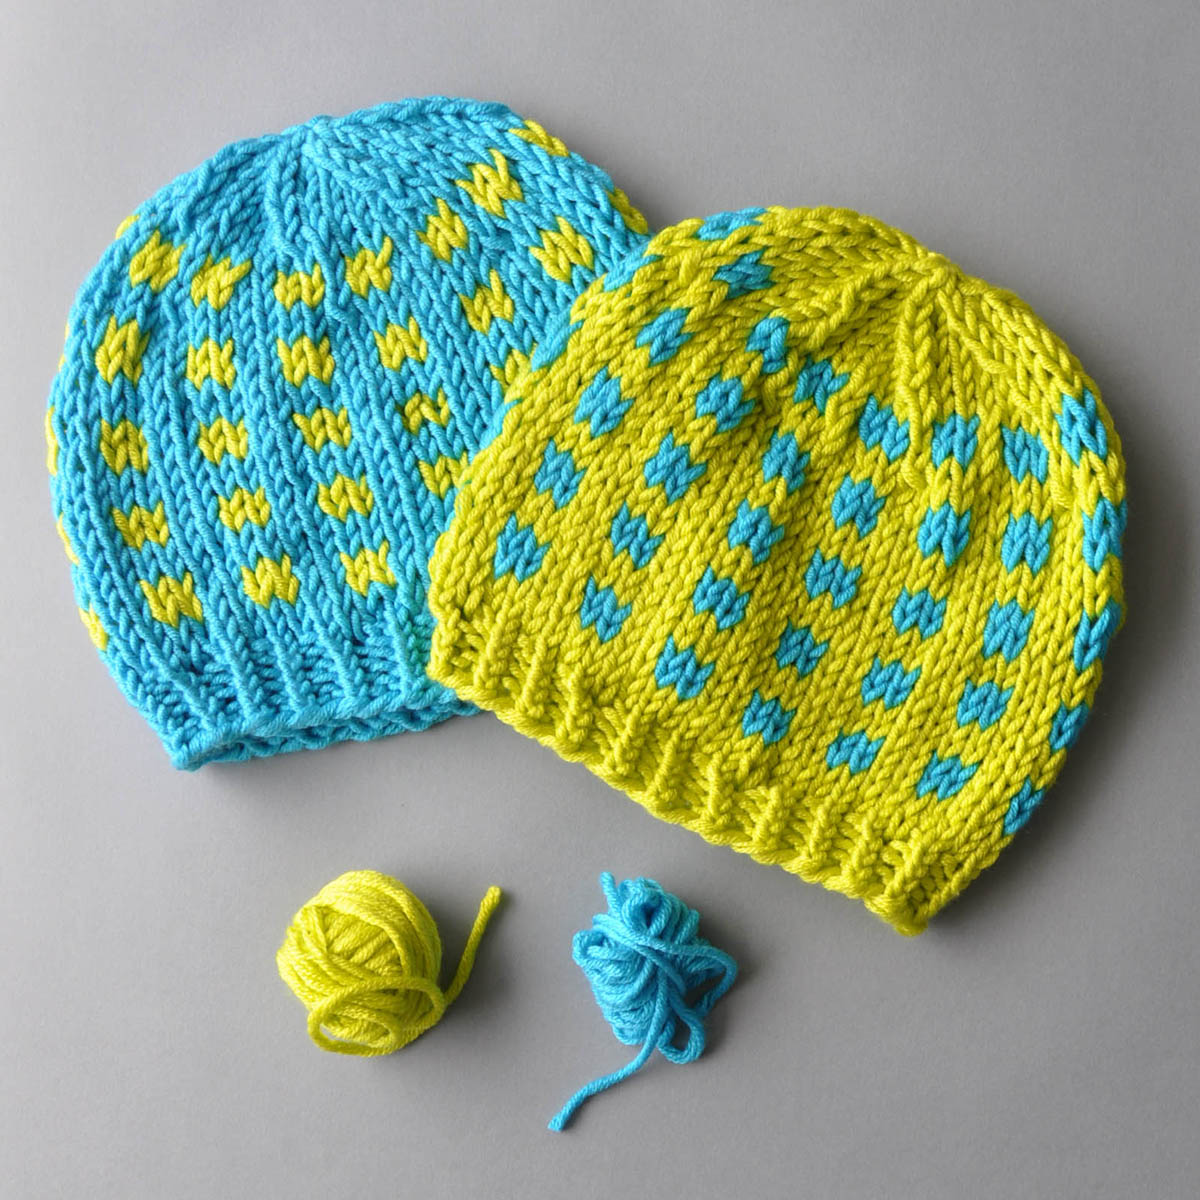
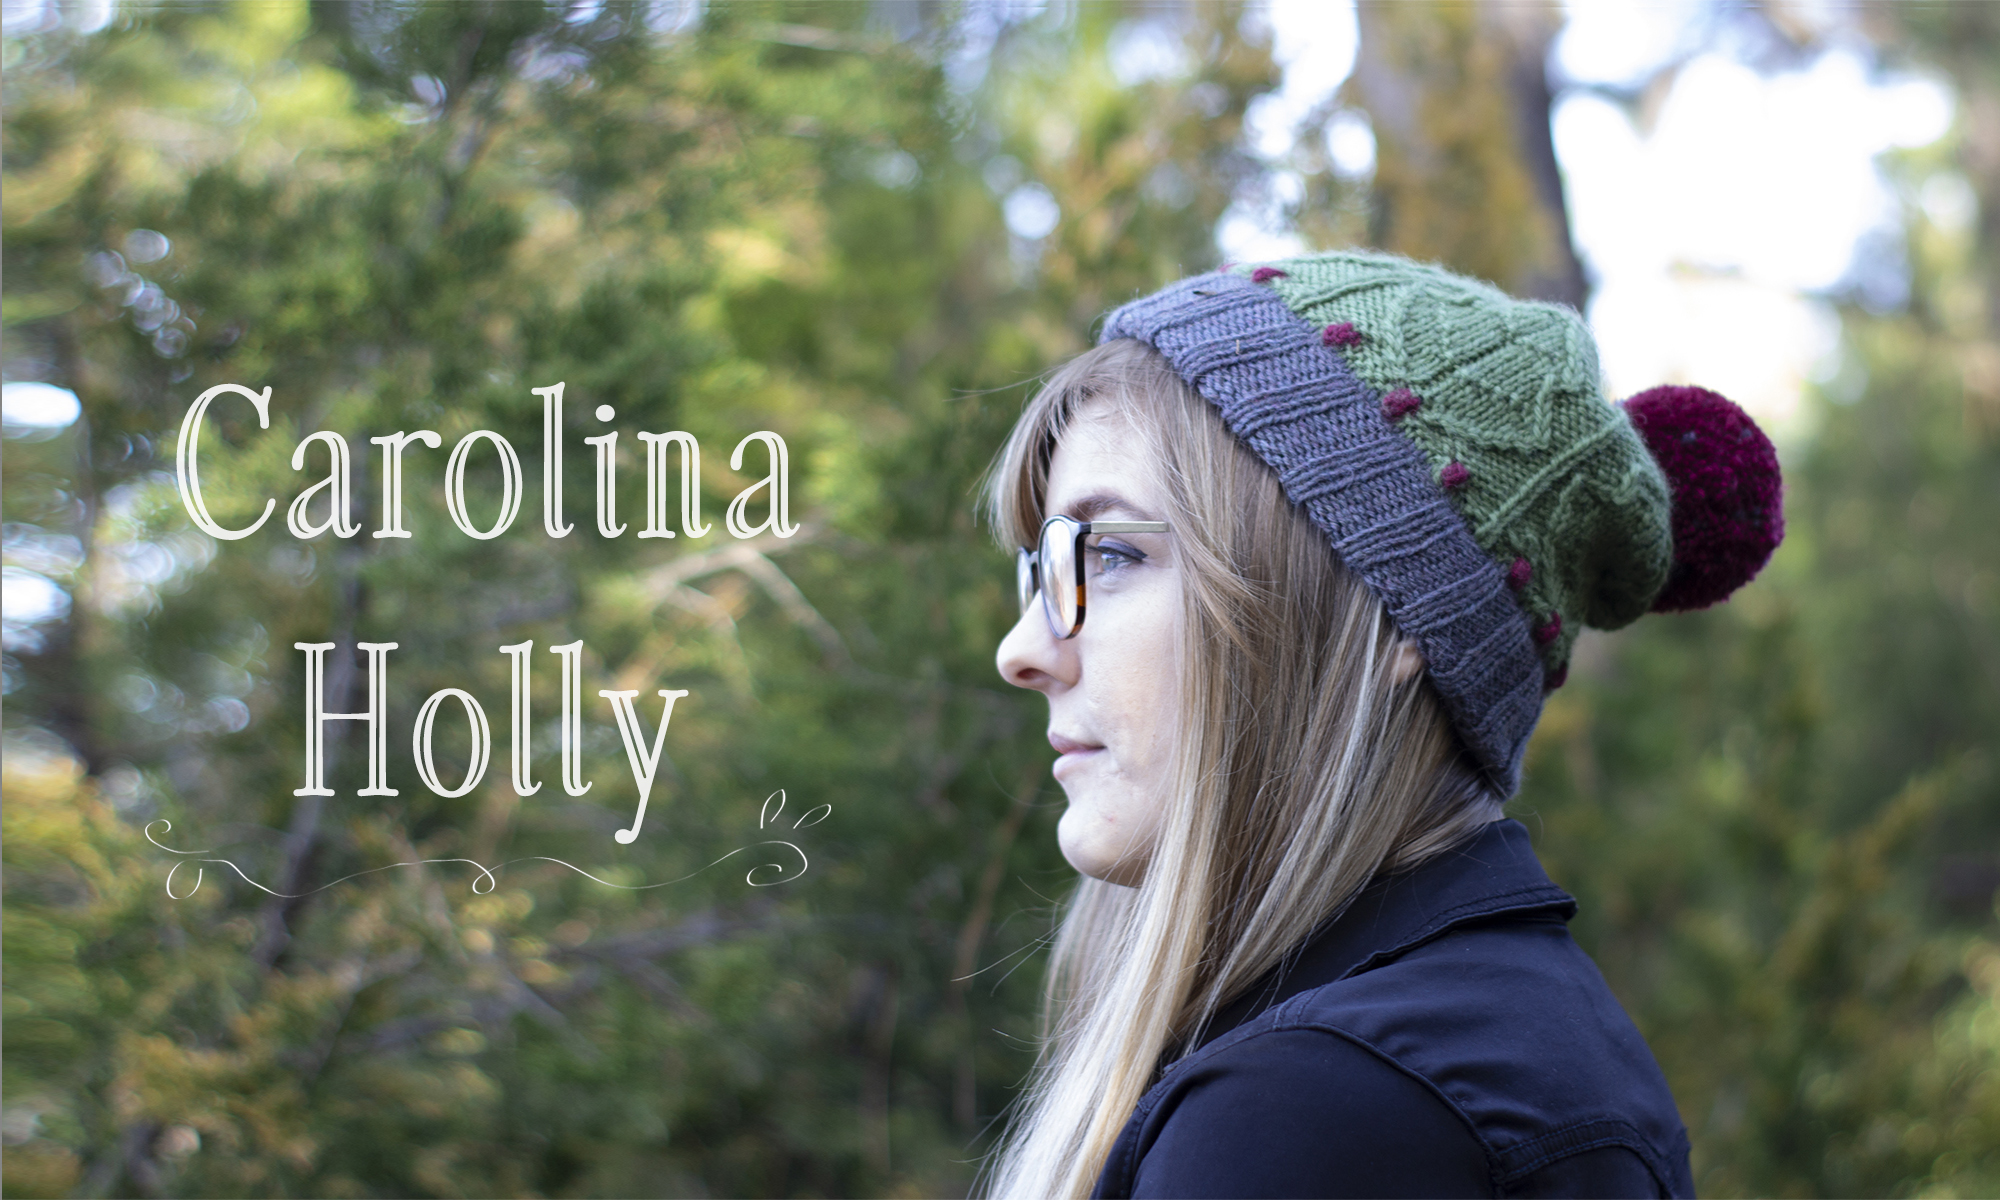
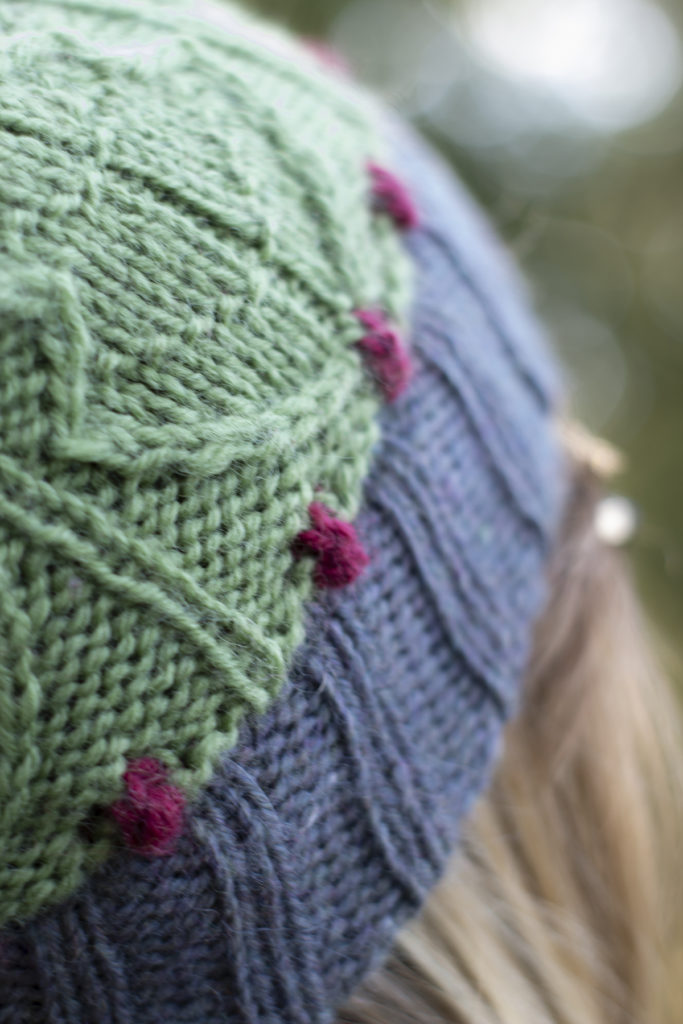
Seasons Greetings from the Universal Yarn Team! Today, we’re pleased to share a special free pattern with you for the Christmas season: the Carolina Holly hat (pattern link)! Holly – like poinsettias, mistletoe, and ivy – conjures images of the holidays. The spiky plant is evergreen and beautiful, and it was the inspiration for the Carolina Holly hat.
Playing with pine cones, as one does.
This free pattern is a load of fun to knit. It takes three skeins of Deluxe Worsted – and that’s enough to make two hats. Of our line of yarns, Deluxe Worsted might just be my favorite. It’s excellent for every type of project, creates long-wearing fabric, and perfectly balances softness with the crunch of pure wool that I love. Plus, there are so many colors to choose from. For this hat I chose Sangria, City Turf, and Slate, but there are so many shades of red, green, and grey in the palette. I encourage you to find the combination that leaves you feeling inspired! Prefer superwash wool? You’re in luck – our machine-washable Deluxe Worsted Superwash would work perfectly as a substitute.
Baby Bobbles!
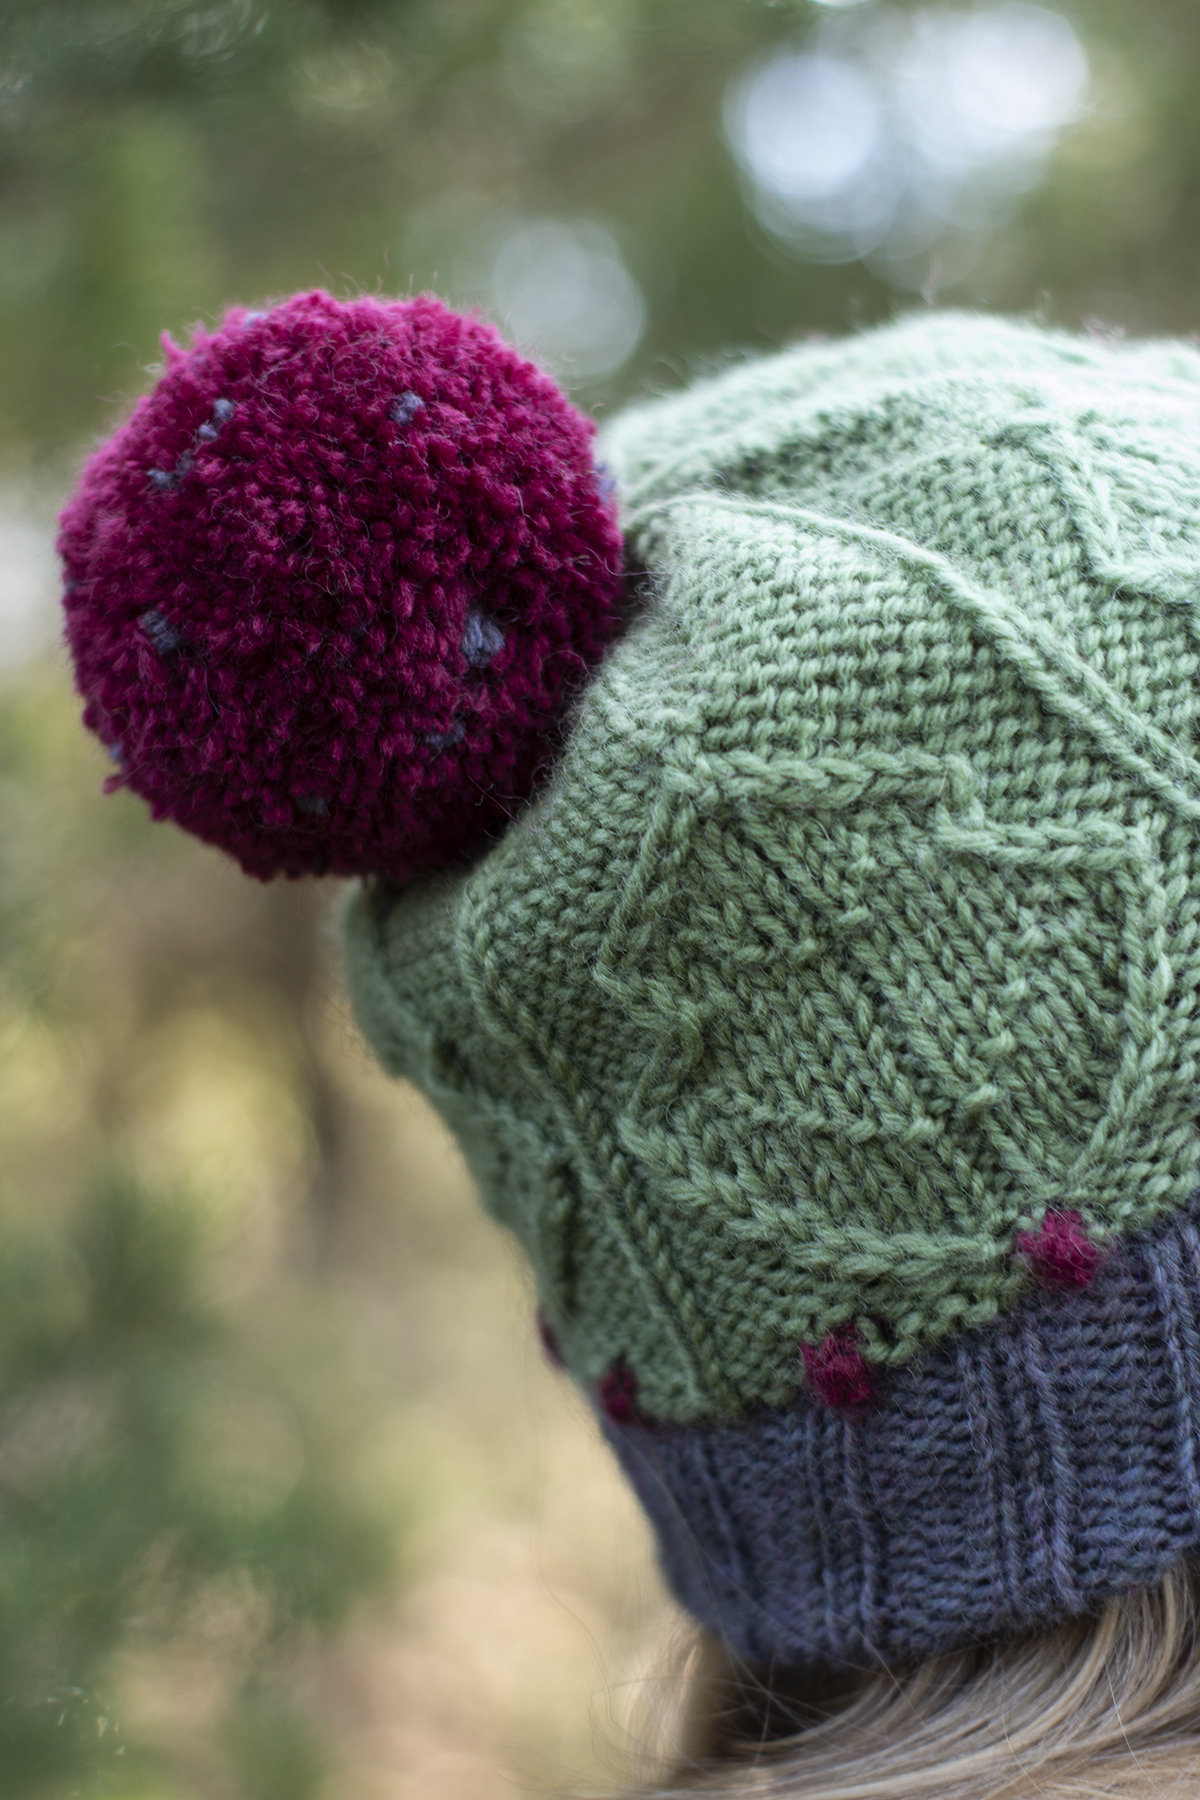
I wanted to give this hat some special touches. A double-thick brim ensures a warm and comfortable fit. A row of mini-bobbles knit in a rich red create little holly berries, and a large red pom-pom balances out the pop of red. Finally, to incorporate the grey used in the brim, the same color is used to add speckles to the pom-pom. The speckled pom-pom idea was not my own. I was inspired by designer Kiyomi Burgin, who has used this technique in her own work. You can find her post on speckled pom-poms here (link).
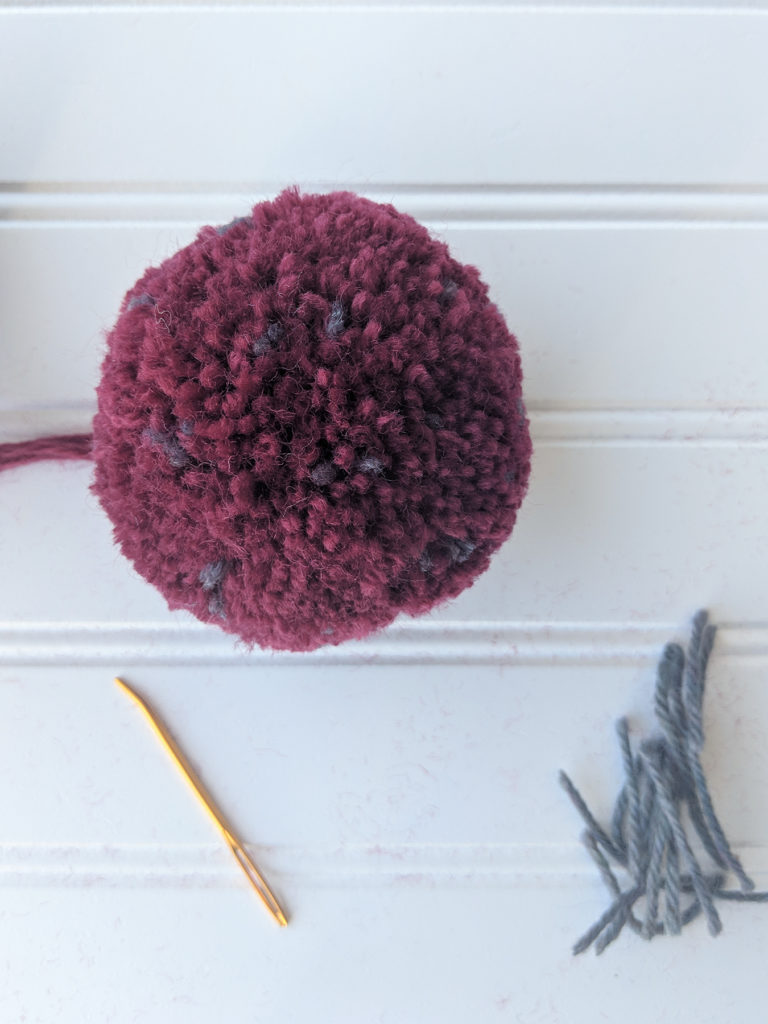
Subtle grey speckles in a big, poufy pom-pom – what’s not to love?
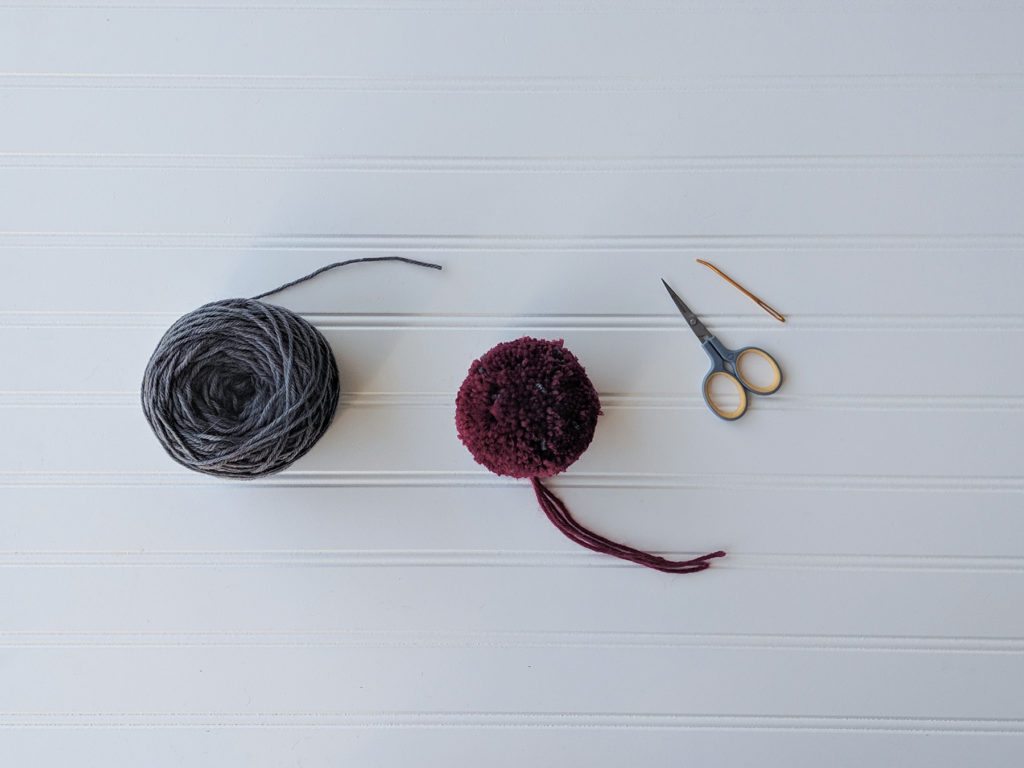
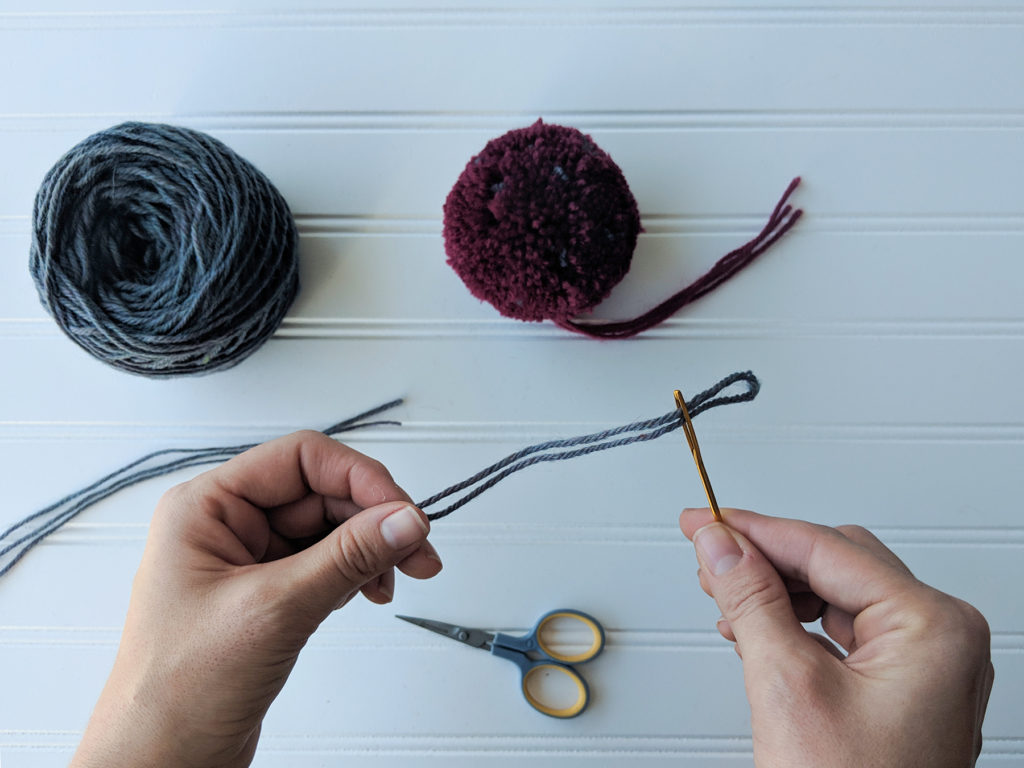
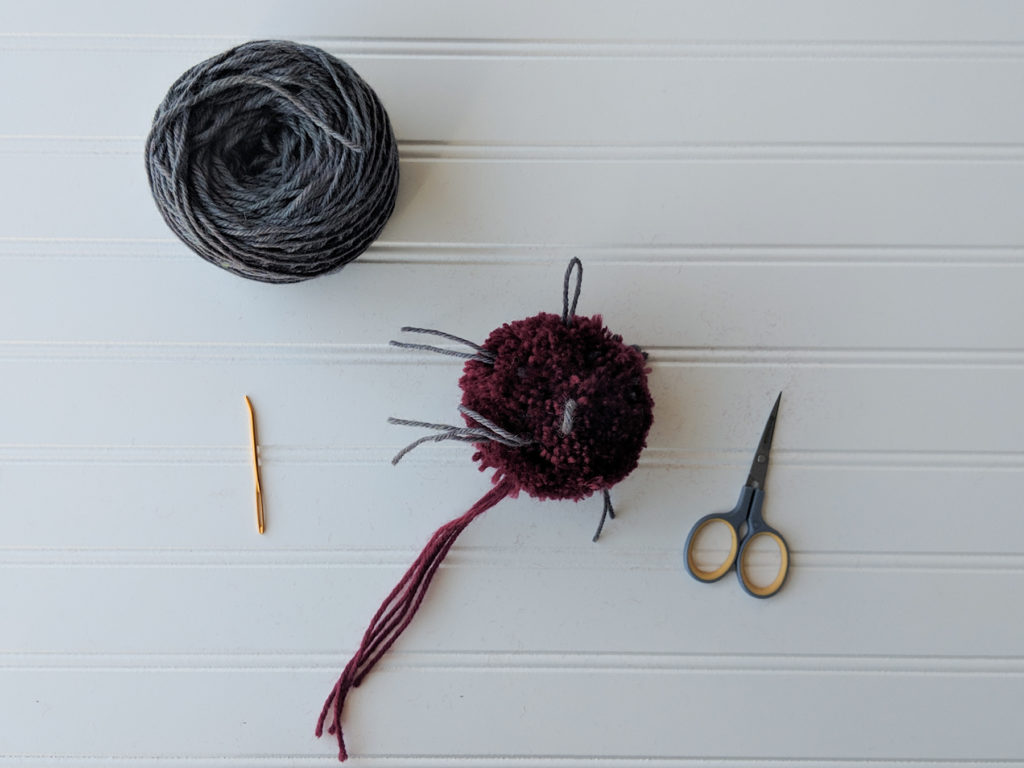
For your convenience, I’ve also created a tutorial. I hope you find it to be helpful! You’ll need to make your pom-pom before starting. If you haven’t done this before, don’t worry! You can find Amy’s tutorial on how to make pom-poms here (link).
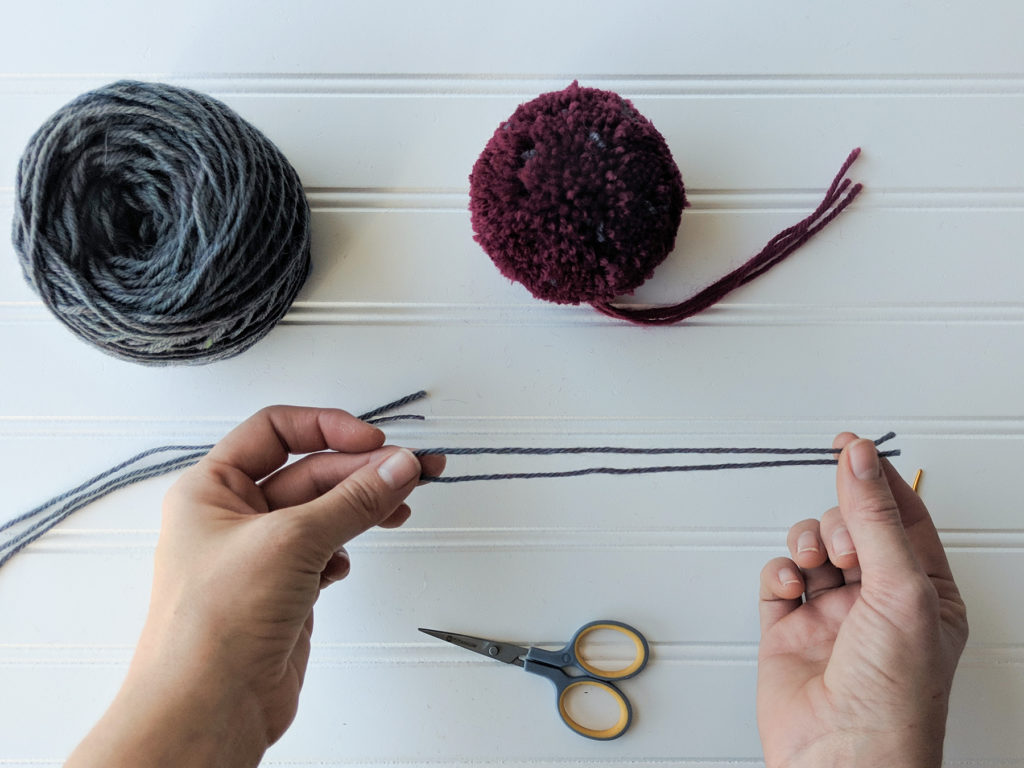
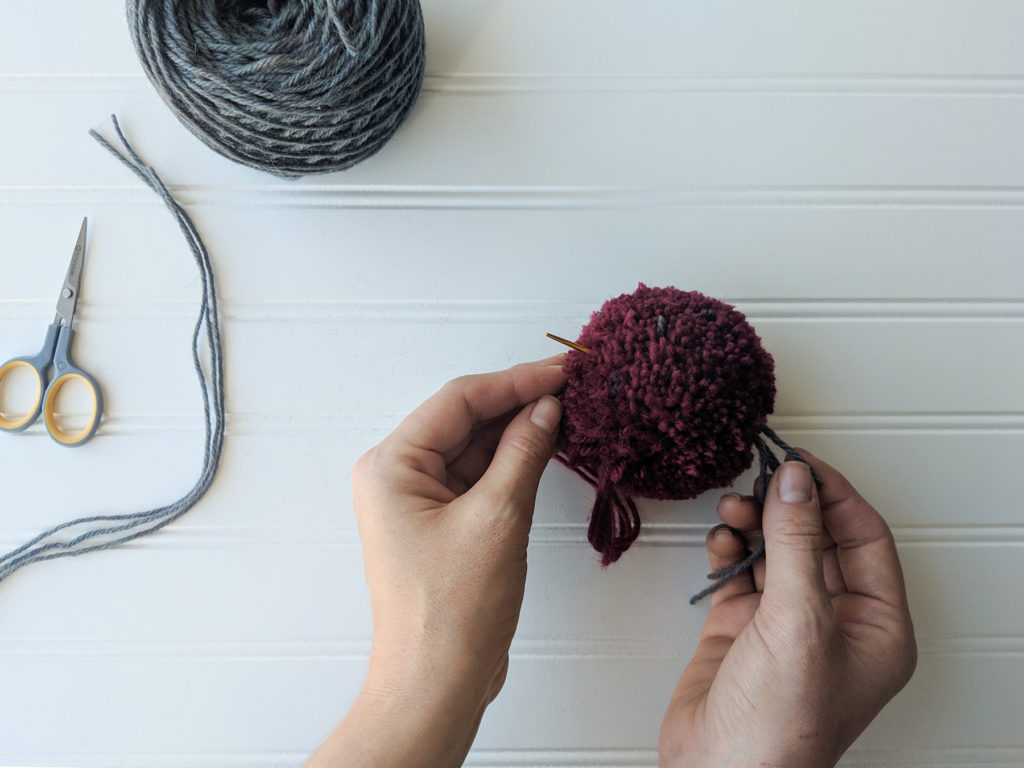
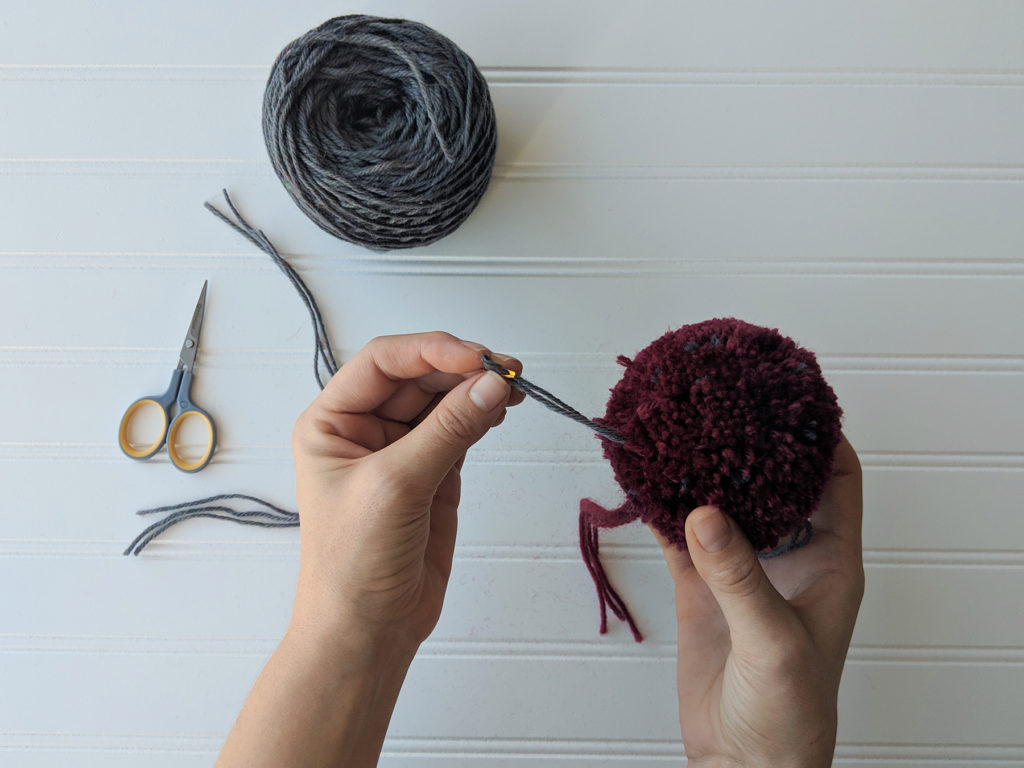
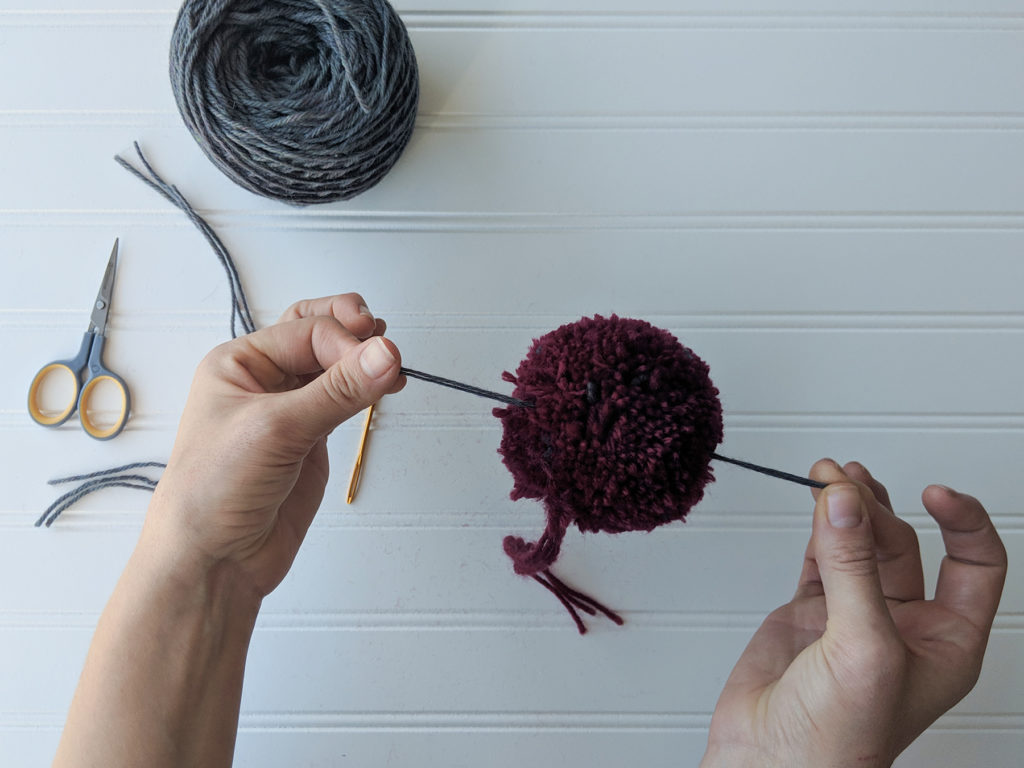
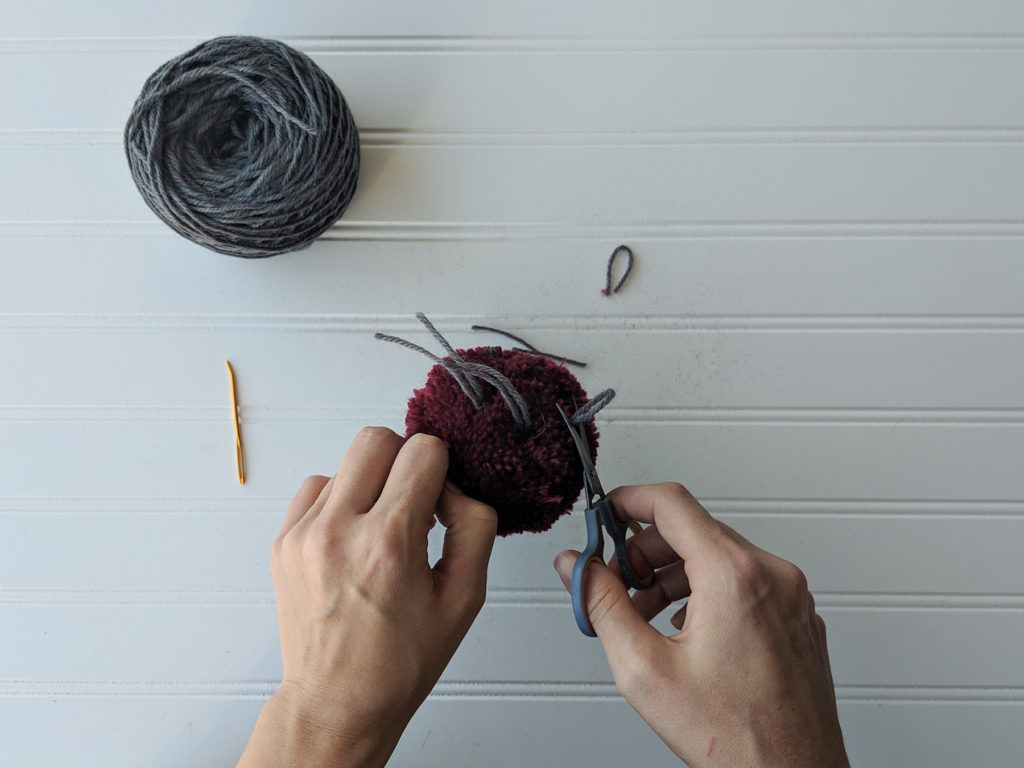
To get started you’ll need a pom-pom, scissors, tapestry needle, and contrast color yarn. Step 1: Cut your contrast color yarn into lengths of approximately 12″. In the pattern I’ve directed you to cut 15 pieces. Fold each piece in half. Step 2: Keeping the strand of yarn folded, thread the tapestry needle.Step 3: Insert the tapestry needle through the center of the pom-pom. Step 4: Pull one end of the strand through the pom-pom, but be sure to secure the other end.Step 5: You should be able to hold each end of the strand as shown. Repeat Steps 1-5 until you’ve used each of the strands you cut. If desired, add more! When you finish you’ll have a medusa-looking pom-pom. Give your pom-pom a trim so that the contrast color ends are flush with the rest of the pom-pom. Finished! Now you can secure your pom-pom to the hat.
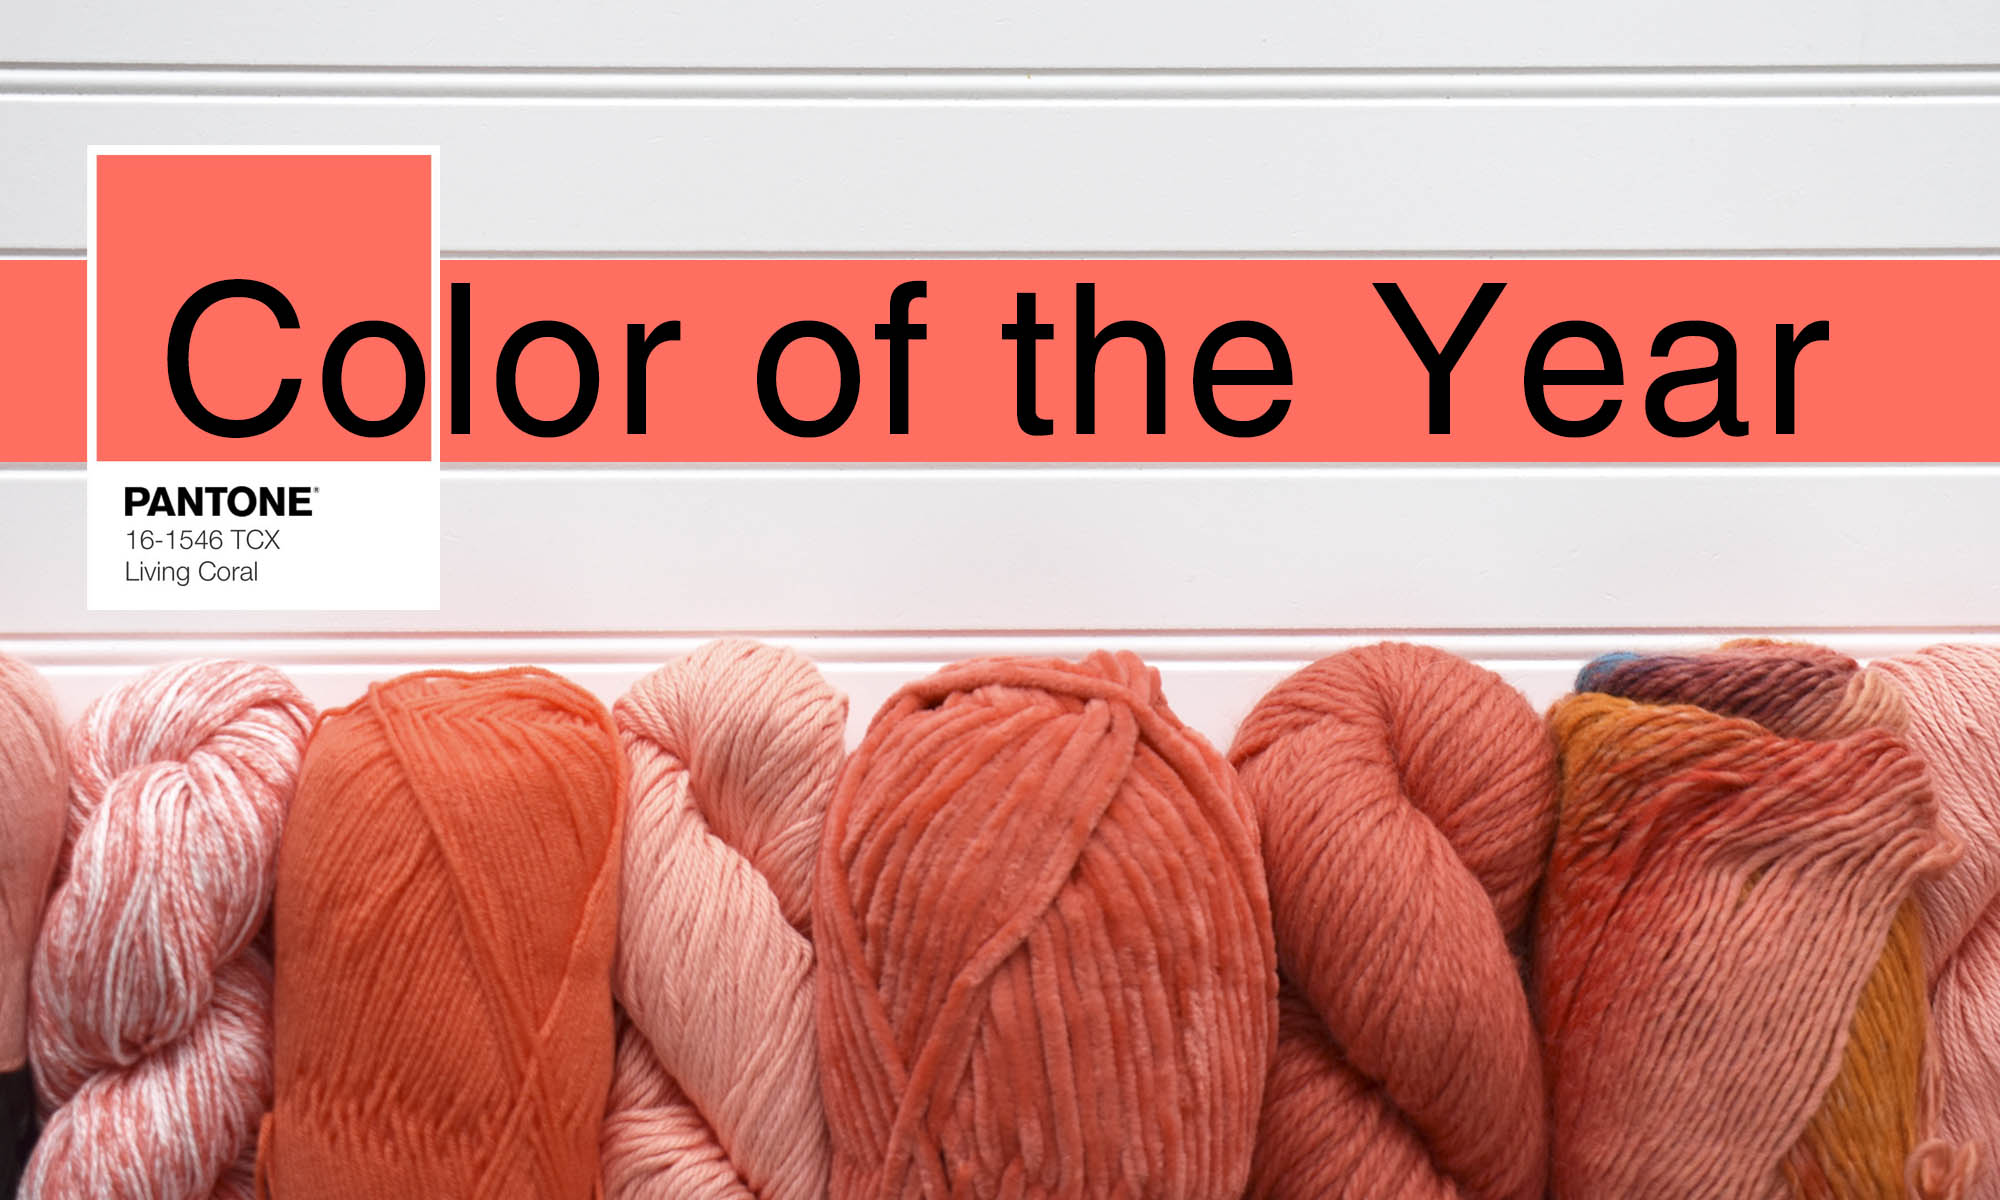
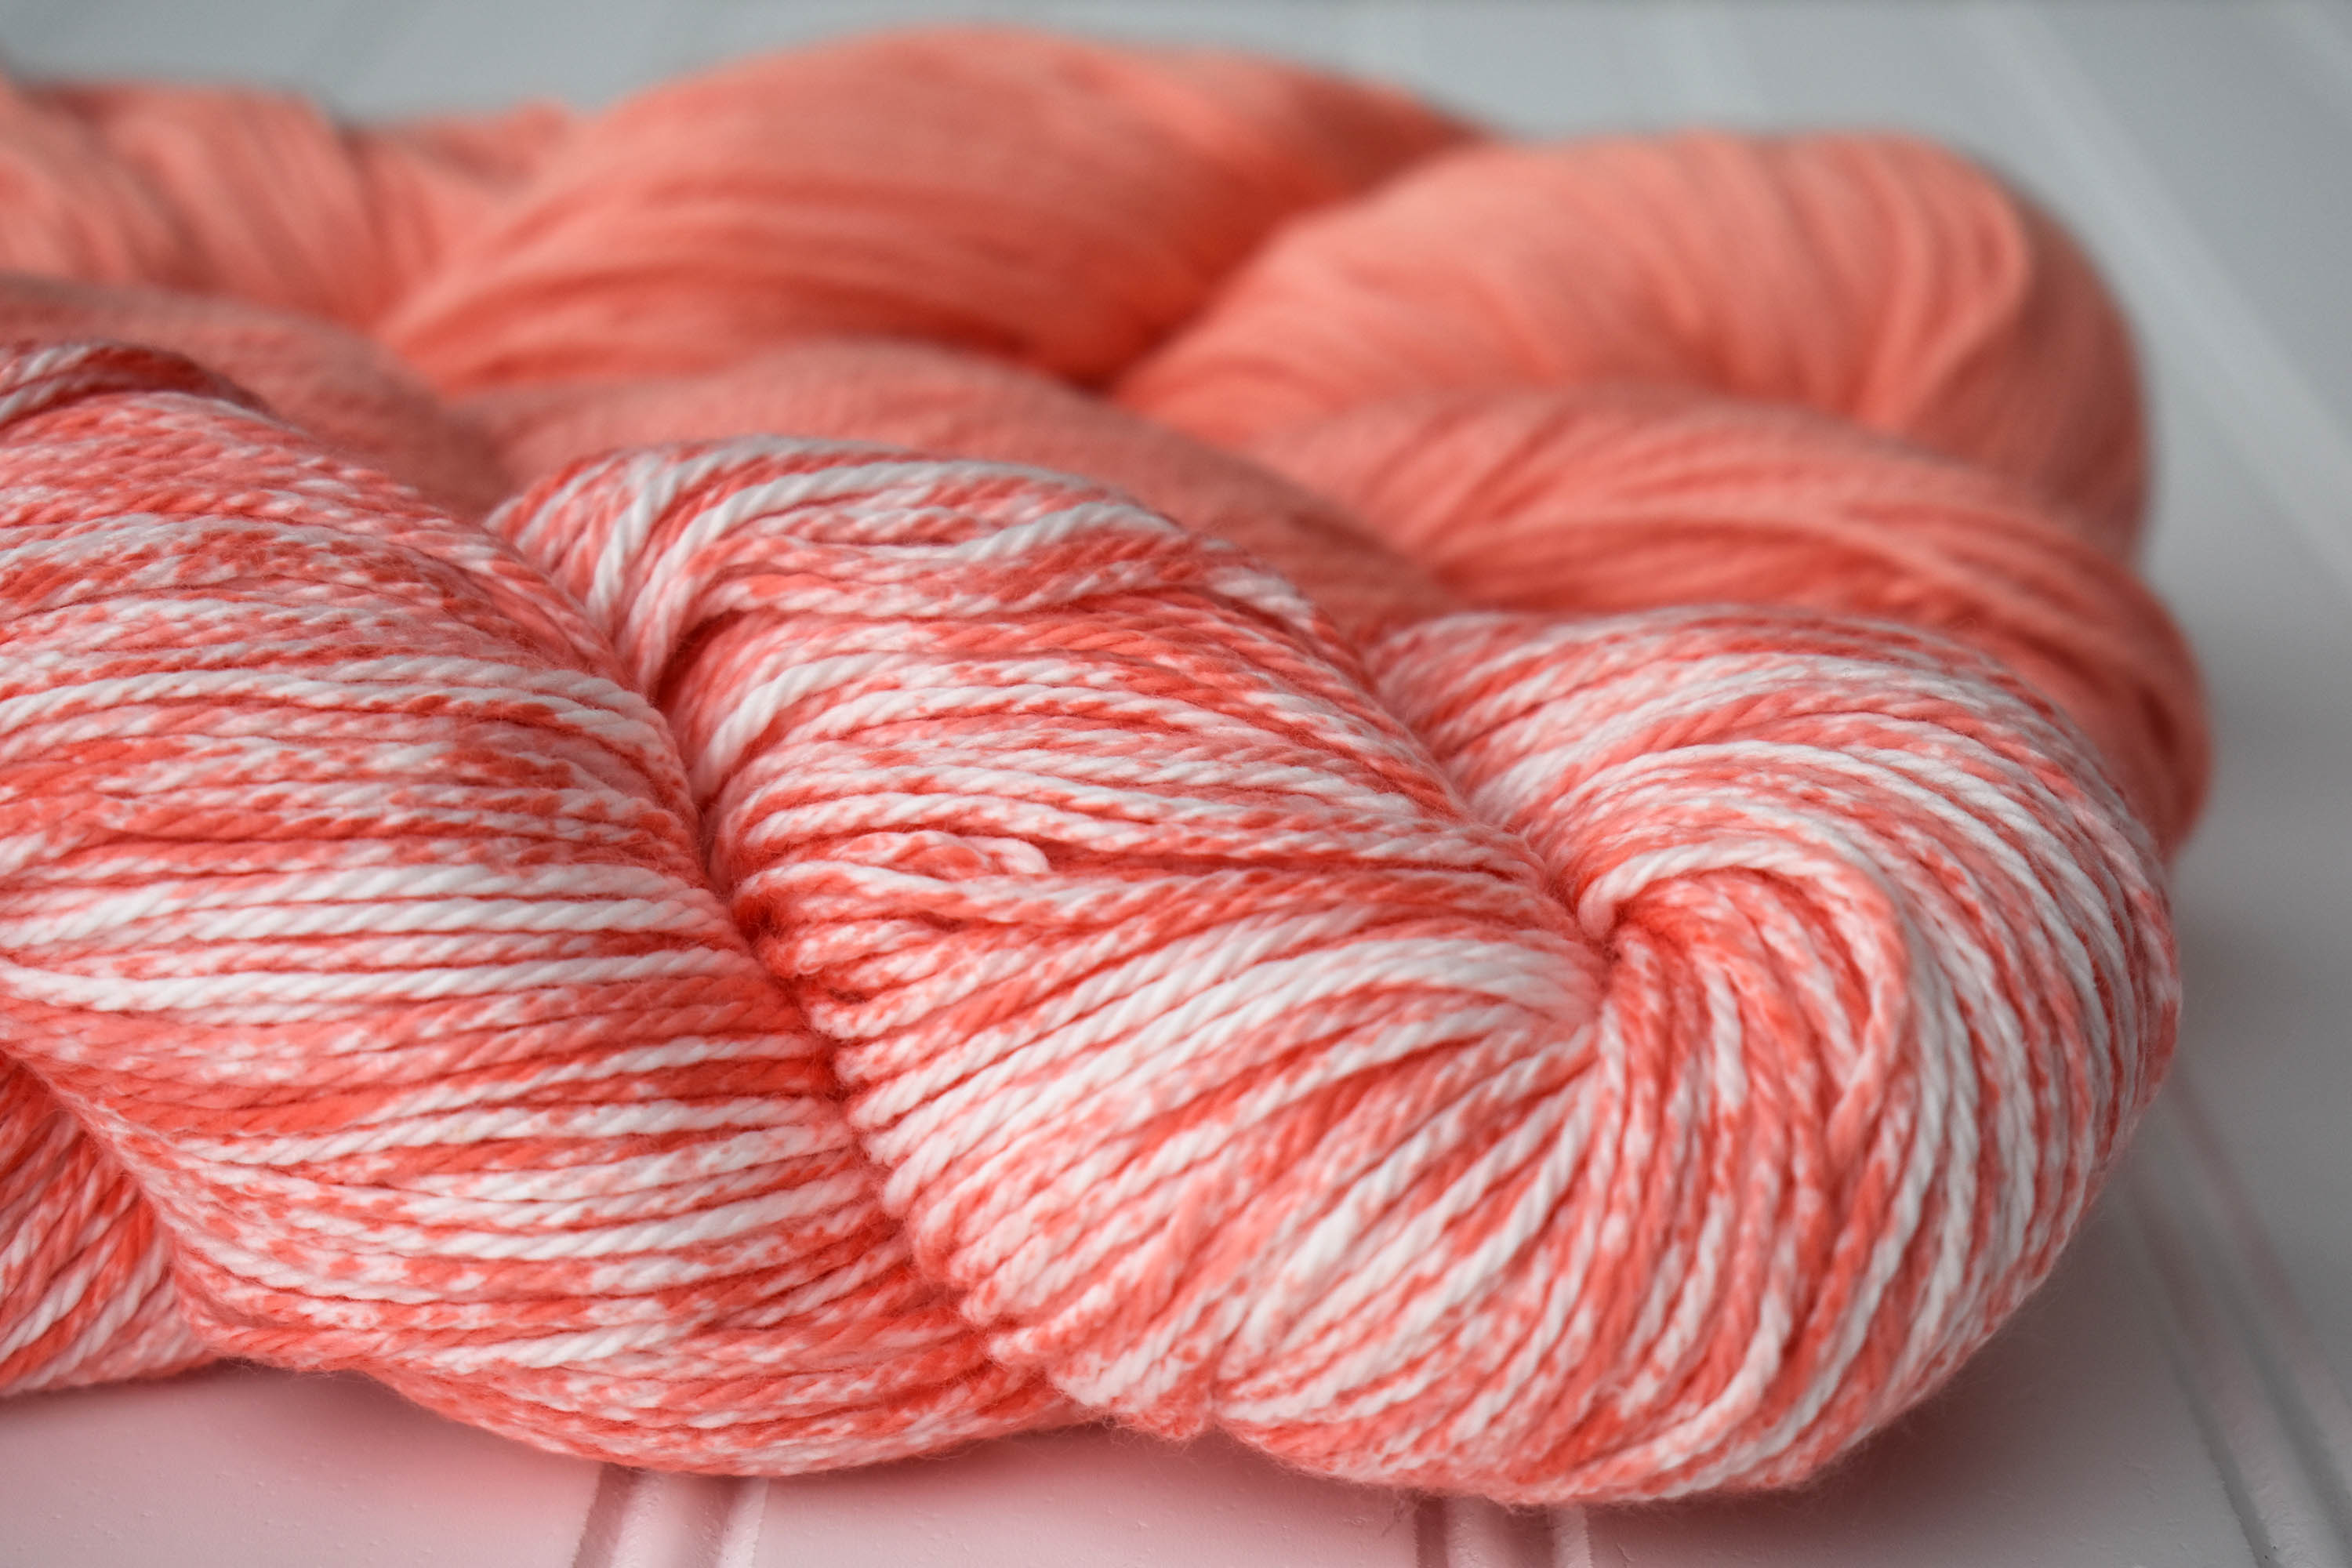
Love it or hate it, Pantone has just announced their 2019 color of the year: 16-1546 Living Coral. Personally, I love it! My own closet is full of black and gray. Coral is that perfect pop of color against a background of neutrals.
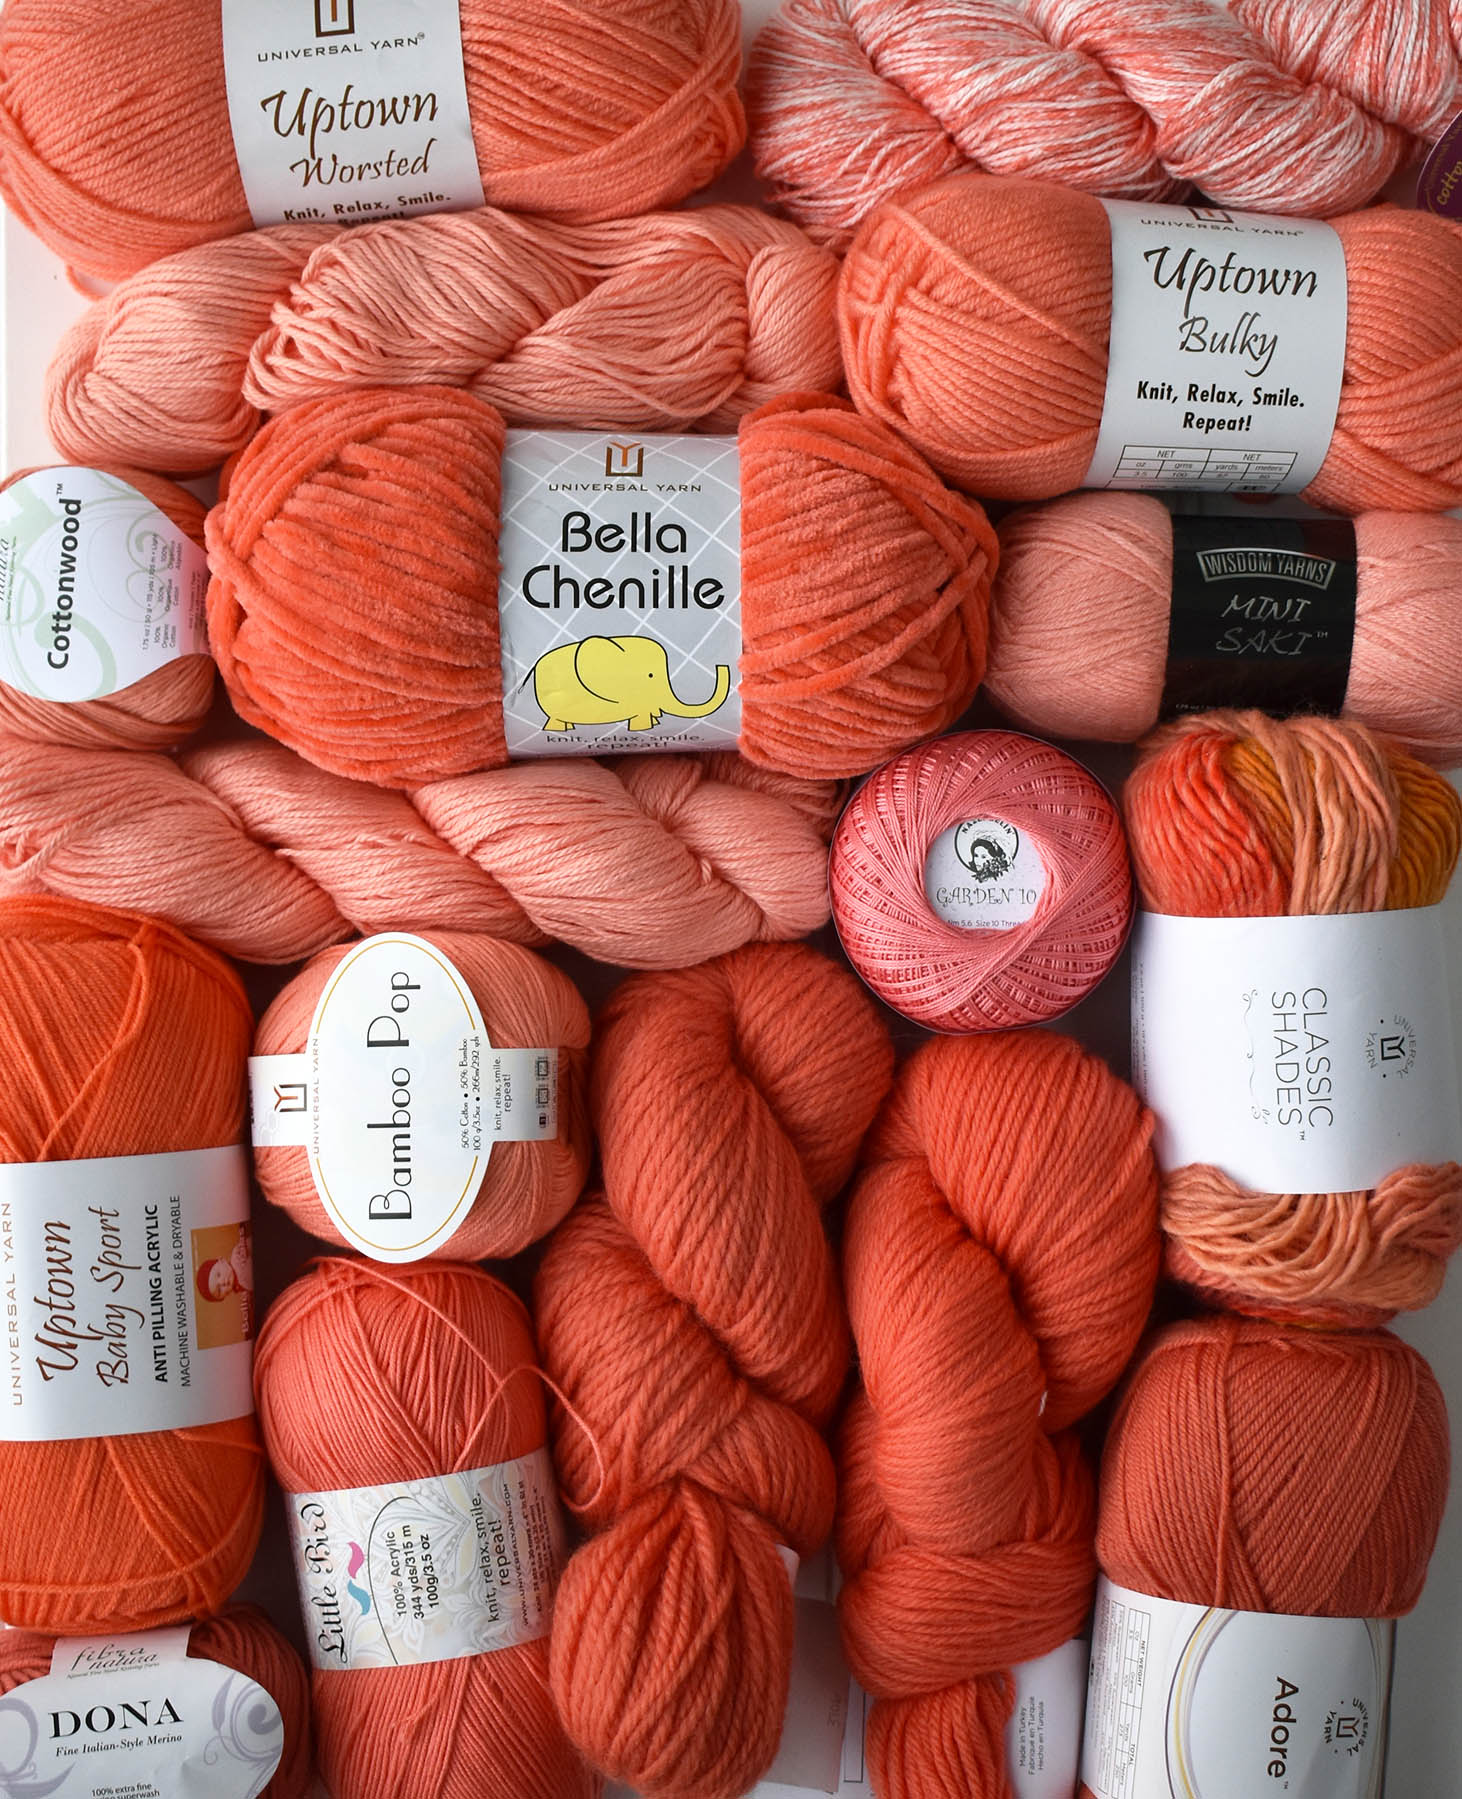
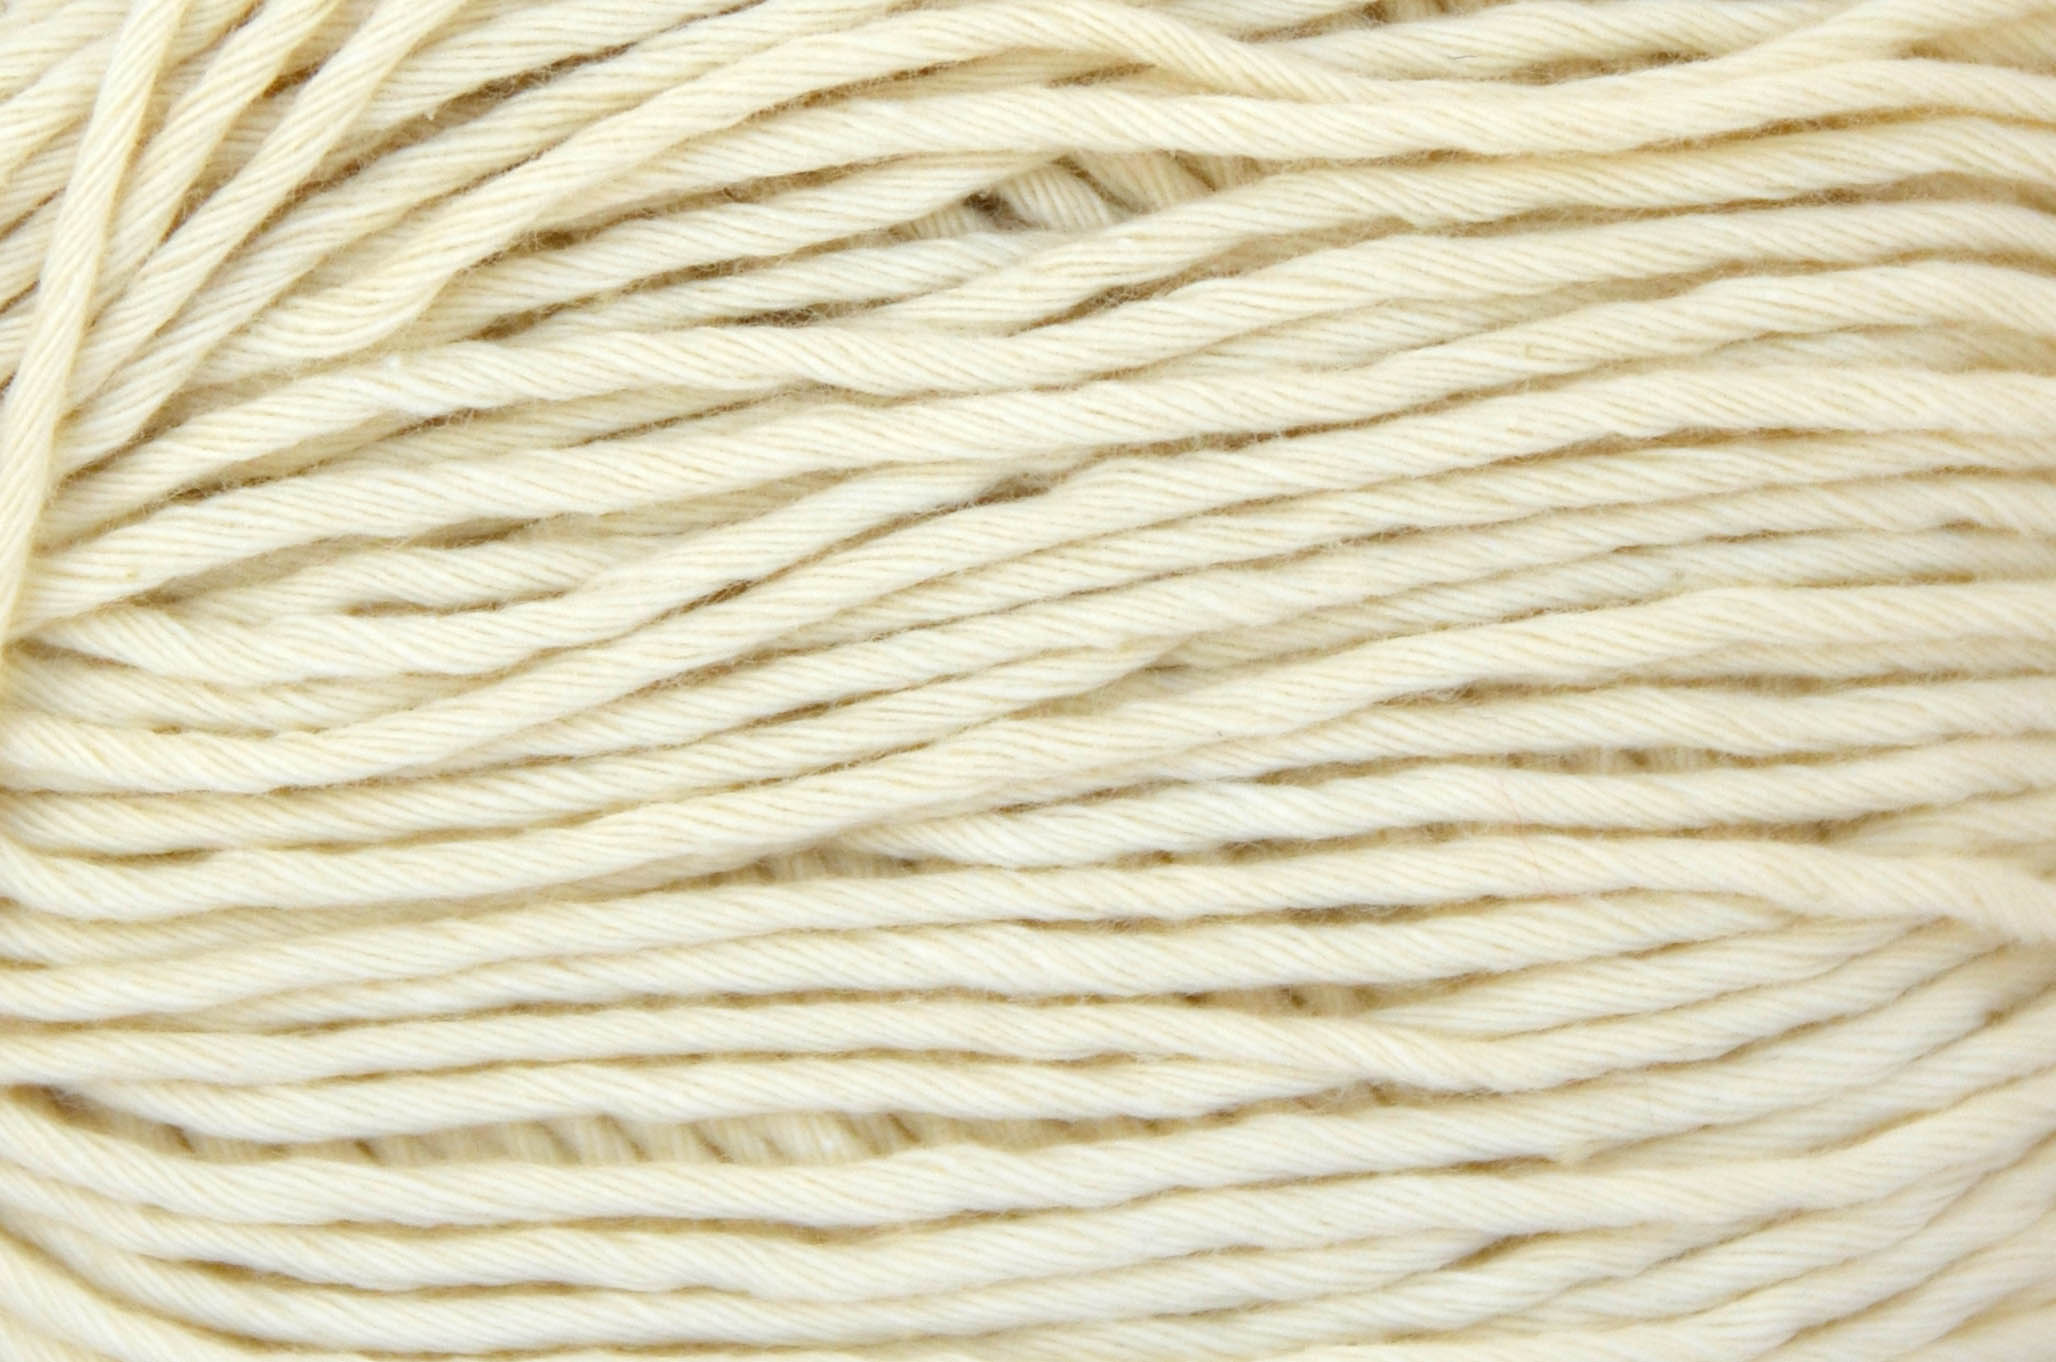
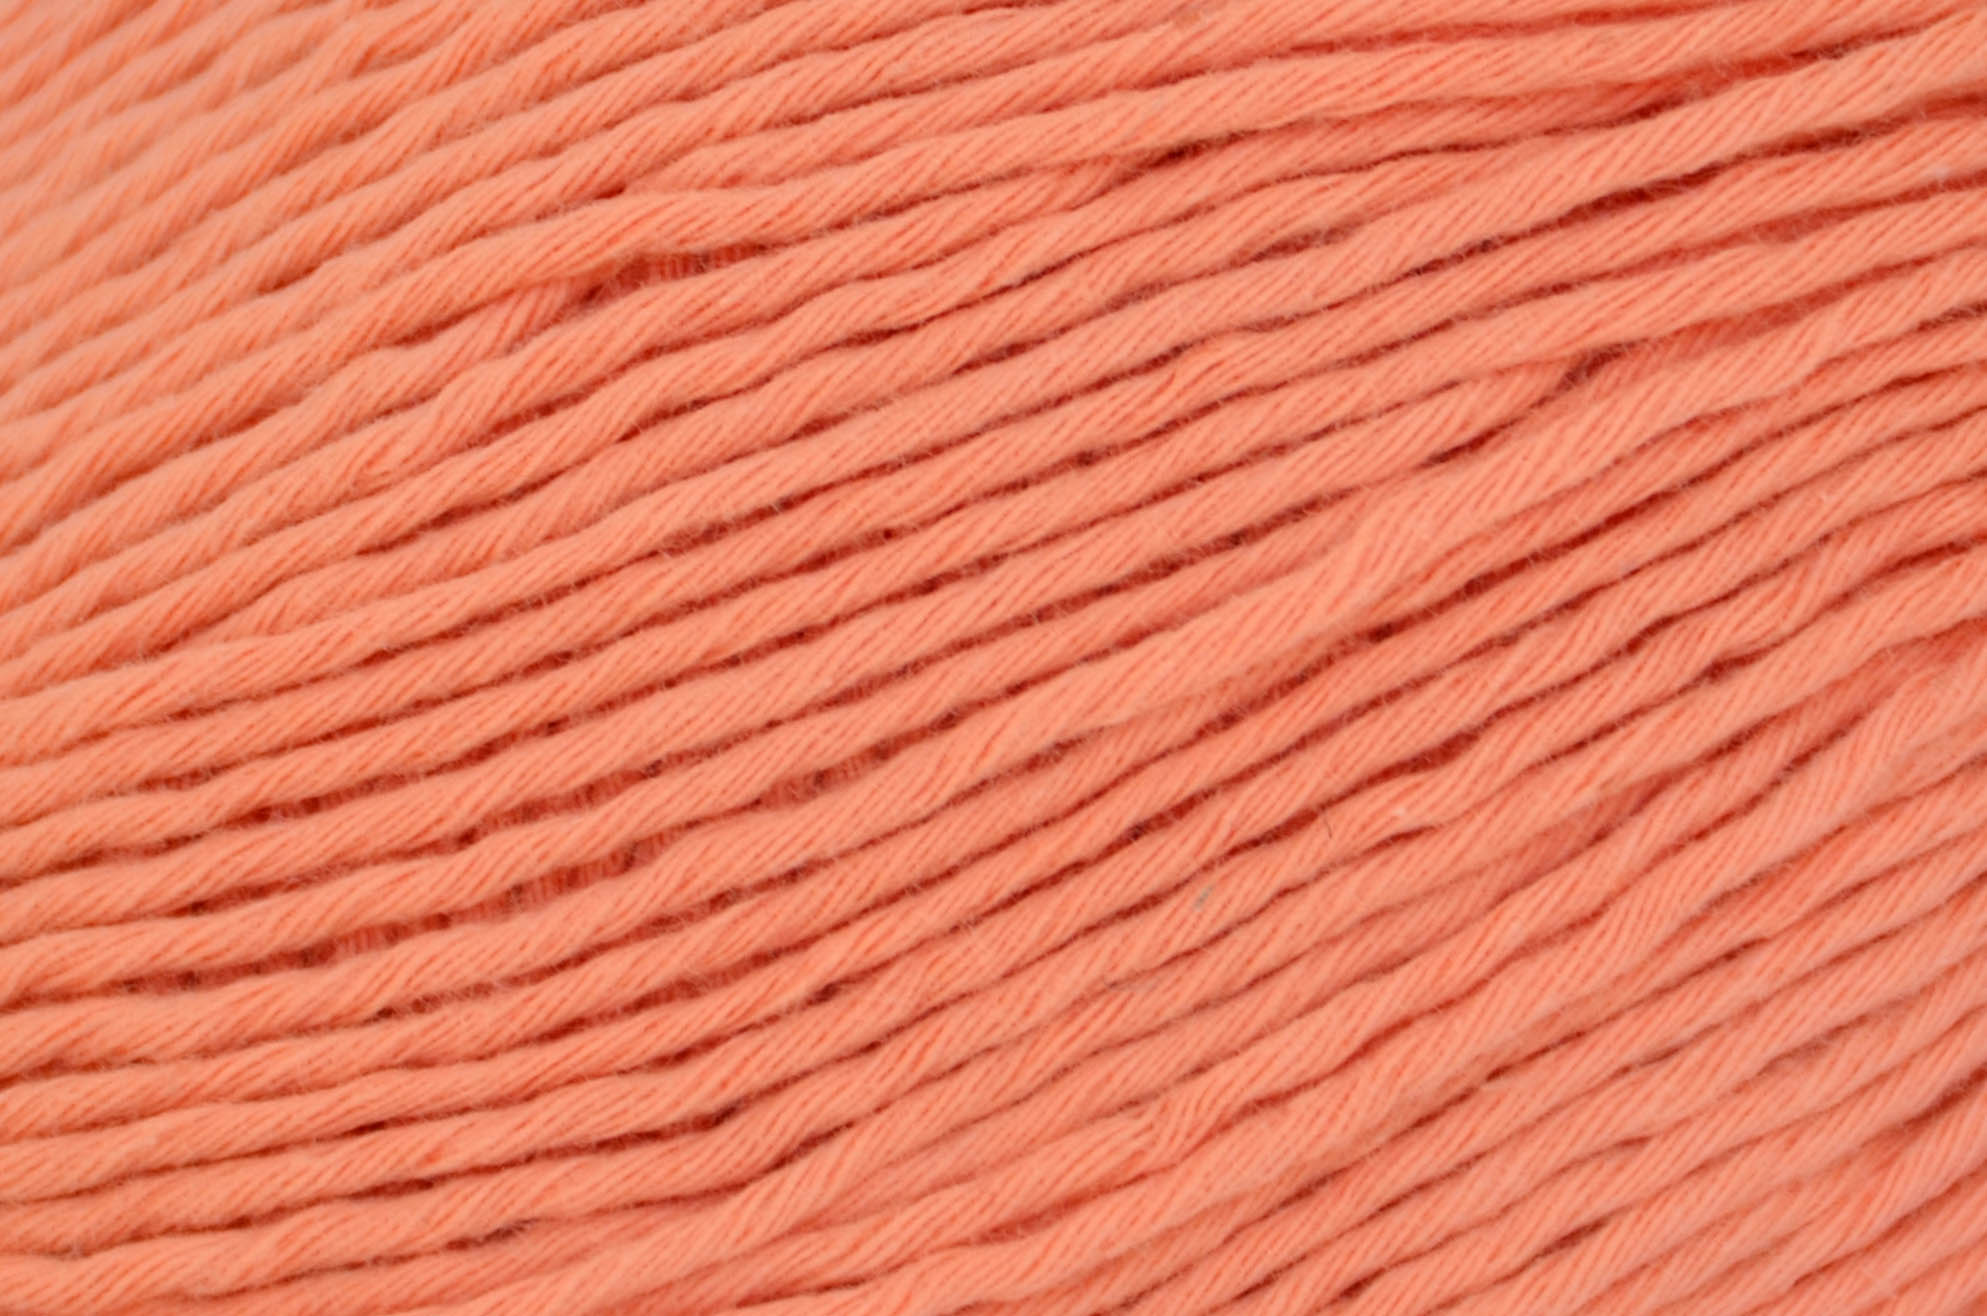
We happen to have varying shades of coral in many of our yarn lines. A lot of them are spot on to Pantone’s specific coral pick. Here’s a sampling:
Corrrllll. Brief aside: Tori Gurbisz (who used to be a designer here) and I used to have this inside joke that caused us to roll on the floor laughing anytime we heard the word “coral”. Andrew Lincoln, the actor who plays Rick on The Walking Dead is British (but plays an American), and his son’s name on the show is Carl. In earlier seasons before Lincoln mastered the southern American accent, anytime he’d say his son’s name it sounded like Coral, rather than Carl. We found this hilarious.
Anyway. Coral. It’s so fun and vibrant. It makes me happy because I have a few designs coming down the pike for spring that incorporate this color, and I can’t wait to share them with you. But in the meantime, let’s look at some other coral-y goodness.
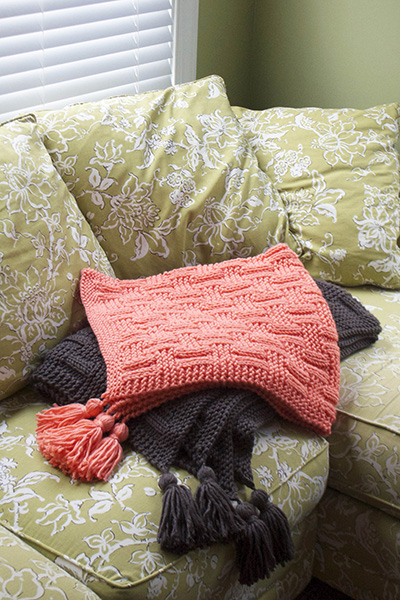
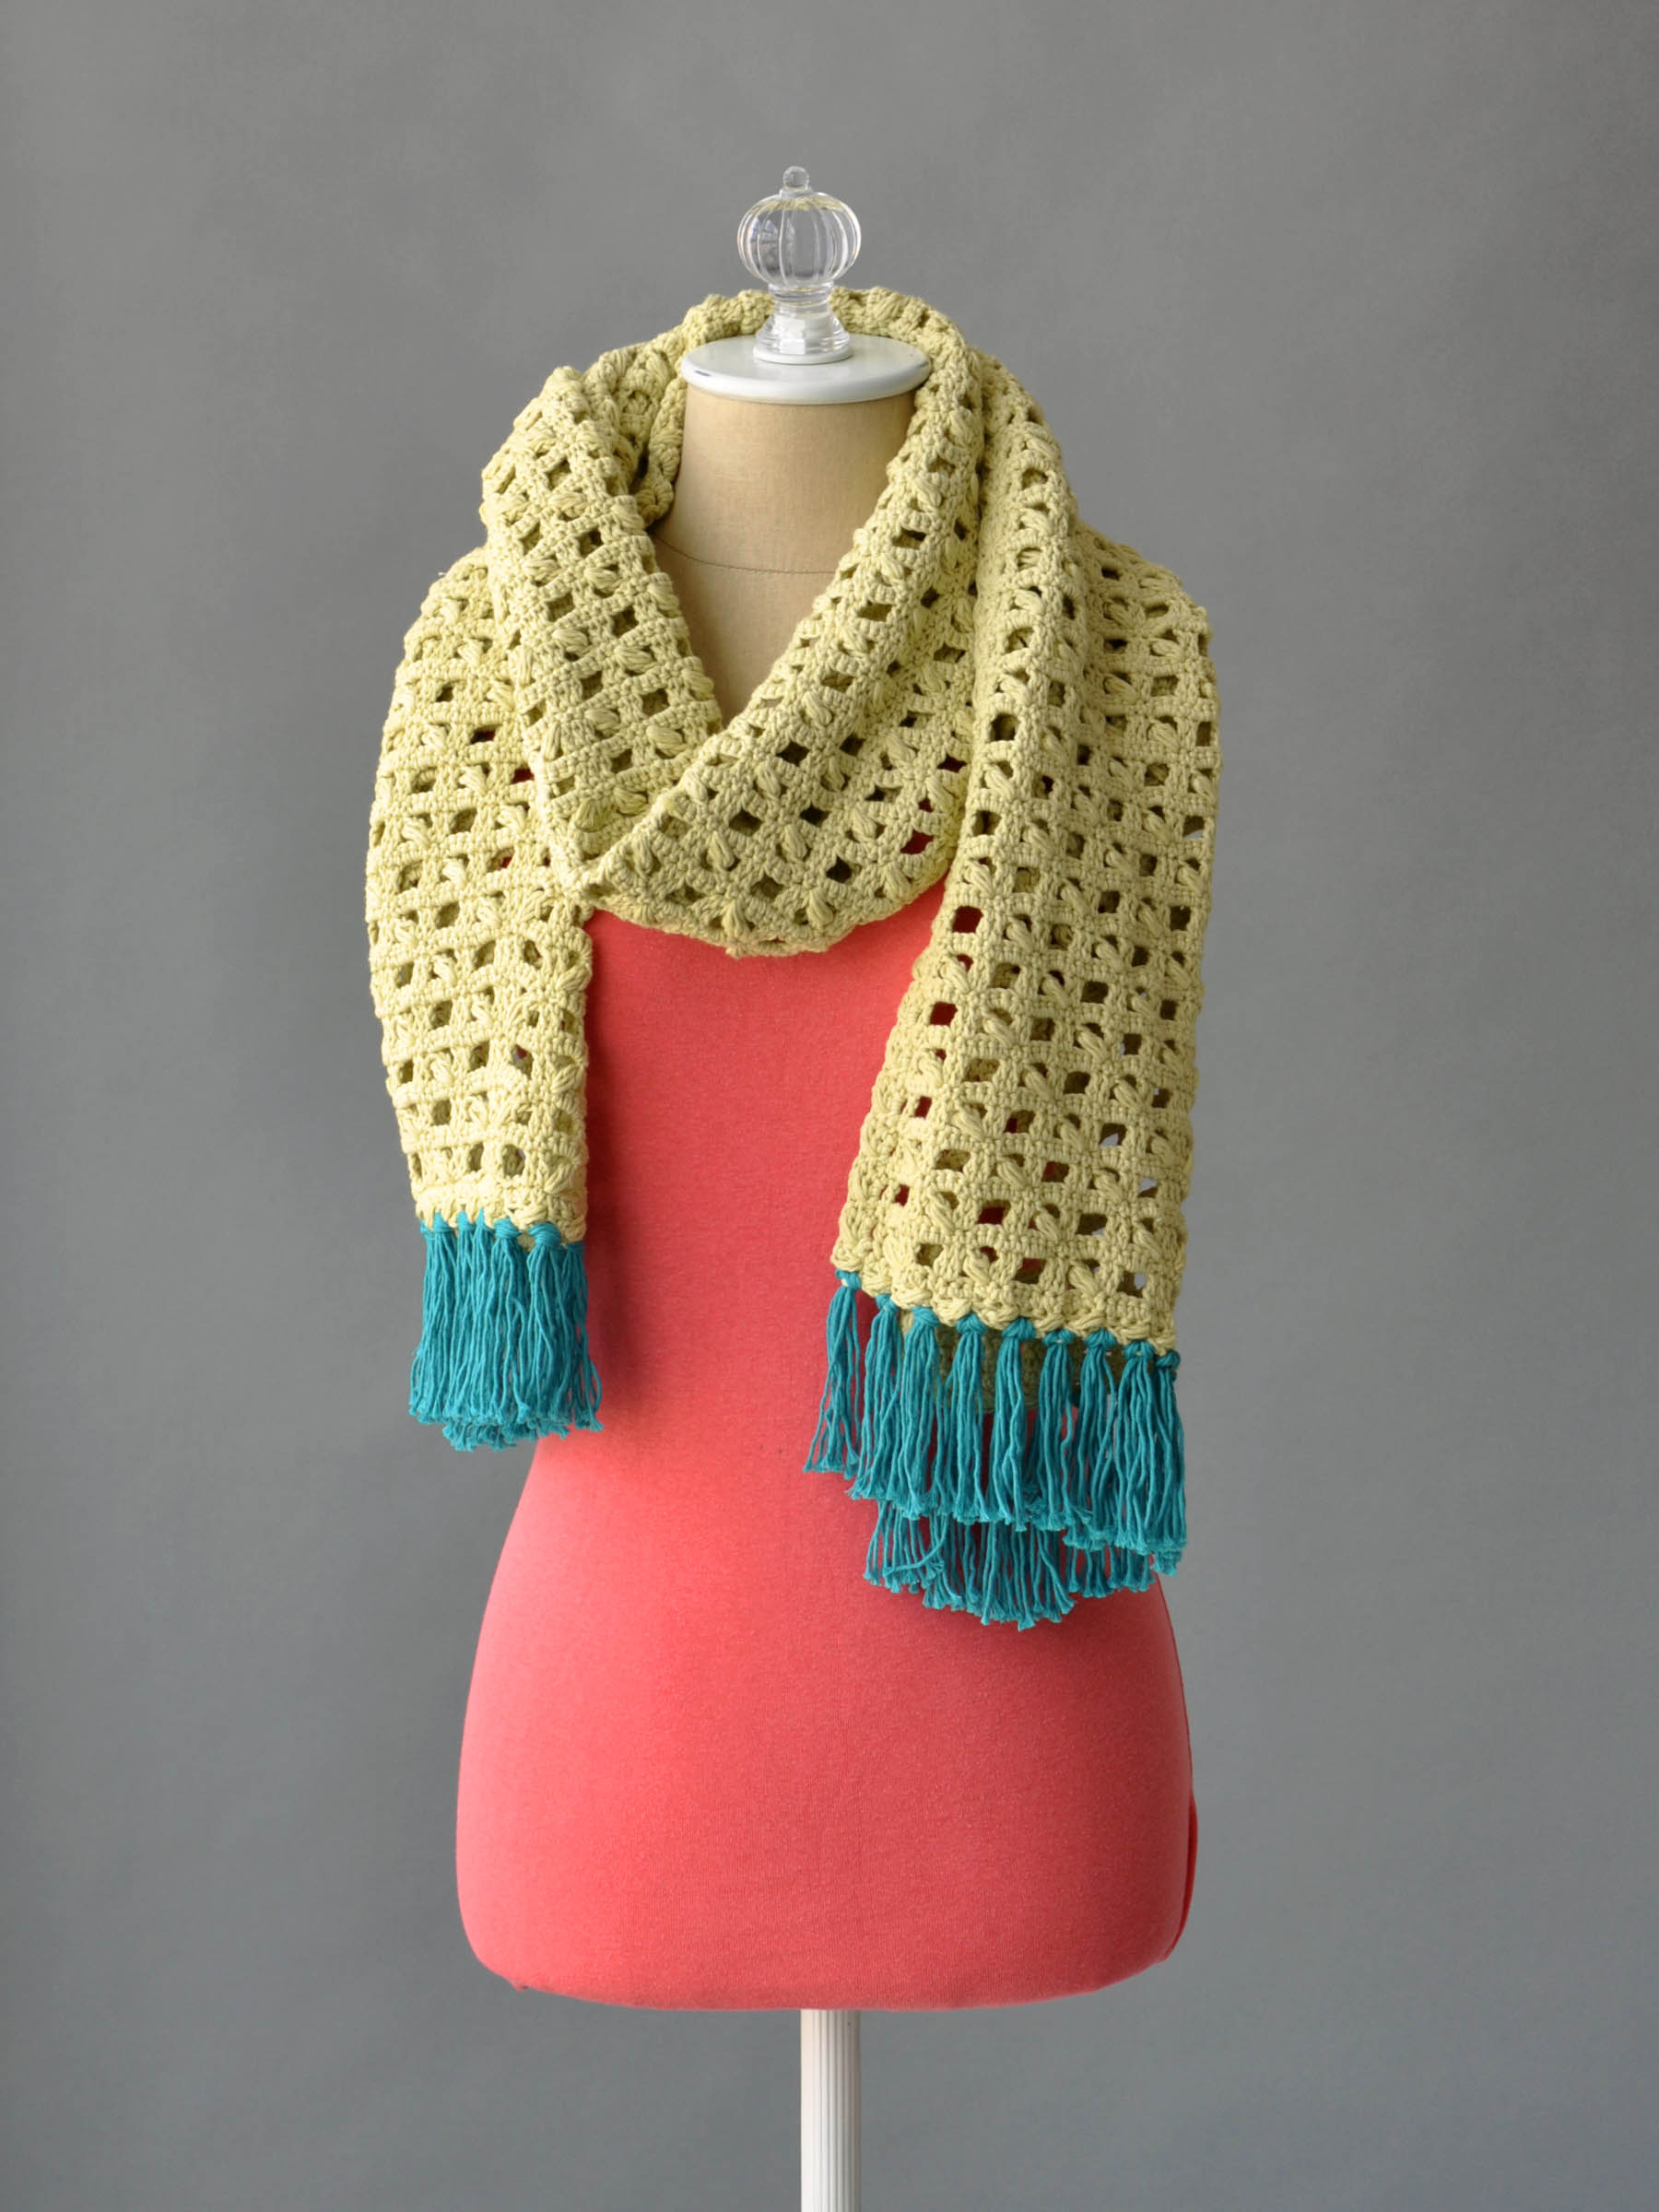
And of course, you can crochet or knit anything you want in coral or any other color! If you’re thinking you’d like to start with a pop of coral rather than using it all-over in a project, how about the Citron Scarf in Cottonwood? You could crochet the body of the scarf in a neutral, and add color 41107 Monica (coral) as the fringe?
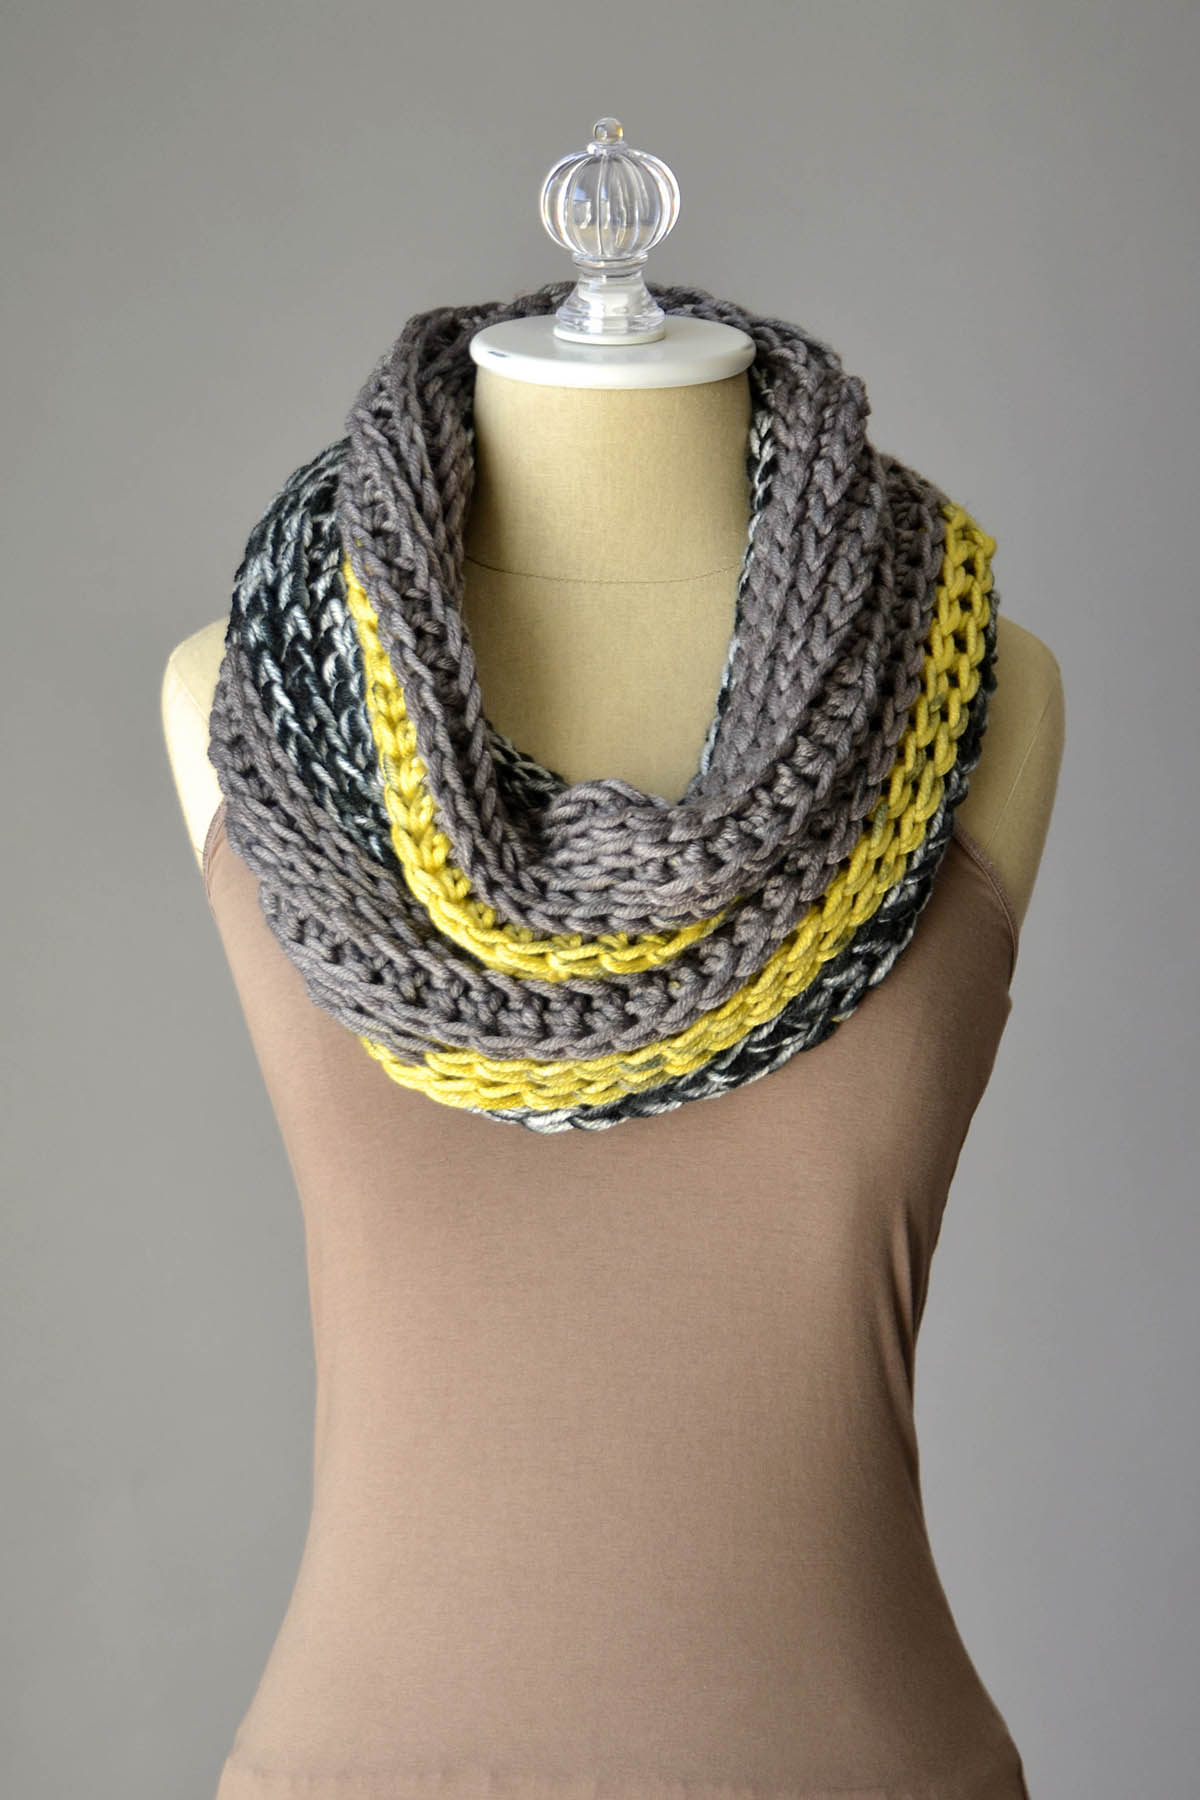
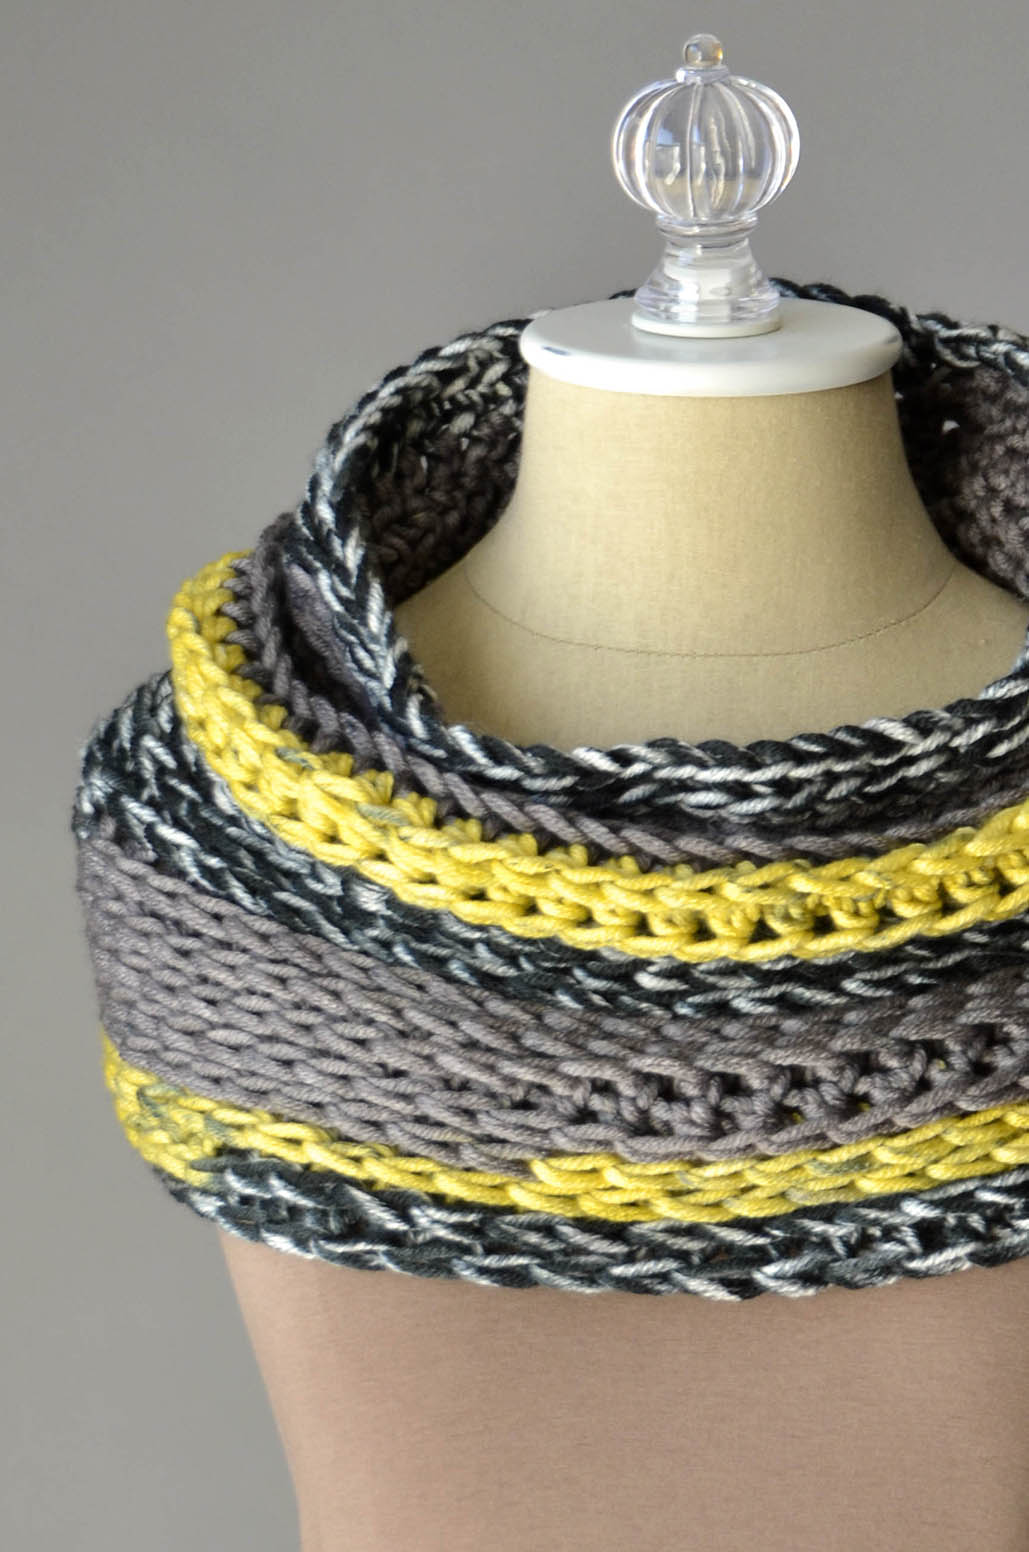
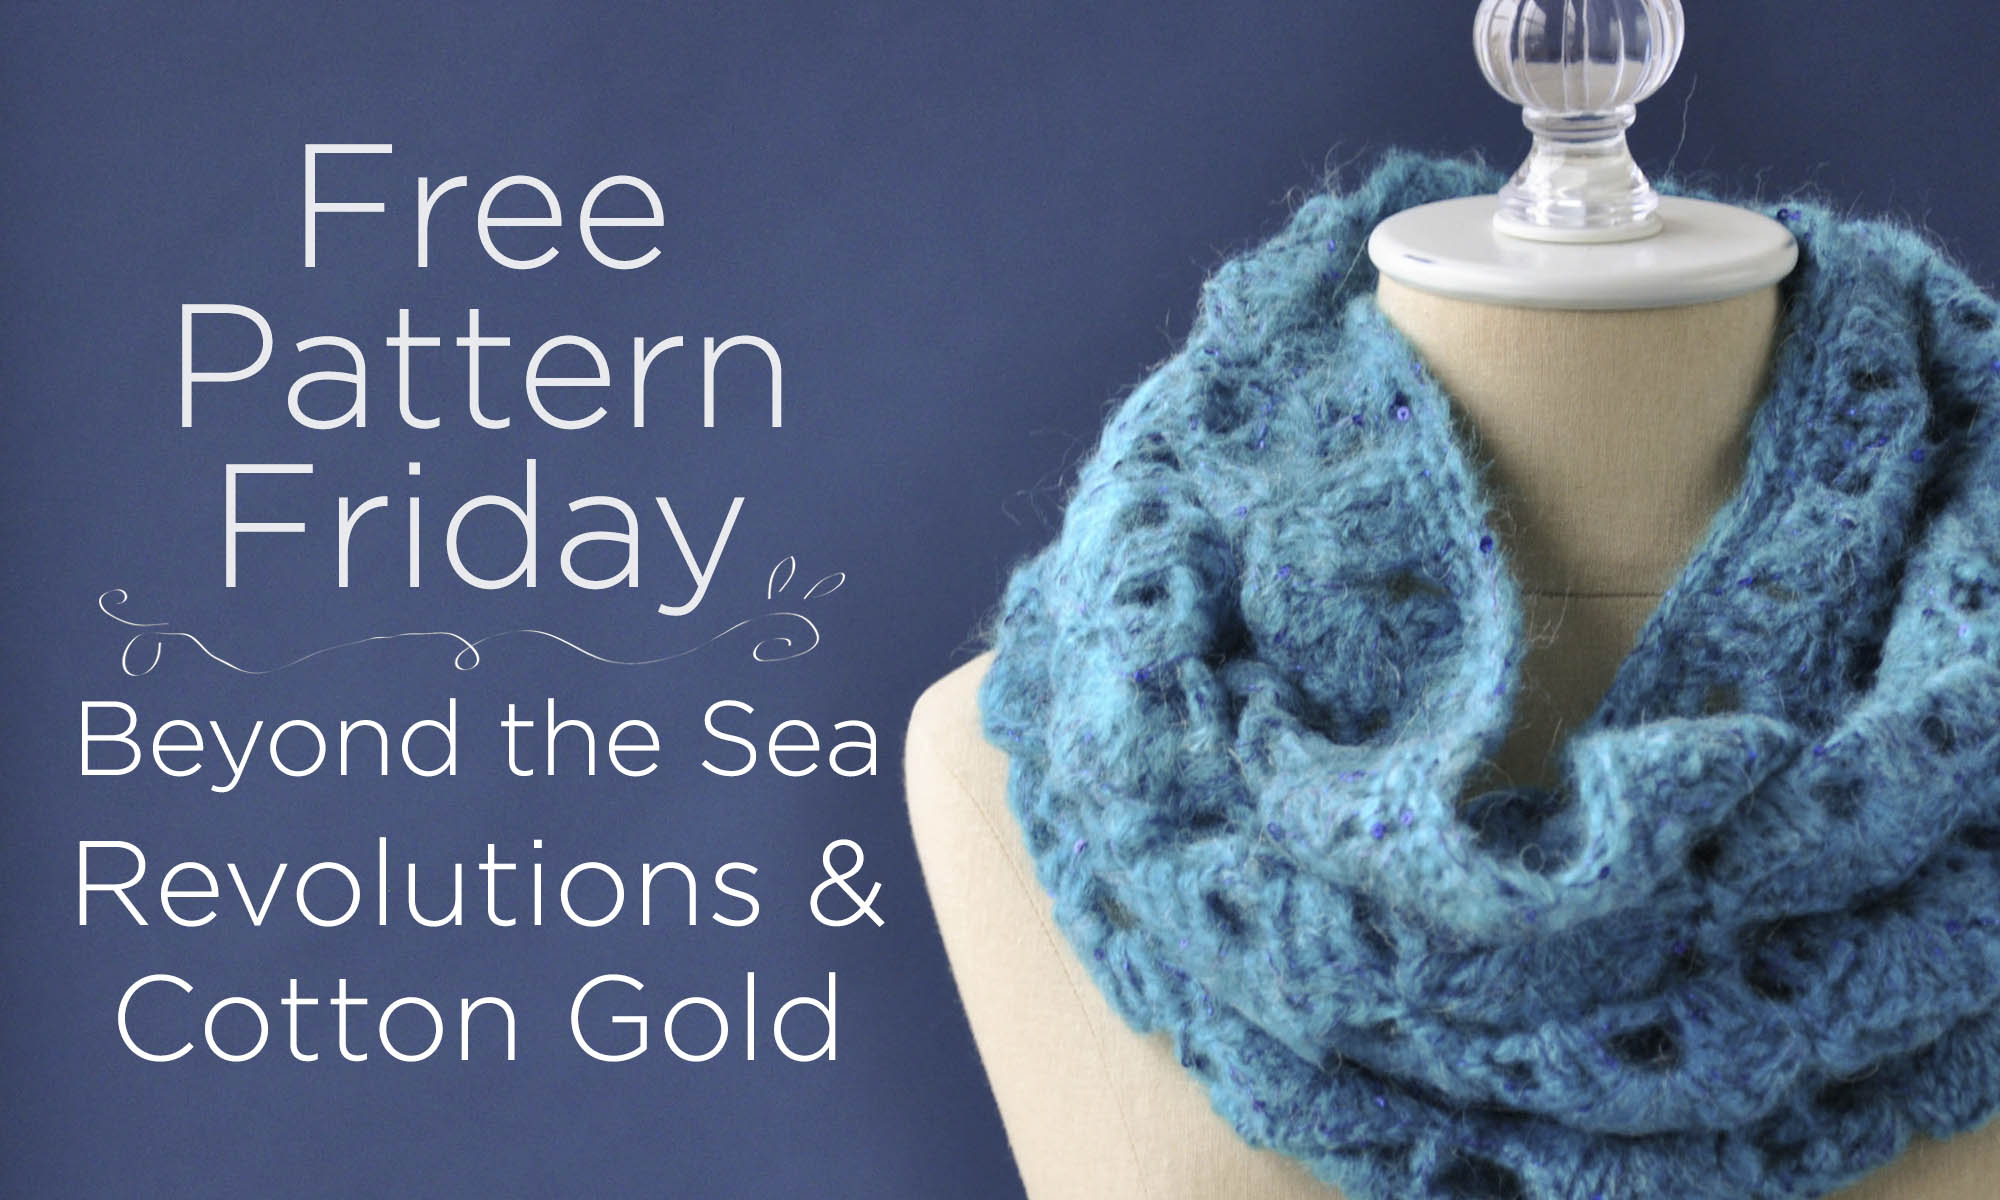
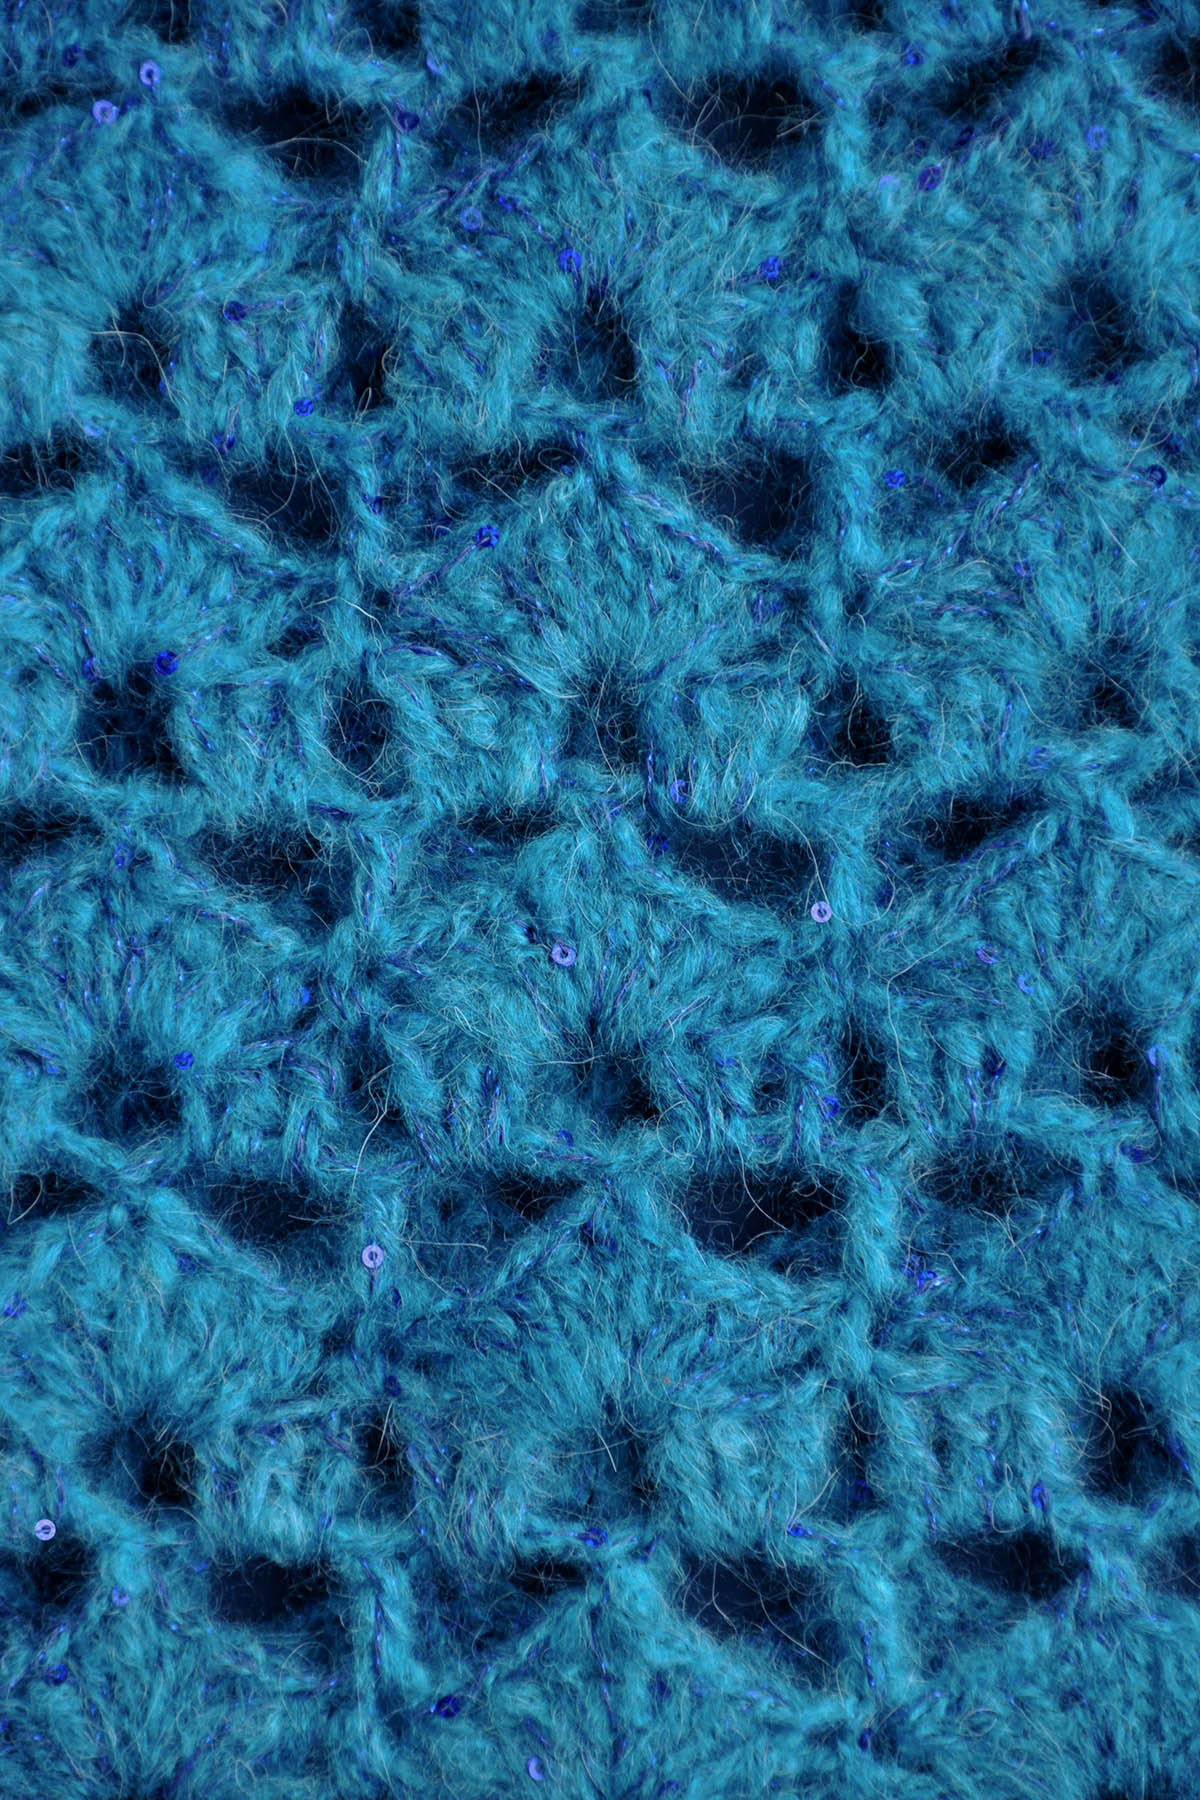
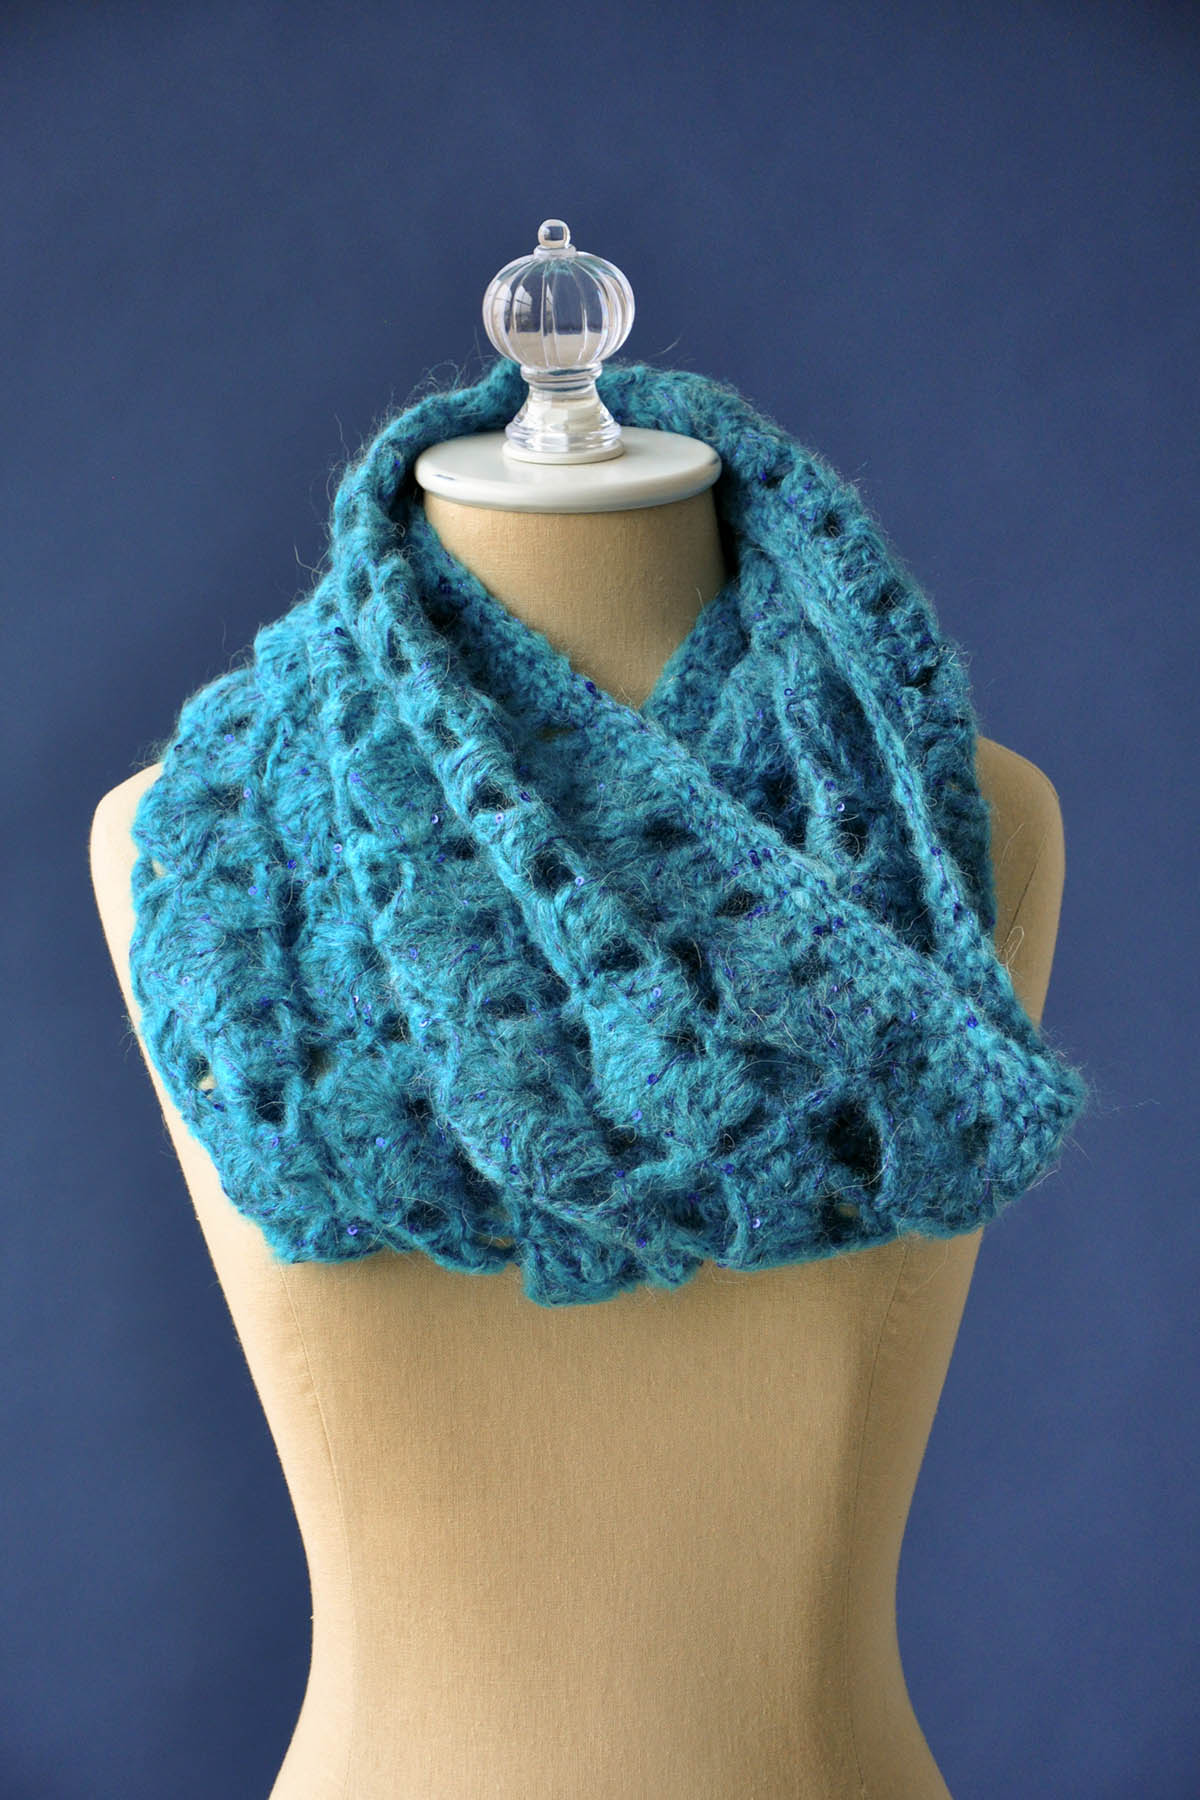
This cowl is named for the Bobby Darin song, that talks about how the singer’s true love is waiting across the waves. But it also hearkens to song’s original French inspiration, La Mer, with its visions of the sea dancing along the shore, shimmering under the rain.
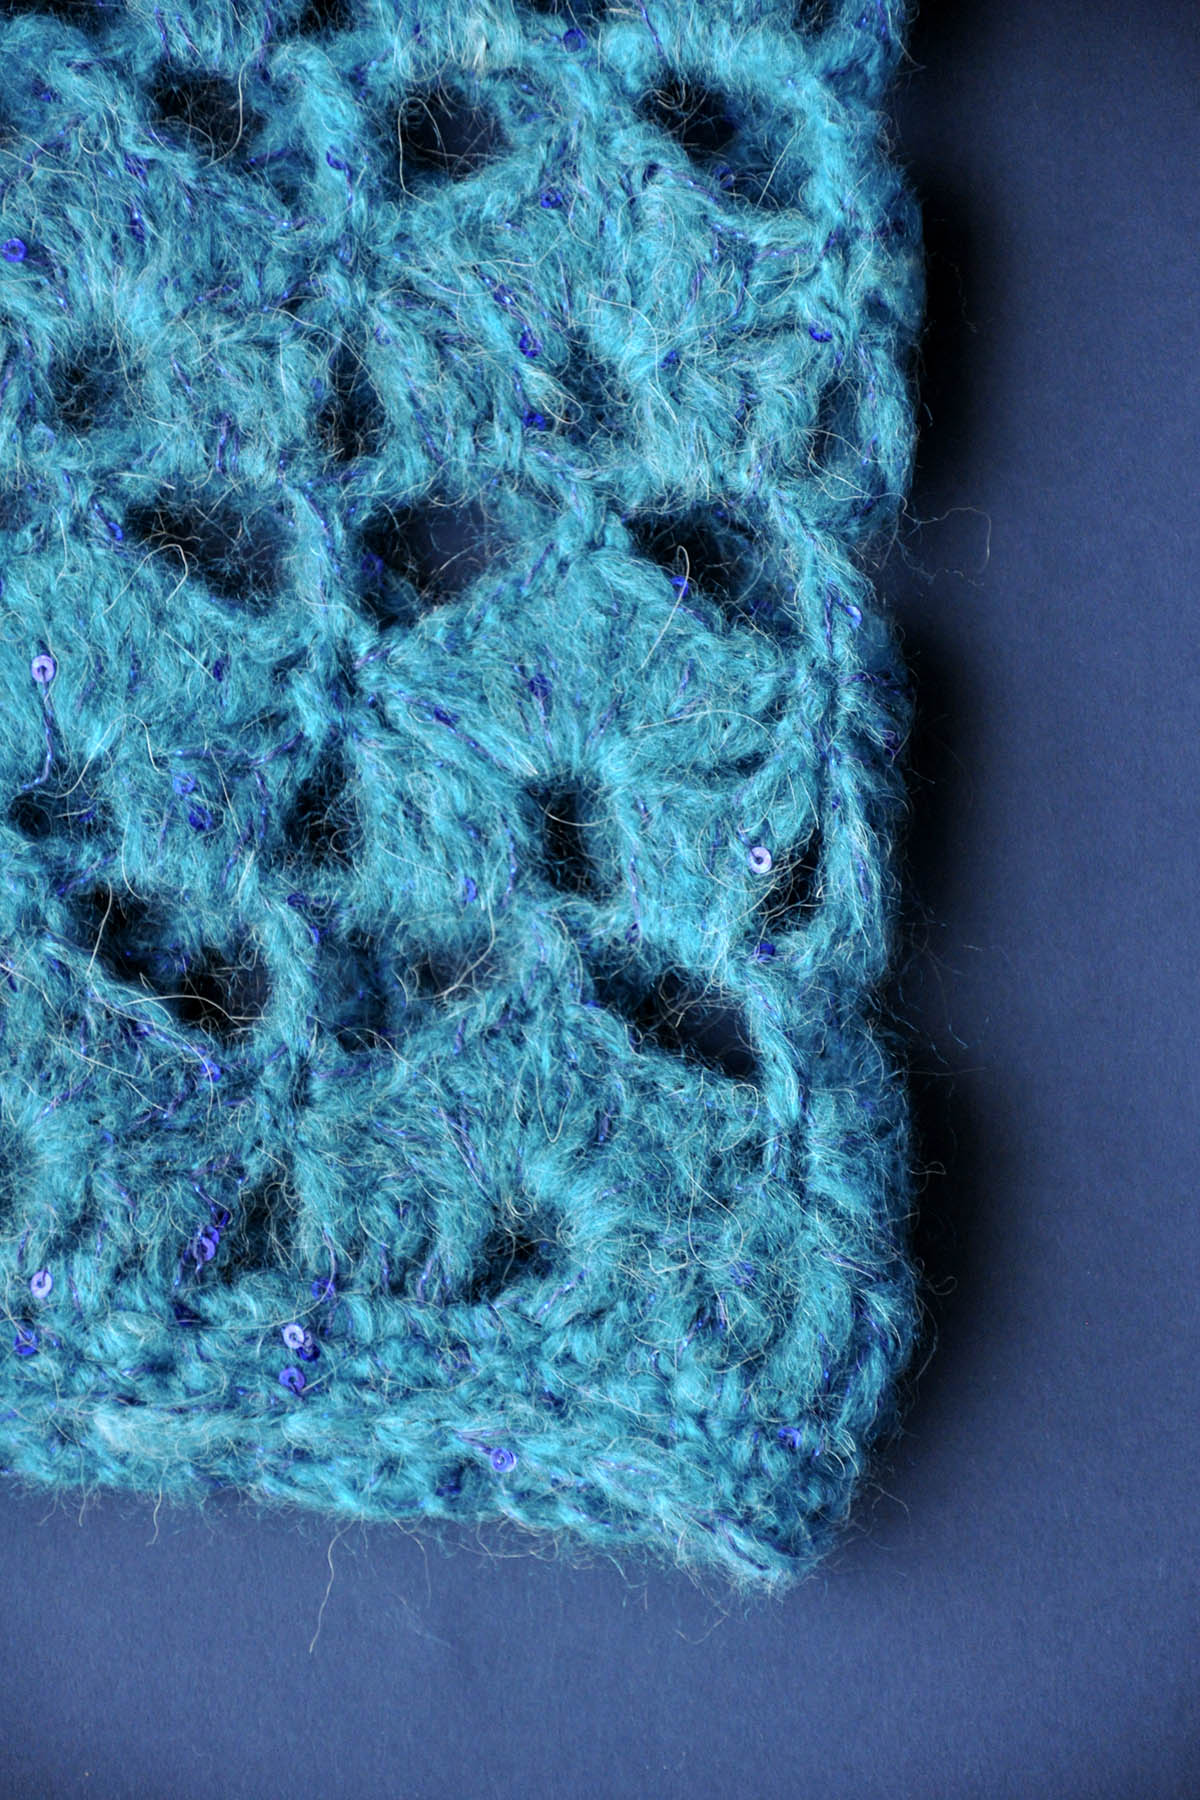
Mixing the warmth of Revolutions‘ alpaca and mohair halo with the glitter in sequined Cotton Gold captures the feel of the light sparkling on the waves.
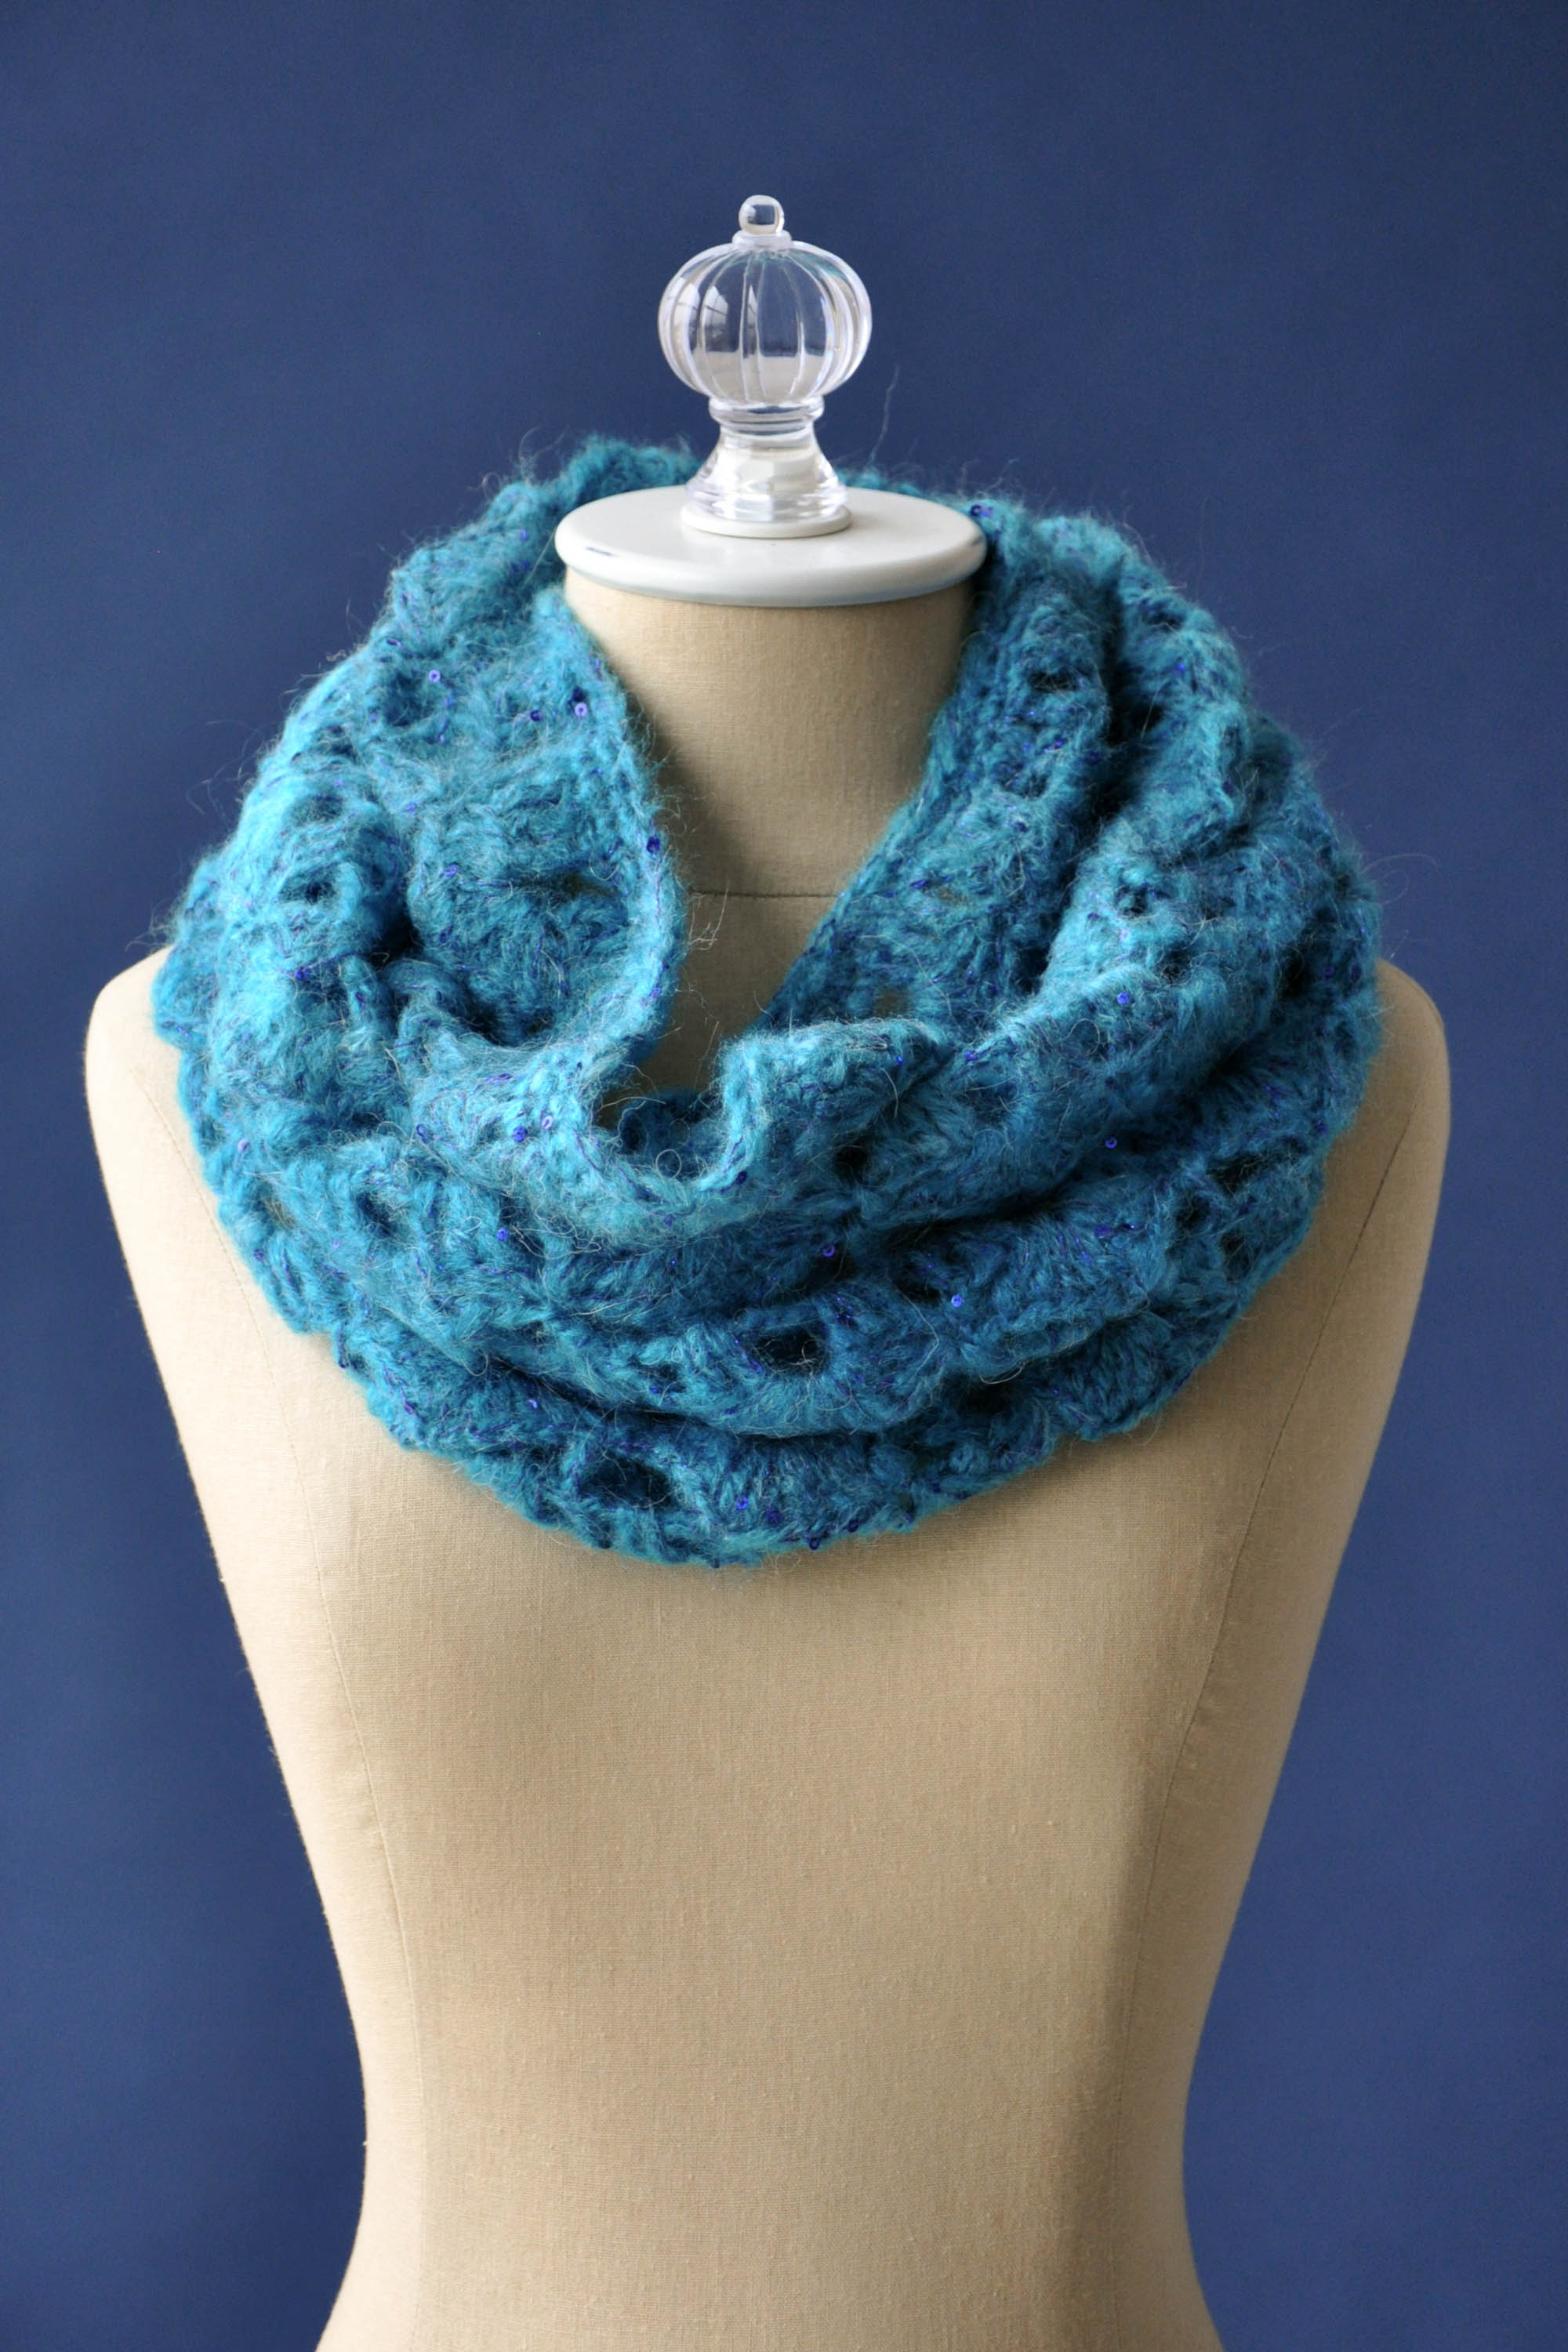
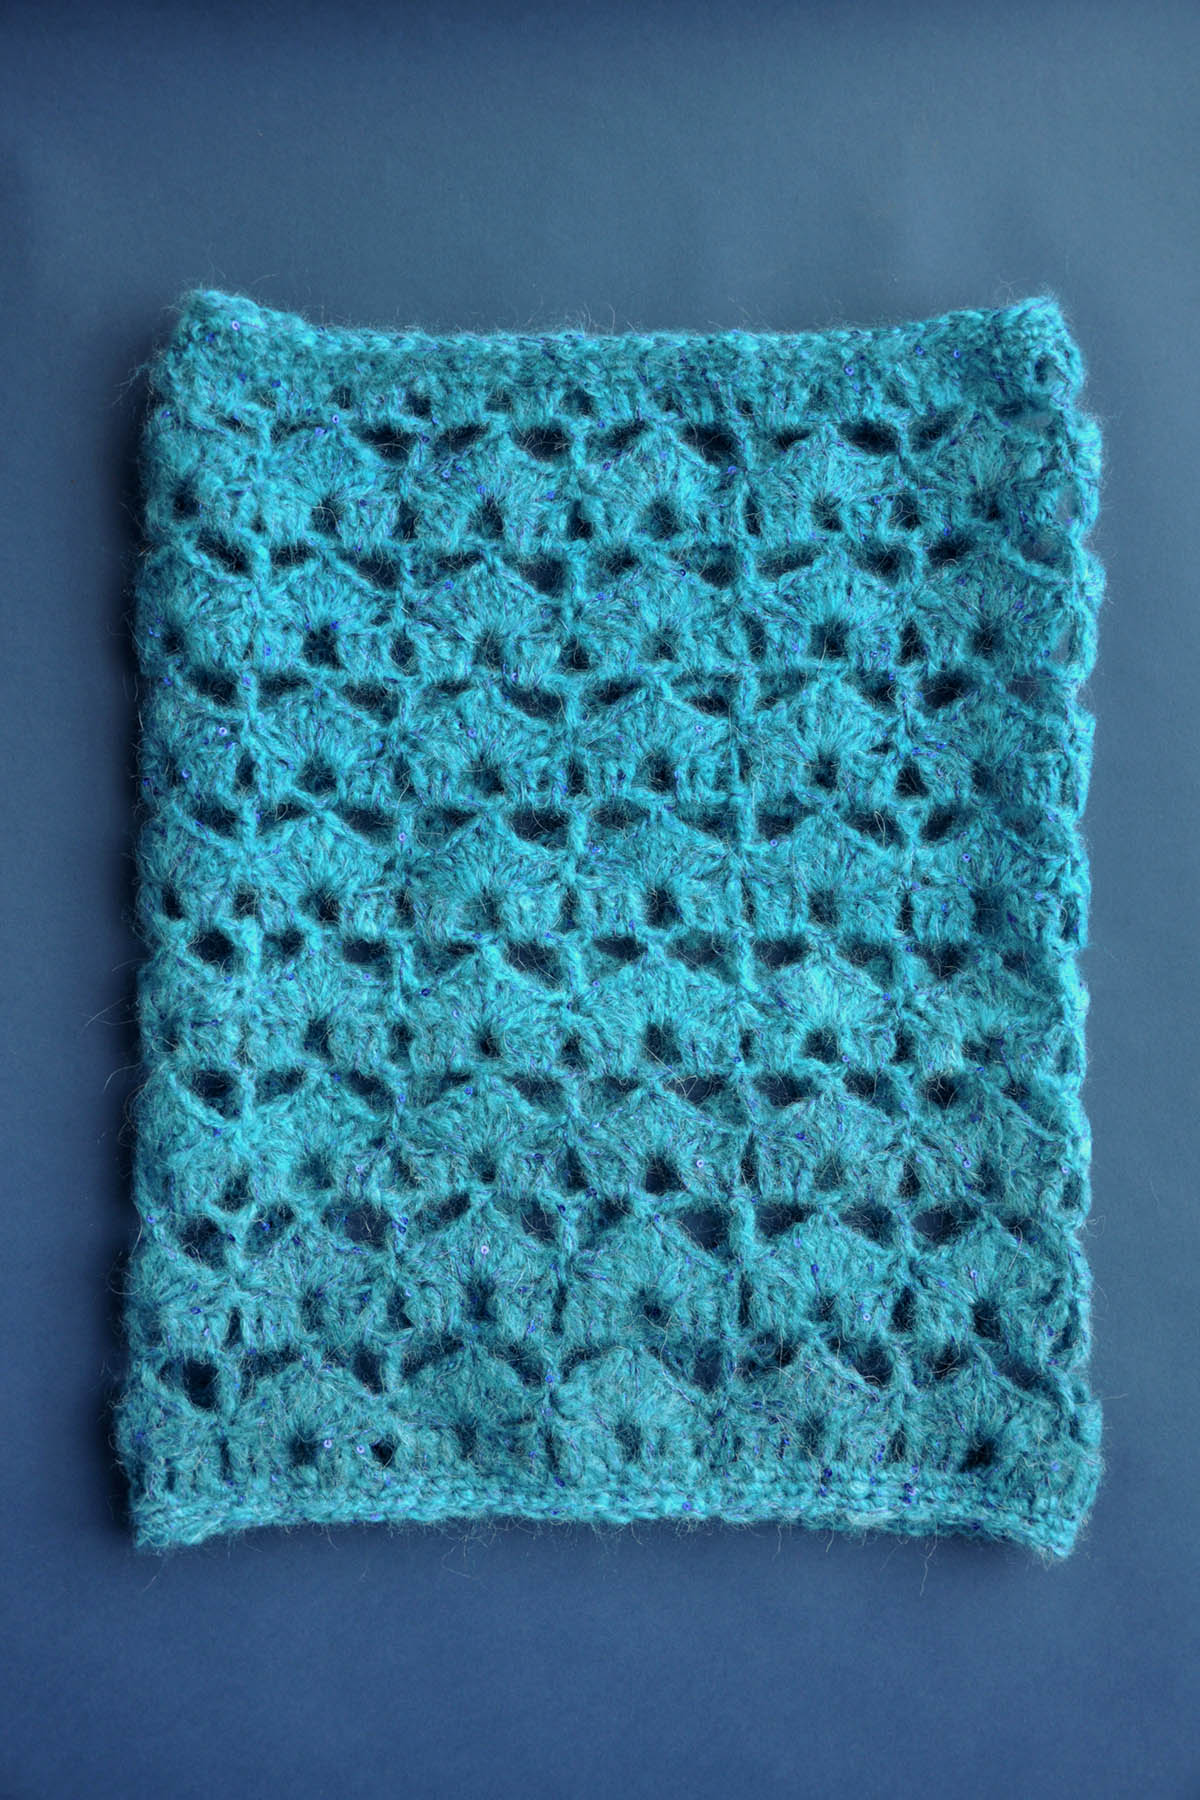
The main pattern is a three row repeat using very basic crochet stitches, making this a suitable project for an adventurous beginner.
The finished product has a warm and relaxed fabric, both dressy and practical. It’s easy enough to widen this cowl, if desired. It uses an 8 stitch repeat, so just start with more stitches in that 8 stitch increment and you’re set.
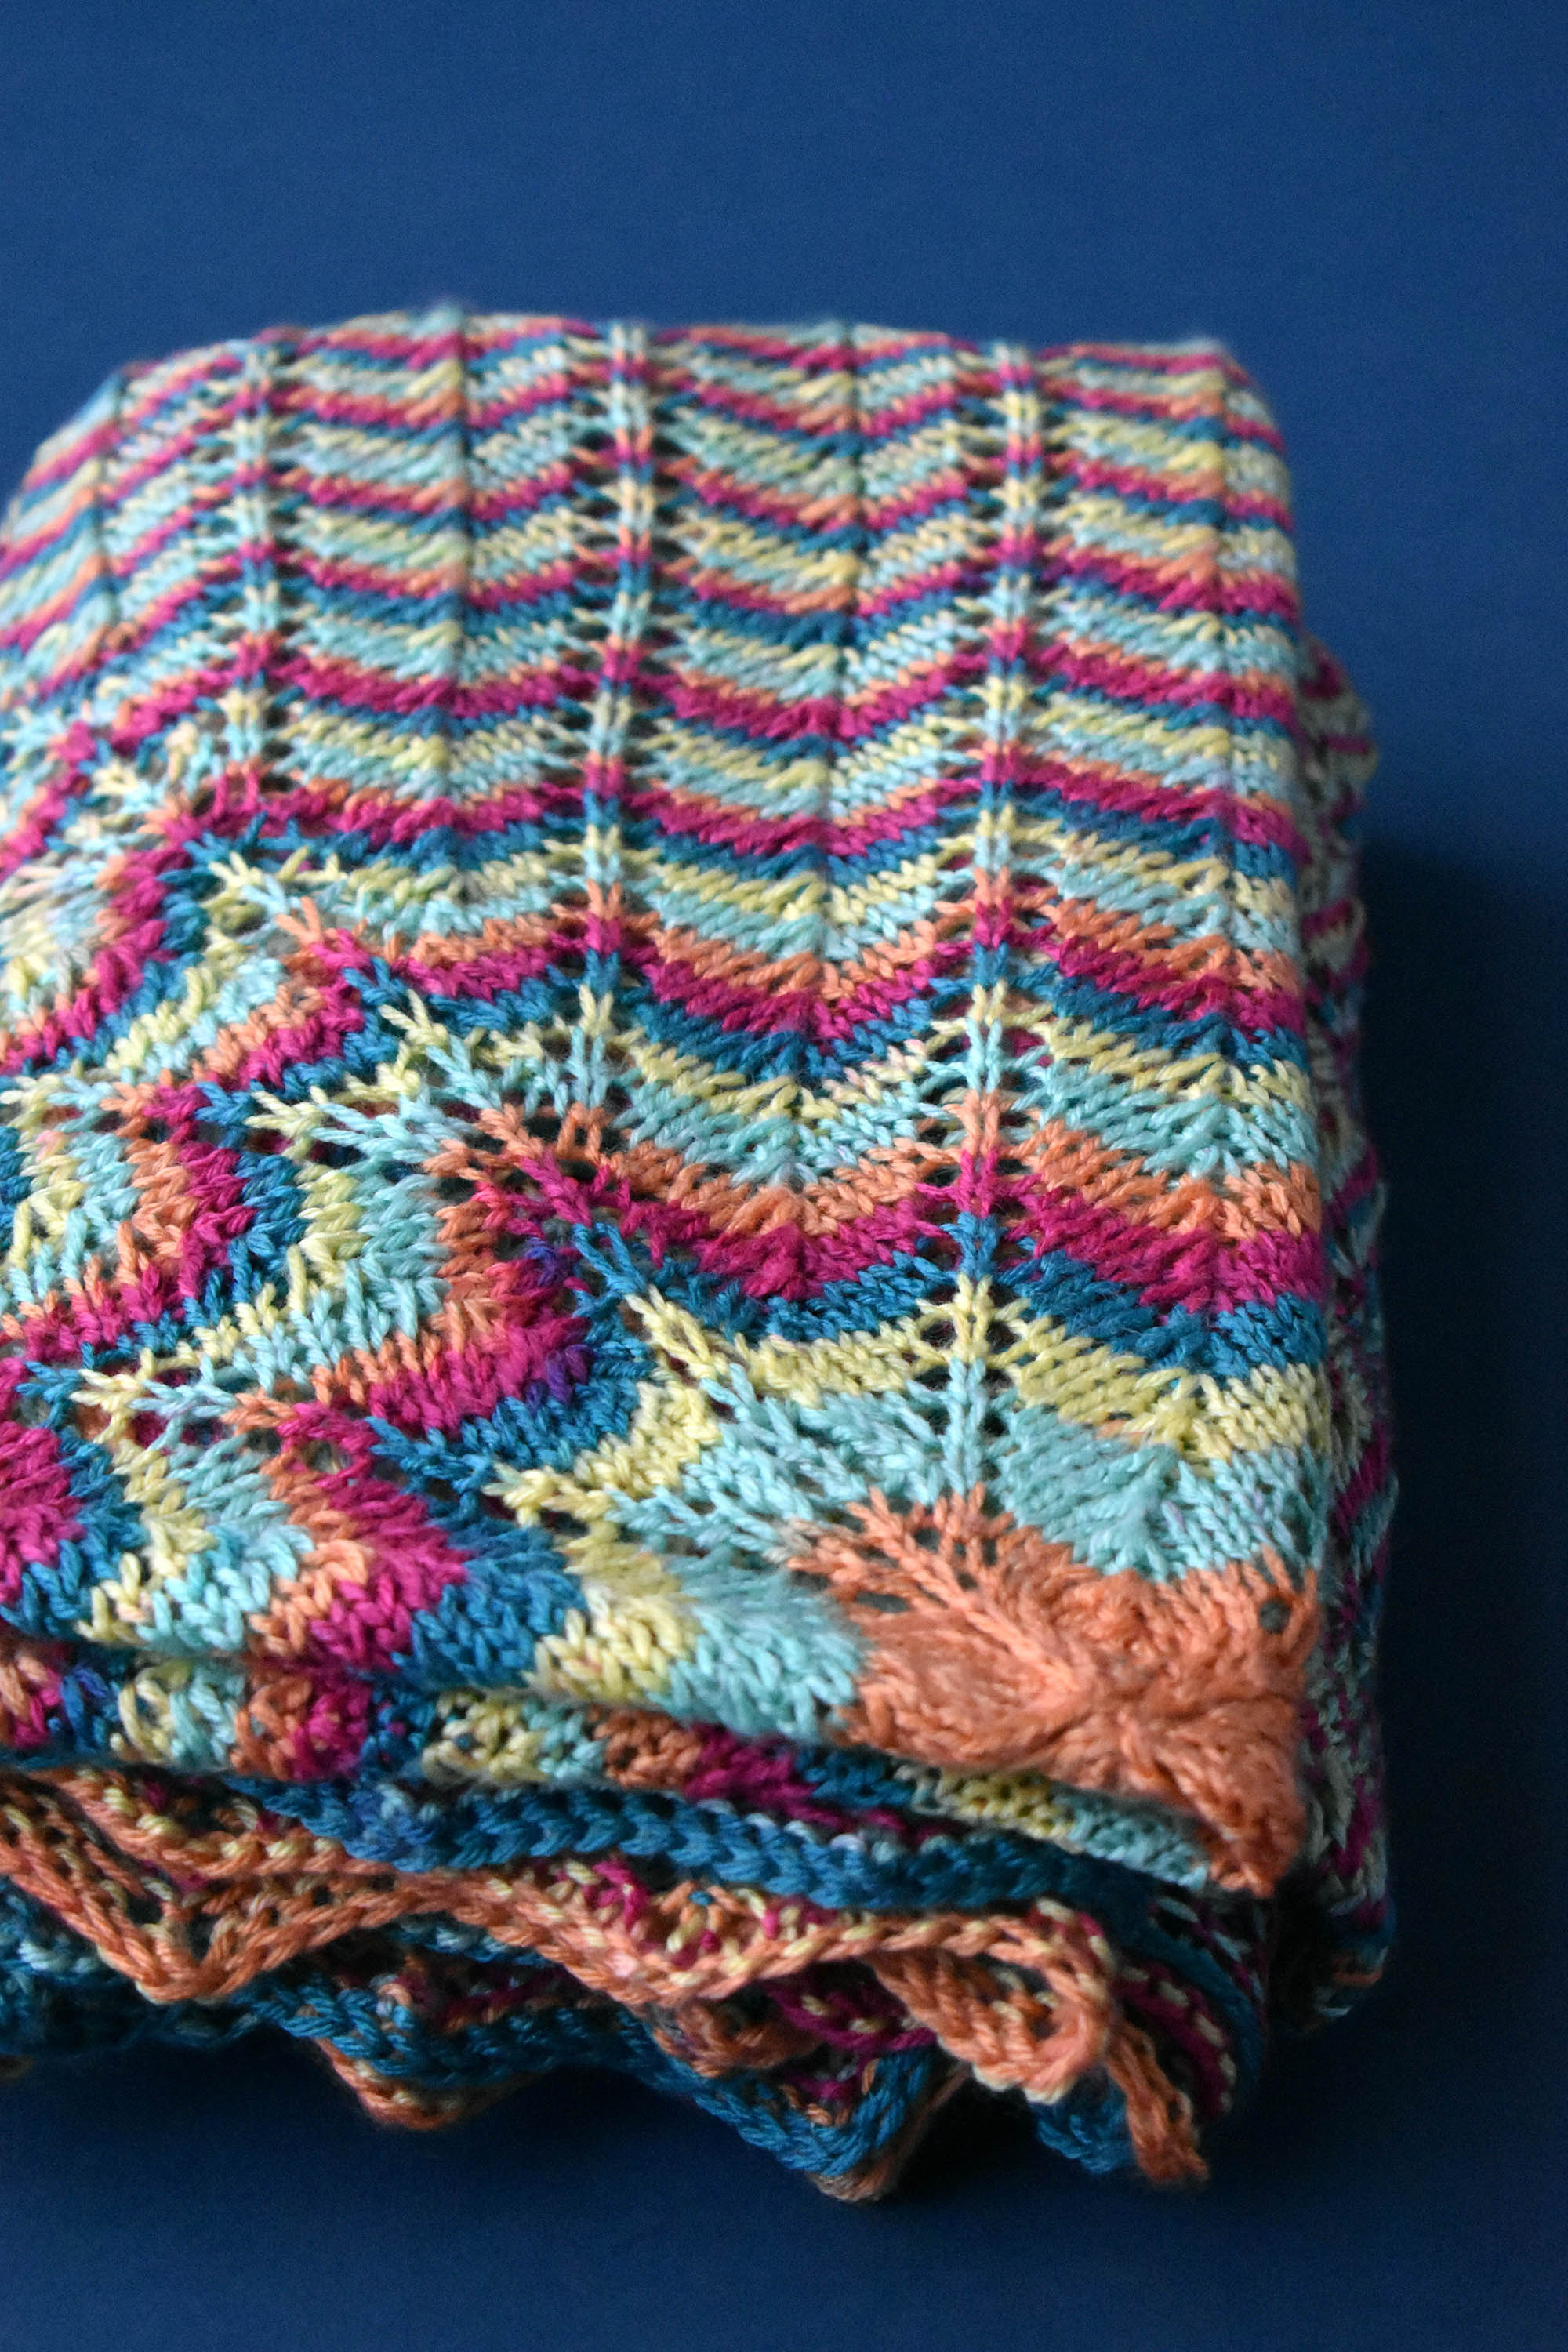
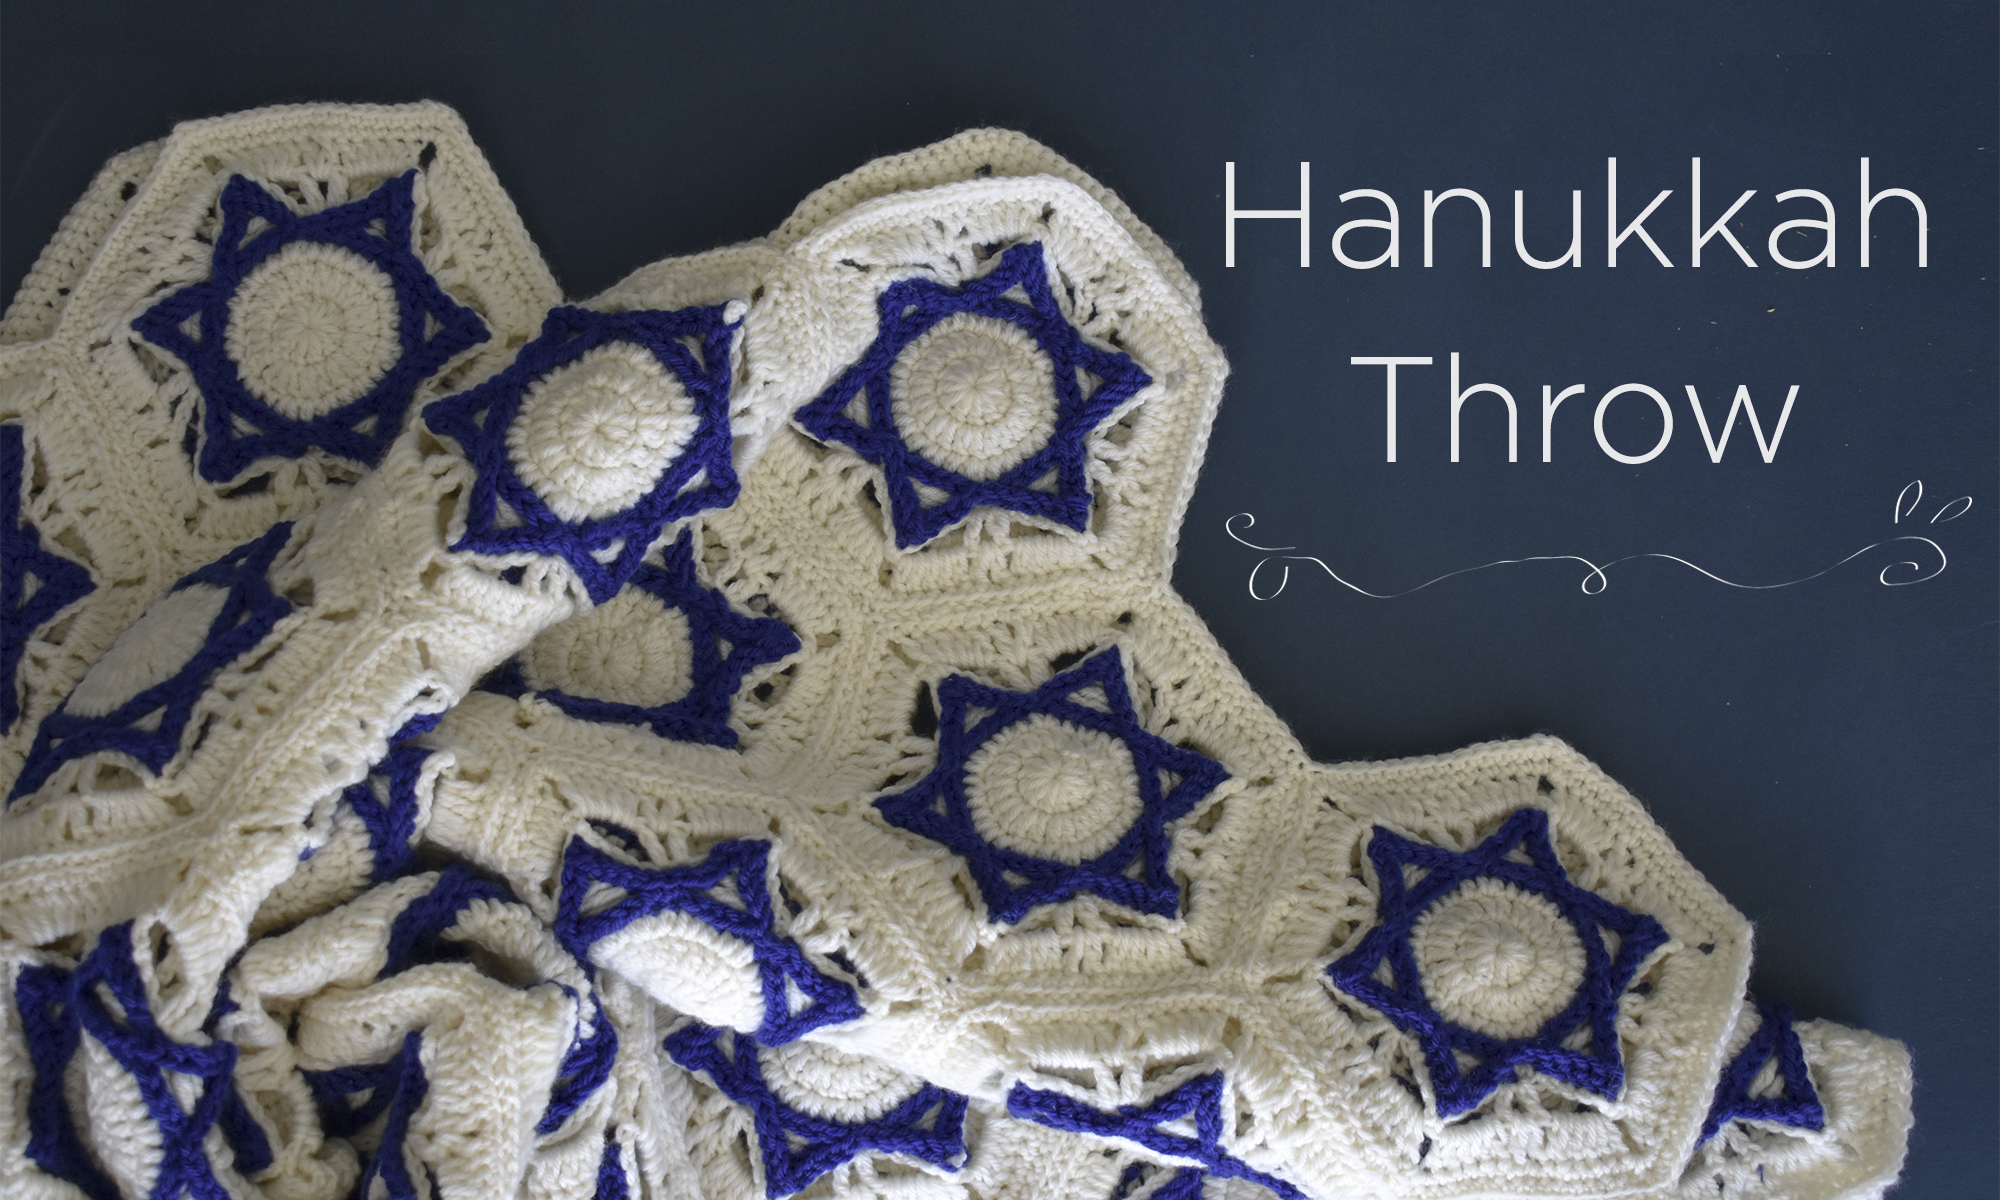
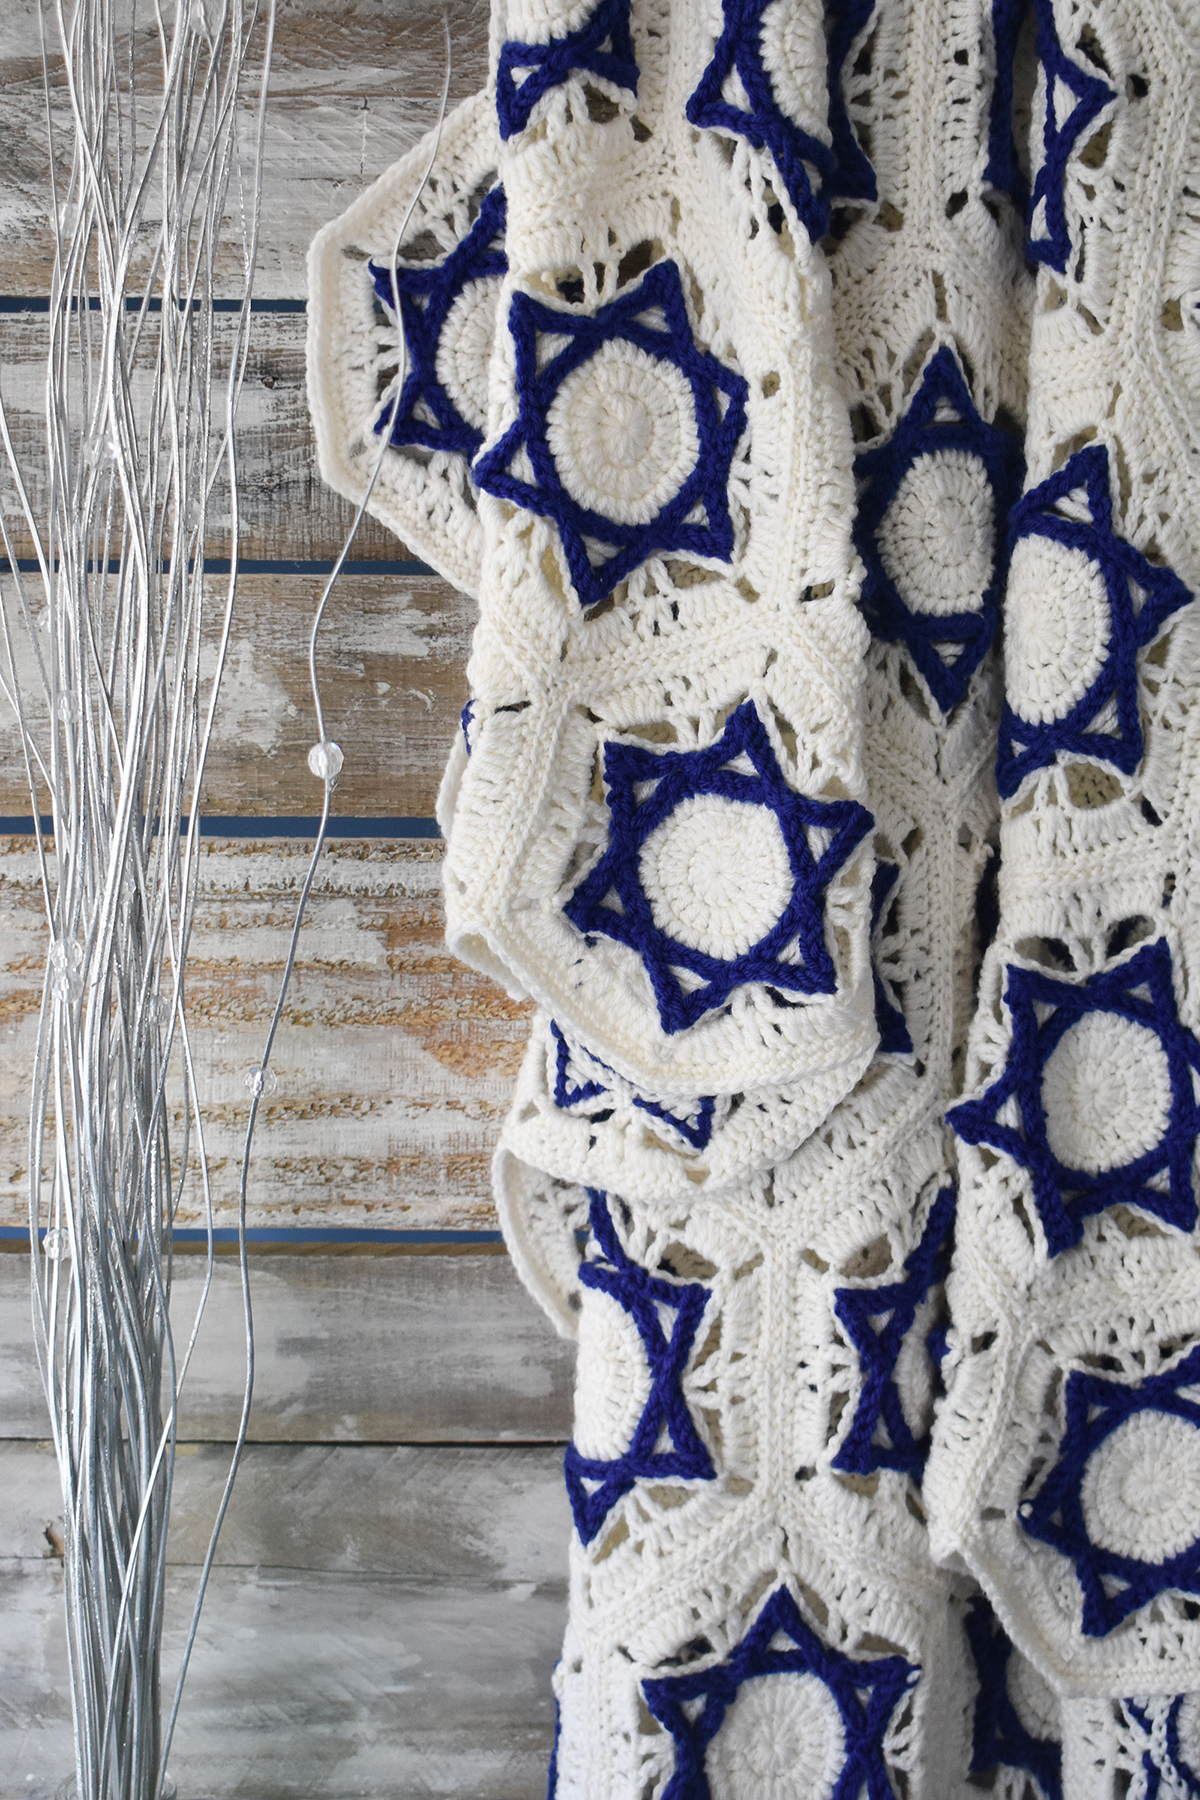
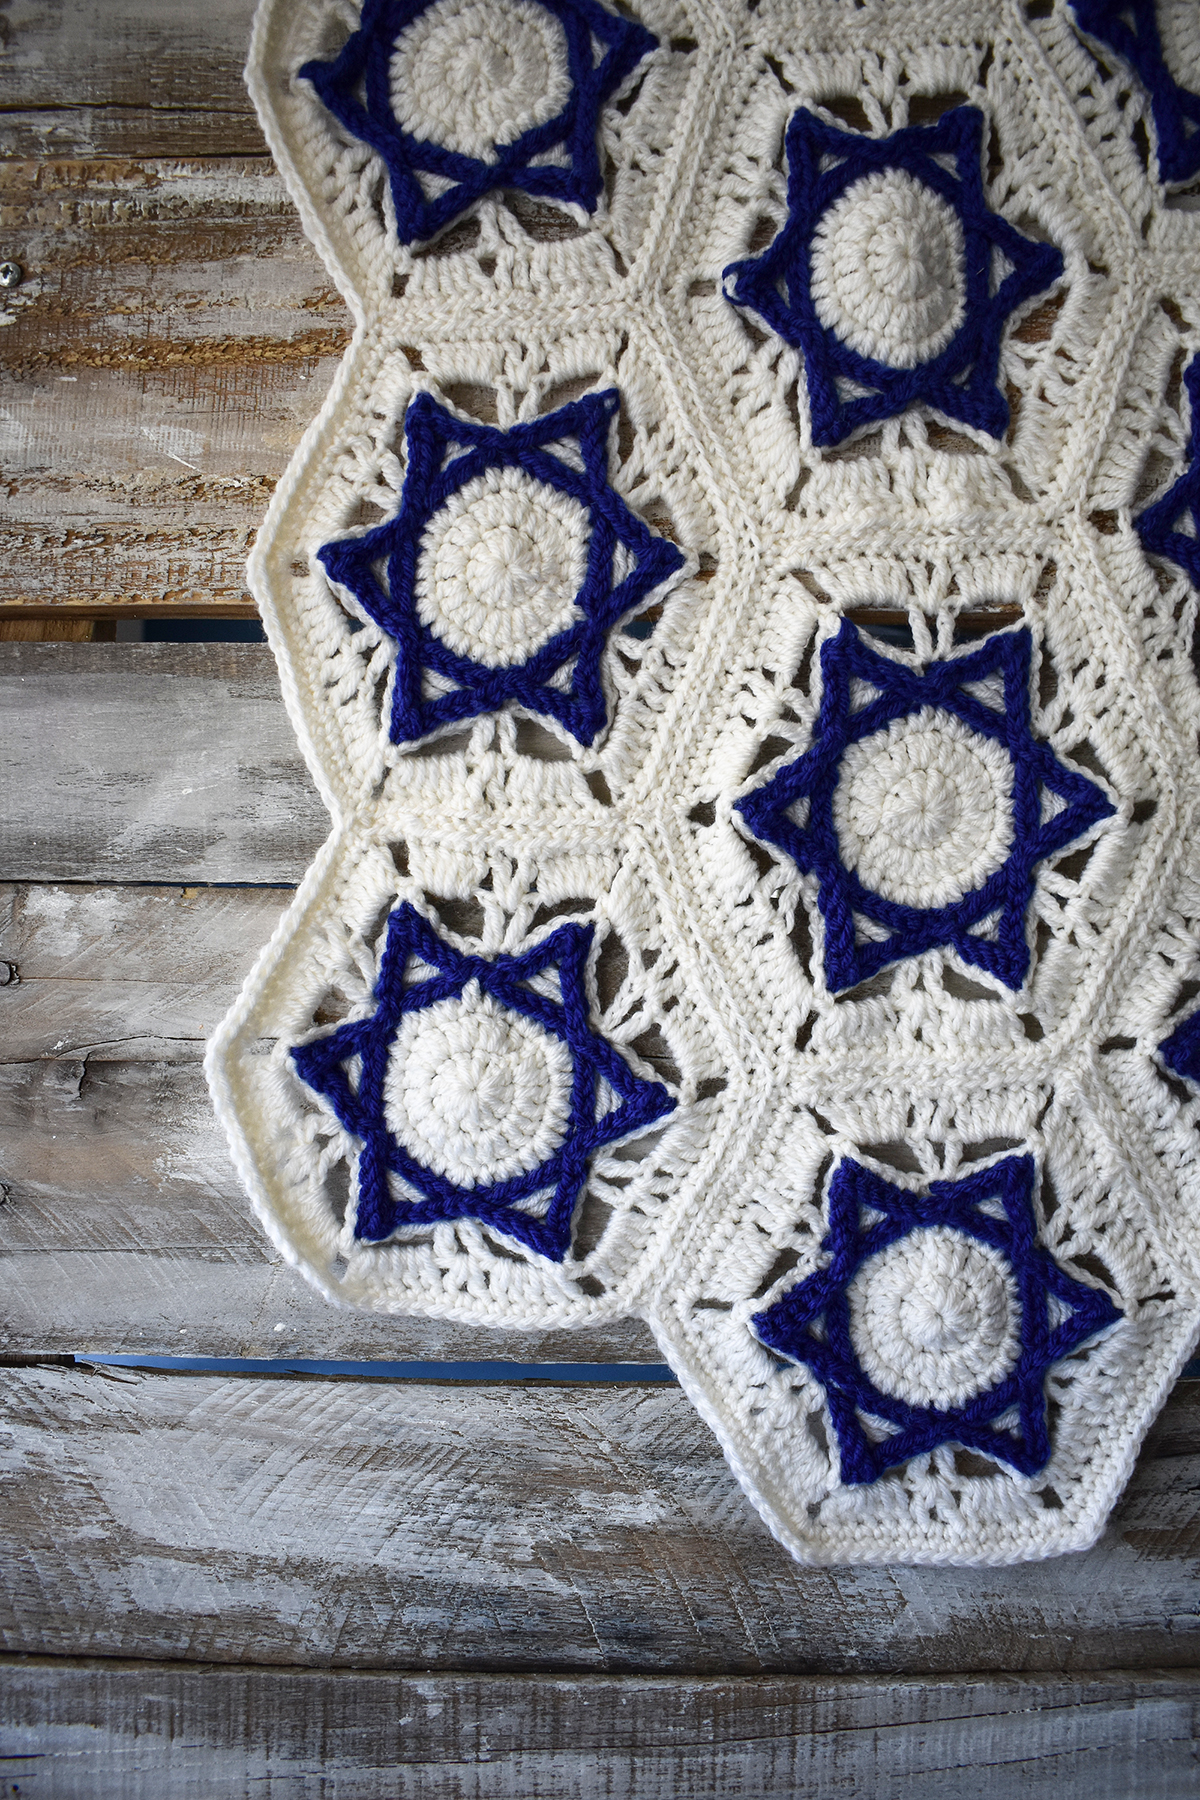
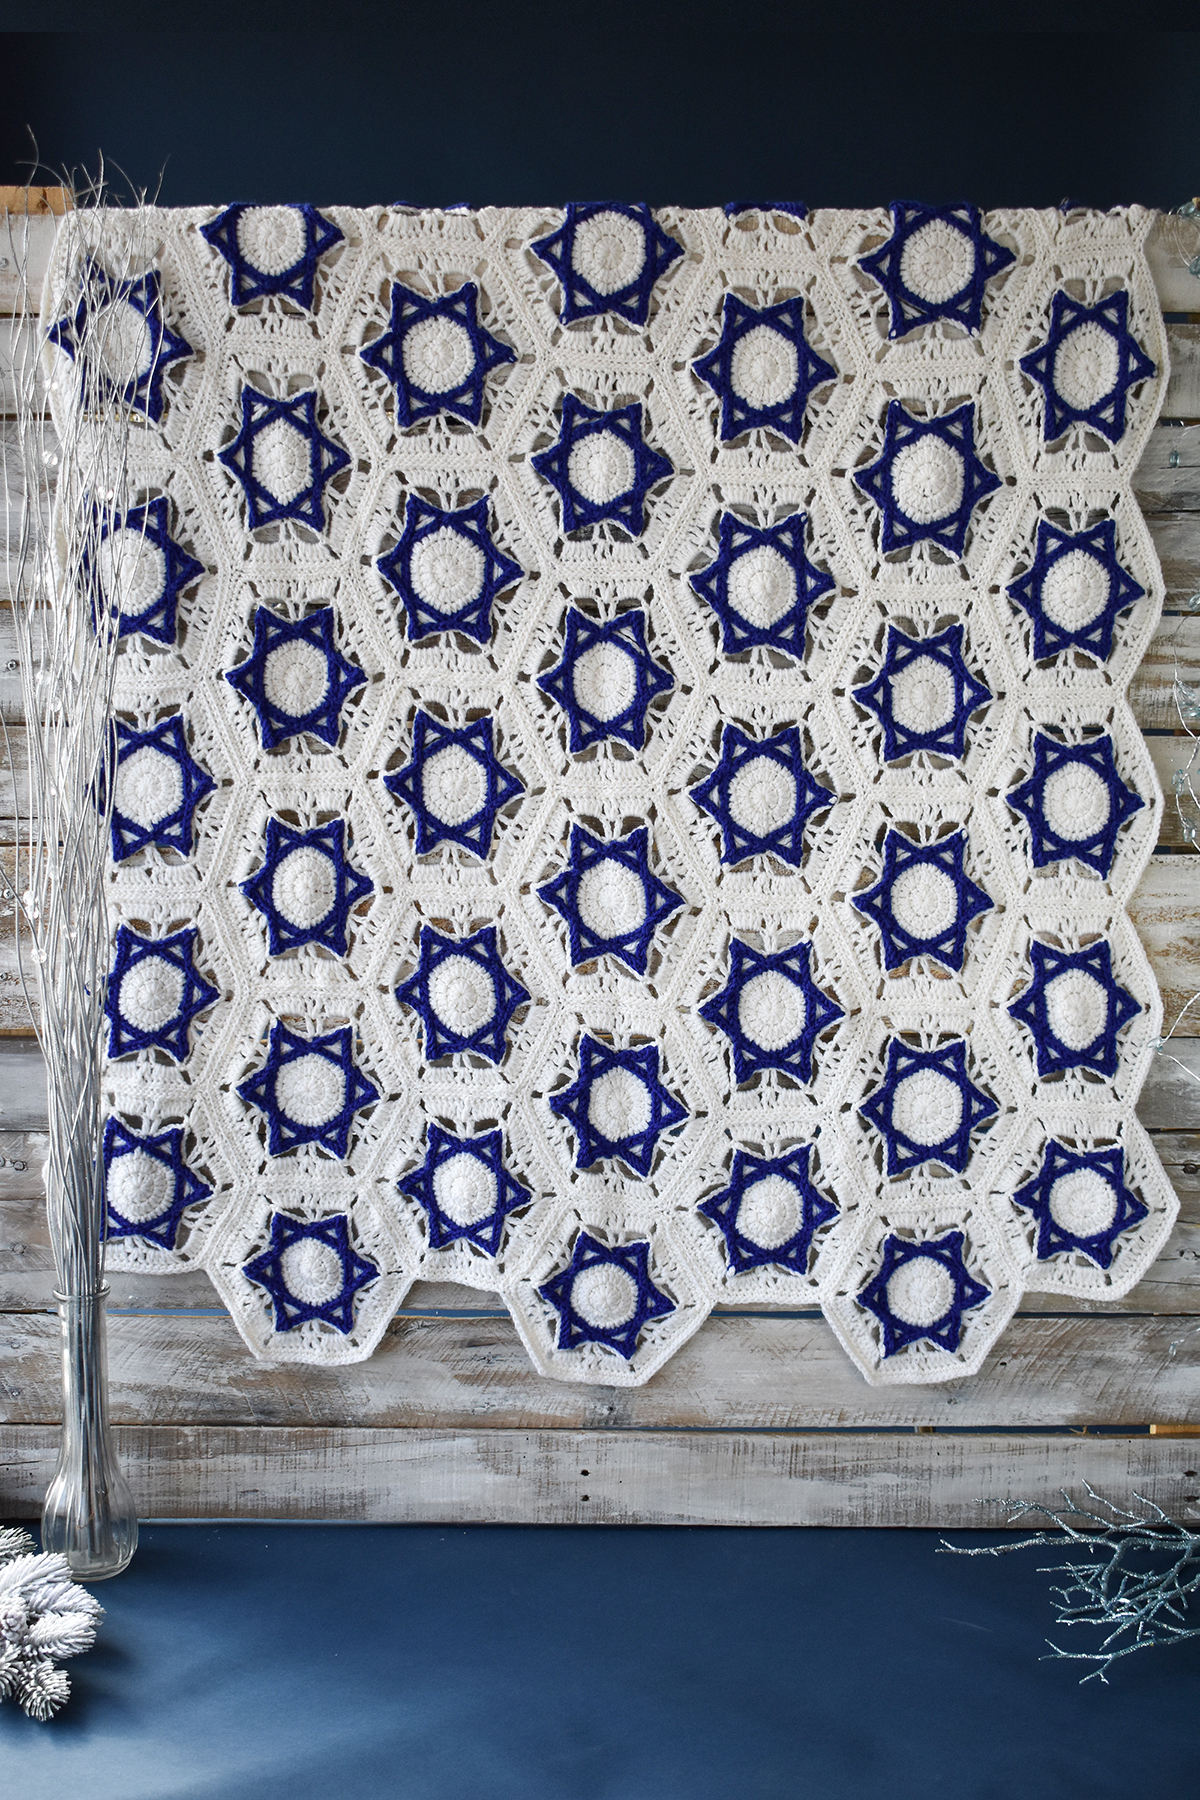
Today, to mark the halfway point of the 8-day celebration that is Hanukkah, we’d like to present the Hanukkah Throw (pattern link), crocheted in machine washable Adore.
Though I am not of the Jewish faith, I have many friends who are. When I was tasked with developing a project to celebrate Hanukkah, I wanted to be sure to come up with something that was pretty, respectful, and ultimately useful.
Even I know that the Star of David motif is an important symbol to Judaism (among other religions). This six-pointed star is actually formed by two triangles laid on top of one another. The Star of David (aka “Shield” of David) is named after King David, the second king of Israel. It is a symbol that has many meanings to different groups of people. This symbol was painfully used by the Nazis to mark Jews for persecution. Today, it can be found on the flag of Israel.
When I started looking around for knit or crochet patterns with this motif, I wasn’t coming up with much. But I knew that it could be well suited to crochet, I just wasn’t sure exactly how I wanted to accomplish it. I took an afternoon with my yarn and hook, played around, and came up with the motif you see here.
The base layer is crocheted first, and then an overlay of blue post stitches is worked onto the base layer. The motif is both written and charted. In addition to a throw as seen here, I could easily see this motif used in a table runner using 10-weight crochet thread (like our Garden 10), any weight of yarn for a single ornament, gift toppers, and much more!
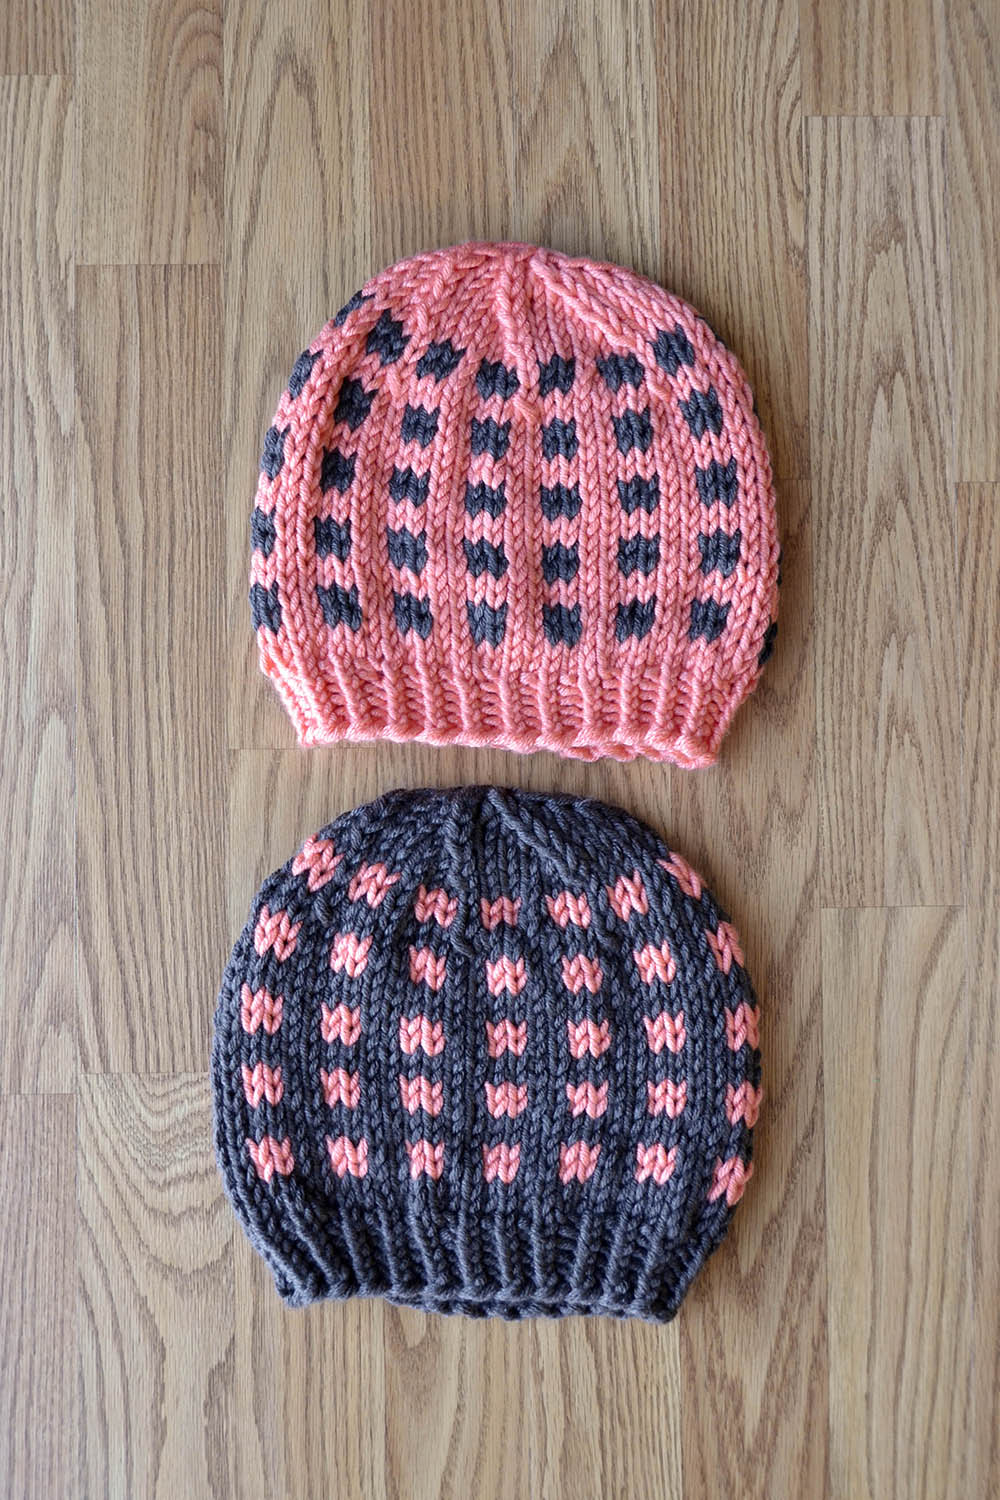
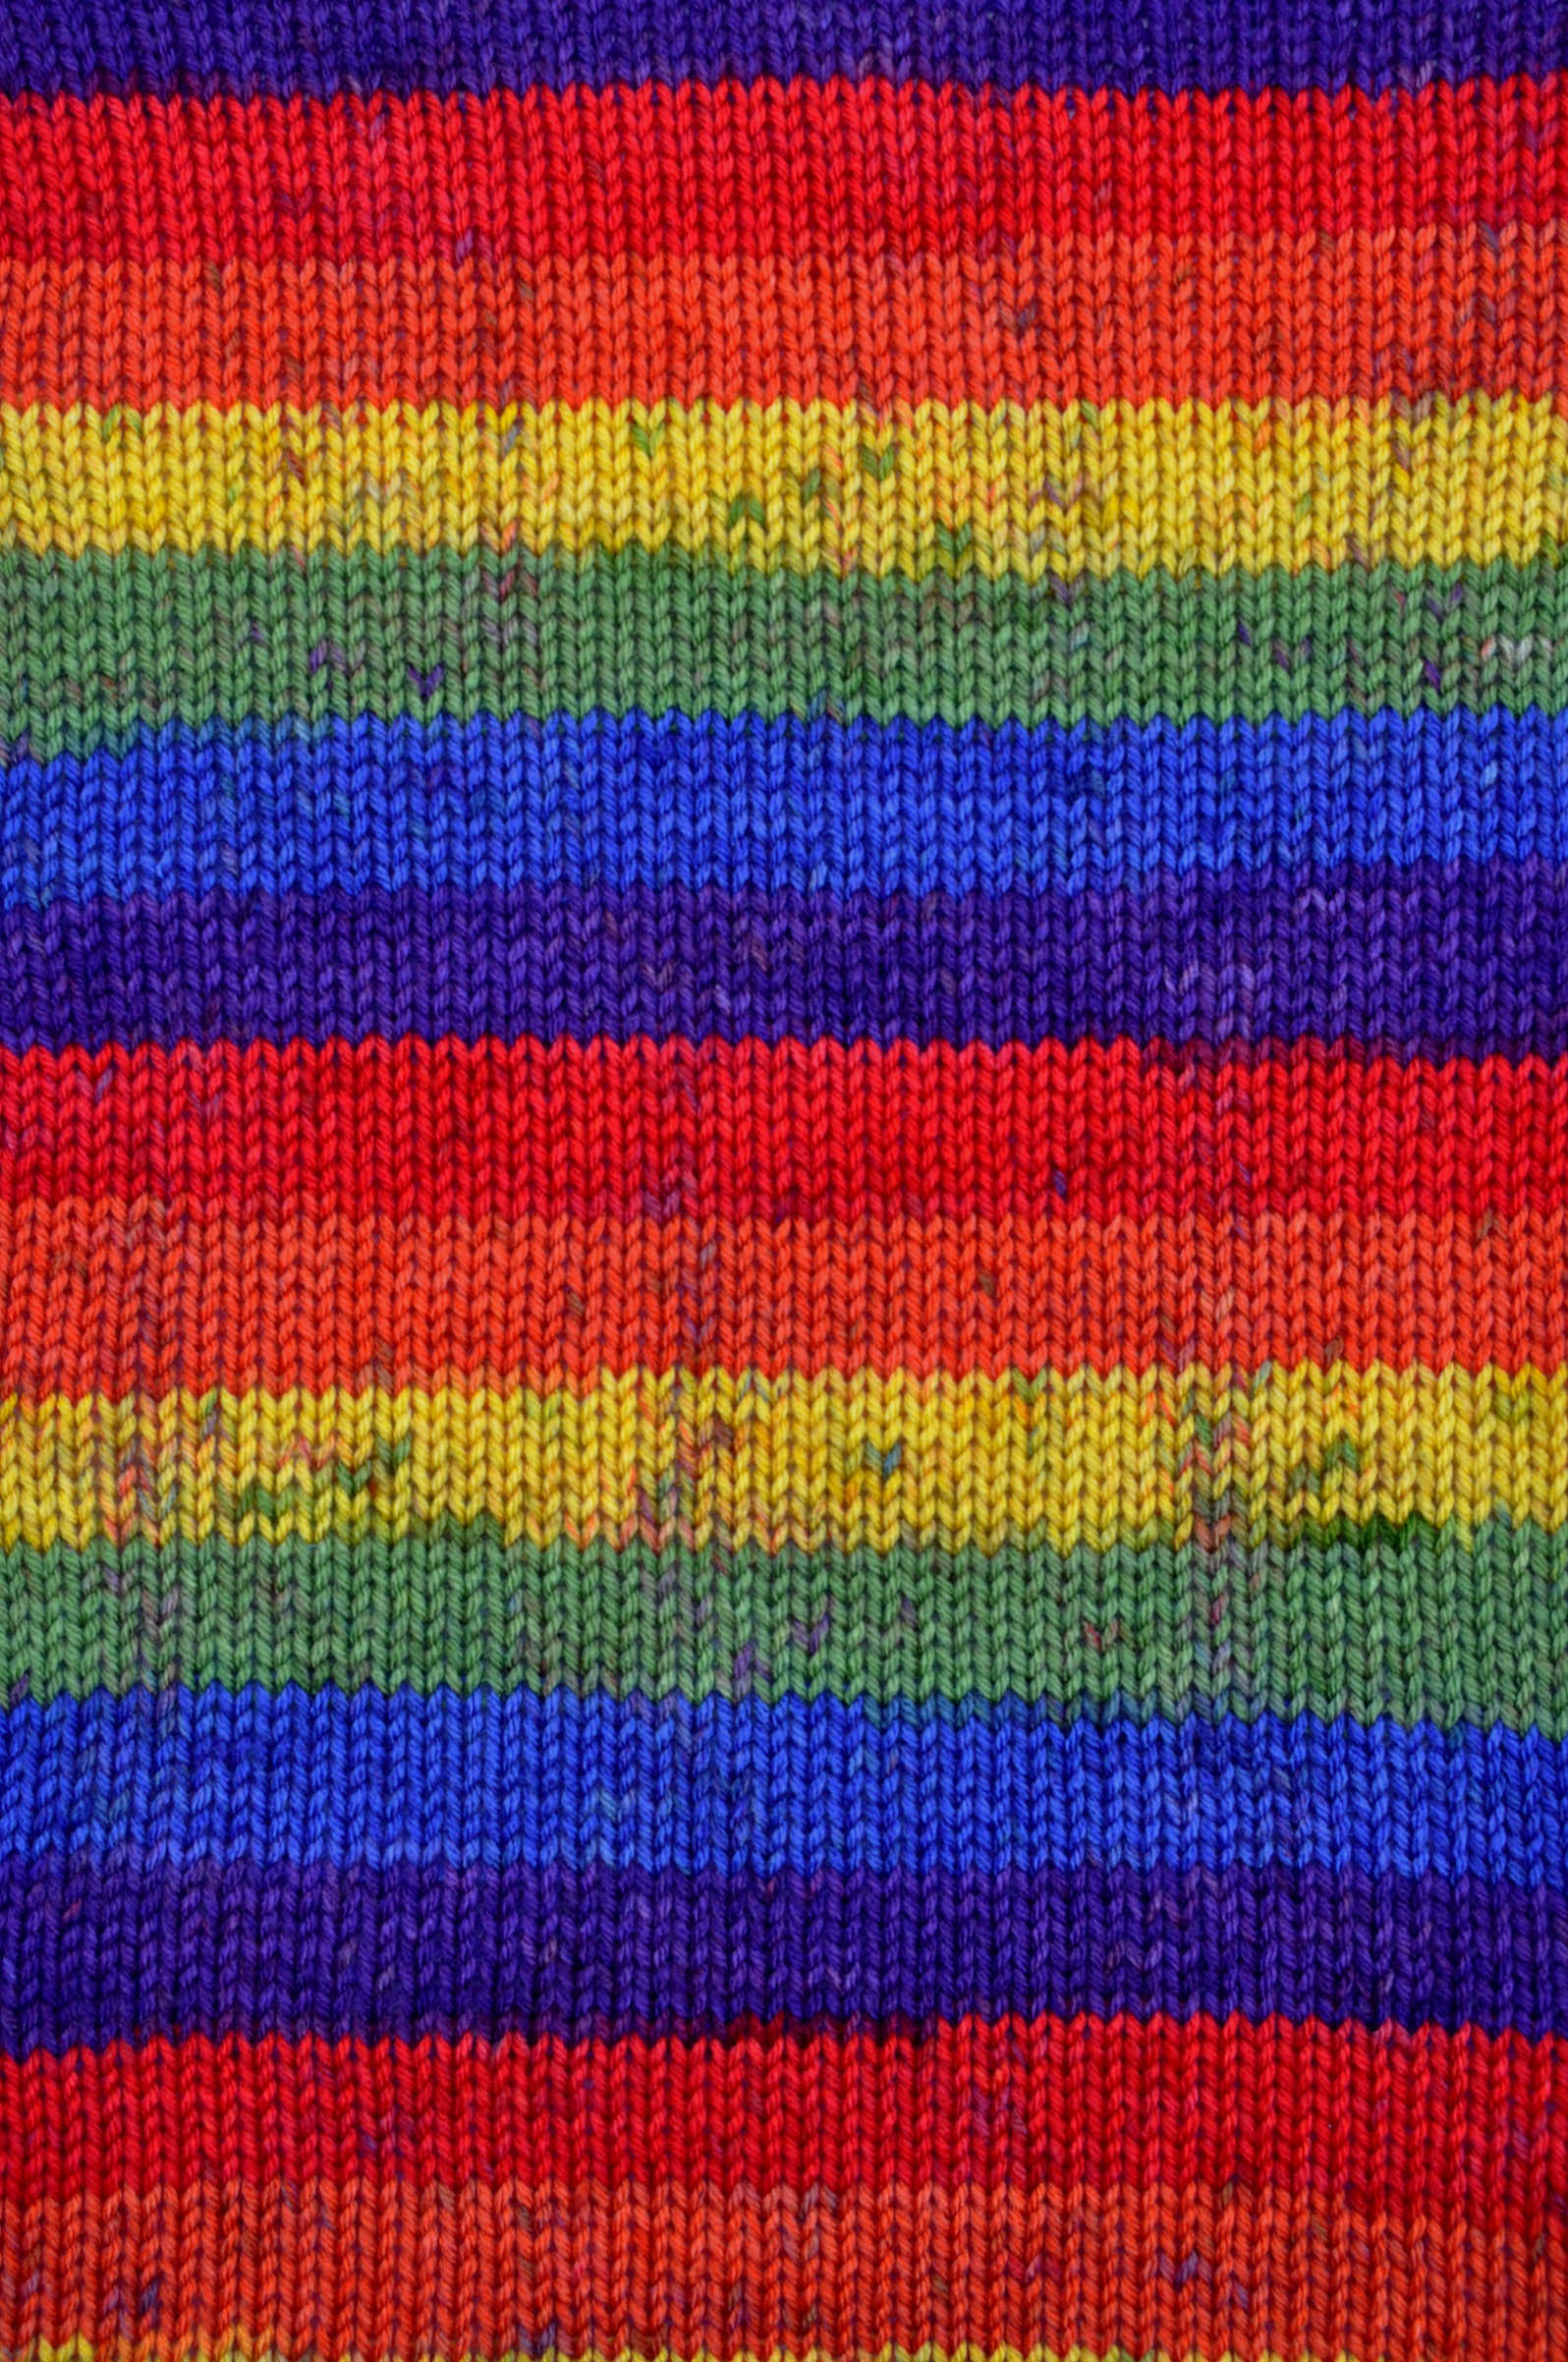
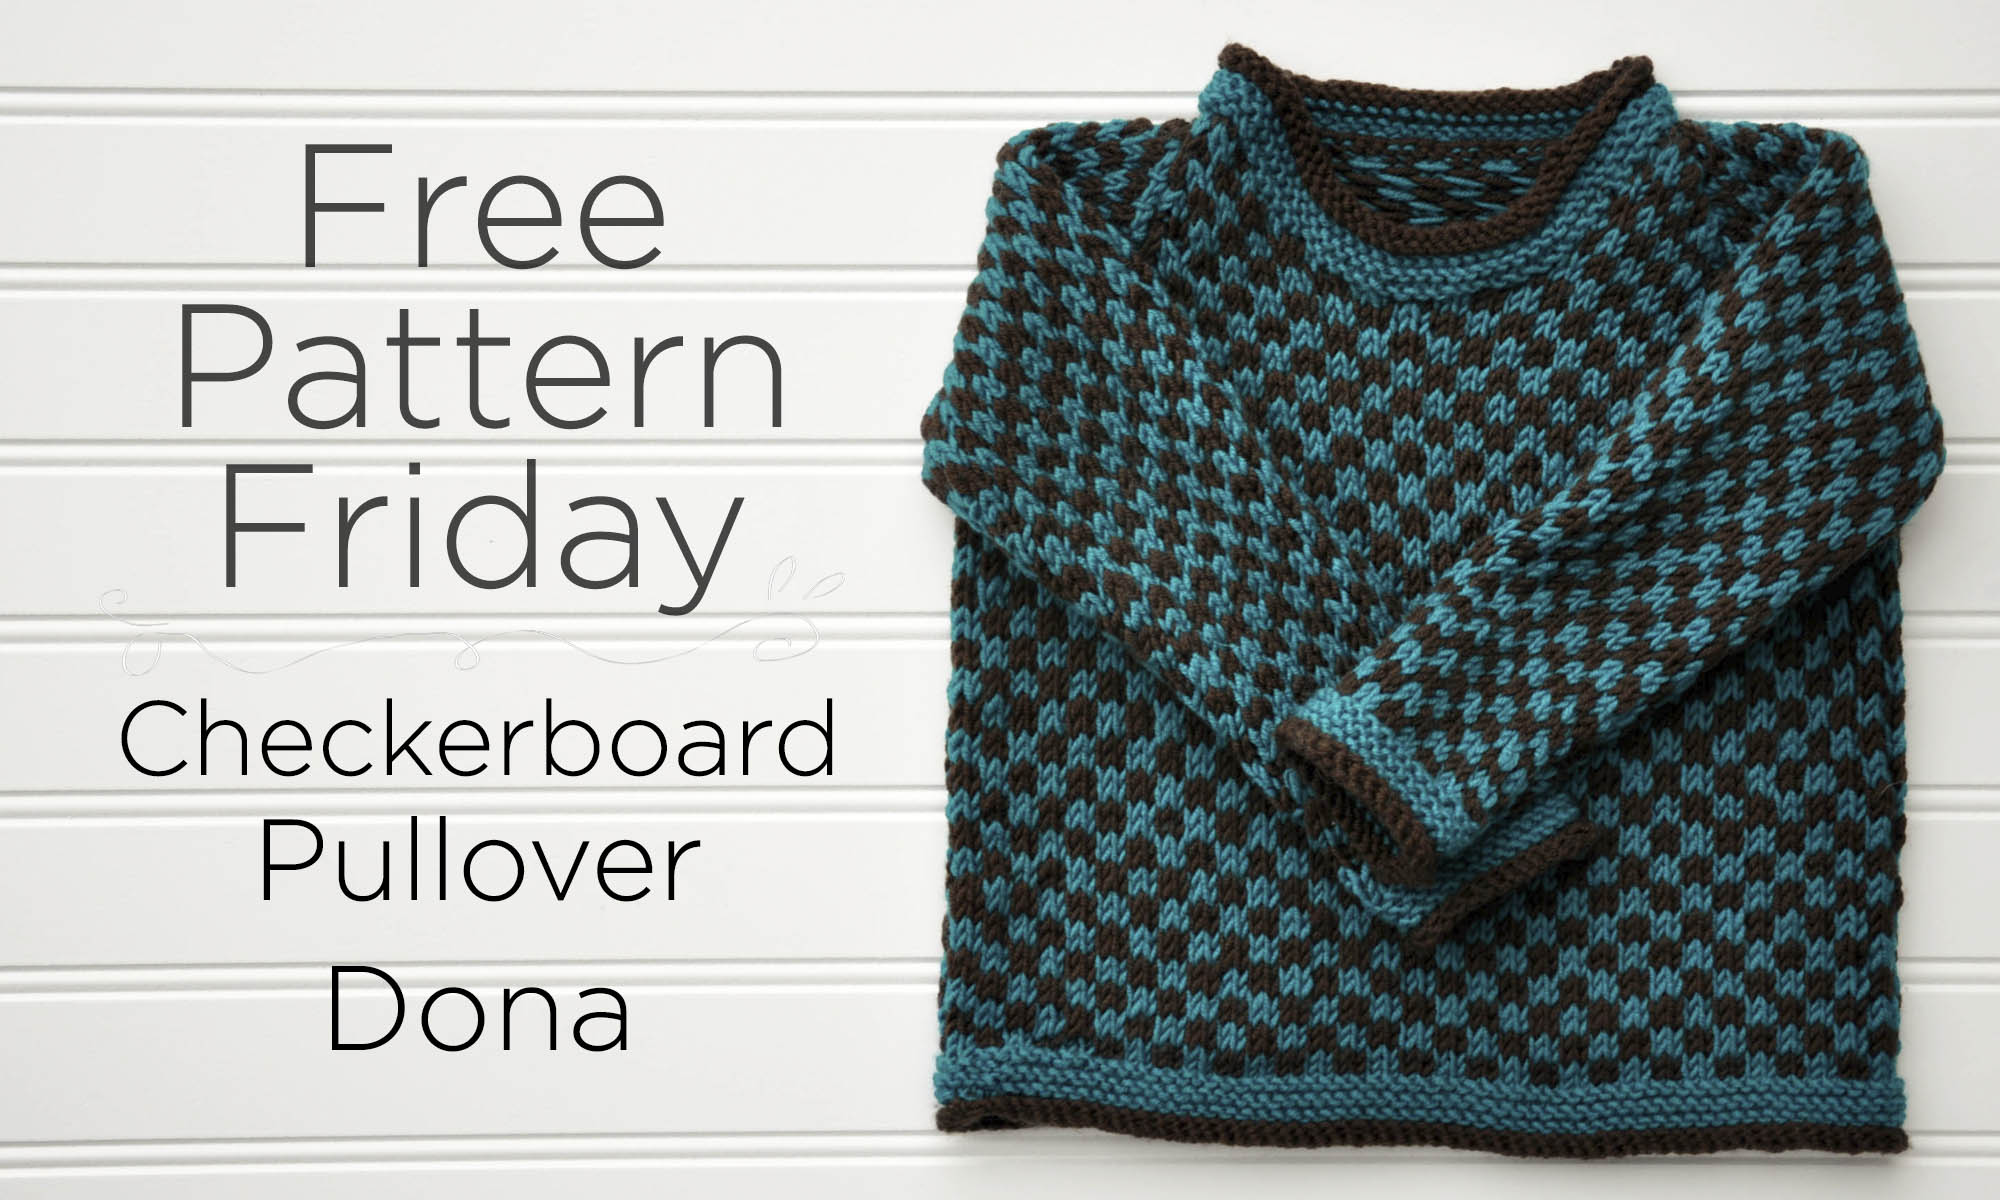
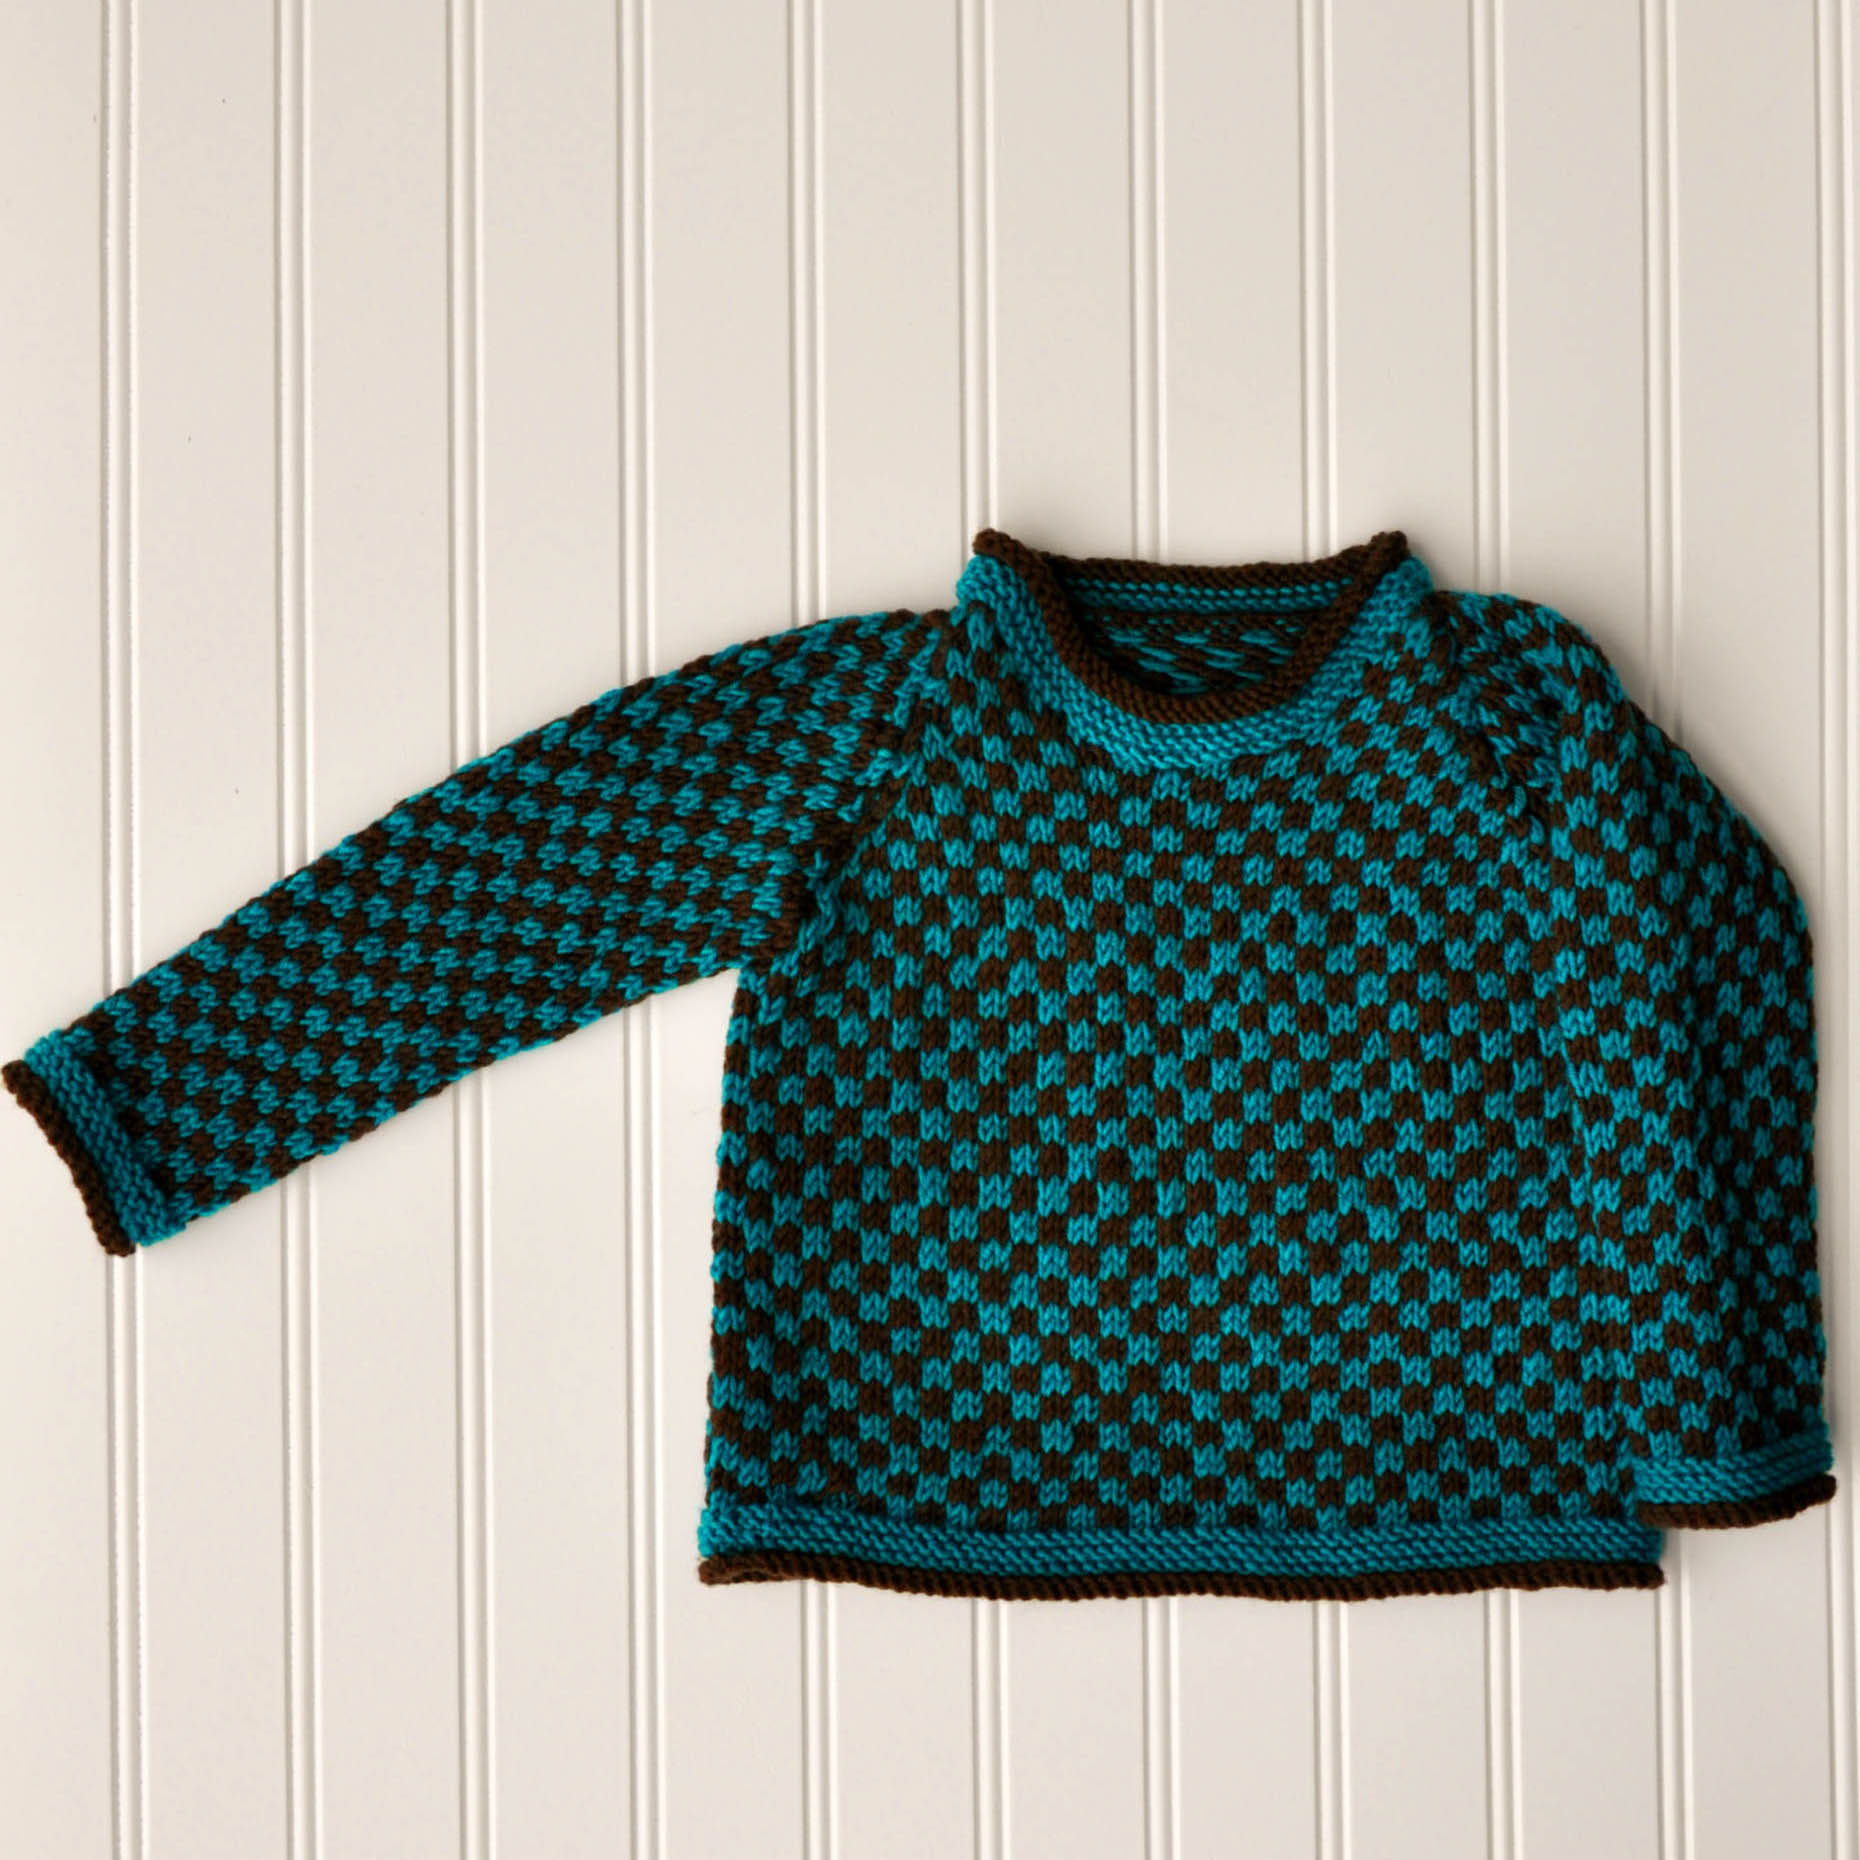
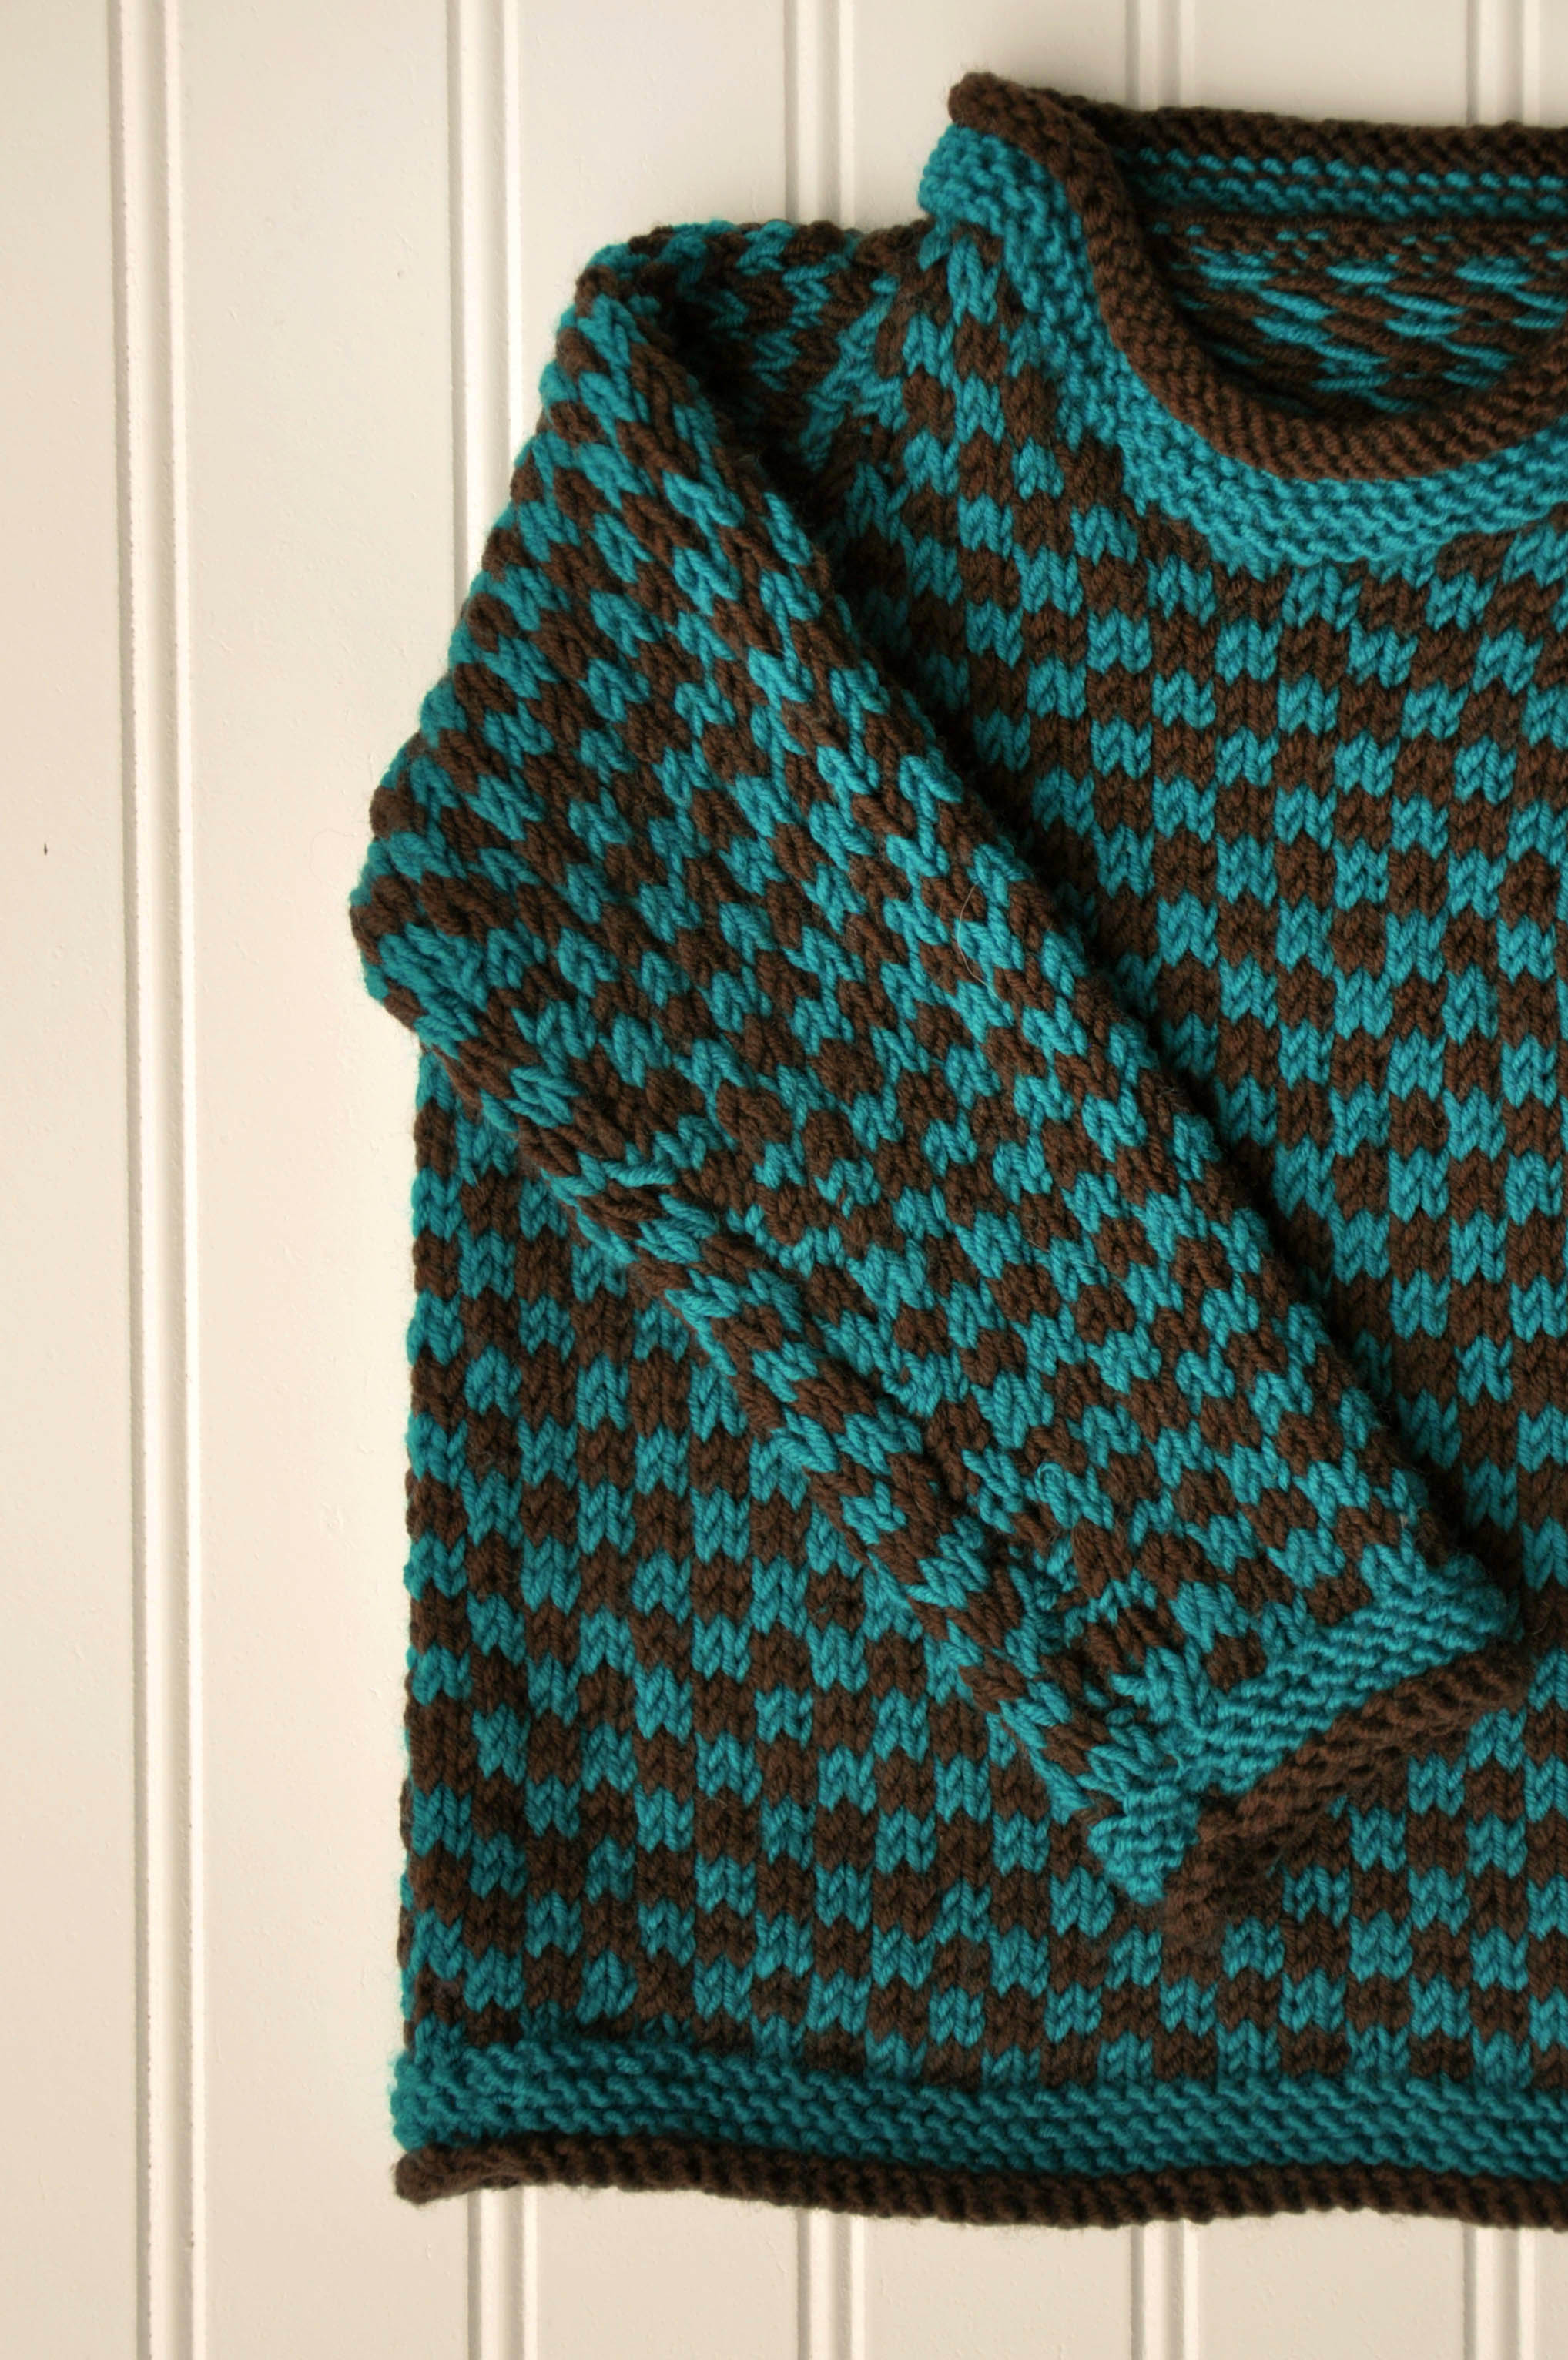
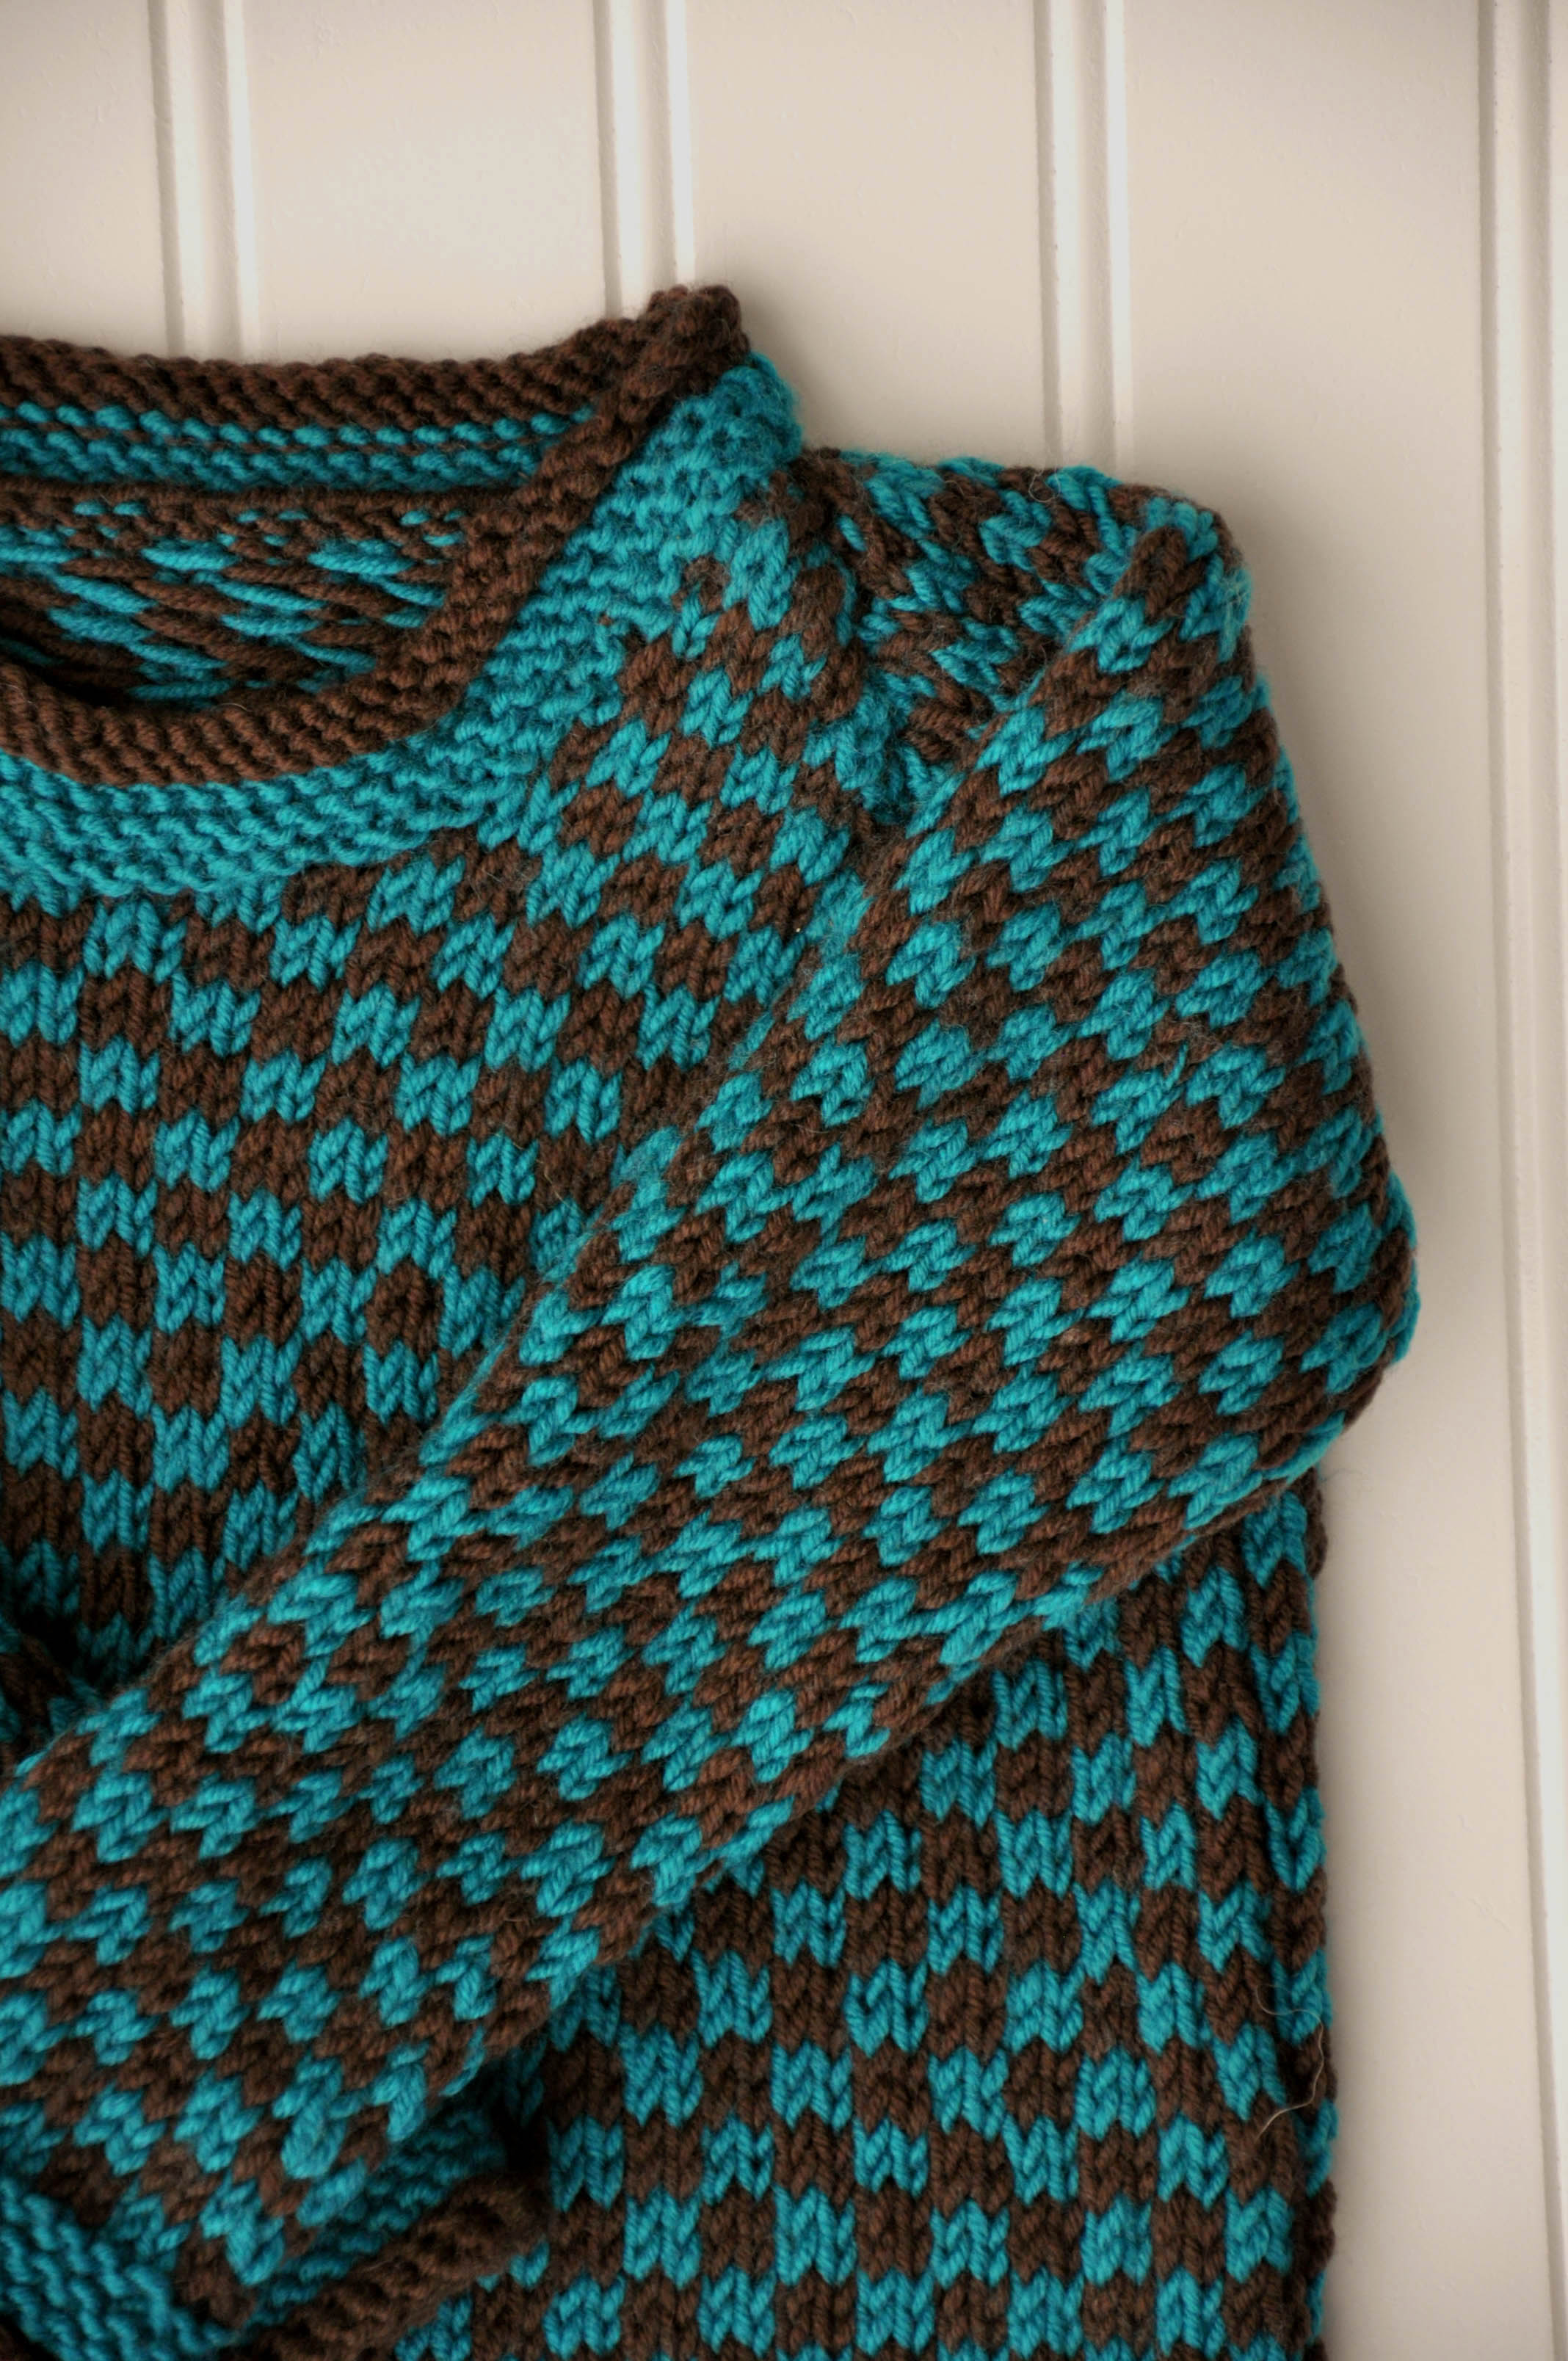
It’s sized from 3-6 months all the way up to 10 years. Whether your little one is “ooh, look at the tiny toes!” or “I can’t believe they’re growing up so fast!” you can still make them a fun sweater.
The stranding is very predictable. If you like to do Fair Isle without having to constantly refer back to the pattern, you’re set. Put on an episode of This Is Us and knit away without missing the juicy bits.
It would be really easy to customize. Fibra Natura Dona has a range of bold colors, both dark and light. Blue and white for a gingham look? Red and black for a classic checkerboard? Team colors for the little fan? There are a lot of possibilities!
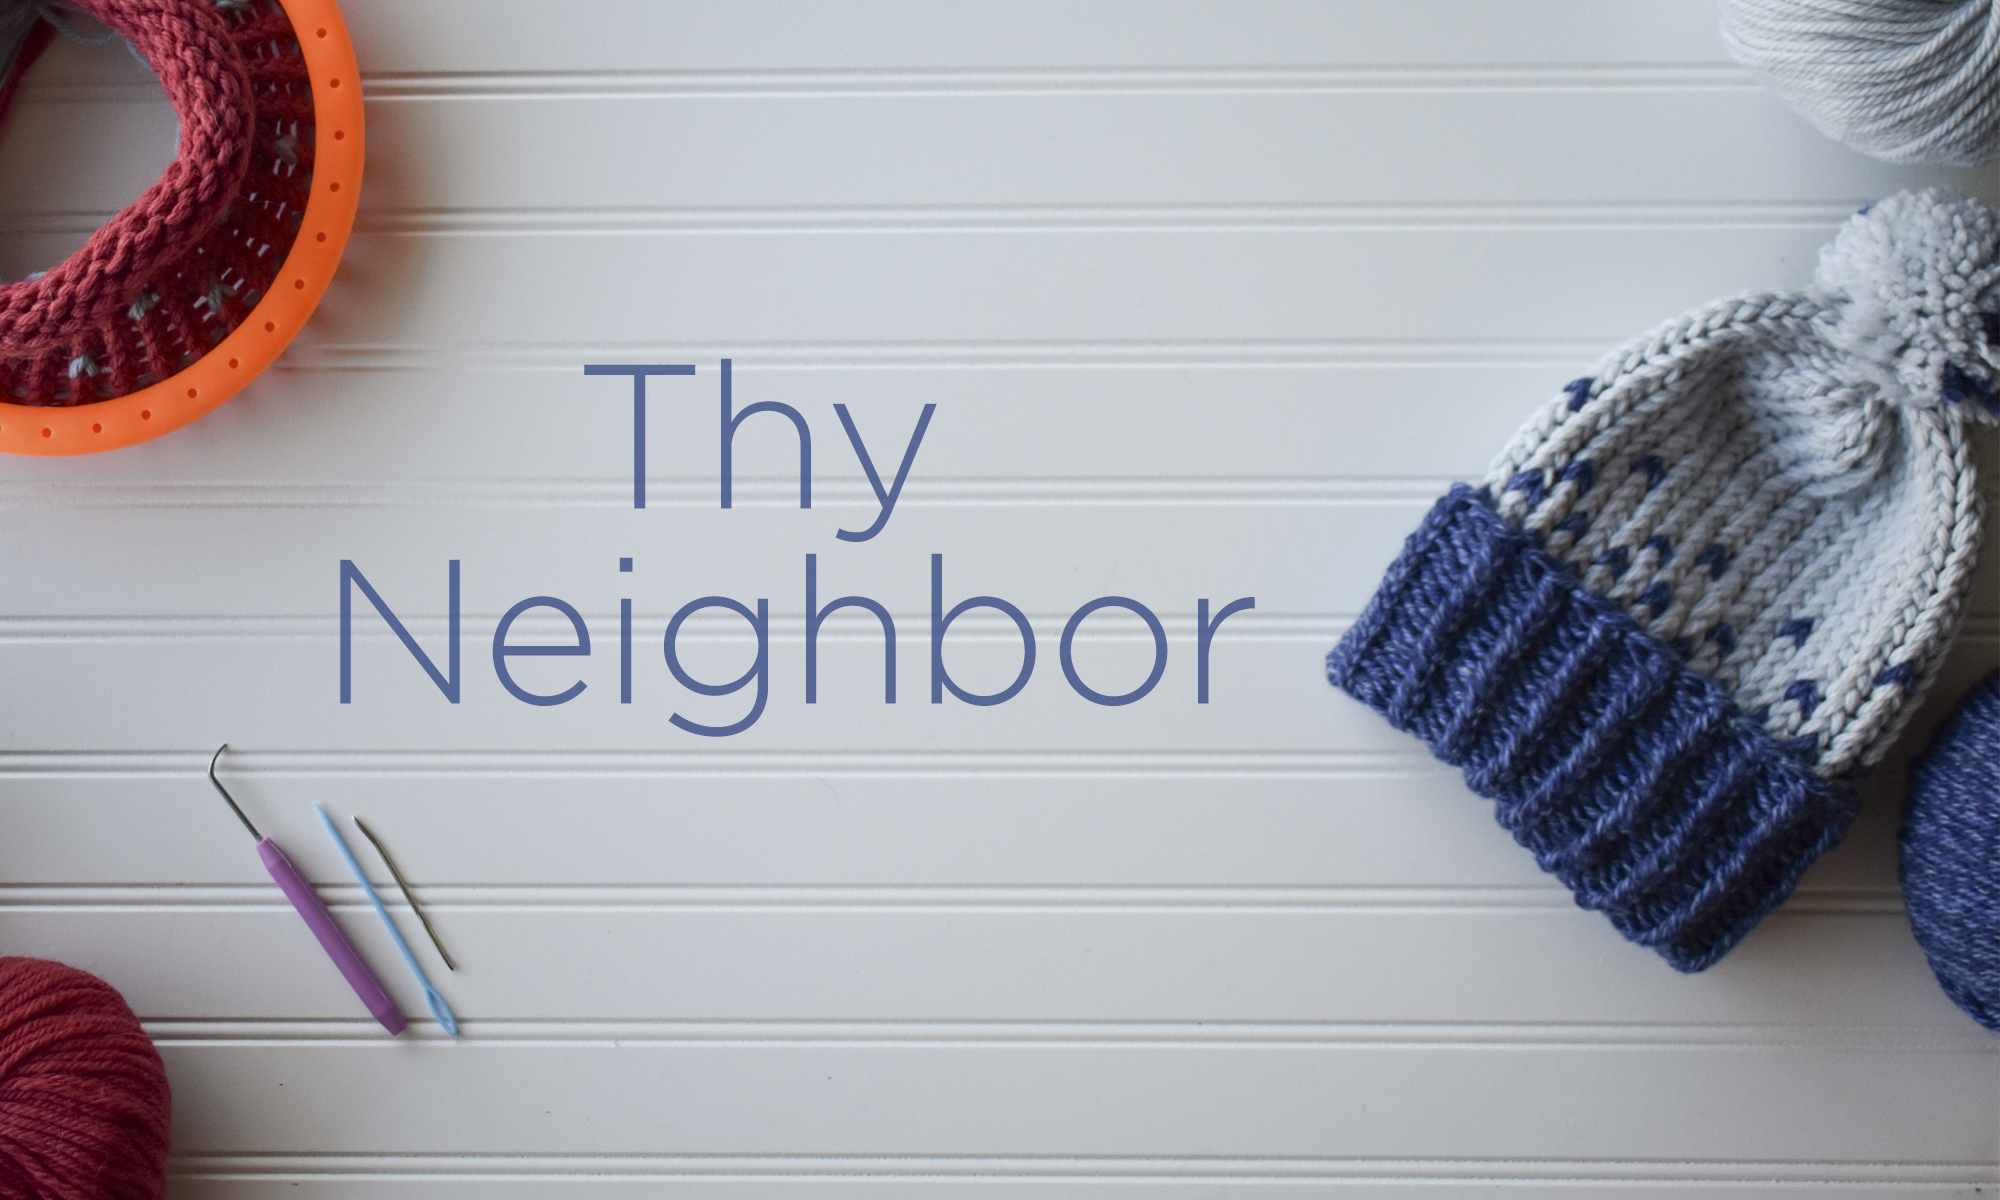
Giving back: it’s something everyone seems to think more about this time of year, and something we could all probably think about a bit more. That’s why we have created the new pattern, Thy Neighbor (pattern link).
Thy Neighbor – A pattern to benefit the Refugee Support Services center in Charlotte.
We recently began donating some of our time and resources to the RSS: Refugee Support Services here in Charlotte, the city Universal Yarn calls home. This organization is doing amazing things, and we want to support them in every way we can.
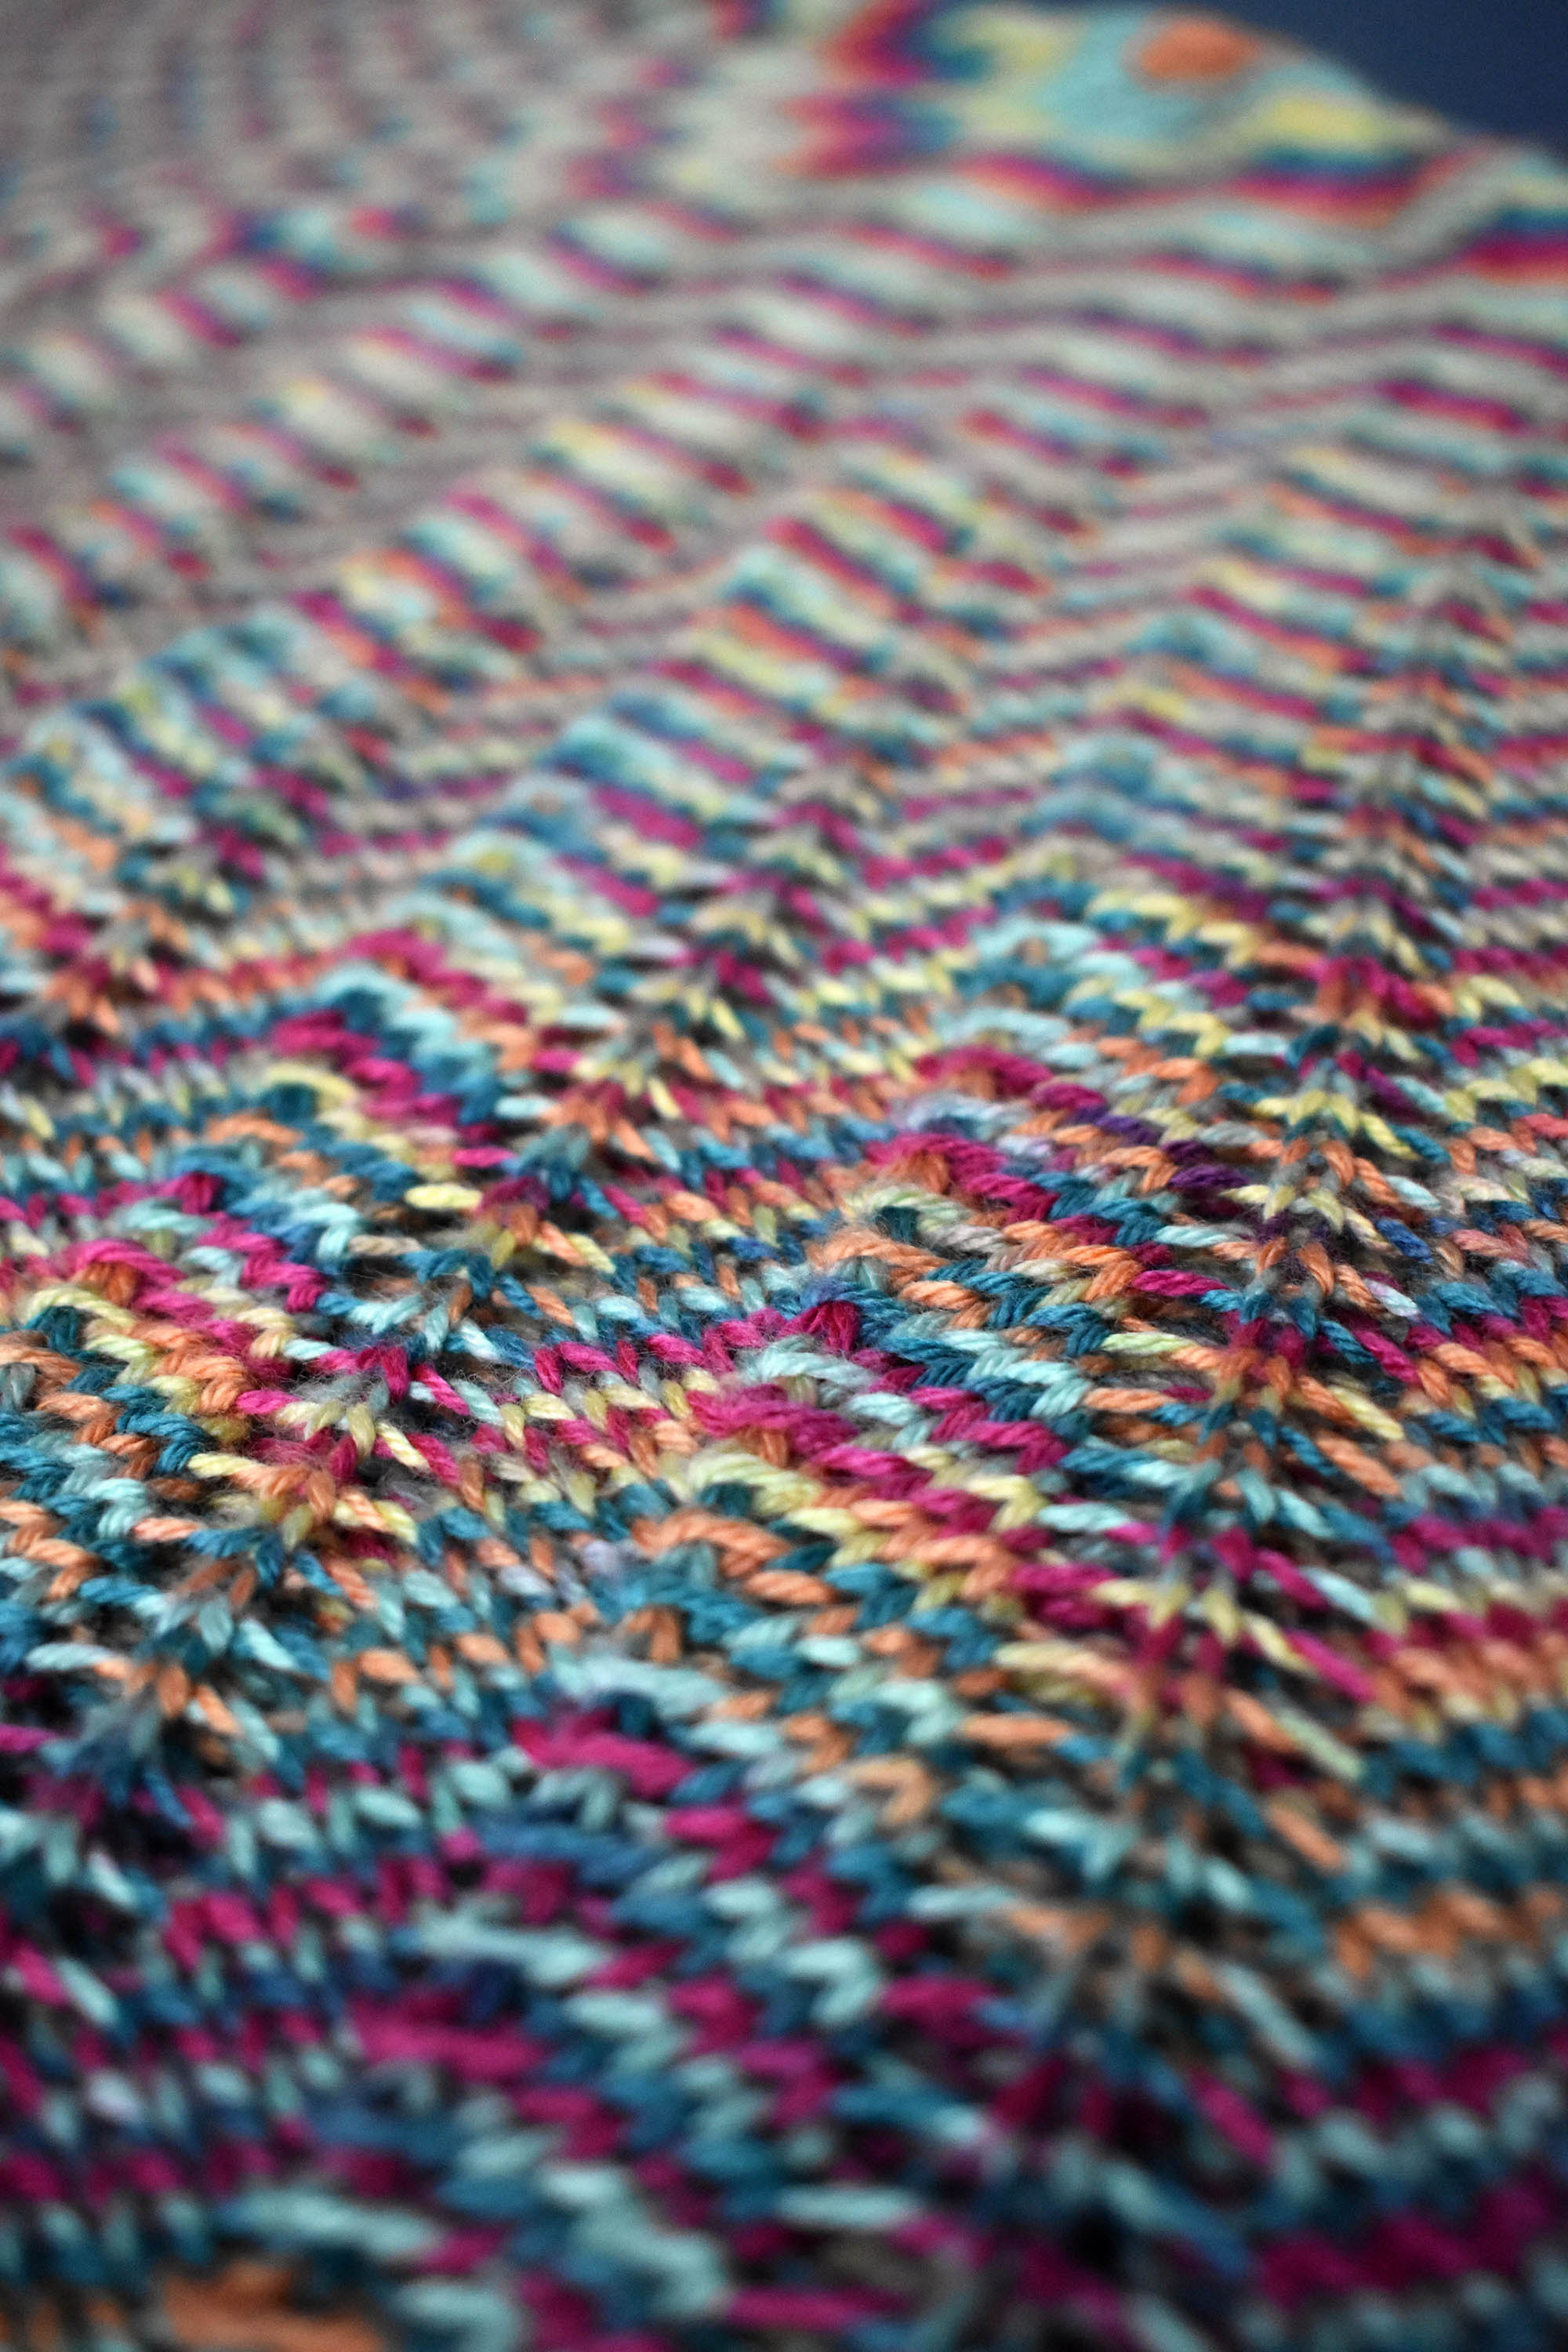
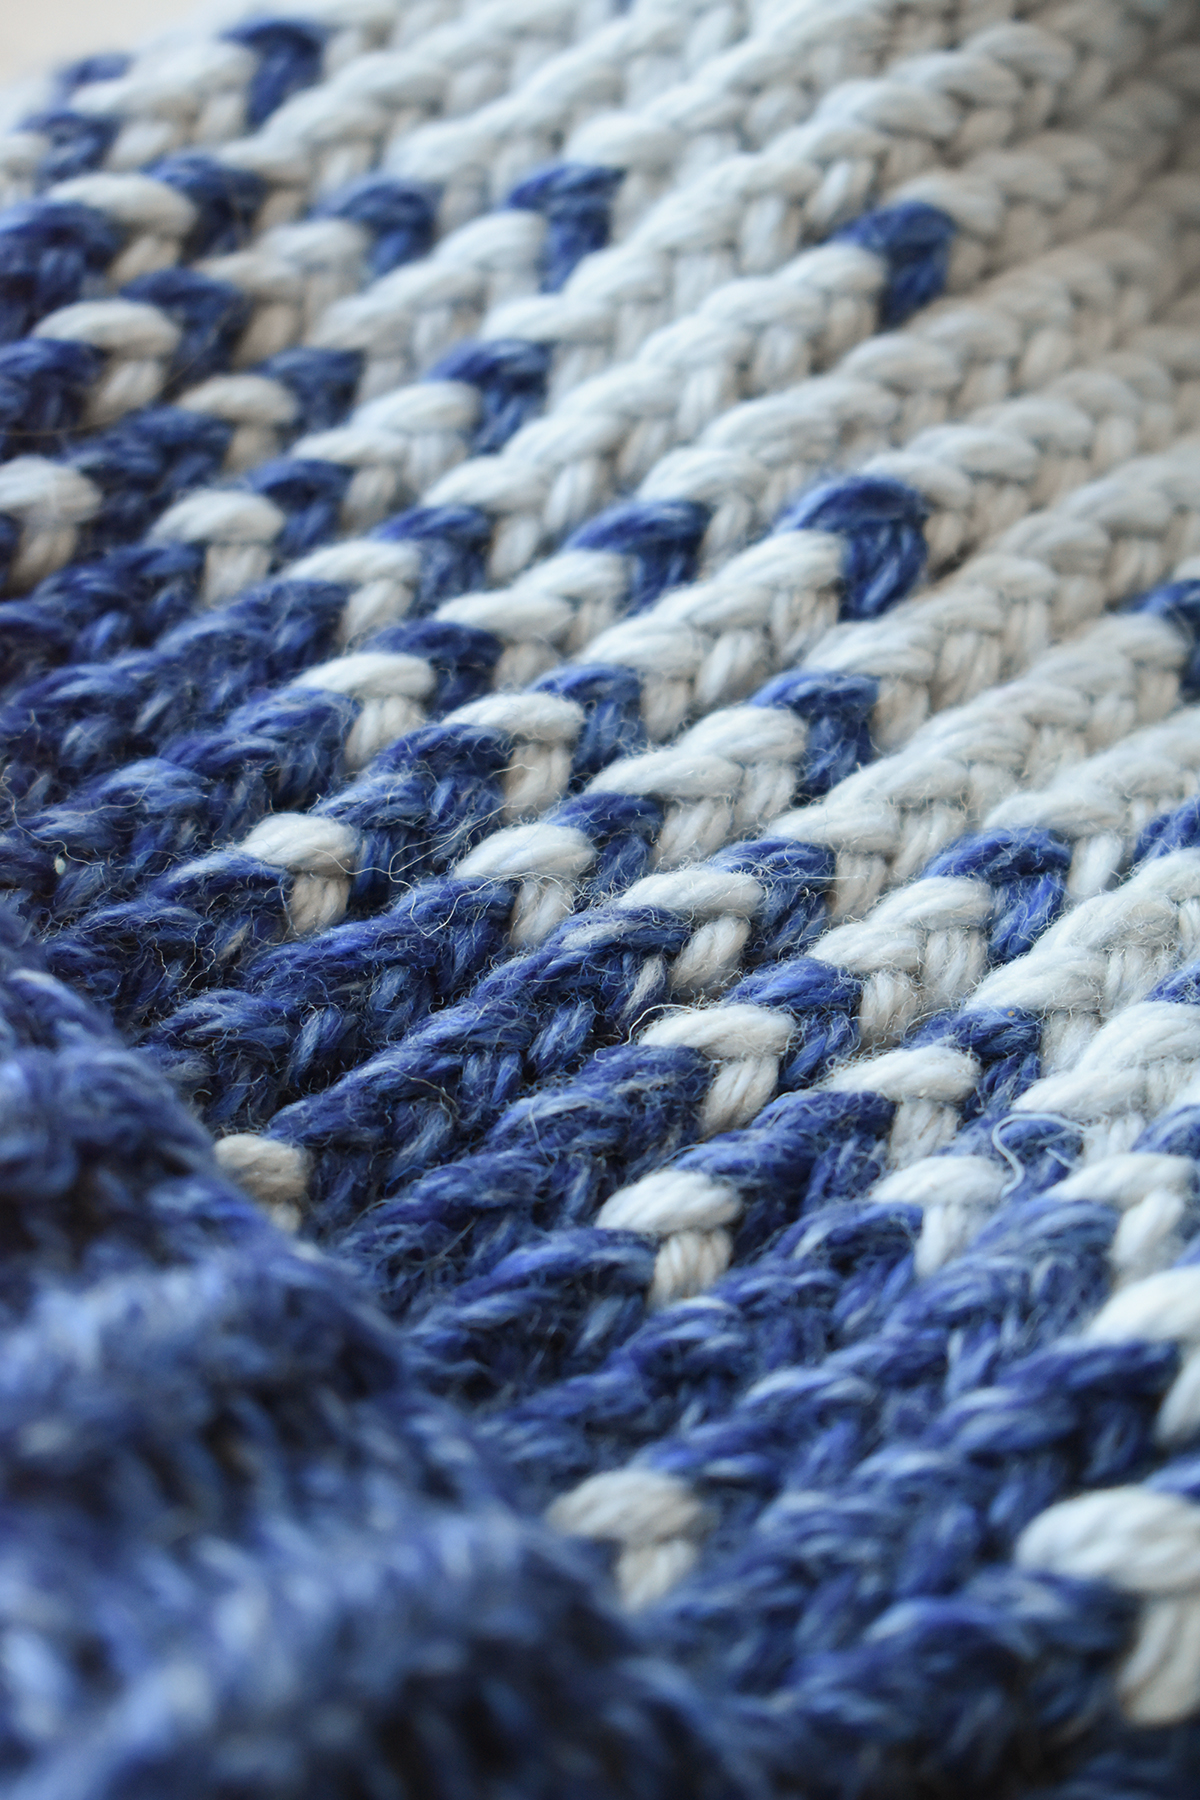
Stranded colorwork has an interesting effect when worked with a loom because of the twisted stitches.
Each Thursday, a group of wonderful women and volunteers meet at the center for English lessons, knitting, community-building, and to take advantage of the many resources the facility has to offer.
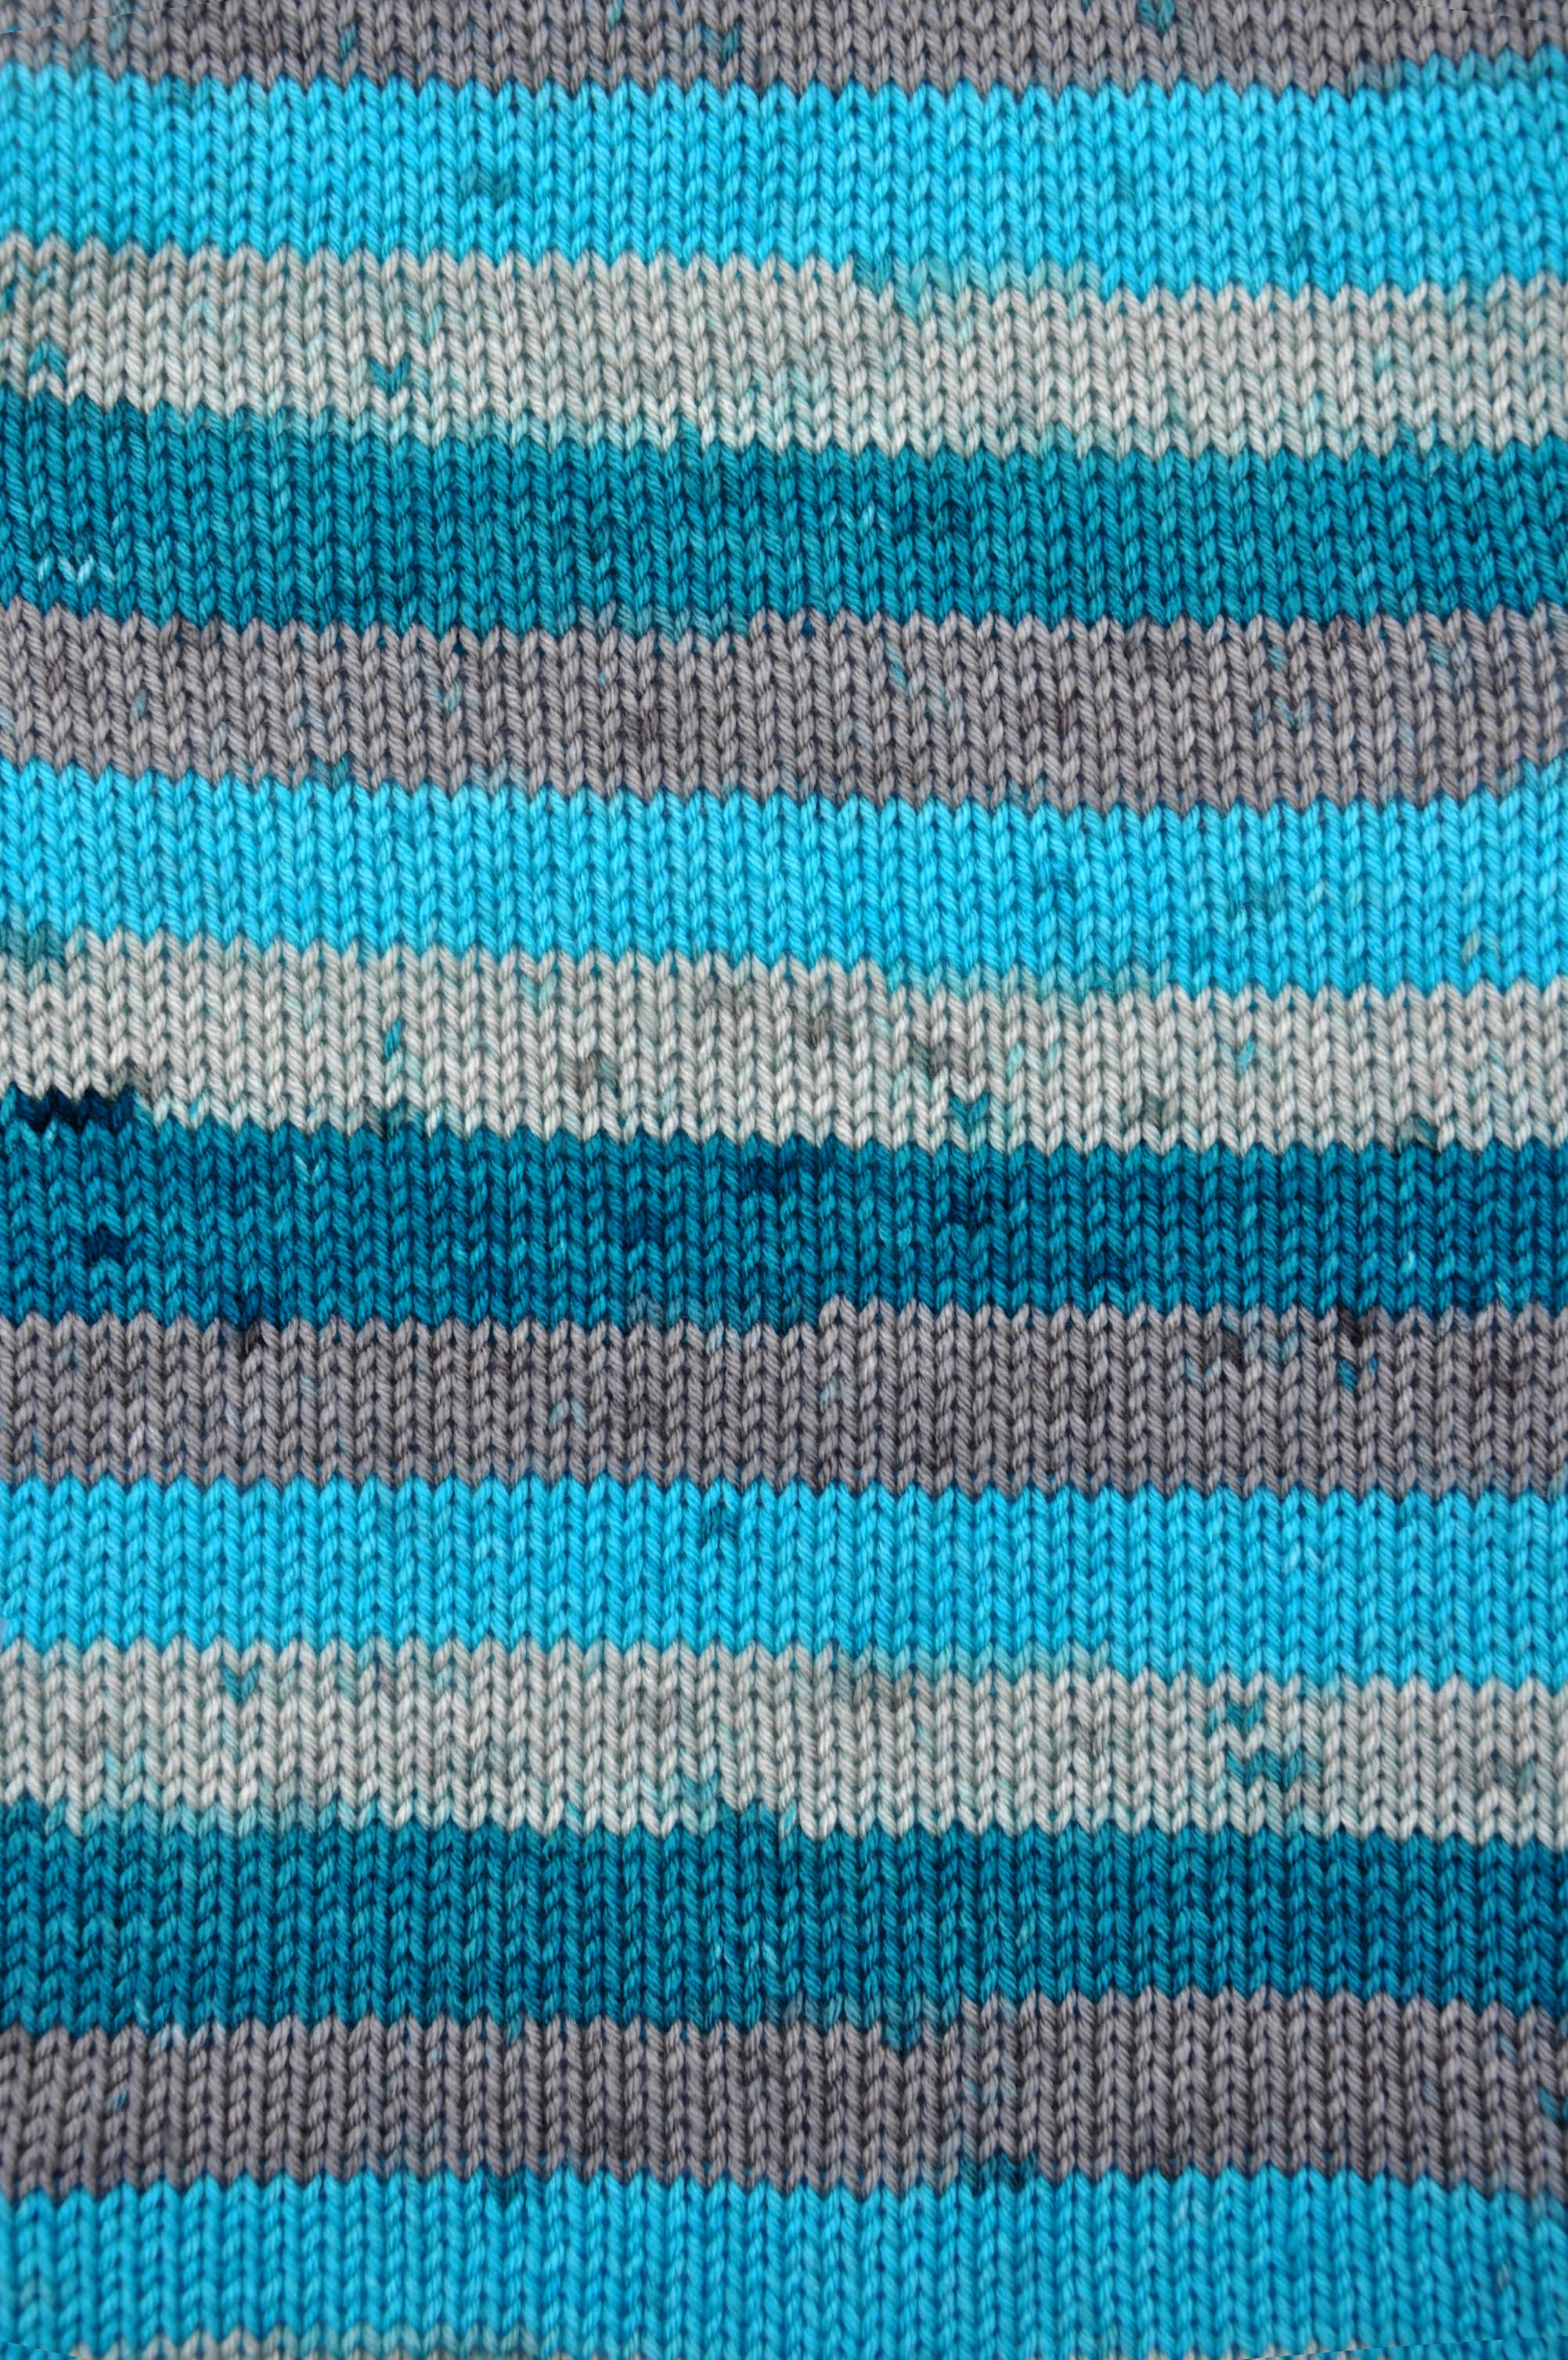
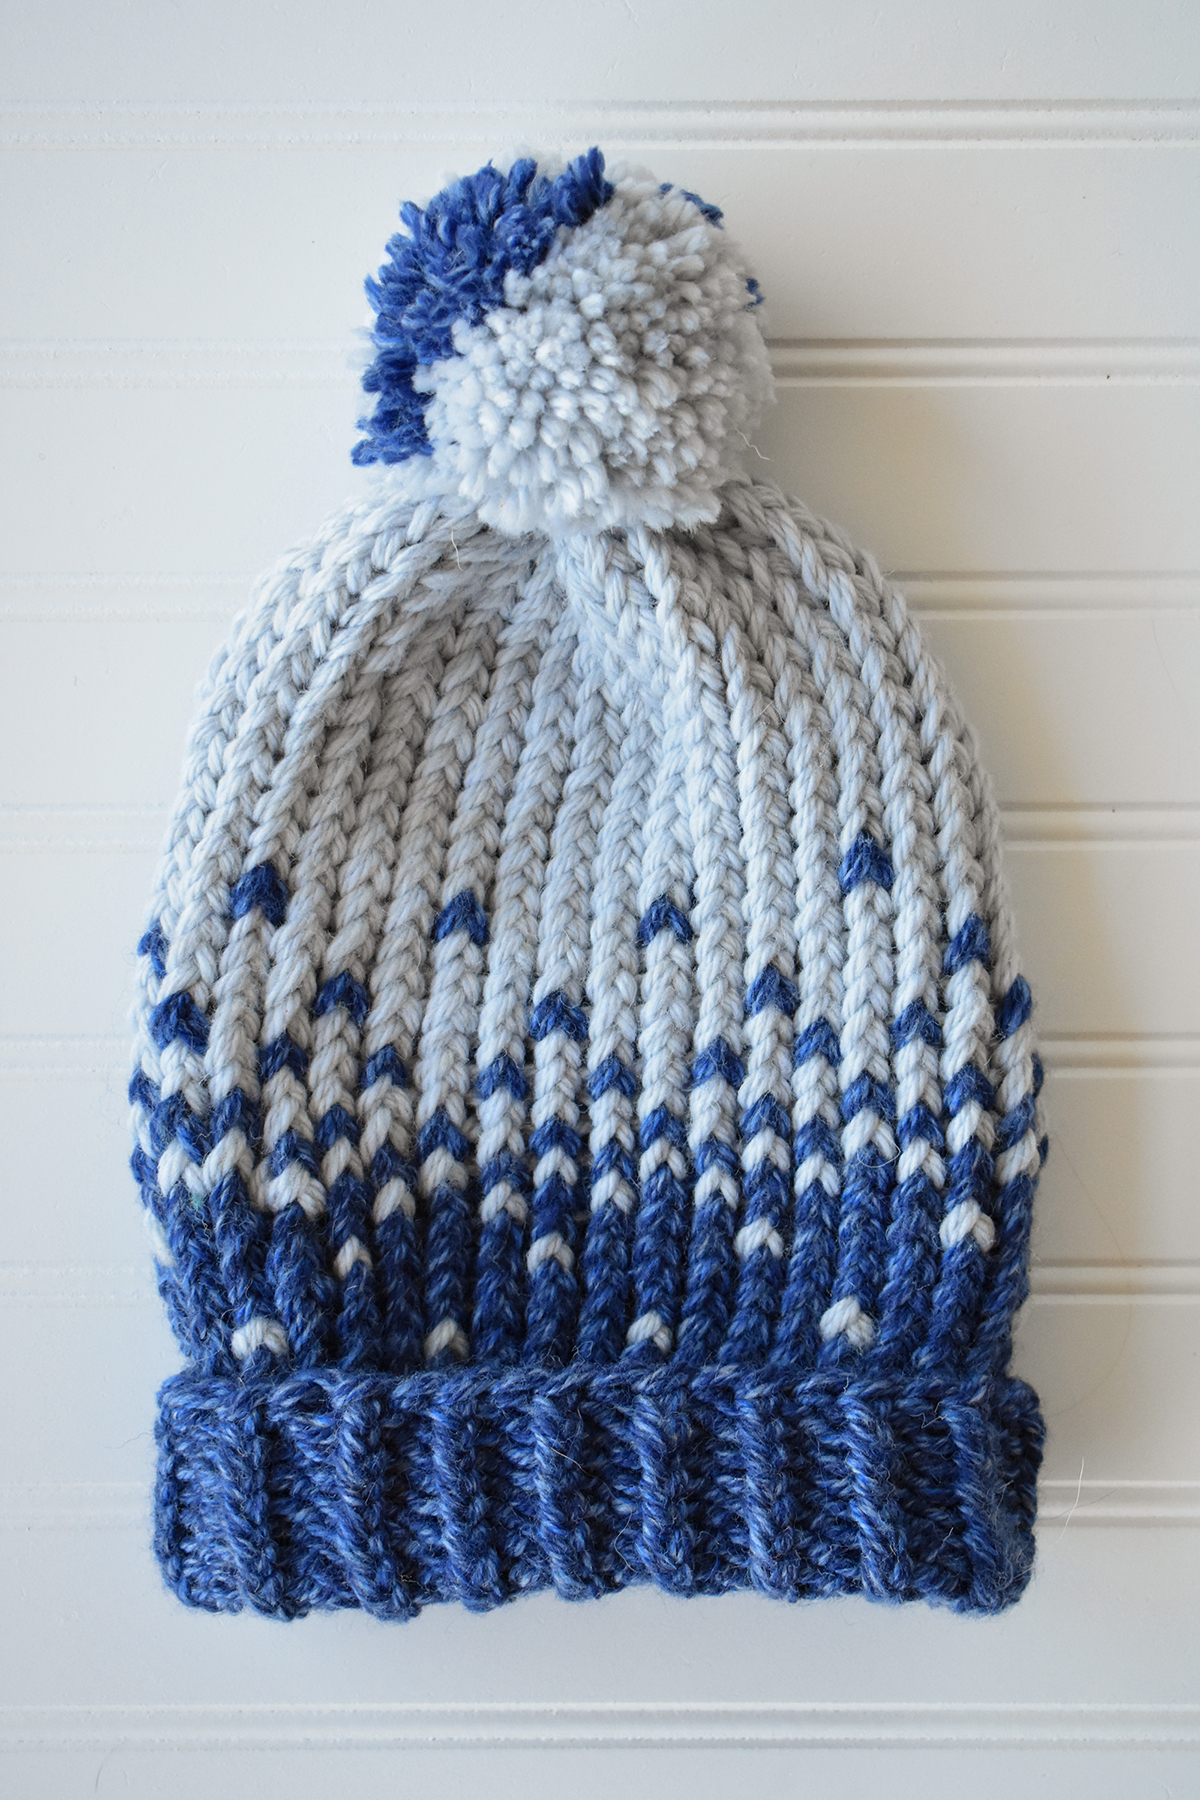
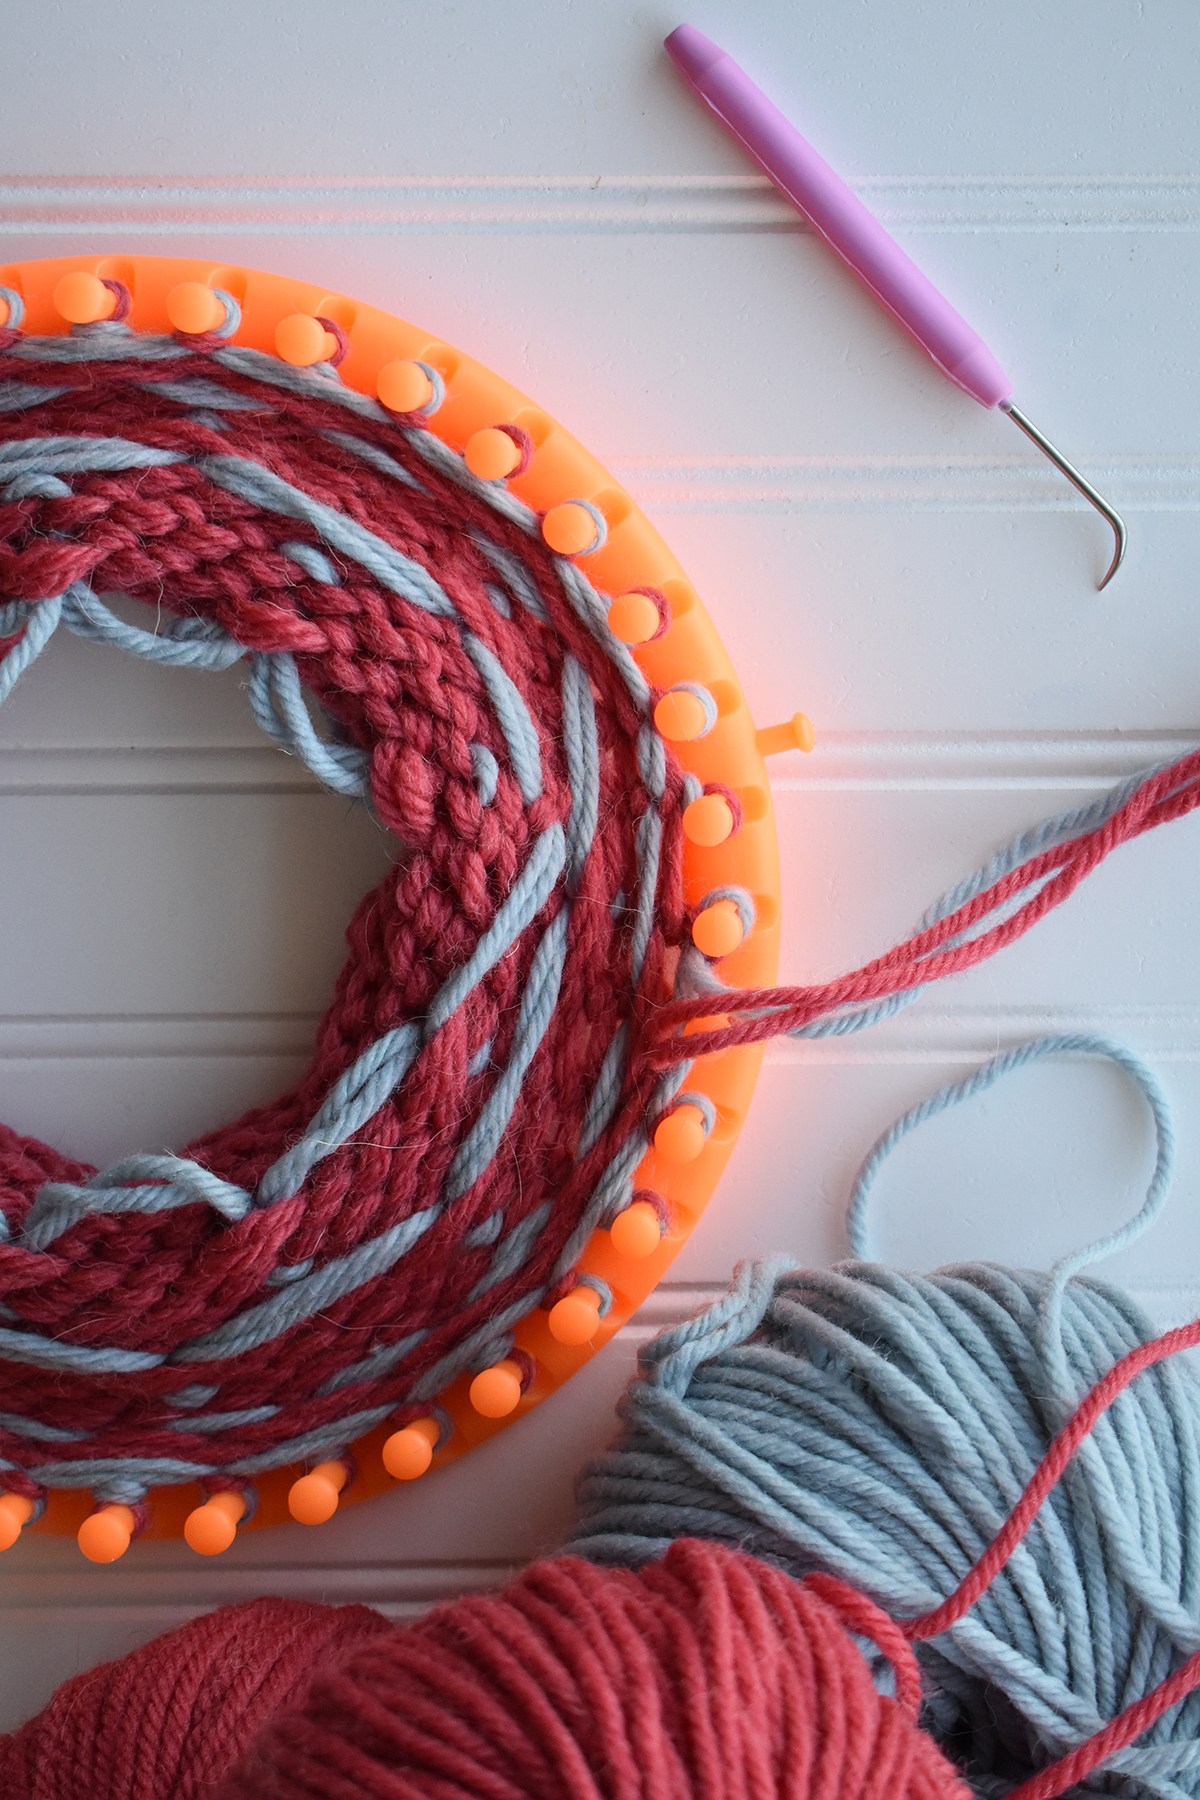
My in-progress Thy Neighbor hat, worked on a loom with Deluxe Bulky Superwash. Colors shown are 901 Rosy Mauve & 932 Icy Grey.
Many of the women make hats on round knitting looms. Loom knitting is really accessible. Anyone can pick it up in just a few minutes, which might be why it’s a popular knitting method at the center. Although we had never knit using looms before, we wanted to meet participants where they are. So we got some looms to practice and will now contribute our own knowledge of knitting. Volunteers at the center help the women distribute their handcrafted goods to earn extra income and develop financial literacy. As a way to give back and support their efforts, we designed this Fair Isle hat. We’ll be teaching the participants this technique to spice up their loom-knitting activities. All proceeds from the sale of this pattern will be donated back to RSS.
As I said before, we want to do as much as we can for this organization. It brought us so much joy to sit in a room filled with the chatter of people from all over the world, offering a helping hand, and exchanging kindness with one another. It’s truly special. When you purchase Thy Neighbor, 100% of the proceeds will be donated to RSS. Financial contributions to the organization help make their peer support, educational, legal, and social programs possible. We sincerely hope you’ll join us in helping, and encourage you to explore the RSS website (link) to deepen your understanding of their work.
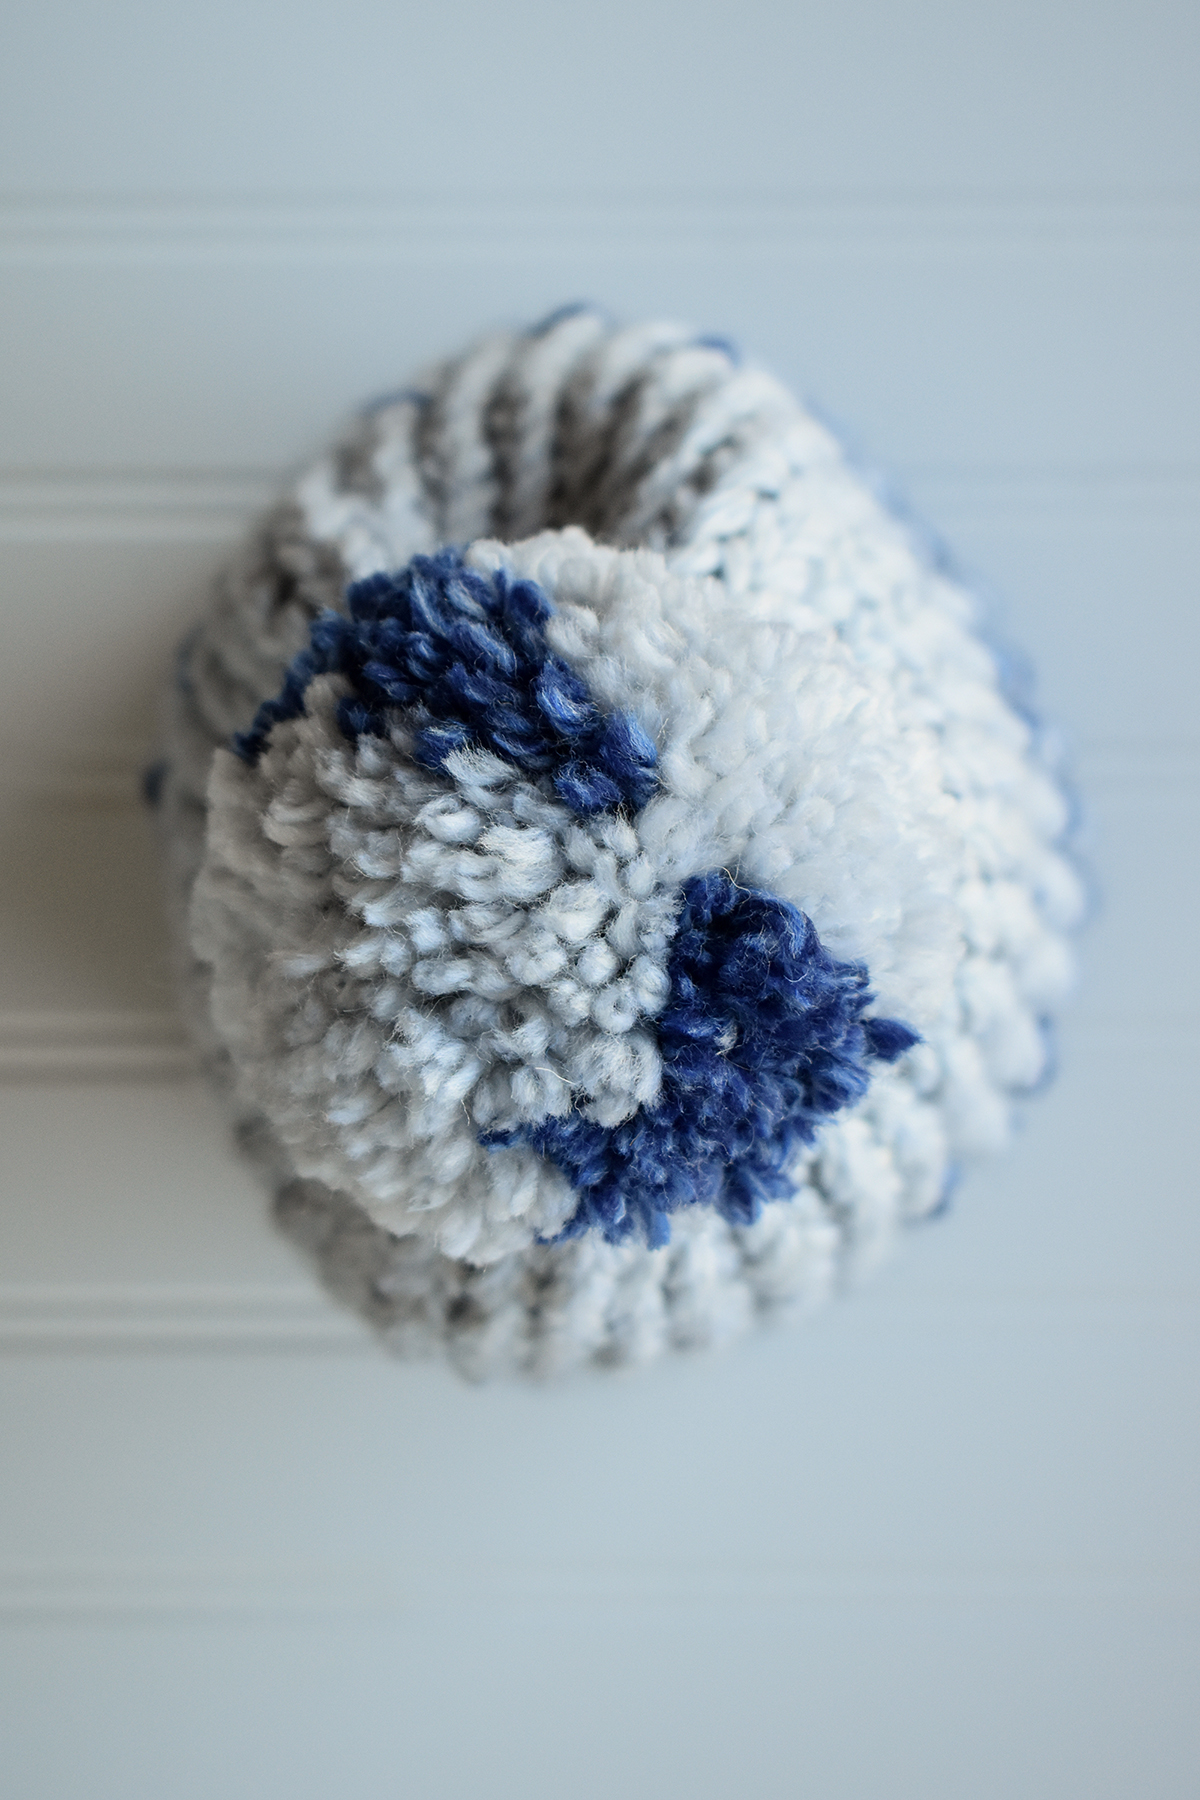
Topped with a multi-color pom-pom! This pattern really is so much fun!
Thank you so much for joining us in our support of RSS! We hope you have a wonderful week!
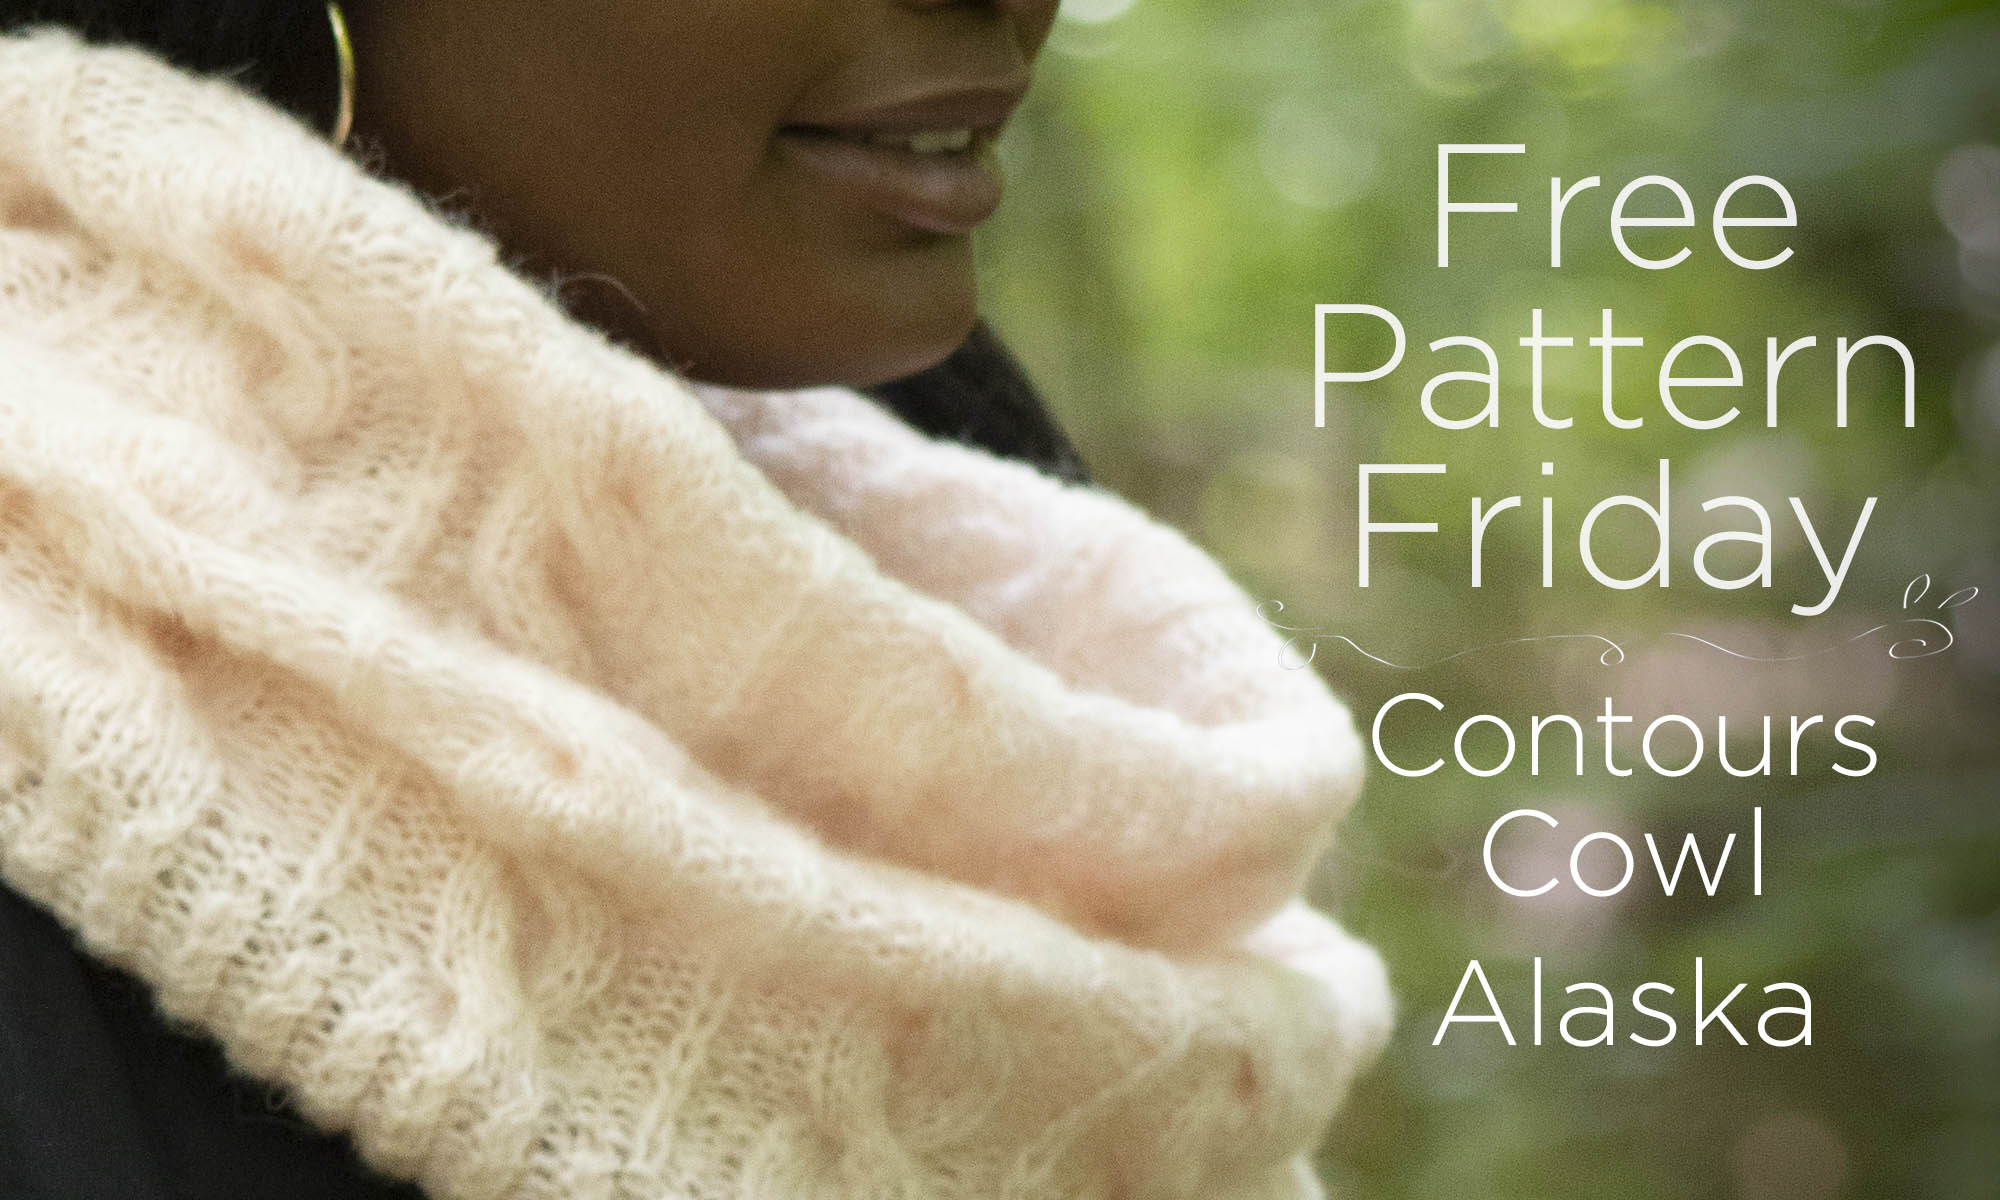
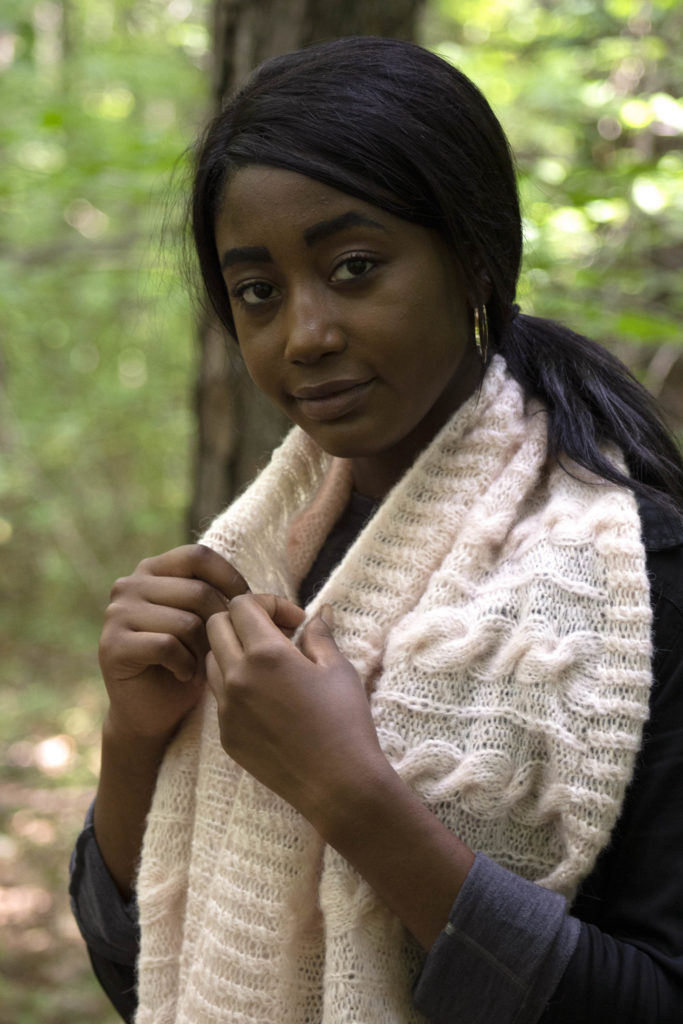
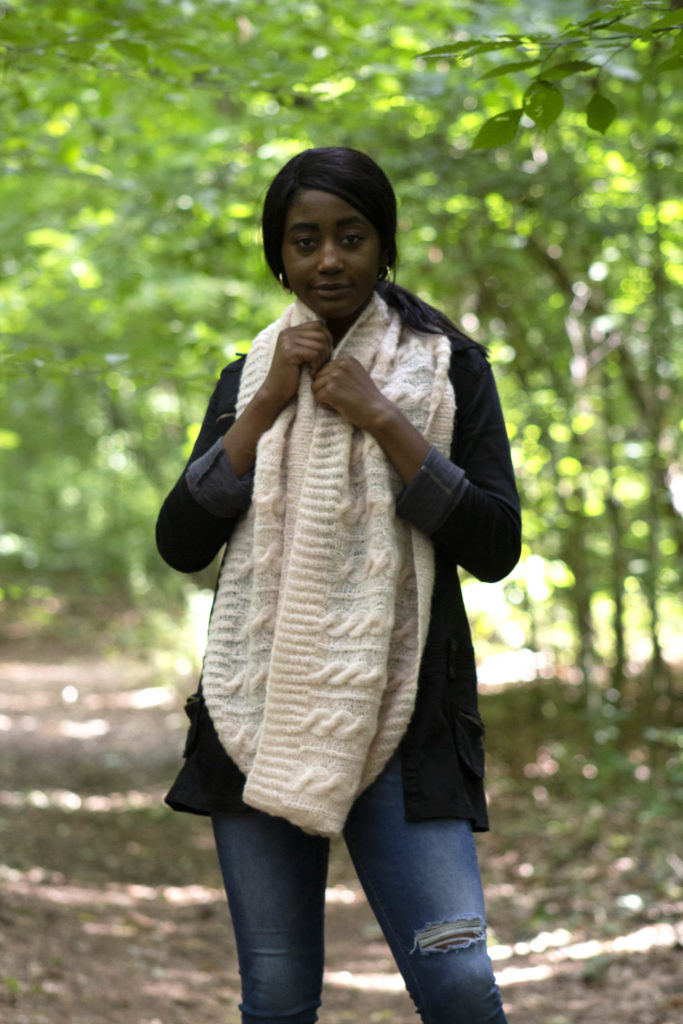
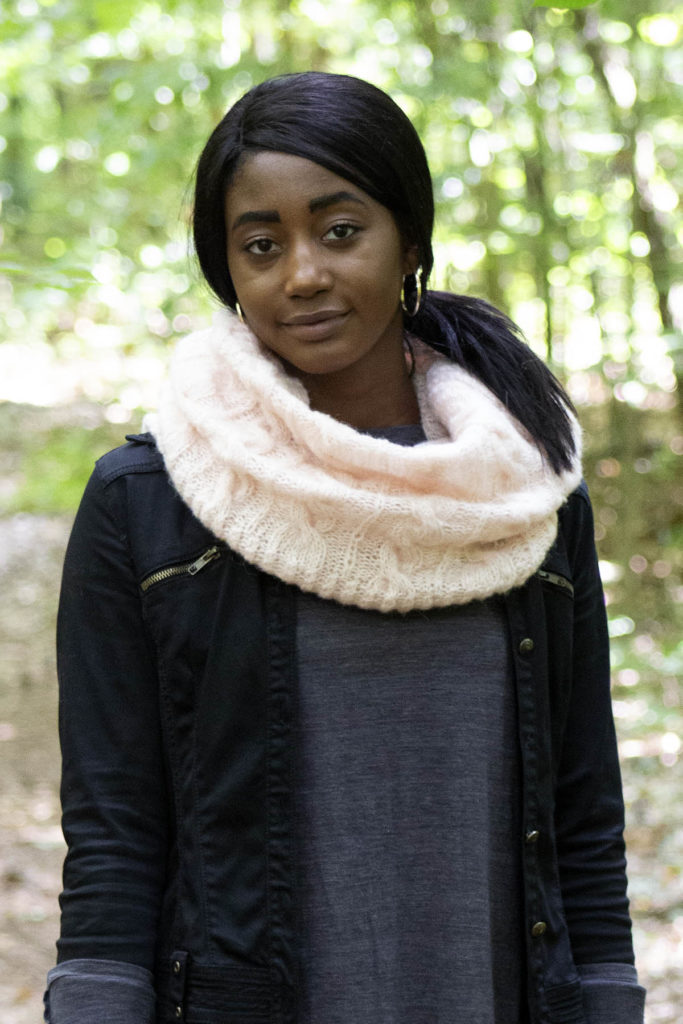
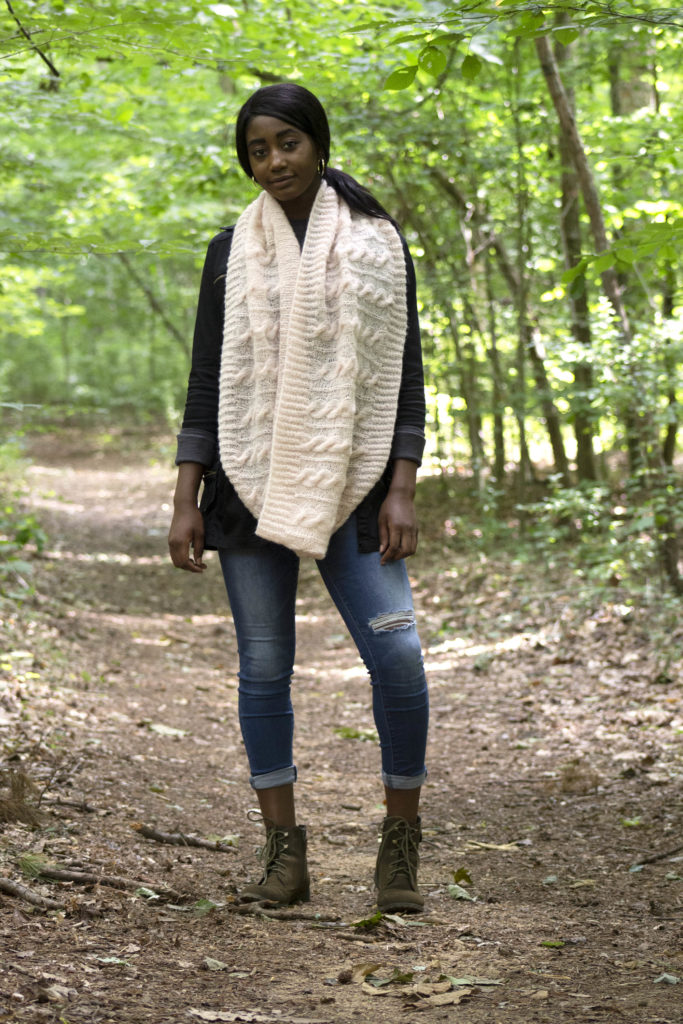
The Contours Cowl features lofty, all-over cables. If you thought cables make for a dense fabric, think again – Alaska is featherweight and soft as down, countering the density you might expect from the usual cabled cowl. It’s perfect to loop around your neck once or twice – and each styling option will keep you warm and cozy.
Knit seamlessly from the bottom-up, this cowl features an easily memorizable cable and slip stitch pattern on a background of reverse stockinette.
We hope you enjoy this week’s free pattern! Have a wonderful, craft-filled weekend!