
Today is Thanksgiving – since it is a national holiday in the United States, many of us will be spending the day with friends and family. Not only is today Thanksgiving, but November is also Native American Heritage Month. As such, I’m taking some time to talk about the incredible textile work of indigenous Americans.
Disclaimer: this is in no way a comprehensive overview. I am touching on only a few things. I could go on for much longer than I will, and I’ll happily include some information for further reading.
When I initially decided to use today’s post as a platform to touch on Native American Heritage Month, my brain went to knitting – it always does. I wanted to look into traditional Cowichan sweater knitting. Okay – I know we’re based in the US, and that today is a US holiday, but the first tradition I’d like to talk about originates in Canada. Anyway – these iconic sweaters originate from the Coast Salish people of British Columbia.

During the mid-nineteenth century, European settlers introduced domestic sheep and the craft of hand-knitting to the region. In an excellent overview of the history of Cowichan Knitting (pdf link), Margaret Meikle explains that native women skilled in handcrafts likely taught themselves to knit, working from samples available to them from the European settlers. Although the first Cowichan sweaters were solid-colored, Fair Isle sweaters influenced the colorwork these sweaters are known for early in the twentieth century.
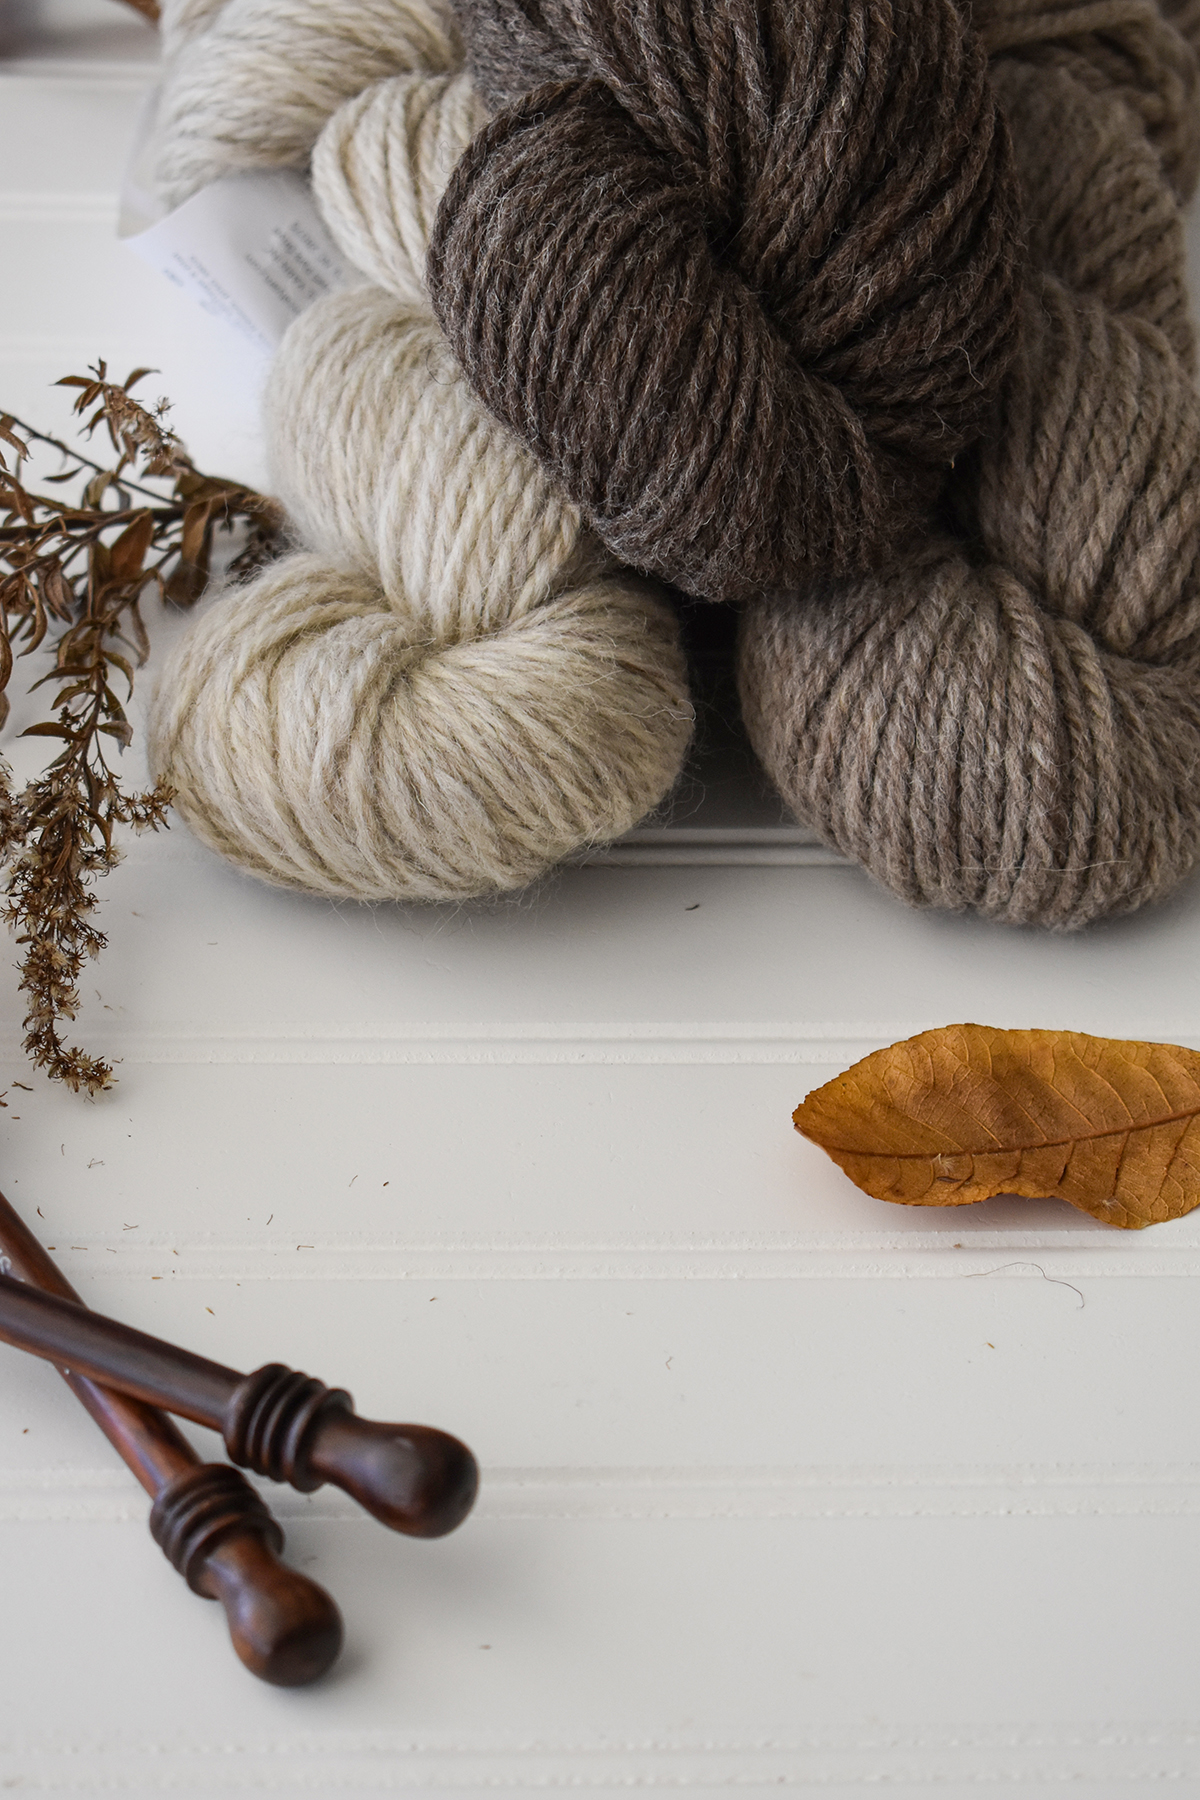
In her book Knitting Around the World, Lela Nargi explains that the yarn used to create these sweaters as thick, handspun, single-ply, and naturally colored. These sweaters are as utilitarian as they are attractive. They are hardy and perfect to withstand cold, wet climates. They also feature beautiful patterning – each symbol with a story behind it.

In the children’s book, Yetsa’s Sweater (pictured above), author Sylvia Olsen demonstrates how the sweaters are personal. In the book, Yetsa’s grandma explains that the sweaters tell a story about family. I’d recommend checking out this book if you’re looking to share your love of knitting with young people in your life, but there is no shame in reading it as an adult!

If you now find yourself dreaming of a Cowichan-style sweater, I also discovered that Sylvia Olsen also wrote Knitting Stories, a book featuring Salish-inspired designs including Yesta’s Bolero – a perfect match for Deluxe Worsted Naturals (Pewter and Millet, anyone?). There are many interpretations of Cowichan sweaters on Ravelry. One in particular I like is Jane Richmond’s West Coast Cardigan – which she describes as being “inspired, in respectful admiration, by the Cowichan Sweaters that are abundant on Vancouver Island and are a tradition of the Coast Salish people” and clarifies that the design is not a real Cowichan sweater, only inspired by this traditional style. For her design, I’d recommend holding two strands of Deluxe Chunky Naturals together as one to obtain gauge.
Next, I’d like to touch on weaving.

In Alaska, the Tinglits Chilkat people created beautiful Chilkat blankets. Made for movement, these blankets feature long-fringed borders that swayed beautifully with the dancers who wore them during ceremonies. The designs displayed on the blankets are the crests of the family or groups for whom they were woven. These weavings were made from mountain goat hair that was handspun and dyed naturally. The art of Chilkat blanket weaving was a dying craft, but Jennie Thlunaut (pictured above) is single-handedly credited for keeping the tradition alive.
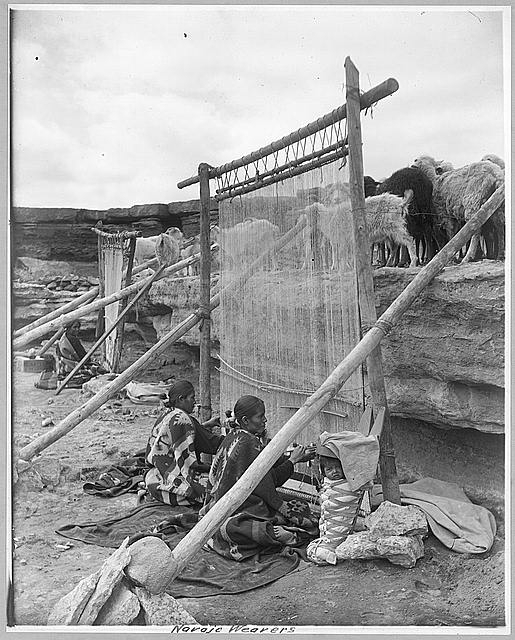
Based on my reading, it seems well understood that the Pueblo people were weaving centuries before the European invasion of North America. Their weavings were made from plant fibers, such as cotton and yucca, but it was not uncommon for human, dog, and wild animal hair to be incorporated, too. When Spanish settlers introduced Churro sheep to the region, wool began to replace cotton in textiles. When the Pueblo and Navajo people encountered one another during the seventeenth century, the Pueblo shared their knowledge of weaving with the Navajo.

Because the Navajo were largely nomadic, working with sheep and wool was well-suited to their lifestyle. The Navajo primarily created garments and blankets; however, in the late nineteenth century the political climate was harmful to the people and changed the purpose of their craft. This is when Navajo rugs became popular, and they remain that way today.
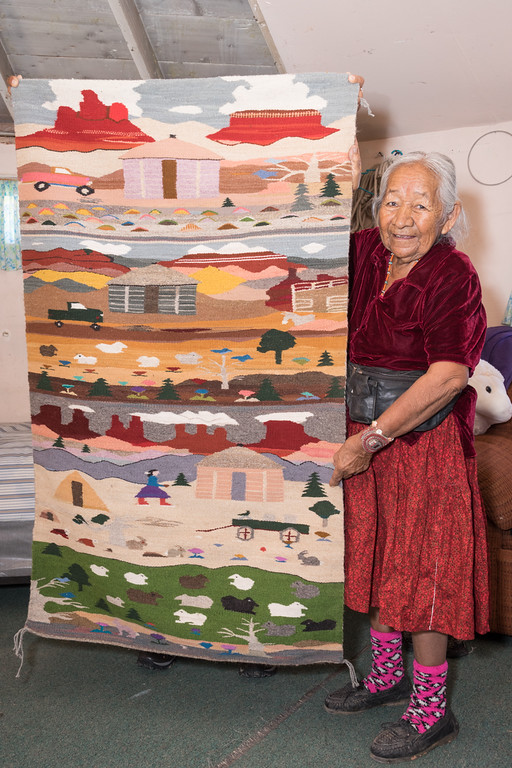
Danielle Hena, a curatorial intern at the Wheelwright Museum, explains that “stories, curiosities, and beauty are carried within each textile: stories from history, curiosities that will continue to be curiosities, and beauty that was transferred from a weaver’s vision to the viewers.” She perfectly sums up what makes the rich textile heritage of indigenous people so unique.
Feeling inspired? I know I am! I’d like to share an inspirational resource I uncovered while writing this post: the organization Adopt-a-Native Elder’s Rug Program. This organization facilitates a market for Navajo elders to sell their beautiful handwoven rugs. I thought this was pretty neat and I couldn’t resist sharing.
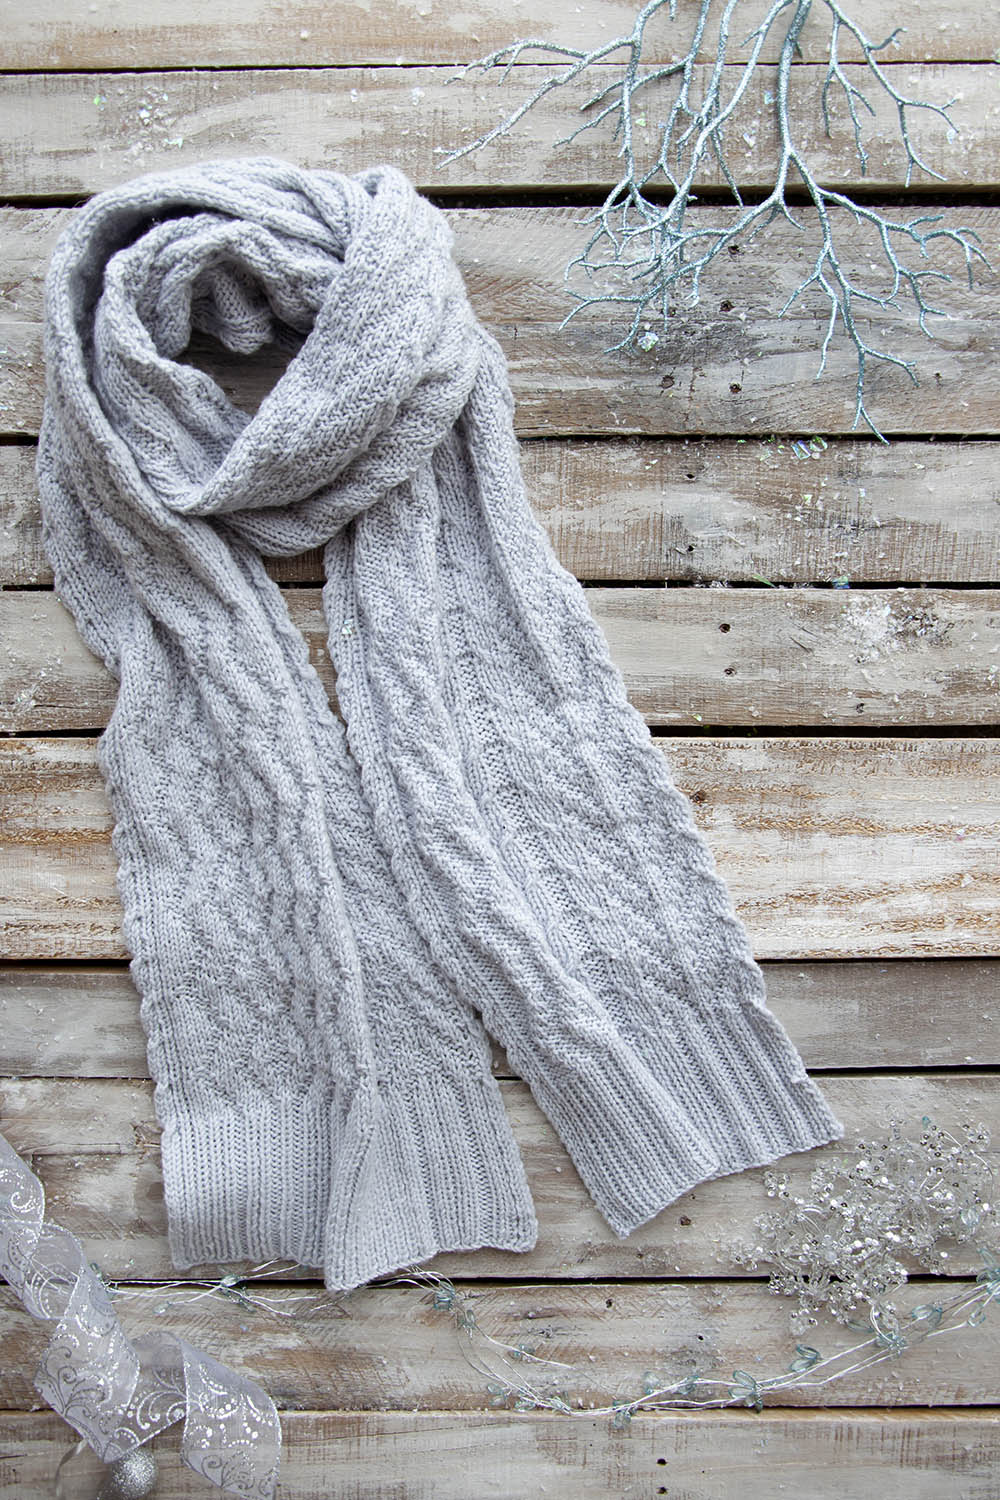
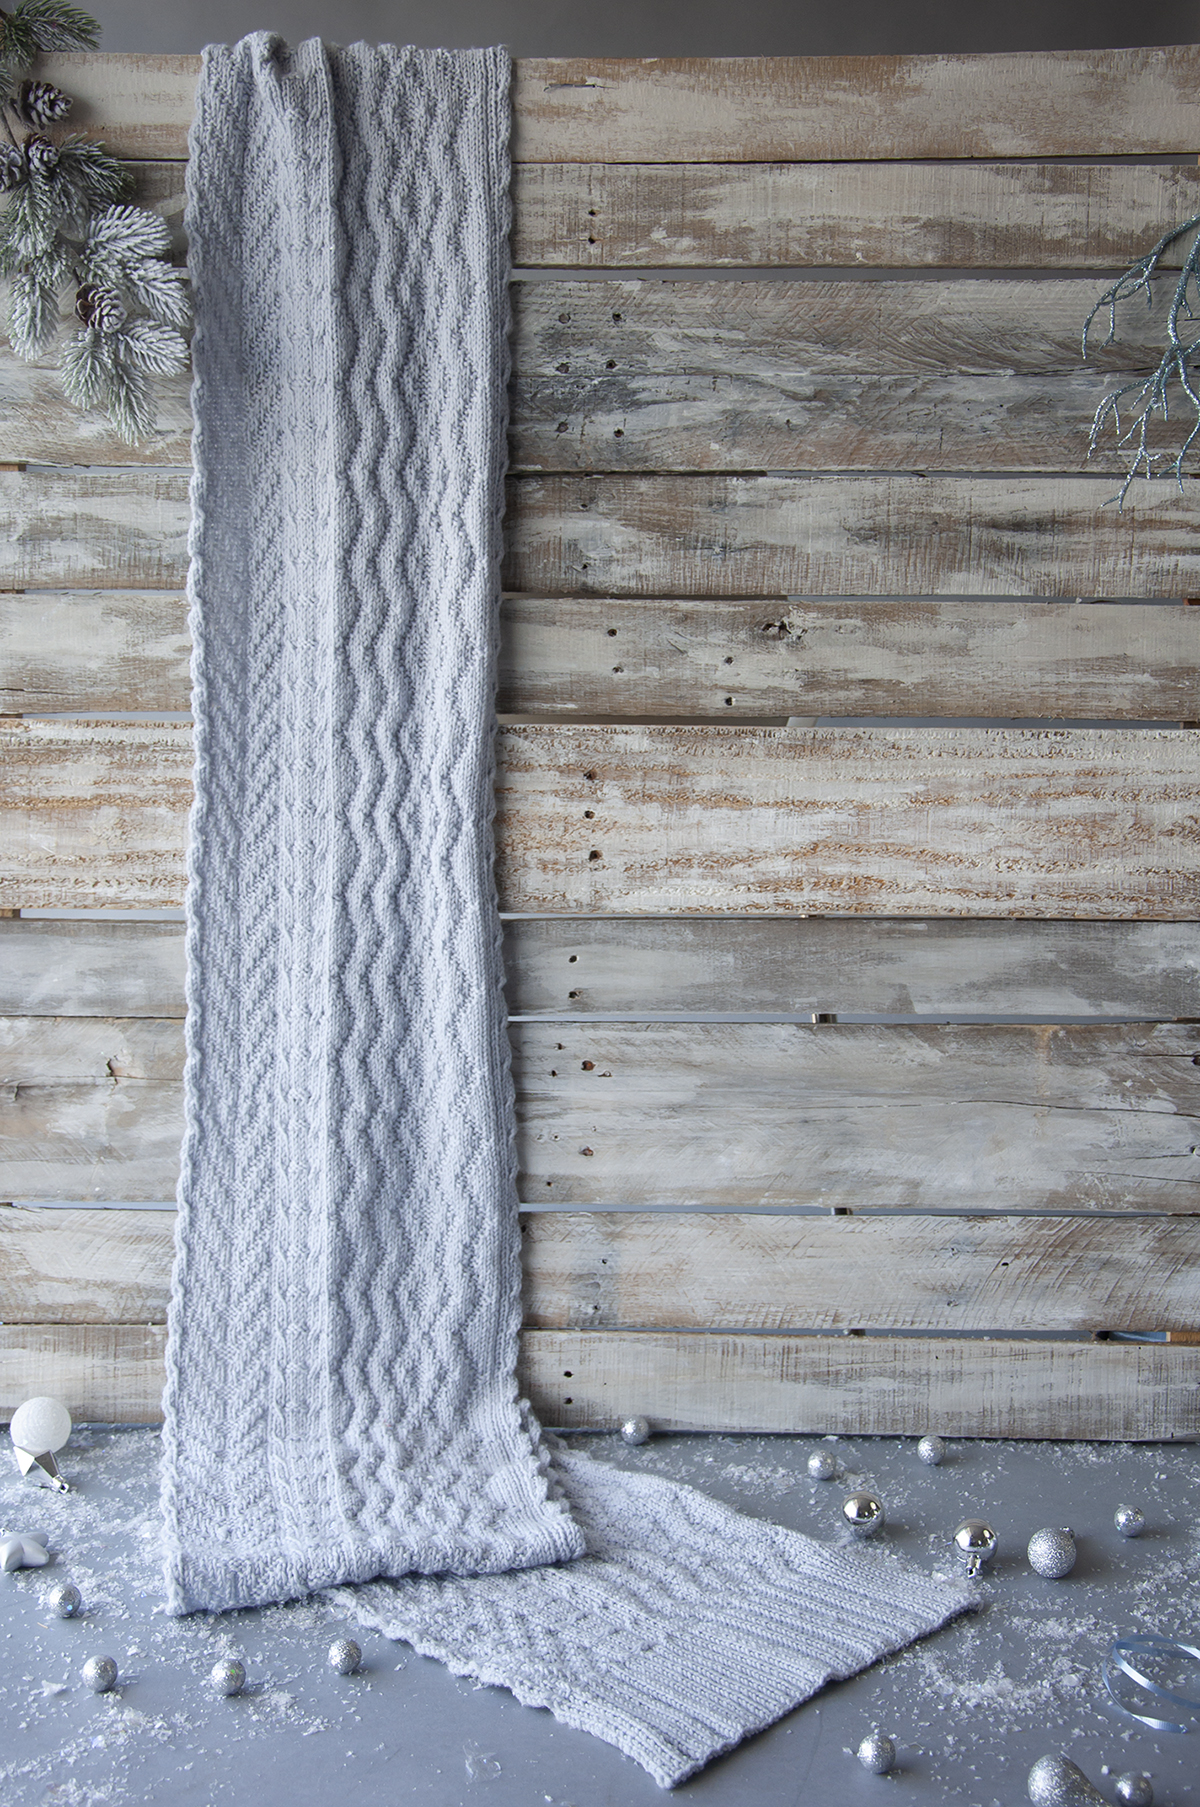
Still, if you want to make things with your own hands, there are plenty of resources out there! For example, Amy is an avid weaver and occasionally posts about the topic on our blog. You can find her weaving posts here (link). You may also be interested in a pattern – if so, check out the Sparkle Windows Scarf. This thing is gorgeous! Finally – check your local yarn shop for weaving classes. Our customers have shared projects woven using many of our yarns, and it’s such a lovely way to see it transformed.
I hope you’ve enjoyed this post, have learned something from it, and feel inspired!
If you’re interested in reading more, here are the resources I’ve used for this post:
On Cowichan Knitting
Cowichan Indian Knitting by Margaret Meikle (link)
Knitting Around the World: A Multistranded History of a Time-Honored Tradition by Lela Nargi; (pp. 217-225)
Yetsa’s Sweater by Sylvia Olsen
On Weaving
For more information about Jennie Thunaut and Chilkat Blankets, I recommend exploring Masters of Traditional Arts, an ongoing interdisciplinary project produced by Documentary Arts focusing on the recipients of the National Heritage Fellowship (link here).
Unpacking a phrase: The Chilkat Blanket by Christy Christodoulides (link)
Three Southwest Weaving Cultures; adapted from Beyond the Loom: Southwestern Weaving Traditions exhibit, Colorado University Museum (link)
Wheelwright Museum Blog – Archives of Navajo Textiles (link)