
It’s Free Pattern Friday!

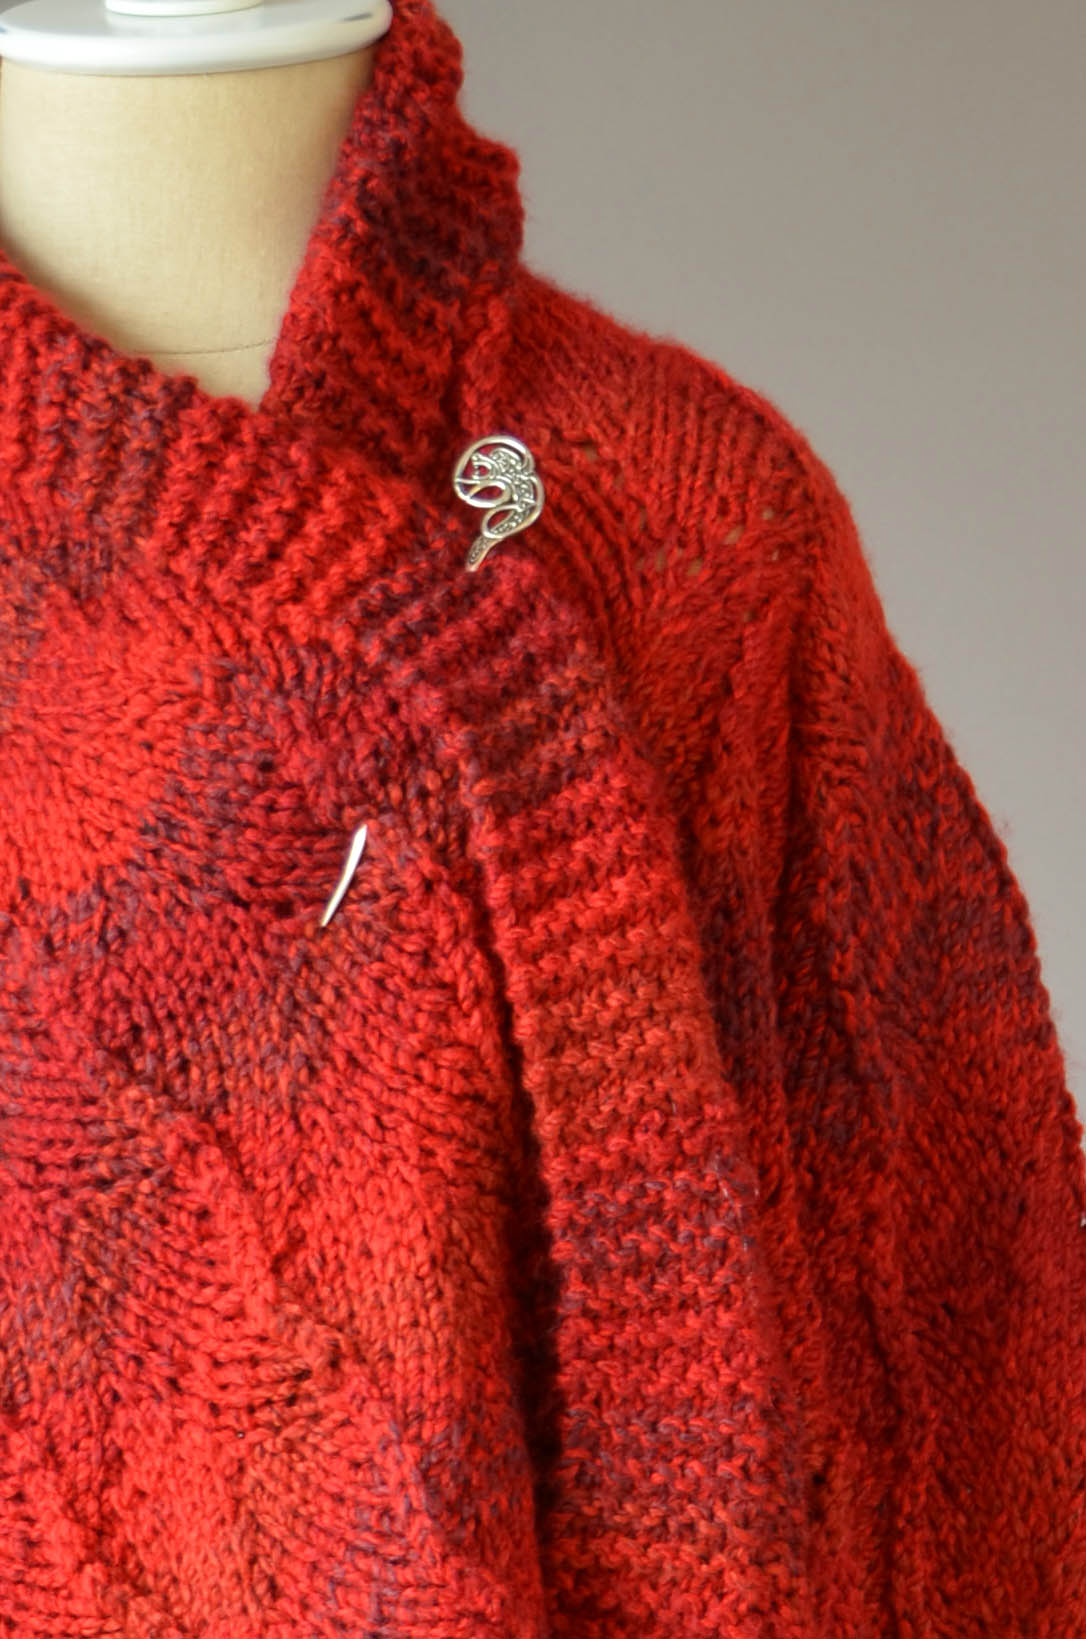
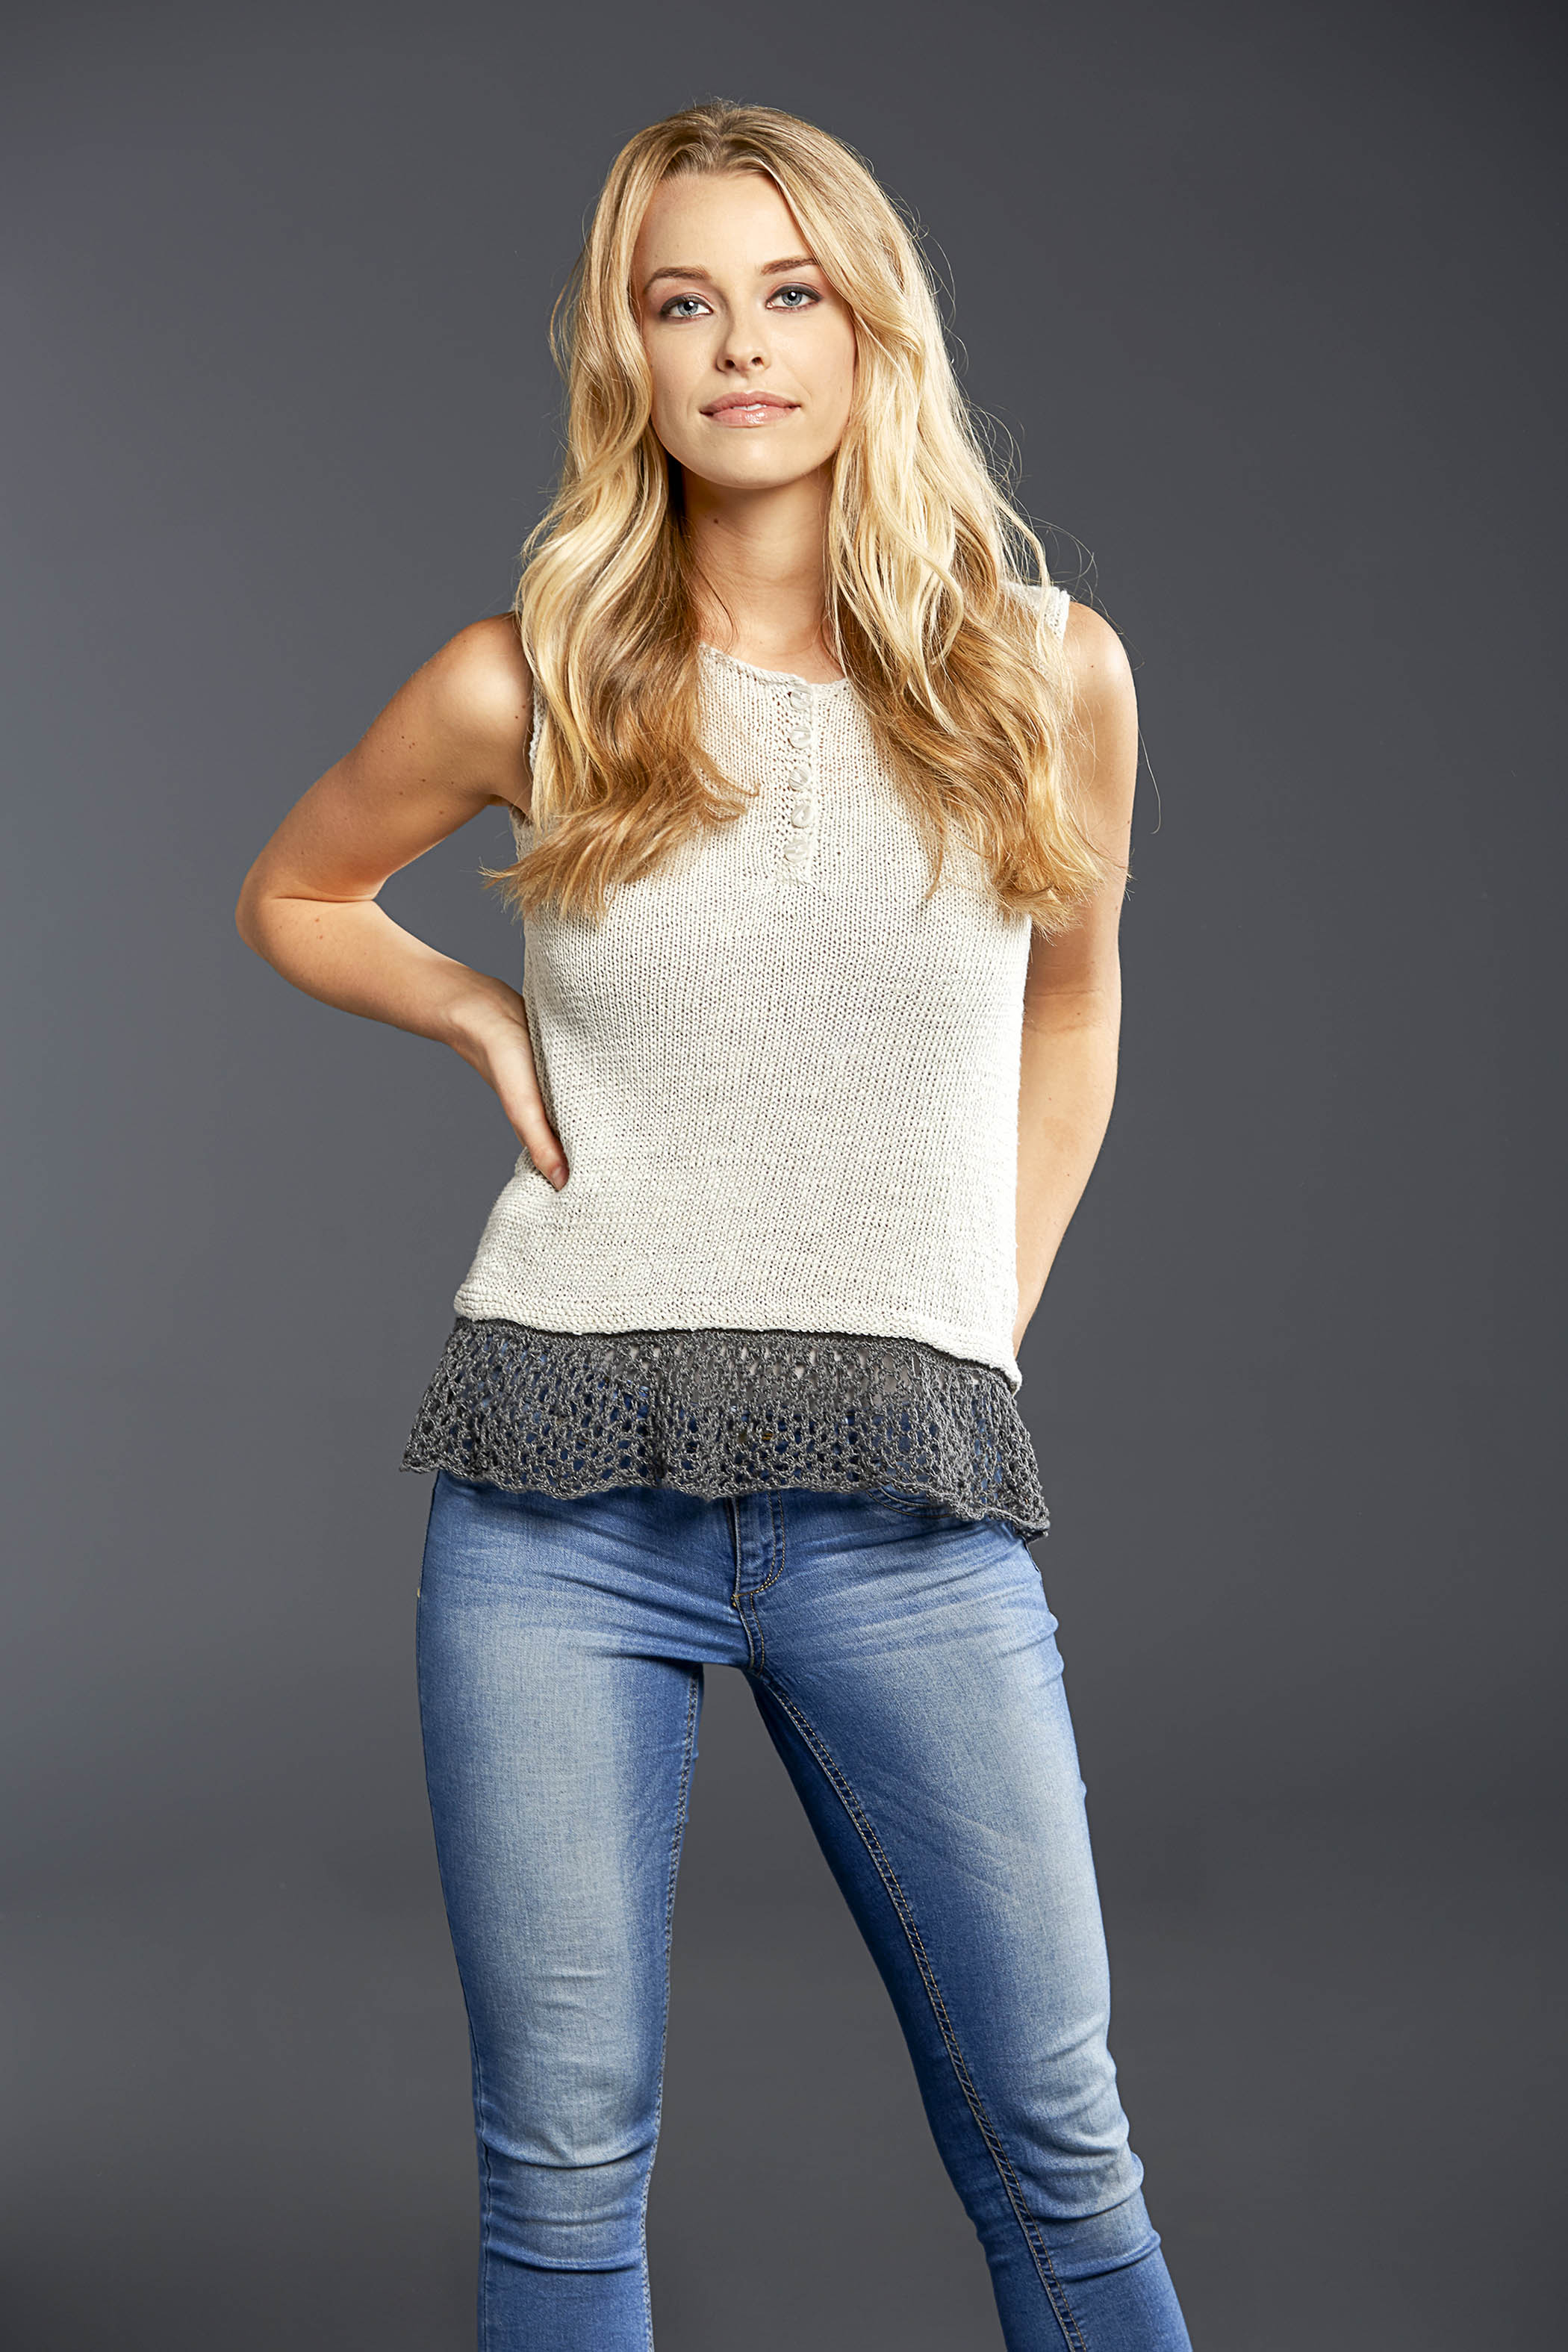
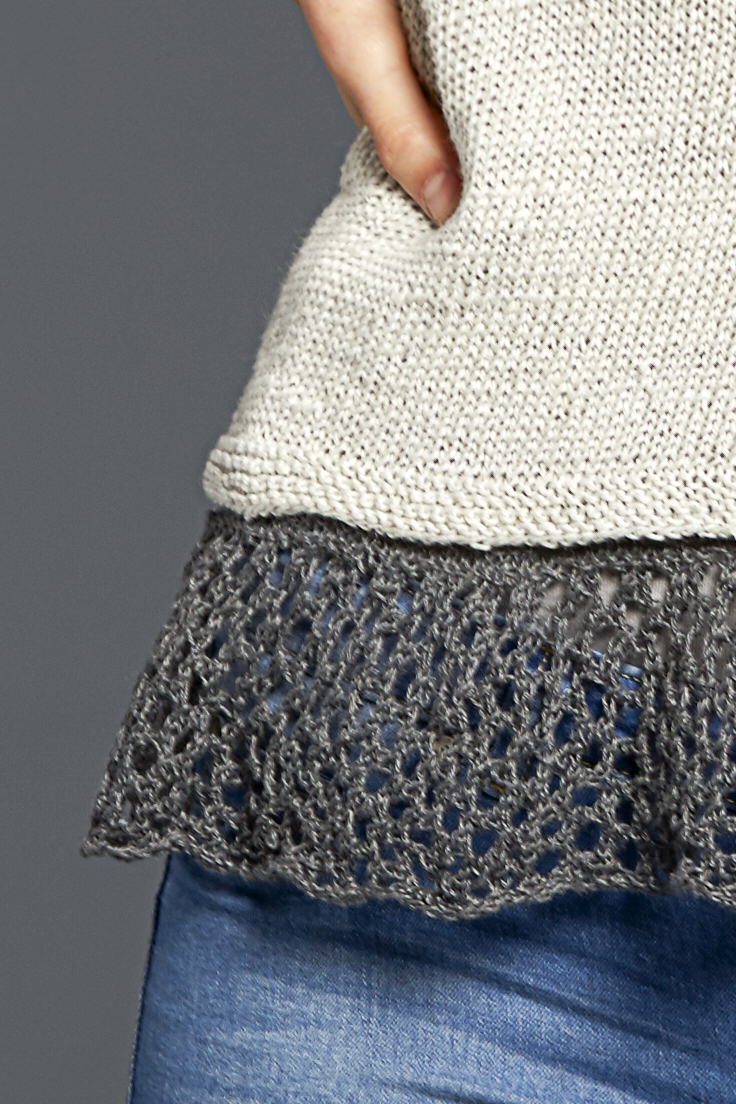
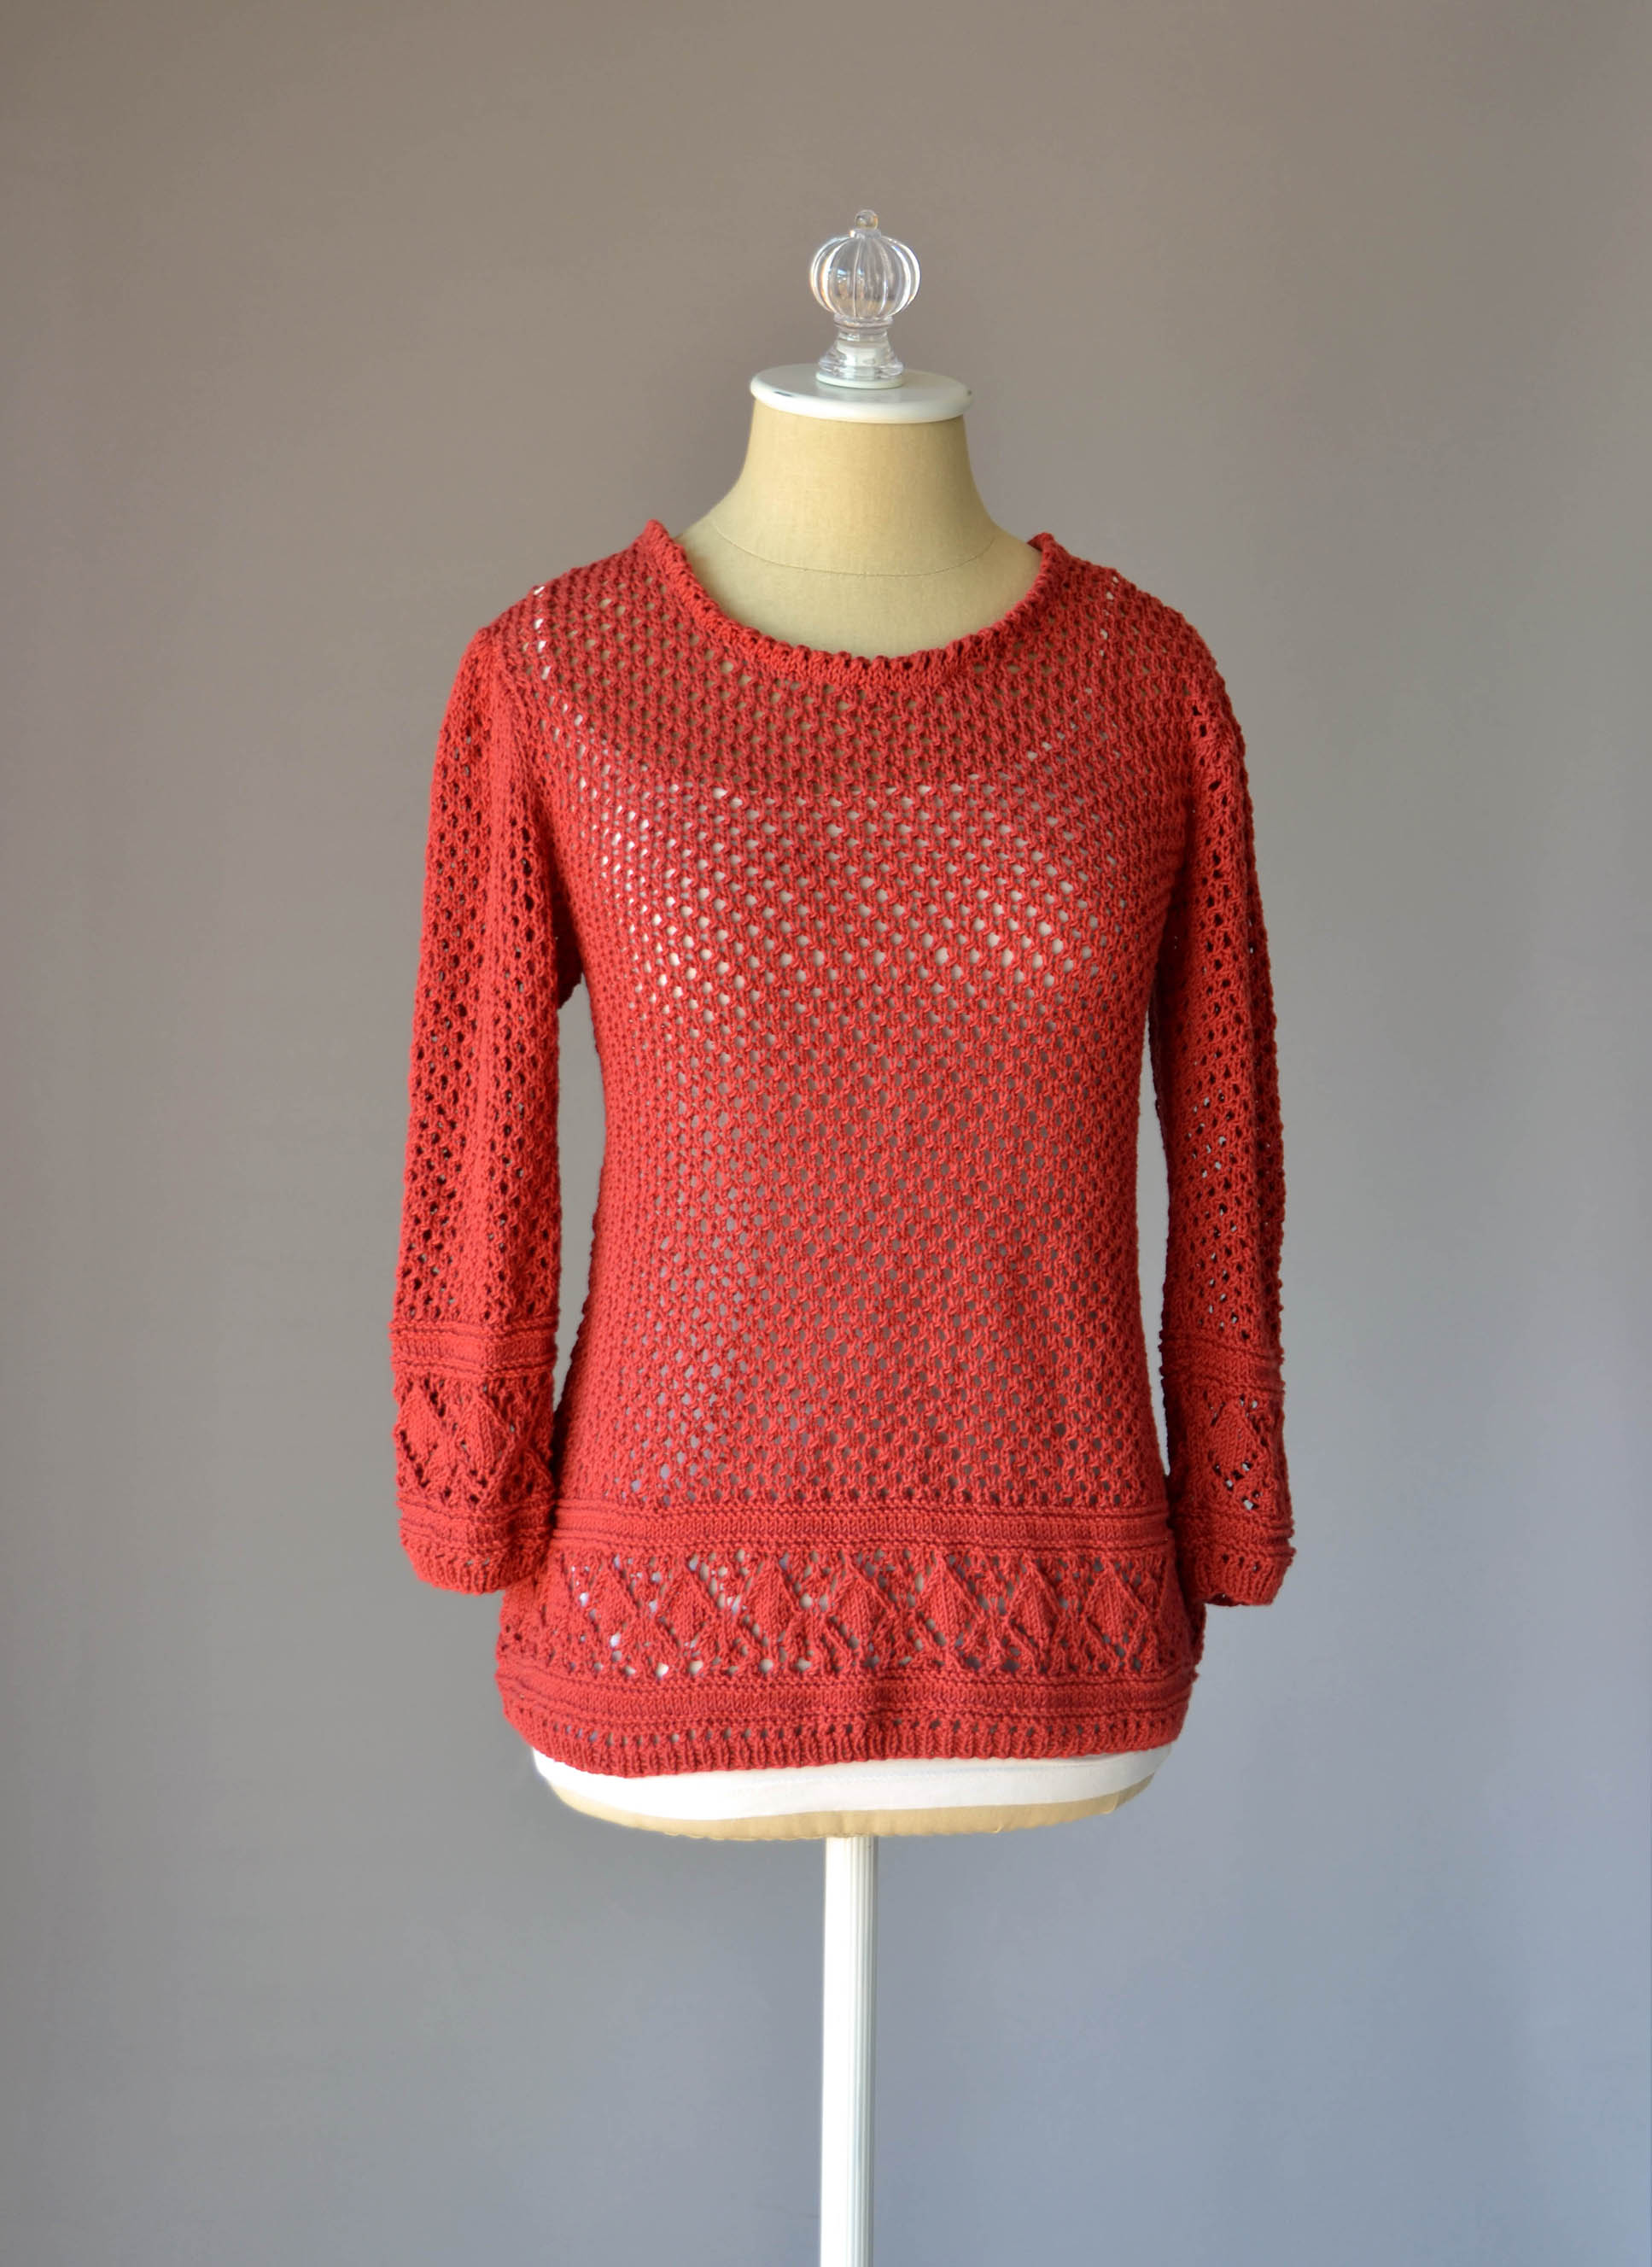
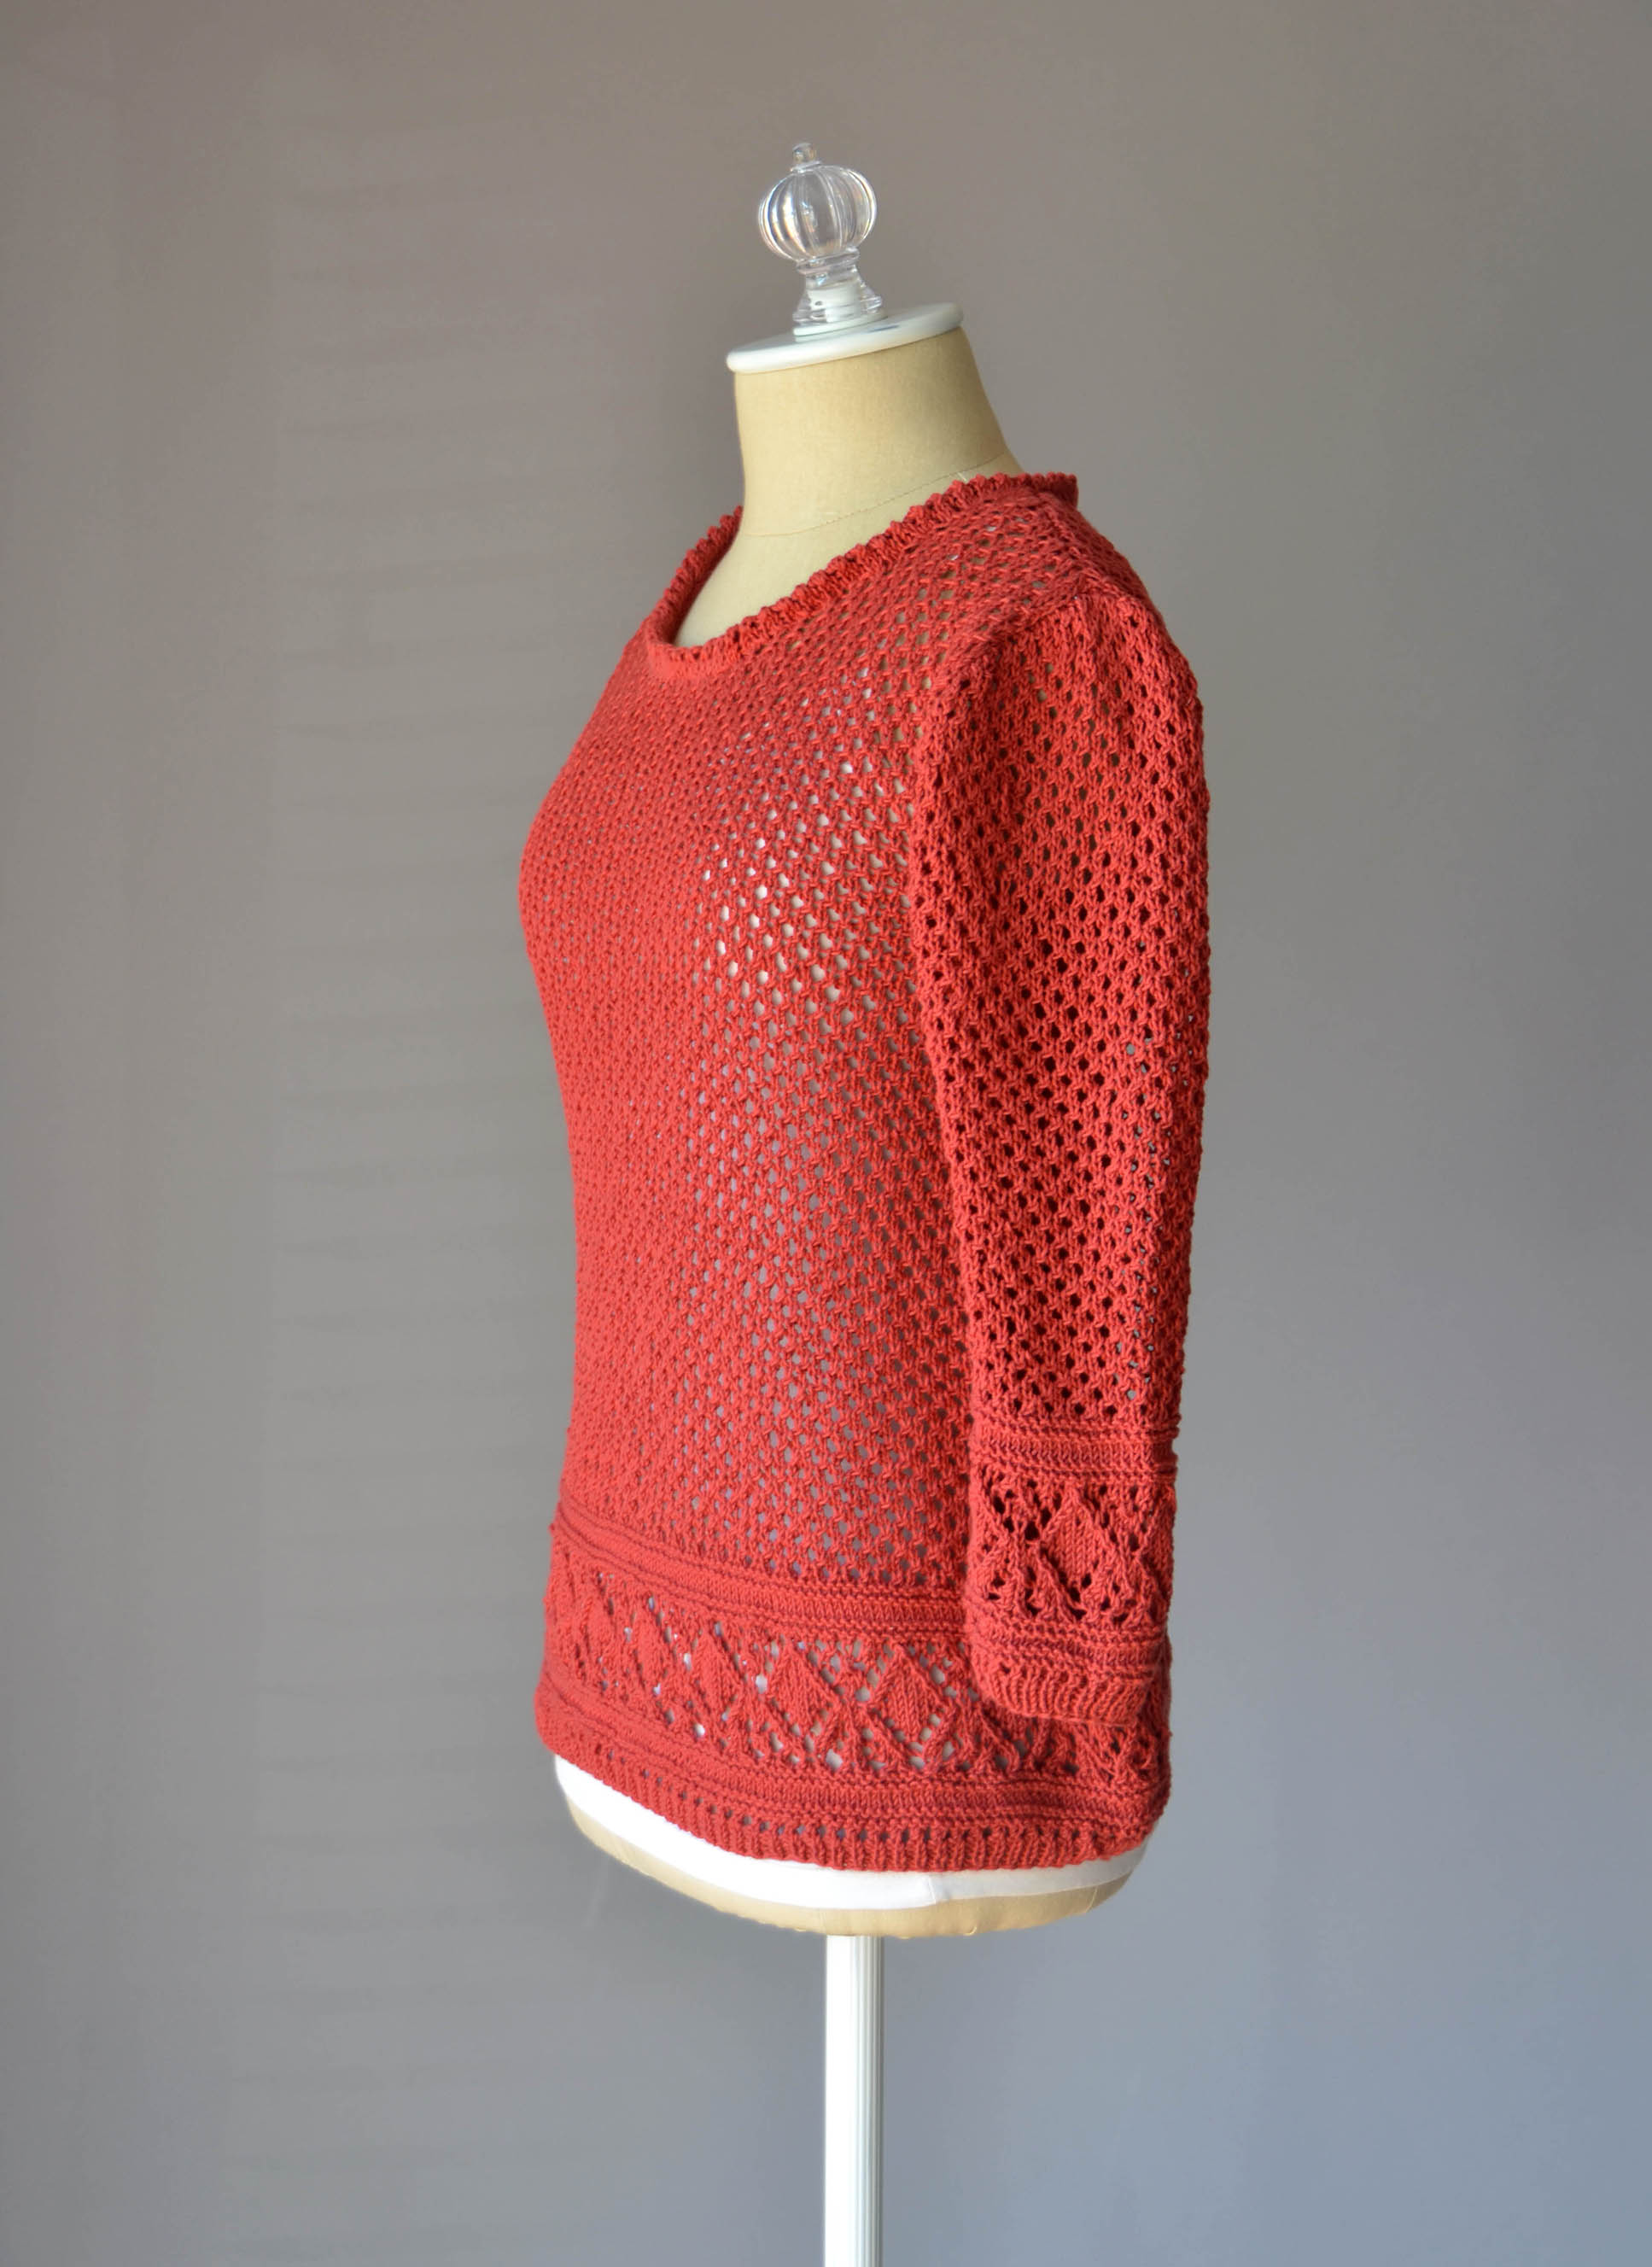
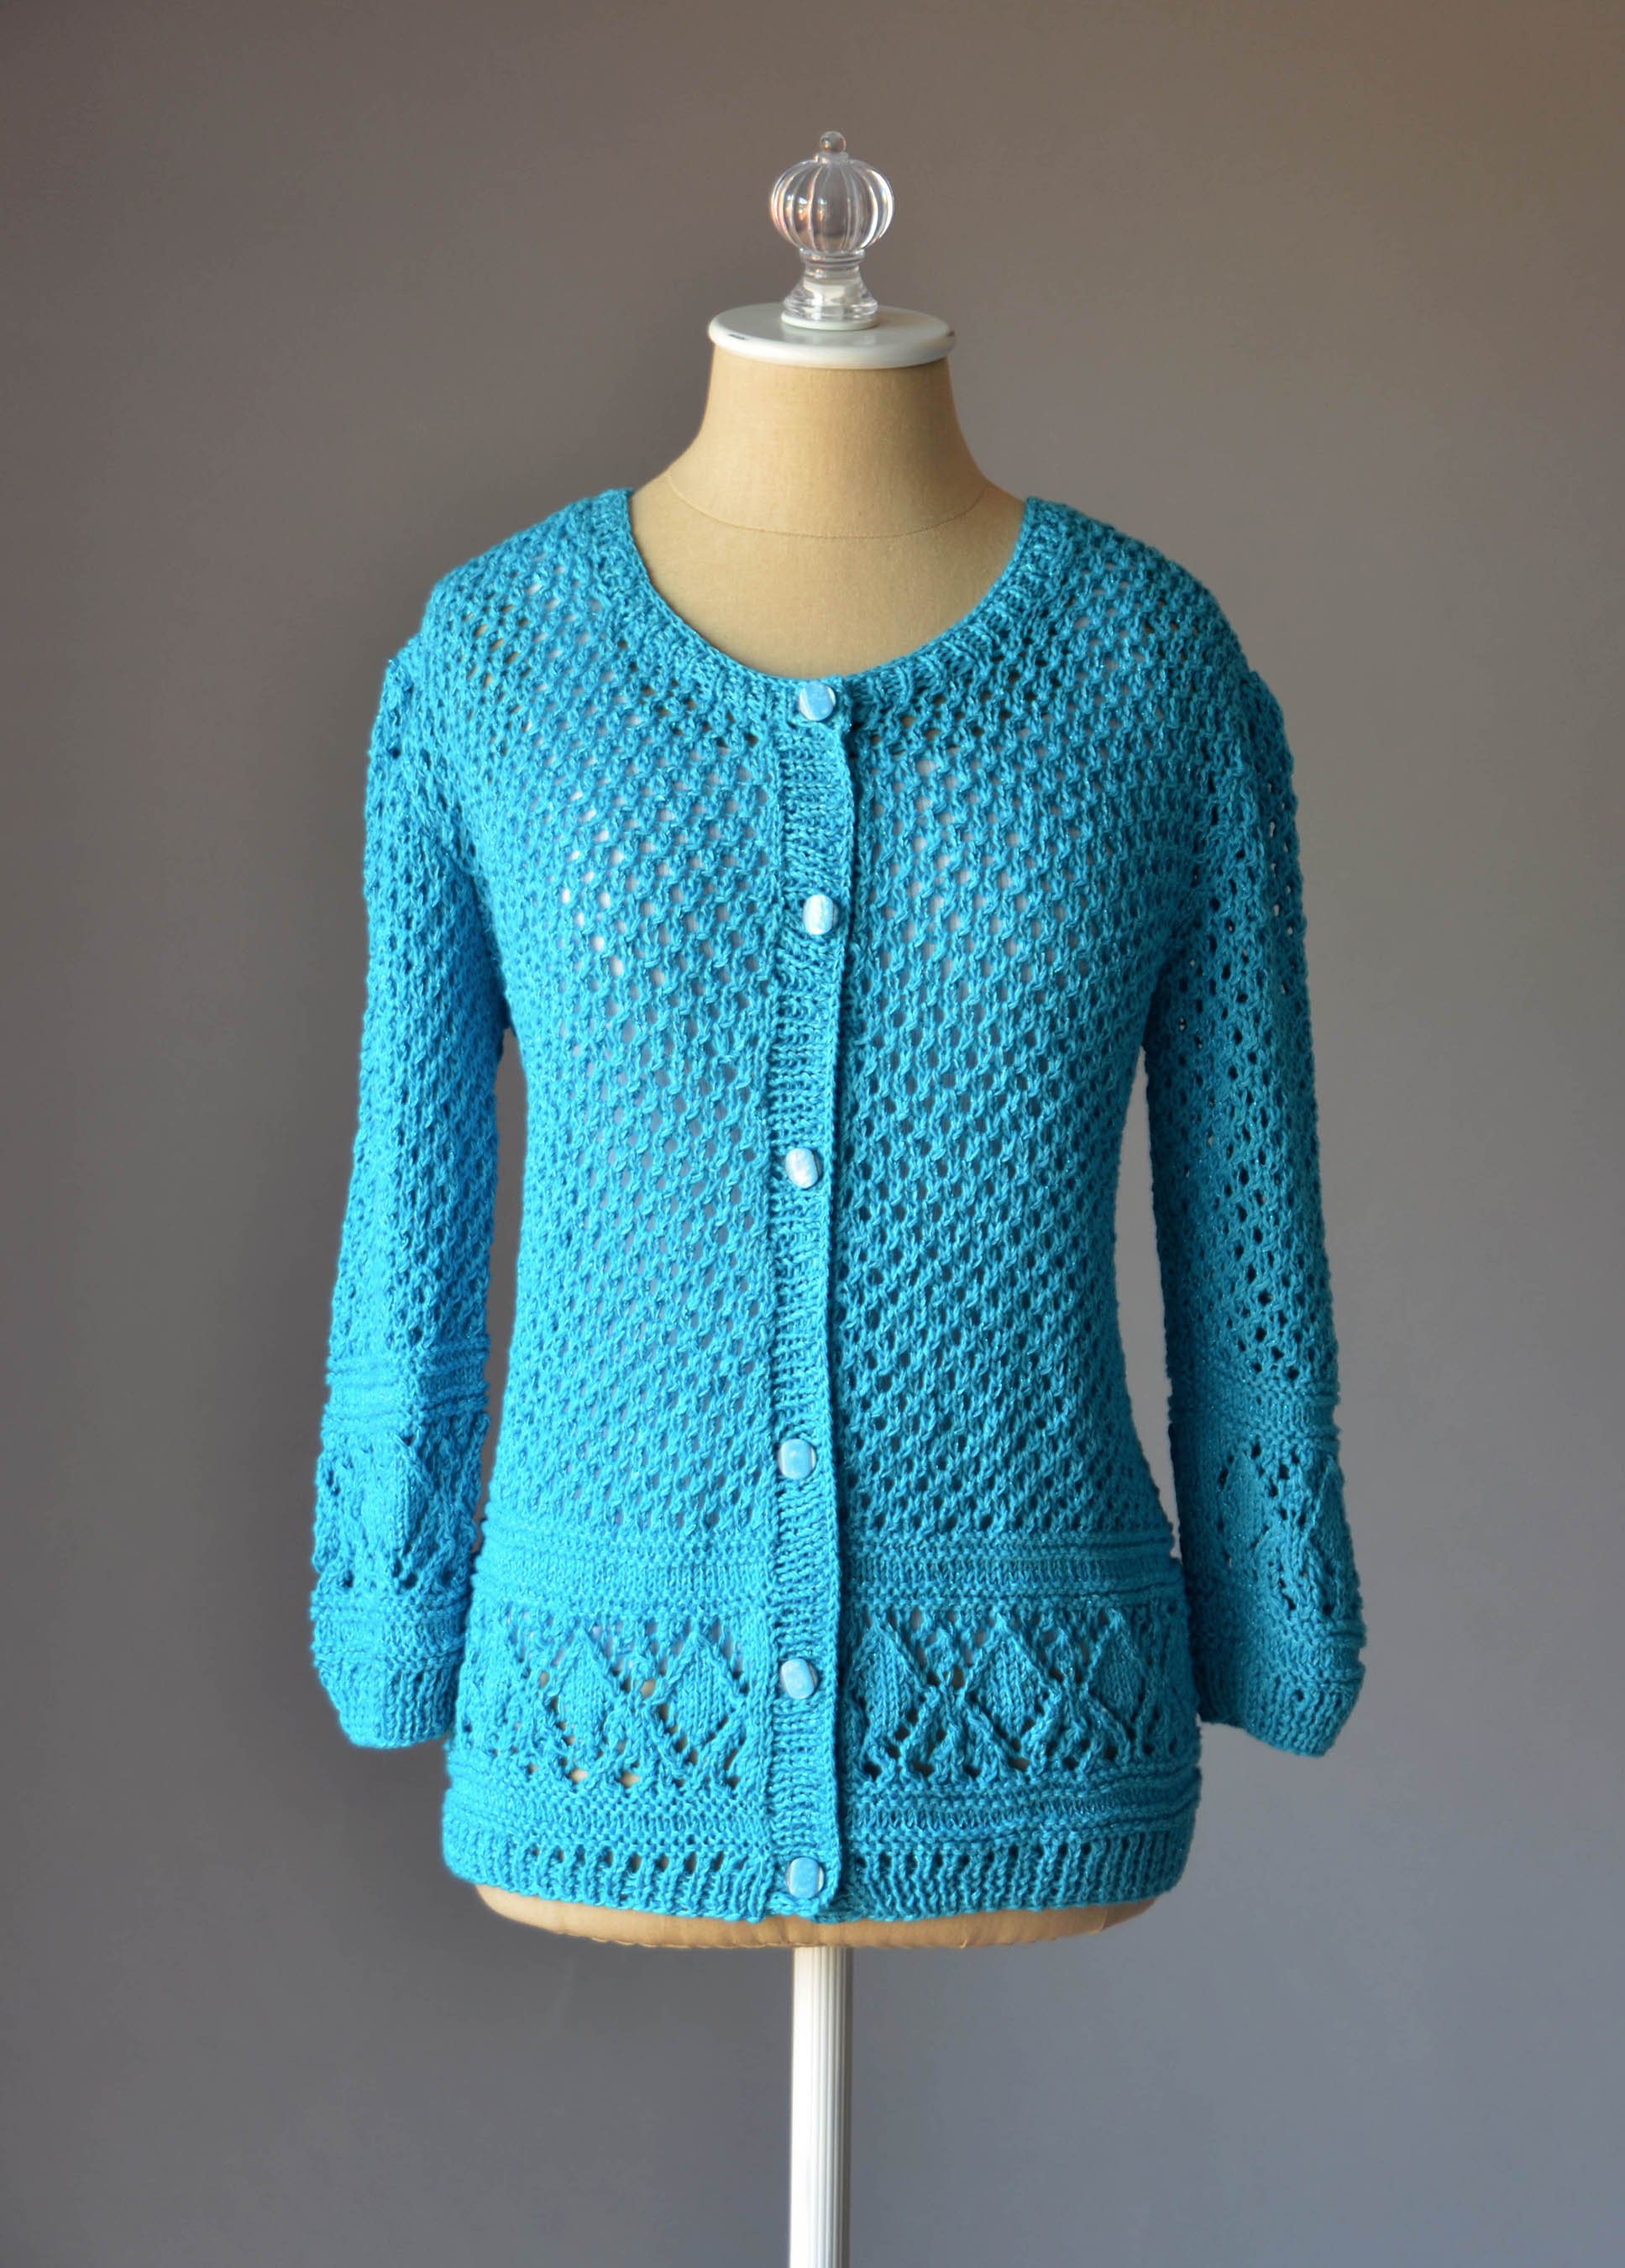
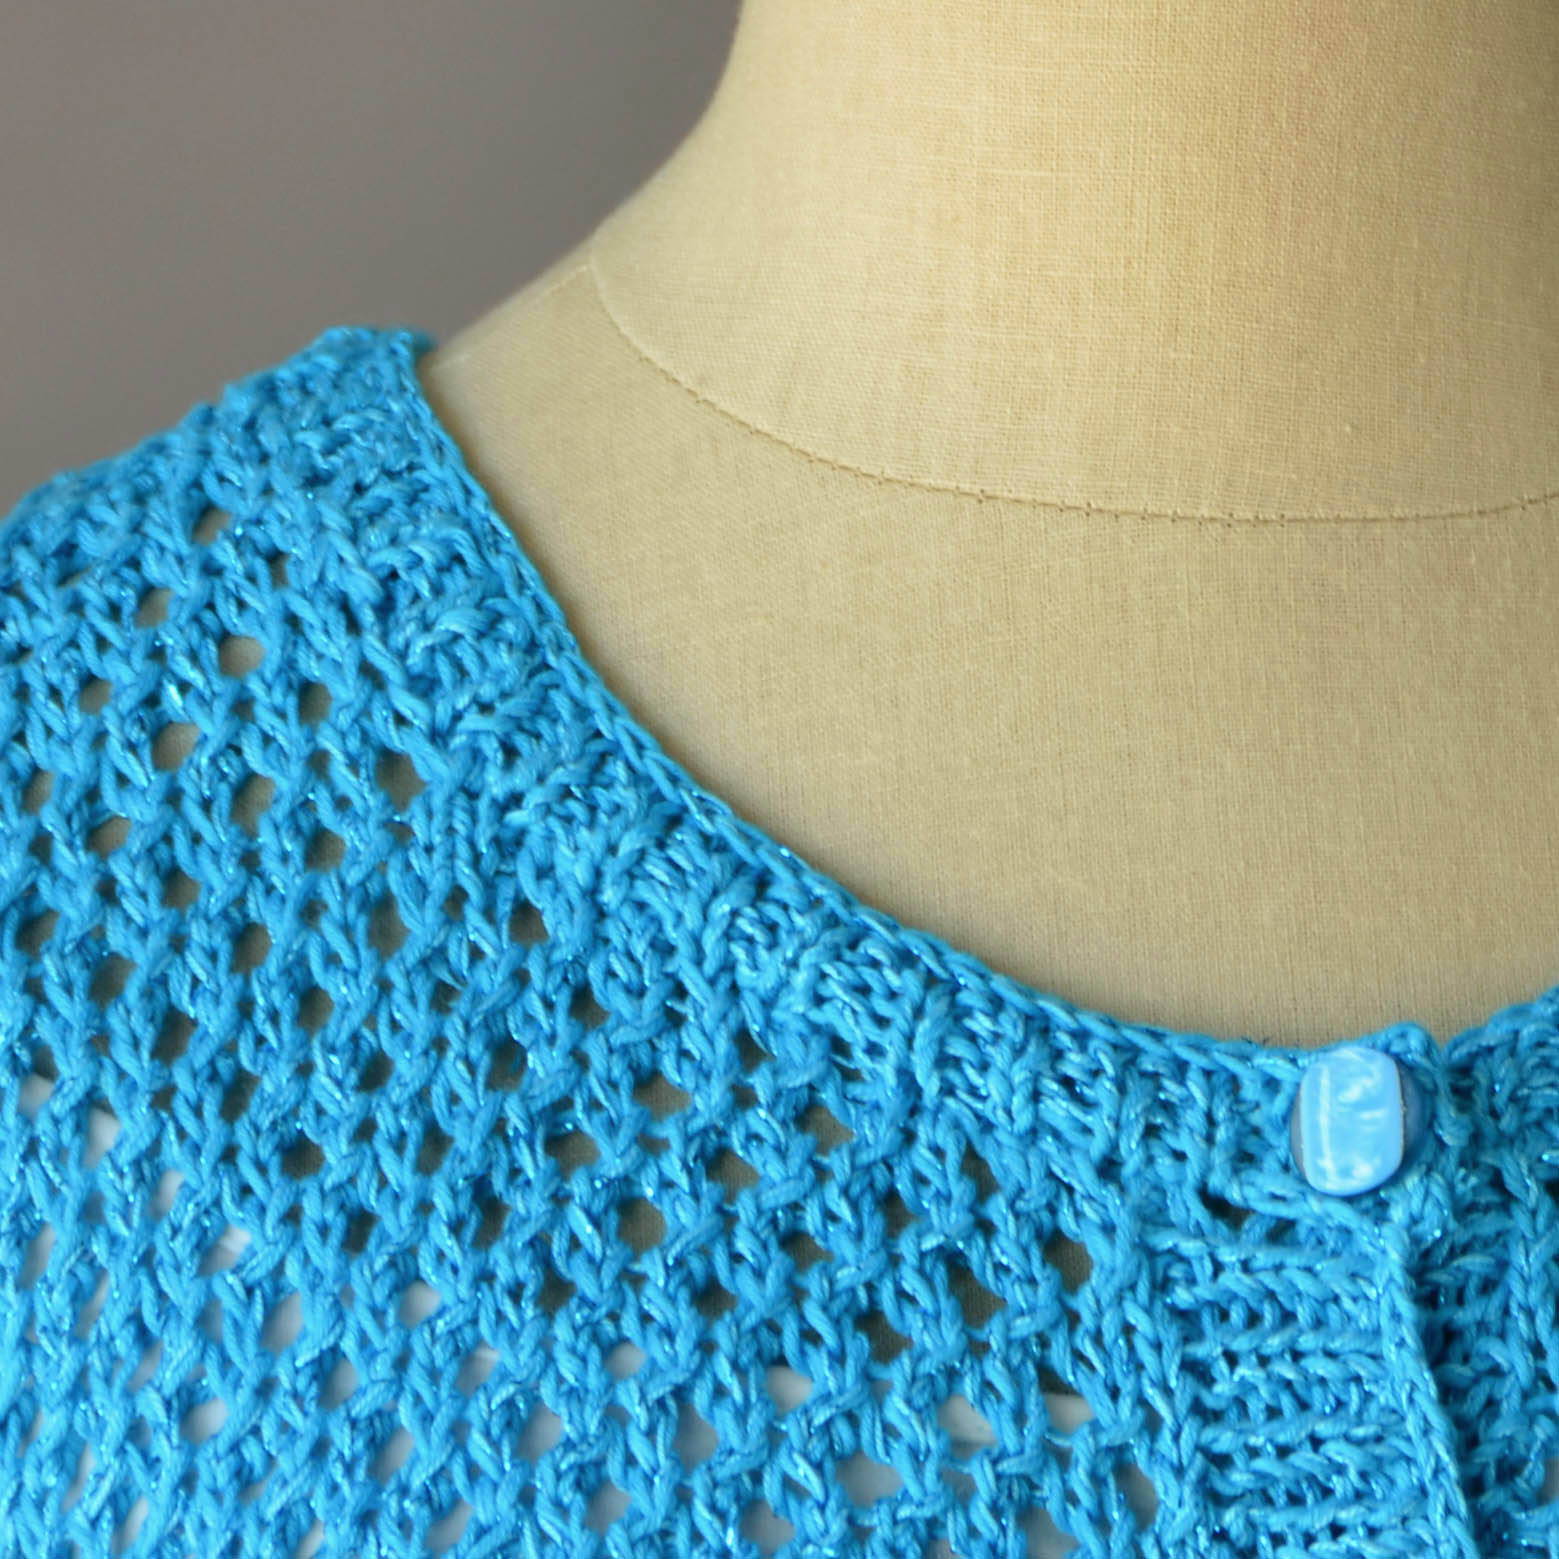
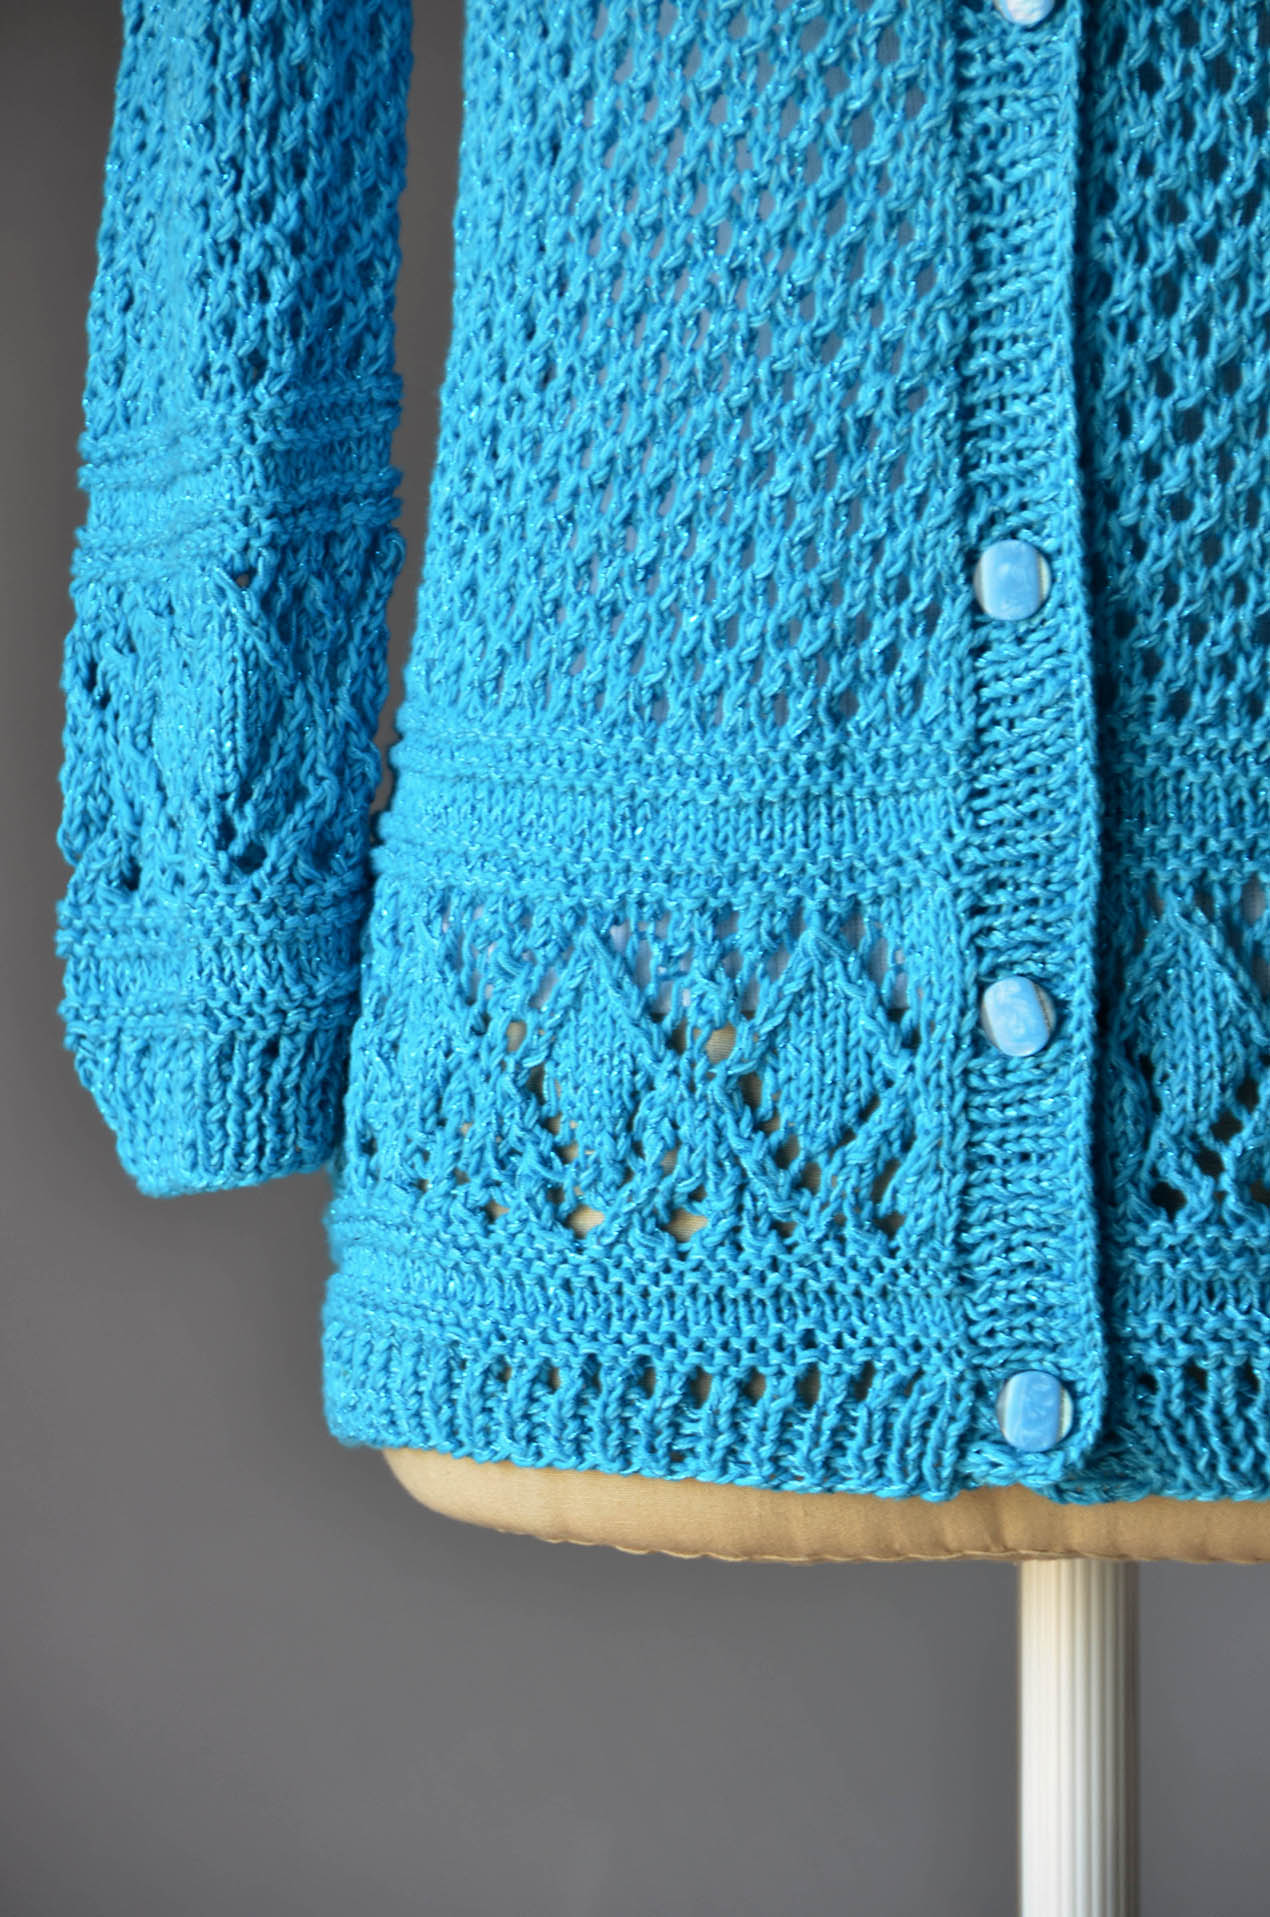
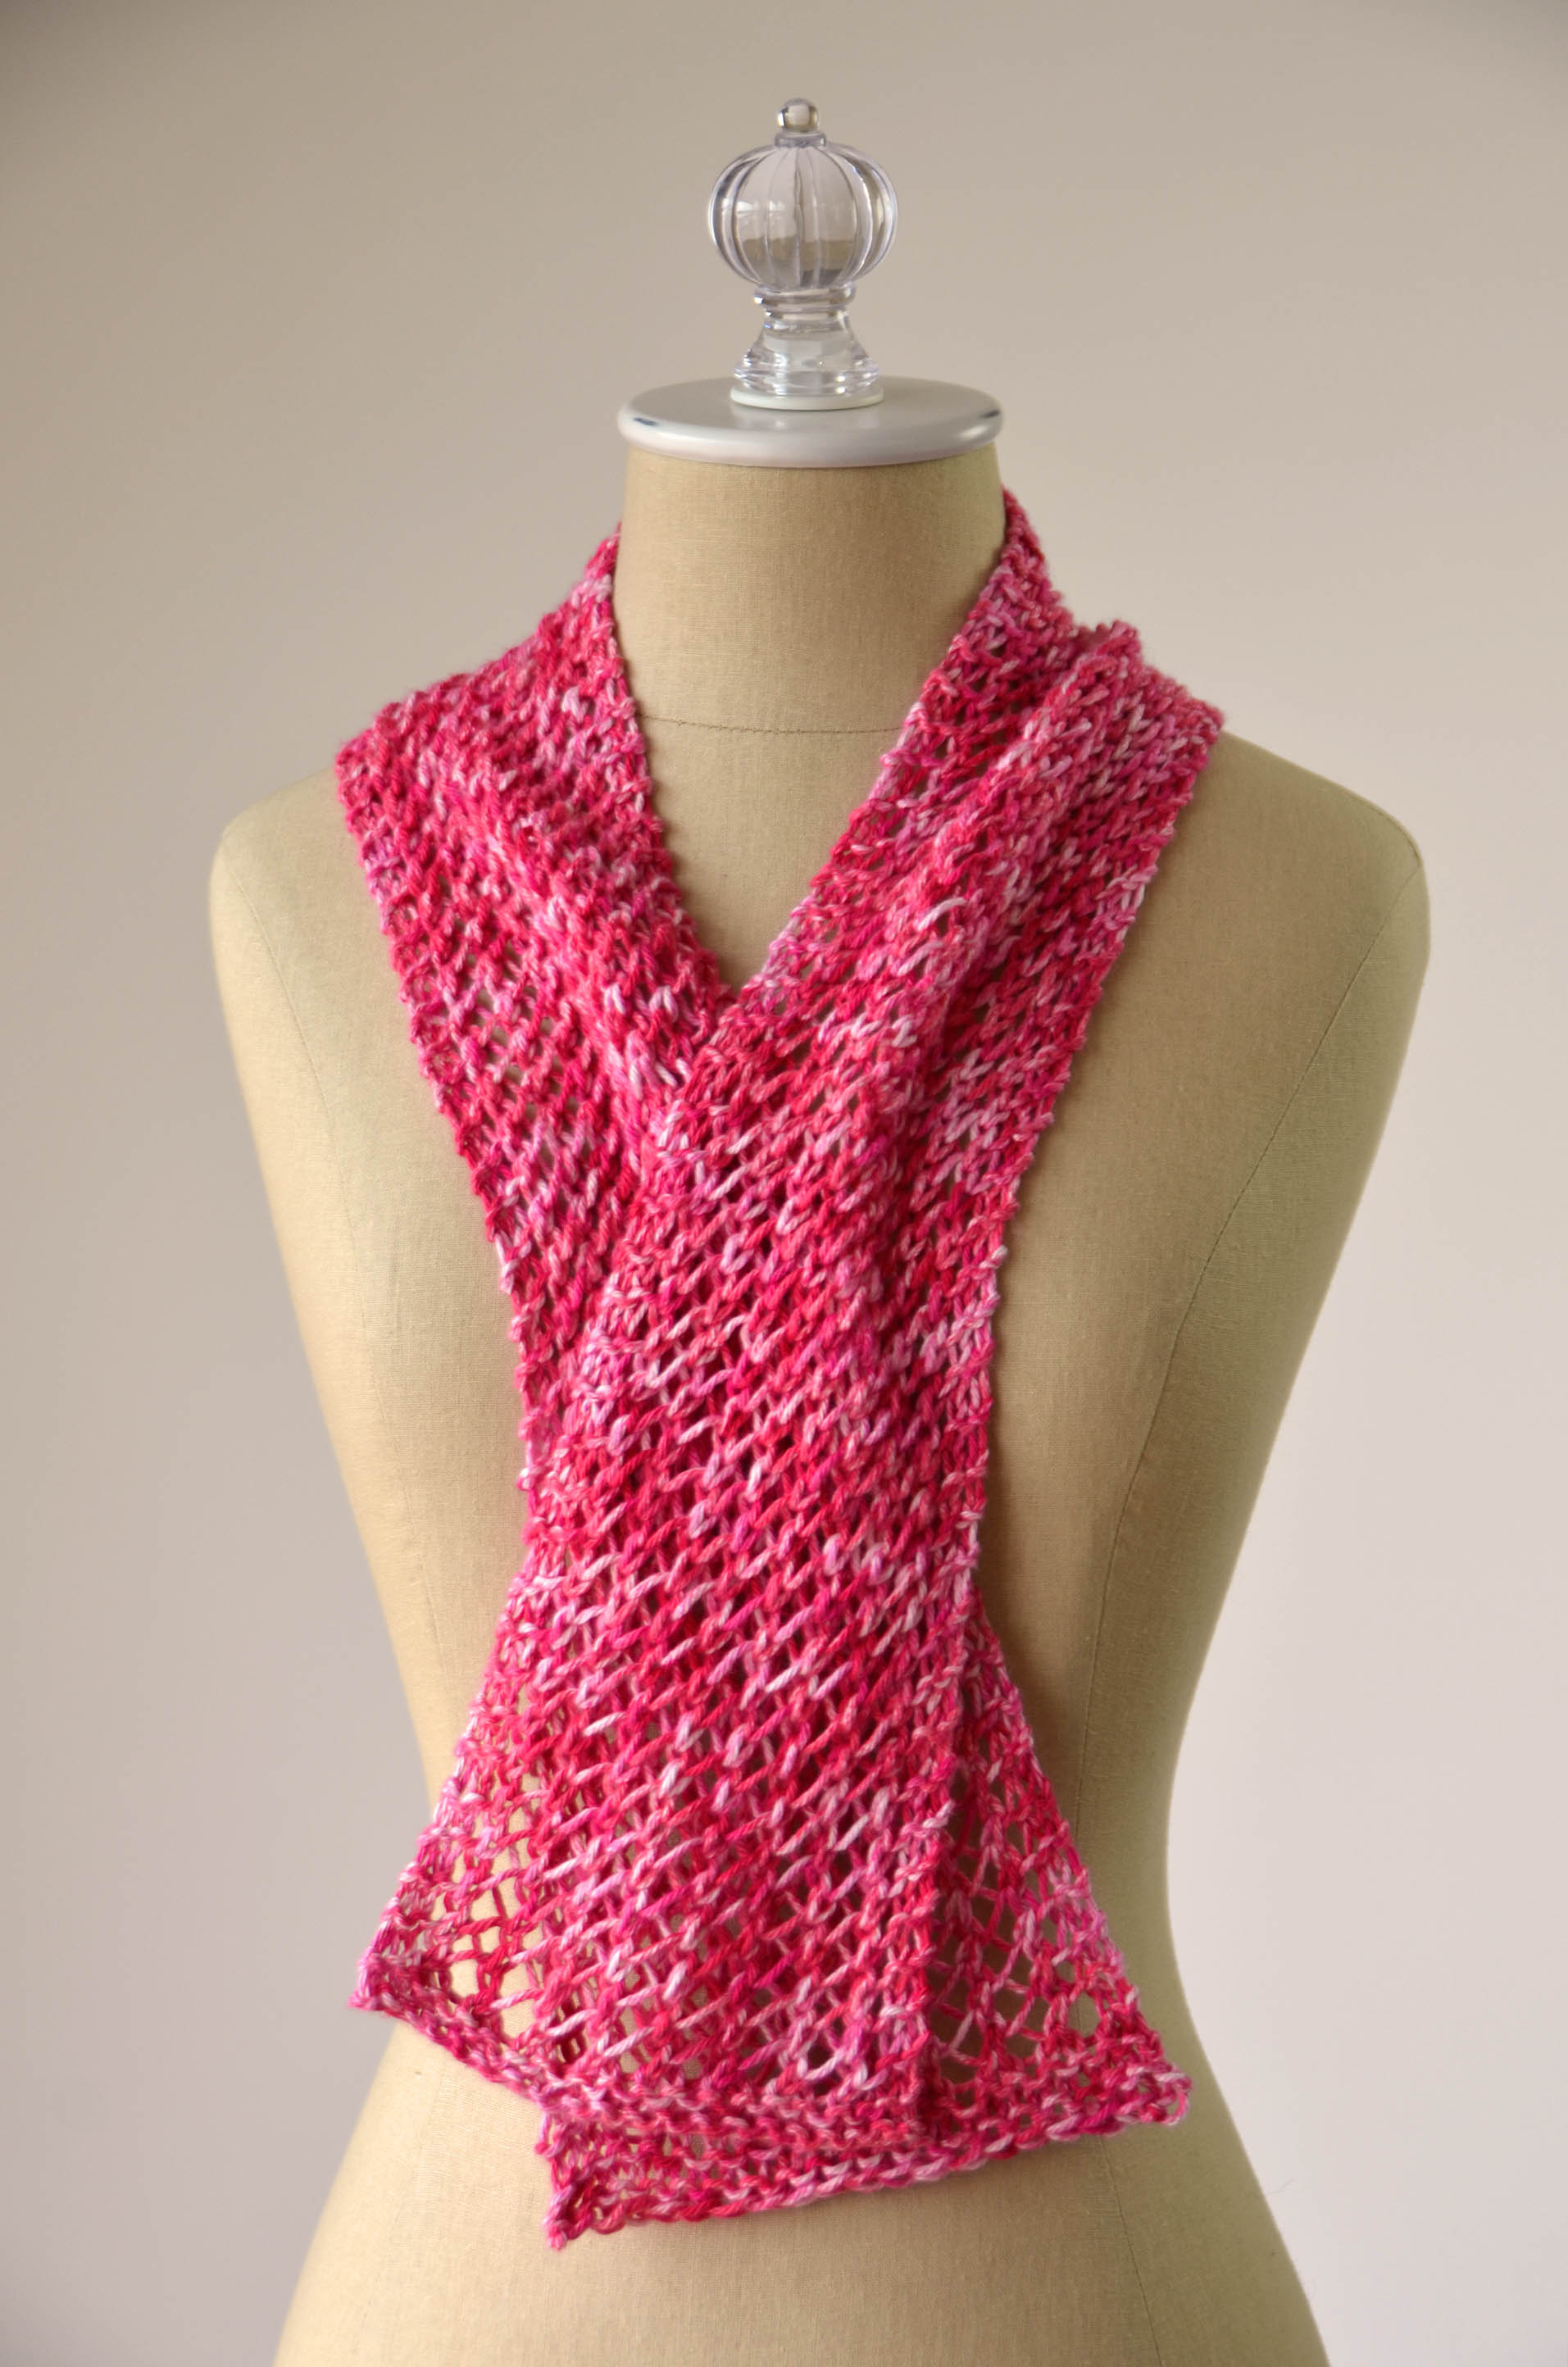
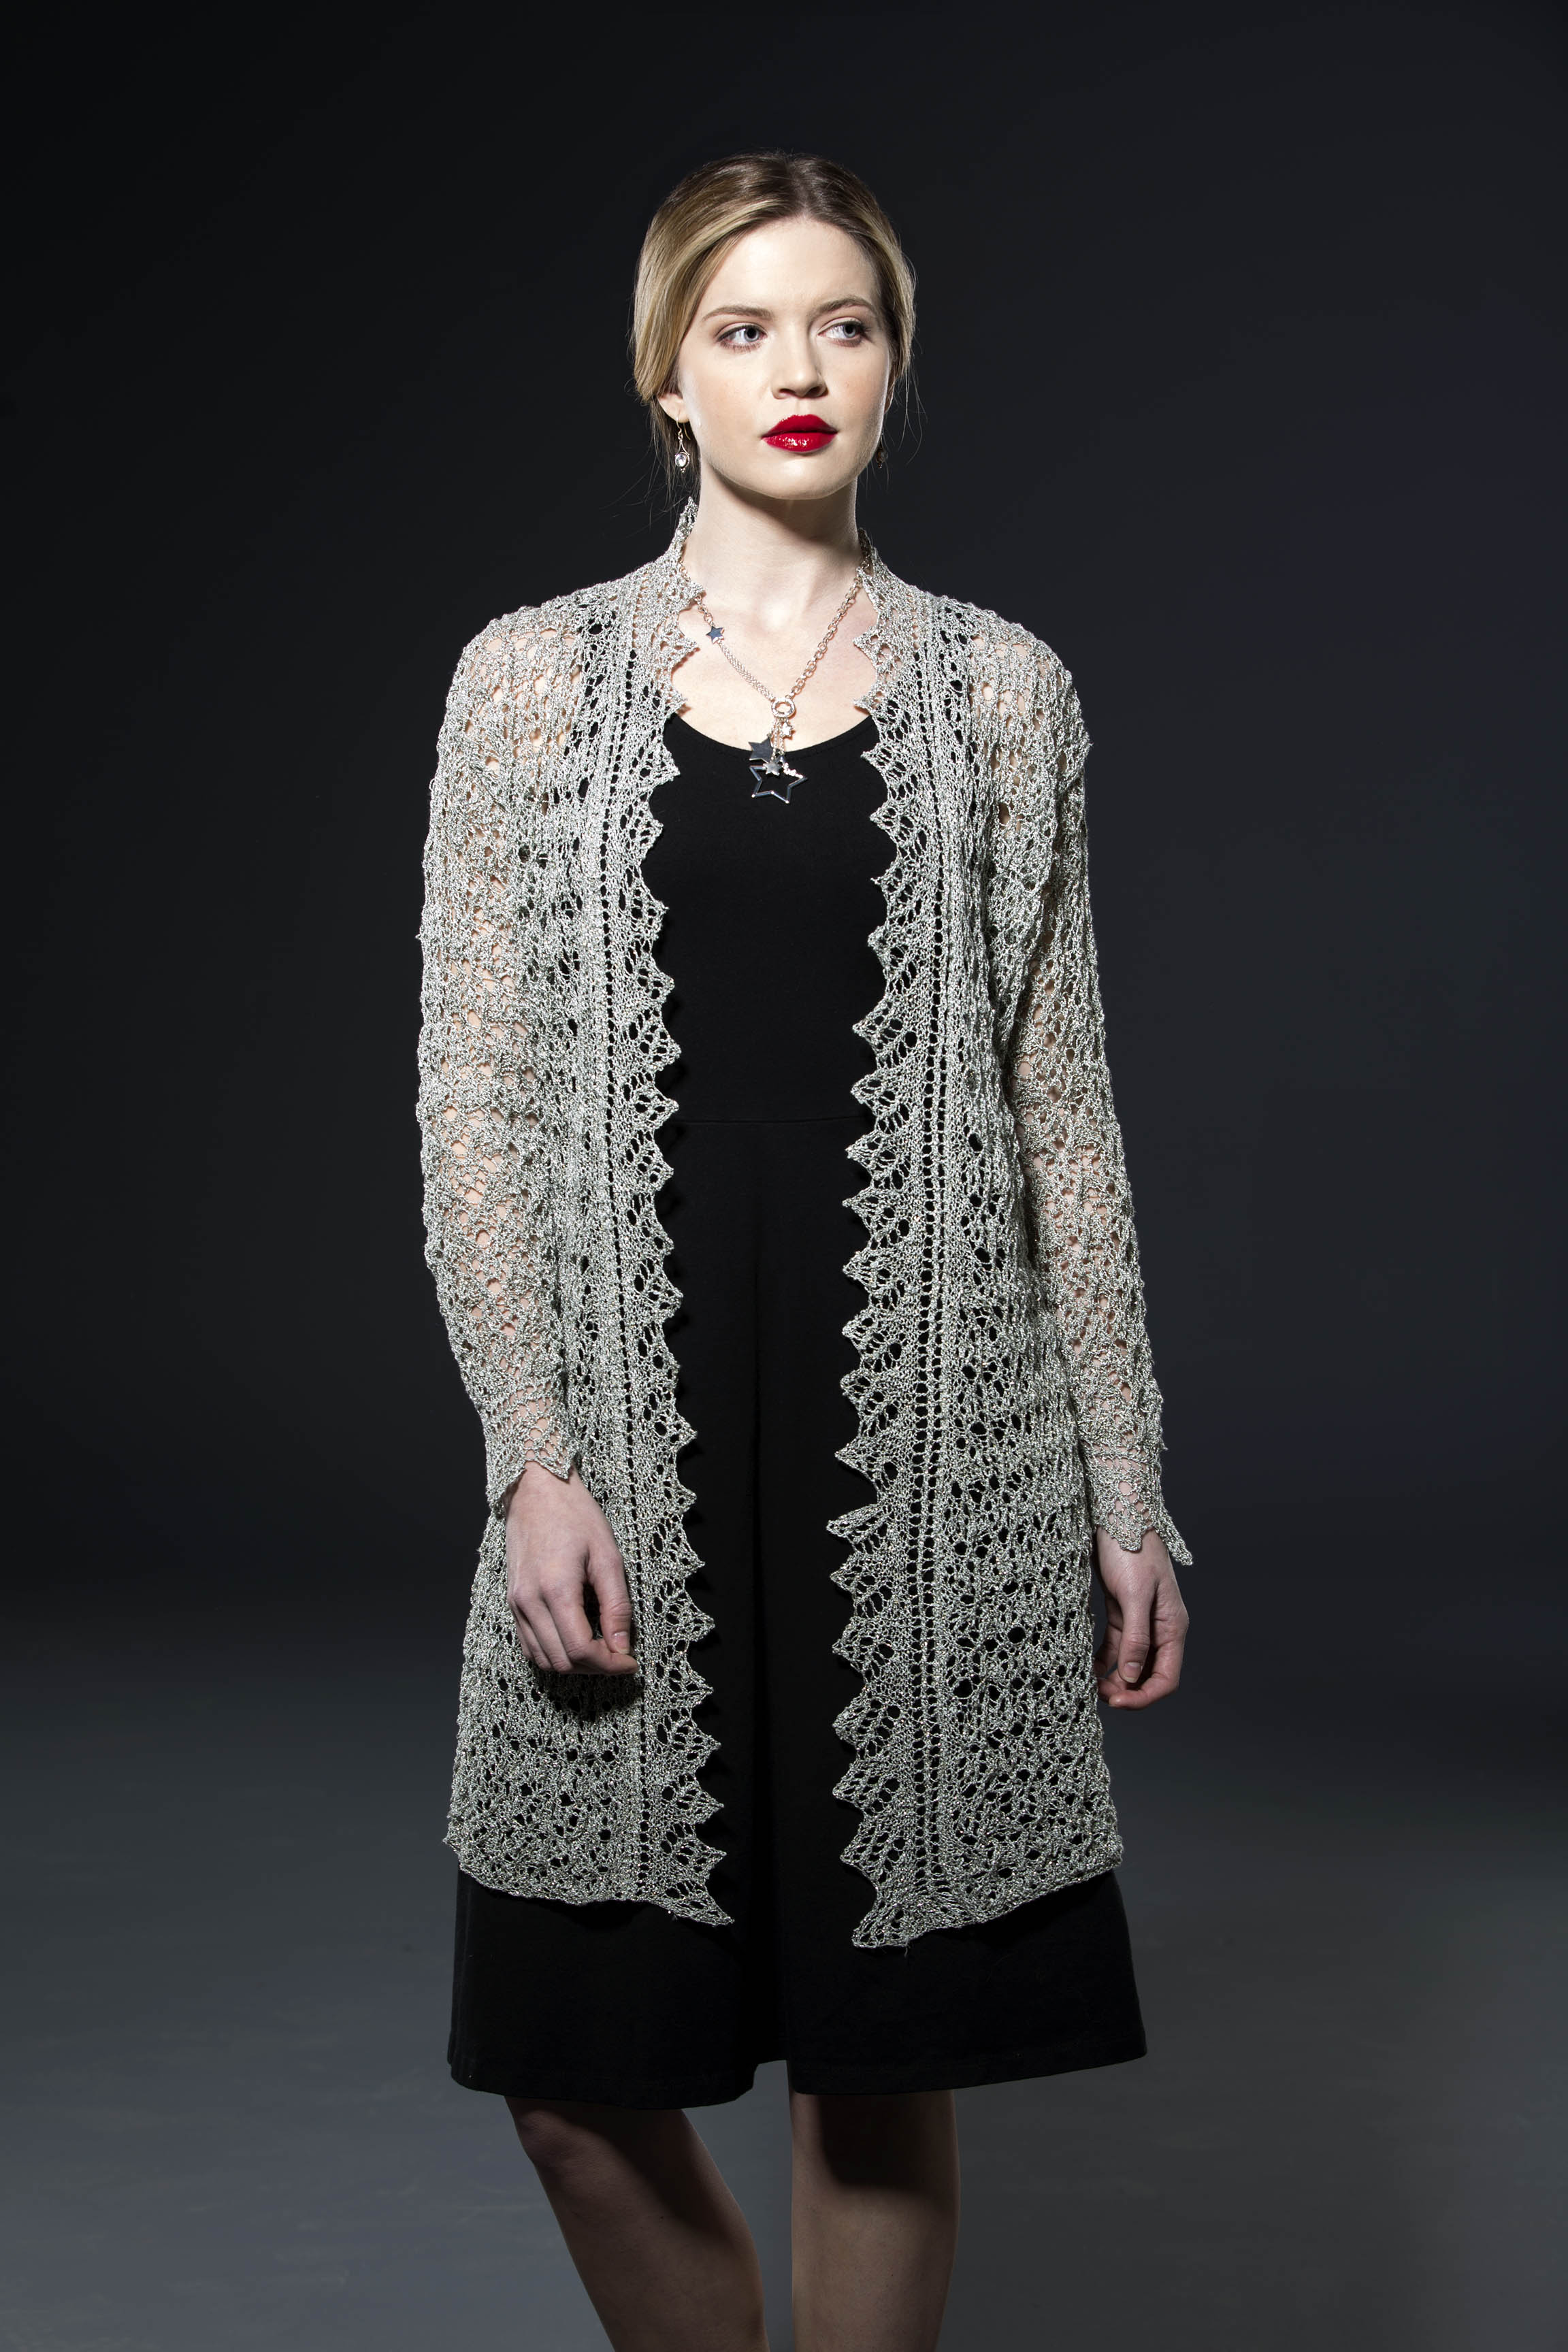
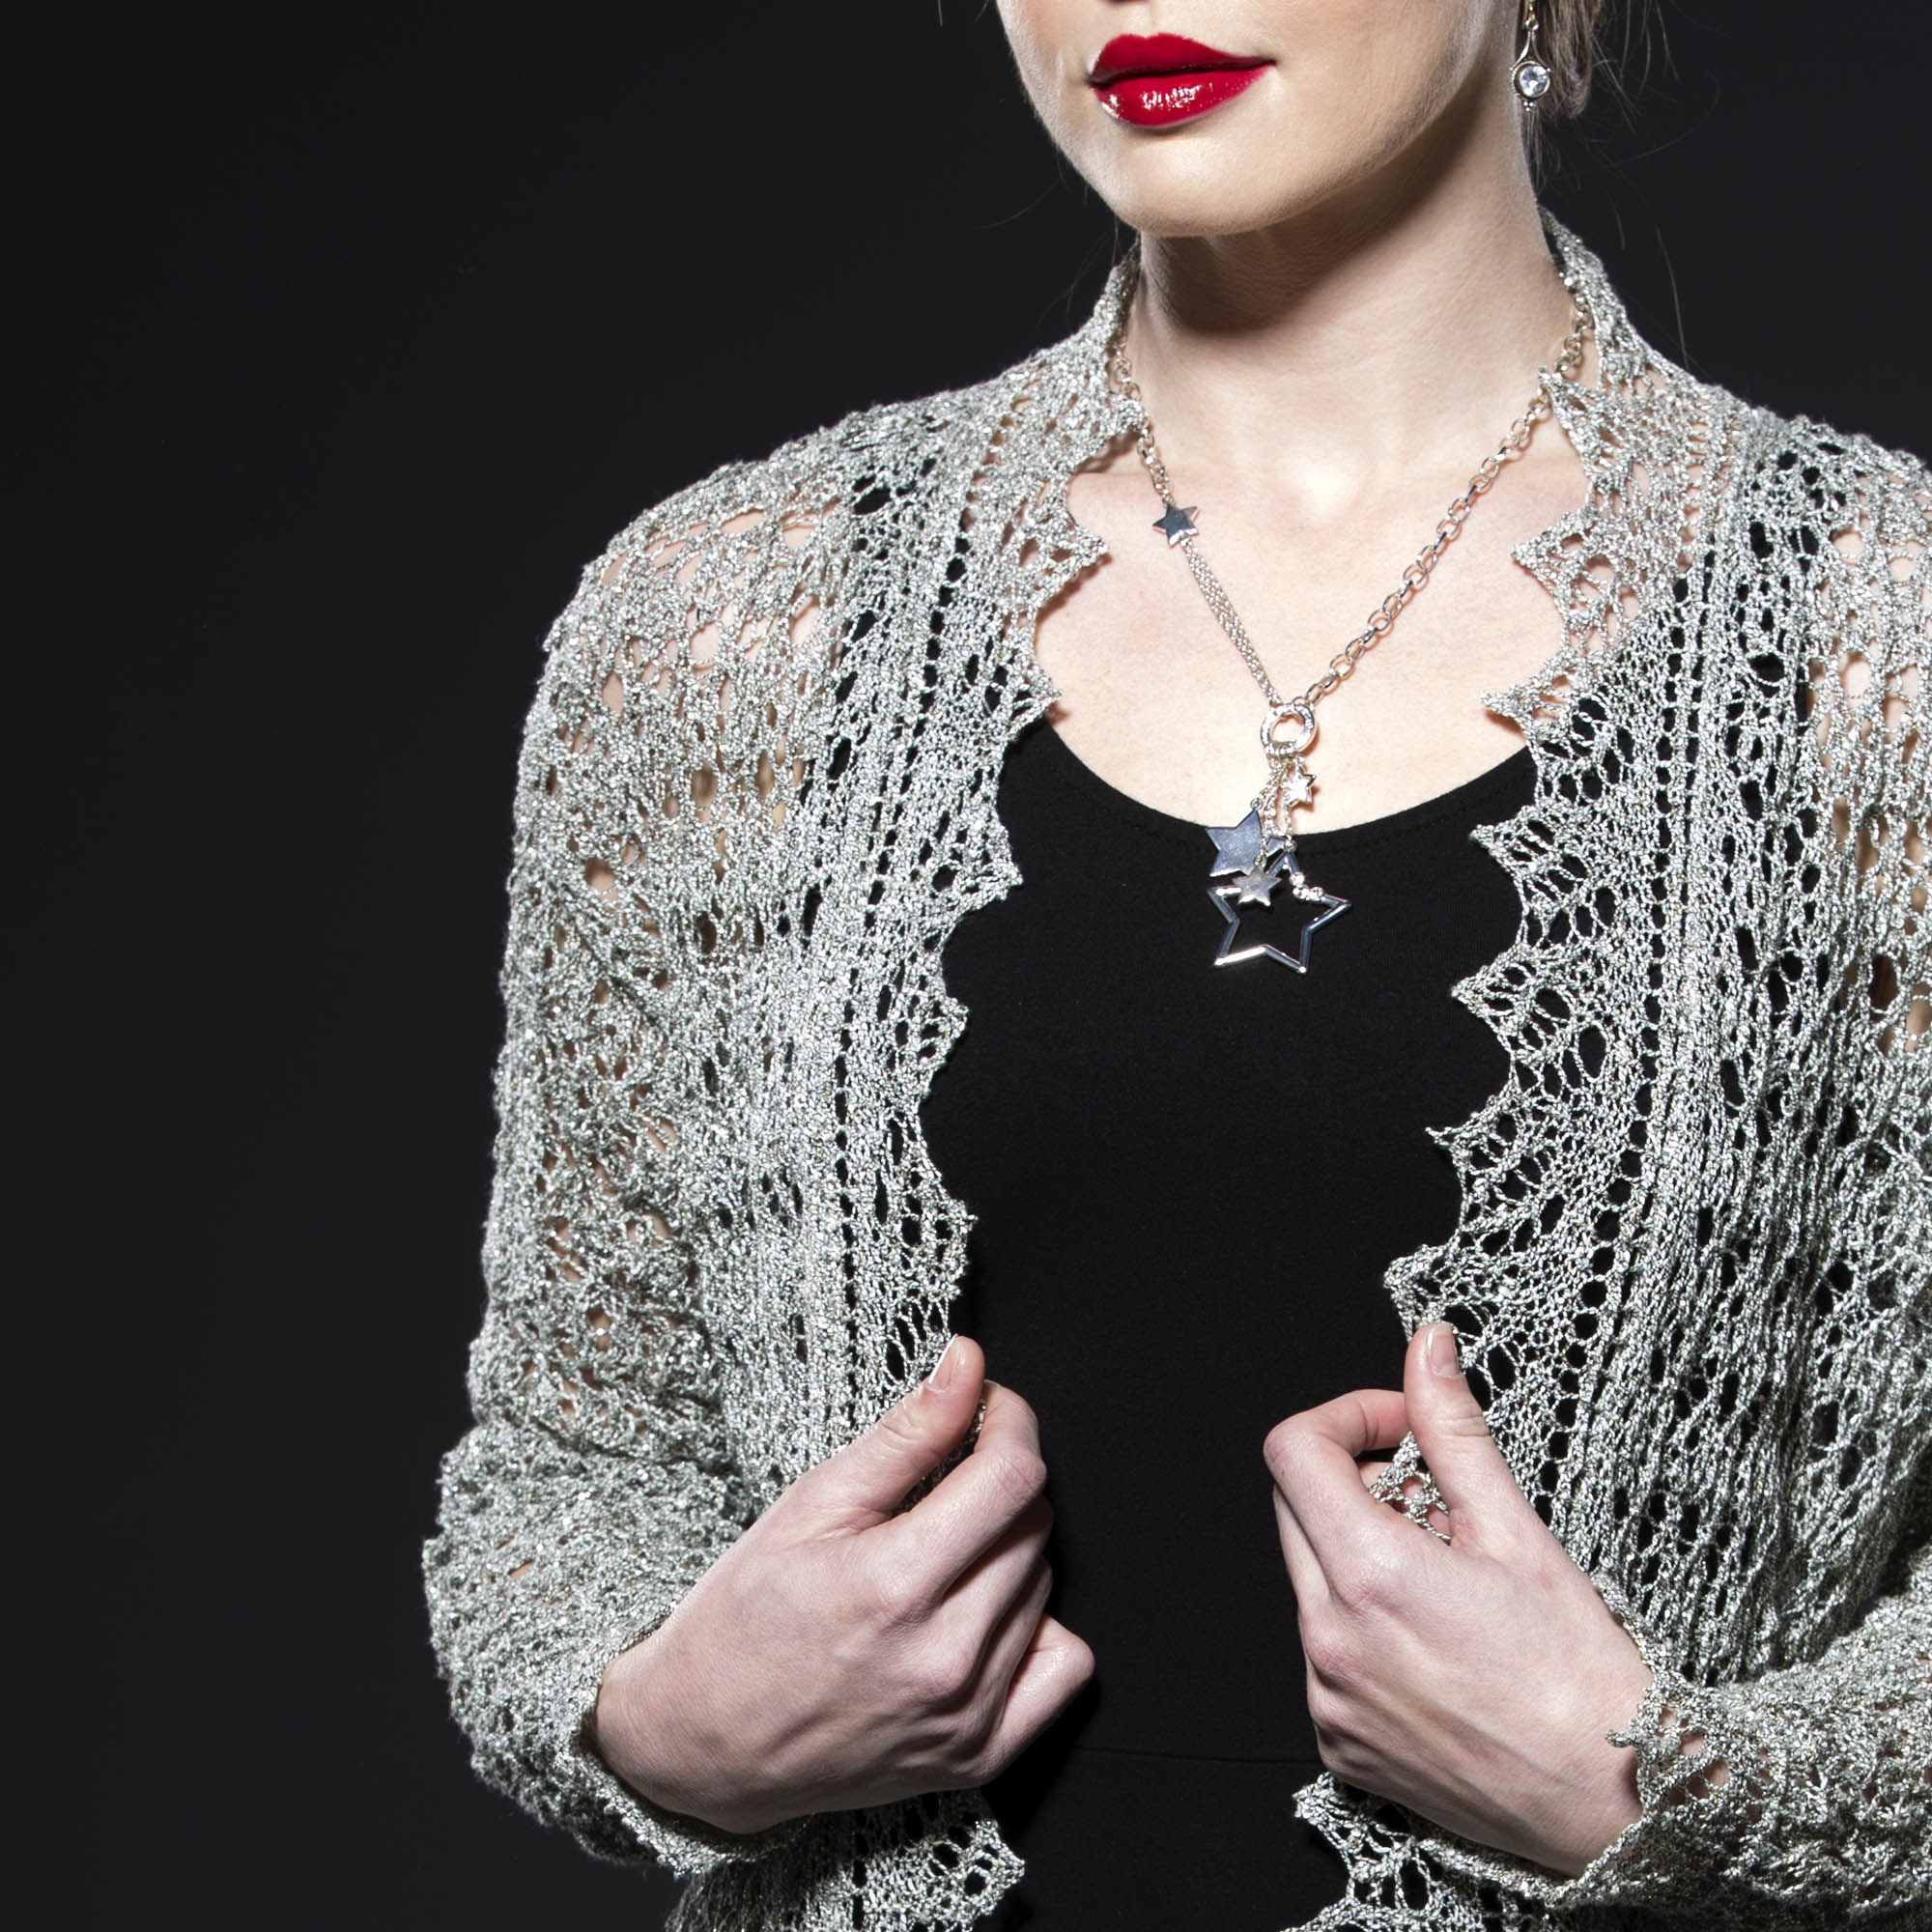
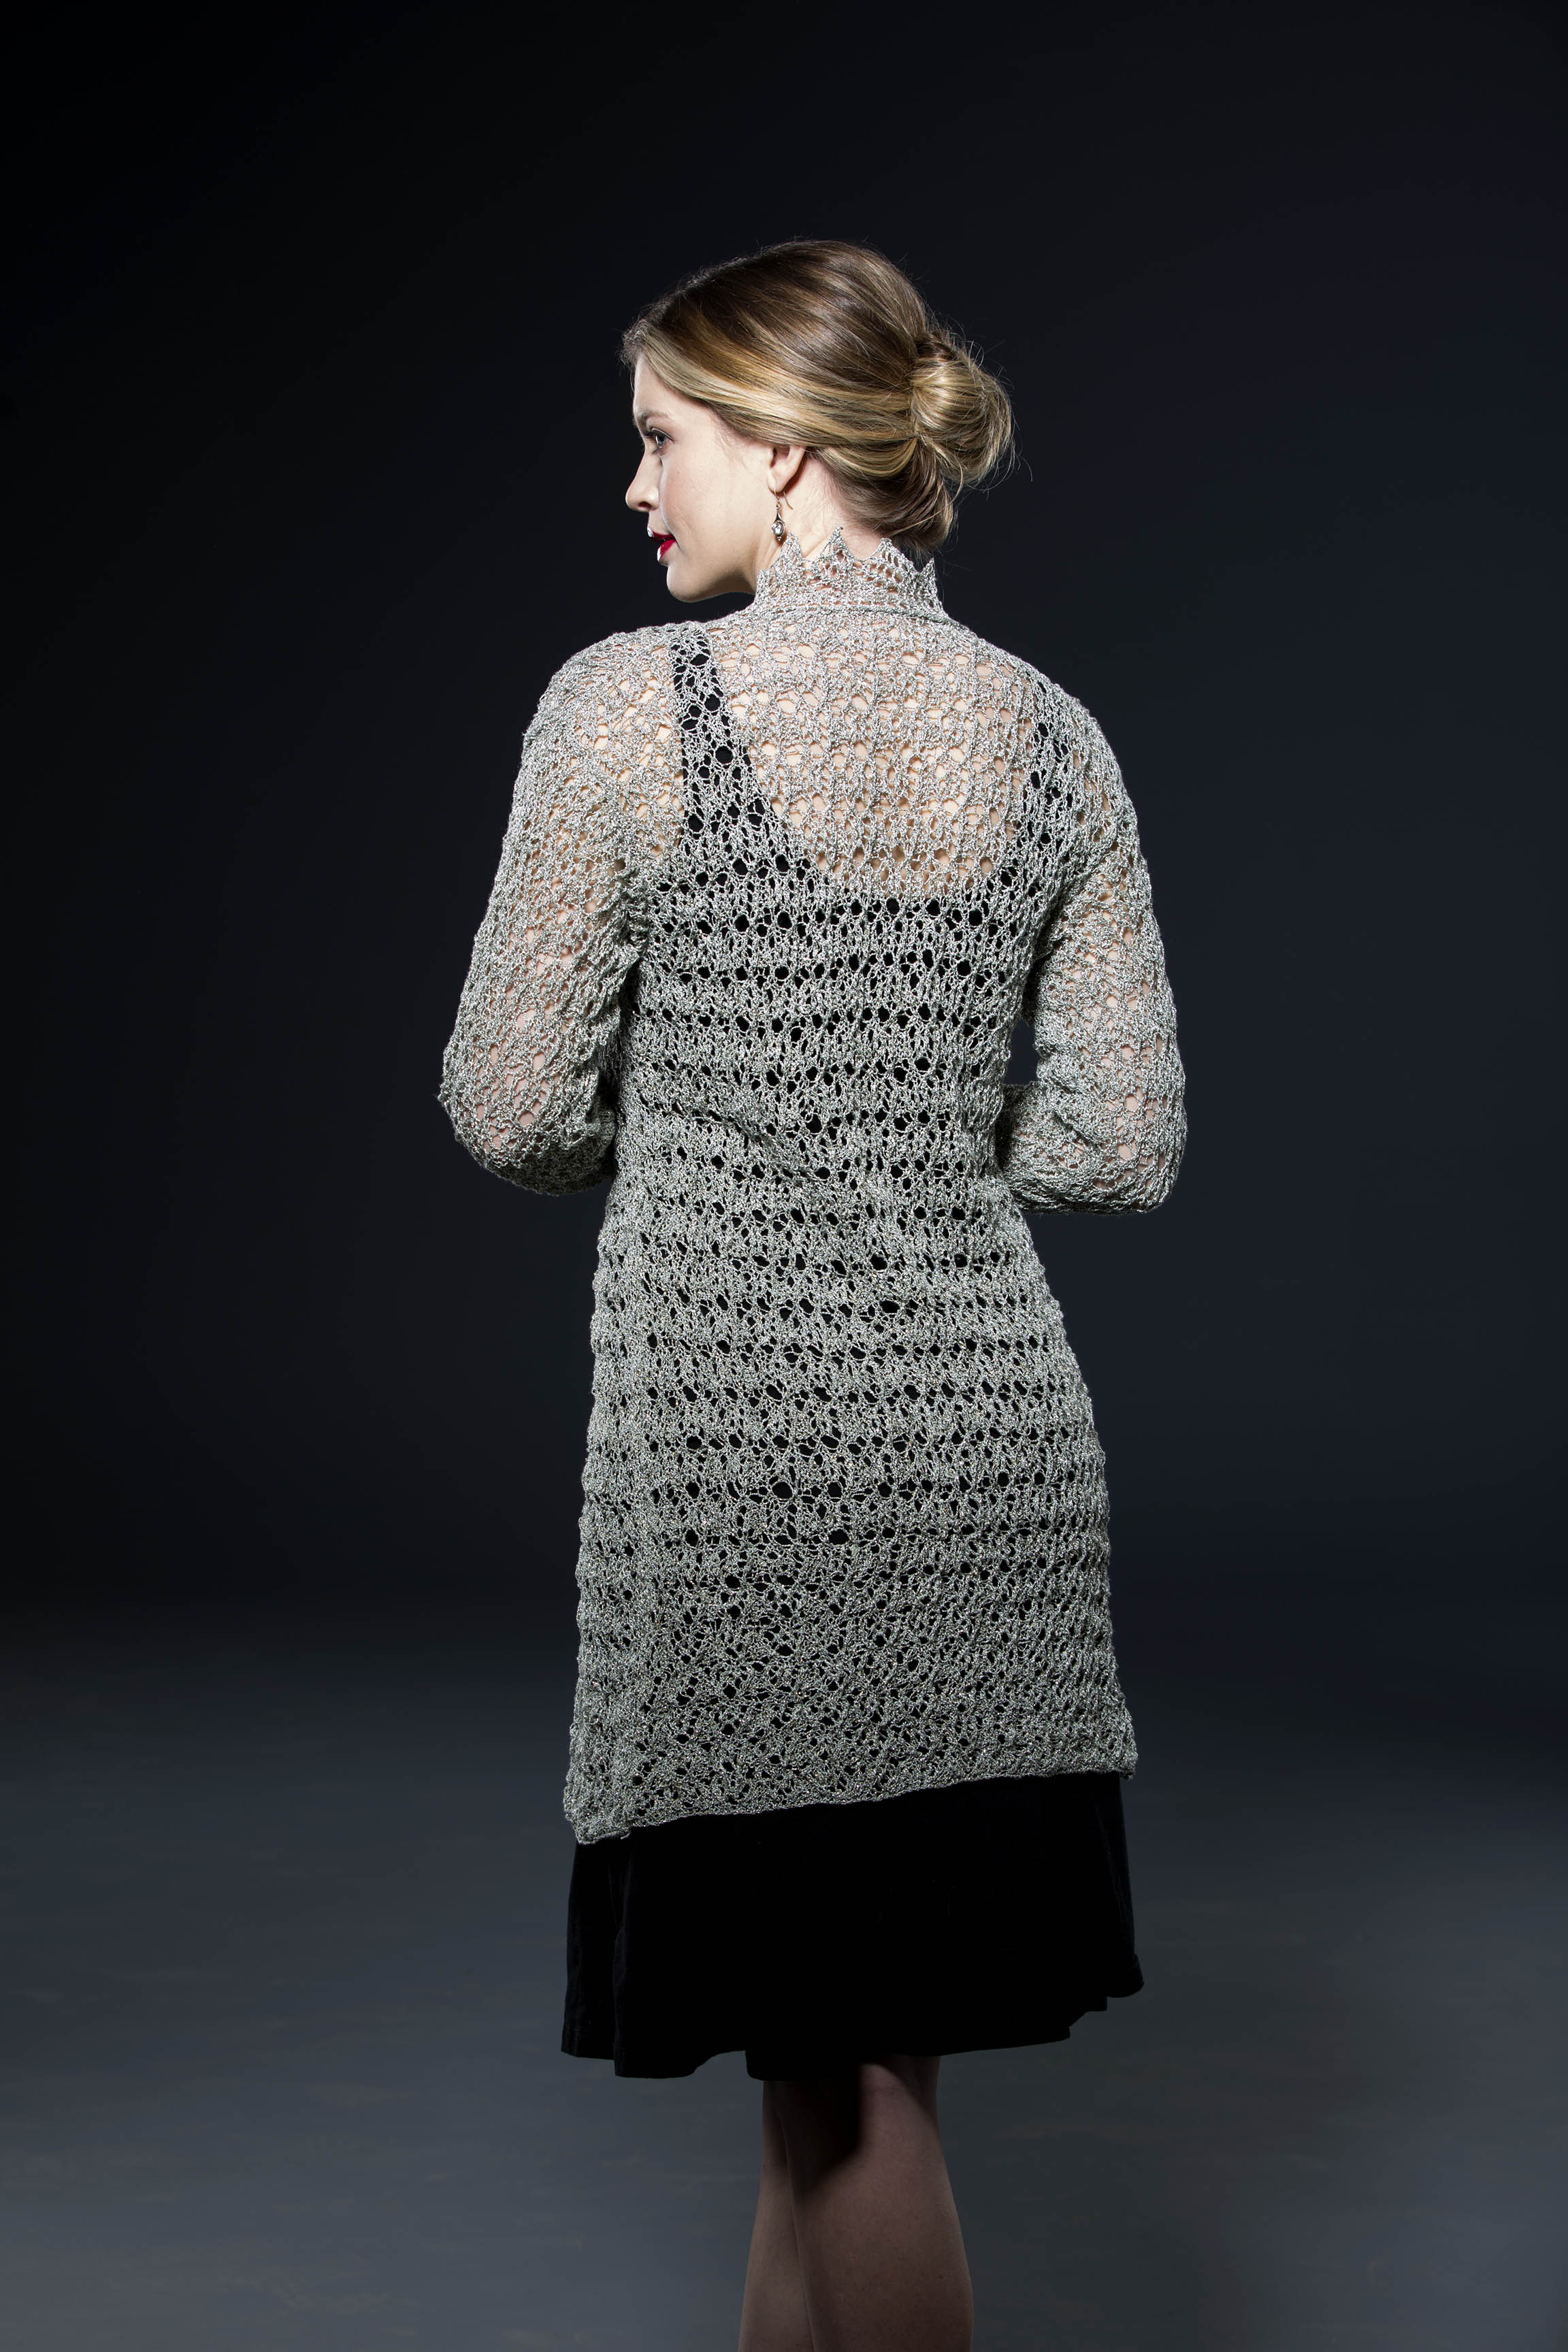
Today, the Skylark Capelet in Radiant Cotton.
A few days ago we had someone on Facebook point out (correctly) that we’ve been offering more knit than crochet patterns, and that we need to be sure to show our crocheting friends some love. It’s a point well-taken, and I was delighted that we had something coming up so quickly that fit the bill!
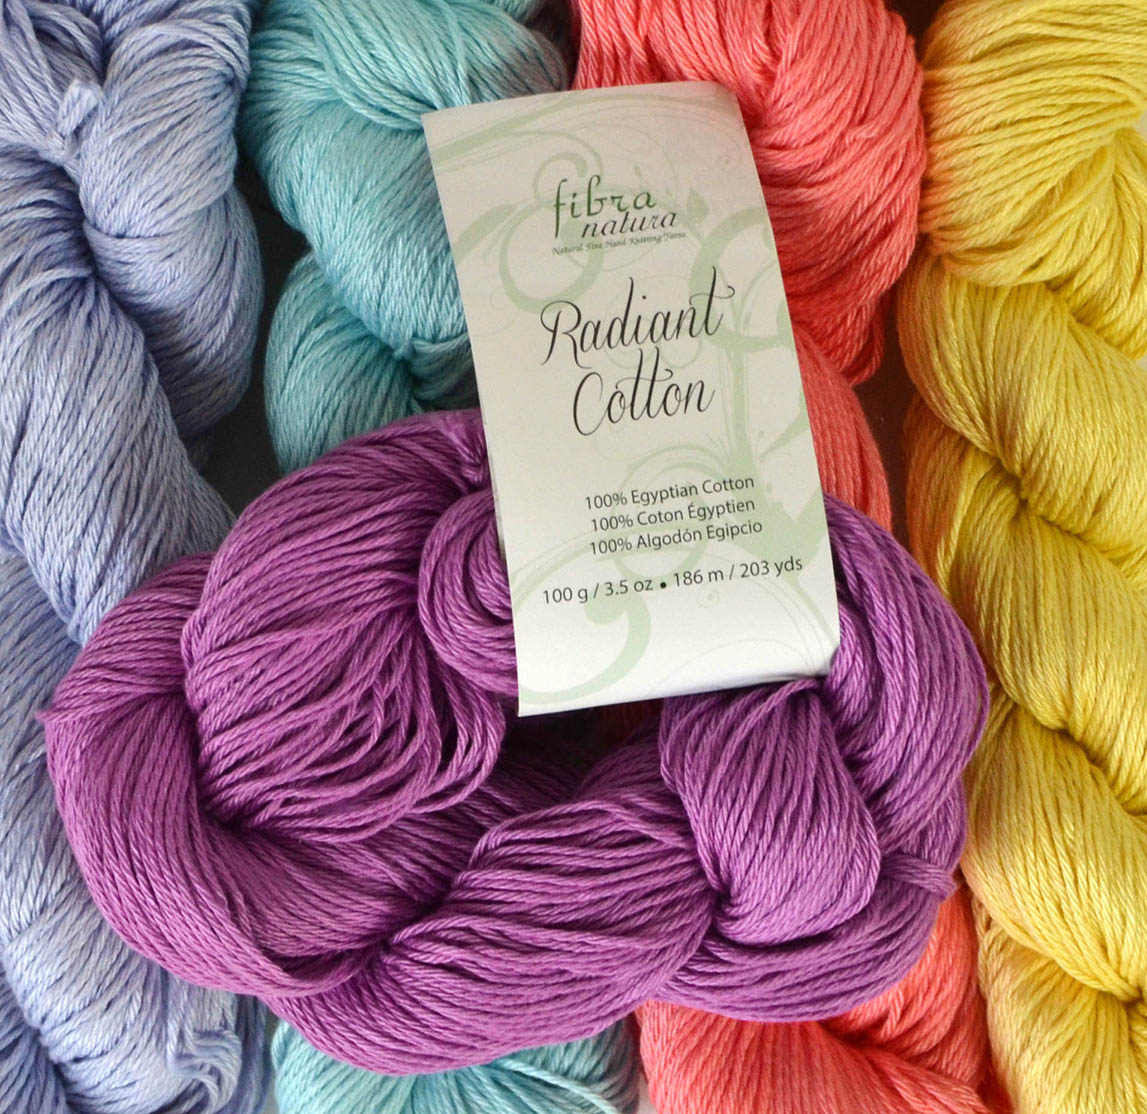
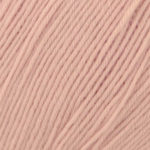
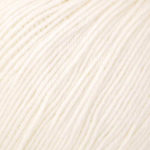
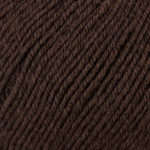
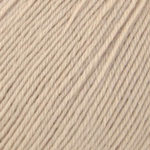
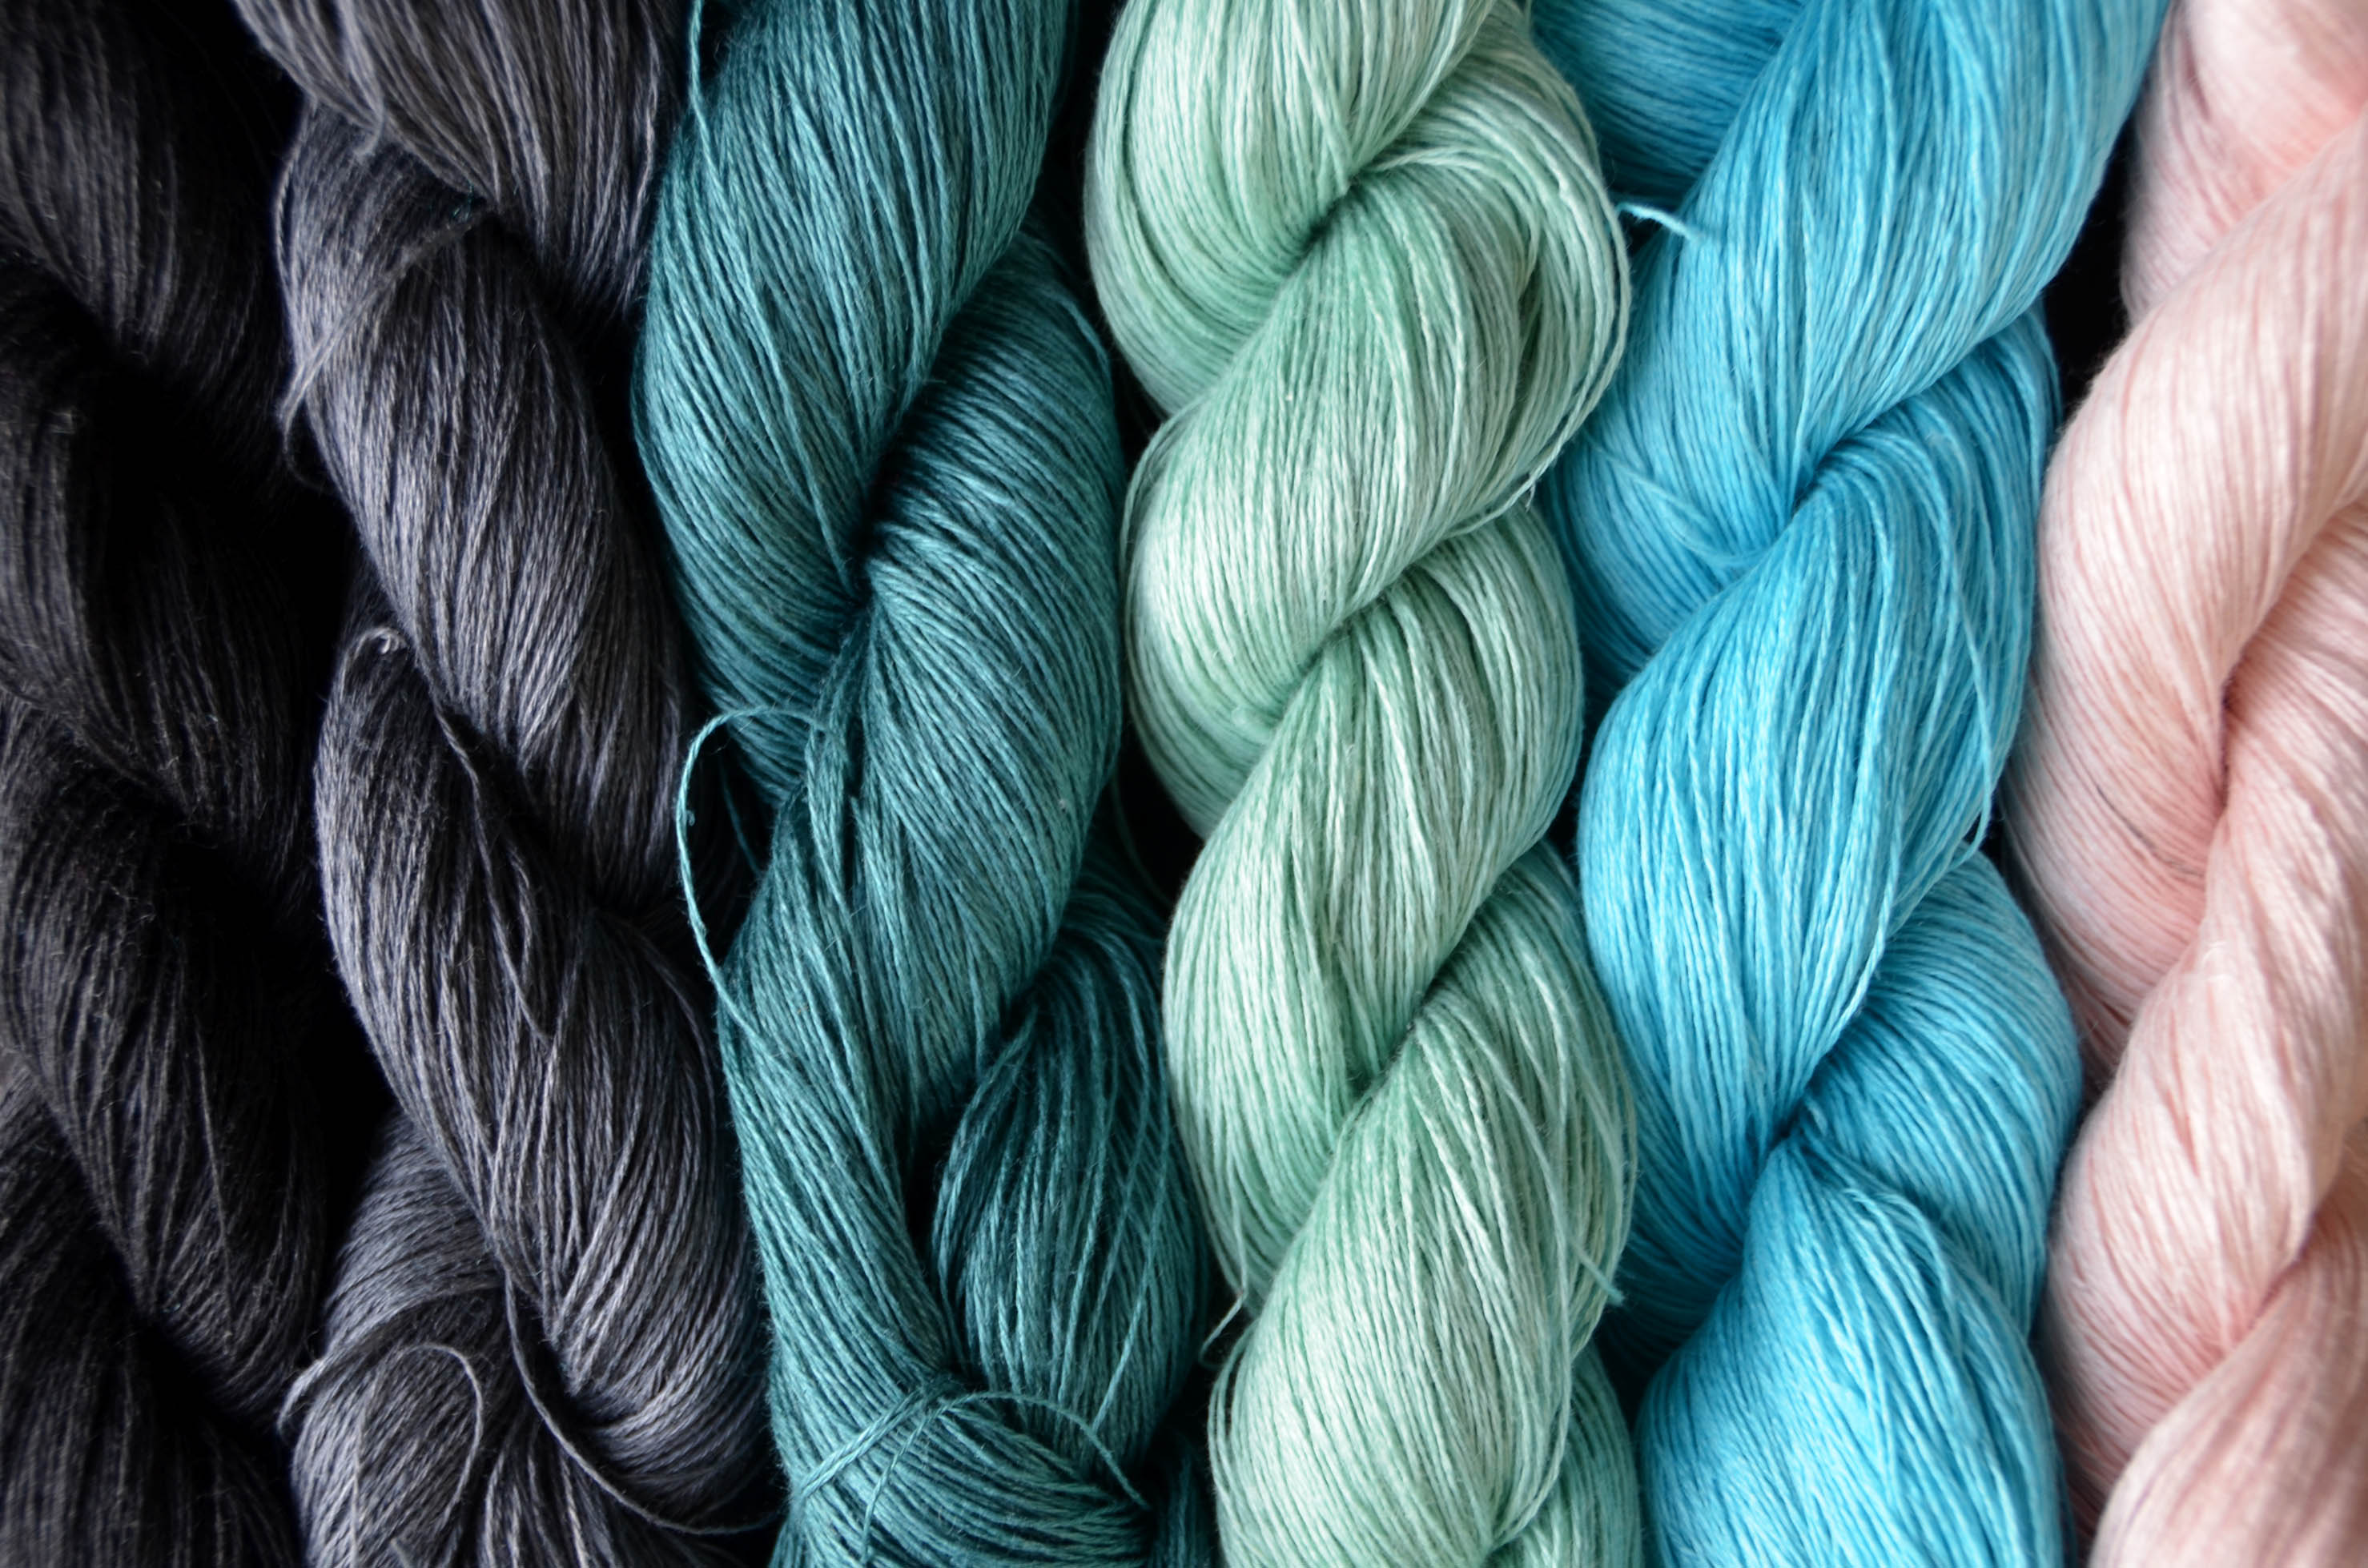
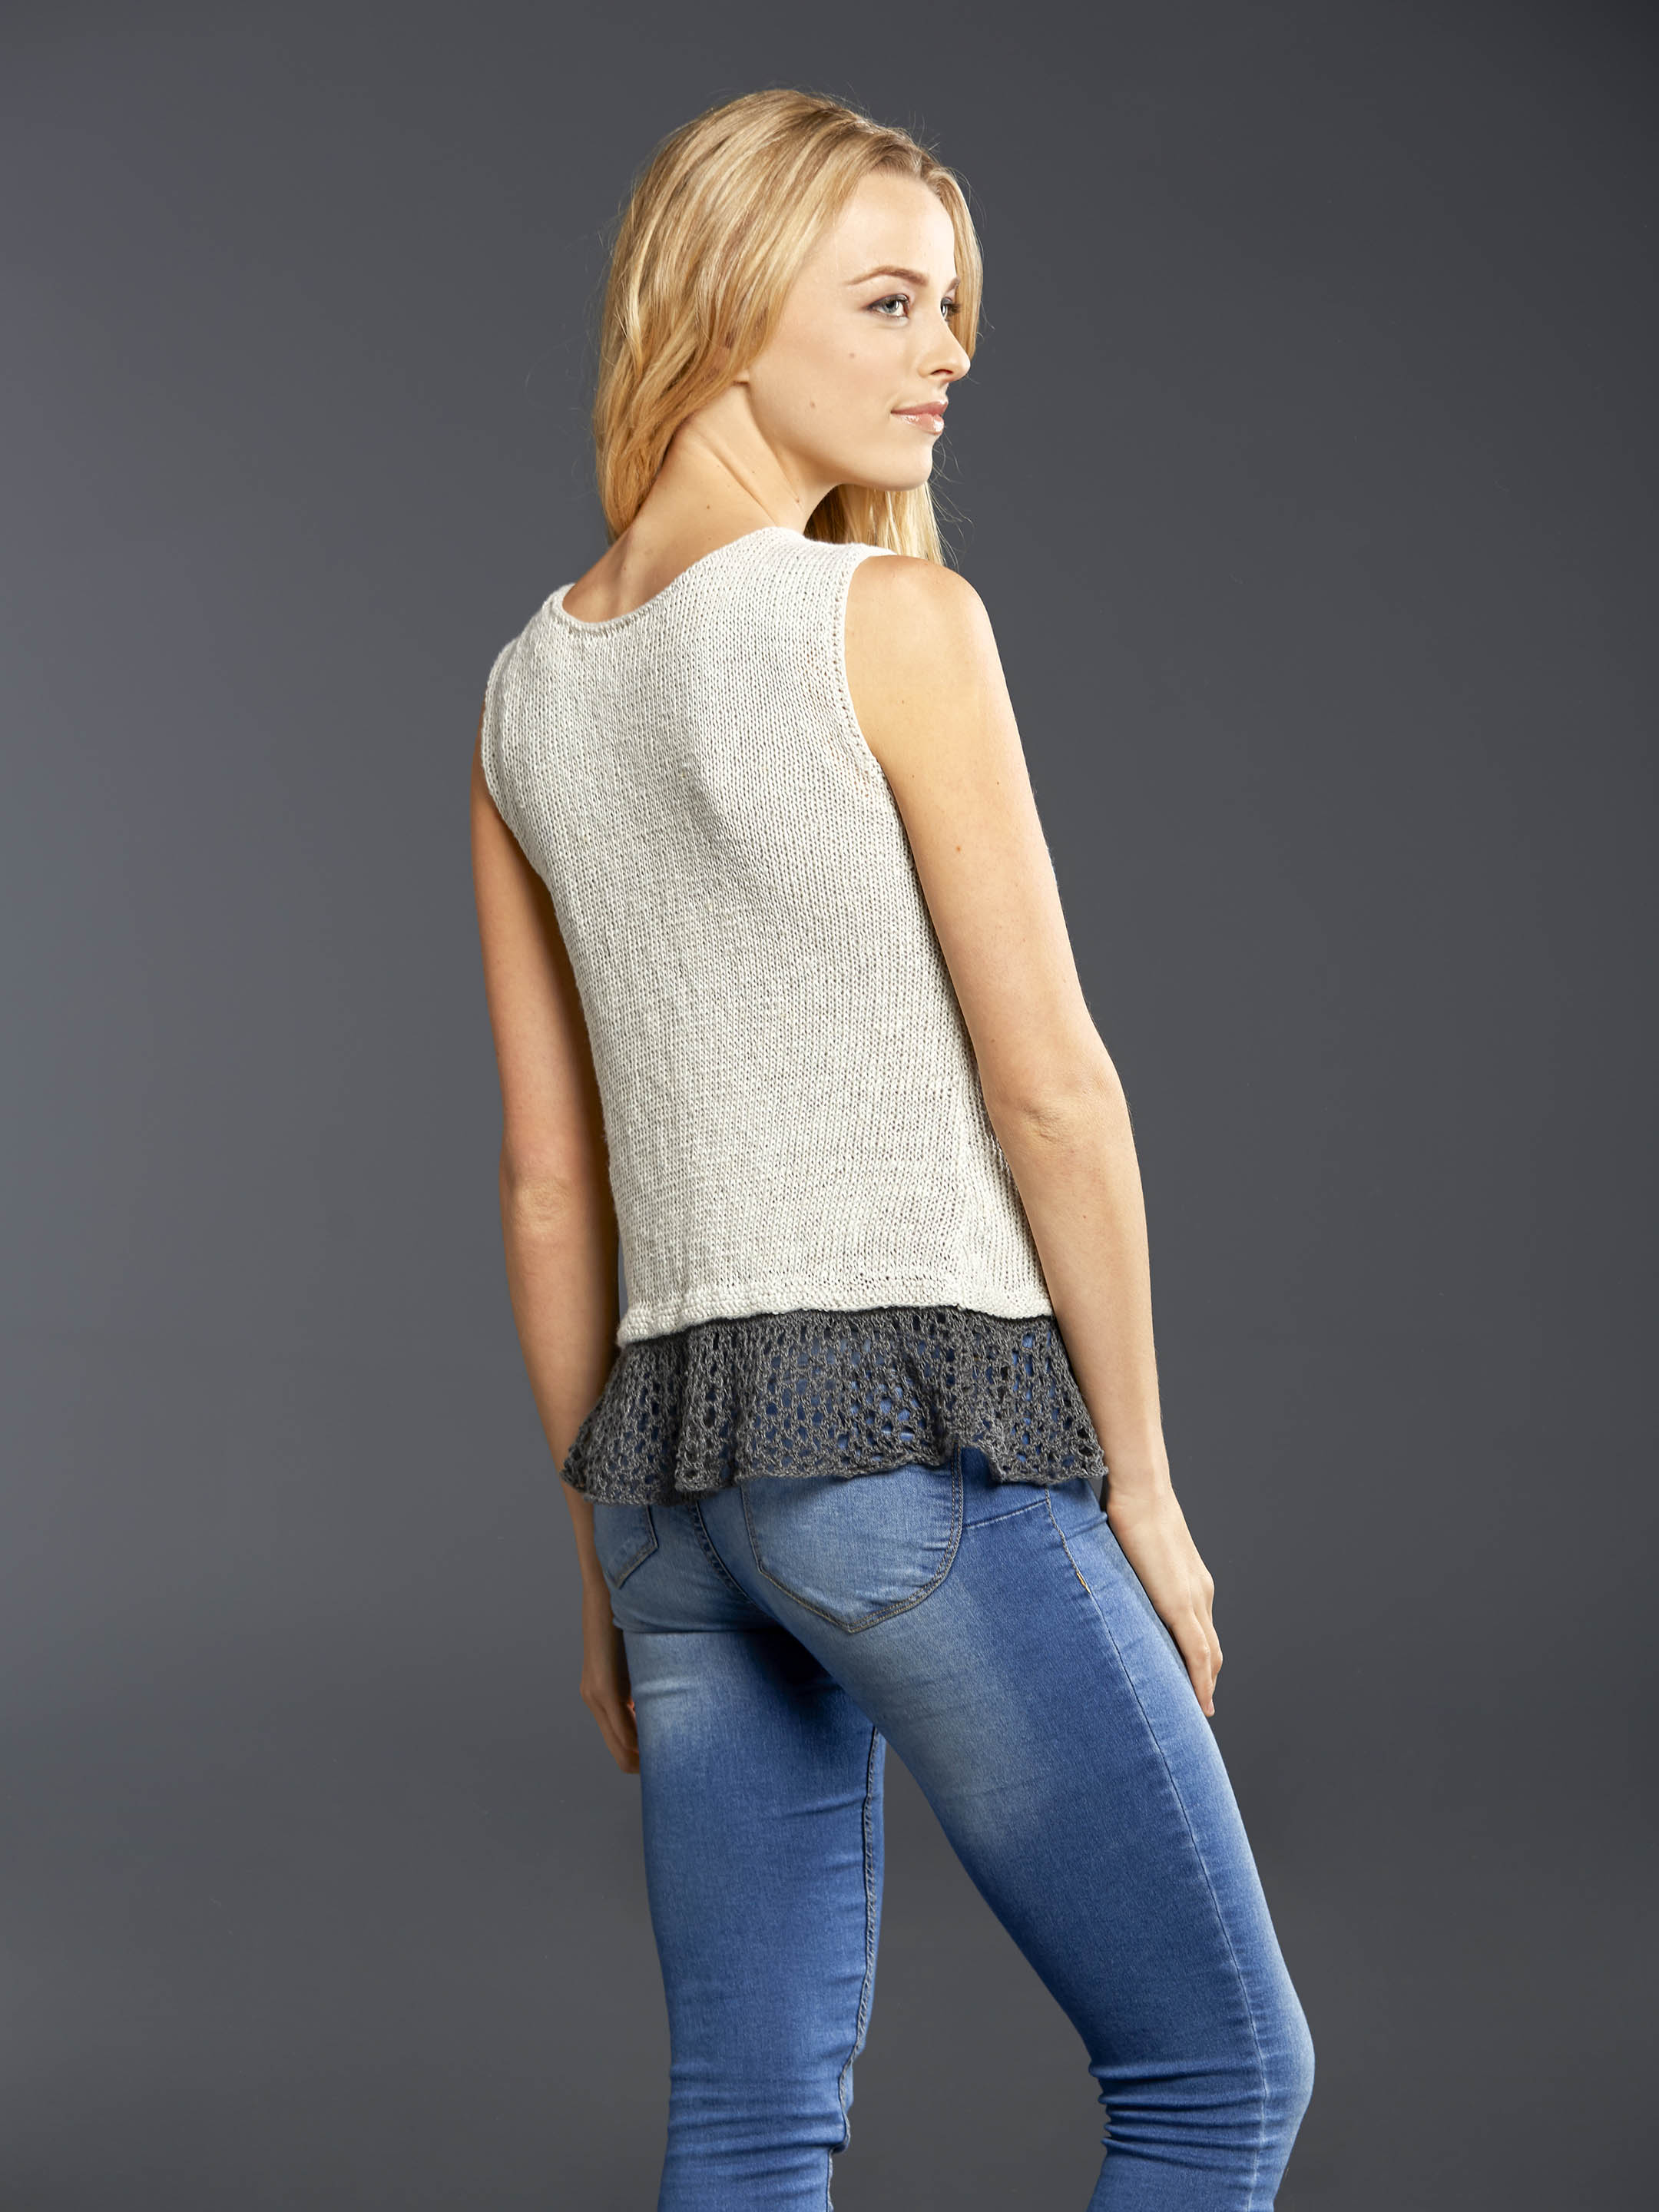
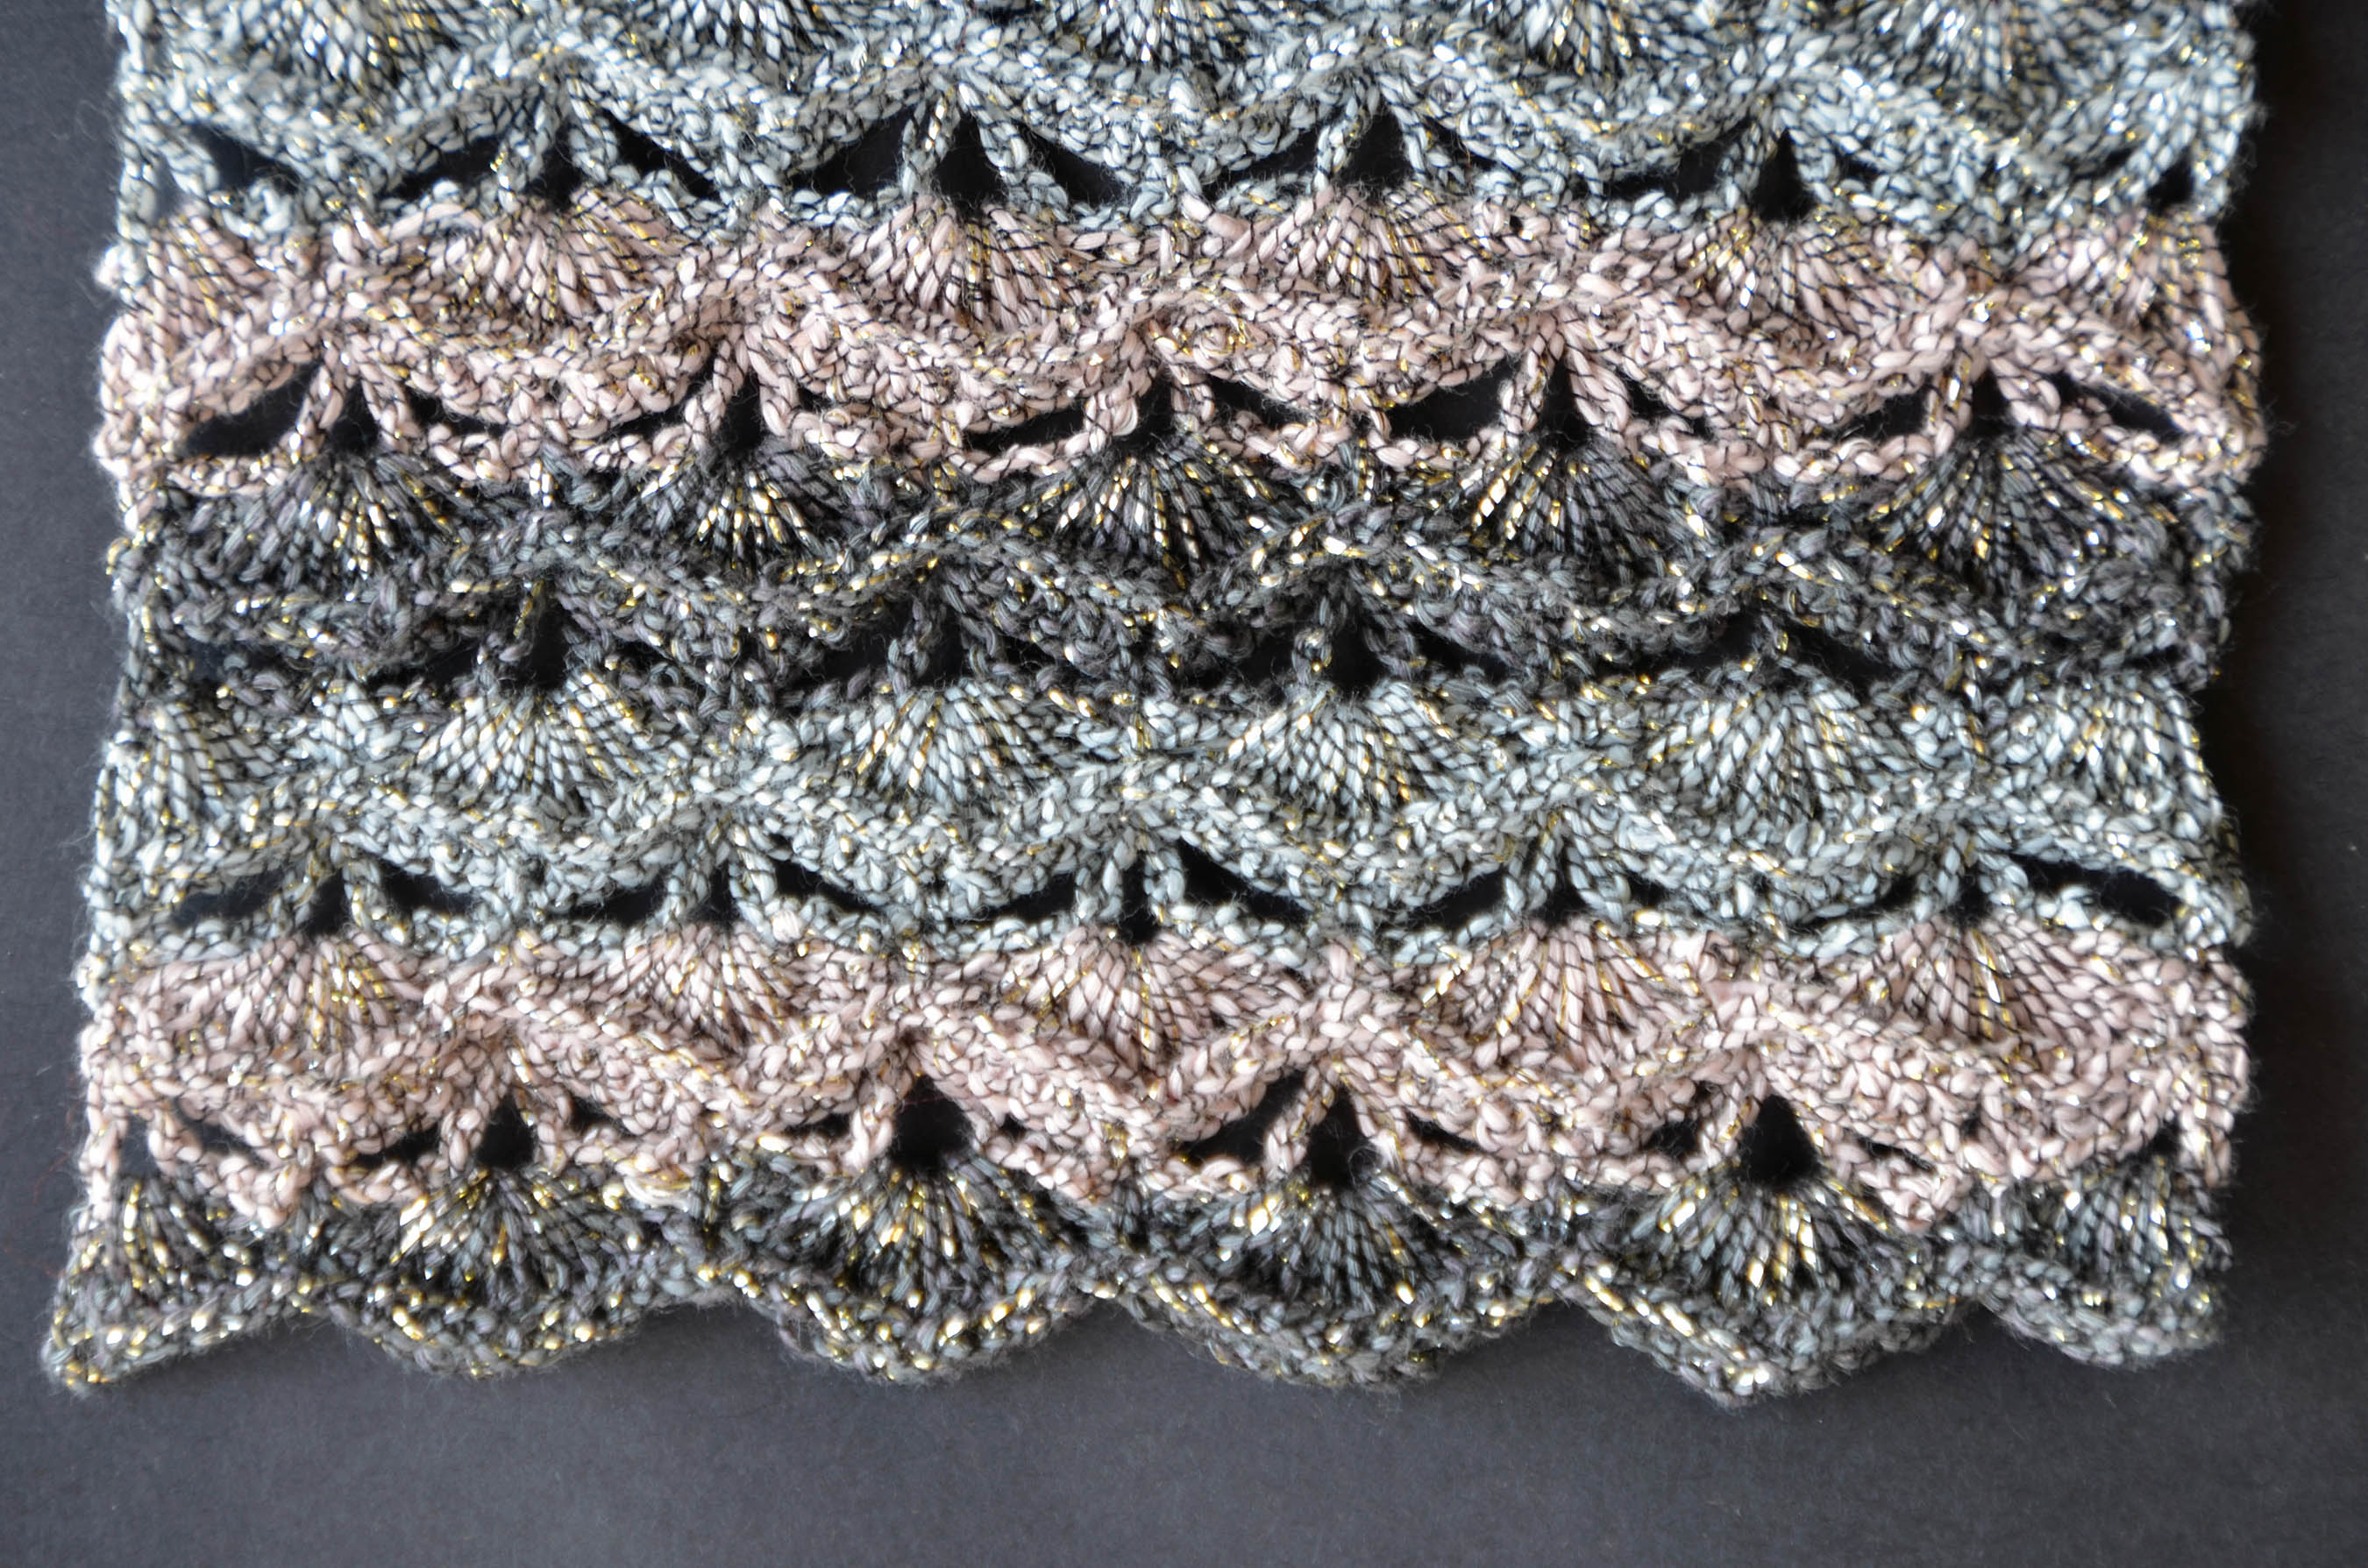
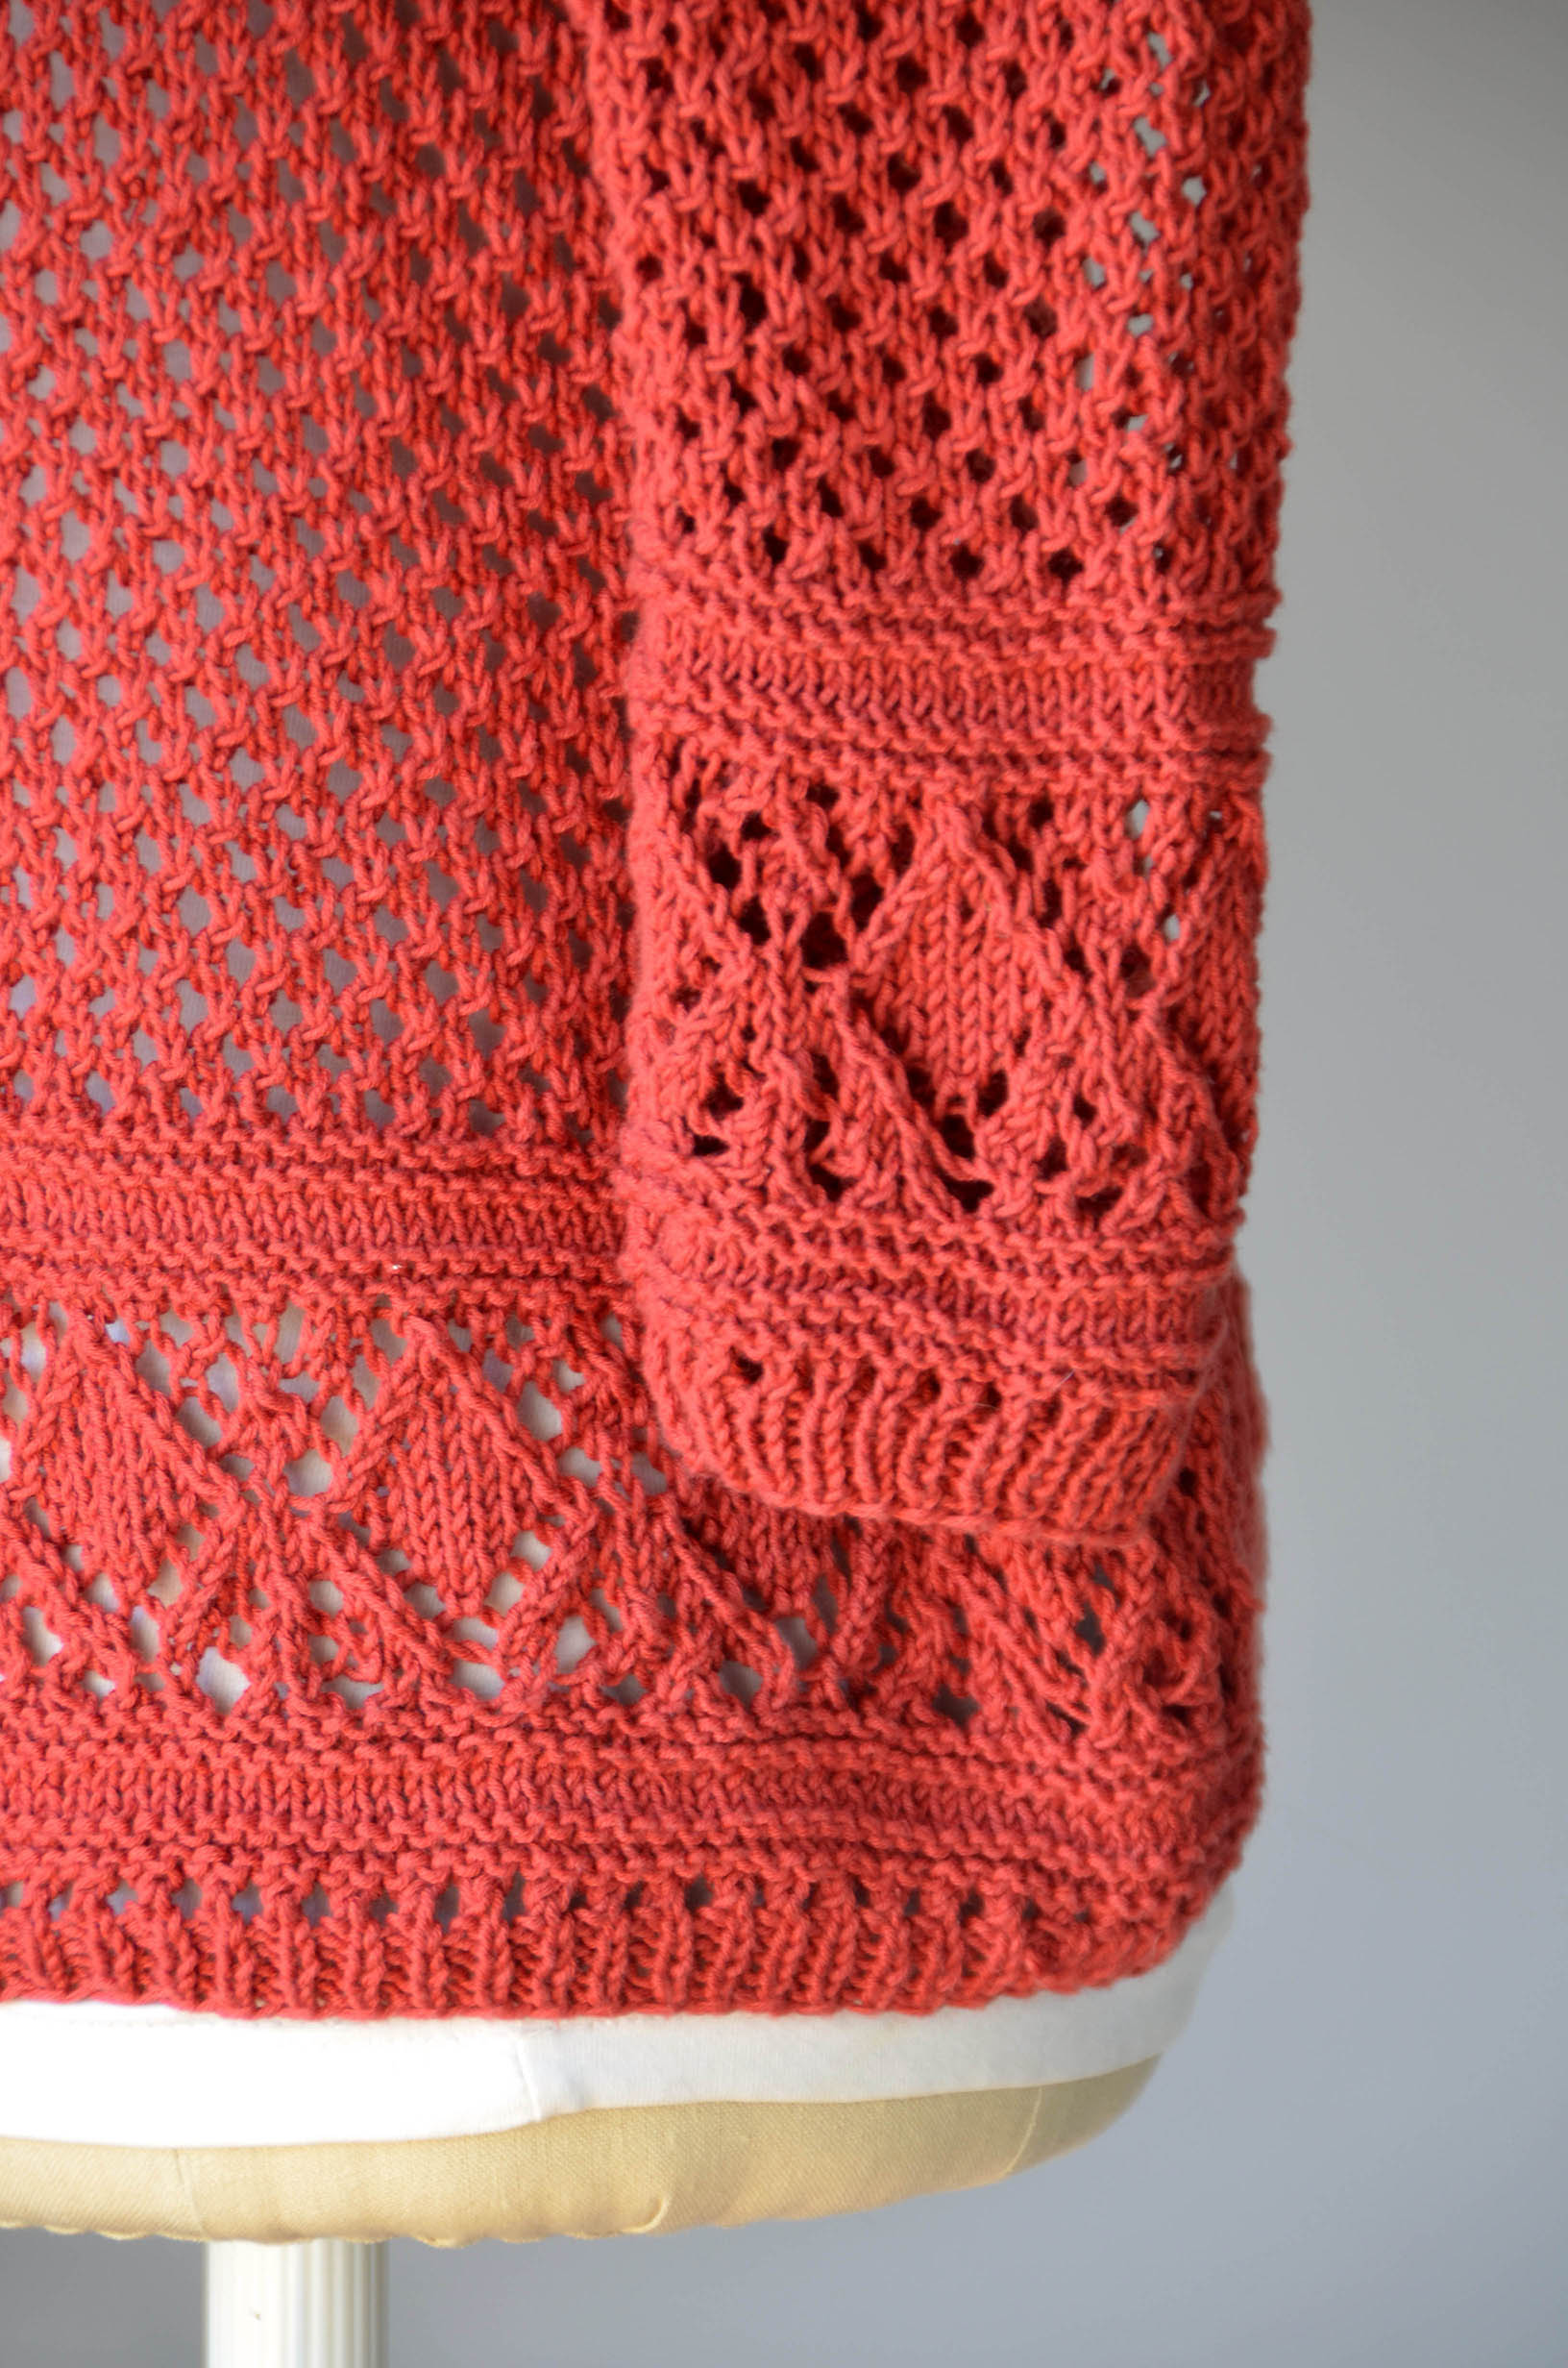
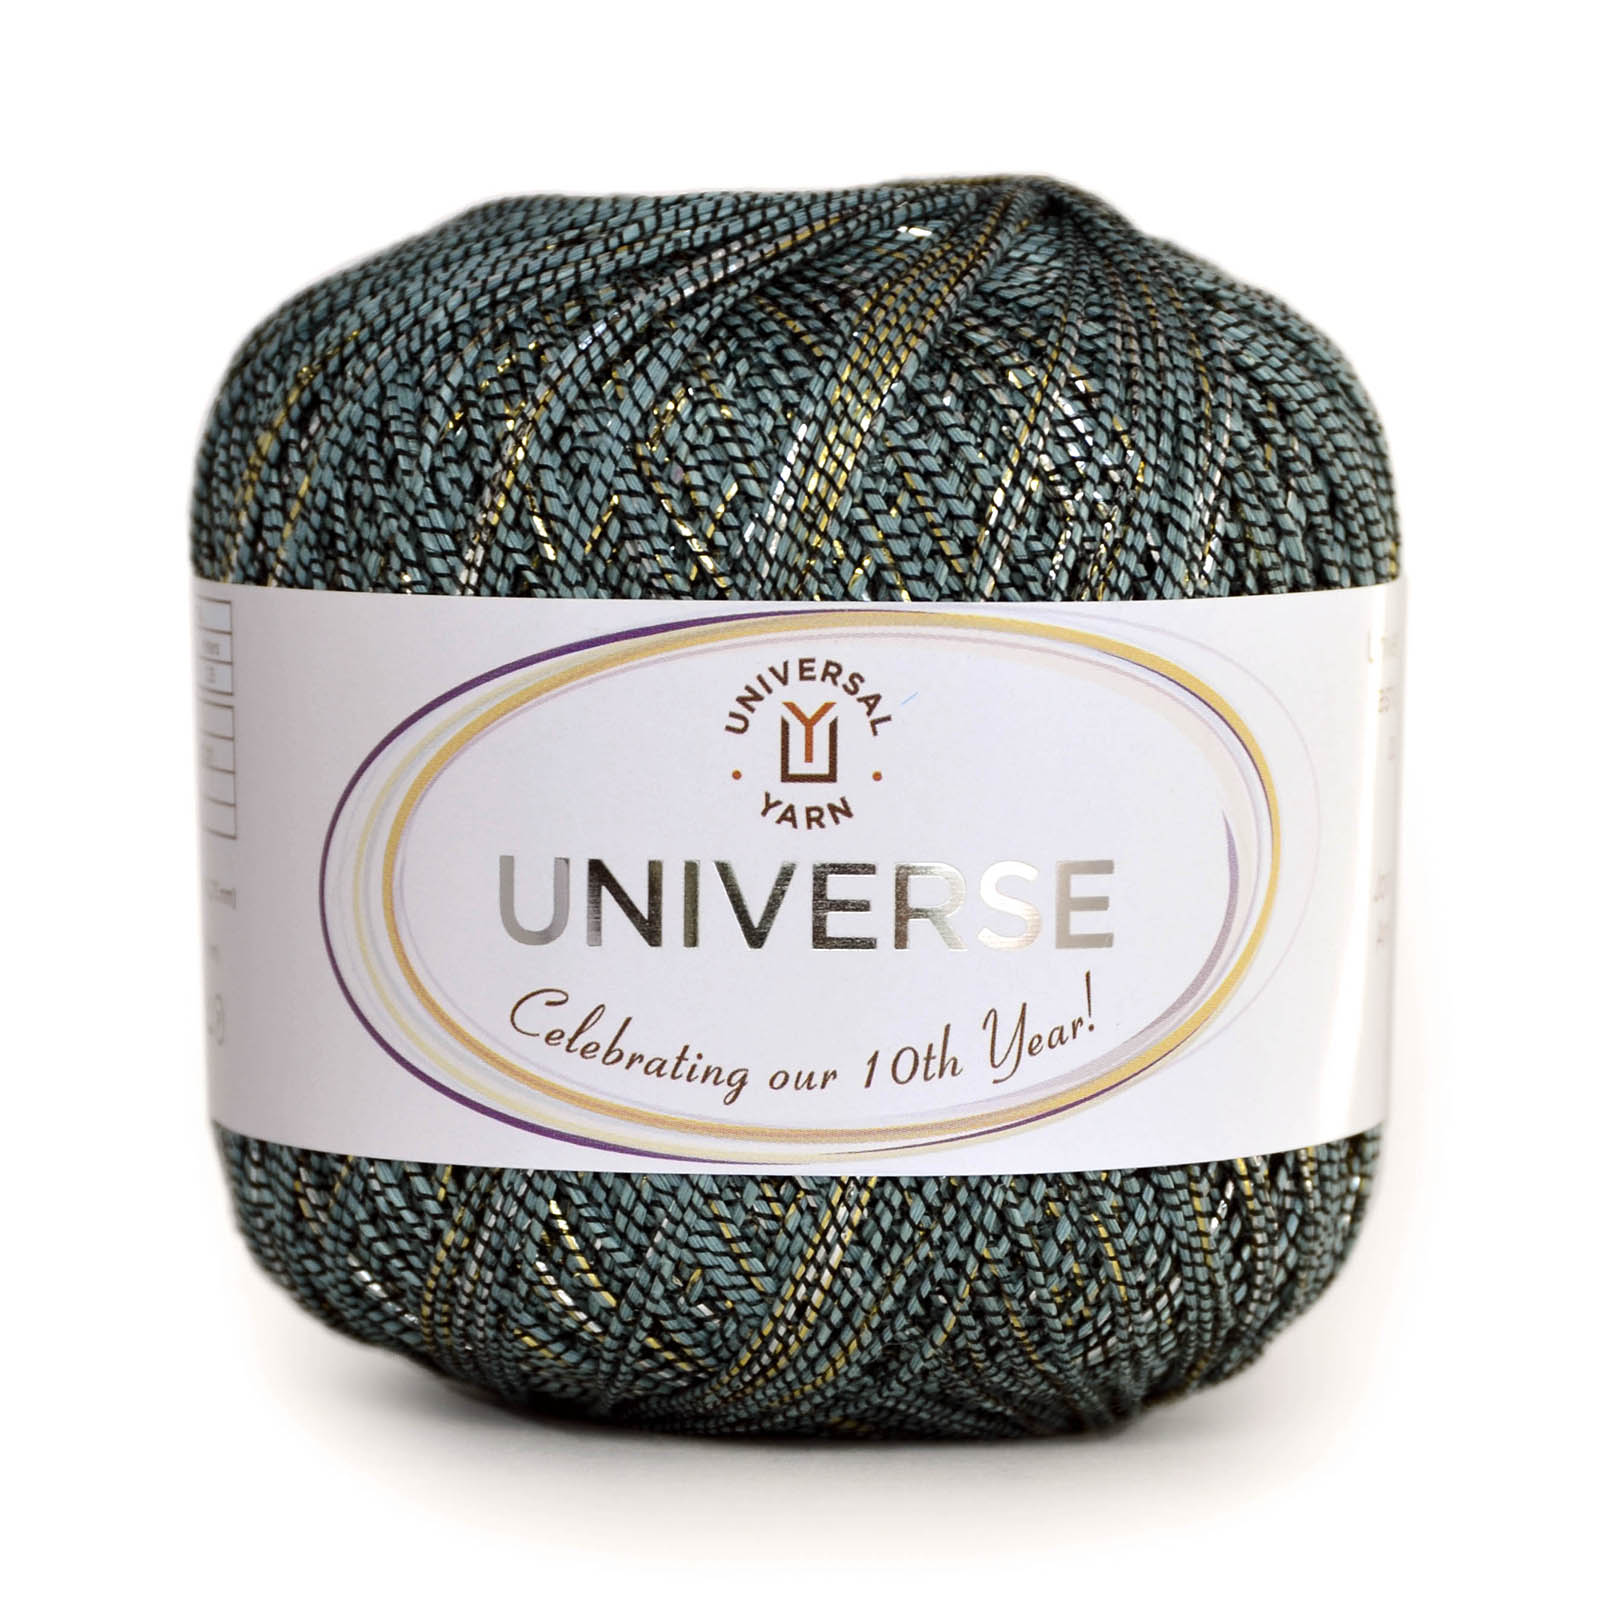
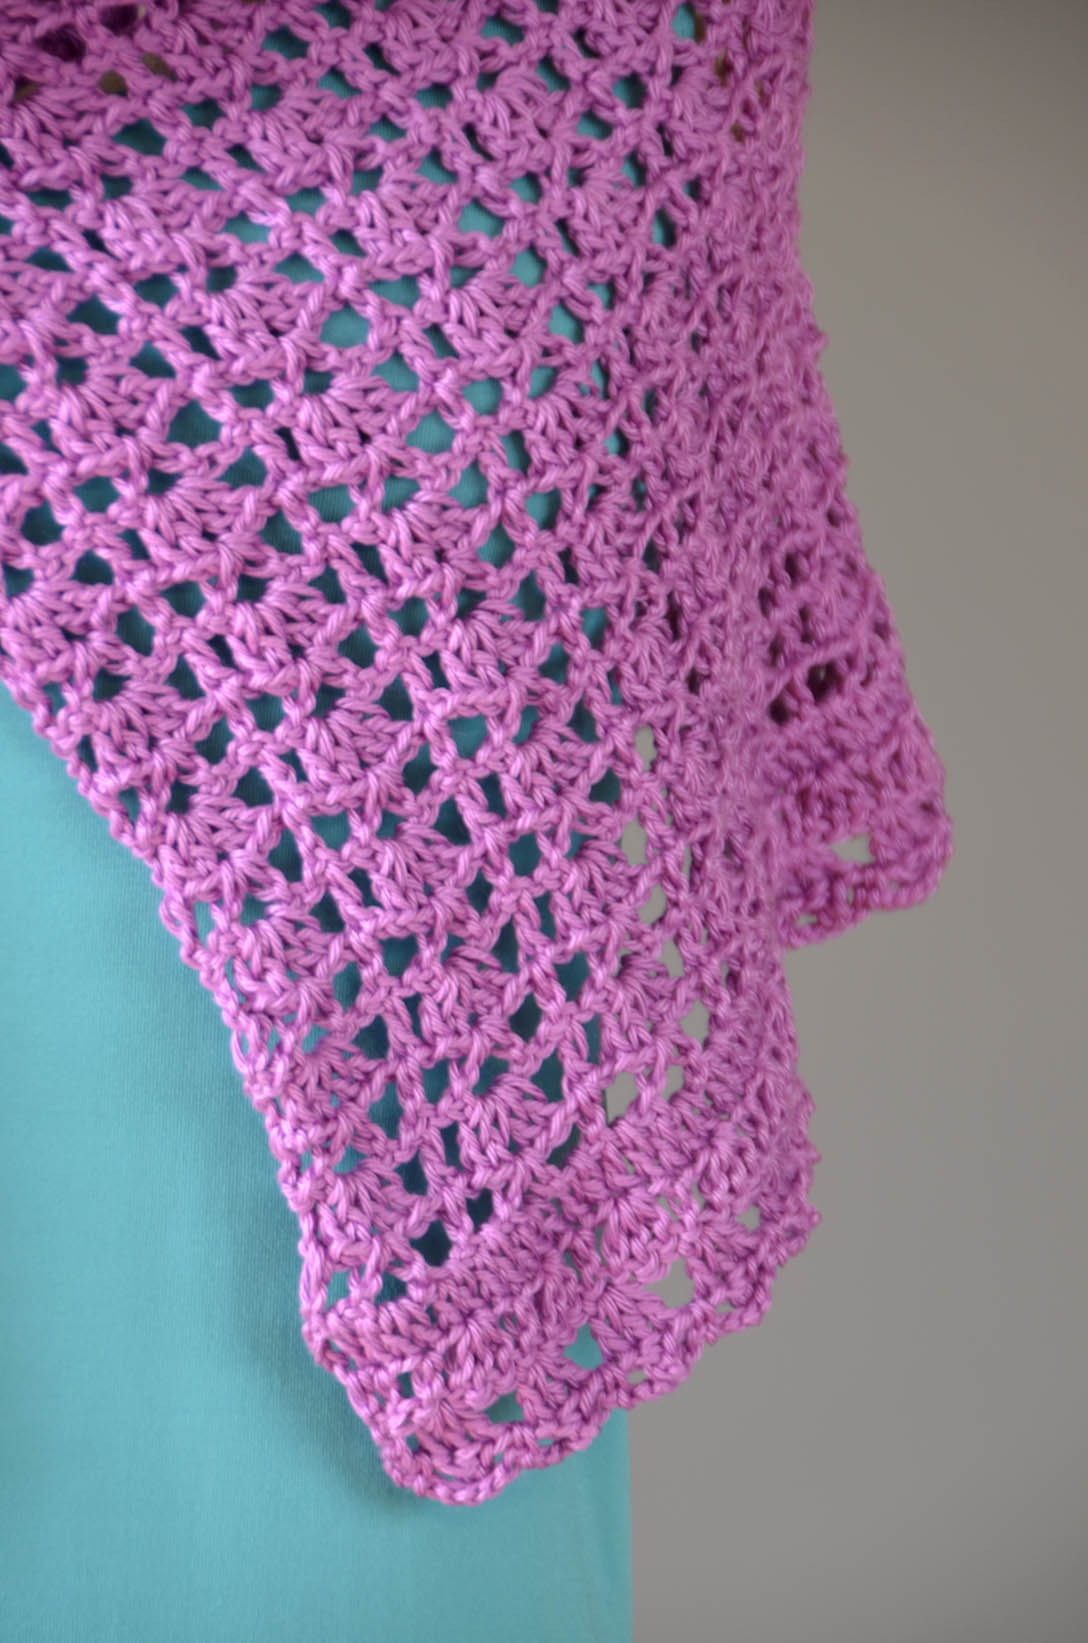
The Skylark Capelet calls for three hanks of Radiant Cotton, a smooth 100% Egyptian cotton with a light sheen somewhere between mercerized and matte. It’s a pleasure to work with.
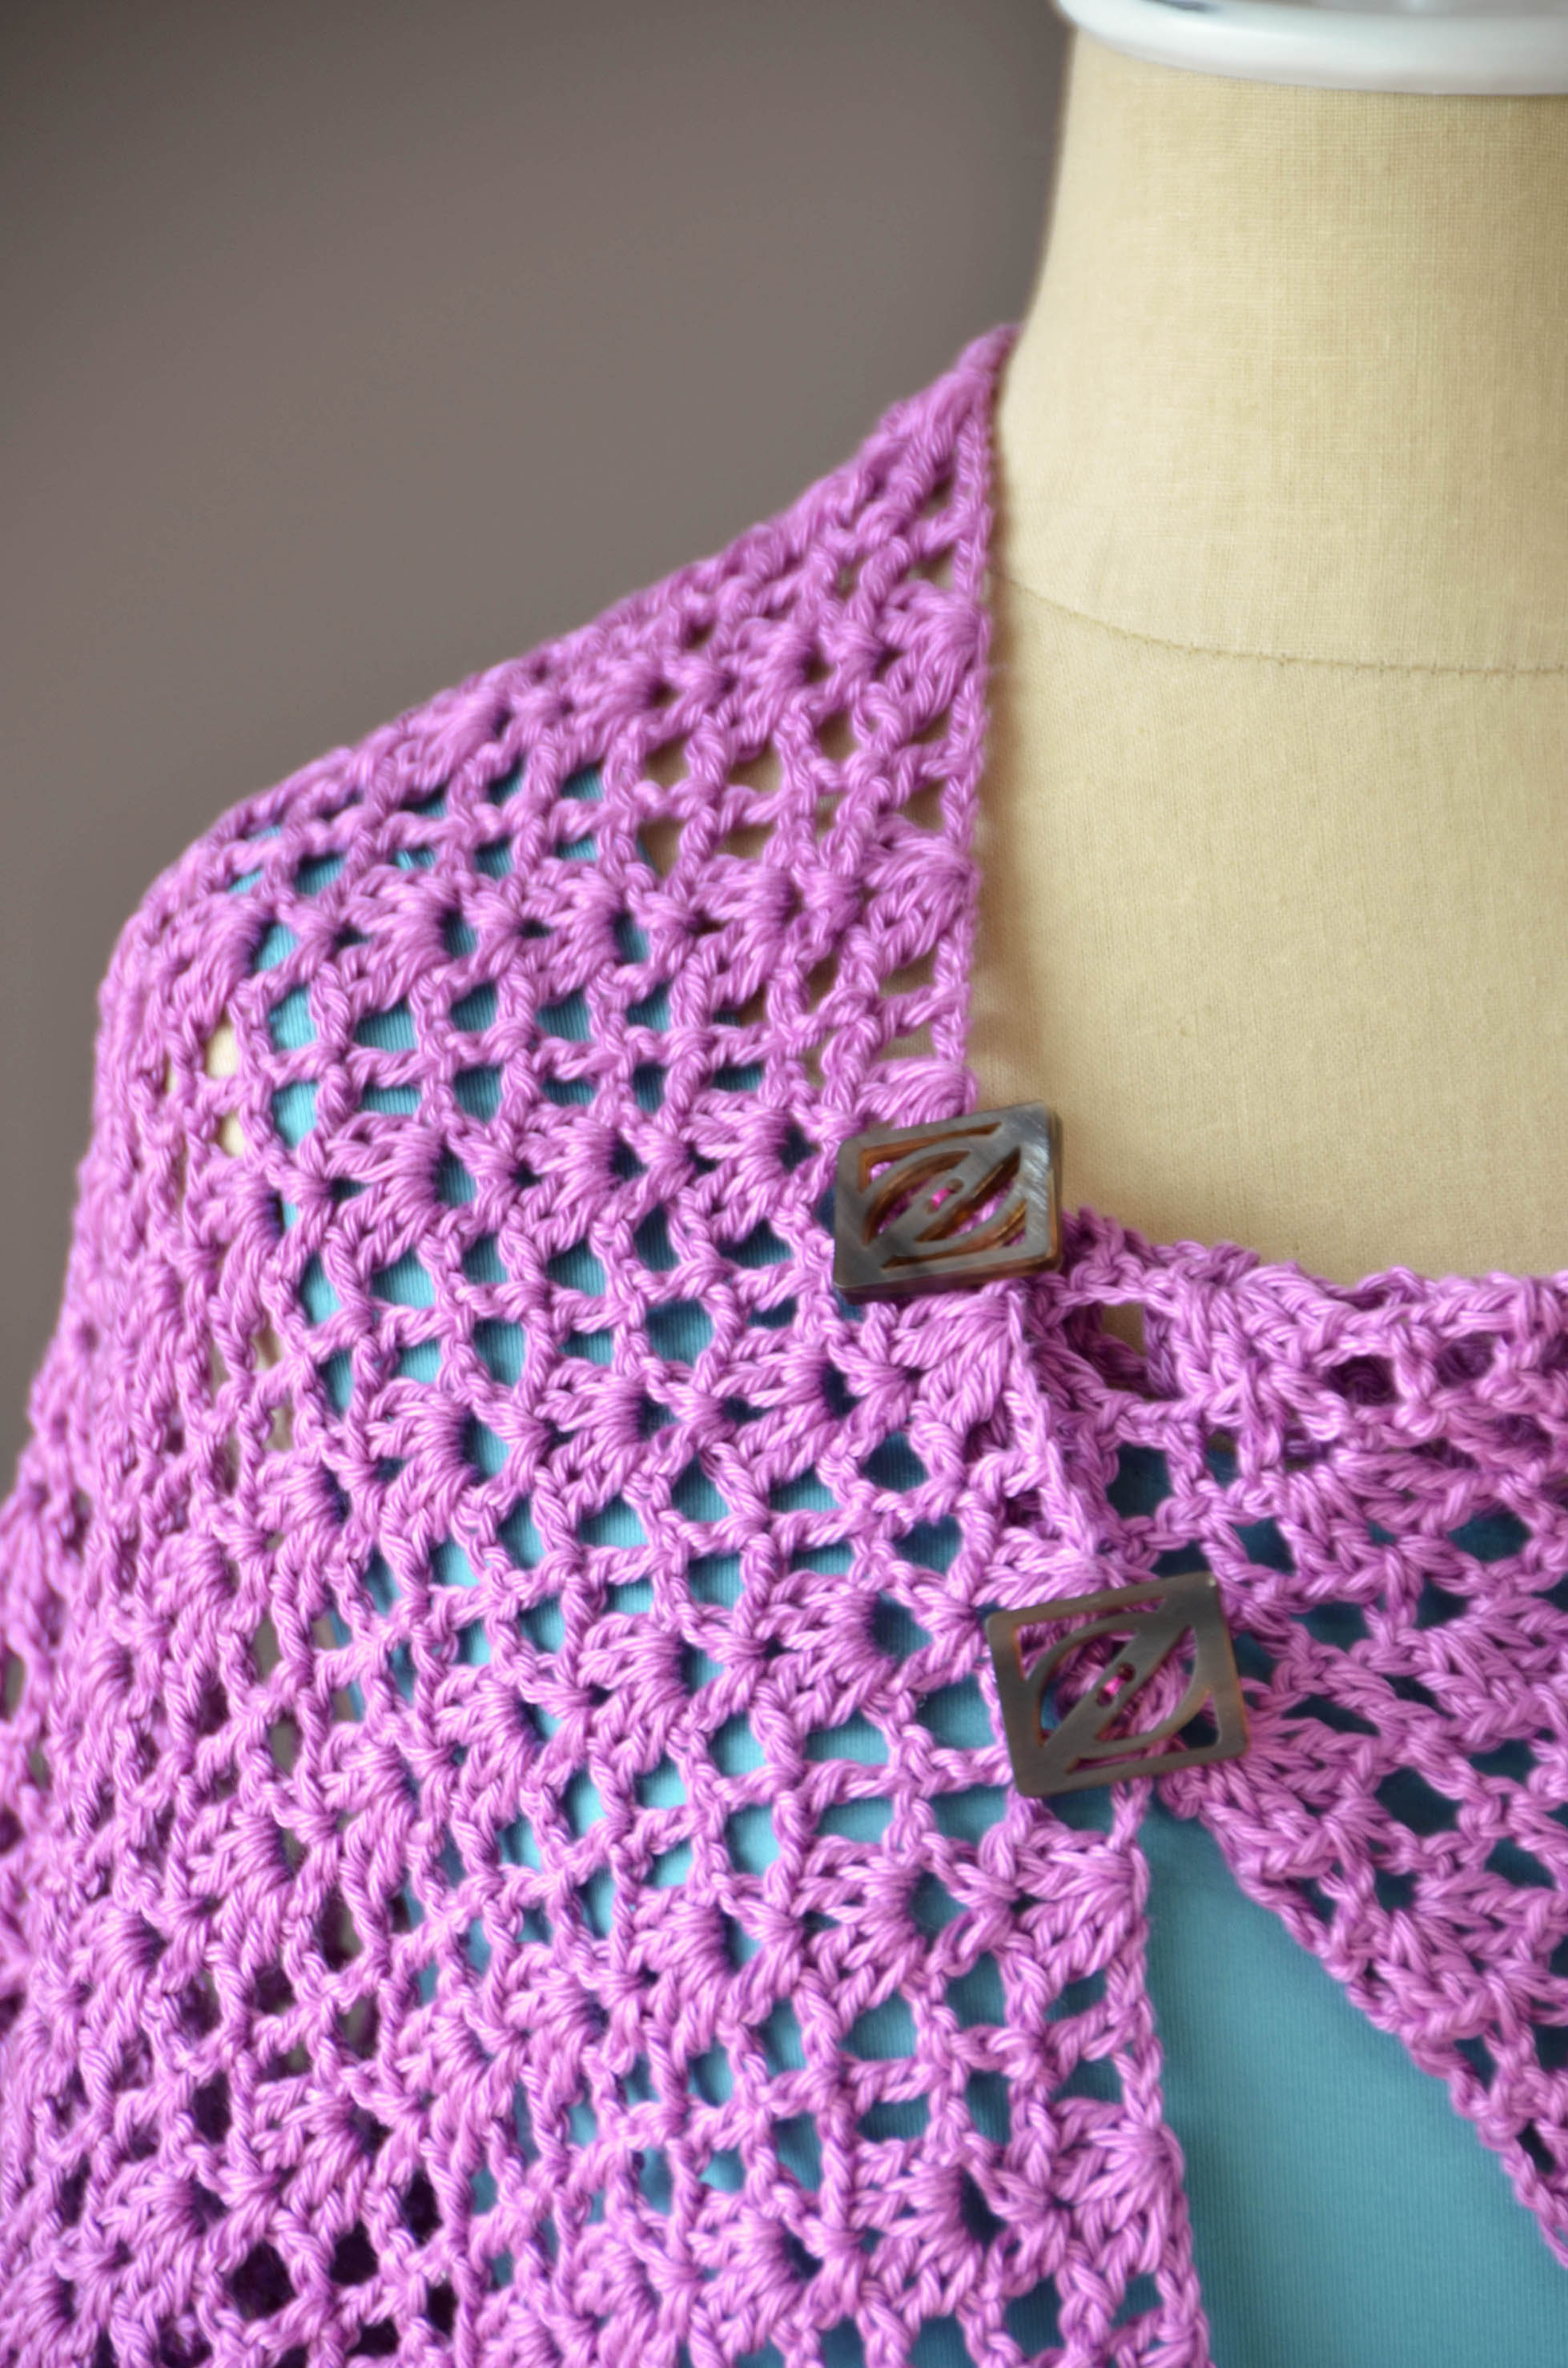
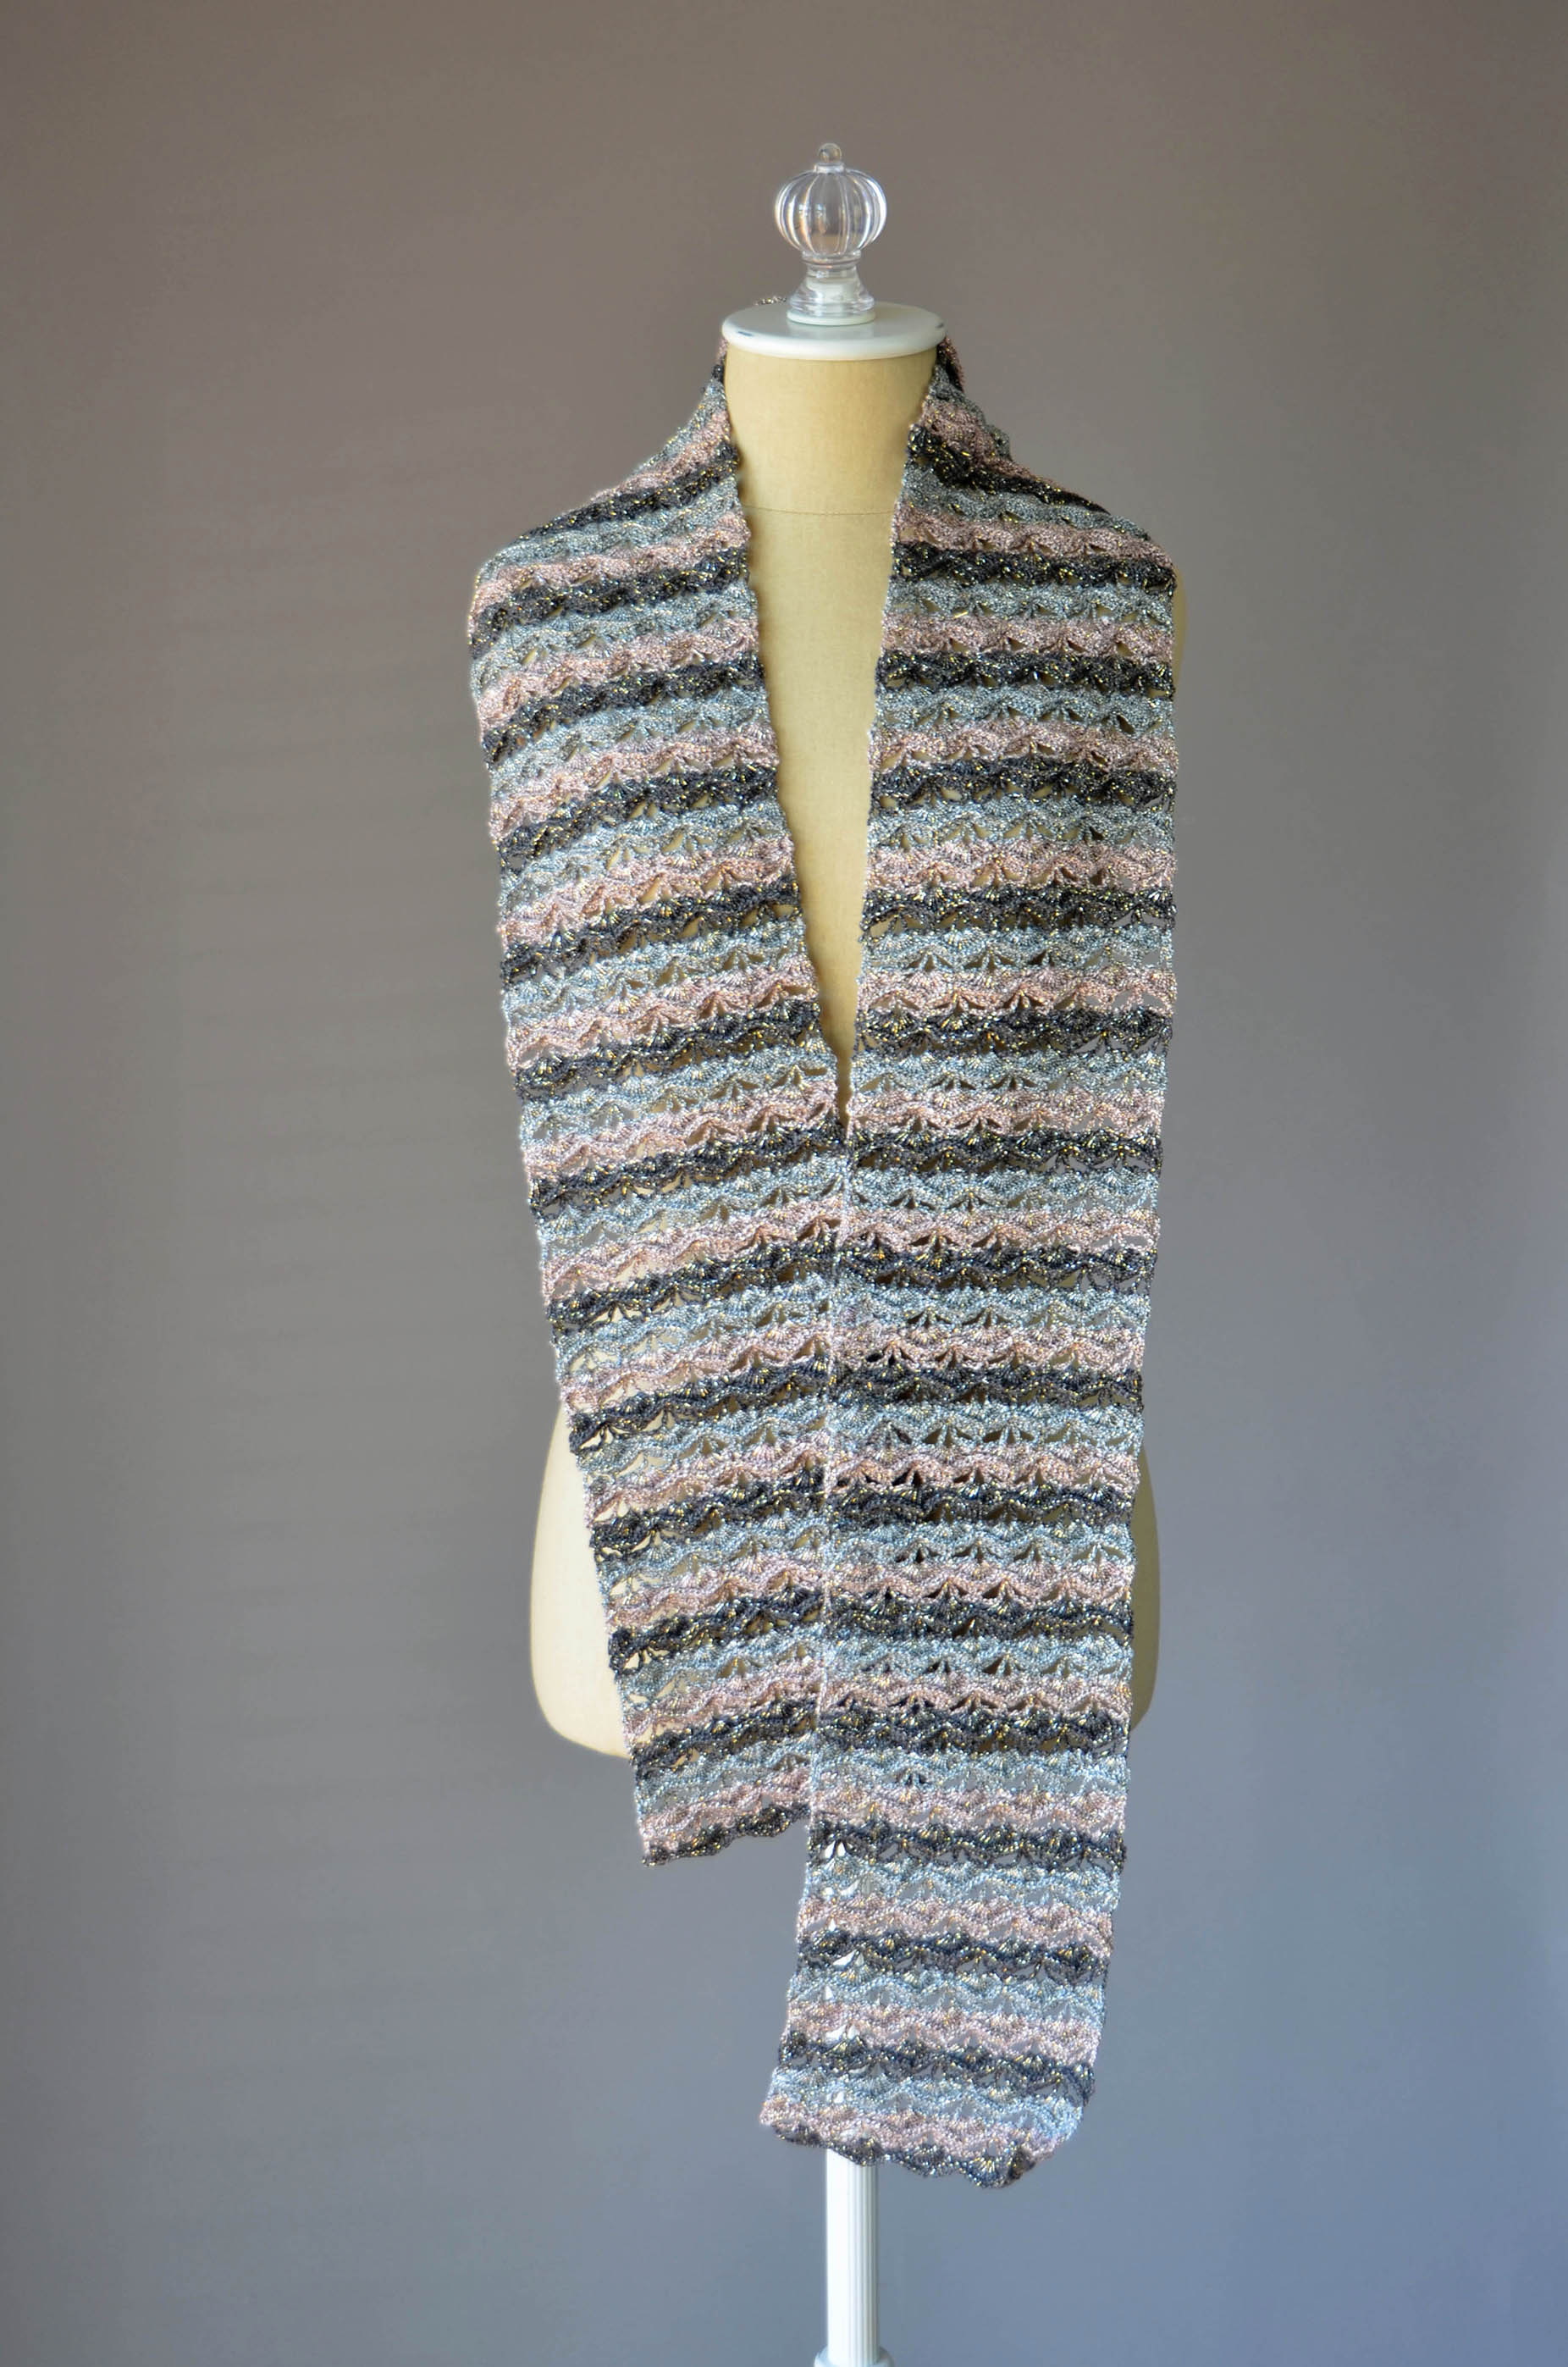
What I love about this capelet is that just by varying the number of buttons and where you choose to fasten them, you could easily turn this from a capelet into a buttoned cowl, or really into any shape you wish. The edging lends itself particularly well to buttoning.
There’s no limit to what you can do with this versatile crochet piece.
We hope you have a great weekend, and take time to make something just for you!
Happy crafting!