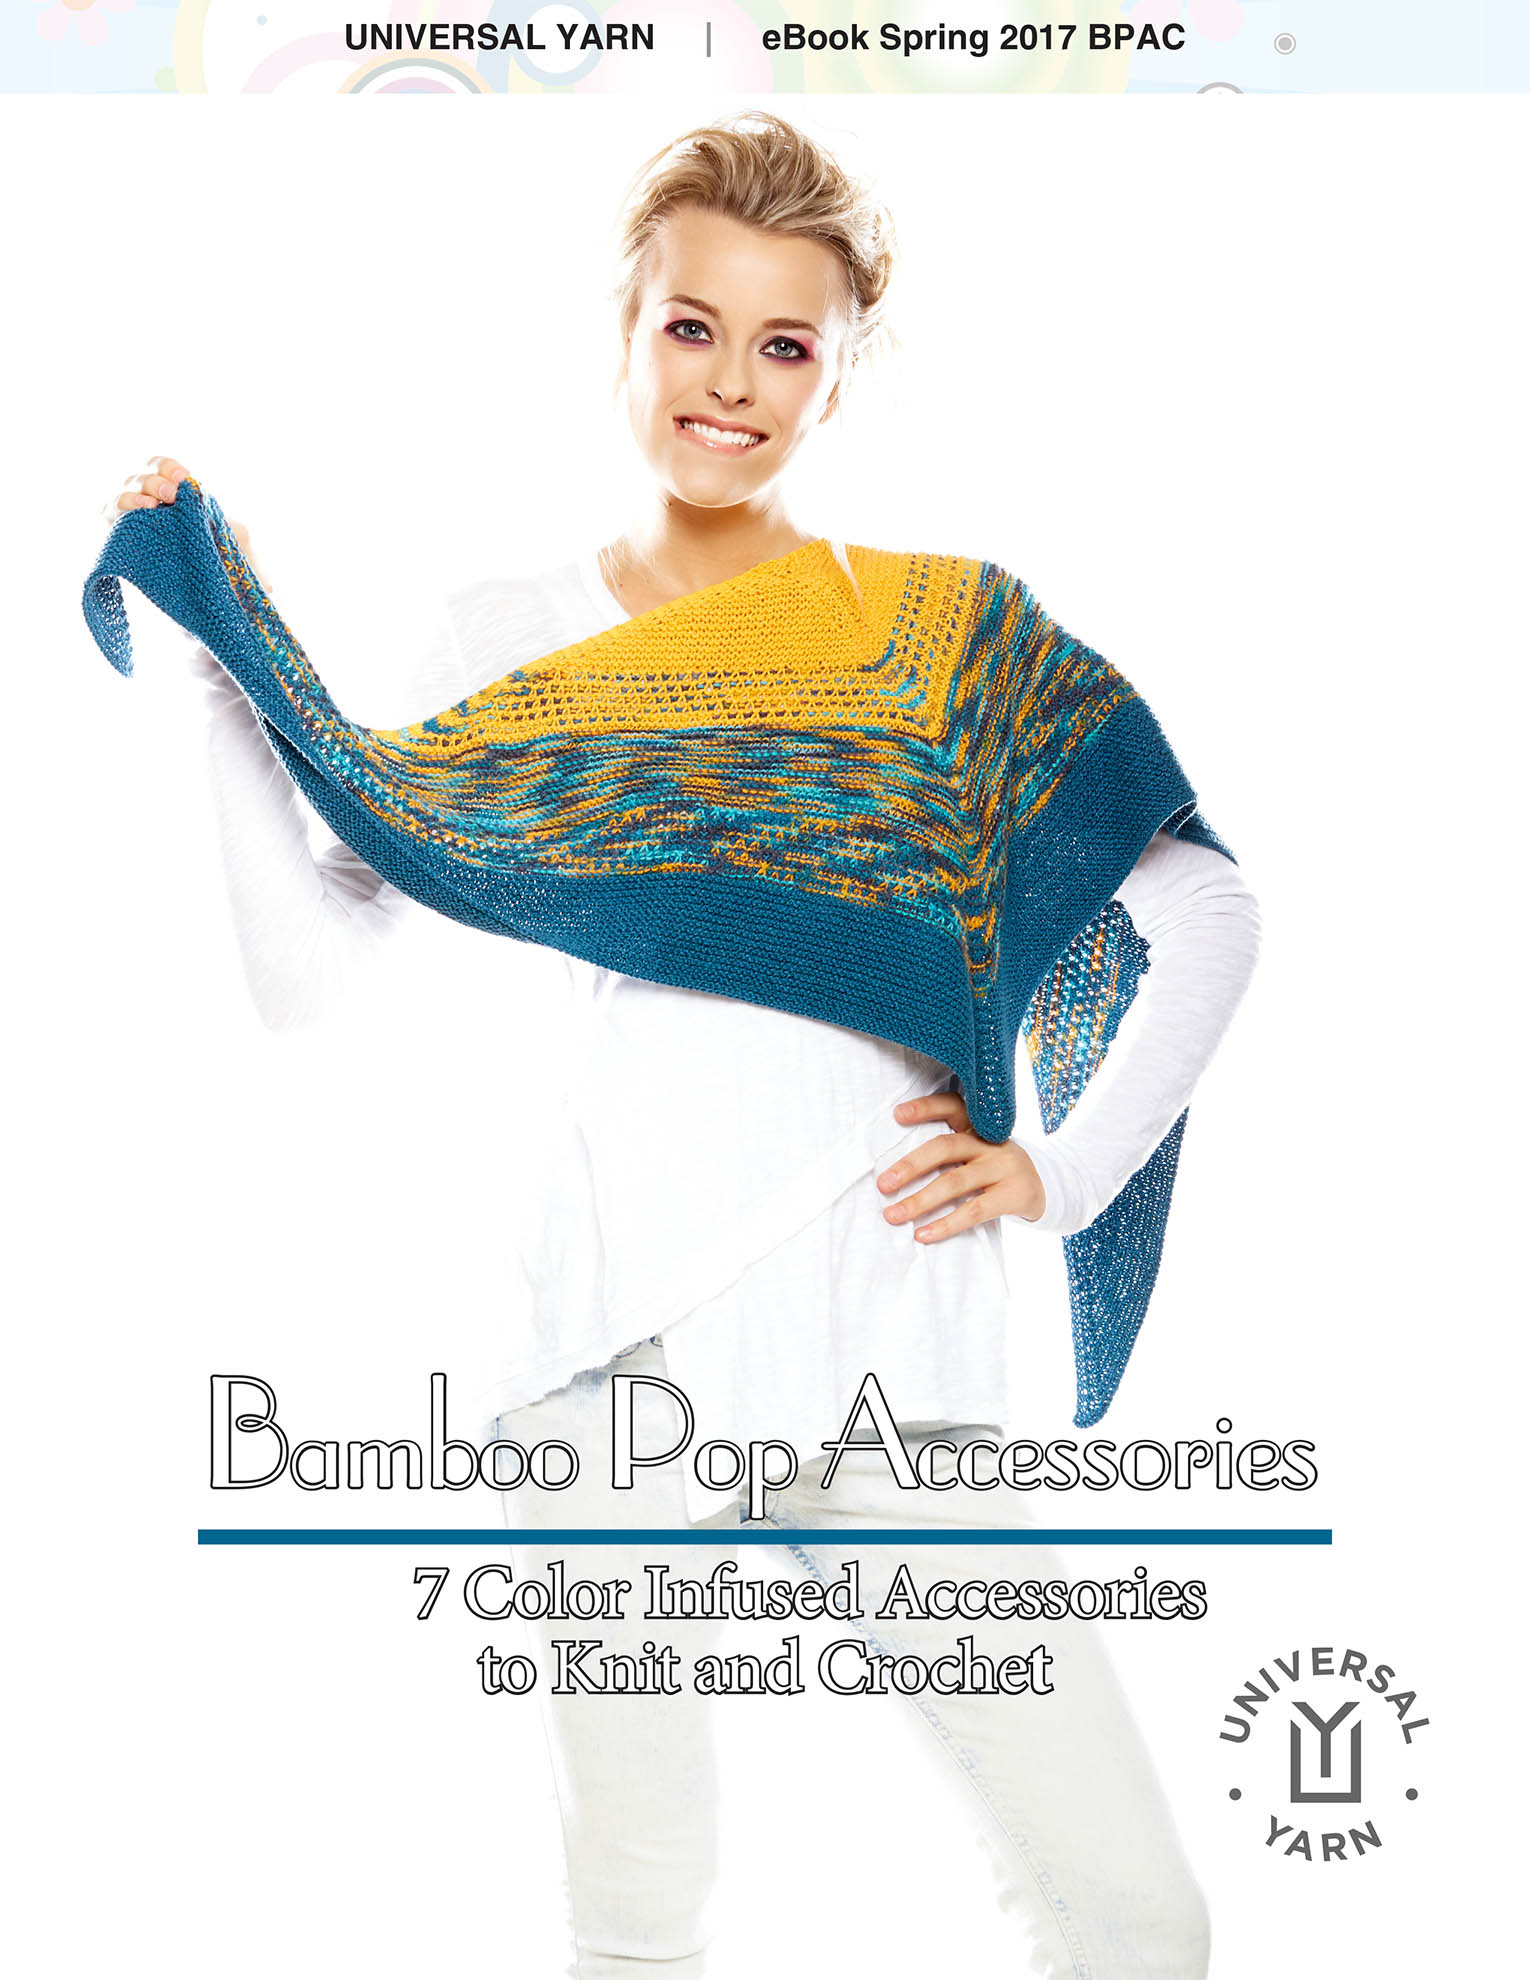
Have you have seen our new Bamboo Pop Accessories eBook?

Part of the idea behind these patterns was to help keep your knitting and crochet mojo going strong through the warmer months…any project from this collection would be perfect for working on poolside. It was such a blast designing this collection. I was inspired in part by all the colorful, tropical knitwear being shown by many designers in their 2017 Resort collections and a recent trip to Hawaii helped provide the names for the designs.
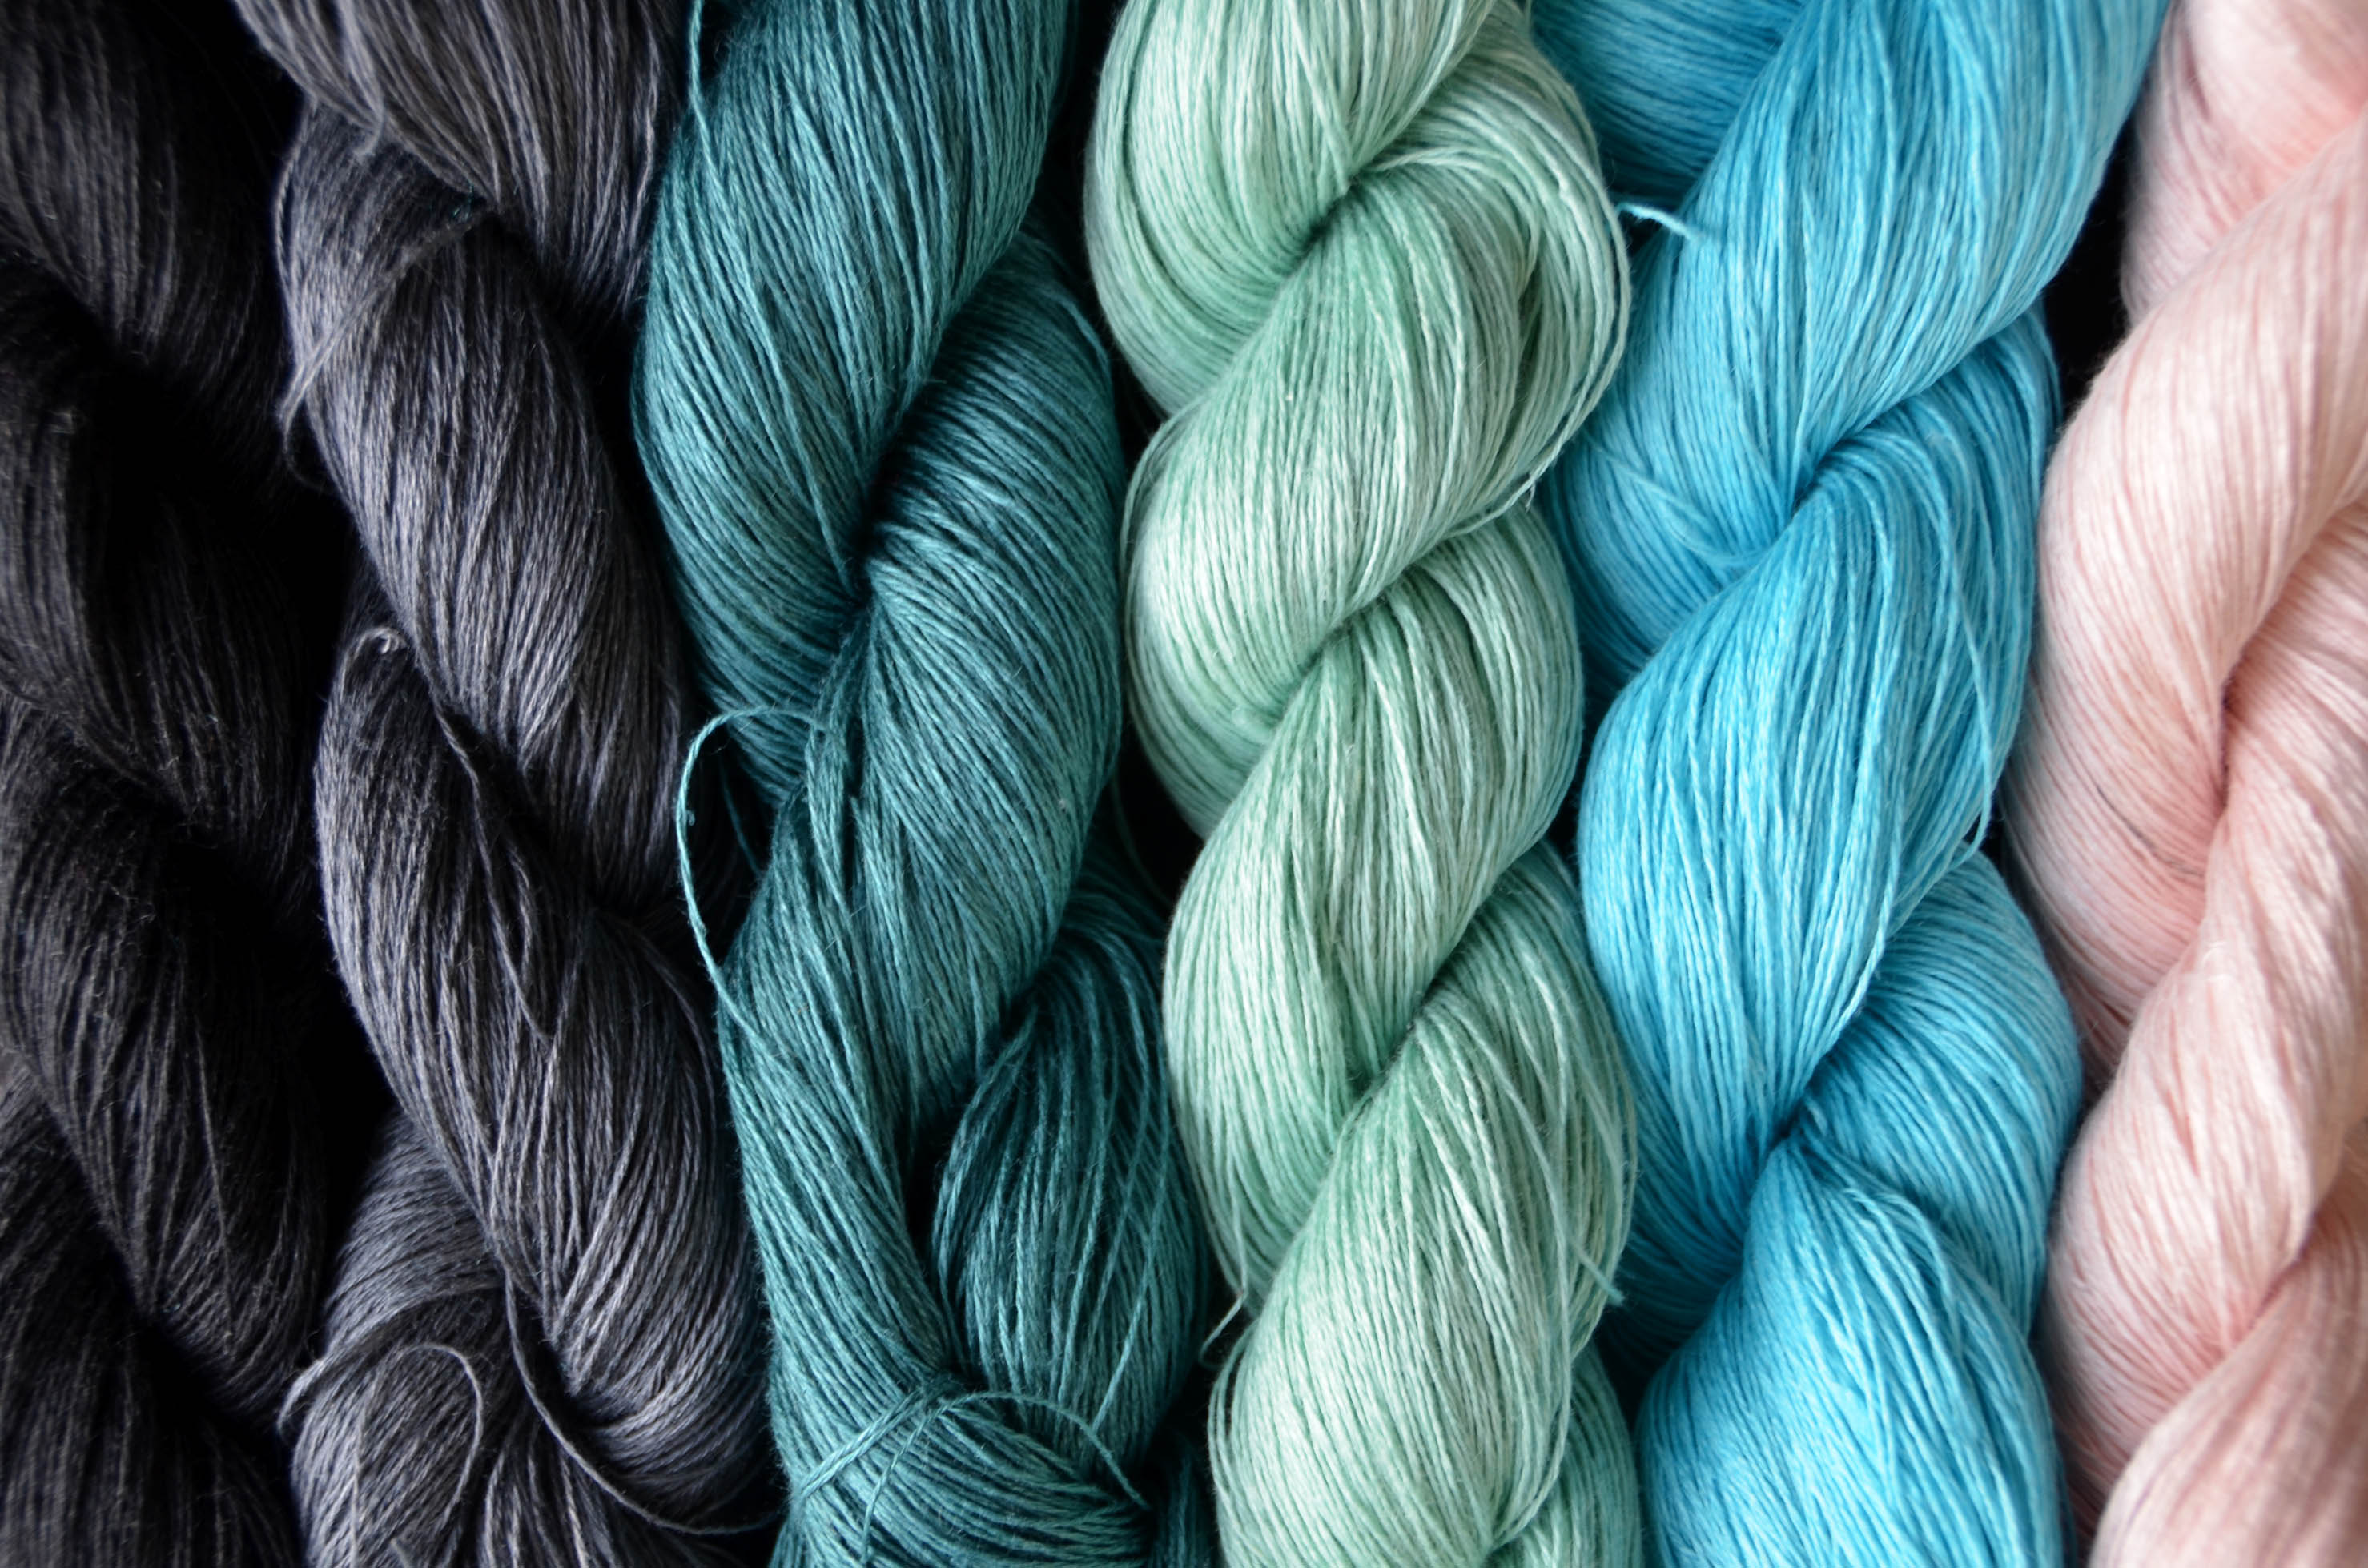
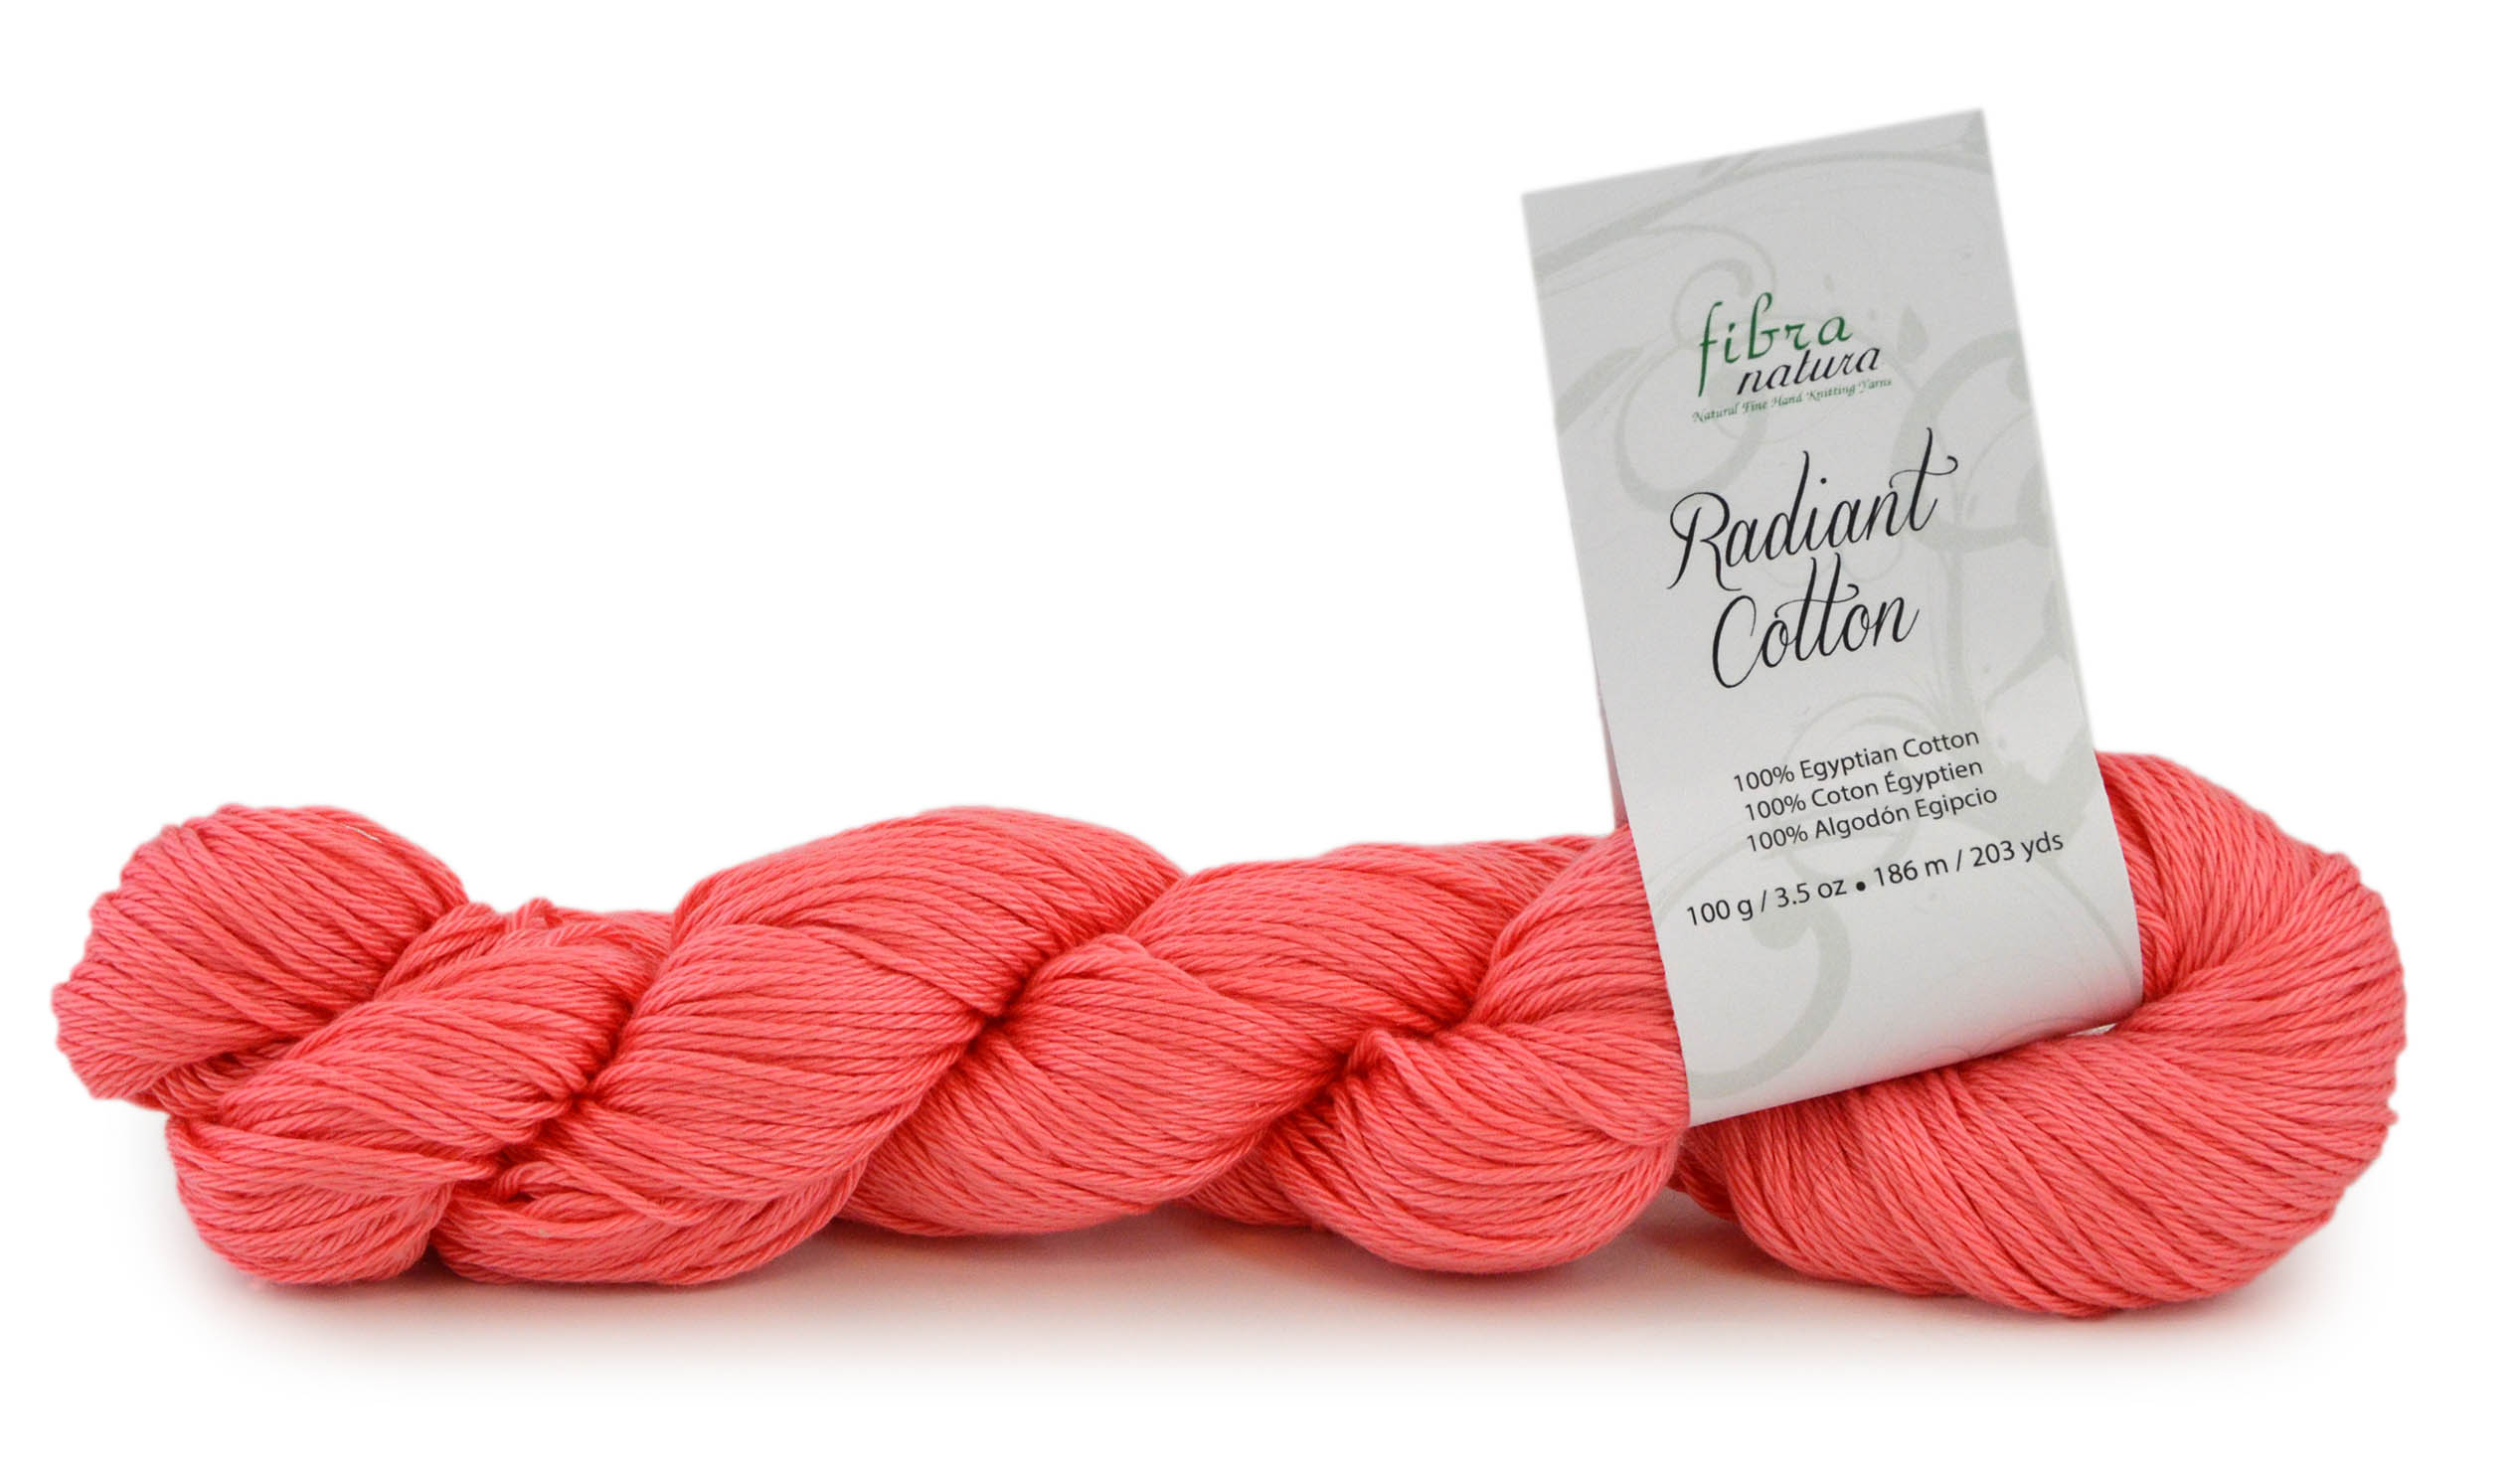
The bright colors and fiber content of Bamboo Pop are perfect for creating knit and crochet items that wear well throughout the spring and summer. Bamboo Pop makes these projects soft and cool against your skin, great for those days of going in and out of overly air conditioned buildings.
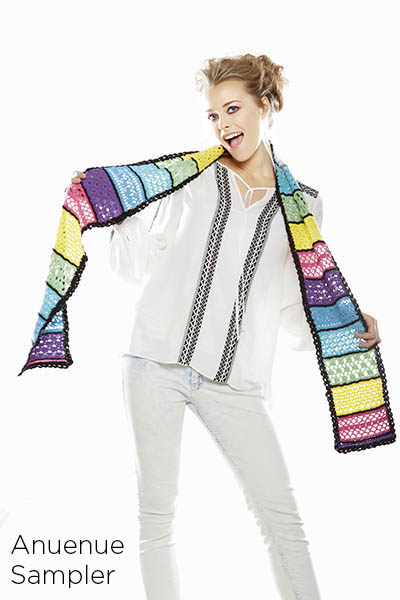
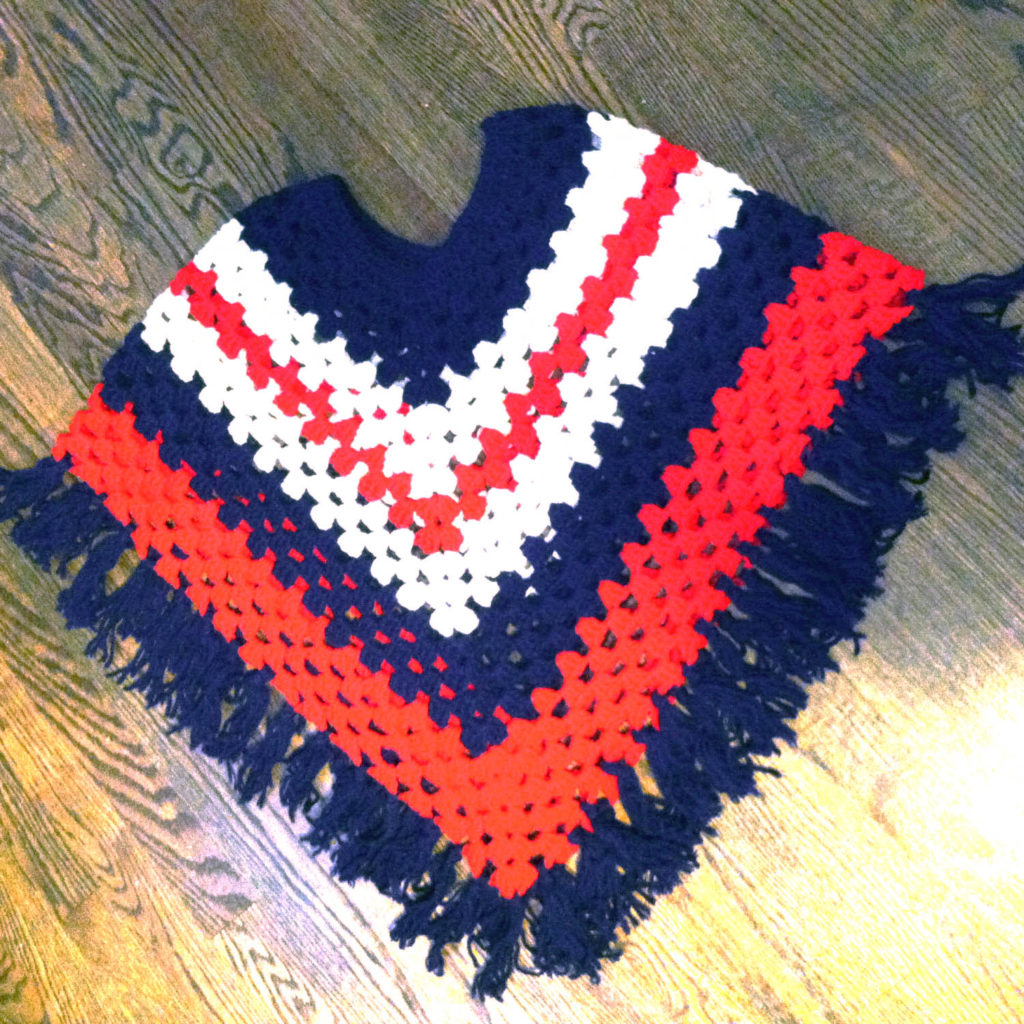
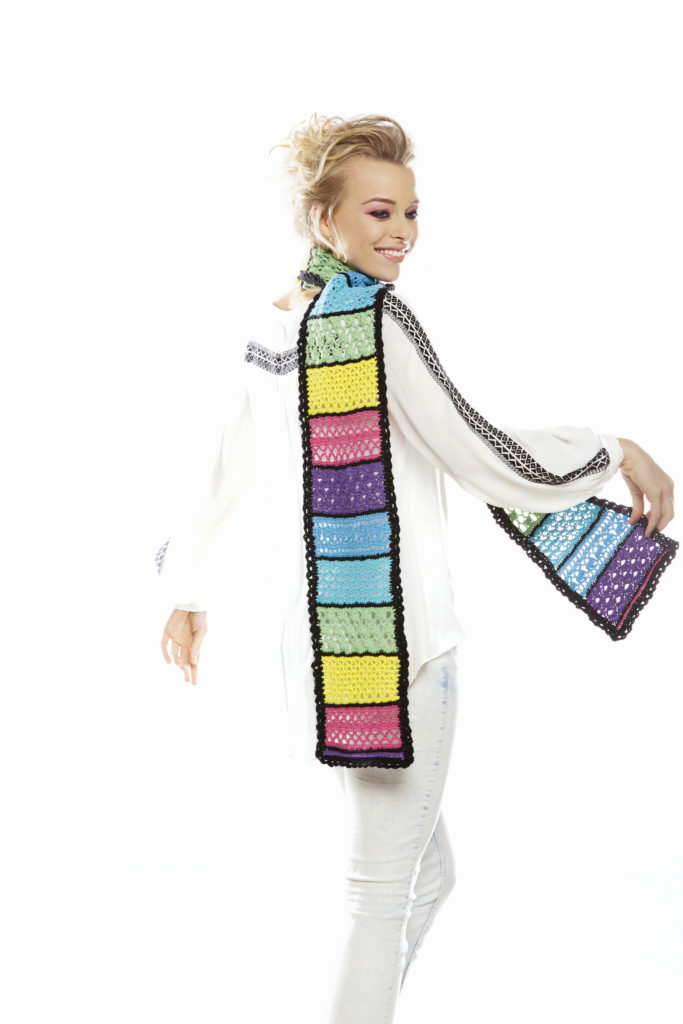
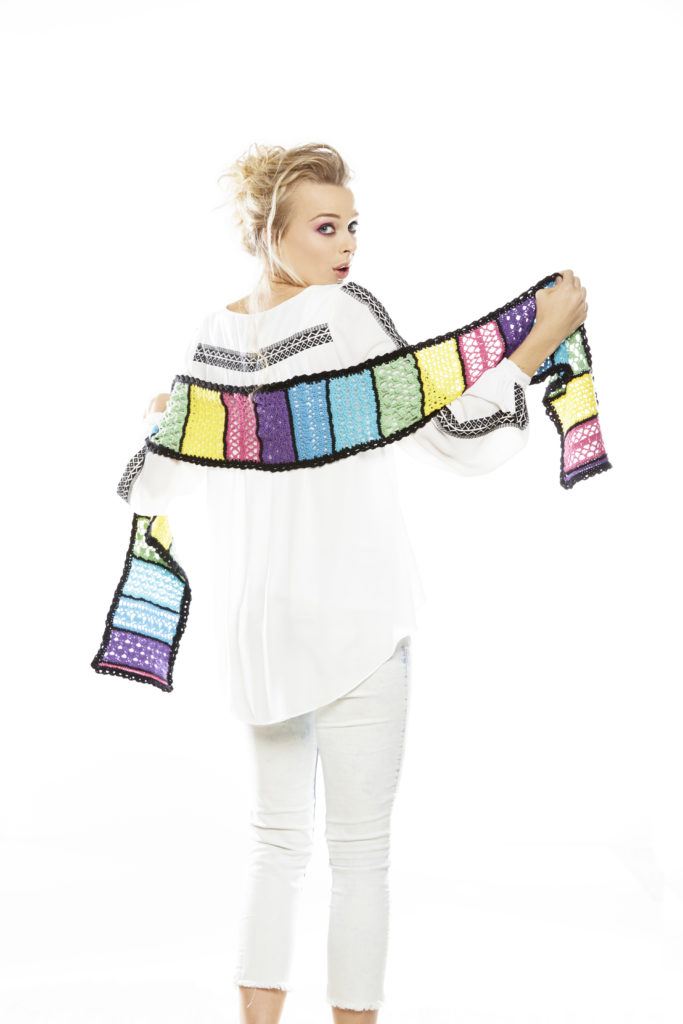
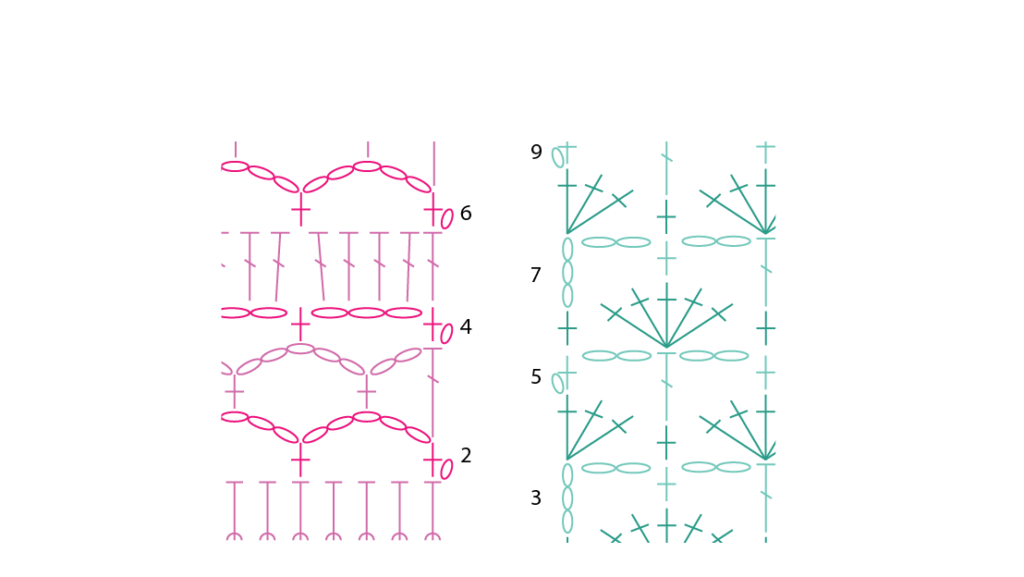
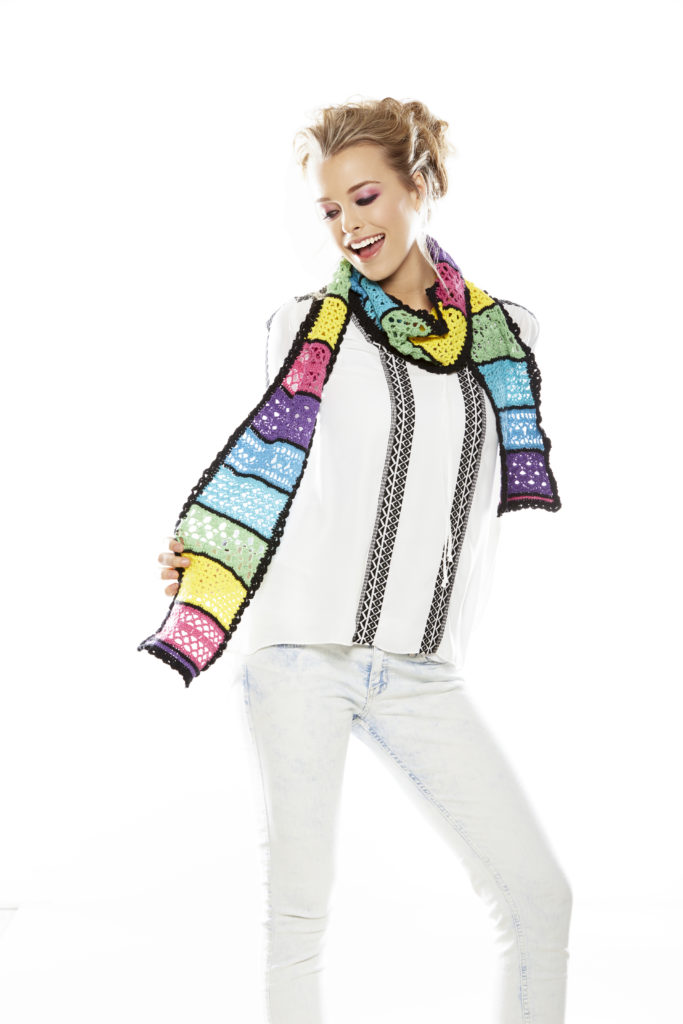
Anuenue Sampler: The Hawaiian word for rainbow is a perfect fit for this scarf. As a sporadic crocheter, I love working on projects where I get to try out a bunch of different stitches and techniques, so I knew my first crochet design had to be a sampler. This design also is perfect for anyone, who like me, has difficultly choosing just one color! Different colors, stitches and edging will keep you entertained.
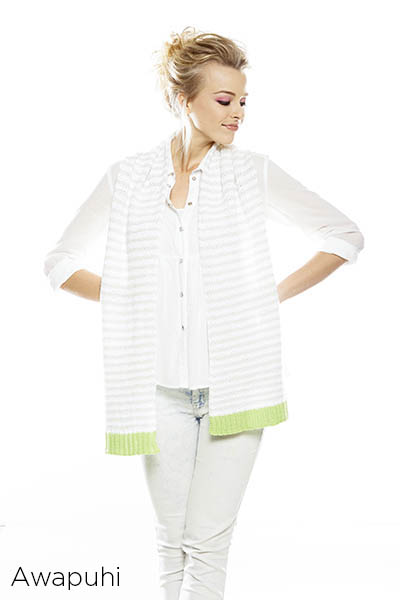
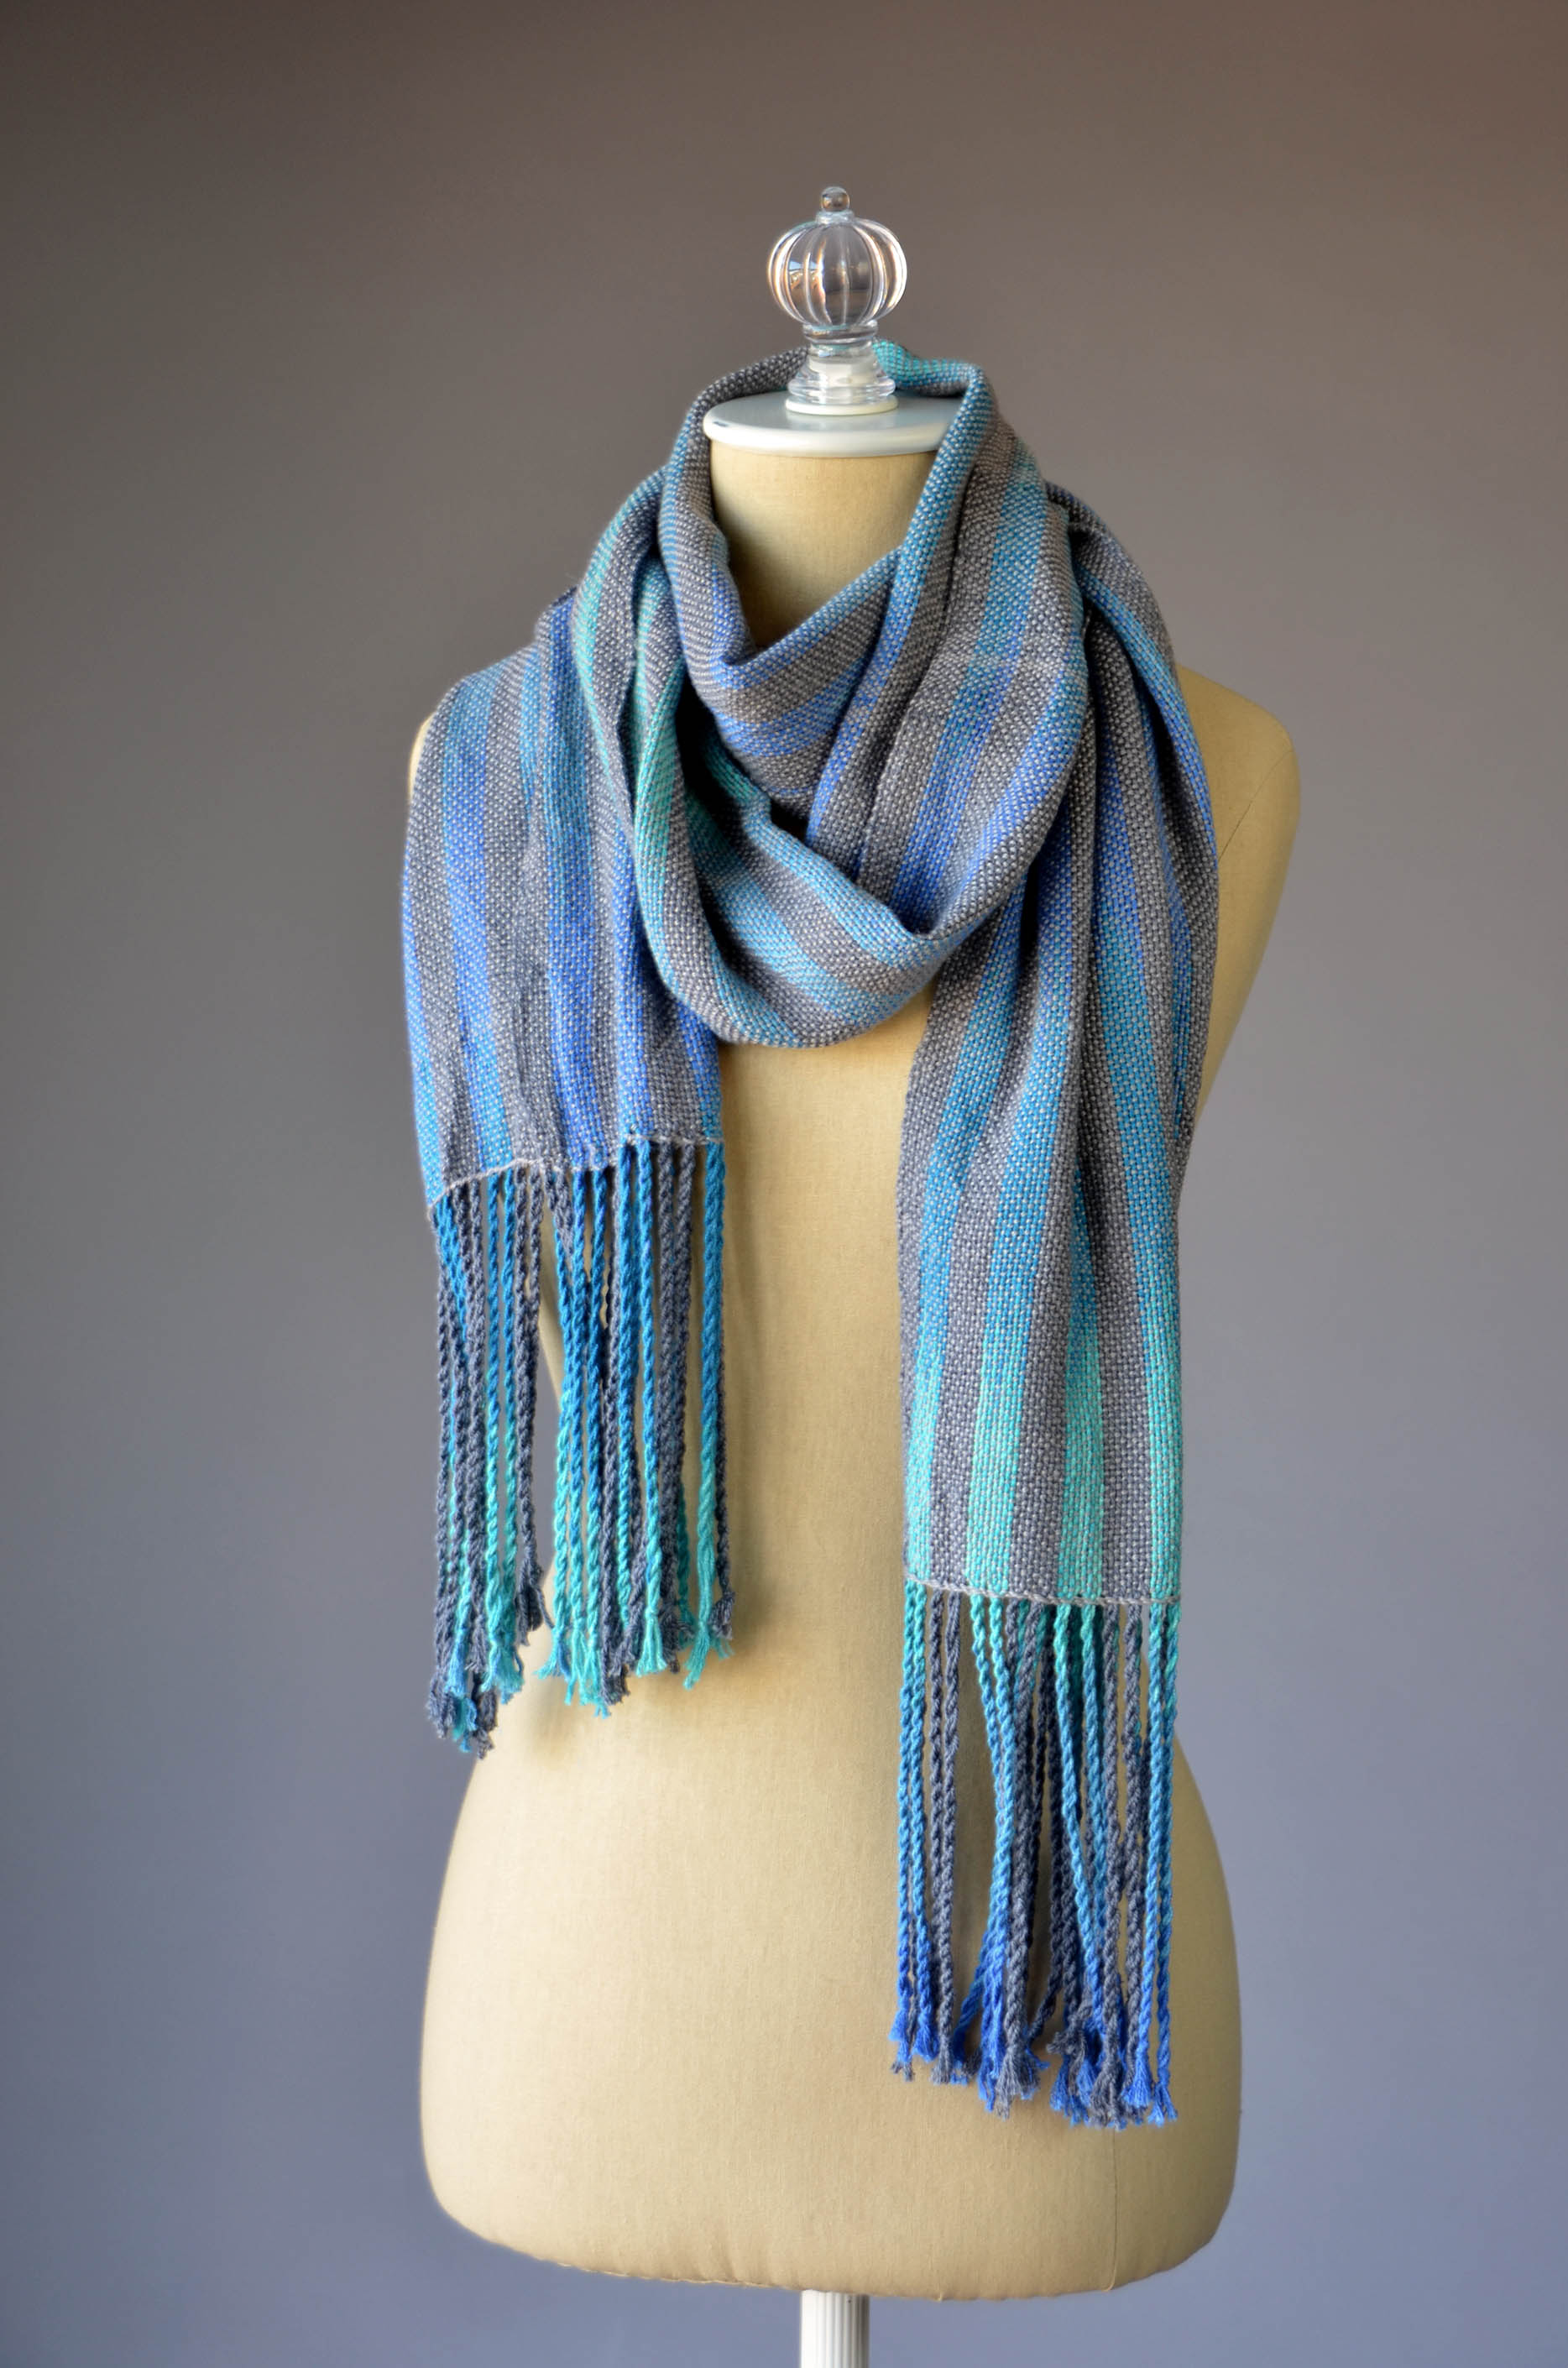
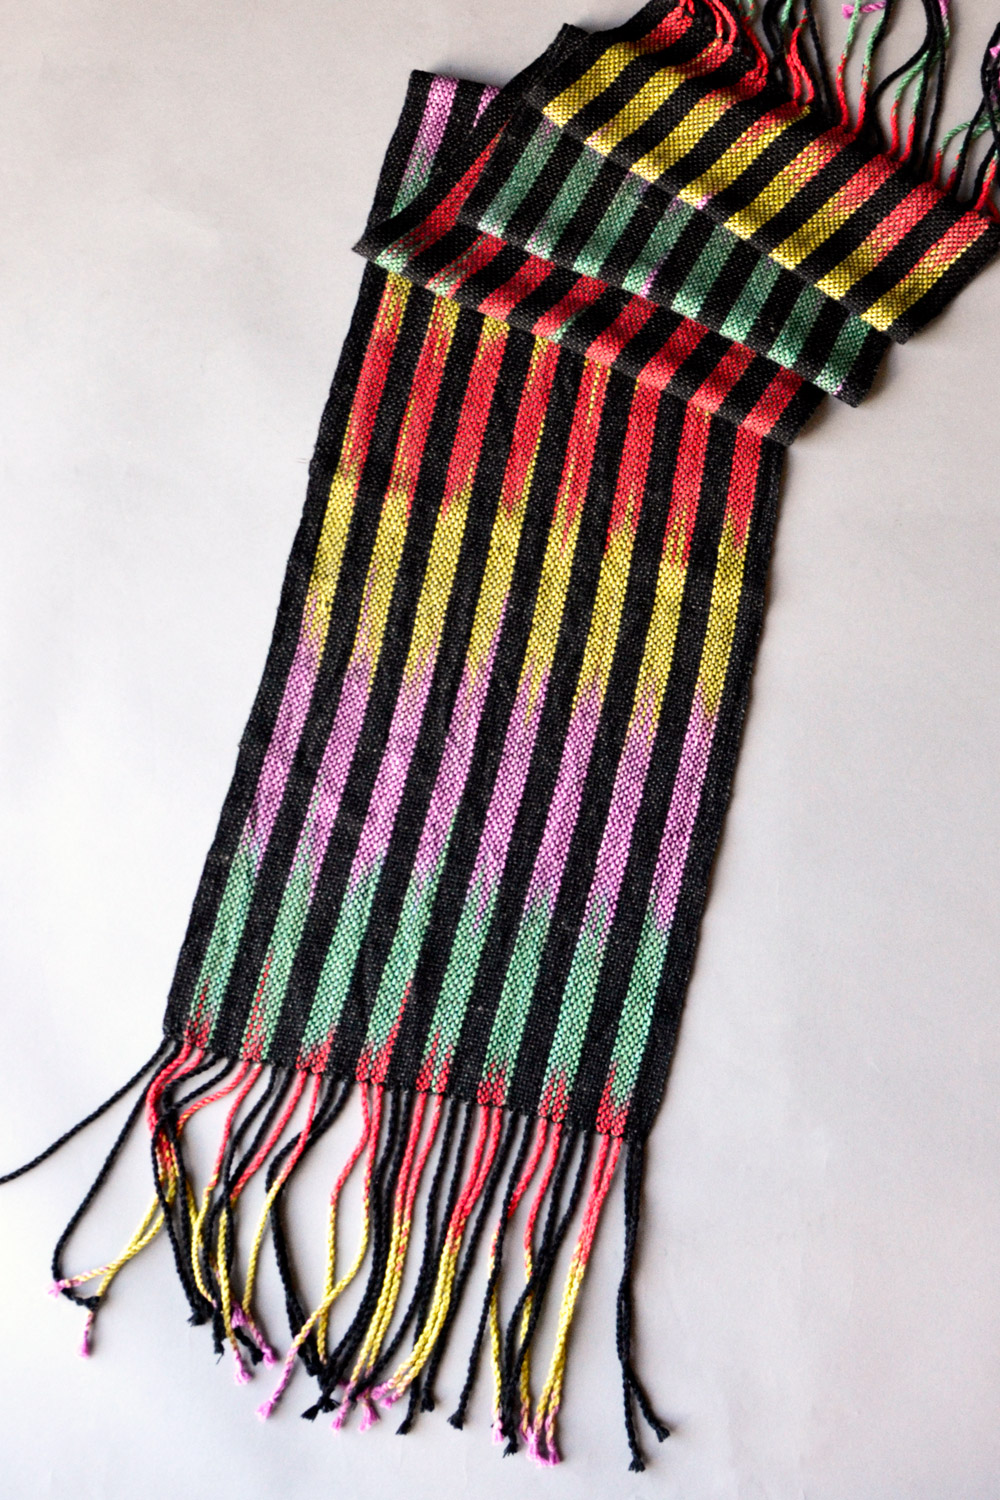
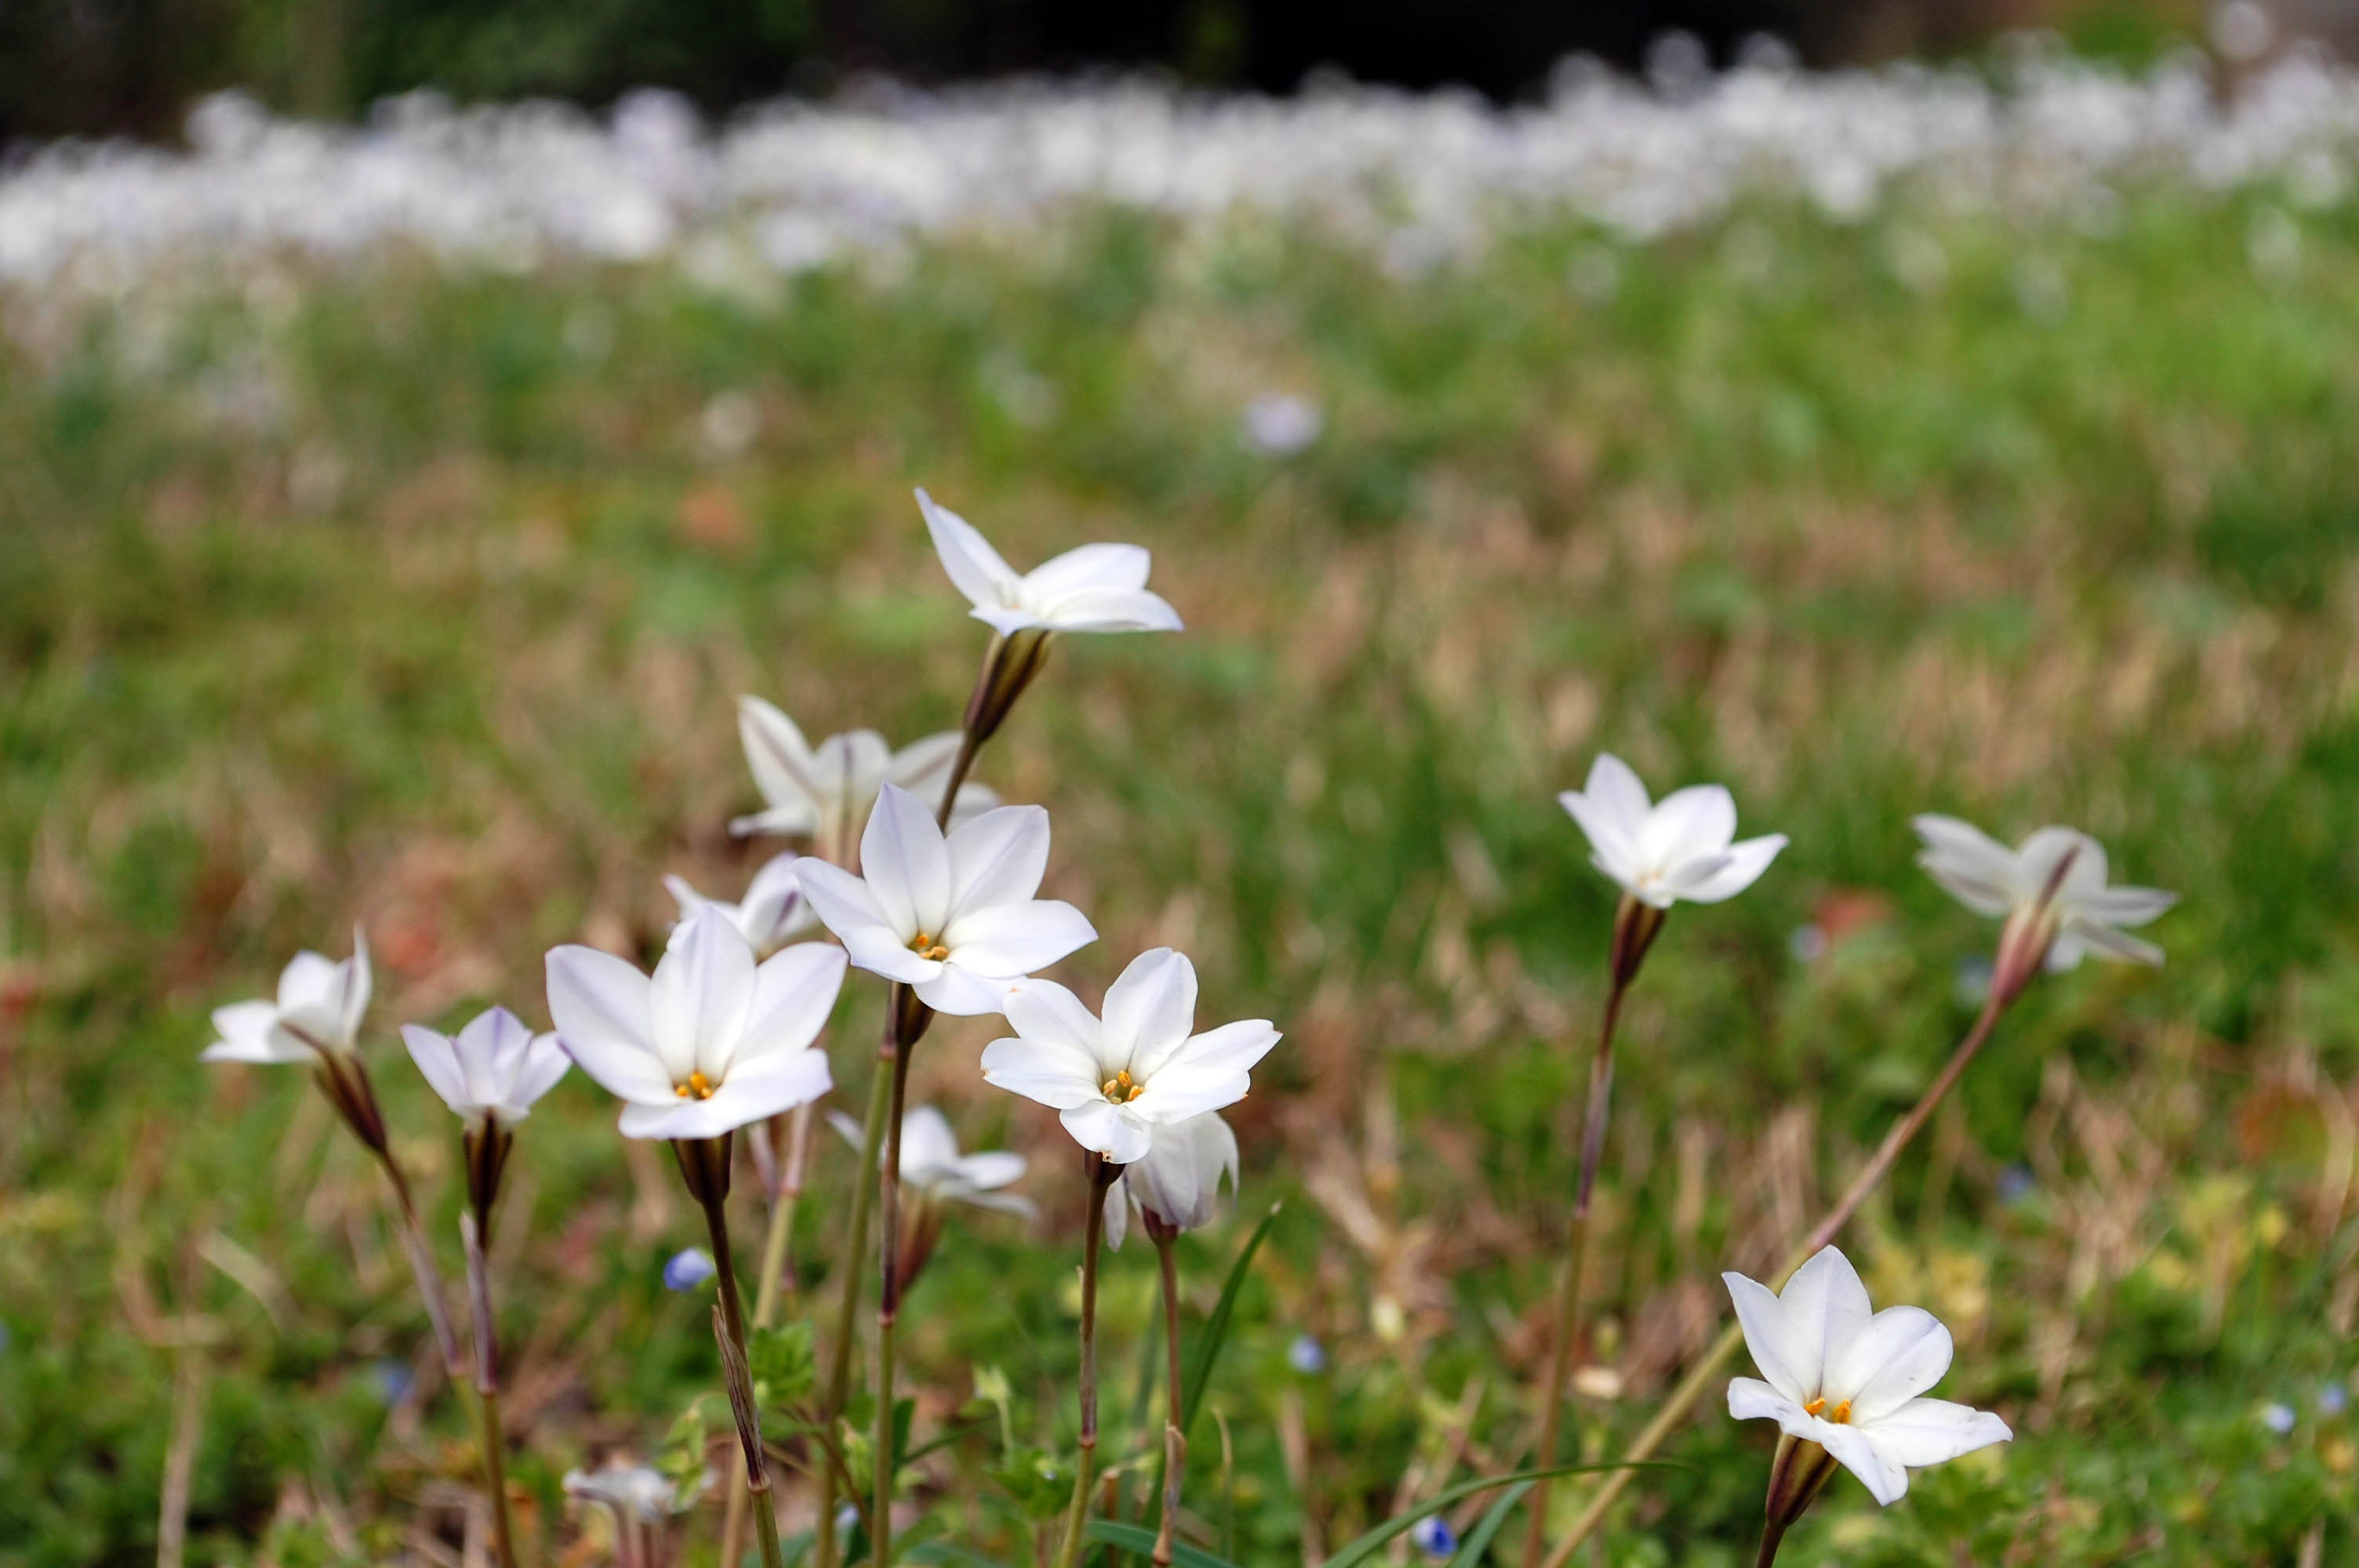
Awapuhi: Named for wild Hawaiian ginger, the plaited stripe pattern mimics the texture of the flowers which start out white and then turn red as they mature. White and Lily Pad blend beautifully in the textured stripes, adding additional dimension, with the bright pops of Lime Green for the ribbing. This scarf will go perfectly with summer outfits, taking you from breezy walks on the beach to dinner and drinks!

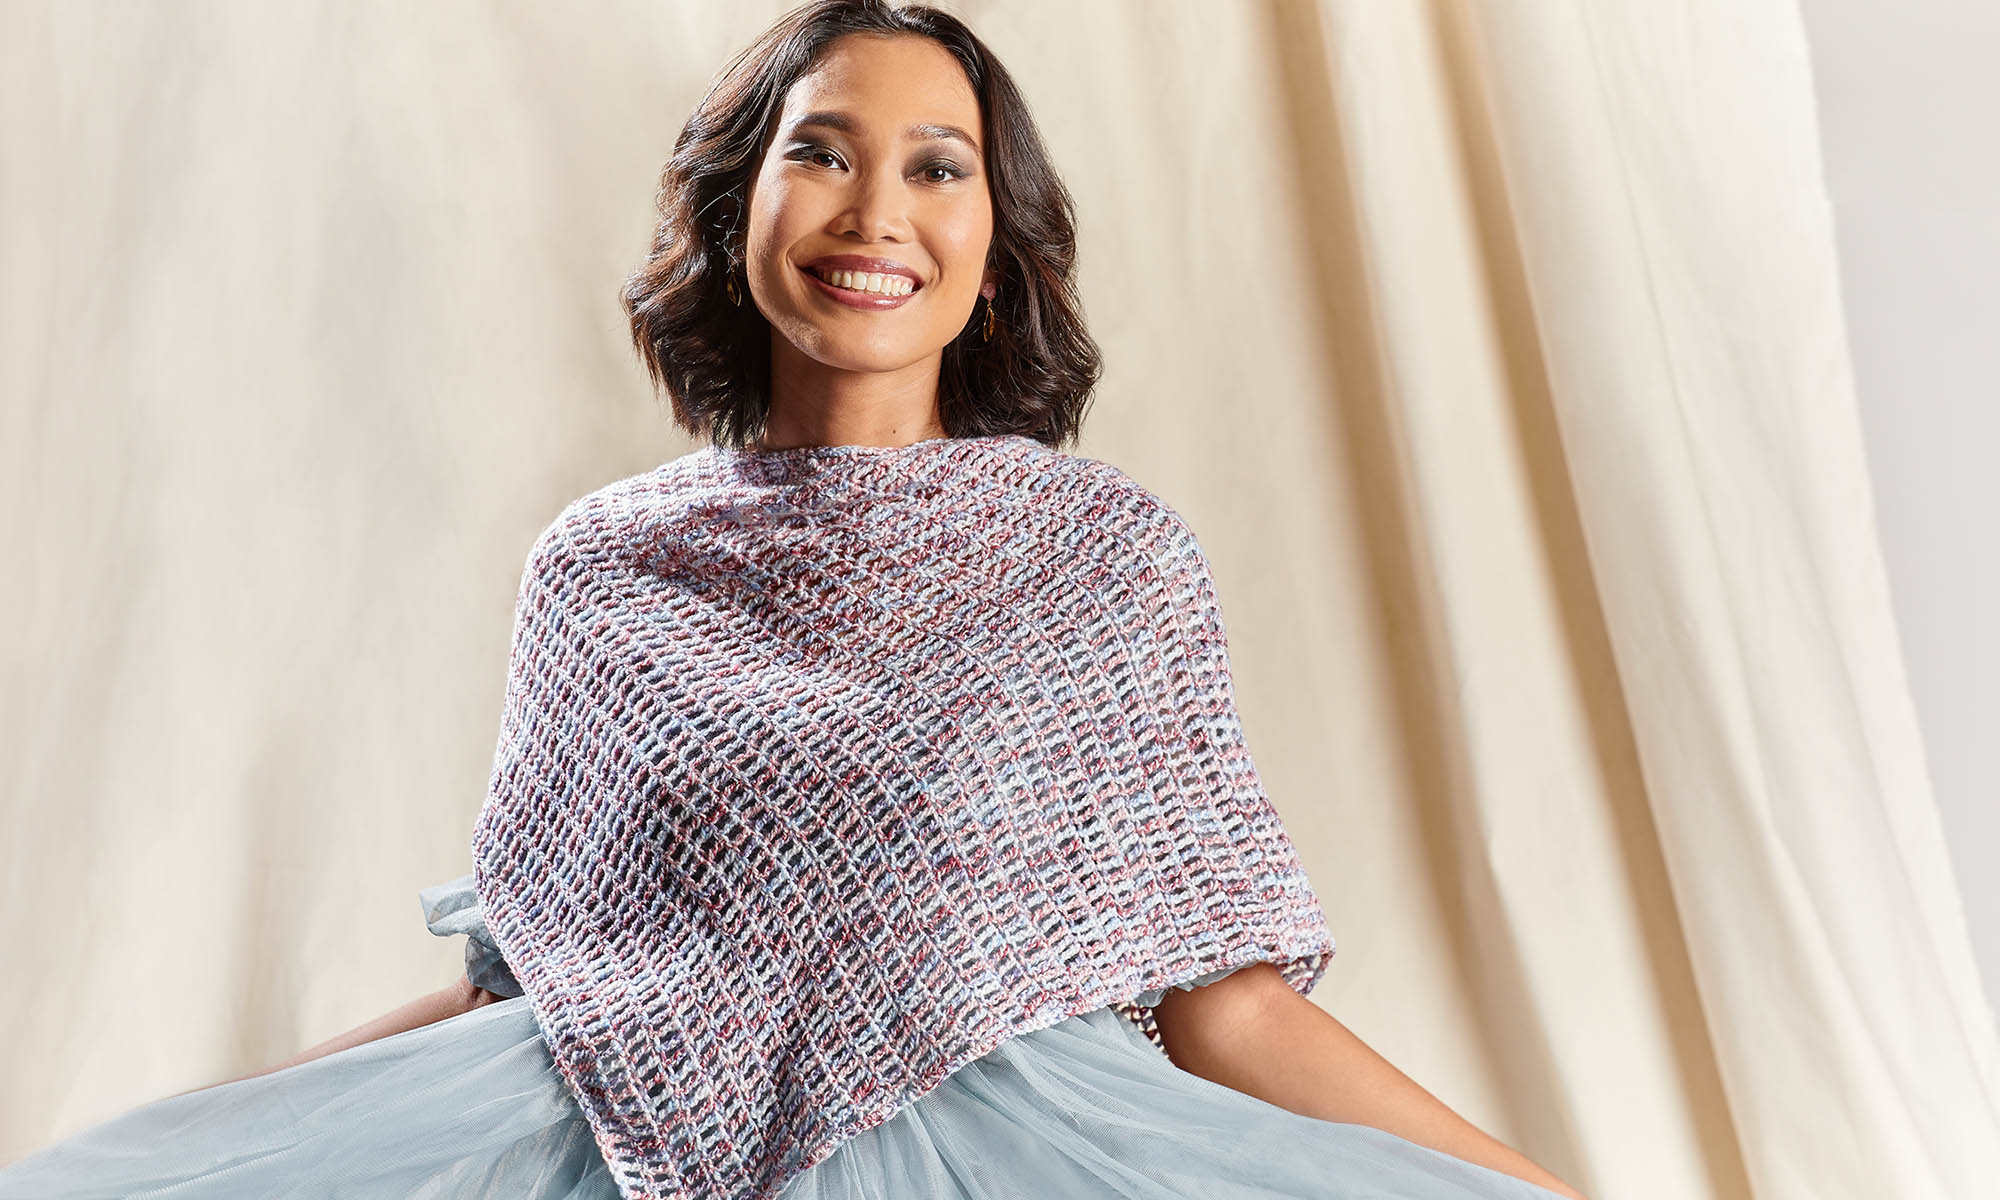
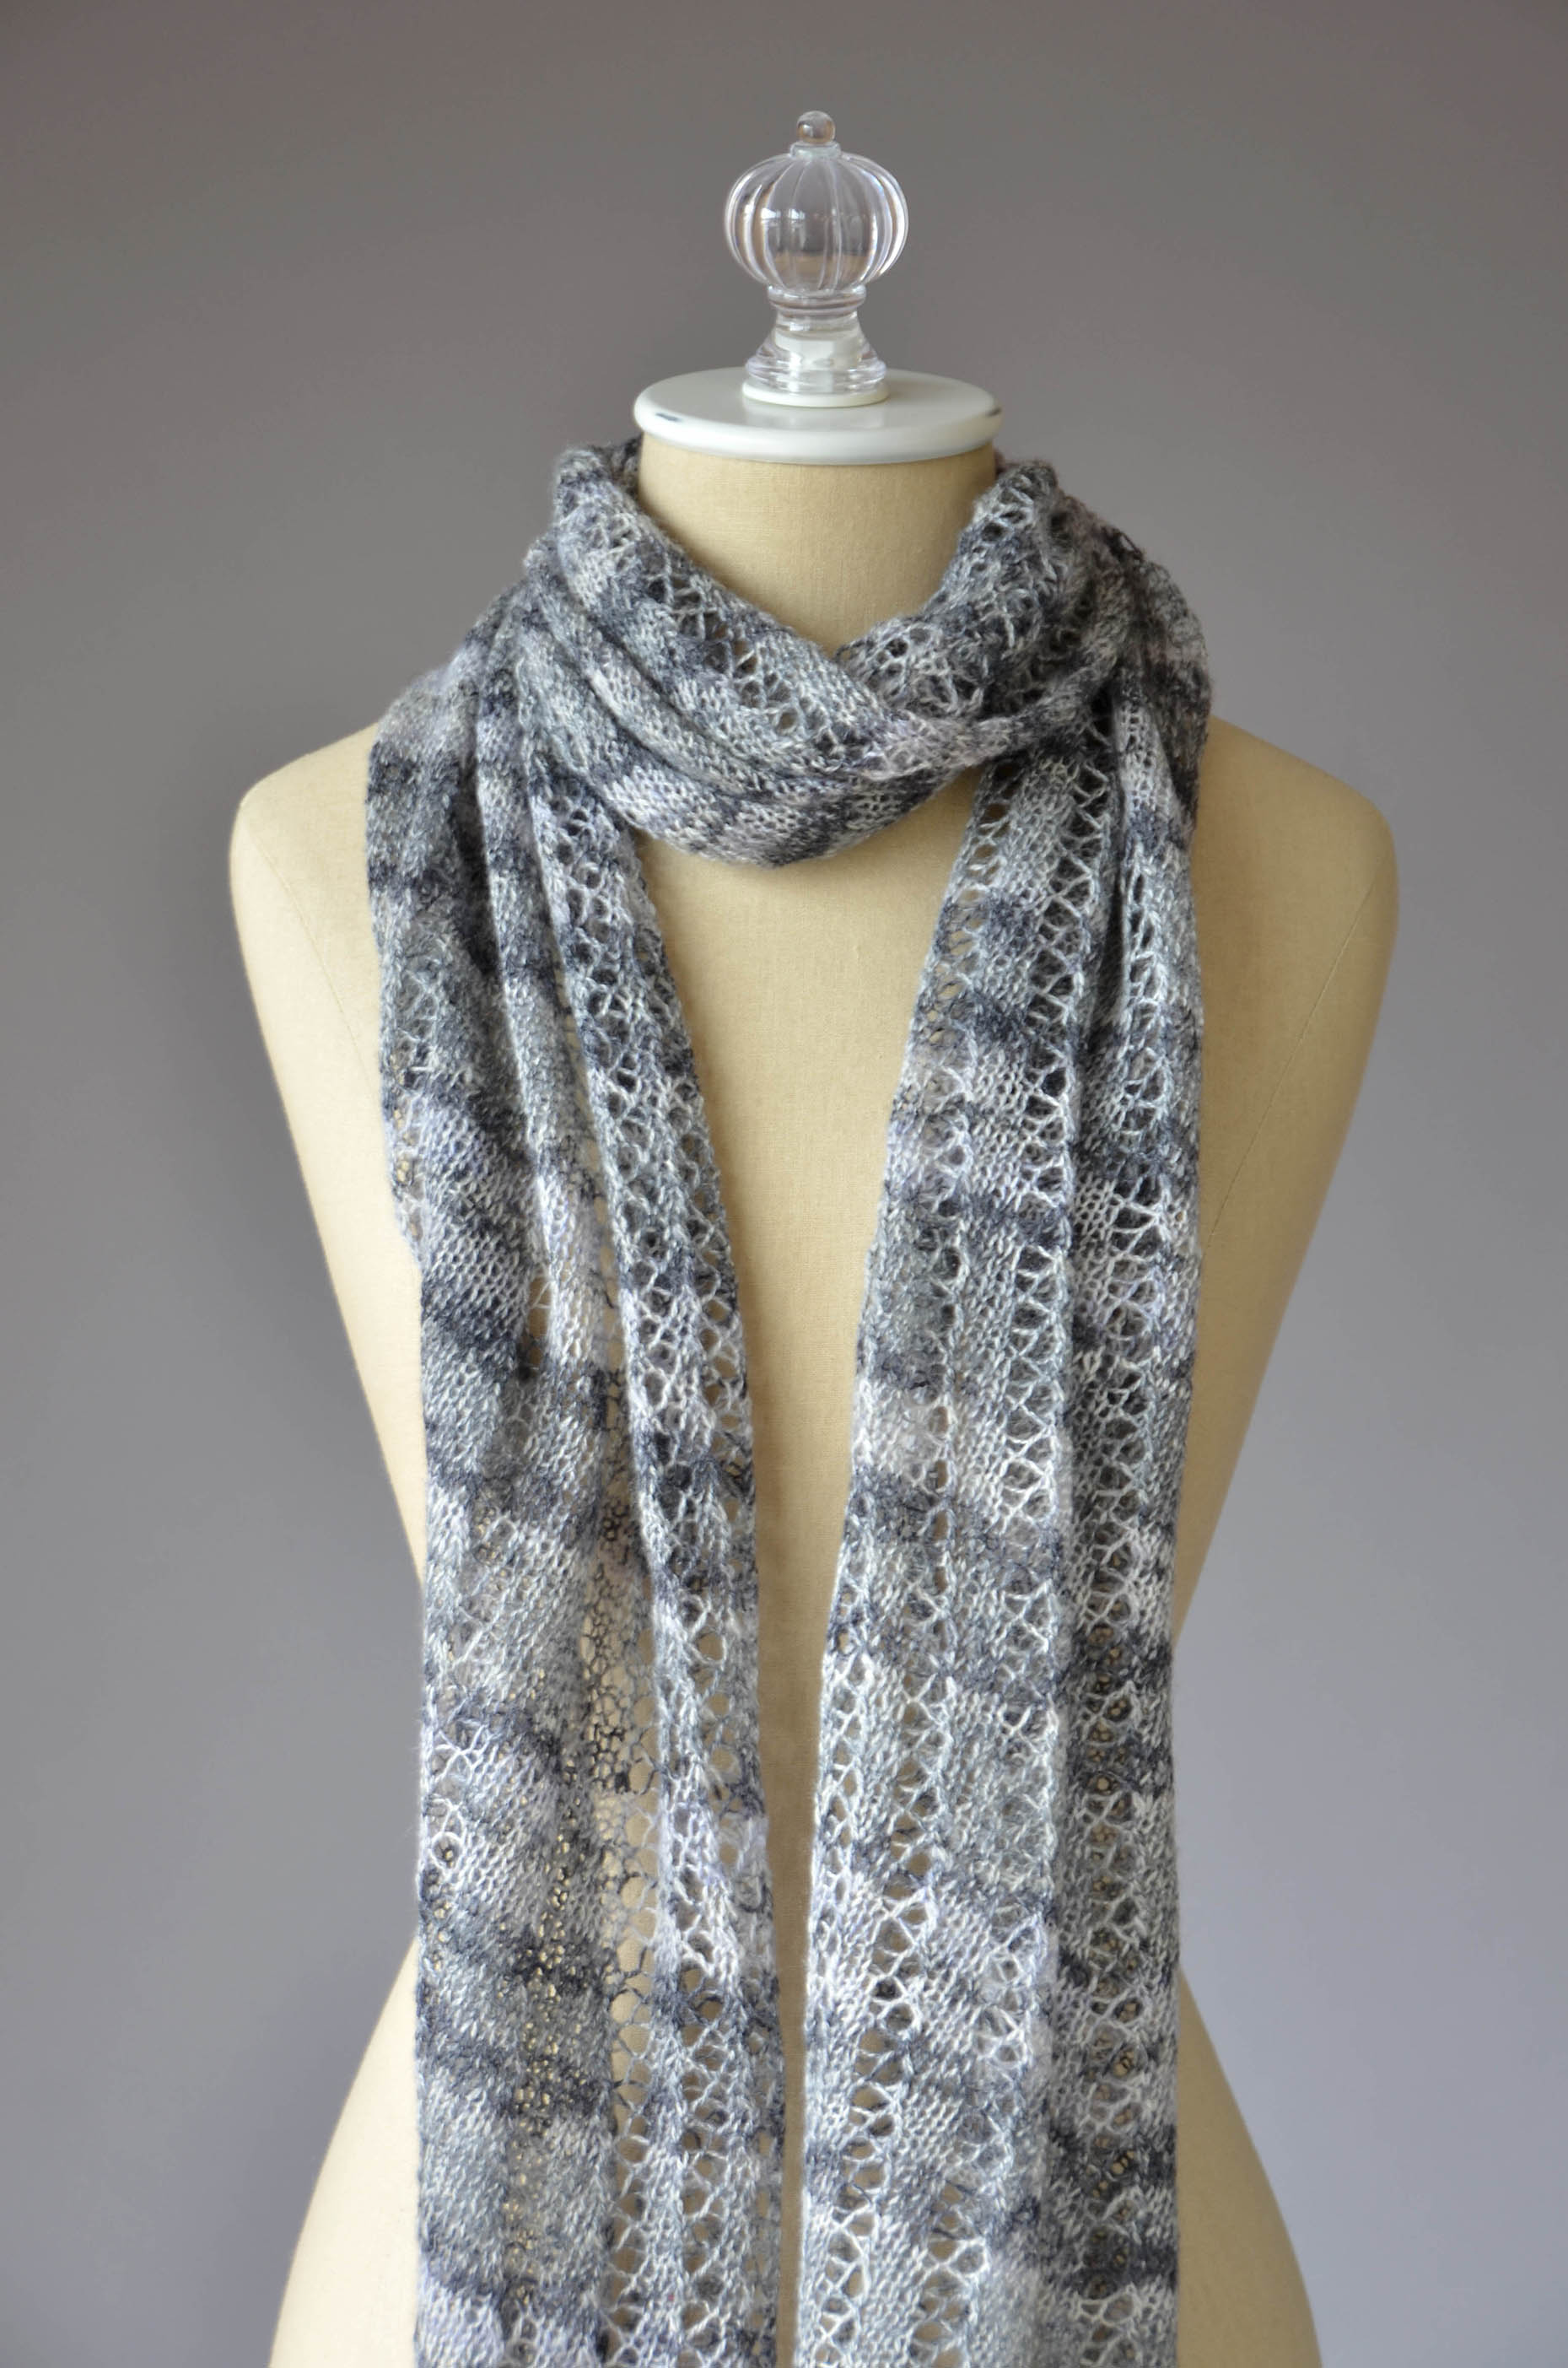
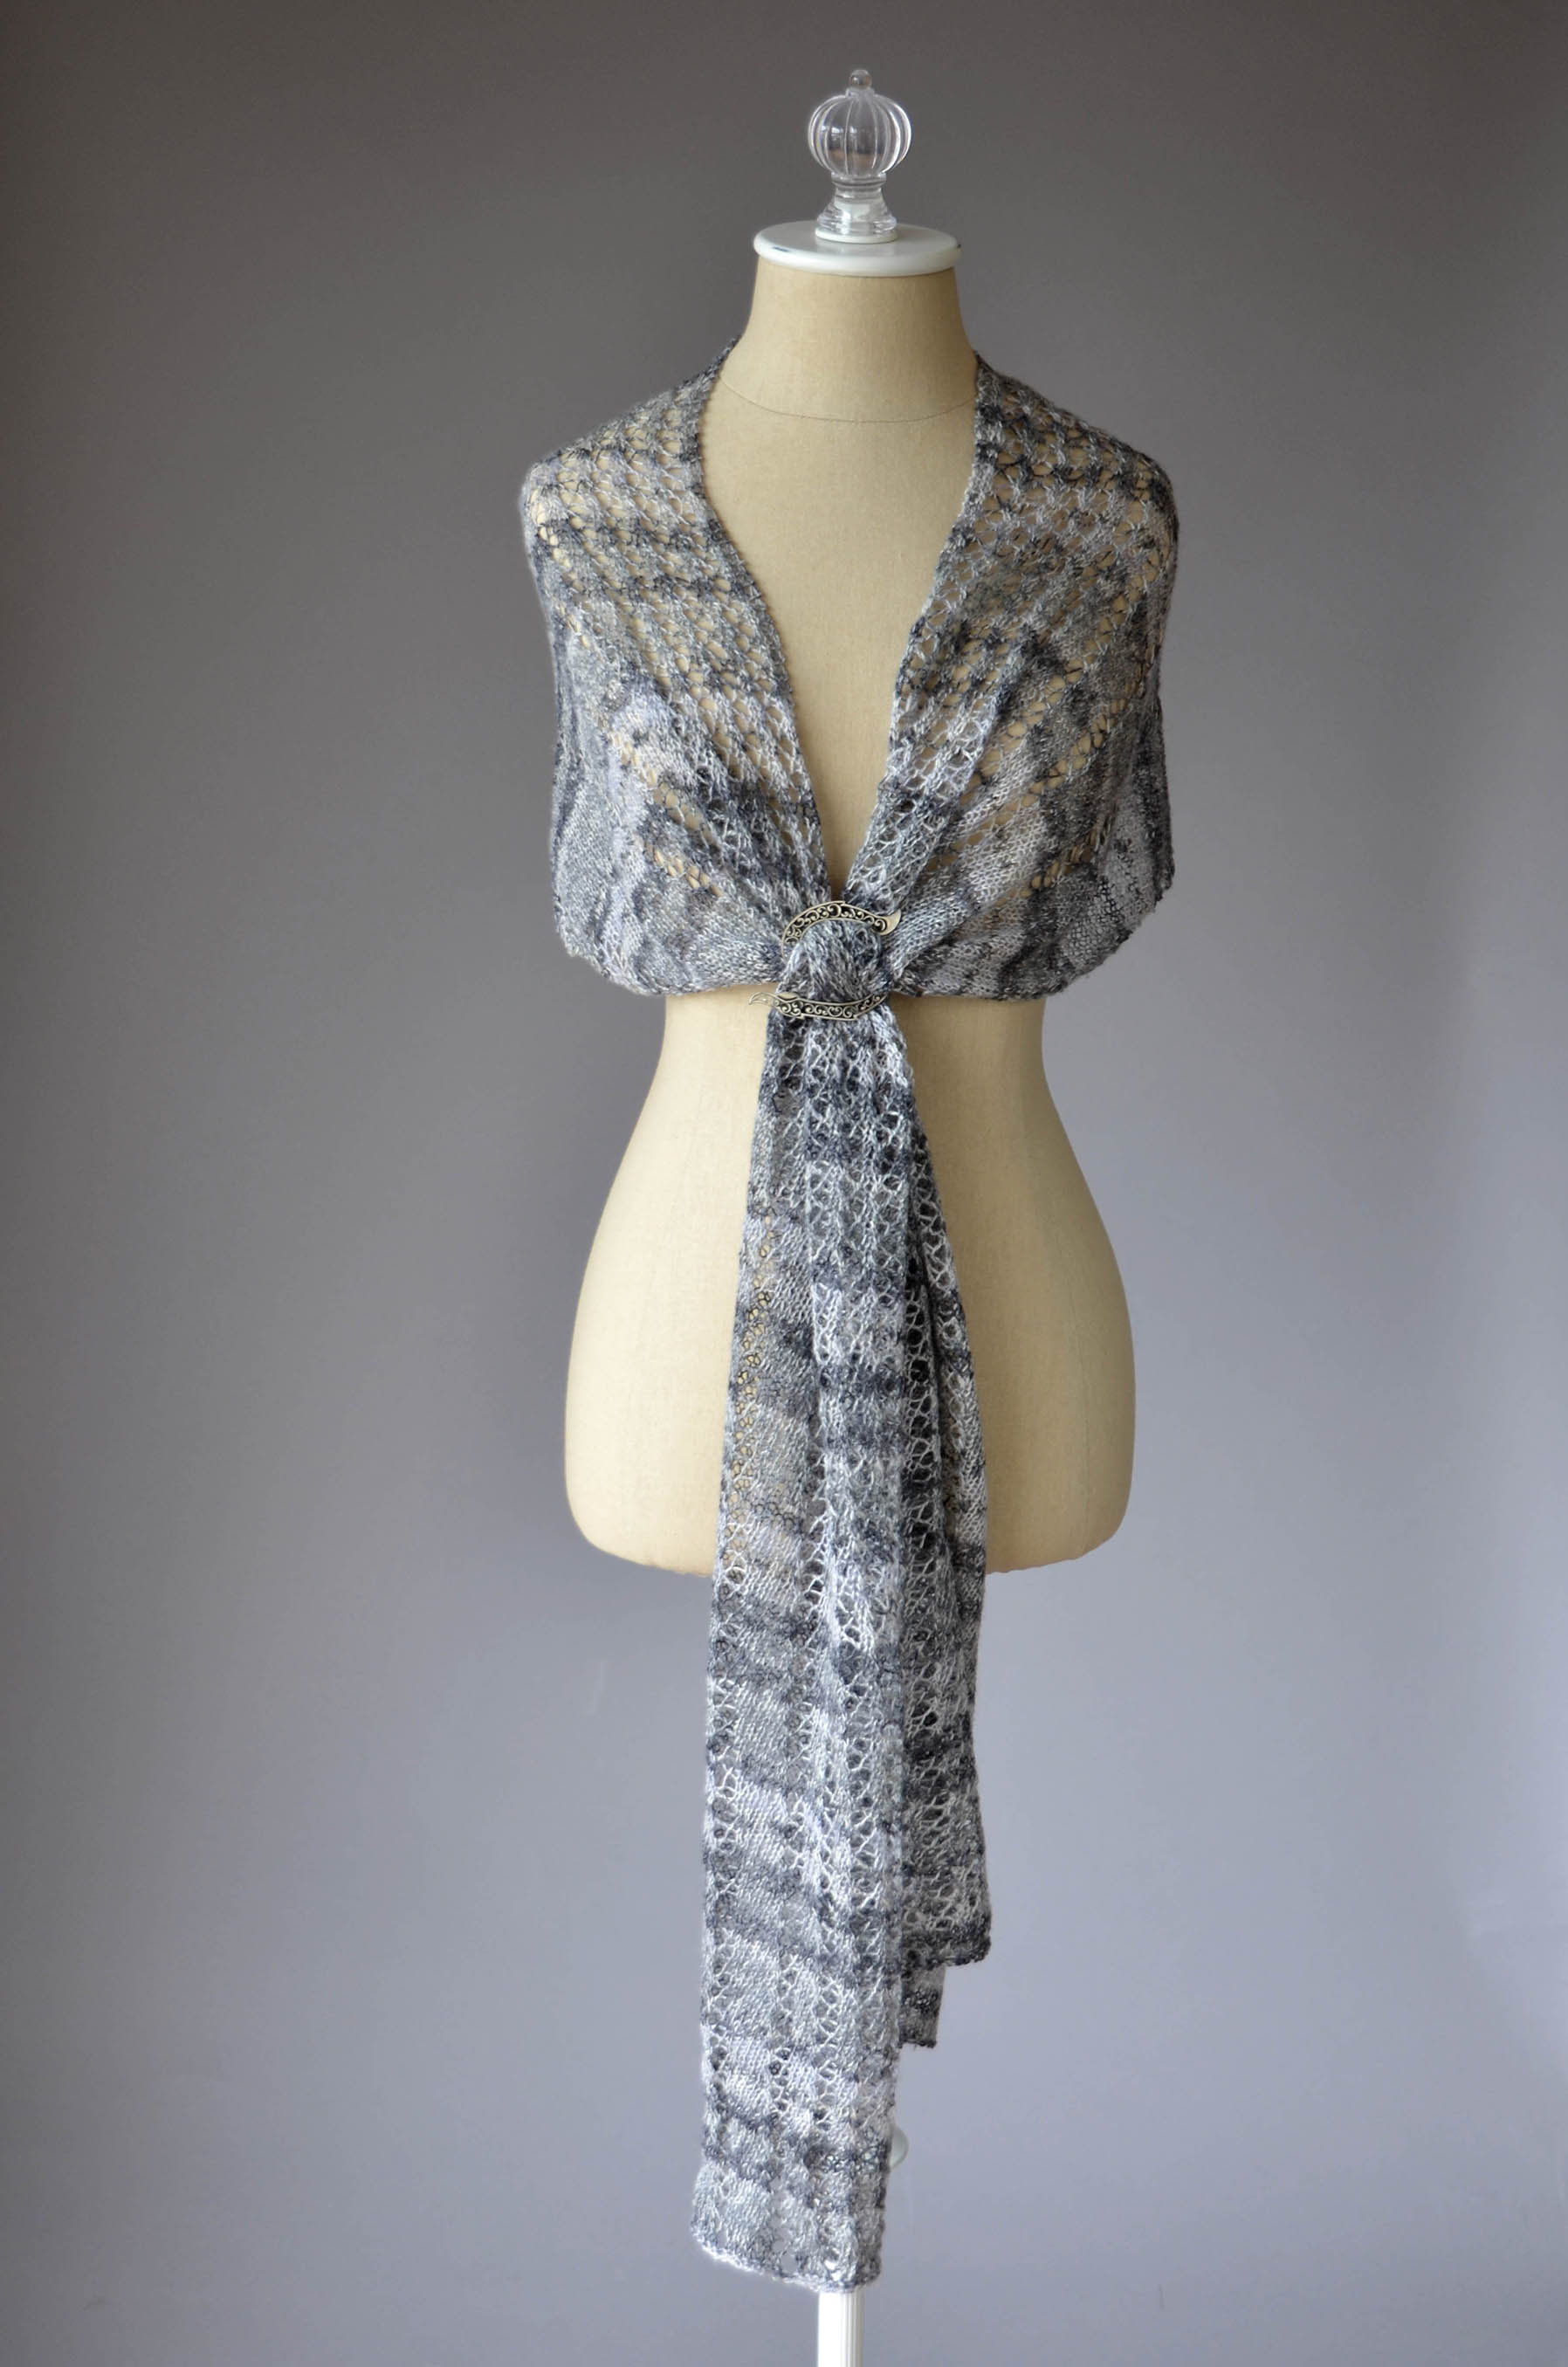
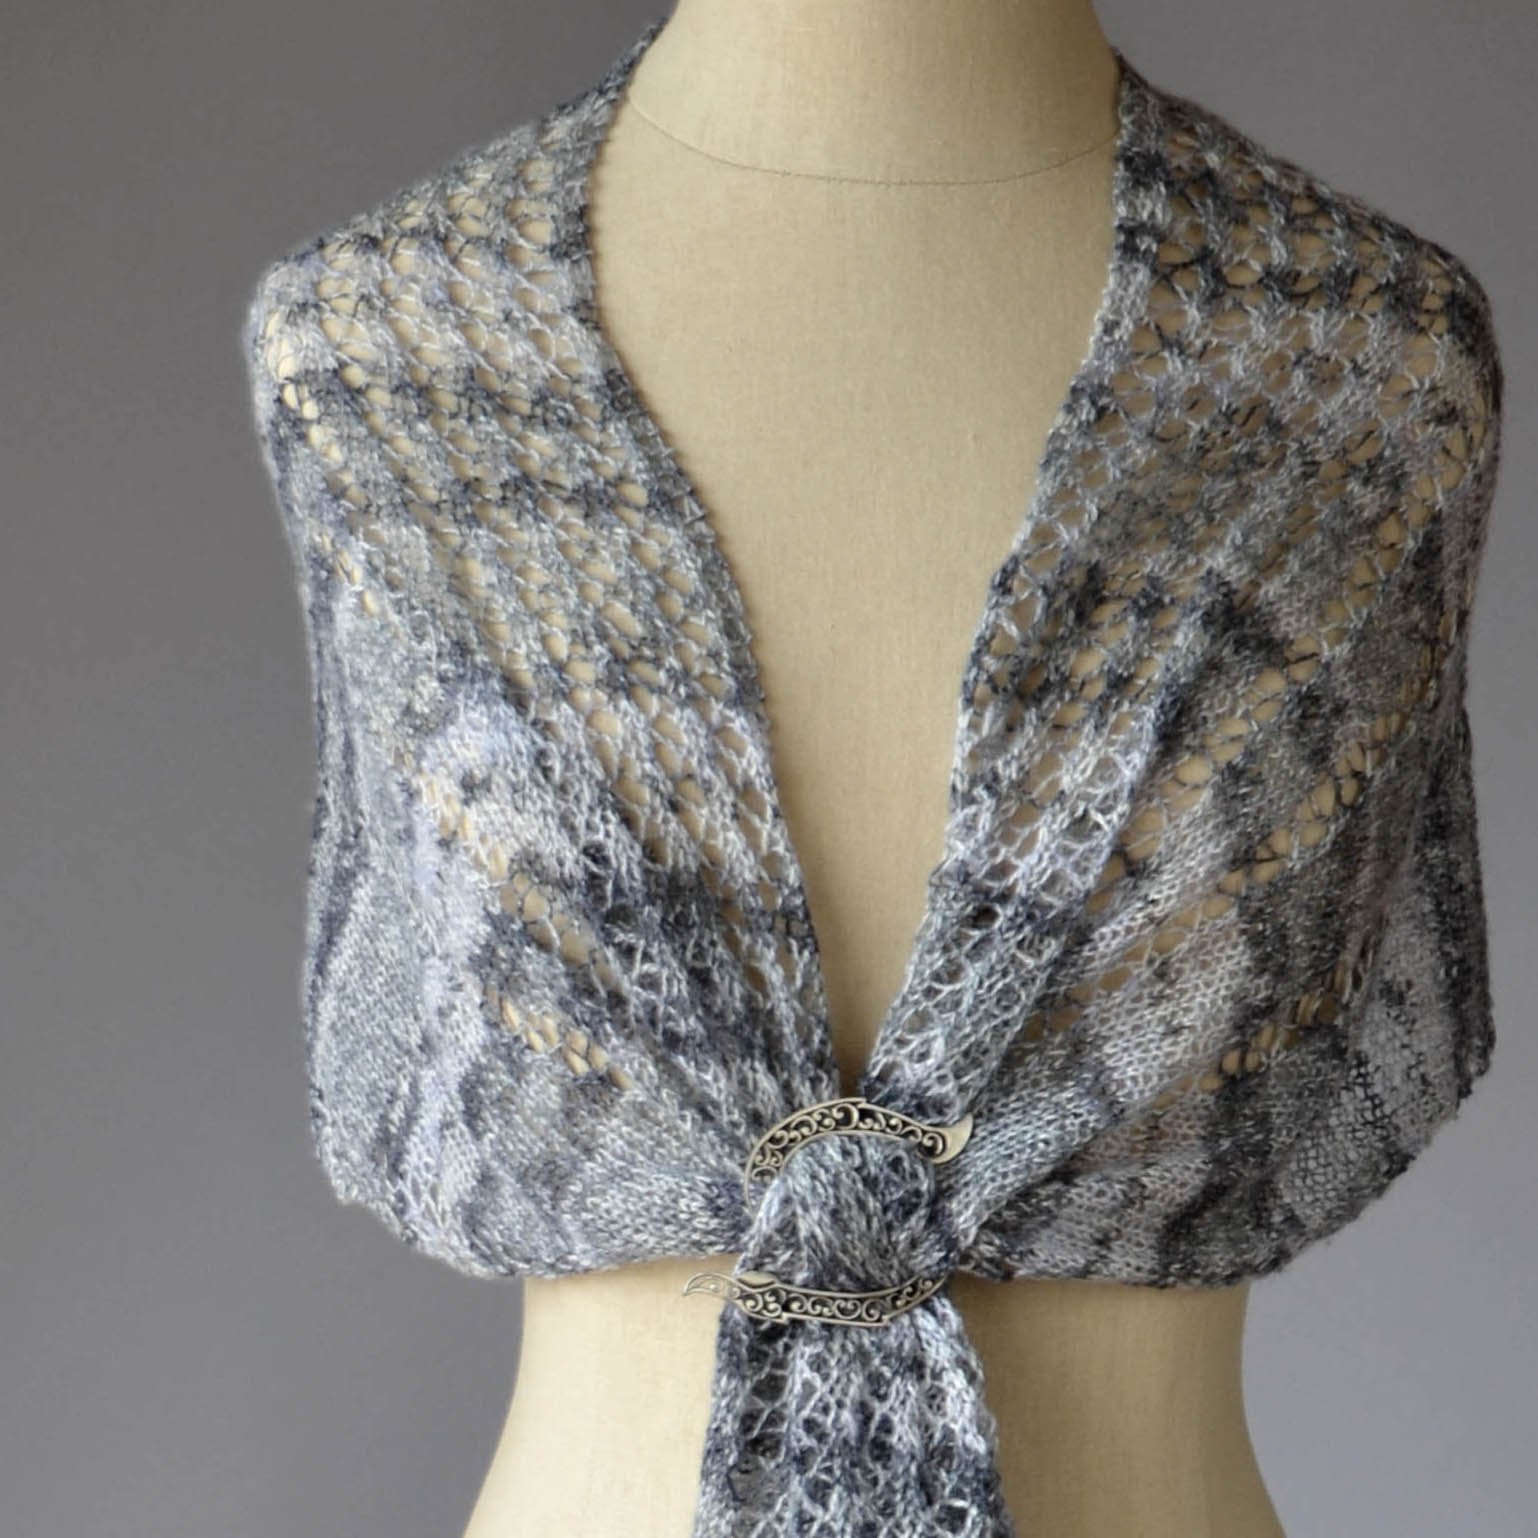
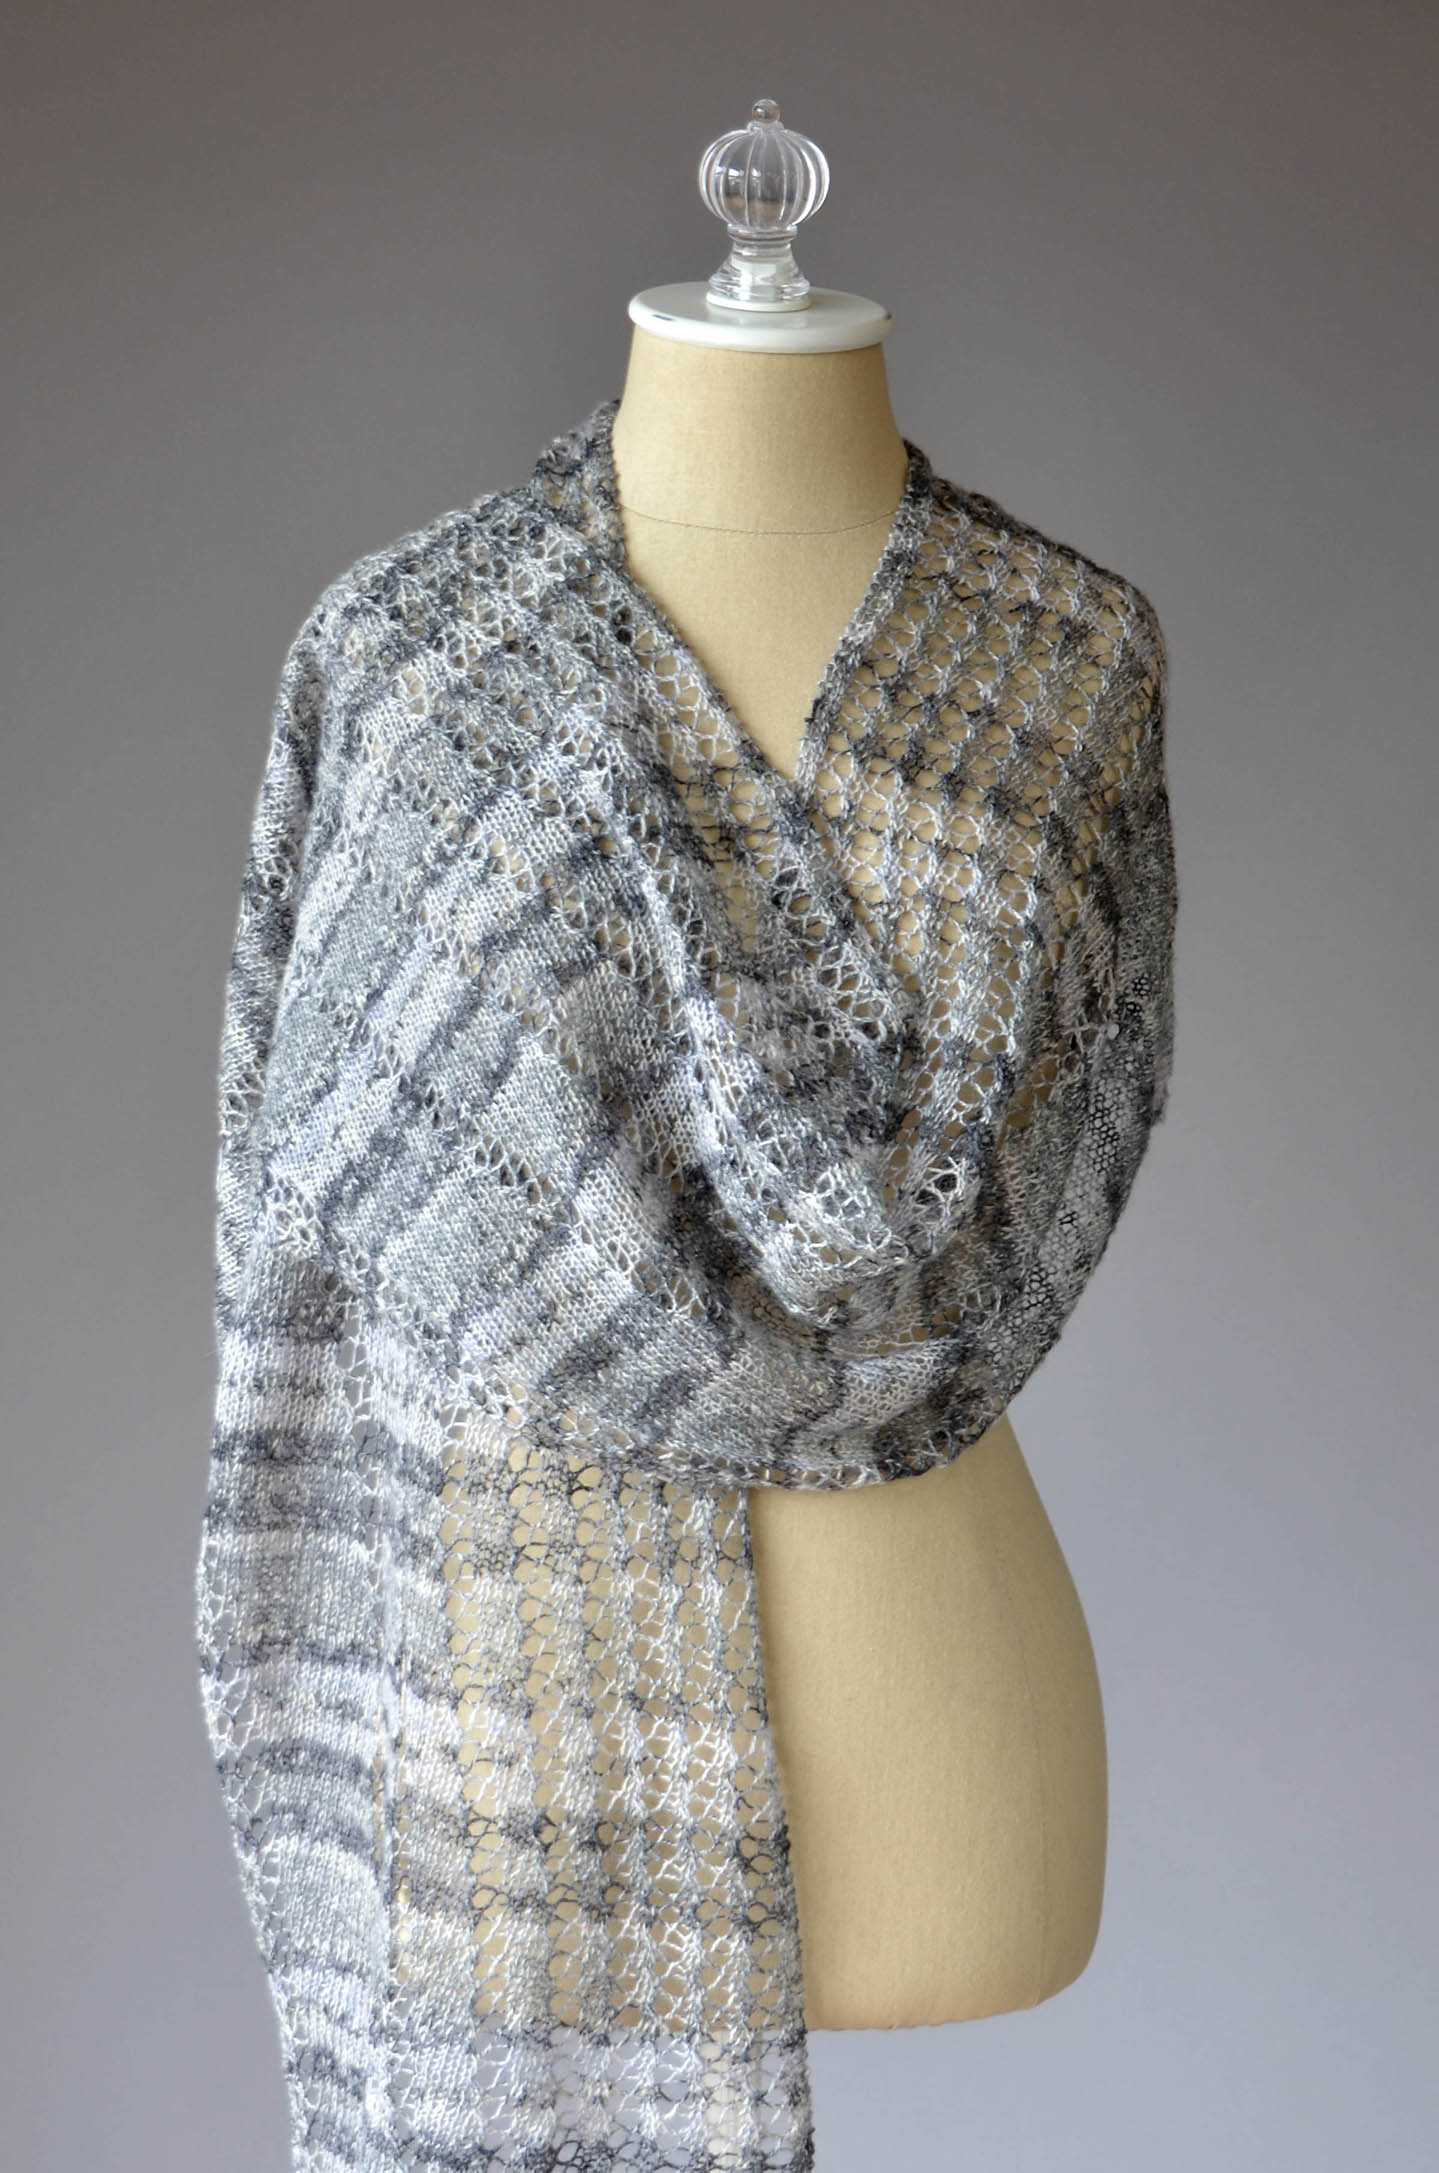
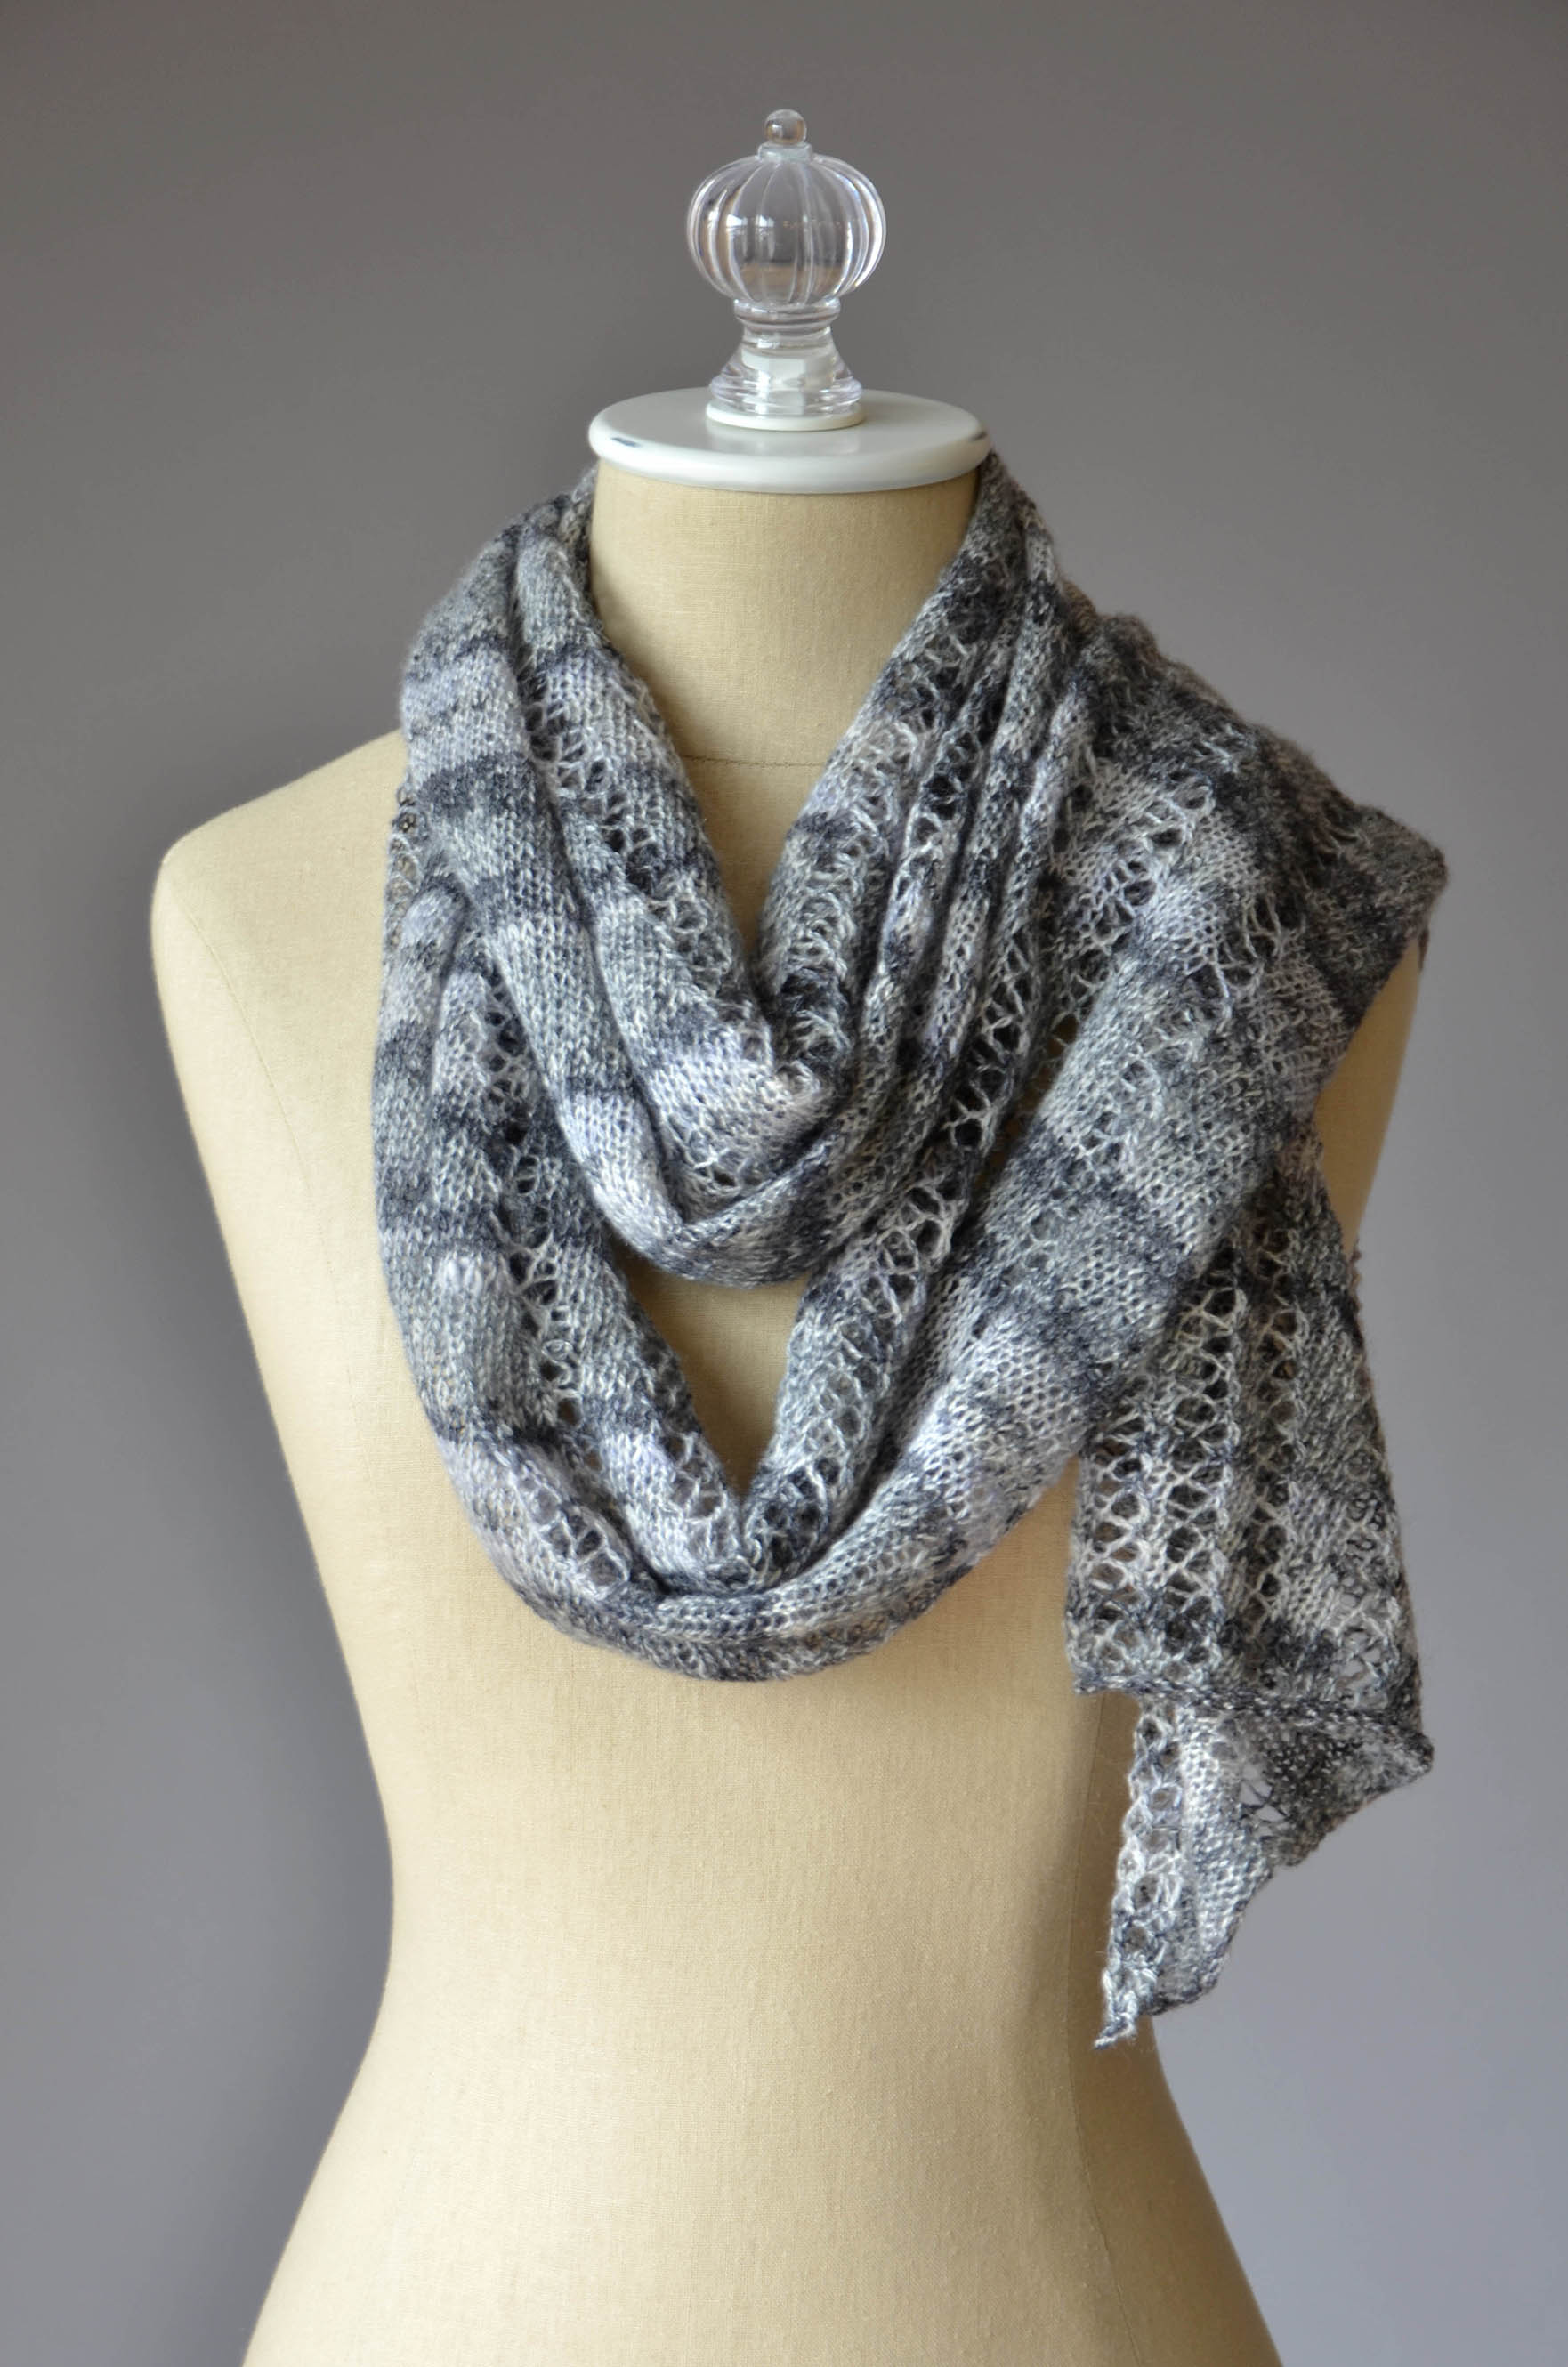
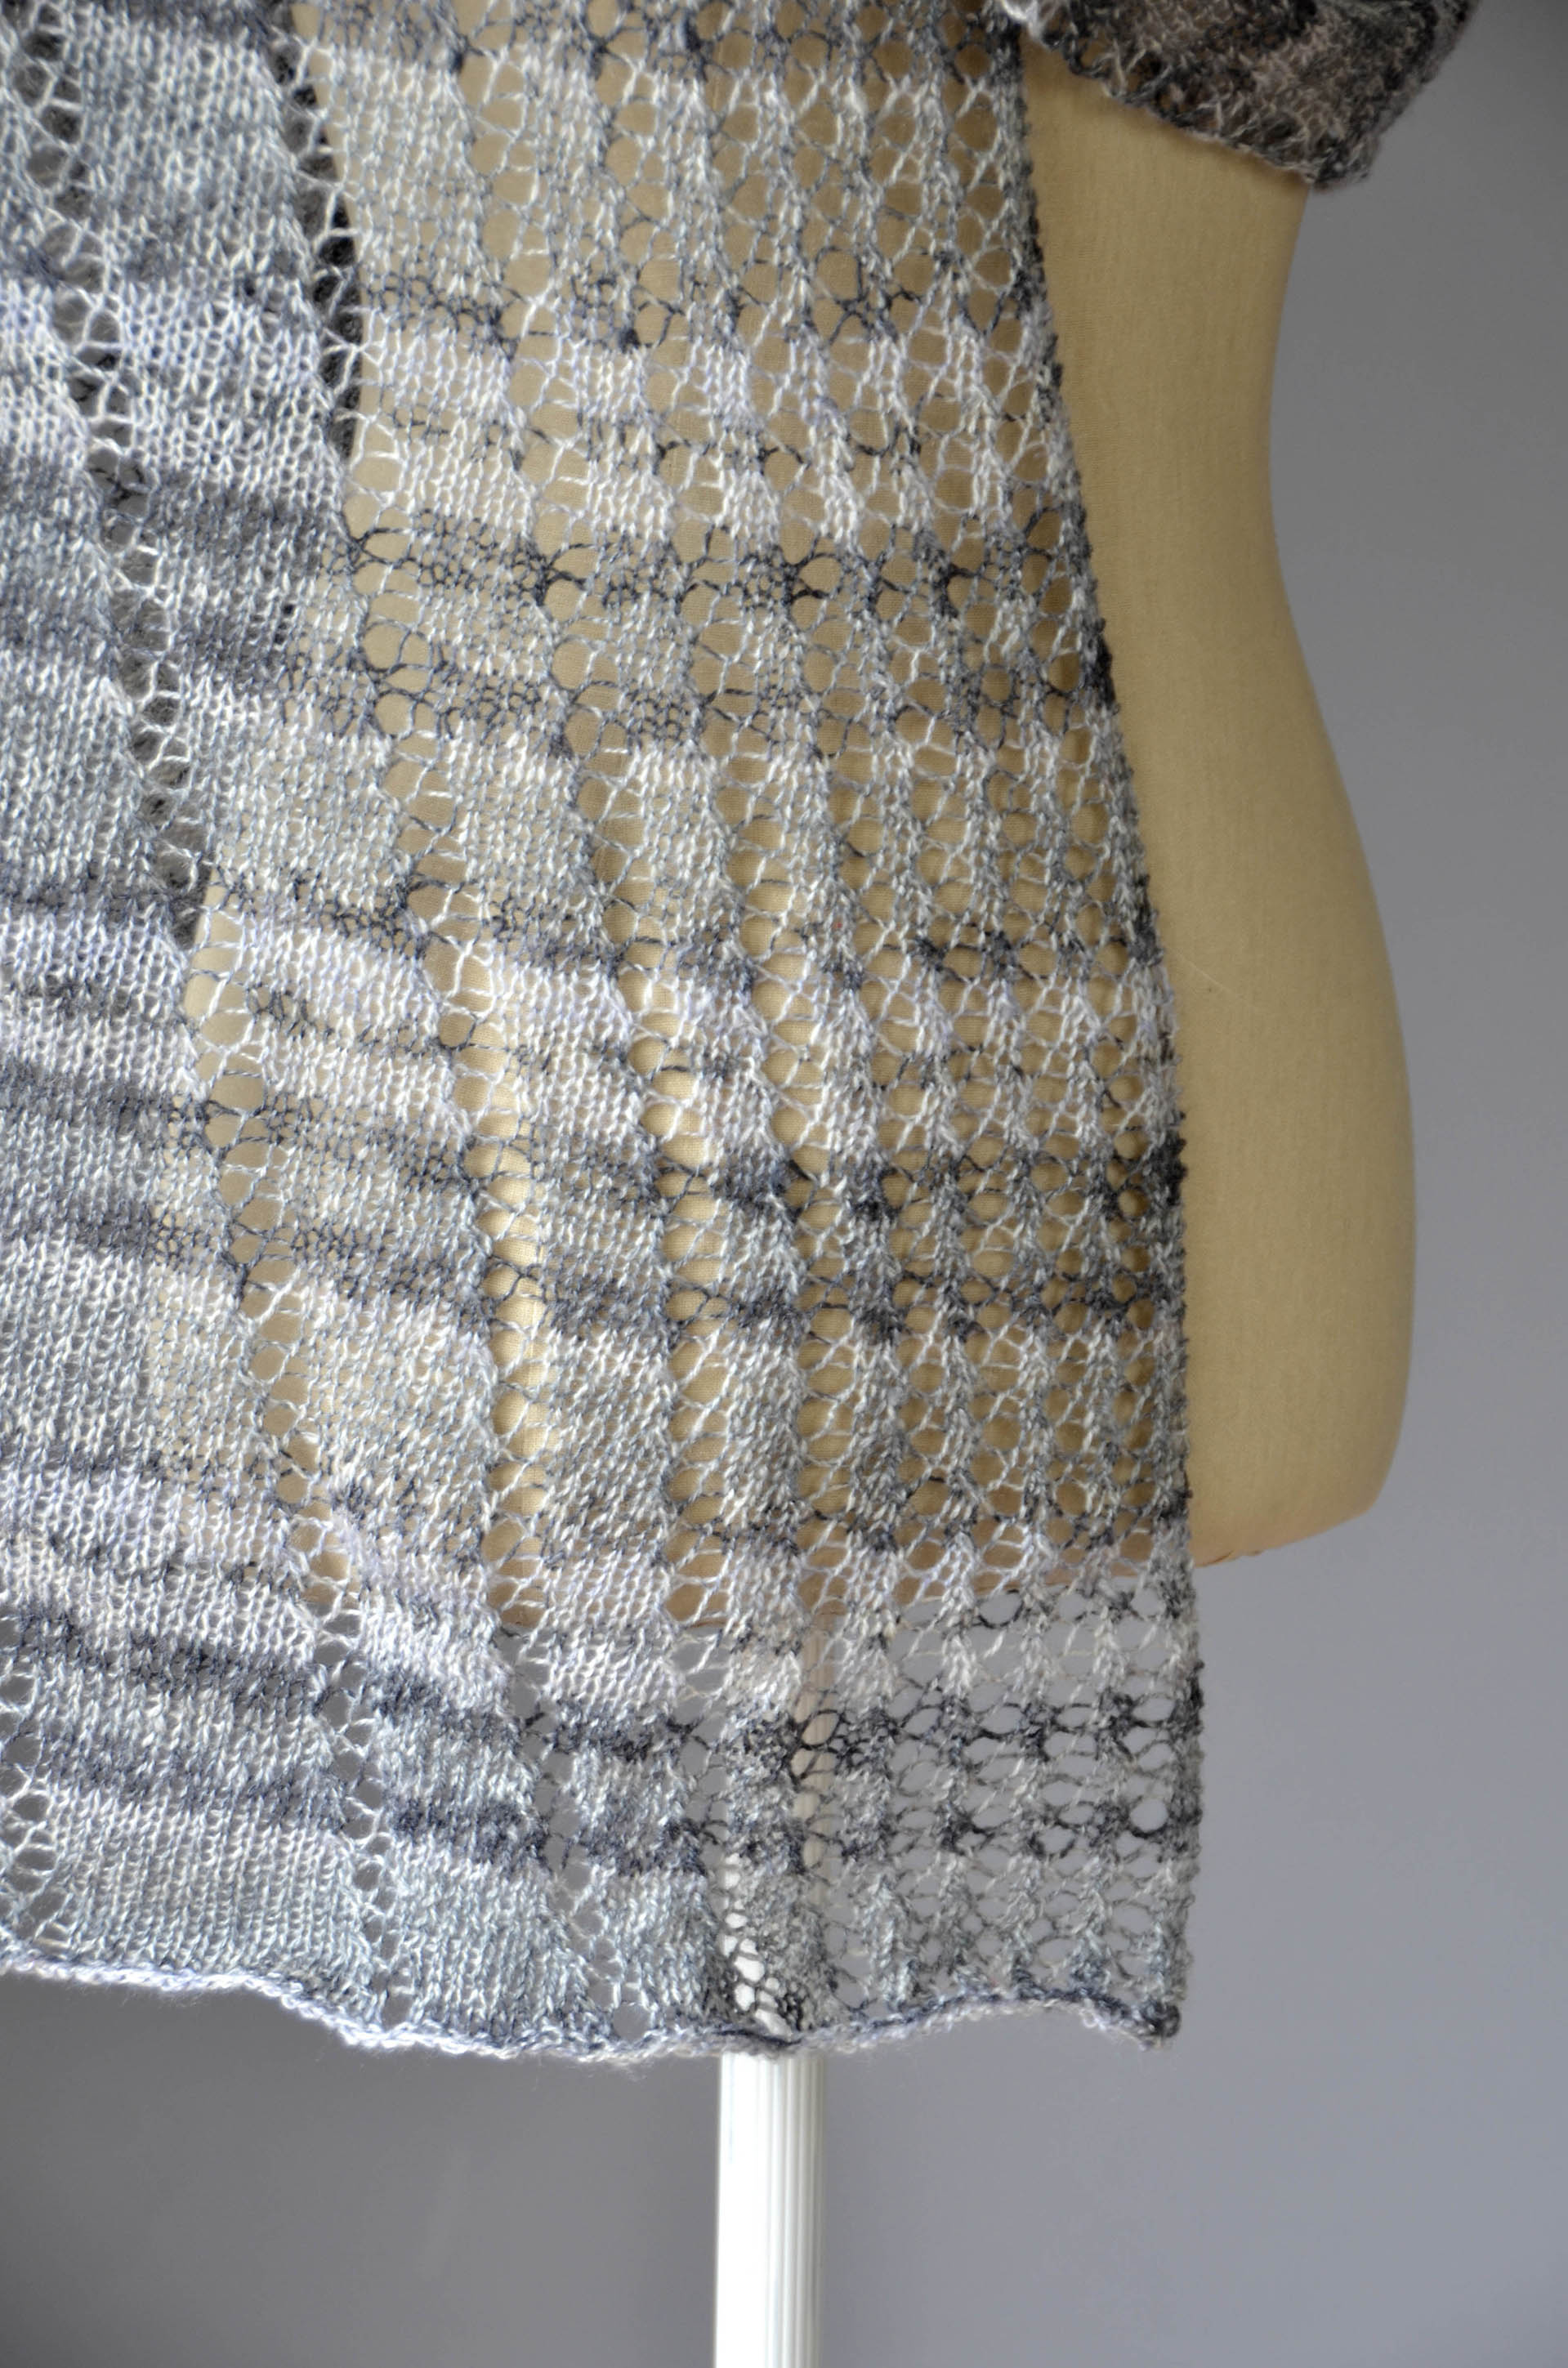
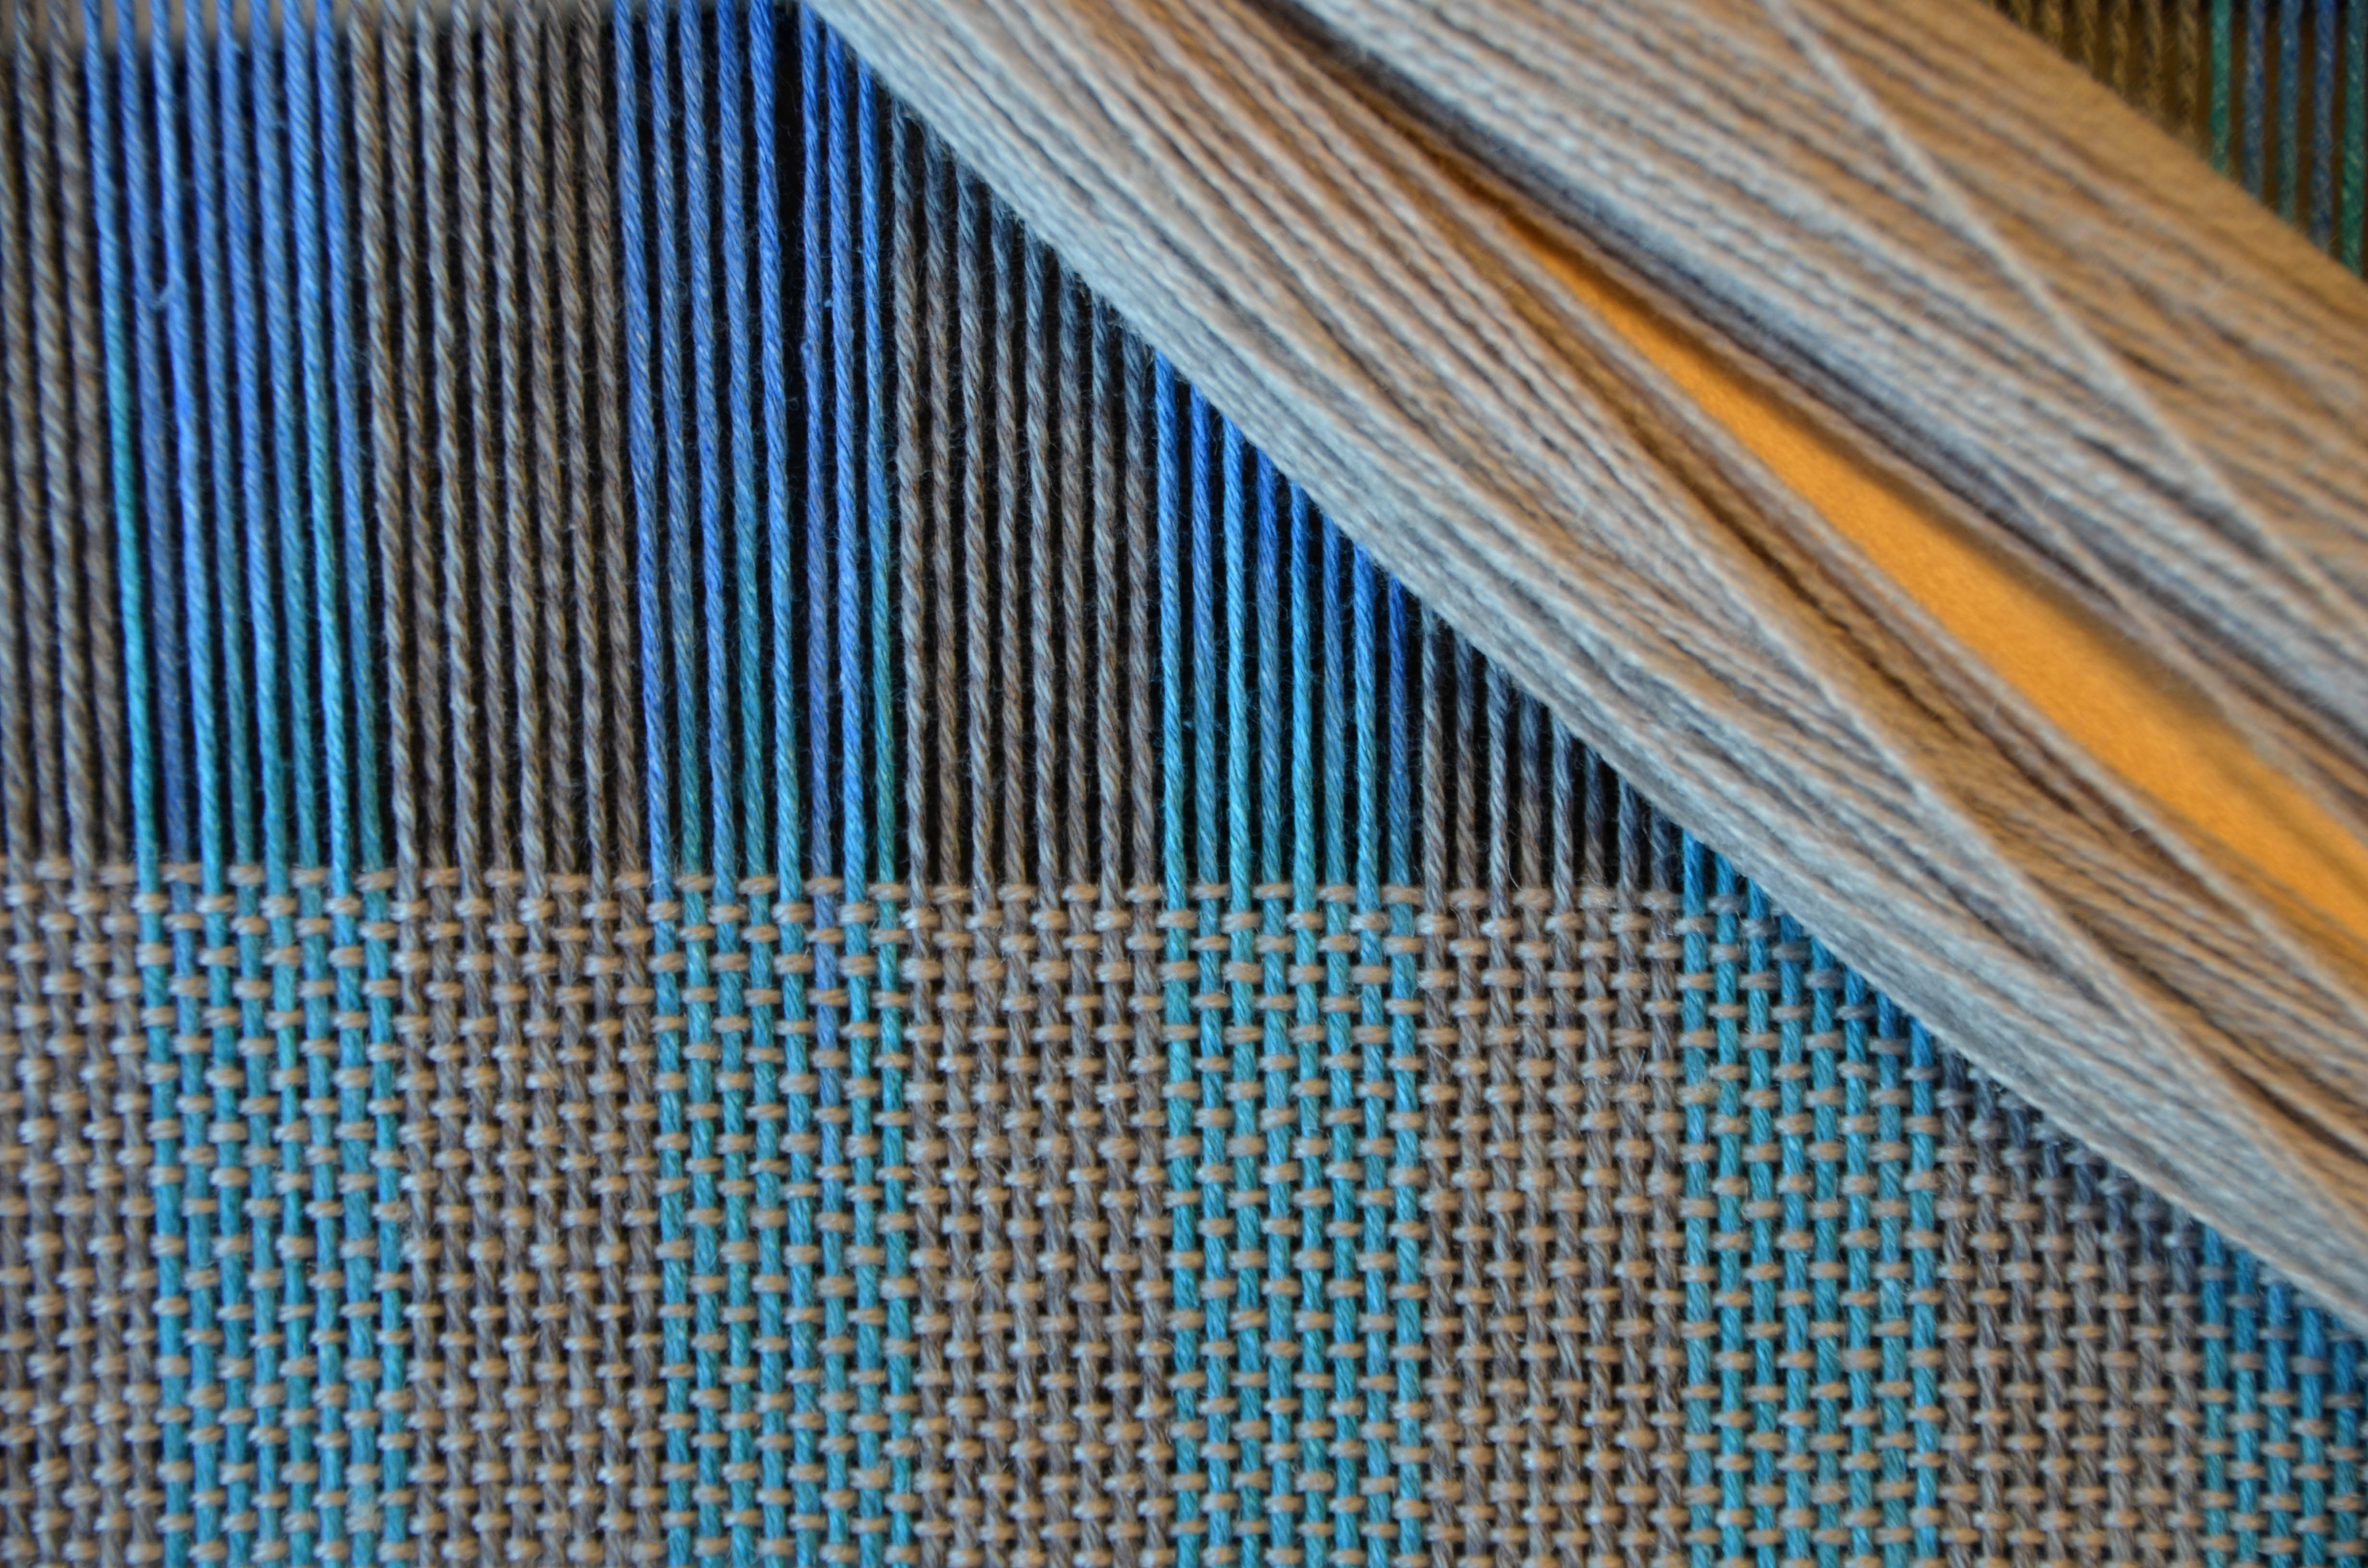
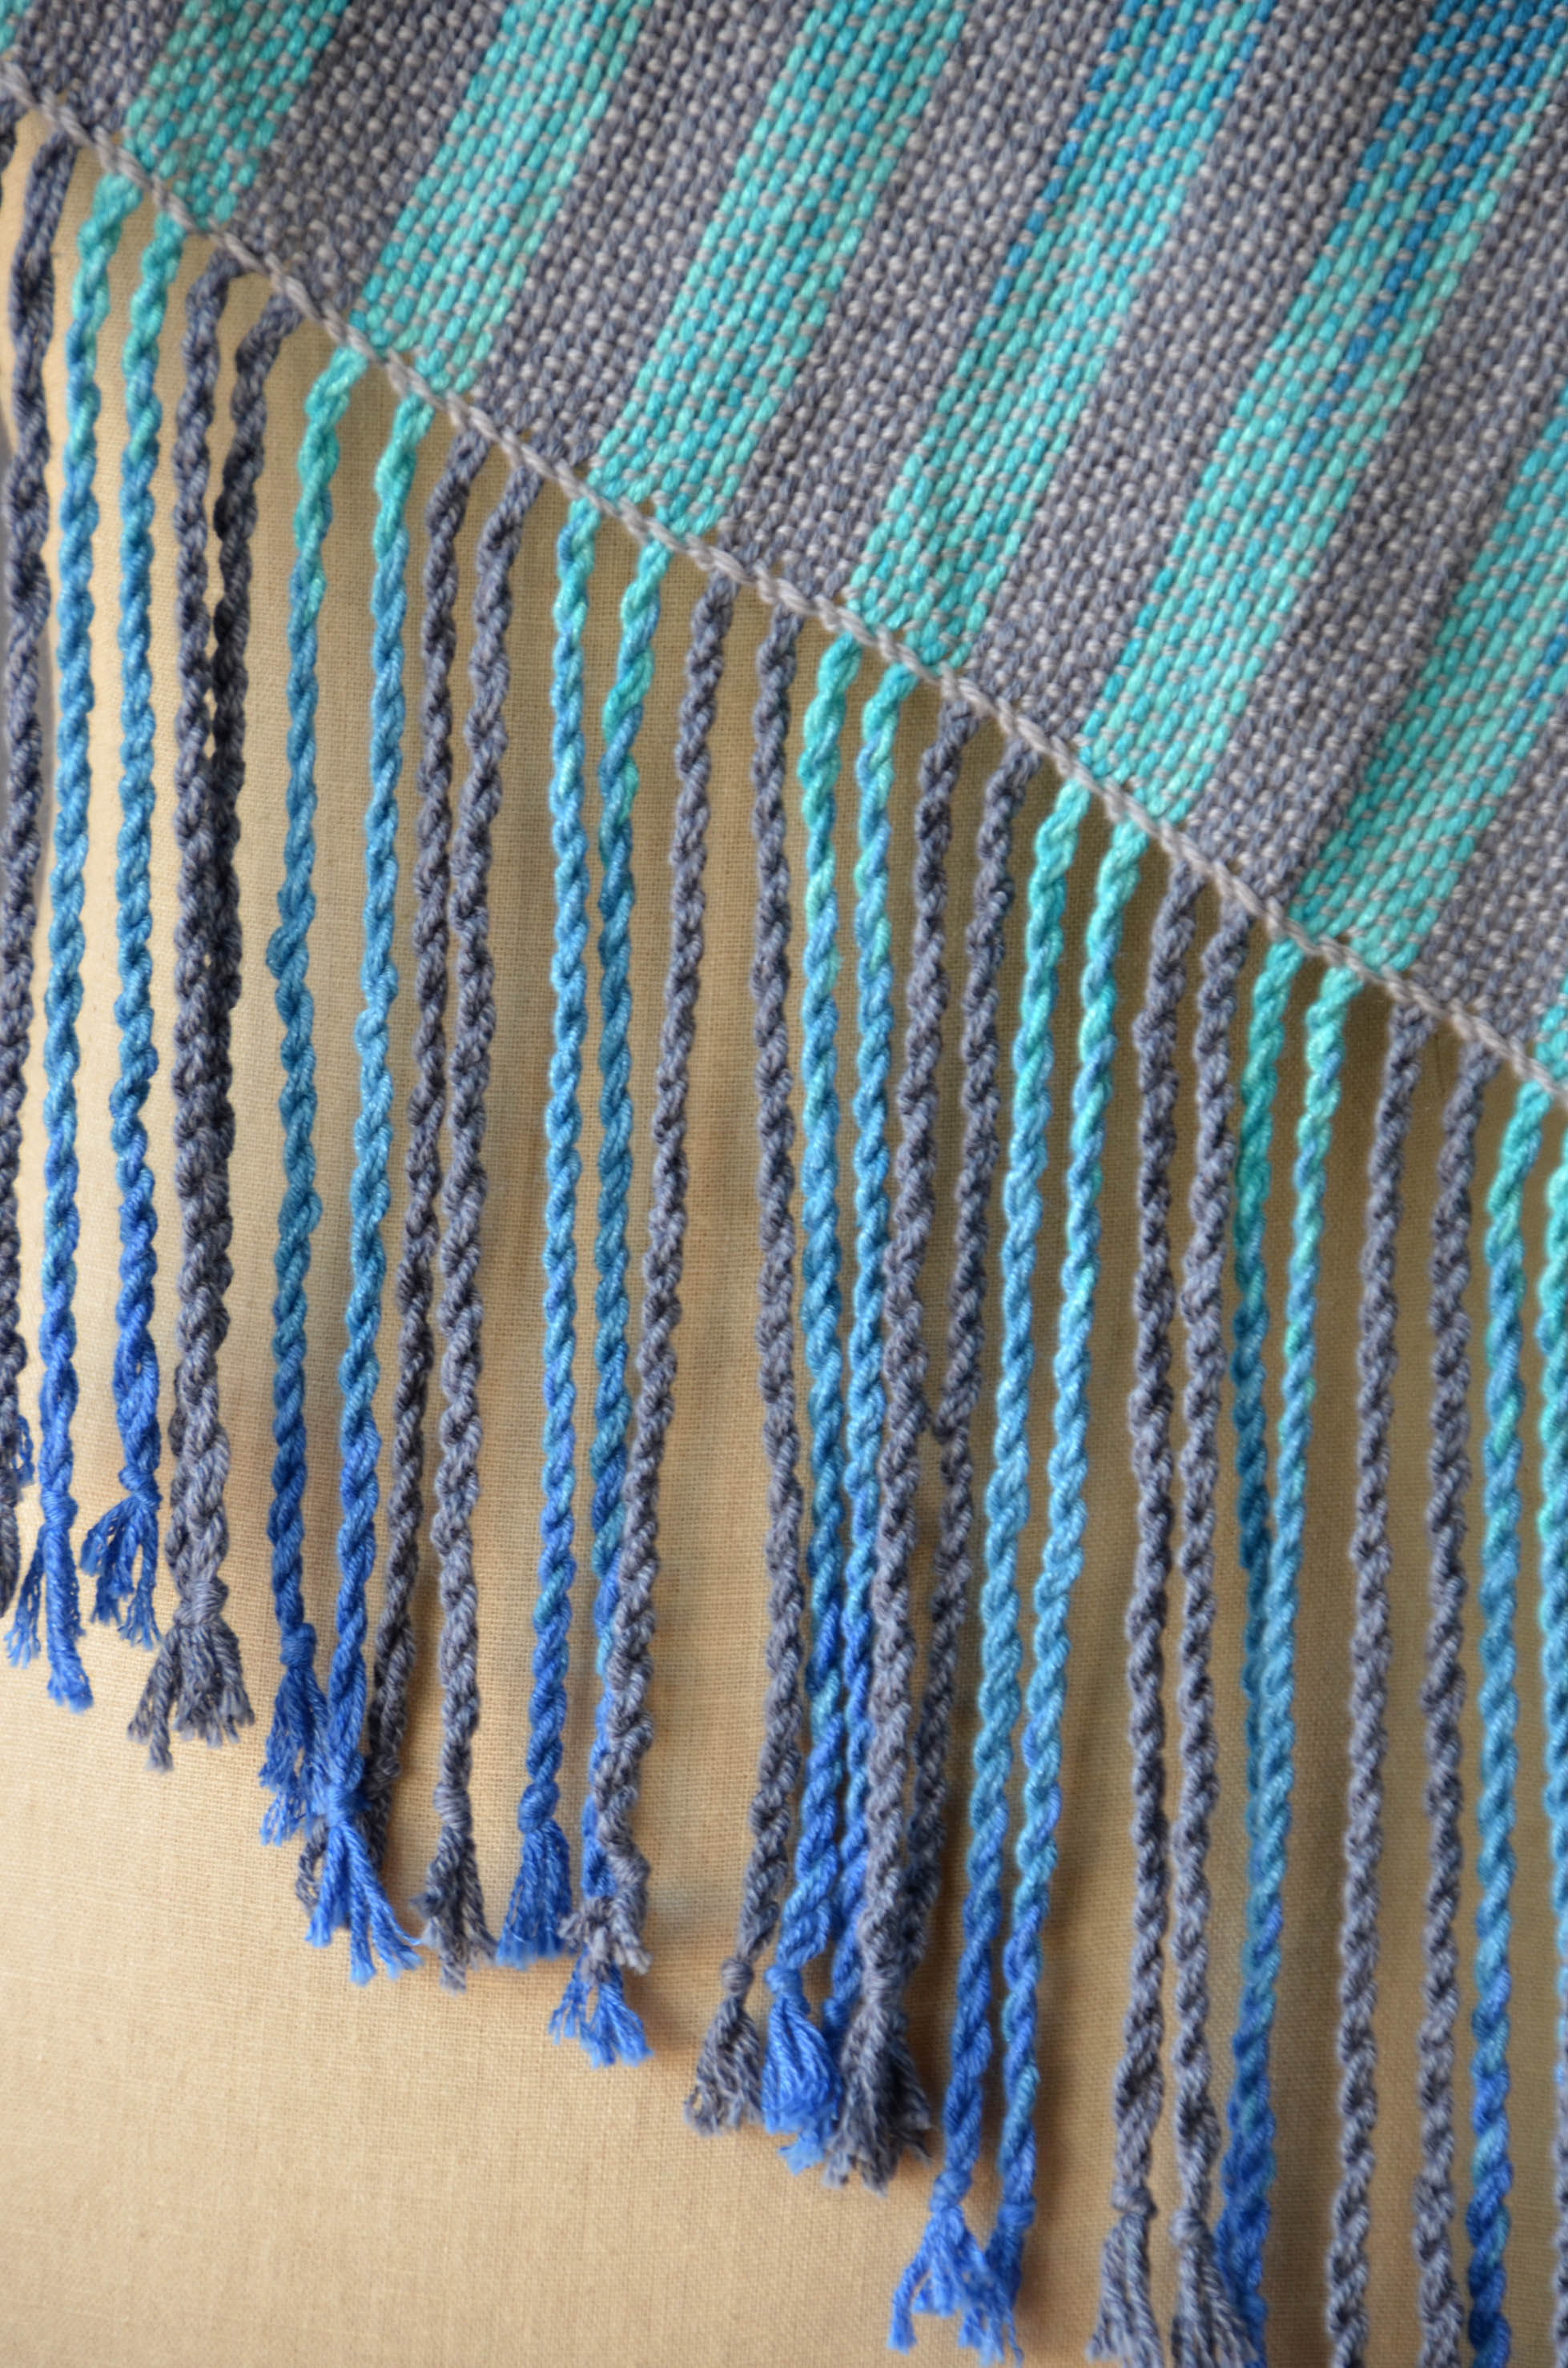
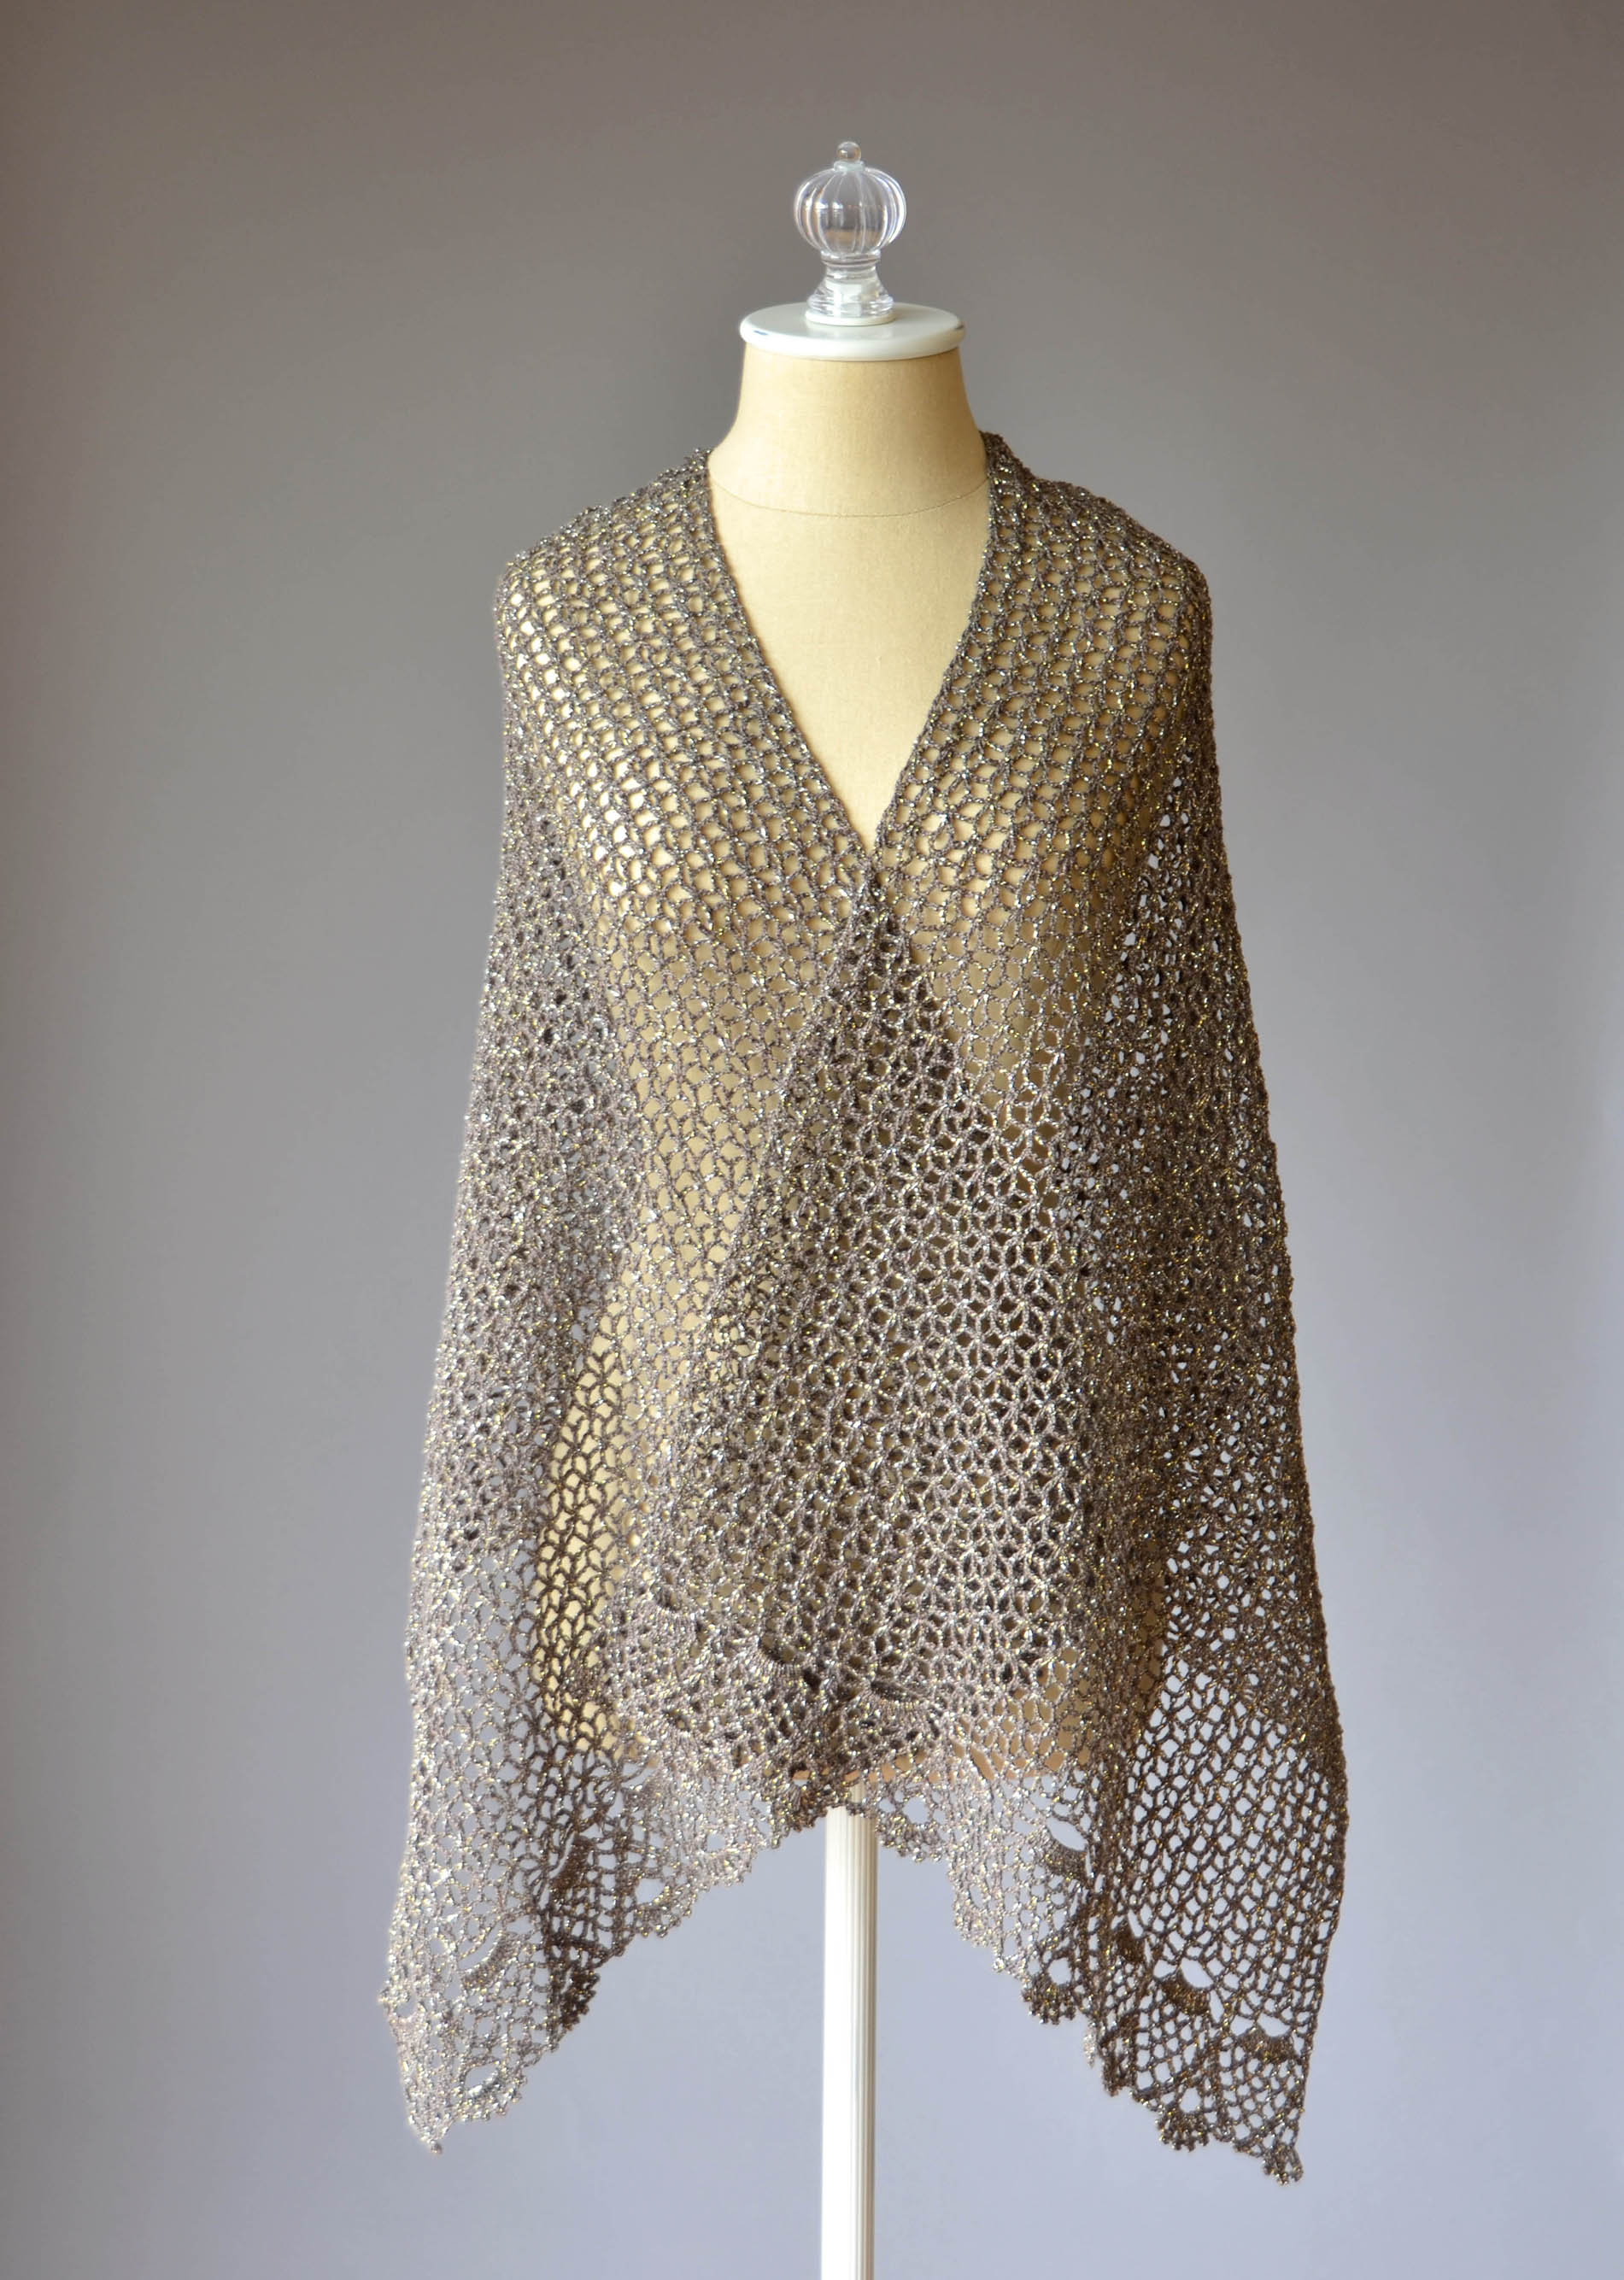
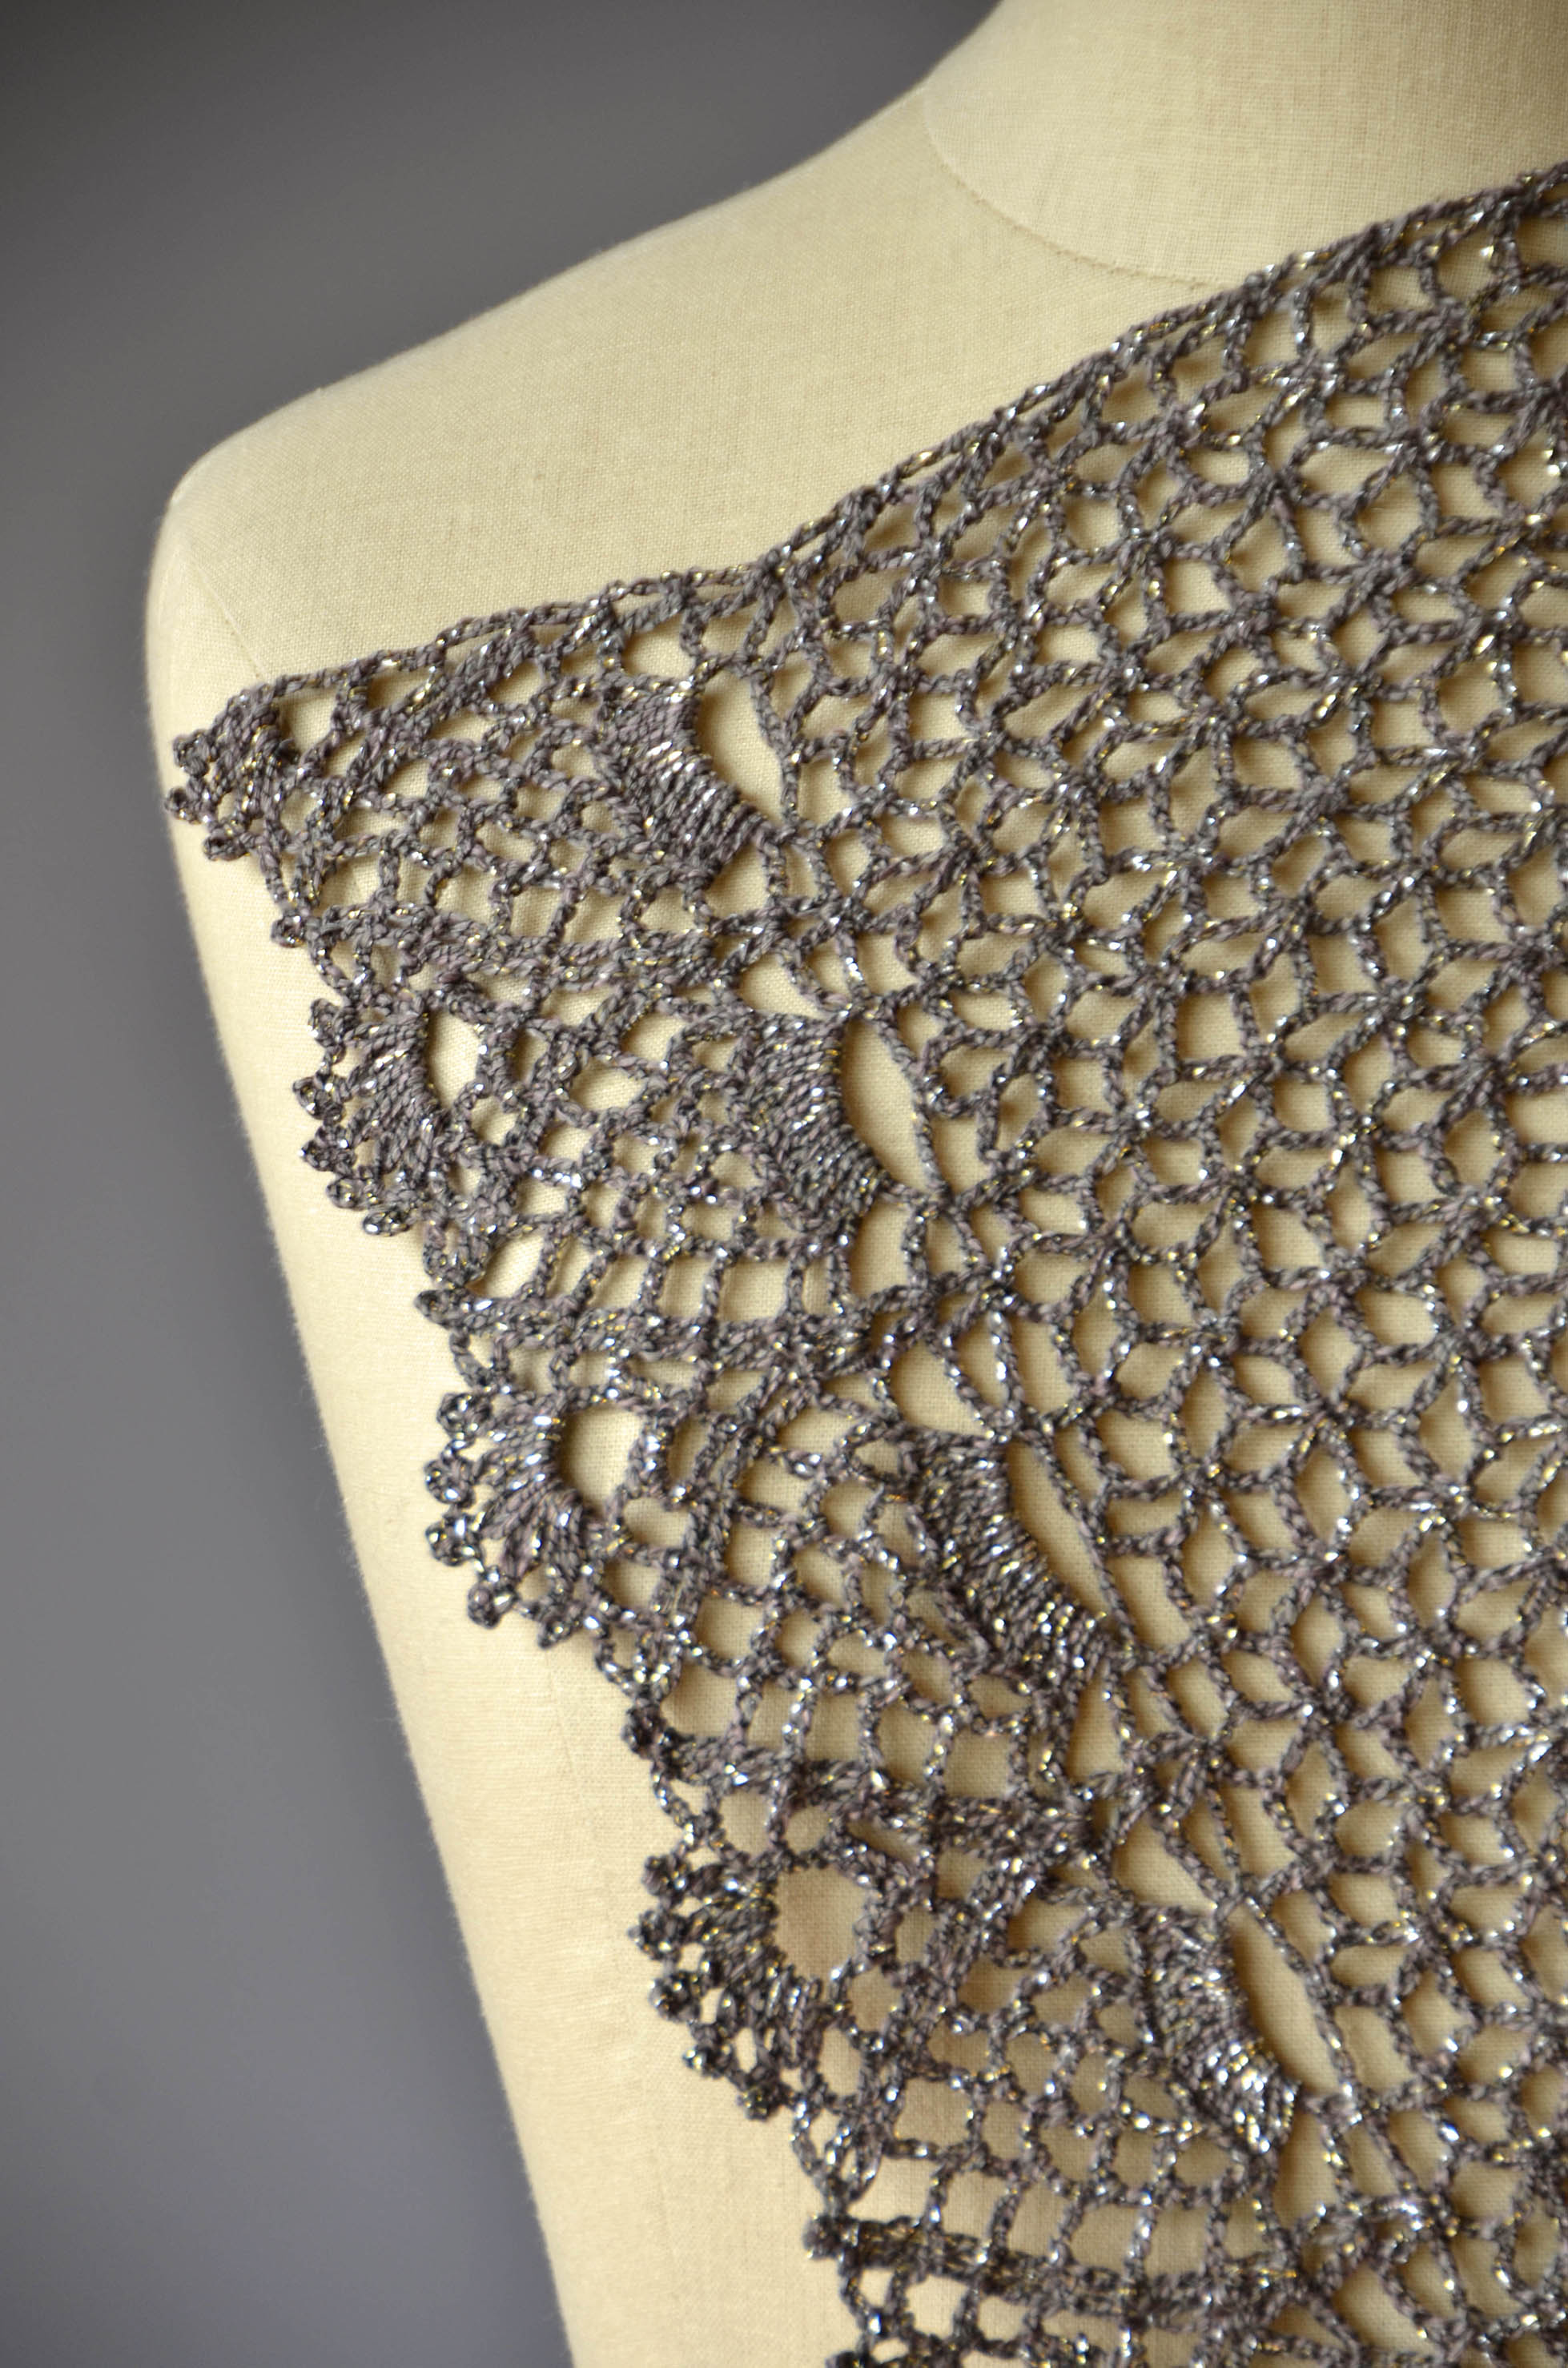
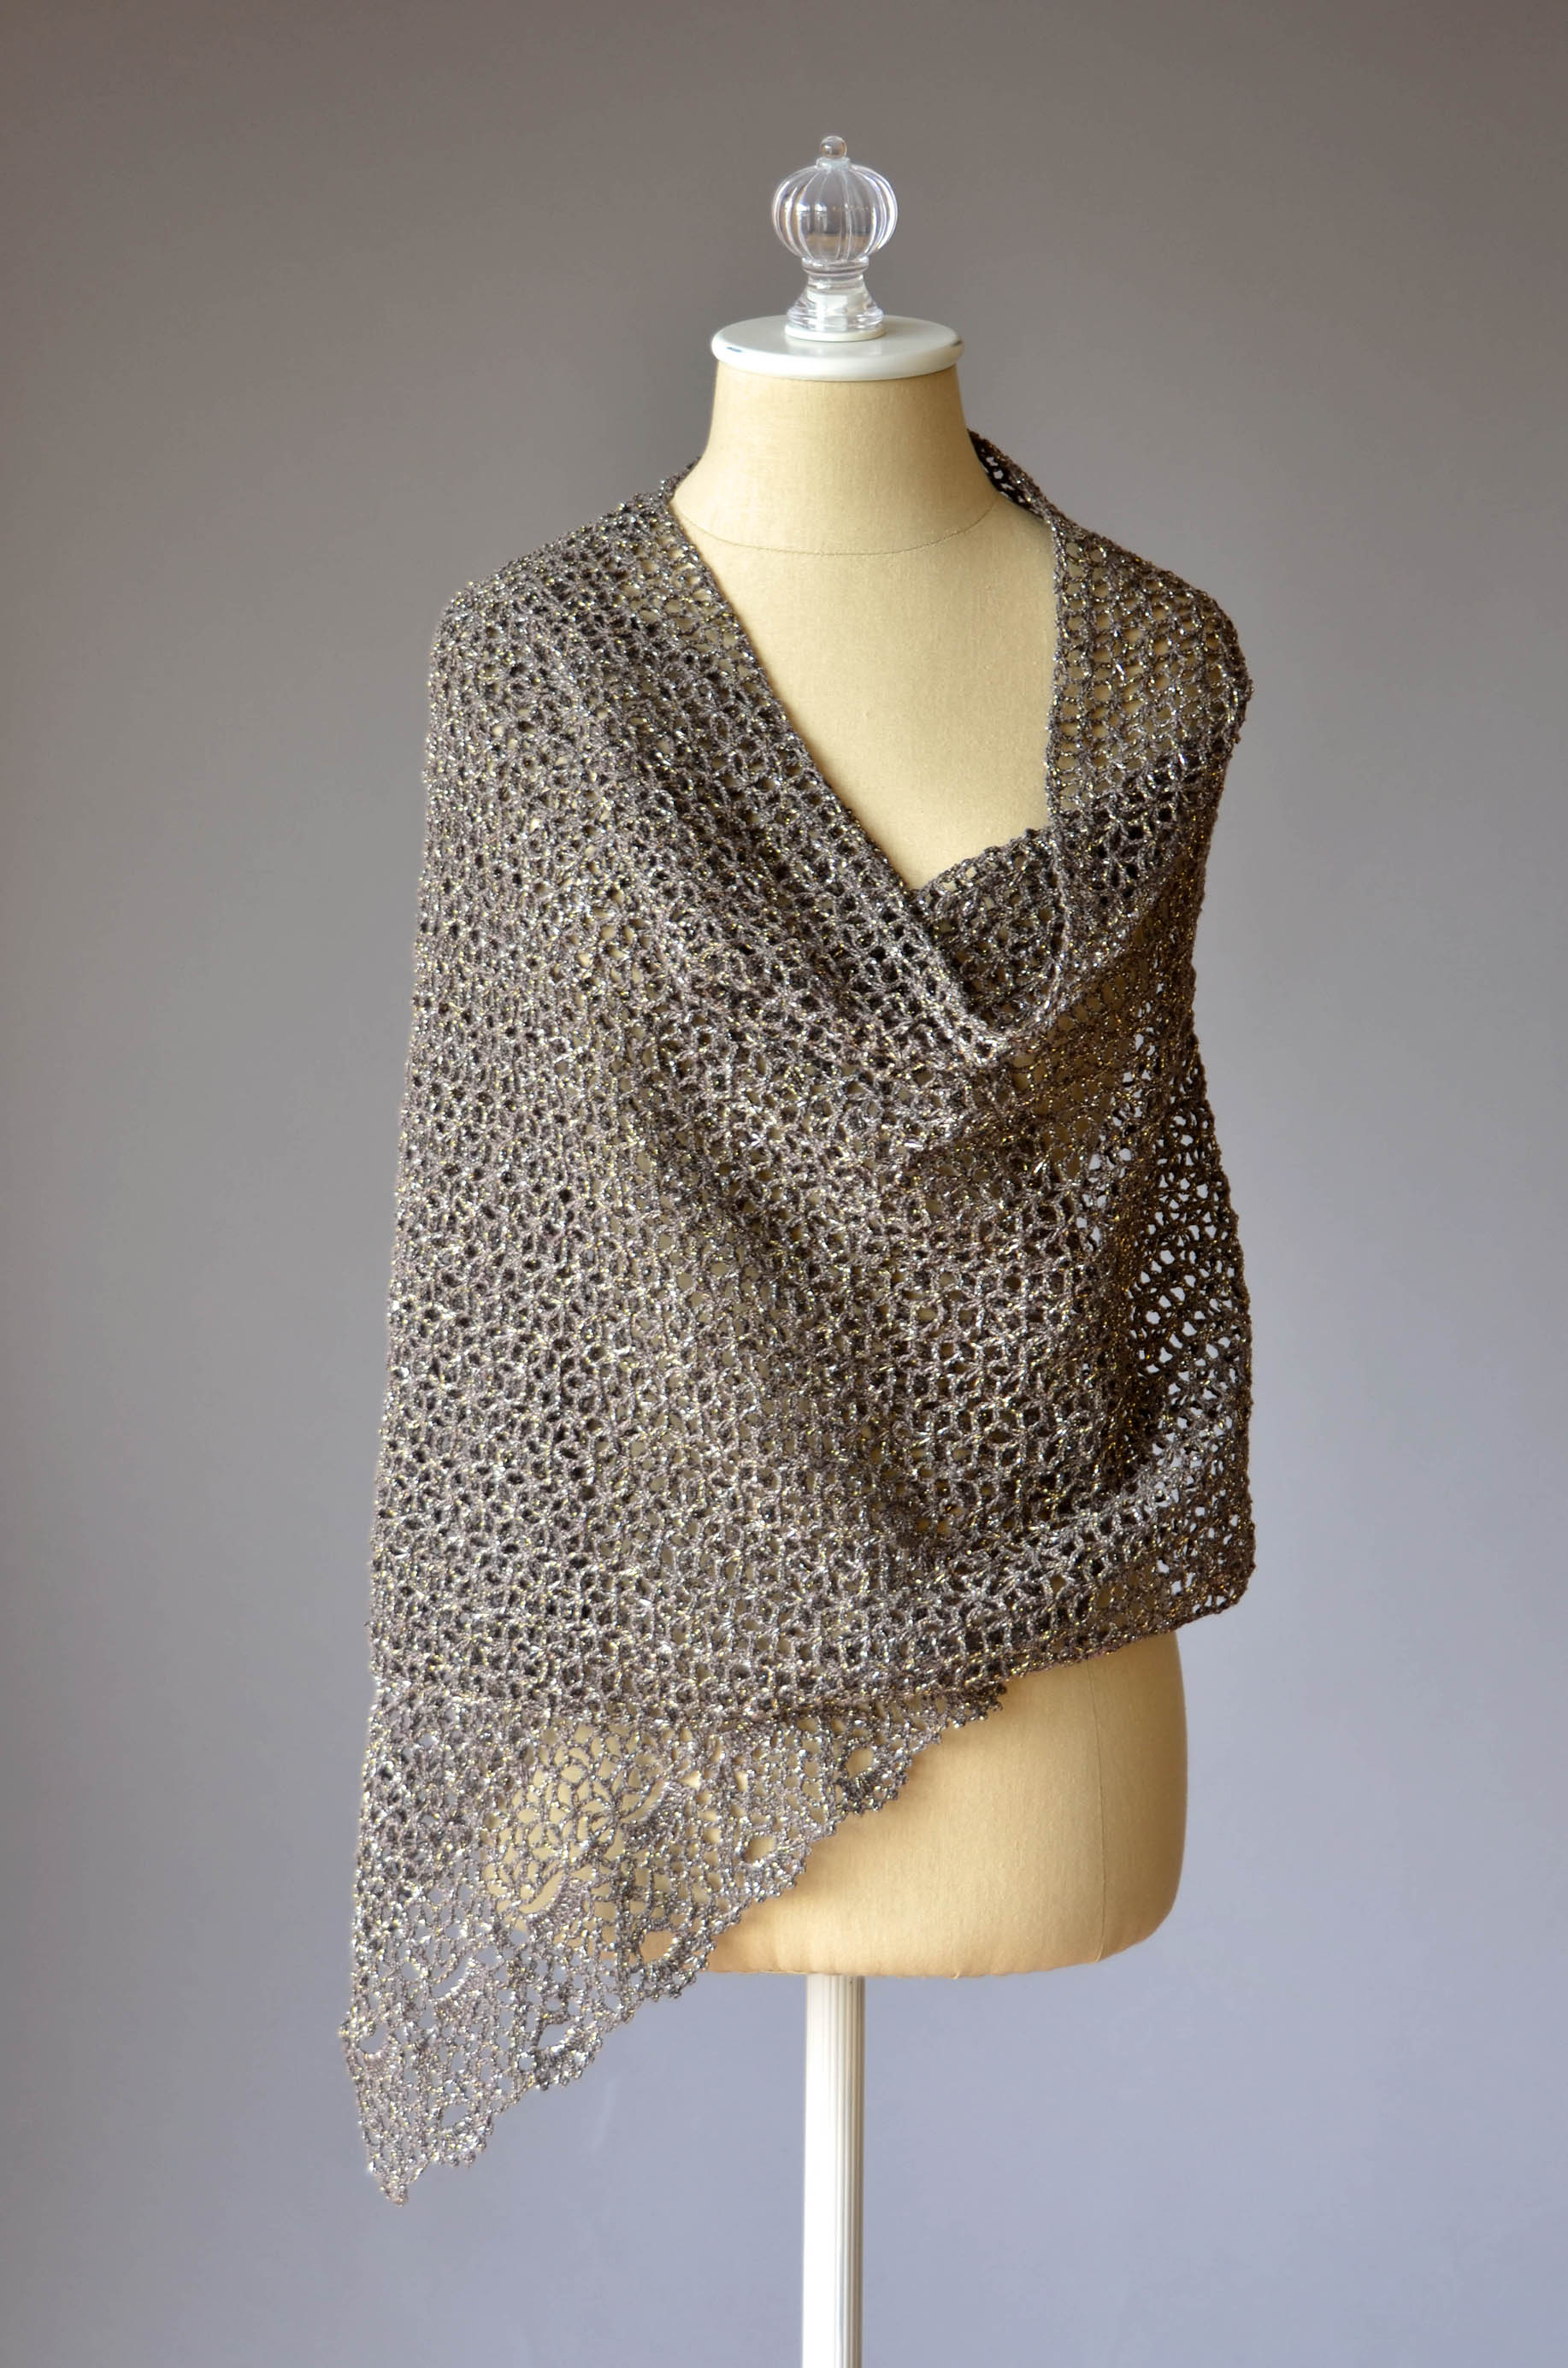
Kukui: Hawaiians extracted oil from the kukui nut and burned it in a lamp called kukui hele po, which means “light, darkness goes.” This shawl transitions from light to dark with bands of White, Silken and Black divided with bands worked in a slip stitch pattern using all three colors. To create the asymmetric shape, you’ll begin at the smallest point with just a few stitches increasing gradually to the widest edge. The elongated shape is easy to wear in many different ways.
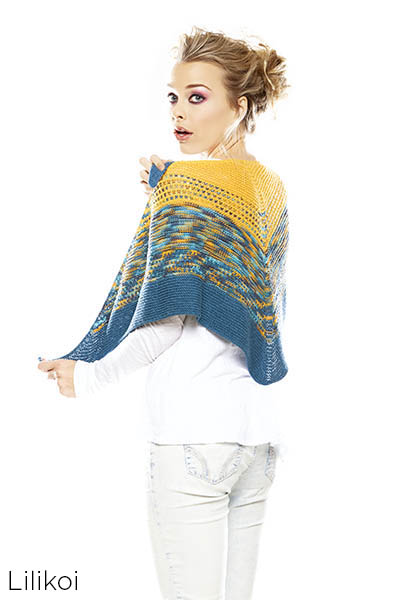
Lilikoi: Also known as passionfruit – from its gorgeous flower to delicious fruit, I could not get enough lilikoi when I went to Hawaii! This shawlette creates a fun blend of solid and variegated colors with a slip stitch pattern that helps mix the colors between sections. Garter stitch makes for a lovely, squishy fabric and also makes the knitting a breeze. The shape is a shallow triangle, in a size that is perfect for draping around your neck kerchief style.
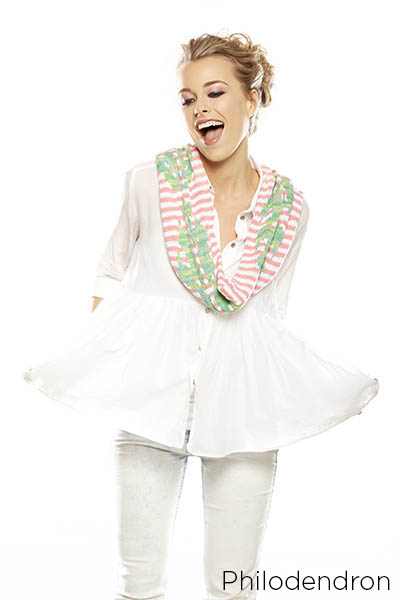
Philodendron: Fun, bright and just a little quirky. Philodendrons are having a bit of a moment right now – from knit, fabric and print versions to real fronds showing up in home décor. The cowl is worked with a combination of a striped background and instarsia fronds, creating a wonderful statement piece for your warm weather wardrobe.
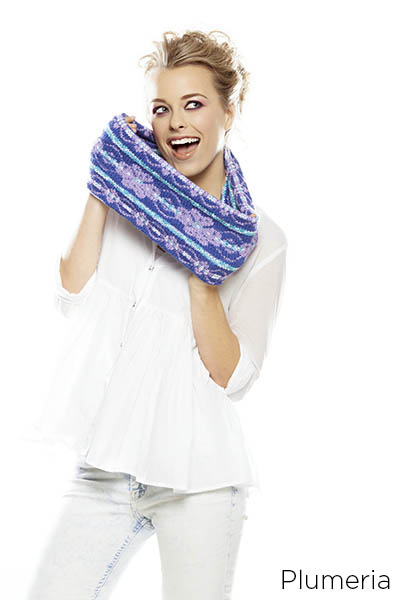
Plumeria: Plumeria are also known as the “Lei flower,” sure this cowl is a little more substantial than a lei, but you still get flowers draped around your neck! Stranded knitting is usually reserved for winter projects and I thought it would be fun to incorporate that into a warm weather project. A brighter color palette and a combination of floral and wave designs make this stranded project summer ready.

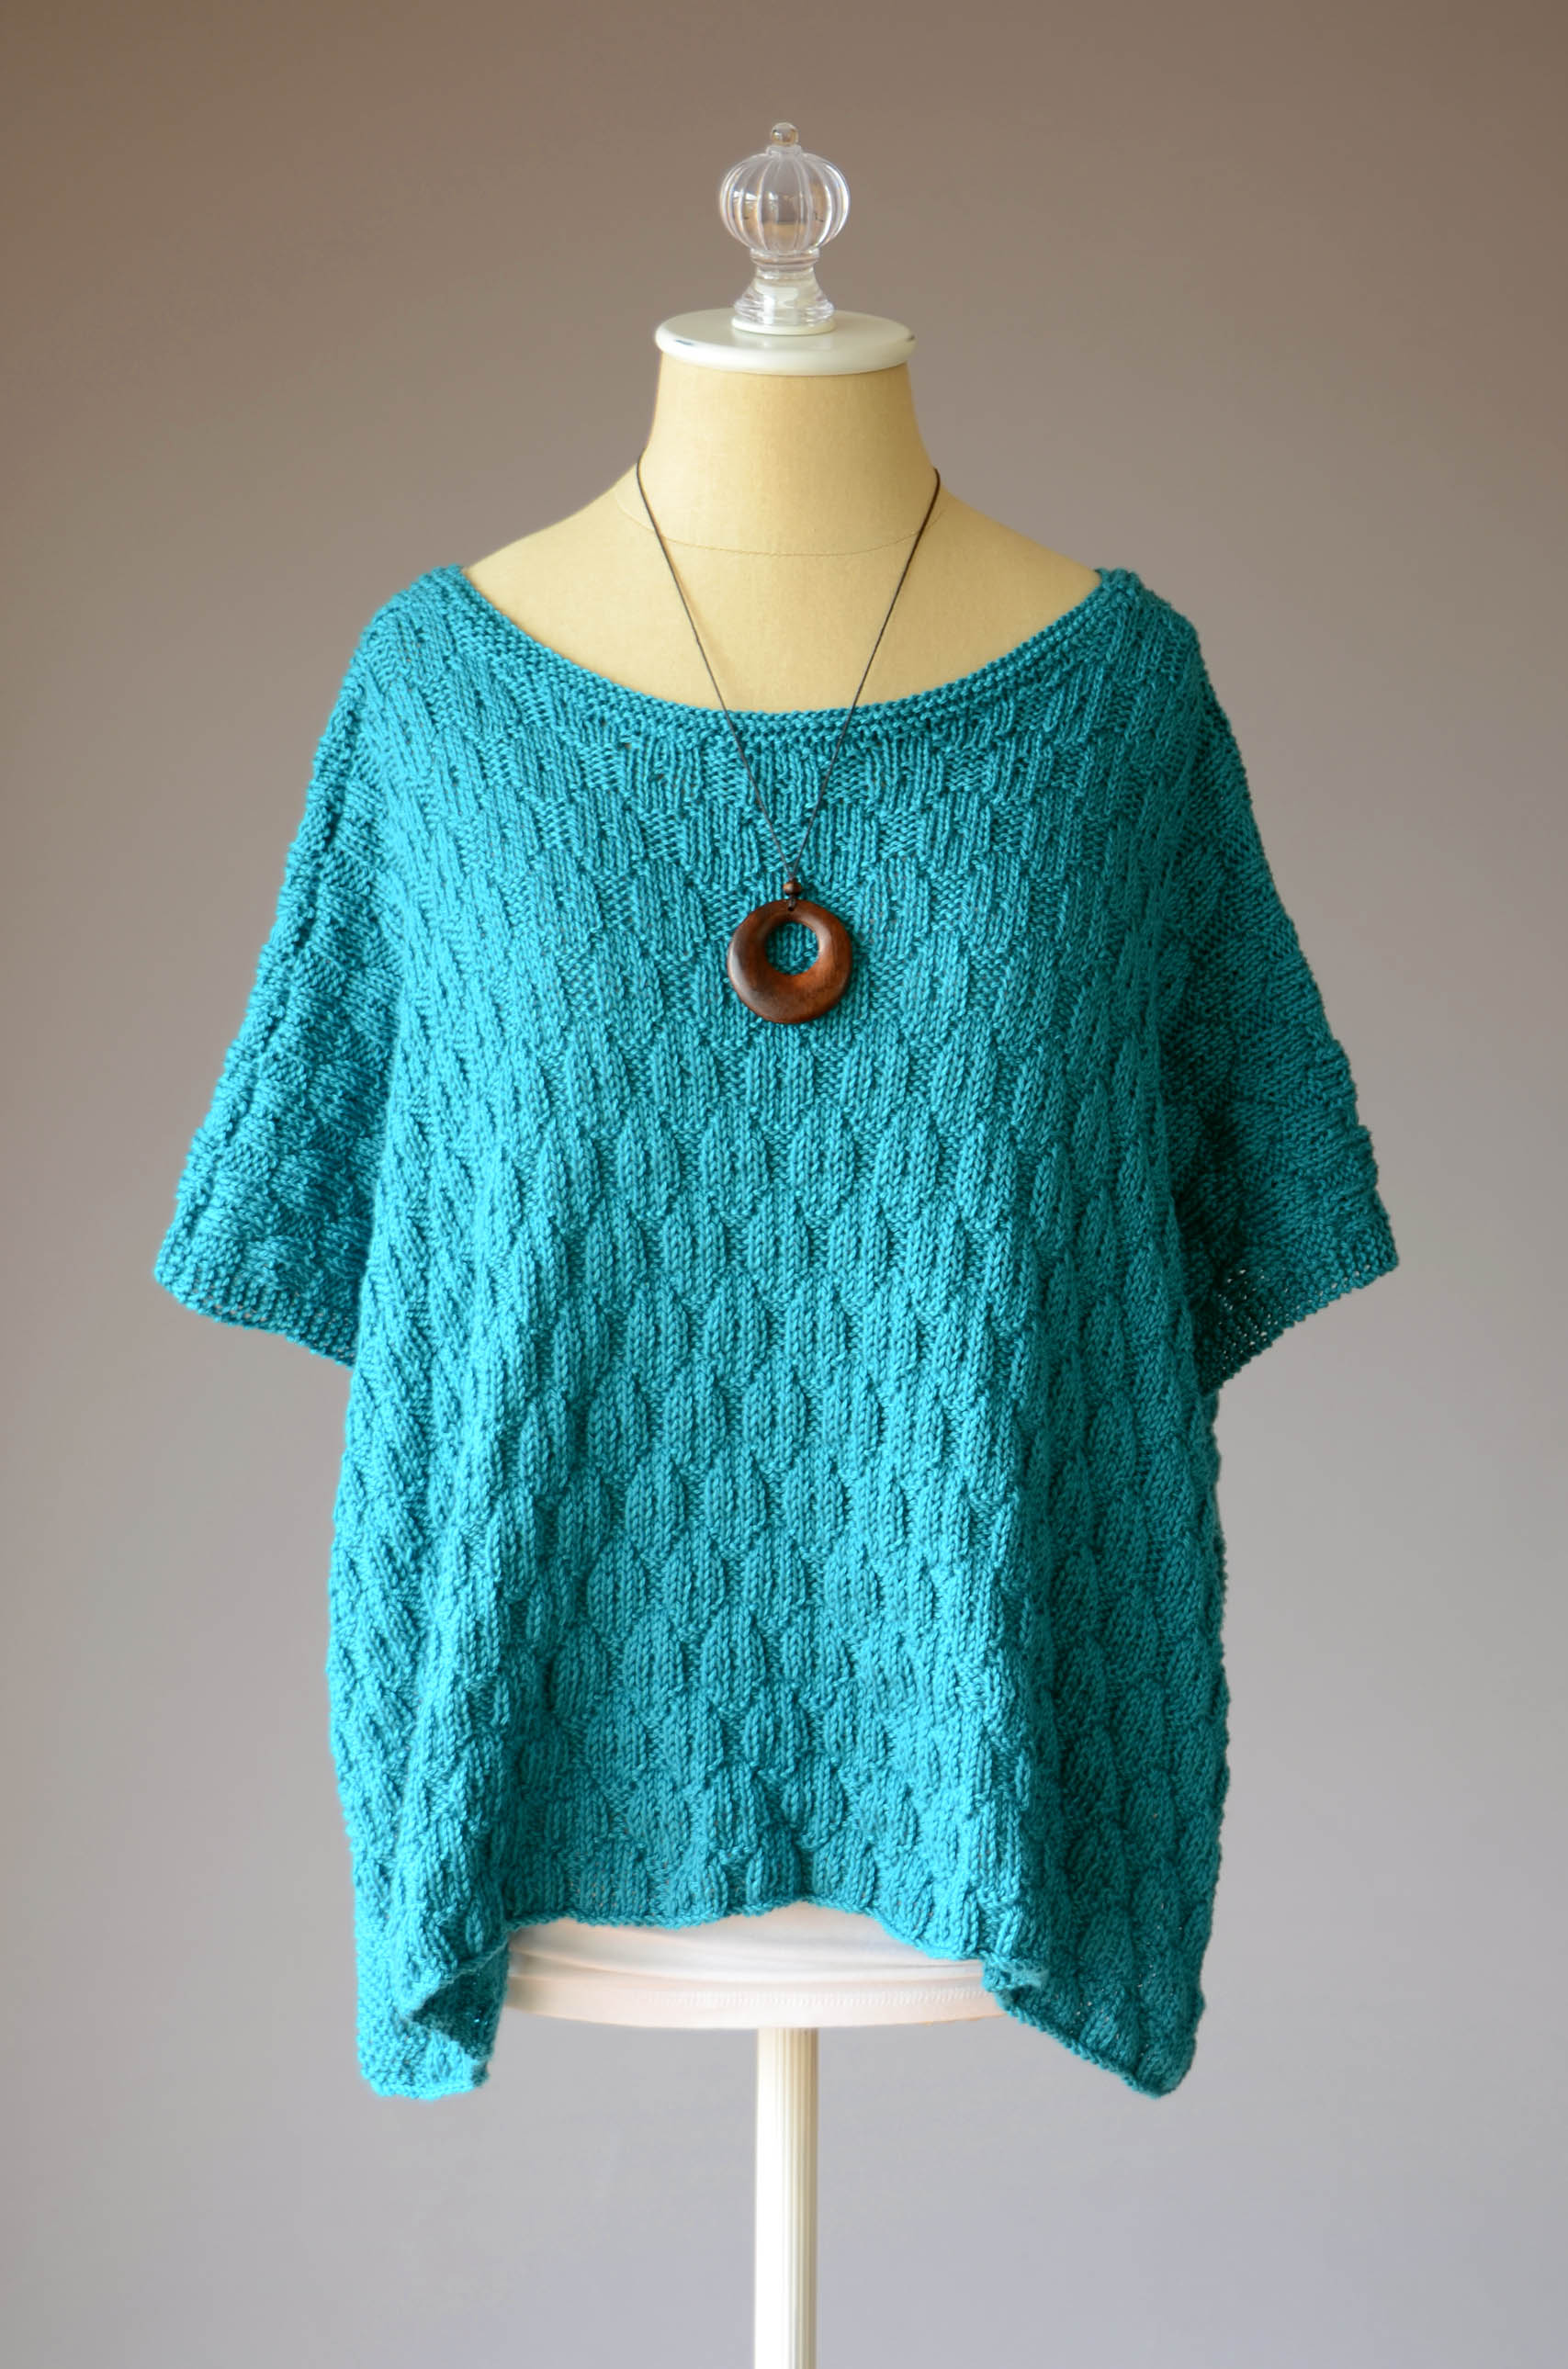
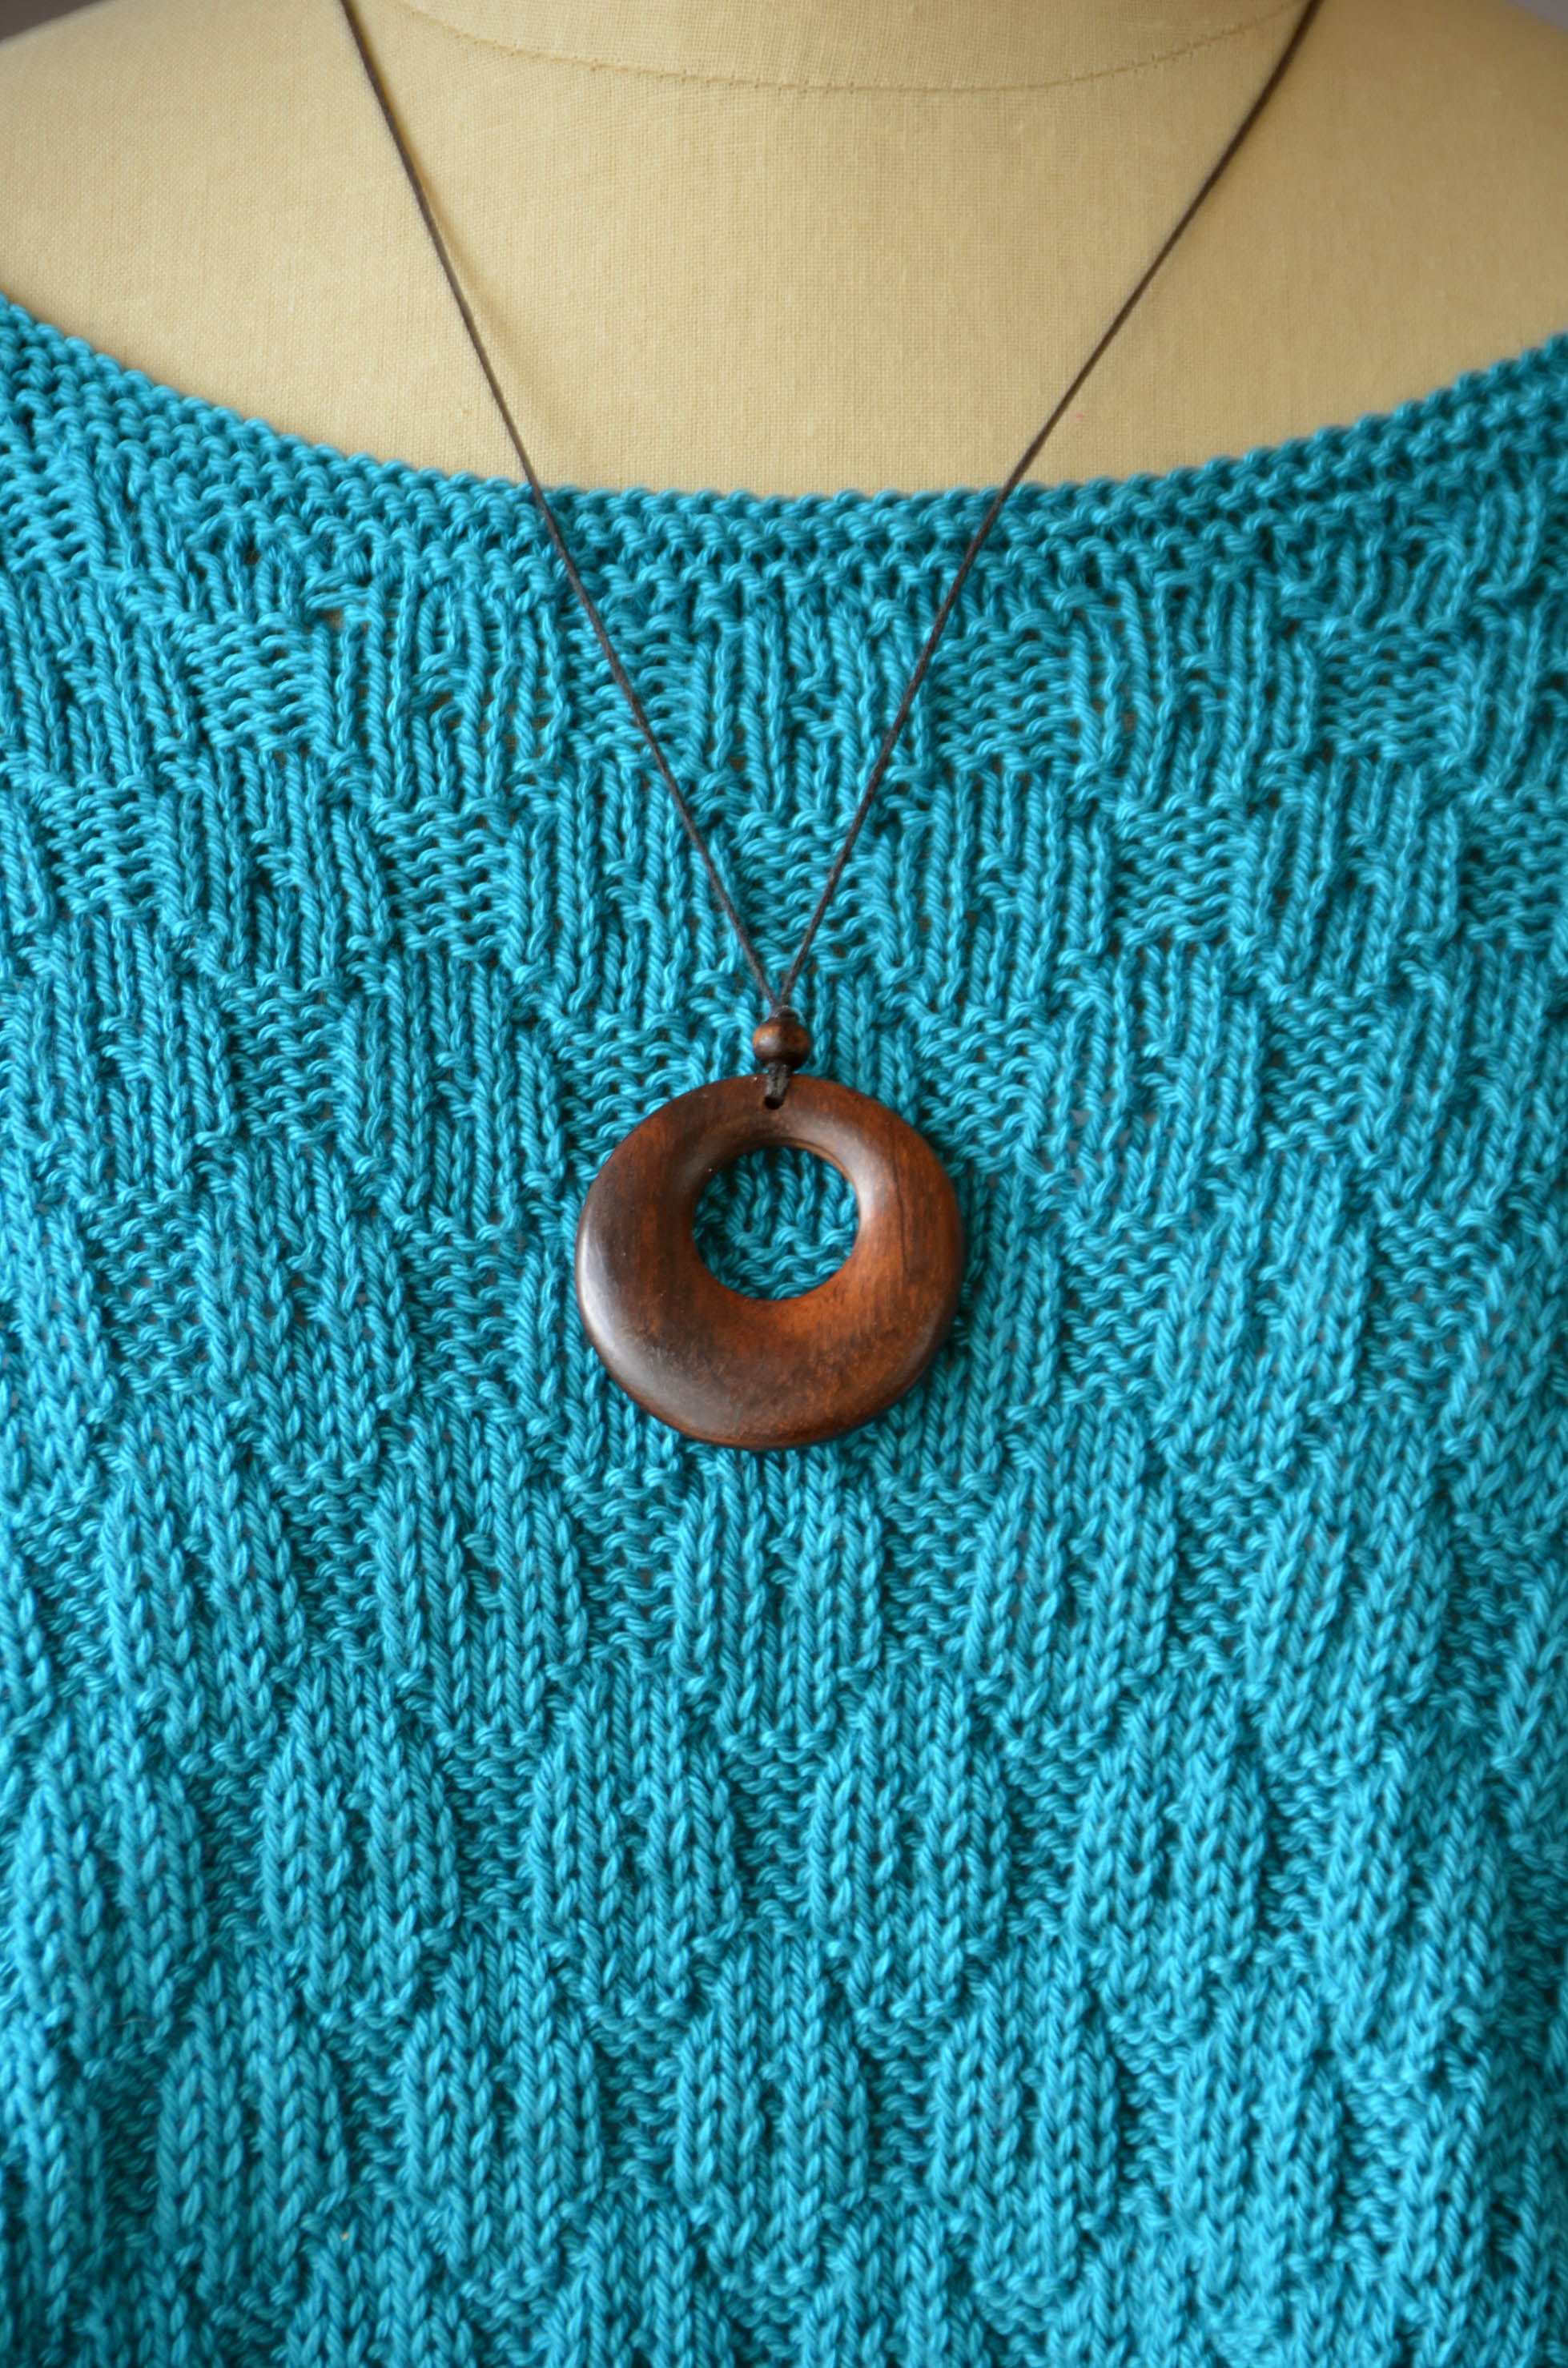
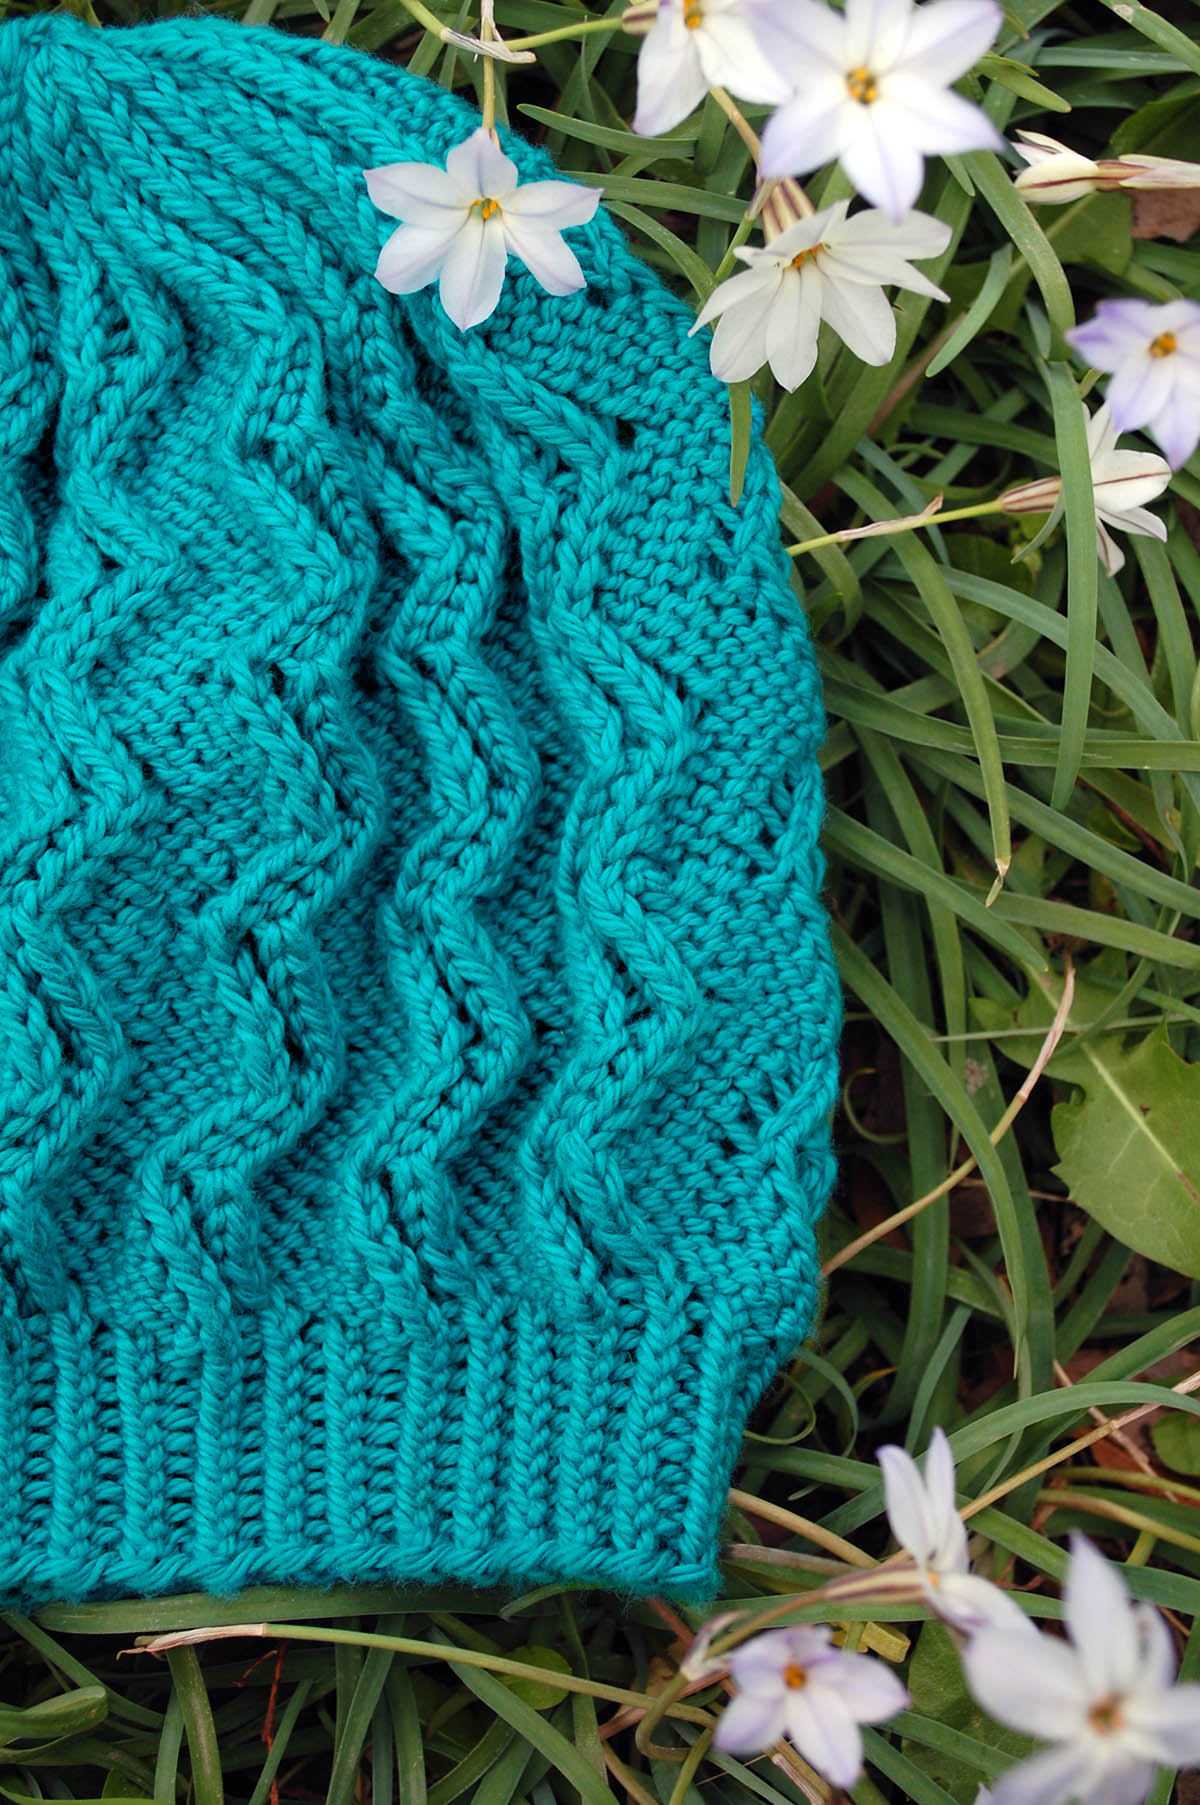
Tiny Bubbles: These tiny bubbles will make you feel fine! This scarf is a fun way to combine a solid and variegated color, or if you like, you could make each row of bubbles a different color. The bubbles are created by stripes and dropped stitches, not stranded knitting, so you are only working with one color at a time. This is another great piece to work on, wear, and add a little Pop to the warm season.
I hope you enjoyed taking a little peek behind the scenes and learning a bit about the collection and the inspiration behind it! What projects are you planning to make with Bamboo Pop?