Delphi Stole – Edging

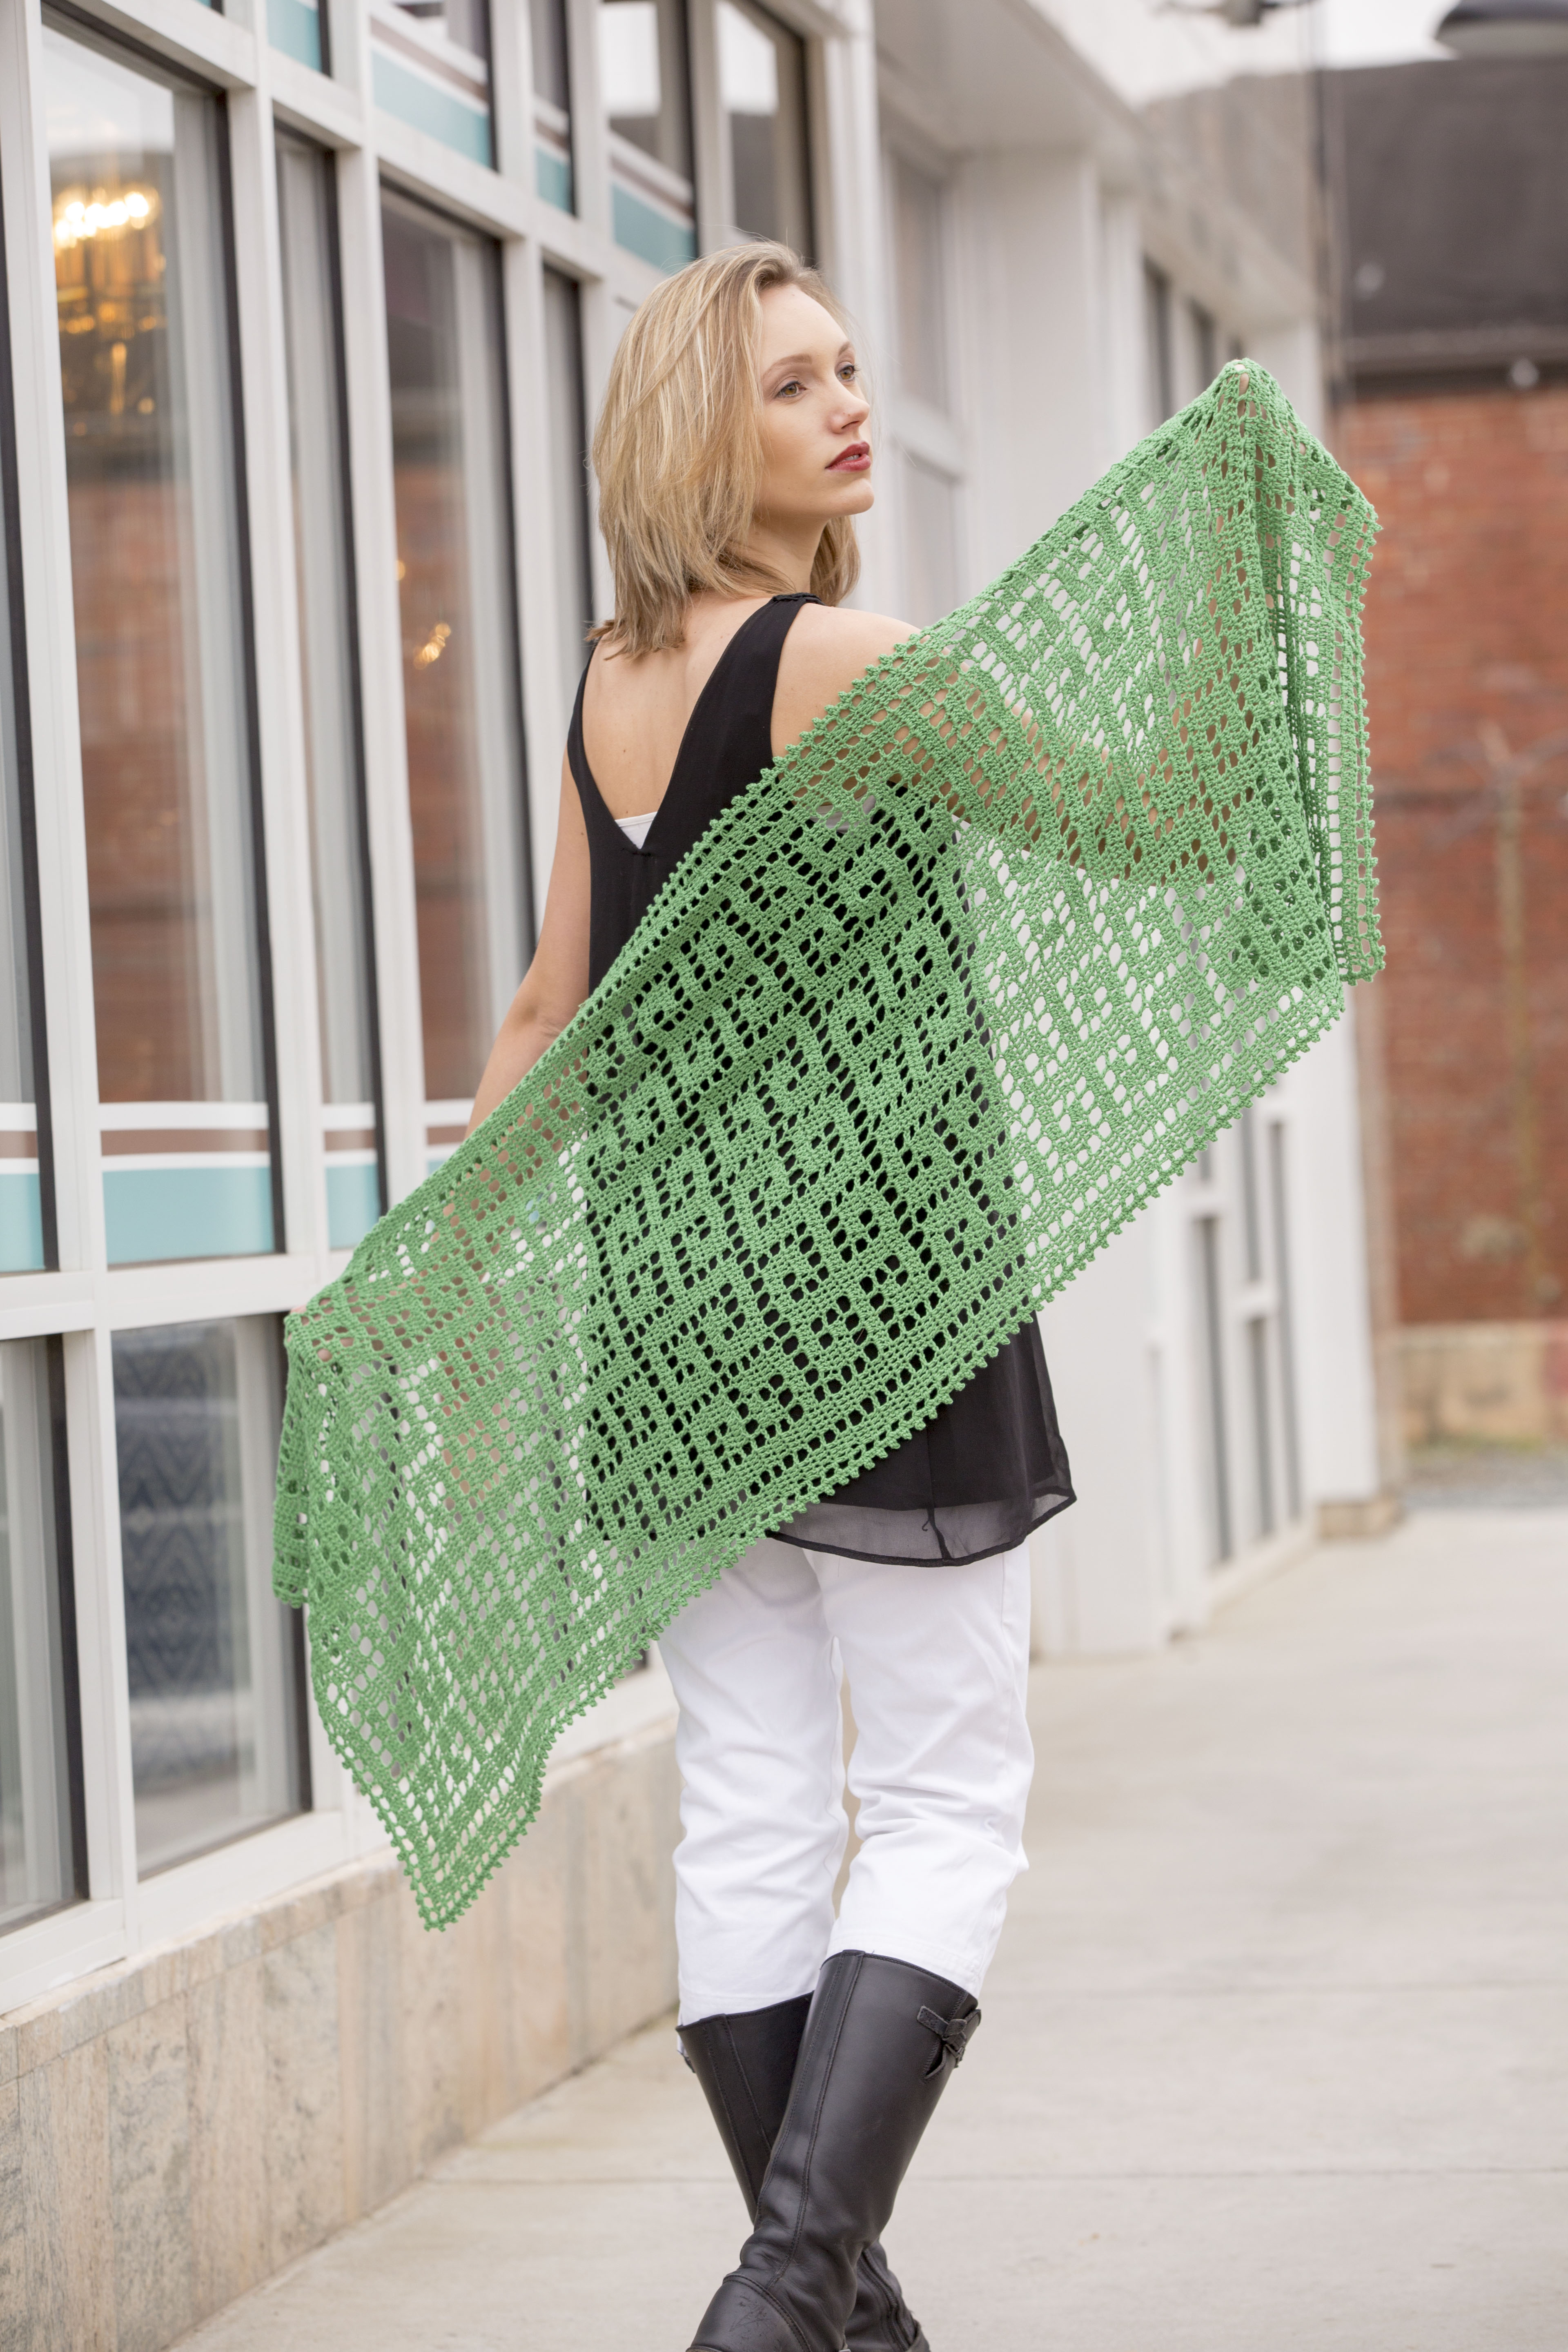
Last week we covered the basics of filet crochet, and everything you need to know to make the body of the Delphi Stole from Contrarian Shawls 2.

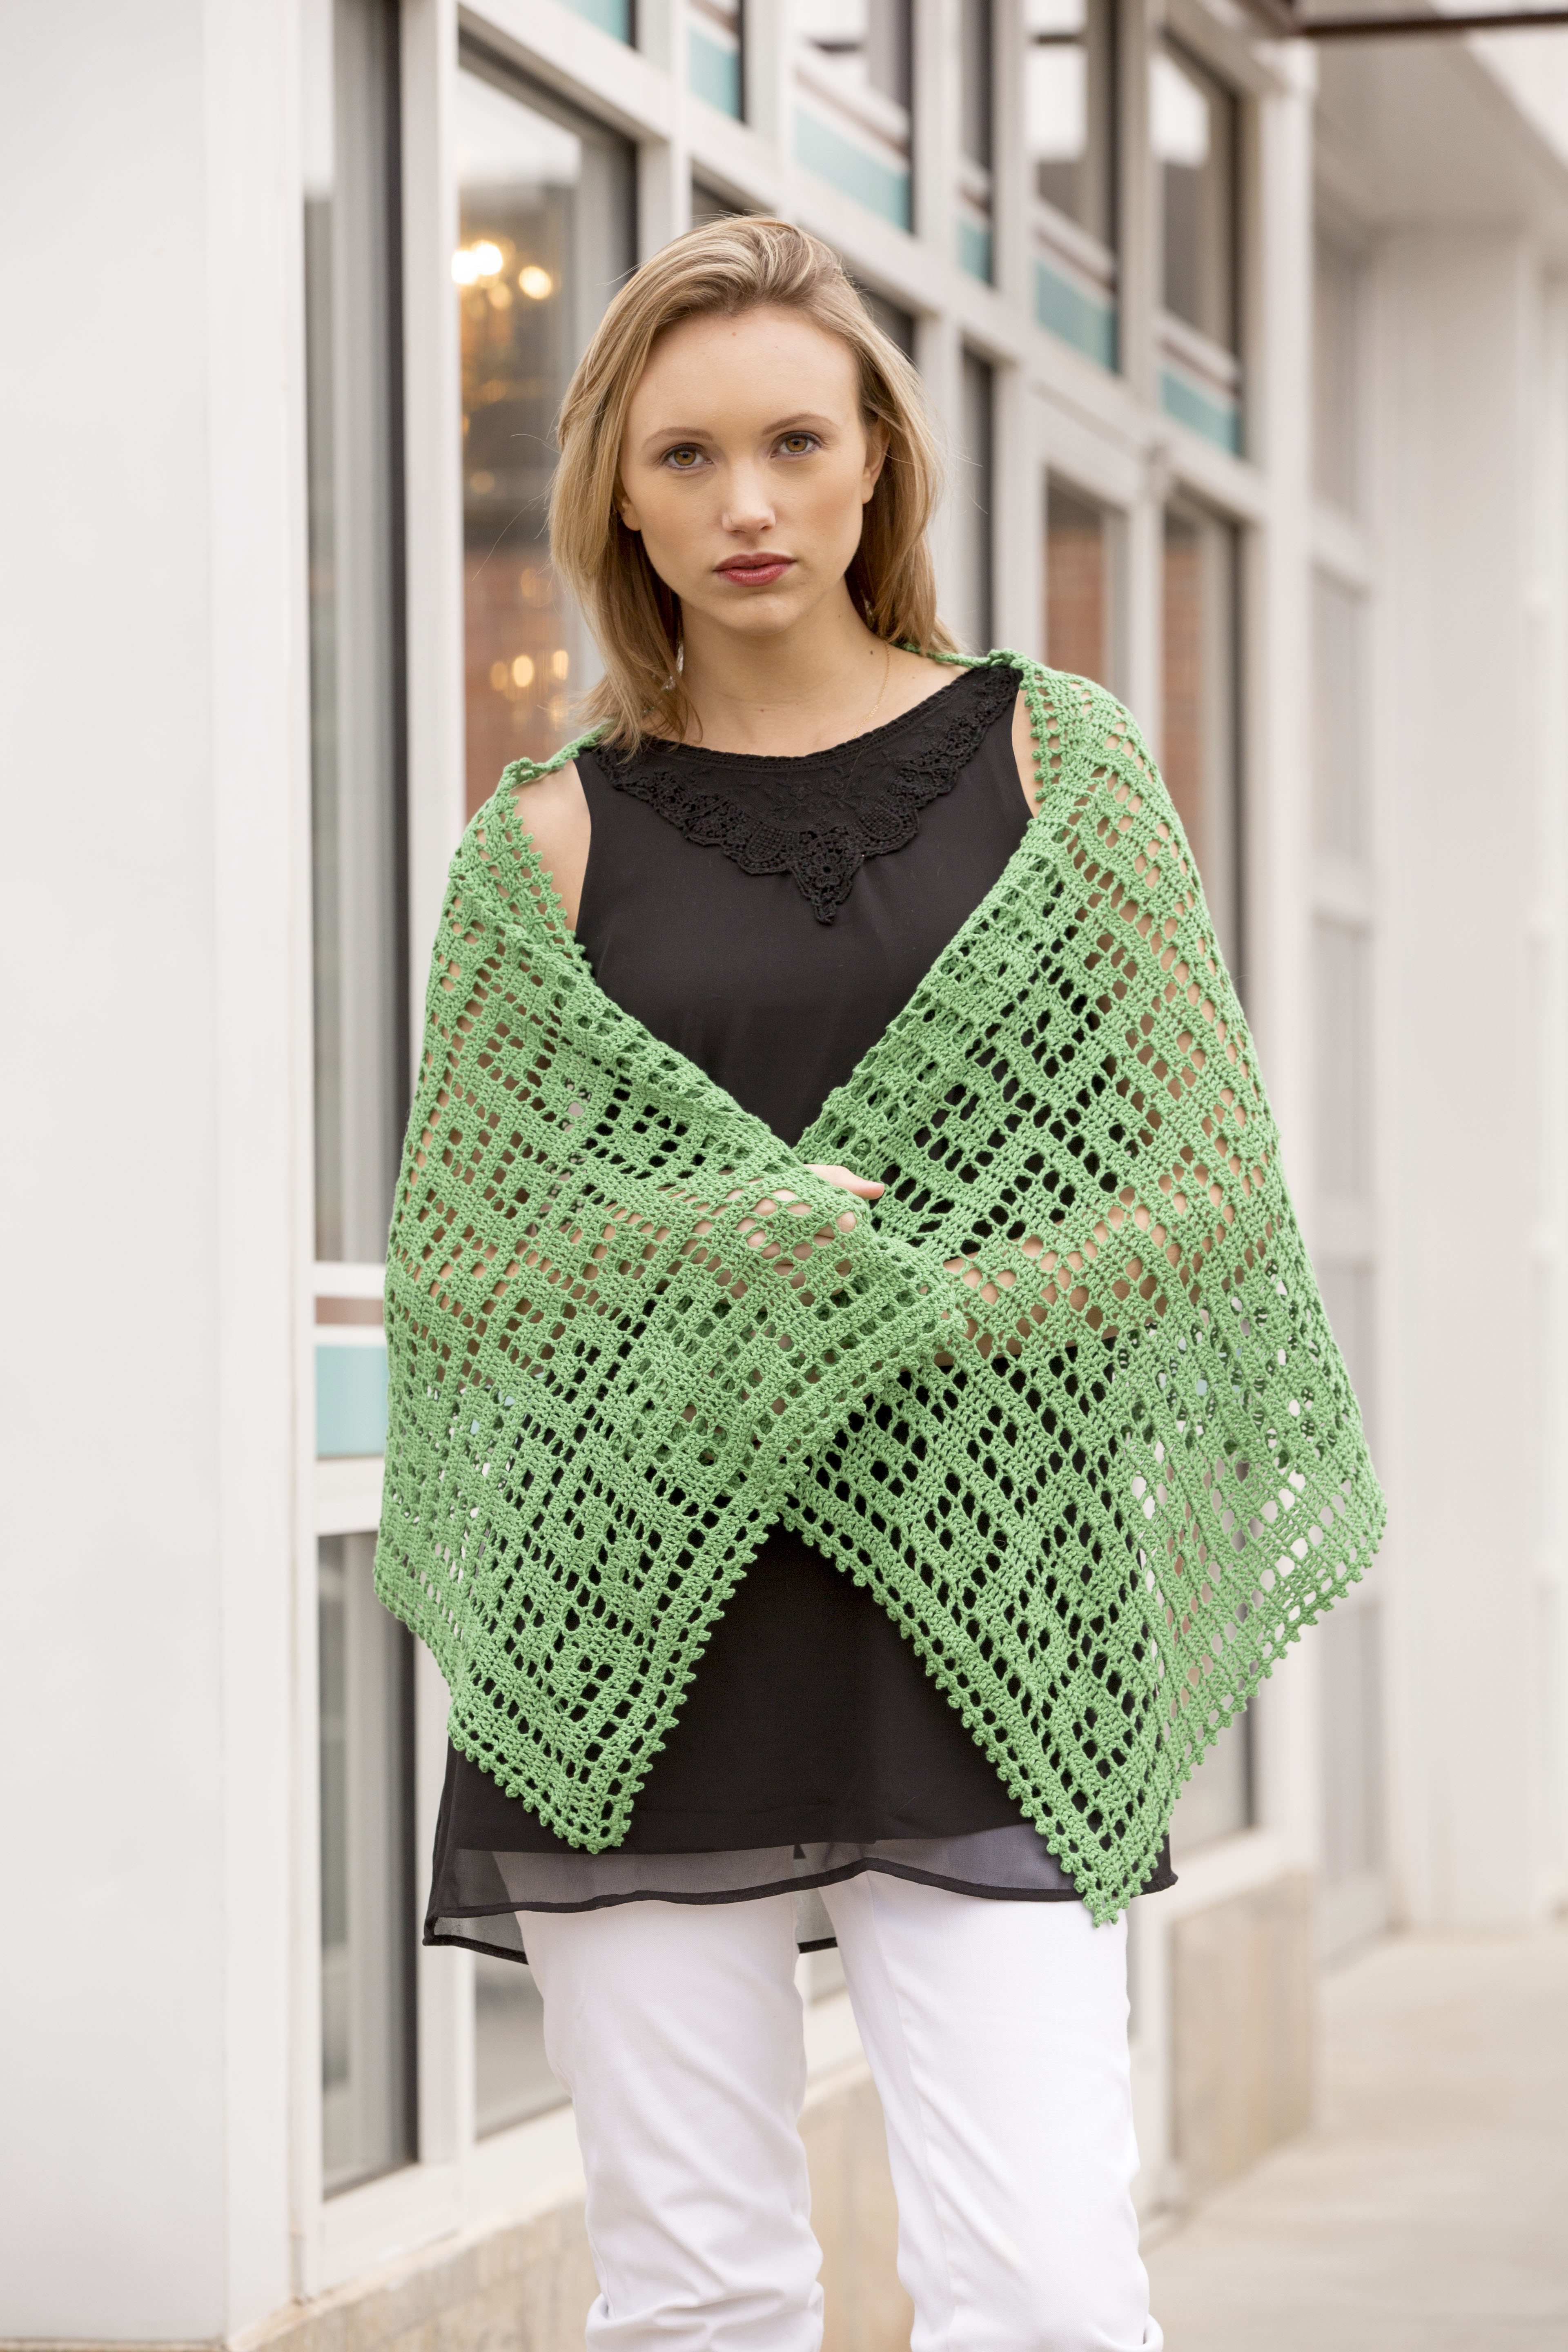
DelphiStole_1_hires

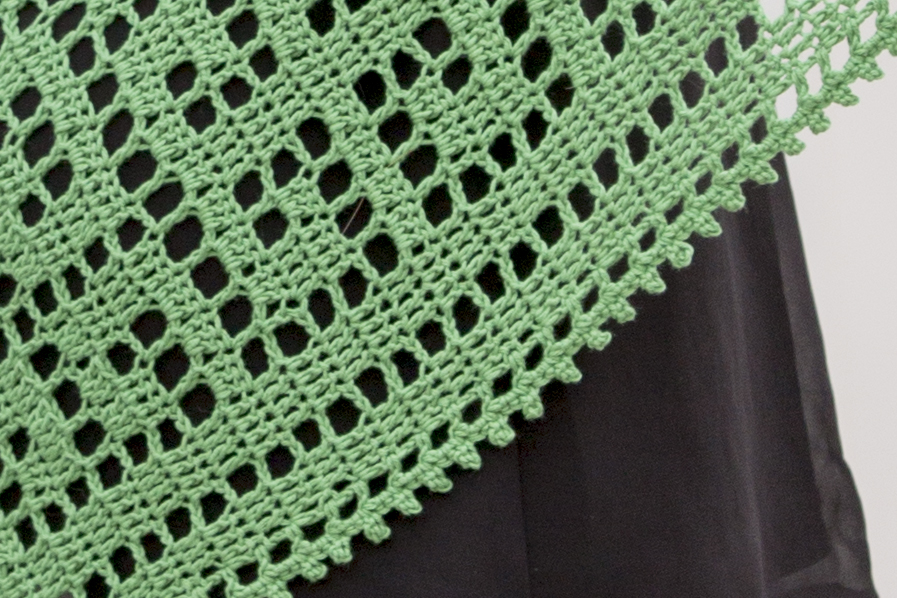
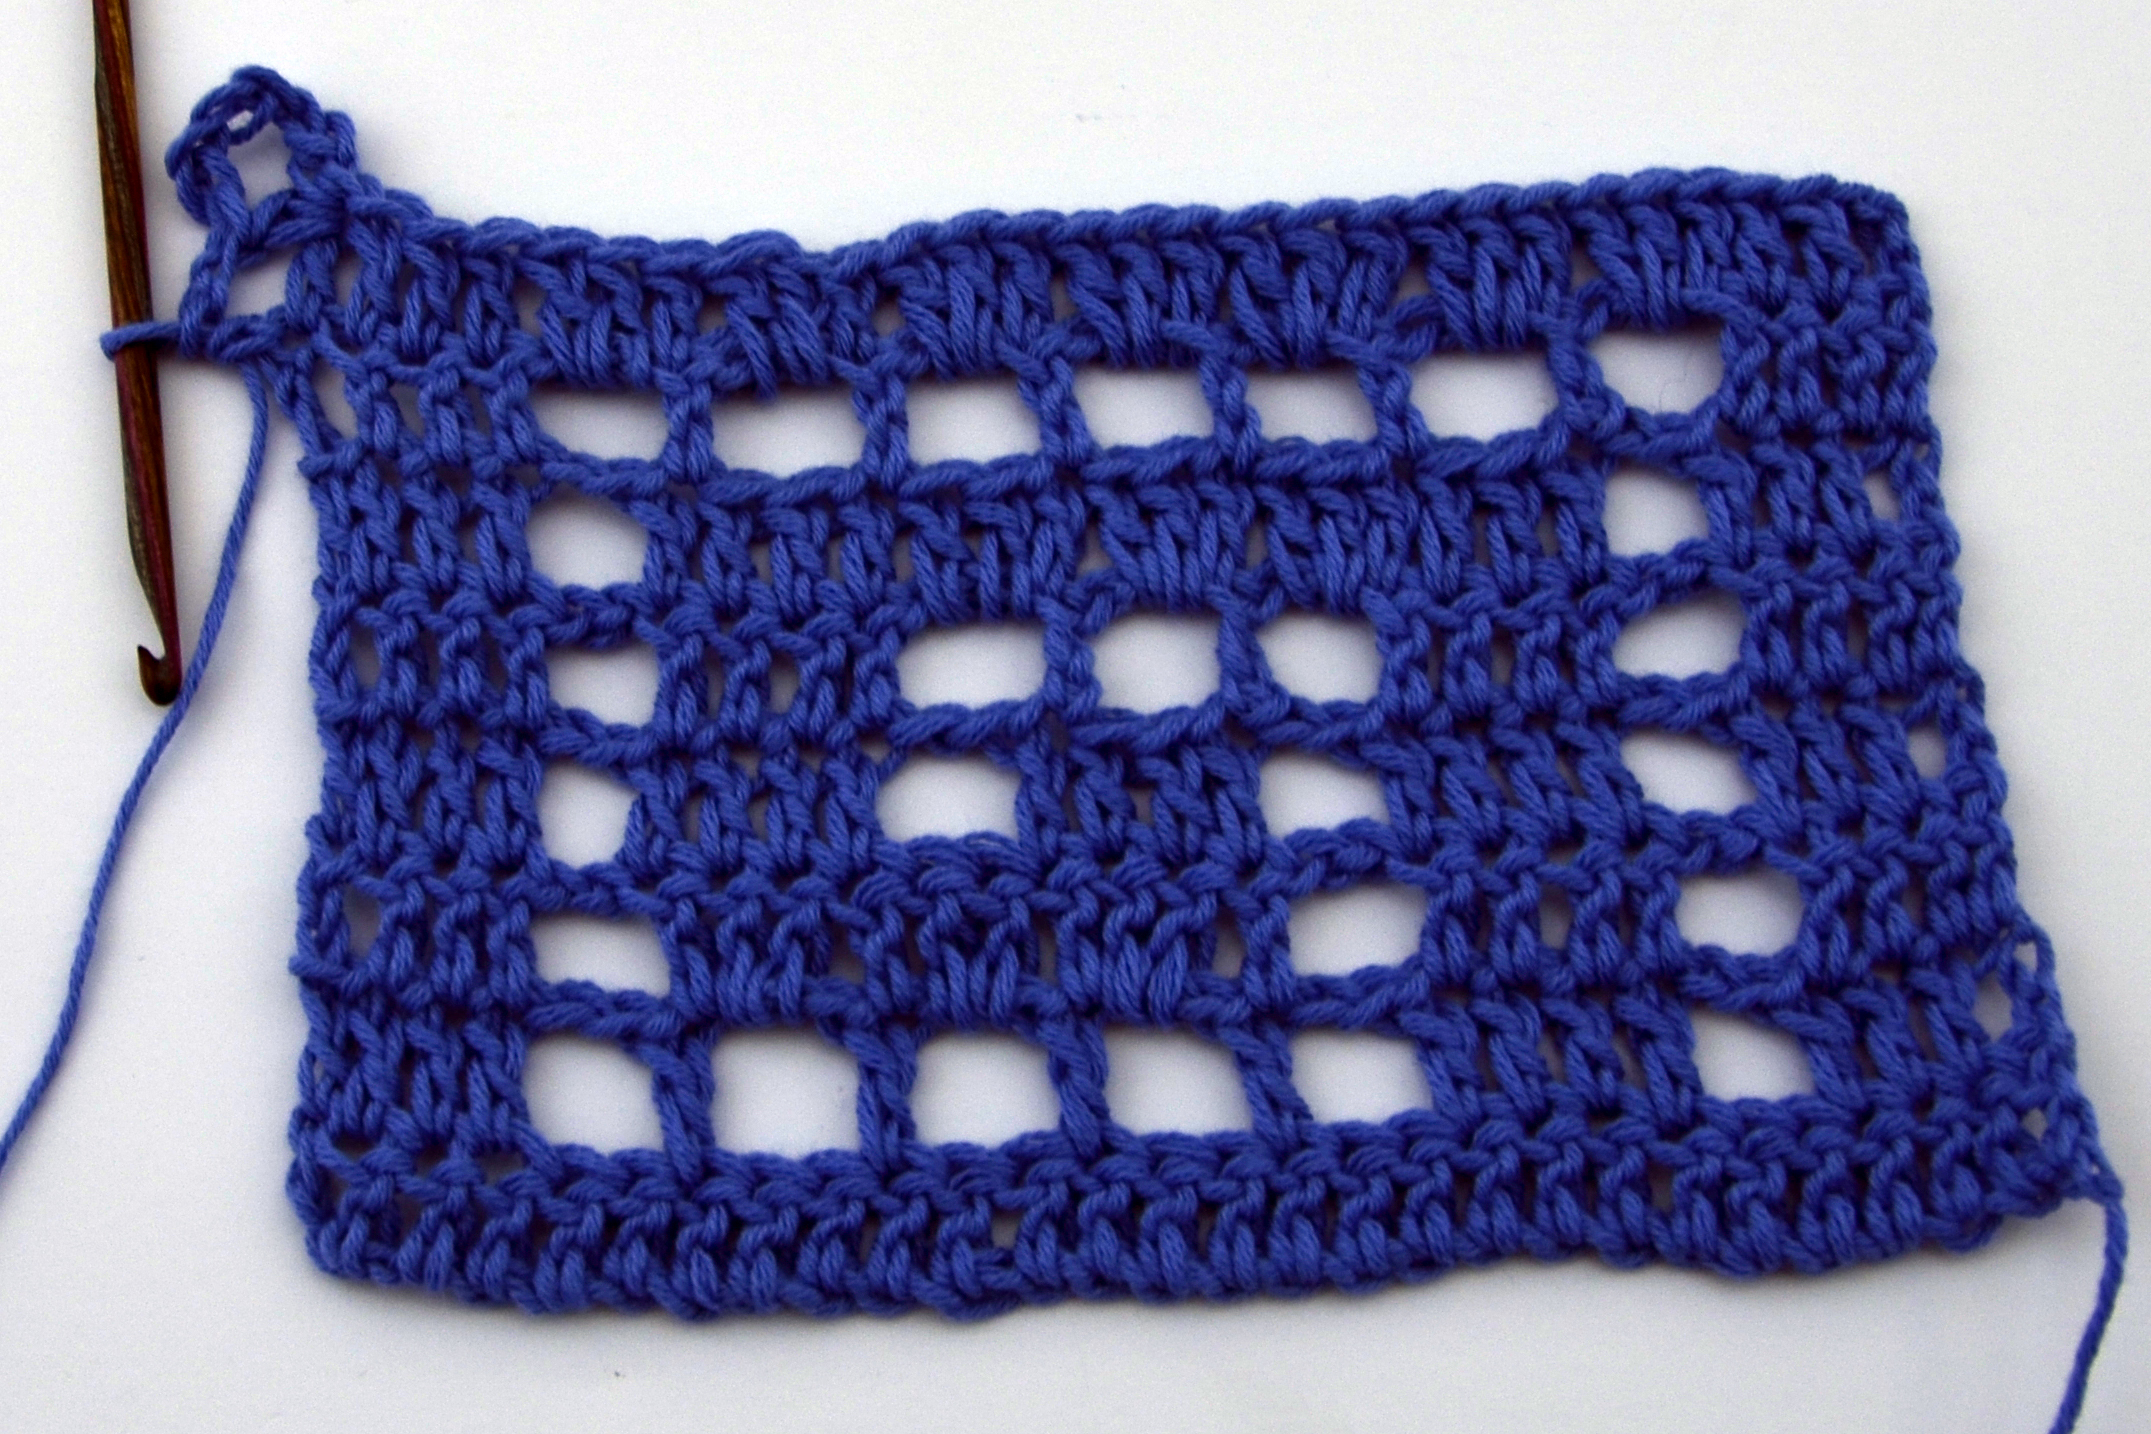
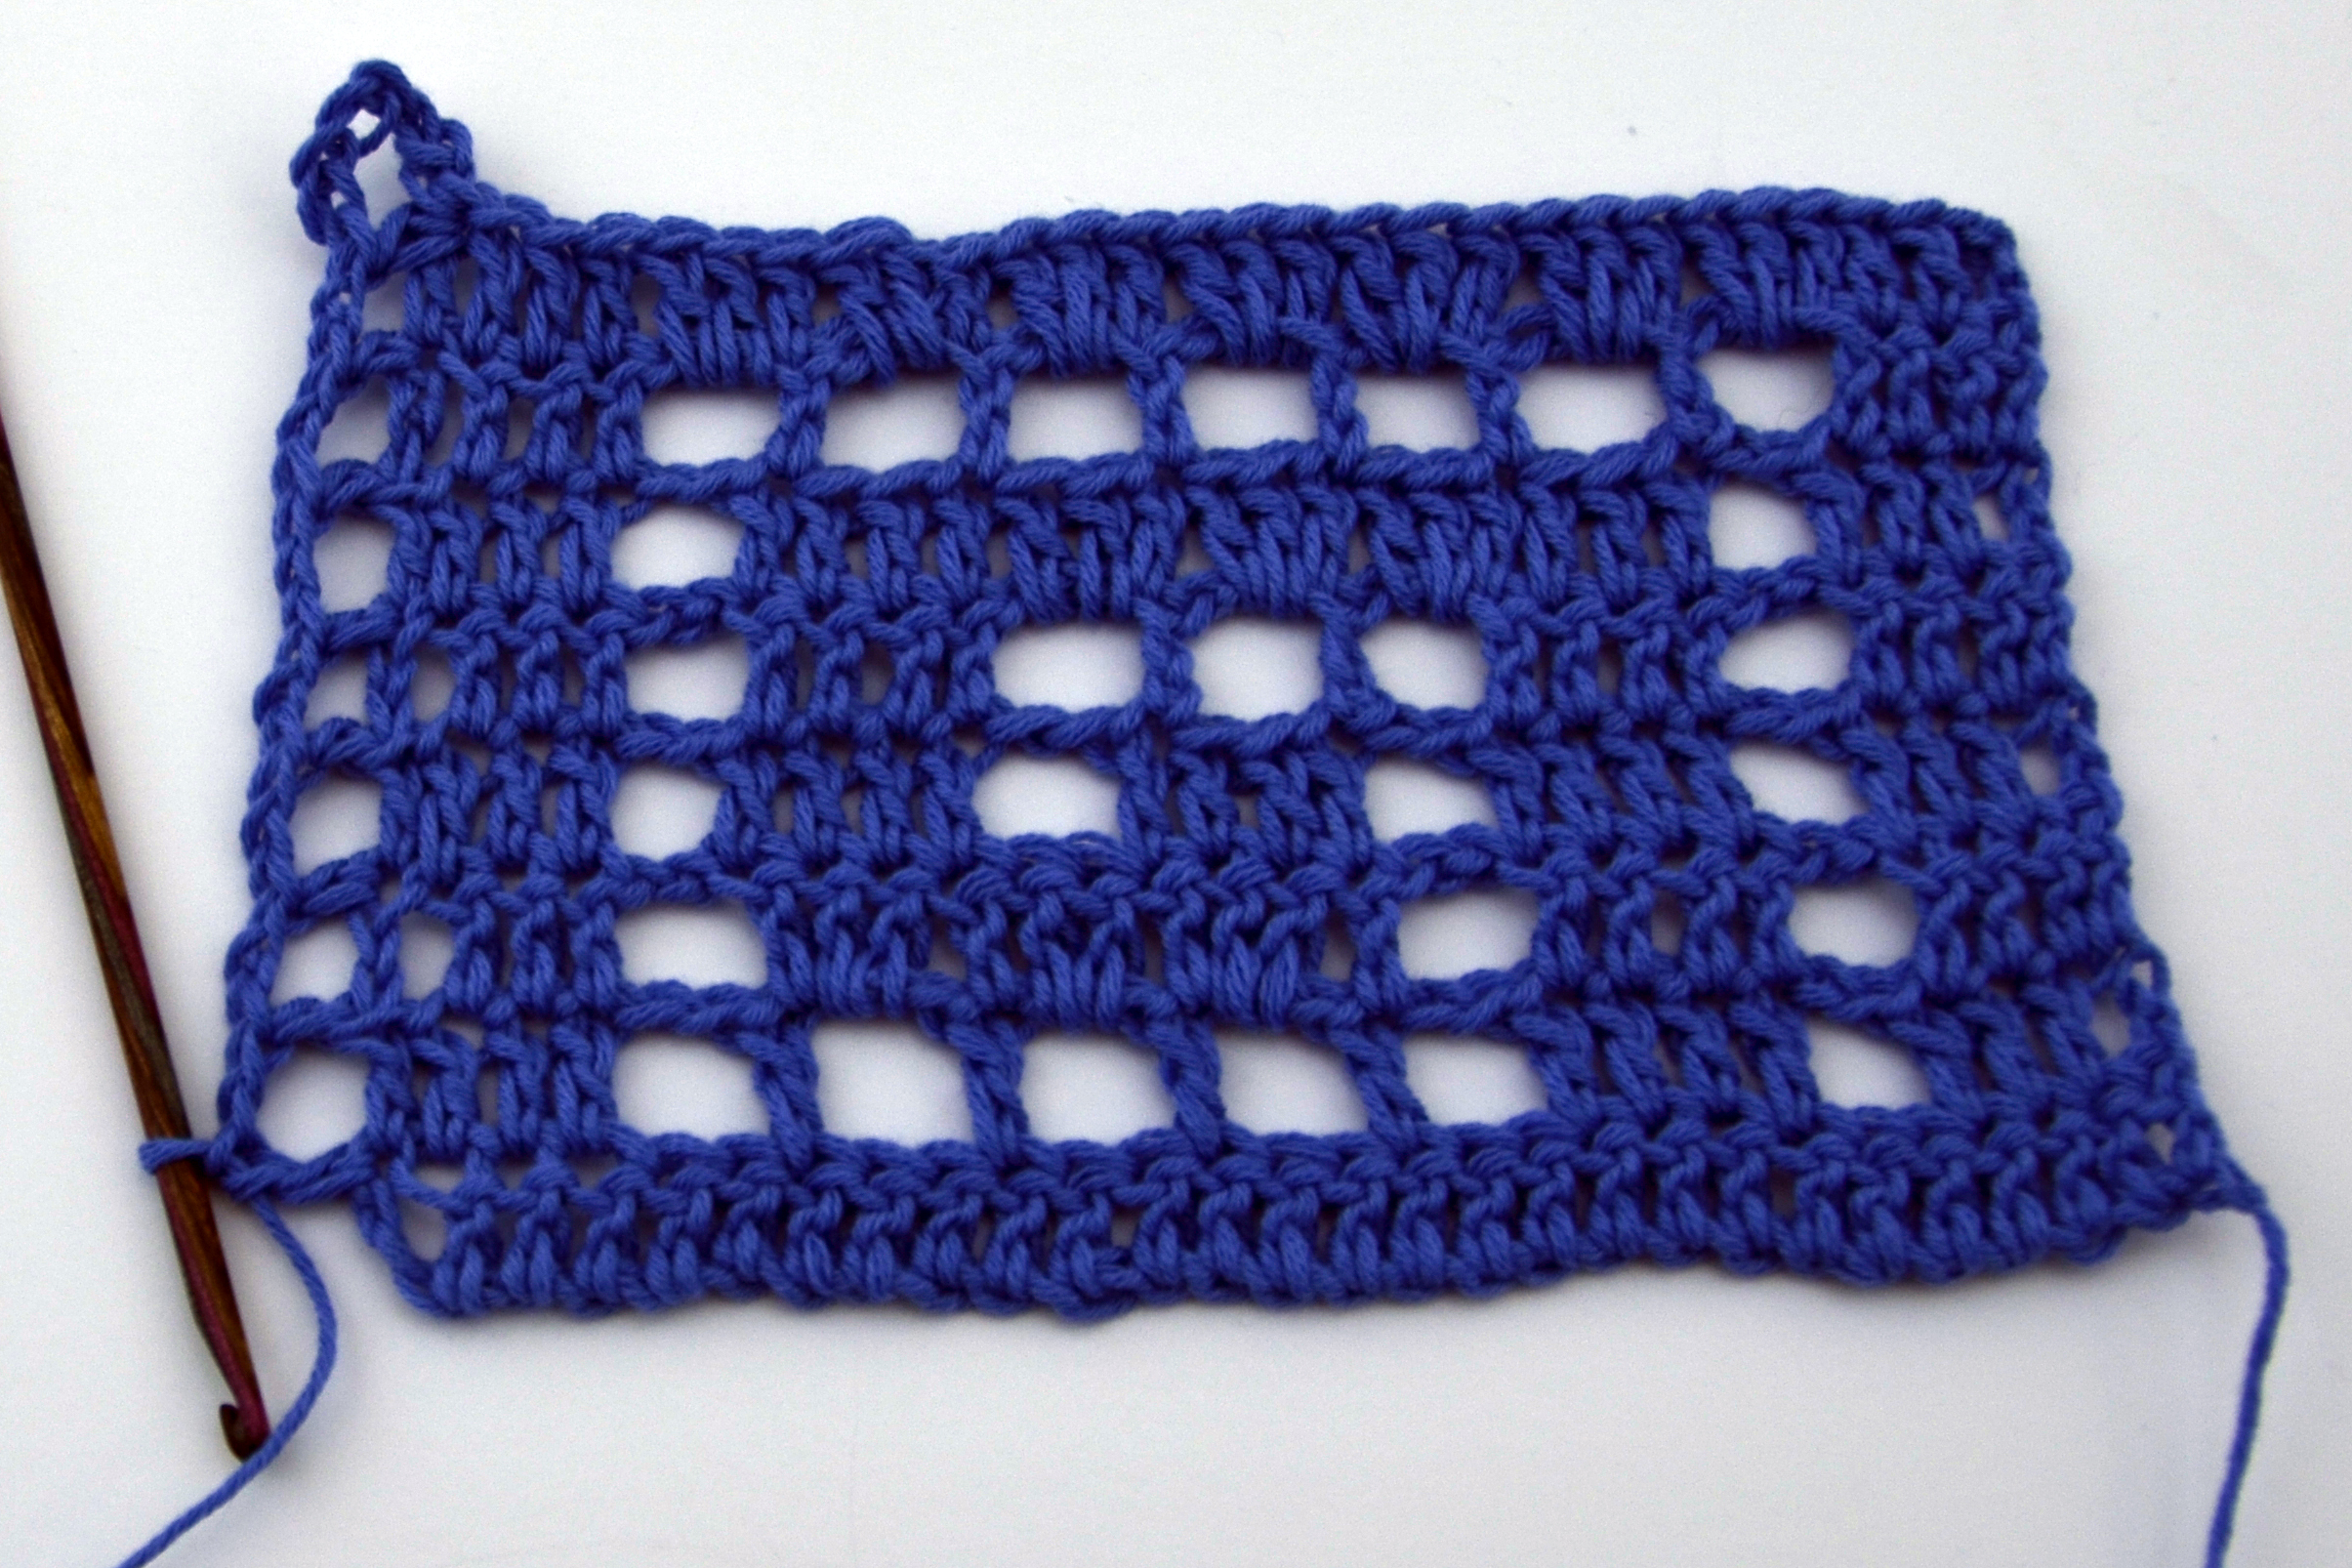
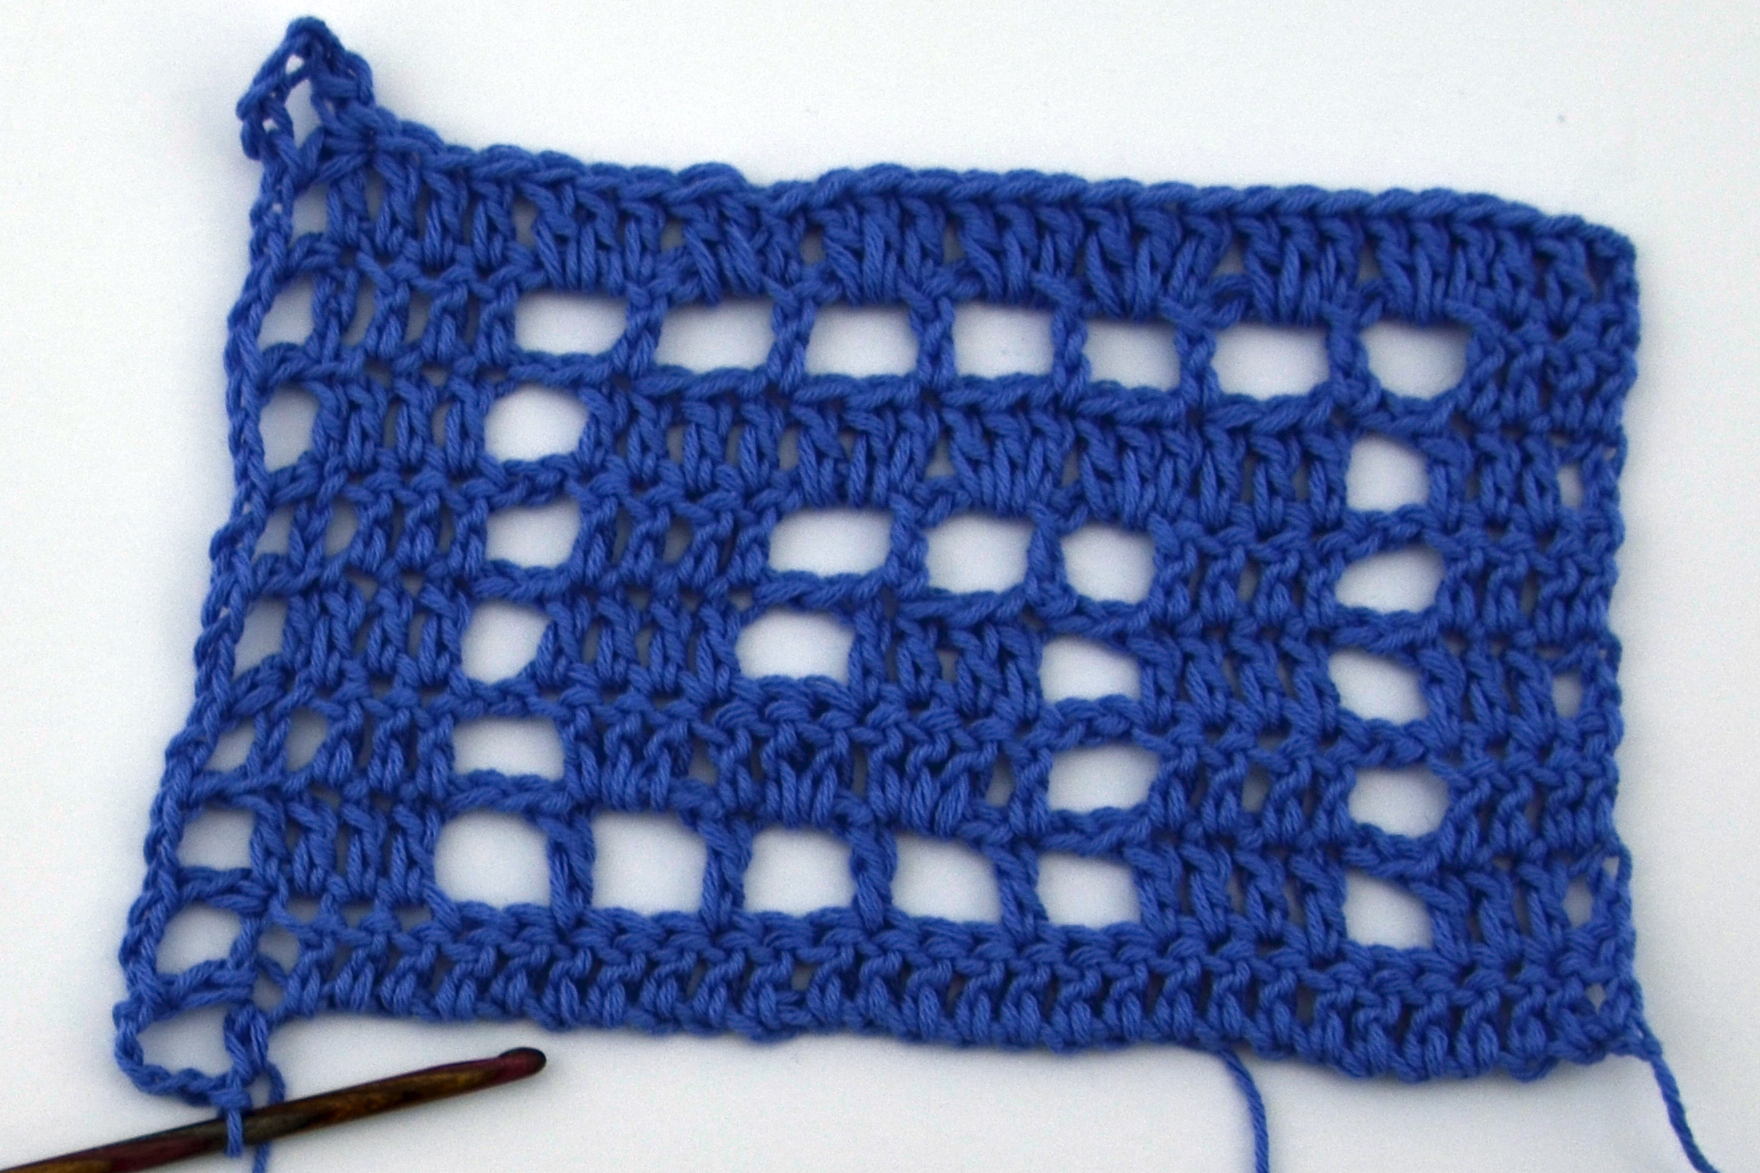
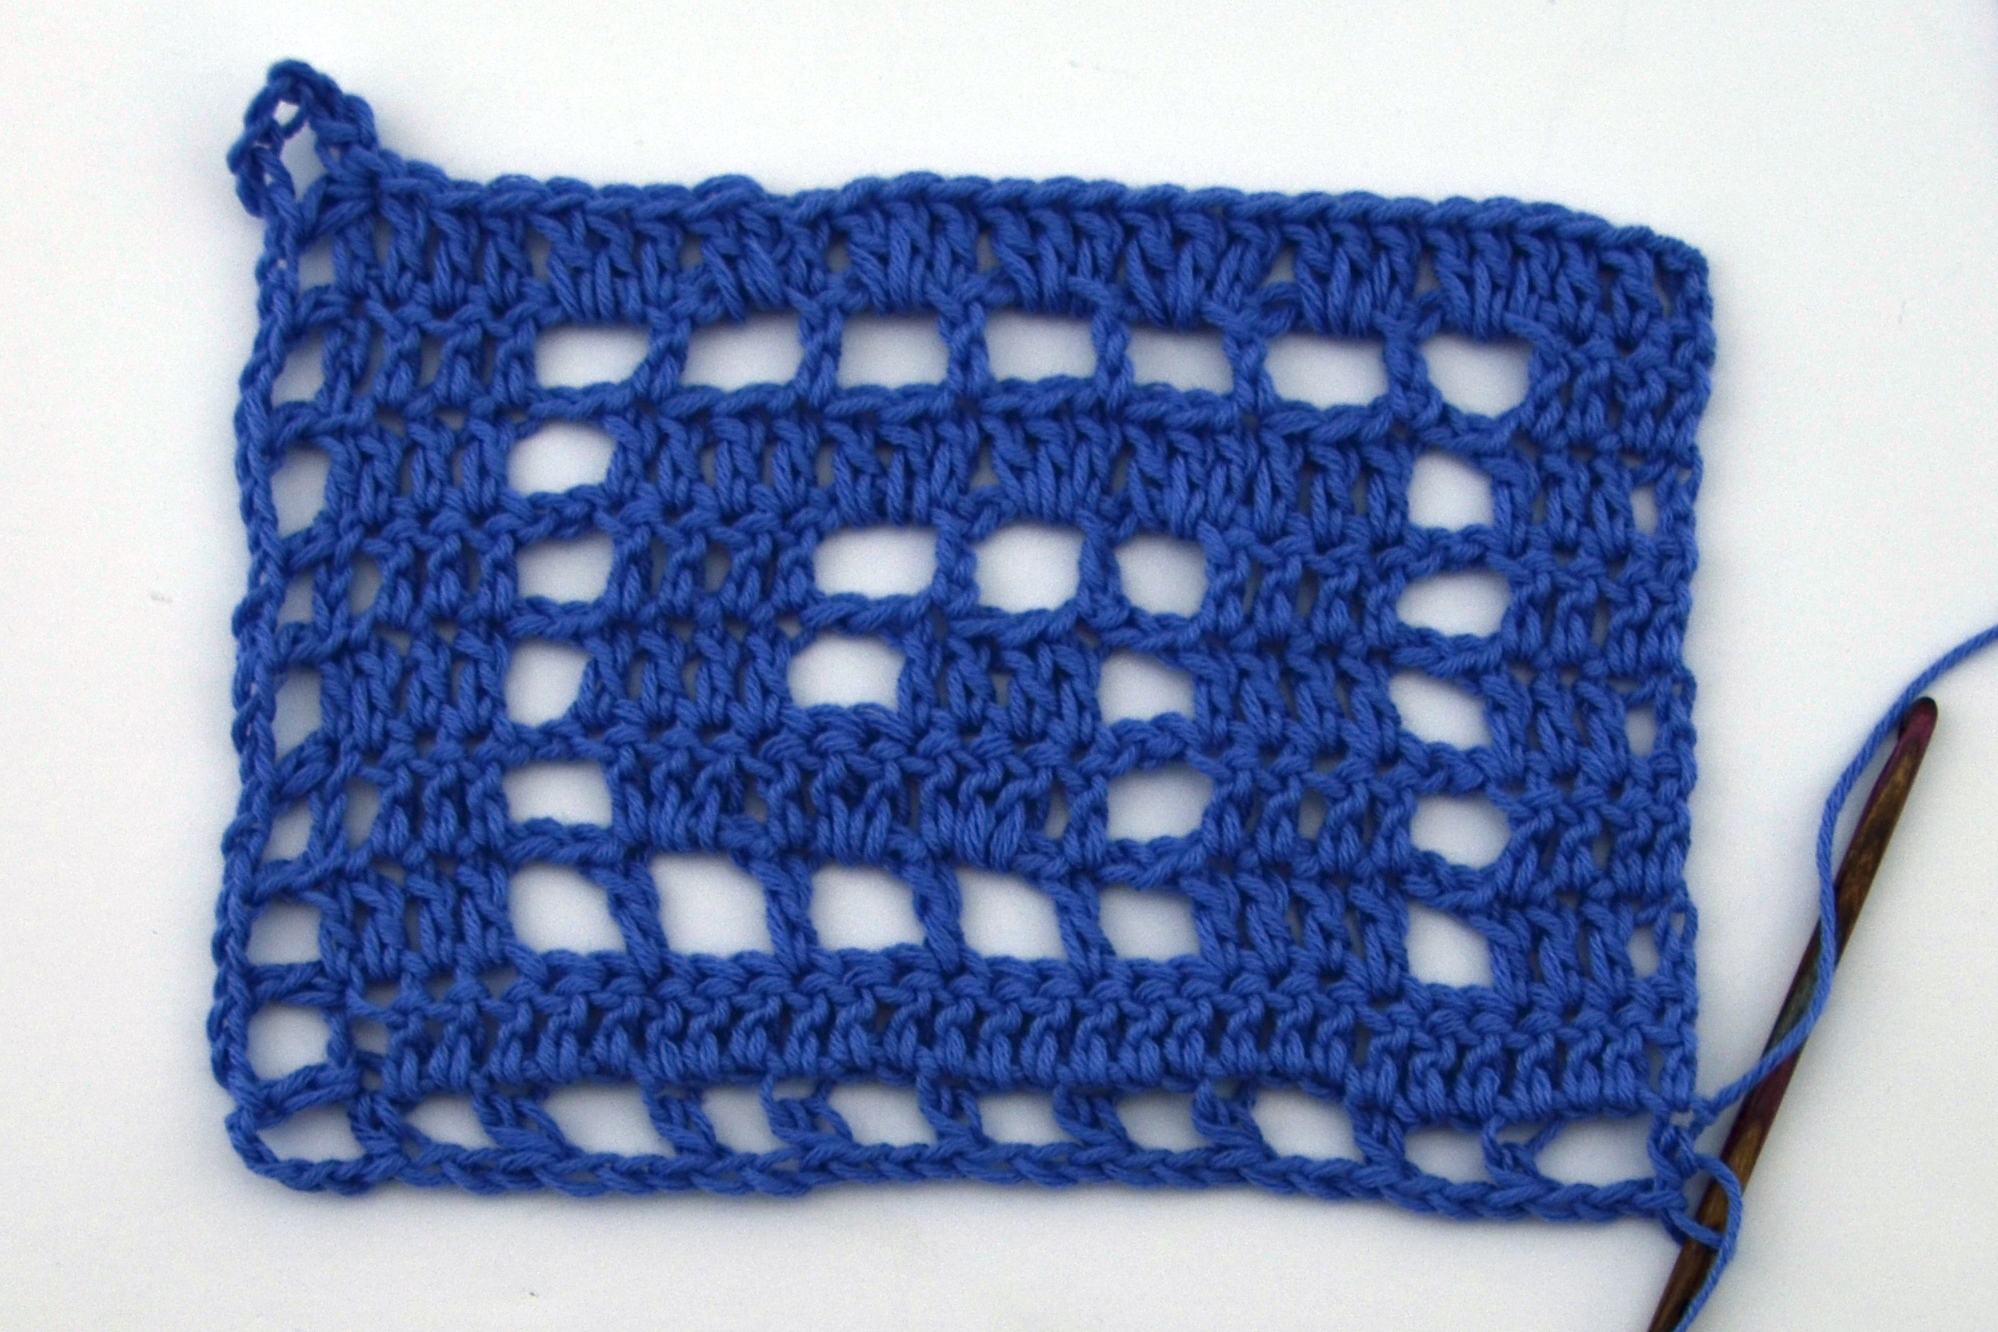
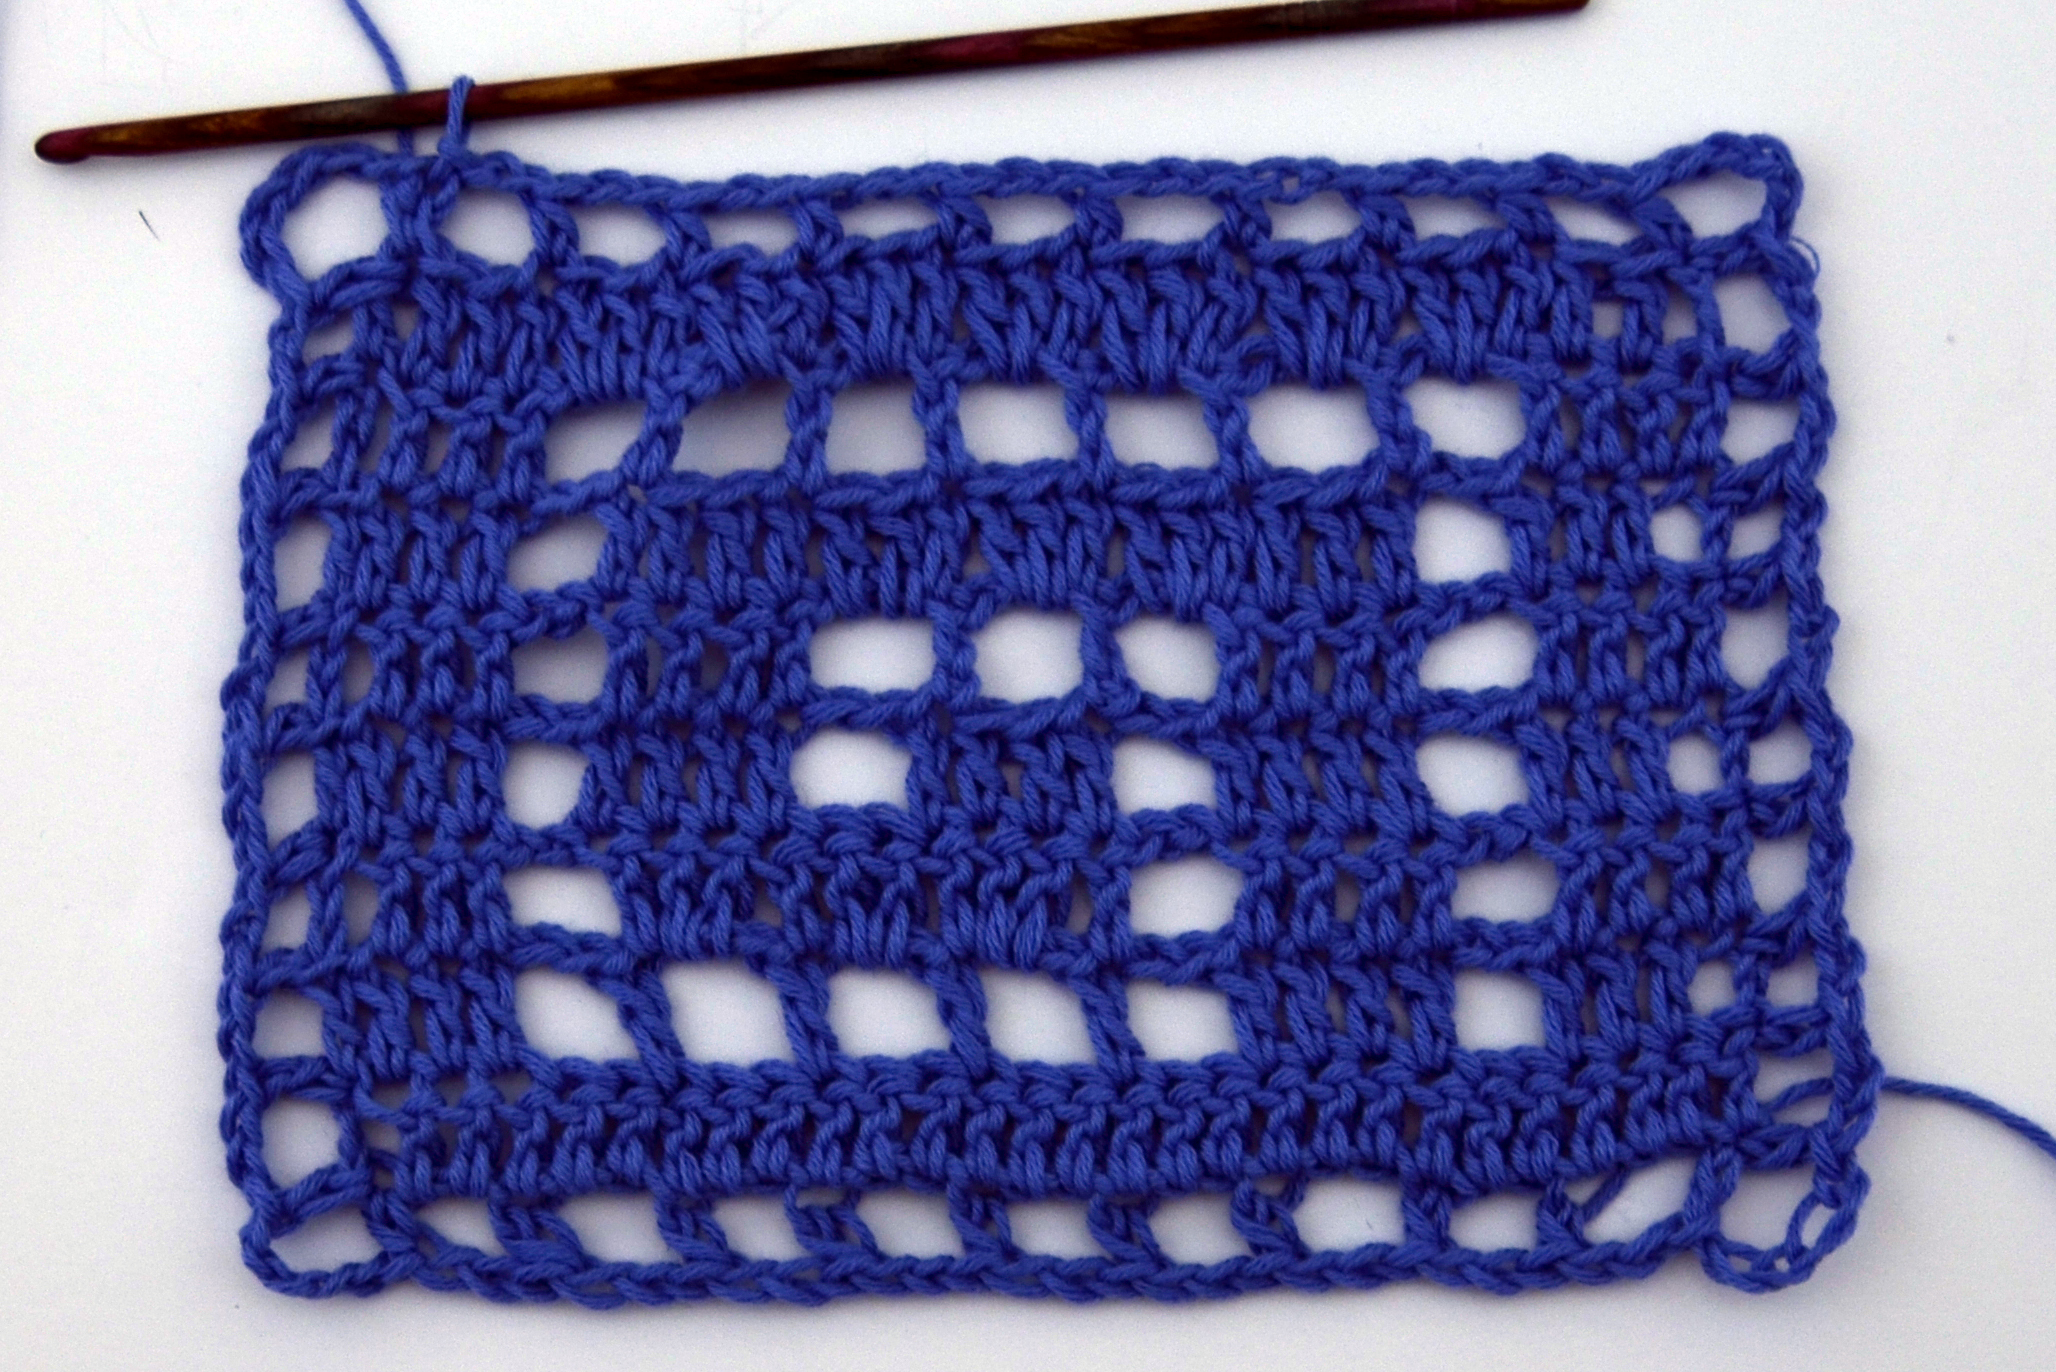
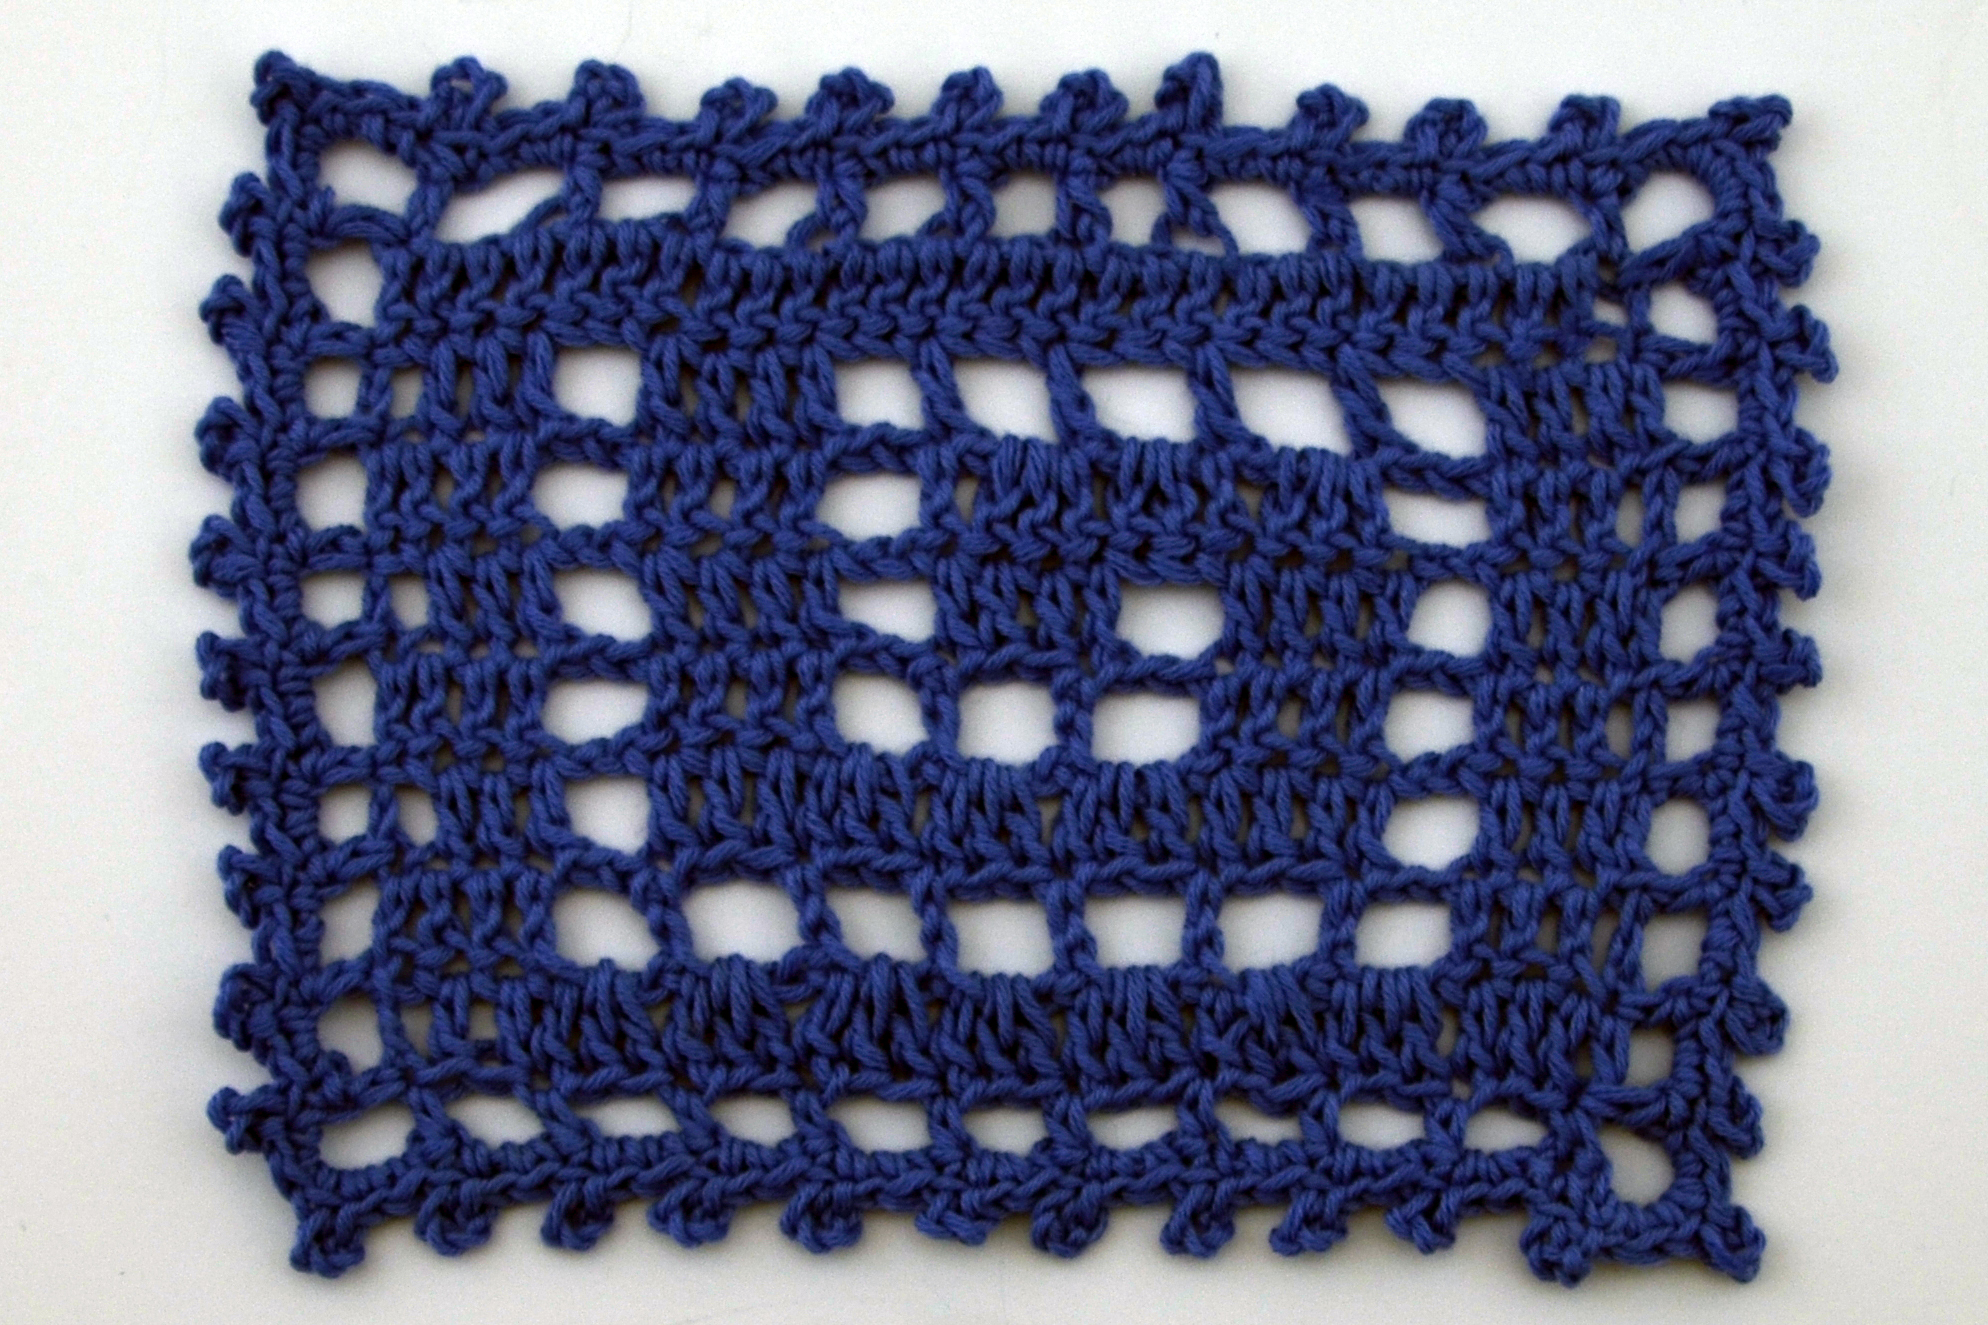
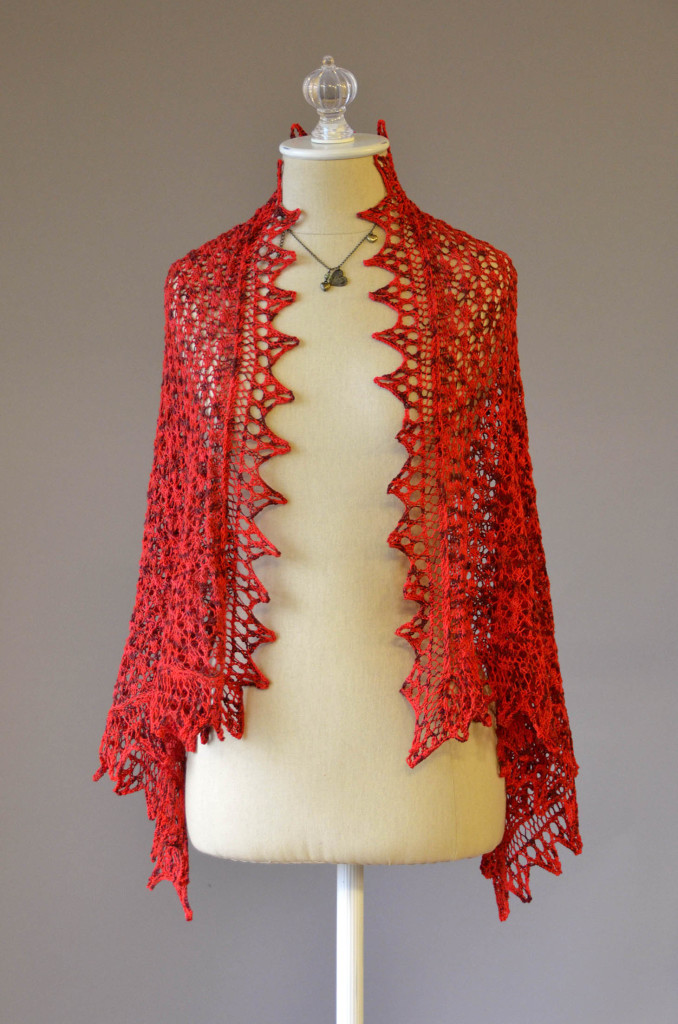
Detail shot of Delphi Stole edging:

DelphiEdging_detail

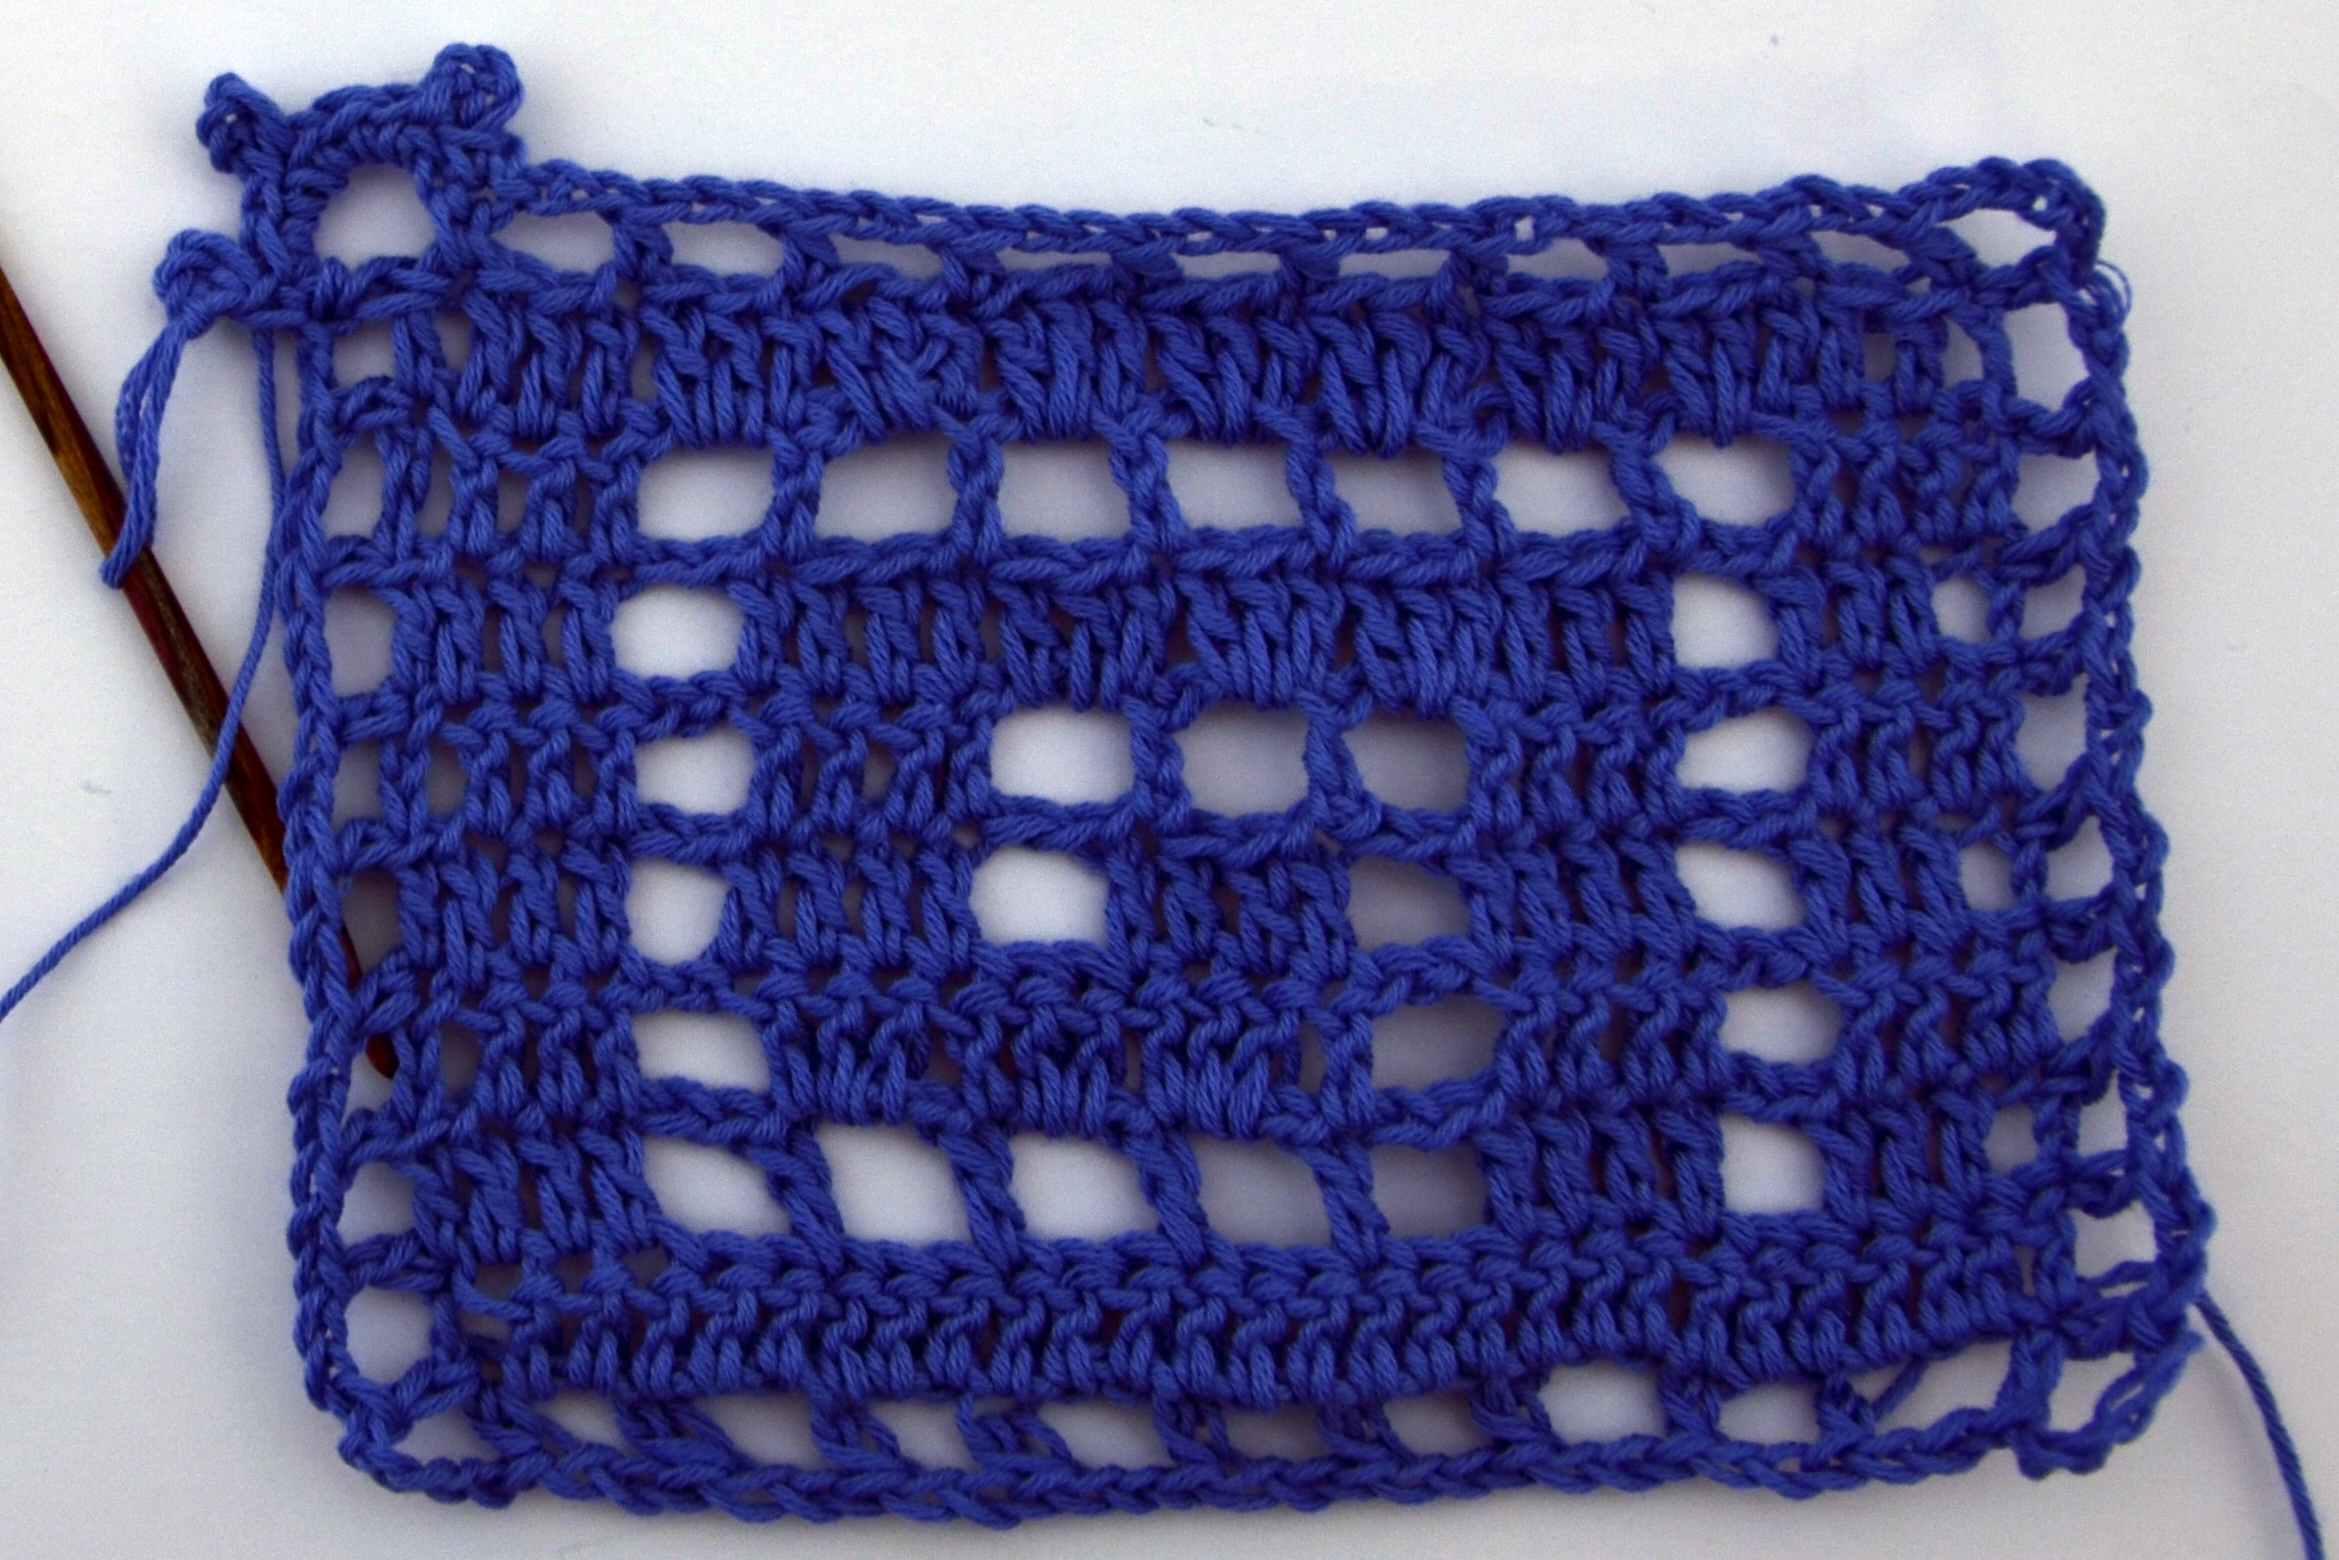
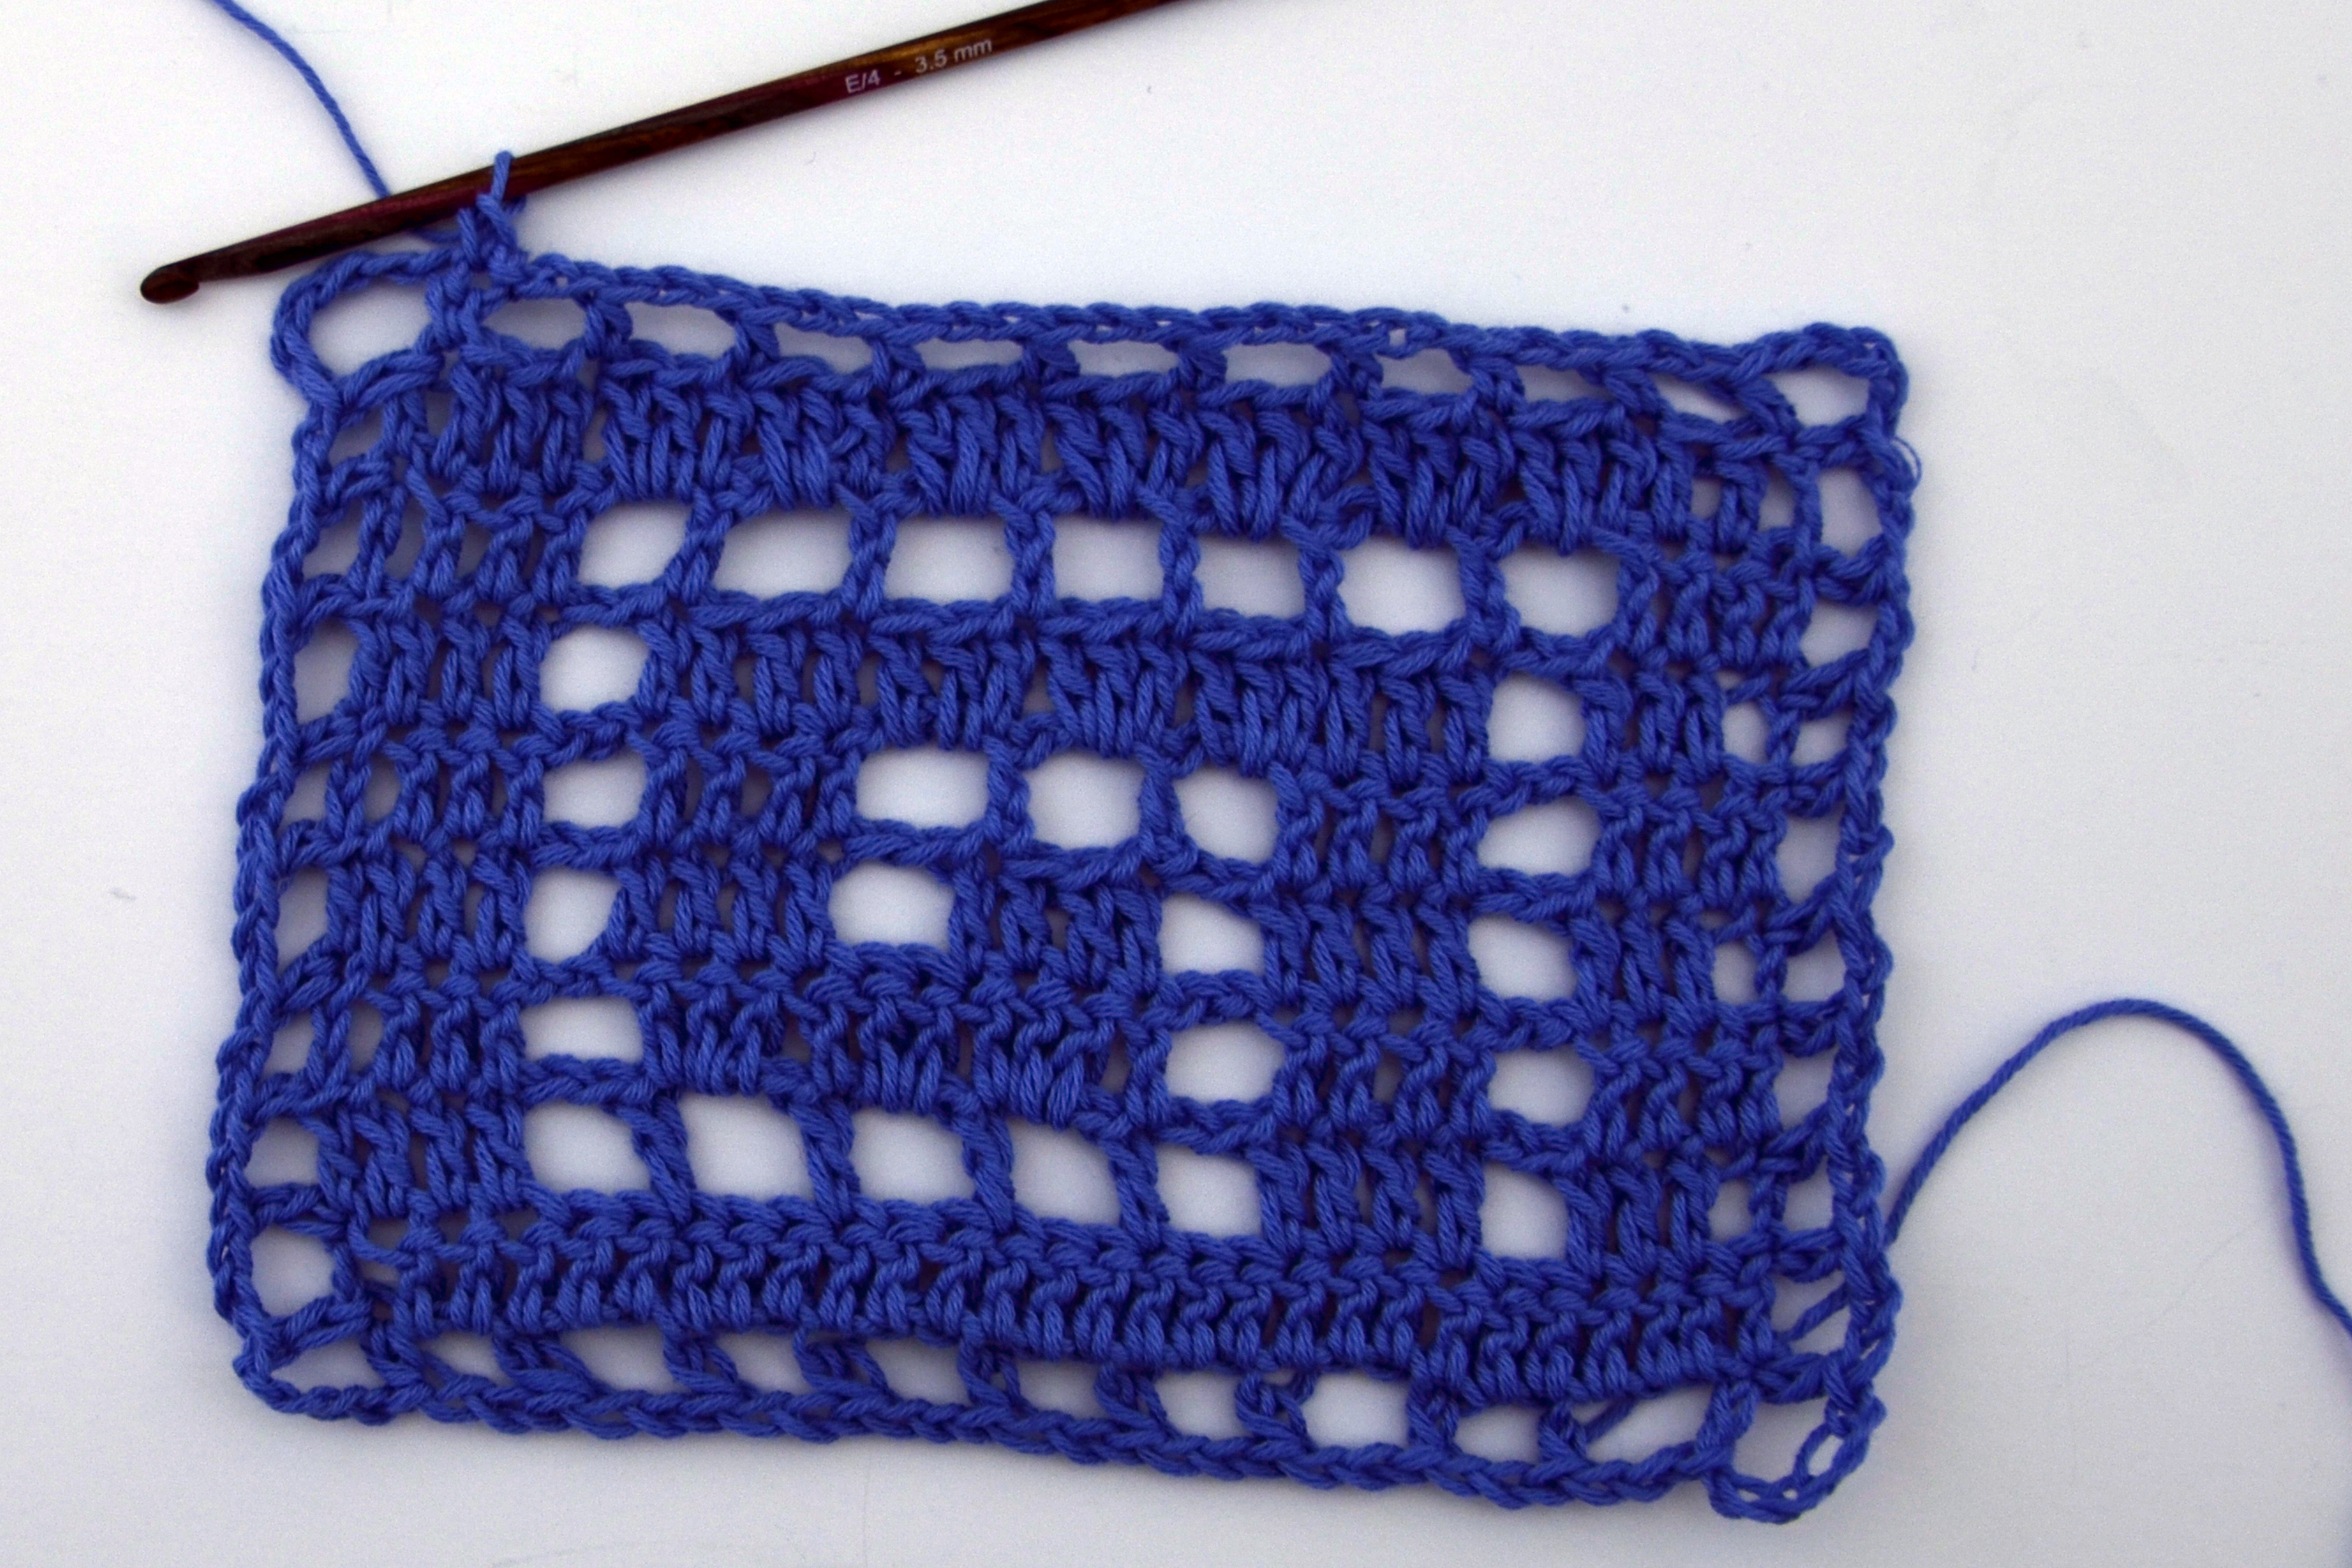
Now we’re going to finish off our little swatch with a simple, yet effective picot edging. Though i fastened off my last stitch of the swatch, there is no need to do this in the actual project. After the last row of the stole body is worked, you just continue on with the edging.

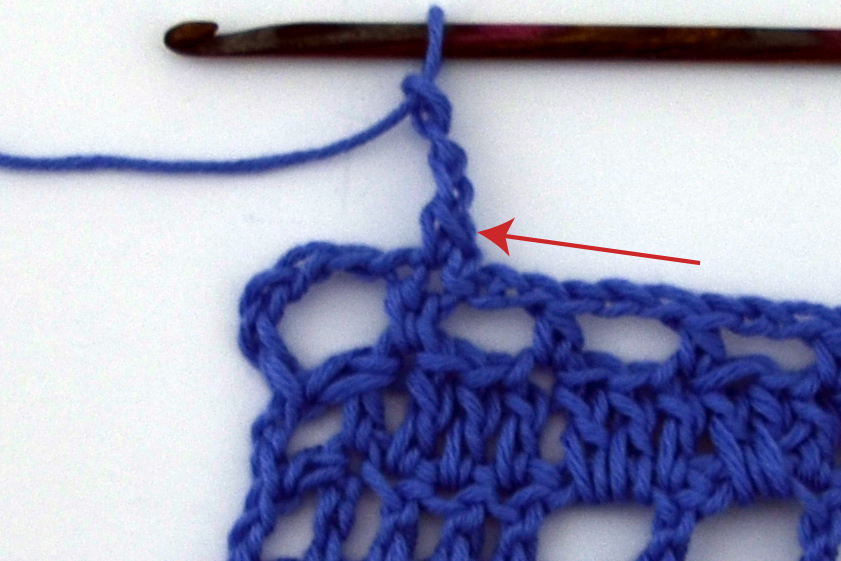
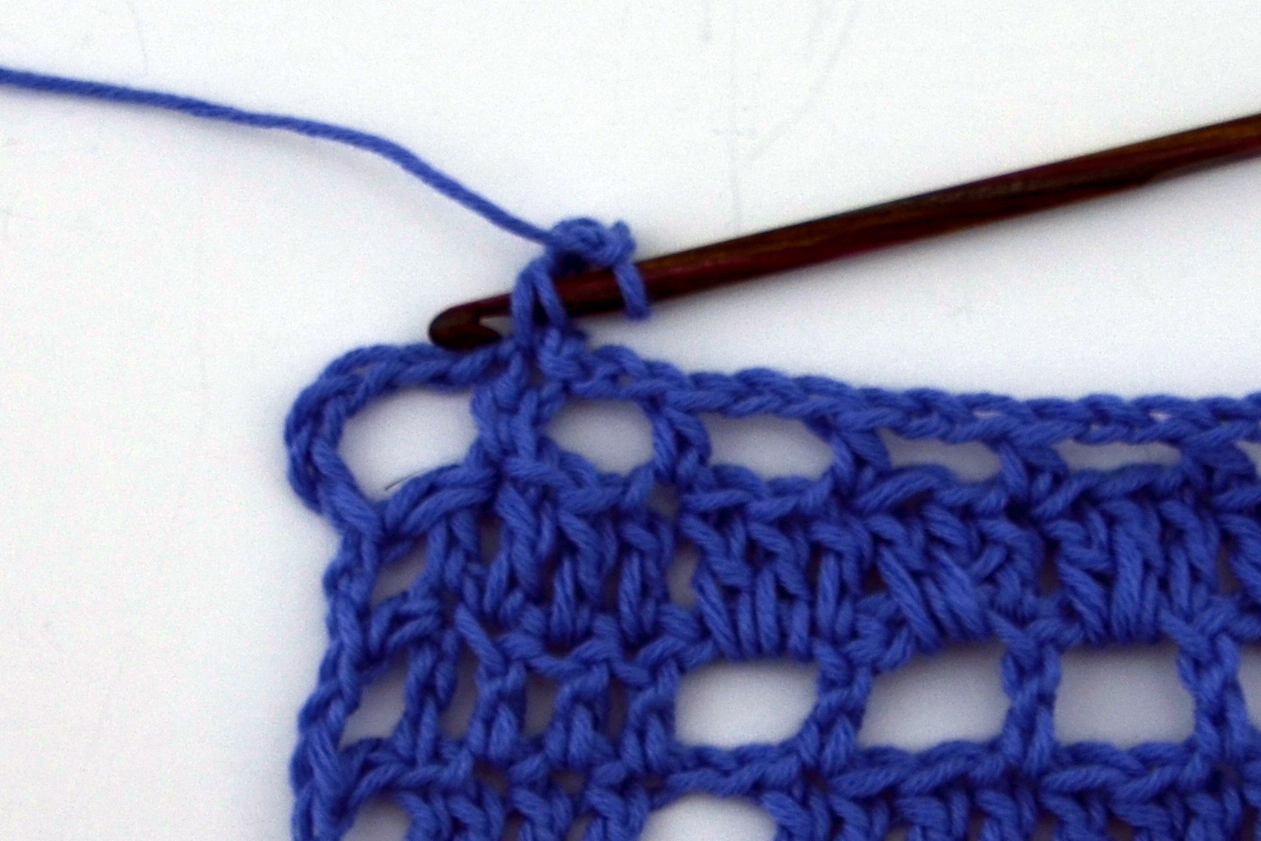
The edging is worked in two rounds. First, let’s talk about round 1. We’re going to create our first corner space by working [chain 1, hdc, chain 5, hdc] into the top of the last double crochet (dc) made from the final row of the stole body.

Edging1

Next, we’re going to be working half double crochet (hdc), chain 2, all the way along the side. We will always be working a chain 2, skipping the sides of the double crochets from the body, and then working a hdc into the top of a dc.

Edging2

Here’s how things look after we finish the first side:

Edging3

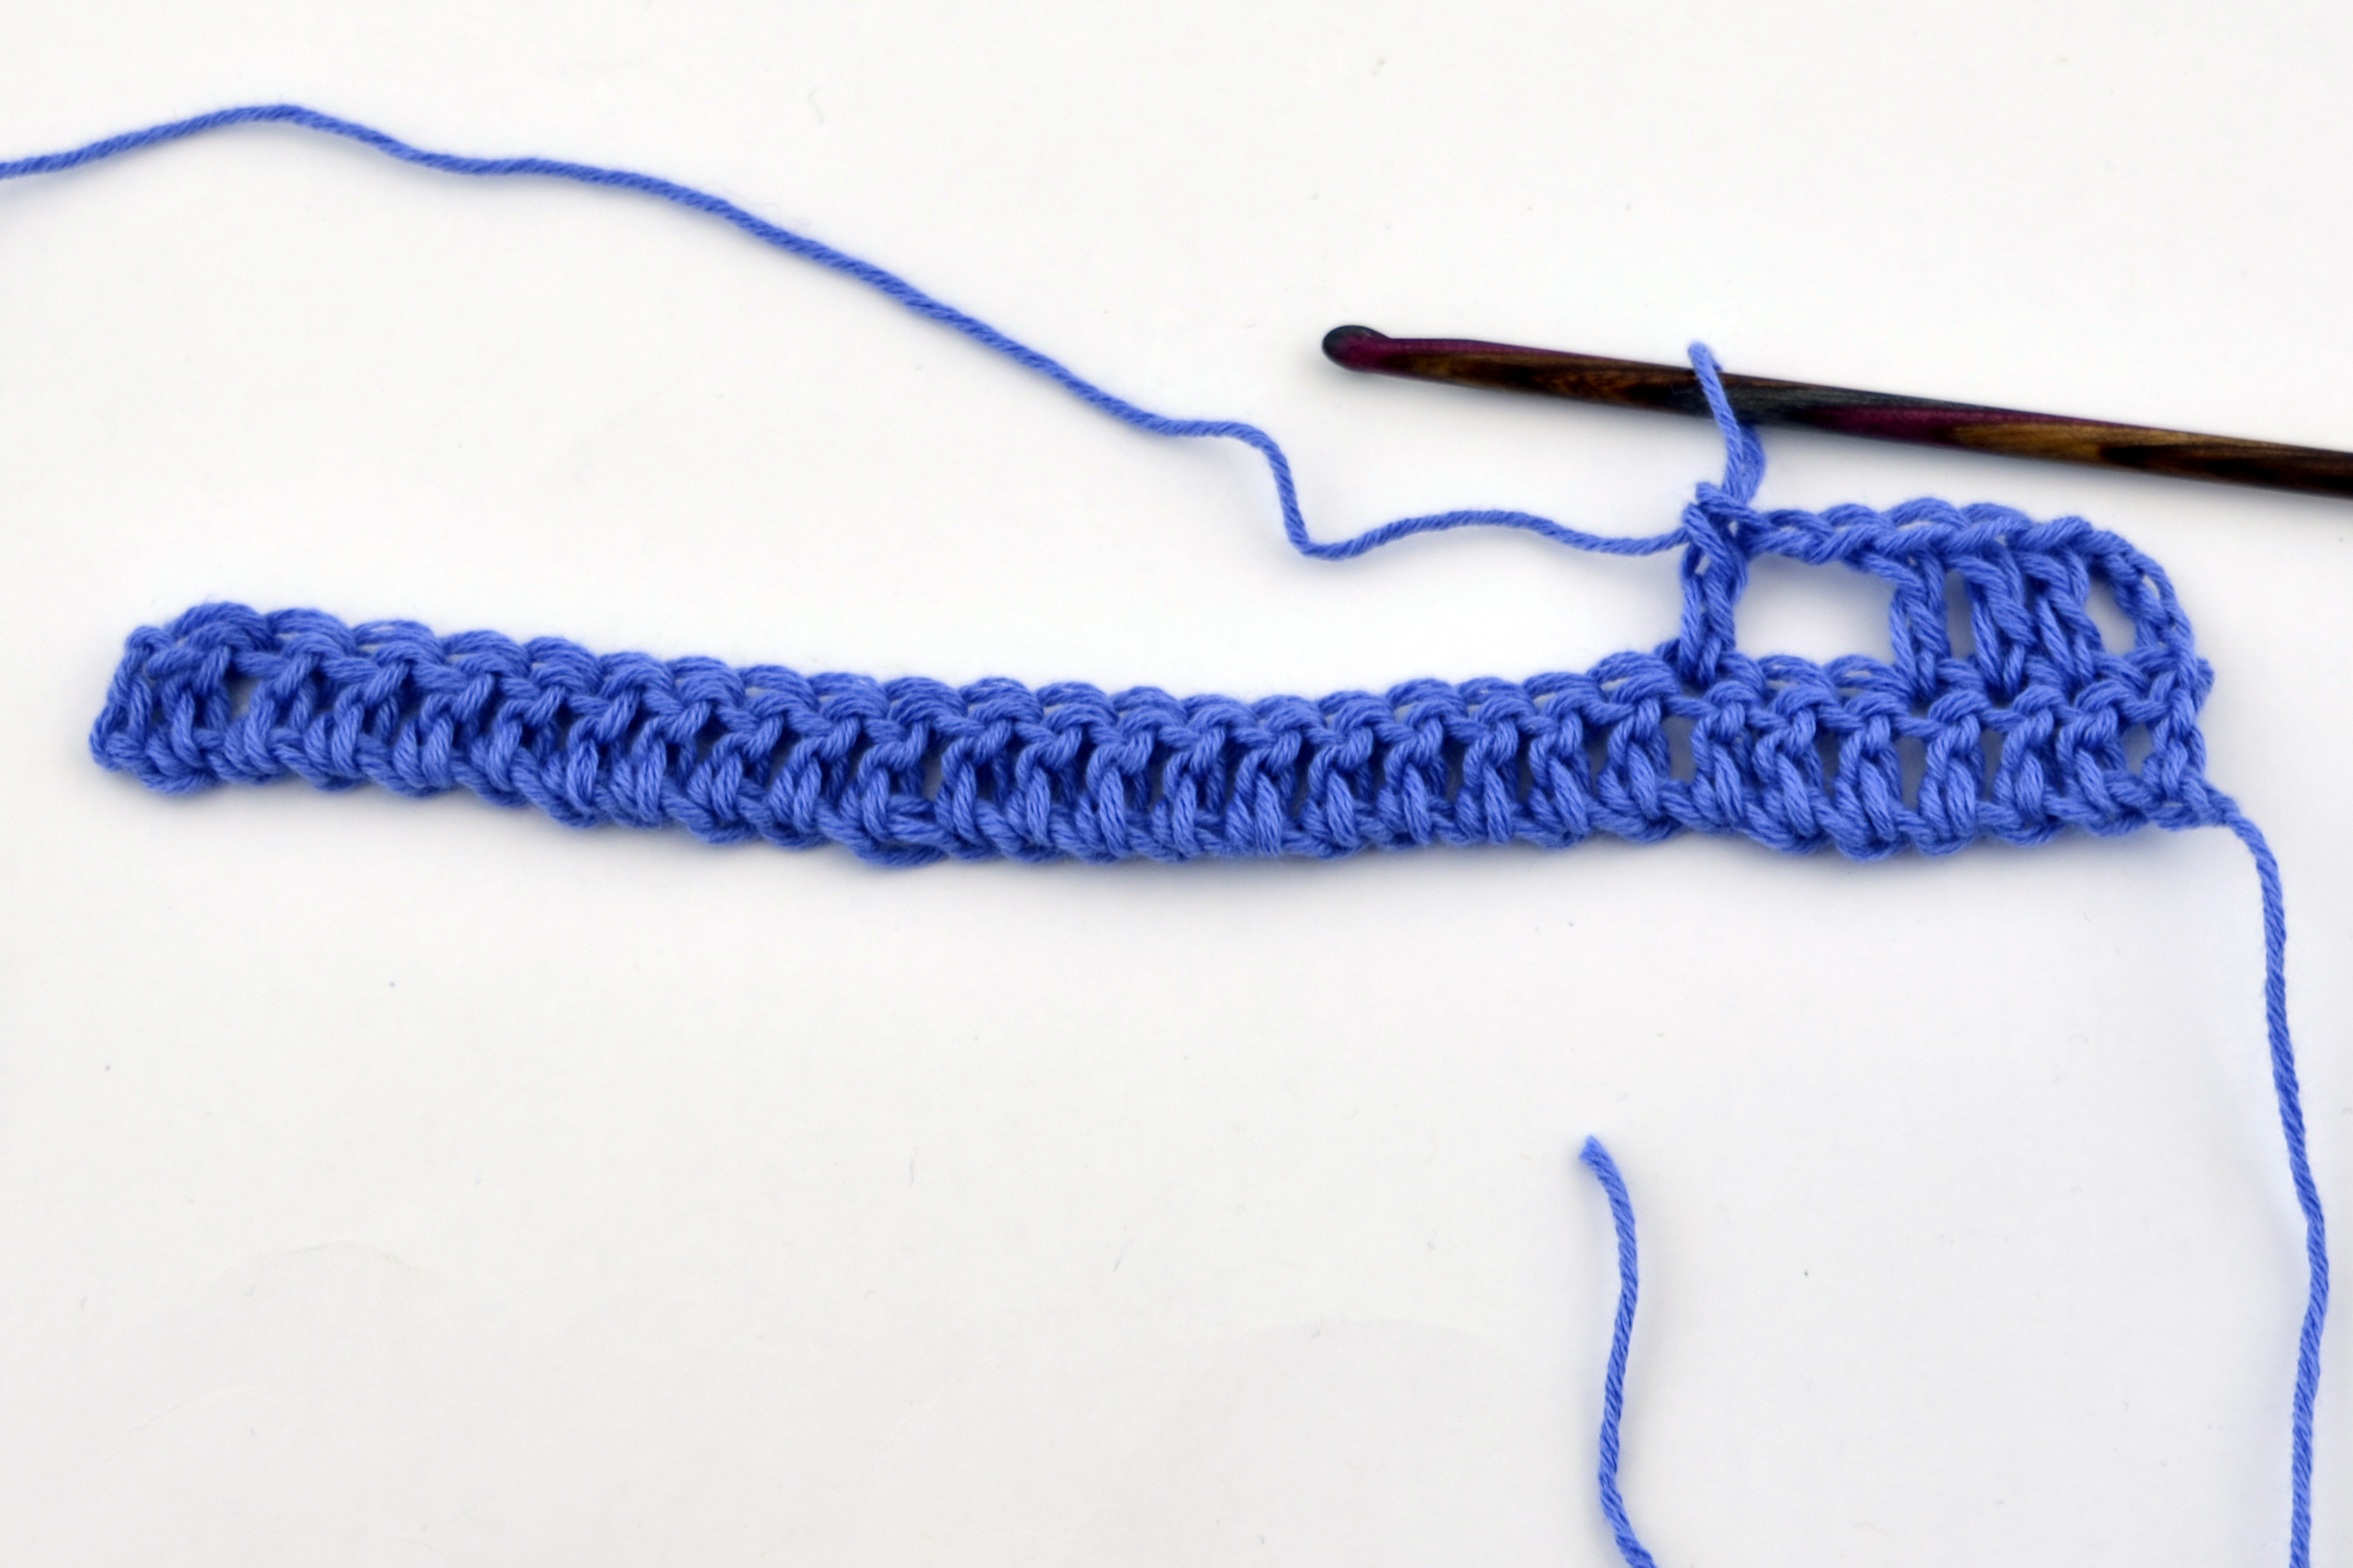
To make the next corner, we’ll do what we did for that first corner (hdc, ch 5, hdc), but in the bottom of the first double crochet from row 1 of the body:

Edging4

Then, working along the beginning chain edge, we’ll work [ch 2, skip 2 dc/ch, hdc in next dc] all along the lower edge:

Edging5

And so on, until you’ve made your way back to that first hdc. Join with a slip stitch to the top of that hdc.

Edging6

Round 2 is mostly single crochet (sc), with a picot thrown in every third sc. These picots serve two purposes: 1) they add a tiny amount of dense weight that helps the stole to drape and be a bit more “grounded”; 2) the picots serve as perfect little spots to run blocking wires through, allowing you to block your piece with ease.

To begin round 2, ch 1, sc in top of same hdc.

Edging7

Next we’re going to make a picot on top of the sc. The instructions for the picot are [ch 3, sl st in top of sc just made].  Now, the “chain 3” part of the instructions are clear enough. But the “slip stitch in top of single crochet just made” can be tricky. I mean, there are all sorts of ways you could sl st in that sc. You could work through the front loop; you could work through both top loops; you could work through the back loop. I do something a little different when I’m working picots – just a personal preference. I like to work through both the top loop and the front bar of the stitch. I find that this sort of anchors the picot more securely to the work and also forces the picot into a nice rounded shape. The arrow below is pointing to the top front loop of the single crochet, and then that loop just to the left is the front bar.

Edging8_detail

I like to insert my hook through both of these loops. But no matter what your preference is, be consistent with how you do it.

Edging8.5

Here’s what our first corner looks like. I worked [3 sc, picot, 2 sc] into the chain 5 space, then [sc, picot] into the next hdc:

Edging9

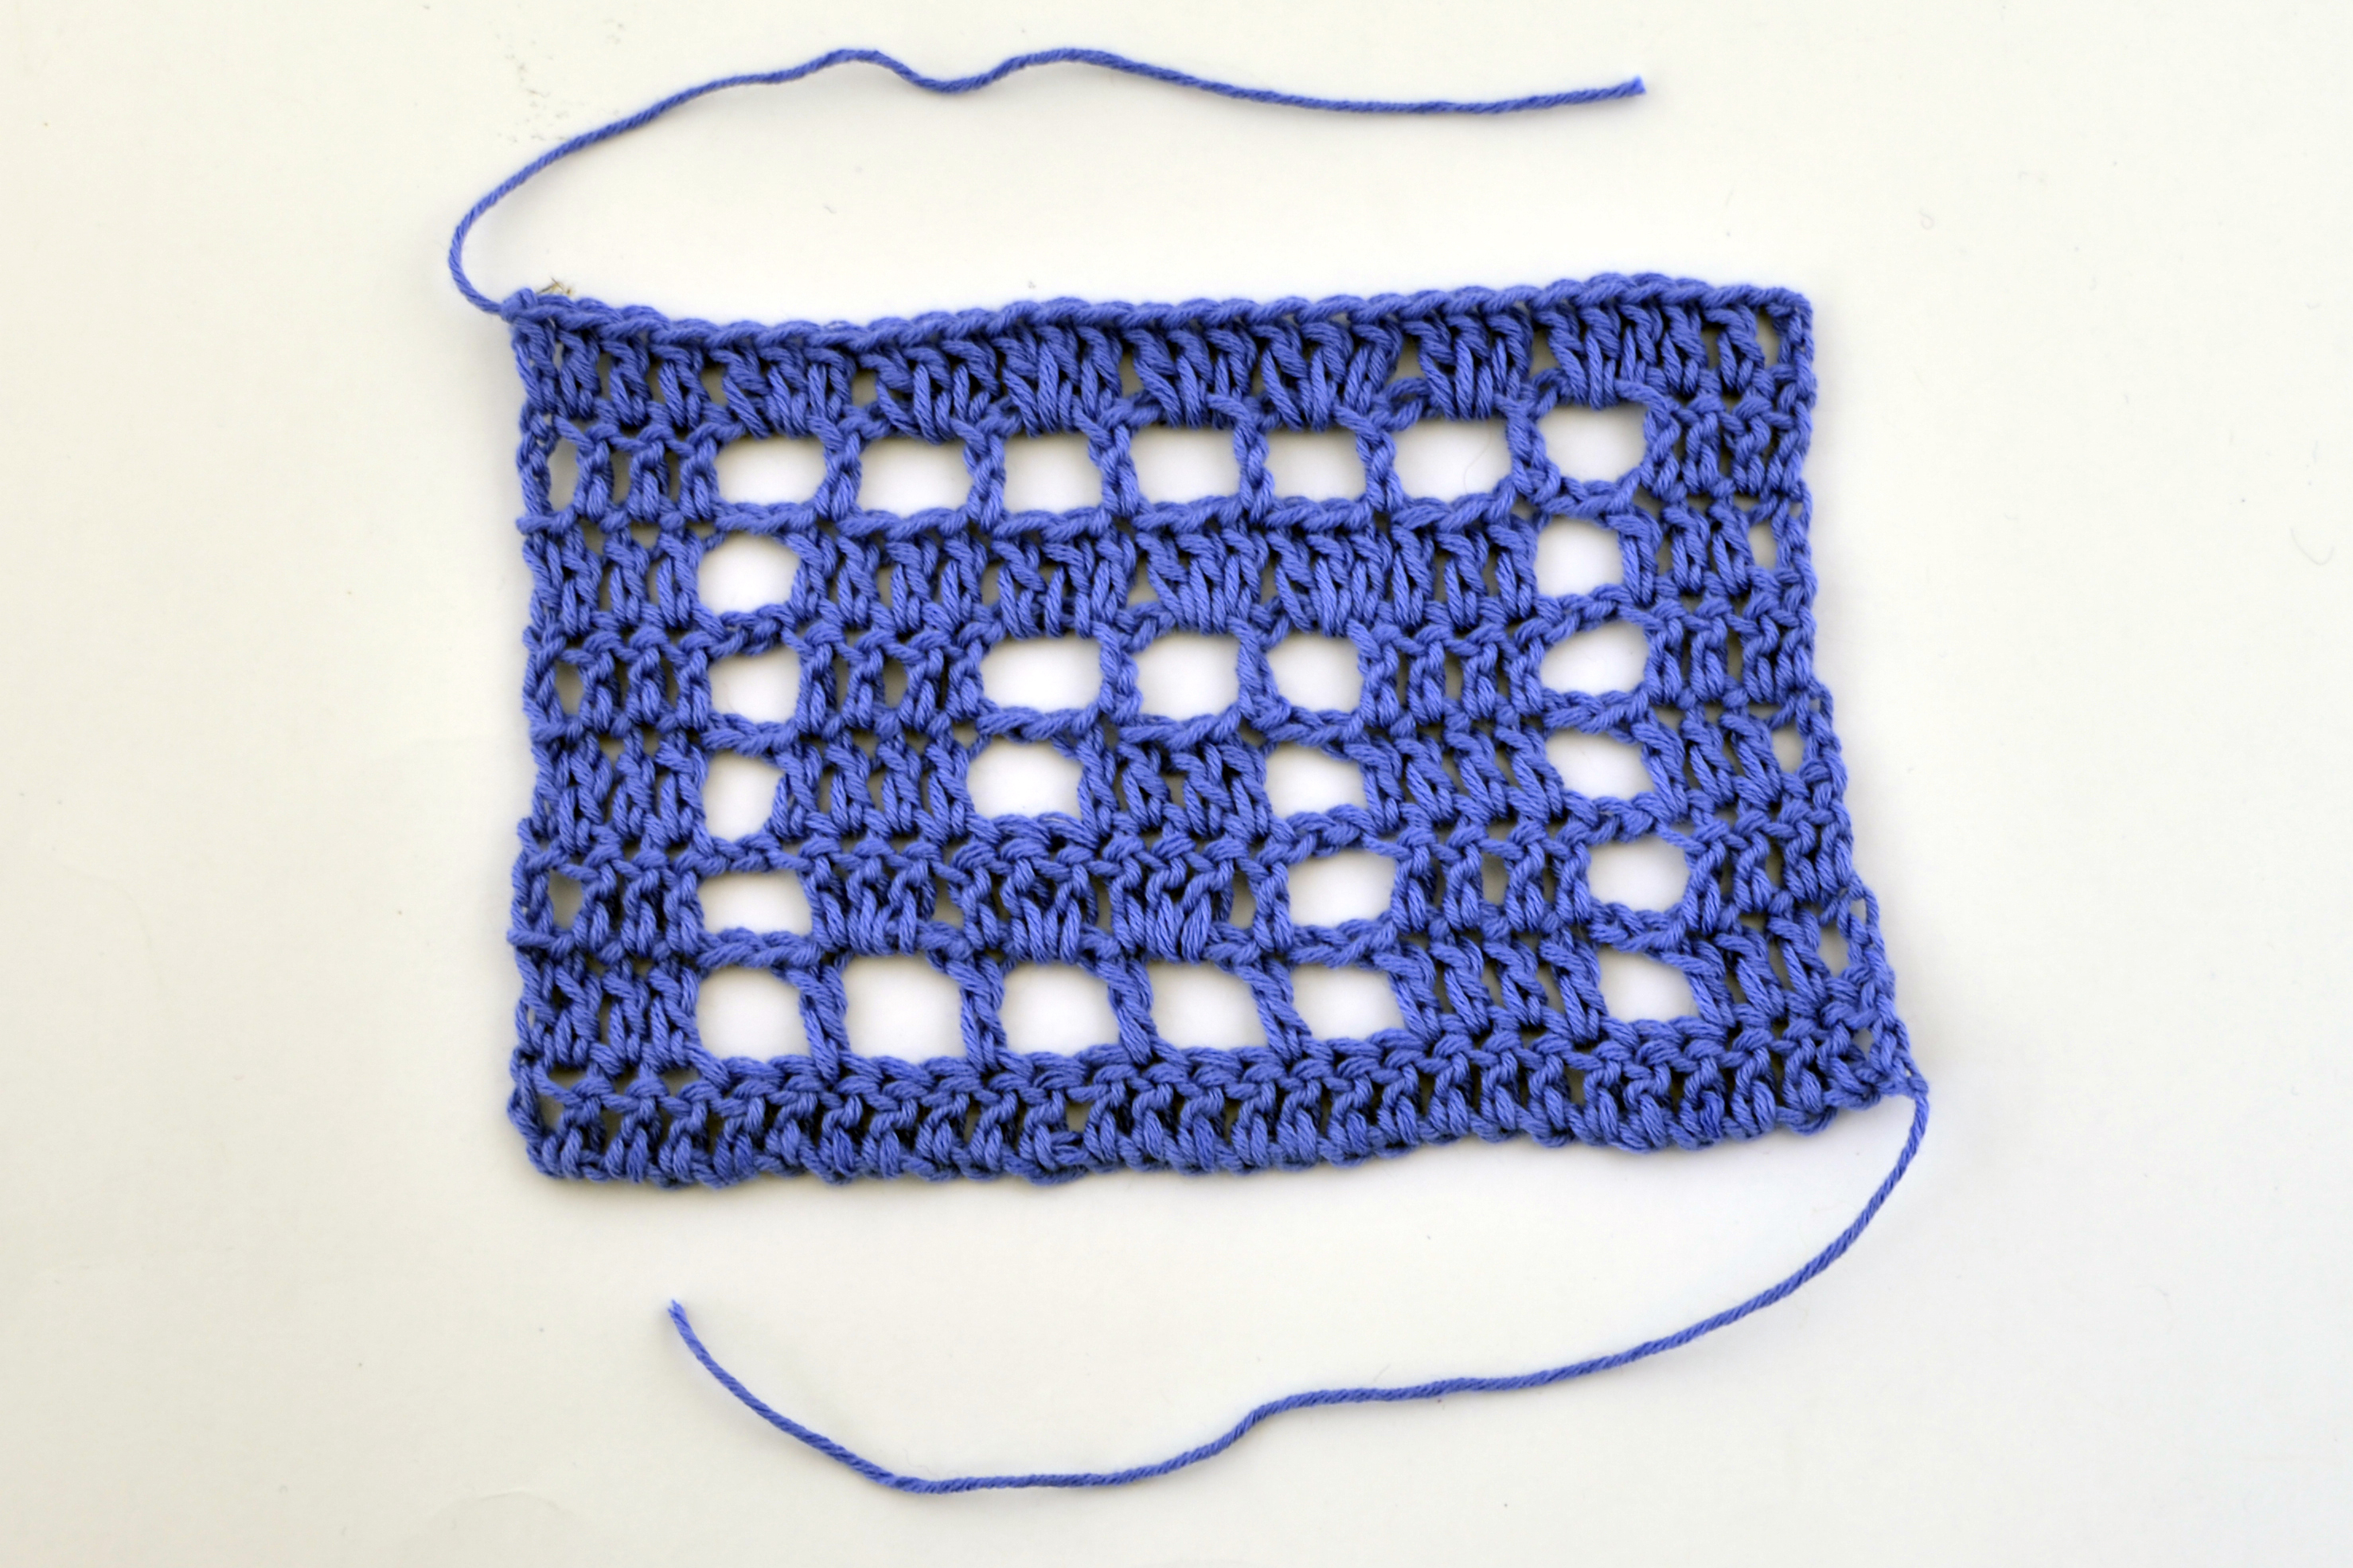
And, here it is again with round 2 complete:

Edging_10

As mentioned in the pattern, all that’s left to do is weave in your ends, run blocking wires through your picots, and steam or wet-block.
Delphi Stole – How to Do Filet Crochet

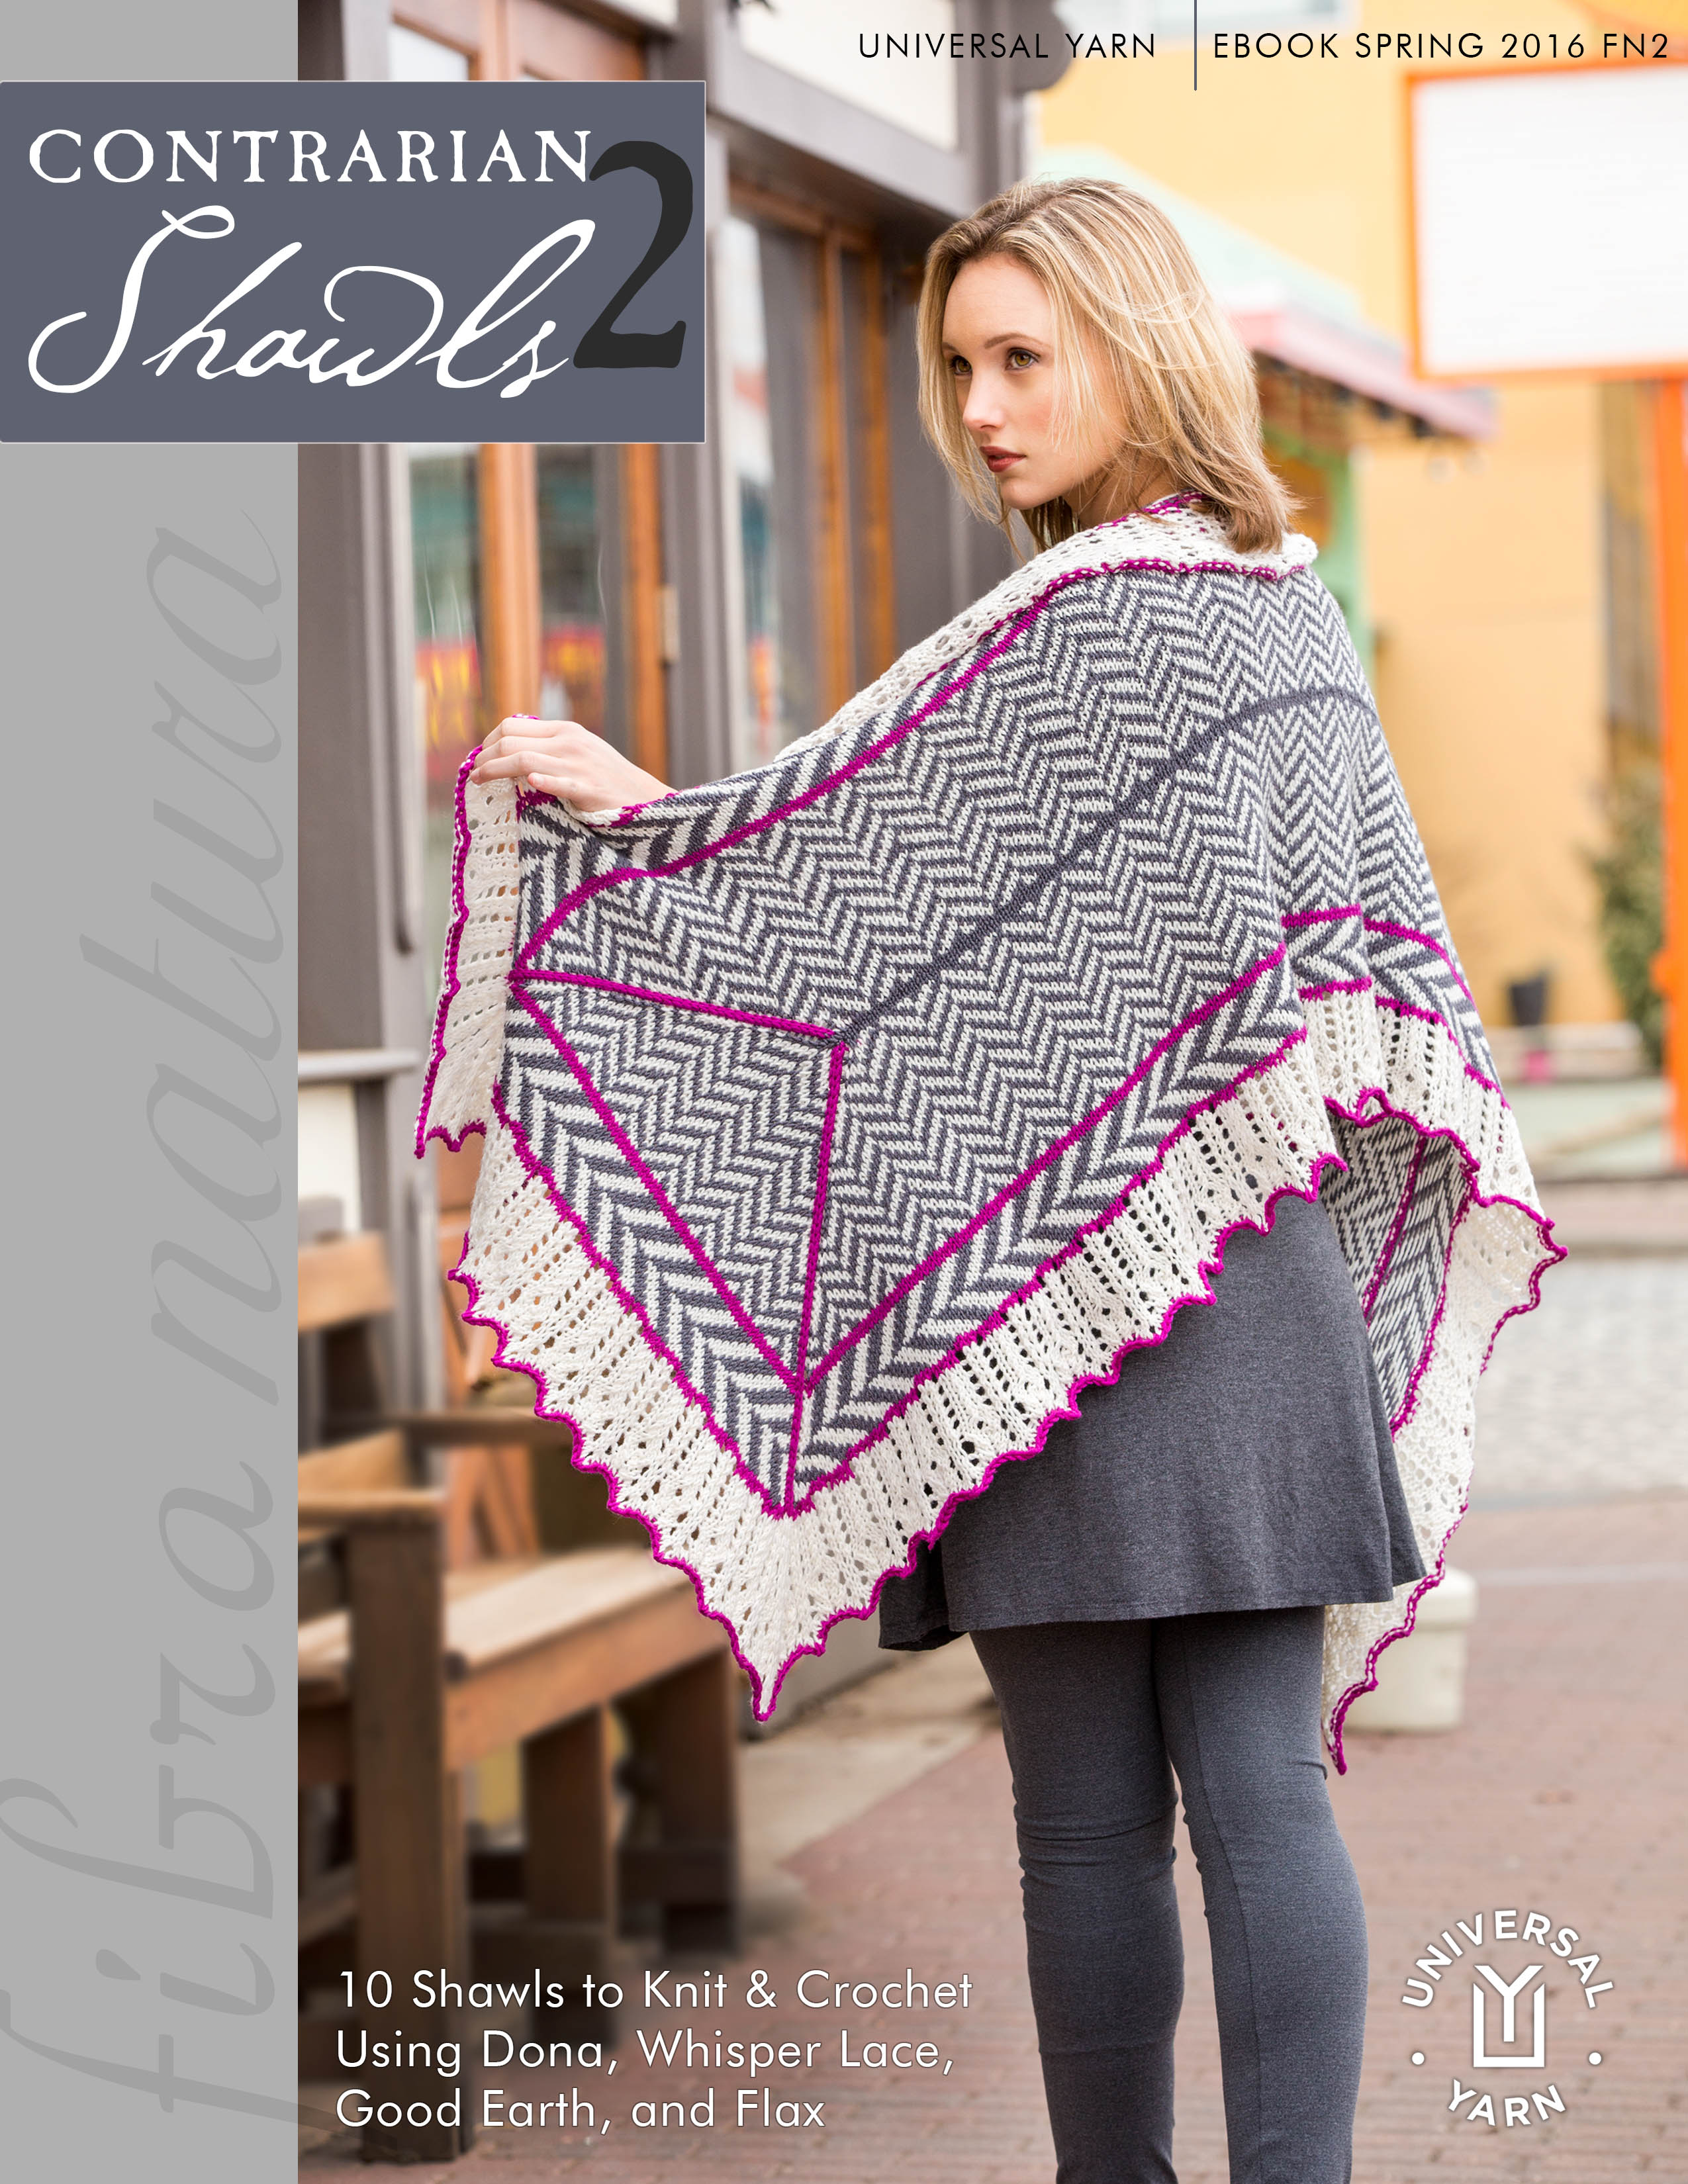
Have you seen our new ebook, Contrarian Shawls 2 ?

Contrarian Shawls 2 cover with sidebar

As the cover promises, this collection contains 10 shawl and scarf projects to knit and crochet in some of our Fibra Natura yarns. To be precise, there are 3 crochet and 7 knit projects in this book. All of the patterns are available for download on Ravelry or Craftsy.

This collection is dubbed “contrarian” because each project is a little (or a lot) out of the norm for a shawl project. There are a lot of different shapes and techniques in these shawls, so over the coming weeks and months I’ll be delving into many of the specifics of each project. It’s time for some skill building!

The first project I’d like to talk about this week is the Delphi Stole, crocheted in our 100% sportweight Pima cotton, Cotton True Sport. This is a lovely and fine cotton yarn. This stole requires only 6 balls, making it quite an affordable project.

DelphiStole_1_hires

Filet crochet consists of double crochet and chain spaces – it’s as simple as that. Even if you’re not a very confident crocheter, I’m confident this is something you can do!

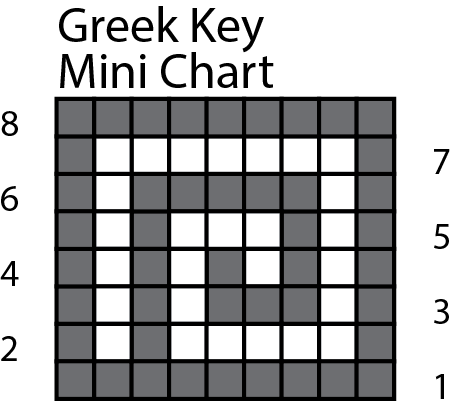
Here is a small example of what the filet chart looks like in the pattern:

This doesn’t look like most crochet charts that typically have crochet symbols on them. Because filet crochet is really just “Solid” squares and “Empty” squares, a grid like this tends to make more visual sense. A Solid square represents 3 double crochets, while an Empty square represents chain 2 + double crochet.

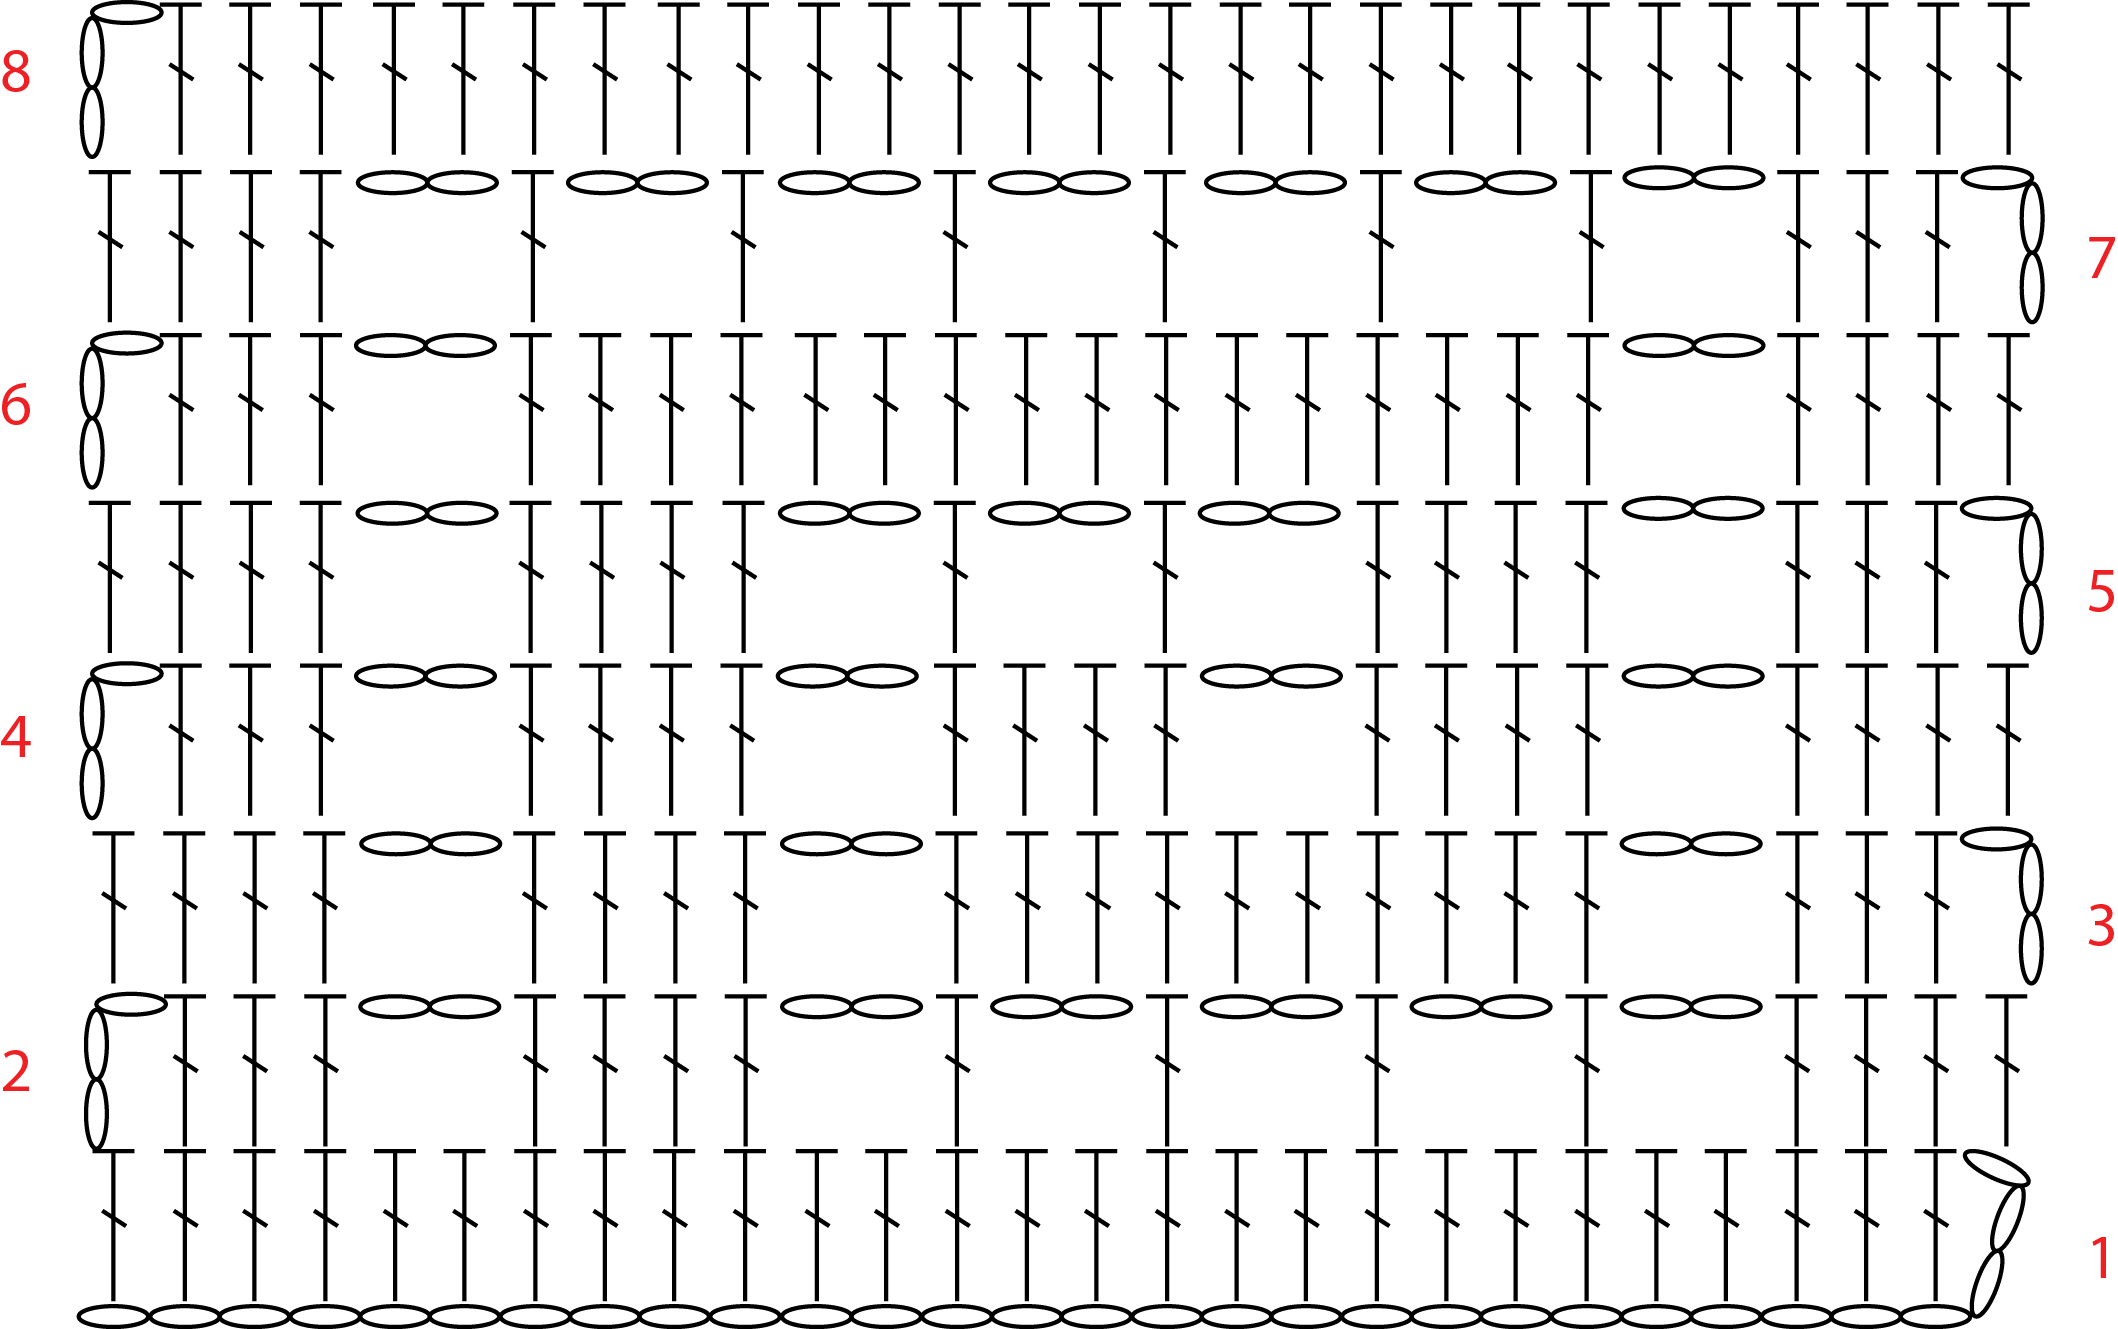
Here is what this same chart looks like done in a traditional crochet charted style:

Delphi_chart_crochet

A row in a filet crochet pattern is typically a multiple of 3 stitches plus 1. The chain 3 at the beginning of the row counts as the “plus 1”, and then each Solid and Empty square uses 3 stitches.

For a Solid Square worked on top of another Solid square, simply work 1 double crochet into each of the next 3 double crochets. If it’s worked on top of an Empty Square, work 2 double crochets in the chain-2 space, double crochet in the next double crochet.

For an Empty Square worked on top of a Solid square, chain 2, skip the next 2 double crochets, and then double crochet in the next double crochet. If worked on top of another Empty Square, chain 2, skip the chain-2 space, double crochet in the next double crochet.

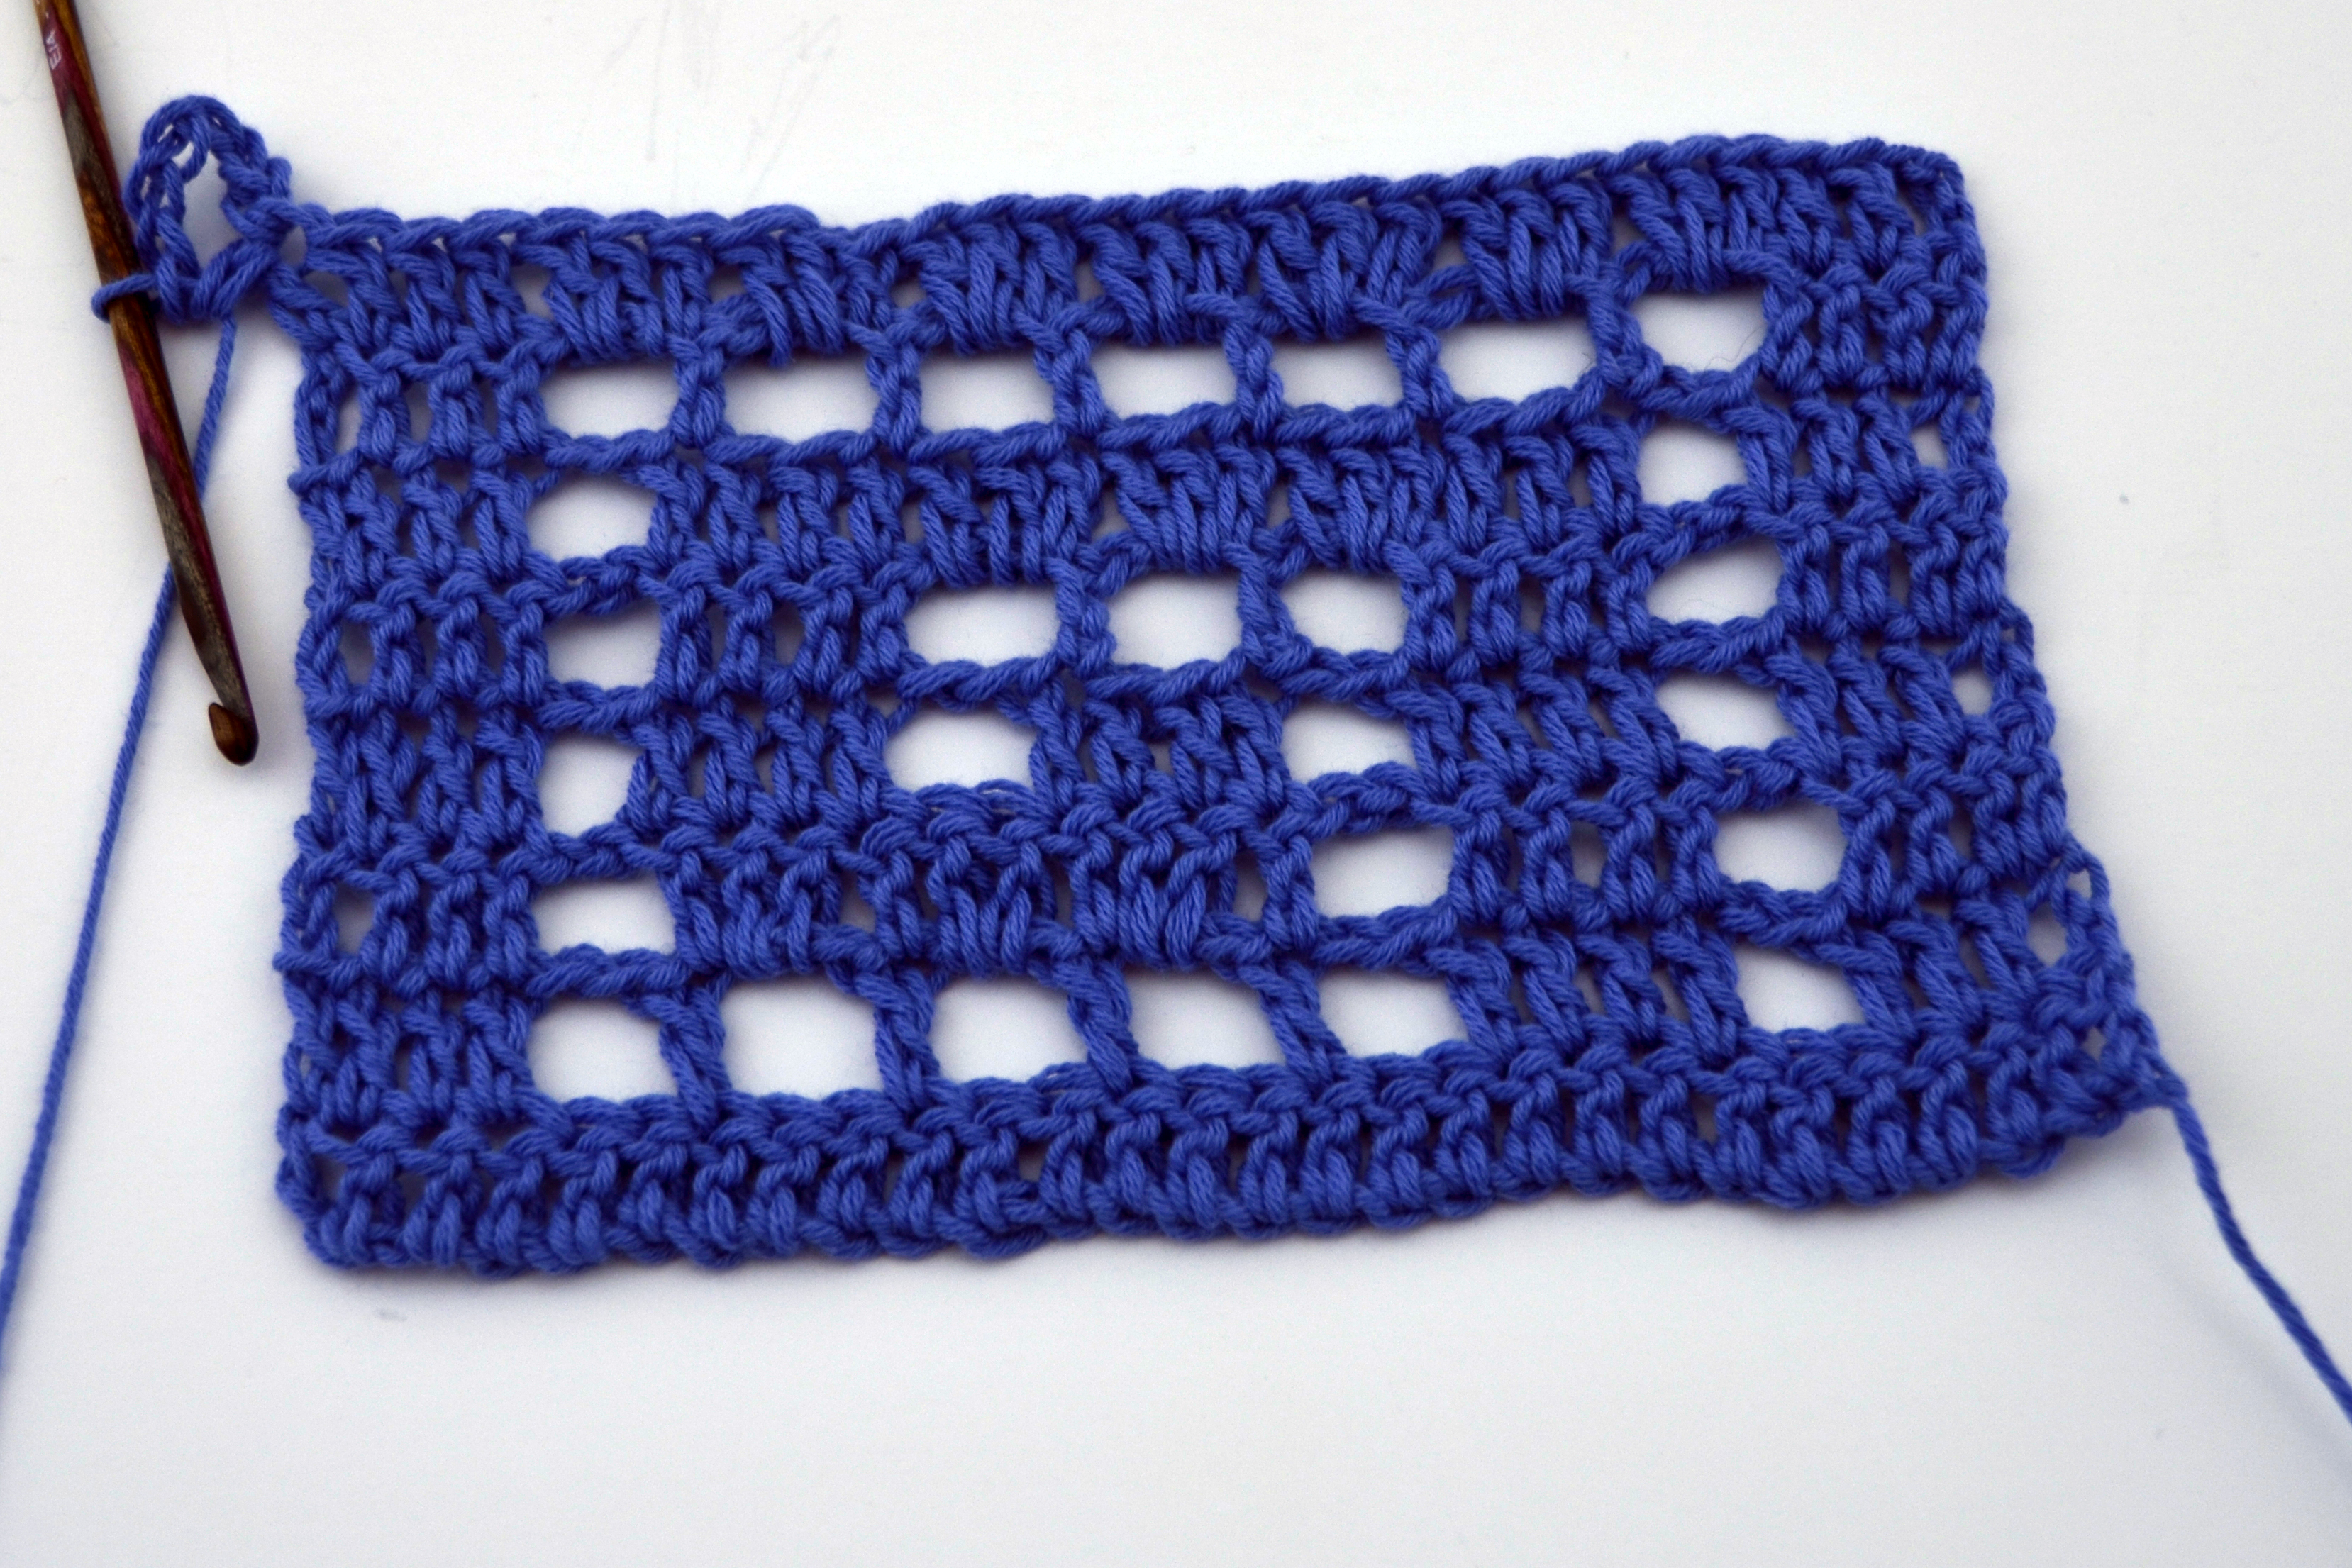
Let’s see our little mini-chart in action. If you’d like to follow along for practice, chain 30. For Row 1, double crochet in the fourth chain from the hook and each chain across, turn – 28 double crochets. Those first 3 chains count as a double crochet.

Delphi2

On the next row, chain 3 (counts as double crochet), double crochet in the next 3 double crochet (1 Solid square made), chain 2, skip next 2 double crochet, double crochet in next double crochet (1 Empty square made), and so forth.

Delphi1

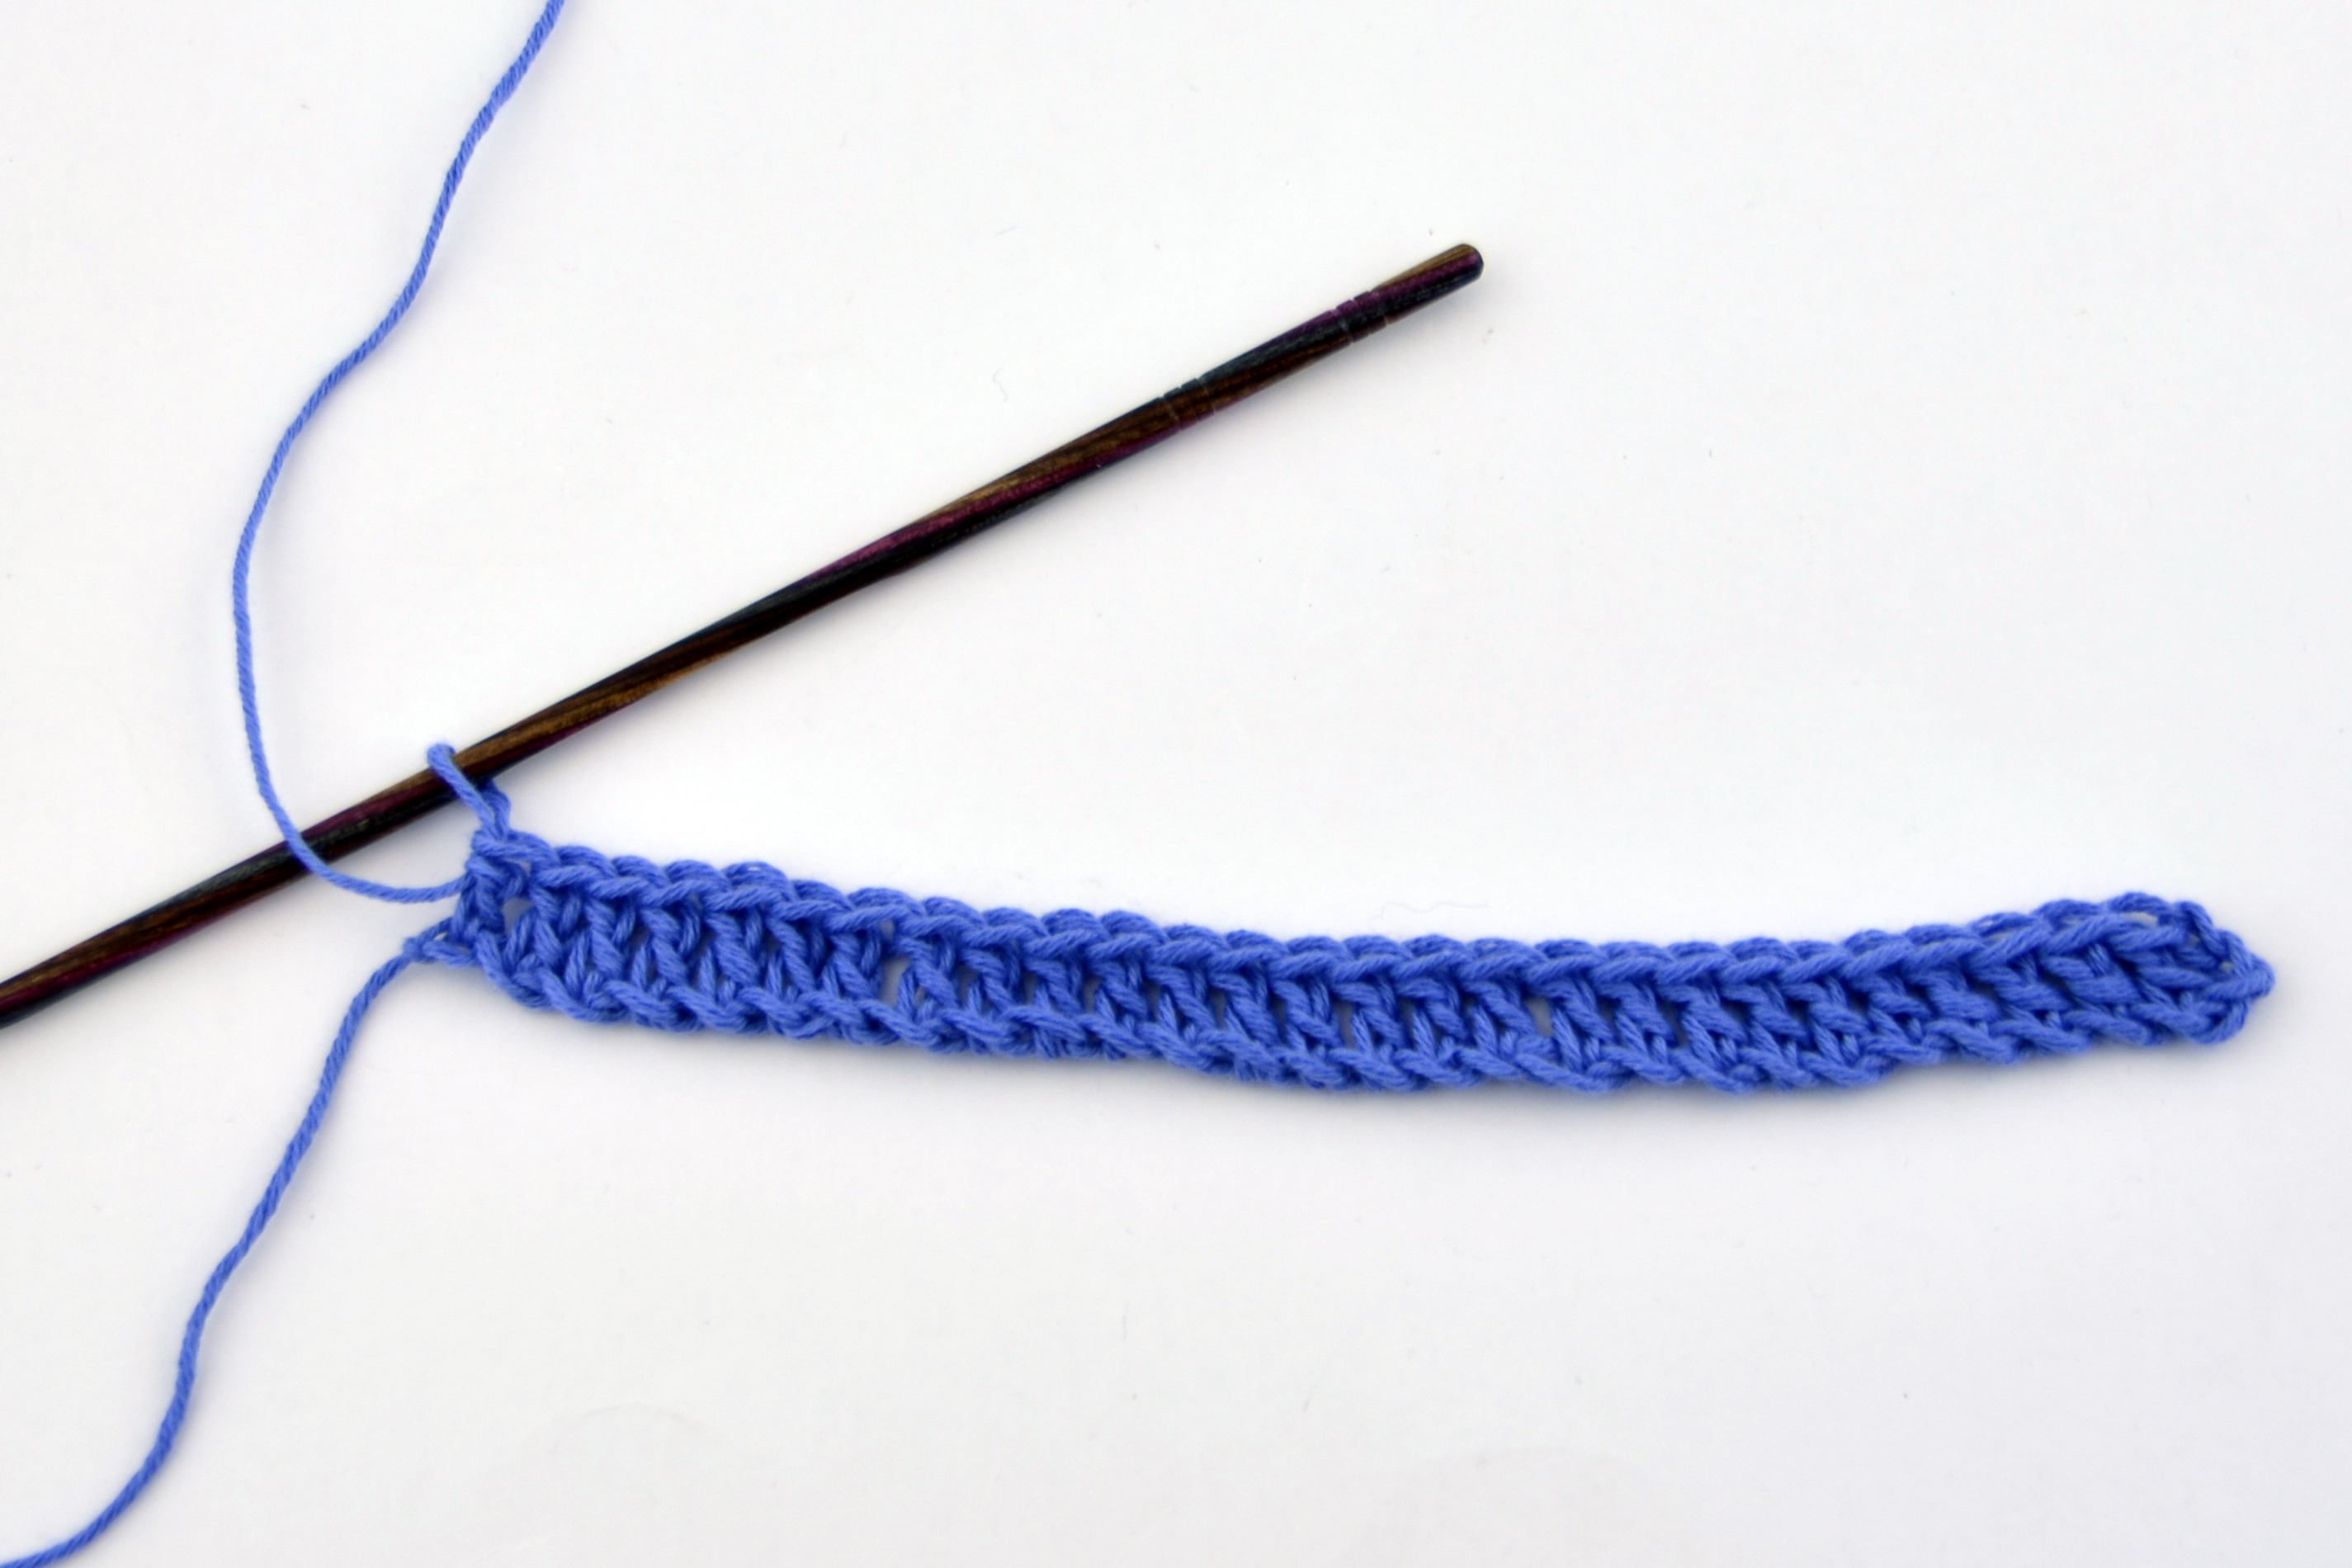
The finished swatch:

Delphi3

One little trick I’ve come up with when following a filet chart, is to be able to count the number of double crochets in a long strip of Solid squares at a glance. I find it helps me to keep track of my place more easily without having to constantly consult the chart. If I look at the chart and see, for example, 7 solid squares in a row, I know I will be working 22 double crochets in that spot (7 x 3 dc each + 1). If there are 5 solid squares in a row, I’ll be working 16 double crochets in that spot (5 x 3 dc each + 1). And so on.

I’ll get back to this same swatch and project next week where we’ll be talking about how to add an edging to this shawl.

DelphiStole_3_hires

Free Pattern Friday – Dreaming of Spring

It’s Free Pattern Friday!

Dreaming of Spring blog

Today, the Dreaming of Spring Hat in Classic Shades Frenzy.

Here at Universal Yarn, the plants are getting mixed signals.  Is it time to bloom?  We as crafters are getting mixed signals too – shall we turn to warm weather fibers, or bundle up just a little while longer?

We thought we’d split the difference – a warm hat, but a quick project, so we can enjoy it and then be done when more moderate weather rolls in.  And because, like the flowers, we are ready to see the sun, we’re calling this one Dreaming of Spring.

Continue reading “Free Pattern Friday – Dreaming of Spring”

Amy Answers – Hole in One Scarf

A few weeks ago I got an email from a customer who was struggling to wrap her head around the pattern for our Hole in One Scarf.

ClassicShades_9945 Hole-in-One

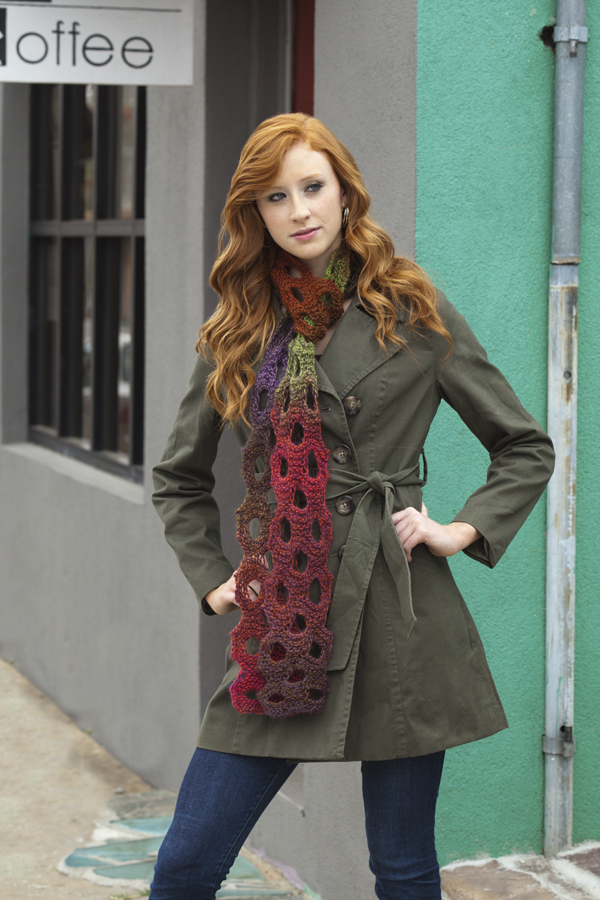
This popular one-ball project uses self-shading Classic Shades yarn and is thoroughly visually entertaining.

Part of my job at Universal Yarn is emailing and talking with folks over the phone regarding pattern problems they’re having. This can be frustrating at times, because I can’t always “see” what they’re seeing. Often times, if I could only show the knitter or crocheter in person how to do a certain thing, it would be totally easy to explain. Or if I could take a look at their project in progress, I could spot the issue with no problem. Without this ability, often the best course of action is to take photos to try and illustrate. That is what I did in the case of this scarf.

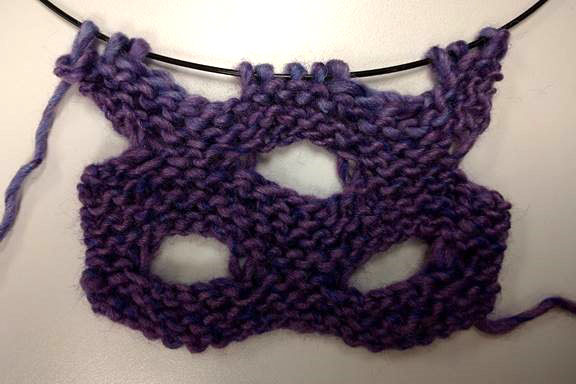
Basically, the holes in this scarf are formed by binding off stitches on one row and then casting on stitches over the gap on the next row. I cast on for the scarf, worked a full pattern repeat, and then worked up to and through the first “action” row of stitches being bound off. Here is a photo of my scarf in progress:

after row 4

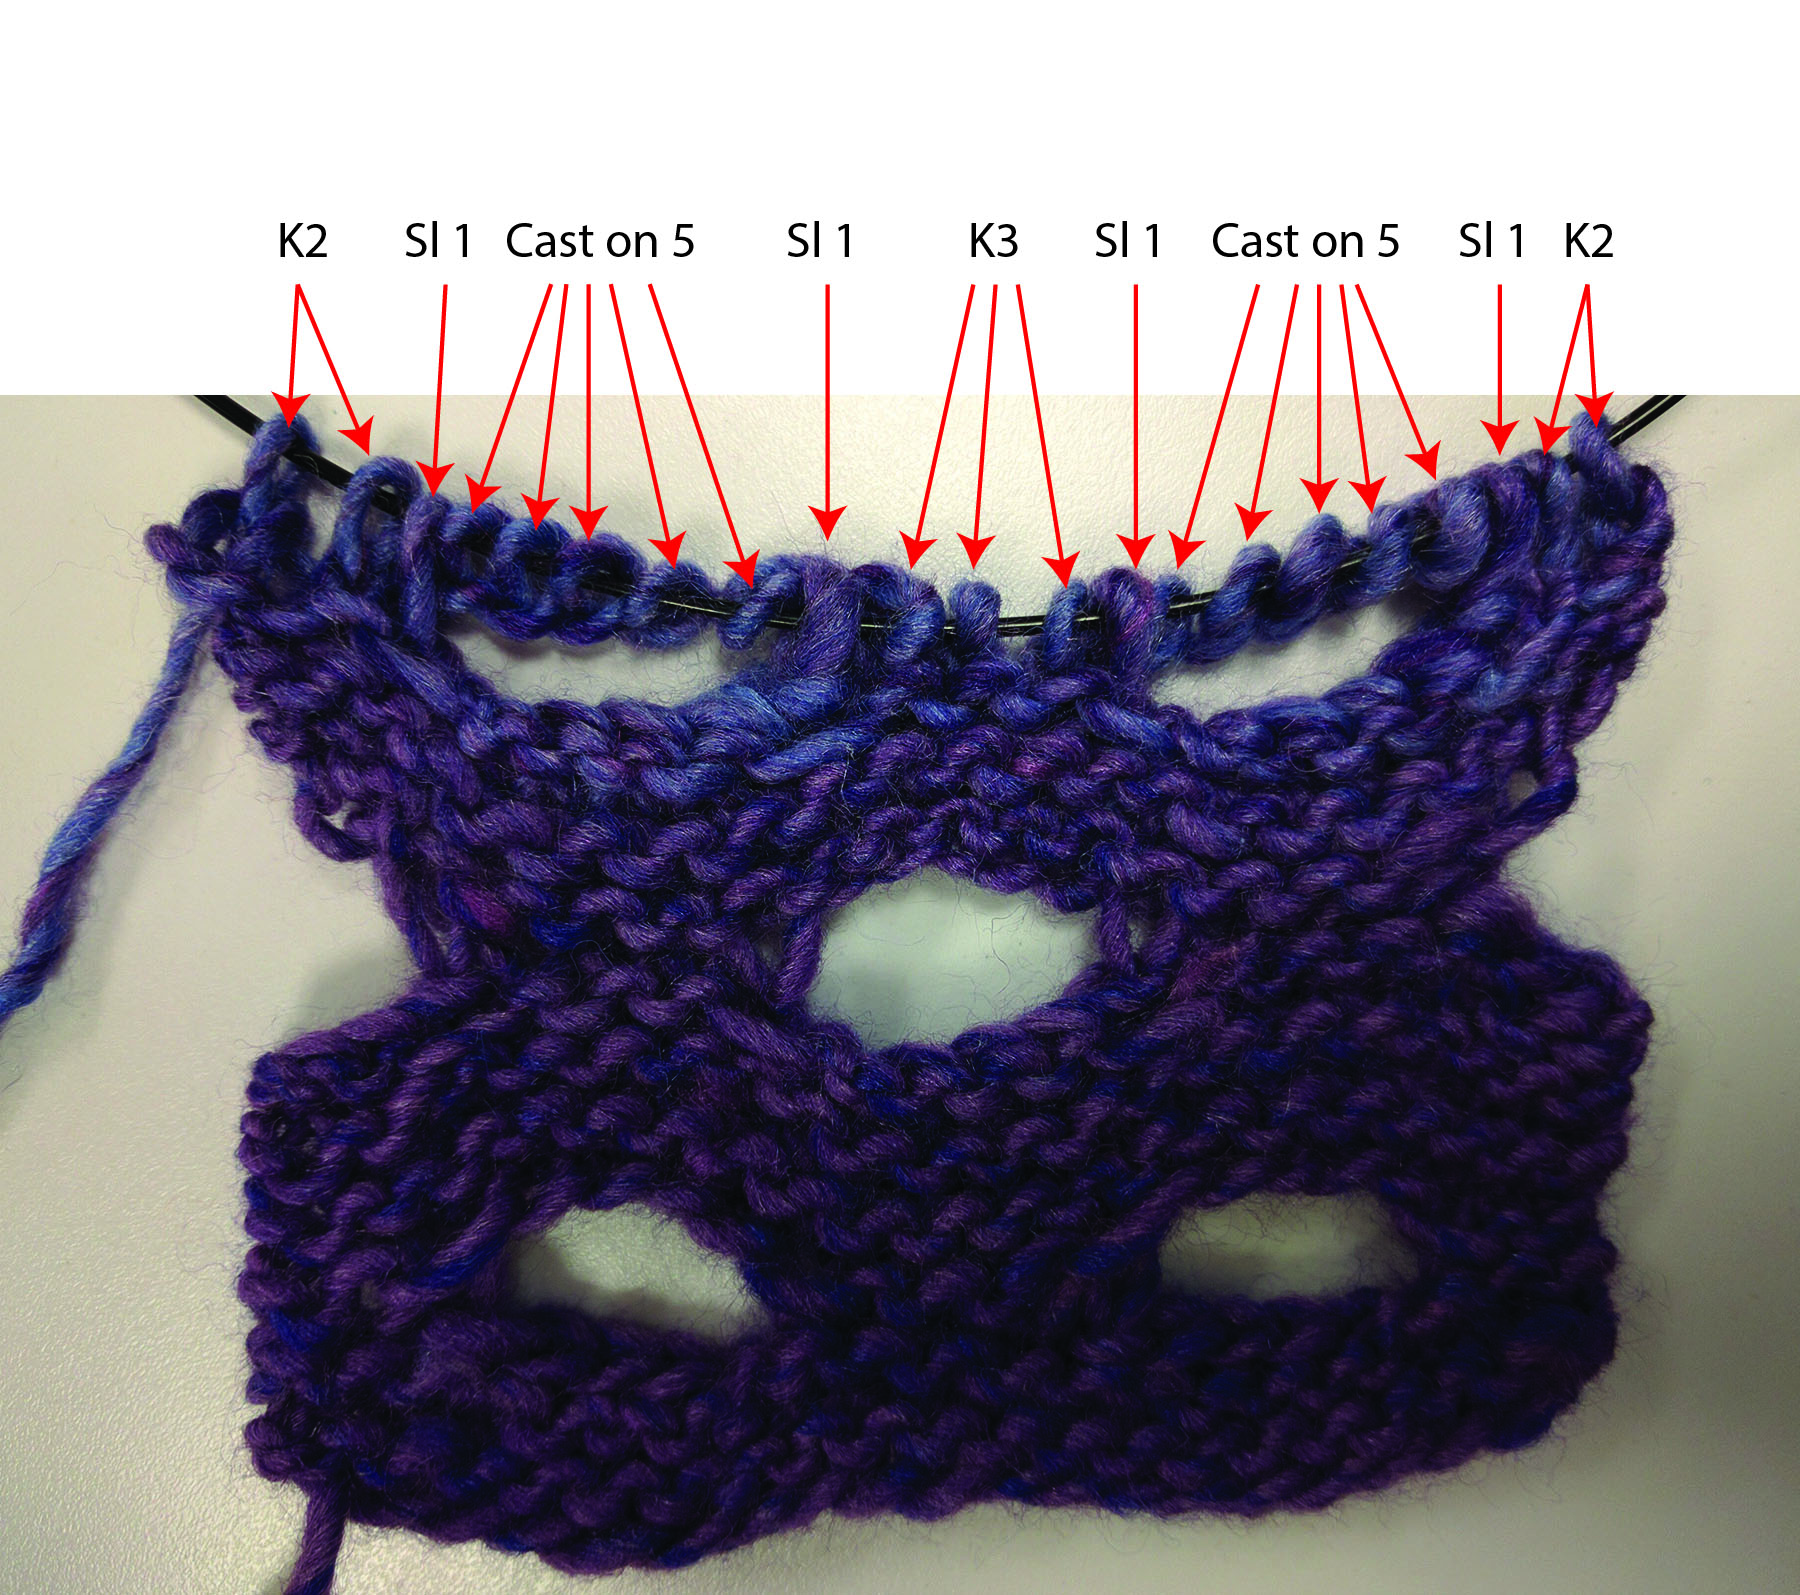
The real trouble this particular knitter had was with the following row. So I worked across that row, took a picture, and then identified each stitch in the row:

after row 5_with illustrations

And that’s all there is to it! Having trouble with one of our patterns? Let me know!

Free Pattern Friday – I Heart You Shawl

It’s Free Pattern Friday!

I Heart You Shawl in Naked Sock_blog

Today, the I Heart You Shawl in Naked Sock.
Me? Oh I have big plans for Valentine’s Day.  A horse drawn carriage, a bottle of champagne, and a candlelit dinner on top of the Empire State Building.

I kid.  I’m staying home and knitting, spending a quiet evening with my significant other.   If you’re keeping it low-key too, here’s a gift from us to you, a great pattern for crafting on what it seems will be a very chilly night.

Continue reading “Free Pattern Friday – I Heart You Shawl”