Set-In Pockets: Part One

As part of our ongoing Deluxe Cable Collection Knitalong, today I bring you a tutorial on adding set-in pockets to a sweater.

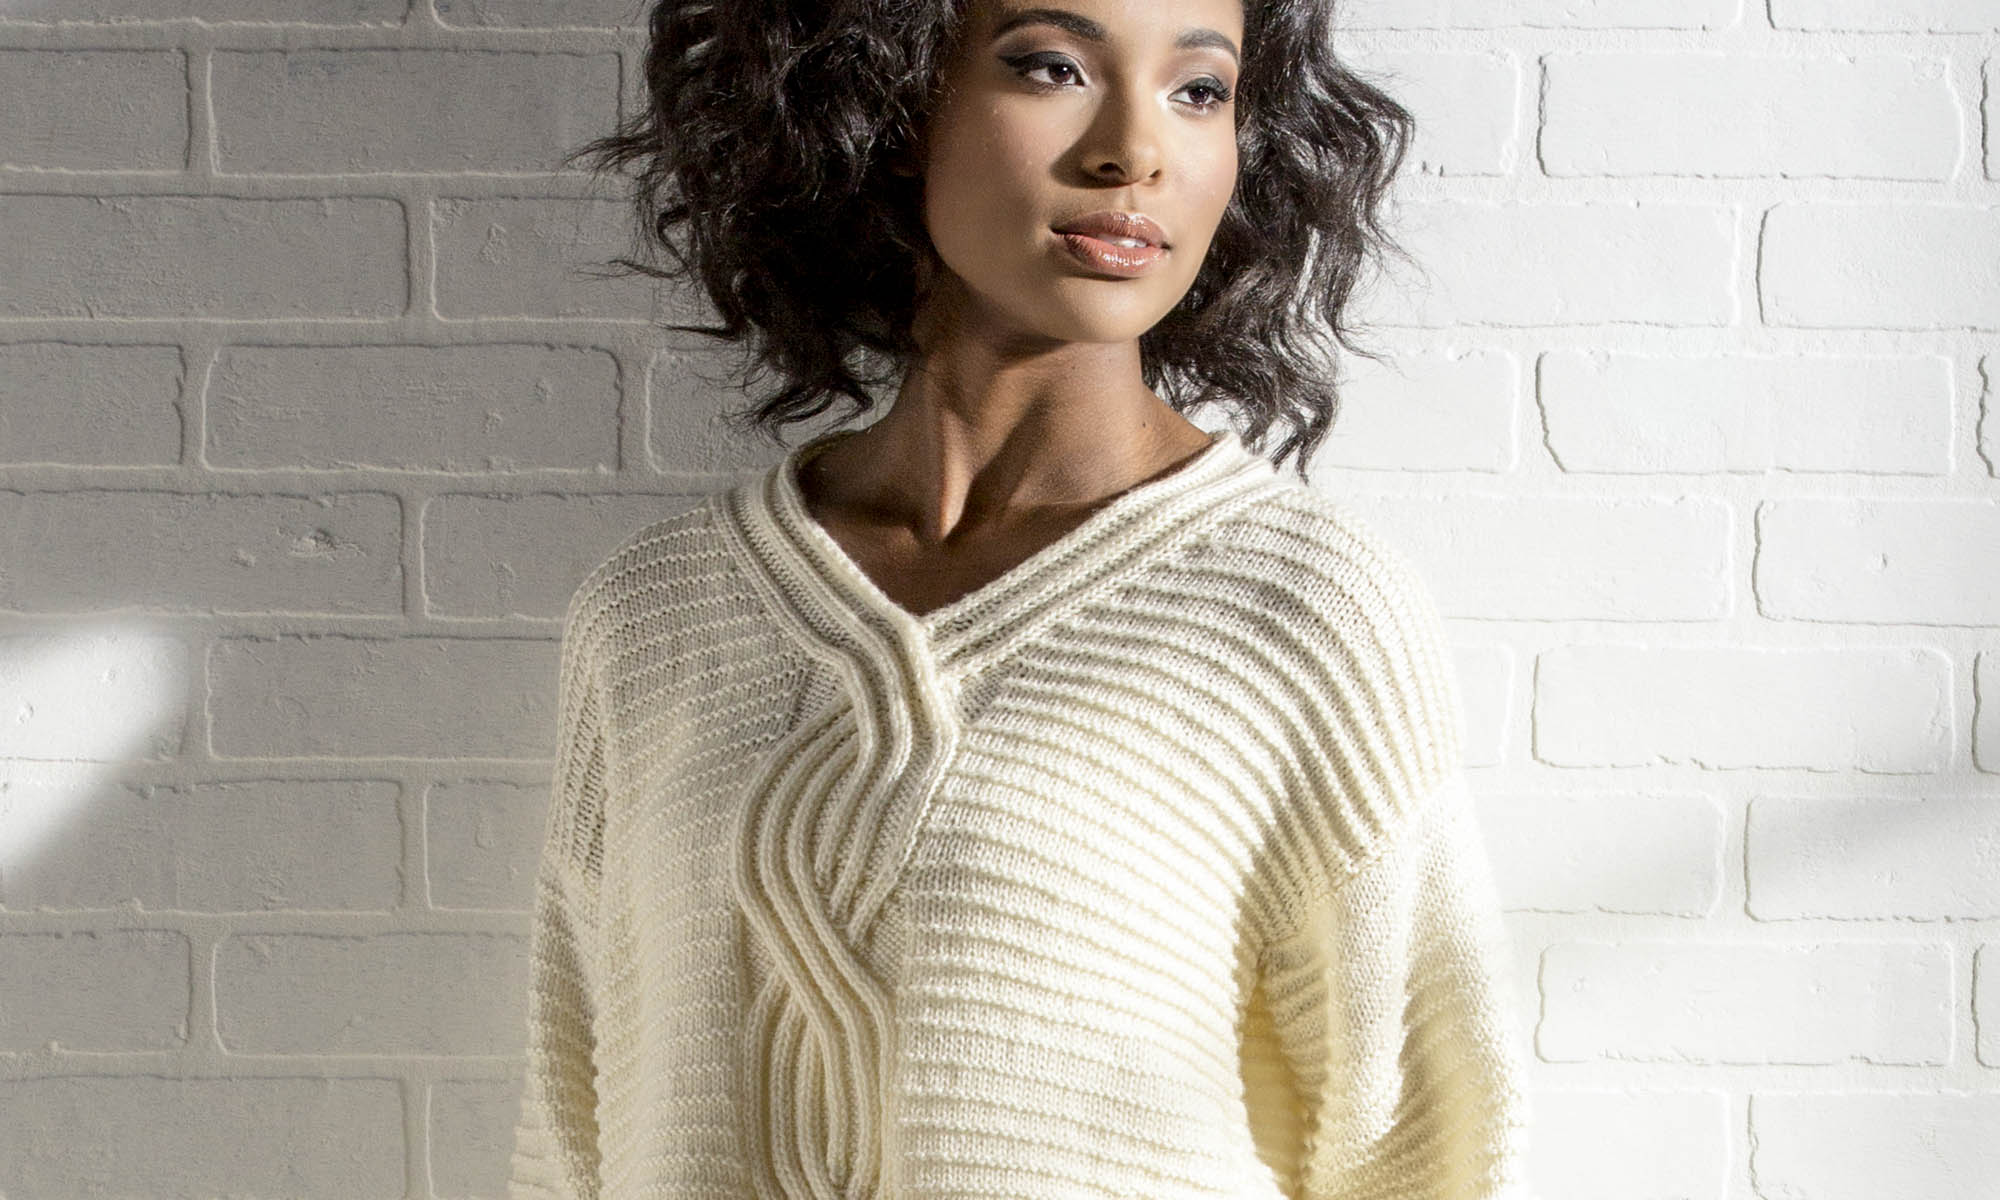
There are two cardigans in the collection that are written to have set-in pockets. We have the Tallulah Cardigan:

TallulahCardigan_132_hires

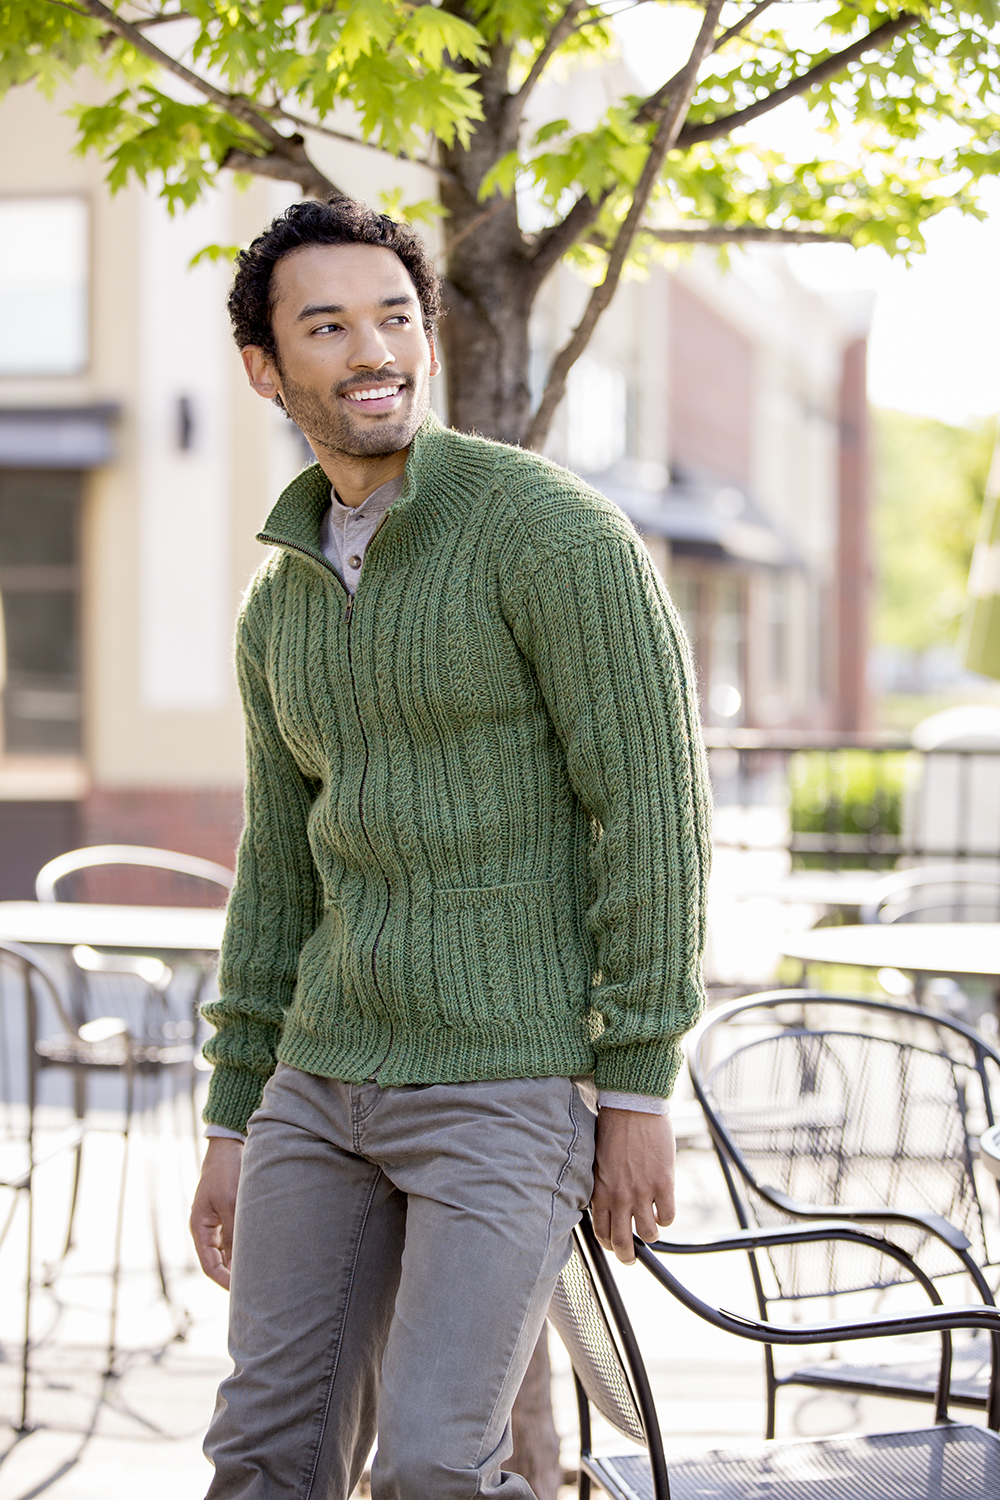
And the Greensboro Cardigan:

Greensboro_095_hires

First, let me explain what the”set-in” part of set-in pockets means. There are several ways to incorporate pockets into a piece of knitting. In addition to the set-in method, the other common way to add a pocket is to sew on a patch pocket. With patch pockets, you complete your garment, knit a pocket, and sew it to the outside of your knitting. It can be nice to place the pocket exactly where you want it, but for a sweater that’s patterned, it can be tough to make a patch pocket look nice.
With a set-in pocket, you sew a liner separately. Then, when it’s time for the pocket opening in your garment, you put the pocket stitches on hold and then begin working from the liner set of stitches.

The most beneficial aspect of the set-in pocket, and the reason I chose it for both projects above, is that it makes your pocket blend seamlessly into a heavily patterned garment. Let me explain the how and why!

To show you just how easy it is to put pockets on virtually any cardigan or sweater, I decided to knit the Wesley Heights sweater from the collection (which is written to be a pullover) and turn it into a cardigan. I’m basically making a Greensboro Cardigan with Wesley Heights patterning.

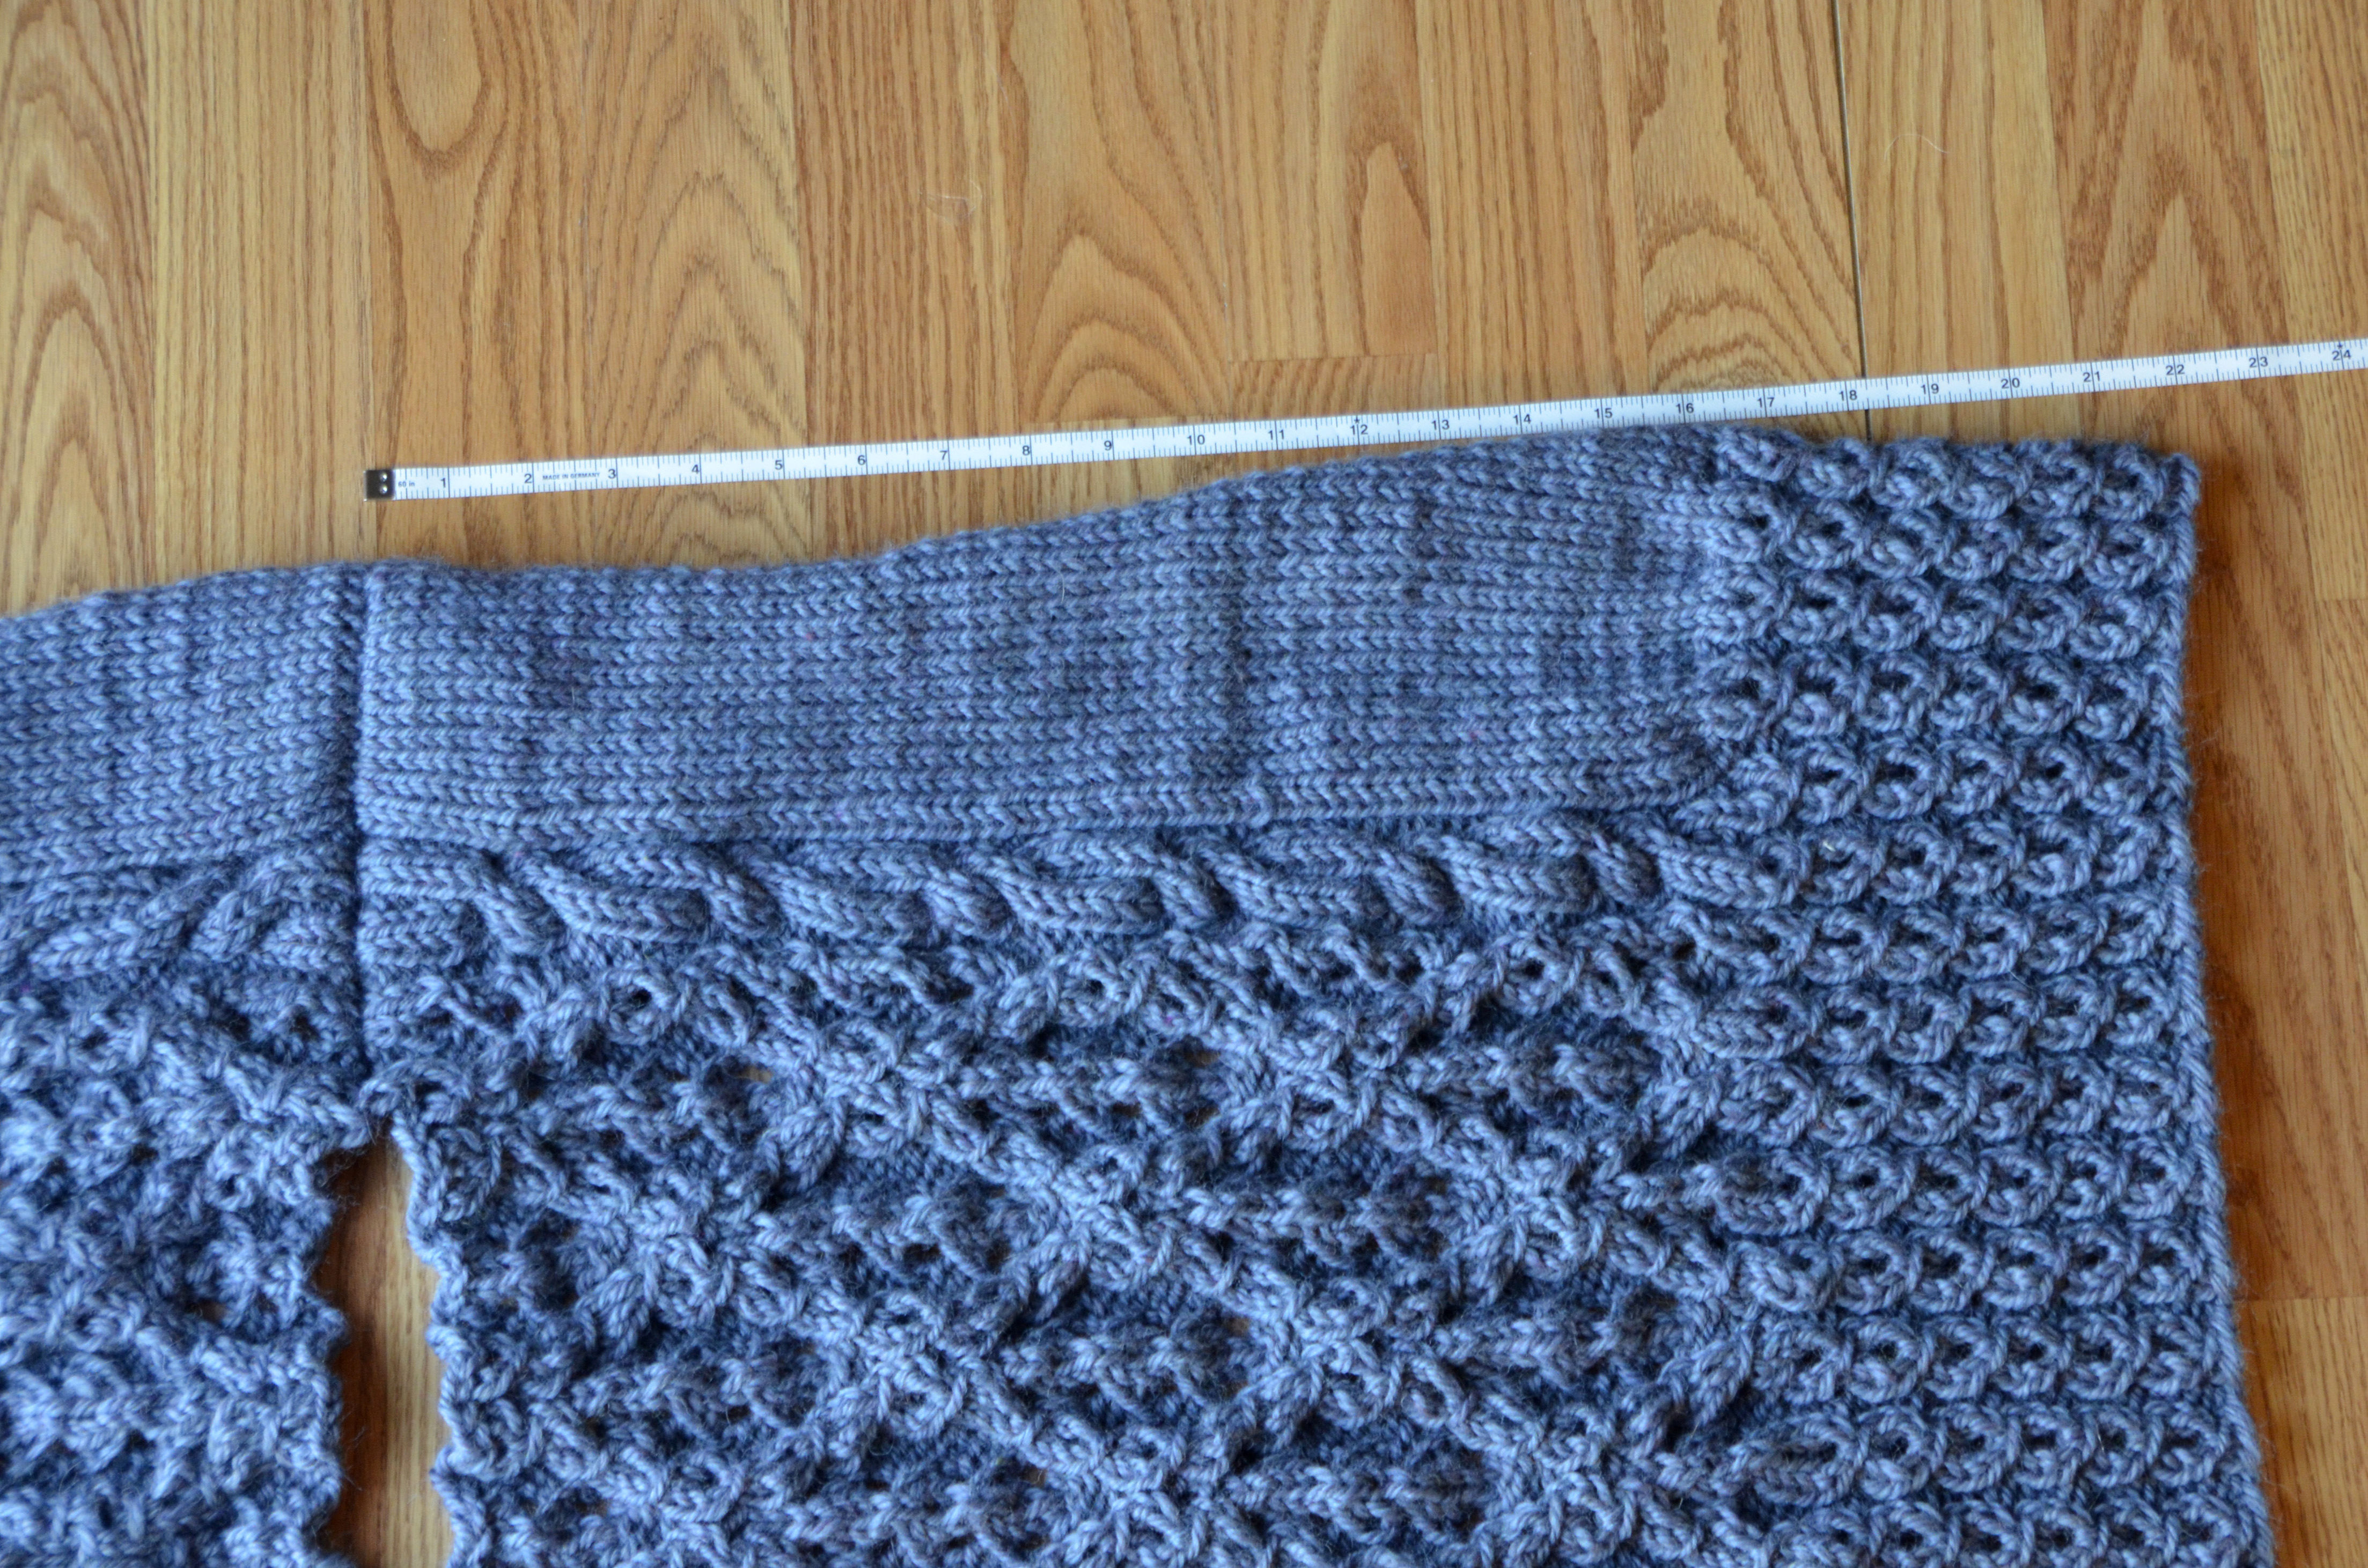
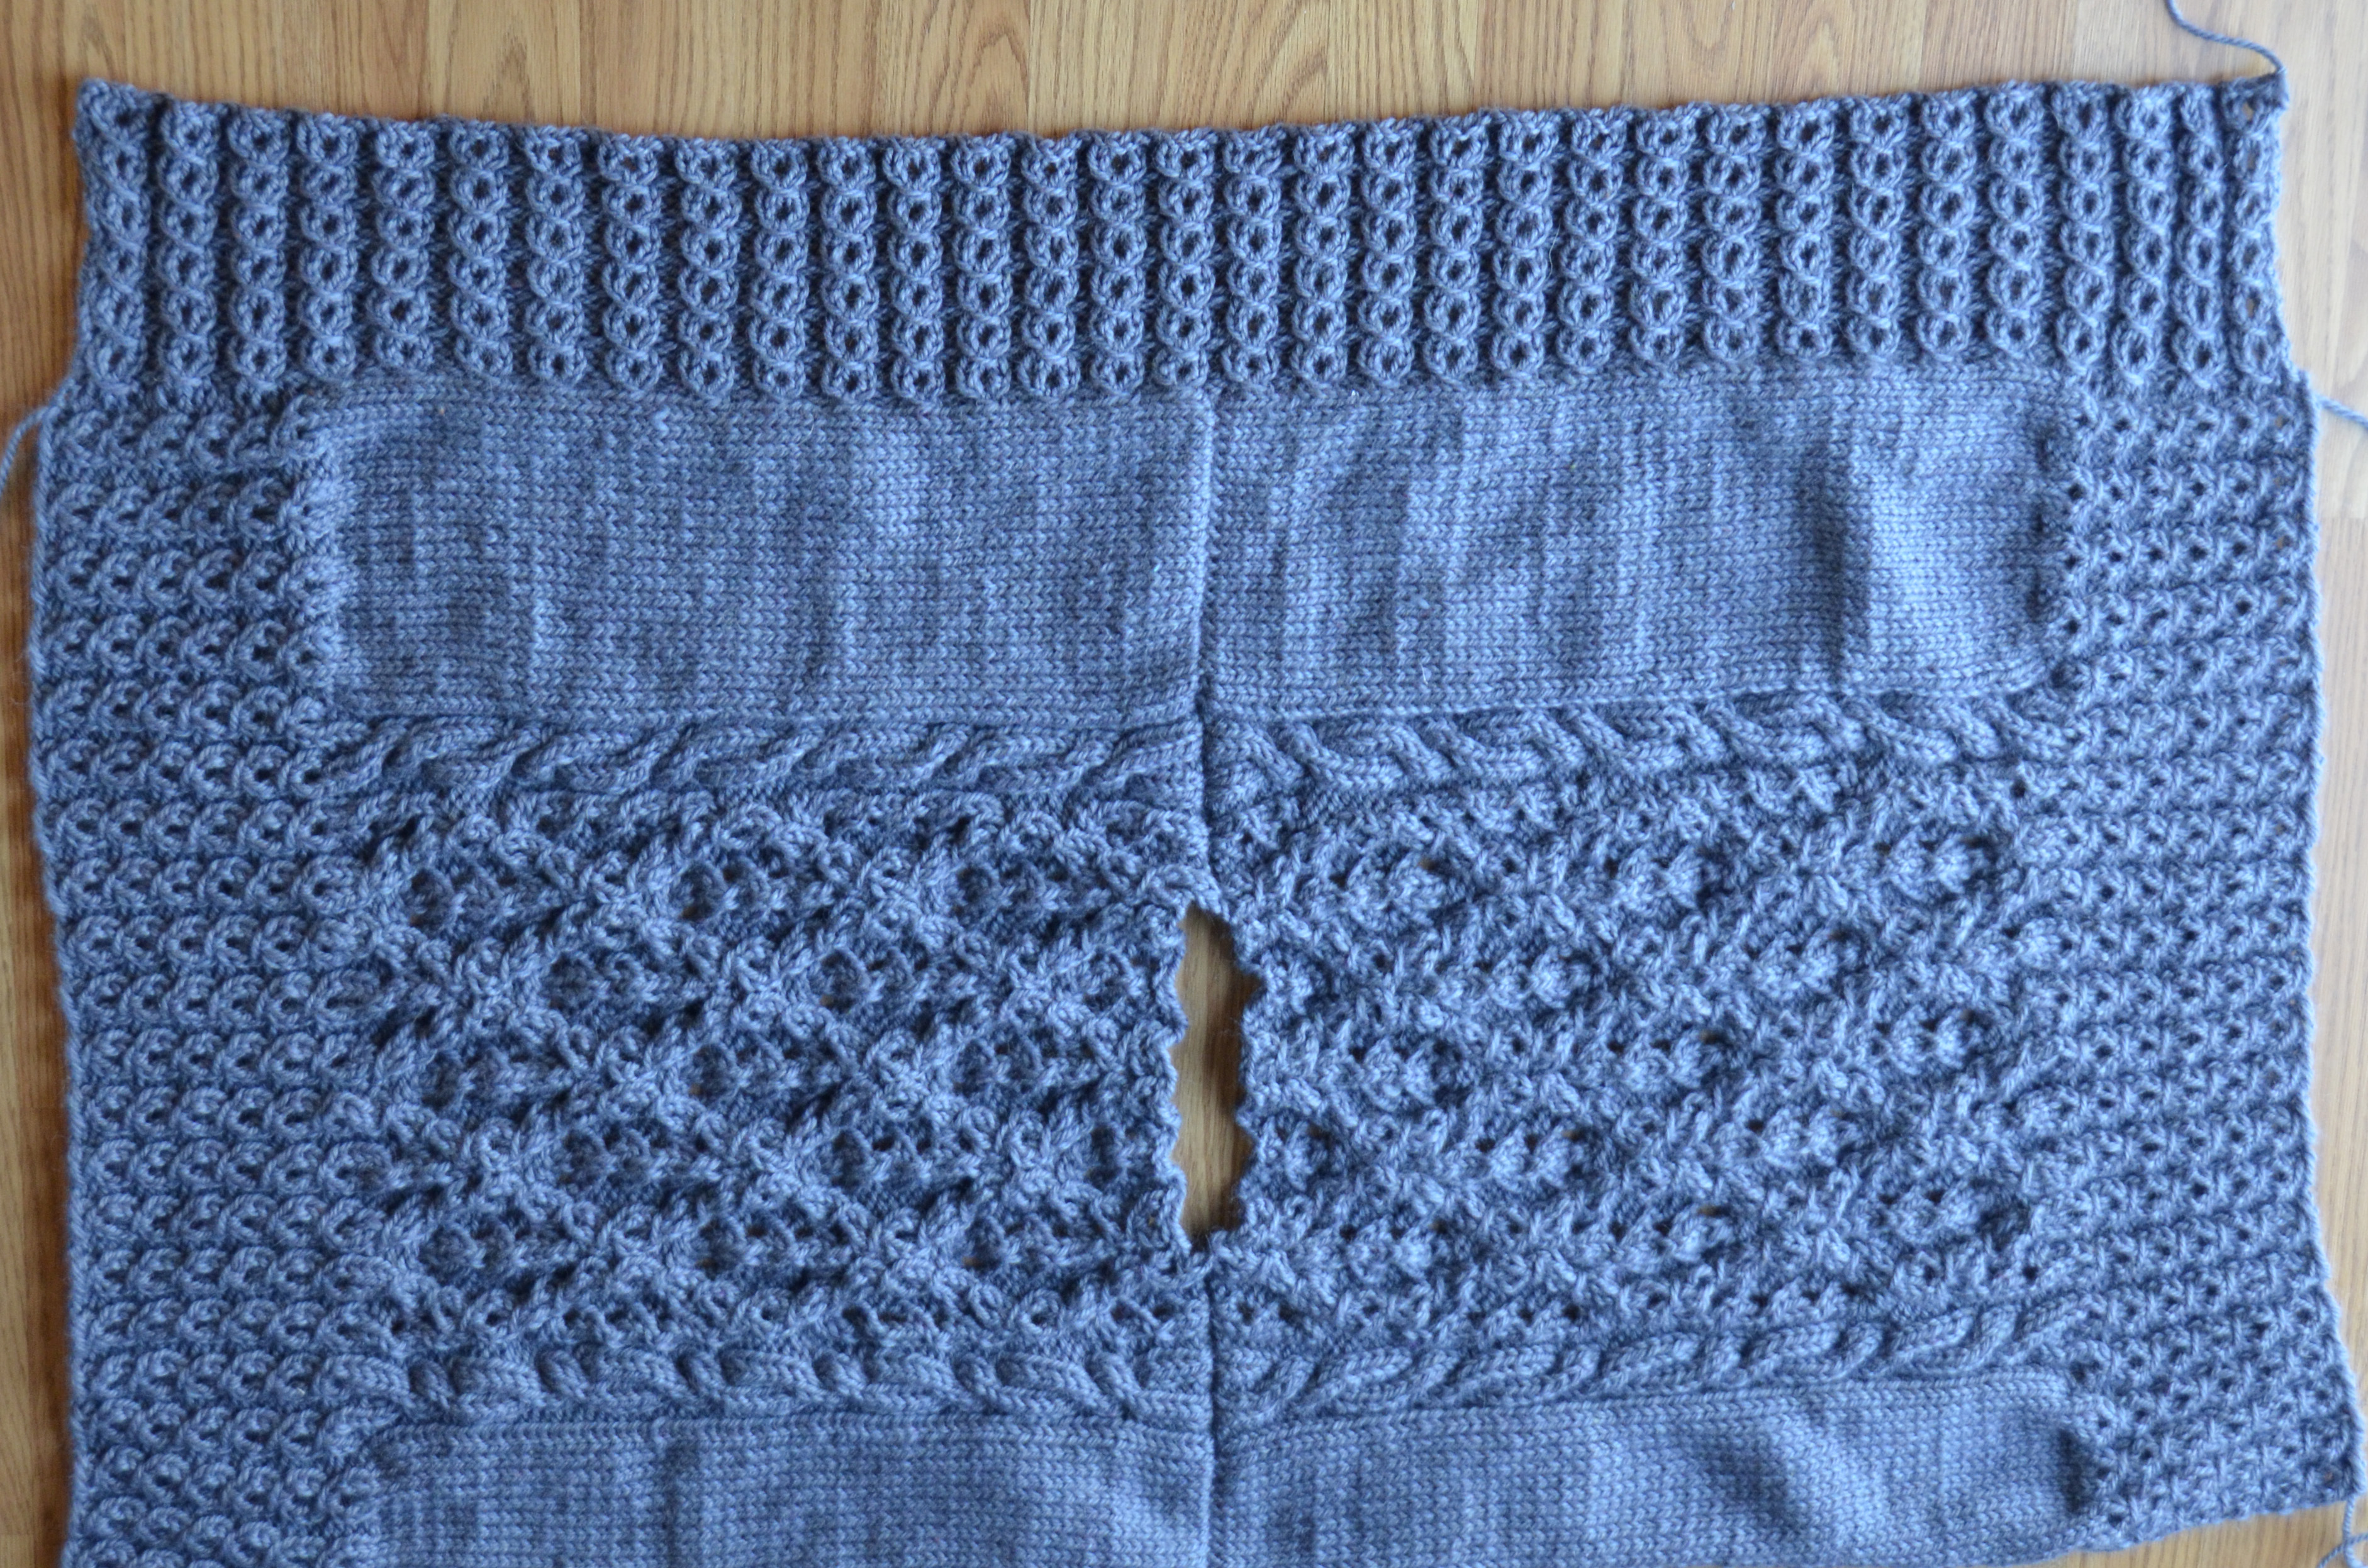
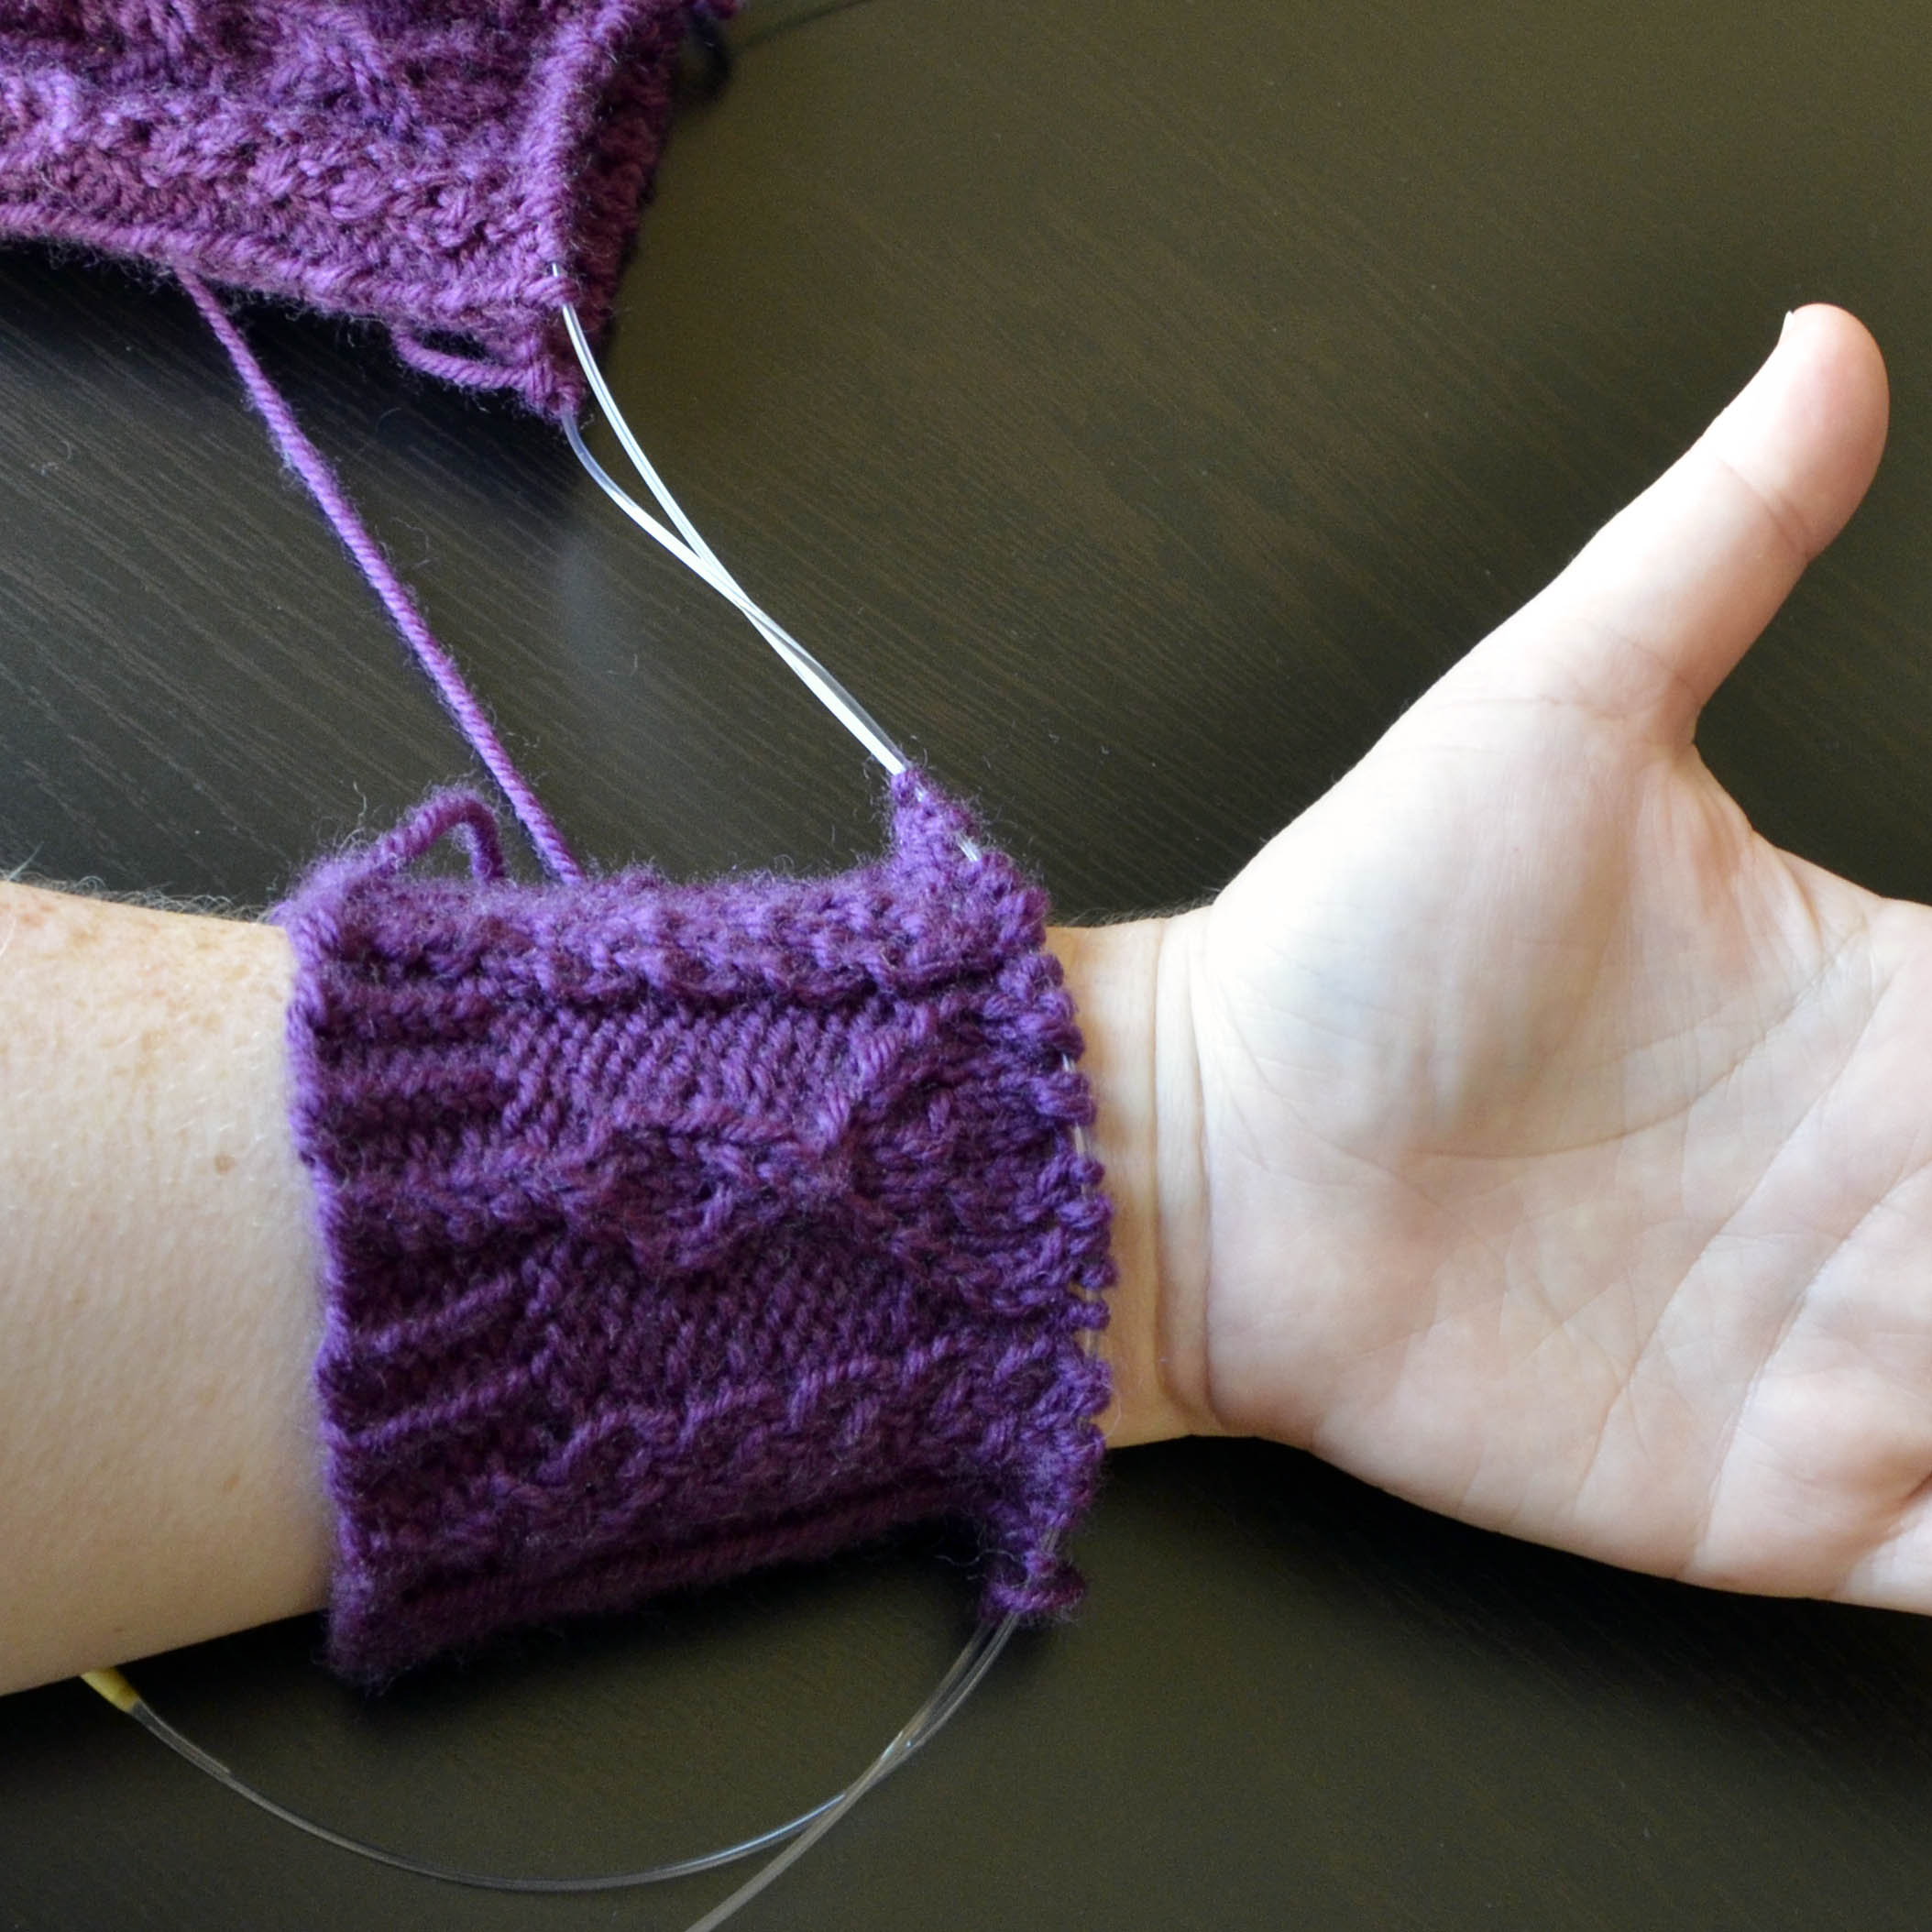
Here are the fronts for my cardigan. I’m working them two at a time on a single circular needle.

SetInPockets_1

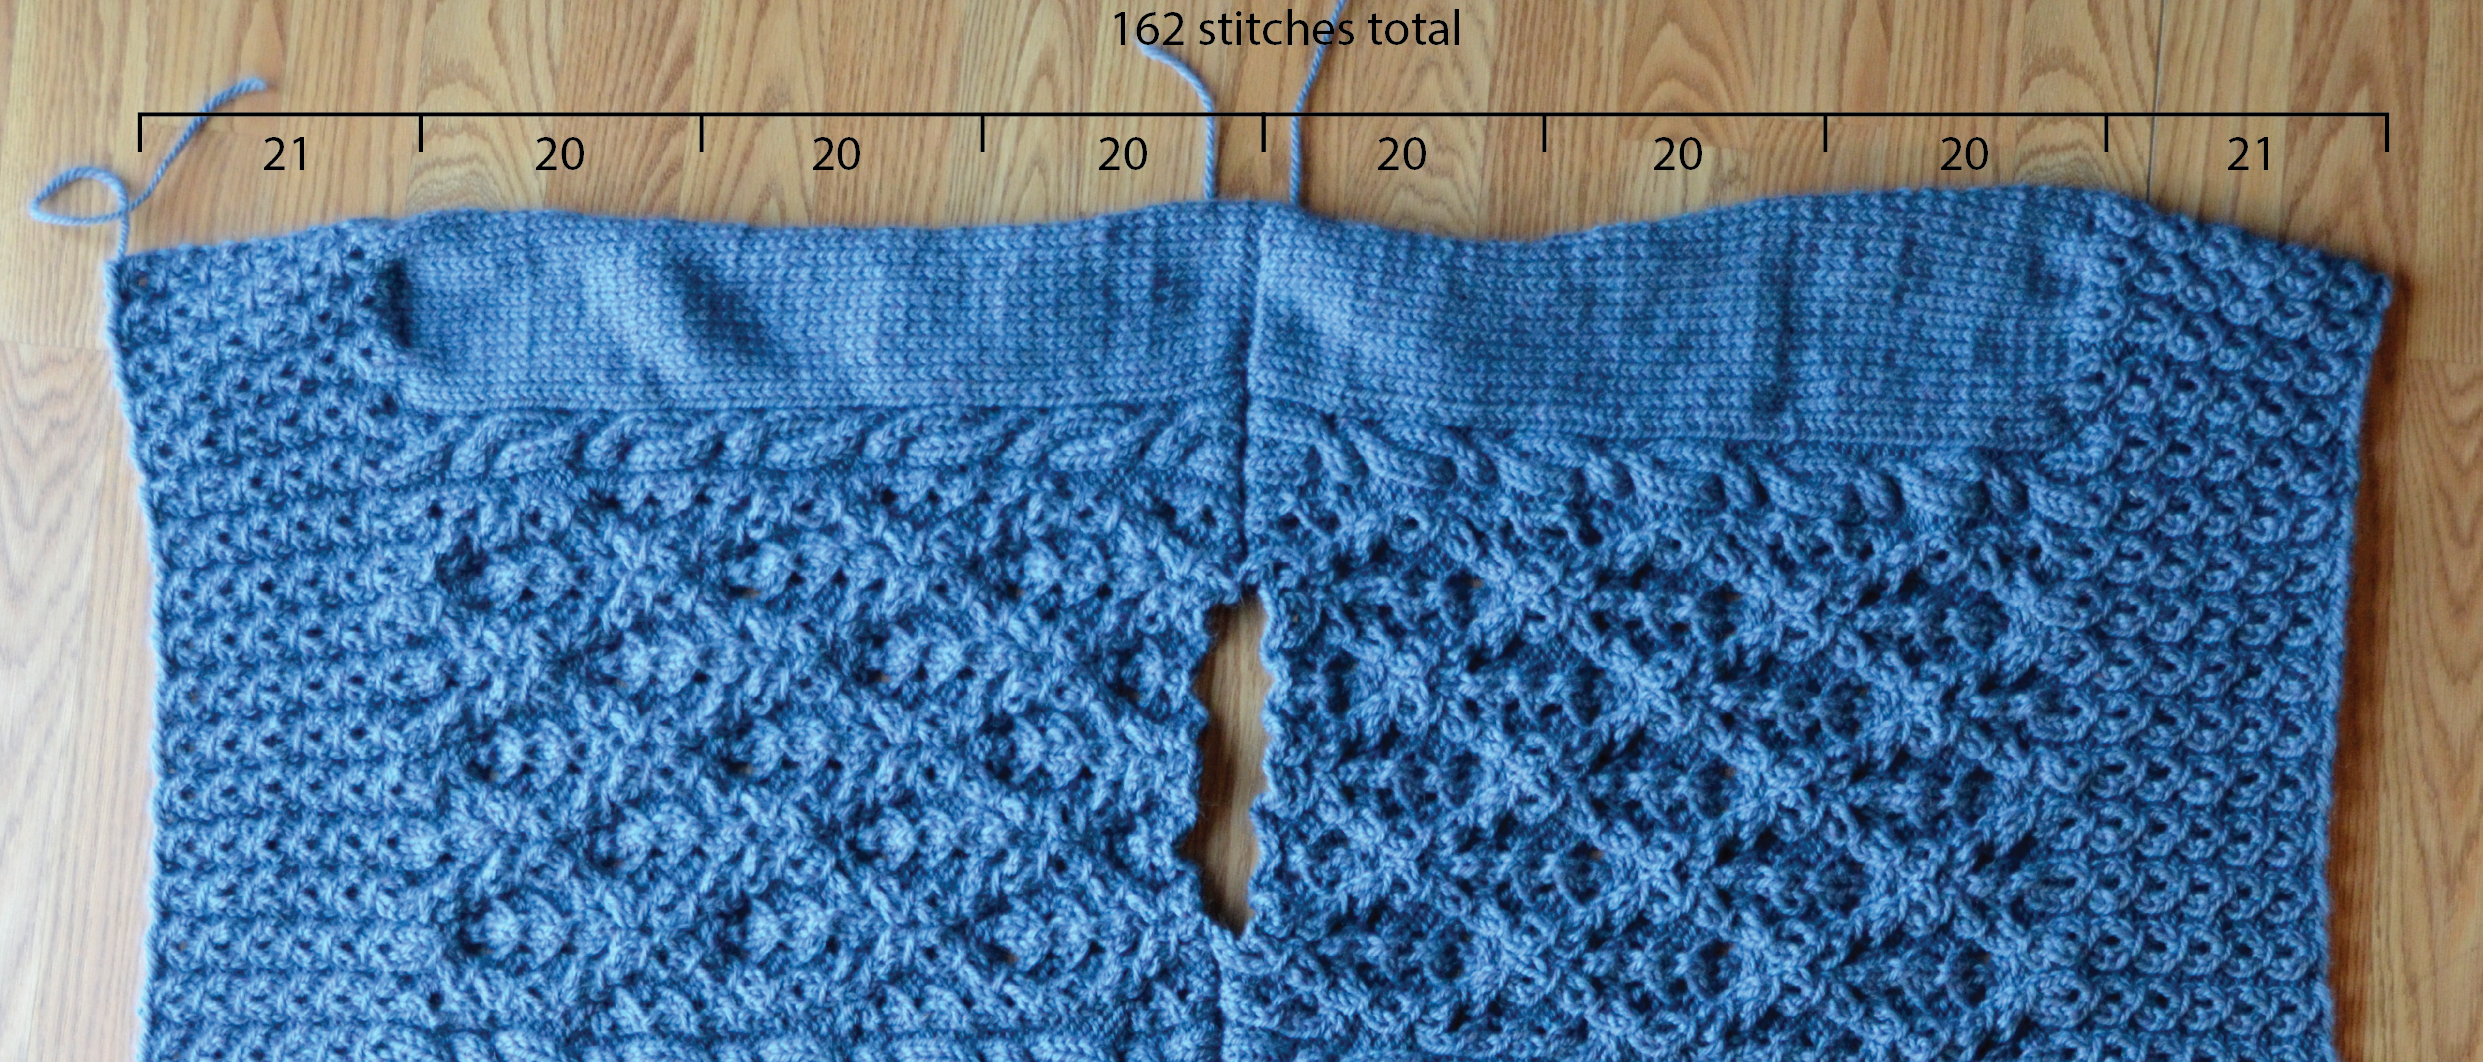
I’ve reached the height where I want my pocket opening to be. I have knit a pocket liner for each pocket in the same yarn in simple stockinette stitch. The liner will be going on the inside of the sweater and won’t be seen, so stockinette works fine. It will also provide a smooth surface for my hand to slide into.

SetInPockets_2

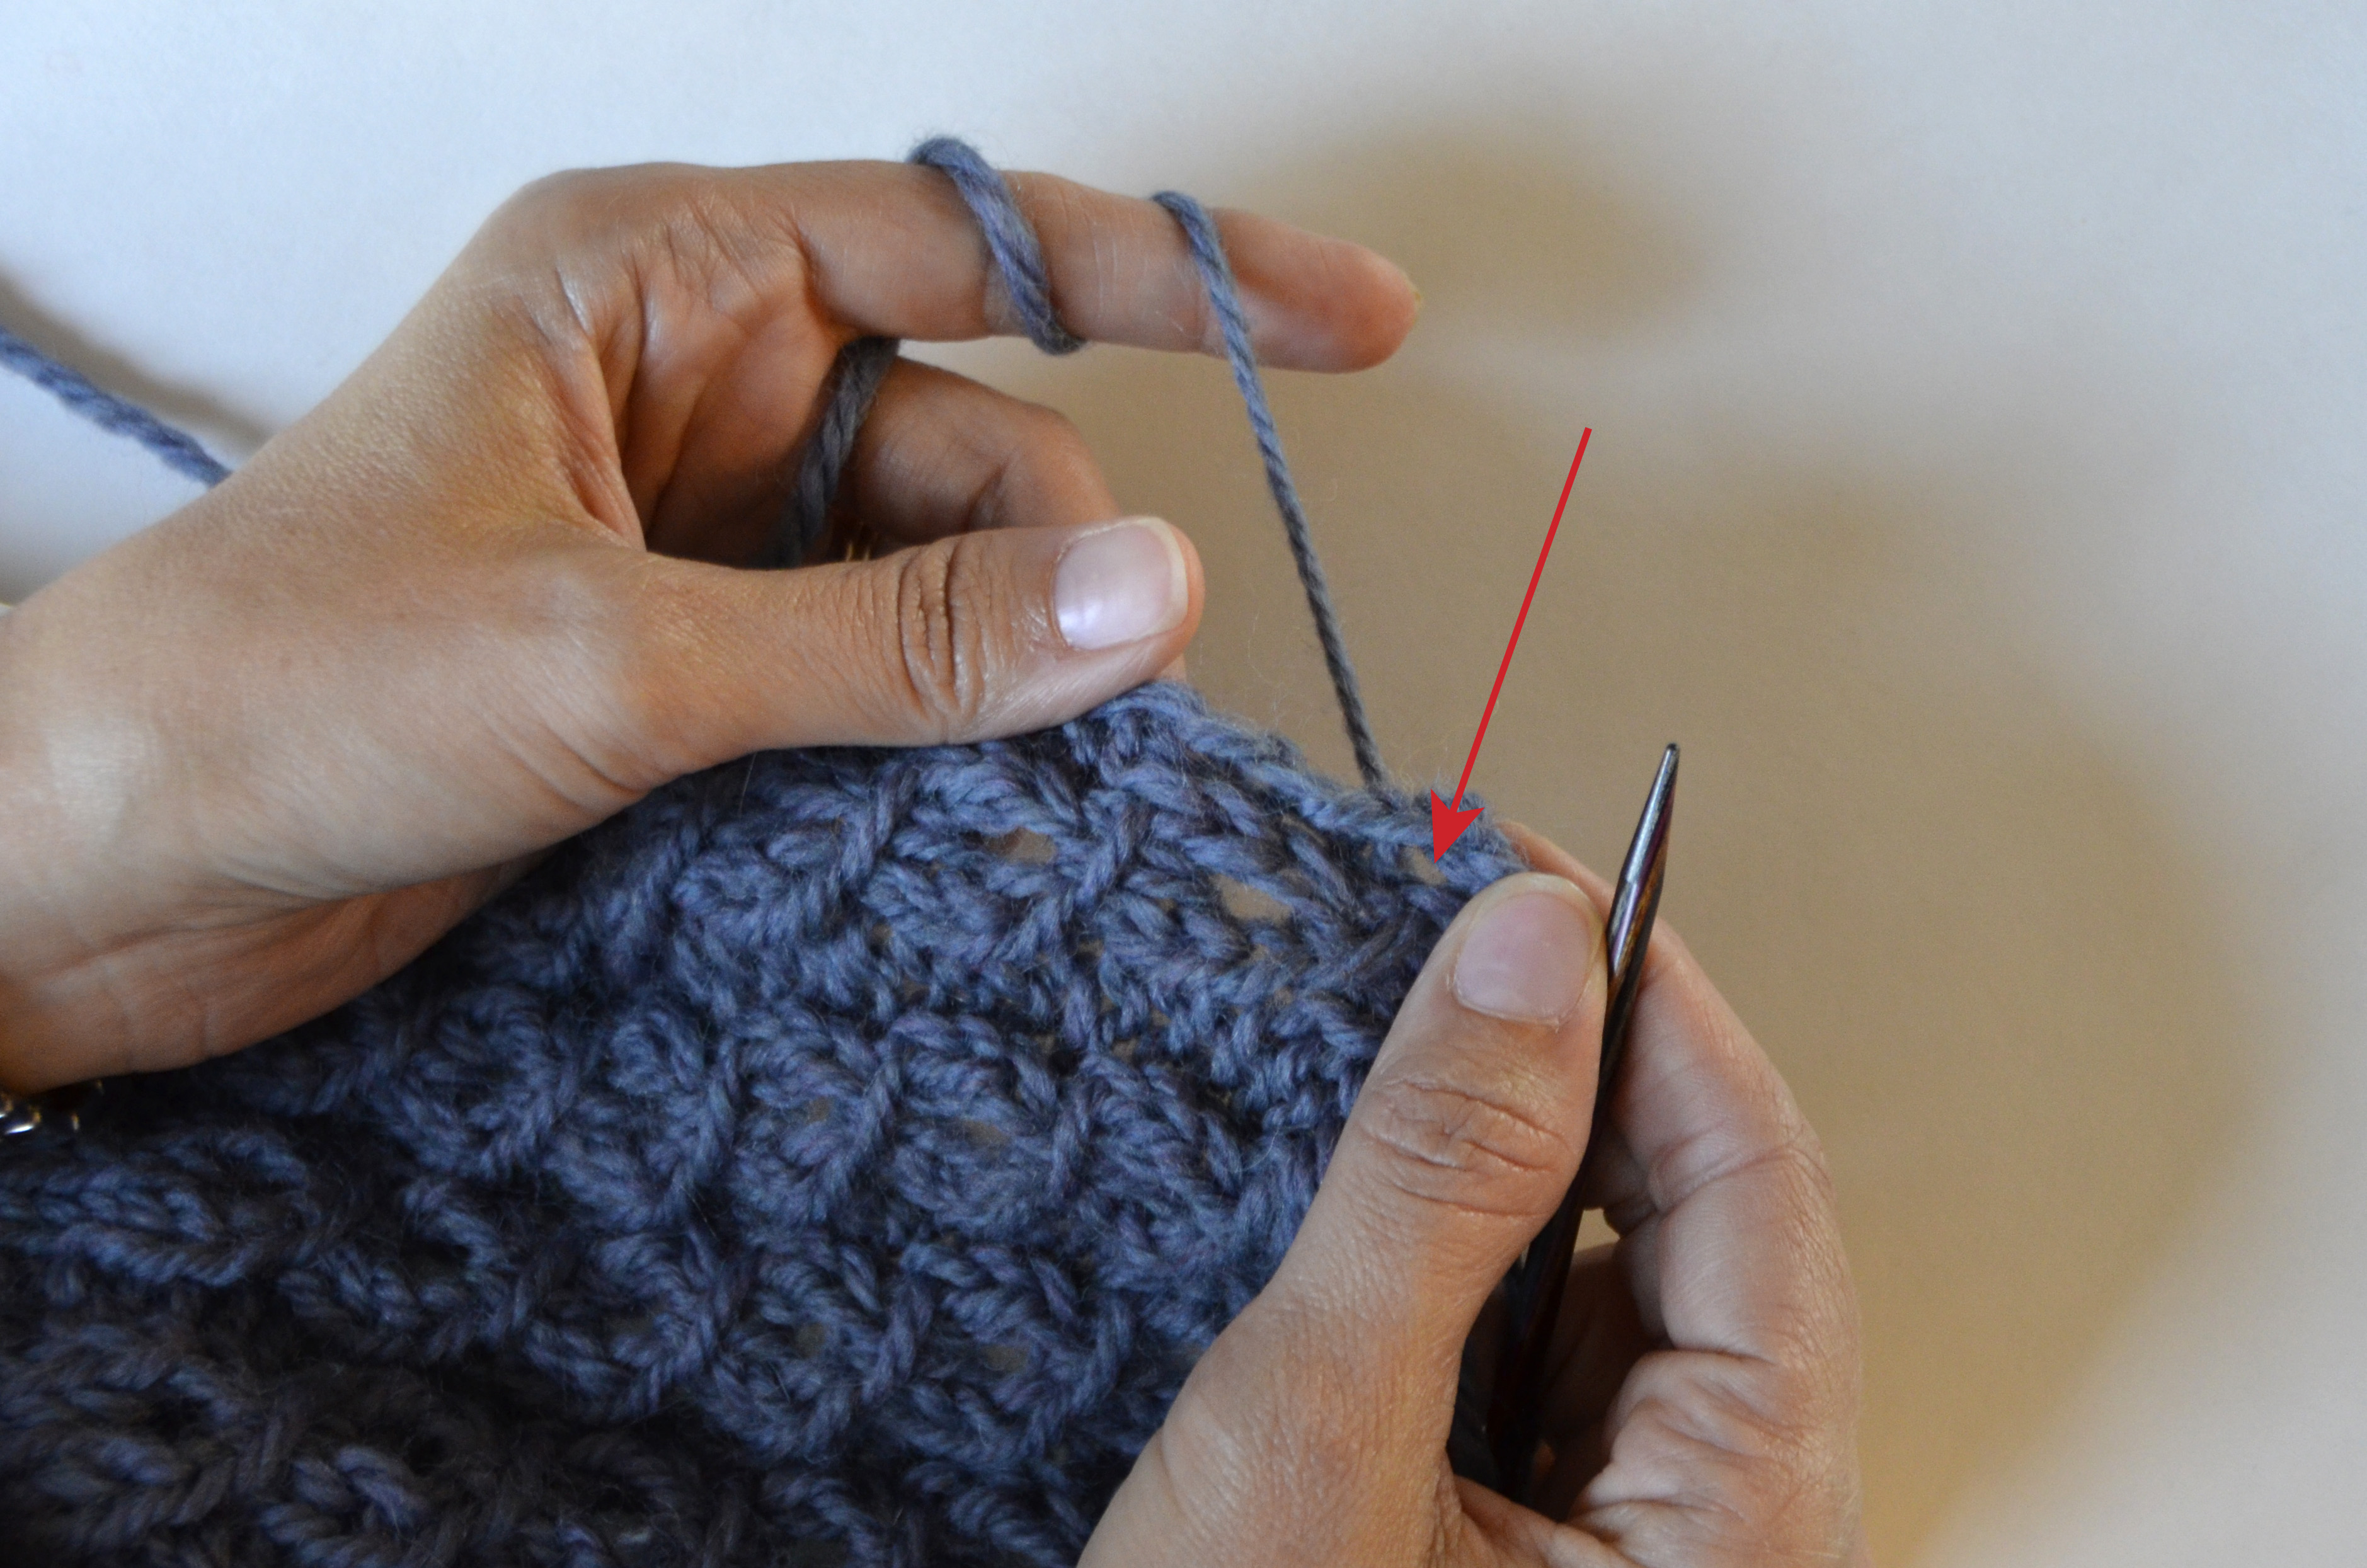
First, I knit part of my row  up to where my pocket opening will be.

SetInPockets_3

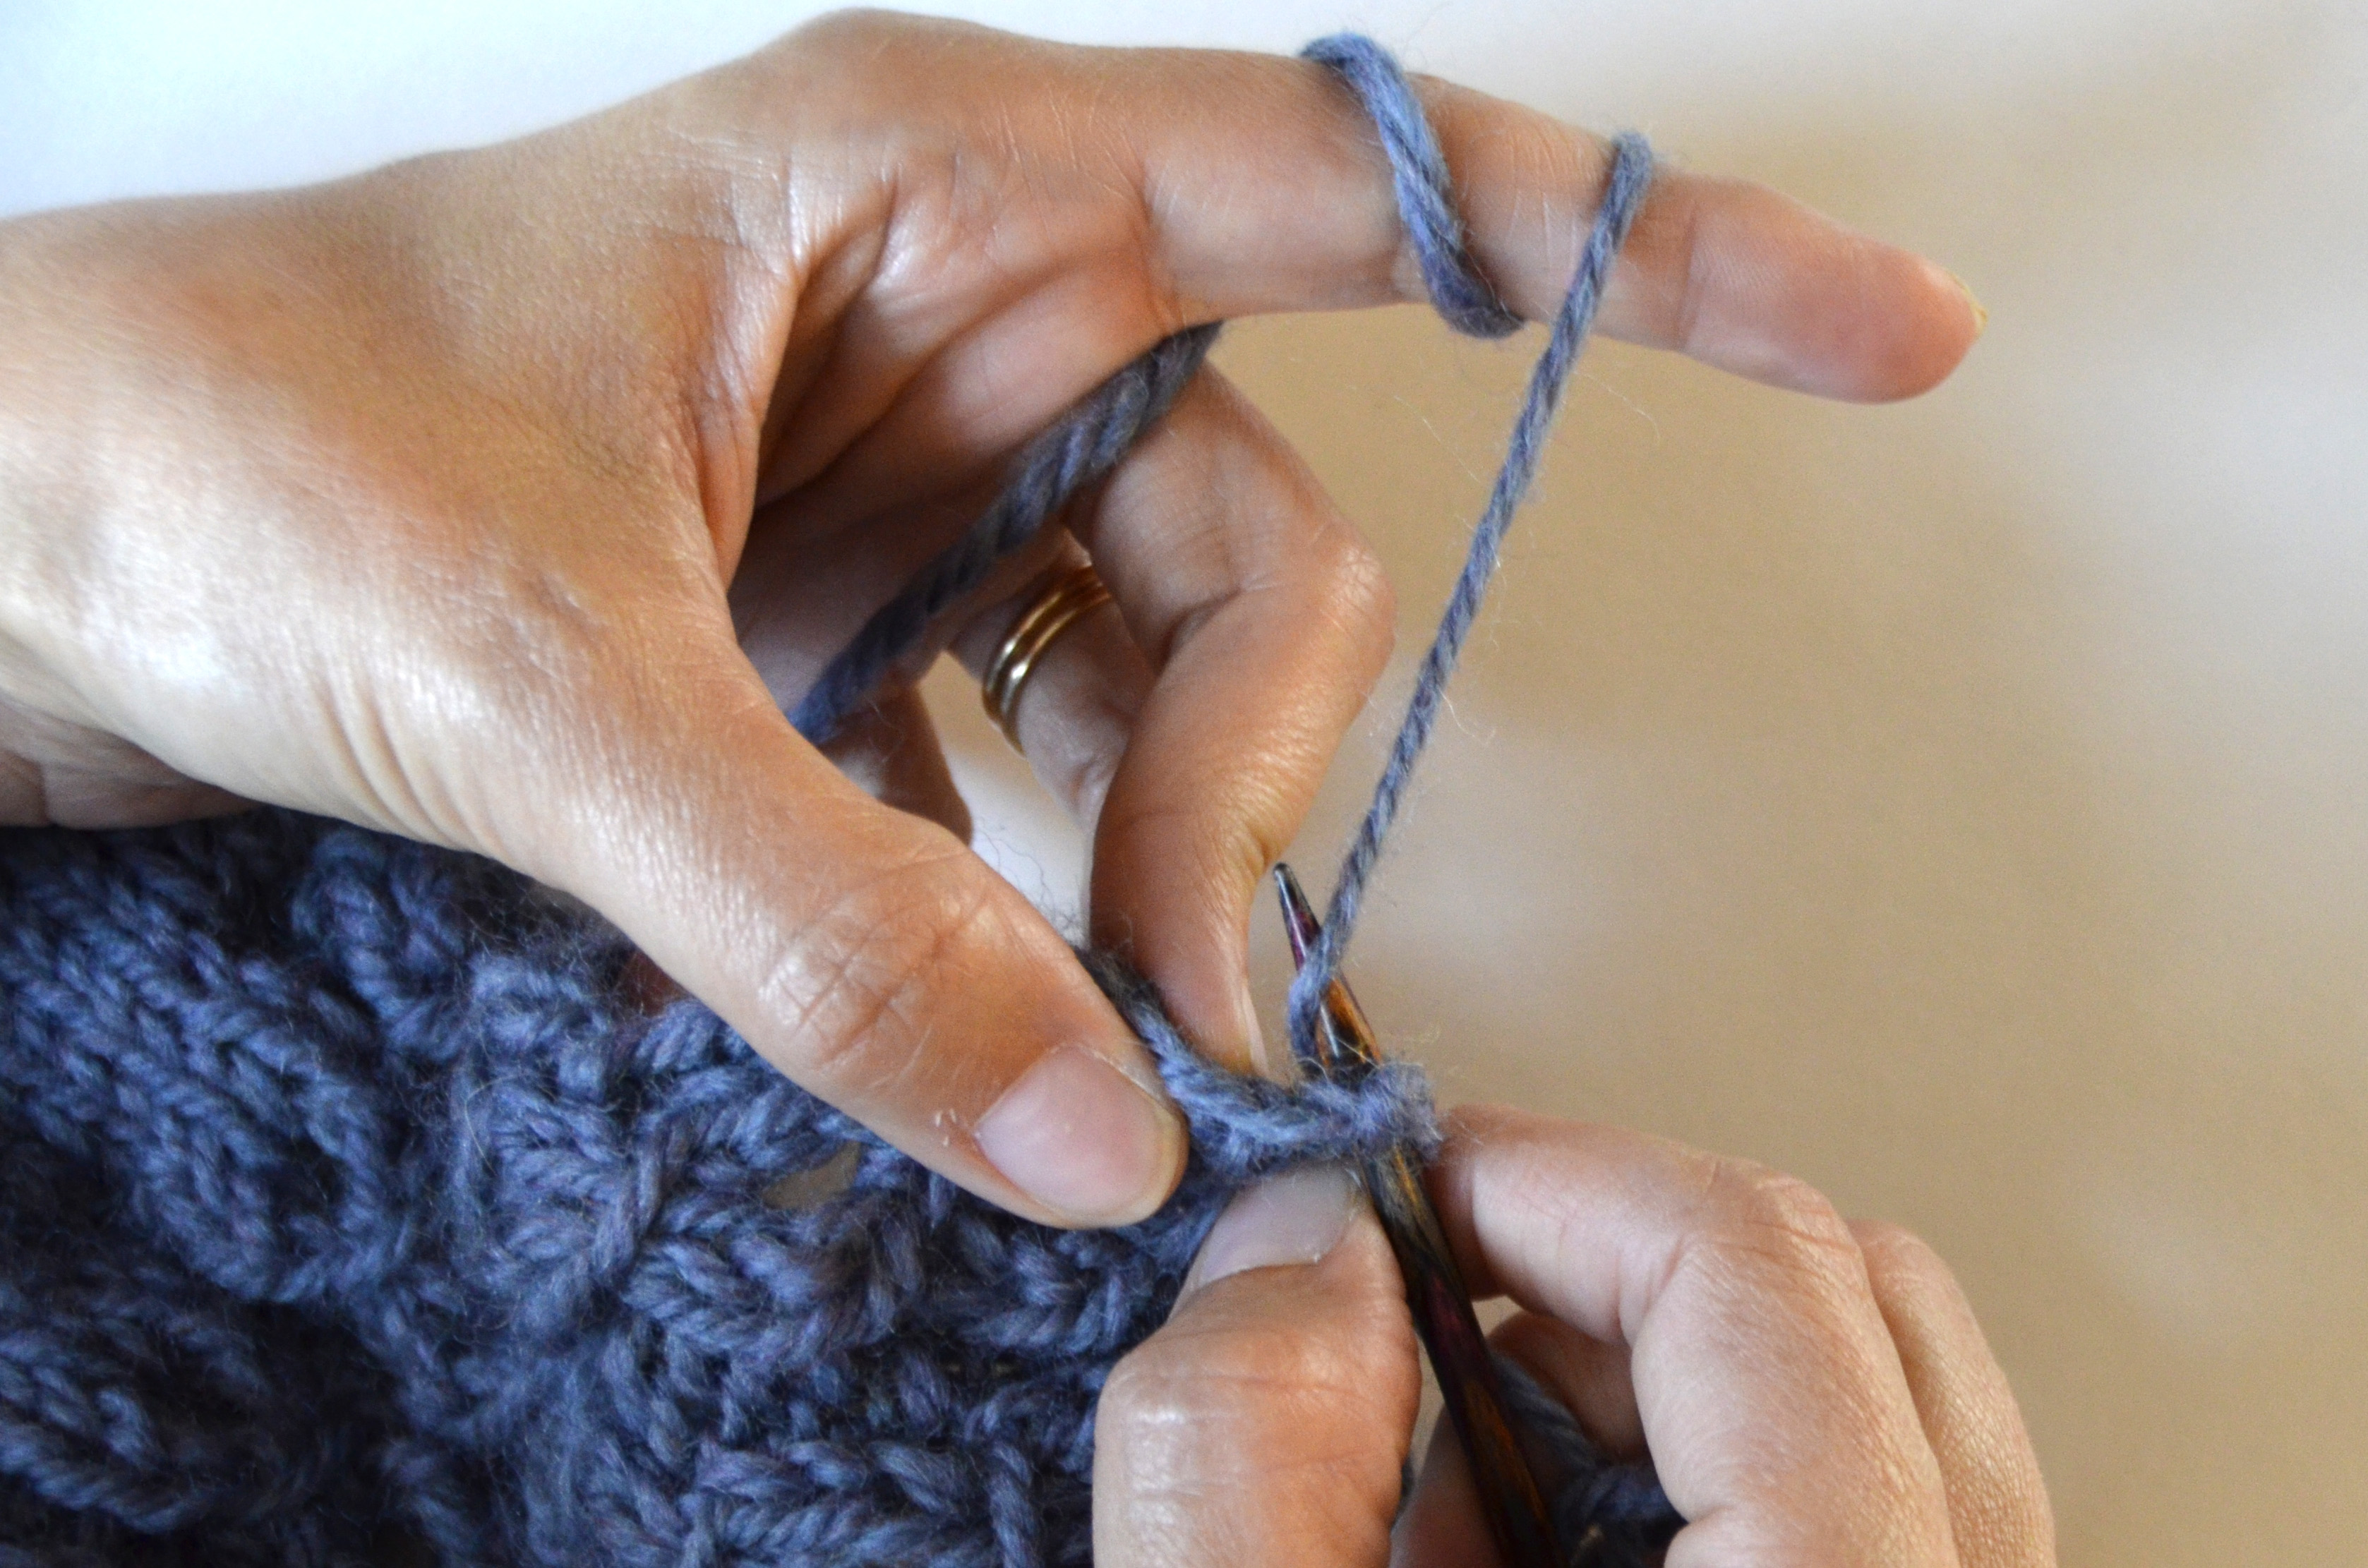
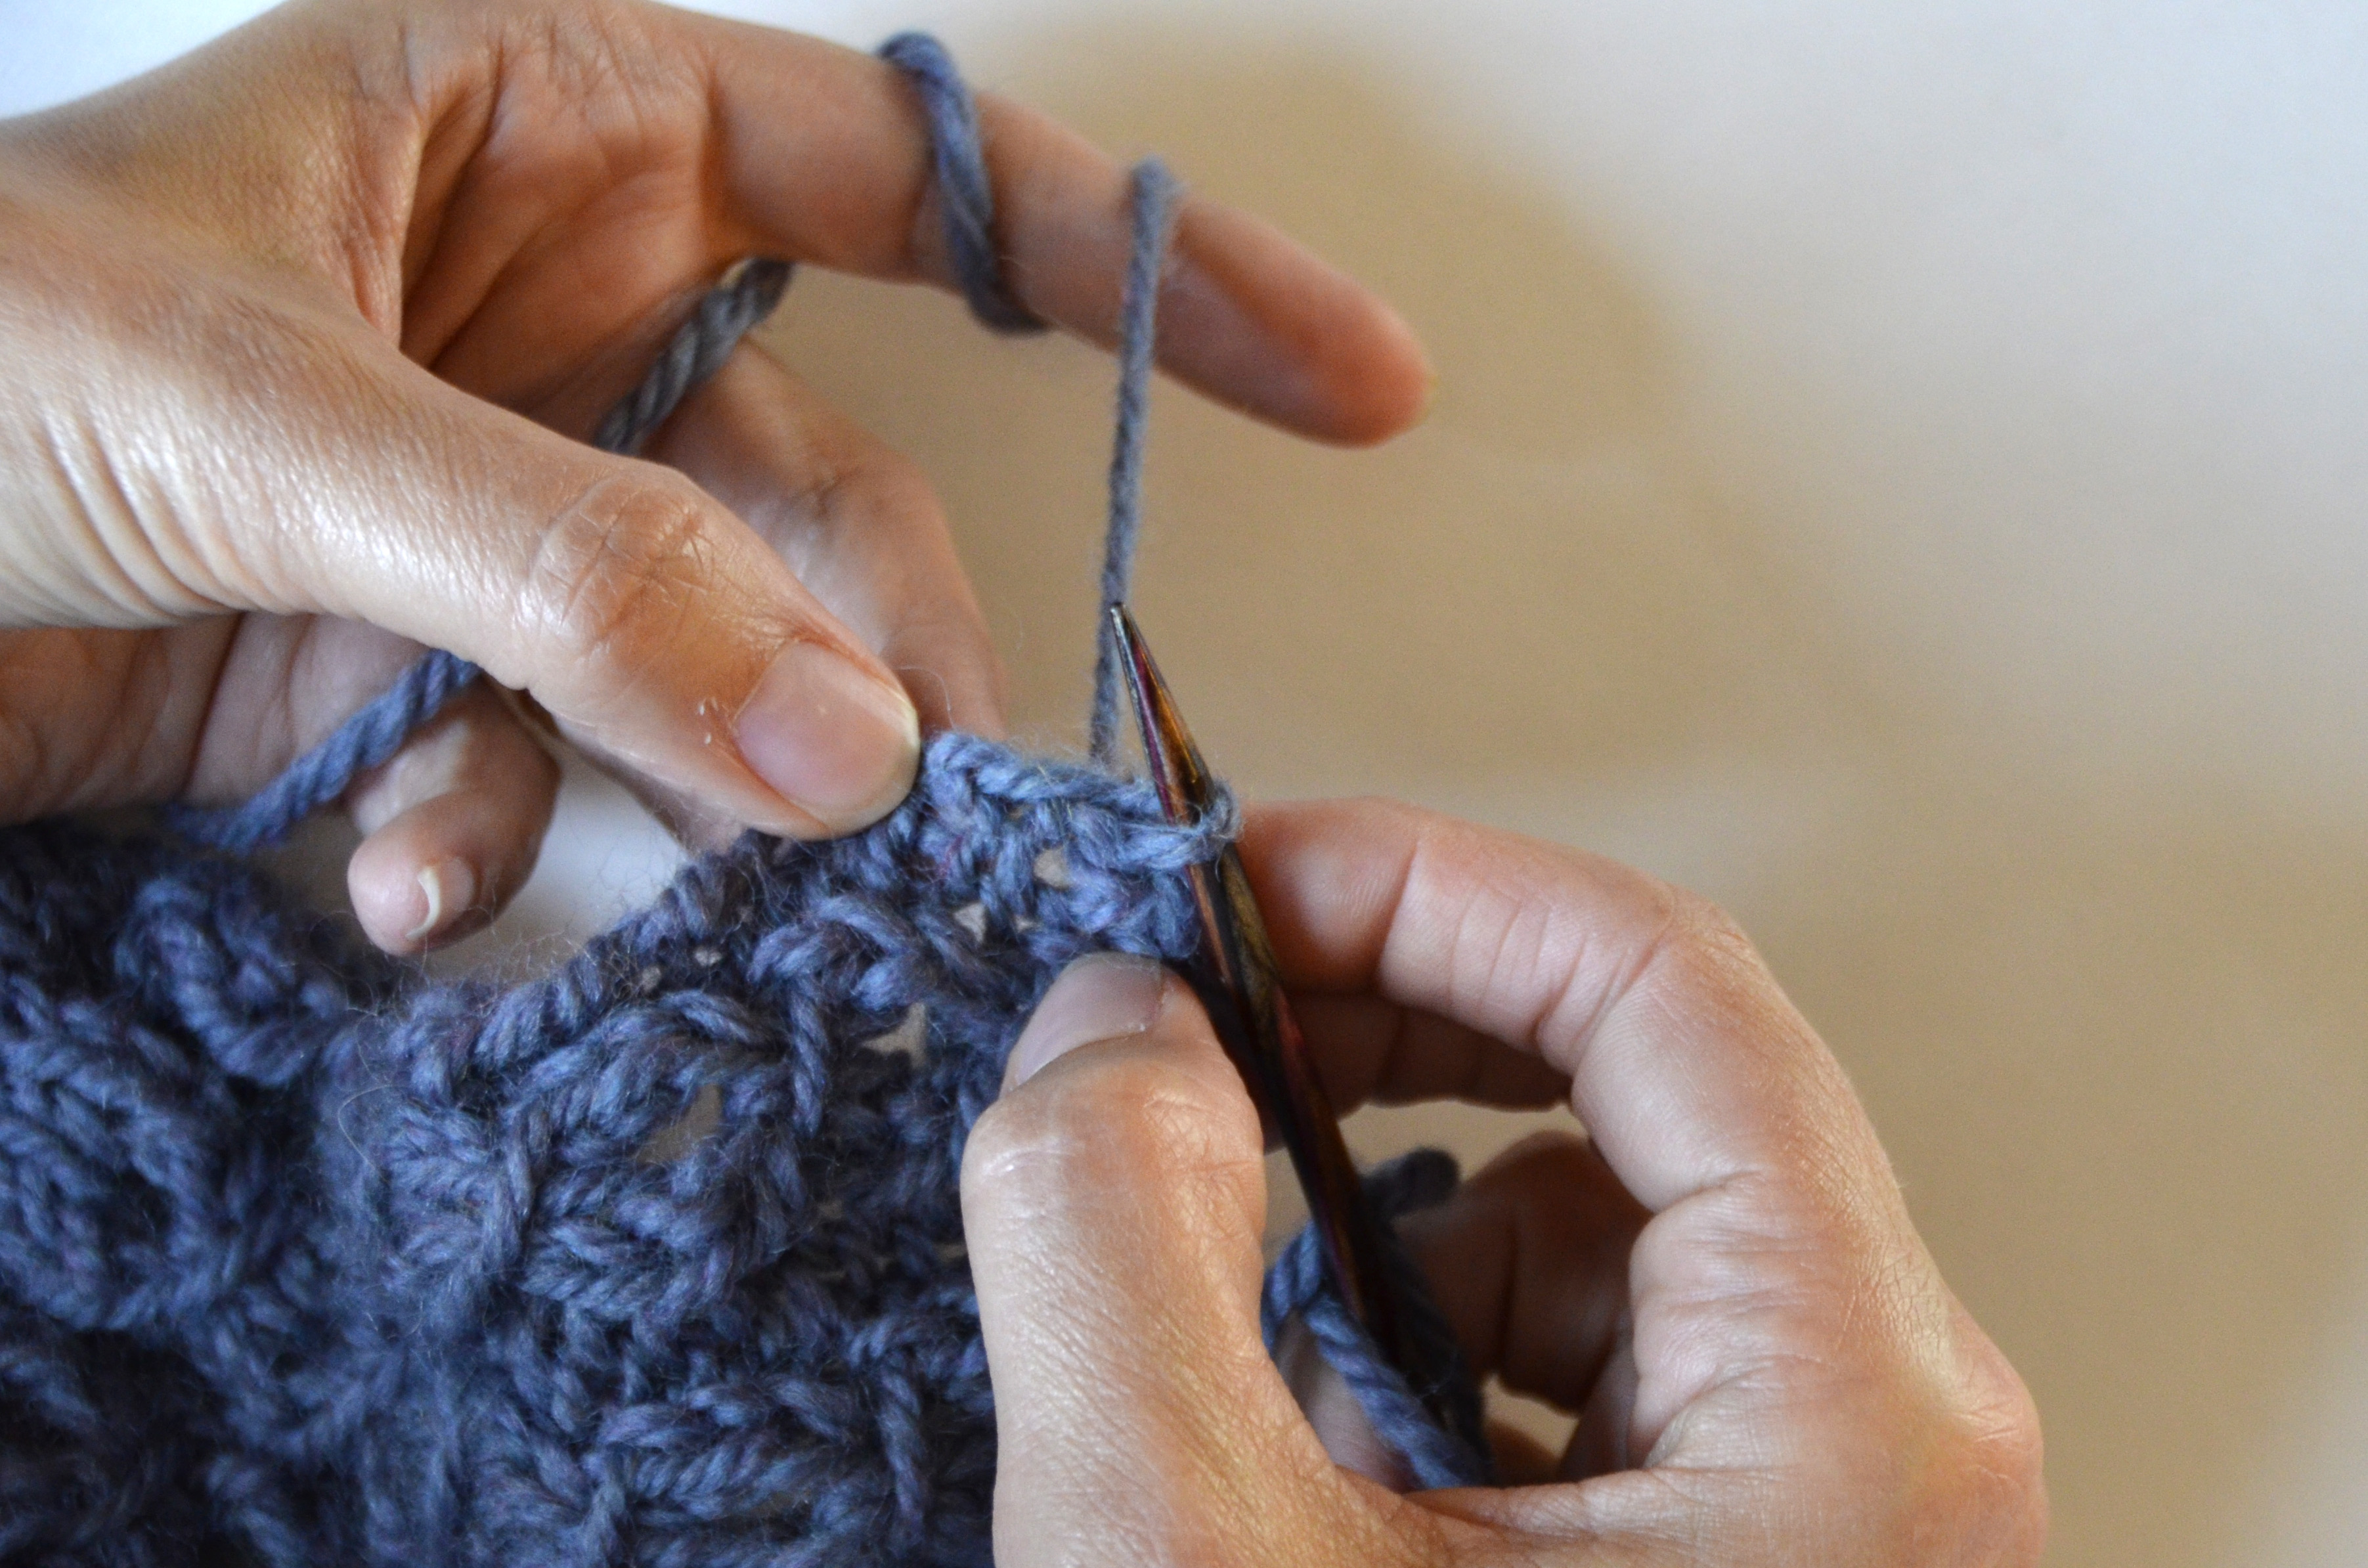
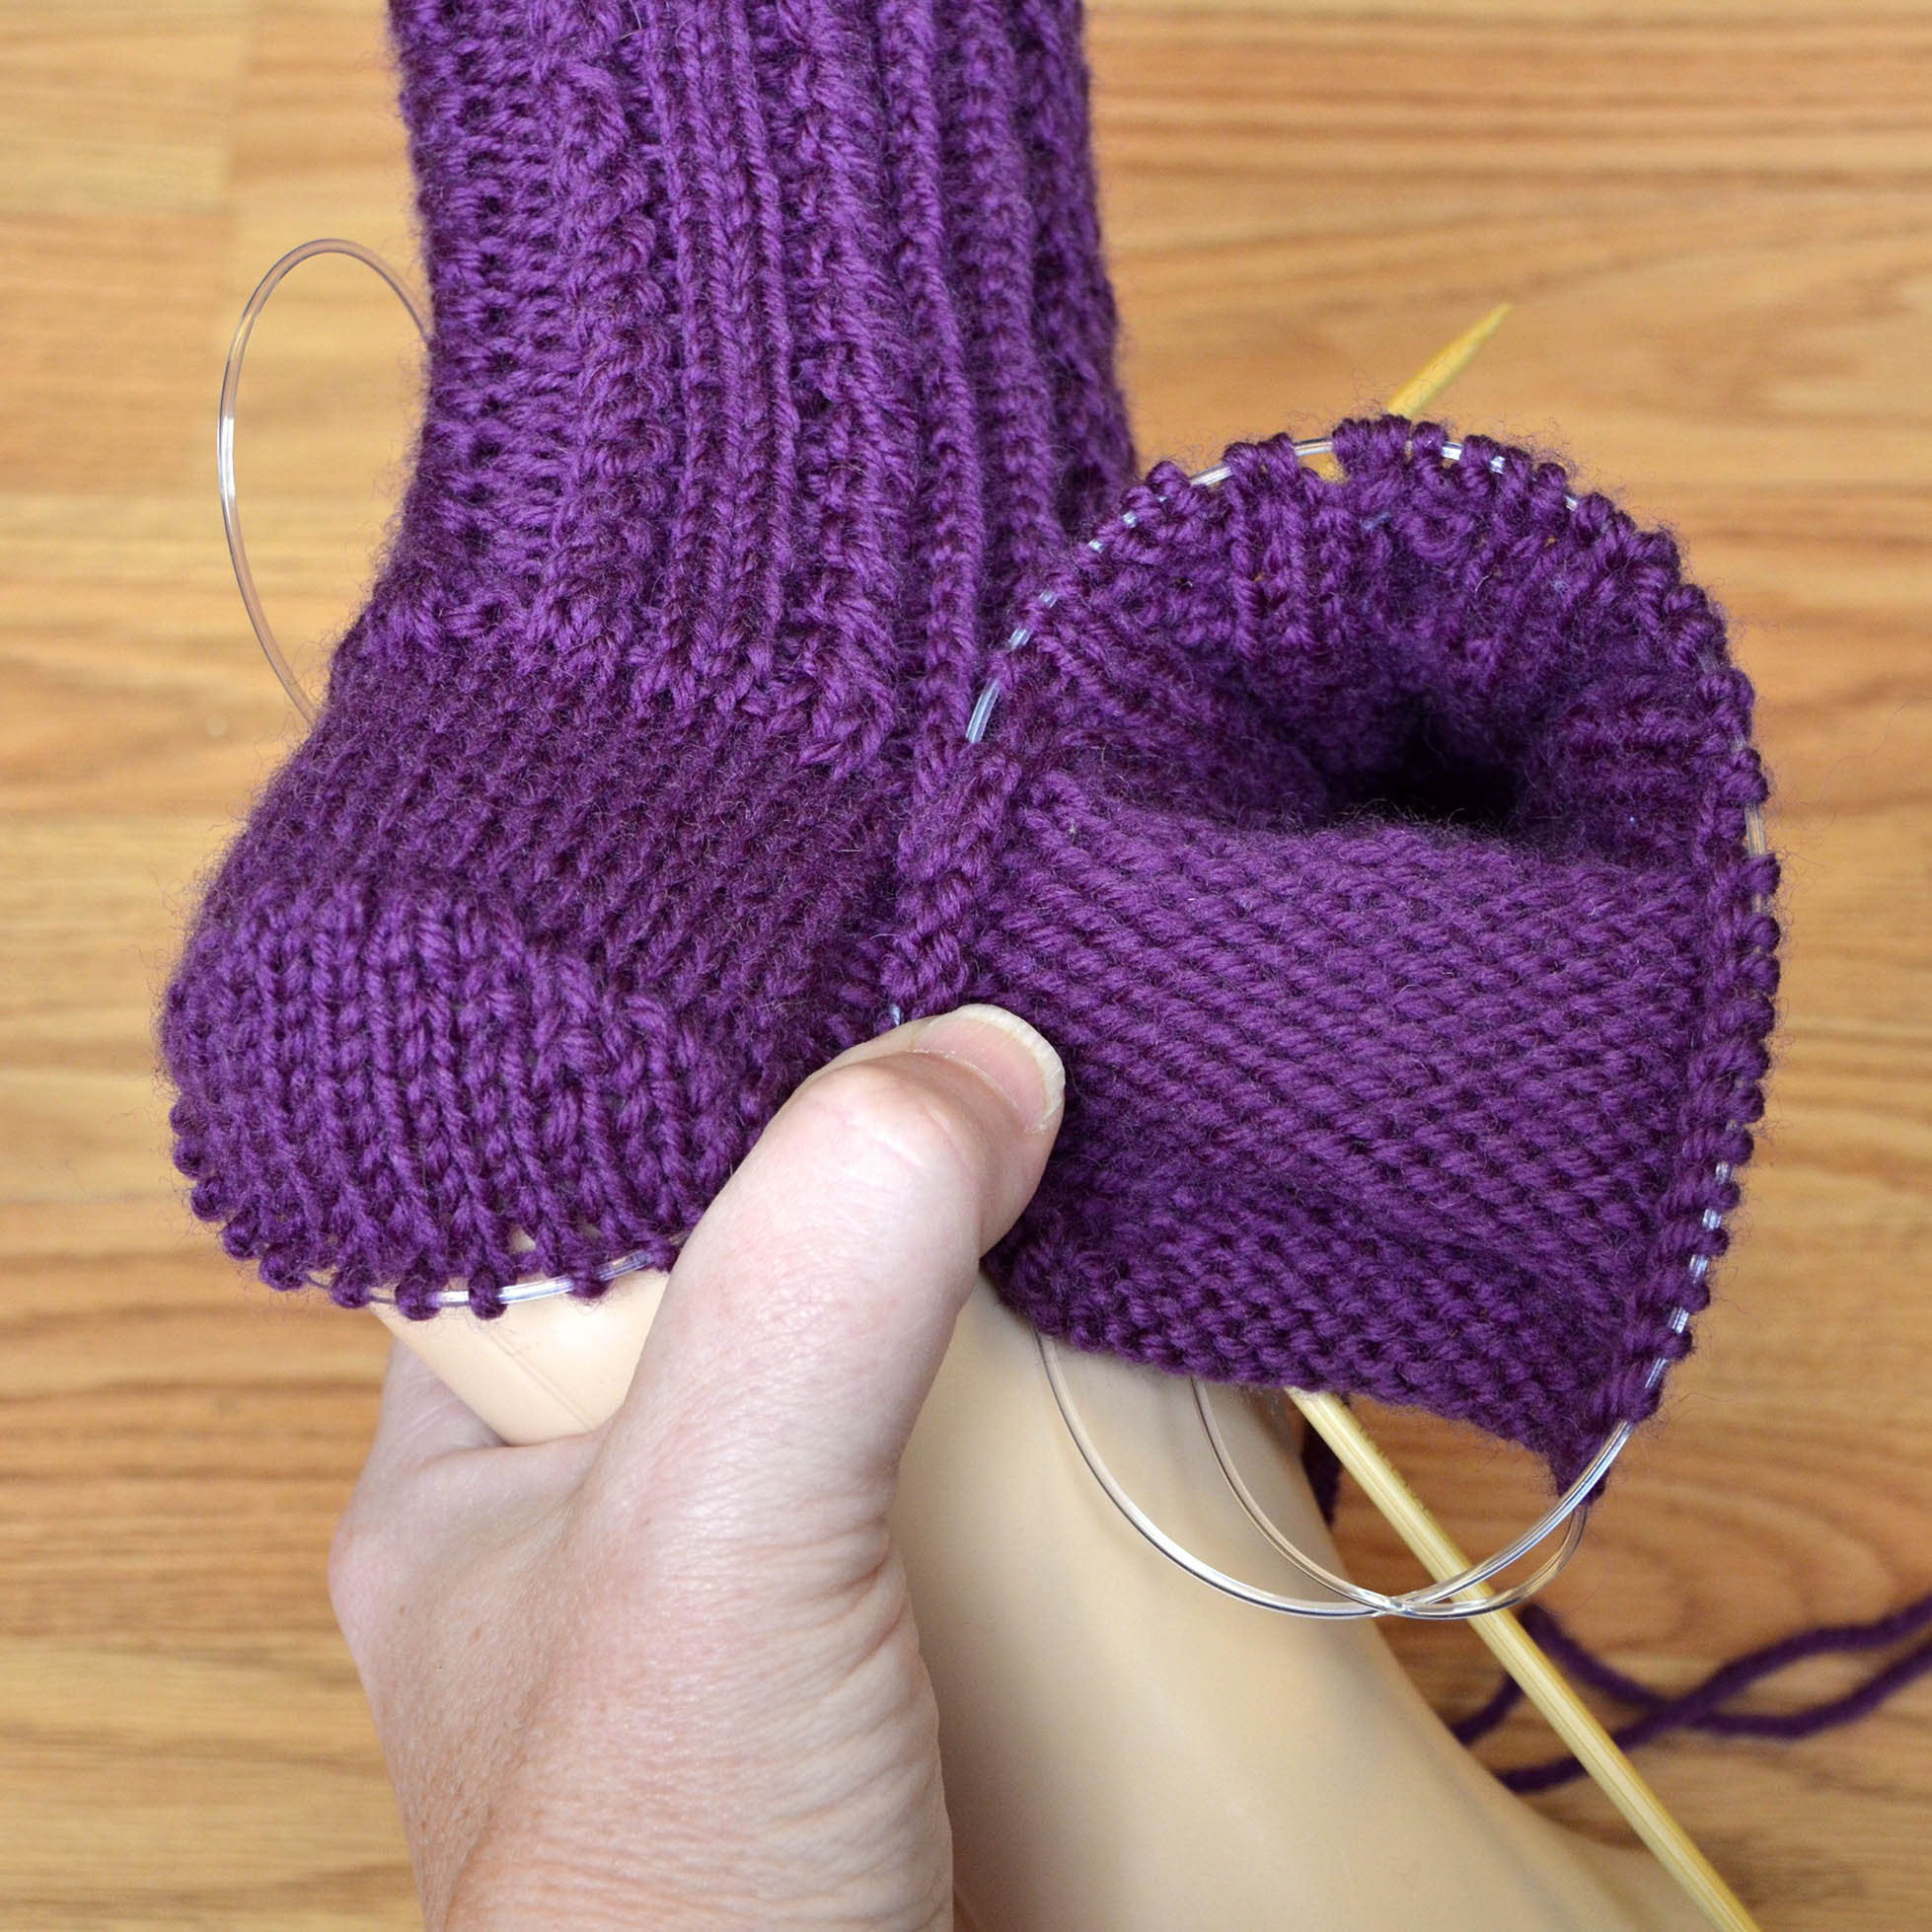
The next step is to place some of my sweater stitches on a holder. I will eventually come back to these stitches and knit my ribbed pocket edging.

SetInPockets_4

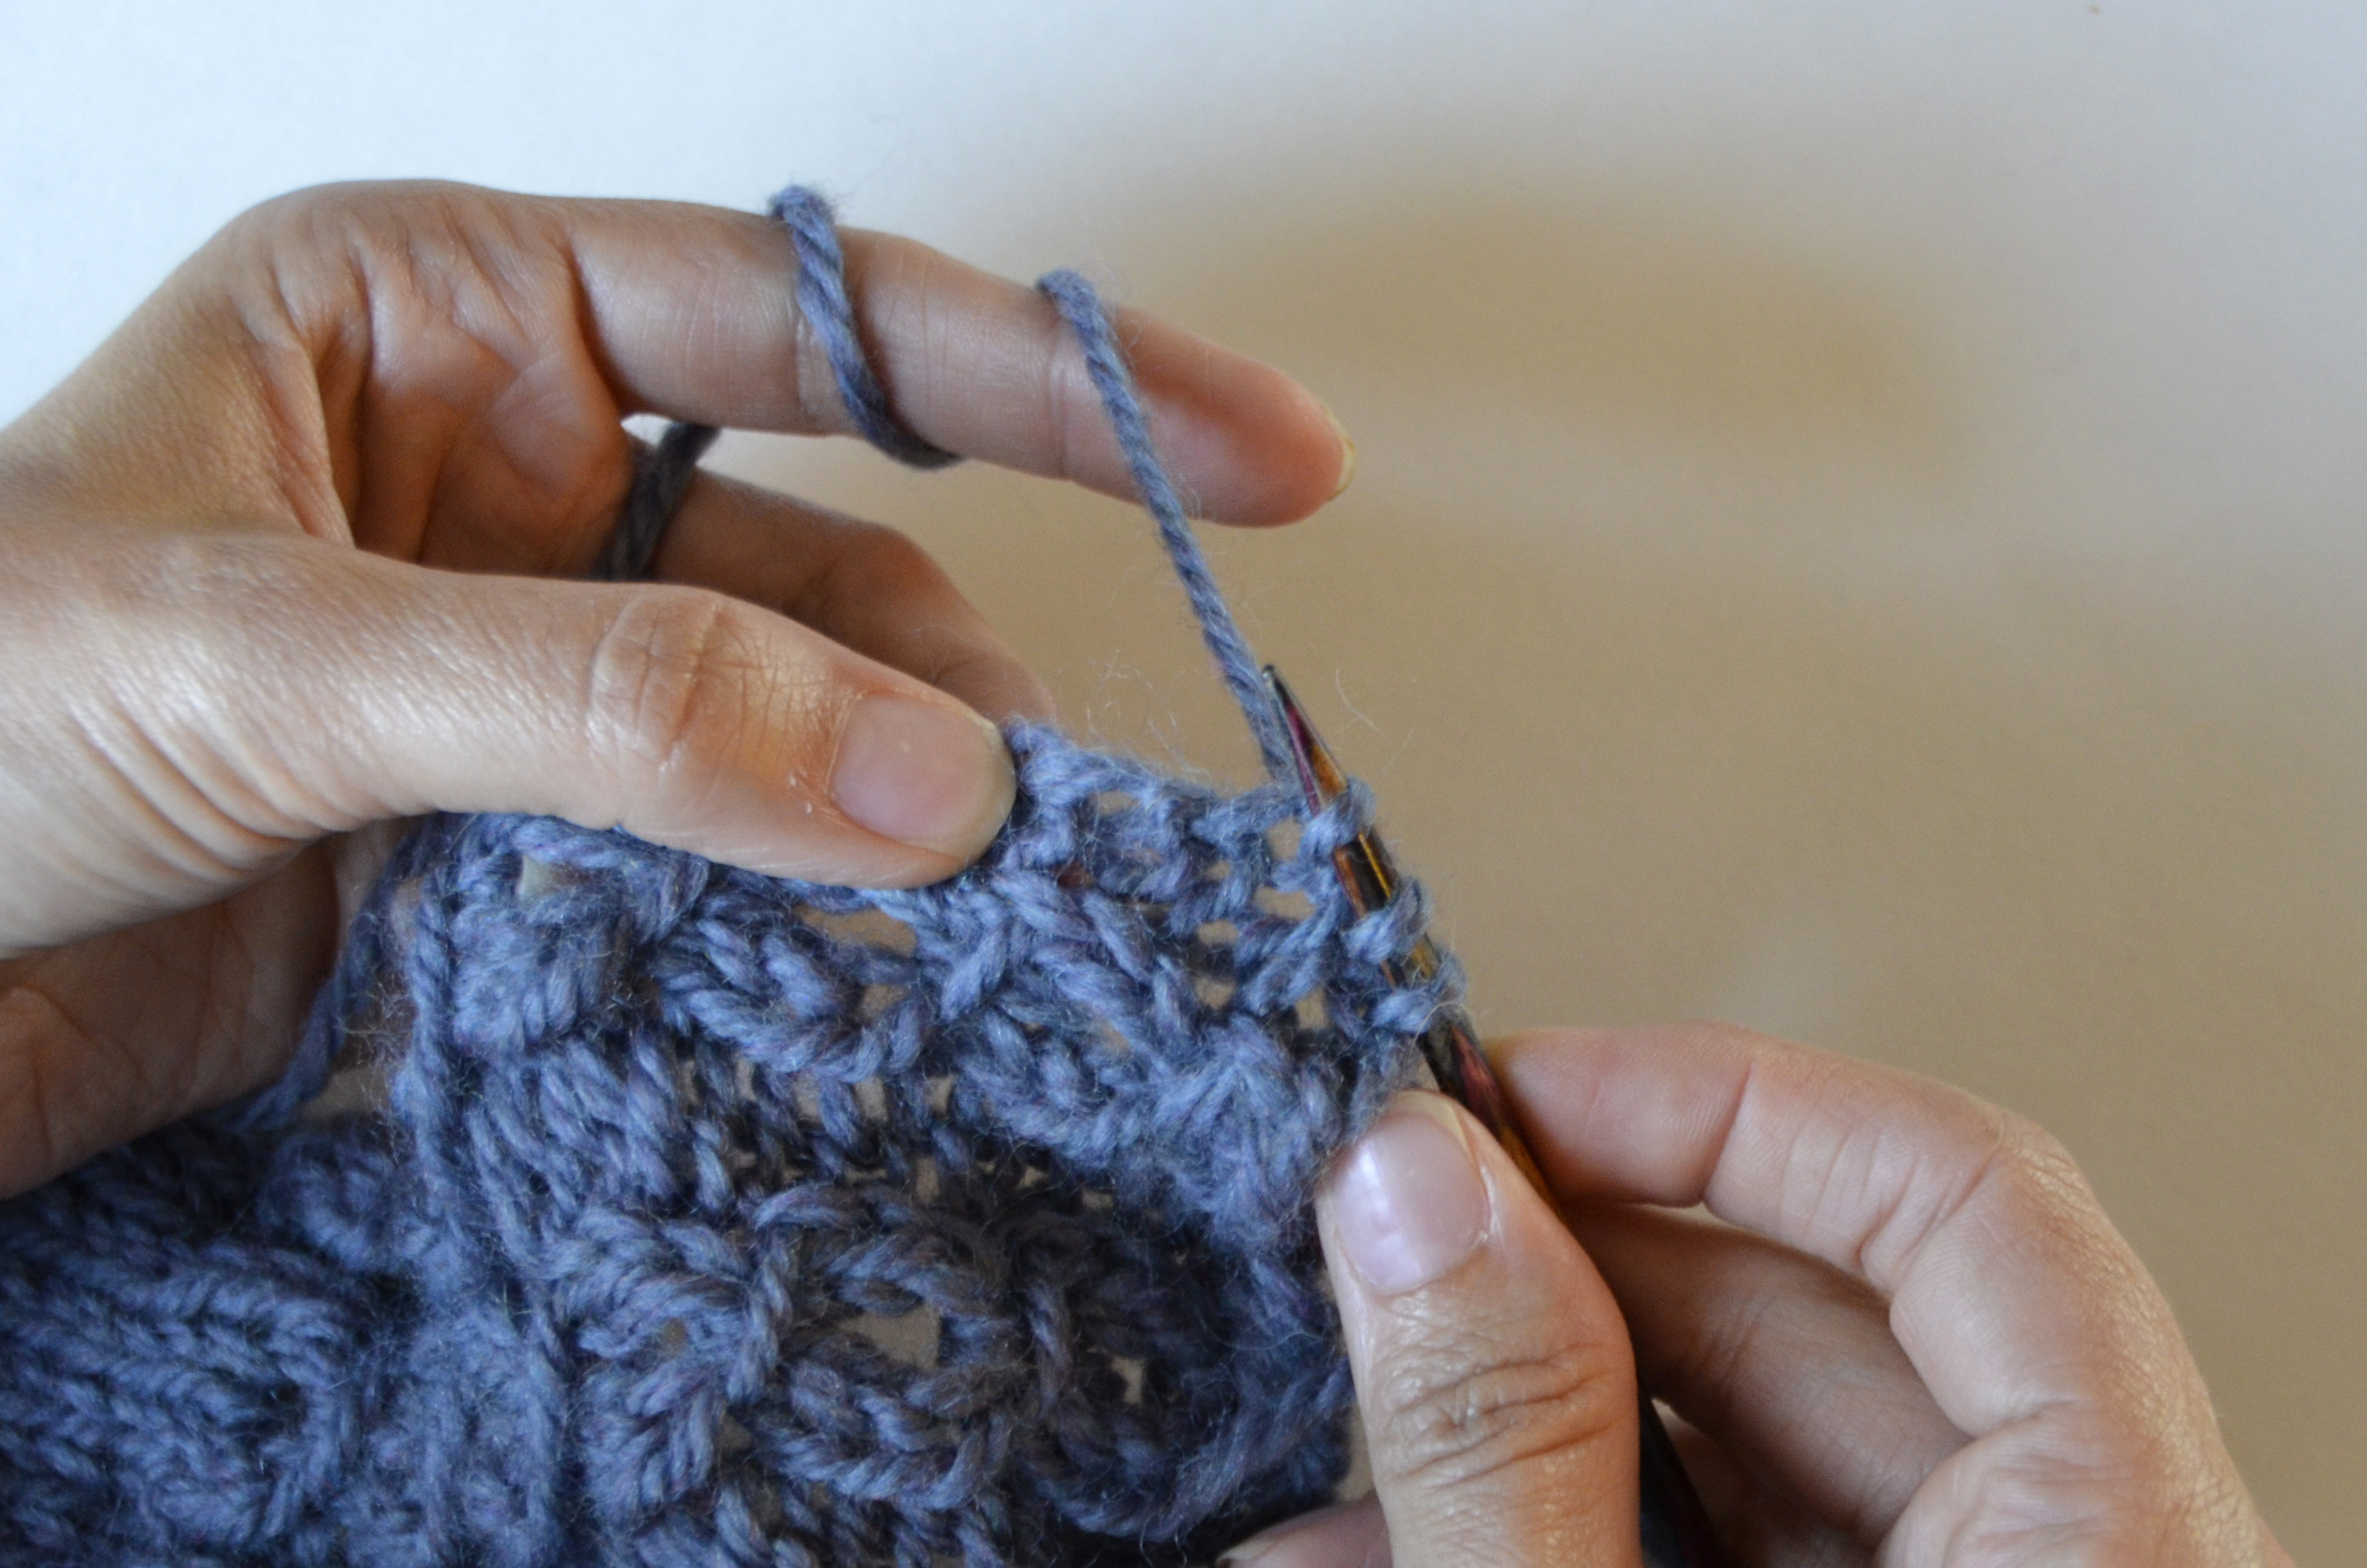
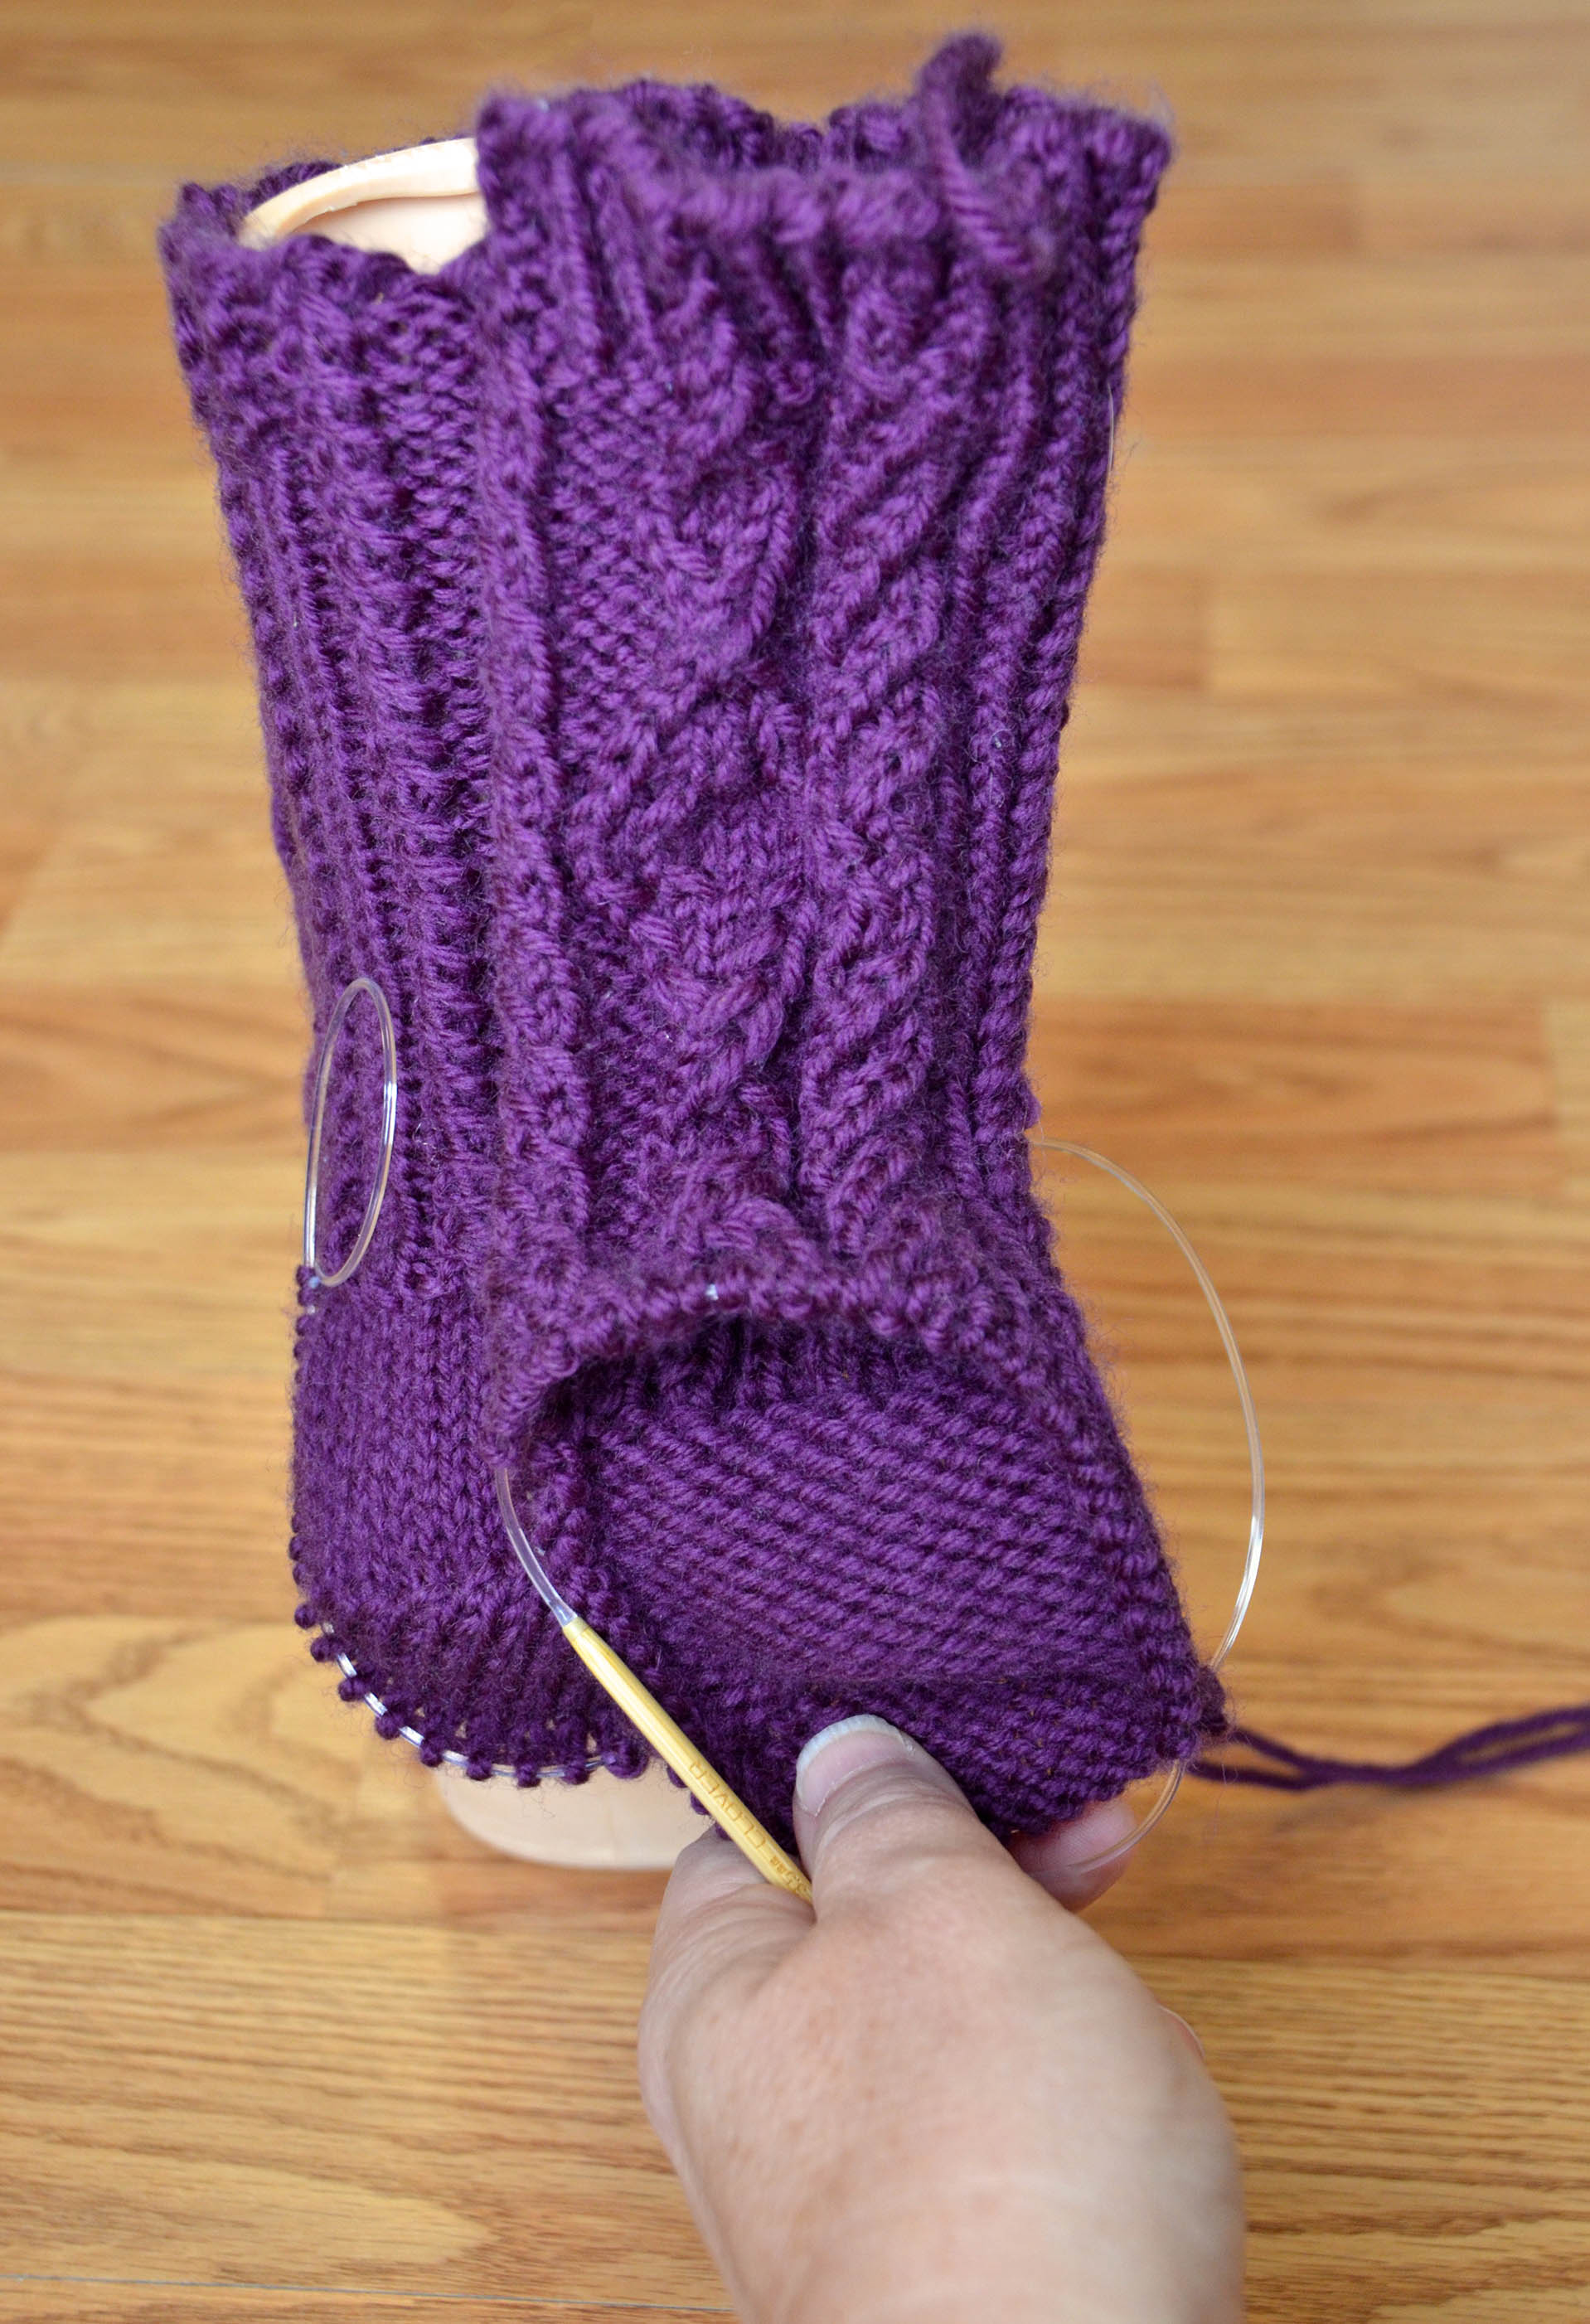
My liner is 25 stitches wide, so I put the next 25 stitches from my front piece on hold also. Next, I work the next row of my twisted pattern stitch over the liner stitches. I am incorporating the liner into my main sweater pattern so it will look like a pocket magically grew out of my sweater.

SetInPockets_5

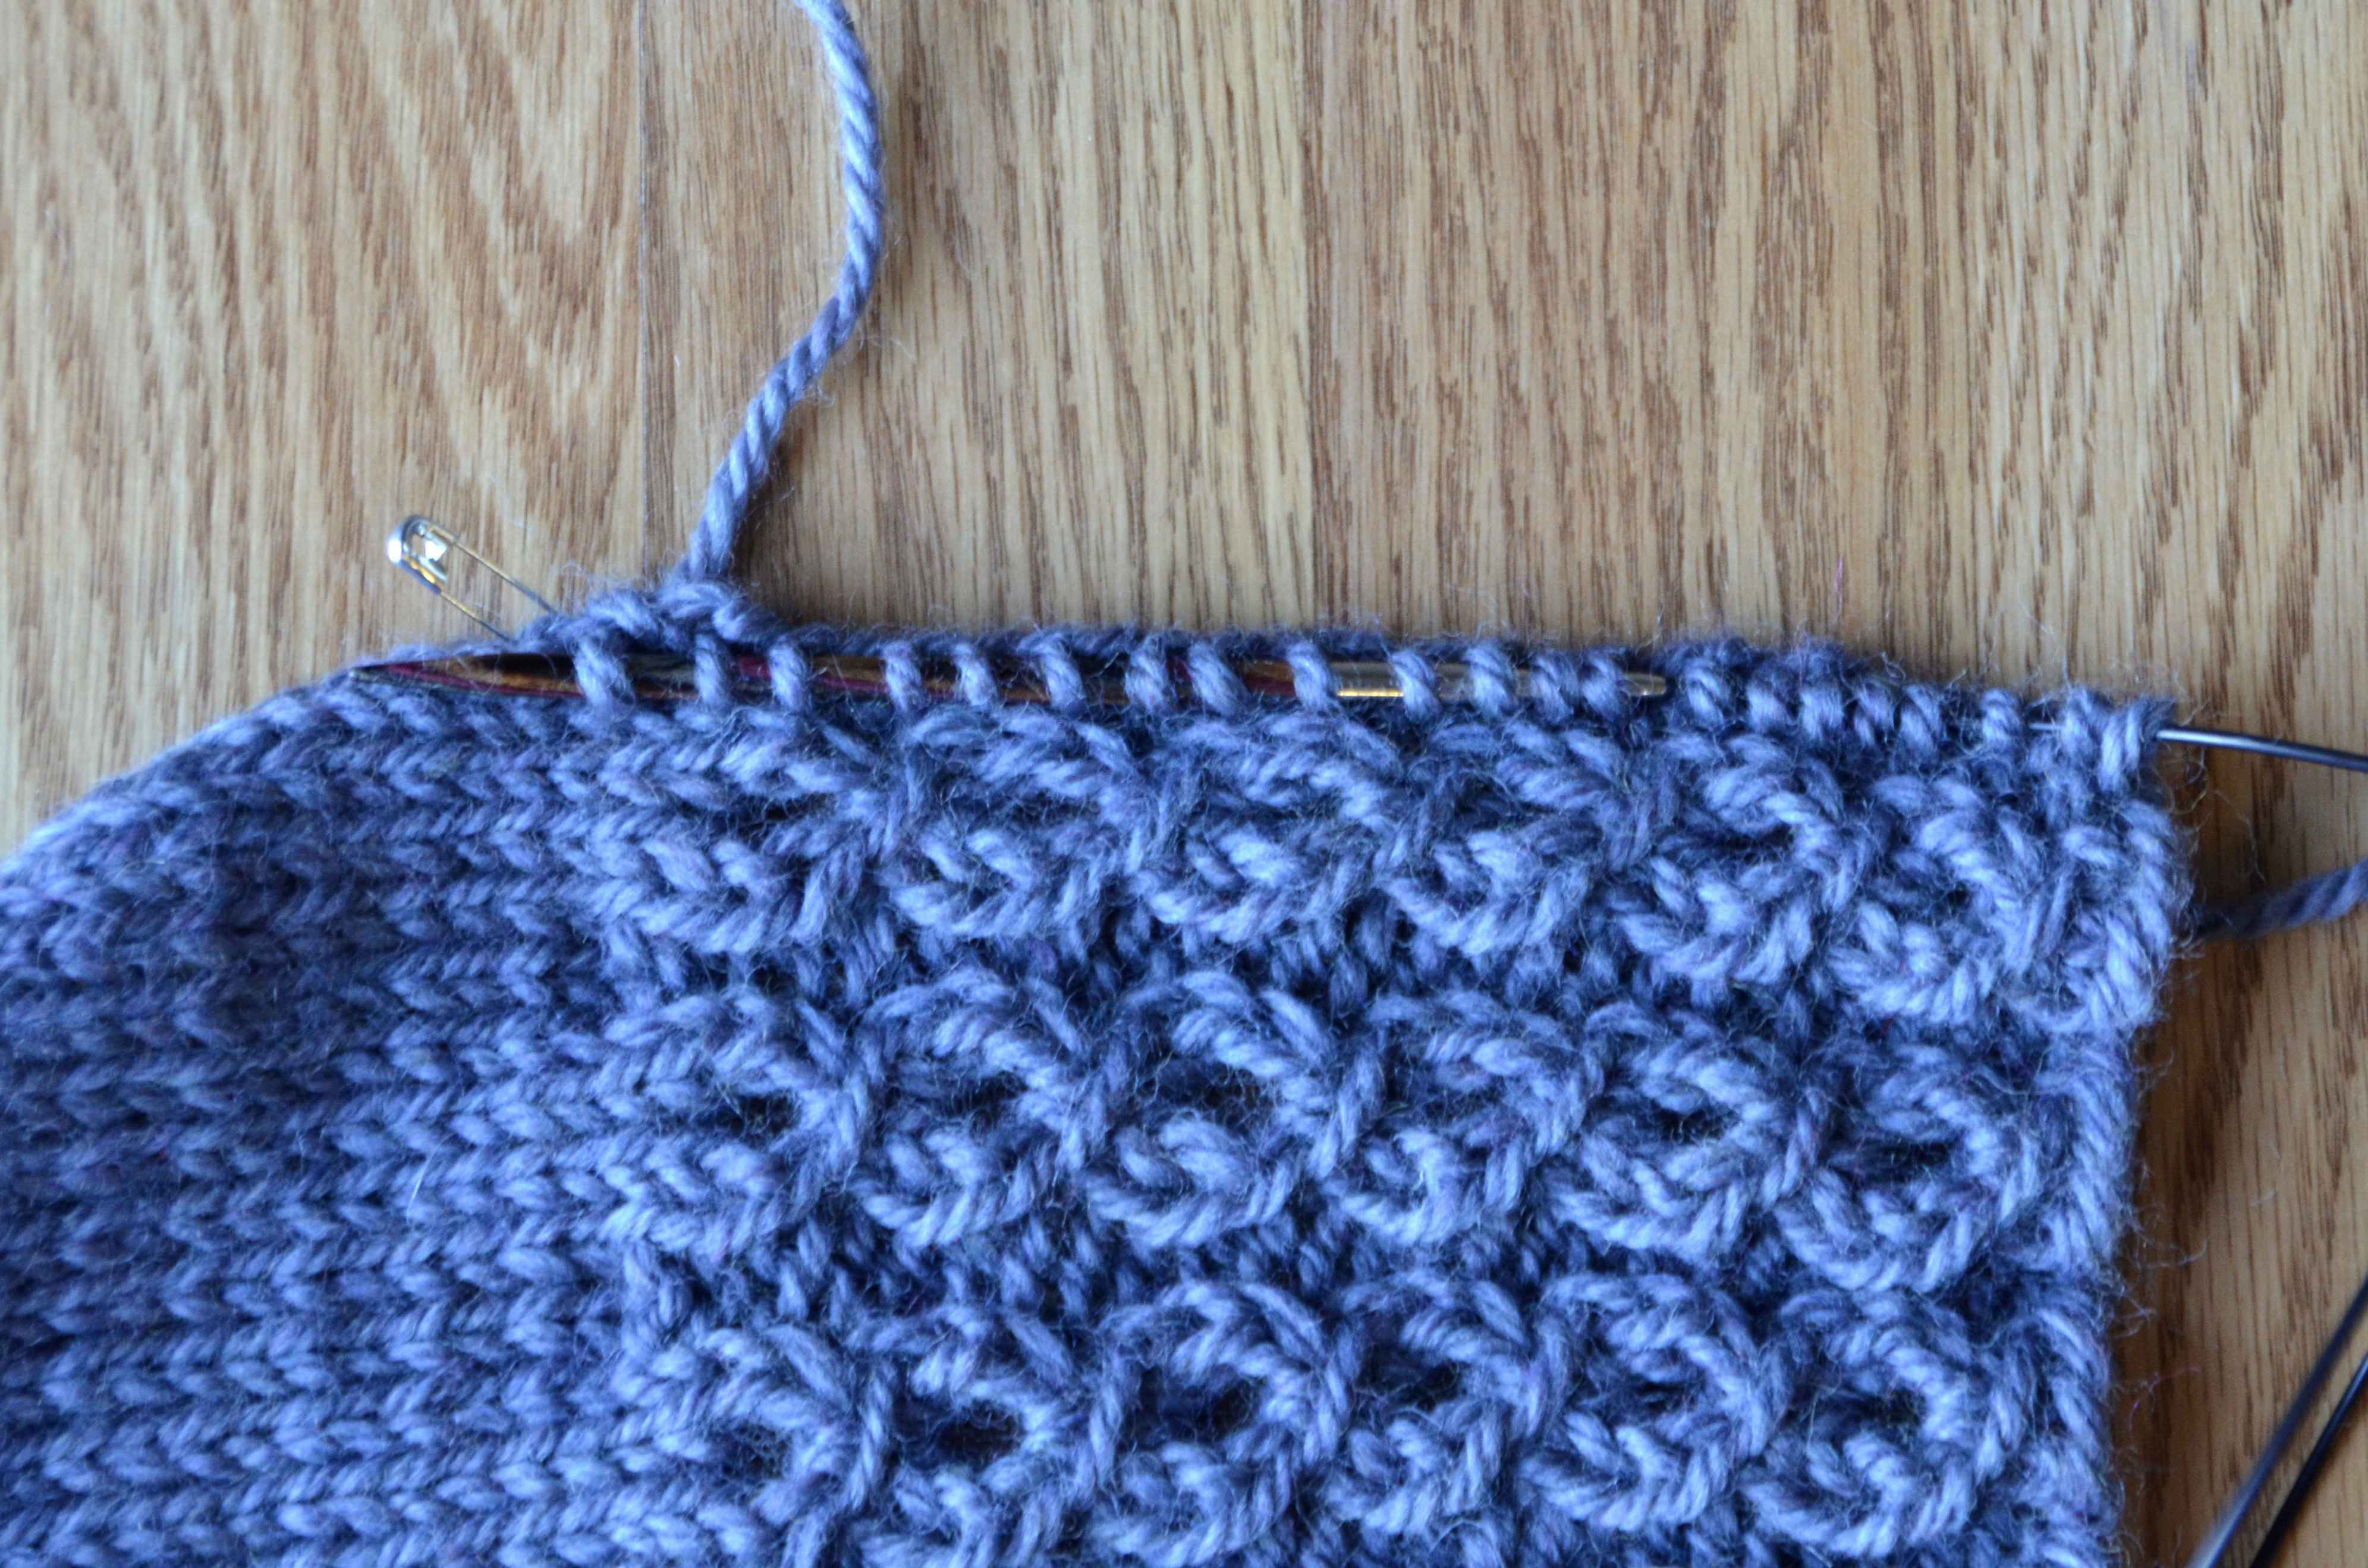
After working in pattern across the liner, I simply finish my row and the rest of my front piece like usual.

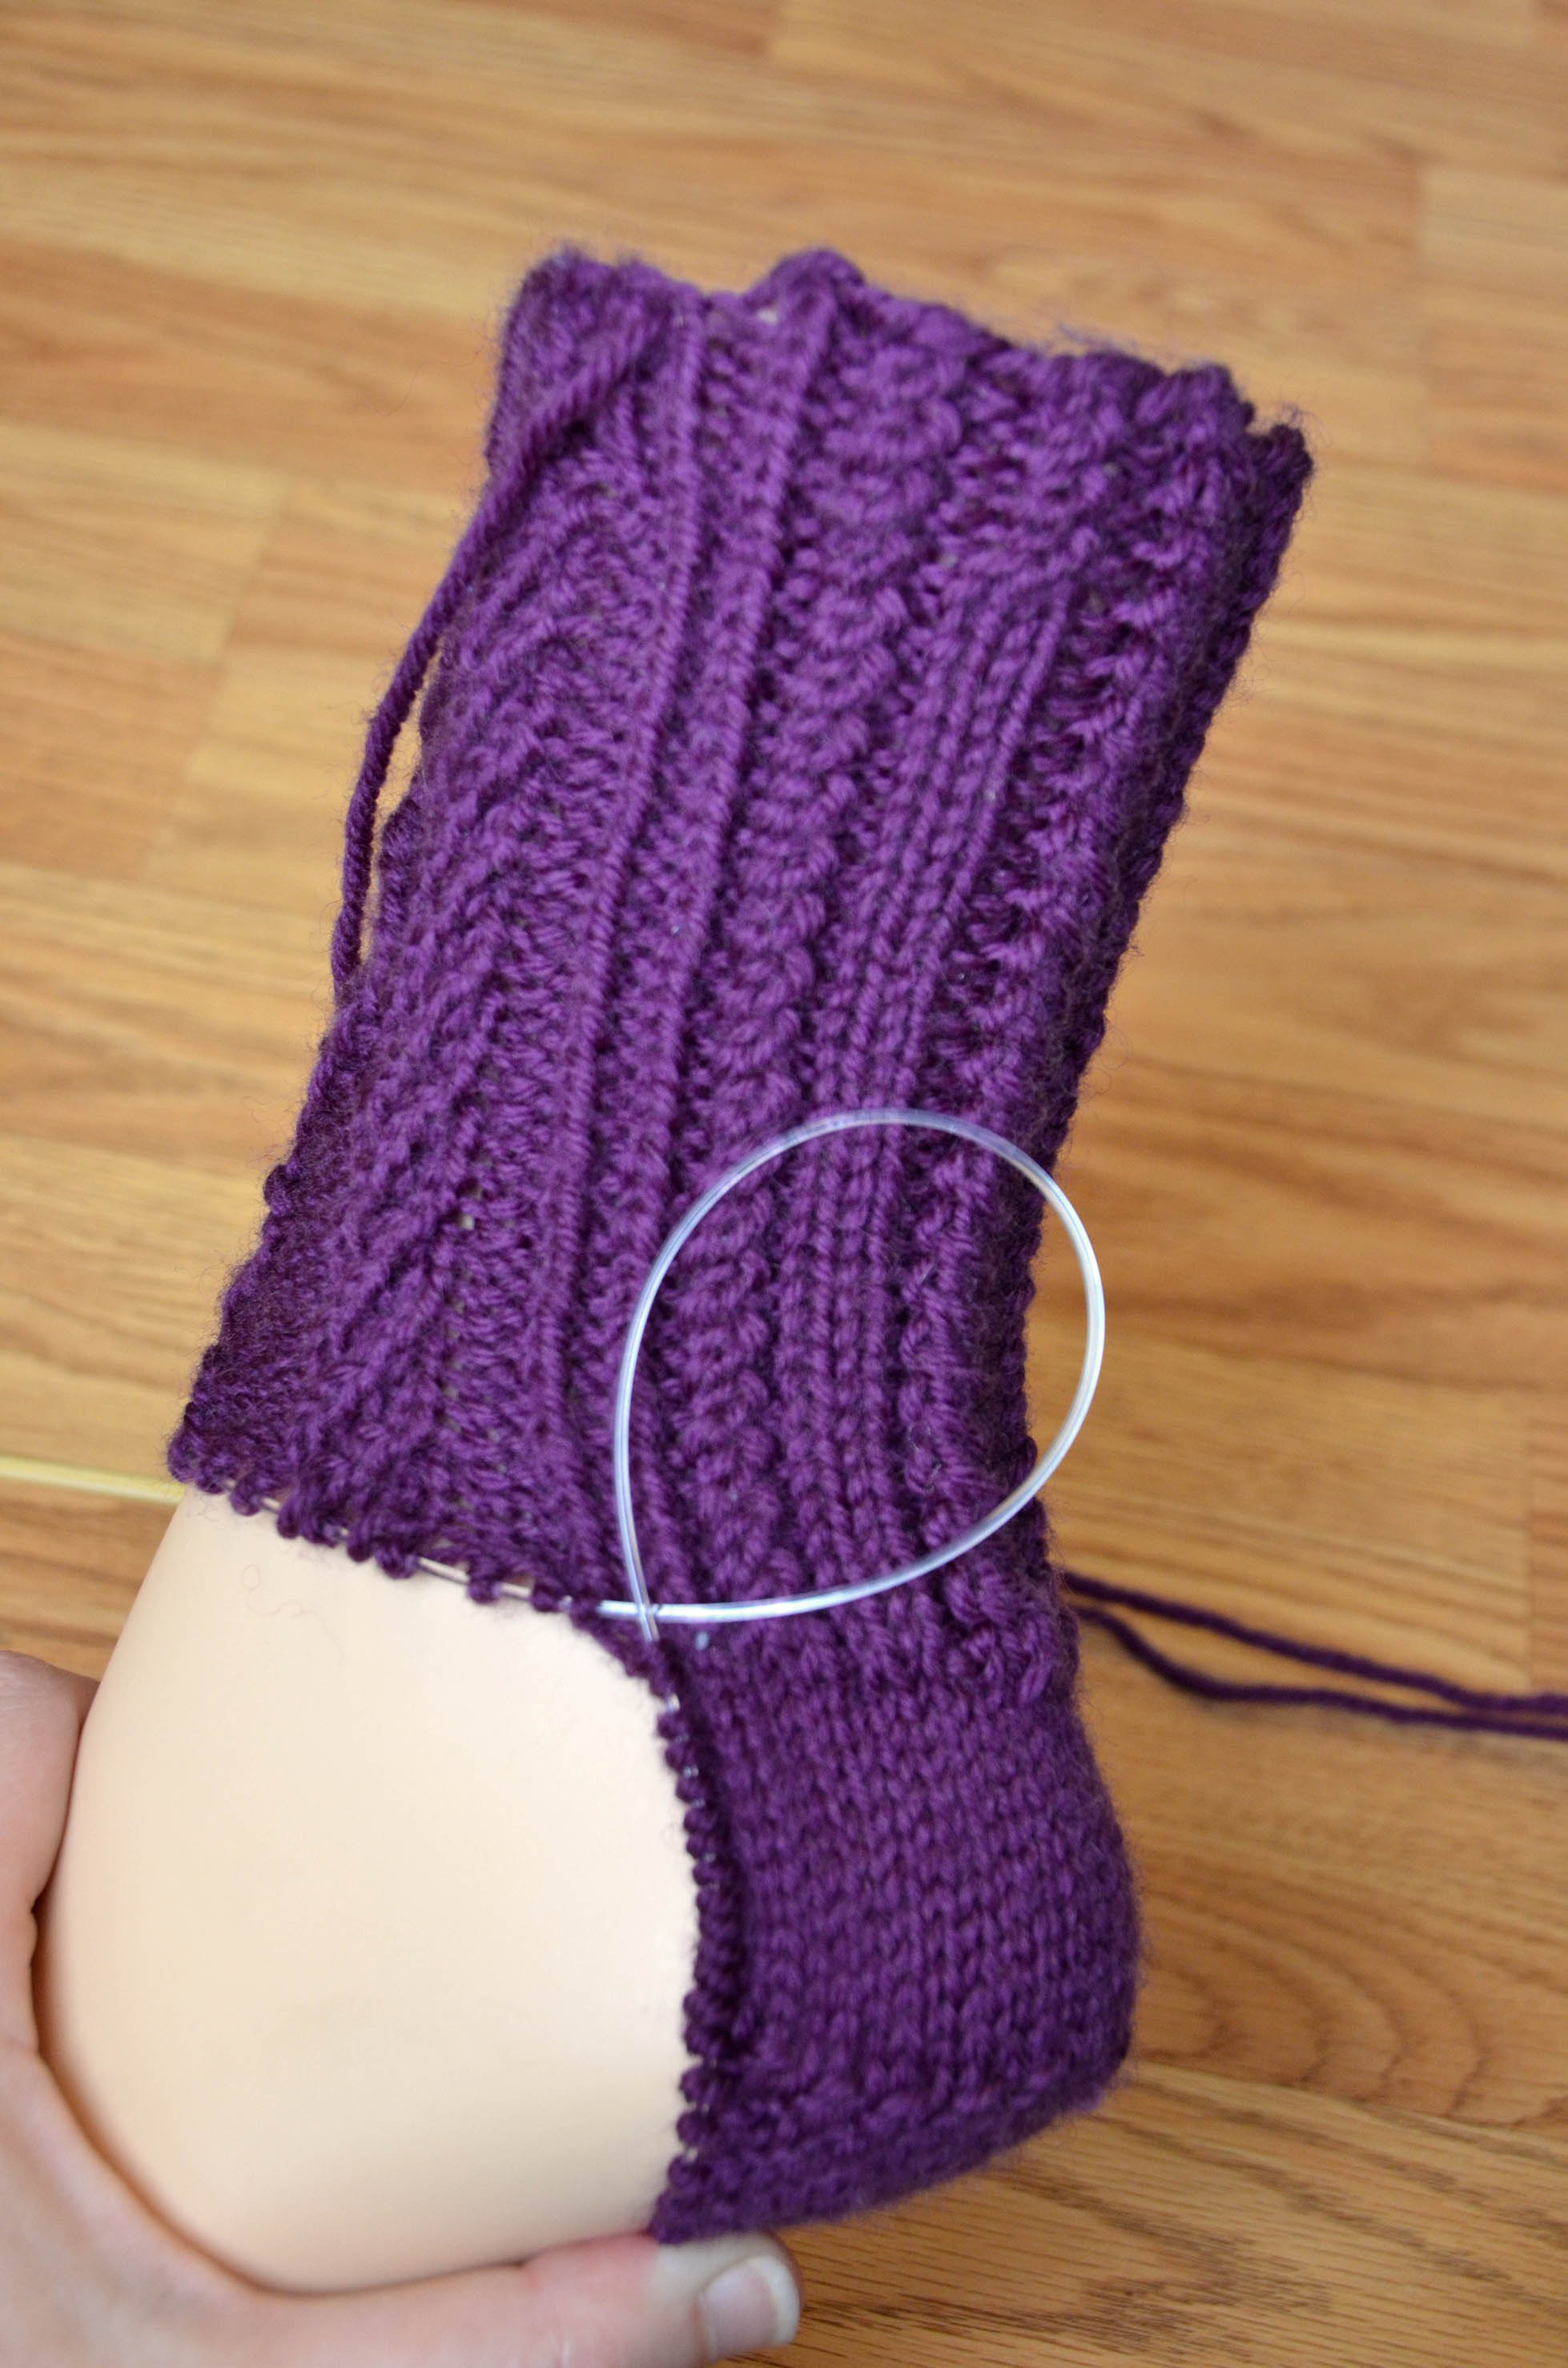
SetInPockets_6

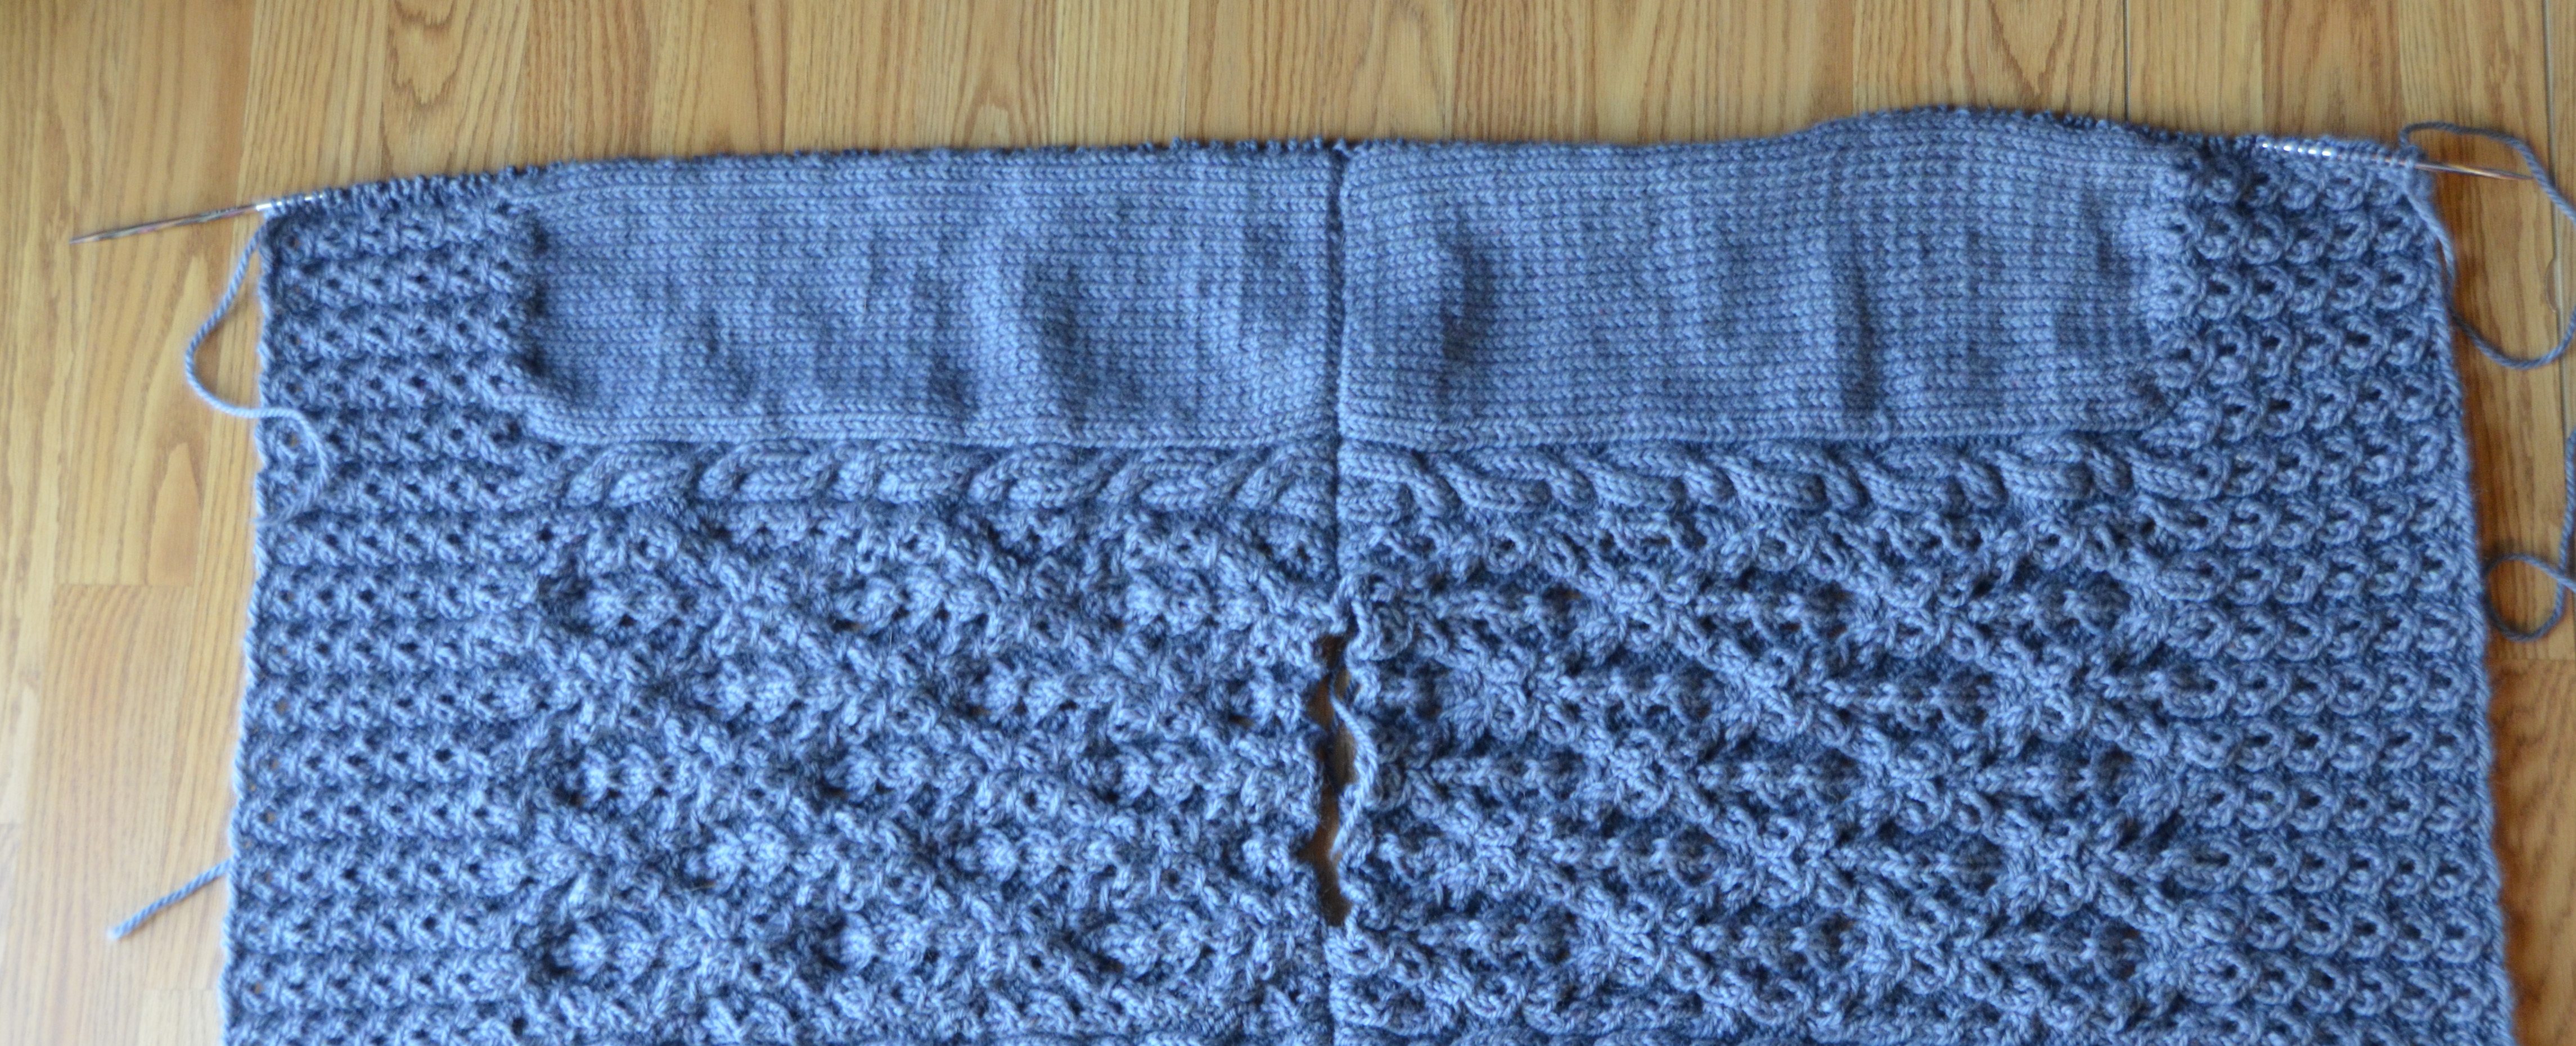
You can see that the liner is sitting behind my sweater front. Once I’ve finished the front, I’ll come back and knit my pocket edging and sew down the liner to the inside. And I’ll show you how – stay tuned!

Free Pattern Friday – Jean Jacket

It’s Free Pattern Friday!

JeanJacket_denims

Today we have the Jean Jacket, knit in Fibra Natura denims.

This design was generously shared with us from Laurel Murphy. Thanks, Laurel!

There are some sweet details in this jacket, including waist and shoulder shaping. My favorite detail added by Laurel are the reverse stockinette stitch triangles on the front and back yoke sections.

JeanJacket_backdetail

These subtle bits of texture give a nod to western wear, while keeping the overall look of this jacket modern, versatile, and so wearable.

denims ball cut out hi-res

Denims is a fantastic yarn for transitional seasons. It is made of 70% cotton and 30% wool, giving it both breathability and warmth. And because it is a bulky weight yarn, projects don’t take forever, either.

Available in 6 denim washes, you can find just the right shade to go with your favorite pair of jeans.

denims 106 hi-res denims 105 hi-res denims 104 hi-res denims 103 hi-res denims 102 hi-res denims 101 hi-res

What are you knitting to prepare for the cooler months ahead?


Color Pooling: Finishing with Twisted Fringe

Last time on Weaving Wednesday, I showed you how I warped for my Bamboo Pop color pool scarf. Over the last couple of weeks, I had a chance to do the actual weaving which went incredibly fast.

Weaving_1

After weaving a few picks with scrap yarn, I did a bit of hemstitching with my weft yarn, Whisper Lace.  I left a good 12″ before beginning this in order to have long enough ends to do my fringe. I did a simple plain weave throughout the entire scarf, beating with a light hand to give my finished scarf nice drape.

Weaving_2

This scarf was a joy to weave. The motions and weaving were simple and the colors a delight to watch. Each time I advance the warp and a new section of color came into view, it gave me a little lift.

Fringe_1

After hemstitching at the end of my scarf, I cut it free, leaving the beginning end still attached to the loom. I then trimmed all the fringe evenly, to about 11″.

Fringe is the easy and obvious way to go when ending a scarf. It eliminates the need for a hem. Fringe also adds a nice little bit of heft, allowing a scarf to hang nicely. An easy way to spruce up your fringe is to make it twisted. I’ve done this by hand before on a few projects, but it’s tedious and I don’t enjoy doing it. This time around, I decided to splurge and bought myself a battery operated fringe twister. Sometimes, you just need the right tool for the job.

See the two little prongs jutting out from the top of my tool? The item actually came with 4 prongs, but I removed 2 of them for this project.

Fringe_2

Each of my stripe sections of the scarf is comprised of 8 strands. I’m making 2 twisted fringes for each stripe, so each fringe is made up of 4 strands. To use my fringe tool, I attached 2 strands to each prong.

Fringe_3

I didn’t get a good photo of this step, but those little metal pieces in the top of the prongs will extend, grabbing onto the yarn, and then retract back down.

Fringe_4

Next, I push the button on my tool into position 1, which twists each strand independently. To get consistent twist on all my fringe, I counted to 30, (sort of in rhythm to the noise of the tool) as the tool was spinning.

Fringe_5

Once the strands are nice and twisty, I push my button down into position 2. This rotates the entire top of my tool in the opposite direction than the prongs rotated, twisting the strands around each other. During this step, I found that counting to 20 made a perfect balance of countertwist.

Fringe_6

Then, release the ends of the yarn from the metal prongs and tie in an overhand knot. The twist stays twisted!

Fringe_7

After I made all the twisted fringe on the final end of my scarf, I cut the beginning end from the loom. To keep this end of my scarf from moving around, I just set a heavy book on top.

Fringe_8

After handwashing and laying flat to dry, I had myself a very colorful scarf!

Pooling-Scarf-Flat-1

My finished scarf, before fringe is 62″, and is about 78 ” with fringe. With one ball of each color of Bamboo Pop and 1 ball of Whisper Lace, I could have gone about 20-30% long if I had wanted.

Pooling-Scarf-2 Pooling-Scarf-3

I’m extremely happy with how this scarf turned out. It’s quite lightweight with amazing drape. It’s so very wearable. I could envision this in many different color combinations of our Bamboo Pop.

Join me next time for a lace weaving adventure with our anniversary namesake yarn, Universe!


The Mighty Spit Splice

How’s everyone coming along with their Deluxe Cable Collection knitalong projects? As I’ve been knitting along on my own Wesley Heights project I have already worked my way through a few skeins of yarn.

View of my back piece in progress:

Back

I would like to share with you one of the best reasons for knitting with 100% wool, such as our Deluxe Worsted or Deluxe Chunky: the spit splice. Once I get into the right frame of mind, I don’t mind weaving in ends too much. But I don’t exactly enjoy it, either. The fewer, the better! By joining ends of wool yarn in the middle of a piece of knitting using the spit splice method, you don’t have to go back and weave these in later.

Here’s how to do it:

(shown in 2 colors for illustration purposes only)

SpitSplice1

Step 1: Split the plies from each end into 2. Deluxe Worsted is made up of 4 plies, so I’ve split it into sections with 2 plies each. Do this for about 1 1/2 – 2″ along each end.

SpitSplice2

Step 2: Cut or tear half of each strand about 1″ from the end. By reducing the bulk of each strand in half, it will make your join as smooth and seamless looking as possible.

SpitSplice3

Step 3: Place the strands together, fitting the 2-strand sections together.

SpitSplice4

Step 4: Spit! I have no qualms about spitting on my yarn. But if the thought of this grosses you out, just use a little water.  Get the strands moist, but not drenched. You just need enough moisture to help bind the fibers.

Pro tip: Don’t spit splice light colored yarn if you have been drinking red wine.

SpitSplice5

Step 5: Rub the strands between your palms to create friction. Do this rapidly for a few seconds up and down the joined section. Tug gently on the join to make sure it has adhered. If it hasn’t, rub the strands a bit more.

SpitSplice6

And that’s it! You’re ready to keep knitting on your piece with the knowledge that you have 2 fewer ends to weave in later.

What are you knitting from the Deluxe ebook? I’d love to hear about it over in our Ravelry group.

Free Pattern Friday – Special Twist Vest

It’s Free Pattern Friday!

Special Twist Vest blog

Today, the Special Twist Vest in Classic Shades Frenzy.

Yonca smiling_blogThe nice thing about having a sales manager who also knits and crochets is that a) she knows what crafters want, and b) sometimes she turns up at the office with amazing designs that we can convince her to share.  Here’s Yonca in one of her latest, The Special Twist Vest.  It’s another great example of letting the yarn do the colorwork.  Classic Shades Frenzy (158yds/100g) has enough variation that the piece shows soft stripes, not rigid ones.

armhole detail square_180When I saw this from afar, I thought it might be crochet, but it is in fact knitted.  Even better, it’s knitted in one big piece!  Start at one edge and work sideways, then bind off for the armholes.  On the next row, cast on across the bound-off stitches and keep knitting in pattern until you reach the next armhole.  After you’re done, go back and pick up the armhole stitches to add the seed stitch border.  Then fringe it!  A dramatic garment, particularly considering it’s essentially a big rectangle.  Well done, Yonca!

We hope you have a fabulous weekend.  Happy knitting!

Special Twist Vest rear blog

Twists and Cables

Today marks the official start of our Deluxe Cable Collection Knitalong. Woohoo! You can read previous posts on our website here and find our Ravelry group where we discuss the knitalong here.

Many of us here in the office jumped the gun and have already started knitting our projects, or at the very least have begun to gauge swatch.

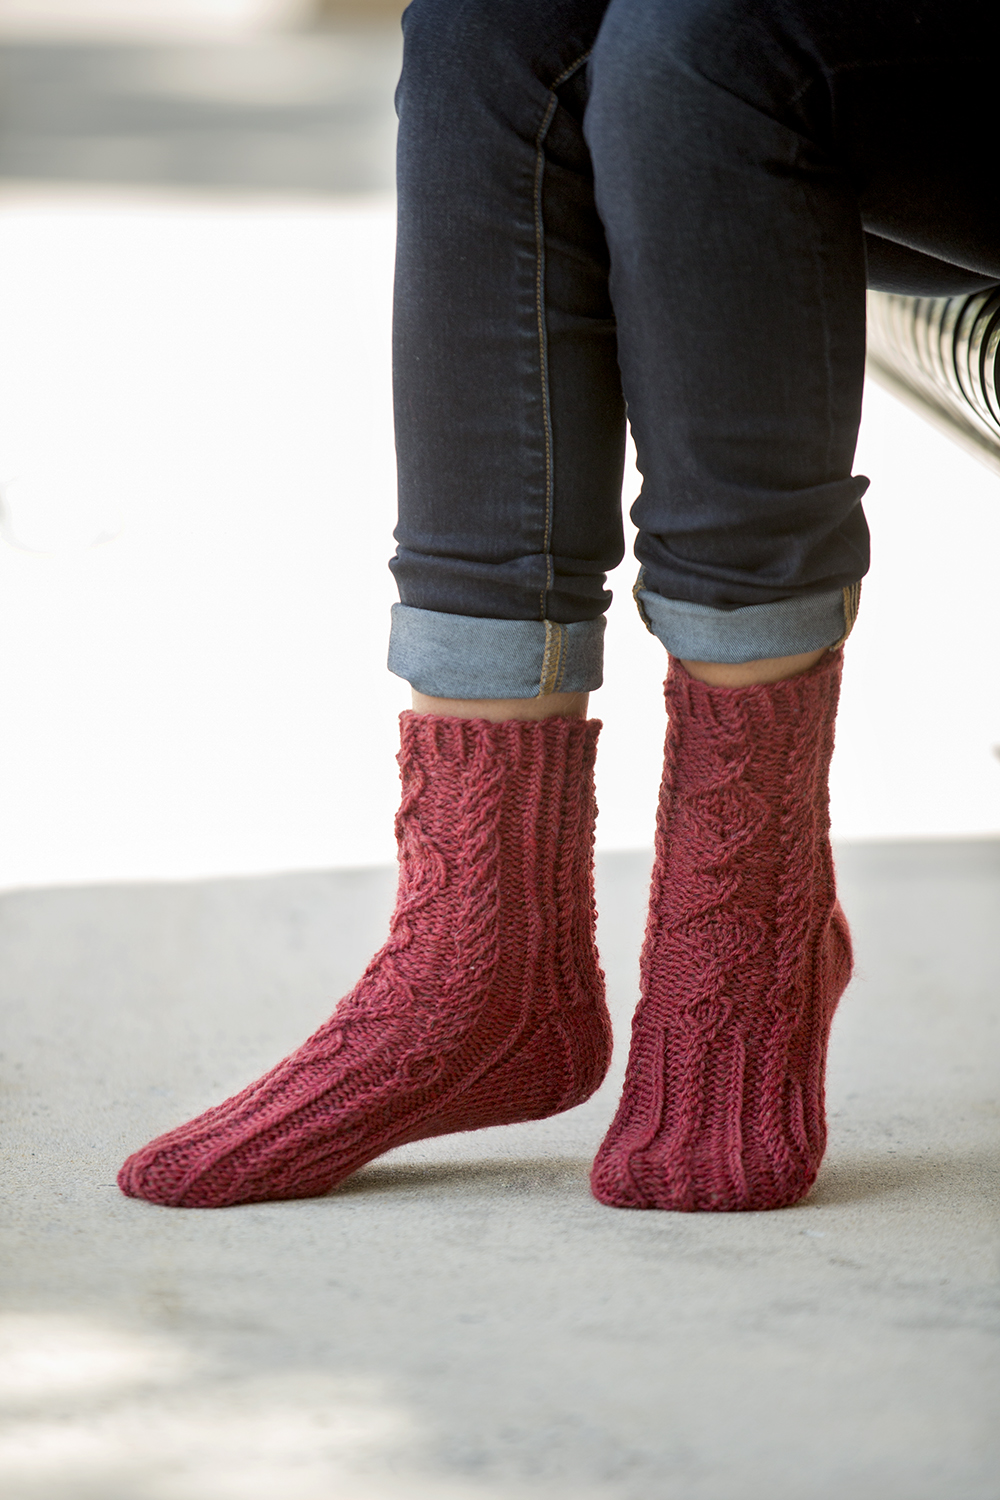
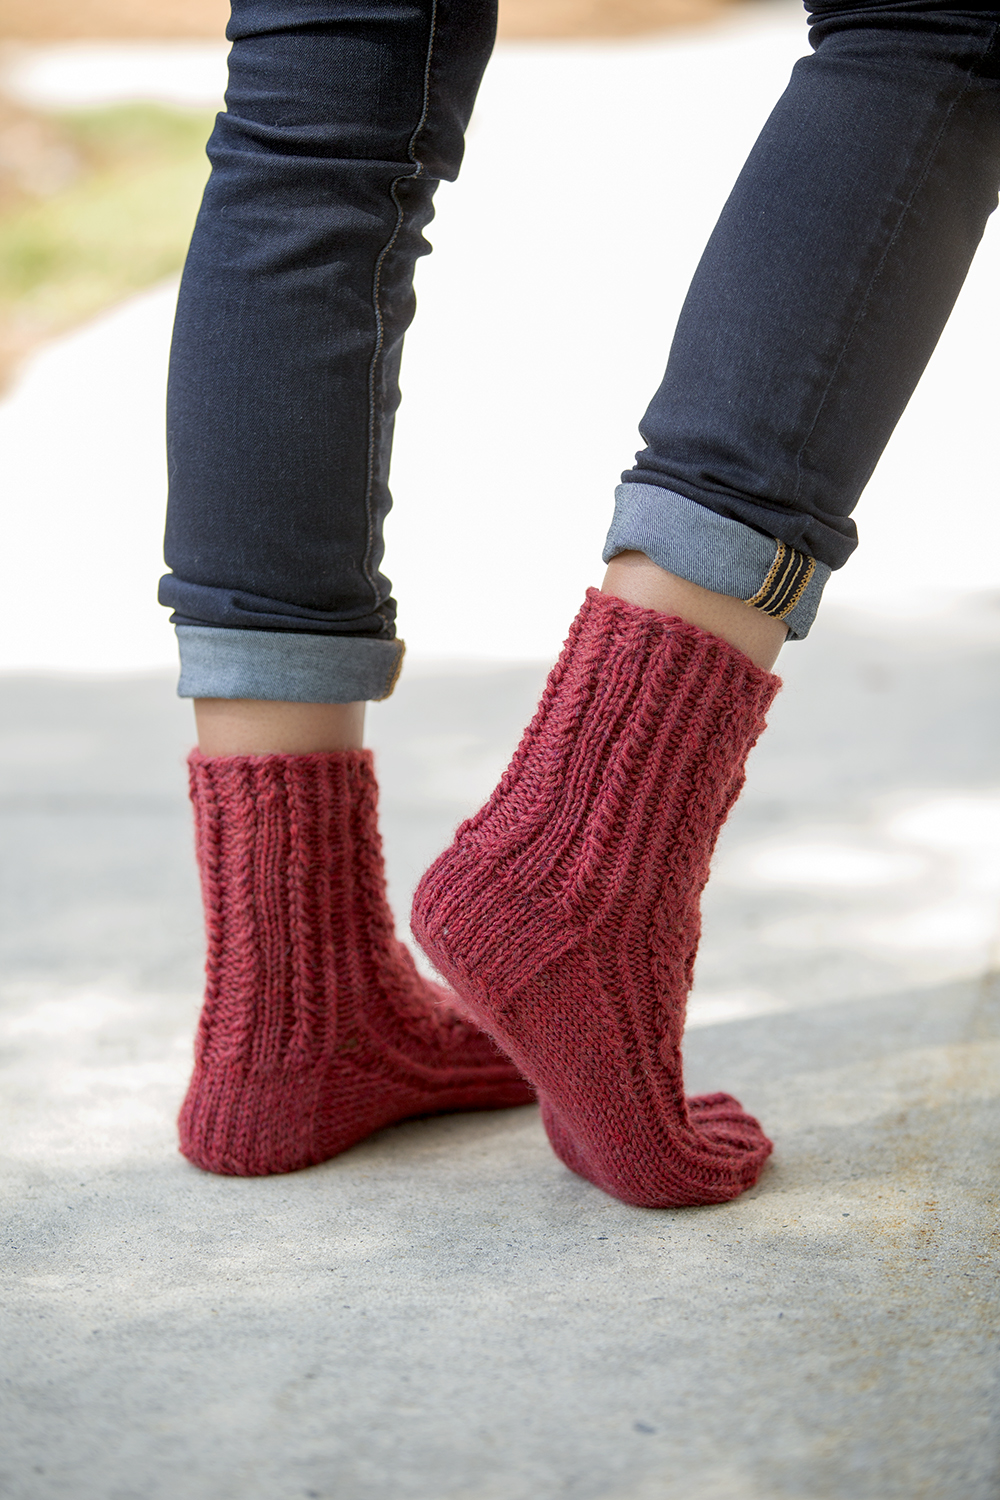
Here are Heather’s Tillery socks in progress:

Tillery_beginning

As you can see, she is doing her socks two at a time on a circular needle to avoid SSS (second sock syndrome). I have faith, Heather – you’re going to finish them both! I hope Heather’s hair is still purple when she finishes these socks – they’ll tie together nicely.

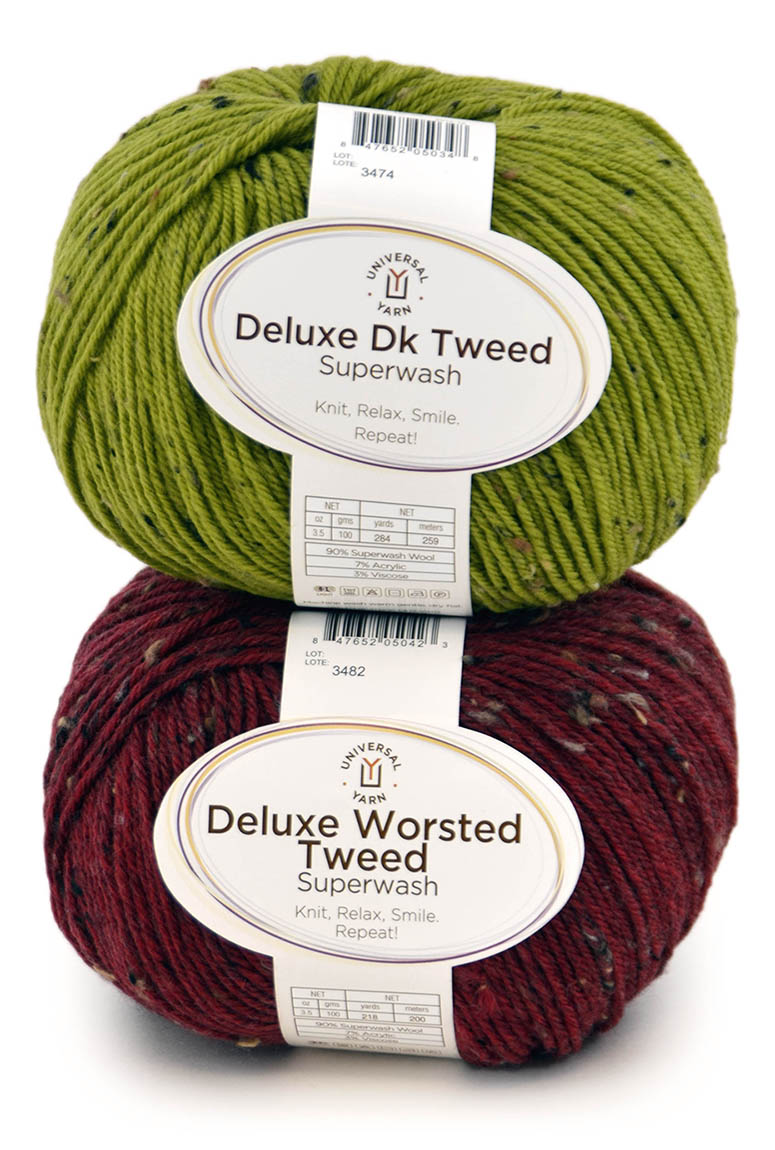
Hattie’s Ashwood Run is coming along well. This is going to look so luscious in Deluxe Worsted Tweed Superwash.

image_medium

I’m making more progress on my 2 color version of the Rutherford Beret:

Rutherford_2

And new knitter, Angie has cast on for her Cold Mountain Hat whilst watching gymnastics:

0009018851_medium

Angie has never done cables before, so we’re going to start with a photo tutorial on basic cable crosses. In the pictures below, I’ve used 3×3 cables, but this concept would apply to 2×2, 4×4 or any other cable.

My swatch below consists of 2 cables – the cable on the right is a 3×3 Left Cross and the cable on the left is a 3×3 Right Cross. They are called Left and Right Crosses because the cables appear to be twisting to either the Left or Right.

CableCross_1

Left Cable Cross

Step 1: Work in pattern to the cable.

CableCross_2

Step 2: Slip the next 3 stitches to a cable needle (or a spare double-pointed needle as shown)

Here is the first stitch being transferred.

CableCross_3

And here are the following 2 stitches after being placed on the spare dpn, for a total of 3 stitches on hold.

CableCross_4

Step 3: Hold these 3 stitches on the spare dpn in front of your work.

CableCross_5

Step 4: Knit the next 3 stitches from the left needle.

CableCross_6

CableCross_7

This is going to feel a little awkward, and the work will feel a little tight. Don’t worry, this is normal!

Step 5: Knit the 3 stitches from the cable needle.

CableCross_8

And here is our completed 3×3 Left Cross.

CableCross_9

A 3×3 Right Cross is very similar to a 3×3 Left Cross. Begin the same, by slipping the next 3 stitches to a cable needle. But this time, hold the cable needle in back of the work

CableCross_10

Knit the next 3 stitches from the left needle, then knit the 3 stitches from the cable needle.

CableCross_11

Cables are just stitches that are crossed over one another. I’m a big advocate of charts for most stitch patterns, but especially with cables. Cable charts do a good job of illustrating visually how your stitches will travel.

As I’ve mentioned before, there are some projects that use twisted stitches instead of (or in addition to) cables.

Here is a video on working Right Twists and Left Twists:

You can see a video on working Right Purl Twists and Left Purl Twists here:

Keep following along for more how-tos during our knitalong. Do you have a question about your project from the Deluxe Cable Collection ebook? Post your question here, or ask over in our knitalong group on Ravelry.

Free Pattern Friday – Sizzle Scarf

It’s Free Pattern Friday!

UptownDK Sizzle Scarf blog

Today, the Sizzle Scarf in Uptown DK.

We love this!  So bright and summery.  Two balls of Uptown DK (273yds/100g) in 139 Bright Salmon makes this long crescent-shaped scarf.  As fun as this is in one color, can you imagine it in two? It’s knit from the bottom up, so how about switching to a second shade after working the leaf lace?

We hope you have a great weekend, and make every pattern you touch your own.

Happy knitting!

UptownDK_NeonShawl2


Deluxe Knitalong: Gearing up

And I do mean gearing up! Yarn, needles, hard hat, safety glasses, dark chocolate. You know, the usual.

Deluxe Cable Collection cover FINAL

In case you haven’t heard, we’re having a knitalong! You can read all about it here, and join in the fun on Ravelry here. We’ve all chosen our projects and yarn here in the office and are anxious to cast on. Everyone is knitting something different from our newest ebook, the Deluxe Cable Collection. The official start of the knitalong is next Tuesday, August 9th. Let me introduce you to the players:

Hattie

Hattie has decided to knit Ashwood Run for her daughter. What a lucky daughter! She has actually cast-on already as she is a total over-acheiver.

She’s opted to change her yarn from Deluxe Worsted to Deluxe Worsted Tweed Superwash in color 908 Navy. Ashwood Run is knit seamlessly from the top down, beginning with a ribbed collar. Hattie is a seasoned knitter, so she decided to use a stretchy cast-on, the German twisted. Look out for a tutorial featuring this cast-on in upcoming weeks.

AshwoodRunPullover_532_hiresDeluxe Worsted Tweed ball shot hi-res
DW Tweed 908 Navy hi-res

Angie

Angie is the newest member of our customer service team, and is no stranger to yarn. She’s been crocheting since forever, but is pretty new to knitting. I kind of had to twist her arm to get her to join in (not too hard), and she decided to knit Cold Mountain Hat.

As shown in the book, this hat uses both cables and lace. But because Angie hasn’t ventured too far outside just knit and purl stitches, she’s decided to do stockinette instead of the lace so she can focus all her mental energy on learning cables. Good move!

For anyone else who has never crossed stitches to make knitted cables before, there will be a tutorial on basic cable crosses here soon as part of the knitalong posts.

Cold Mountain Hat:

ColdMountainHat_492_hires

Heather

Heather is our fantastic social media person who also does a million other things here at Universal Yarn. She’s decided to knit two projects from the collection, but we’ll focus on the first today, Tillery Socks.

TillerySocks_2575_hires

To me, socks are such a small item that I’ll generally just cast on for the project and consider that my swatch. But I am pretty impressed with Heather, because she actually swatched for her socks! Here’s what she has to say:

Before casting on for my Tillery socks, I swatched for gauge with Deluxe Worsted Superwash in Navy, 48 stitches in the round just as is called for in the pattern.  The swatch was machine washed warm and tumbled dry warm with a load of laundry.  I did this because I’m not the only one who does laundry in my house, and I can easily imagine a situation where these will accidentally get thrown in with all the other clothes, so I wanted to be sure these would last an accidental washing or two.

The washed swatch had the same gauge as the unwashed –  22.25 sts x 32 rows.  The ribbing pulled in height-wise after washing just a hair, but the gauge is over stockinette so that’s not going to matter for me.  The gauge is tighter than called for in the pattern – I’m sure if I went to a size 5 I’d be dead on –  but the benefit of swatching in the round like this is that I was able to pull it over my foot and ankle and determine that it fits.  So I’m sticking with my size 4 and tighter gauge, confident that this is going to be a cozy and beautiful pair of socks.

Before Washing:

DW Superwash swatch before washing hi-res

After Washing:

DW Superwash swatch after washing hi-res

Tori

We’re so happy to welcome Tori as our newest member of the design team here at Universal! Like a woman after my own heart, Tori selected color 13104 Slate in Deluxe Worsted to knit the Eastover Vest. Slate is a really lovely deep, heathered gray.  I am a sucker for gray. As written, the Eastover vest is knit in pieces and seamed, but Tori is considering working this in one piece.

EastoverVest_207_hires

DW 13104 Slate REV hi-res

Jannie

Jannie has been knitting and crocheting for about a year now. I’m super impressed that she decided to learn how to do both after starting work here. Jannie chose the Greensboro Cardigan and this will be her first garment ever.

She has doubts about her abilities, but I have complete confidence that she will tackle this and come out on the other side with a brand new sweater. She does say that she’s up for the challenge, and her first goal is to get through swatching in less than a week! She thinks this will be  a great learning experience and is looking forward to the process. Yay!

Jannie also opted to change from Deluxe Worsted to Deluxe Worsted Tweed Superwash, and she’s going with  914 Charcoal (more gray!).

Greensboro_095_hires

DW Tweed 914 Charcoal hi-res

Jen

Jen (who works in accounting) is a total knitting pro. She’s making the Ballantyne Tee in color 22285 Cactus in Deluxe Chunky. Jen is going to be applying her “standard” mods to this tee:

  • knit in the round
  • convert to an A line shape by adding in some waist decreases
  • possibly doing the cable pattern only on the front to make the project go faster

BallantyneTee_467_detail_hires

DW 12282

Katie

Katie is our customer service team lead, and also an avid knitter and crocheter. She’s decided on the Catawba River Poncho in Deluxe Chunky. Katie will knit this in Deluxe Chunky Naturals (the undyed version of Deluxe Chunky), color 50003 Musket. This will make for a nice neutral piece that will go with just about anything.
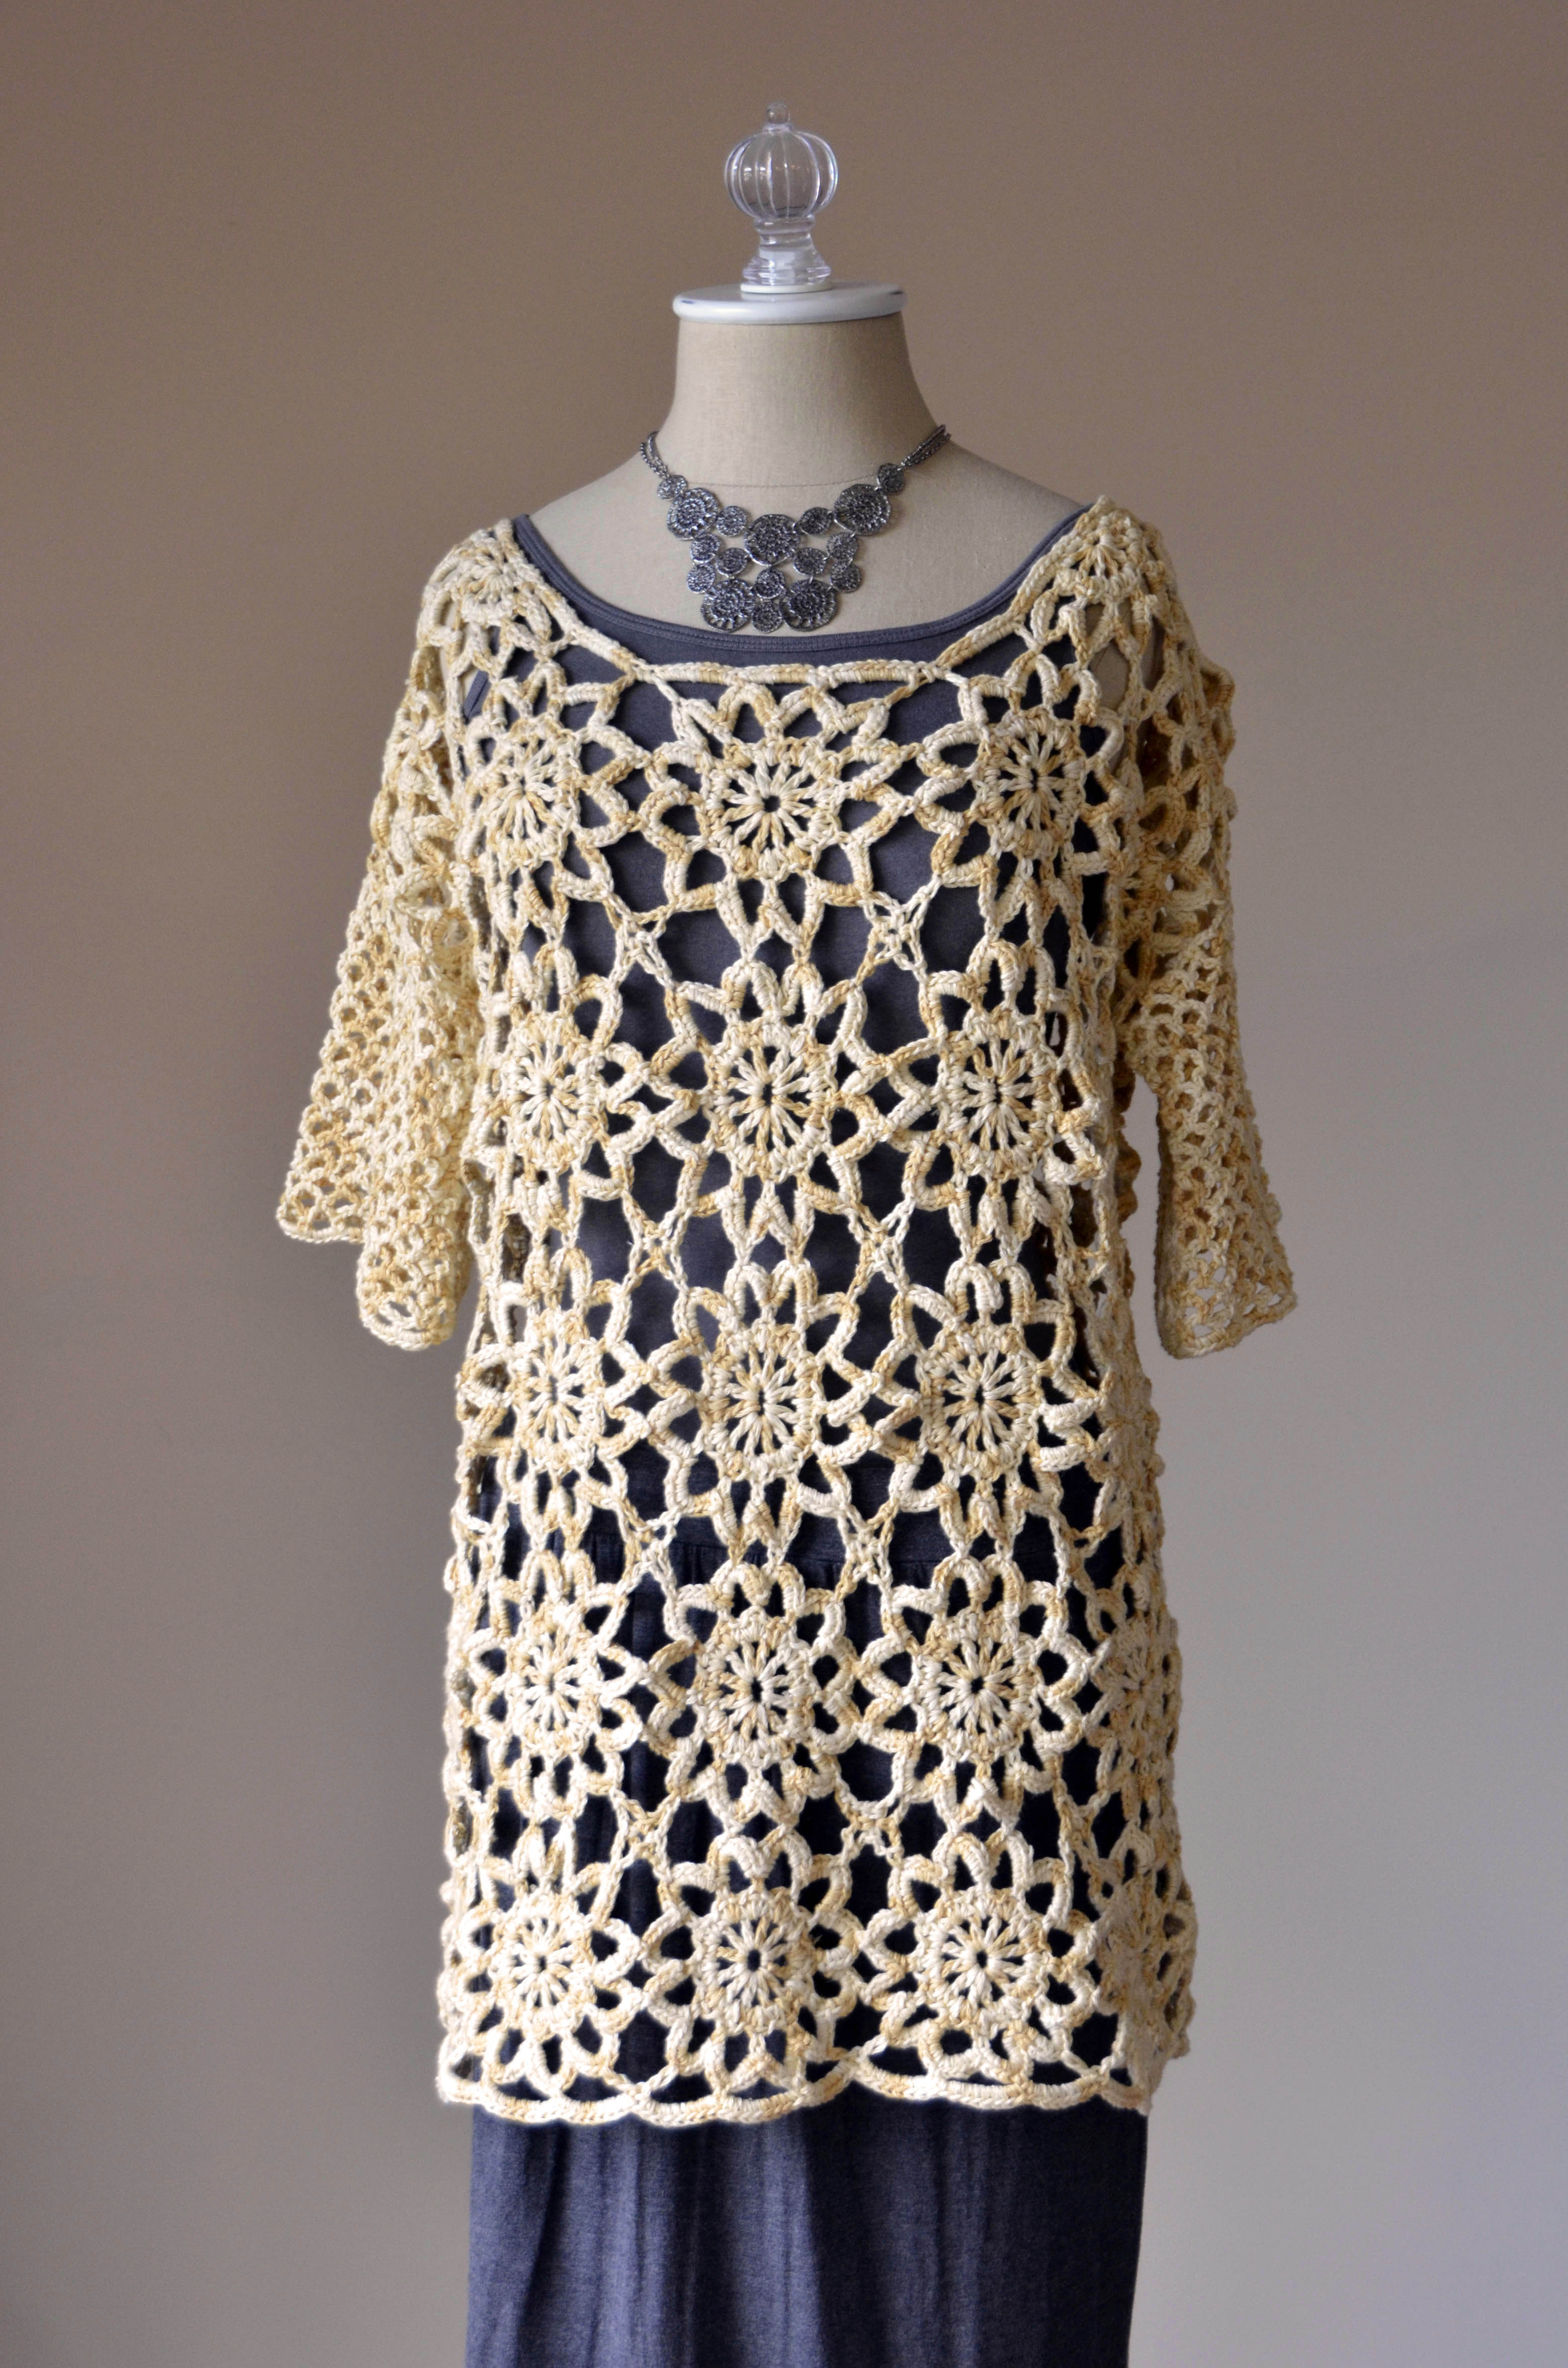
CatawbaRiverPoncho_311_hires

DW 40003_hi-res

Amy

(Me) I’m going to be knitting at least 2 projects – Rutherford Beret and Wesley Heights. More on Wesley Heights later. I needed some instant gratification so I went ahead and cast on for the beret. A hat in Deluxe Chunky goes so fast!
DerringerBeret_454_hires

Rutherford Beret and Tallulah Cardigan have similar stitch patterns that consist of traveling, twisted stitches over a reverse stockinette background. I thought the beret could look cool in a two color stranded version with a contrast color forming the traveling lines. So that’s what I’m doing!
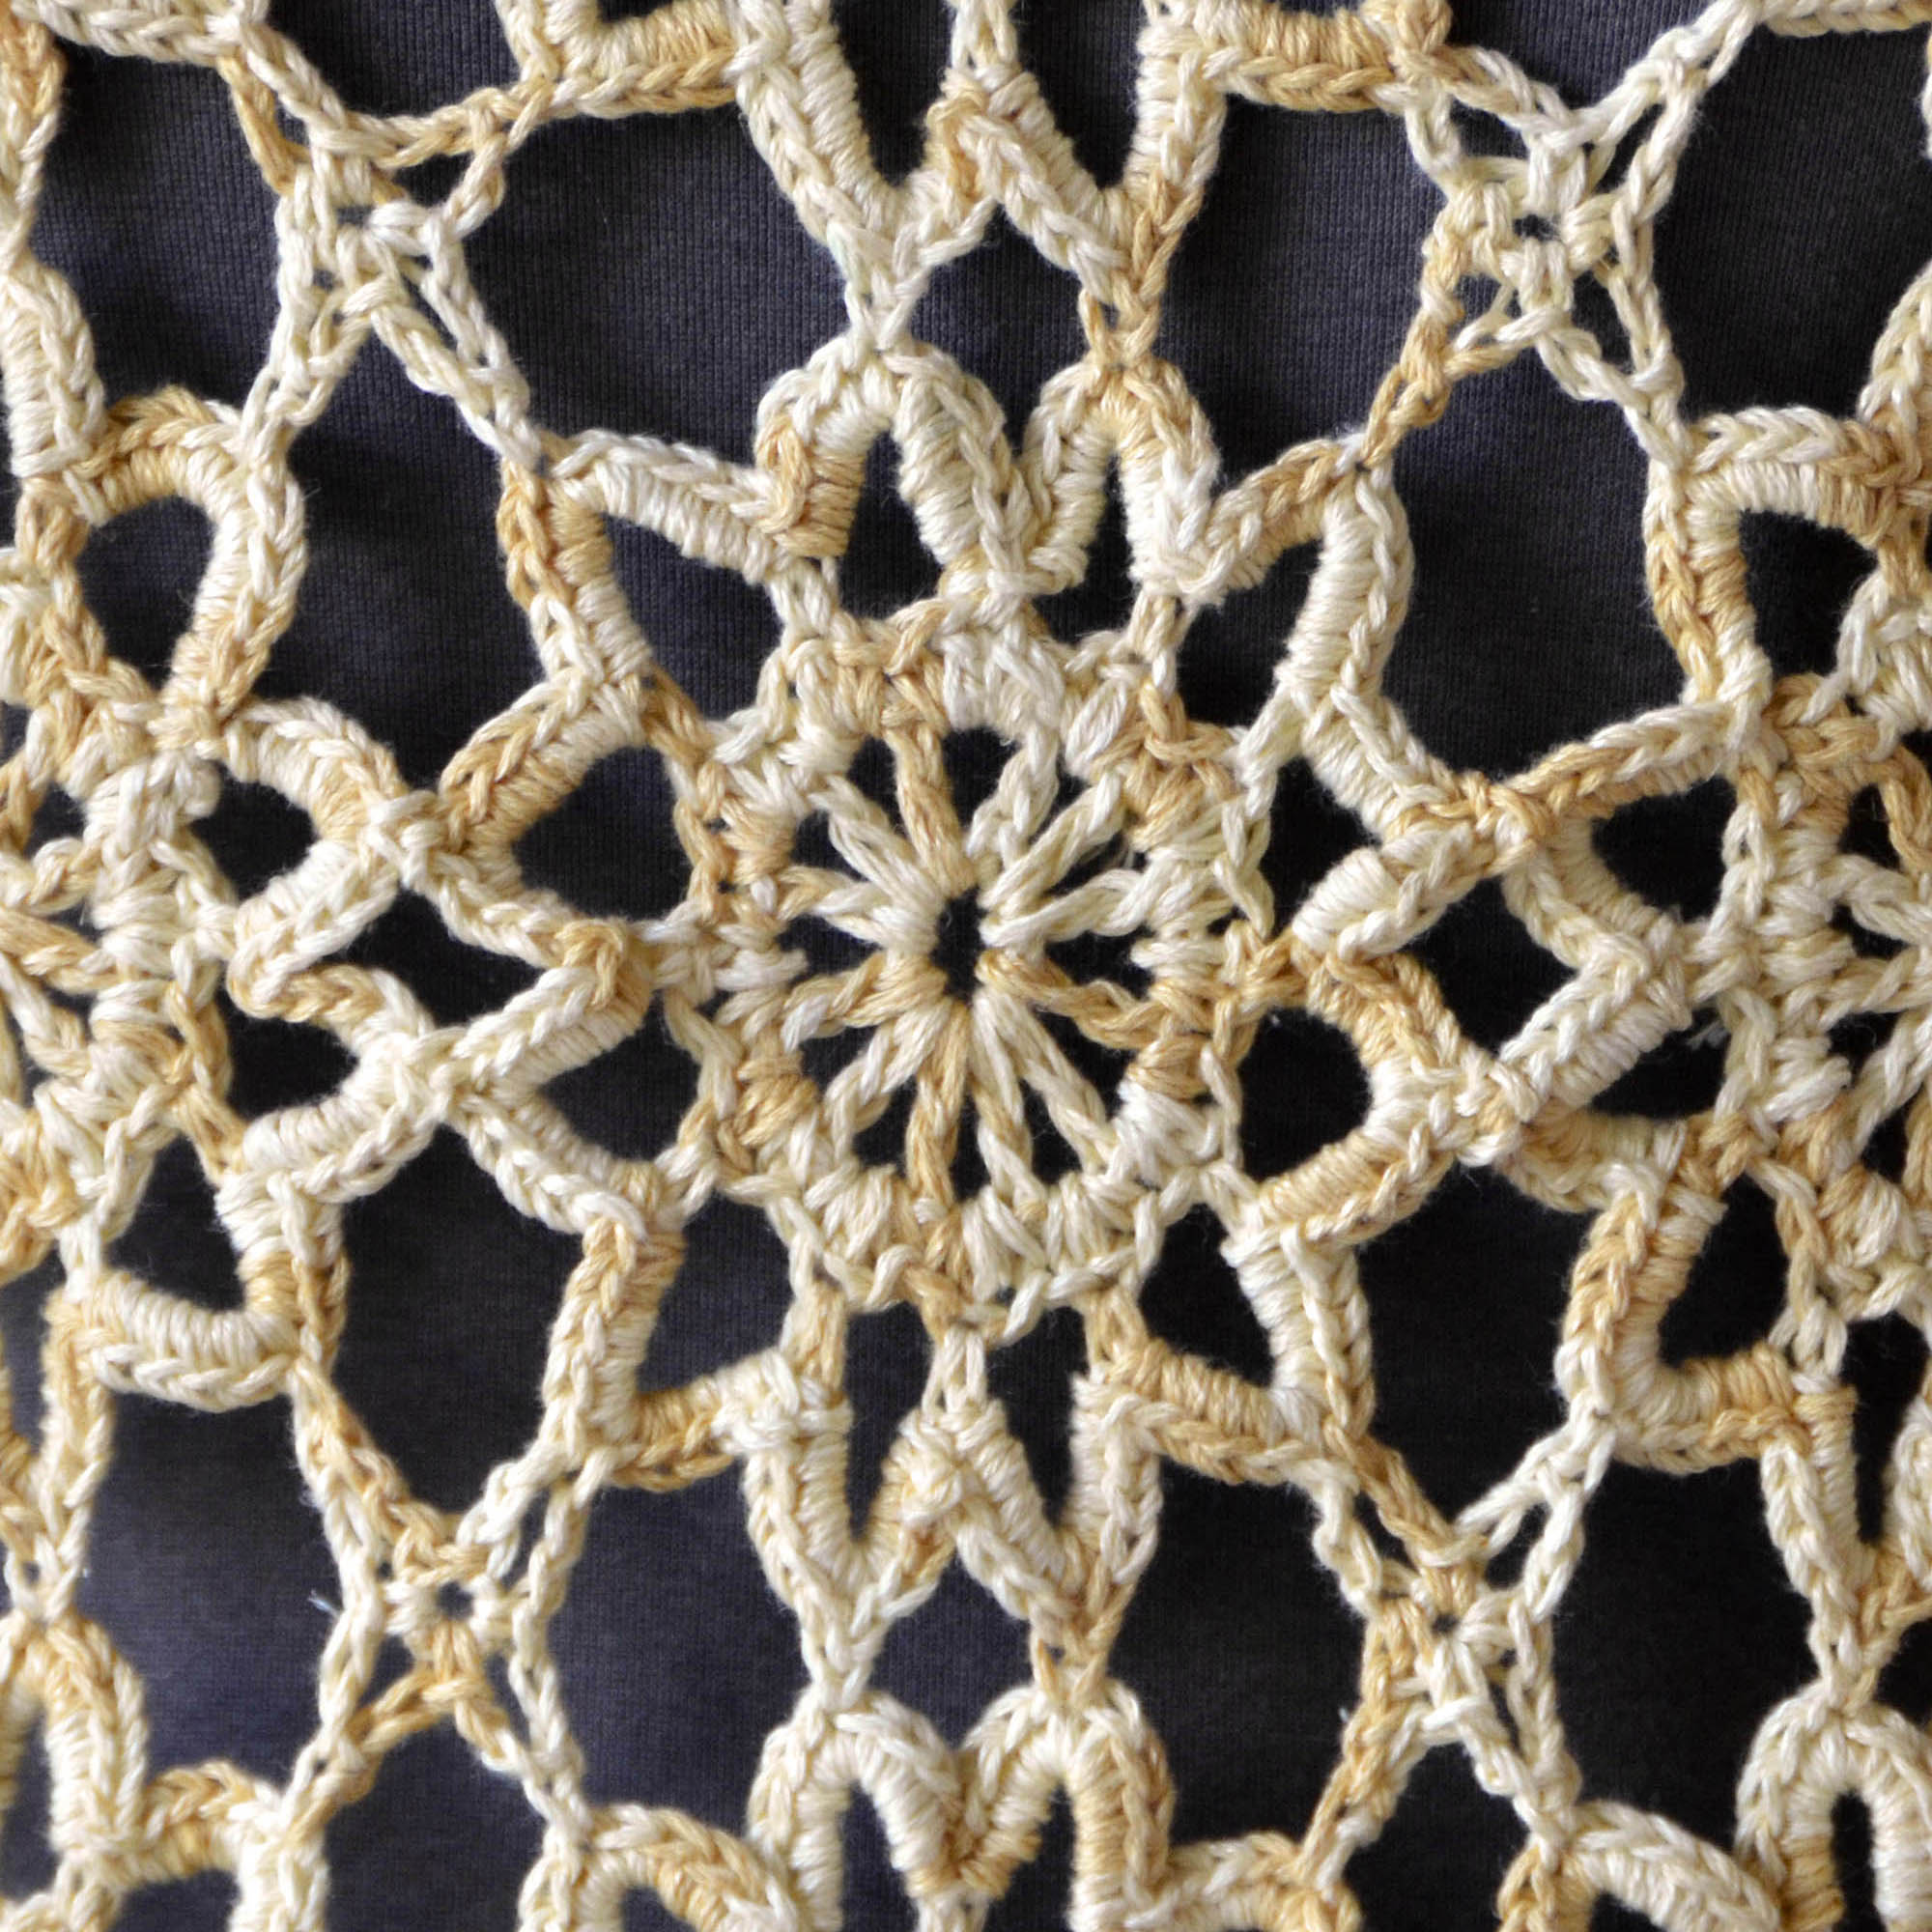
I started out by using the main color only for the brim (91906 Azure Heather), and then added in my contrast color (71006 White Ash).

Rutherford_1

Pop on over to our Ravelry group and give a shout out if you’re joining us for the knitalong – we’d love to hear from you!

Free Pattern Friday – Berry Patch Cardi

It’s Free Pattern Friday!

Berry Patch Cardi hi-res

Today, the Berry Patch Cardi in Whisper Lace.

This pattern comes to us from our Mexican distributor, Rebecca Pick.  In their magazine, they featured an absolutely stunning crochet design in Whisper Lace (440yds/50g) designed by Ángeles Uribe Salinas.  Rebecca Pick graciously shared it with us, and now we get to share it with you!

Berry Patch Cardi hem hi-resThis beautiful cardi is made of strips of delicate fan lace.  They’re joined as you go, with the bottom of the strips left loose to fall freely.   Can’t you imagine twirling around in this and seeing the little butterflies of lace fly?

The lace is written and charted, and a schematic is included for assembly.  We love how the multi-colored yarn works up into individual fans for a delicate and unique look.  This is a great skill showcase.

We hope you have a wonderful weekend.  Happy crafting!

Berry Patch Cardi shoulder hi-res

Color Pooling: I Meant to Do It!

Have you ever heard of color pooling in the worlds of knitting, crocheting, or weaving? Briefly, color pooling is when a patterned yarn “pools” in particular colors sections. This pooling may or may not be intentional. It is very common to see unintentional pooling in variegated-type yarns, where the color repeats are very short.

An example of unintentional color pooling that looks really cool can be seen on the front our Siren Sweater, knit in Infusion Handpaints.

Infusion Sideways Yoke Pullover_front_blog

See the argyle thing going on there? Though unintentional in this sweater, it is very possible to intend to make argyle from a yarn like this.

Even printed yarns with longer color repeats can be intentionally pooled. A good example of this is the Pennant Scarf, designed by Erin McKenna Halsey for our Uptown Worsted Spirit Stripes yarn. (You can find a crochet version of this scarf here)

Again, we see an argyle pattern form. The reason for this pattern, my dear friends? Math! By knowing how long each color repeat is and how much yarn a stitch consumes, it is possible to figure out how to make your patterned yarn do amazing things!

However, the weaving project I’m going to share today is a much simpler way of intentionally pooling color. My project was inspired by recent Little Looms Magazine by Interweave Press.  The image on the cover of the magazine is actually a close-up of the scarf I decided to make.

SPSUM16

After looking at the other photos of the scarf inside, I realized our Bamboo Pop multi colorways would be perfect for this project.

StackedBalls_smaller

For my scarf, I chose Bamboo Pop #218 Stripe (multi) and #112 Black (solid) for the warp. I’ll be weaving with Whisper Lace #111 Ebony as weft. It’s a lighter weight than Bamboo Pop, and will allow for a warp-faced weave.

To warp, I first tried direct-warping my 16″ Cricket loom with my Bamboo Pop multi sections. The secret to this scarf is all about finding the point at which the color sections in the multi yarn repeat. I discovered that 110″ was my ideal point to wrap around the warping peg. The color repeated back on itself at that length (and also did at shorter lengths, but I like a long scarf and want to plan for fringe). But I found that it was very difficult to keep my color sections lined up with this warping method.

Plan B: use a warping board. I happen to have a warping board that I made several years ago. You can make smaller versions of this, or you can buy them. Or you can simply use two warping pegs clamped a certain distance apart. But the nice thing about a warping board is that it allows you to wind a long warp over a short distance, by wrapping the yarn back and forth between the pegs.

In this particular project, it was super helpful to have all those pegs. It allowed me to find the perfect distance in which my colors repeated. To begin, I first tied a guide string.

ColorPool_2

ColorPool_1

Then I wrapped along and around my pegs until I found my perfect distance. Then I tied the other end to the last peg. A guide string is just that – a guide that the warp will follow as you’re wrapping it around the warping board.

ColorPool_3

But, as you’ll see, I ended up having to adjust my path because the colors were not quite lining up.

ColorPool_4

I took about a million pictures of this warp – it was so pretty!

When direct-warping to the rigid heddle, it’s easy enough to count my warp ends. But when using a warping board, I like to use a string to help. I knew that I was going to have 8 stripes of my multi, at 8 ends each. So I just wrapped my contrasting yarn around the warp every 8 ends.

ColorPool_5

After warping my 9 stripes-worth of black, I was all ready to tie-on. In retrospect, I could/should have only cut one end of my warp. If I had done that, I could have simply looped one end around my back dowel, rather than having to tie all the ends on. It’s been awhile since I used a warping board!

ColorPool_6

After tying all the ends on, I made sure they were even and ready to be wound on.

ColorPool_7

ColorPool_8

After winding:

ColorPool_9

And after tying onto the front dowel.

ColorPool_10

You can see that my color sections are not perfectly lined up, but that’s okay! I really love the way they sort of bleed into each other. I can’t wait to weave this scarf.

ColorPool_11