

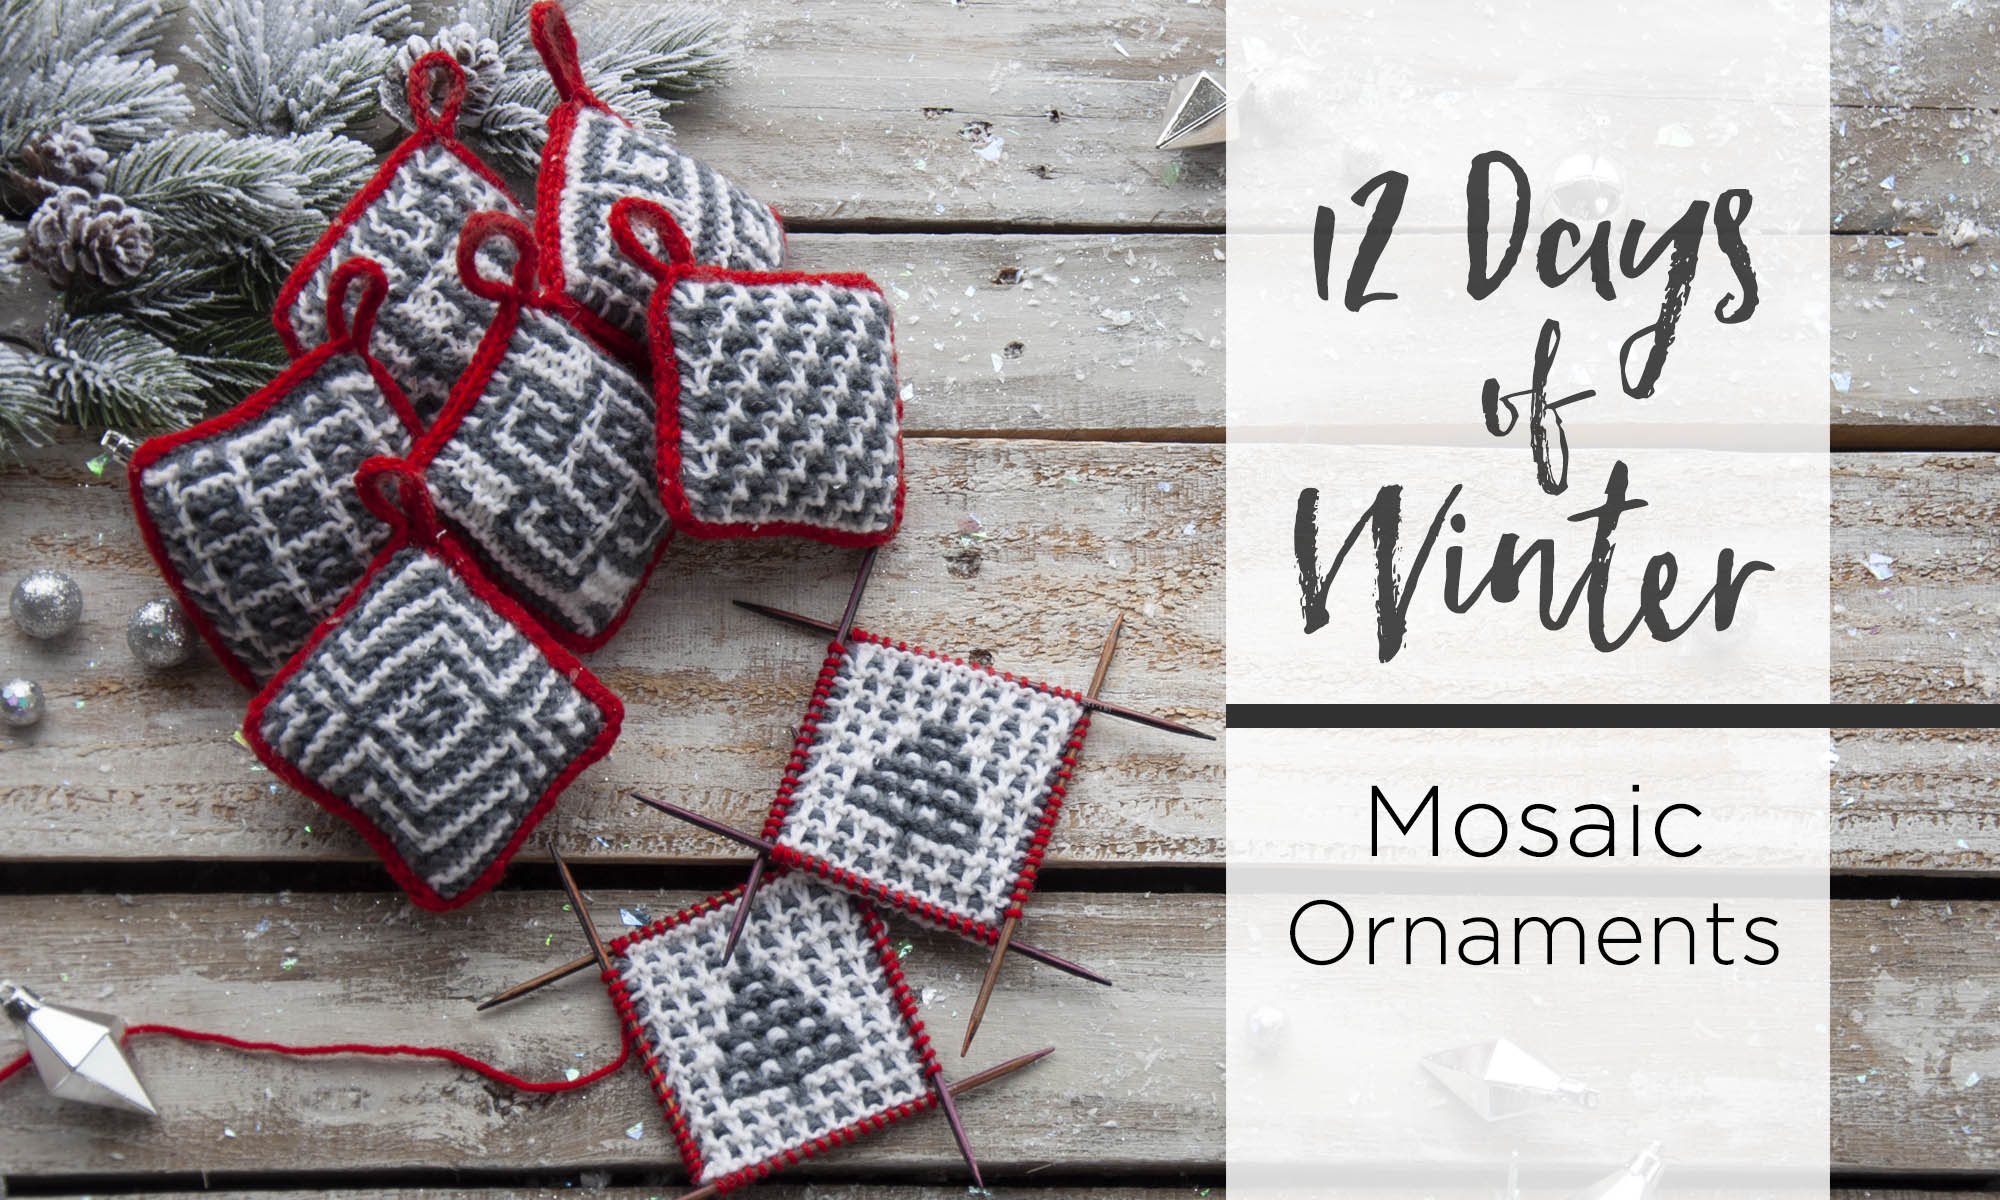
This is part 9 in a 12 part series highlighting designs from our 12 Days of Winter, Series 2 Edition.
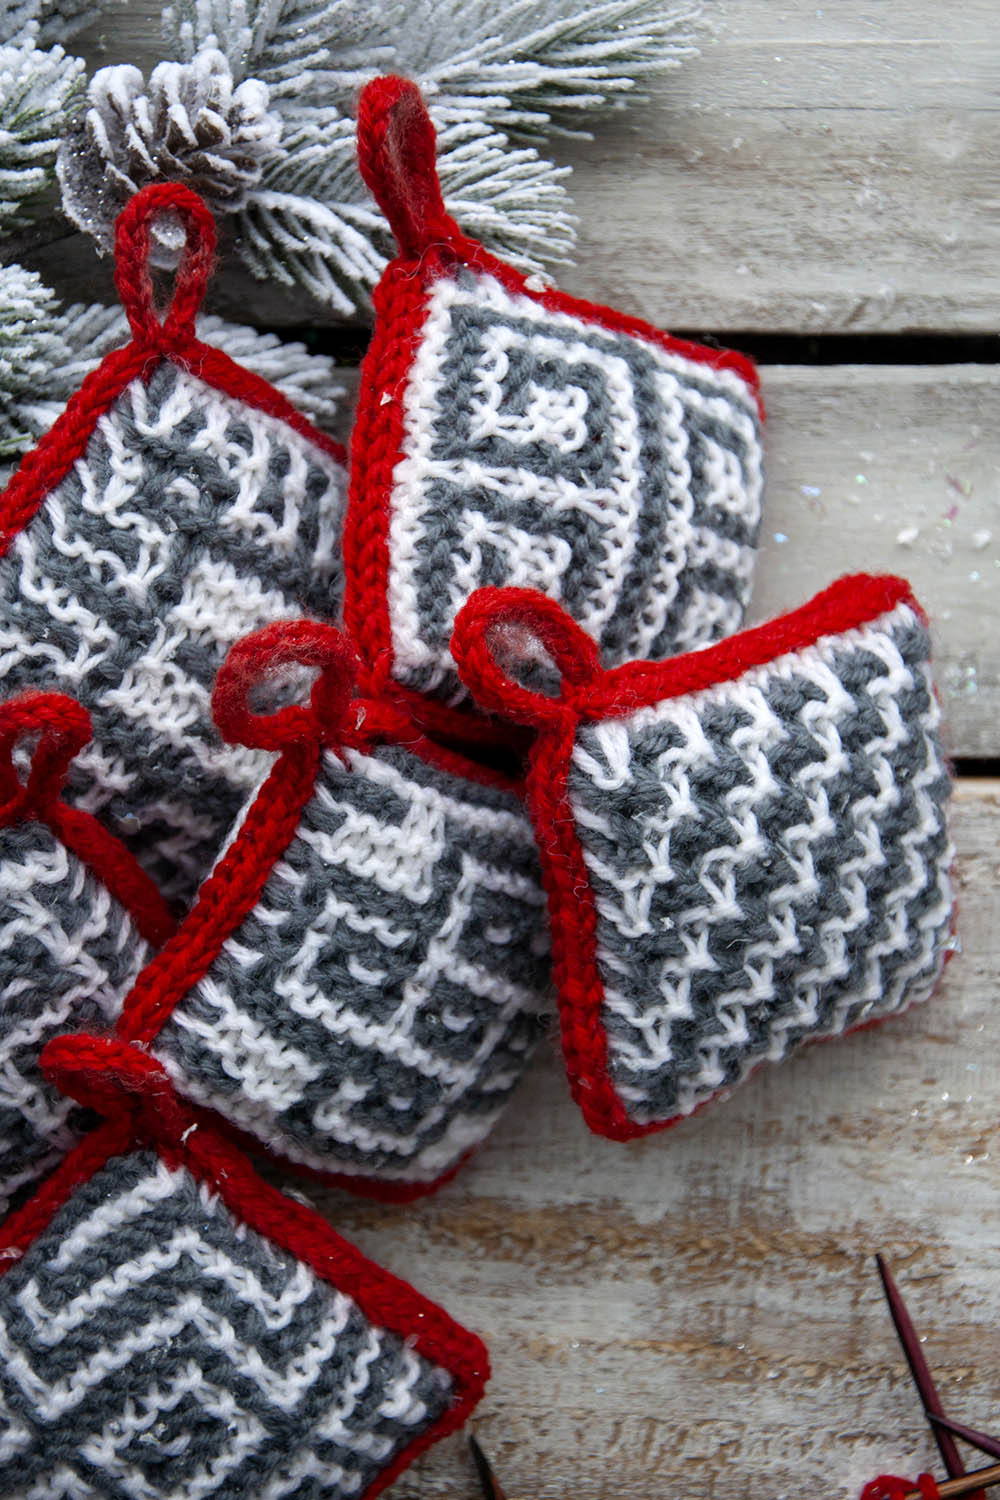
Ornaments are meant to be special. Often they are passed down to us. Perhaps they’ve been collected from some treasured place, or maybe they are handmade. After all, what is more charming than lovingly made handmade items?
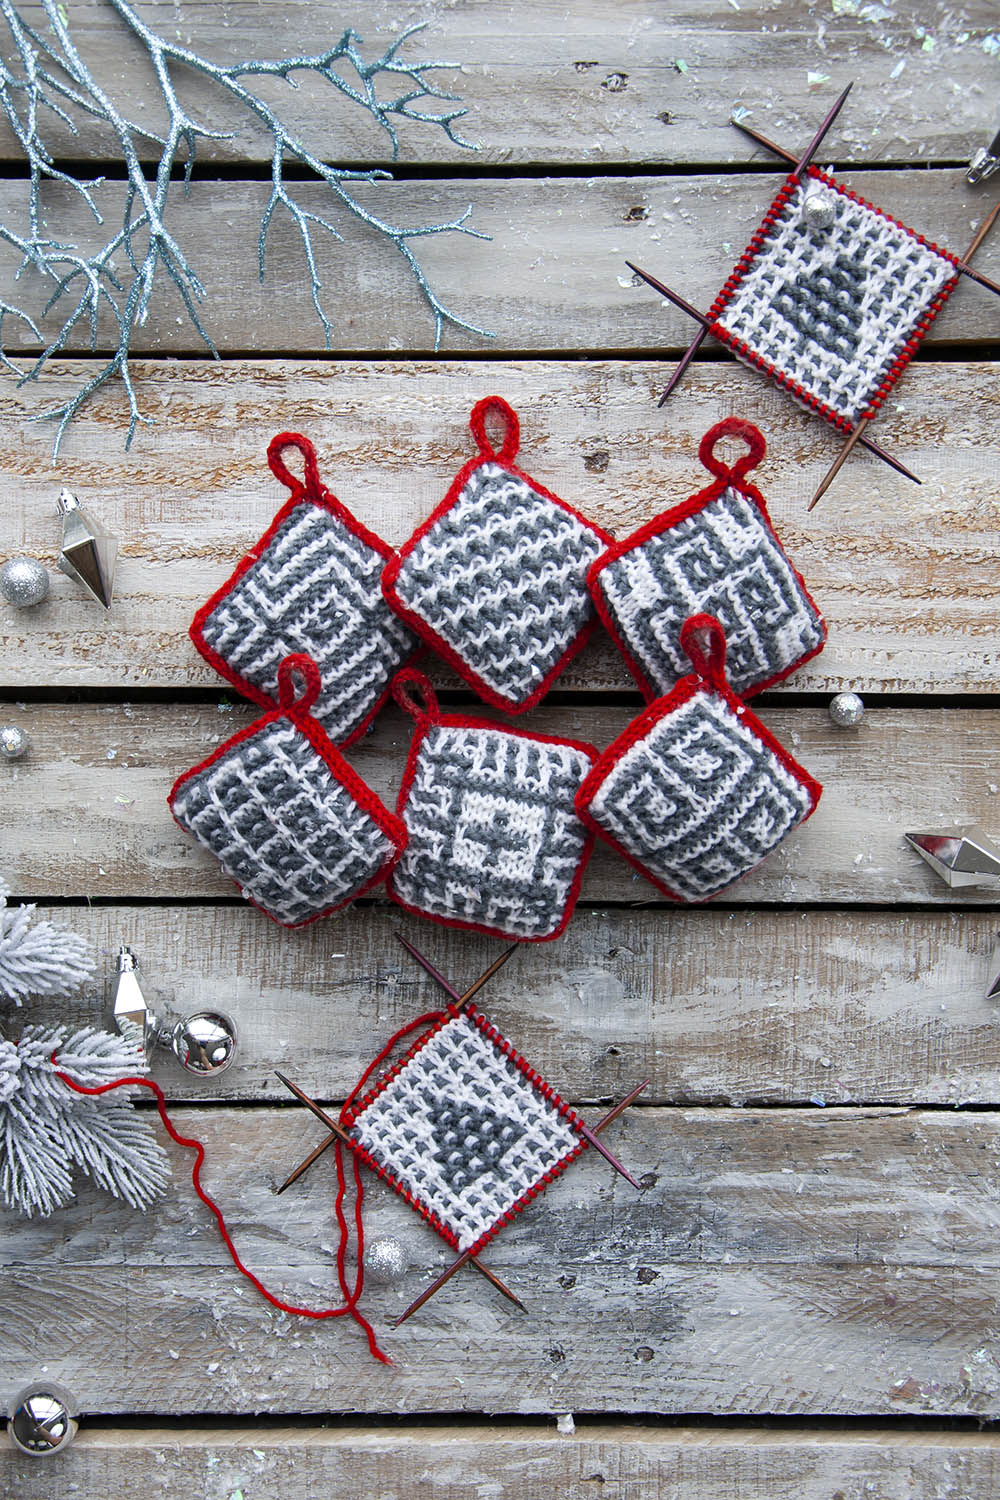
The Mosaic Ornaments pattern calls for 3 balls (1 of each color) of Deluxe DK Superwash. Though there are seven different mosaic designs included in the pattern, the yarn amounts are enough to make at least 40 ornaments. Quite a bargain, eh?
Each ornament begins by knitting the two sides separately. They are then joined with a three-needle I-Cord bind-off. Sound tough? It’s not, because I’m adding a step that takes this from a three-needle bind-off to just (the usual) two needles. Keep on reading to see how I like to do it!
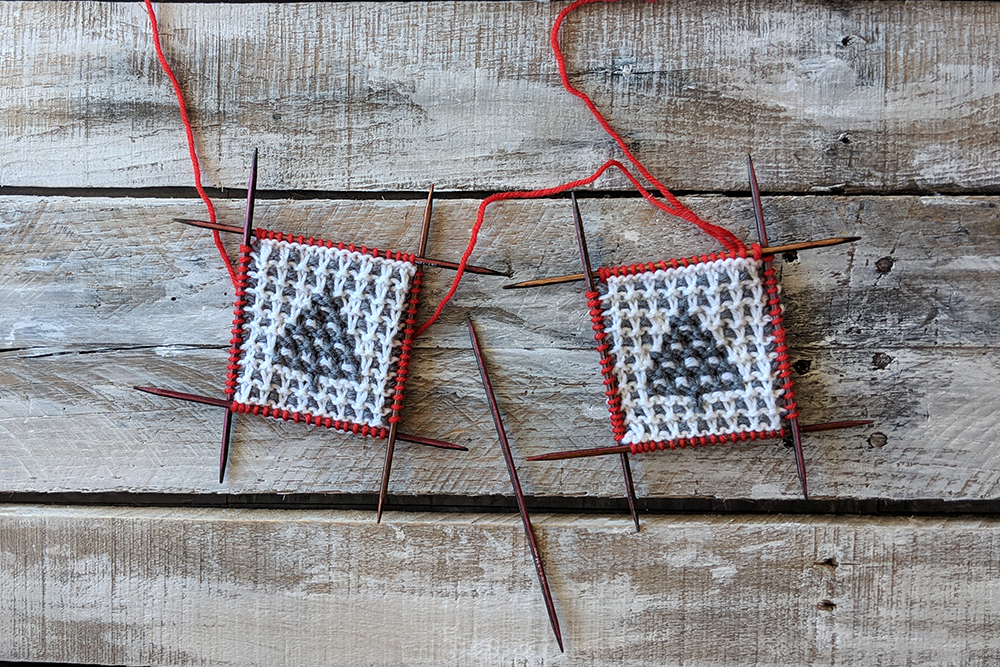
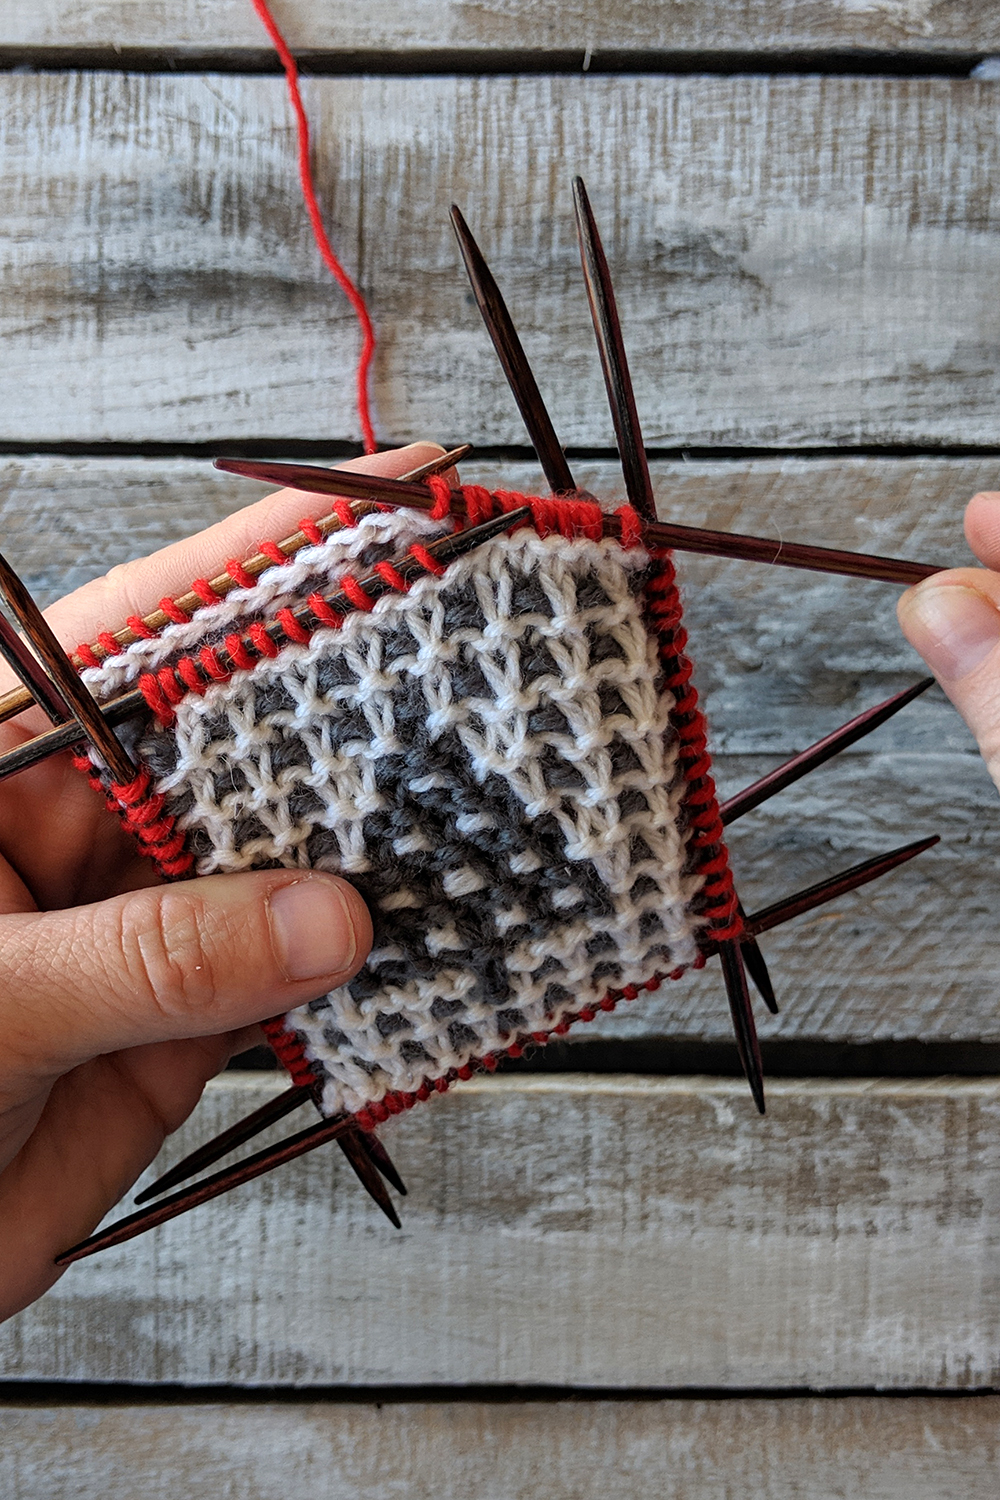
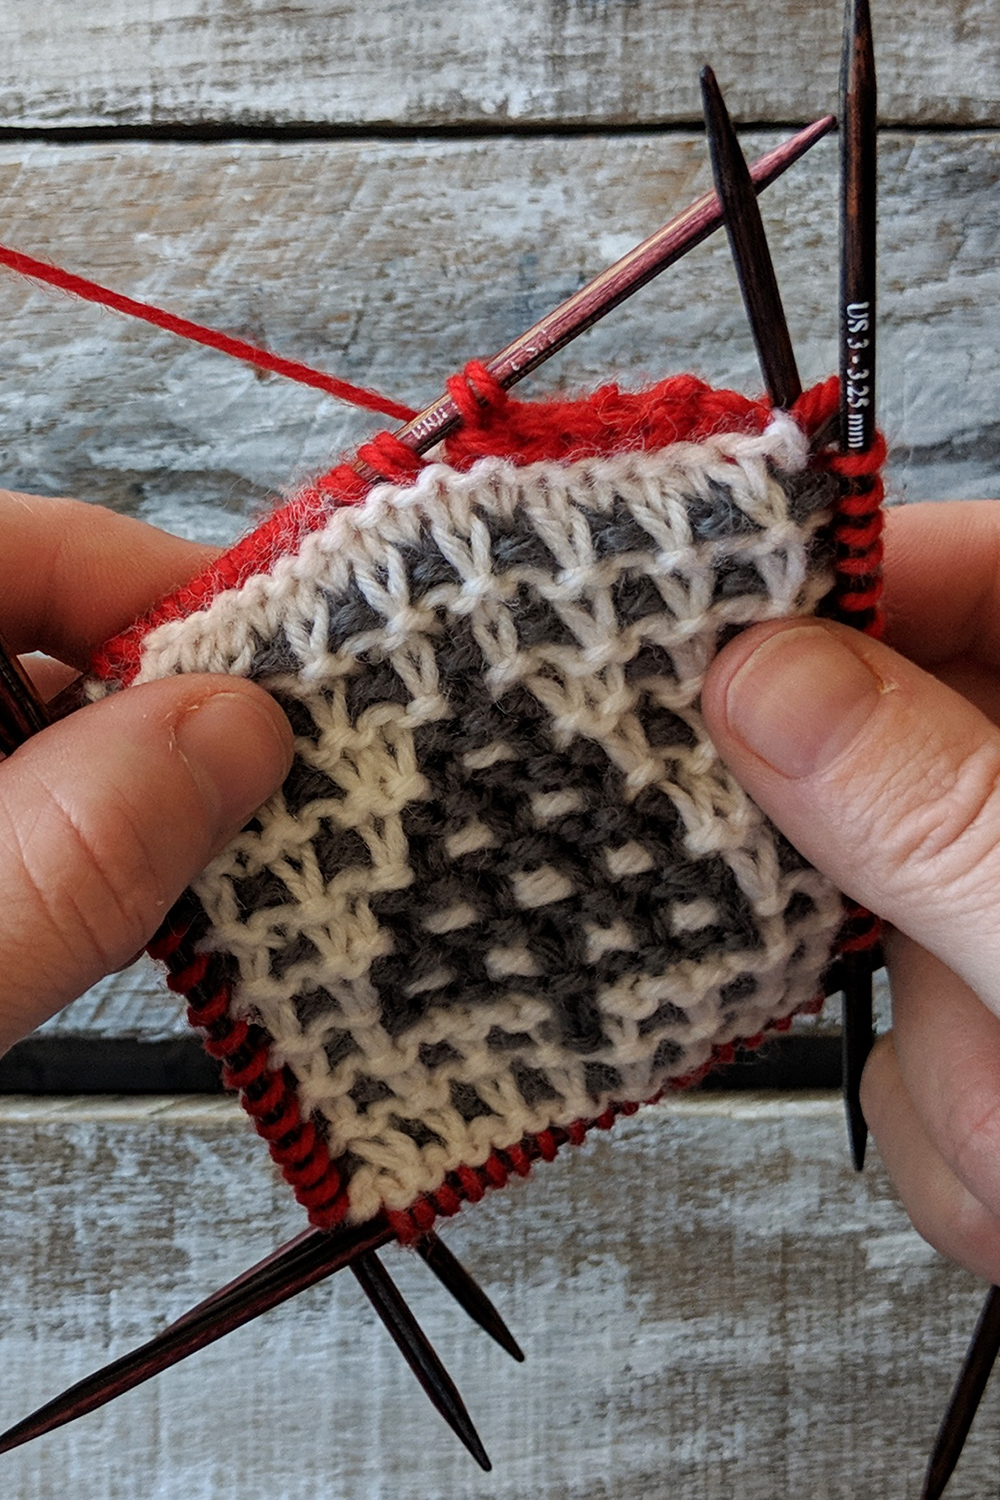
What I haven’t shown in these images is that the first step is to pick up and knit stitches all the way around each square with the contrasting red color. So that’s where we are at now – stitches have been picked up around each square.
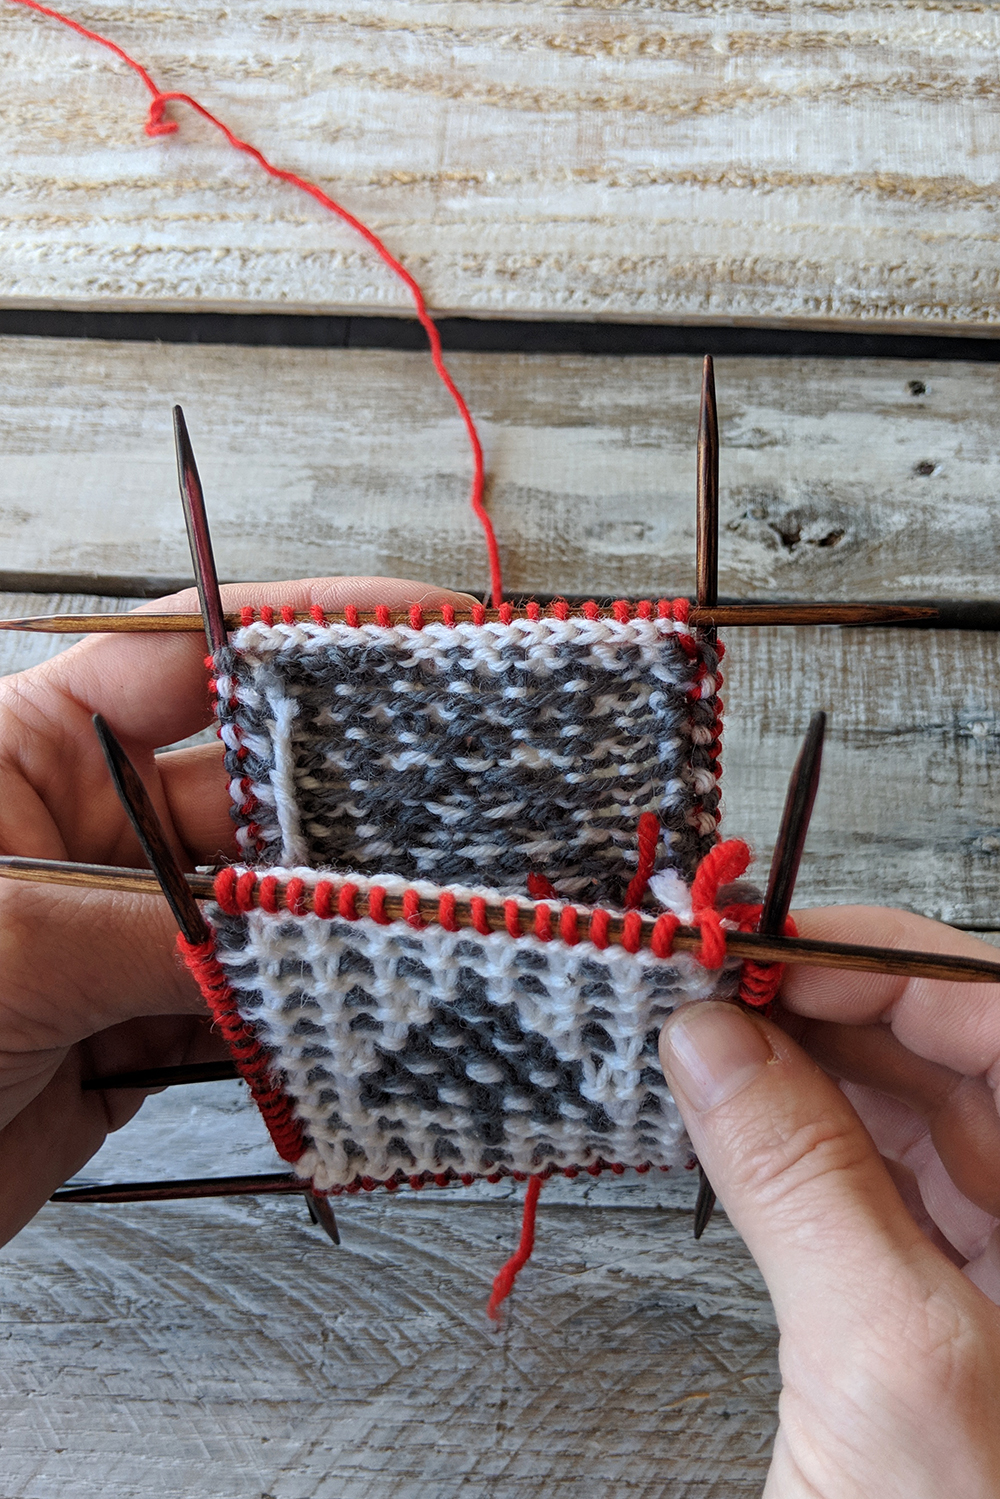
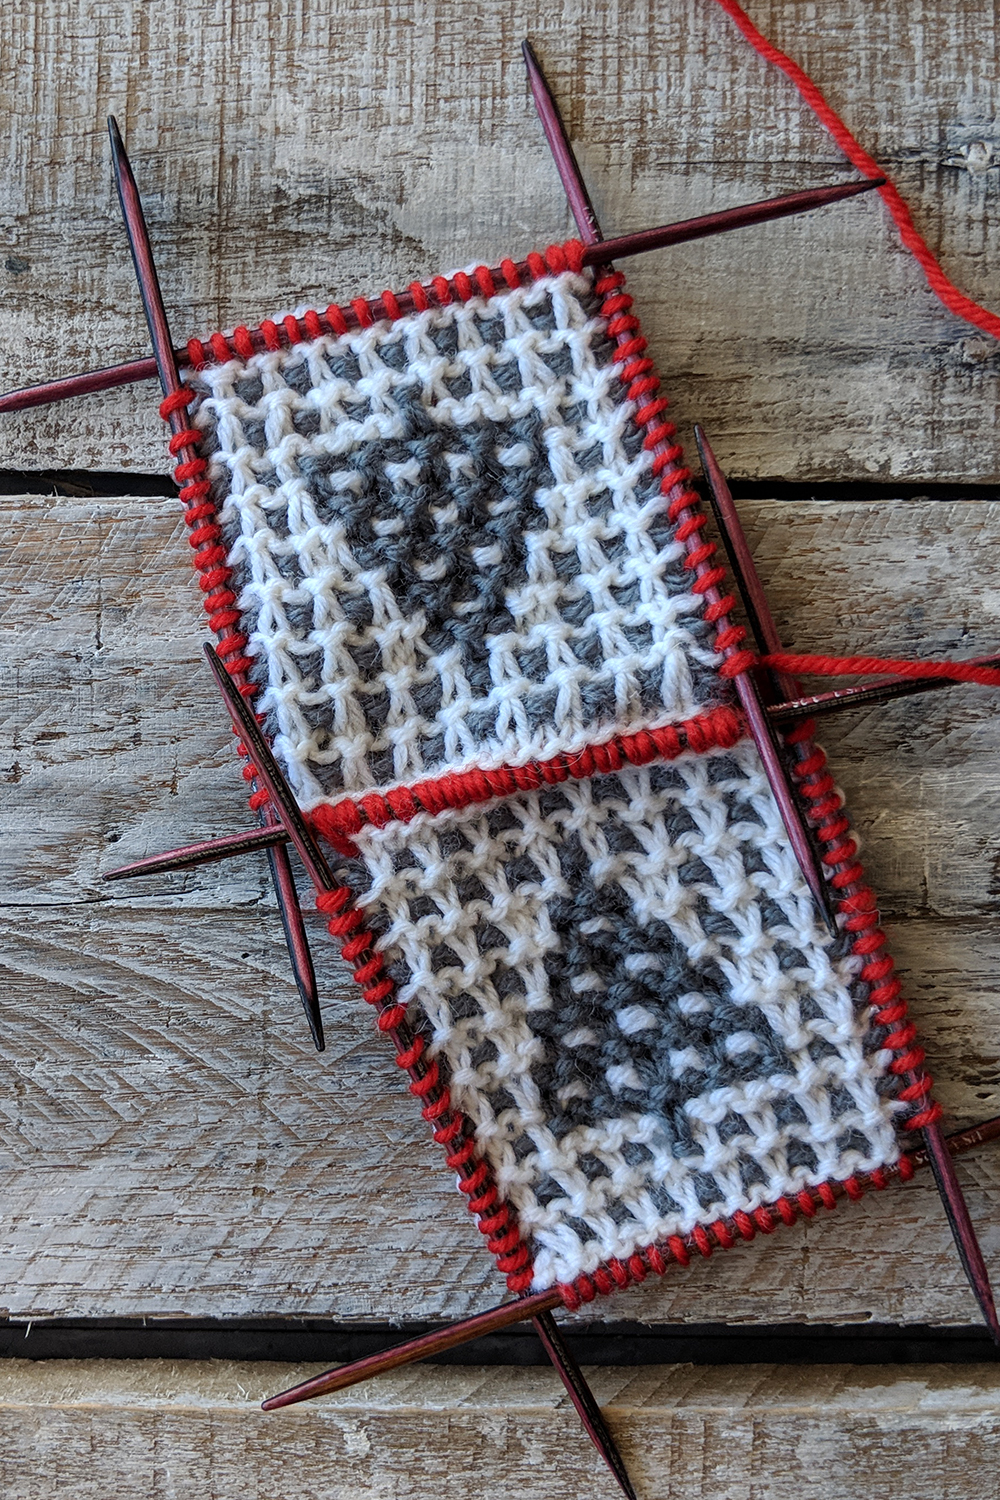
Next, place both pieces with their wrong sides facing together.
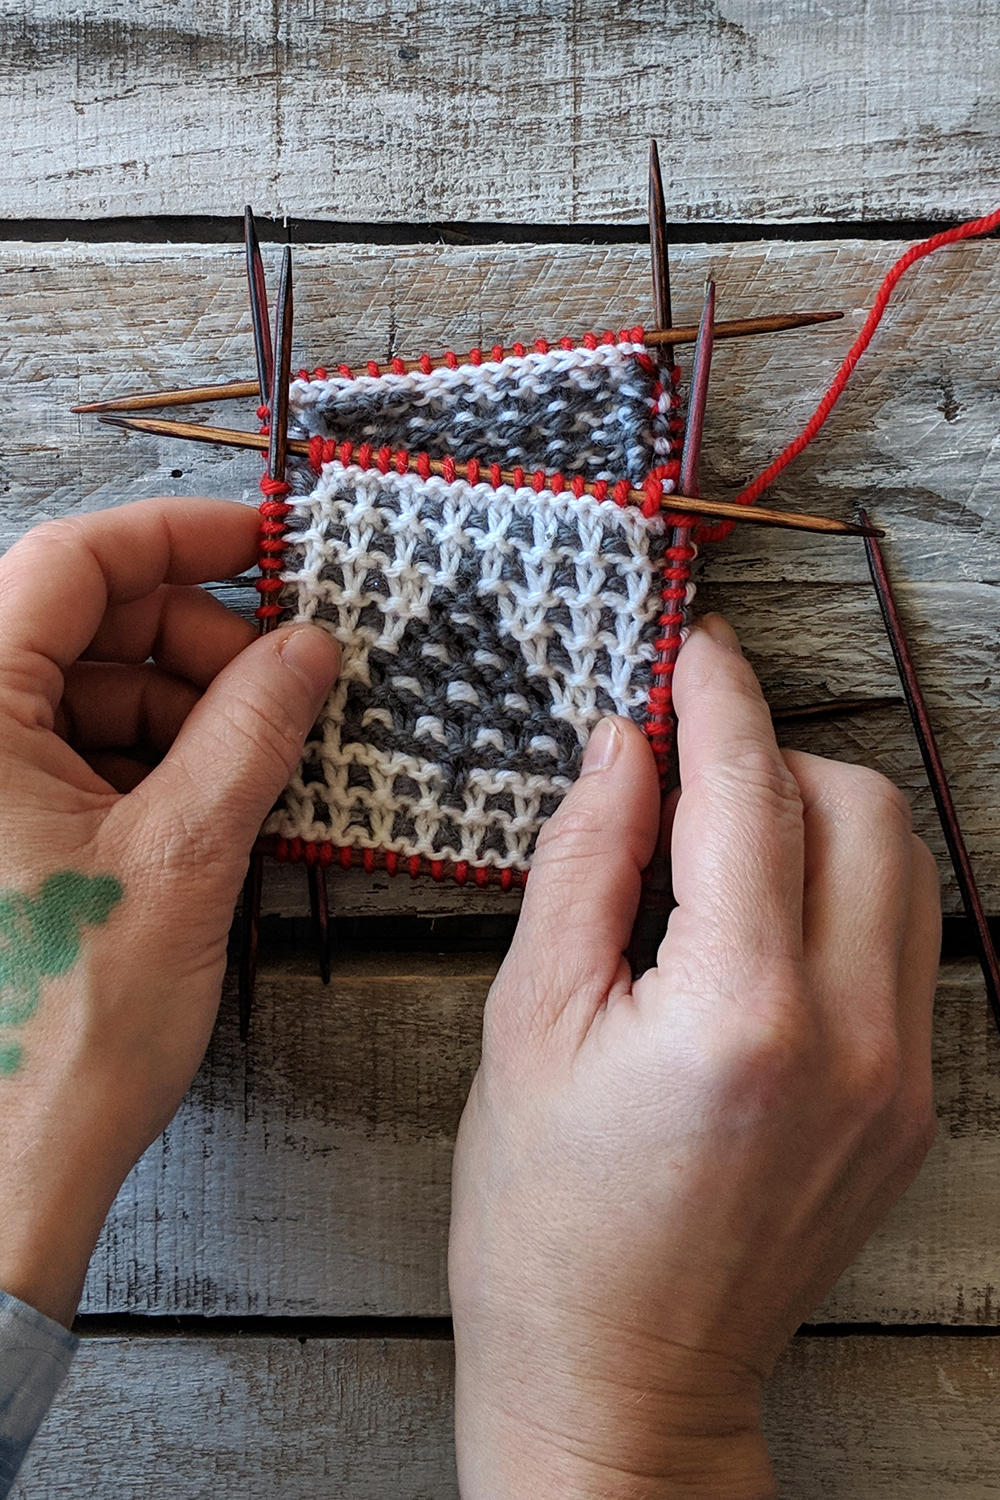
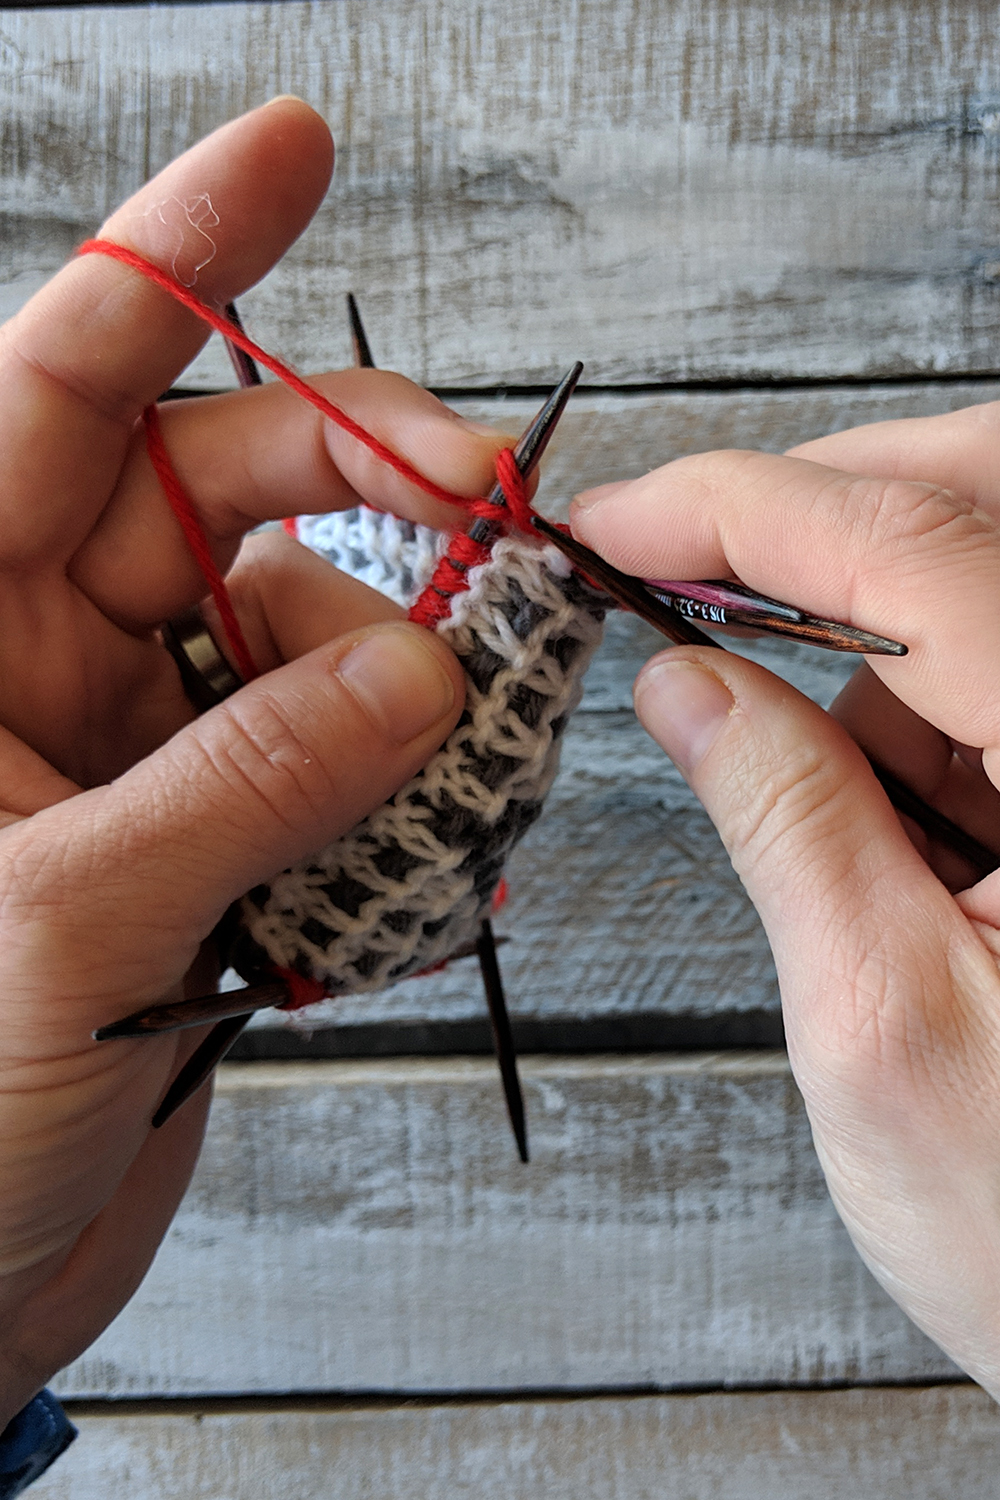
What I’m doing now is certainly not absolutely necessary, but I find it makes the process so much easier. With a separate double pointed needle (dpn), first I slide a stitch from the front needle onto the spare dpn.
Next, I slide a stitch from the back needle onto this same dpn.
Keep going, alternating front and back needles/stitches until all stitches from one front and back needle have been transferred to the spare.
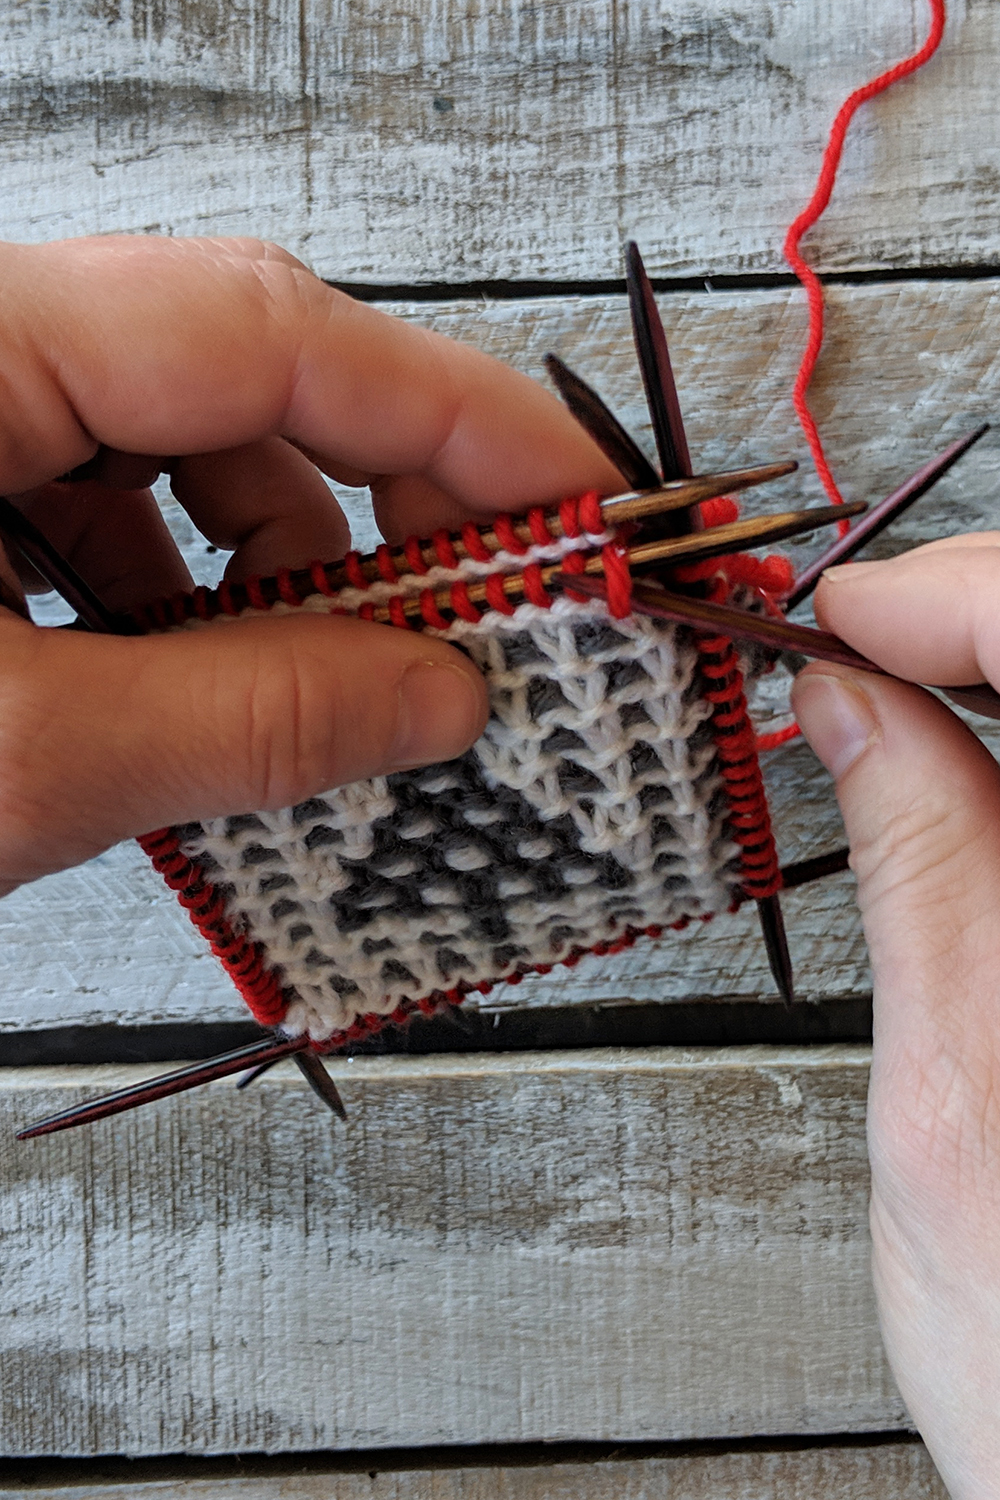
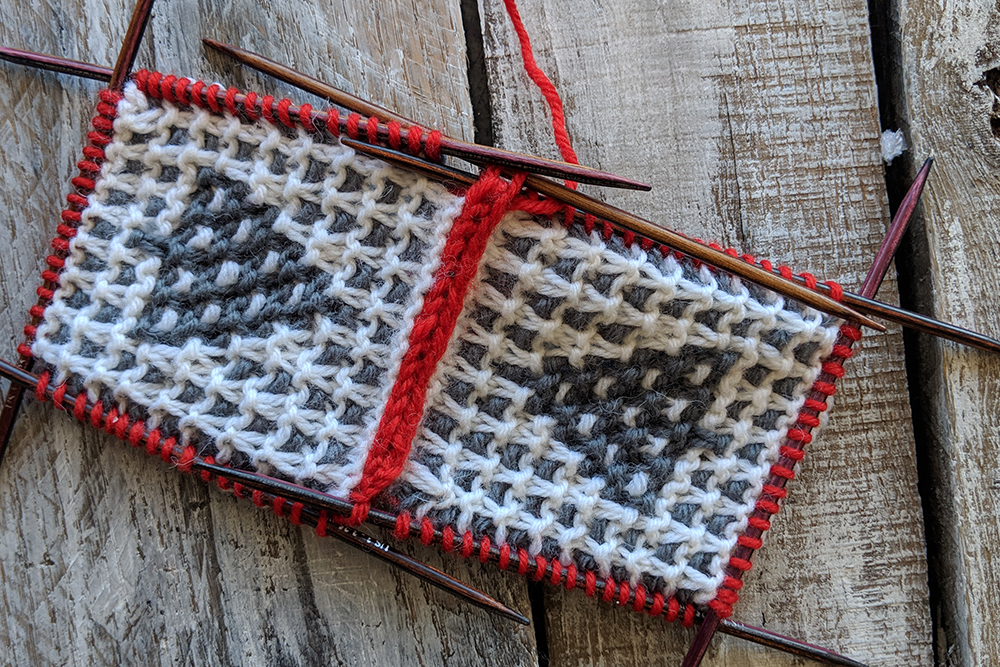
Now that the stitches from both needles have been combined onto one needle, all we’re really doing is an I-Cord bind-off, but with one extra step.
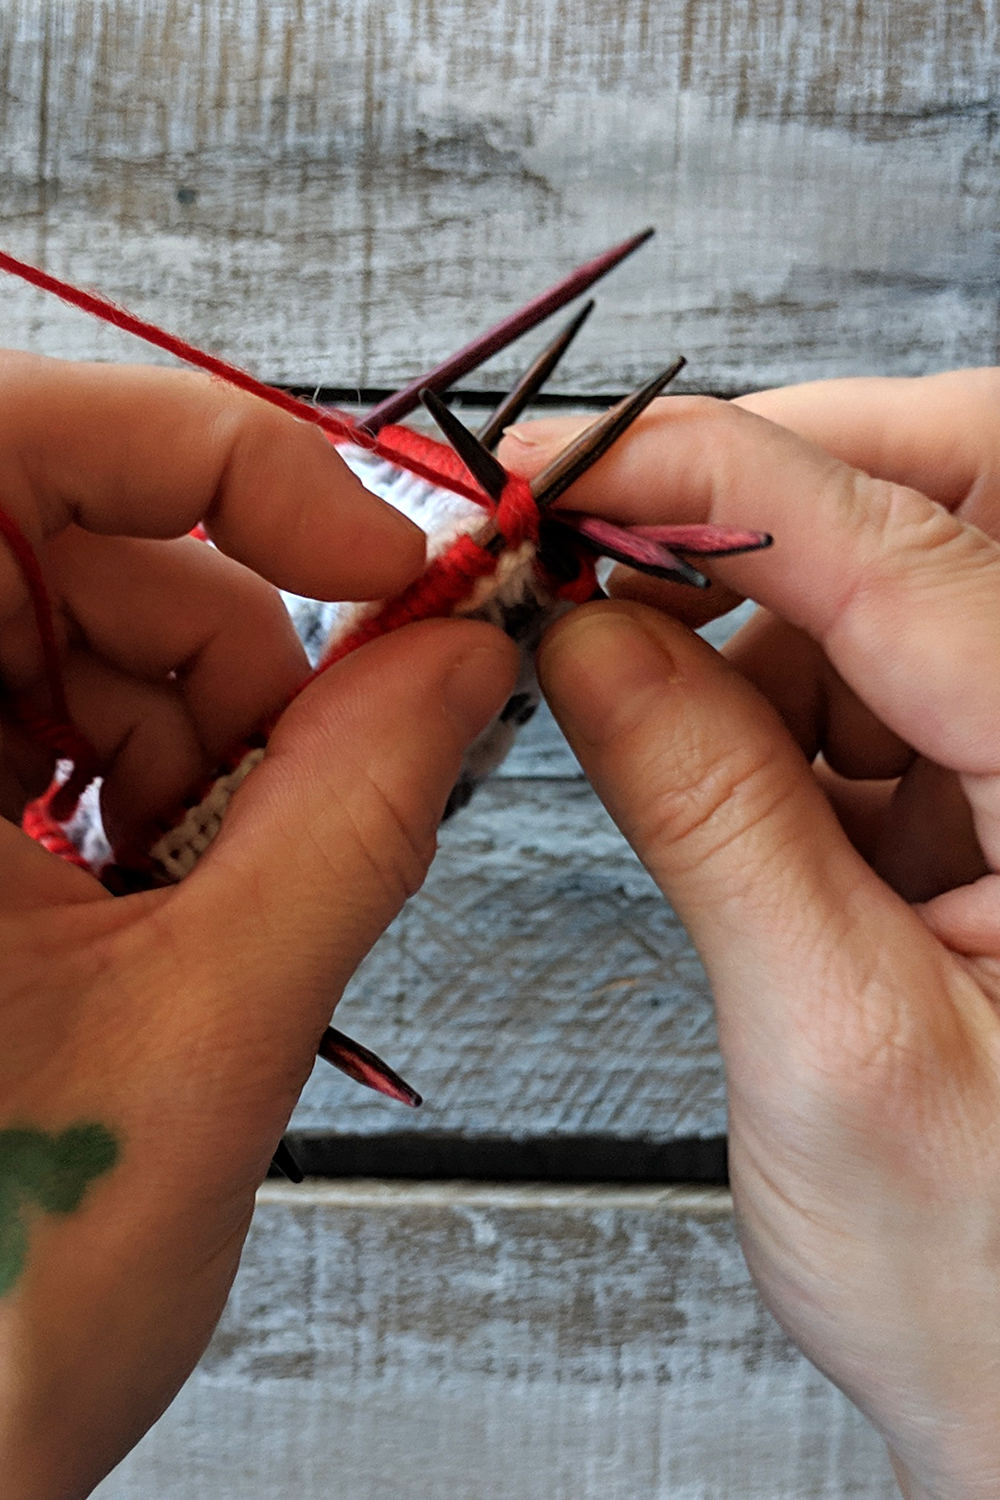
Next, knit 1 (the first cast-on stitch), then k3tog tbl (knit three stitches together through the back loops). These three stitches are: the second cast-on stitch, a stitch from the prior front needle, and a stitch from the prior back needle. Slip the resulting 2 stitches back to the working left needle. Then: * K1, k3tog tbl, slip these 2 sts back to the left needle; rep from *
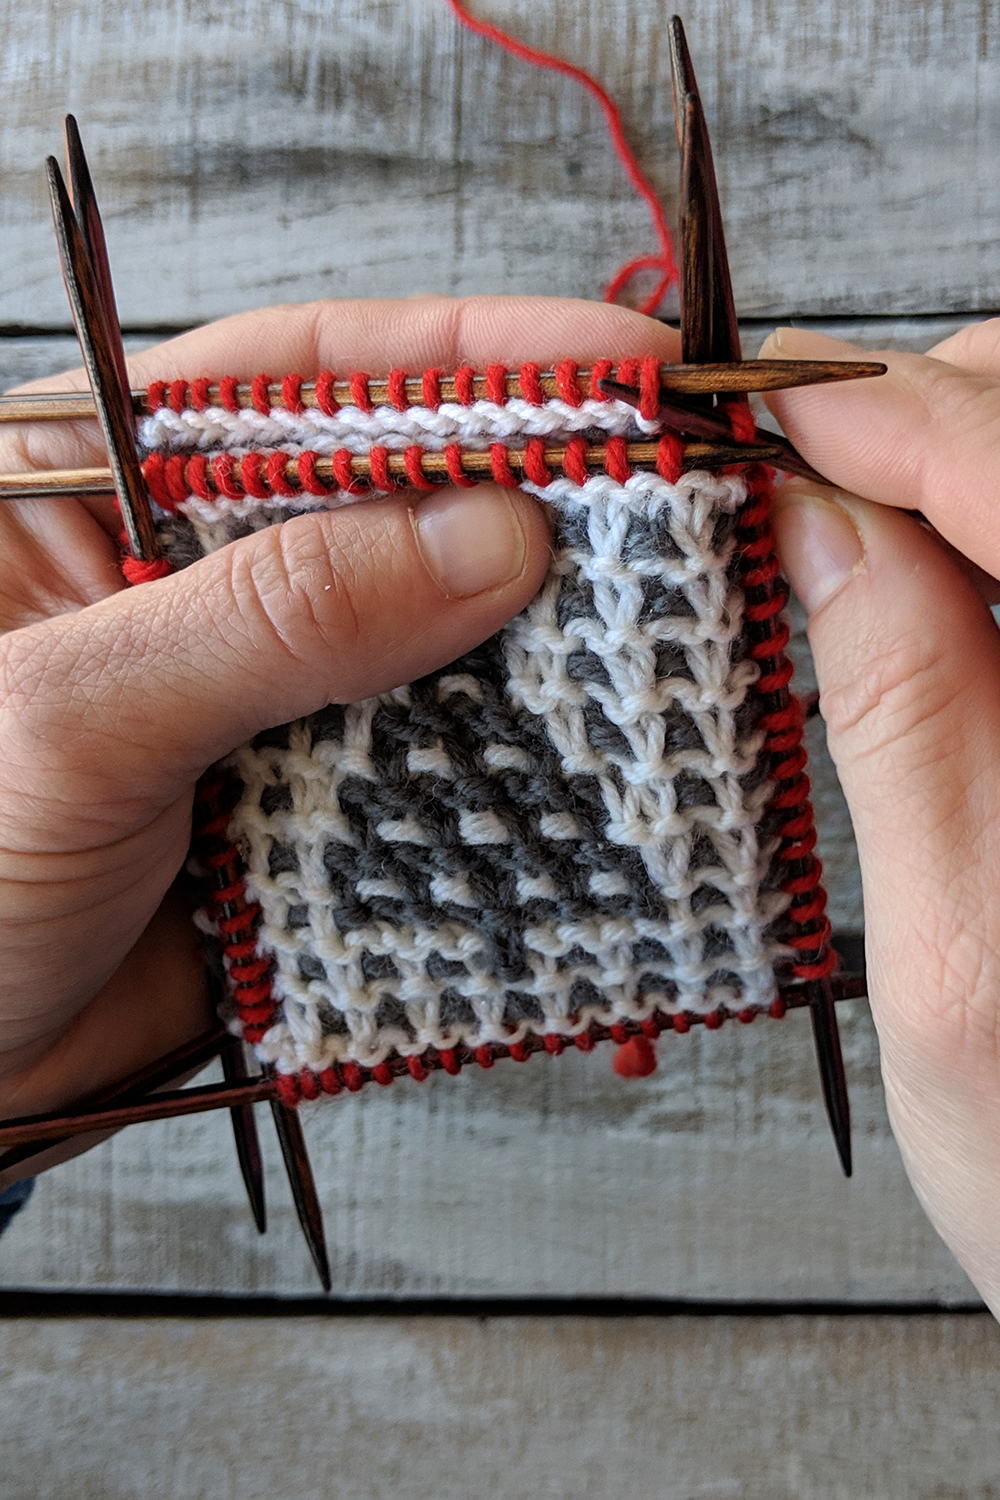
This baby 2-stitch I-Cord is works well to join the sides of the ornament and gives a nice finished look to the project, as well.
Remember, you can find the Series 2 12 Days of Winter patterns on Ravelry!
These are fantastic and I love the tutorial for finishing them. These are sure to be a family heirloom!
These are a true treasure. They would be fun to knit and enjoy for a long time.